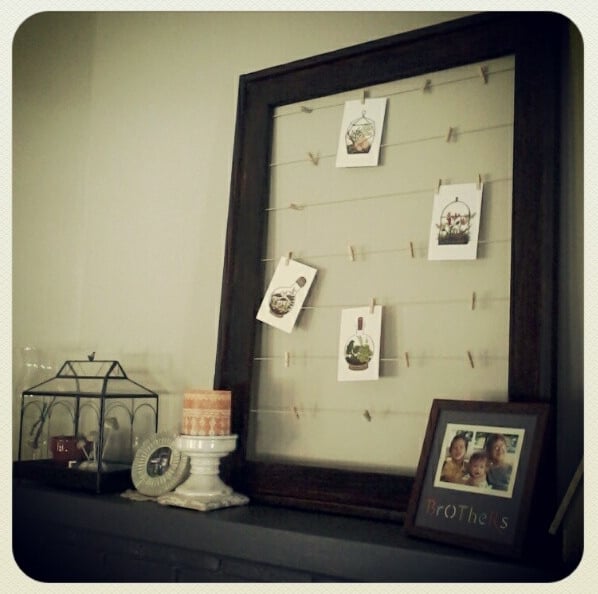
Let me first preface this by saying that the only similarity between my little creation here and the Craftsman Frame is the actual structure of the frame. I altered just about everything else about it, but since the idea was born with this plan I figured I would post it here! :)
A friend of mine just moved into her first apartment after graduating college and is quickly realizing she is in need of décor. For Valentine's Day, her boyfriend (a photographer) gave her a photo he had taken of the mountains in Colorado, a trip they had taken together earlier that year. The picture is absolutely stunning; the only problem is that it is a panoramic photo, measuring a whopping 18"x55". A quick Google search revealed that even a cheap poster frame with these dimensions would cost $110 at minimum; not to mention that it would have zero character. And a custom frame? psssh, don't even go there...this girl wants to decorate her apartment, but come on she still has to be able to afford groceries! :)
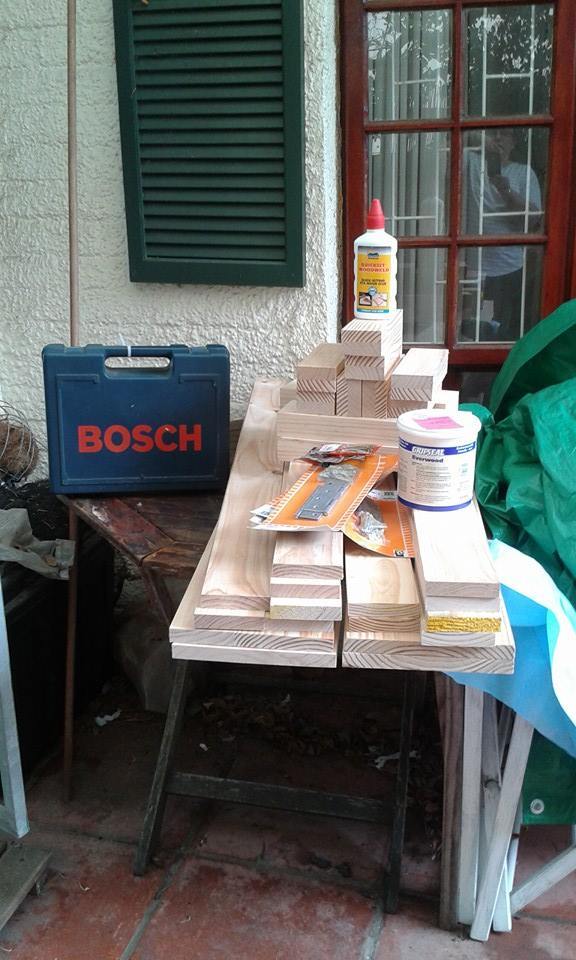
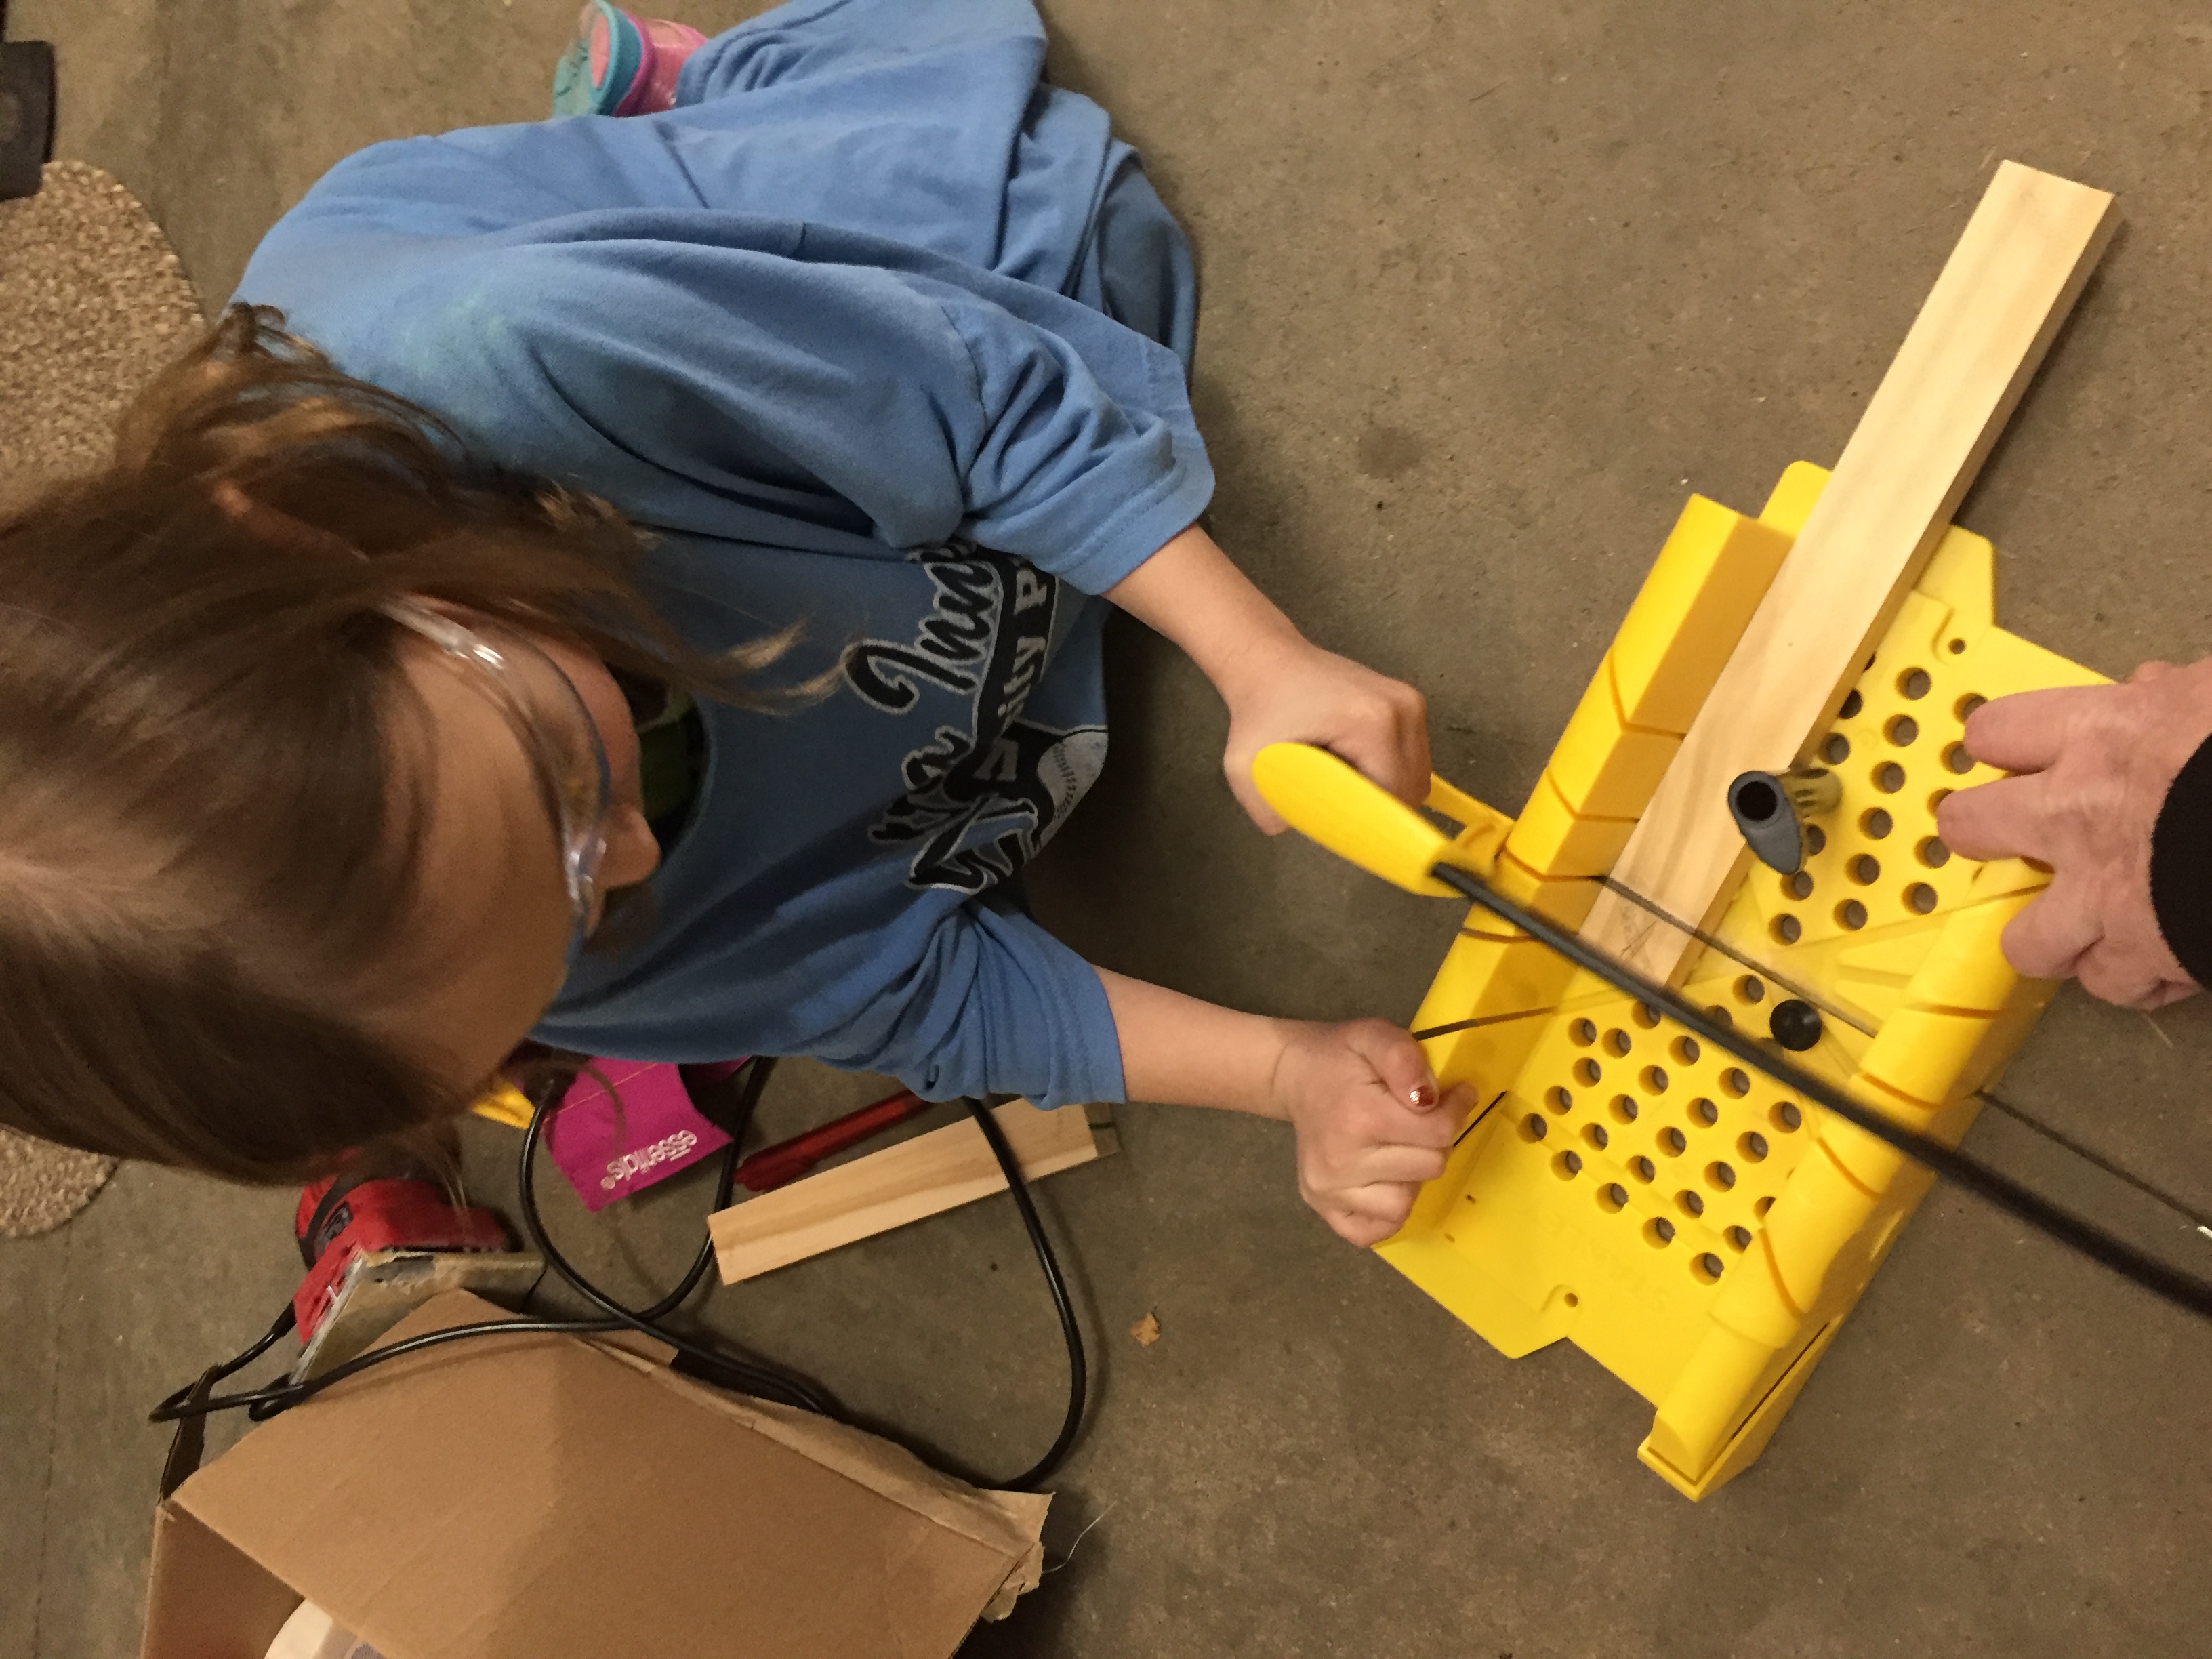
Anyway, as the new owner of a miter saw I saw an opportunity and I'm so glad she let me give it a go. We discussed the plans I had and ventured off to our local Lowe's. About 2 hours--and lots of laughs--later we walked out with all supplies in hand (who knew two girls in their young 20's could spend so much time at Lowe's?! We had a blast).
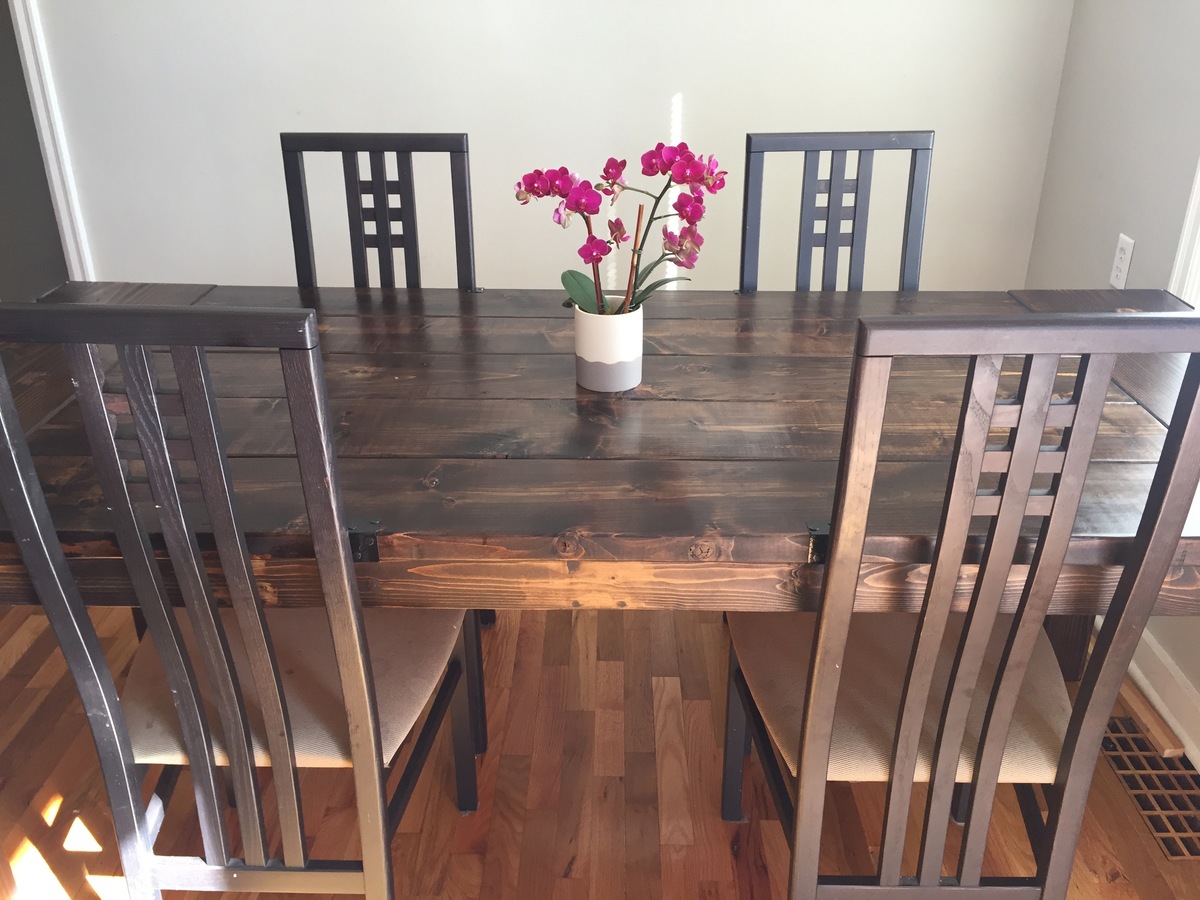
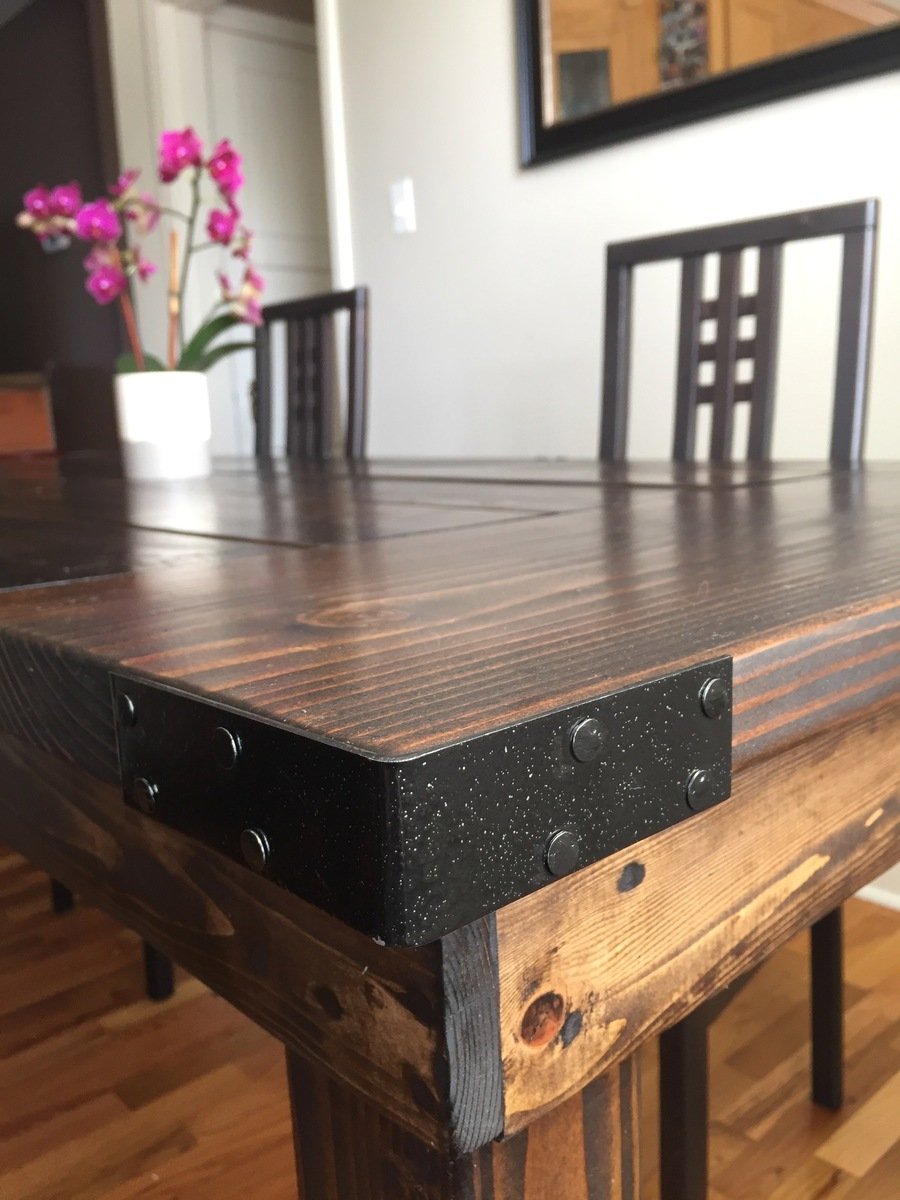
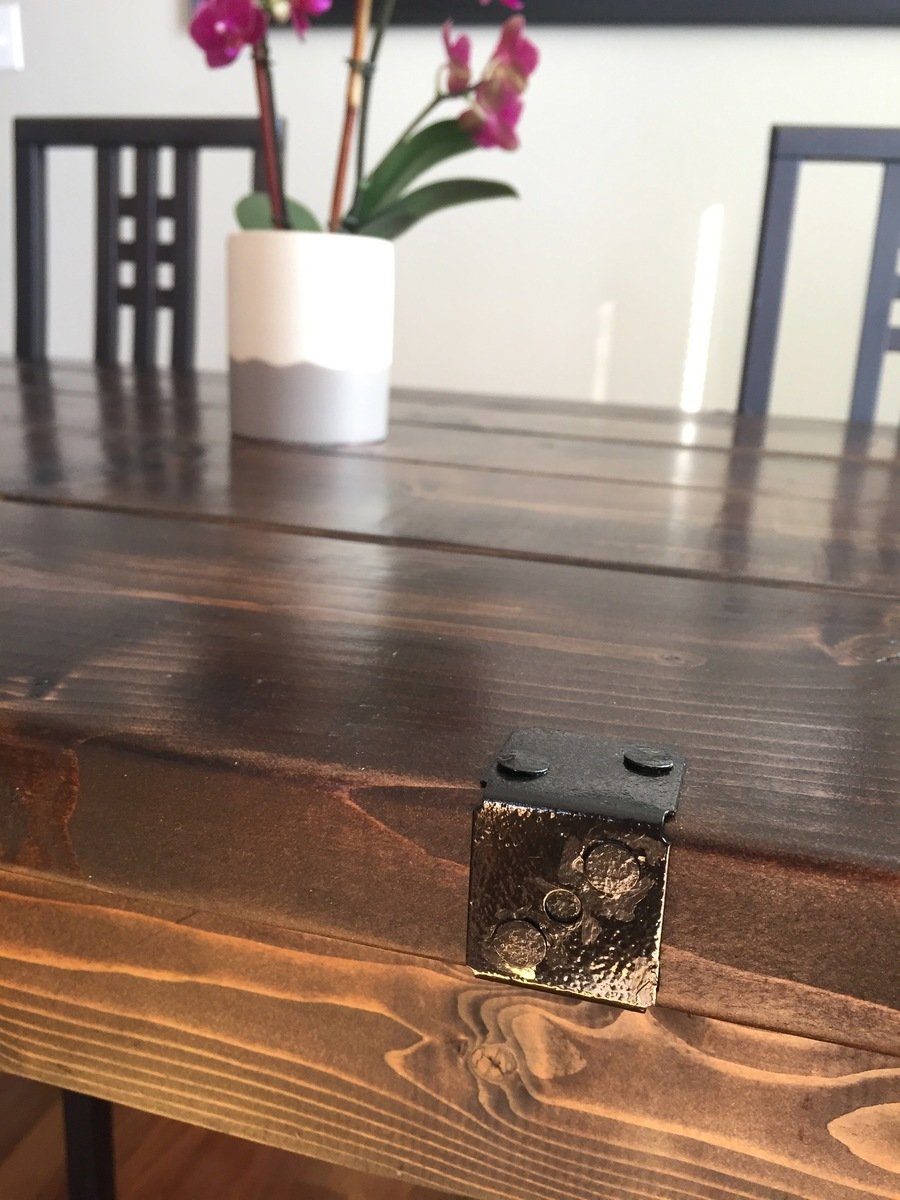
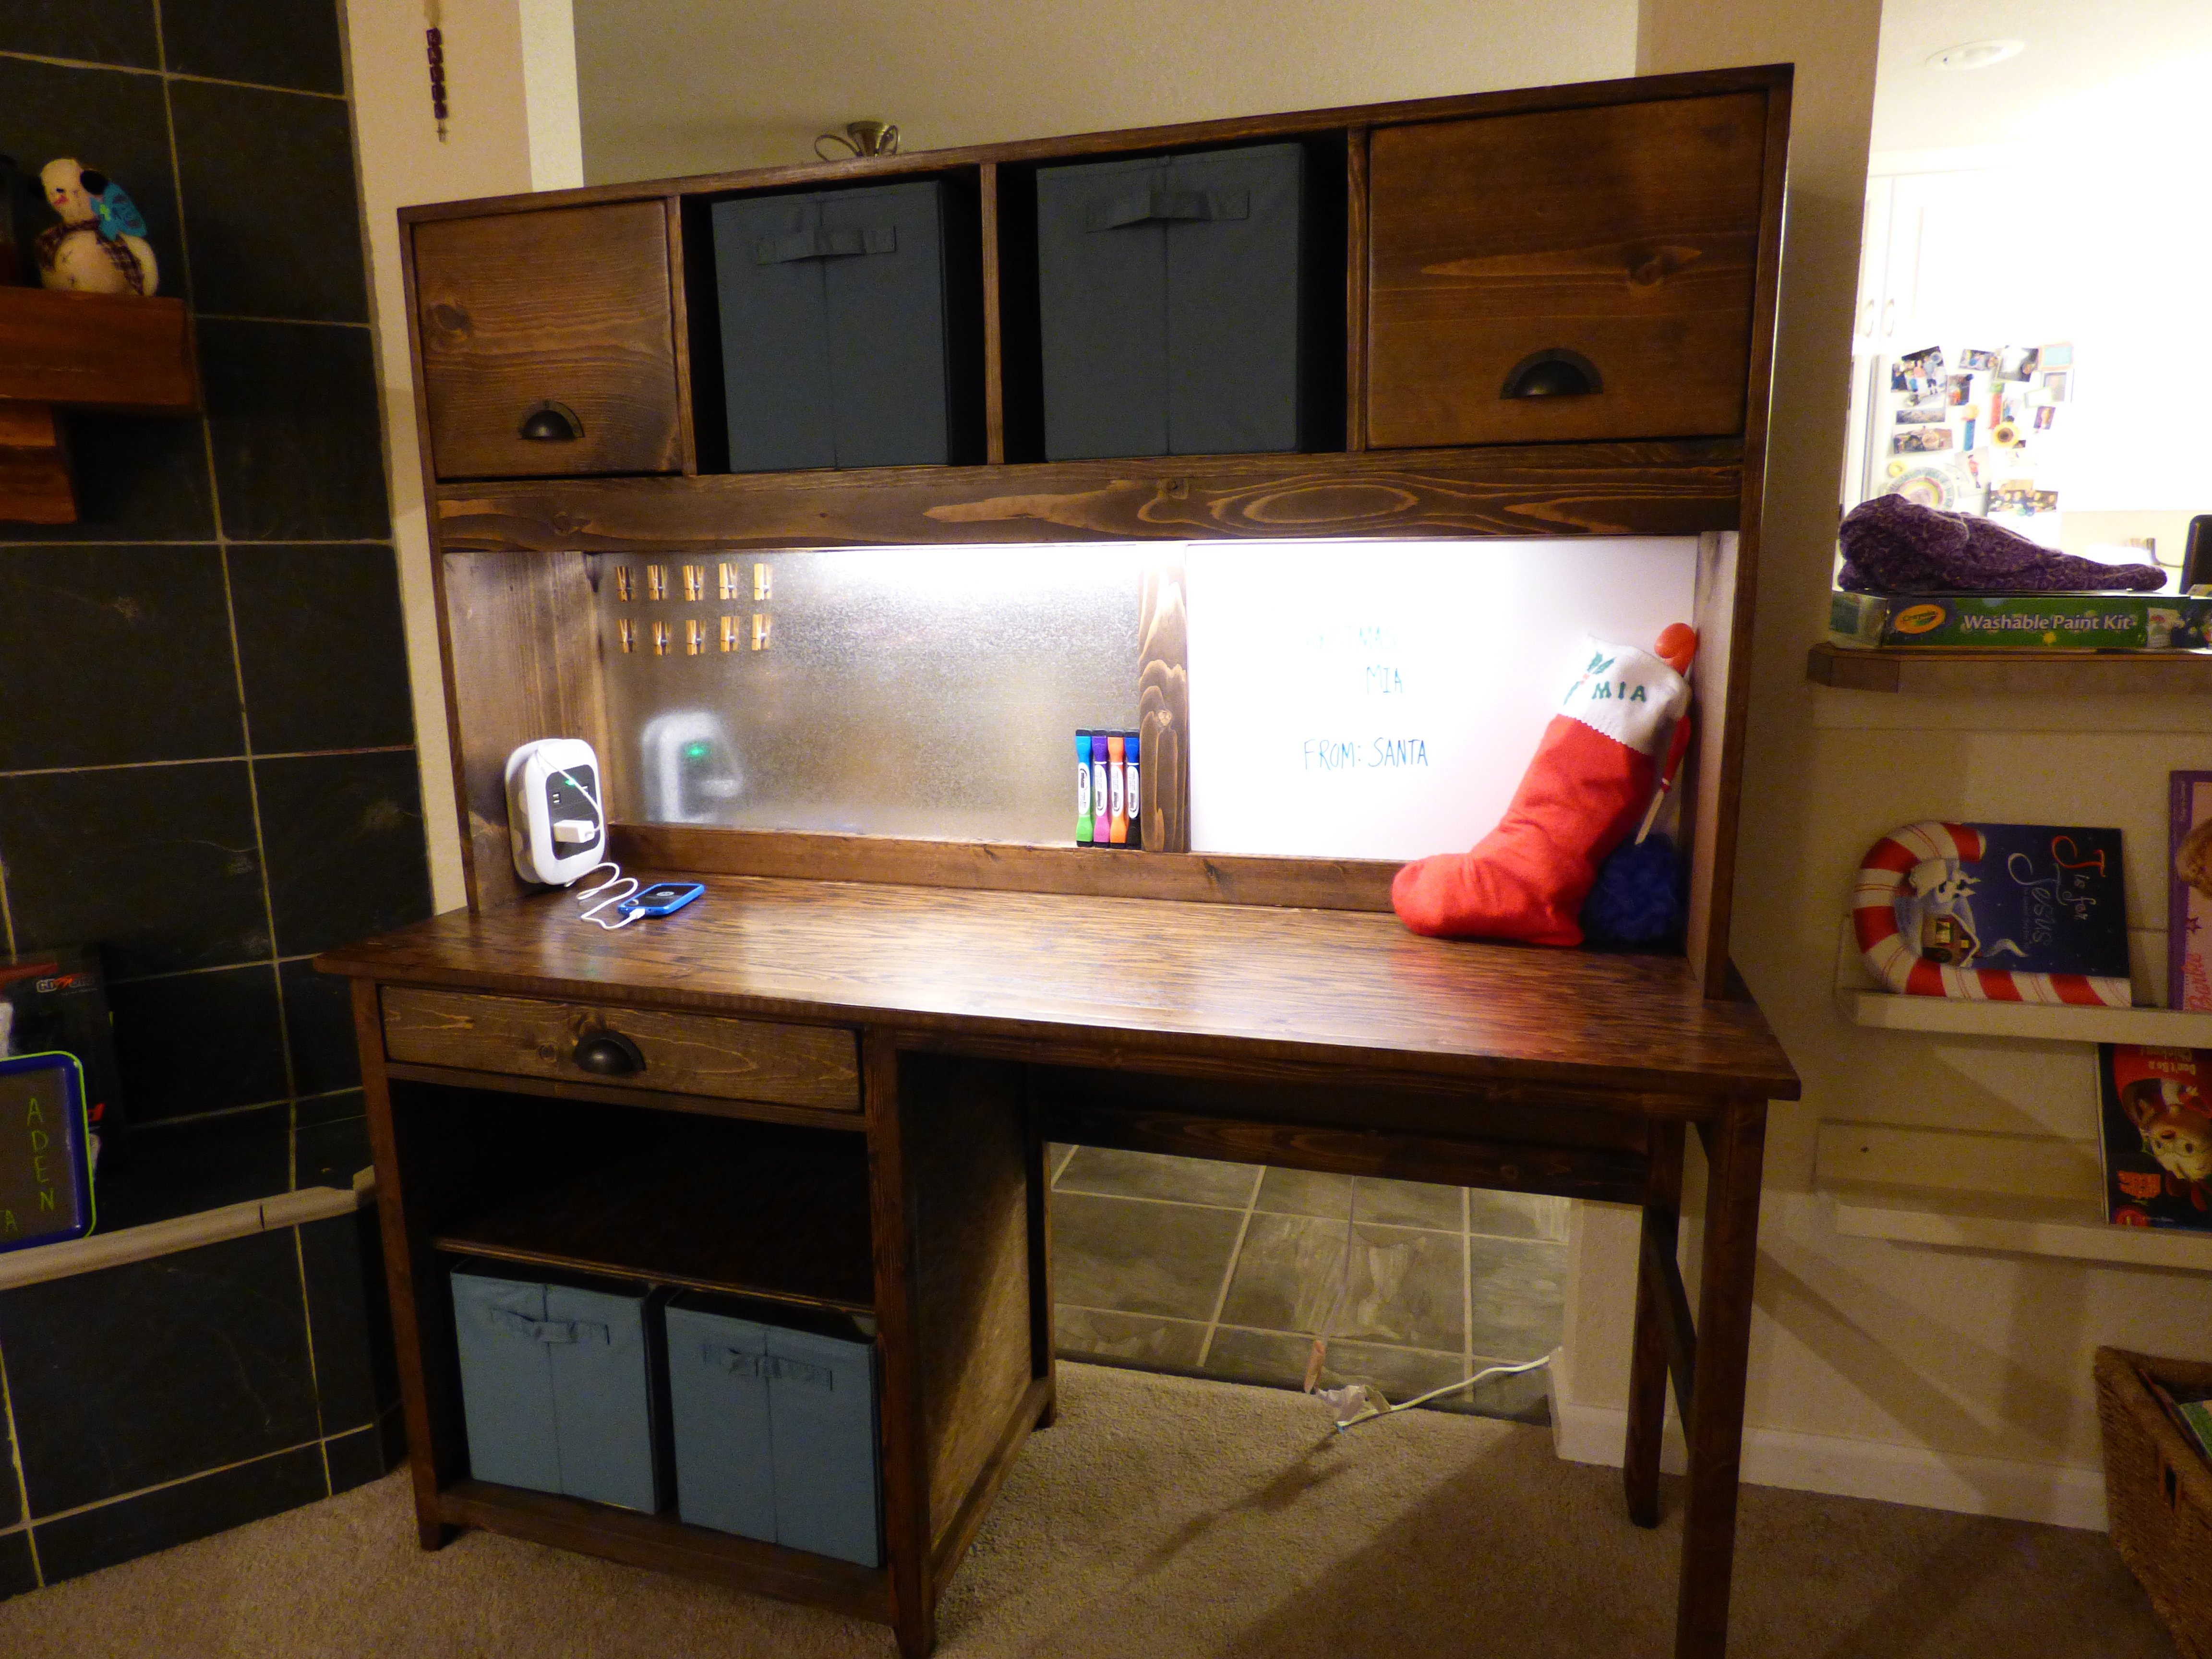
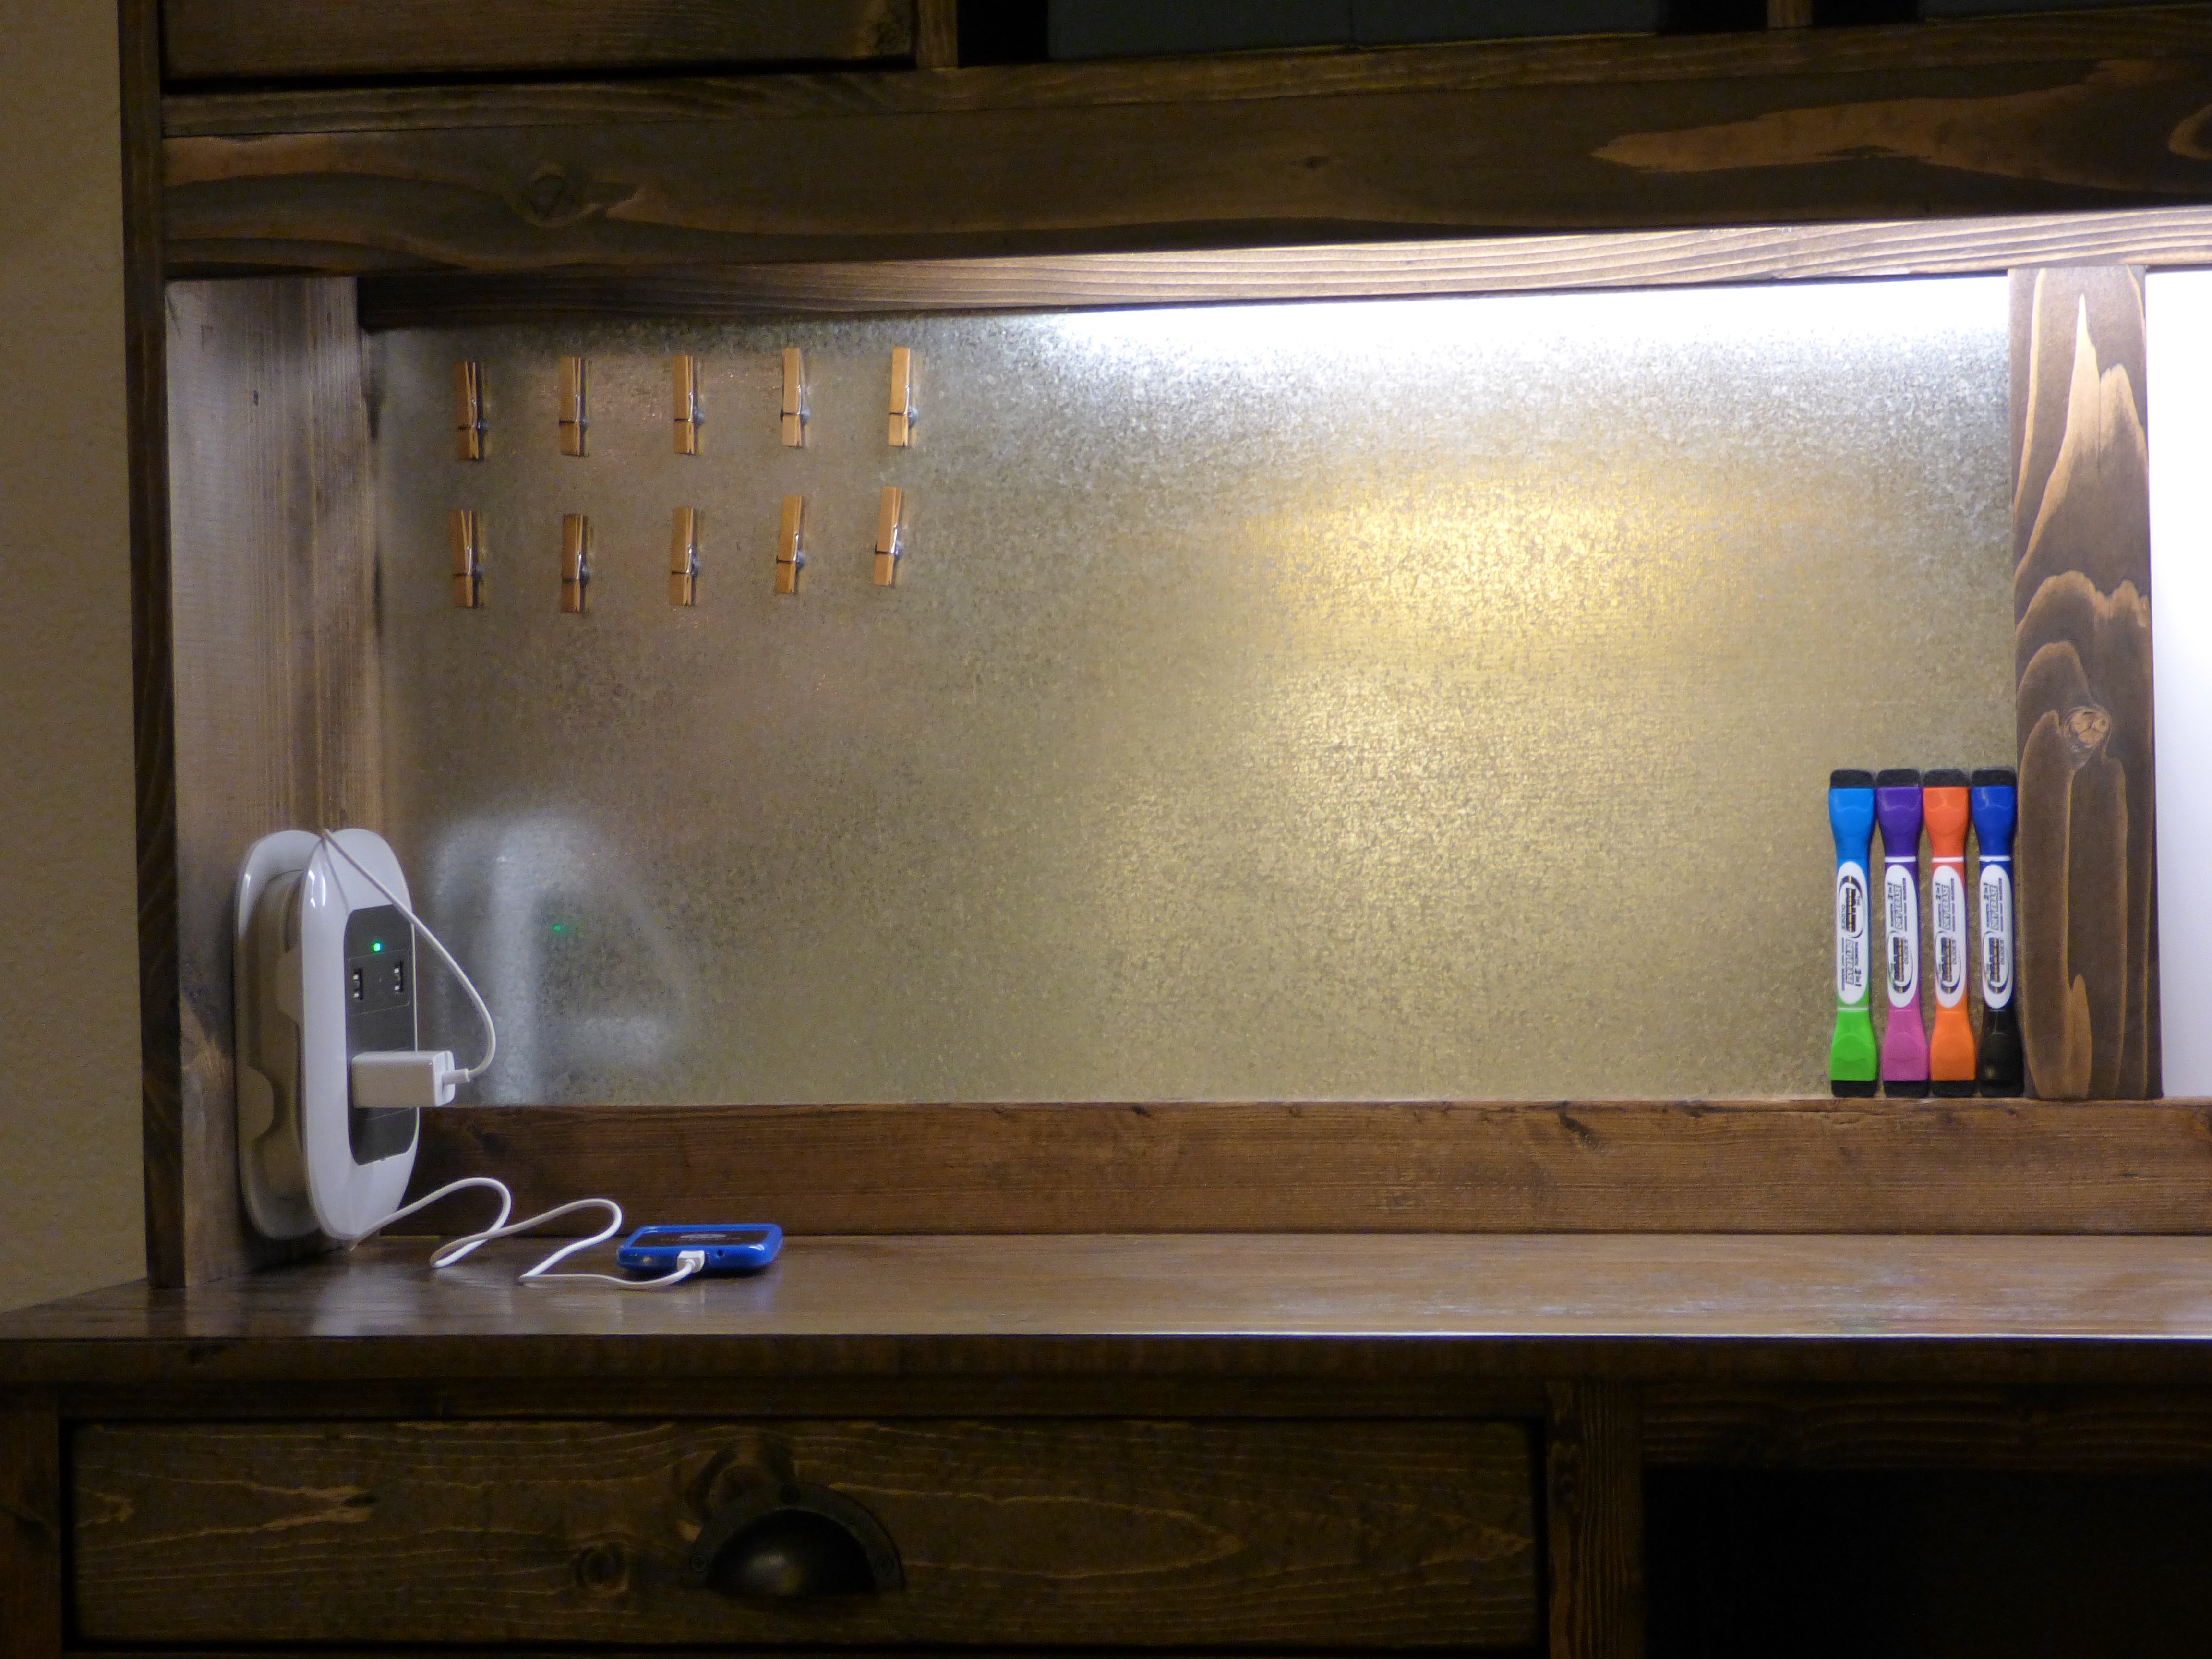
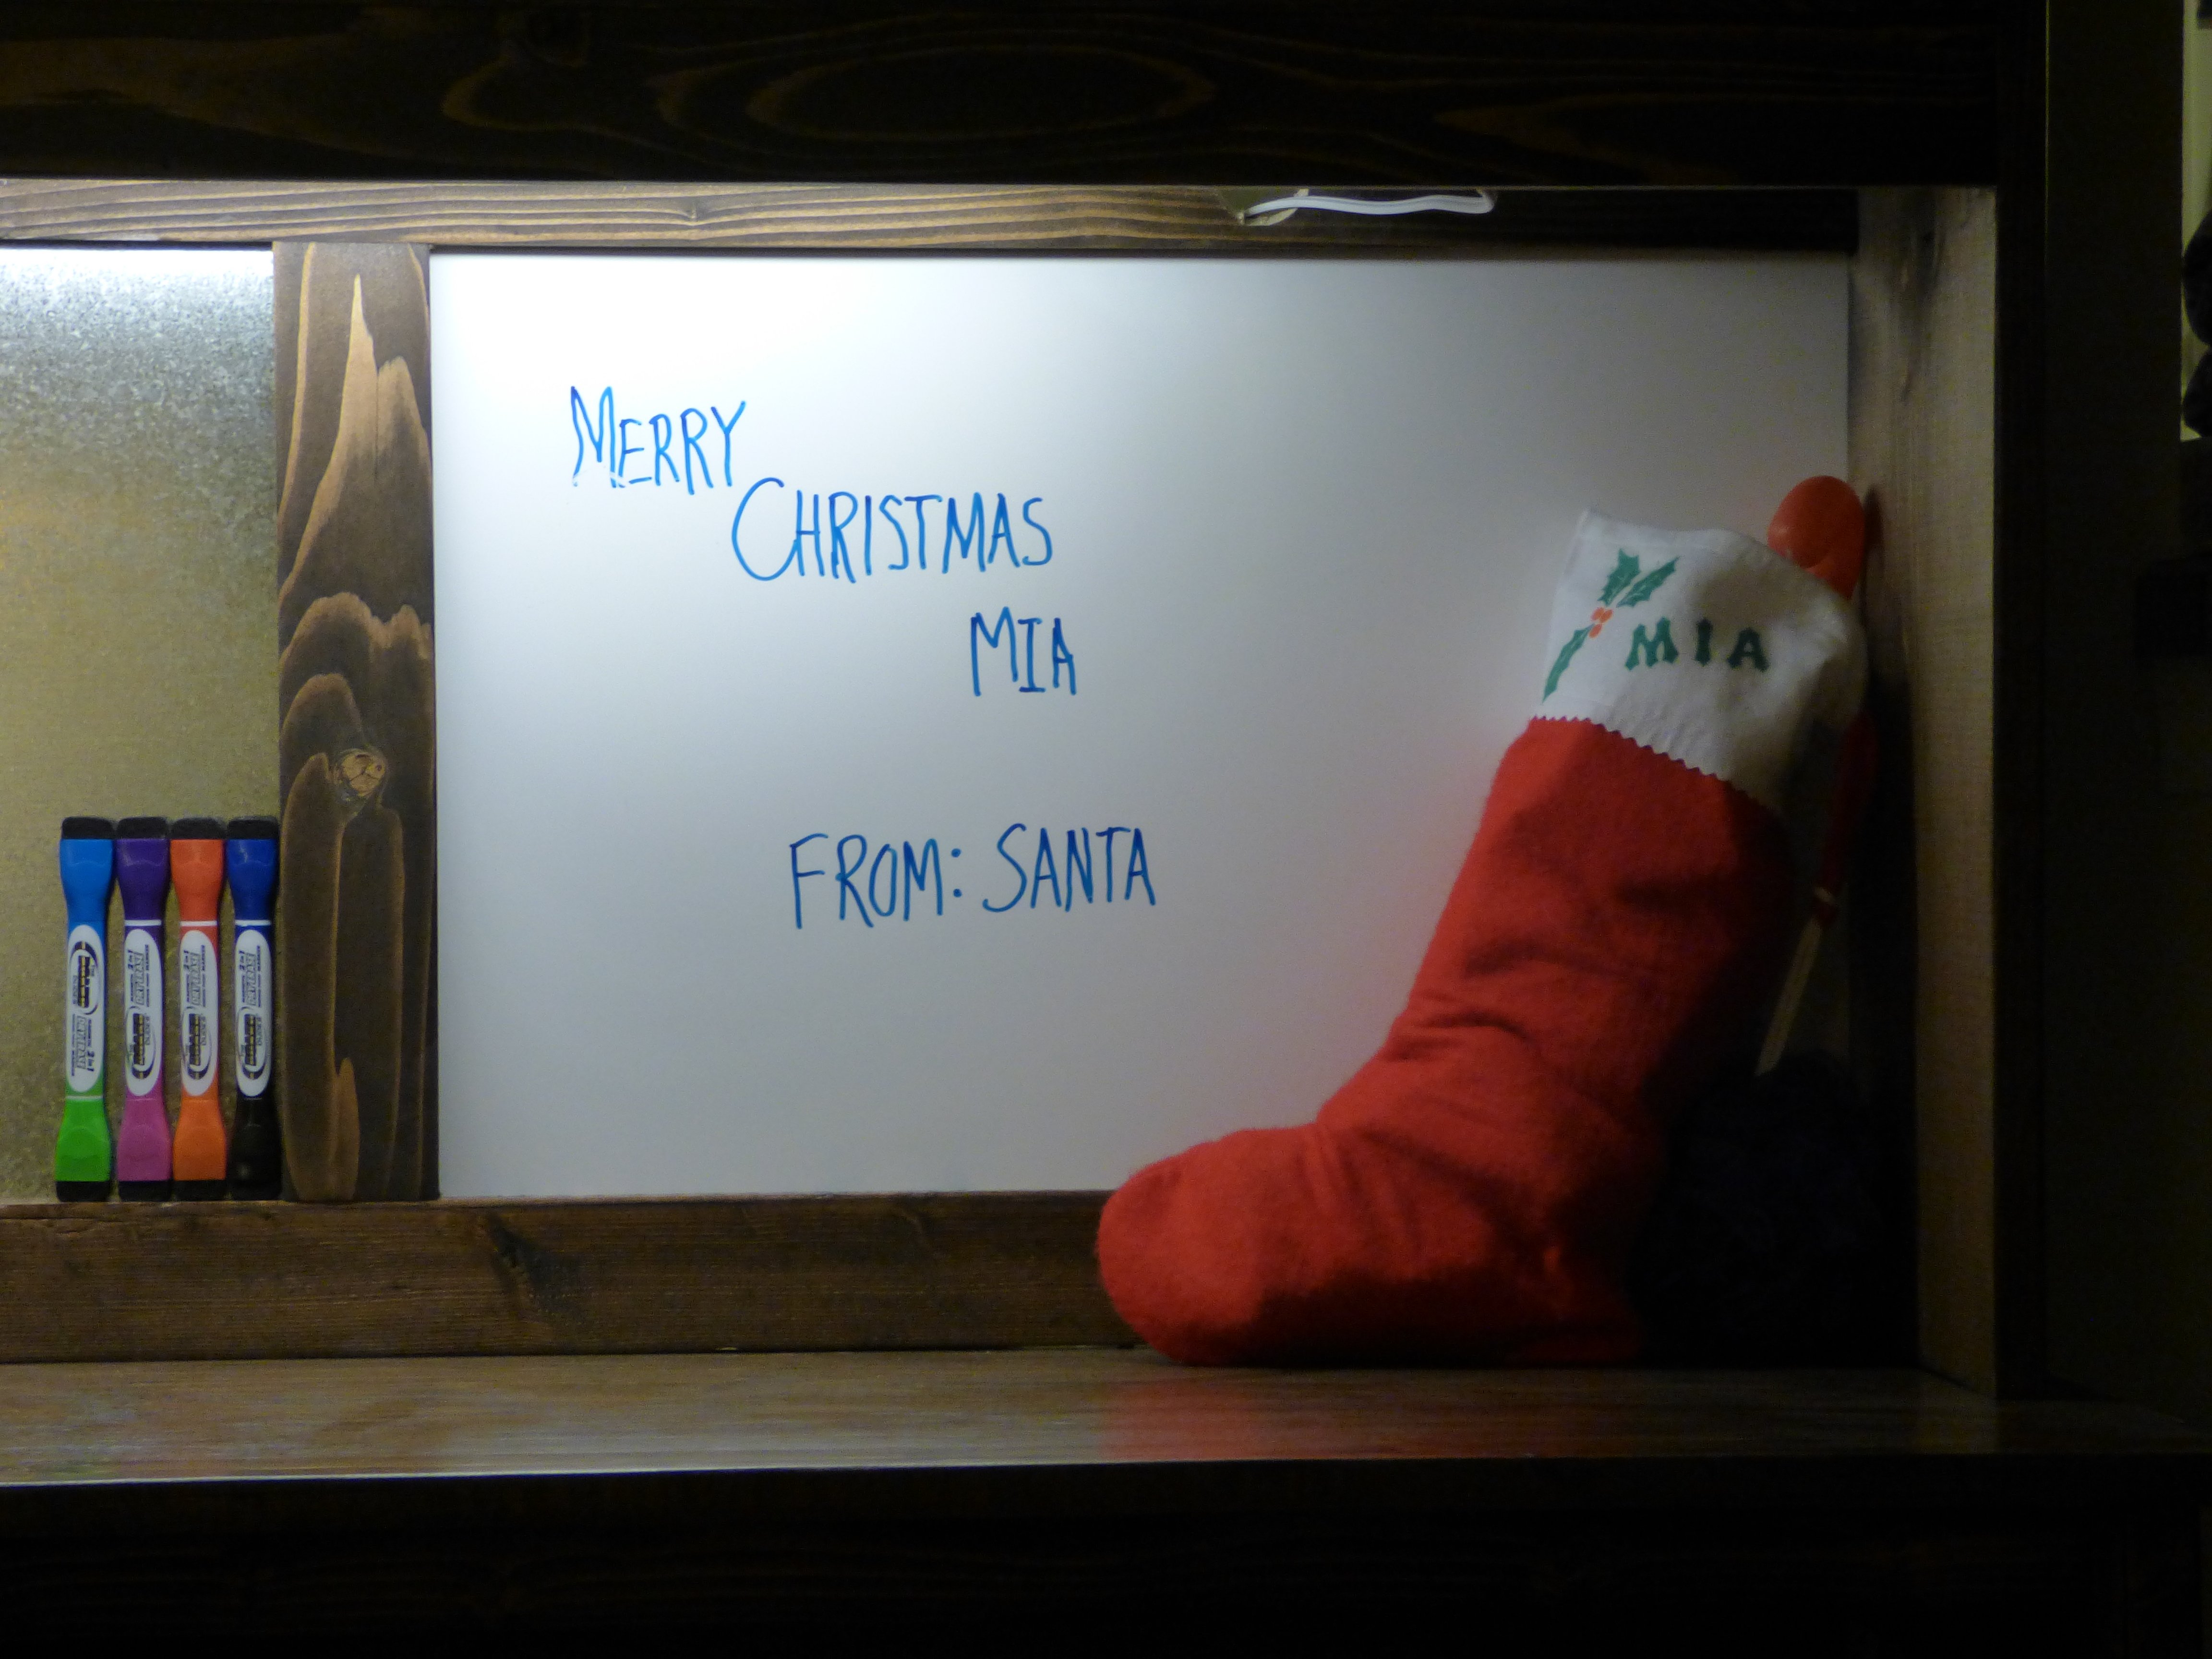
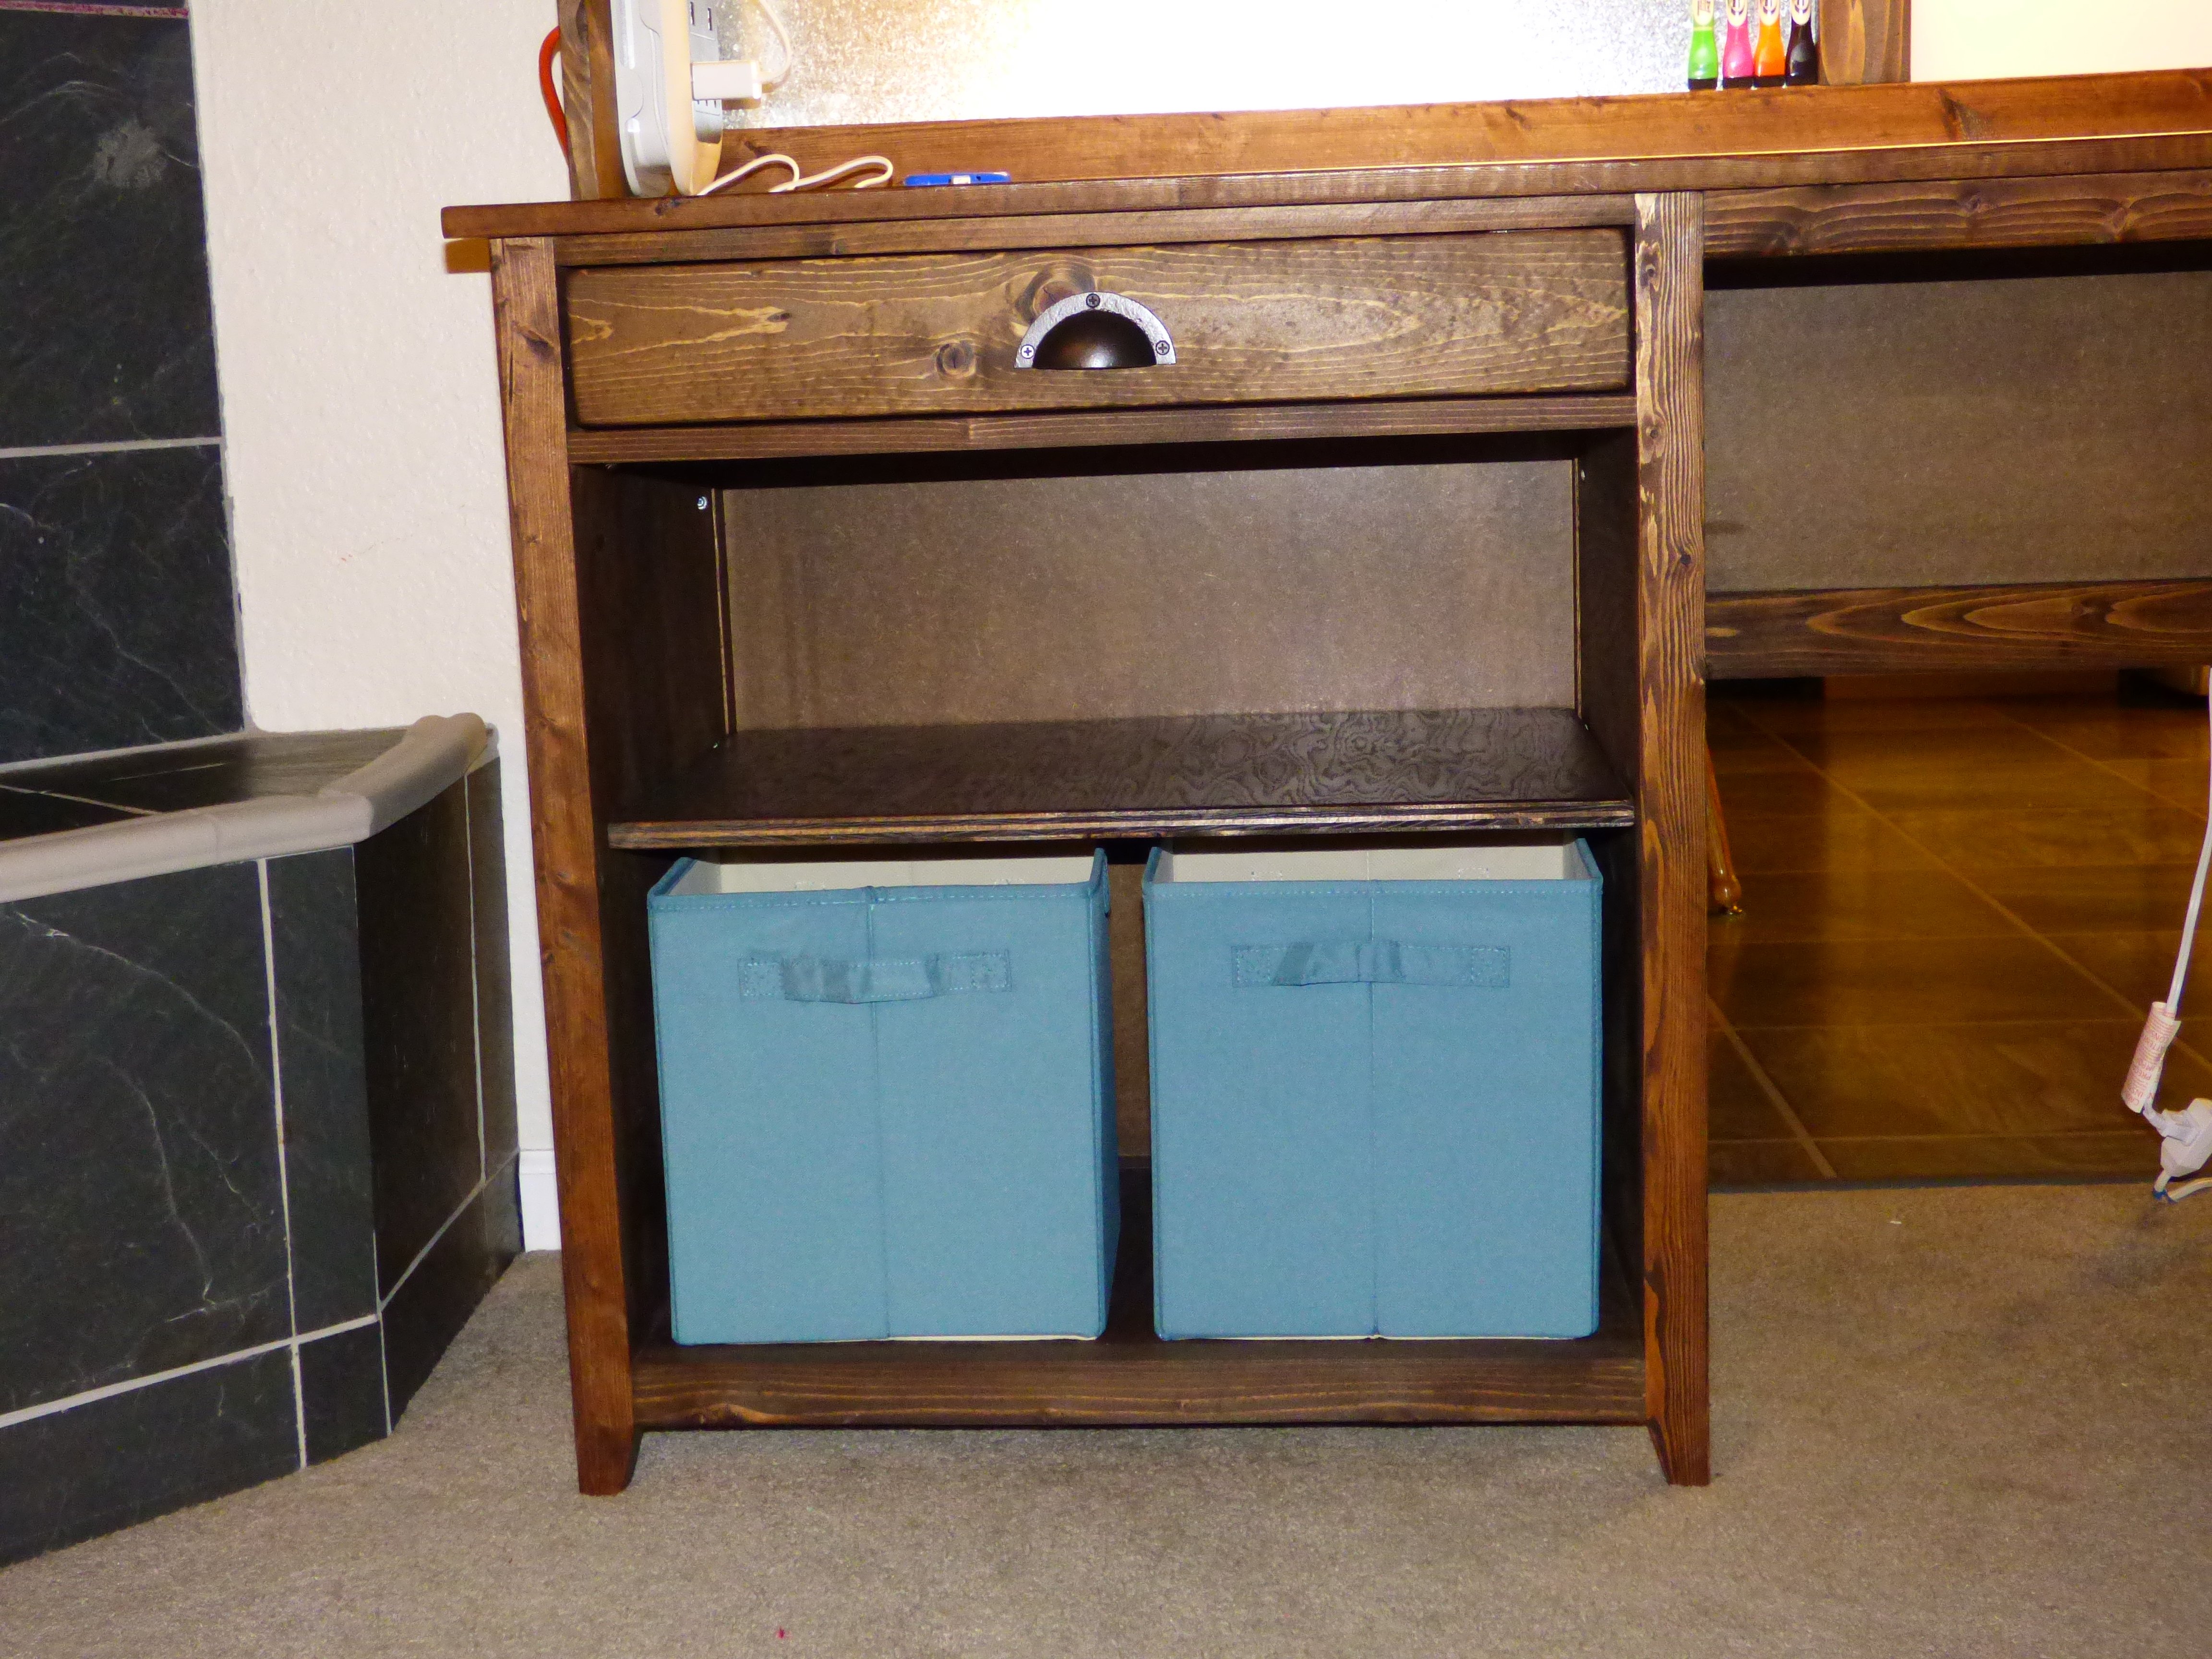
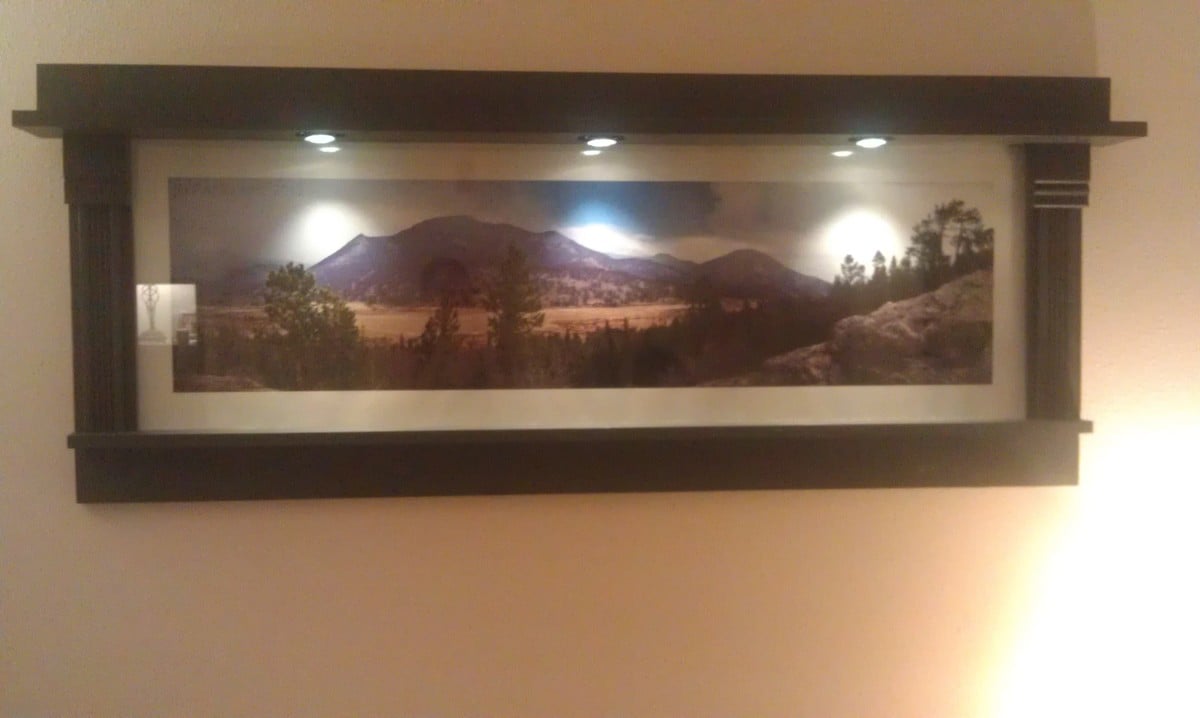
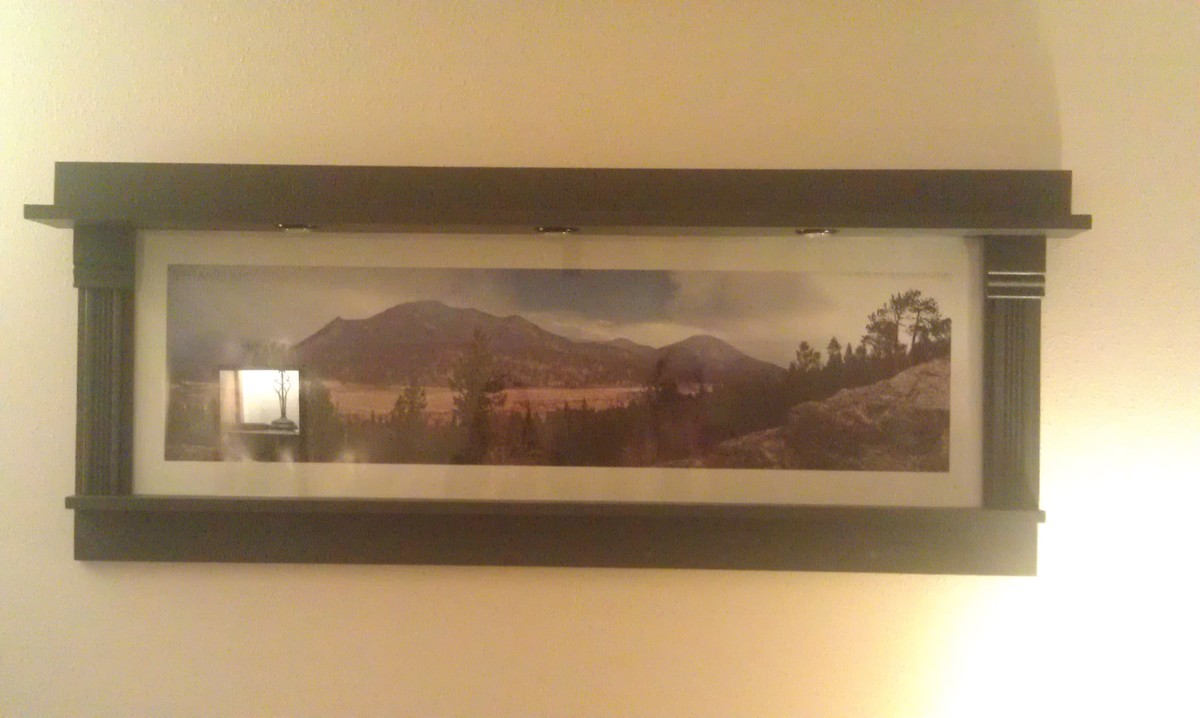
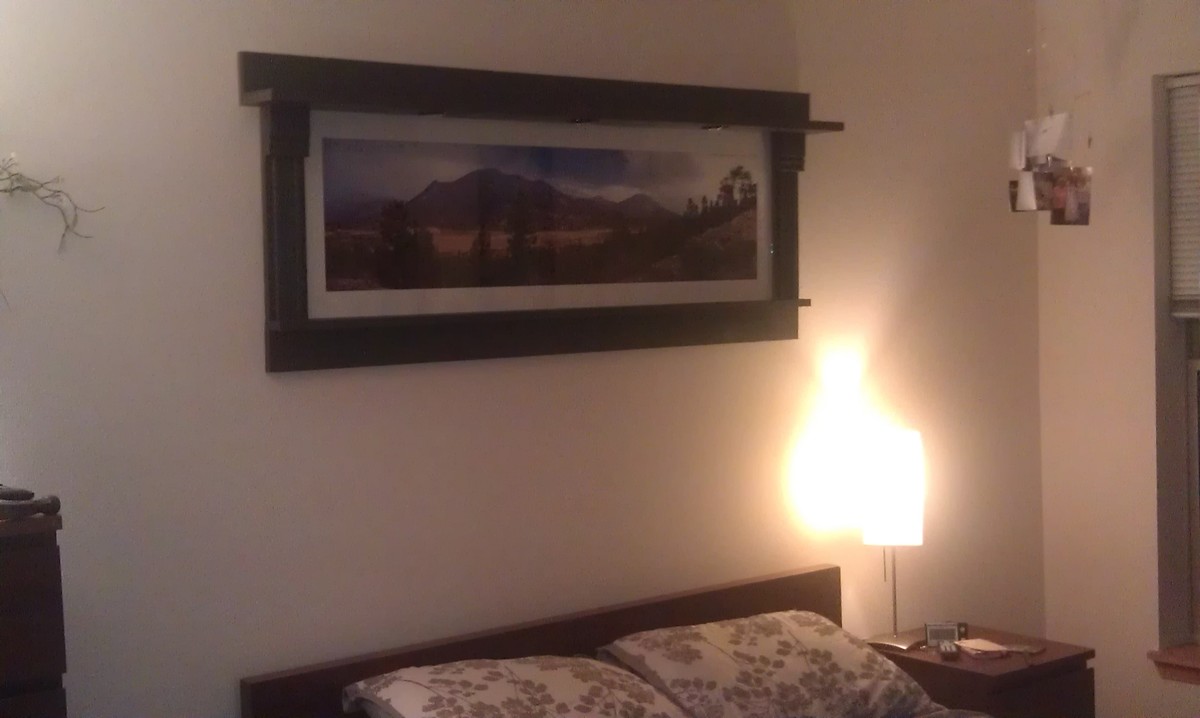
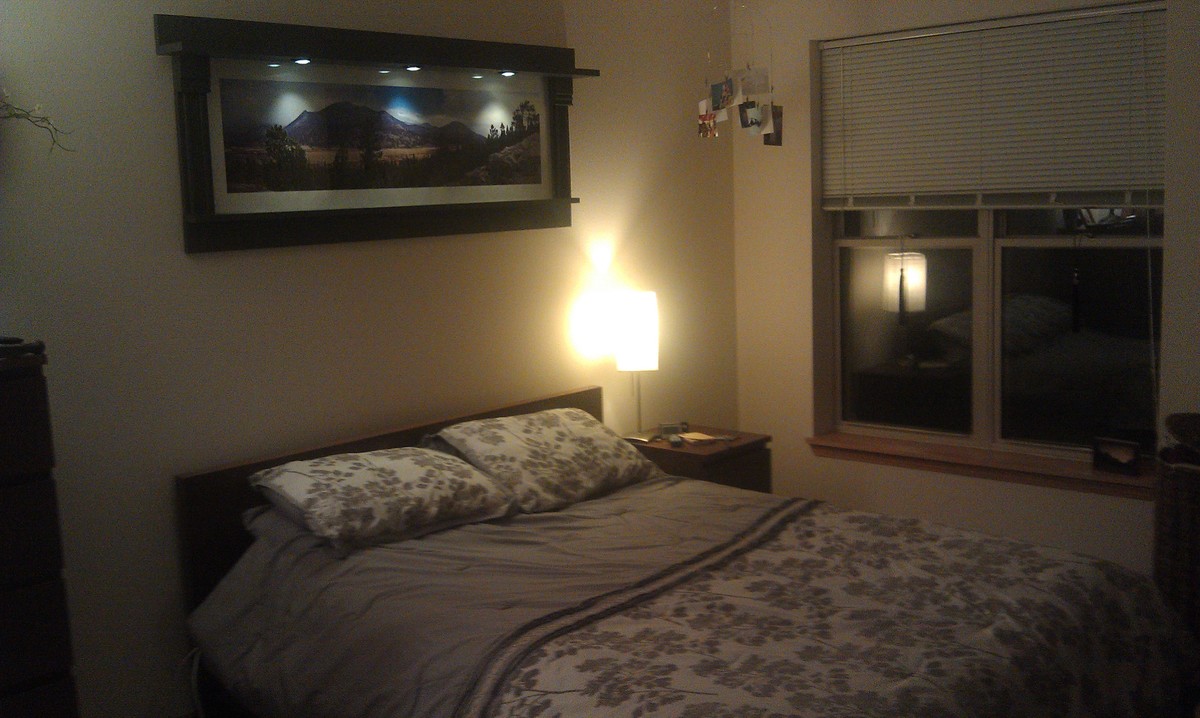
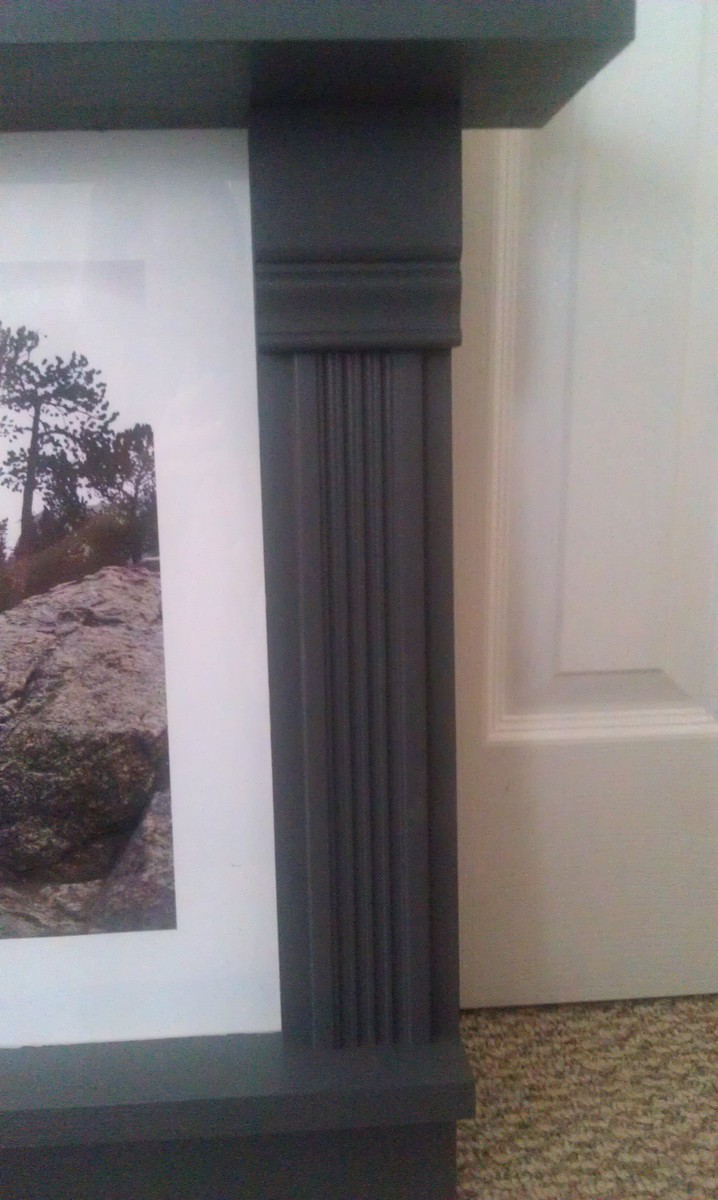
I loved the base idea of the Craftsman Frame, but since she doesn't have a lot of other décor yet (and isn't allowed to paint the walls of her rental), I really wanted this piece to be a focal point. She listened to my ideas like a trooper and, to my surprise loved every one of them. We thought about making a collage frame so she can display additional photos from this trip, but instead decided to frame only this photo and to use a 1x6" board (rather than a 1x2" as in the original plans) so she can use it as a shelf to for her other photos. Since this piece will be a focal point above her bed, I wanted it to look almost like the mantel of a fireplace, so we picked out some accent pieces to achieve this look on the sides (we really had no method to this; my only suggestion is to go wild and try things in the store that you normally wouldn't). We also purchased some LED lights (battery operated, since she doesn't have an outlet nearby) for ambient lighting. I wanted these to be as invisible as possible, so I fashioned holes in the top shelf for them to fit into!
Honestly, the toughest part of this project was finding glass large enough for my frame and making it fit. I had to call several local custom shops and was very pleased with the final result. (my sliced-up fingertips however, do have one suggestion to offer: if you get glass custom-cut...PLEASE make sure you are wearing gloves when inserting it into the frame--OUCH!) The original plans for this frame include just finding a way to attach the picture to the back side of the frame. Since I was using glass in this frame, I simply used a router to create a groove on the back side for the glass and photo to sit inside.
Overall, we are both thrilled with how this turned out! Time for my next challenge...