Community Brag Posts

Floor to Ceiling Canned Food Storage

Submitted by Anonymous (not verified) on Fri, 04/19/2024 - 13:56

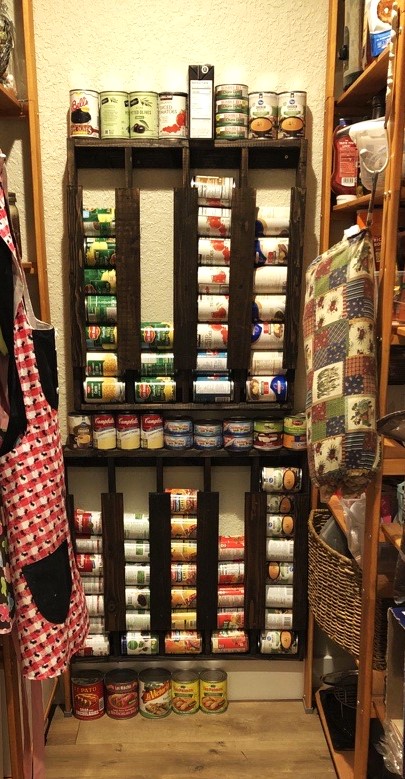
Loved these plans. Top unit was built exactly to specs. Bottom unit was built to accommodate one column of cans. I have also built one for my sis-in-law and will be building one more for this pantry. Love this project!

Leah

Built from Plan(s)

My Channing Desk

Submitted by ecsorah on Mon, 08/27/2012 - 11:11

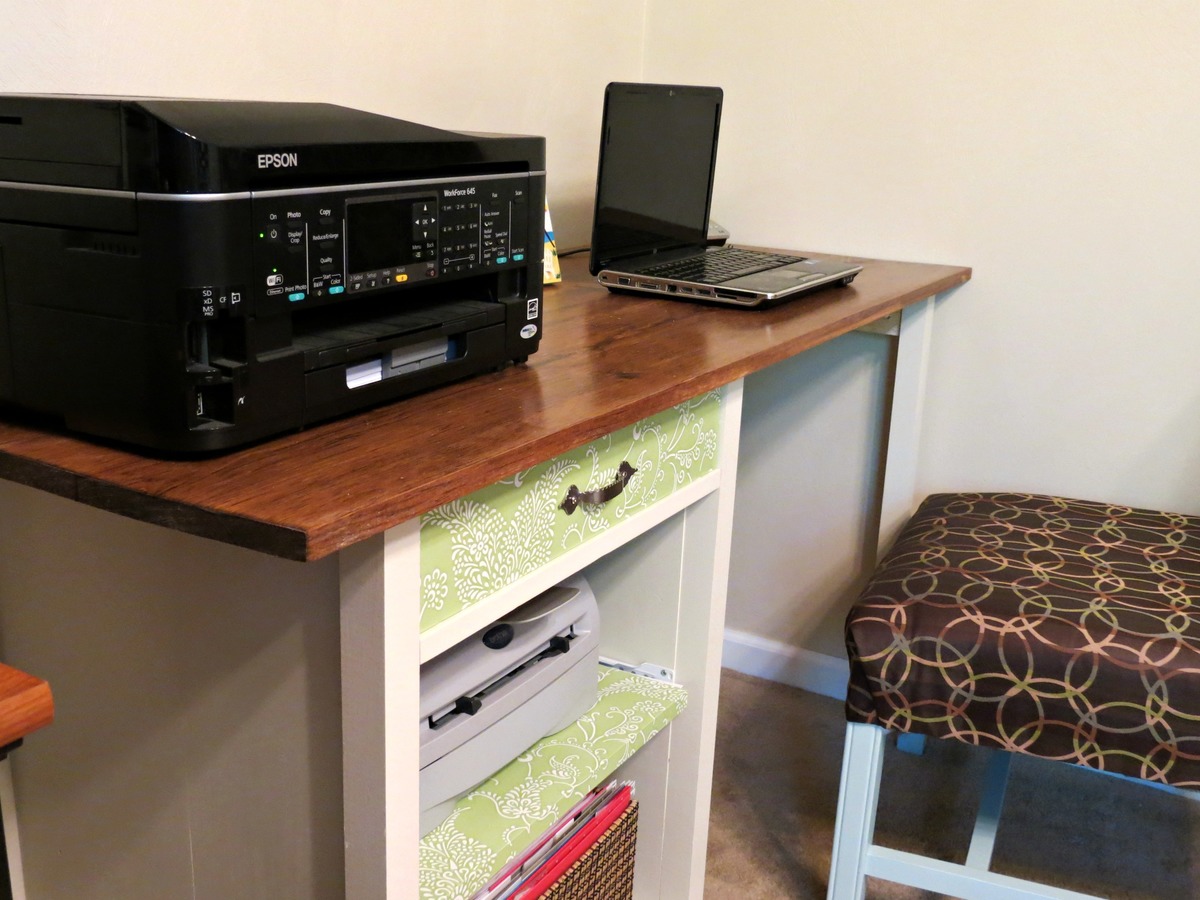
I followed the plan almost exactly, I just made it to fit the space that I had. It was super easy and I love the way it looks! And I used contact paper from target to decorate the drawer face and the shelf. I also made the shelf a pull-out shelf using the same type of drawer pulls as the drawer. i made that shelf the same width that I made the drawer and it fit perfectly!

The longest part of this project was drying time for stain and paint and such. I did not include that time in estimate for time to build.

Built from Plan(s)
Estimated Time Investment
Day Project (6-9 Hours)
Finish Used
Used a mistinted paint from a local paint store and minwax provencial stain.
Recommended Skill Level
Beginner

Comments

Distressed console

Submitted by dmather82 on Sat, 06/21/2014 - 17:33

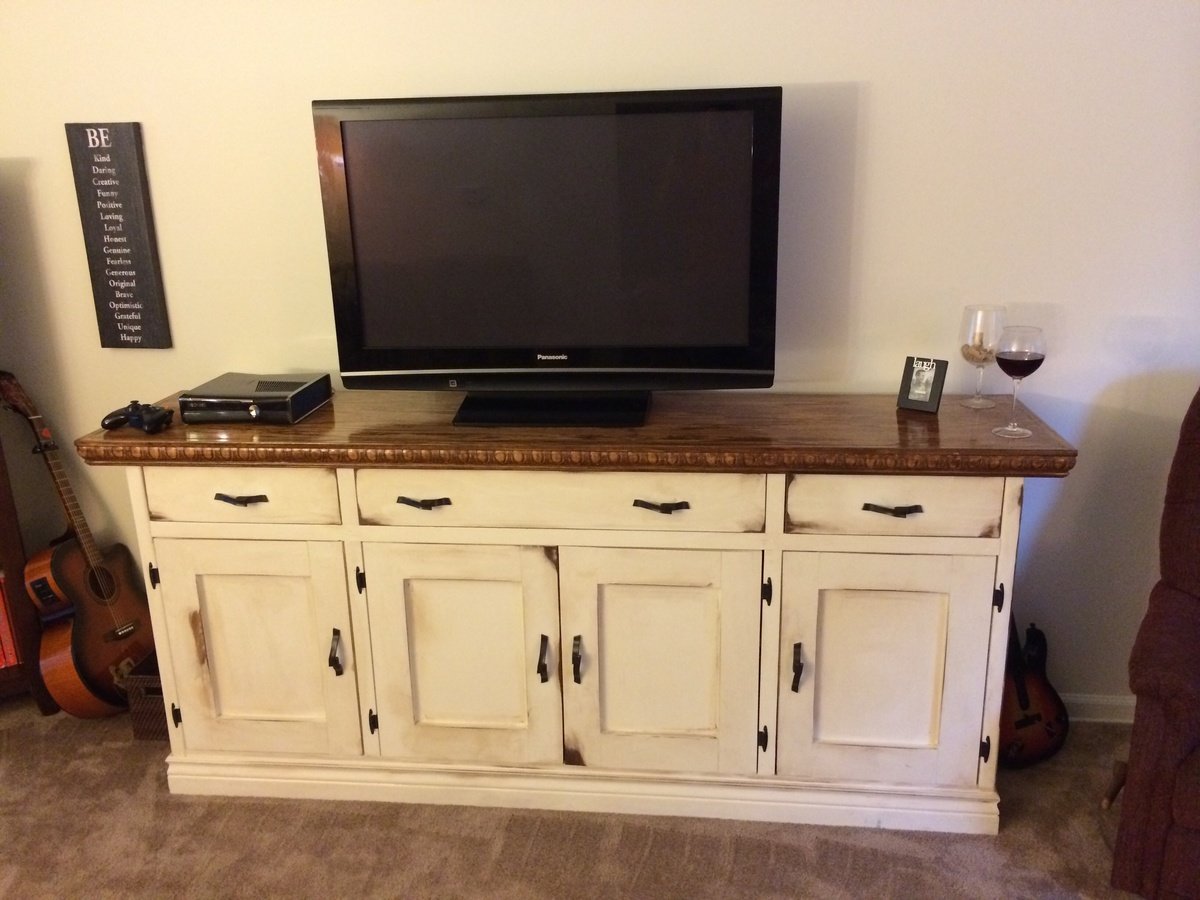
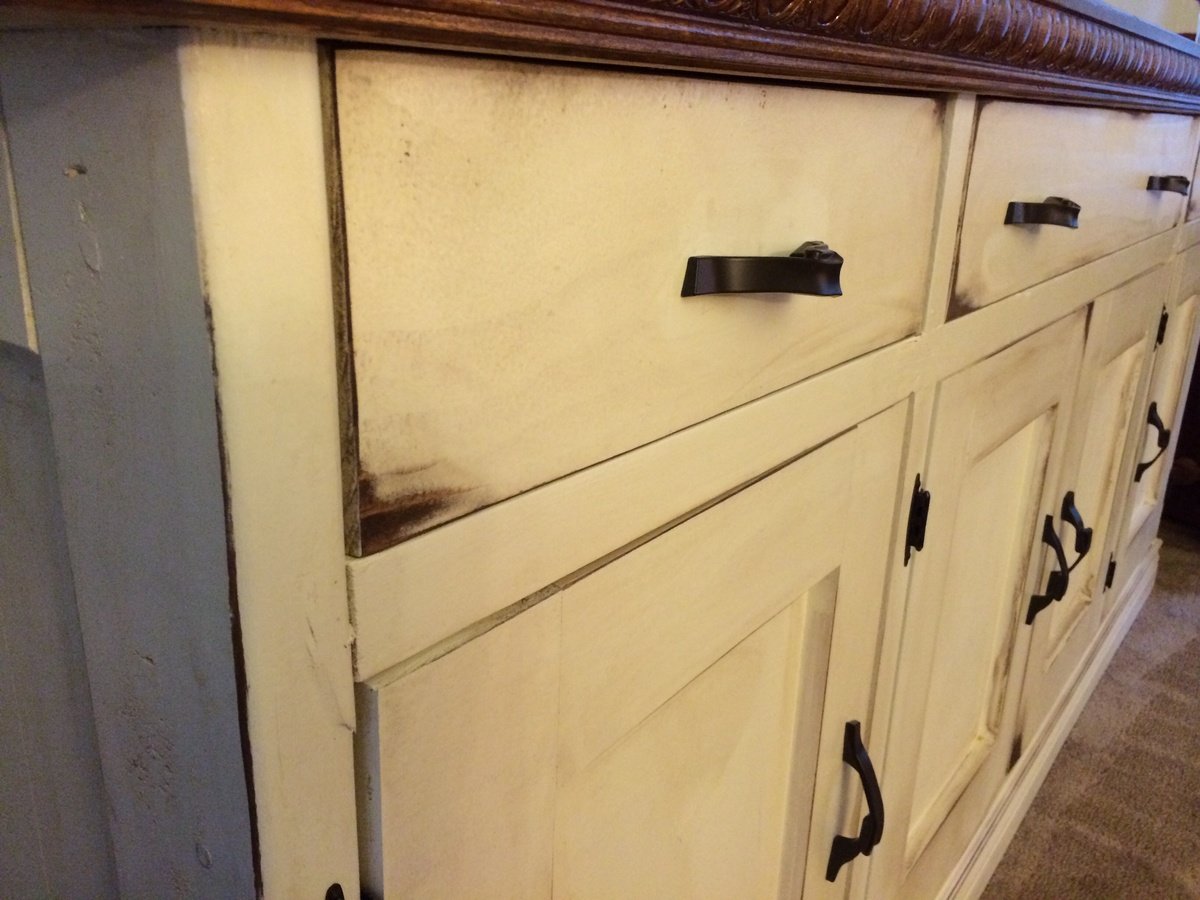
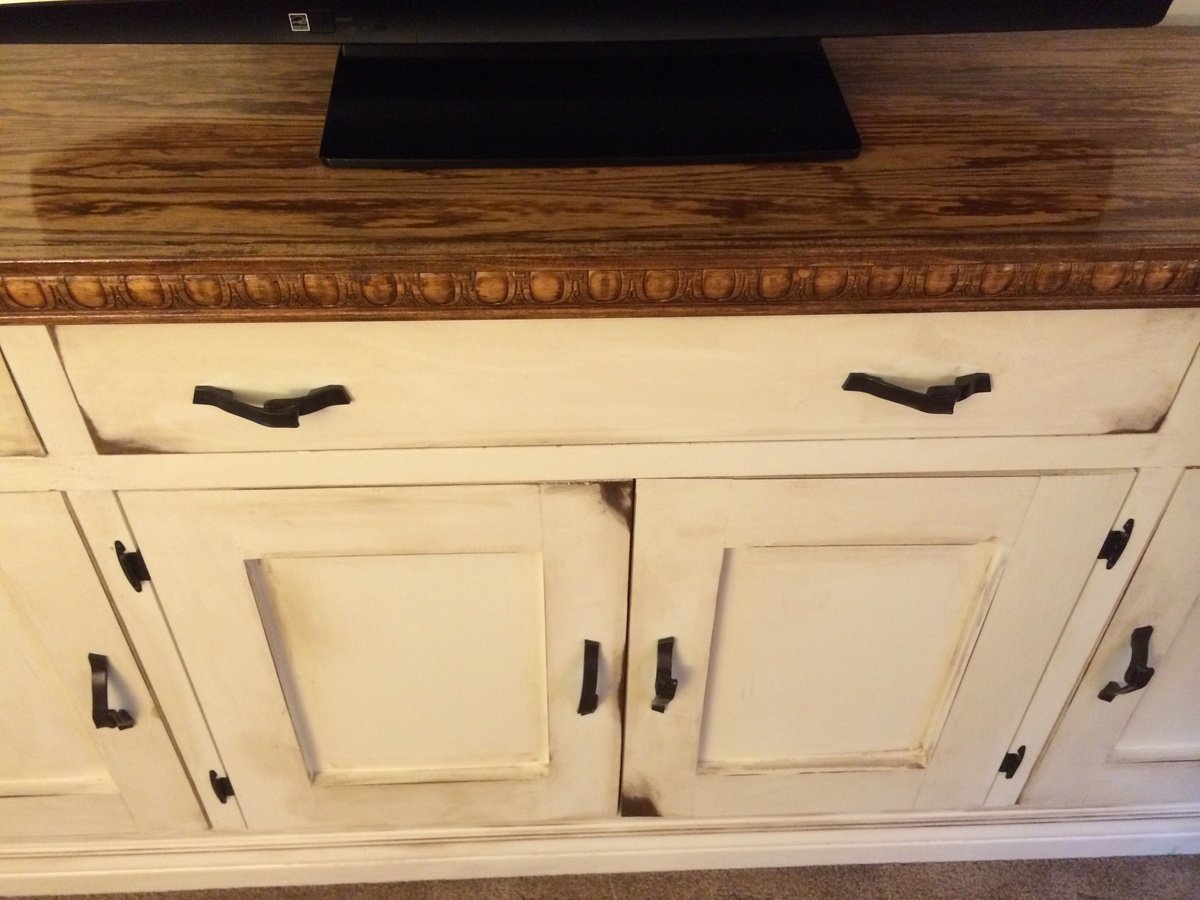
This project was nearly the emotional equivalent of pure hell. I began this as a buffet for someone who decided midway that they no longer wanted it. Secretly I was happy because I fell in love with it. The problem was it was started in late fall and this winter in ohio was more Ana's norm than ours. My I heated garage created a warped piece and an untenable workspace for a few months. I'm pretty happy all and all.

Built from Plan(s)
Estimated Cost
$600-$700
Estimated Time Investment
Week Long Project (20 Hours or More)
Finish Used
Antique white pine distressed and stained over with rustoleum cherry and walnut. The top is some crazy mix of stains and finishes.
Recommended Skill Level
Advanced

Comments

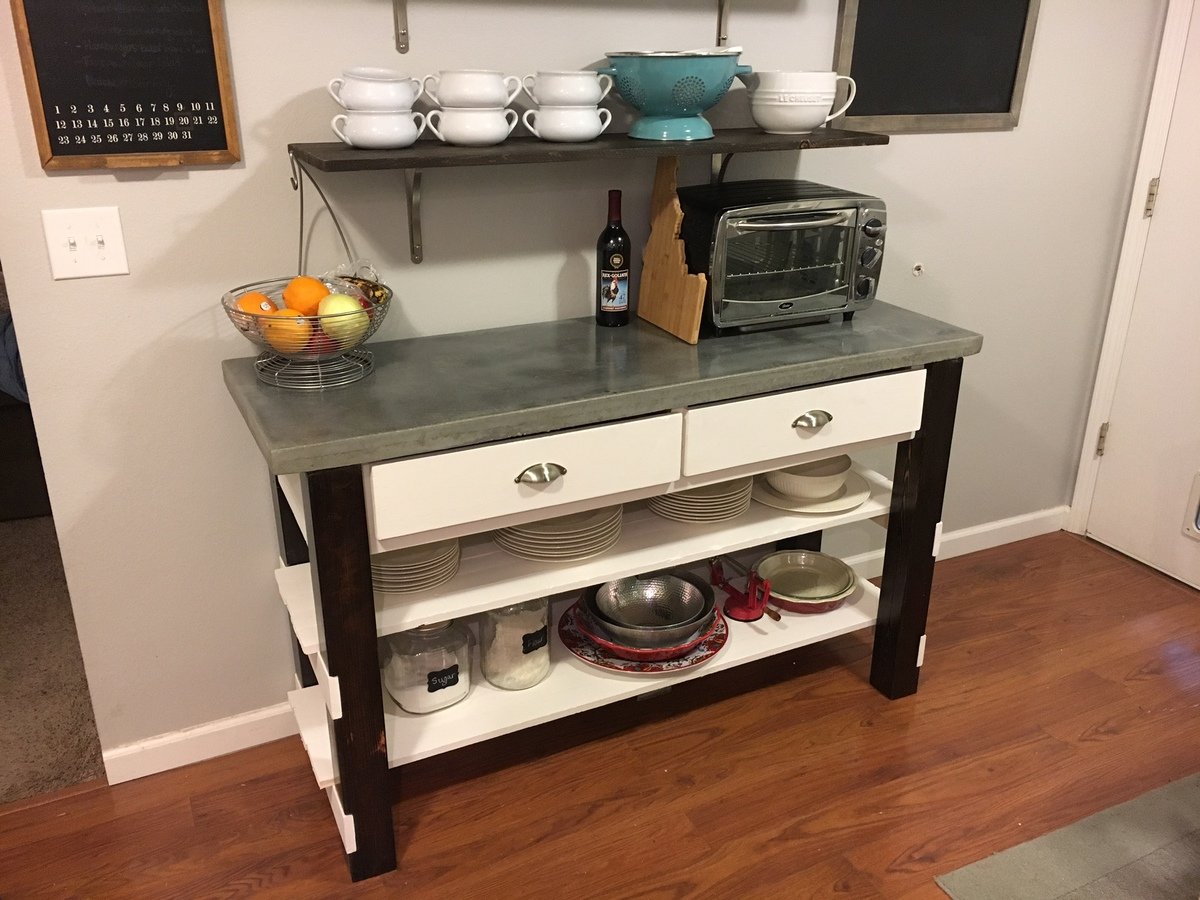
Concrete top variation

Submitted by Anonymous (not verified) on Wed, 09/21/2016 - 11:58

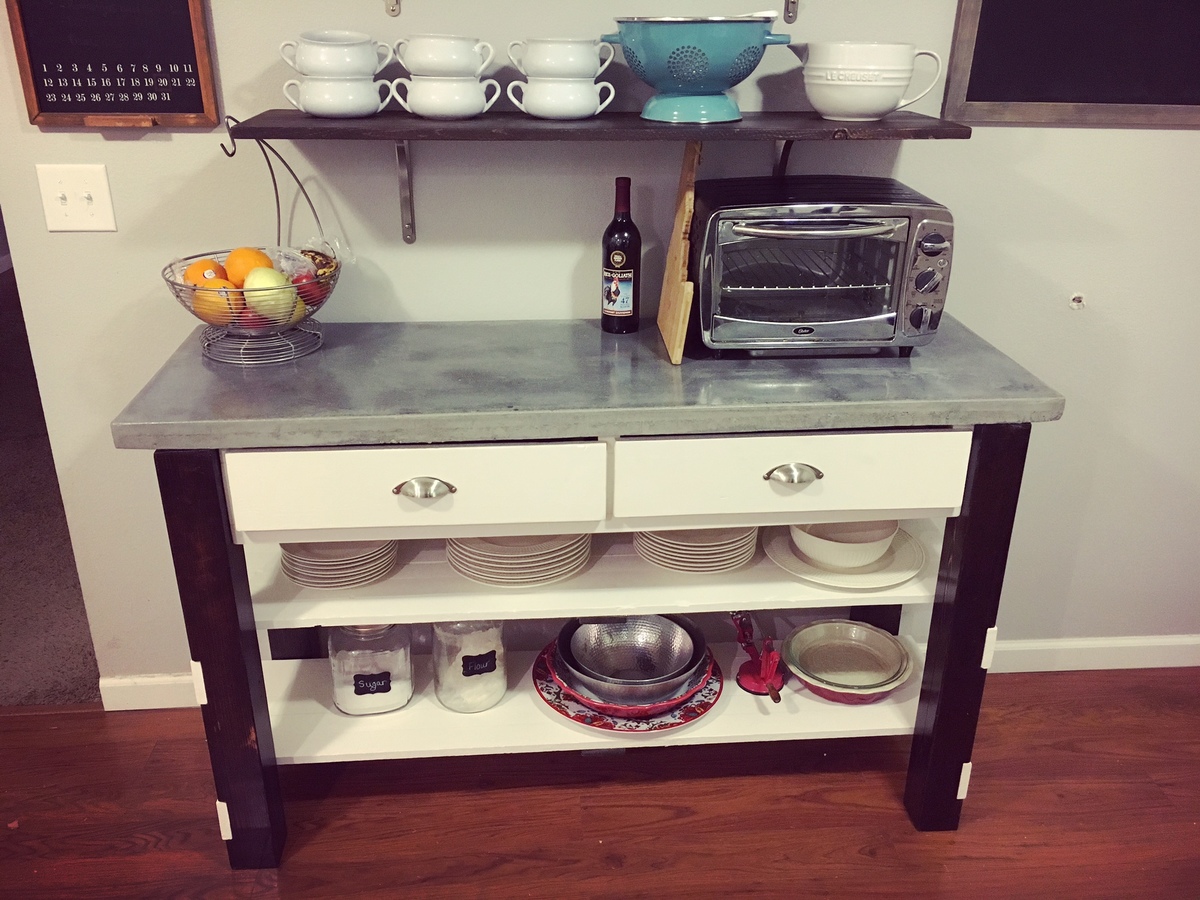
I used the plans to build my island, but I'm using it more like an extra counter. I reduced the depth by about 4 inches so it would fit in the space better. I did all my cuts with a circular saw, and I can recommend using a table saw and/or chop saw to get straighter cuts. The gem of the island is the concrete countertop. I poured 2 bags of concrete reinforced by rebar, darkened with a charcoal colorant. This was an experiment to see if concrete countertops would work for our whole kitchen. Success! 

Estimated Time Investment
Week Long Project (20 Hours or More)
Finish Used
white chalky paint, 2 coats of wood stain on legs + 2 coats of clear coat poly, 3 coats of sealer for concrete + wax layer
Recommended Skill Level
Intermediate

Comments

Ana White

Wed, 09/21/2016 - 14:54

This is awesome!  The concrete countertop is amazing - I'm going to have to try it myself!  Yours looks perfect, love the color.

Sofa

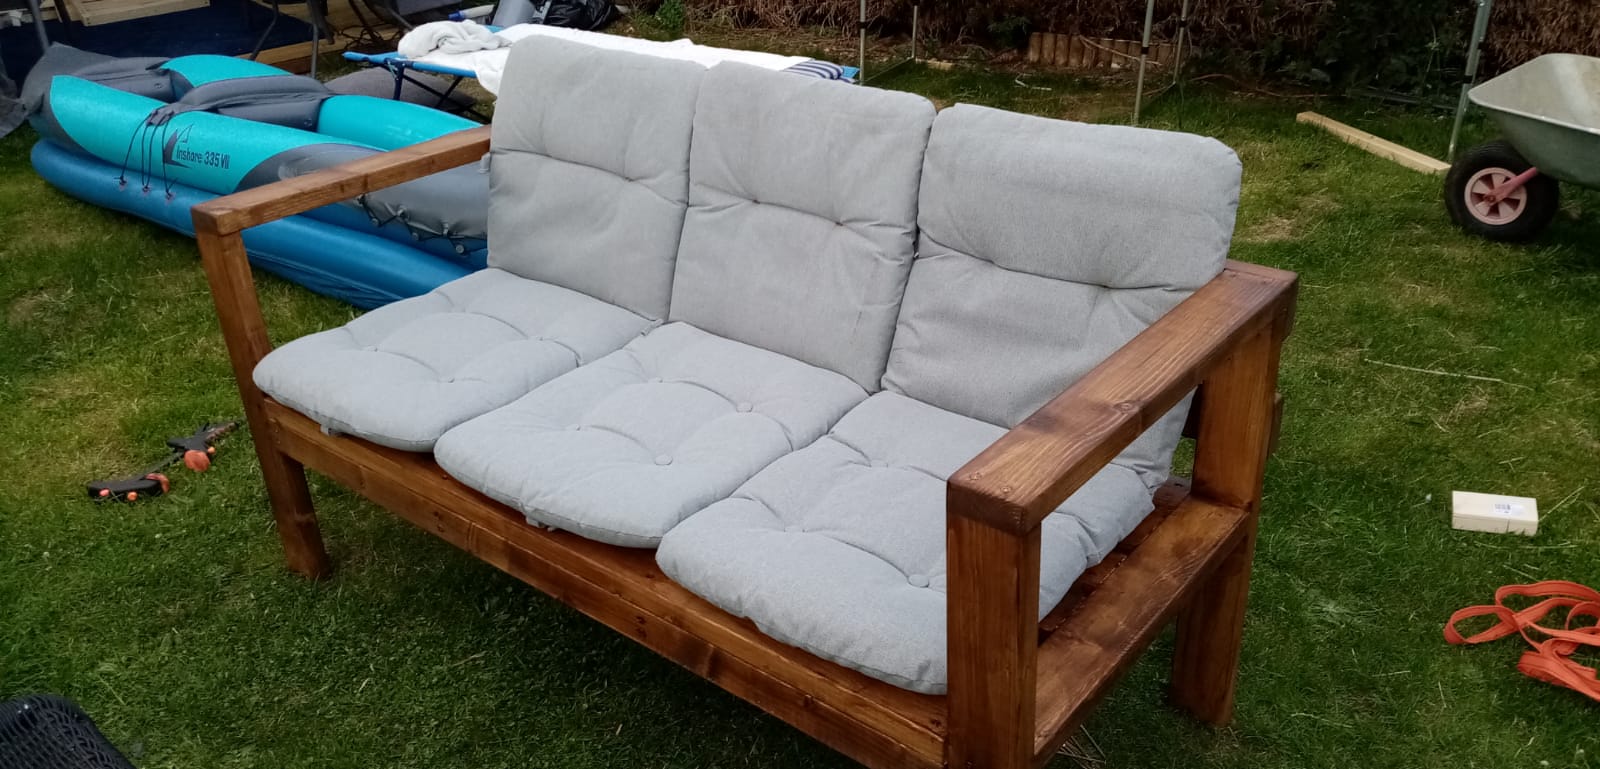
I modified the back slightly to have 2 beams across otherwise pretty close to your design

Estimated Cost
£50
Estimated Time Investment
Afternoon Project (3-6 Hours)
Finish Used
Ronseal Dark Oak wood stain

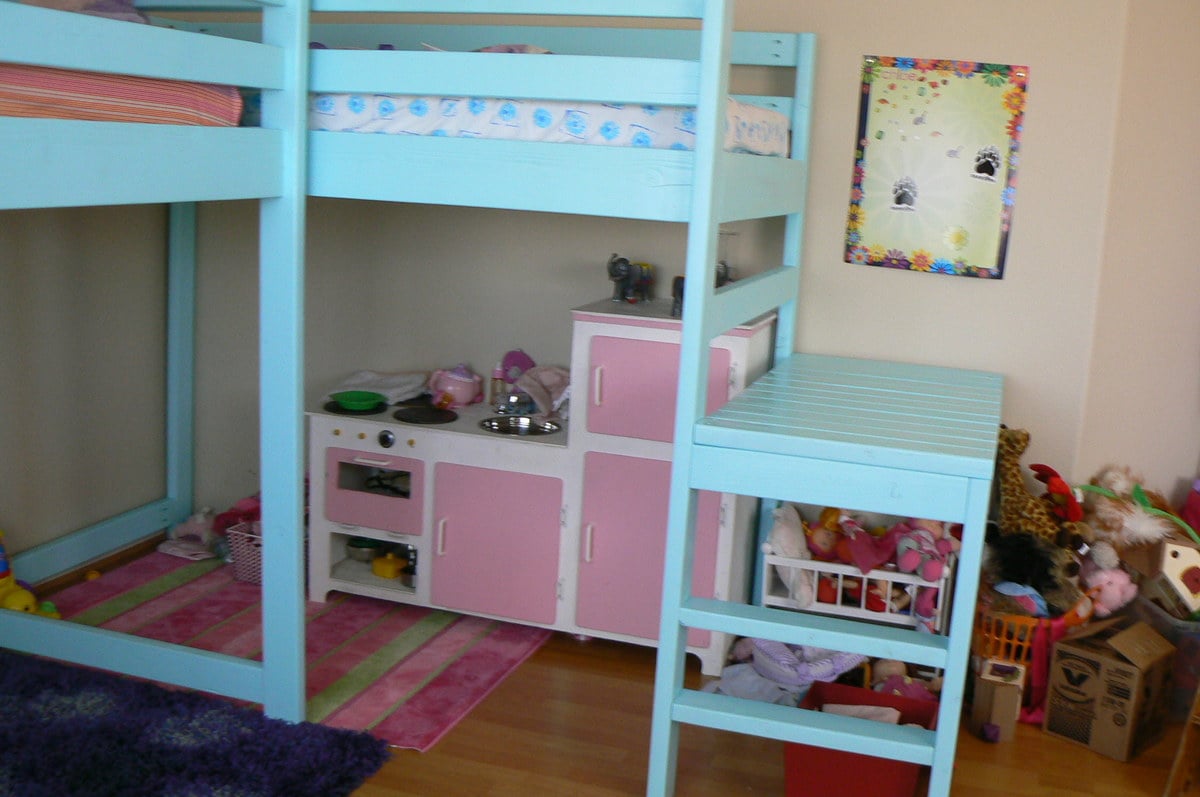
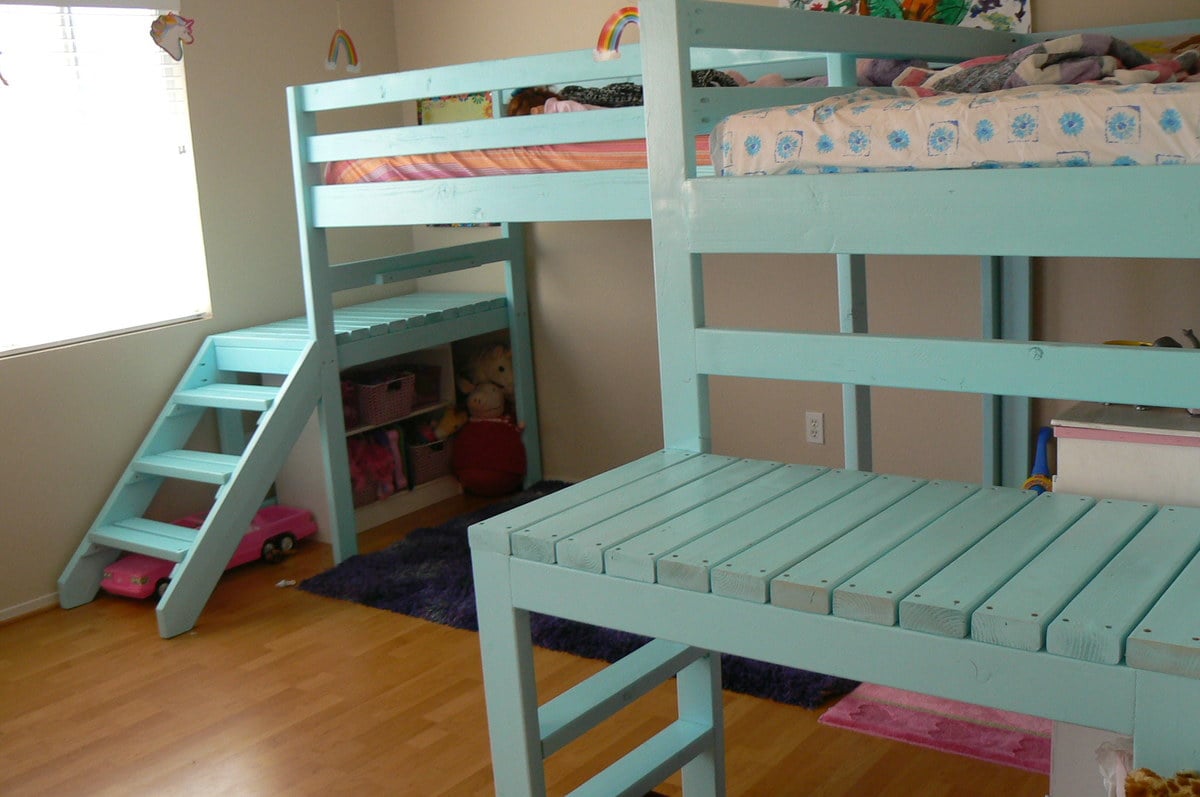
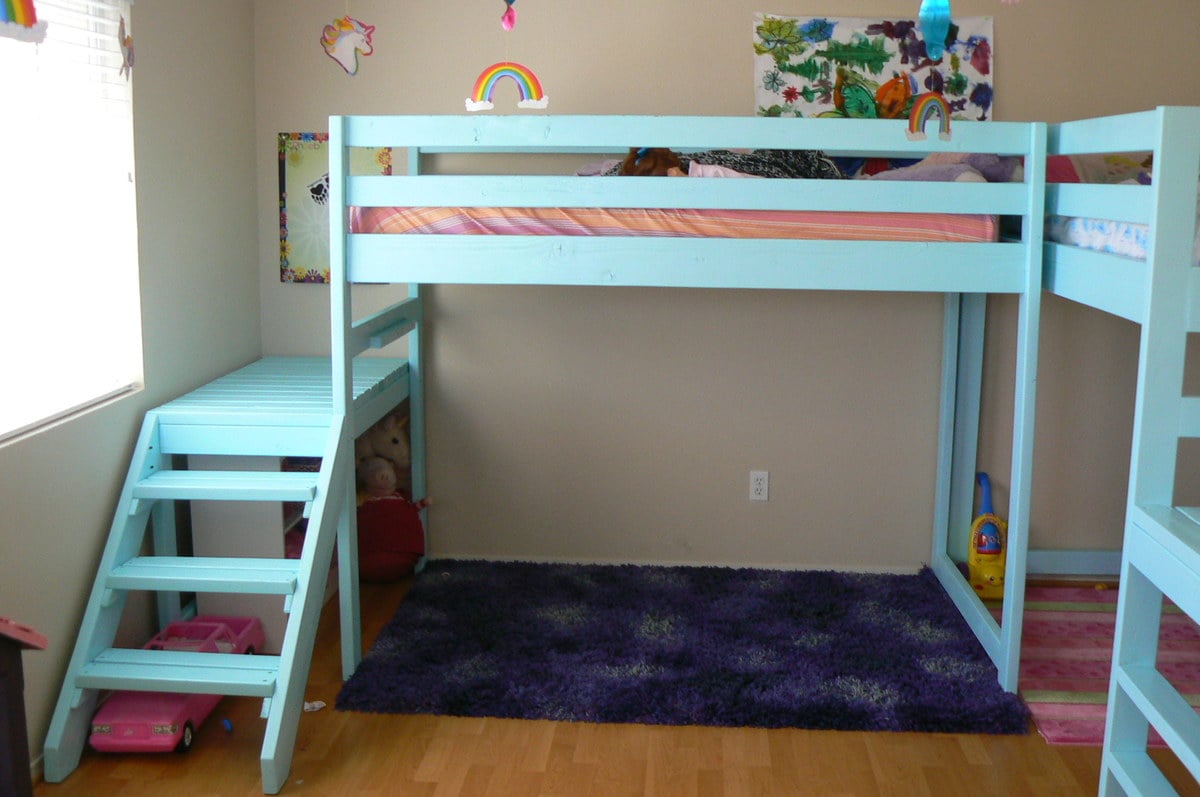
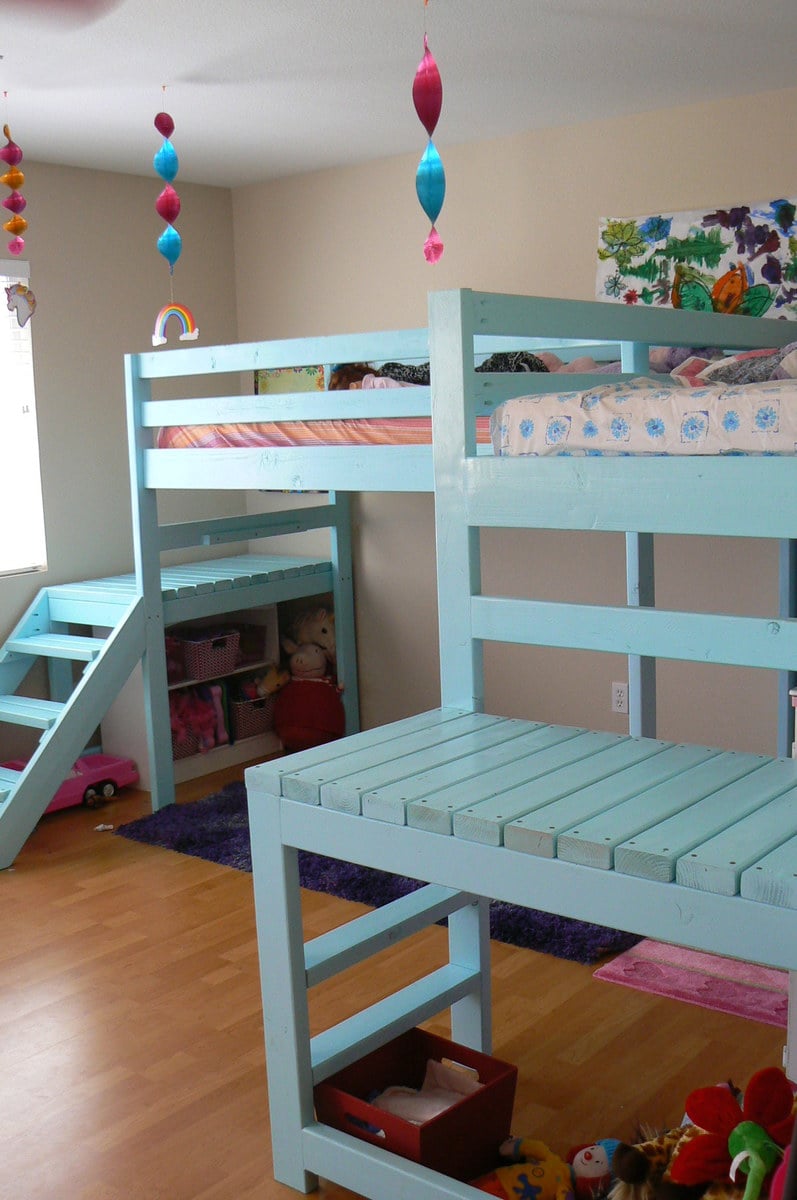
Two Camp Loft Beds

Submitted by Tjslove04 on Tue, 08/28/2012 - 21:00

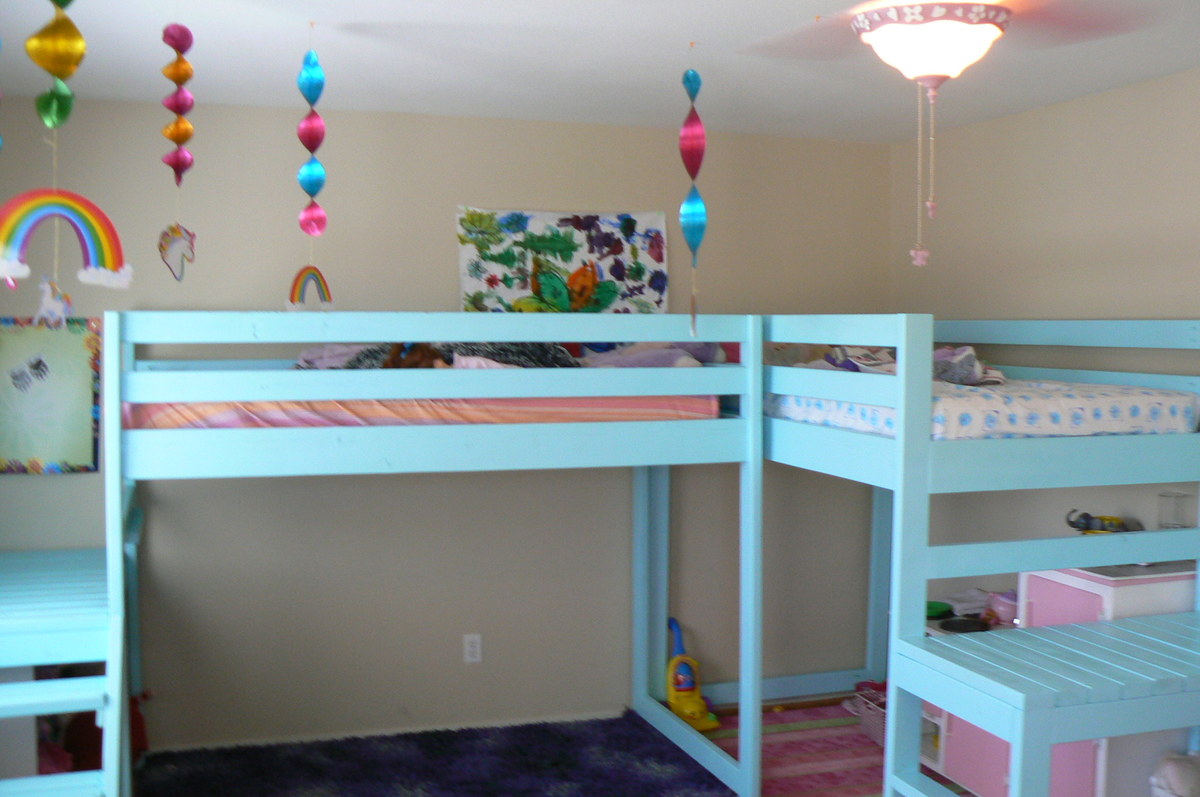
Ana read my mind! I was telling my husband that I wanted "L" shaped loft beds for our girls abouttwo weeks before she posted these plans! As soon as I saw them we went and got our lumber. So excited to have these done and the girls love them!

Estimated Cost
$75 each
Estimated Time Investment
Weekend Project (10-20 Hours)
Finish Used
Bher premium paint
Recommended Skill Level
Beginner

Comments

mskatiesartstudio

Thu, 09/13/2012 - 13:05

I saw another post where they did horizontal 2x4s instead of stairs. I see that you did one of each. Could you tell me what your thoughts are on how the kids like them....if the 2x4 steps are easy to get up and down on....
We are adopting and we're not sure what age children we will get....so, I want to make sure they are easy to navigate. Any thoughts???

Thank you!

Tjslove04

Tue, 09/03/2013 - 09:30

we id the stairs for our 3 year old and the ladder for our 5 year old. She has no problem getting up and downthem but our 3 year old doesn't like to come down the ladder ones. The stairs are really nice and make the bed easily accesable even for me. =)

melncurt

Wed, 02/04/2015 - 18:48

What are the overall dimensions with the two landing areas and stairs? I really like this idea, but the bedroom is not super big. Thanks!

Garage Workbench

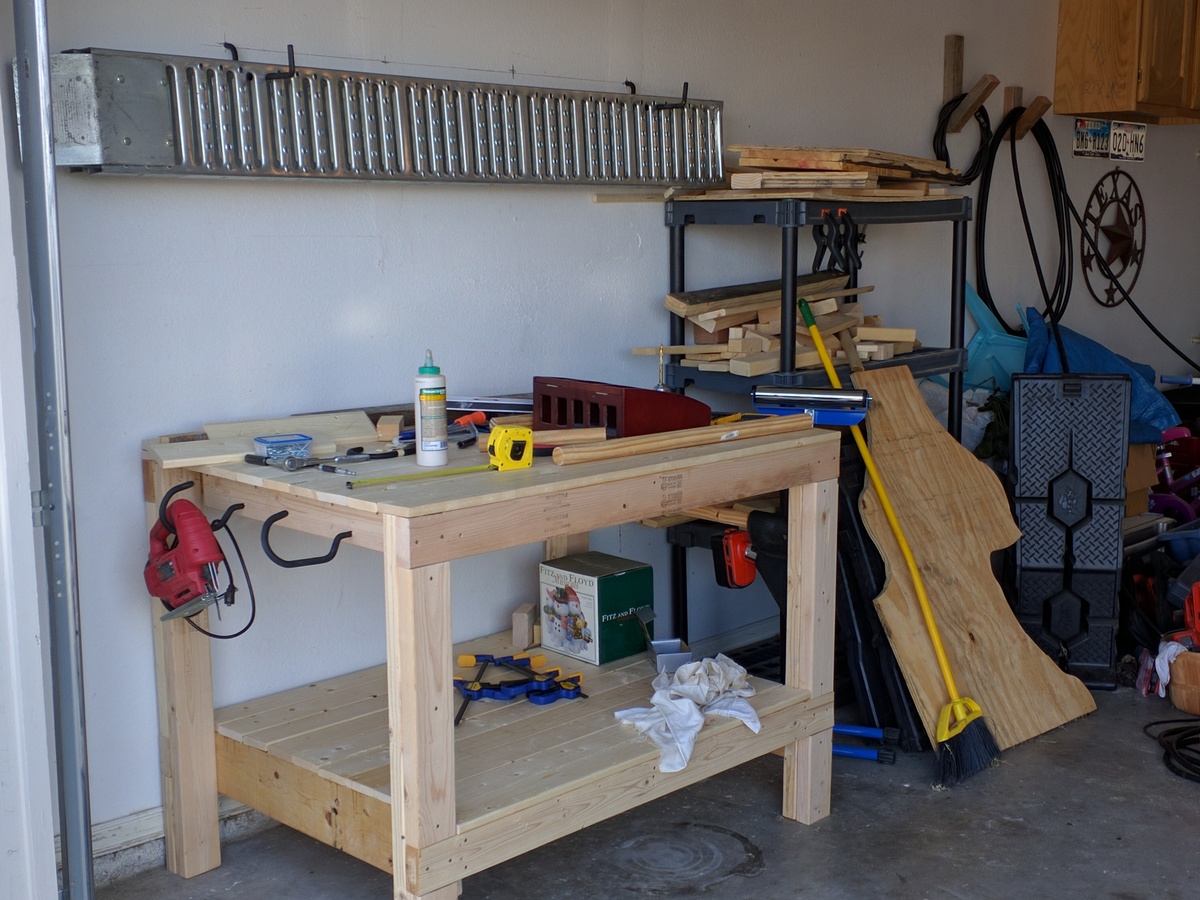
Submitted by jbonham on Sat, 09/24/2016 - 12:35

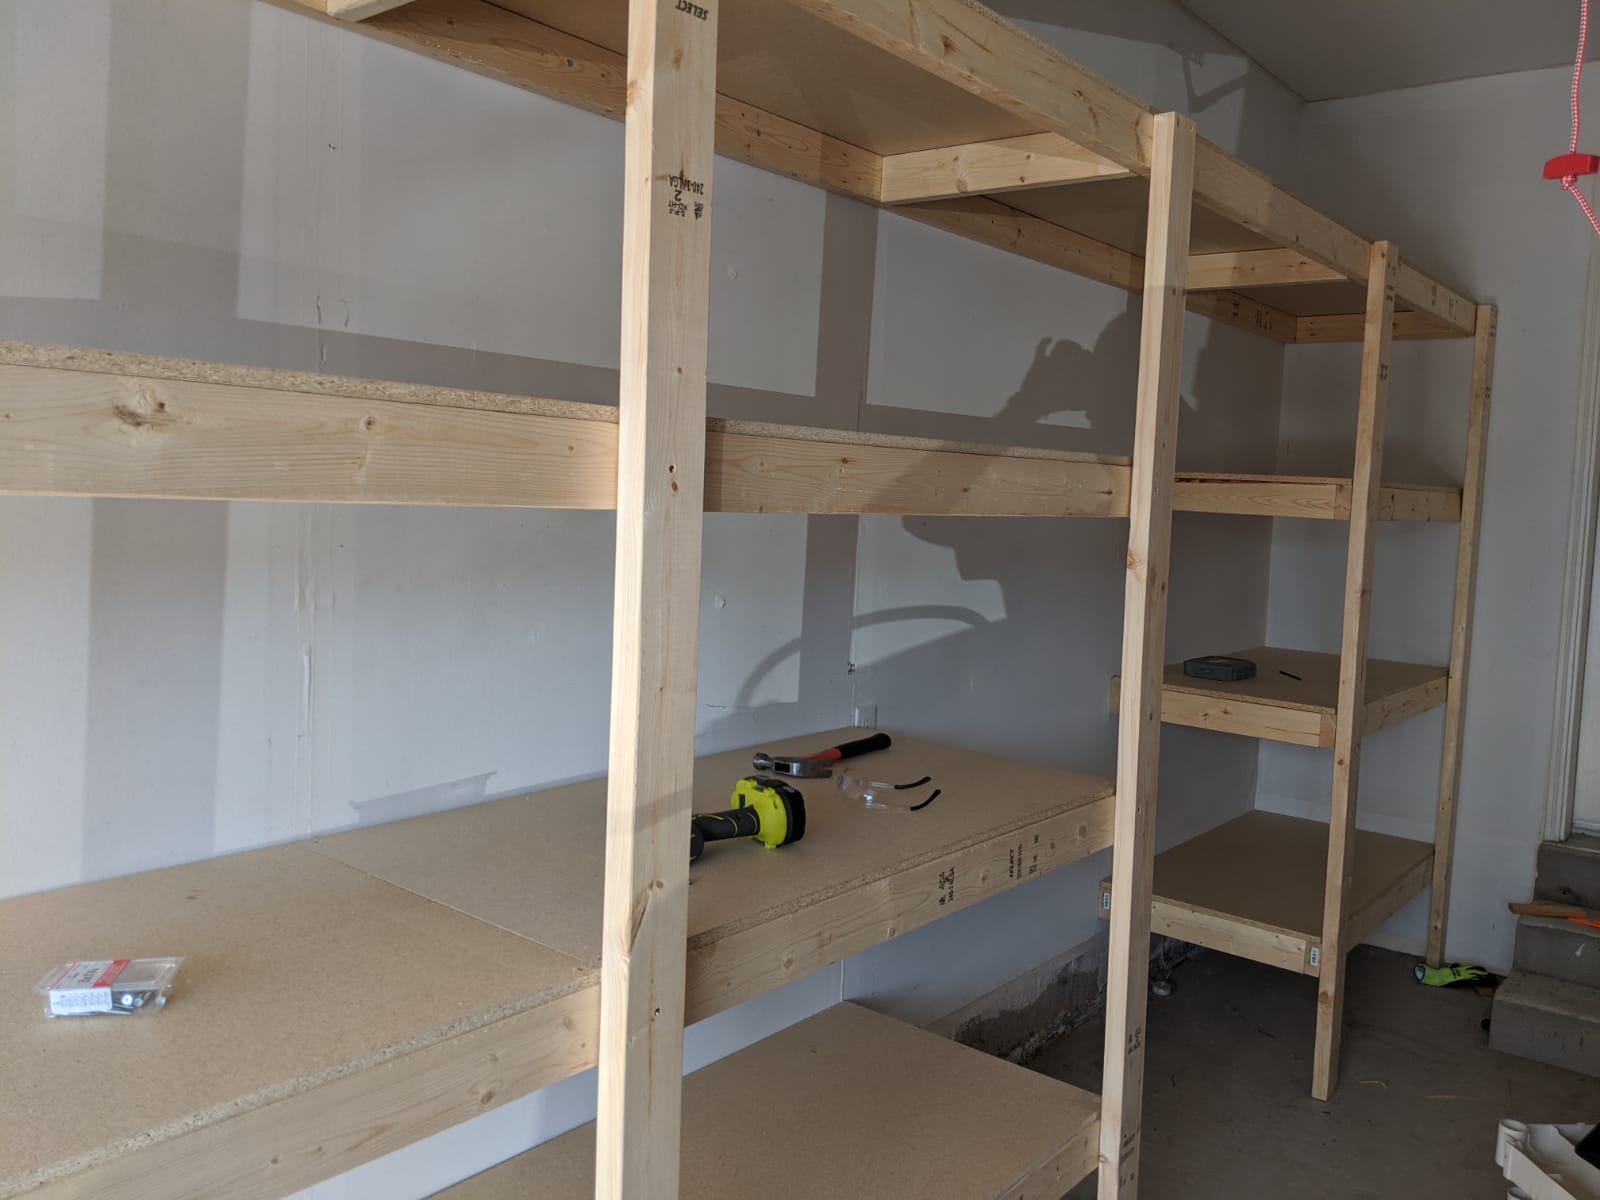
Altered the original plan only enough to accommodate the materials I had lying around without going to buy more lumber. The workbench I built is not as wide being only 48" instead of the 55" noted in the plans. For the top of the workbench and the lower shelf I used 1x4 furring boards again, because it is what I had for material at the time of building.

Once I made the basic frame, I squared it and then installed the supports for the table top and the lower shelf. Once the supports were in I cut the 1x4's to the appropriate length. As I laid each respective board, I also laid a good dose of wood glue down and then clamped them in place. I let those boards set with glue for about 5 minutes before going back and using a 2" brad nailer to finish them off. Once the nailing was done, I removed the clamps and moved to the next series of boards. Because I had several clamps I was able to lay about three boards at a time and let the glue set for another 10-15 minutes. Working slowly and methodically got the whole job done in a couple of days of a few hours a piece before completion.

Easy project and something that will last a long time when done correctly.

Estimated Time Investment
Afternoon Project (3-6 Hours)
Finish Used
Two passes of 80 and 120 grit sandpaper respectively.
Recommended Skill Level
Starter Project

Comments

Open Shelf Nightstands

Submitted by Anonymous (not verified) on Tue, 04/30/2024 - 11:29

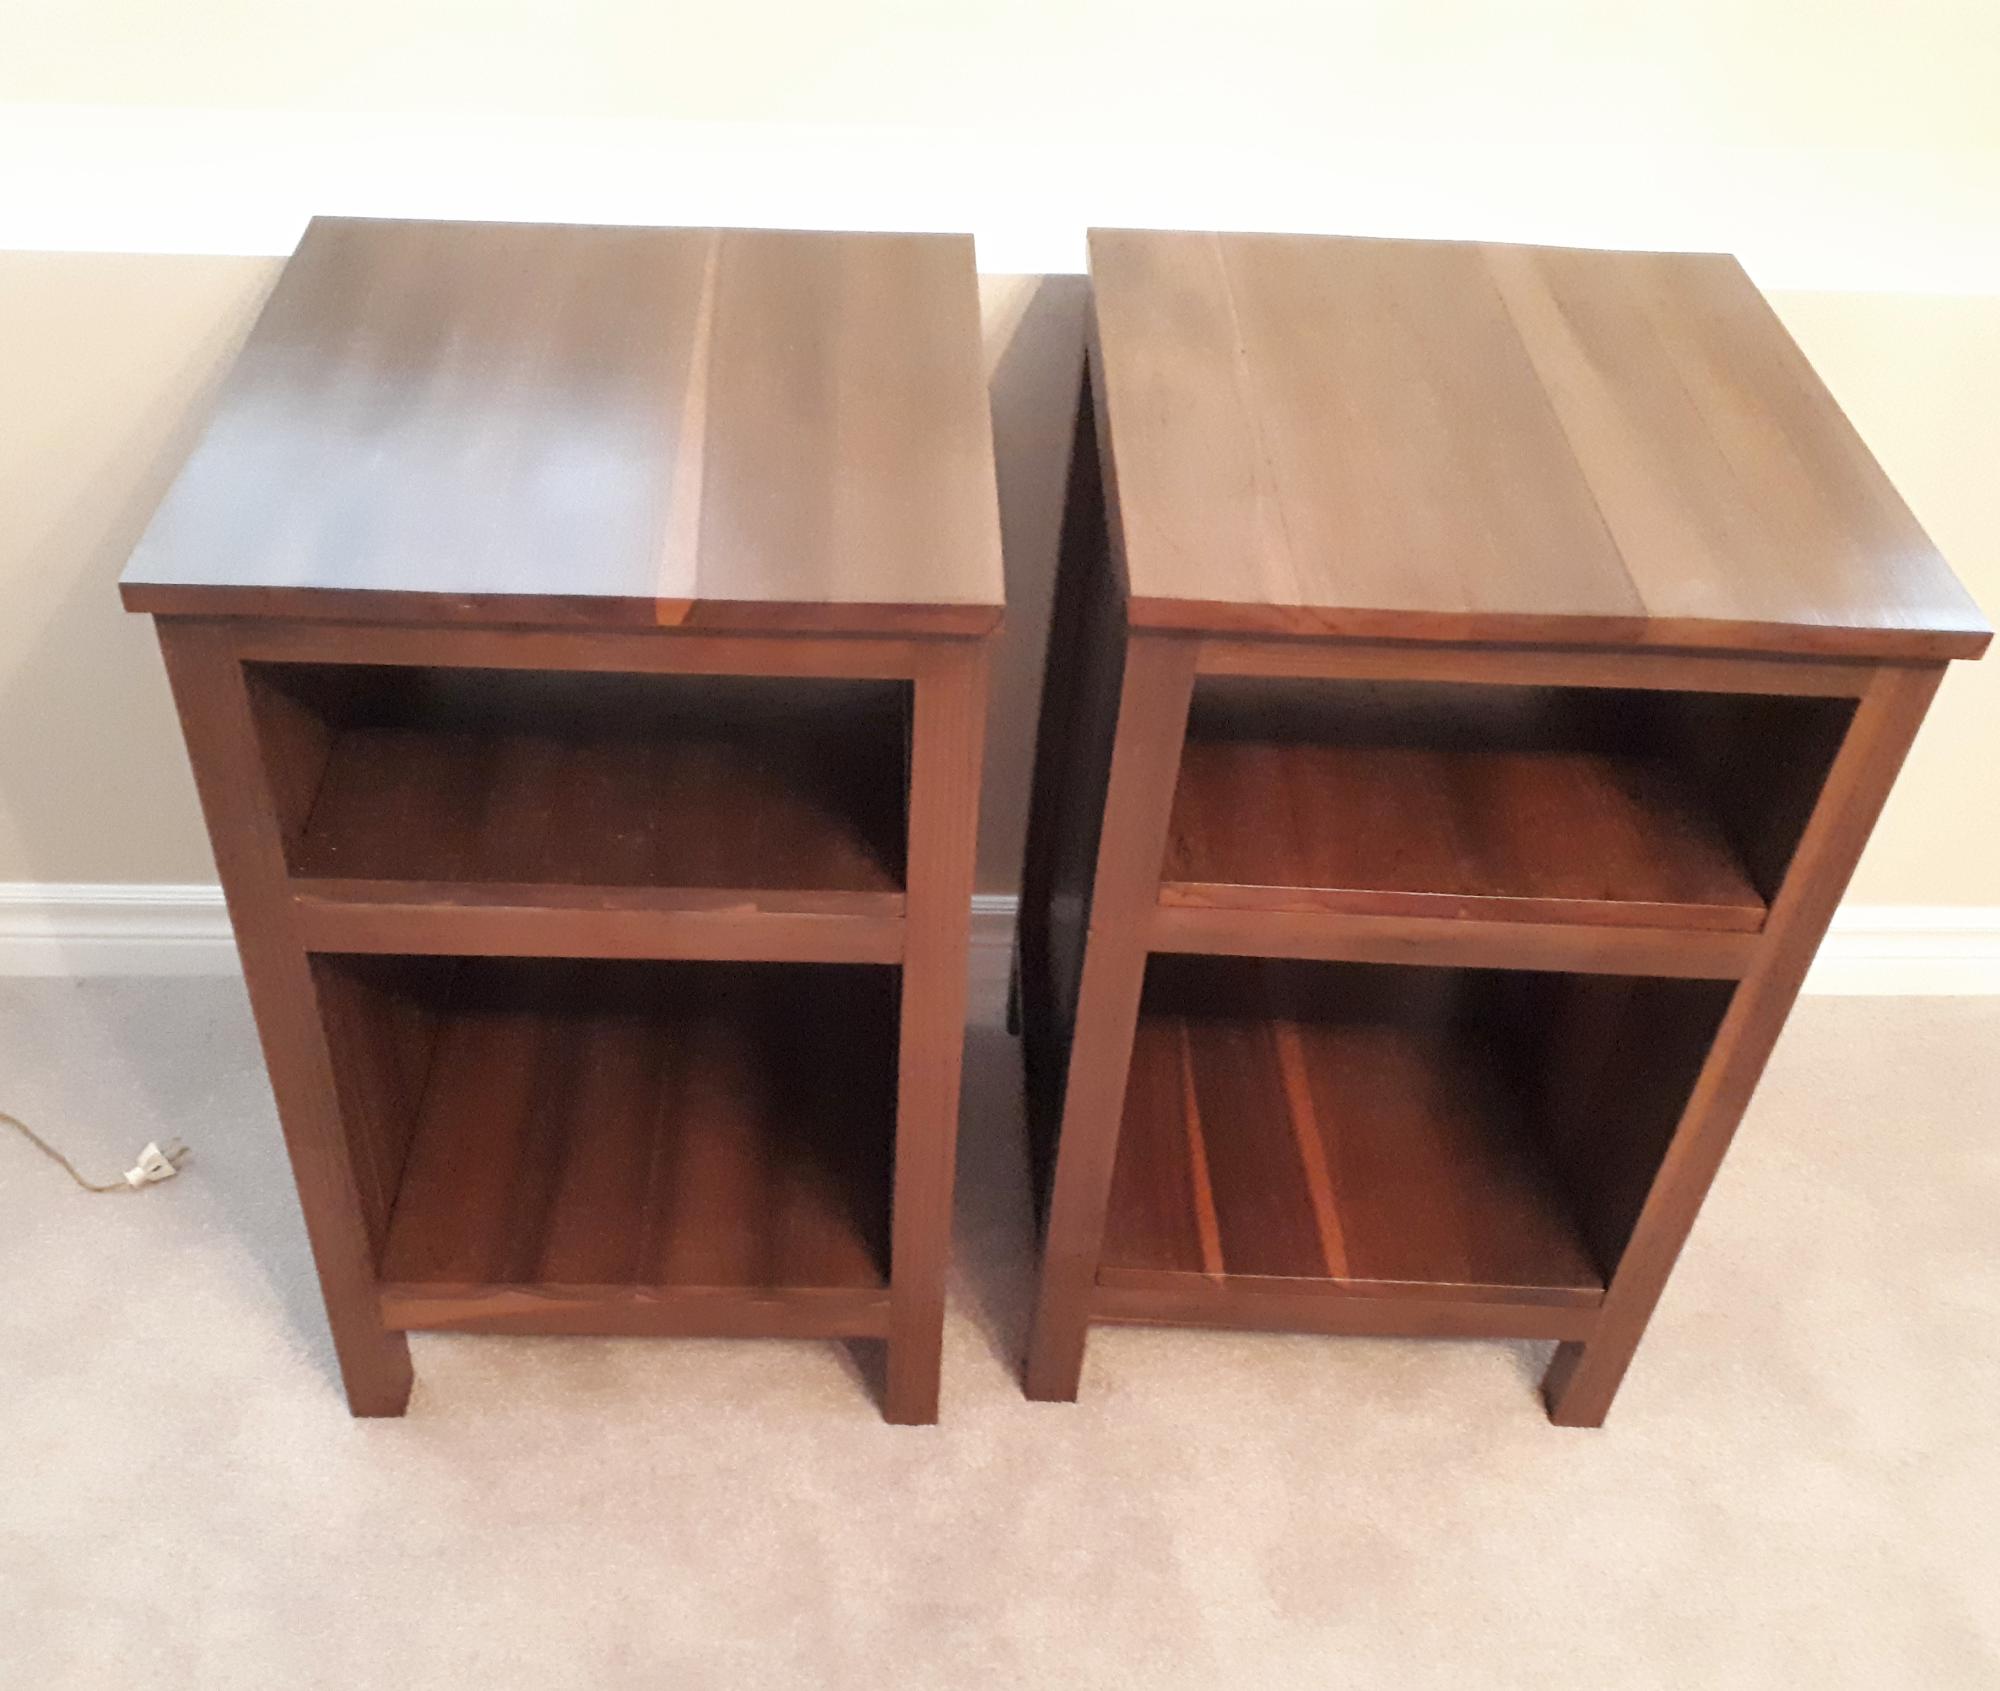
I built these for my daughter's birthday, after she showed me a set of night stands that resembled these from the site. I used cedar with a steel wool and viniger stain to give them a aged look. With 4 coats of a water based urathane as a finish. Your plans were accurate and simple to follow. Thanks

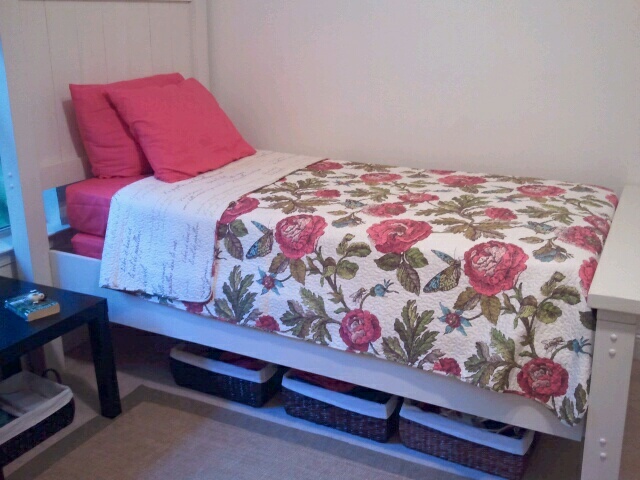
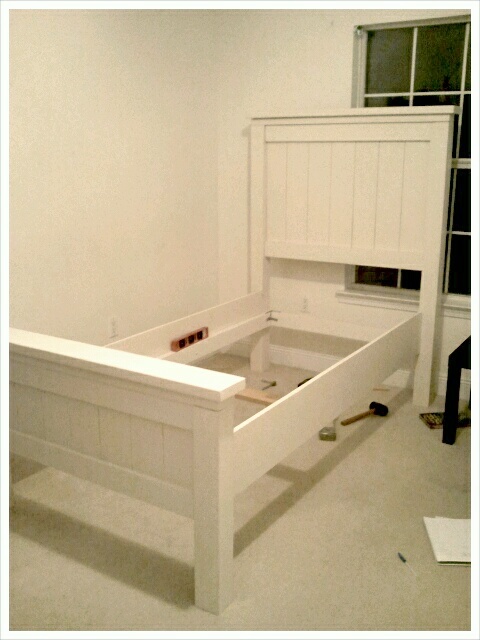
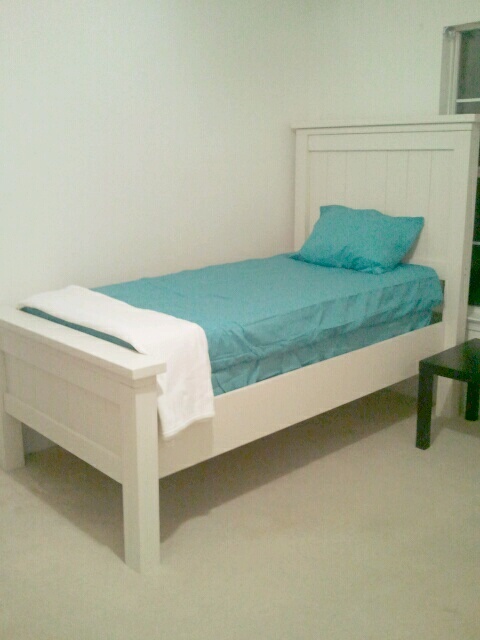
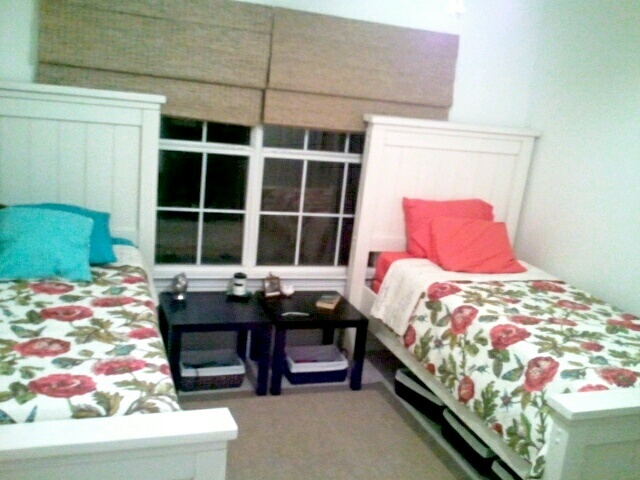
twin farmhouse beds

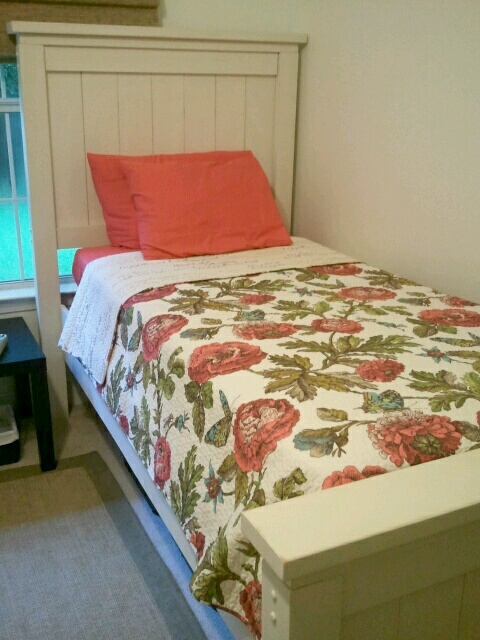
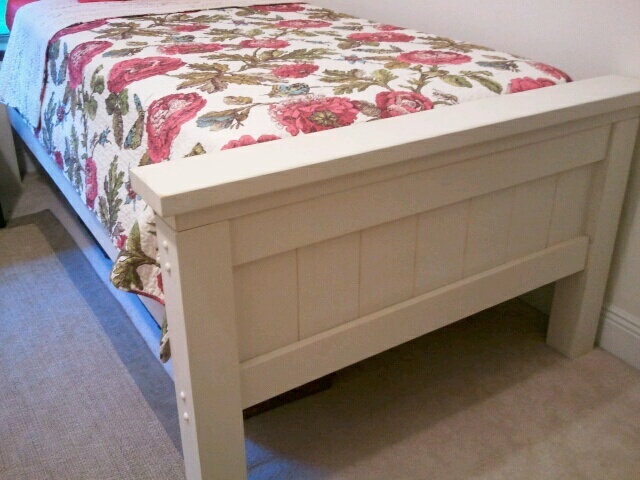
Our girls had made do with hand me down room furniture and decor( youngest 2, out of 5 girls). It was time to give them a space they love. I have never built anything other than slight upcycle projects. Slightly modifying this or that , never just starting with lumber and a plan. They picked the farmhouse beds and my husband was gone for 3 weeks backpacking, so off to buy lumber. Not as easy NO ONE HAS UNTREATED 4x4 posts!!!!! i called 3 counties, almost cried, to order was 3 weeks, or just cant get them. Finally found a cedar and cypress mill 1 hr away. Hopped in the car and off i went to load up.I had 2 beds to do so the second one went faster. What i learned?
1. even after predrilling you will do best hand screwing screws. Cypress was really hard in places and a stripped screw equals stress.( just like there is no crying in baseball, there is also no crying in carpentry)
2. the 2x4 that is under the 2x6 on headboard and footboard should be cut AFTER you assemble the 1x6 and 1x4 base. Much easier than making cuts with a circular saw on 1x6
3. your hands will feel like they were run over after day 1 of sanding, it will pass and get better.
4. perfect is not possible. It probably not even preferable. You want perfect? That is a machine
The room still needs some special touches, lamps, nicknacks, etc. cannot paint , rental. so sad. oh well
Built from Plan(s)
Estimated Cost
$300( for both)
Estimated Time Investment
Week Long Project (20 Hours or More)
Finish Used
Paint and then hand rubbed wax
Recommended Skill Level
Beginner

Comments

sgilly

Fri, 08/31/2012 - 09:55

Your girls must be so happy to have these cute beds. And, proud of their mama who made them!

In reply to by sgilly

sambenedetto7@…

Fri, 08/31/2012 - 10:09

Really hard to find common ground for a 15 yr old and 12 1/2 yr old. Tried to go for sophisticated beach side cottage. Dark wood bookcase and side tables , jute rug, cotton quilt coverlets....also i did add six inches to the height for added storage. Lots of girls equal lots of shoes

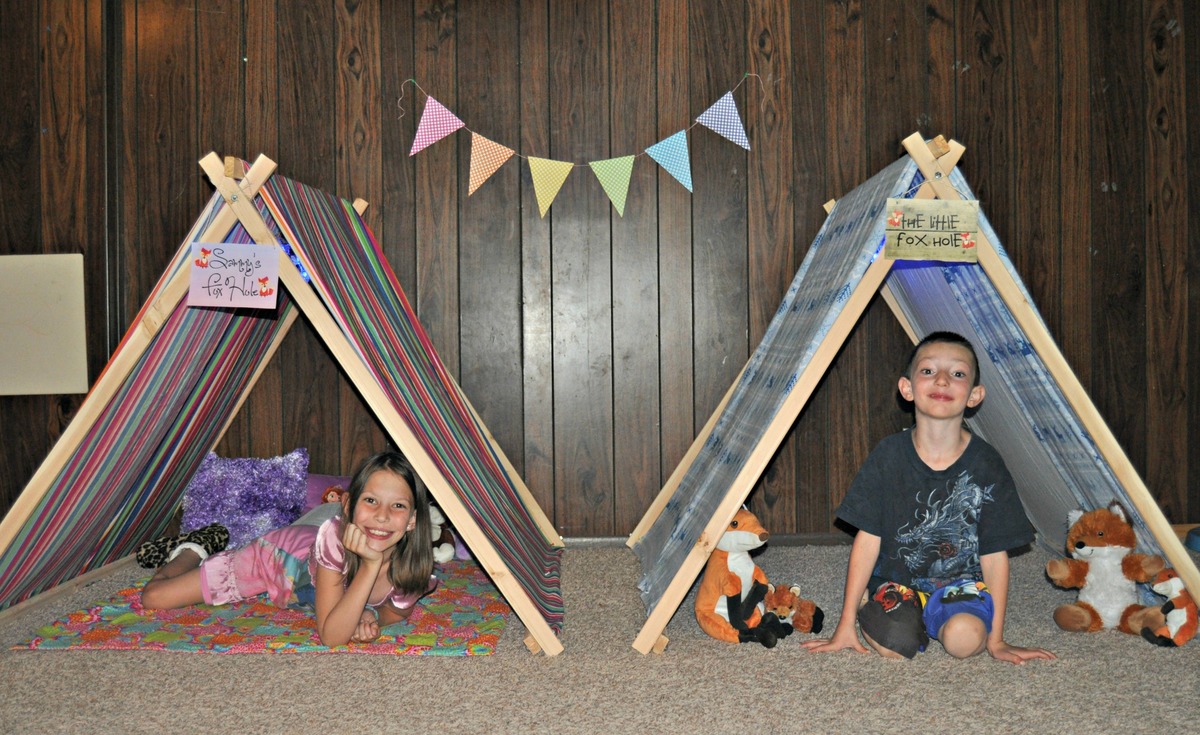
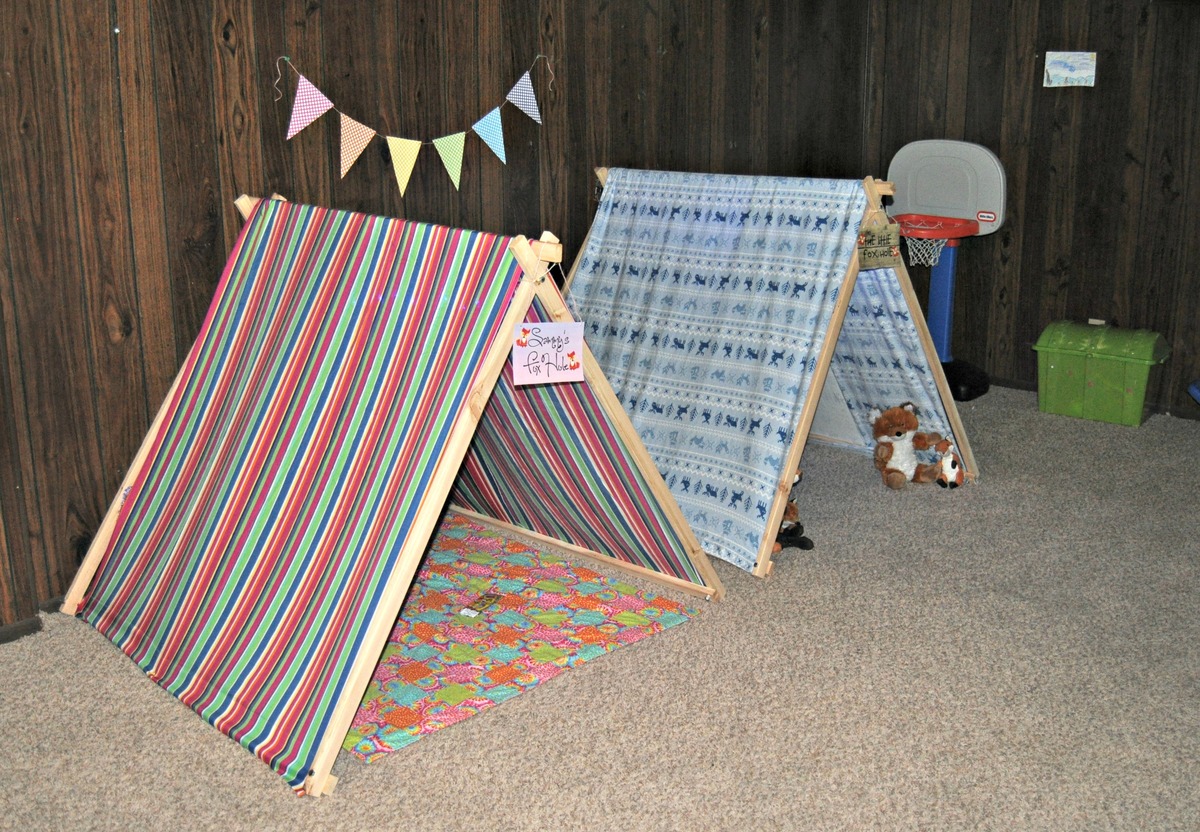
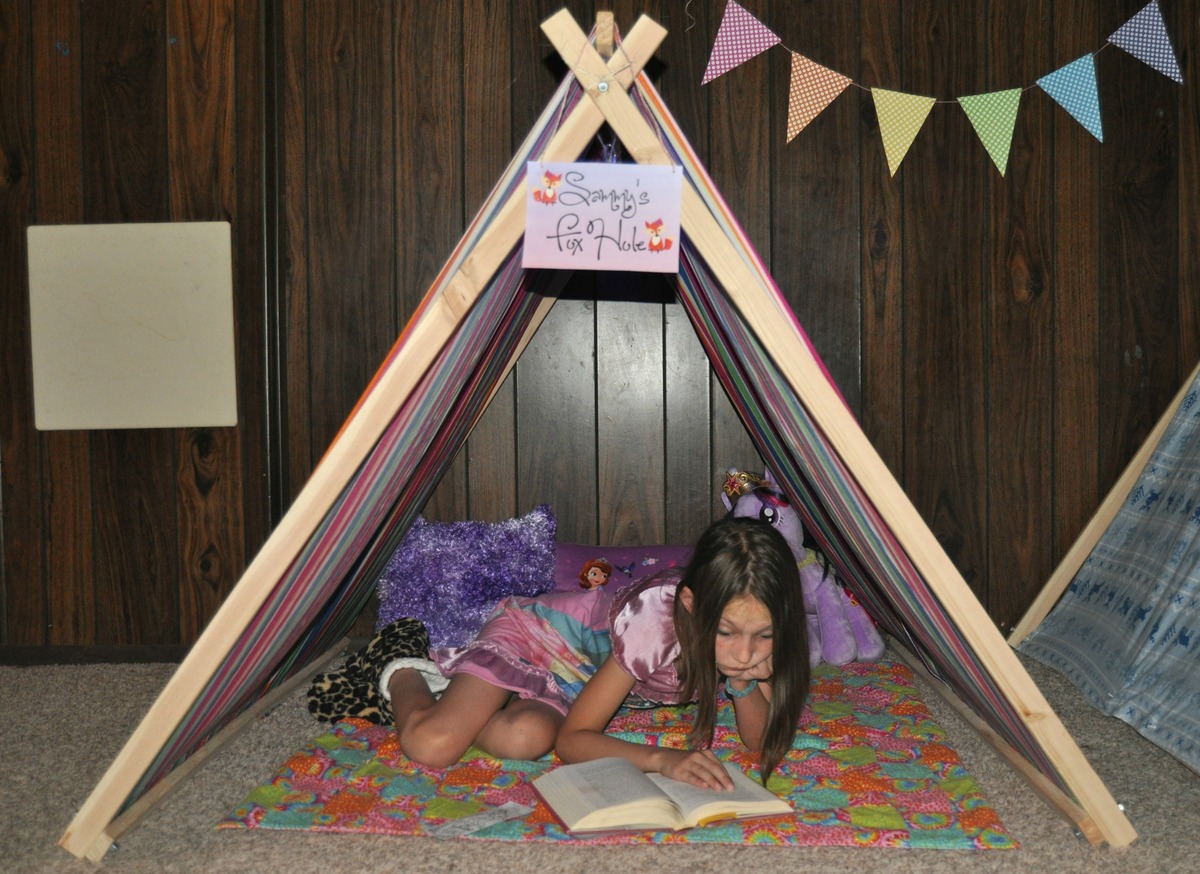
Playroom Tents

Submitted by macymoon on Thu, 06/26/2014 - 10:34

I built these fun and easy tents for our playroom. They are perfect for reading, or for an indoor camping trip.

Built from Plan(s)
Estimated Cost
Under $10 per tent
Estimated Time Investment
Afternoon Project (3-6 Hours)
Finish Used
No stain. Just light sanding.
Recommended Skill Level
Starter Project

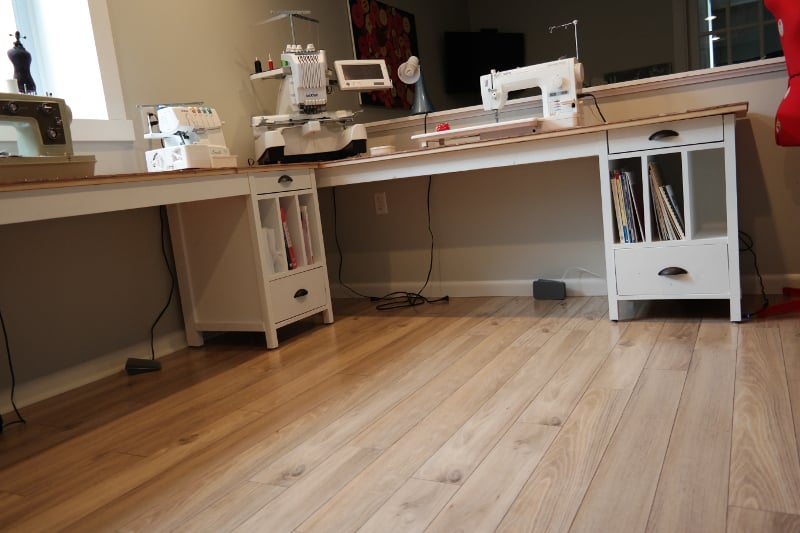
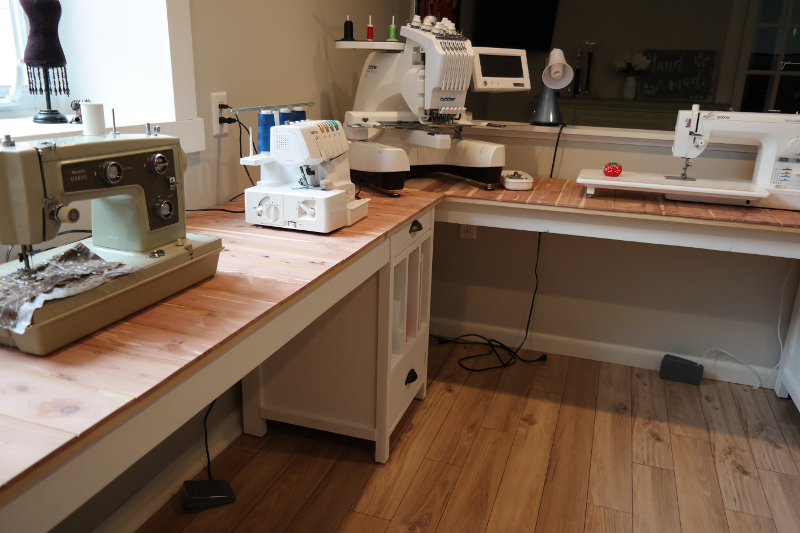
Craft Table/Sewing Desk

Estimated Cost
$250
Estimated Time Investment
Week Long Project (20 Hours or More)
Finish Used
Paint (sigh)
Recommended Skill Level
Beginner

Comments

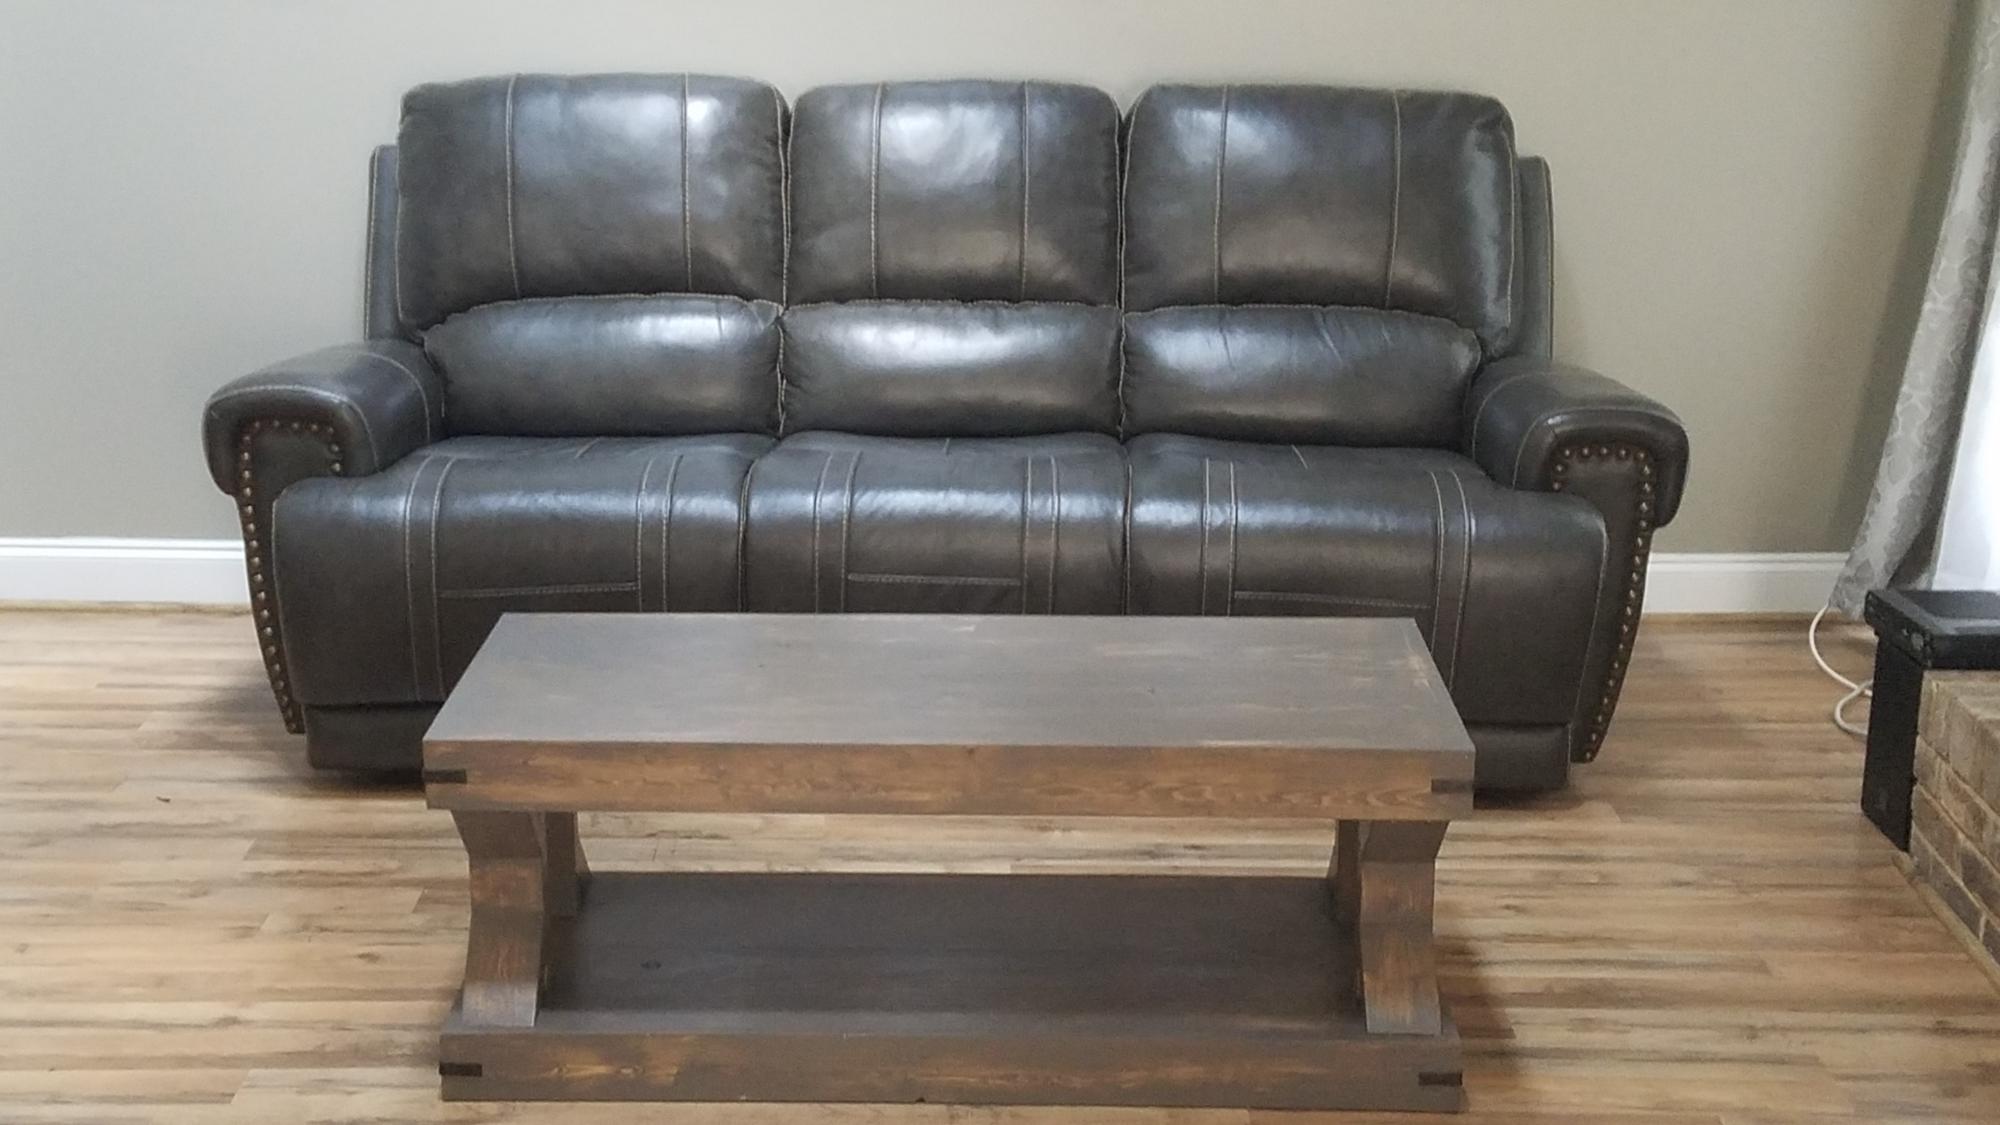
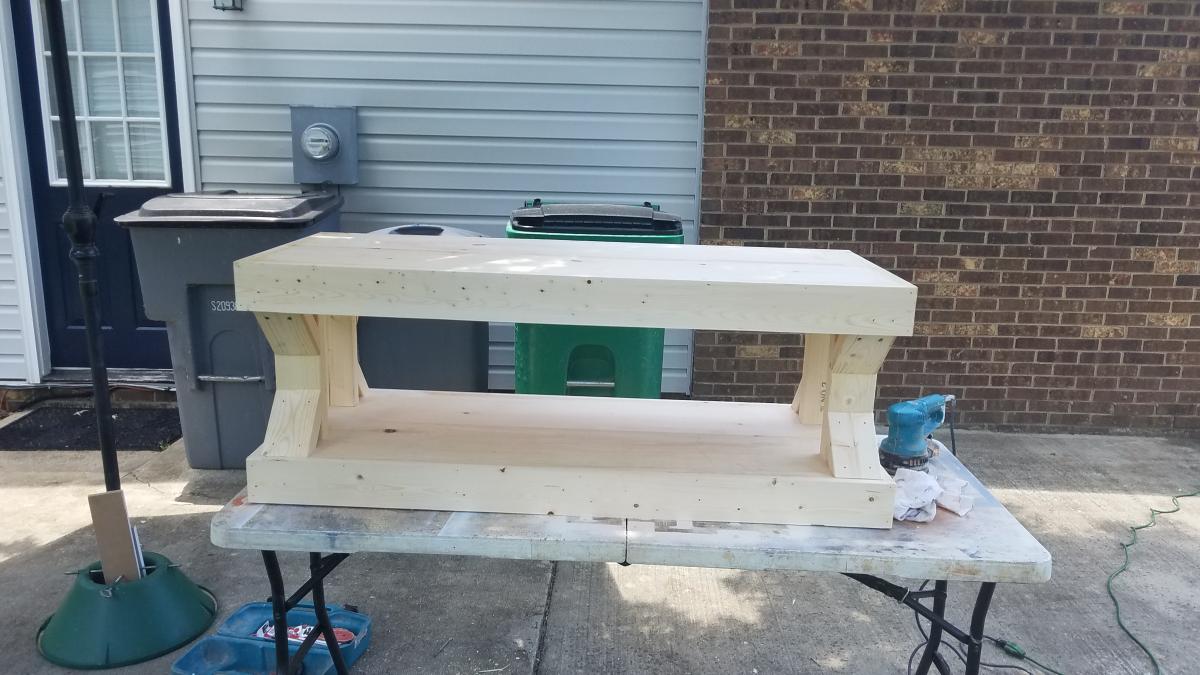
Modern Farmhouse Coffee Table

Submitted by rodtinsl on Mon, 07/06/2020 - 18:33

Really enjoyed this build. My wife and I love this table.

Estimated Cost
$60
Estimated Time Investment
Afternoon Project (3-6 Hours)
Finish Used
Briarsmoke

small shed

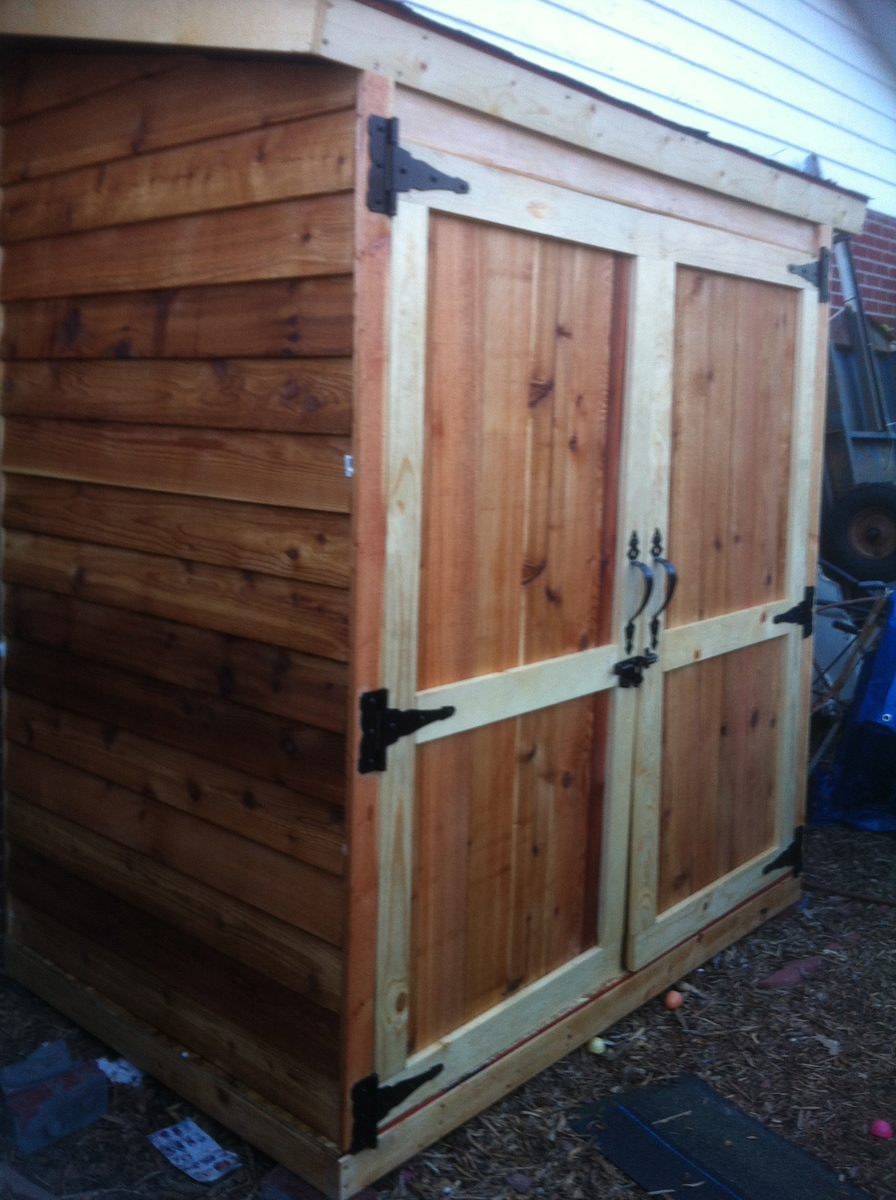
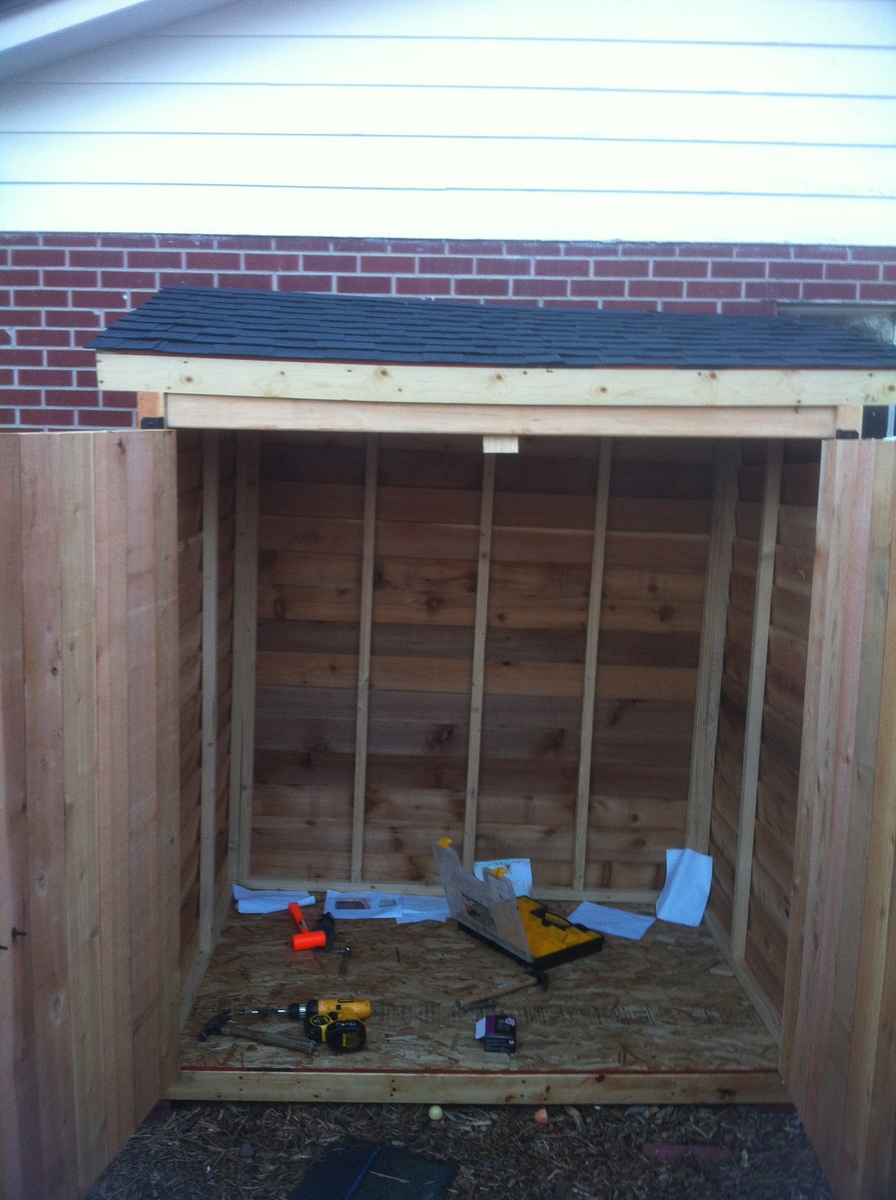
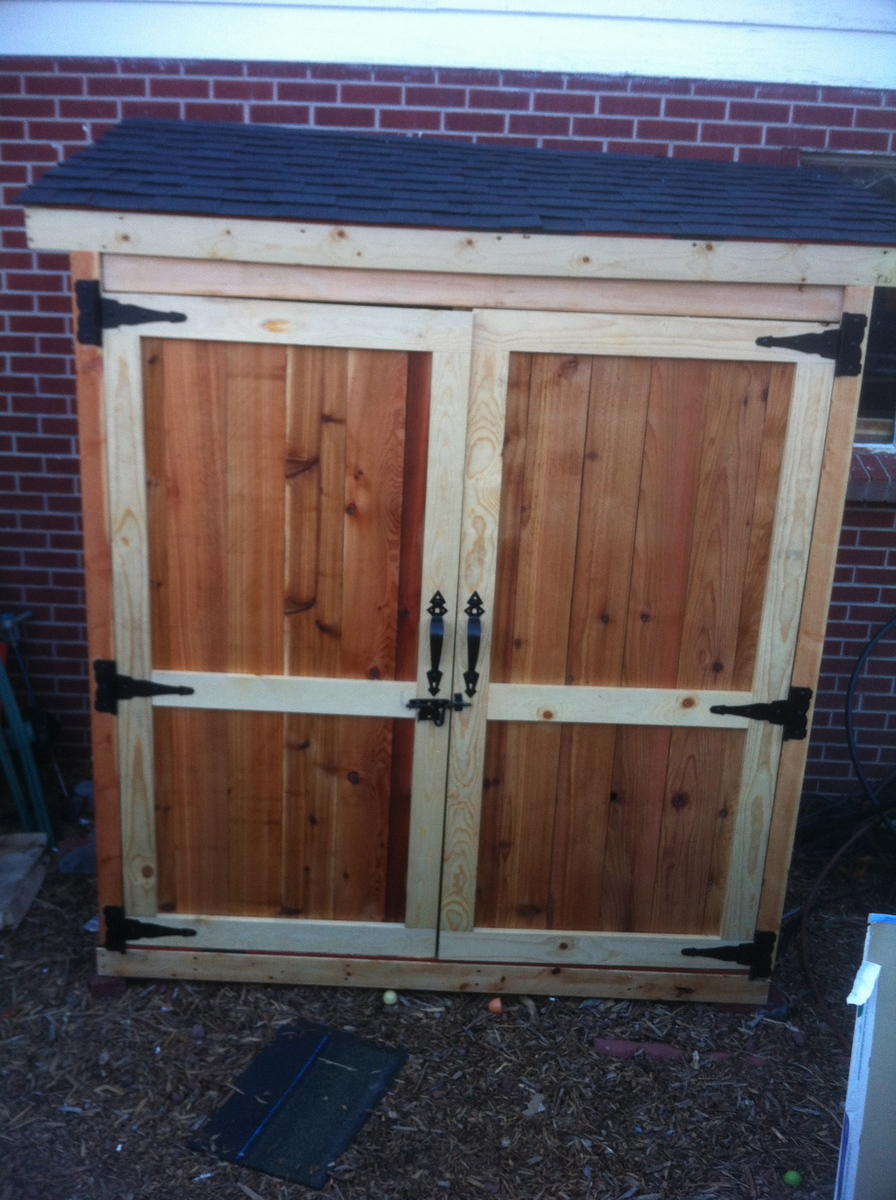
so i put this storage shed on the outside wall of my garage and then i put my dust collector inside it and cut a hole for the pipe to into the garage. It's nice and out of the way now. I adjusted the size a bit to make it fit more of my outside tools like the trimmer and blower. Its not in the picture but I also extended the roof about 30 inches over the side to park the lawn mower under it. If I were to do it again I'd make it even bigger.

Built from Plan(s)
Estimated Time Investment
Weekend Project (10-20 Hours)
Recommended Skill Level
Beginner

Second Build - Six Cube Storage Units

Submitted by seiseman on Sun, 06/29/2014 - 12:17

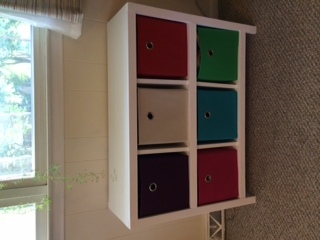
Very excited to have finished my second build! My daughter was so excited about these shelves, too. She even helped pick up her play area so we could get a nice picture. I only have a small wagon, so all the big cuts were done at Home Depot. Best part of this project: with the cuts completed in-store, this project took about the same amount of time to put together as a similar IKEA shelf, only no Allen wrenches were involved.

Built from Plan(s)
Estimated Cost
$80 and some leftover paint
Estimated Time Investment
Afternoon Project (3-6 Hours)
Finish Used
White paint
Recommended Skill Level
Beginner

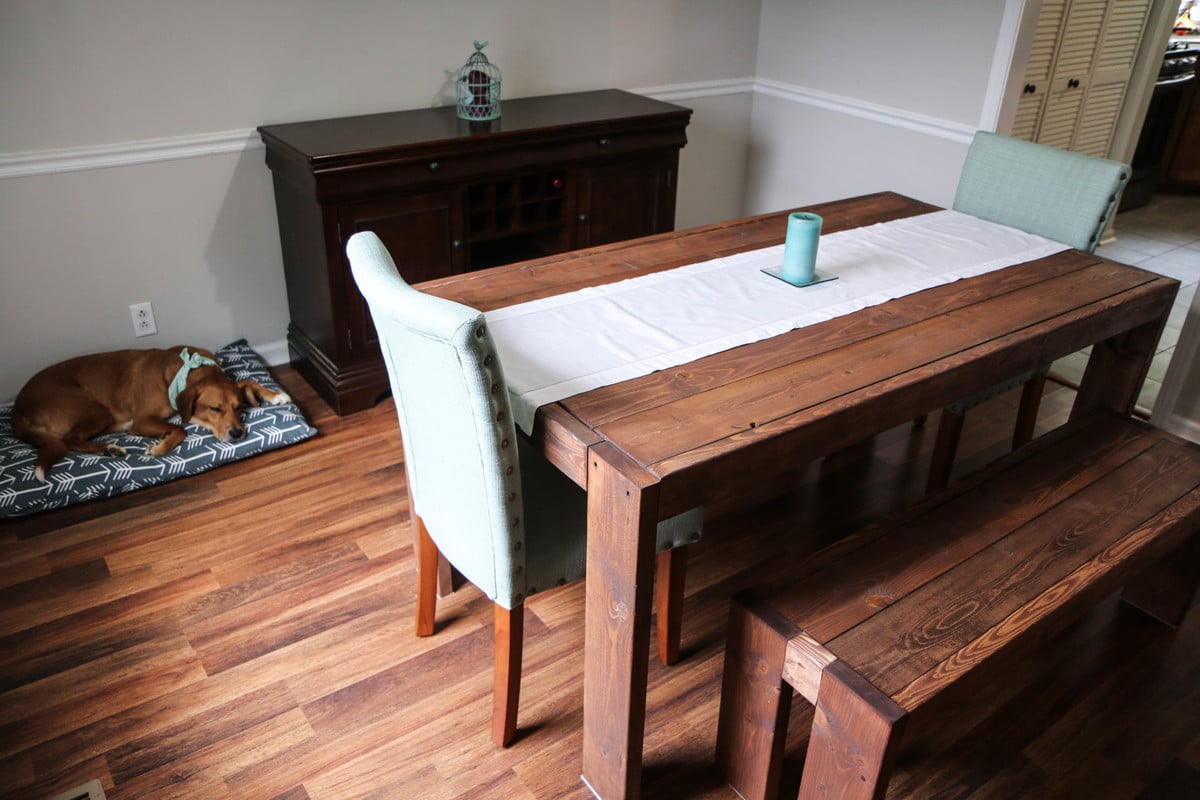
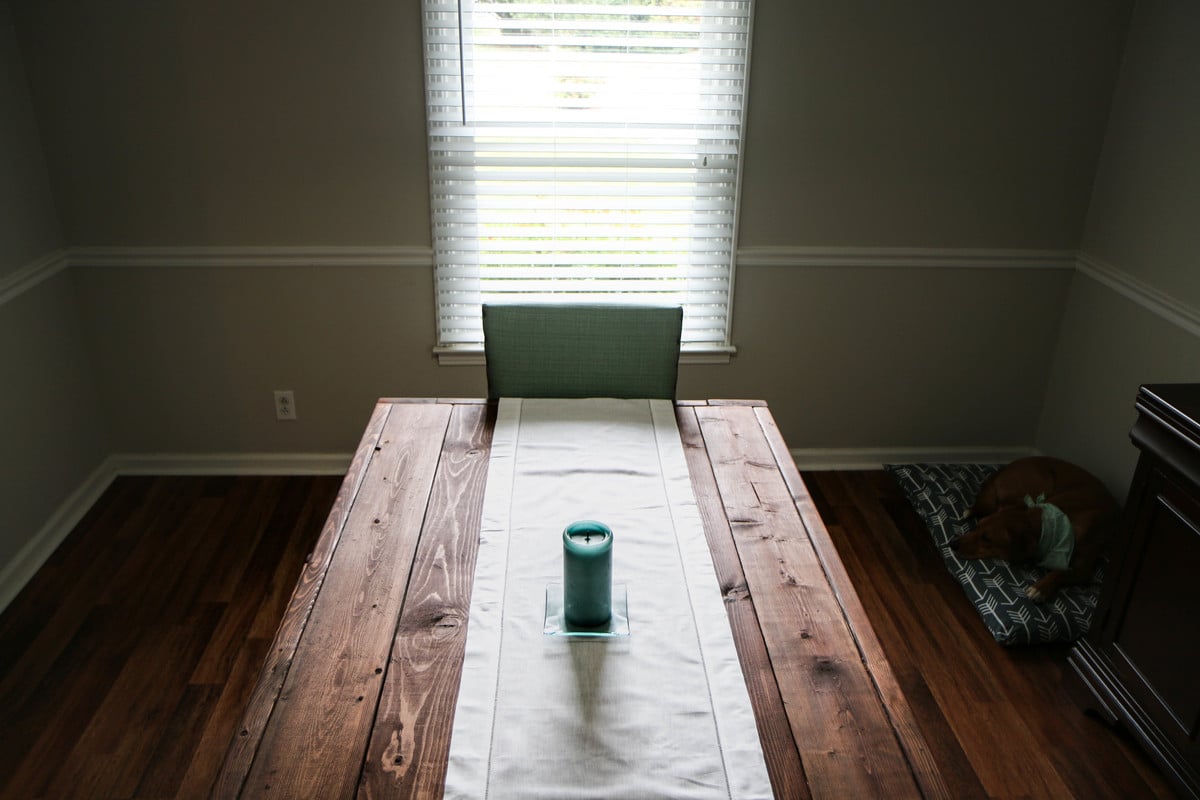
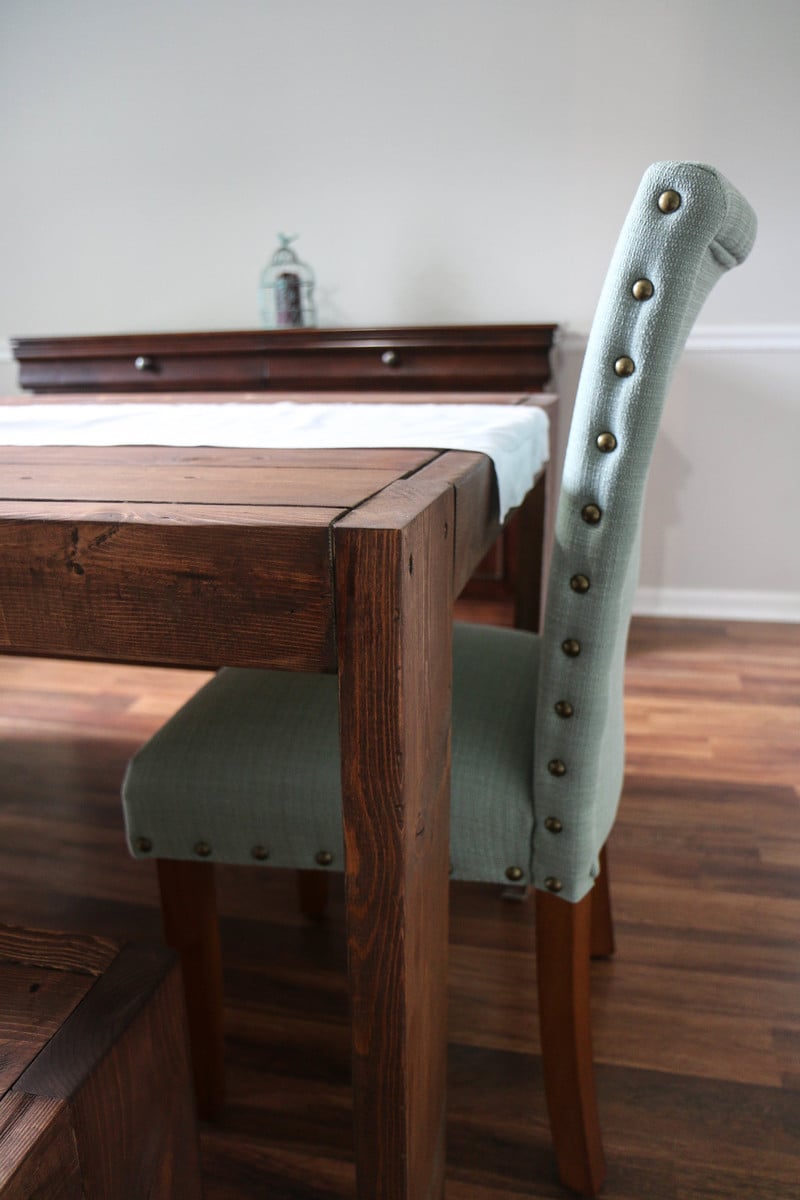
Modern Farm Table and Benches

Submitted by slpierce39 on Mon, 10/03/2016 - 07:25

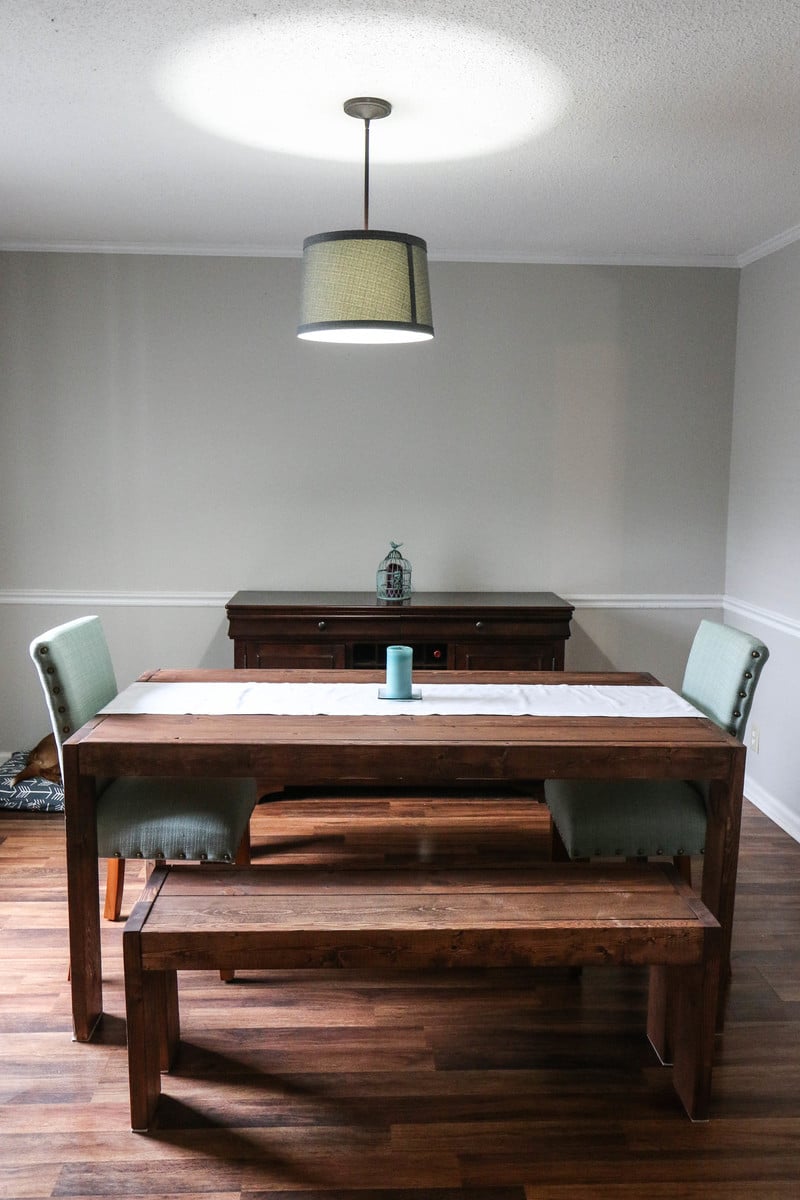
Used the Kreg Jig for the table top. I followed Ana White's Youtube Video "How to Build a Tabletop" for instructions on how to do it. 

Weeklong project for all three. Started on a Saturday and had it in the dining room and eating a meal the next Saturday!

Estimated Cost
$108 for lumber, stain, and screws for both benches and table.

Estimated Time Investment
Week Long Project (20 Hours or More)
Finish Used
Minwax Red Oak - 215
Recommended Skill Level
Beginner

Queen Farmhouse Guest Bed

Submitted by Anonymous (not verified) on Wed, 05/08/2024 - 09:33

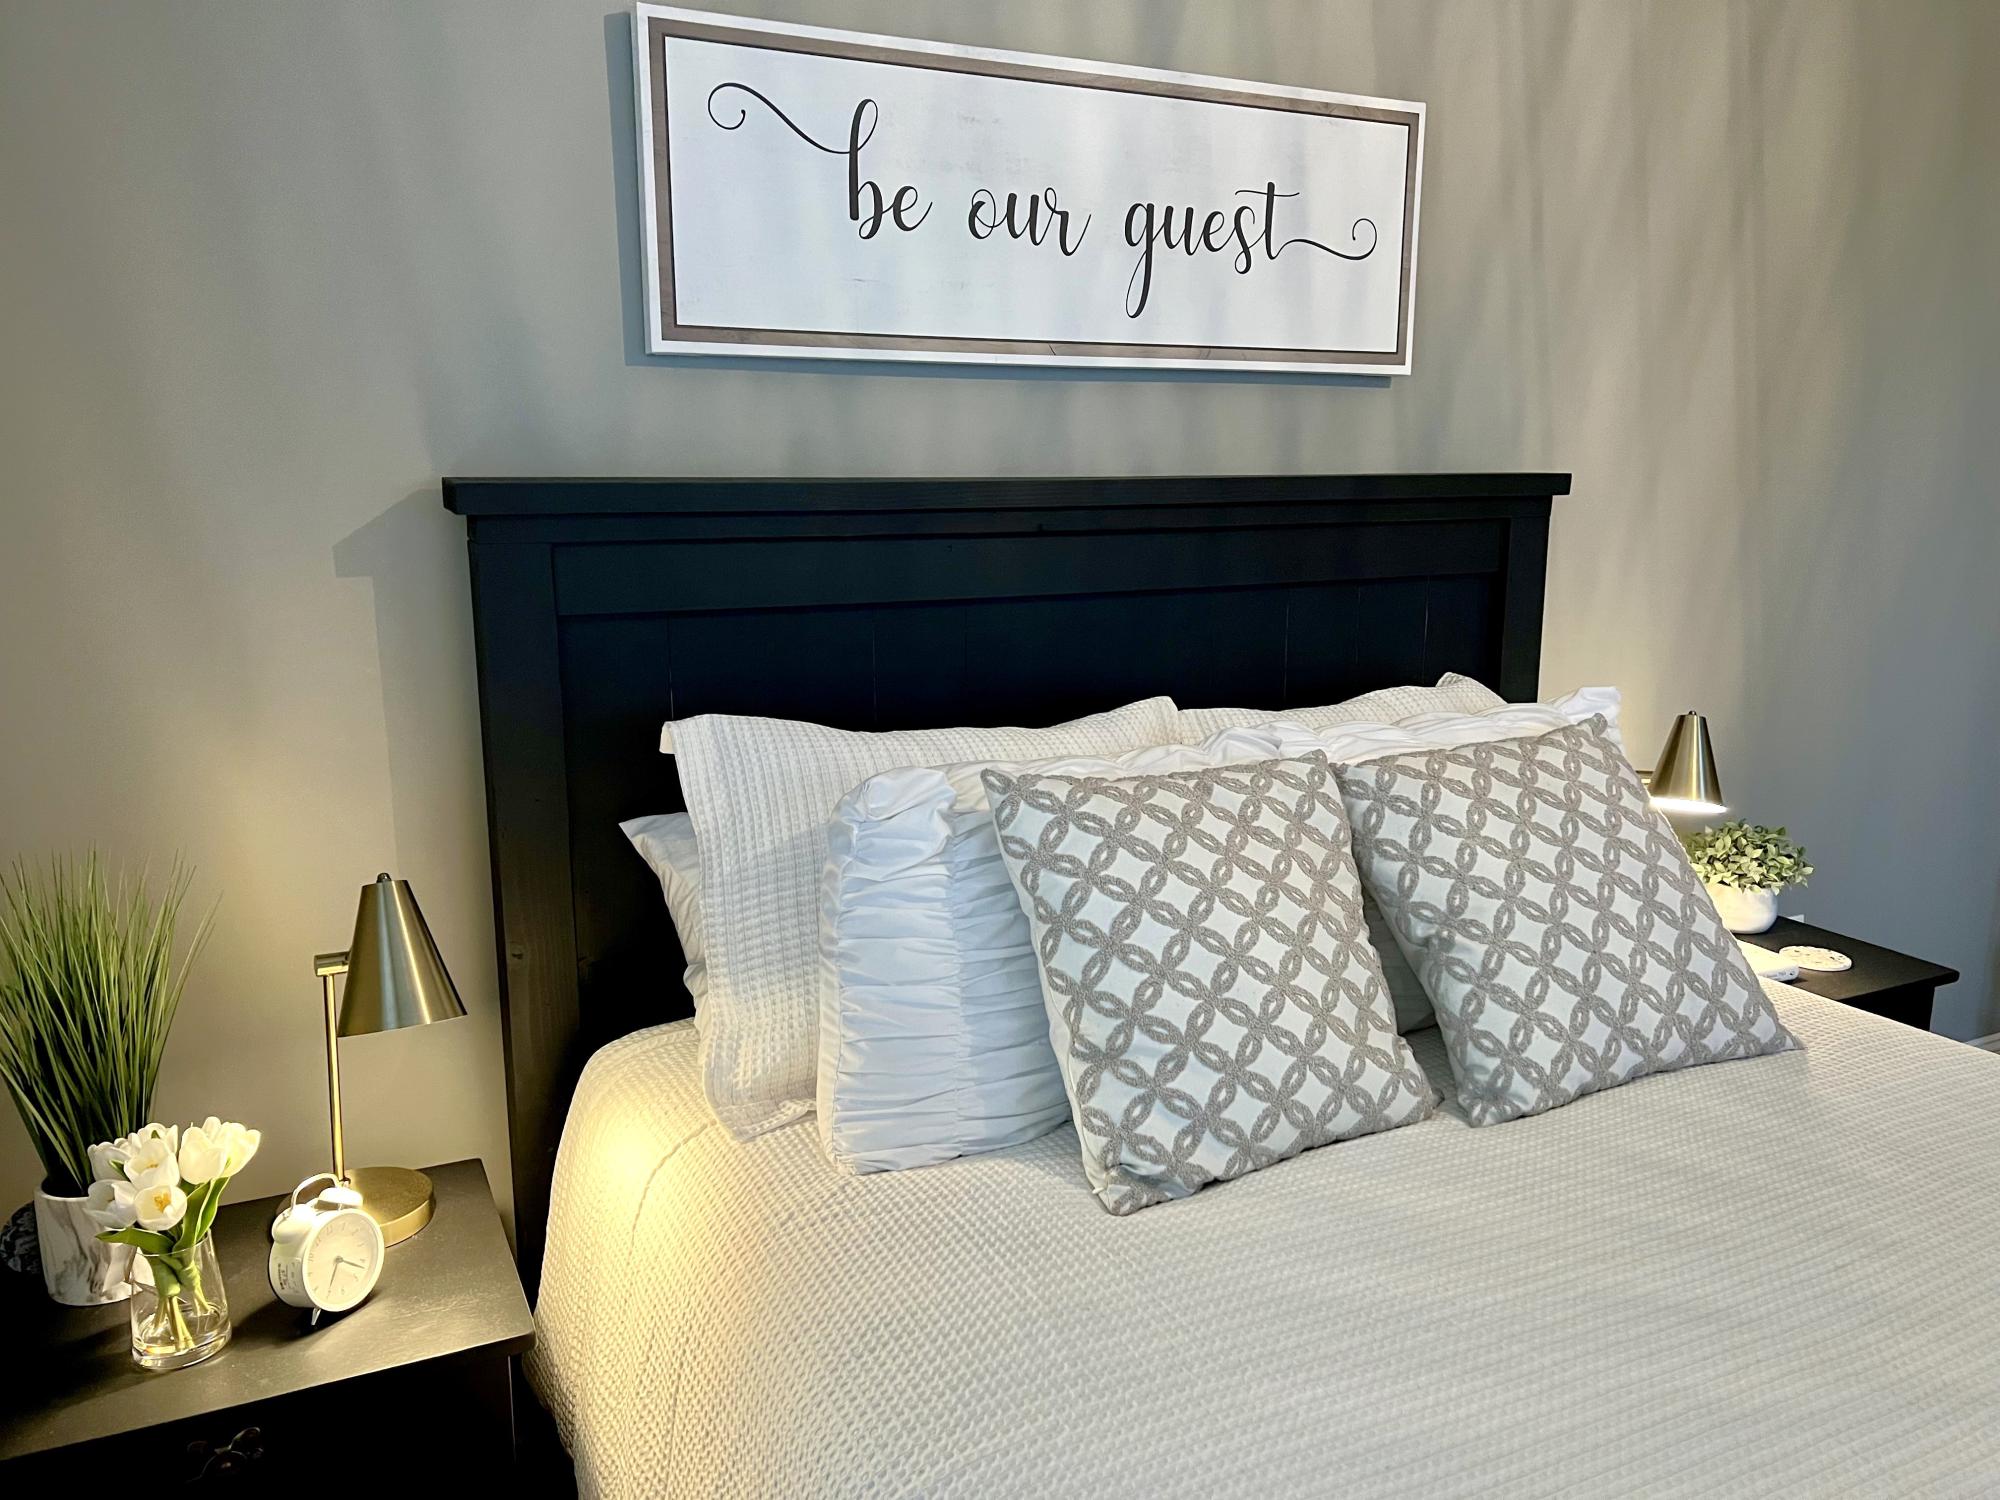
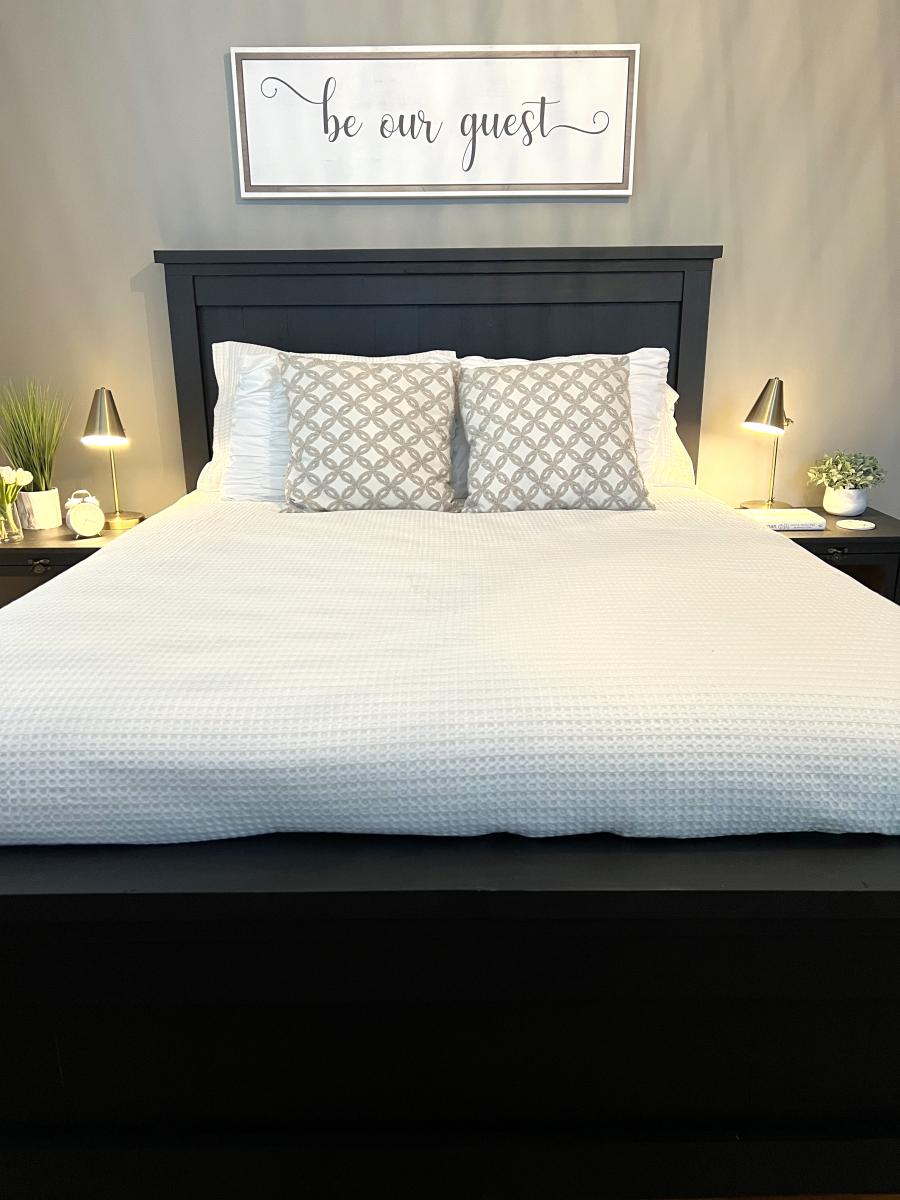
Ana - built this Queen Farmhouse Bed from your plans and videos. Really a warm, guest room that I built inspired from your work and detailed plans — thanks again!

Chris K

Built from Plan(s)
Back