Laundry Orgainized
We needed to organize in the laundry room. This was the perfect idea.
This was a project to use some pieces of left over ¼” thick aromatic cedar closet lining board. I cut off the tongues and grooves with the sliding miter saw, and calculated the measurements for the box to fit the size of the wood. For this build I used the micro-pin nailer with compressor, and ½” headless pin nails. The finished box measures 4 1/8” tall, 6” long, and 3 3/8” wide.
Inside, a divided lift-out tray sits on rails made from small pieces of the cedar board glued to the inside. The addition of an extra decorative board to the top made it ¾” thick, to work with a regular knob. The inside of the box stayed unfinished to preserve the cedar fragrance. This was an afternoon project.
Fri, 12/05/2014 - 17:56
Joanne, you are the queen of trinket/jewelry boxes! I love all of your posts which show how something simple can be so different and special. These would make wonderful Christmas presents for loved ones, friends, or co-workers. Thanks for sharing.
Sat, 12/06/2014 - 04:58
Linda, thanks so much for the nice comment! I have such fun doing hand built gifts for Christmas! Thinking up how to decorate them and what to make them from is a big part of the fun!
Super easy build!
After months of working from home and using an old dining room table as my desk I built this desk in an afternoon. The finishing probably took longer than the build. A stained and grey washed top, with a simple while base turned out well. I built it a little larger than the plans and used 2 laminated pine panels I had already for the table top.
Mon, 06/28/2021 - 19:30
Sorry, i just noticed this comment. I only did a light sanding on the legs, leaving things a bit rough. If i were to do it again i'd probably spend more time sanding.
I built this bookshelf for my husband's office. He wanted a shorter, wider shelf than the original plans, and this is what I came up with! :)
Sun, 03/24/2013 - 13:53
Romanweel, I'm so sorry, didn't see your comment! It is Polyshade in Mission Oak Gloss. And Countrysideworkshop, it is 15 deep by 33 wide by 32.25 high. Hope that helps! :)
In reply to Romanweel, I'm so sorry, by mamahowell
Mon, 01/30/2017 - 12:45
I love this! My dad asked me to make him a book shelf and this is it! Did you follow her instructions or tweak anything else!?
Mon, 03/23/2015 - 19:34
Where can I find the plans and materials list for your customized bookcase?
Mon, 02/26/2018 - 21:42
I having been searching for a bookcase just like it!!! I want the shelf space for decoration, but I am dying to have the wall space above for wedding pictures I have never built anything before, but need to start somewhere. Any chance you can share what you changed to make this book shelf instead of the super tall one : )
This was just a quick little project as we decided we needed a bit of organisation in the office.
I just used scrap mdf and leftover bits and pieces from other projects for this wall file. We now have somewhere to put all the postage stuff for our online sales site.
Cheers... Nay
Our son Liam-Joseph wanted a "Big-Boy Bed" and then he added "I want Daddy and Santa to make it". Well "Santa" and my wife Jacques looked all over the internet and finally found your Cabin Bed via jennwoodhouse.com. Jacques altered the plans demensions and she realized the bed could be barn-like so she came up with the red and gray paint job. She actually wanted a cupola but I thankfully talked her out of that. Well somehow we keep the construction from Liam 2 weeks before Christmas. On Christmas Eve Liam's Grandparents keep him at their house while "Santa" and I put the bed together (I never did a trial run so I was relieved when everything fit right together). The next day after opening his presents he ran up to his room and saw his bed for the first time.
The project isn't completed. I recently finished the roof with wood pallets but I need to finish the trimming of the interior of the bed walls.
So excited with how this table turned out!! I absolutely love it❤️ My daughter helped me build it. It’s been fun teaching her how to build things!
Sat, 01/02/2021 - 13:18
Love your project and that you are getting your daughter involved!
We used carraige bolts to make the legs removable. Very happy with the results!
Thu, 02/07/2013 - 04:36
You did an amazing job on this. I love it! Which plans did you follow for the chairs?
Thu, 02/07/2013 - 05:12
I used Ana White's plans for Vintage Bar Chairs. I think I modified the chair backs a little to make sure little arms wouldn't get stuck.
Thu, 02/07/2013 - 05:05
Your work deserves a lot of kudos. Really great work and the stain is professional.
Thu, 02/07/2013 - 05:16
Jake,
Thanks so much! I spent about two months working evenings and weekends as weather permitted, to complete this project. My daughter chose two stain colors and we mixed them together. I'm happy with the way the color came out.
Thu, 11/21/2013 - 18:27
I made the same 30" tall bar stools. I love the whole look of your set. Did you adjust the height of the table for the chairs? Or is the table high enough for these chairs? Also, did you make the table top smaller?
You did a great job!
Sat, 11/23/2013 - 18:13
Debbie,
Thanks so much for the compliments! My daughter didn't like the "plank" version of the table top so I used oak plywood and framed it with oak 1X4s. I believe the measurements of the table are 48" by 48". I don't think I adjusted the chair height but I did add a foot at the bottom of the table legs. That may have added an inch or so to the overall height of the table.
Tue, 02/10/2015 - 13:22
I really like how you added the foot and removable legs to this table! I would like to make mine with removable legs as well. How did you modify the table to use the bolts?
Tue, 07/14/2015 - 06:31
Hello! This plan is EXACTLY what I am looking for except there is a huge difference.......it will be the ritual platform for a traditional Tibetan Sand Painting. I am seeking a plan just like this for a square table that is 6' square and 3 1/2' high......is it possible to purchase a plan of that dimension or does anyone have a recommendation where I can find that. THIS would be truly lovely in this design. THANKS for any help!!!
Thu, 07/16/2015 - 12:08
I really just followed the Ana White plans for the Pub Table but used one solid piece of plywood instead of the 1x4s for the top. Since plywood comes in 4x8 foot sheets, you might need to get creative to get it to 6 feet. Good luck, and don't forget to post pictures when you finish!
This dollhouse was super easy to make! Harper (the doll) wanted an open concept living/kitchen, and that is the first floor. Second floor are the bedroom and bathroom. Top floor is the closet. The roof is made from 3.5" slats of luan glued together and painted with black sanded paint. Notice the baseboards and crown molding? The window boxes are really cute, too! I still owe my granddaughter a garage and patio with pergola, and kitchen appliances and chairs, but that will wait until summer when she can help craft/build them.
Harper's bed is modeled after the farmhouse bed plans available on this site, but I used smaller scrap lumber. I wanted milk paint but was unwilling to pay the high price, so I bought a sample jar of antique ivory paint and watered it down. It turned out great!
Farmhouse collection
My wife and I completed our son's loft bed in December for his Christmas present. My wife found this bed on Pottery Barn's website and I found these plans on Ana White. Everything was pretty straight-forward. It was a great project and we had a lot of fun building something together. We made a few mods to the plans like height and the railings. I really like how it comes apart for moving and our son loves sleeping up there! Protip: Be careful with the wood glue where the bed is designed to come apart. I got a little sloppy and had to do some hammering to disassemble for staining/sealing. Everything went back together very easily, though.
Fun and easy project. I couldn't be happier with the end results. Great plan from Ana White.
Using the plans for the modern table and simple stools, I made some modifications so it could be a bar height pub table and stools. The stools took the most time, with all the supports and keeping it level. The table was easy and I am super happy with the addition of the x's on the sides. I think it gives it a more professional look. Turned out that the angle I wanted them at wasn't possible on my miter saw, so I just had to mark the angles and cut with a jig saw. Screws were overkill for them and split the wood, so finishing nails did the job. The top was salvaged from an old ugly mdf topped coffee table. I sanded it a bit and with many coats of stain, achieved a match to the rest of the wood. Yay! Breakfast nook, complete!
Sat, 09/14/2013 - 12:34
What are the dimensions here for your table? I'm looking to make/get one very much like this and trying to figure out the best yet least amount of counter space needed, depth wise. Hoping 15" is enough but I love the look of yours.
In reply to What are the dimensions here by morgo614
Thu, 06/04/2015 - 10:00
So sorry for the delay! I don't get notified when there's comments, so I'm just now seeing this. The width is 4', the depth is 15" and the height is 42". Good luck!
My wife and I loved the look of the Rolling rustic wood dresser. We didn't care for the wheels so instead I opted for legs, 2.5" long. I simply made a couple of tweaks to the frames (the bottom 2x2 was shortened to 59.5" and the side 2x2's were extended to 34"). I then built a really simple topper that fits a changing pad and a couple of baskets my wife bought for miscellaneous supplies. The topper is removable so when my son is no longer in diapers, we can simply take the topper off and he can have a flat surface on top of his dresser. All-in-all, we are all really happy with the end product!
Sun, 03/19/2017 - 11:54
Excellent idea! This will last for years to come, thanks for sharing!
This project was pretty easy up until the nail hole patching, caulking, and sanding. It was still pretty easy, just time consuming. However, if you want something to look nice, it is going to take some time. Bottom line, my wife was ecstatic with her new bedroom and that's good enough for me. It went from bedroom to master suite.
We could not find a large enough coffee table that we wanted so we decided to make our own. We loved the Rustic X plan and thought if we put two tables toghether we could get the pefect table size for our living room. Project cost us around $120 and it took us a week to complete, but we are happy with the results. The color is a dark expresso.
I love this farmhouse style. It's 7'x3' and 30" high. I got the plans from Ana white. I just made a few changes.
I used and modified the easy kitchen island plans. I put a back on it and extended the top to accommodate bar stools.
Tue, 12/28/2021 - 18:43
After reviewing the original Easy Kitchen Island plans I’m wondering how you attached the 2x6 boards for the top so it fit onto your base?
My son was finally ready for a big-boy bed and I found the plans for this bed on this website (ana-white.com). My husband and I built it w/o too many problems (this being our first attempt at building a piece of furniture). I stained it with "classic black" stain for a rustic look and my son, Max, picked the "cars, trucks, construction" theme and I ran with it. I installed some rope lighting and a closet rod (along with curtain clips and a bed sheet) for a super cool play area underneath. Along with some vintage signs, new signs, old license plates and automobile decals - my son now has a big boy room he LOVES!
Sun, 02/17/2013 - 07:20
So cool. It turned out great. Bet your son loves it.
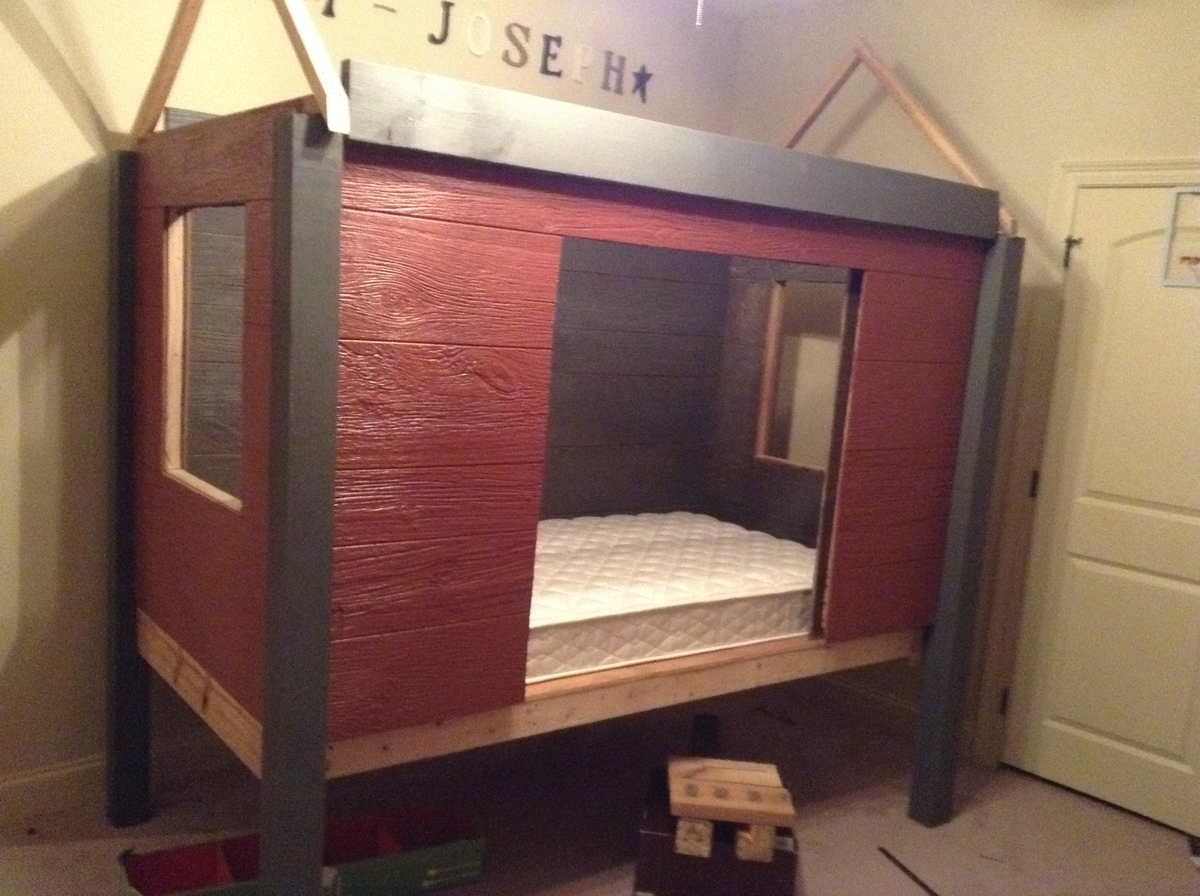
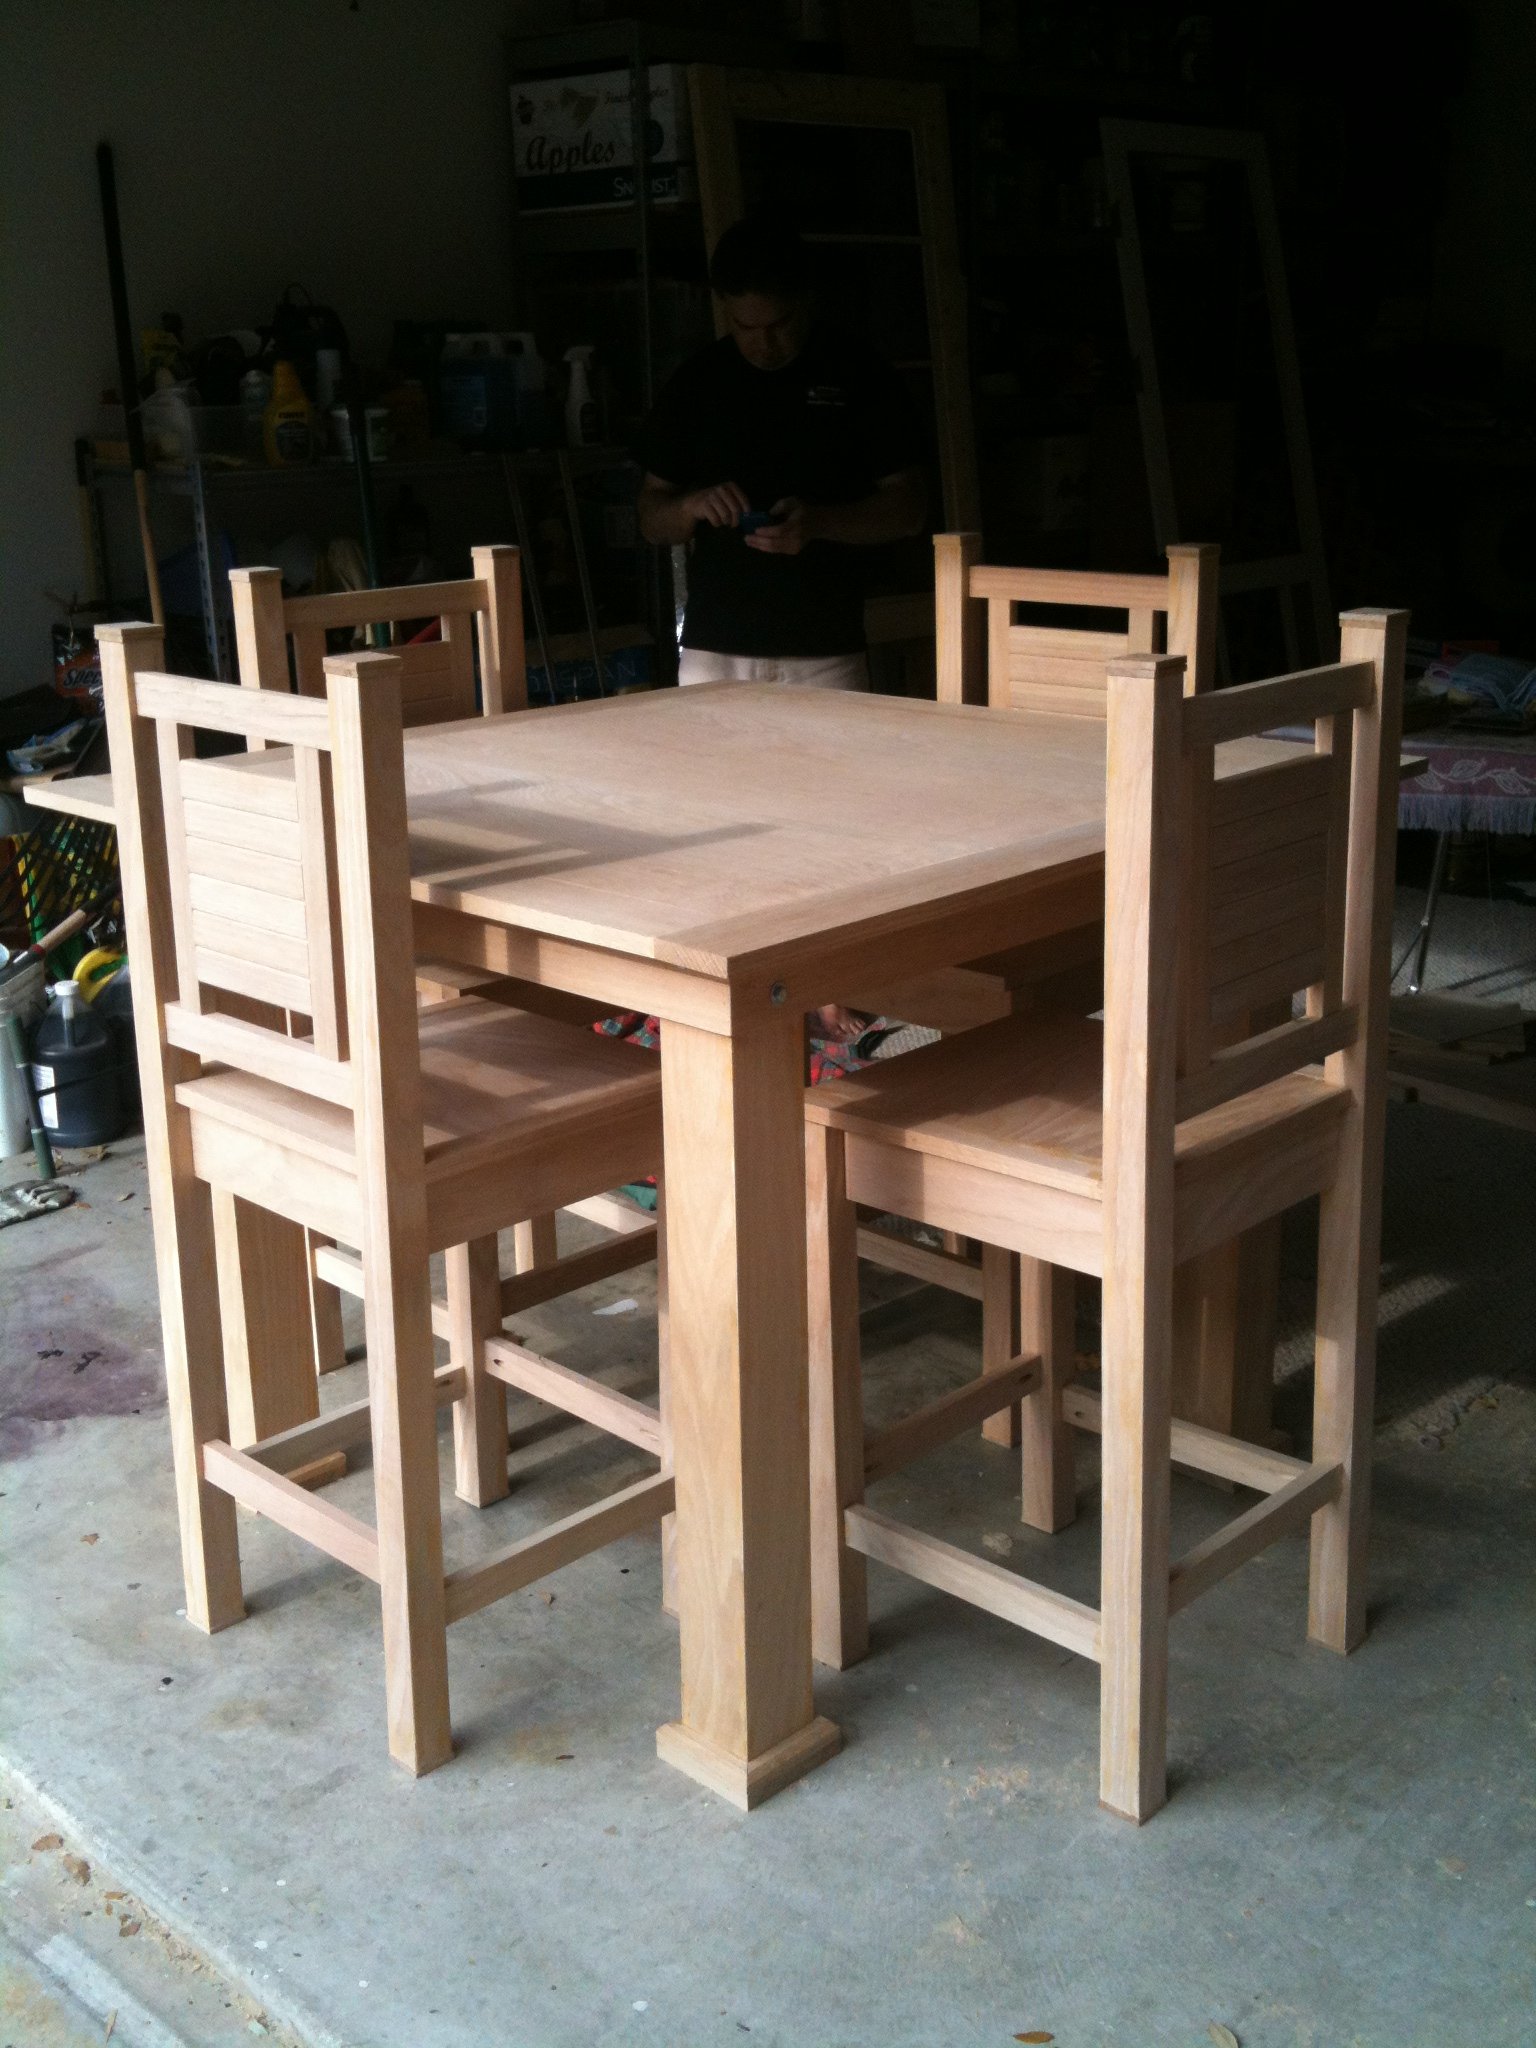
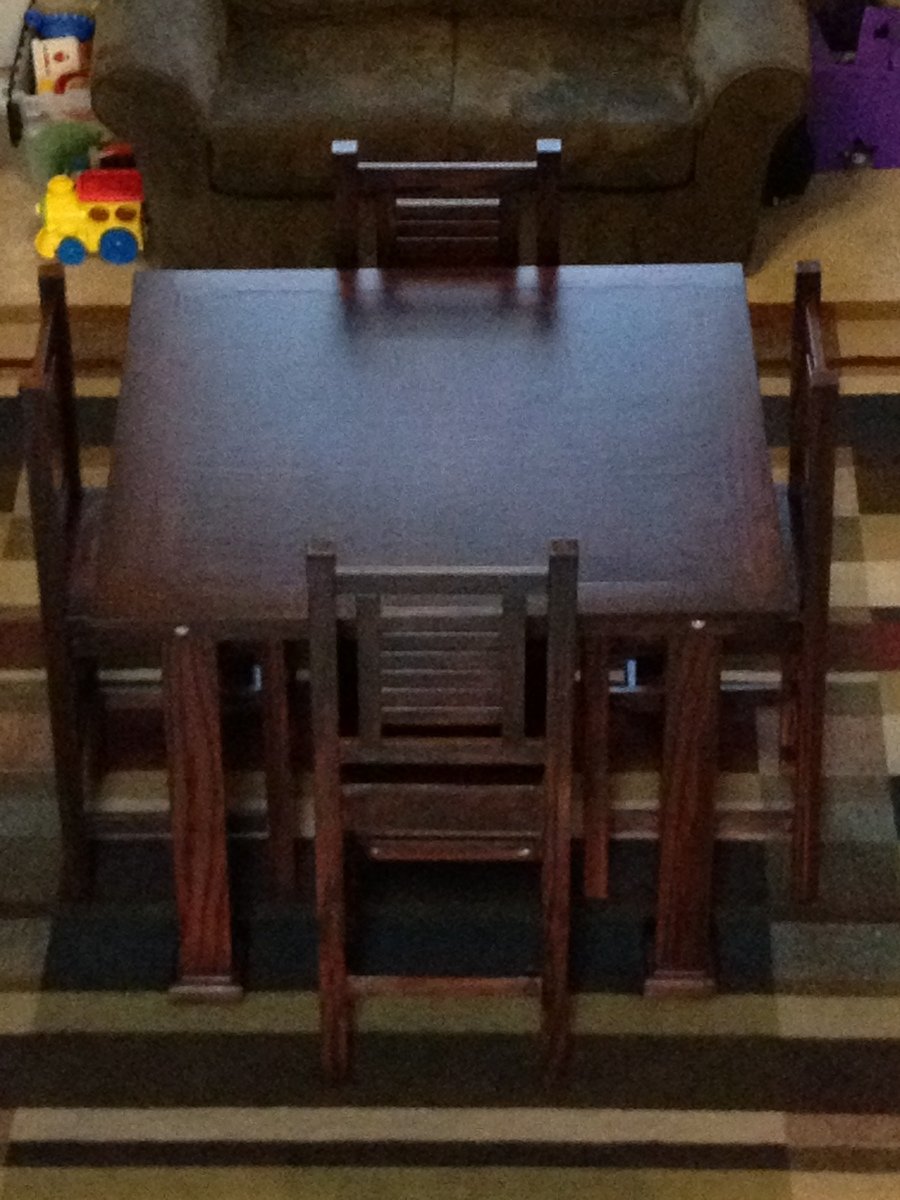
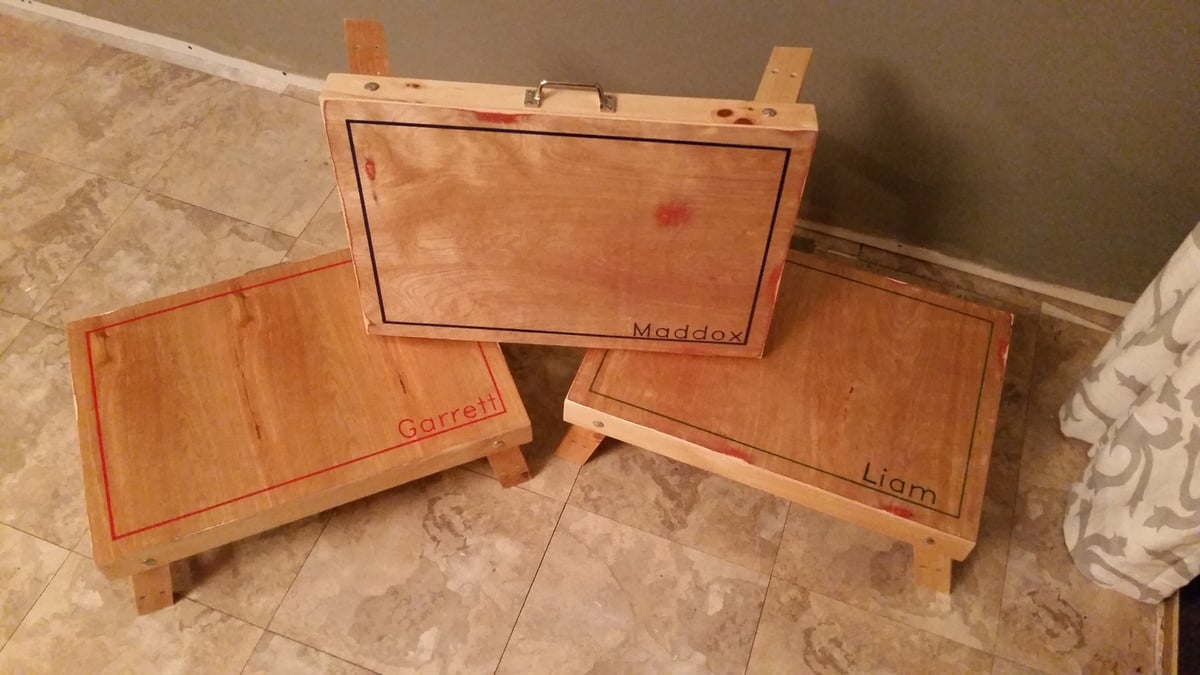
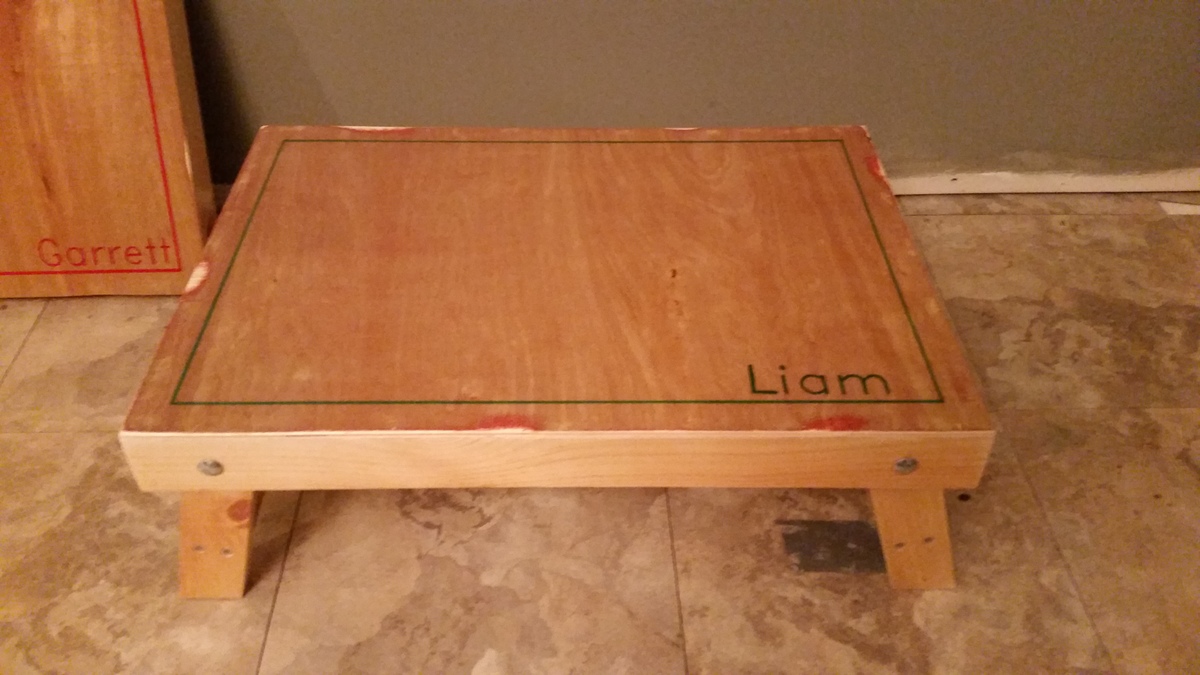
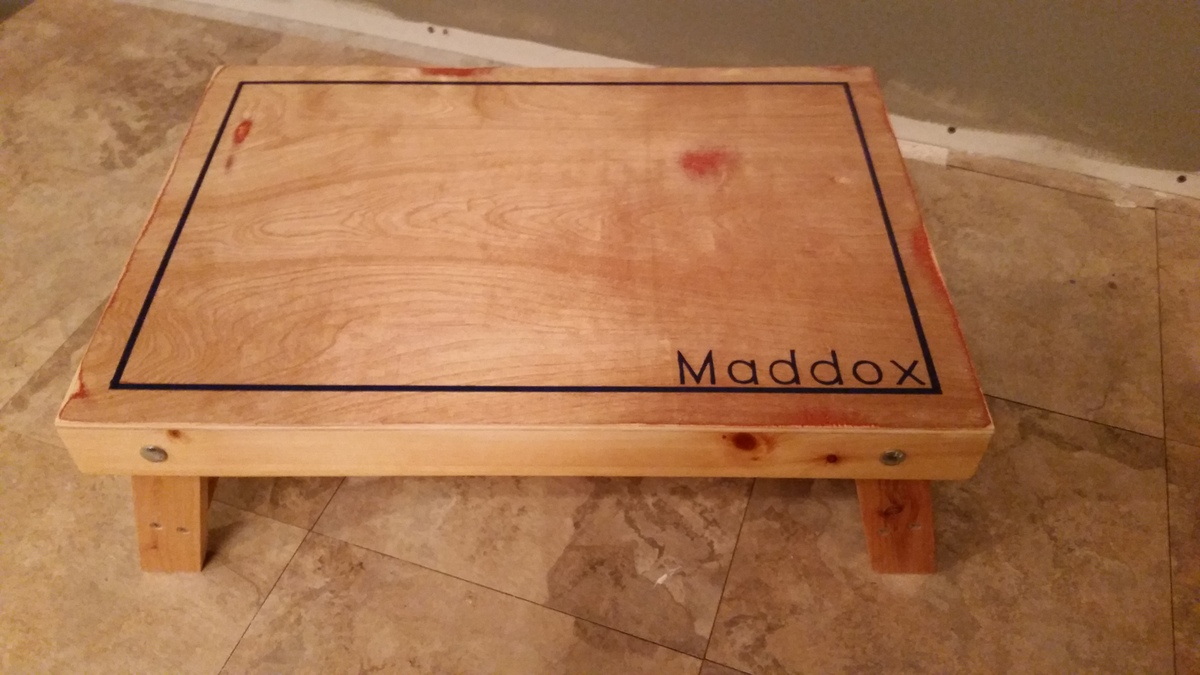
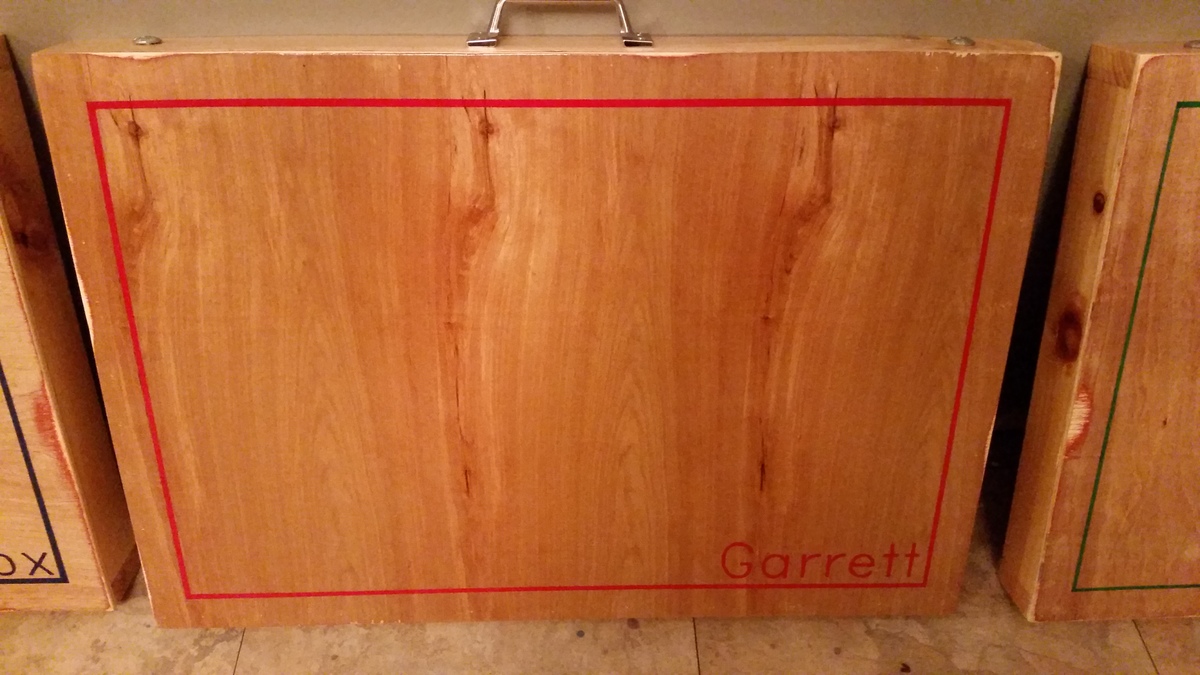
This was a fun project for my three nephews for Christmas (ages 3, 2 and 2). I thought they'd each like their own little personalized desk for coloring, blocks, snacks, etc.
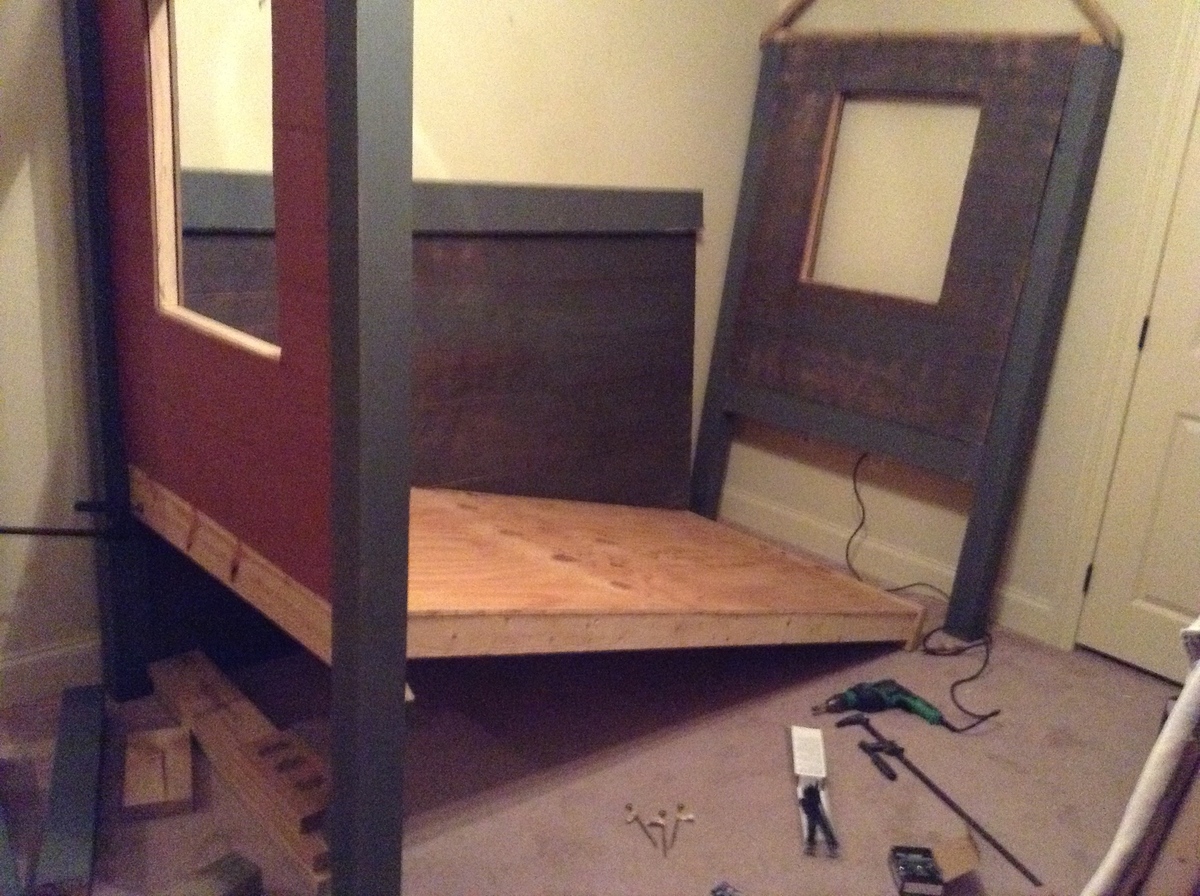
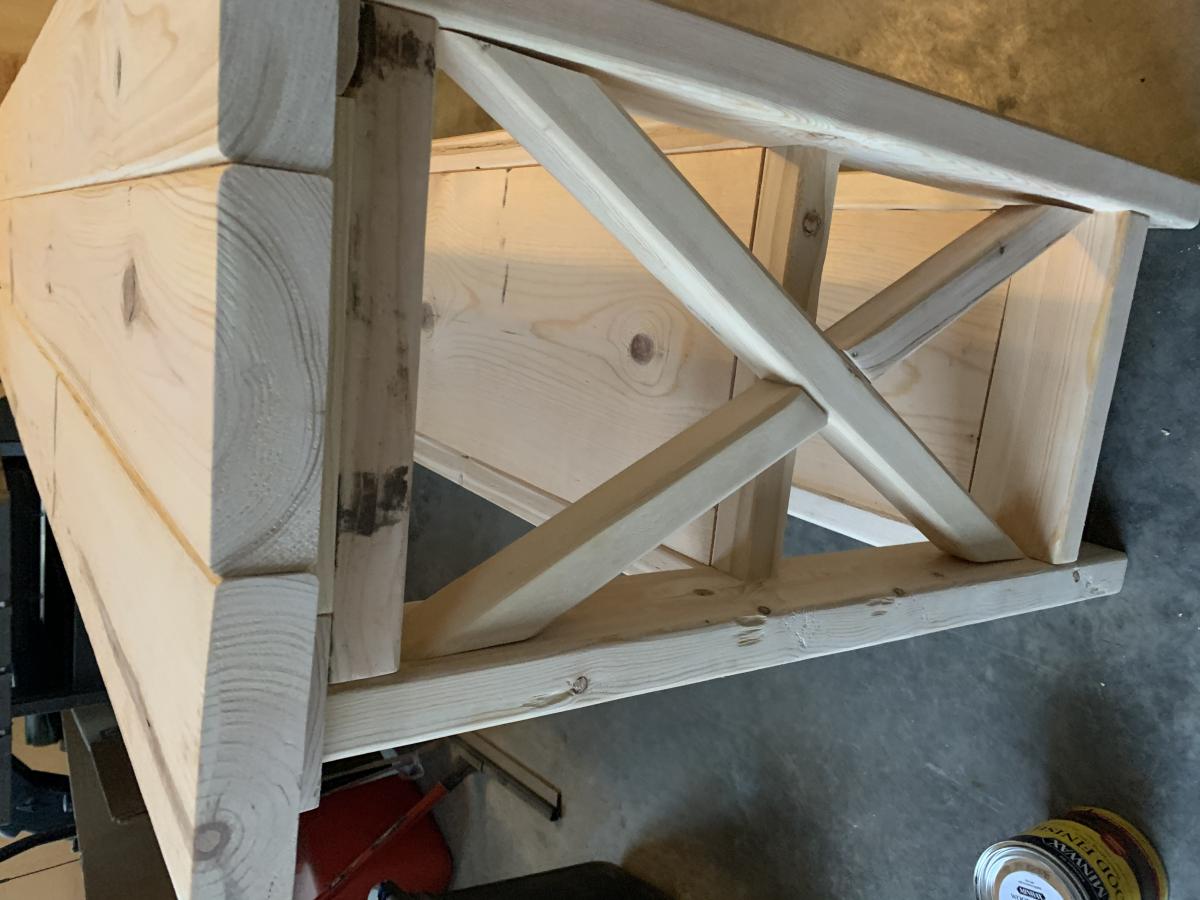
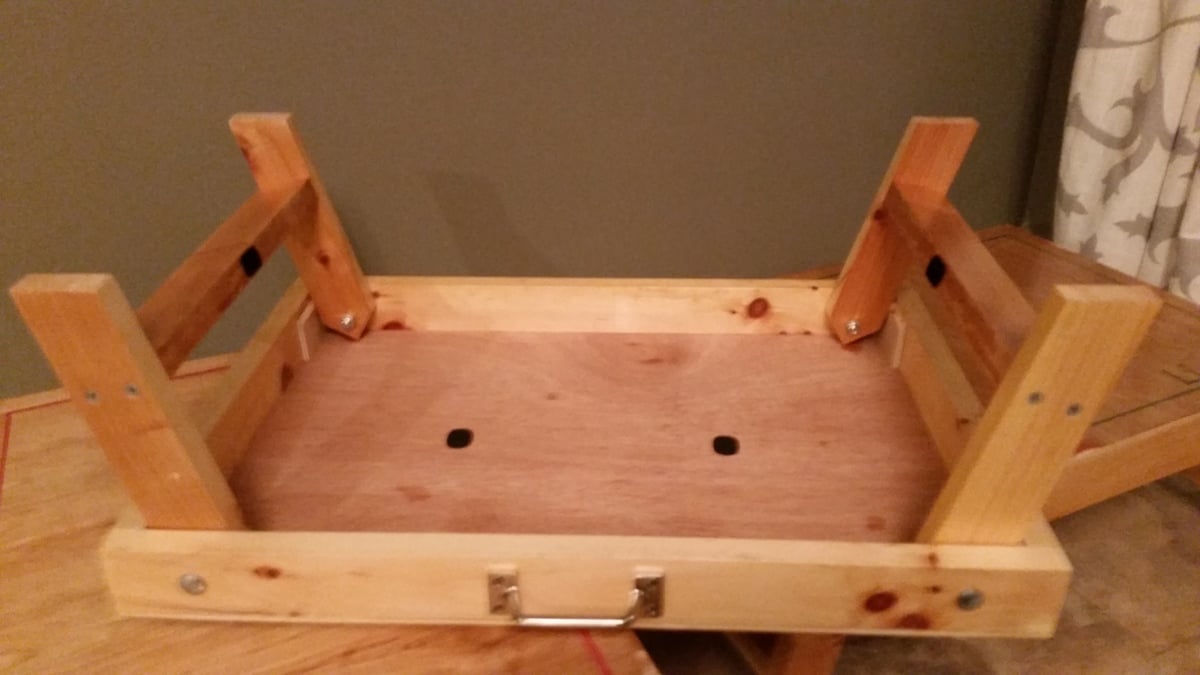
This was a relatively simple build with the only tricky part being the leg holes (and getting the legs to open at the exact angle I wanted). I had to fudge a couple of them with some patches that you can see in one of the photos.
I would suggest using lock nuts on the bolts. The original nuts I used were turning as the legs opened and closed. I thought that eventually the nuts might work themselves off the bolt.
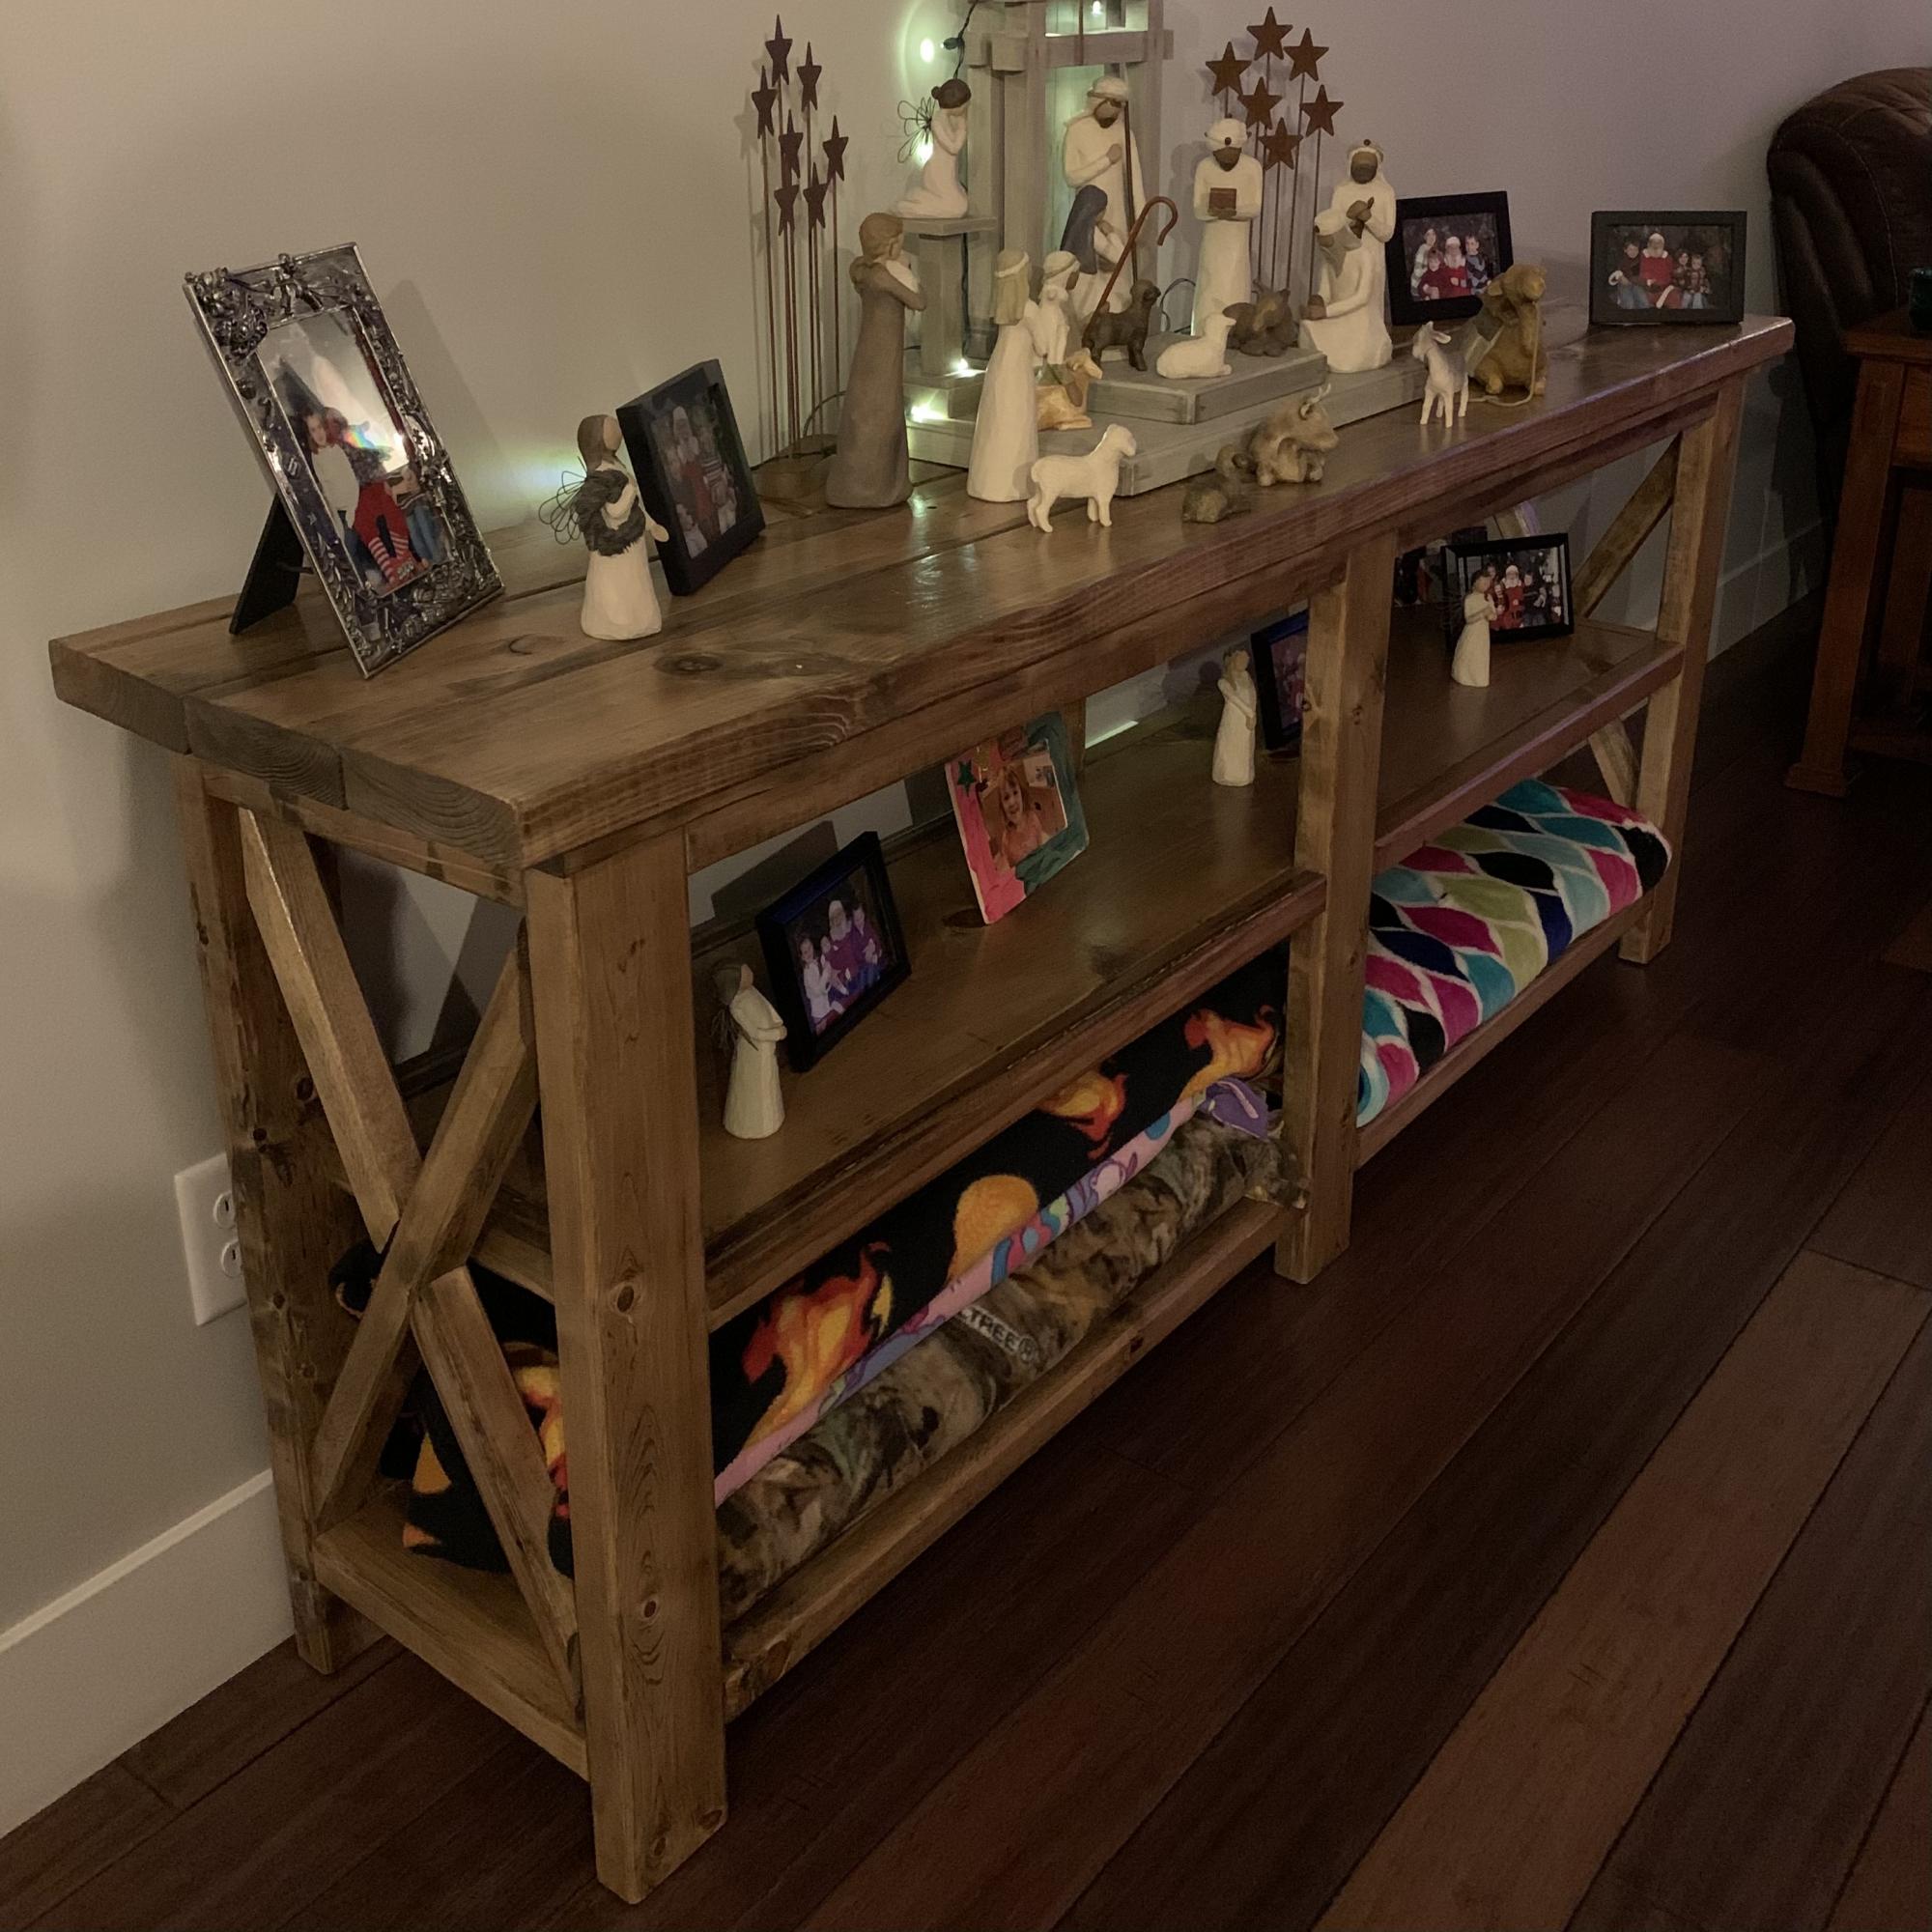
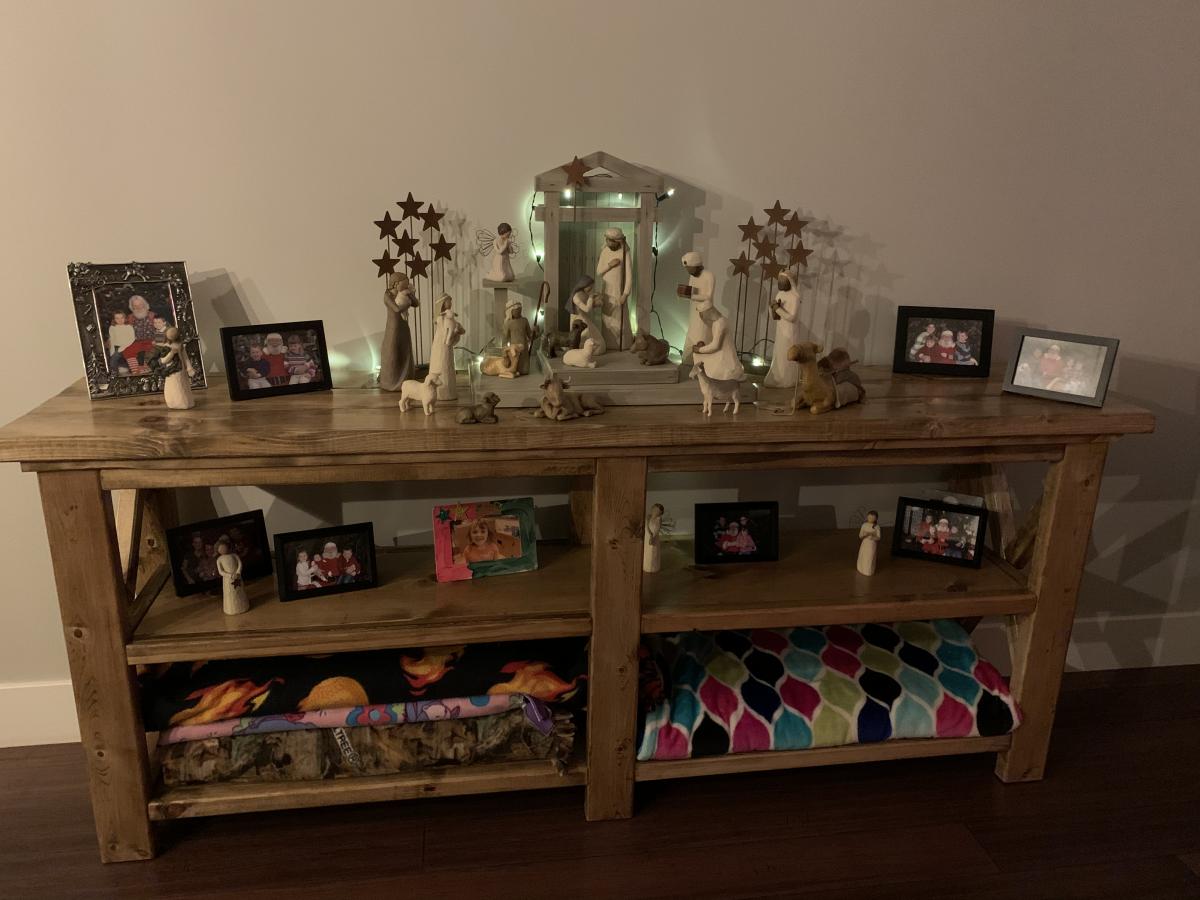
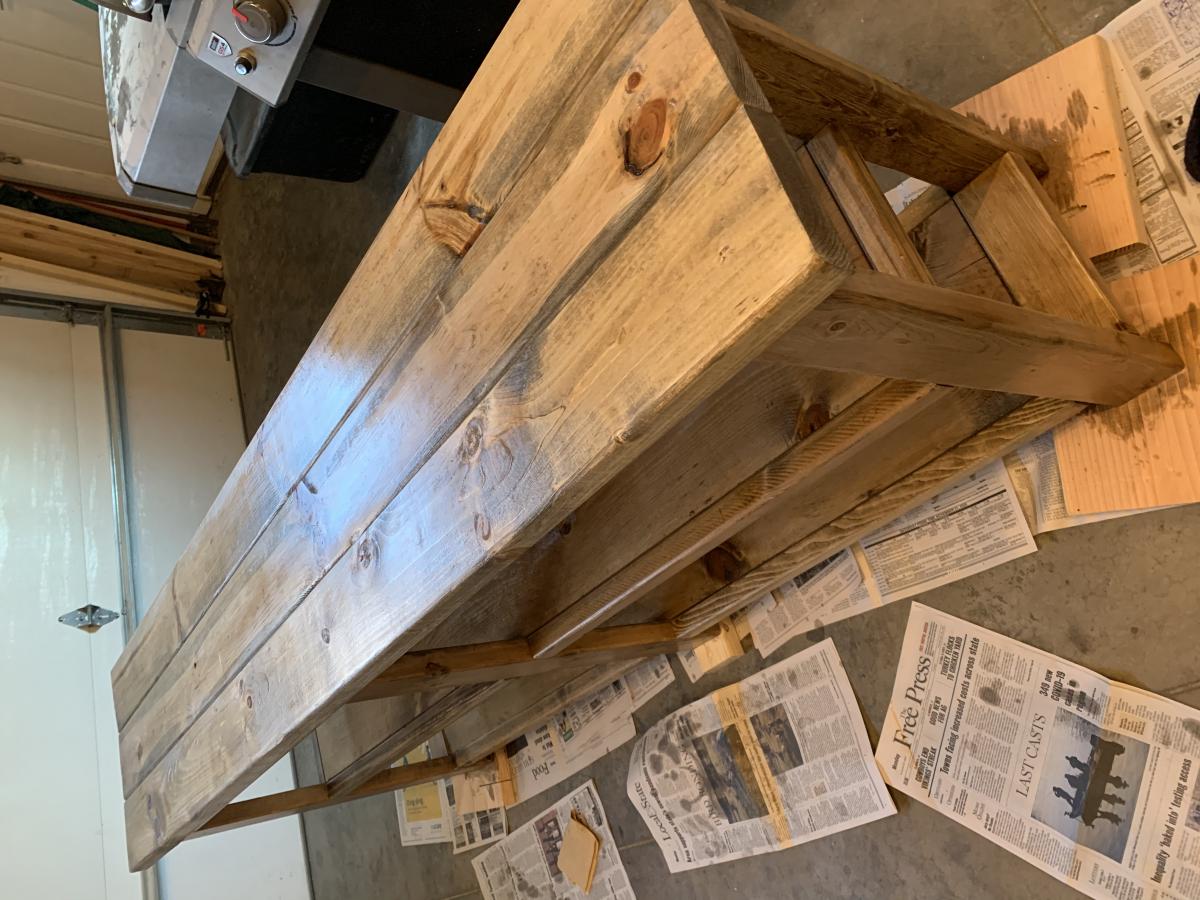
The frame was built completely out of 1x6 scrap wood I had lying around my garage that had been used for shelves. I cut the 1x6s down to 1x2 and 1x3 with my table saw. I did buy a small sheet of plywood underlayment for the top.
Comments
Pam the Goatherd
Sun, 02/03/2013 - 18:50
Nicely done! Makes me wish I
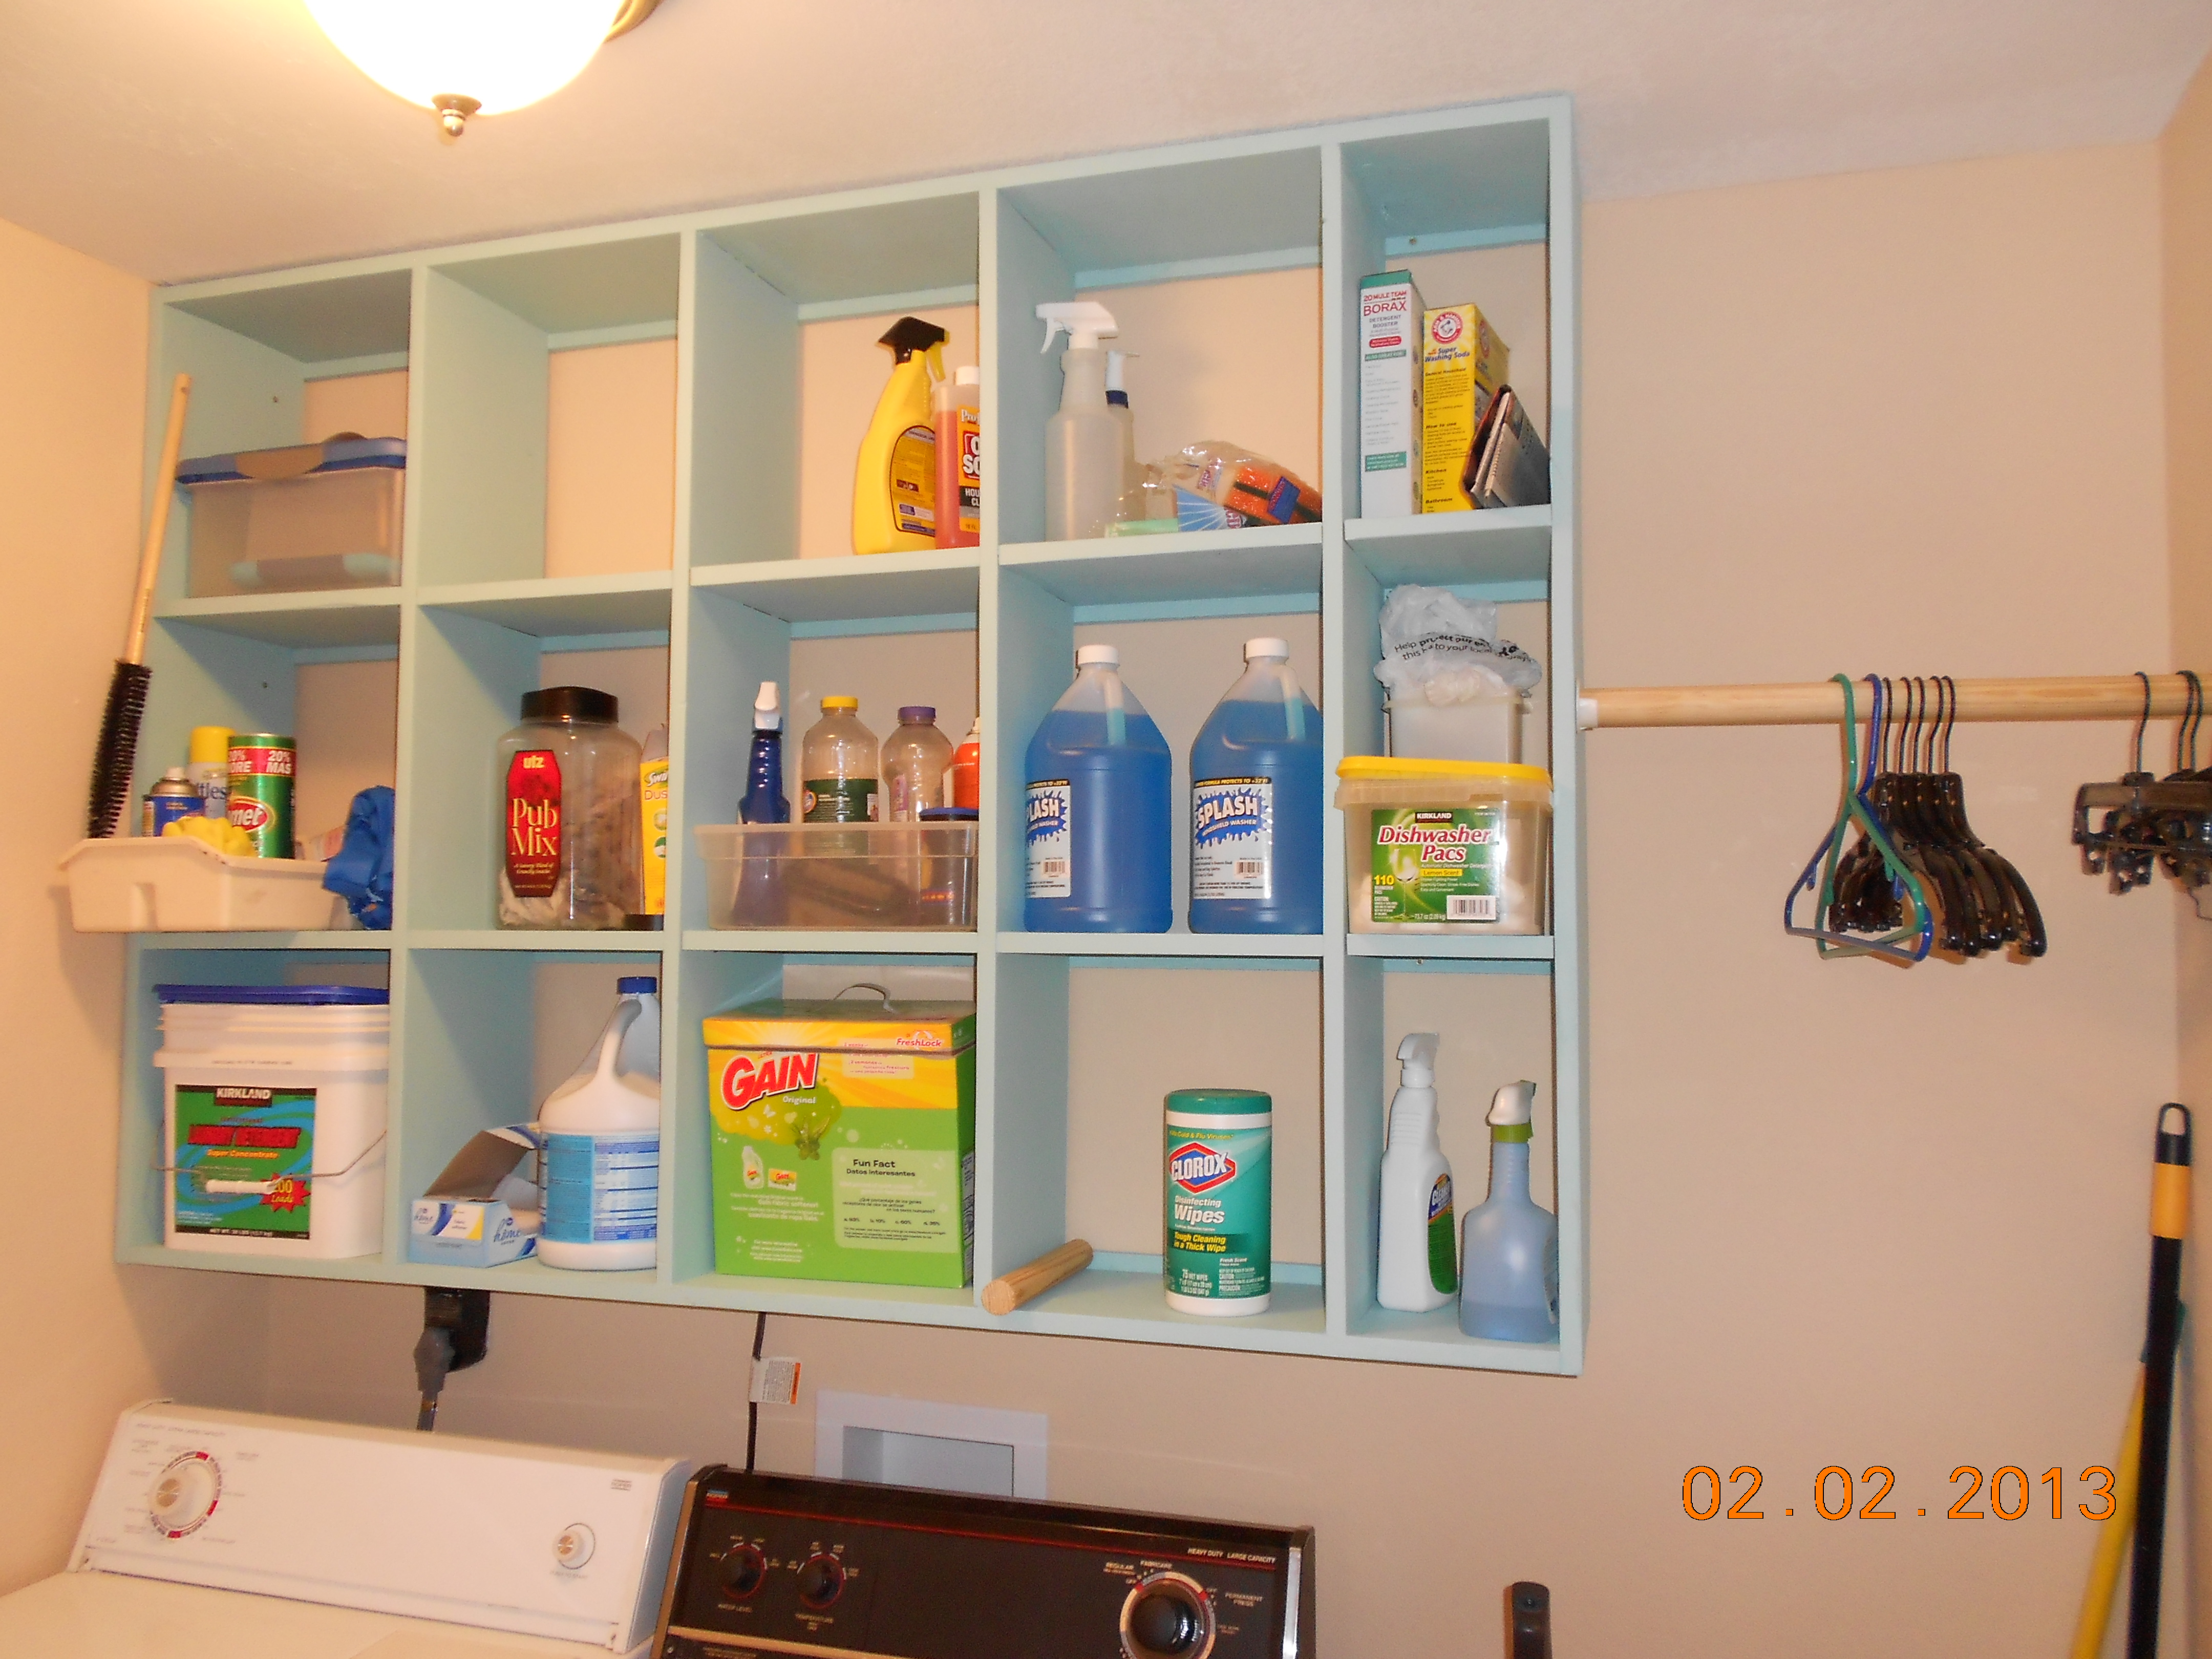
Nicely done! Makes me wish I had room in my laundry area for one like it.