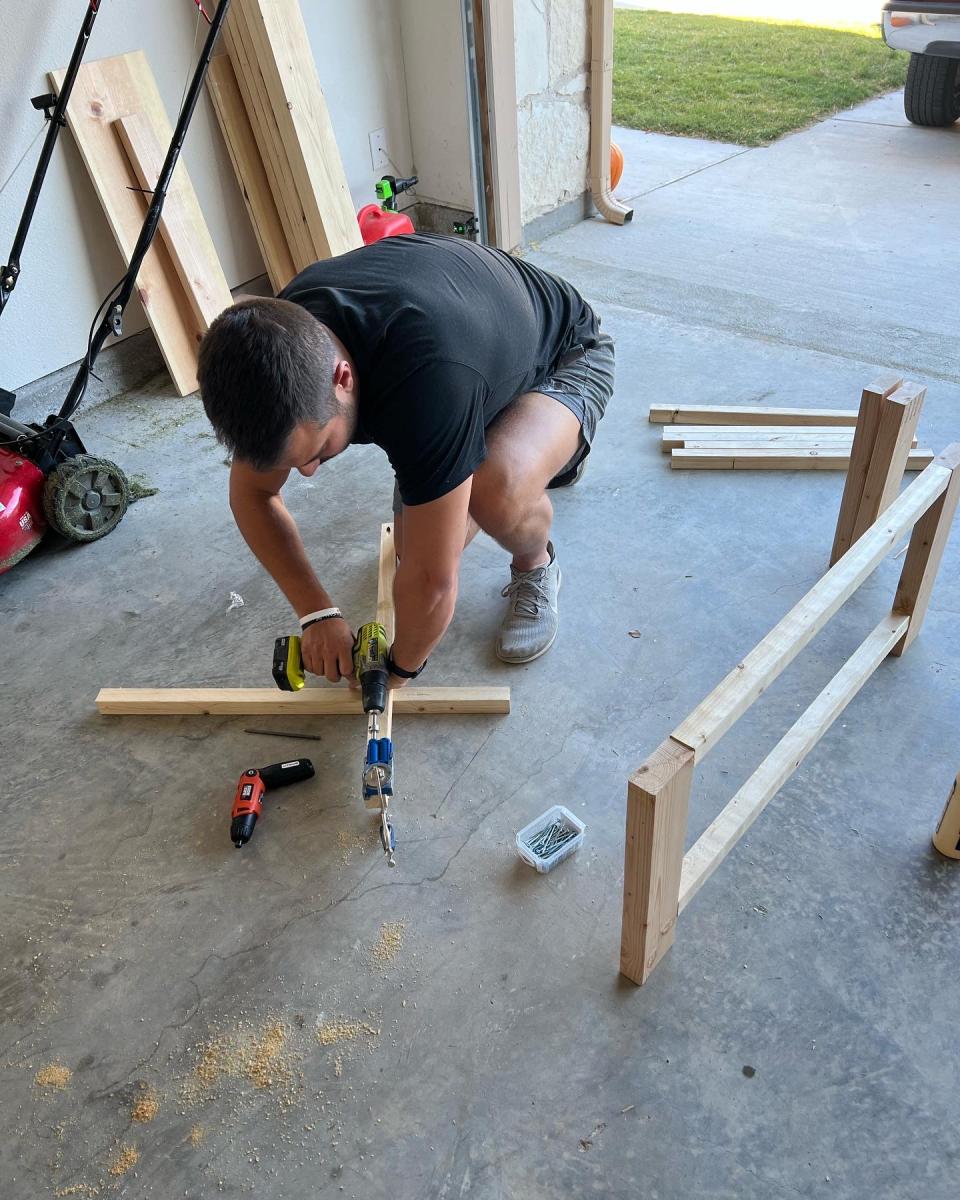
This was my first real woodworking project and I feel like I learned a lot that I could pass on to others taking on this project. First post here!
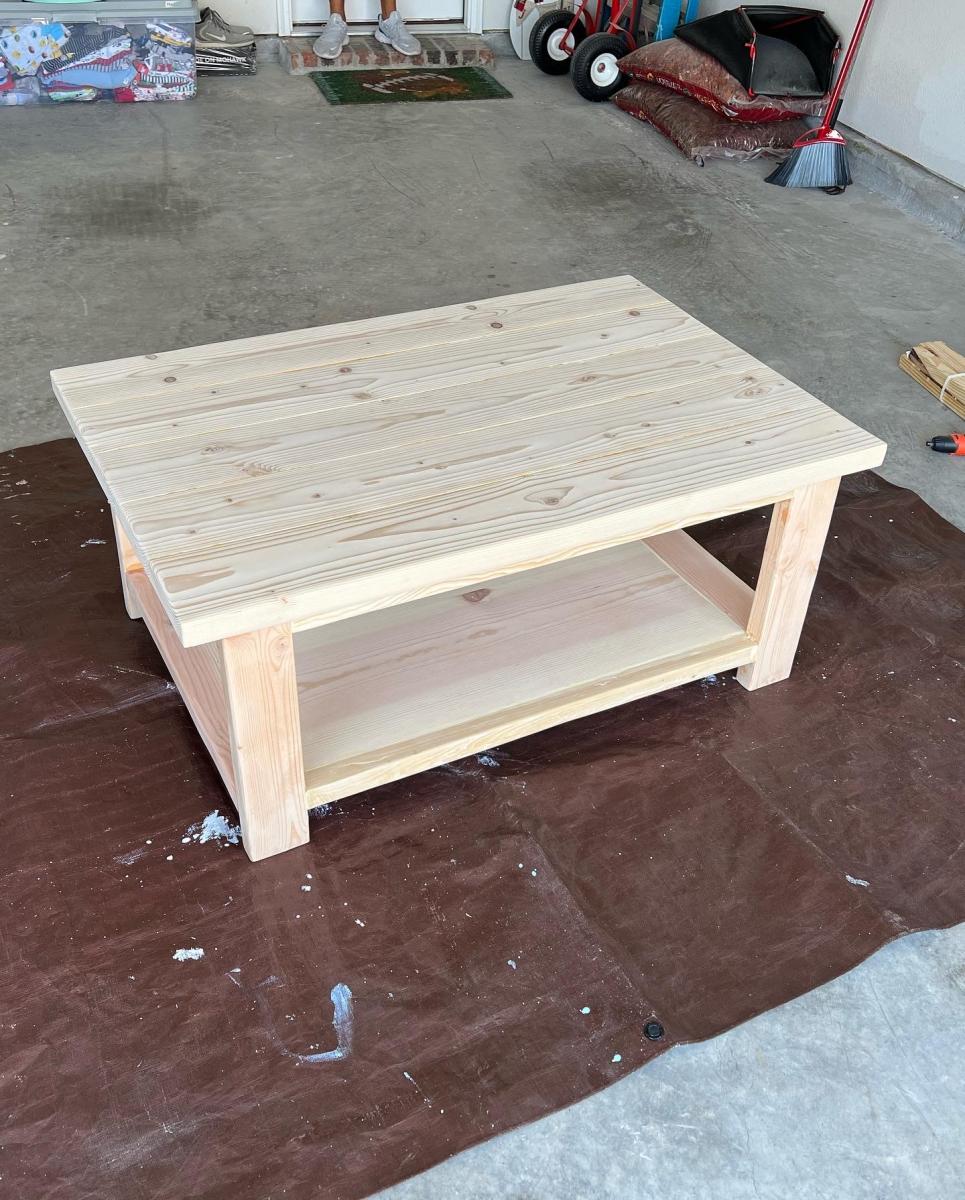
It was a lot more time consuming than I thought. It is hard to estimate how many hours I put into it, but I'd say at least 20-30 hours of actual work is required. As a first-timer there was probably a lot of wasted time, and trying to squeeze in time for this around work, family, and other priorities probably added time. Other than a couple of days where I put in a solid 4-6 hours of work, the other days were an hour here or there that I could squeeze in. I decided to sand, prime, and paint everything before assembly. I think this was best for me, but I can see why others have recommended painting the entire bed white and then cutting in the color. After assembly there was definitely some touch-up required.
It also cost me a lot more than what others had posted. I spent around $900 for the project, including everything that was required...wood, new saw blades, new jigsaw blades, sandpaper - lots of it, screws - about 600 total, kreg jig, primer, paint, hinges, hinge supports, extra wood for a few mistakes along the way. I'm in Southern California and bought everything at a major home improvement store, so I probably didn't get the best prices on everything, but it is convenient to our house.
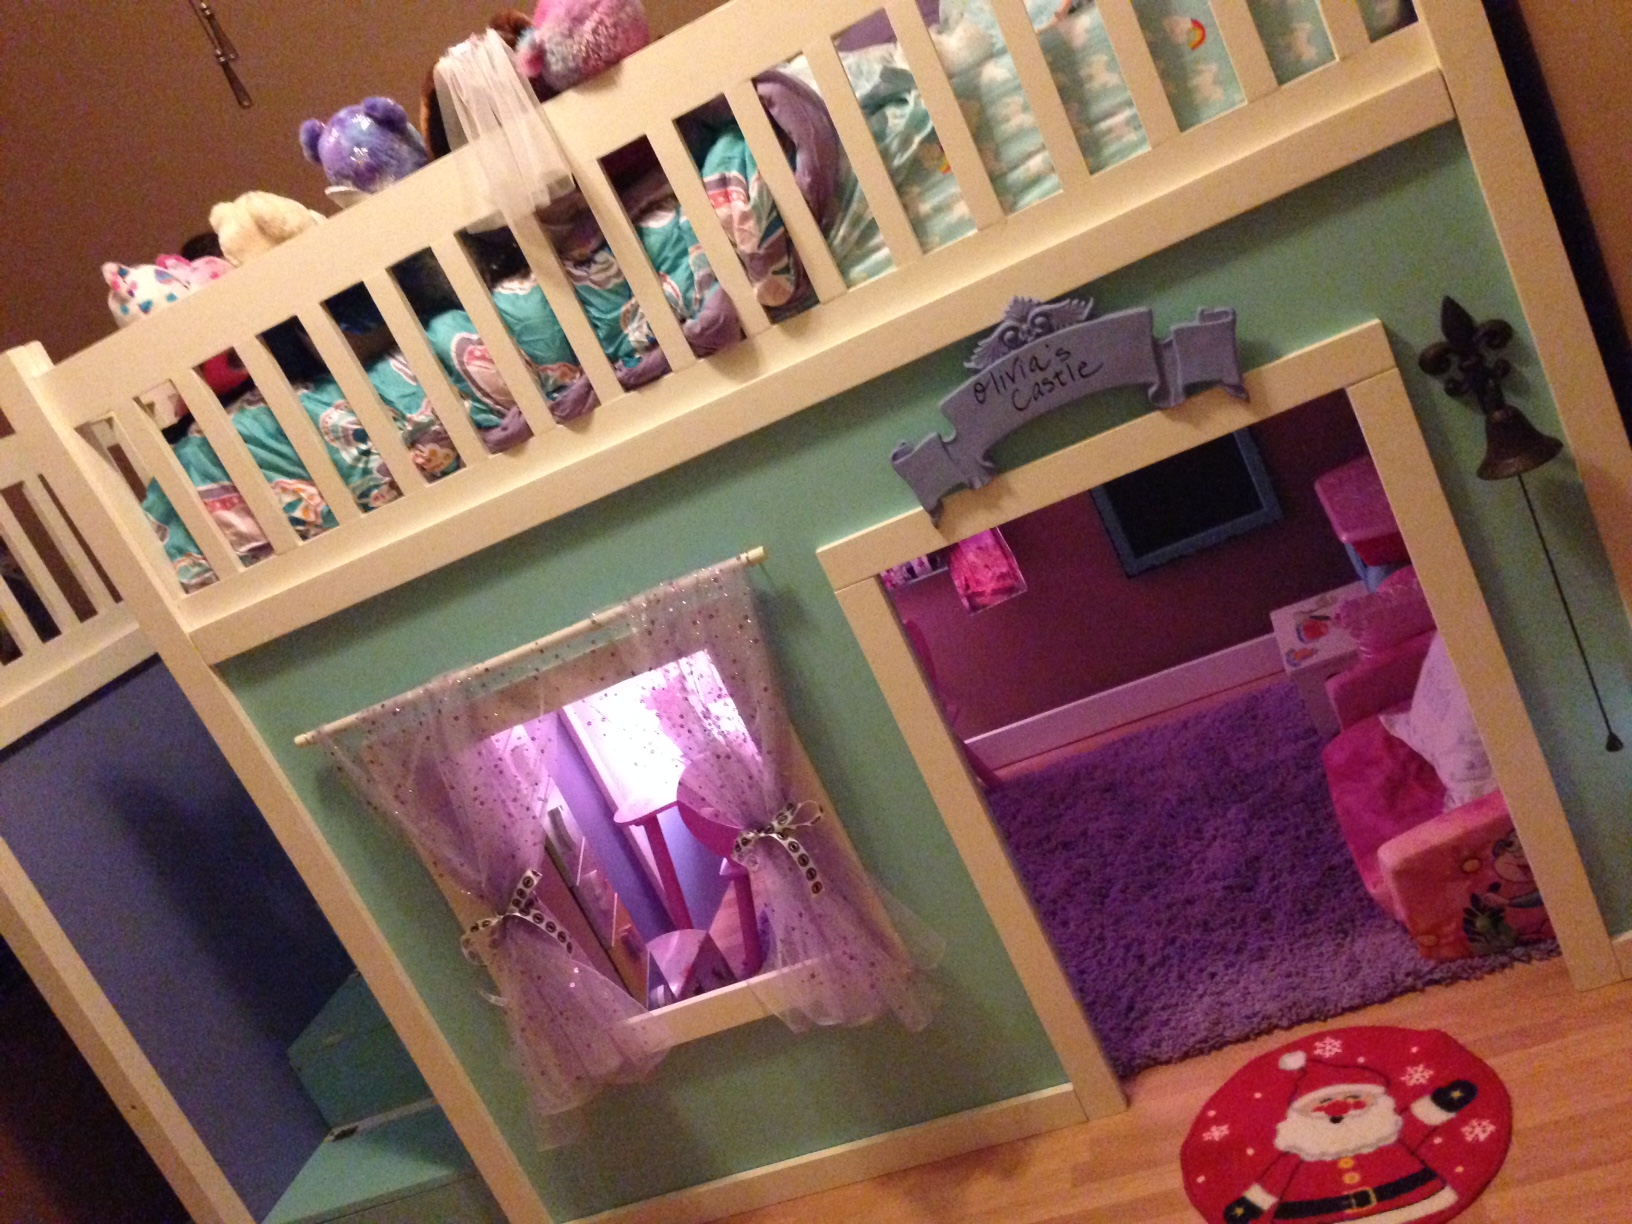
I started with taking the plans for the playhouse loft bed and playhouse loft bed with storage stairs - thank you so much for these! I built everything in CAD and converted it to a full size bed. This was very helpful for me as an engineer to see how everything was going to fit together. Even then I made some mistakes along the way! One of the best things this gave me was a consolidated cut list that showed me how many common size/lengths there were...like the 66 1x2x11.5's needed for the rails and the 13 1x3x68.5's (I attached this pdf here http://ana-white.com/sites/default/files/bill%20of%20materials3.pdf). This way I could set up a block on my saw and just knock out the cuts all at once and have them all be the same length. Building it in CAD also saved me on a few things, such as using a 1x4x120 instead of the 1x3x120 called for in the plans, which was not available at the store. This affected the dimensions of the stair walls and a couple of other things.
Things I learned along the way:
- pocket holes are cool and very useful; the kreg jig was well worth the $100
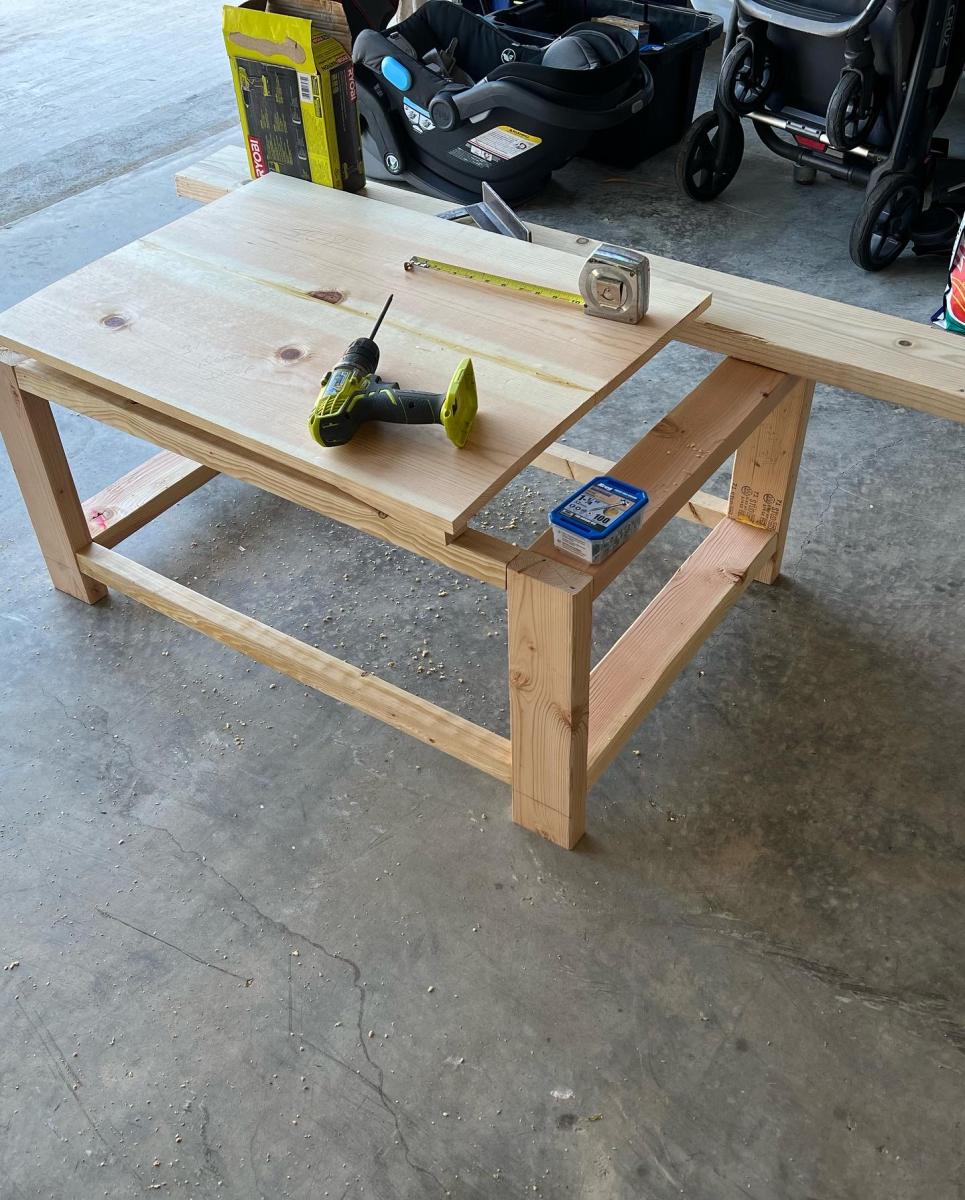
- wood isn't straight or square (I know, obvious for you pros out there!): the bends and curves over an 8 foot length of pine can be quite dramatic
- my garage floor isn't flat: assembly of the first rail taught me this!
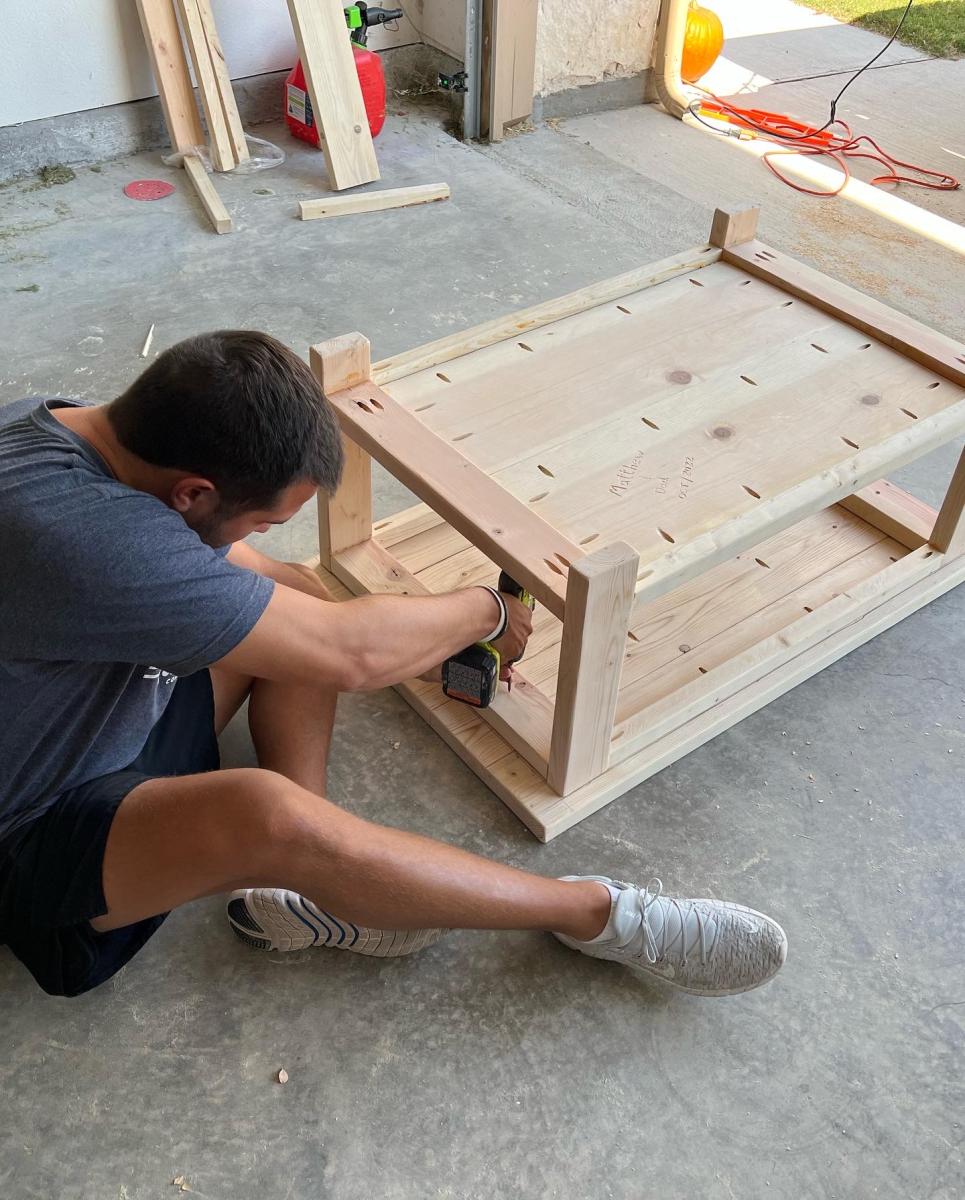
- the rails are by far the most time consuming part of this project, between drilling pocket holes, assembly, filling pocket holes, sanding, priming and painting all the nooks and crannies, I probably spent 90% of my time on the rails...but my 5 year old really enjoyed drilling many of the holes and filling them with the kreg hole plugs and glue
- 4ft x 8ft MDF is incredibly heavy so you will need help to transport and it actually measures 49" x 97", so I didn't realize that I needed to cut 1" off of the height for it to match the 48" I had planned for...that would have been much easier to have the store cut for me! No table saw in my tool set...
- even with the help of CAD, I got confused during assembly on some of the directions, such as which wall would be facing outside or inside. This really only affected how I was trying to hide assembly features and screws, but something to look out for when you assemble. I replaced a couple of trim pieces that weren't as perfect as I wanted
- I used a lot more pocket holes during assembly than I expected, which was another reason that I say the kreg jig was well worth it
Differences in my plan:
- the stair widths are adjusted down to 22 3/8 from 22 1/2...you don't want the stairs grinding against them walls when you open and close them. You should check your actual width of your stair area before assembly because things might be different for you and squareness also affects this.
- I have four total stairs to account for the full size bed width, so heights and depths of each have been adjusted
- the lowest stair needs to be slightly shorter to account for the arc when raising/lowering it. As dimensioned, it will interfere with the front legs, so I used 10 1/4 depth instead of 10 1/2.
- I felt like the bed needed more support underneath so I added two more 2x2's with pocket holes on both ends
- I added hinge supports to the storage stairs to prevent squished fingers
Still thinking about added a window or door or some kind of access to the tallest stair compartment from inside the playhouse area...it is really tall so anything going to the floor in there might be hard to get out. The outer stair wall still seems kind of loose so I'm not sure if I need to add more pocket holes where it attaches to the back leg/wall or what. Not sure if I can add CAD models here, but I can supply them if anyone is interested.