Elementary Trestle Table Inspired by Land of Nod
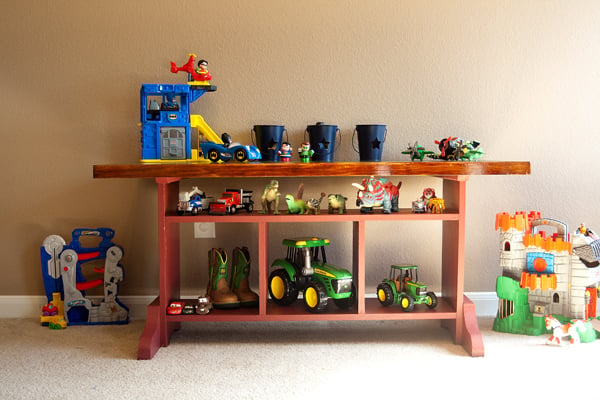
Such a cute, functional table that was easy to build!
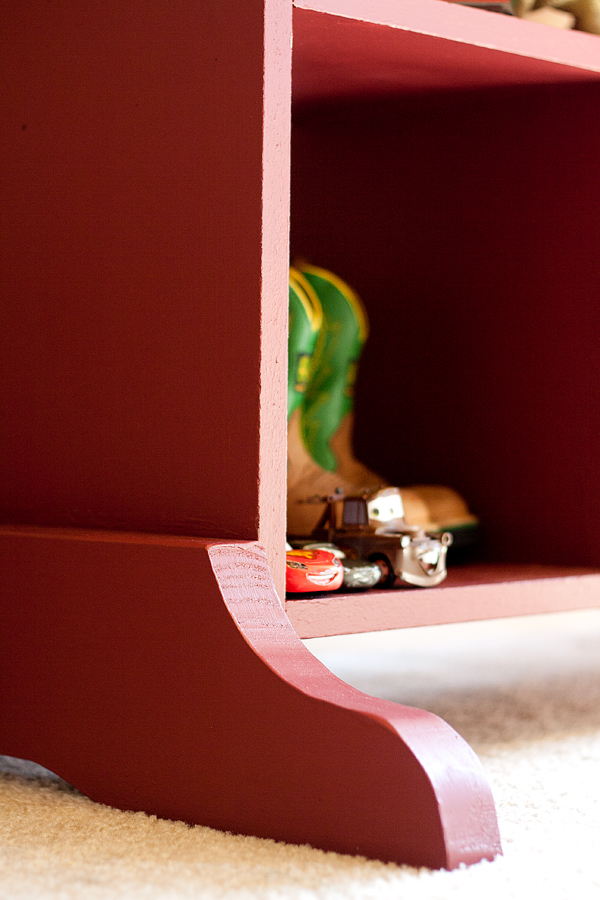
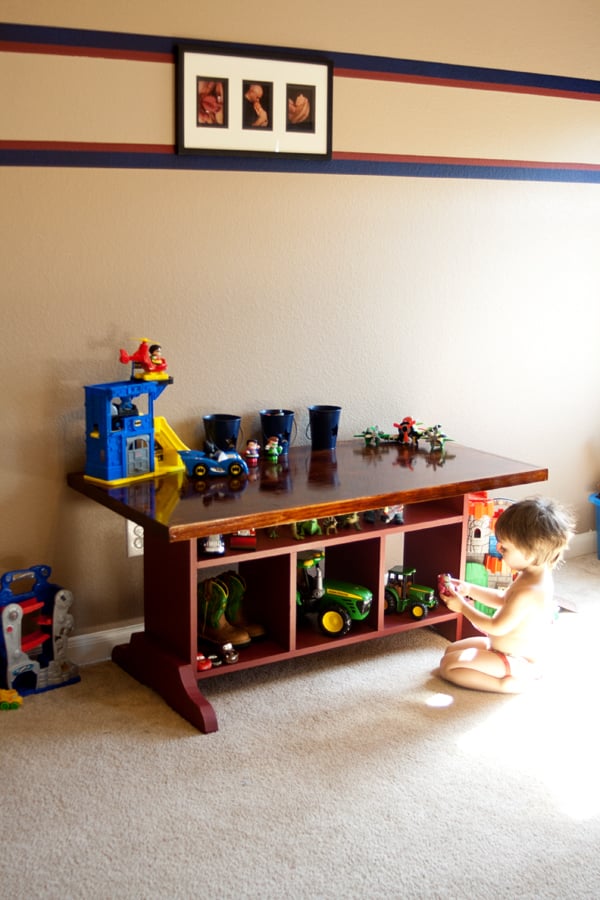
October Red (a quart of pain mixed at Walmart years ago) for table itself

Such a cute, functional table that was easy to build!


I love the toddler upholstered bed plans, but my daughter rolls all over the place while she's sleeping. So I added sides and put cut out butterflies on ladder hooks in front. She named it her Princess Butterfly Bed because everything is princess.
Tue, 12/02/2014 - 19:01
This is just darling - so cute for your little princess! Love how you upholstered the sides along with the back.
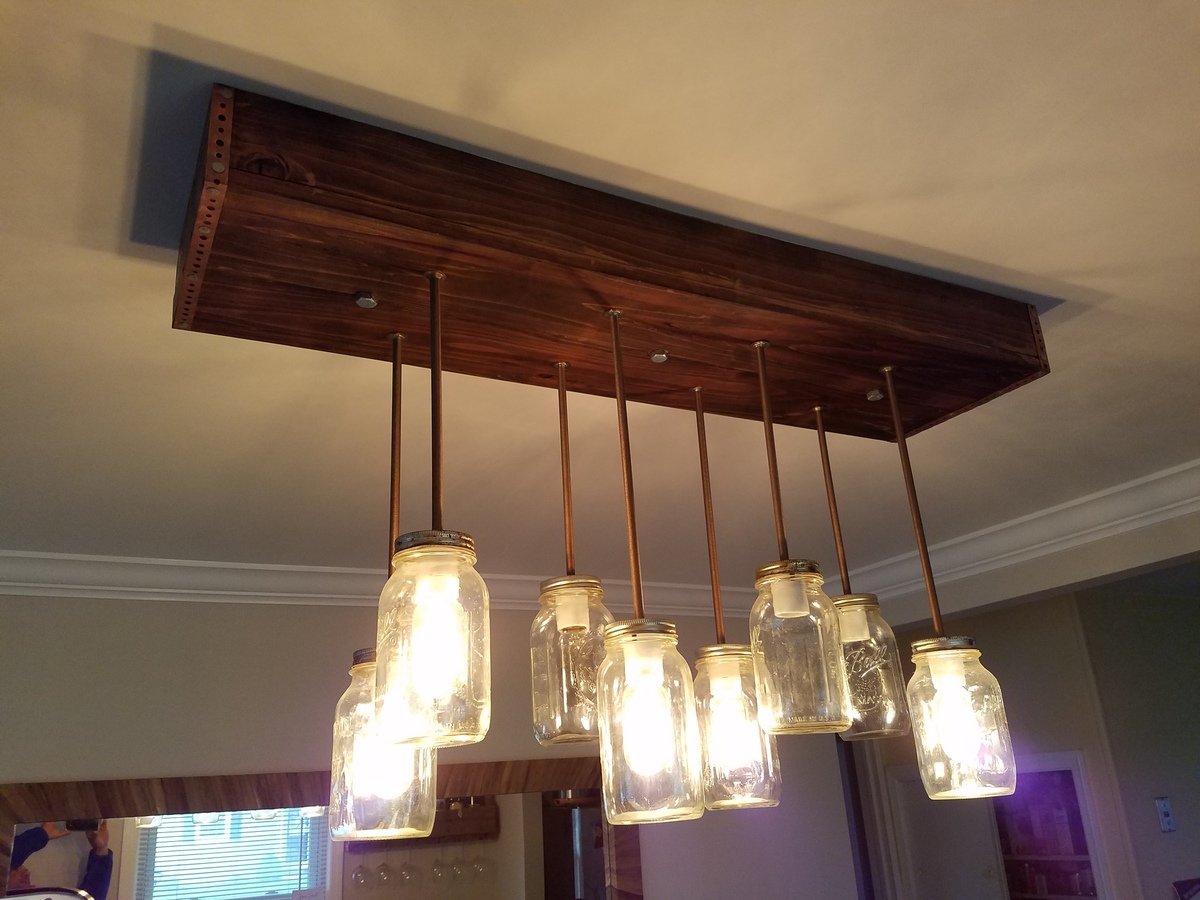
This was a cool project to make
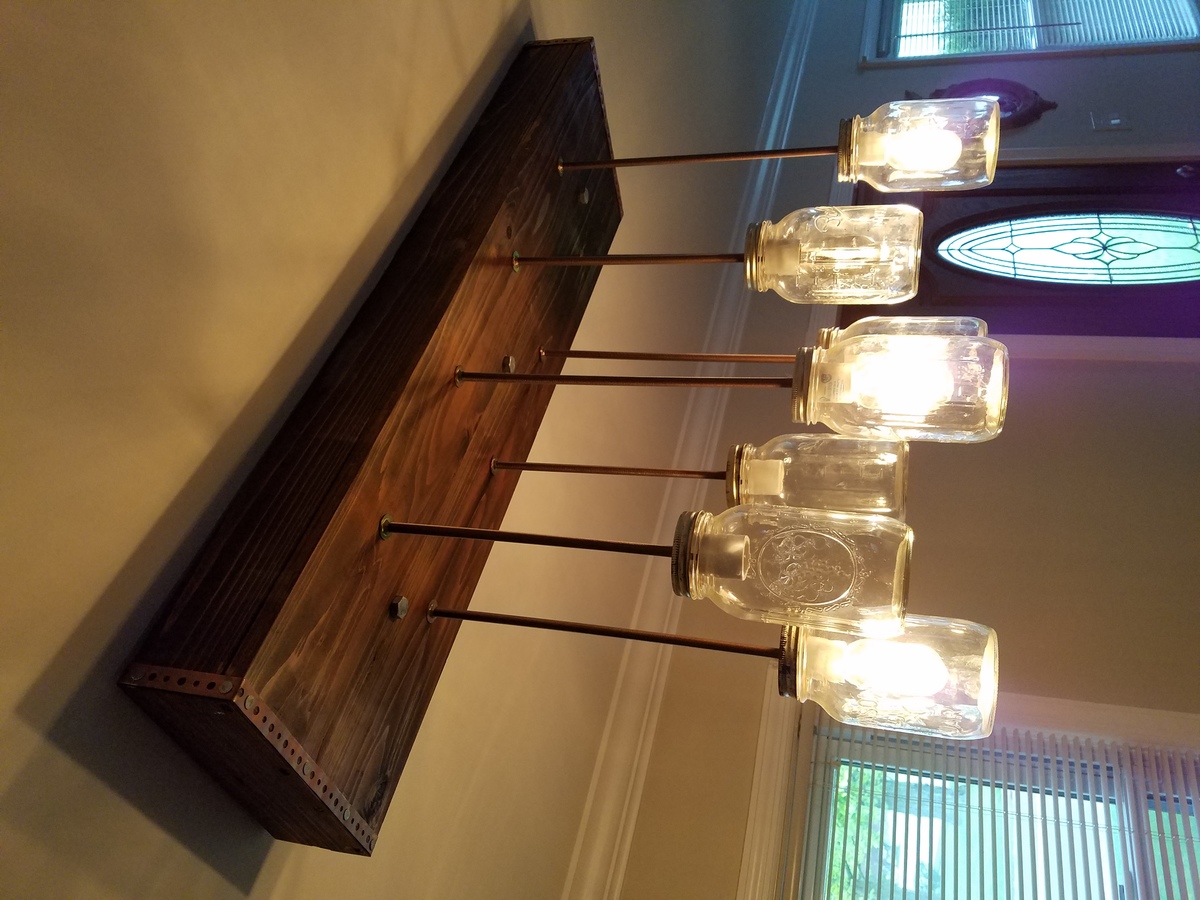
I had saw this online but was very. Expensive to buy some one afternoon I decided to built one my neighbor had a ton of Mason jars so I got 8 from them and I started to put everything together and the end result came out nice I hope u guys like
Thanks
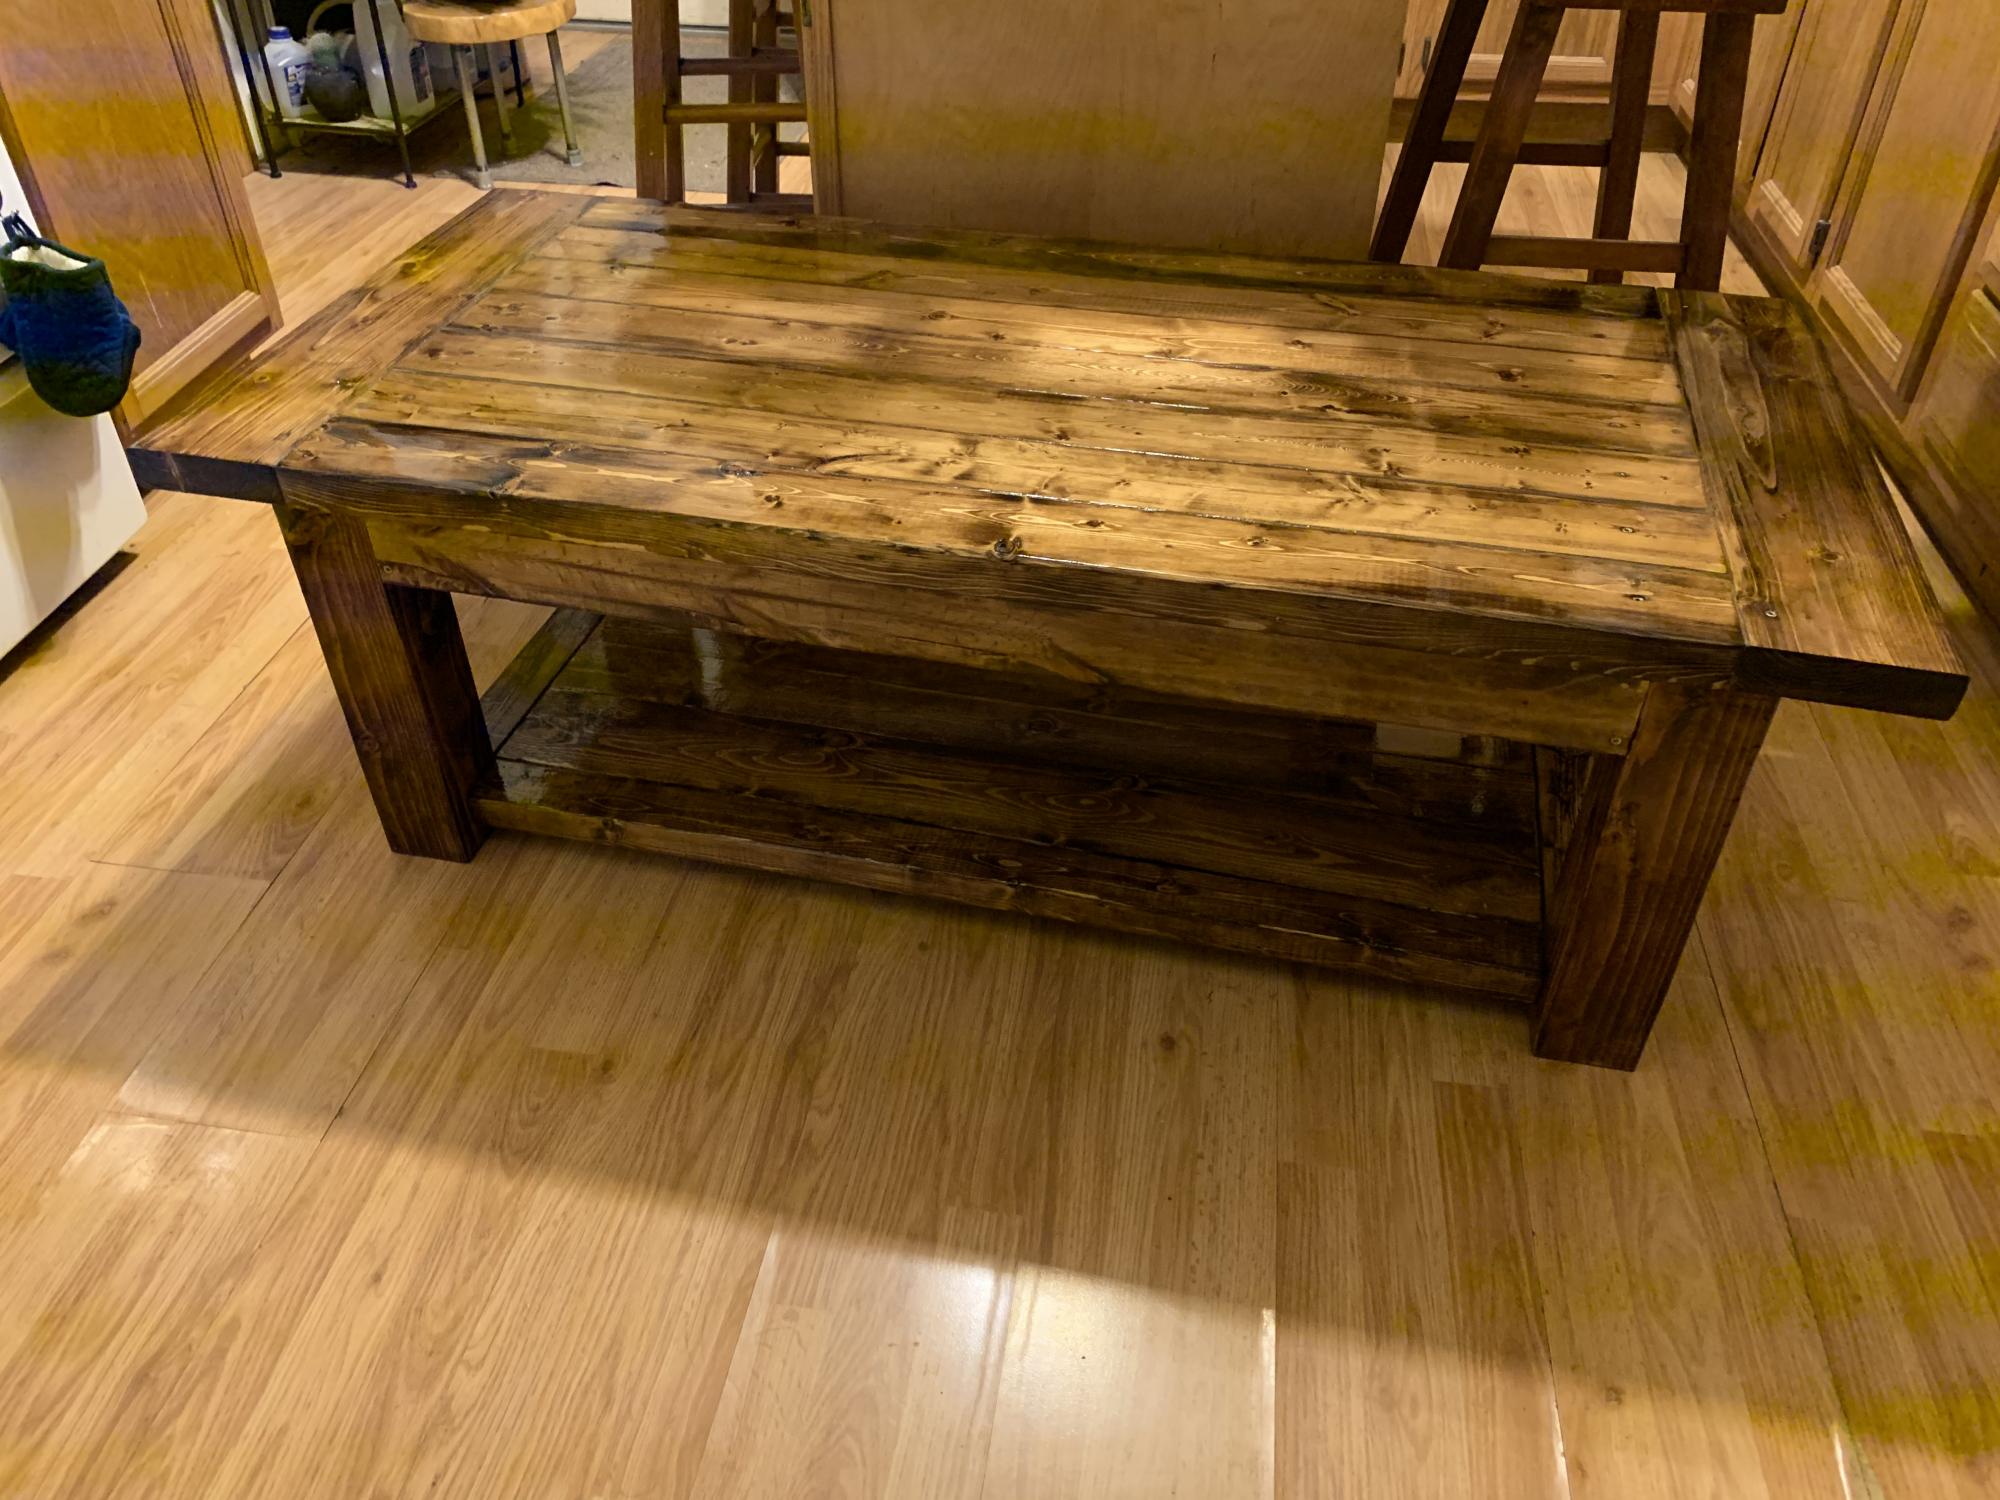
Plans from the Tryde table plans. Added bottom shelf. Next up, Tryde end tables, one is done, other trying to plan it out to include a drawer. I added carriage bolts for looks, and black metal corners. So much fun!
Tue, 02/04/2020 - 12:36
Thanks Ana! You really were my inspiration to try and build furniture. With every build I’m getting more comfortable. I talk about you all the time when people ask where I learned... Ana White!
Thanks again.
btw. I really need rocking chair plans!
Tue, 04/14/2020 - 20:32
What kind of mods could you add in order to open the table top for a bin. Nothing deep, but a great place to keep a firearm, hide remotes etc.
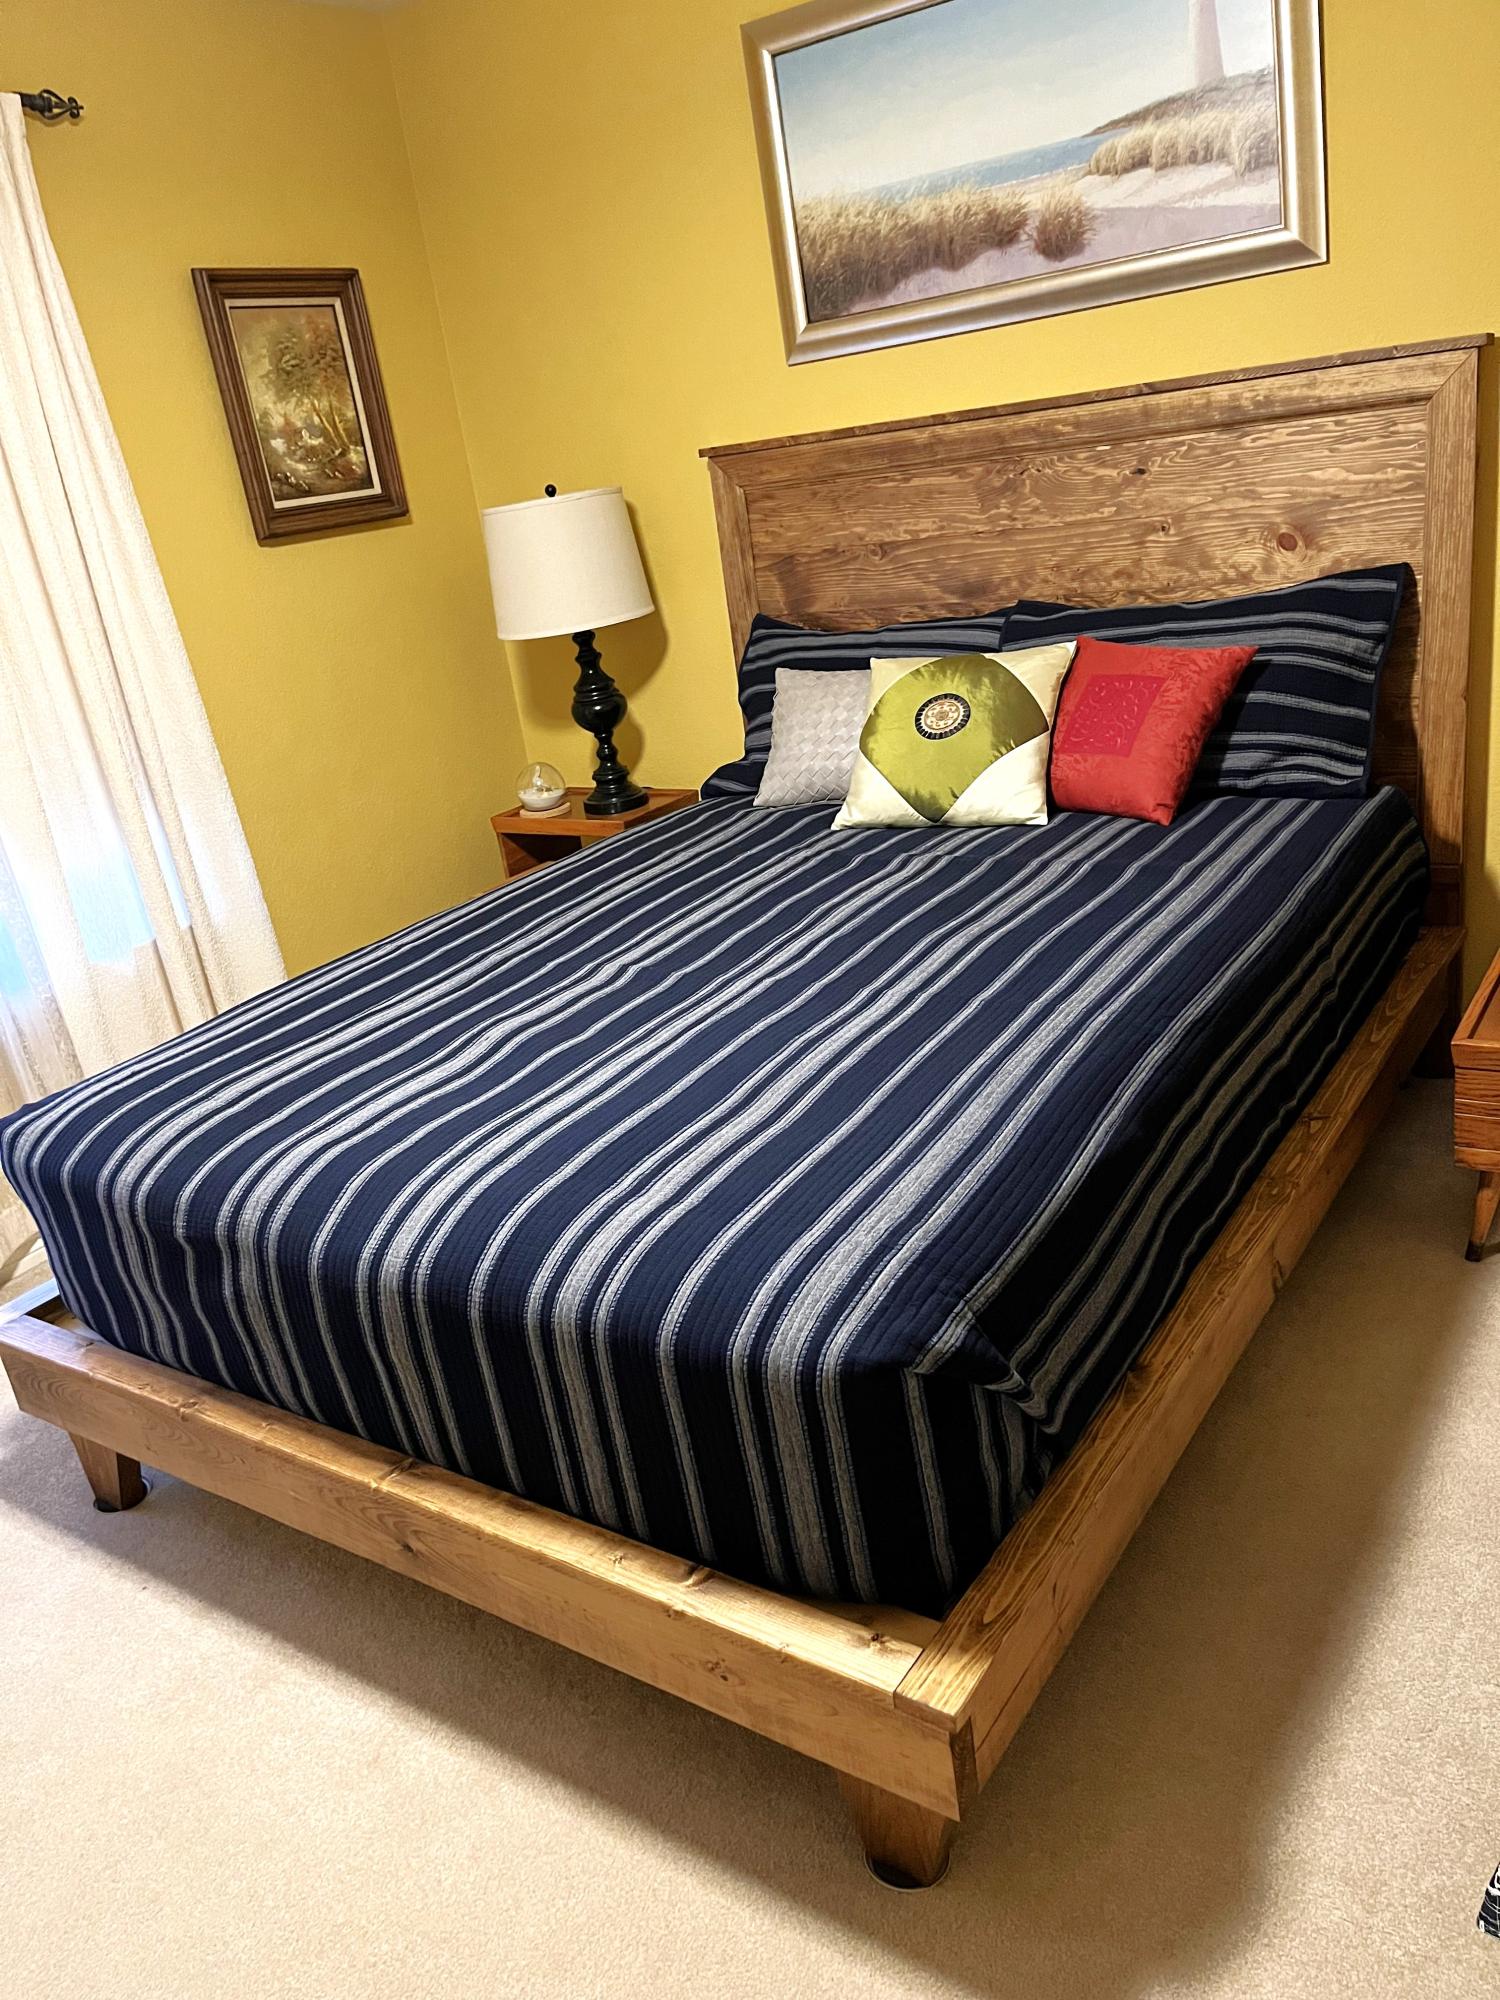
Spruced up guest room by replacing full size bed with Ana's design for a queen size headboard and frame. Love the result! Thanks Anna
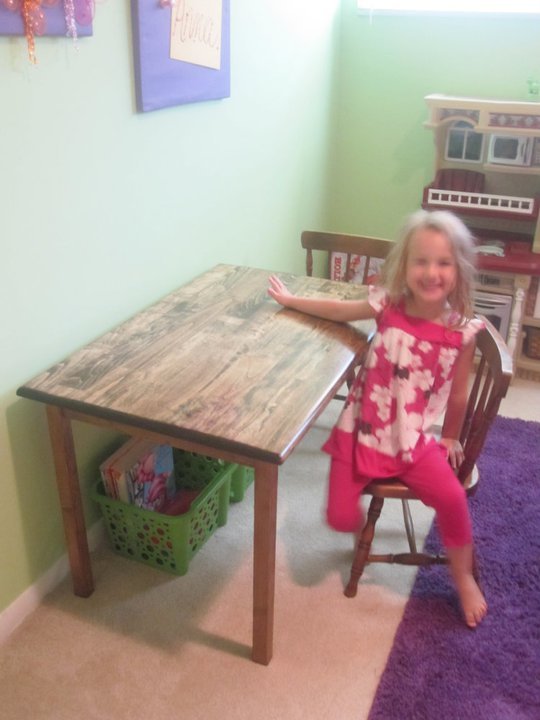
The 'Clara table' was my hubbies first true build. He built this table for our daughter last summer. She loves it and it gets used on the daily. :) We went with a solid top instead of separate boards. It might have added a little extra cost but not much.
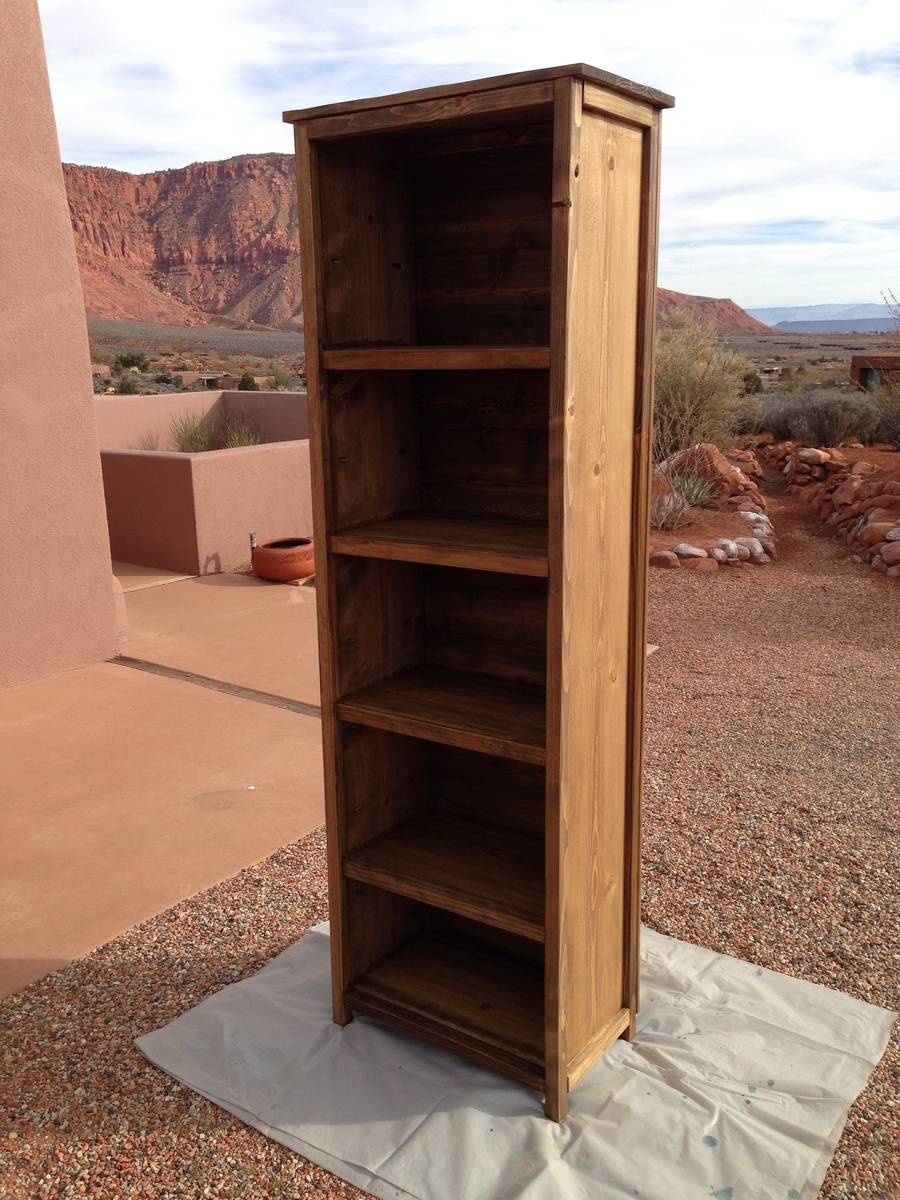
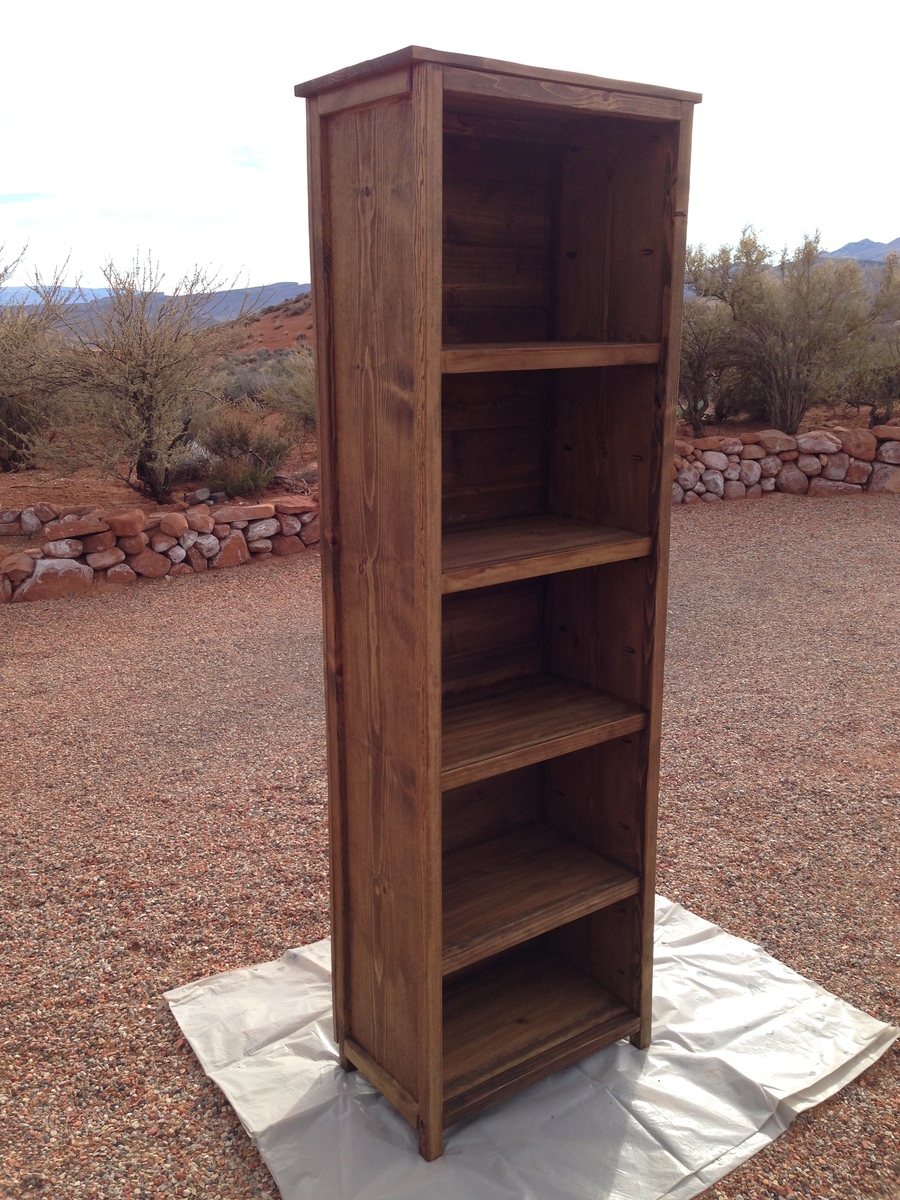
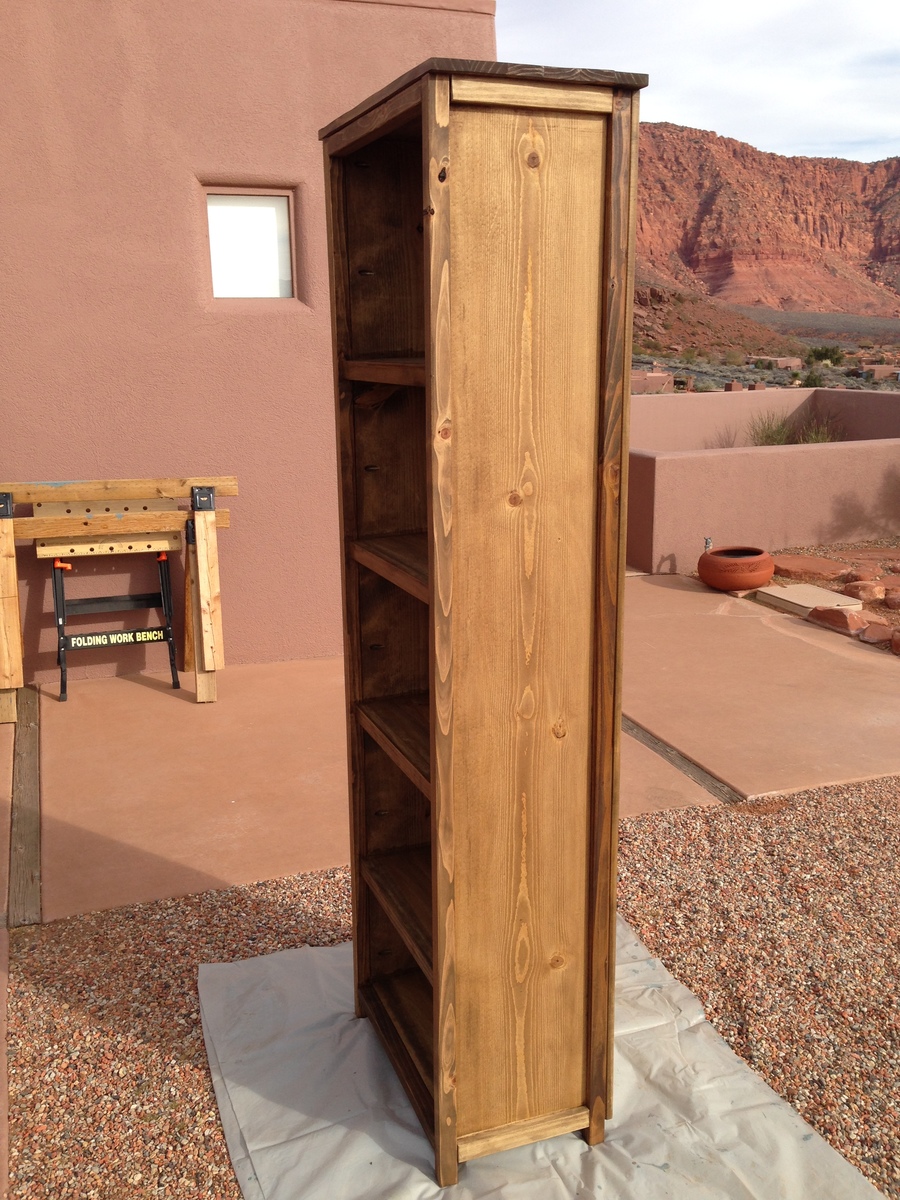
I loved the rustic look of this plan but decided to use prime pine and sanded it smooth. I also used tongue & grove 6" cedar for the backing running horizontal instead of vertical to not make the shelf unit look tall and skinny. I covered over the 2 side edges of the tongue & grove cedar with a pine strip 5/8" wide all the way from the top to the floor. I also increased the height to add an additional shelf. I definitely suggest using a Kreg tool. I also recommend not plugging the Kreg pocket holes. They look terrific just stained. I also recommend not bothering to screw the top slates together. Just glue them using clamps.
Here are the plan modifications I made for the extra height & shelf:
- sides 76 1/2"
- legs 78 1/2"
My next project is to make another shelf just the same except to make the shelves 31 1/2" wide. This time I will use 1"x4" backing vertically.
The end product looks spectacular. You couldn't' buy a bookshelf like this anywhere.
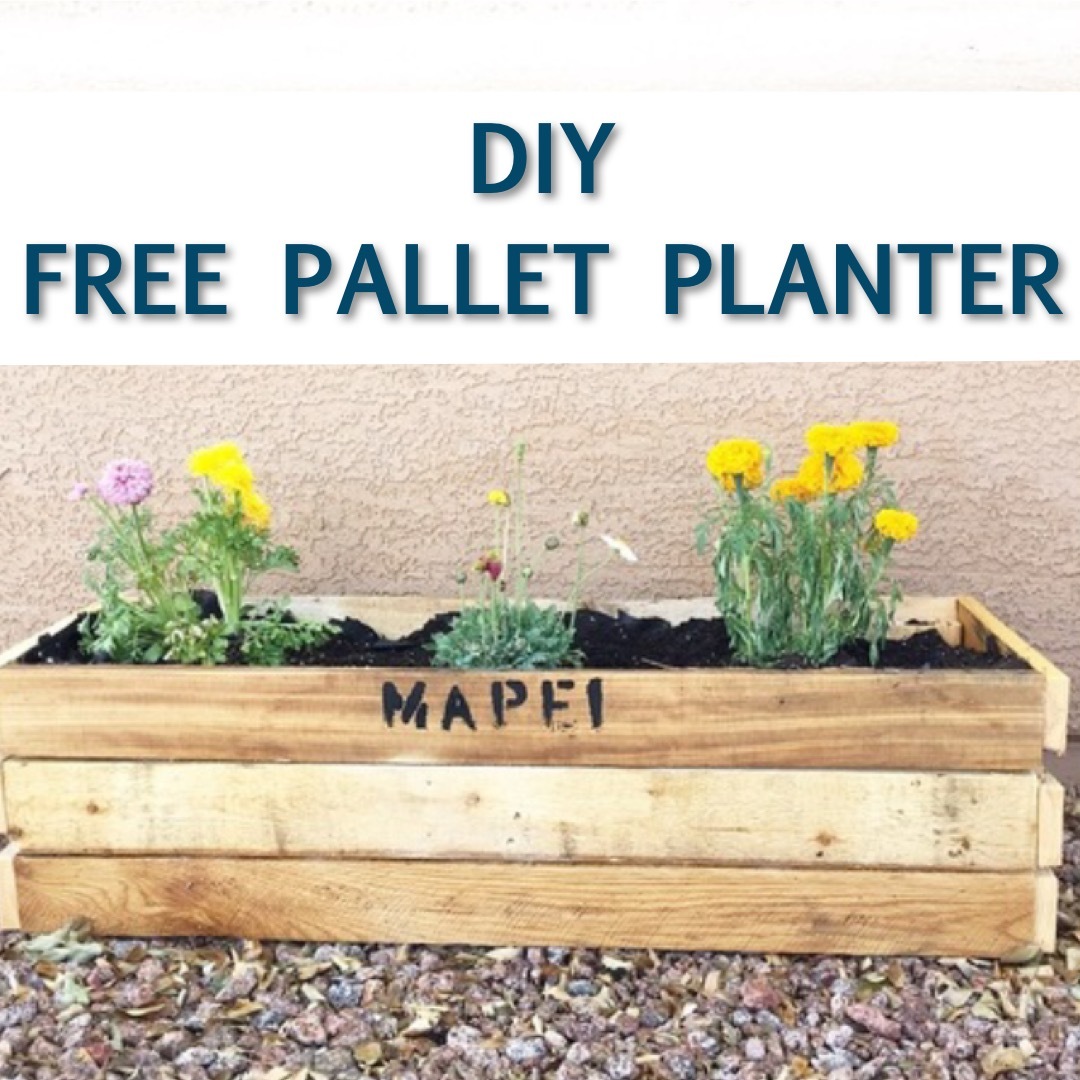
I made this planter out of some left over pallet wood that I had. It was pretty quick. It went together in about 2 hours. I have the step by step plans on my blog.
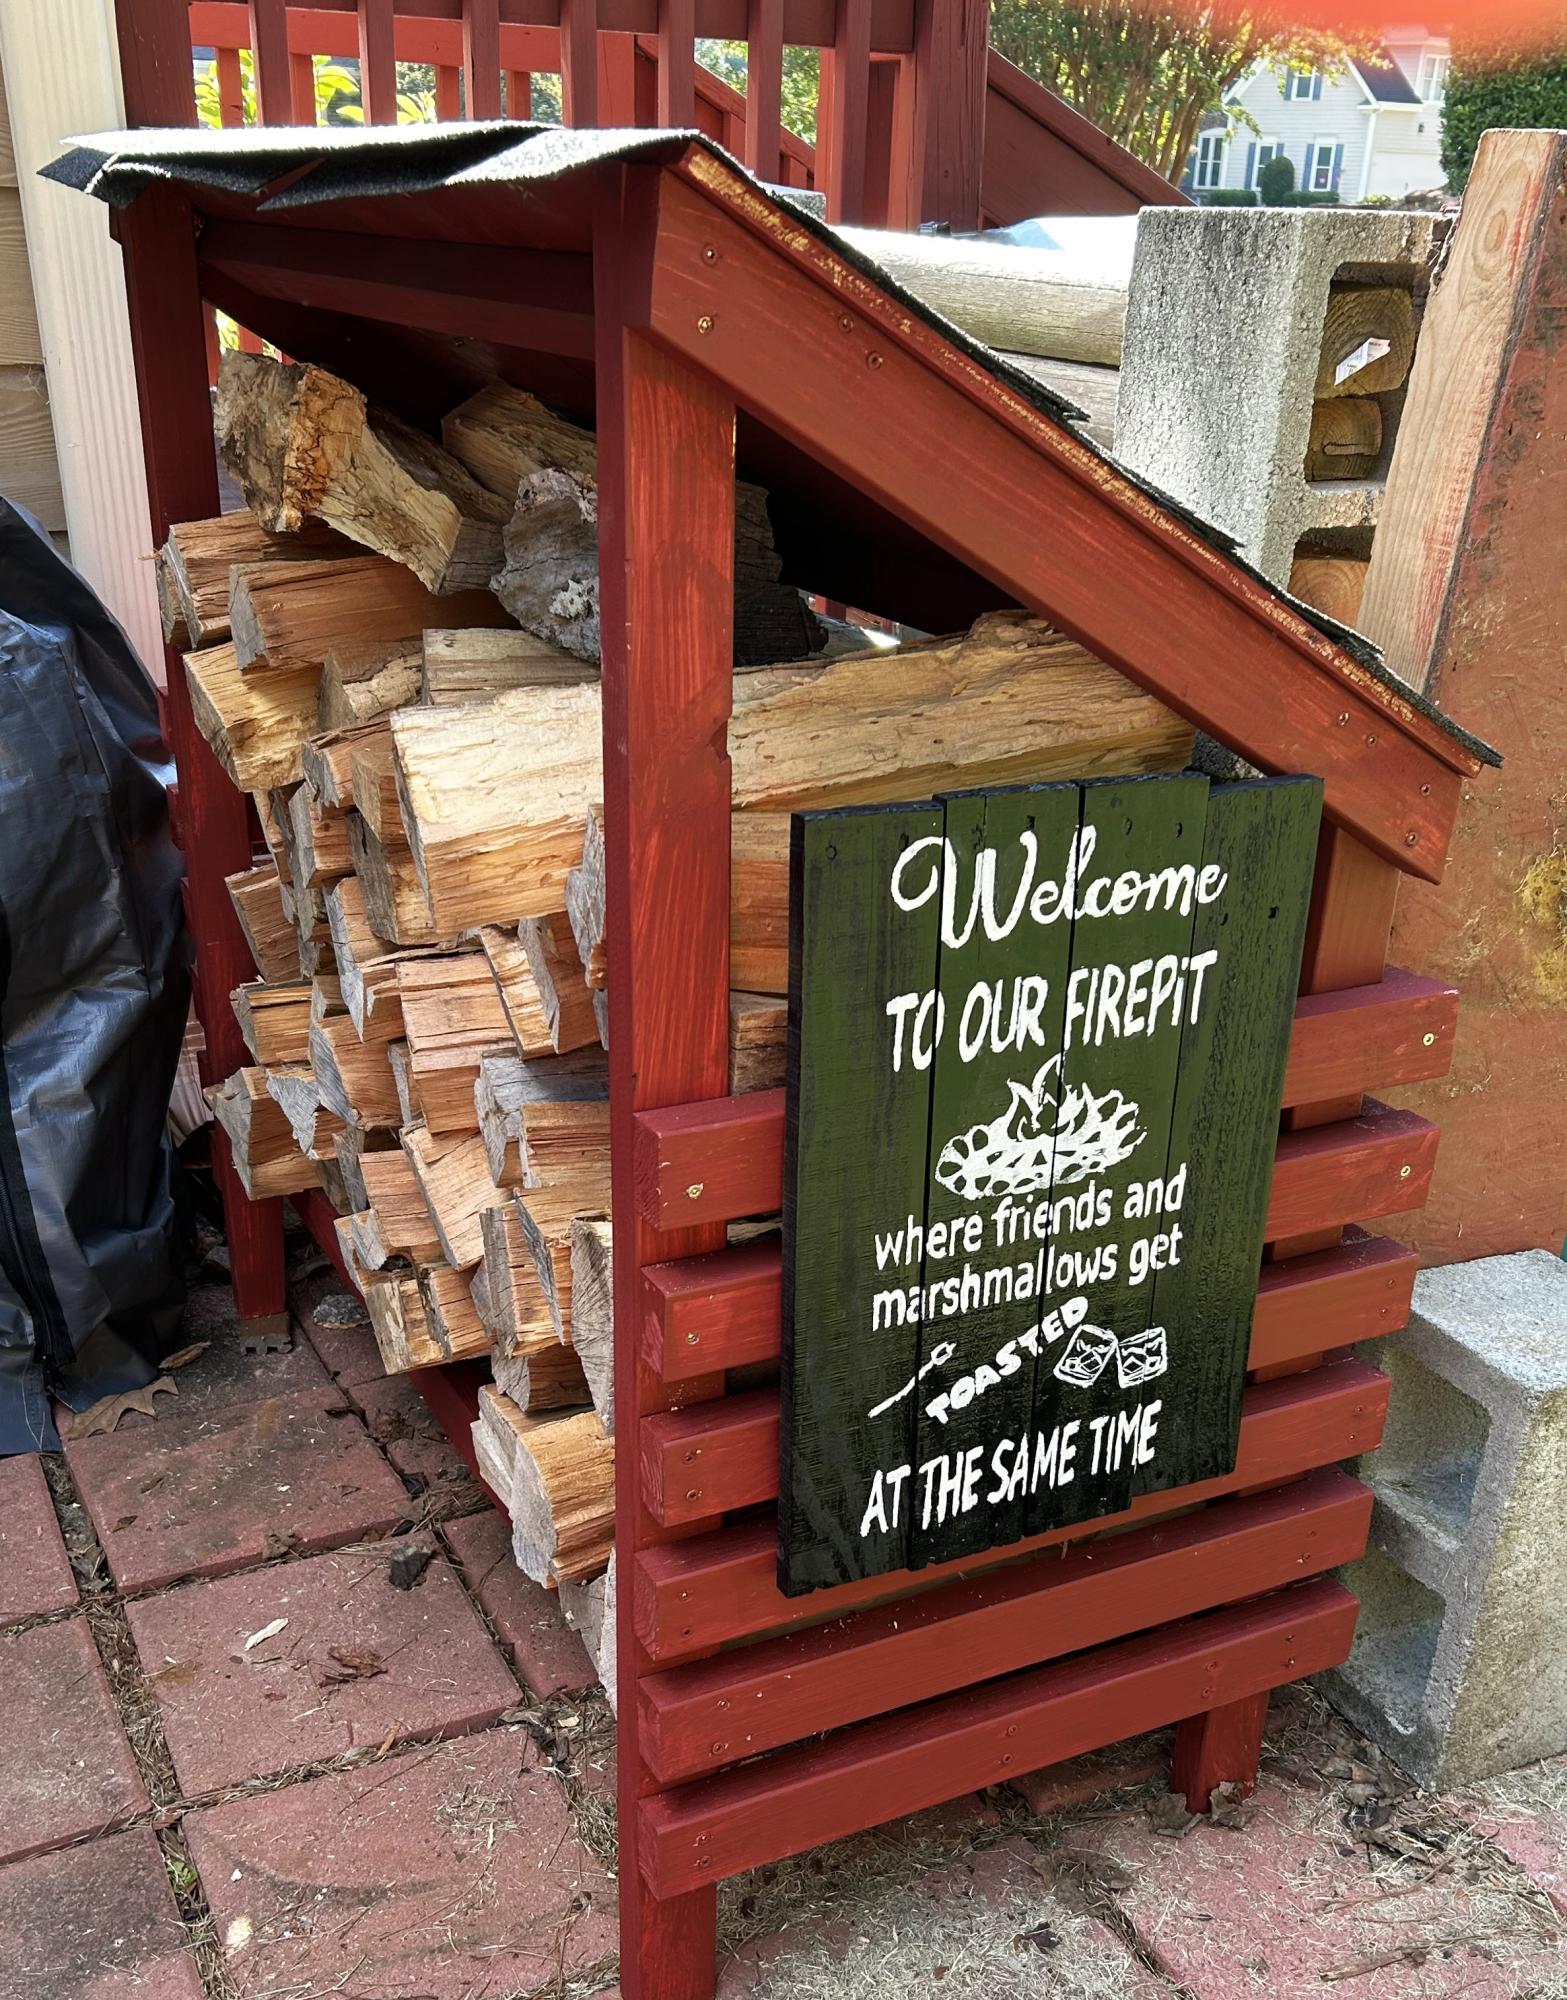
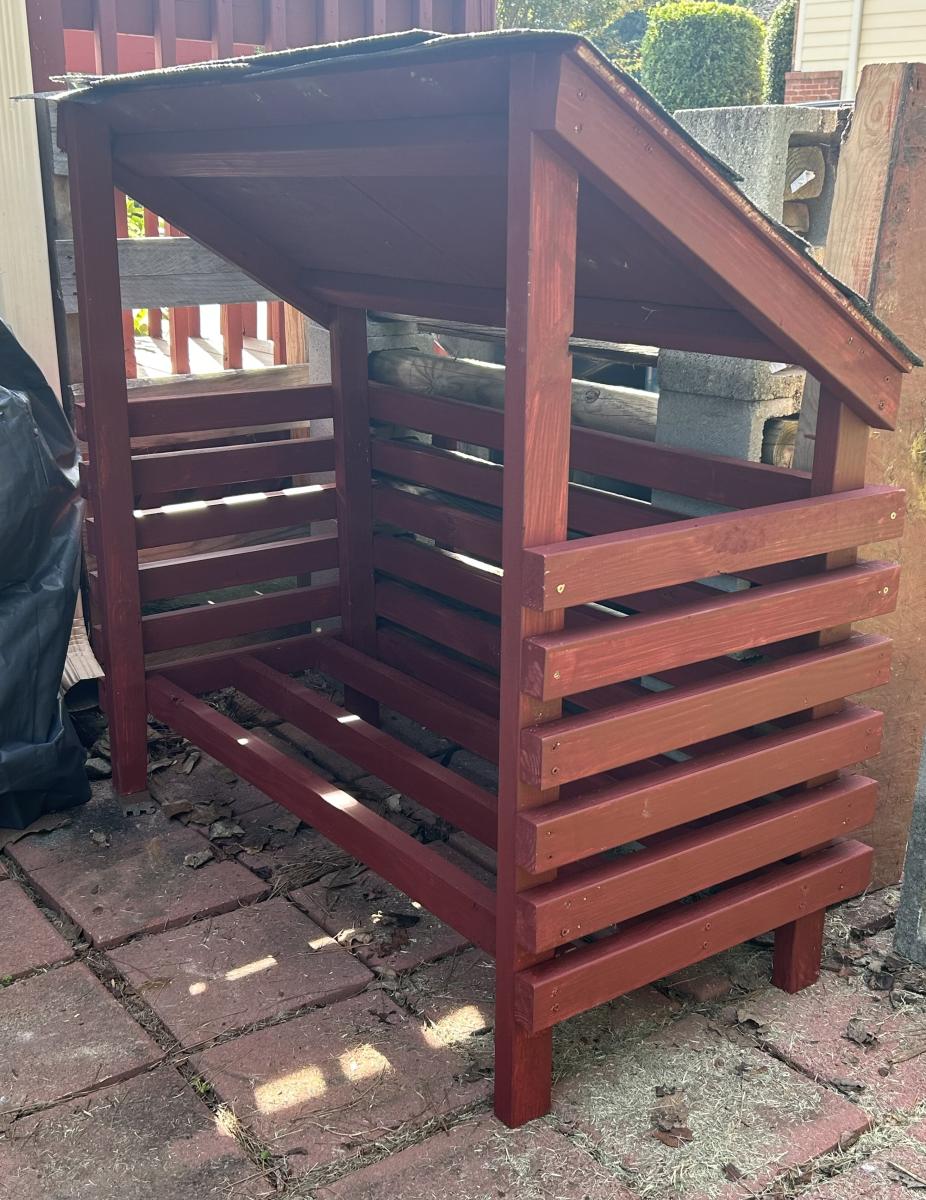
Smaller firewood shed. So pleased with how it turned out.
Skellykath
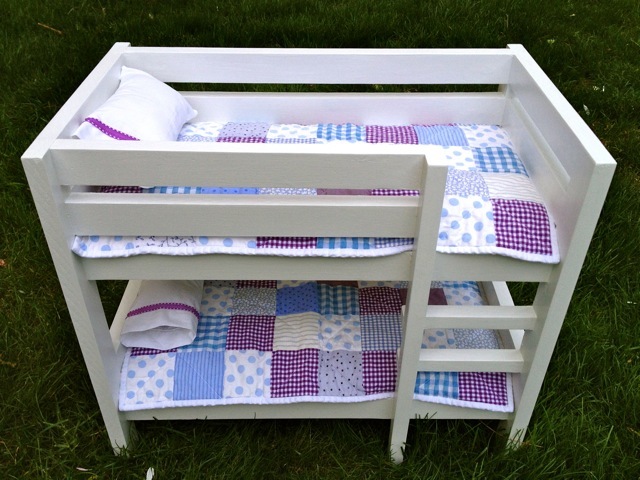
Doll bunk bed painted in white with purple patchwork bedding.
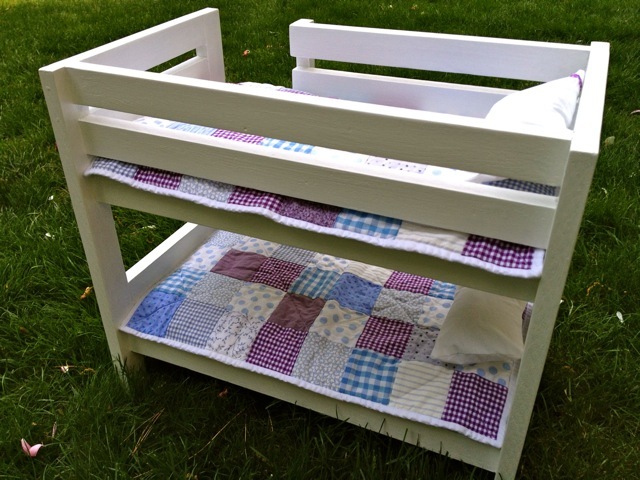
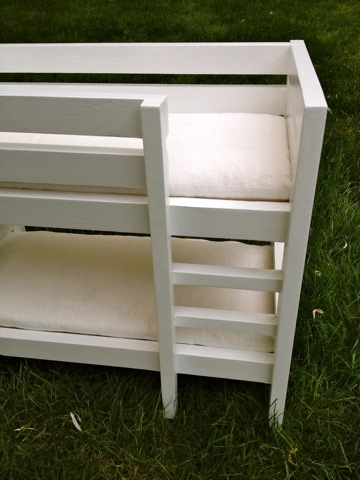
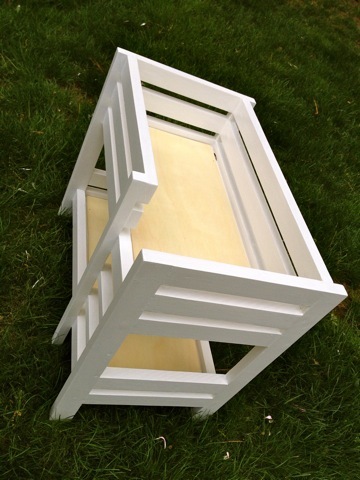
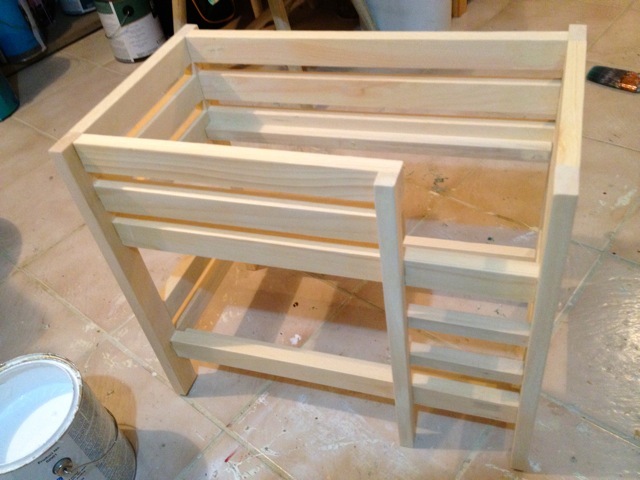
I modified Ana's plans a little for our own needs. The simplified design feels a little more masculine to me and matches my boys' bunk beds a little better, too. I used pine. The 1 x 2's are select pine, not rustic, because that's all our HD had to offer. I wiped the whole thing down in tea, let it dry and then used a rusty vinegar solution as a stain. Gave it a few coats of varnish and voila! Love the final product. Thanks, Ana, for an incredibly empowering and motivating website. :)
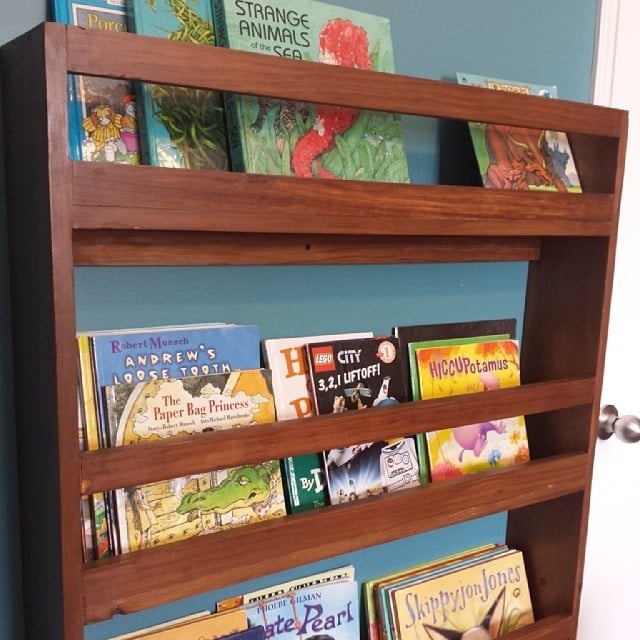
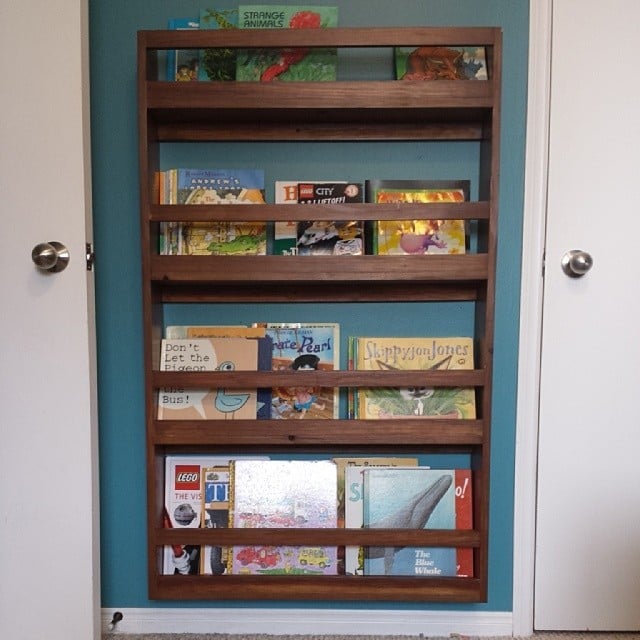
I built 3 30" picture ledges for my daughters for all of their books.
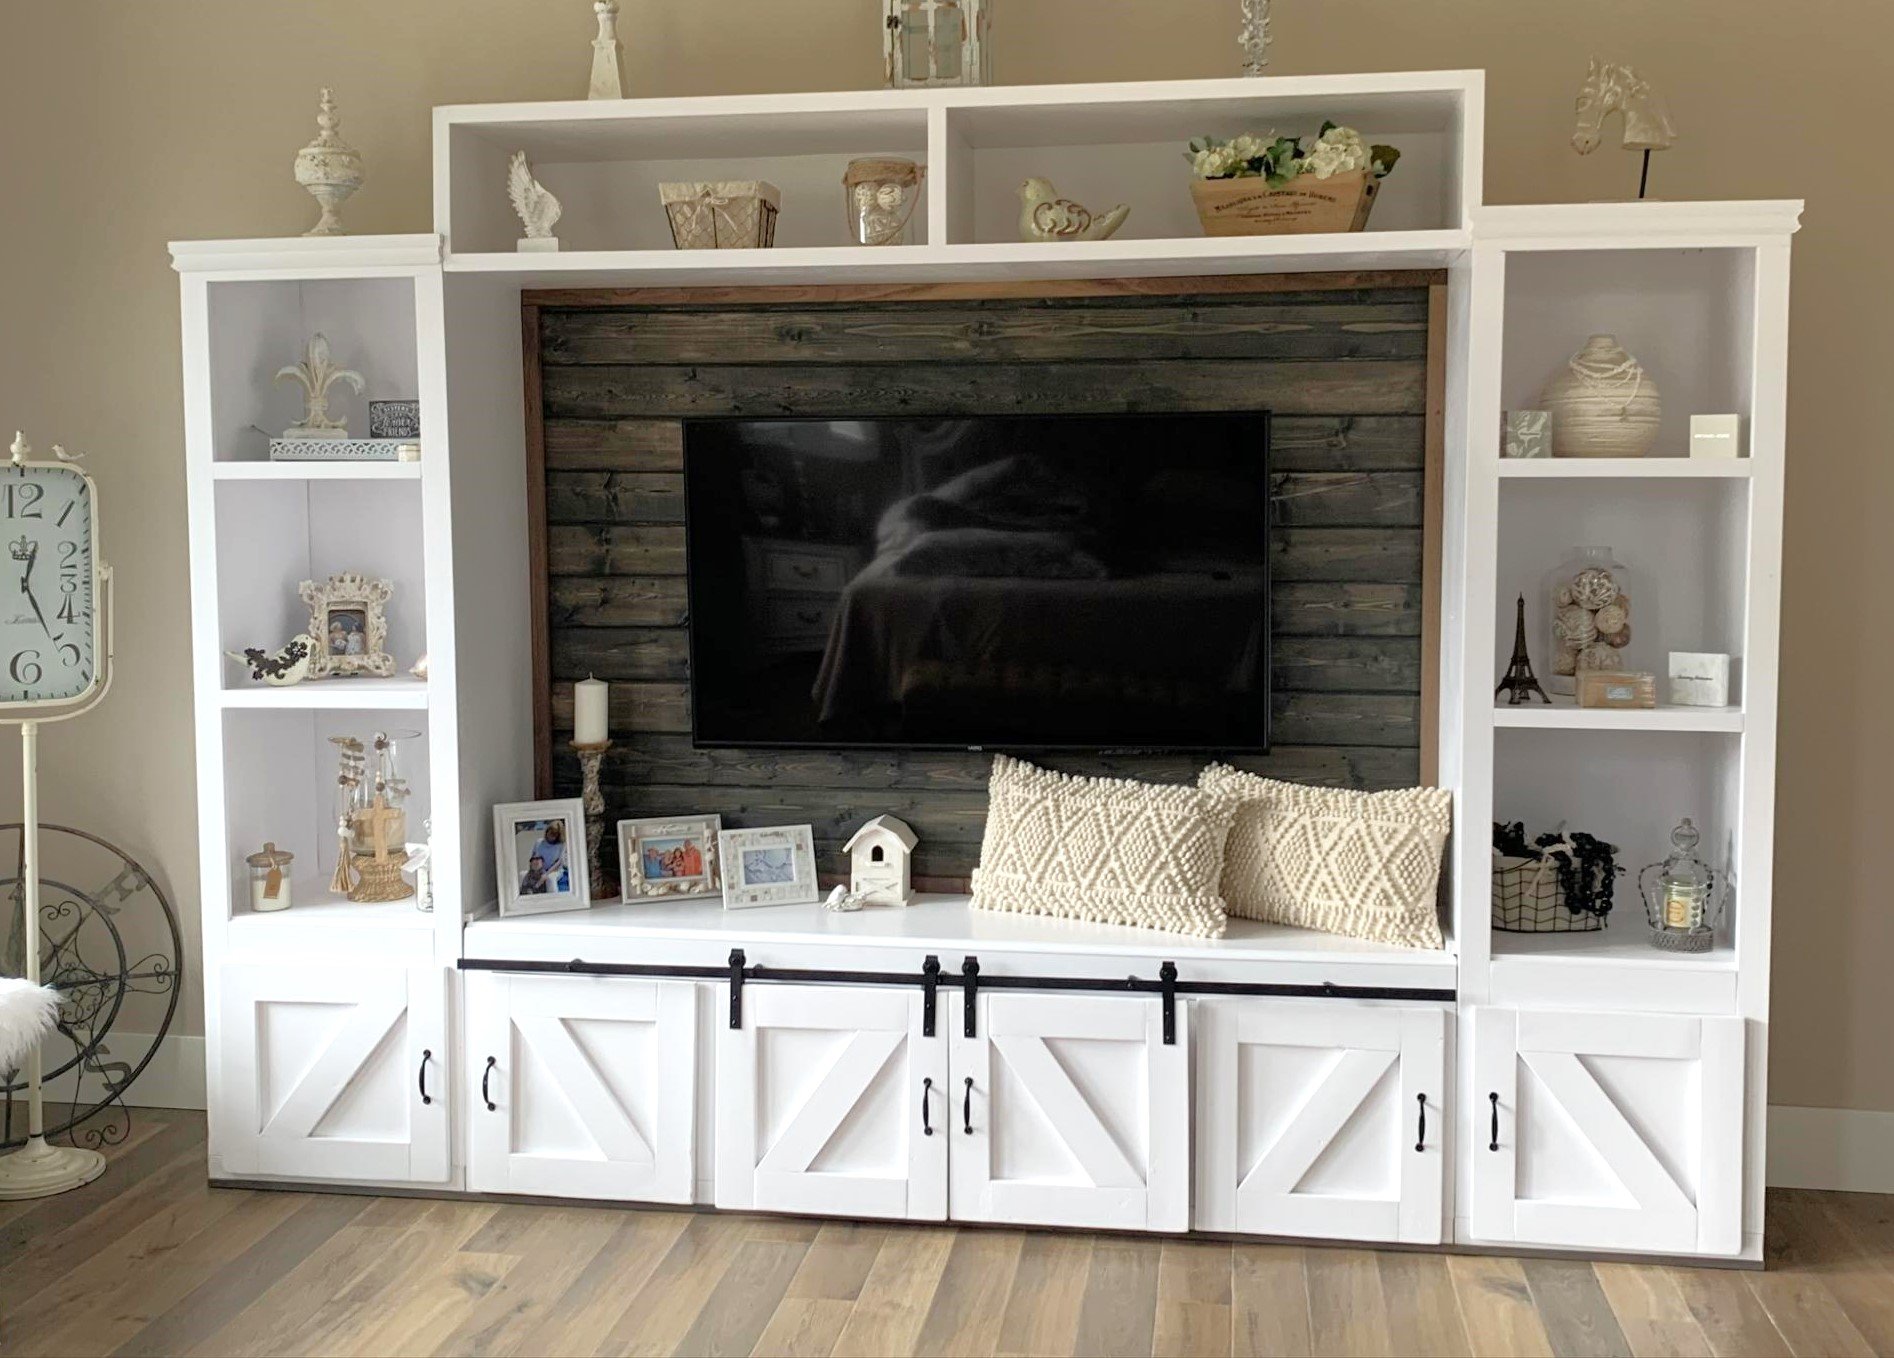
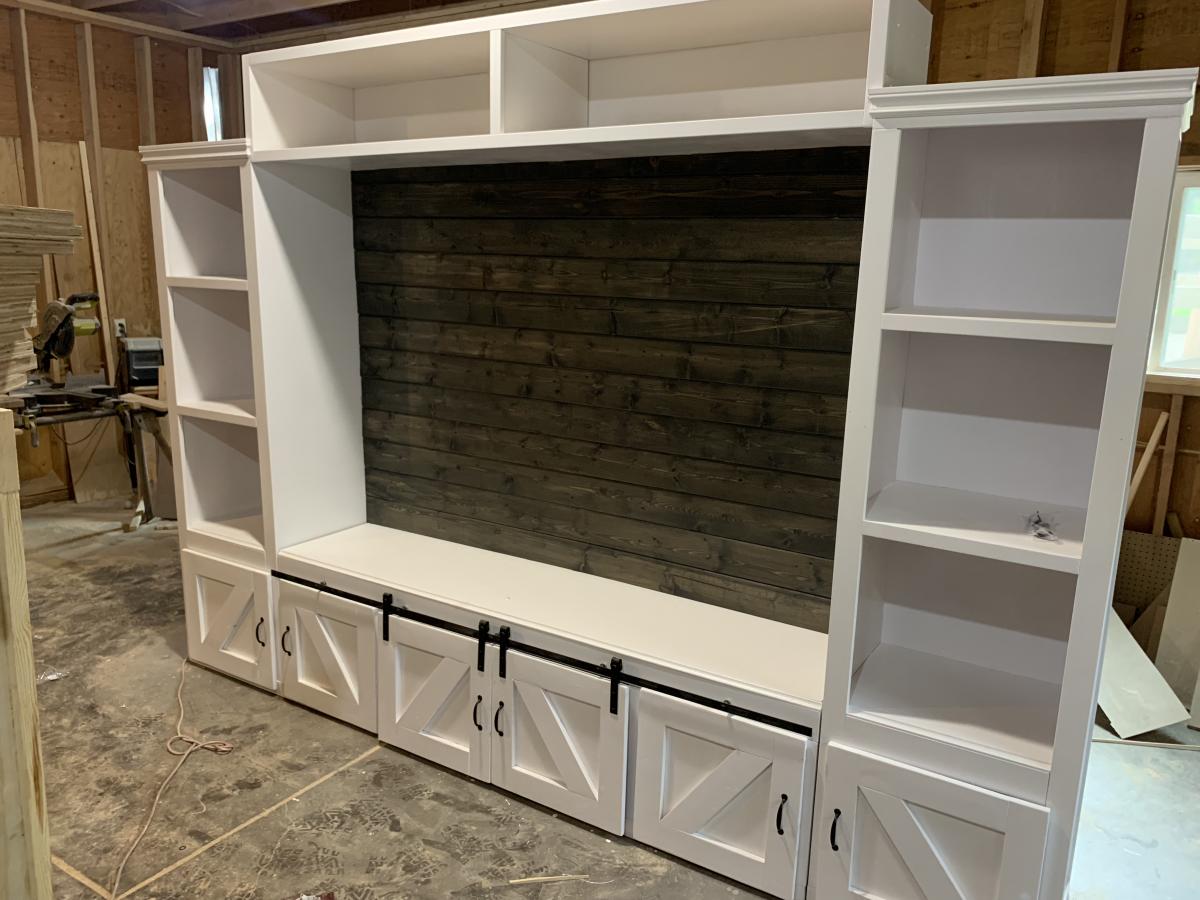
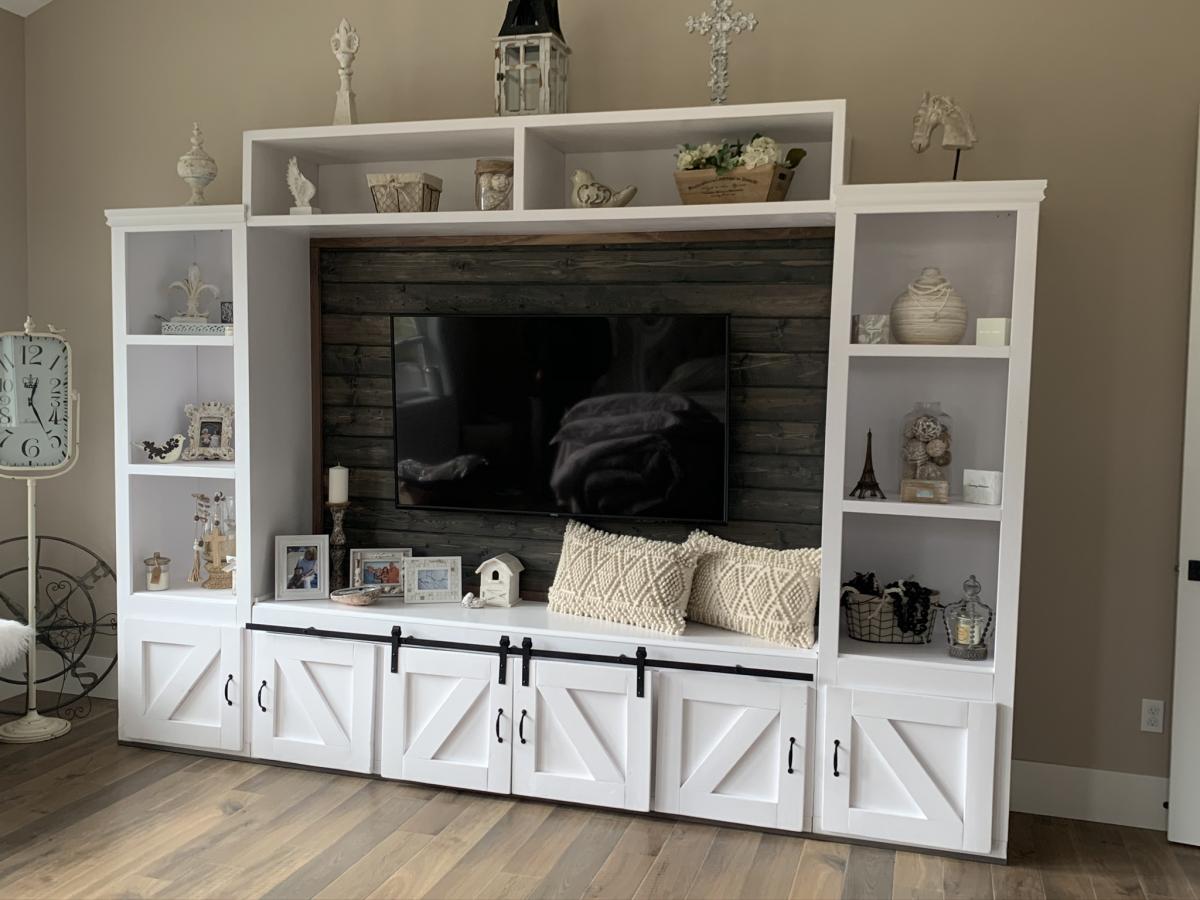
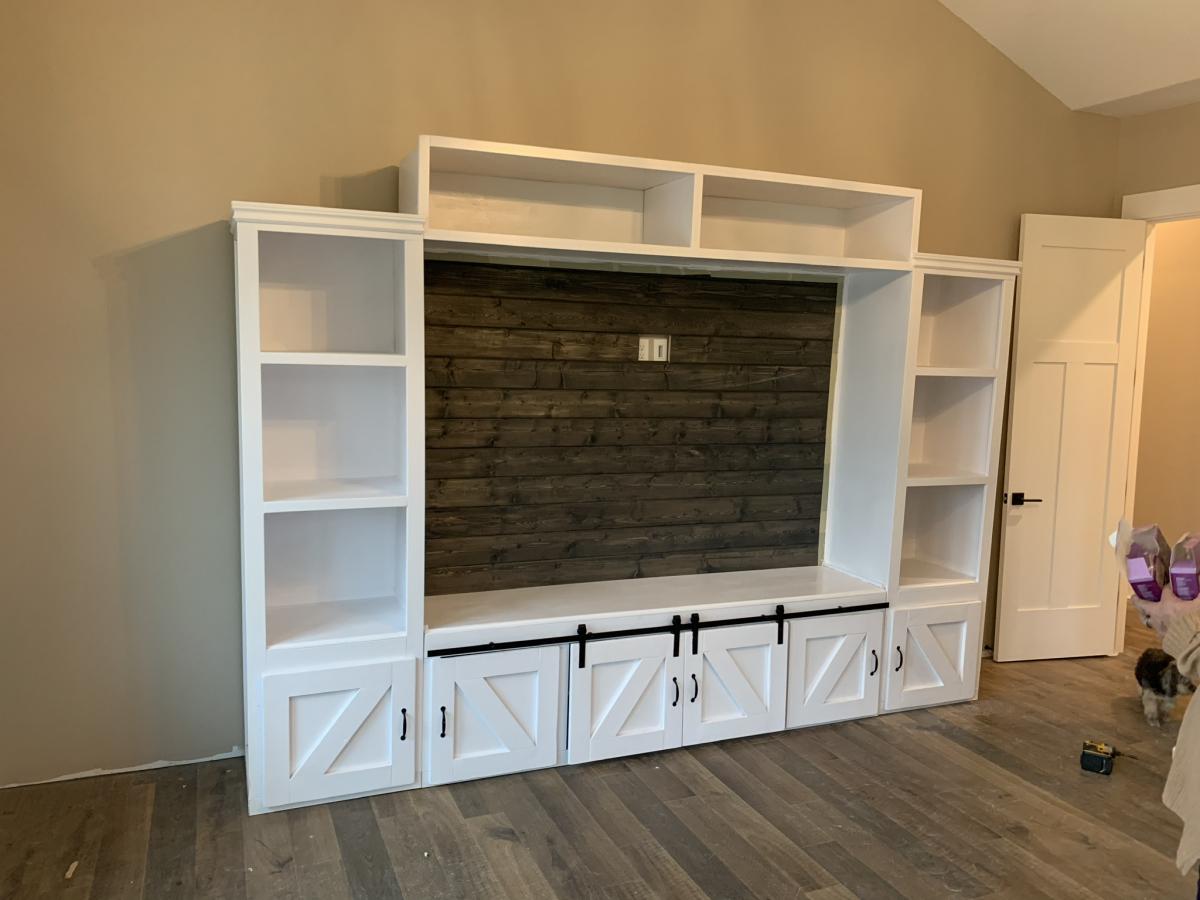
Hand made entertainment center
My daughter wanted a Farmhouse/Industrial look for a headboard, so I found a nice selection of hardwood pallets that had heat treated wood and put together this headboard & attached and wired a light set.
P.Schimmelpenningh
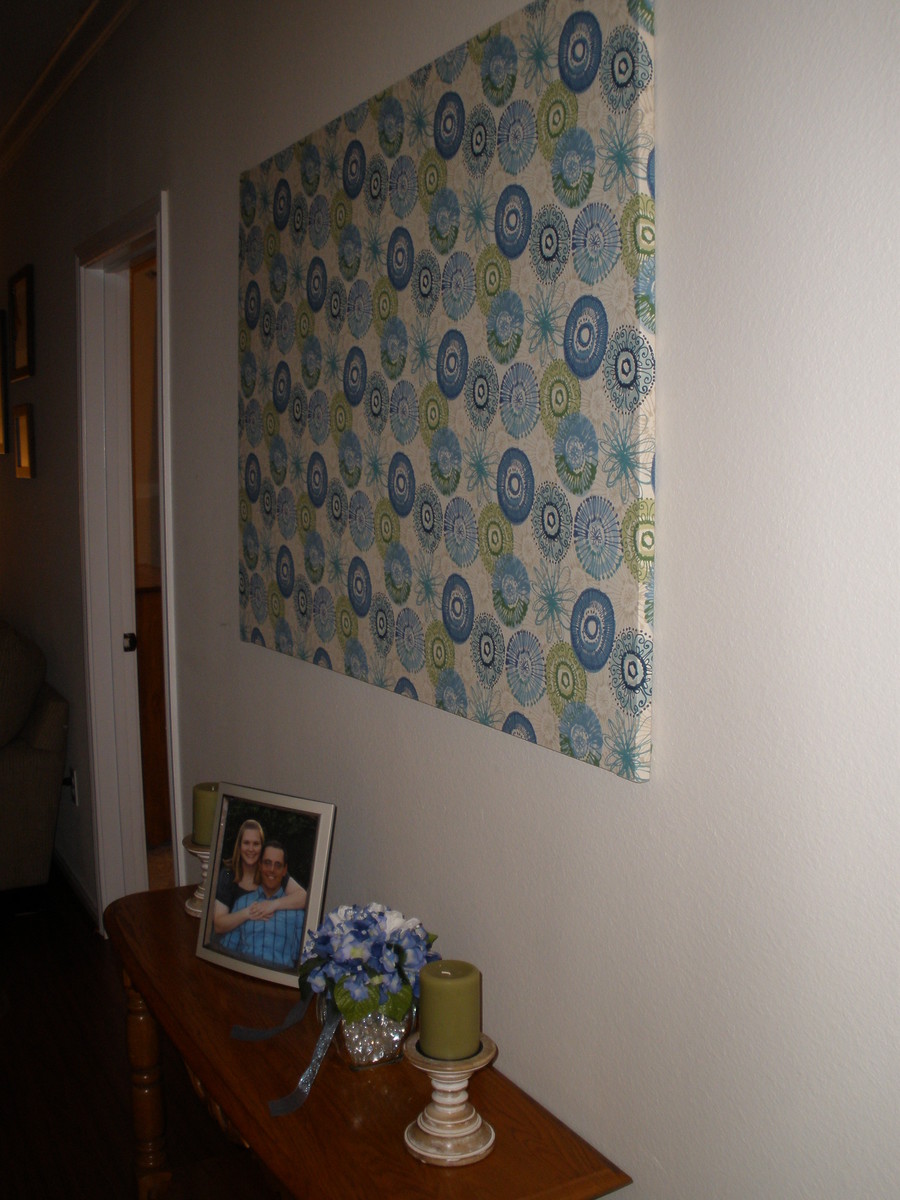
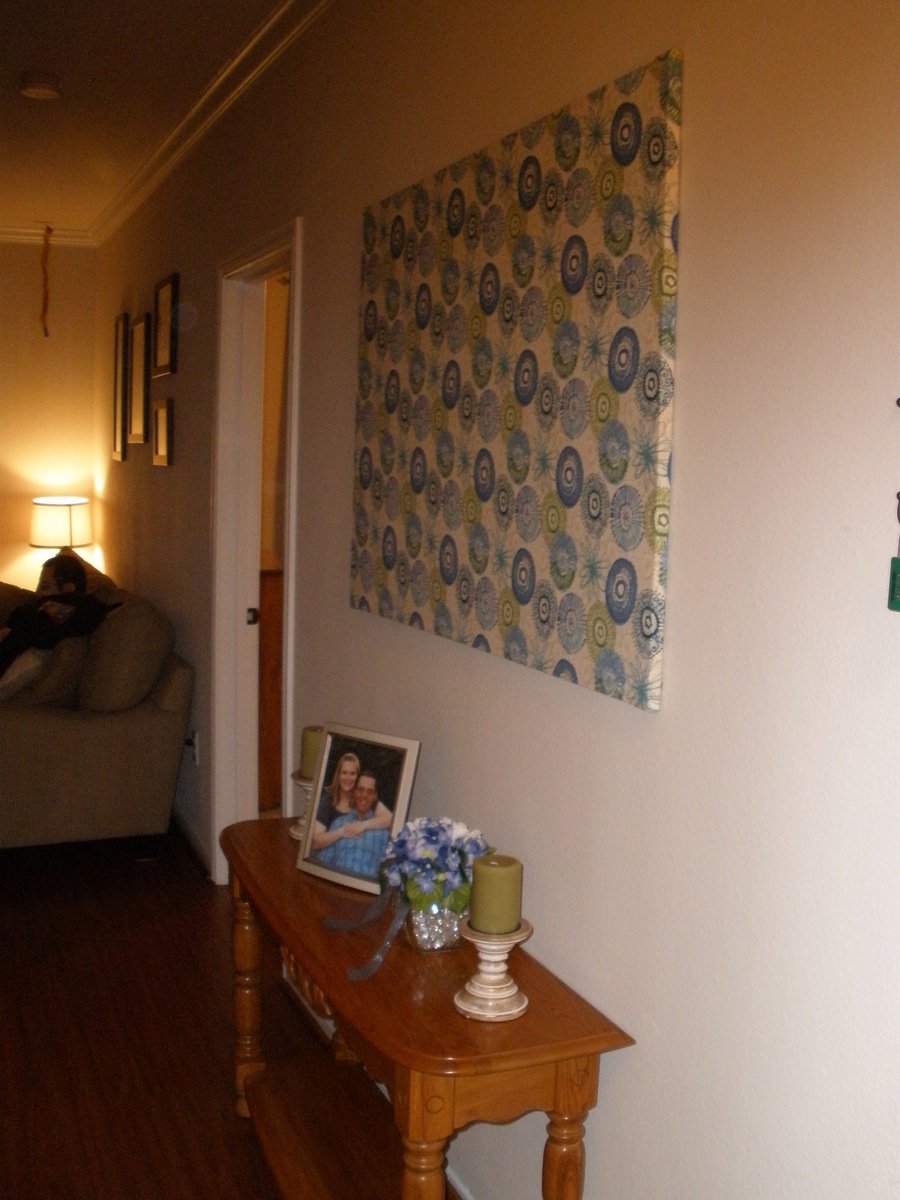
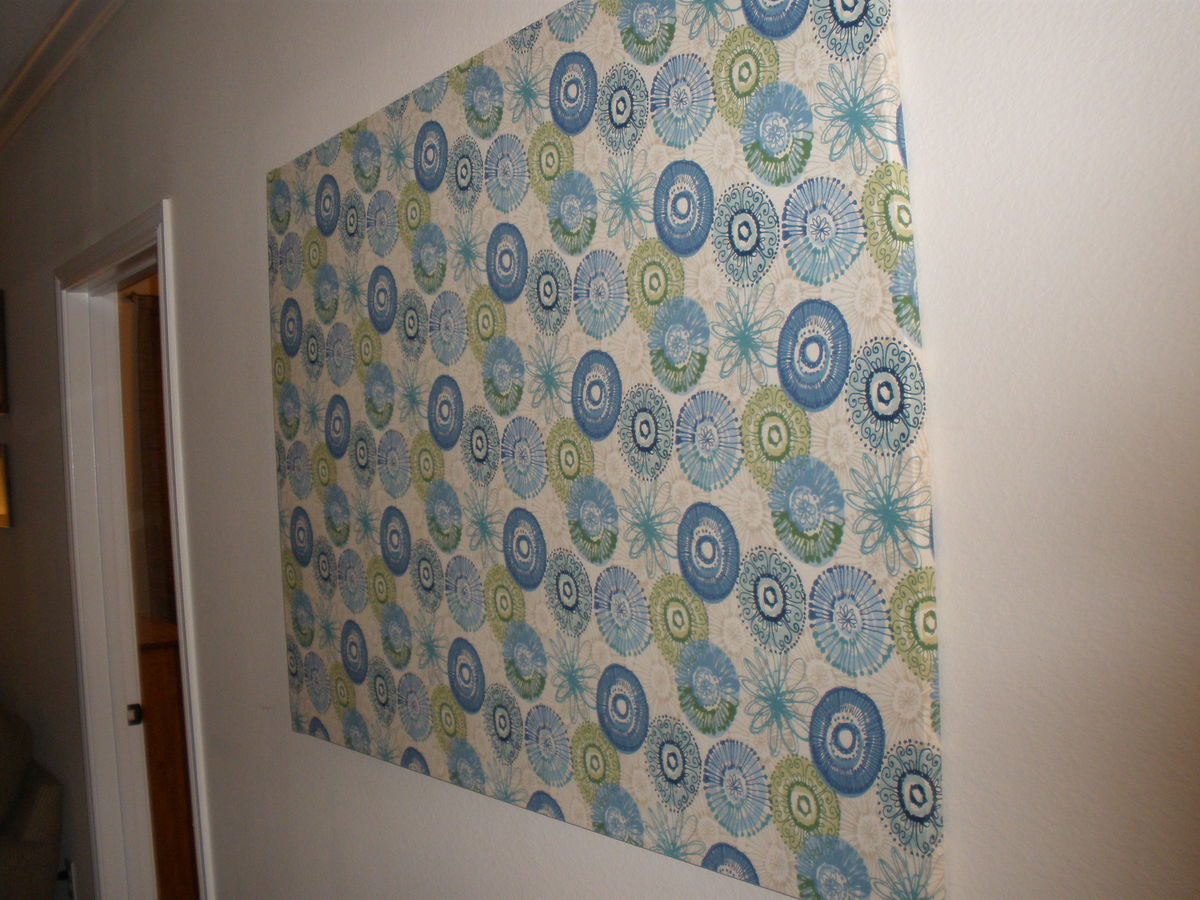
This is a simple and cheap way to decorate any space. Just use some 1x2's to make a square frame. Stretch the fabric over the frame and staple it. You can make one large one or many different sized ones to cover a boring wall.
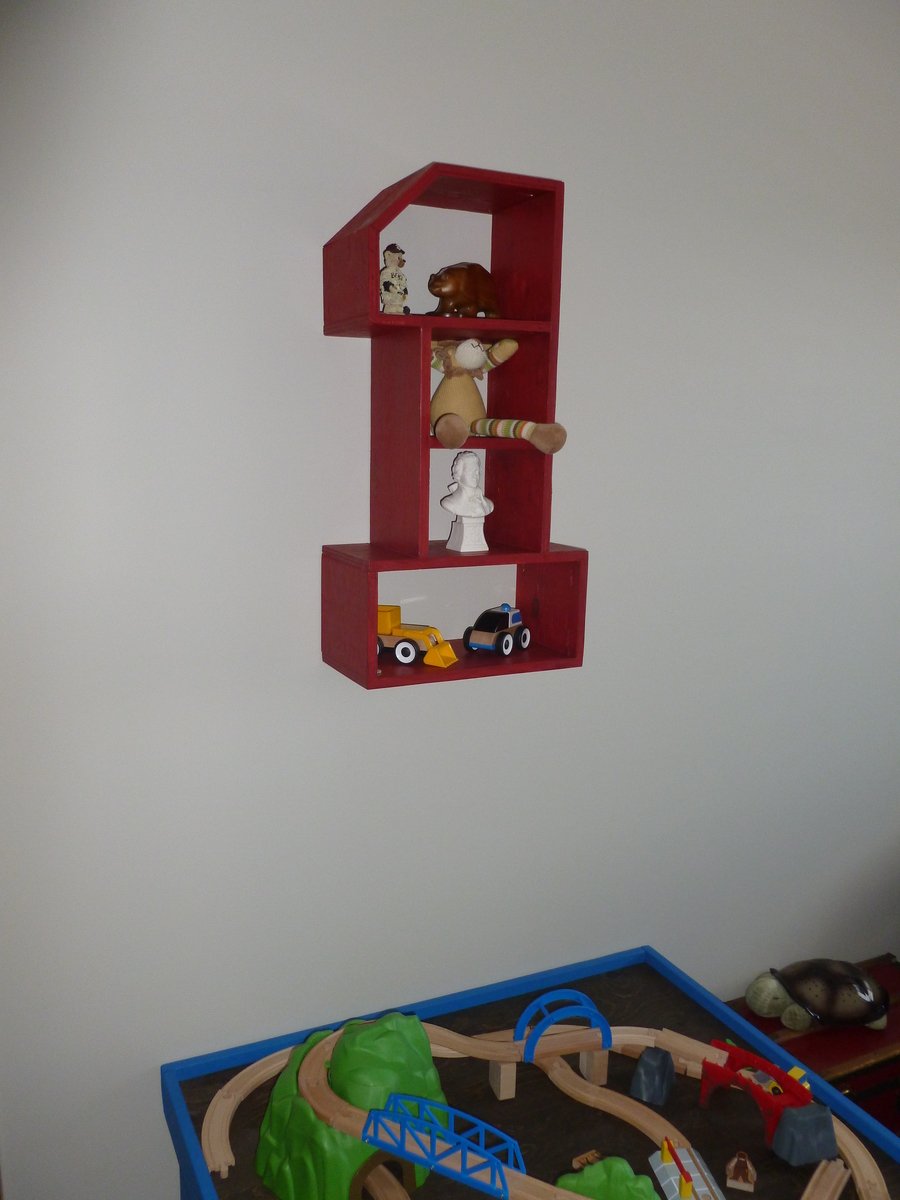
I saw this plan posted and knew I had to have it for my son's new bedroom. Most of the build was simple, it just got a bit tricky fitting in the angle piece at the top because I wasn't sure how to attach it without having a nail gun. Every time I line it up to nail it in with a hammer it would slip a bit. So I ended up using Gorilla Glue Epoxy to attach it. Since it's not hanging on the wall by the very top shelf, I didn't need it to be rock solid to support any weight, just needed it to stay in place.
I had scrap plywood laying around so it was free for me to make.
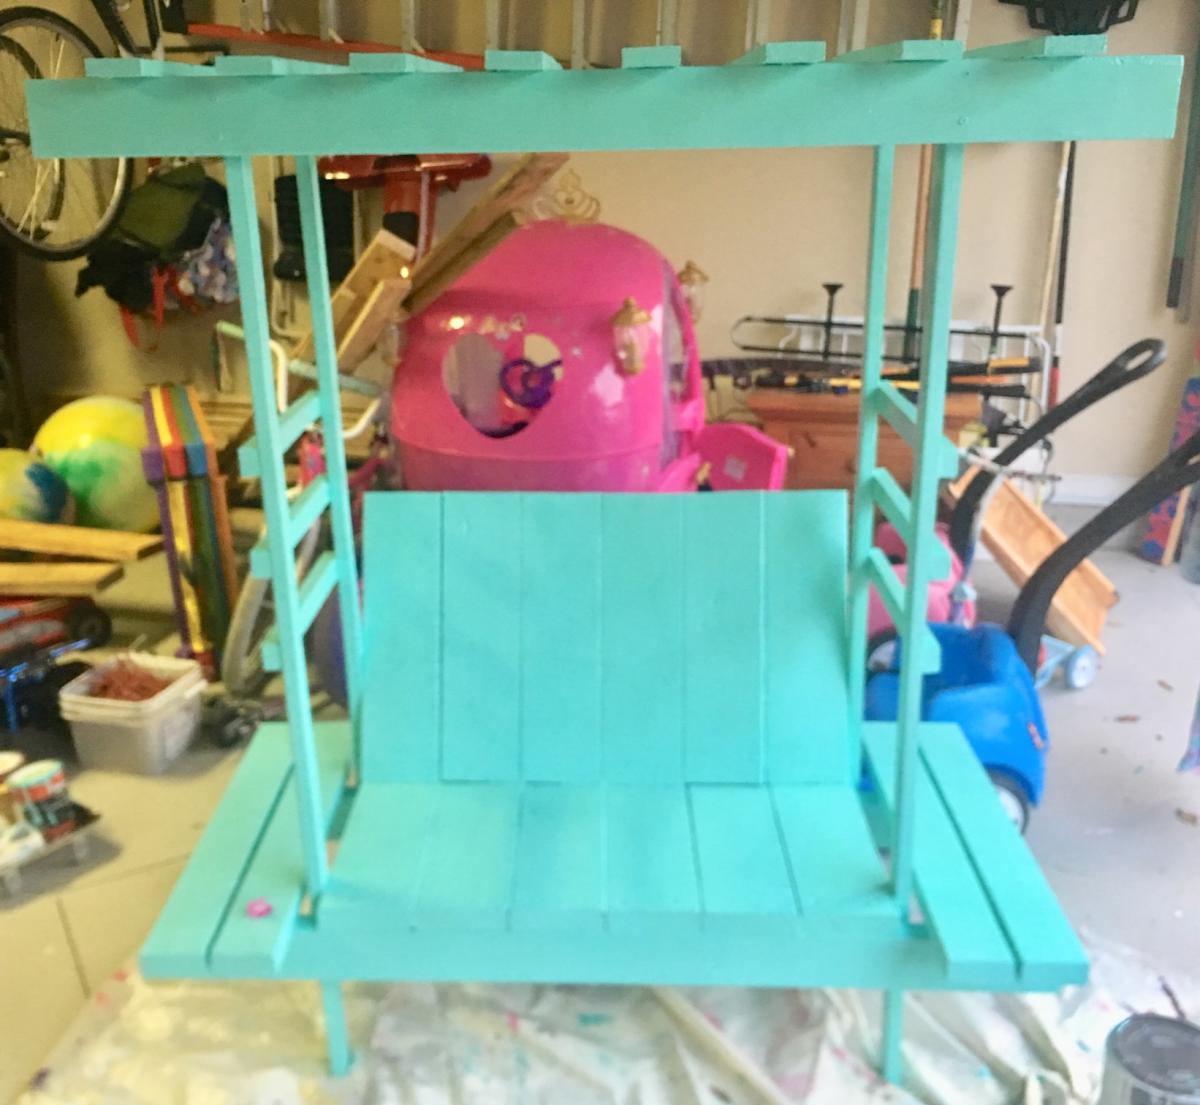
This was one of my first Ana-White projects. I am a hack builder and found this to be fairly easy with the back of the seat to be intermediate (However, I slanted the back and found that to be challenging for me.) Loved this little arbor bench and how it turned out. A couple coats of polyurethrane has helped it last outdoors all year through the sun and rain in Florida. Kept costs down using extra wood in the garage. Kids love to sit on it but mostly climb...!
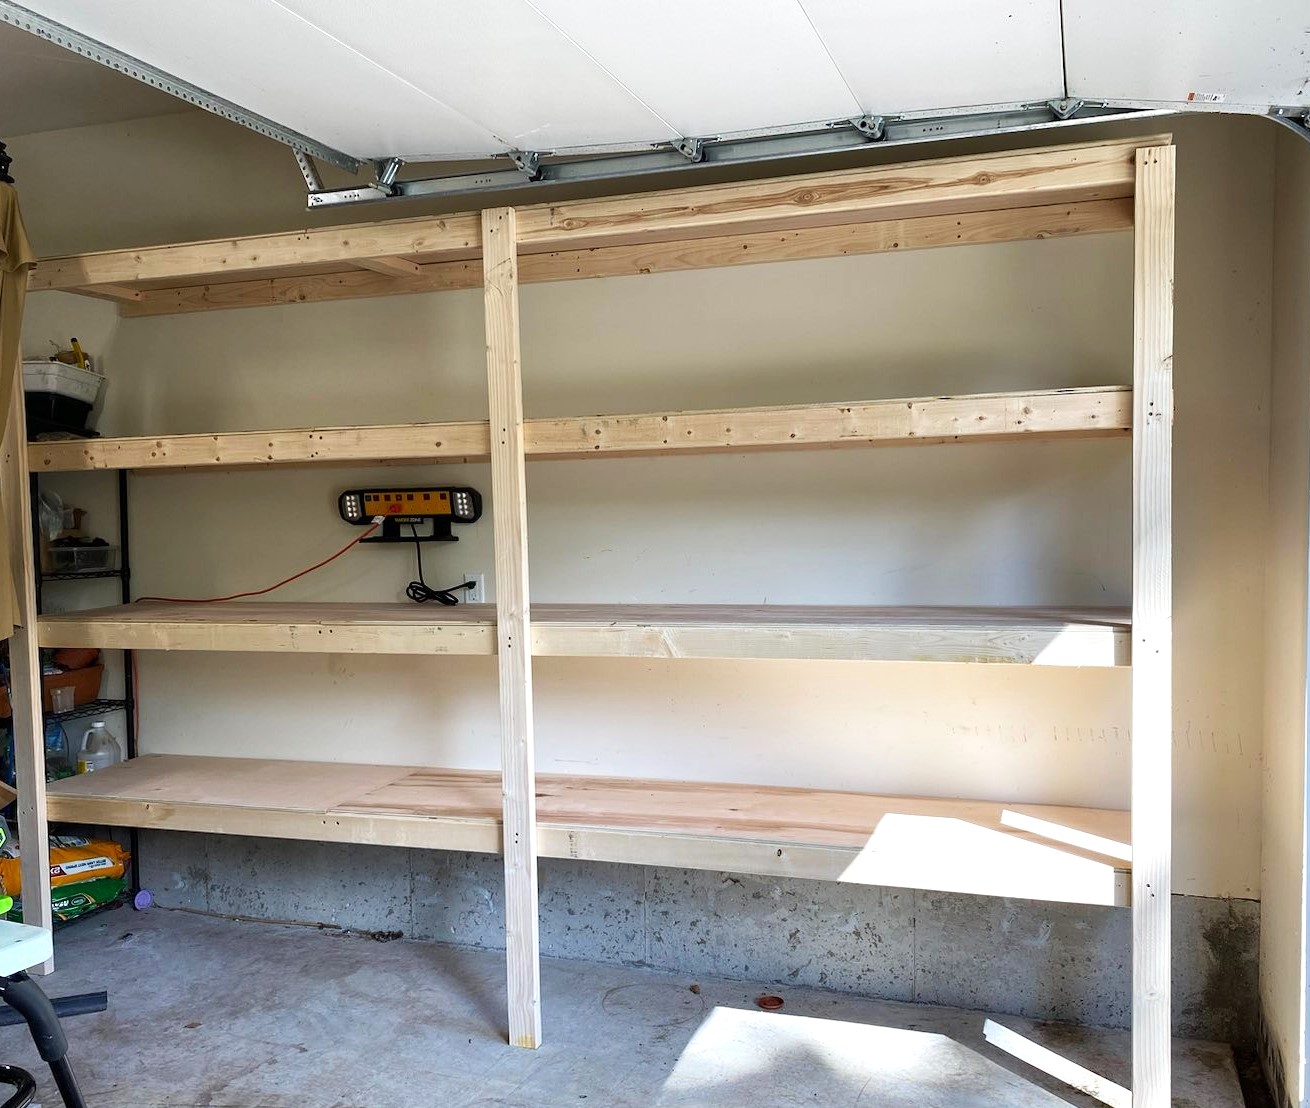
I want to thank you for such great videos and plans!! They worked so well that now I will do the wall on the left side of the photo.
Bill
I had been wanting to make this for sometime but didn't have the curtains. I was at a friend house and she asked if I wanted the red curtains that she was going to throw them away. So I got to make the tent, her daughters got a cool place to play and the curtains got a new purpose also the tent was made to fold for storage!!!
Thanks Ana for all the plans and ideas you give us!!