Community Brag Posts

Grandy Sliding Door Console

Submitted by lseib262 on Thu, 03/31/2016 - 15:49

I used the plans here and the hardware plans that are linked in the comments (with the 1-1/2 inch pulleys). In retrospect, it wasn't that hard, although I built it up to be so since I was doing so many things for the first time, including cutting and drilling metal. With the right blades and drill bits, it was a breeze. This took me a few months to actually finish, but if I were to do it again start to finish, I'd say one person could do it in 3-4 days. I got the reclaimed barnwood from a local salvage place. I used the tea/steel wool/vinegar stain for the top and regular paint for the body. Total cost was somewhere in the low $200's. I absolutely love it and am so grateful that a site like this exists! Thank you!!

Built from Plan(s)
Estimated Time Investment
Week Long Project (20 Hours or More)
Recommended Skill Level
Intermediate

Comments

tgrott

Sat, 04/02/2016 - 16:02

You did an amazing job! It looks beautiful! Also love the dog wall!!! :))) Can you email me the instructions on how to make the hardware at [email protected] or post them? 

Barn Door Console

Submitted by Lonestar1 on Wed, 11/27/2019 - 16:28

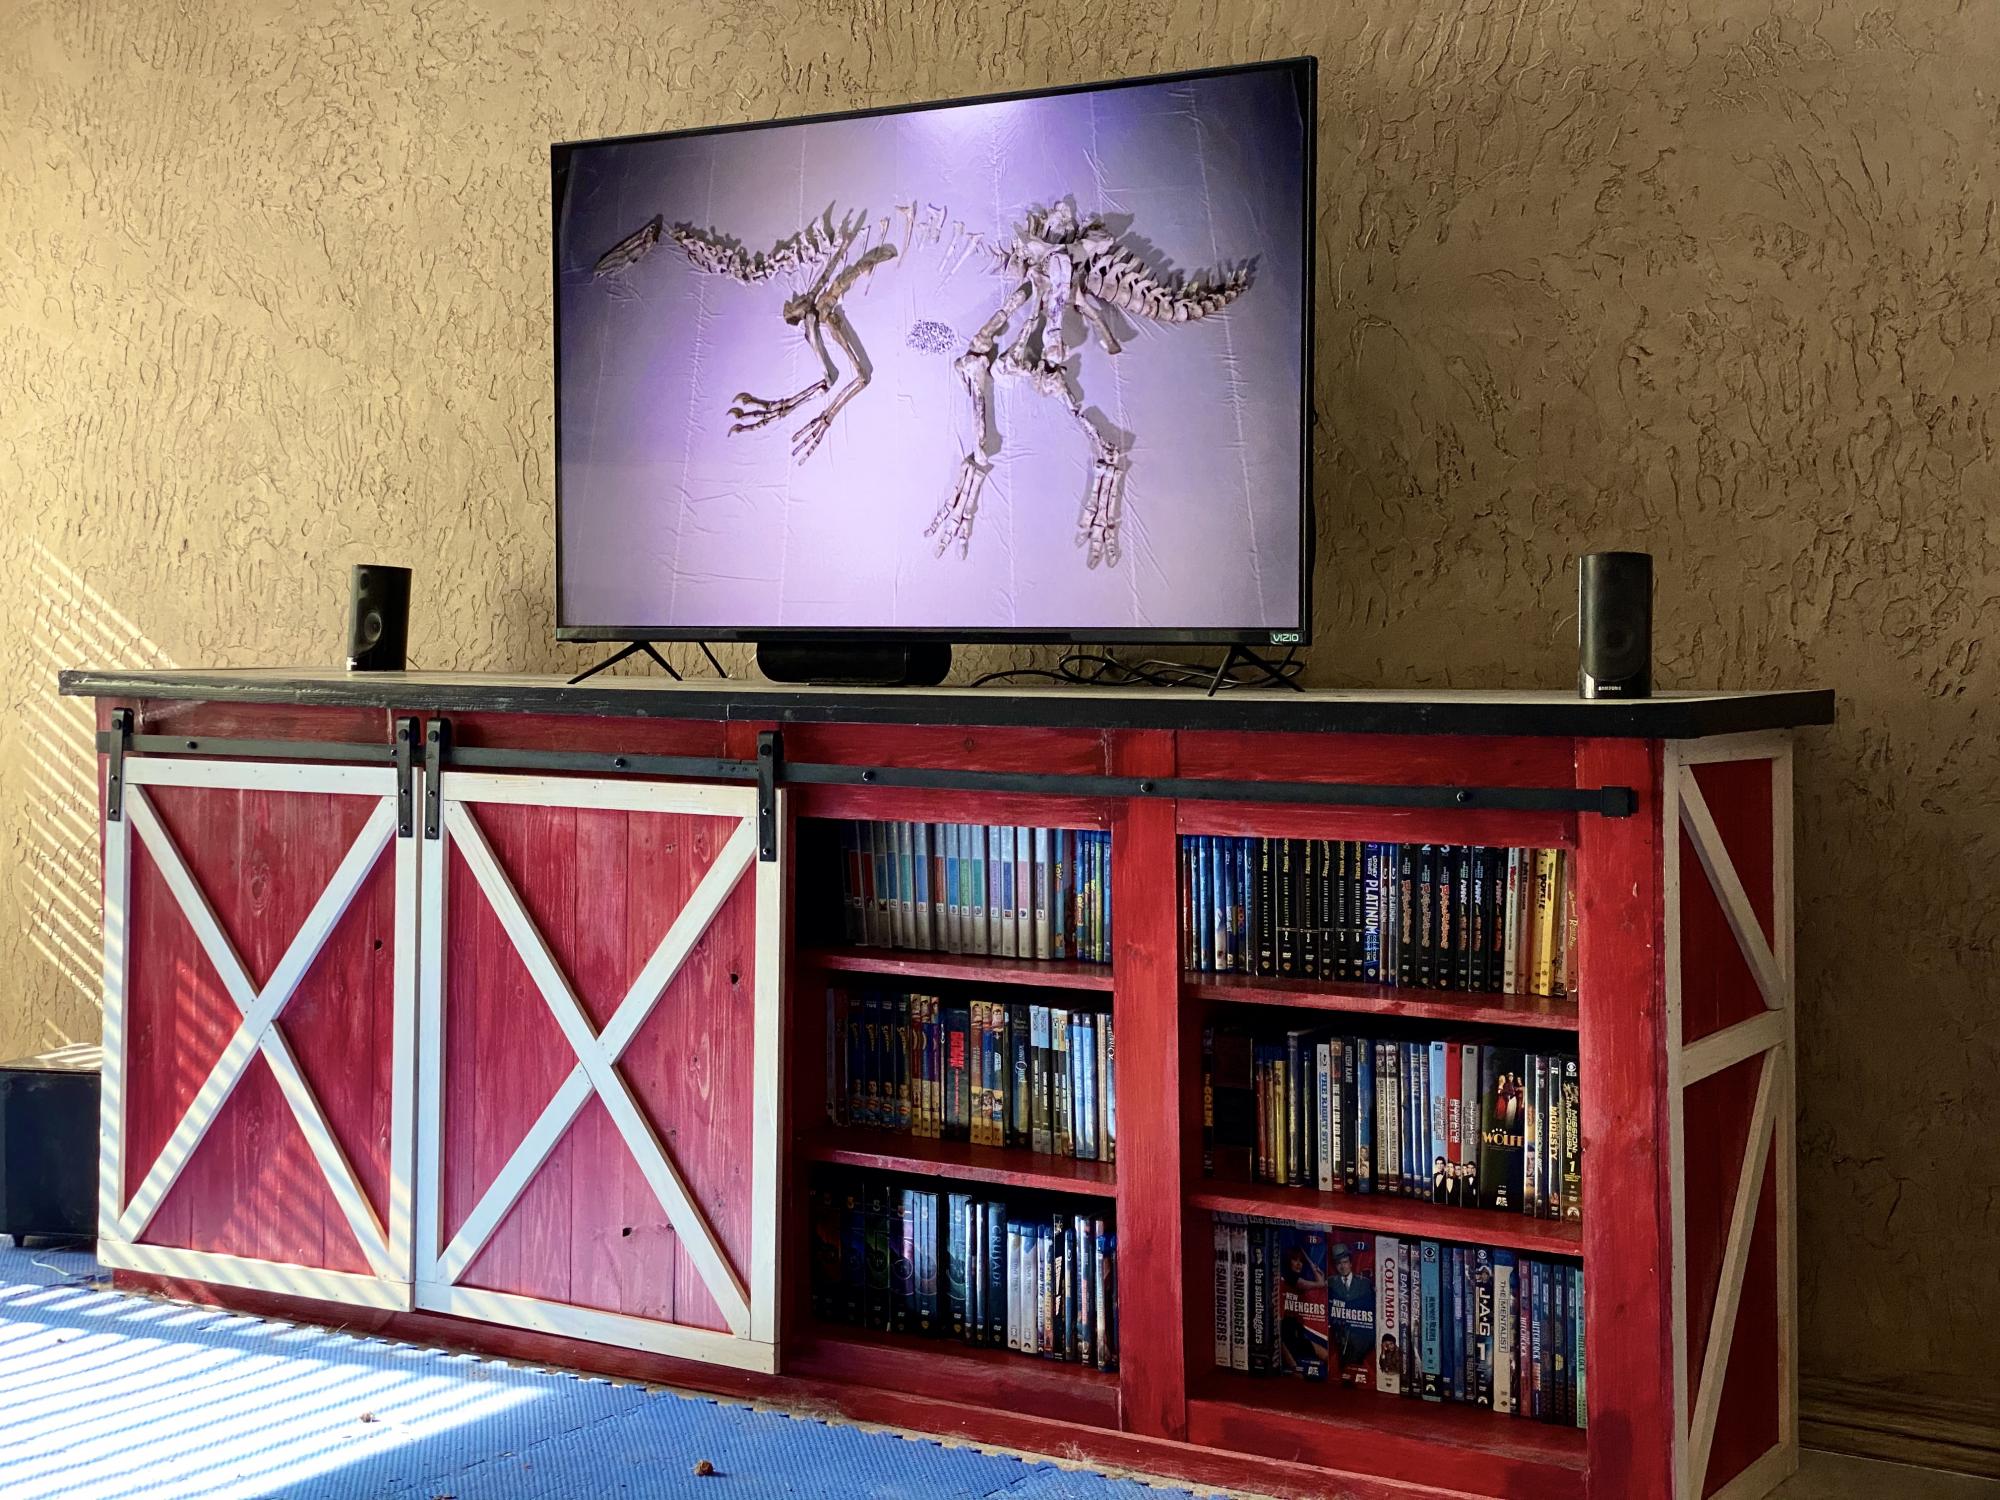
Built from plans on this website, with some modifications.

i used 8-ft x 16-in x 3/4-in edge-glued boards from Lowe’s for the shelves. Instead of cutting the boards to length, I widened the console slightly to accommodate.

I added an extra shelf to increase storage. I also added vertical dividers between the shelves to increase strength and prevent sagging.

The top is an 8-ft x 20-in edge-glued board with a piece of 1x4 board added on at each end. I then added strips of 1x2 underneath on all sides to create an overhang. The top is not fastened on with screws or any other fasteners. Its weight keeps it in place, and being removable will make it easier to move the console, if necessary, in the future.

I couldn’t find a commercial stain that had the “red barn” look I wanted, so I used latex paint thinned with an approximately equal amount of water. 

Built from Plan(s)
Estimated Time Investment
Week Long Project (20 Hours or More)
Finish Used
The red stain is Sherman Williams “Sun-Dried Tomato” thinned with an approximately equal amount of water. The white wash on the trim is Valspar “Navaho White”, thinned the same way.

The top is painted with three coats of Sherman Williams “Caviar” (not thinned).

For a protective finish, I used four coats of Minwax Wipe-on Water-based Polycrilic on the top. I decided I didn’t like the wipe-on poly, though — wiping it on was too messy on my hands — so I switched to brush-on for the rest of the project. That received three coats in critical areas, two coats in places unlikely to see much wear.

Farmhouse Bed

Submitted by Anonymous (not verified) on Fri, 08/04/2023 - 11:10

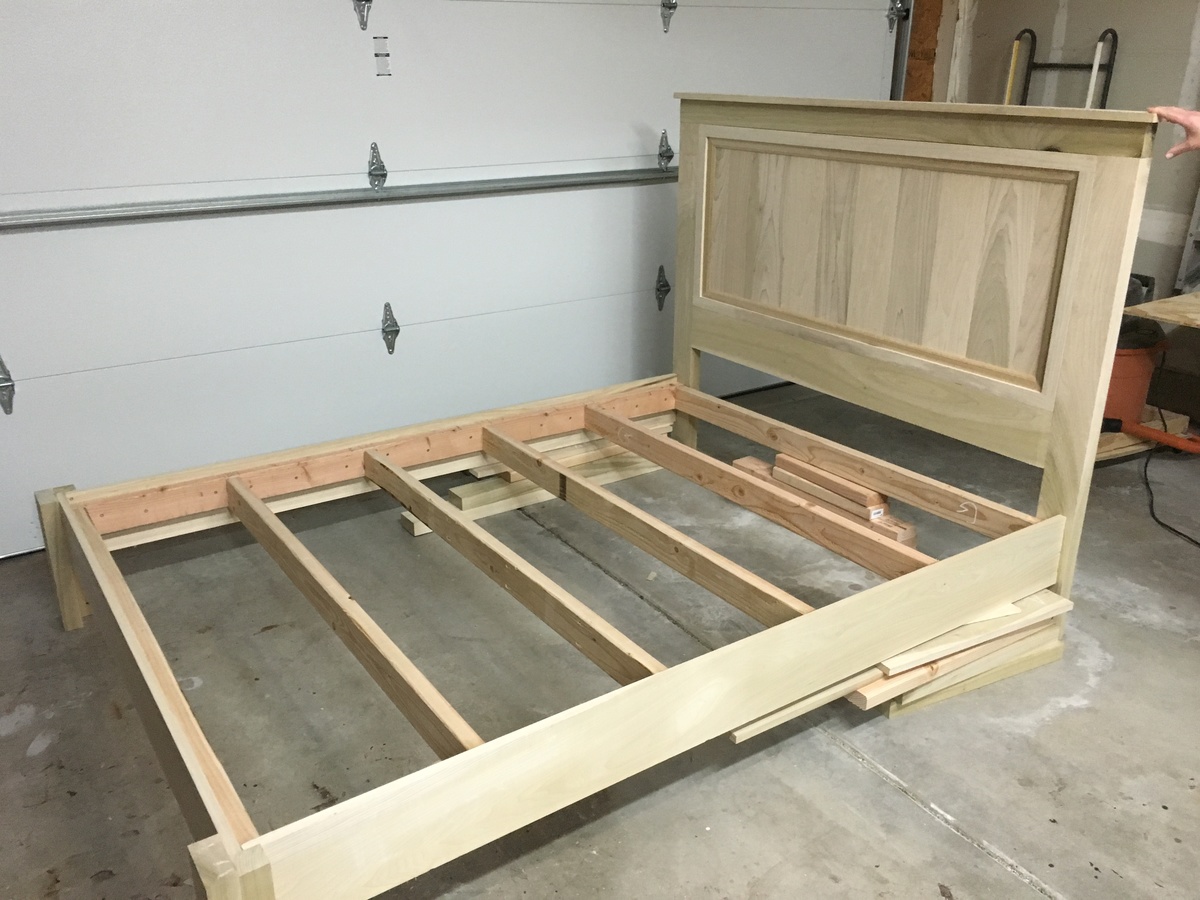
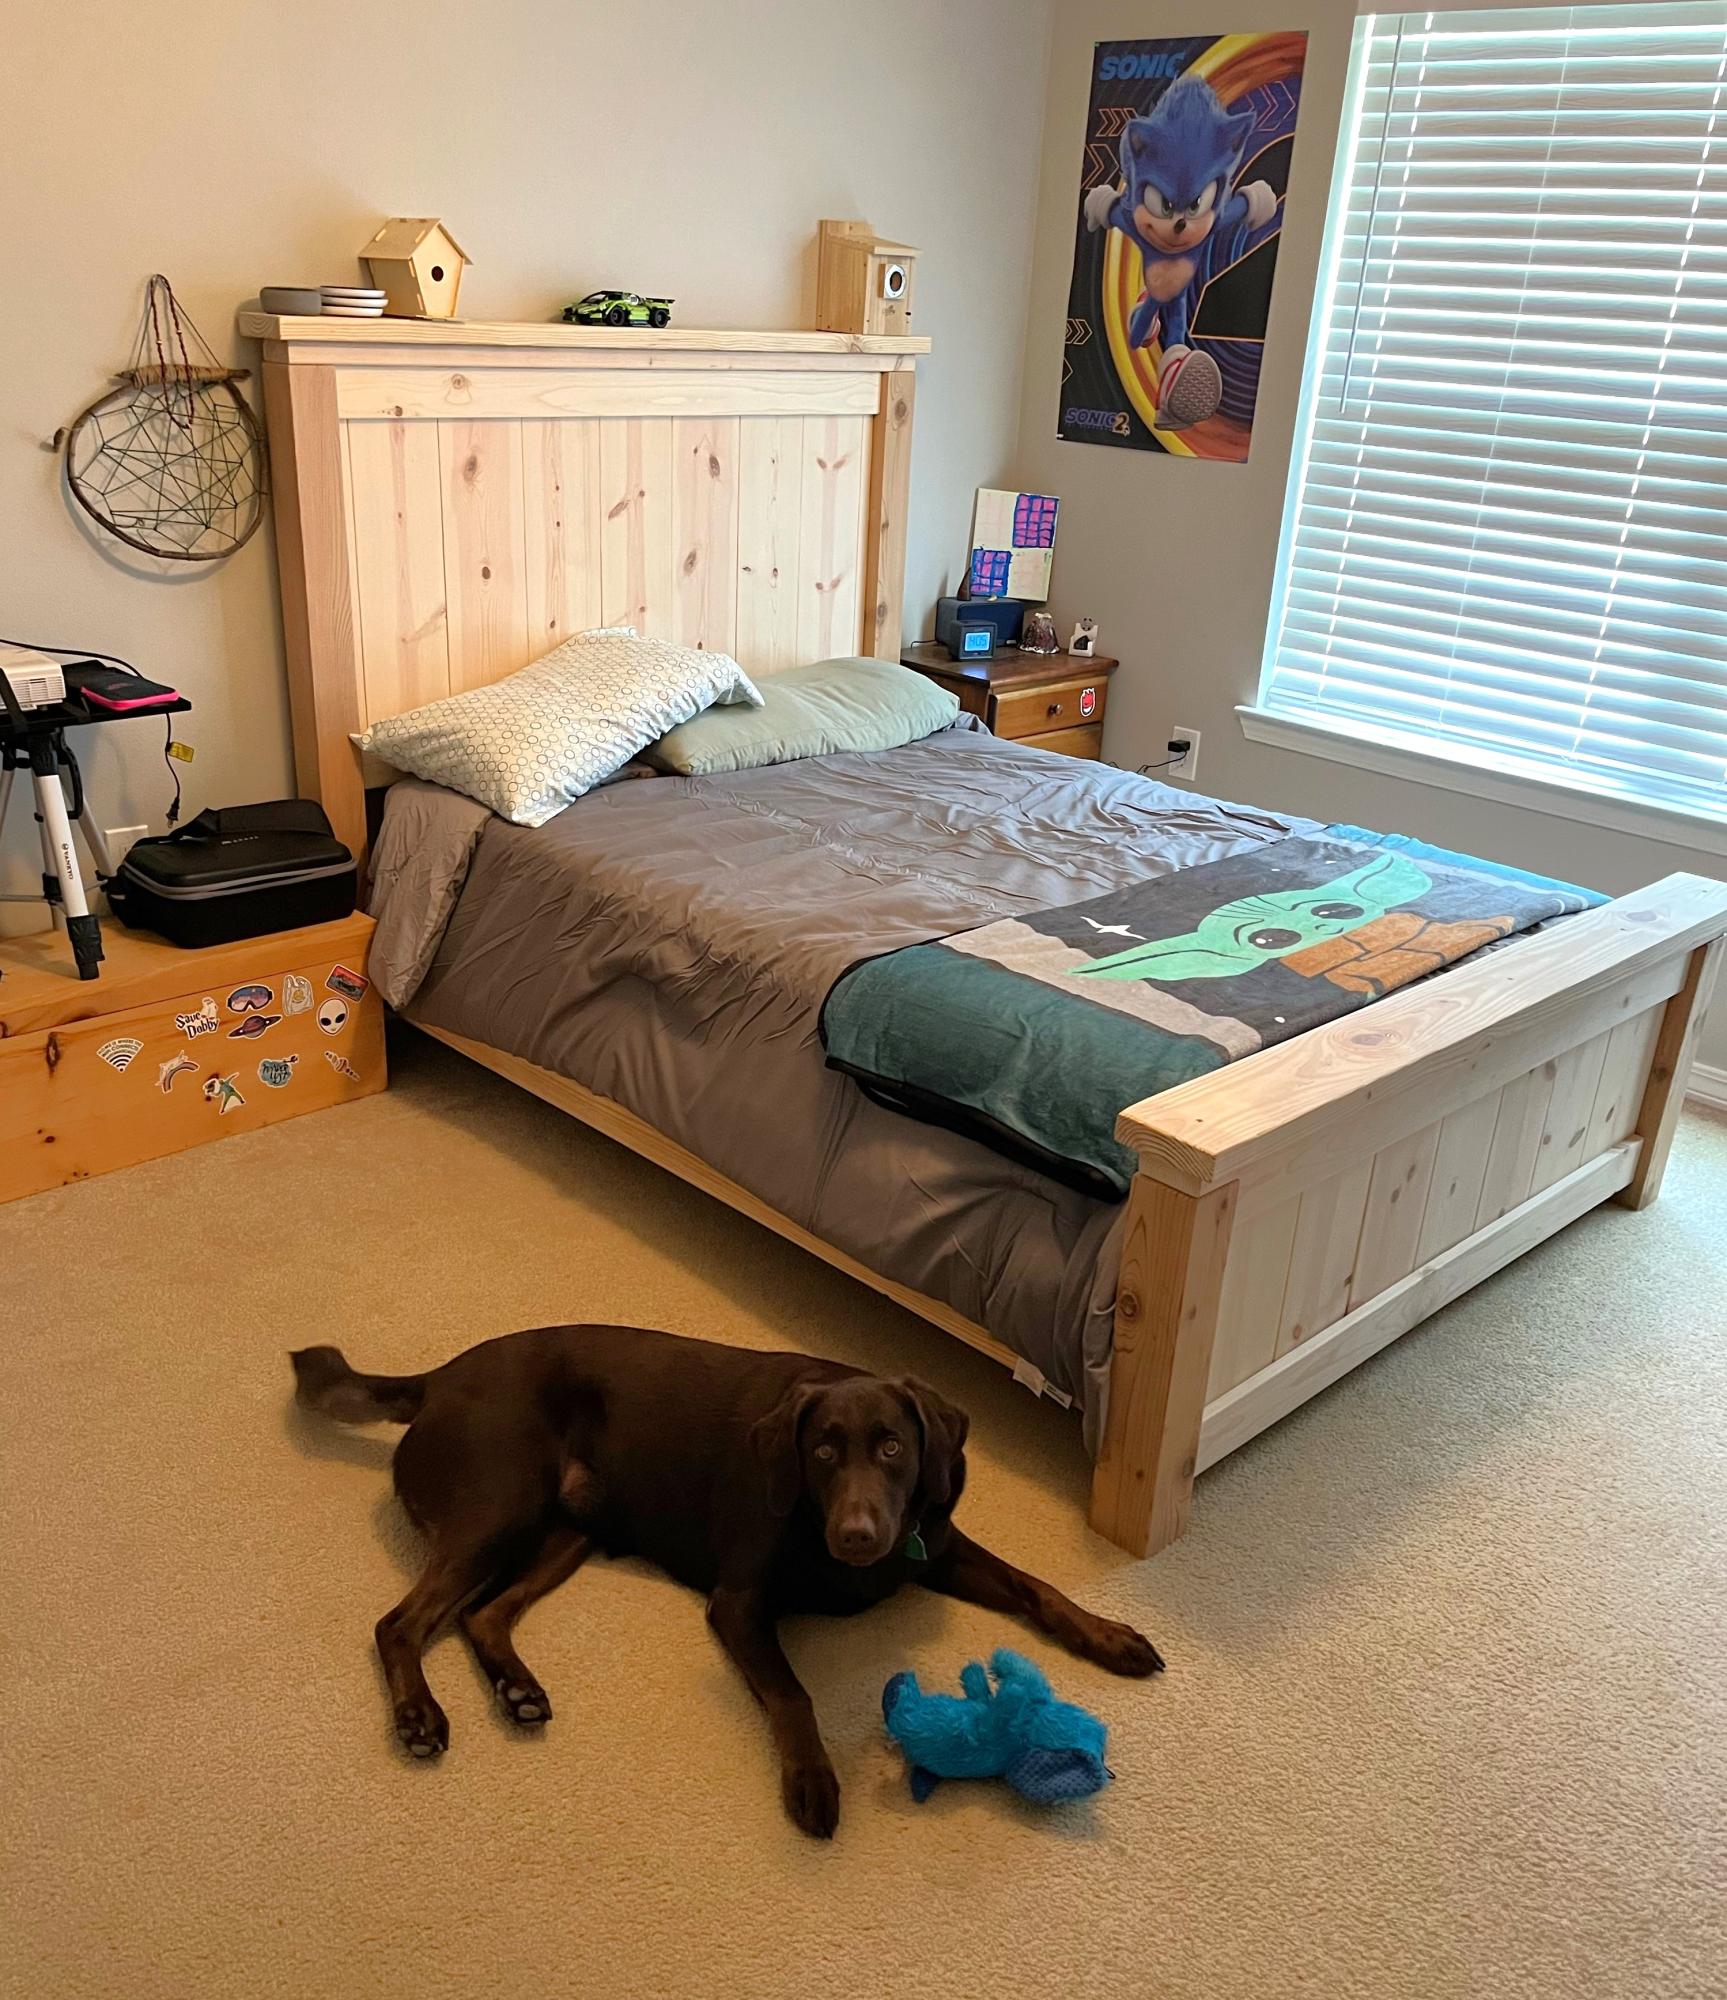
We made this as a surprise for our son. It turned out beautiful! We used cedar 4x4s for the corner posts and pine for the remainder. Thanks Ana!

Patty W.

Built from Plan(s)

Farmhouse bed Queen

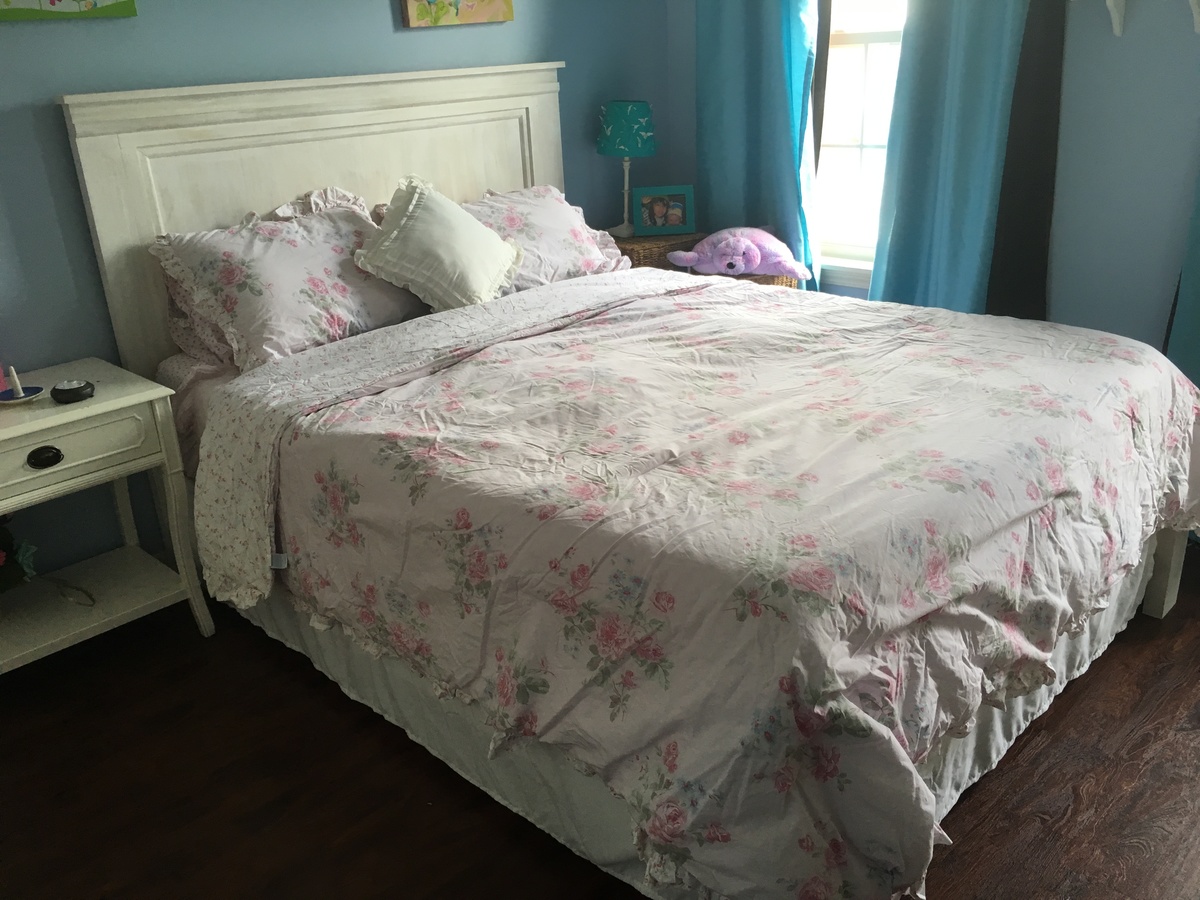
Submitted by fdfp84 on Sat, 04/02/2016 - 17:33

I built this for my youngest daughter, she loved it

Estimated Cost
250.00
Estimated Time Investment
Weekend Project (10-20 Hours)
Recommended Skill Level
Beginner

Rustic X Coffee Table With Side Tables

Submitted by mccool34 on Fri, 12/06/2019 - 20:11

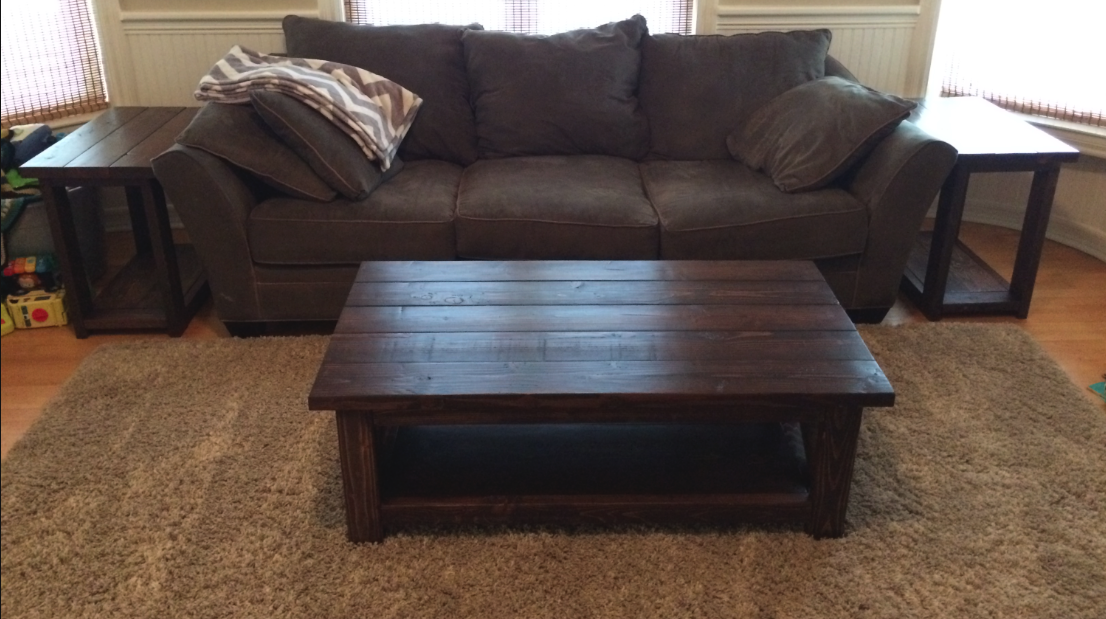
I made this one a while back, it looks similar to the new one you made, I don't remember if this was an earlier version you made or something else I saw online.  This table came out amazing and very sturdy.

It took a few days to build.  I like my projects to be smooth so I sanded all the boards from 80 - 220, then pre stained them all, put 3 coats of poly and then sanded with 400 and 600 for the finish.  Once that was completed I assembled the table and I used extra screws where I could to ensure that it wouldn't become loose after moving it around so much.  I was able to make 2 side tables with some of the left over wood.

Estimated Time Investment
Weekend Project (10-20 Hours)
Finish Used
Dark Walnut
Recommended Skill Level
Beginner

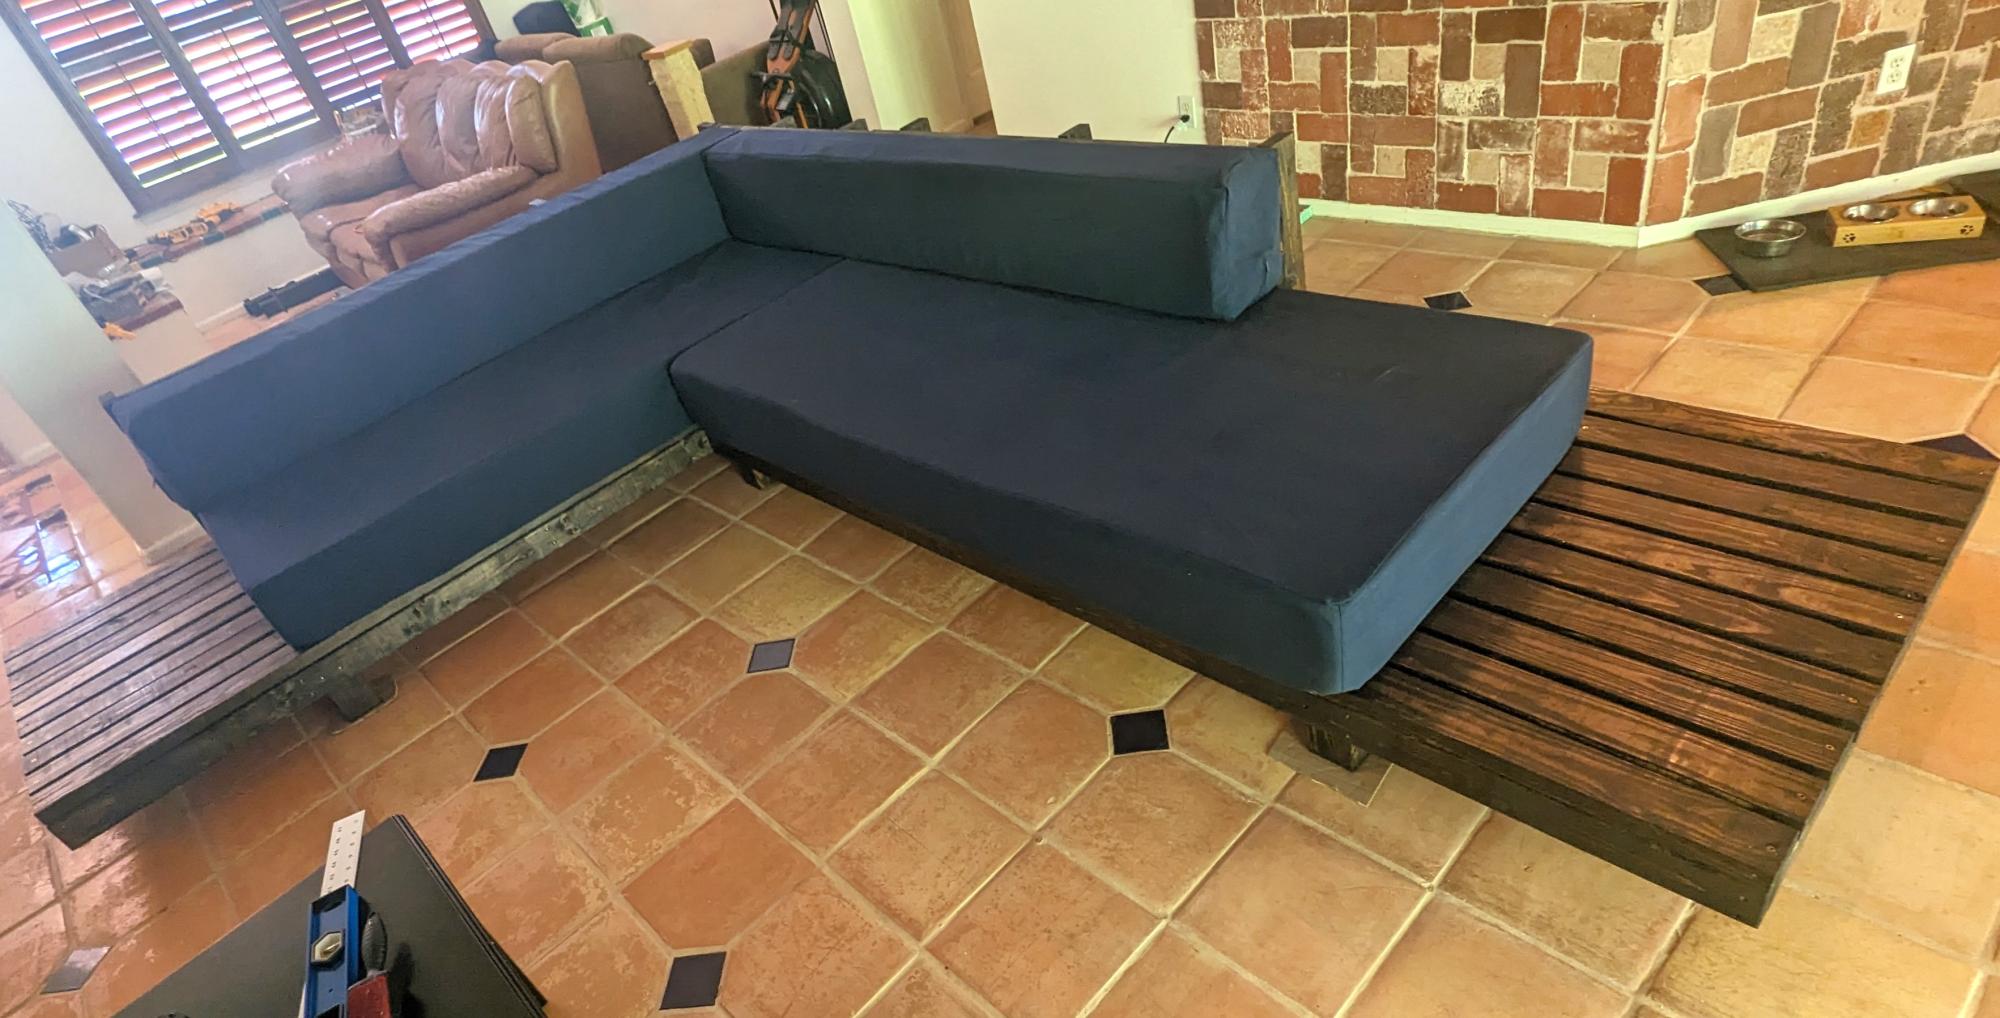
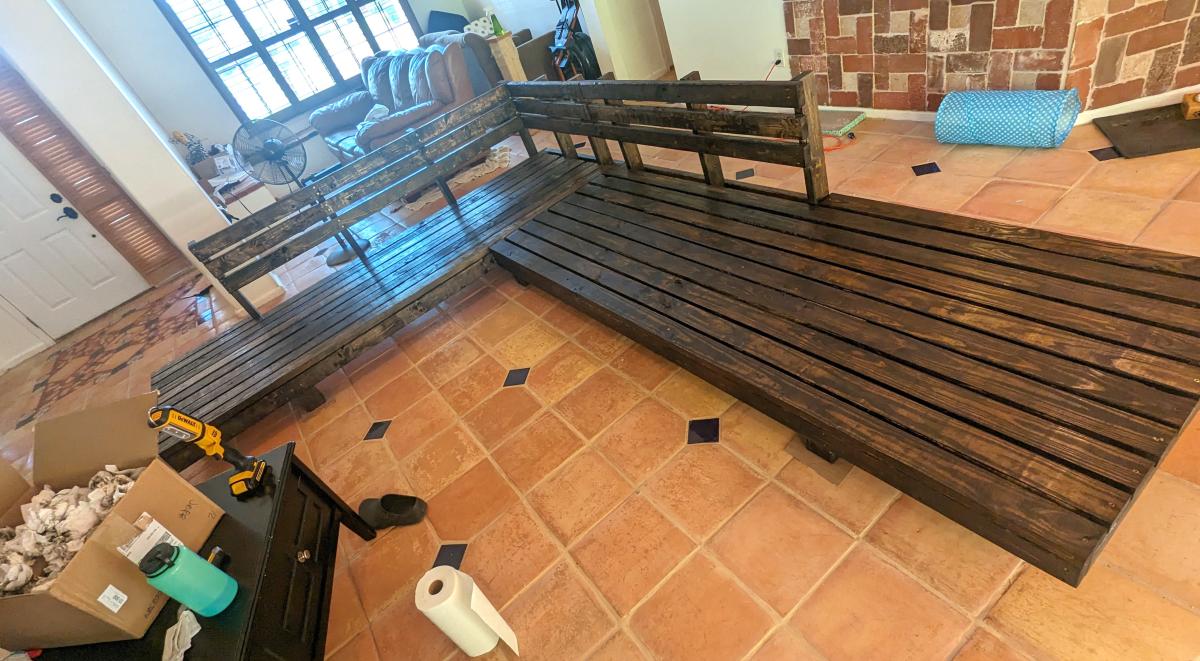
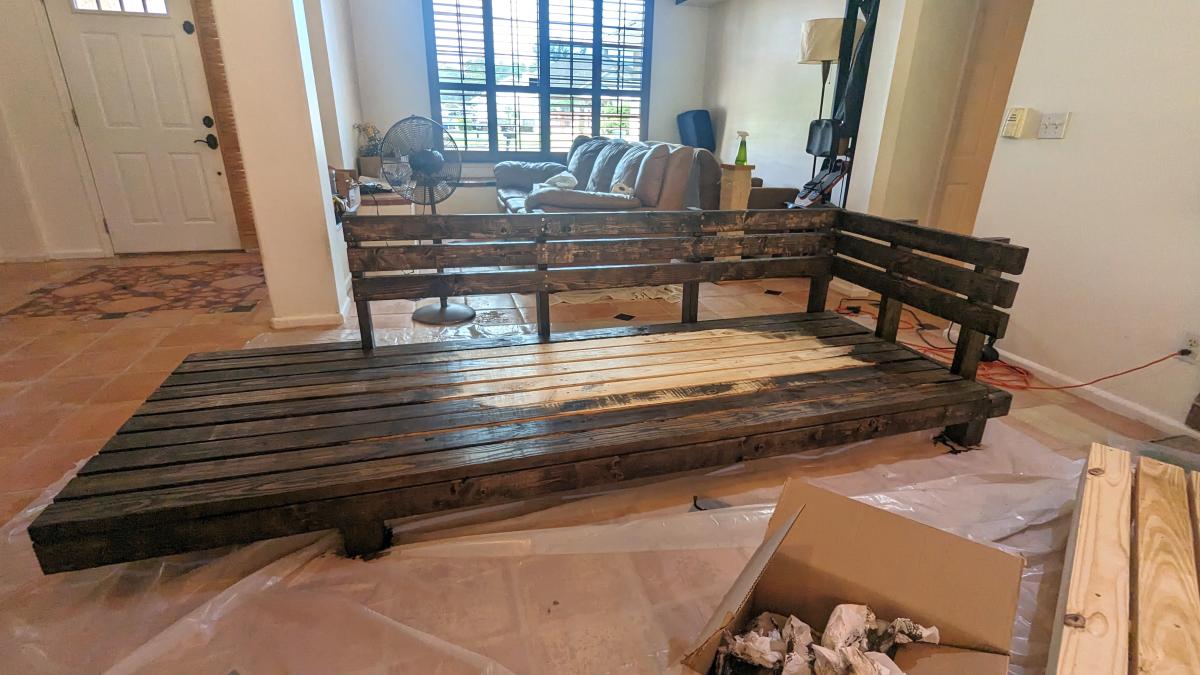
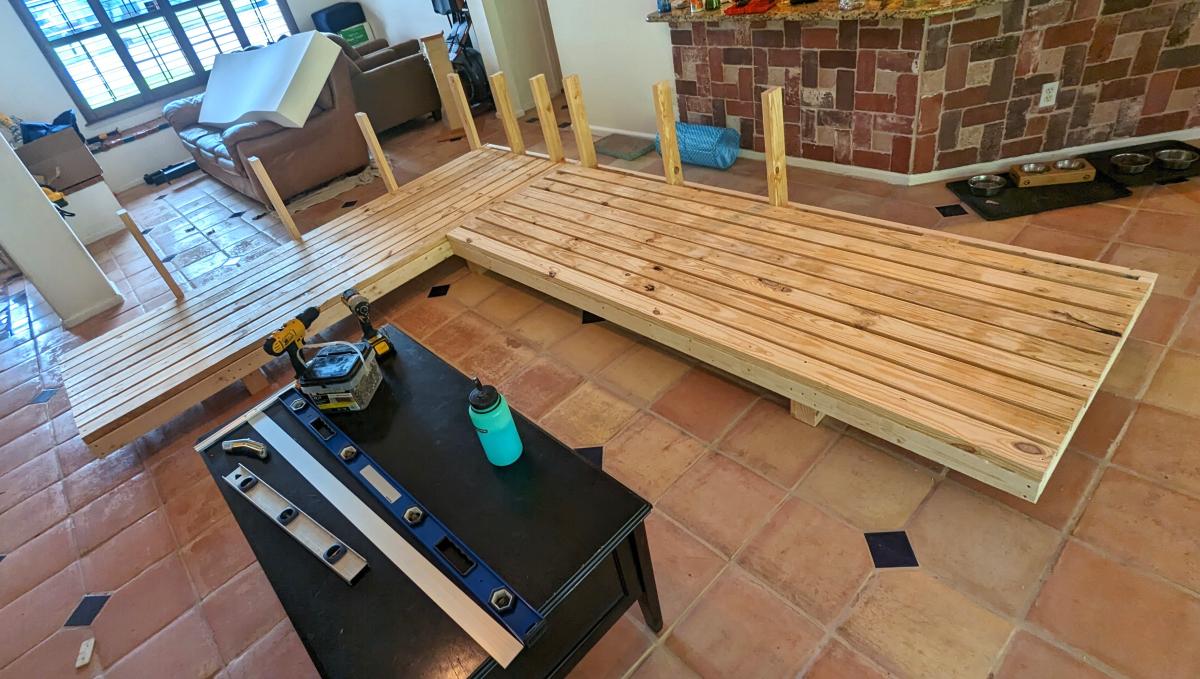
DIY Platform Sectional

Submitted by Anonymous (not verified) on Mon, 08/07/2023 - 17:20

Hello! Thank you so much for providing information and inspiration. I was looking for a very specific couch and I found one. However it was $3000 and had to ship from CA to FL and then I had to assemble it to decide if I liked it or not. Some friends directed me to your site where I found your plans for the outdoor sectional. I modified them to fit my desired outcome and wow! I'm so happy about this. Thanks again!

someJabr0ni

What I used:
36 - 2x4x10s
1 - 4x4x8
A whole bunch of screws
Foam cushions from foamfactory.com
Cushion covers from slipcovershop.com
Minwax jacobean stain (finish on top tbd)

Built from Plan(s)

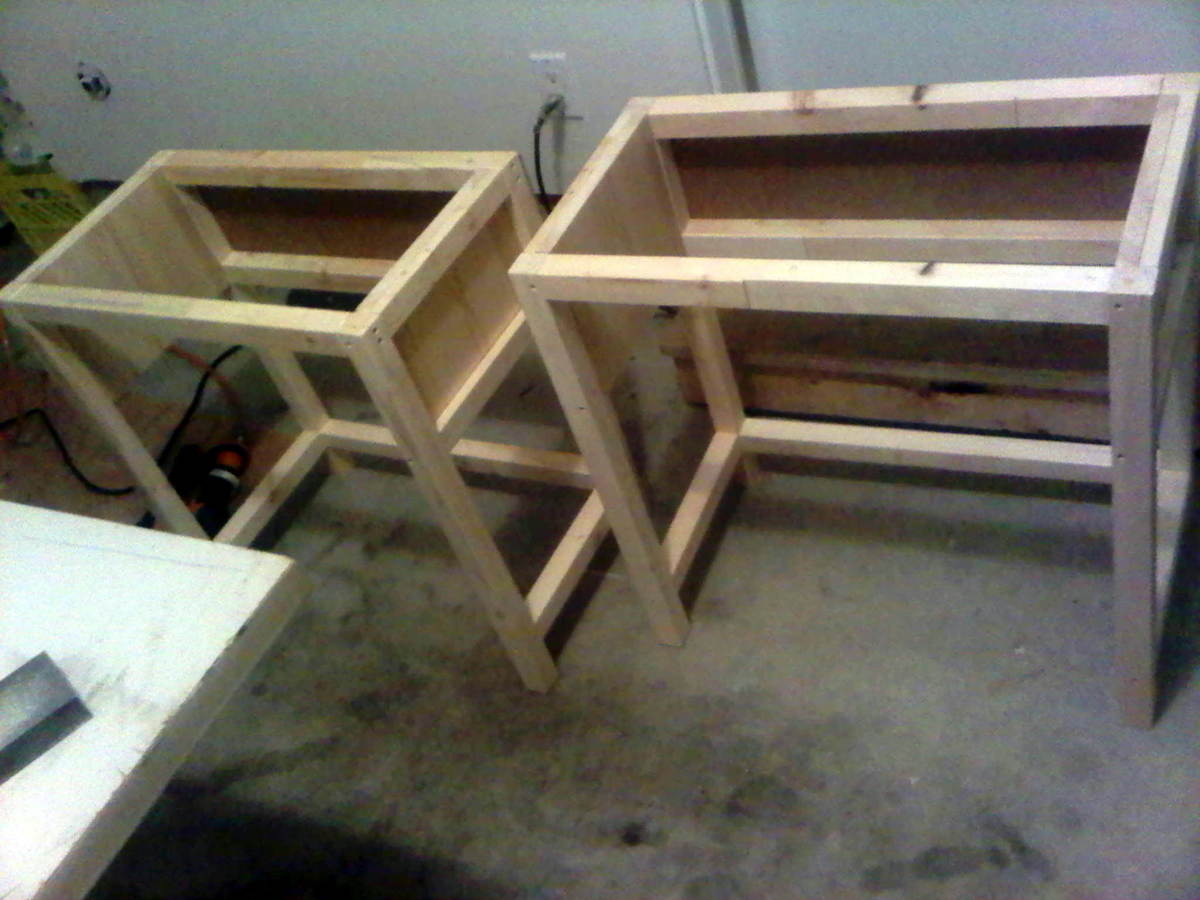
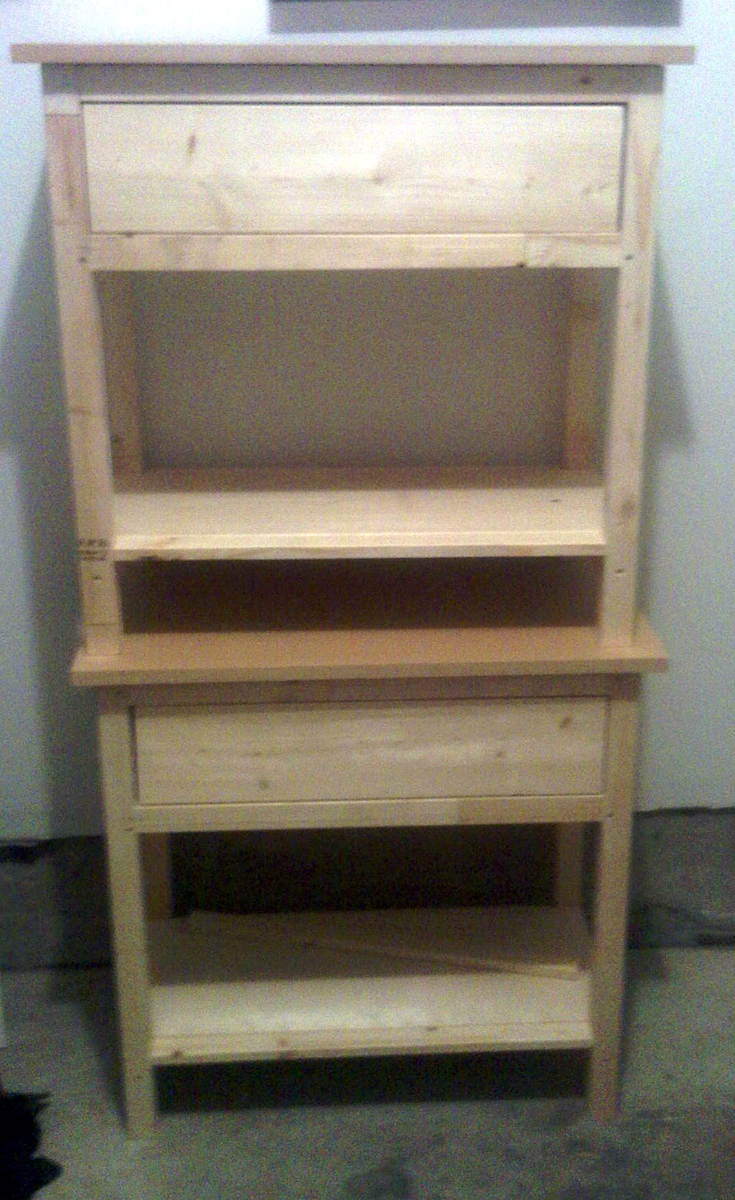
Farmhouse Bedside Tables

We followed the plans, but did run into a couple snags. Because we were making two tables, we thought it might be easier to do all the cuts first, and then assemble both together. We agreed it was easiest in the end (so we weren't going back and forth to the saw), but the cut list called for one extra trim piece that the plans never used... lucky for us, we realized this before doing the cuts so just skipped it. The cut list left out one piece that the plans asked for at the end (for the life of me, I can't remember what it was), but we had quite a bit of extra lumber thanks to carefully thought out cuts so it wasn't a big deal.

We found that the plans really forced us to think out our approach along the way. We are true beginners, and we even ended up having to think about where we were sinking the screws and making sure to sand the pieces prior to assembling.

As far as our materials went, we purchased most of it at Home Depot. For the tops, we decided to use some scrap MDF that we had leftover from another project. Otherwise, we just used the cheapest lumber we could find, and pine for the 1x6 and 1x12's. Our Home Depot bill was $104, but we have a few pieces of lumber and pine that we didn't use, so plan to take them back. We already had the paint, and we bought the hardware at Lee Valley in Vancouver (BC), which was $24. We figure that the end price for each table is about $60.

For more details, check out my blog post on the project: http://www.andreakrisourchaos.blogspot.ca/2012/03/pinterest-challenge-b…
Built from Plan(s)
Estimated Cost
$60 per table
Estimated Time Investment
Day Project (6-9 Hours)
Finish Used
Rustoleum White Primer Spray Paint - 2 coats
Rustoleum White Gloss Spray Paint - 3 coats
Rustoleum Clear Lacquer Spray Paint - 2 coats
Recommended Skill Level
Beginner

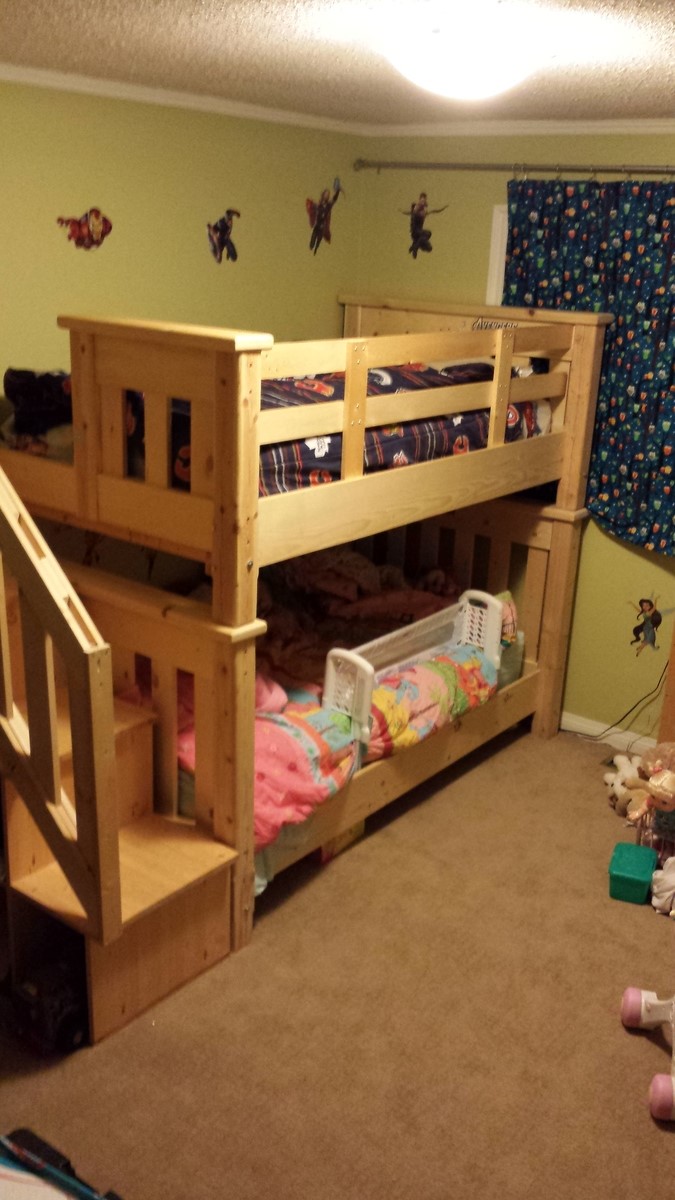
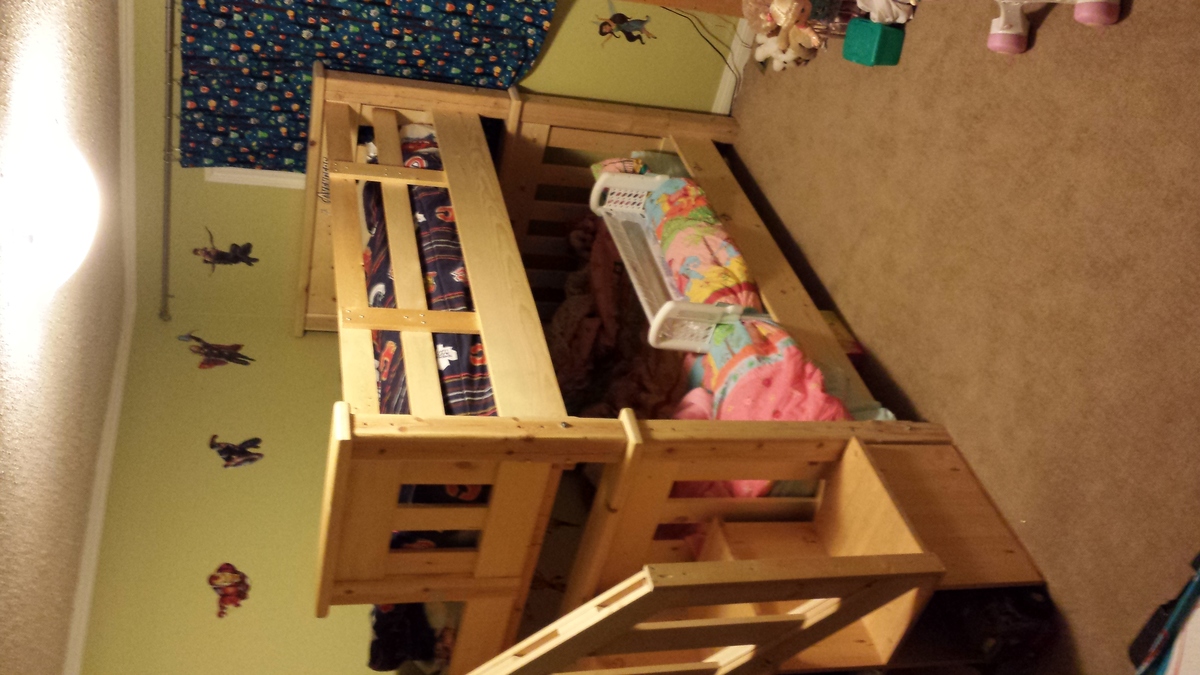
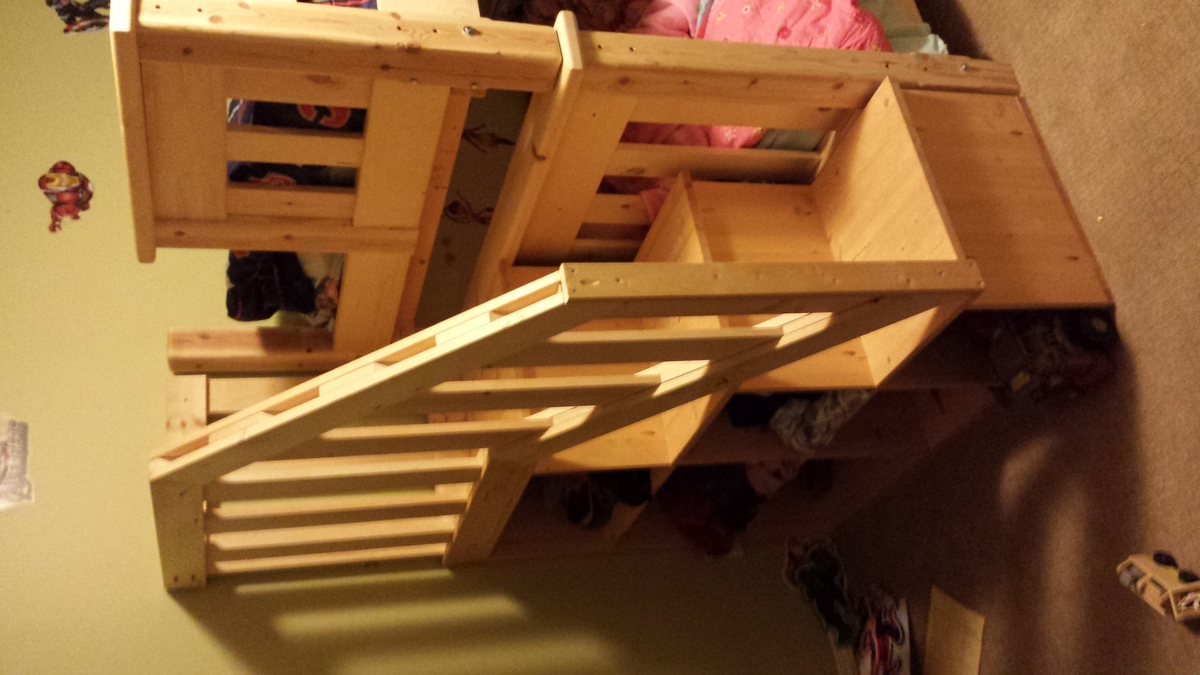
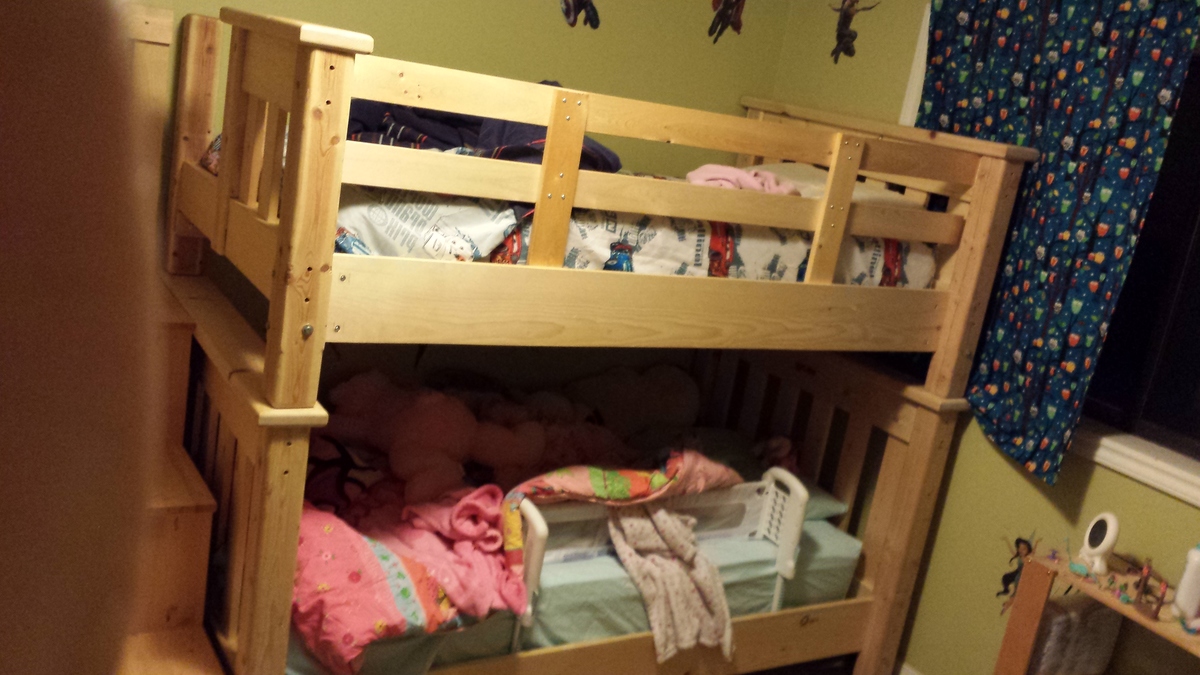
Bunk Beds with Steps

Submitted by dja on Sun, 01/12/2014 - 19:16

Well, this is my first post and my first real project. Bunk beds out of knotty Pine that can be used as single beds when the kids no longer want to share a room. I wasn't willing to spend $1500-$2000 on bunk beds when I knew I could make some myself. So here it is, I would do it a little different if I was too do it again. I know it's not perfect, but I'm proud of it.......always room for improvement.

Estimated Cost
$500-$600
Estimated Time Investment
Weekend Project (10-20 Hours)
Recommended Skill Level
Starter Project

Comments

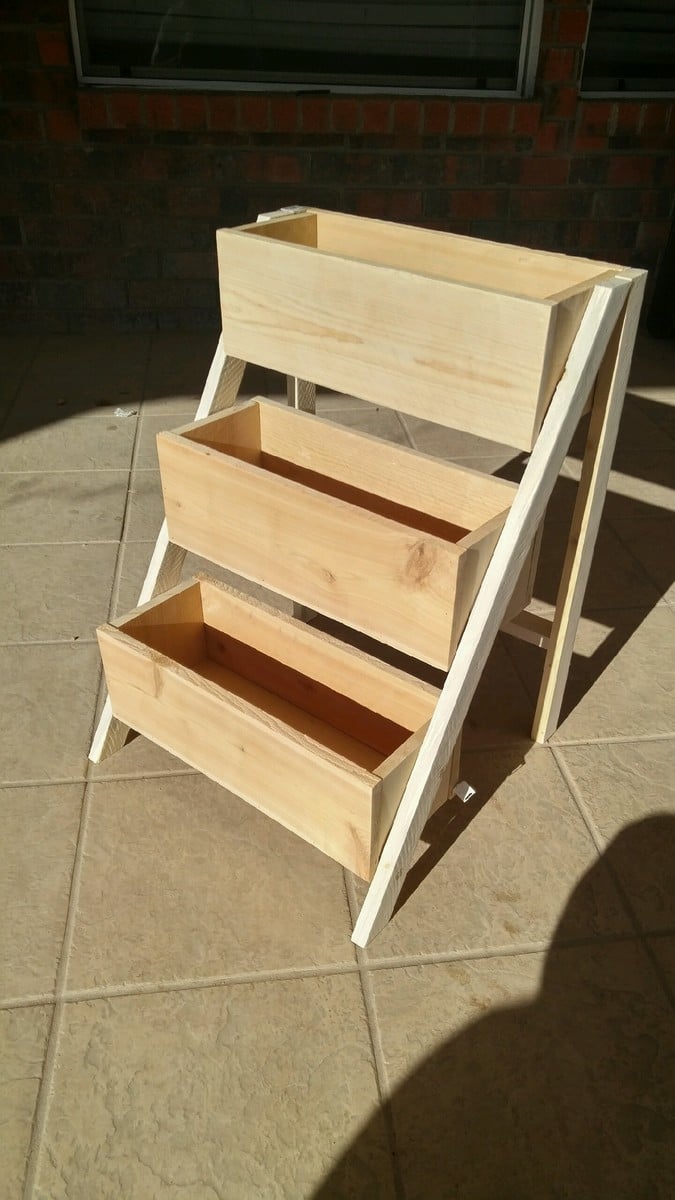
HERB GARDEN PLANTER

Submitted by Codding58 on Tue, 04/05/2016 - 10:18

This project was a super easy and fun build that I made for my mother's herbs. In total I spent probably around $12 in material, and only spent about 2 hours building it. Came out great!

Estimated Cost
$12
Estimated Time Investment
An Hour or Two (0-2 Hours)
Finish Used
none
Recommended Skill Level
Beginner

Comments

In reply to by jfwoodworking

Codding58

Tue, 04/26/2016 - 14:13

Being that its going to be holding moist soil, and inevitably warping some, I didn't want to waste too much money on better wood, so i went with cedar fence boards (5 1/2") for this build. It DID move around a little when I first watered, but everything has held together fine, and I defiantly think it will add to the "rustic" look for my herb garden planter. i will try to upload some pictures as it "ages"

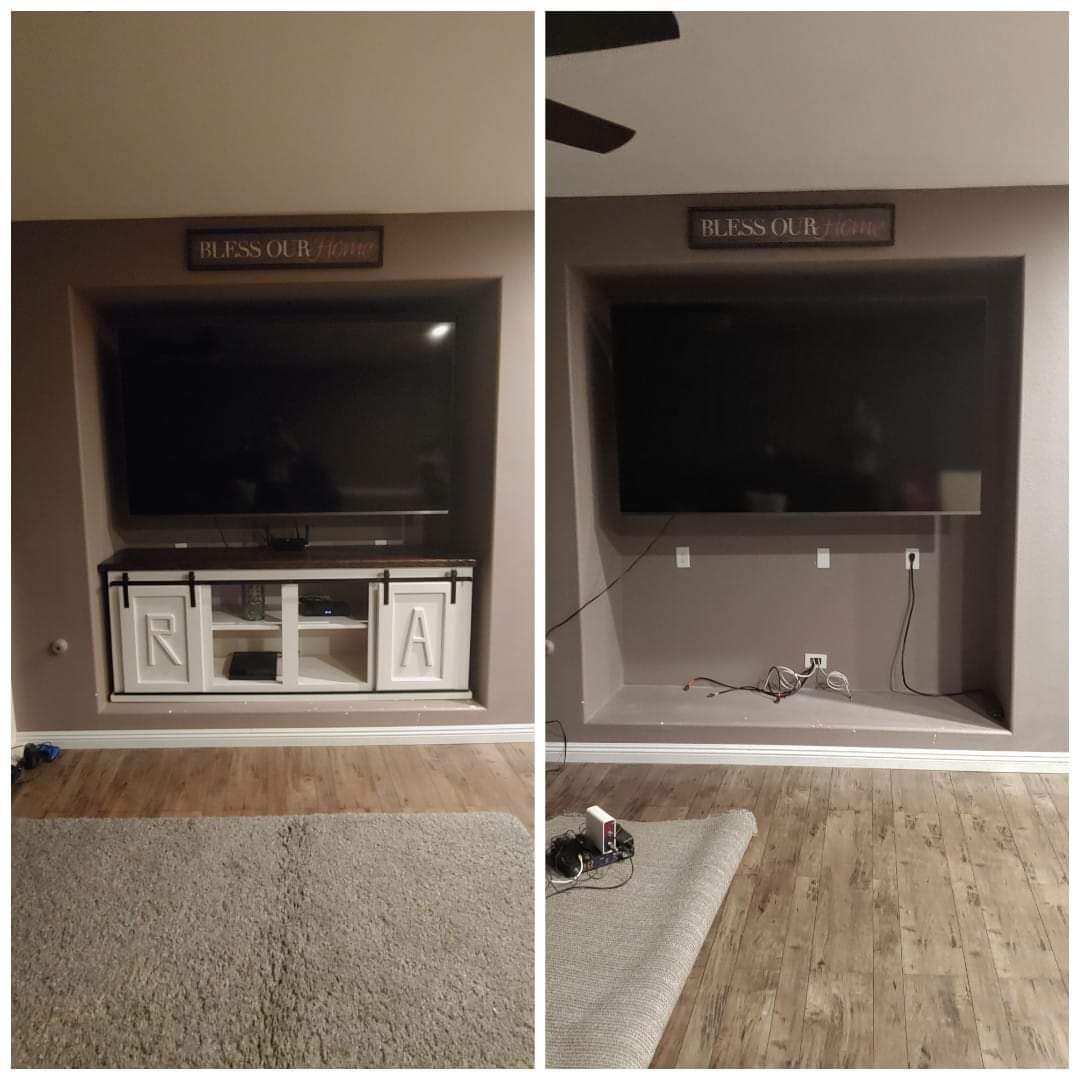
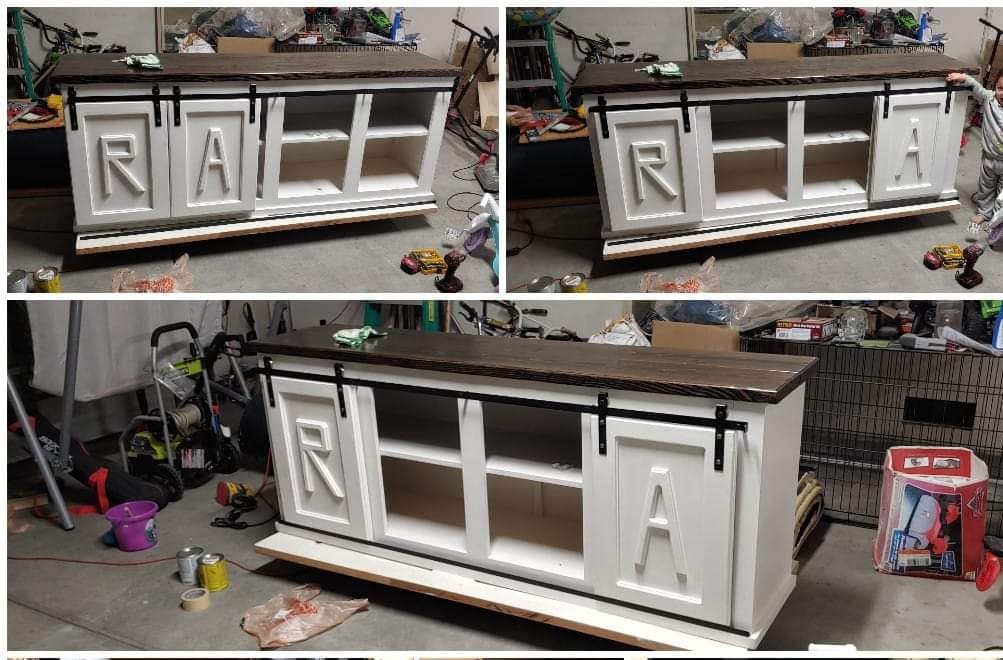
Barn Door Console

Submitted by Robdre05 on Thu, 12/12/2019 - 17:43

Needed a entertainment console to fit under my tv. Built this Barn Door Console project. Measured approximately 84" W and approximately 36" H. 

Sanded, painted and stained the top piece.

Hardware I made from 1/8" thick flat uluminum bar and pulleys. Did a little research and helped a lot.

Built from Plan(s)
Estimated Cost
$200-230
Estimated Time Investment
Weekend Project (10-20 Hours)
Recommended Skill Level
Intermediate

Tall Dresser

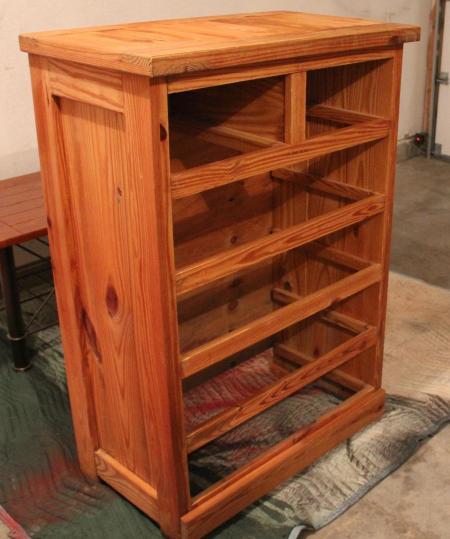
Submitted by mweir on Wed, 03/28/2012 - 20:35

My wife Tracy and I wanted a dresser like this for one of the bedrooms in the new house. Well Tracy went to work looking for one on Craigslist and E Bay ( She is the best at hunting down a bargain). After only one day she found an add for a solid wood dresser for sale in our area. When I came home from work she let me know there was a project in the back of her vehicle for me.
I was very impressed with what she had found. This was a serious solid wood dresser. With me having a couple of days off prior to our trip to Cabo (and Tracy needing me out of her hair while she finished all the details needed for the trip) I started on this right away.
The dresser had never been finished, it was just raw wood. This was a plus for me because no stripping was needed. Just a little light sanding is all it required for prep work.
I discovered that the knobs did not match. After a quick trip to Menards the dresser was complete.
Total cost of our dresser $65.00
See more pictures at buildandsave-mike.blogspot.com

Estimated Cost
$65
Recommended Skill Level
Starter Project

Comments

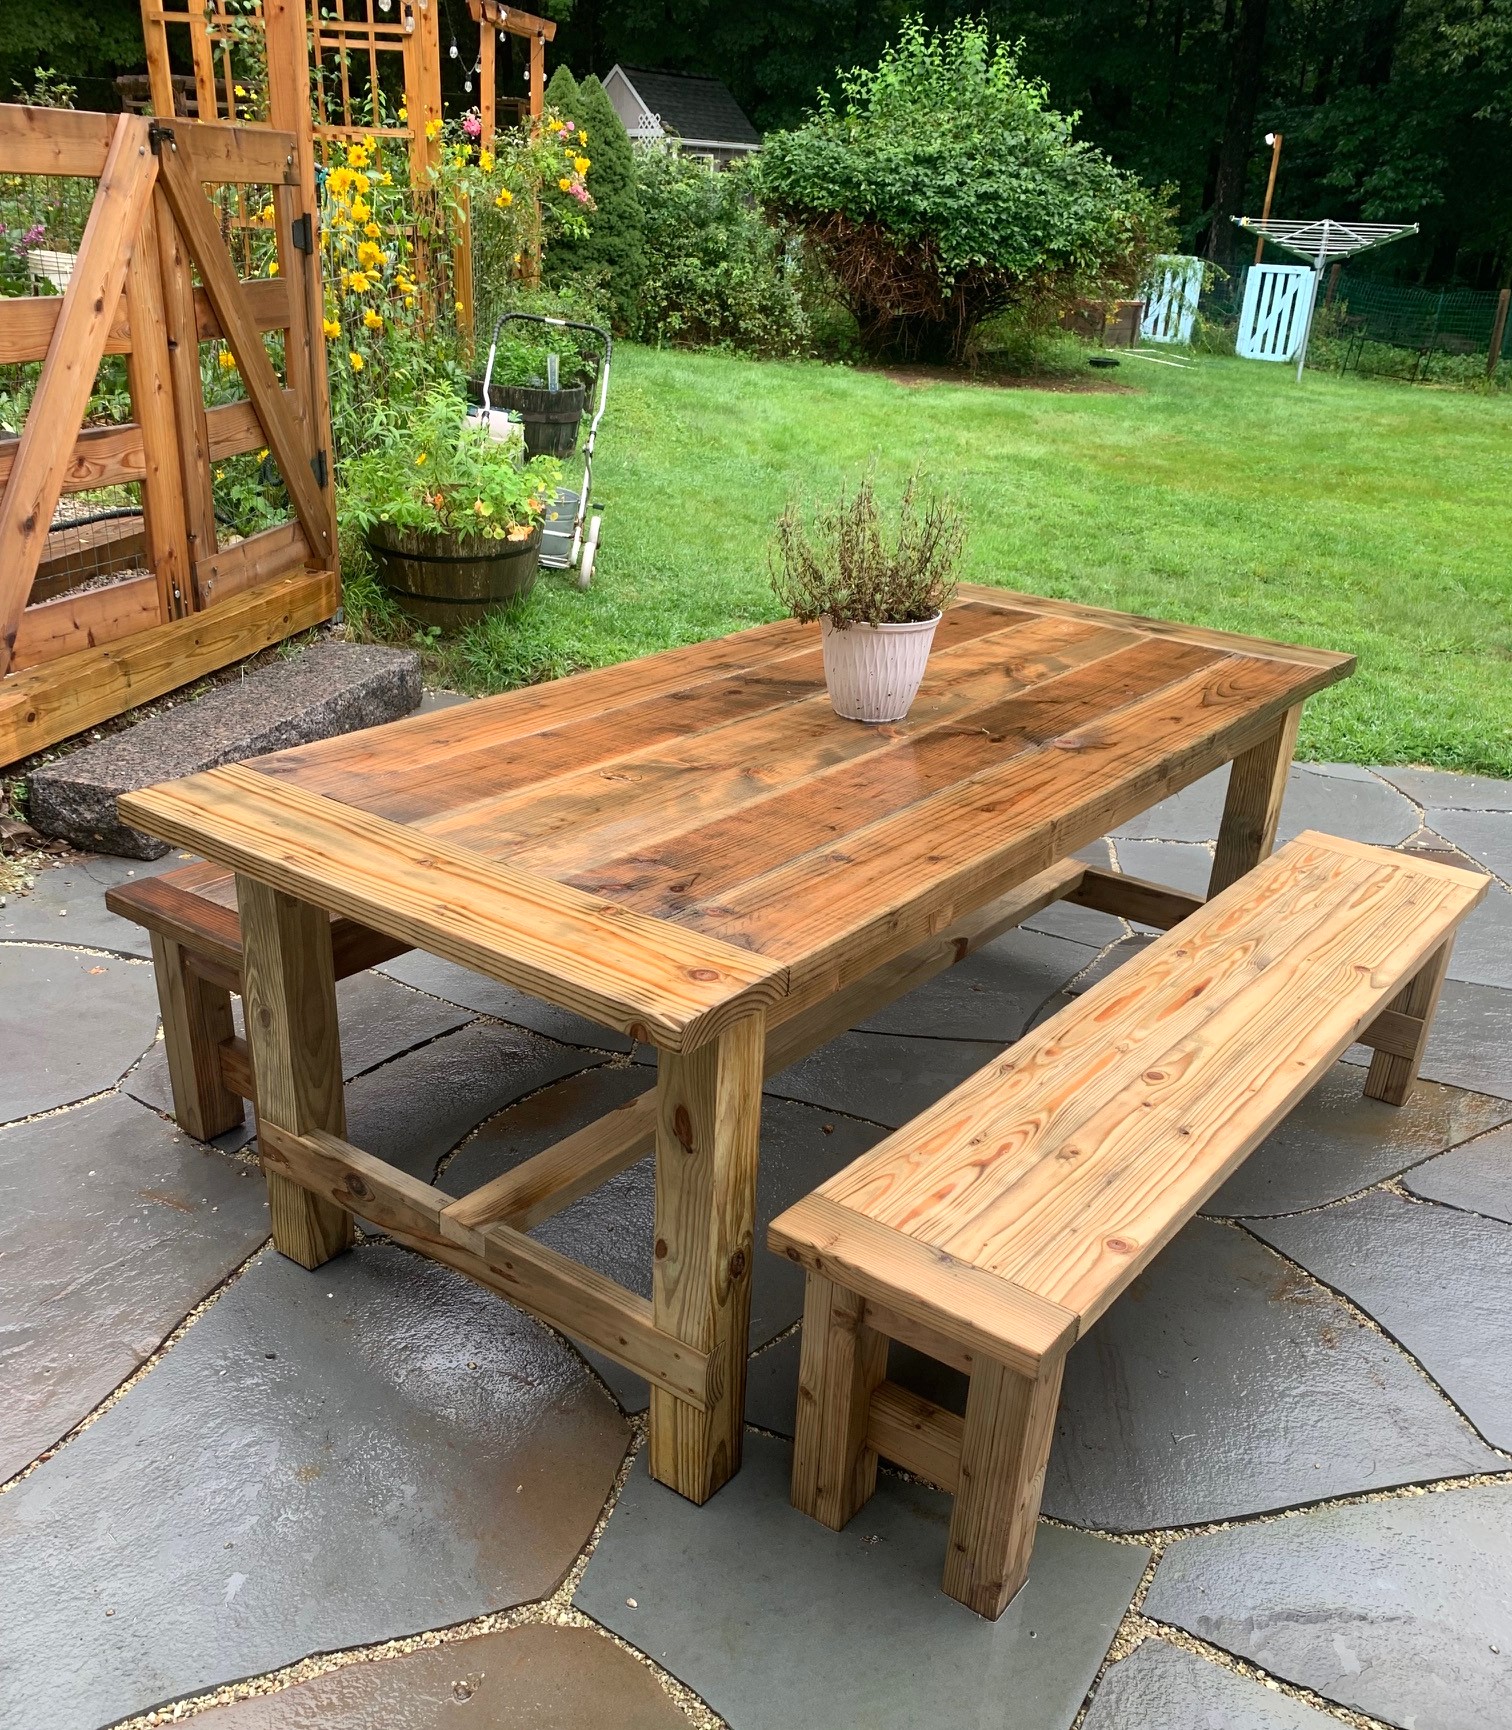
Farmhouse Table

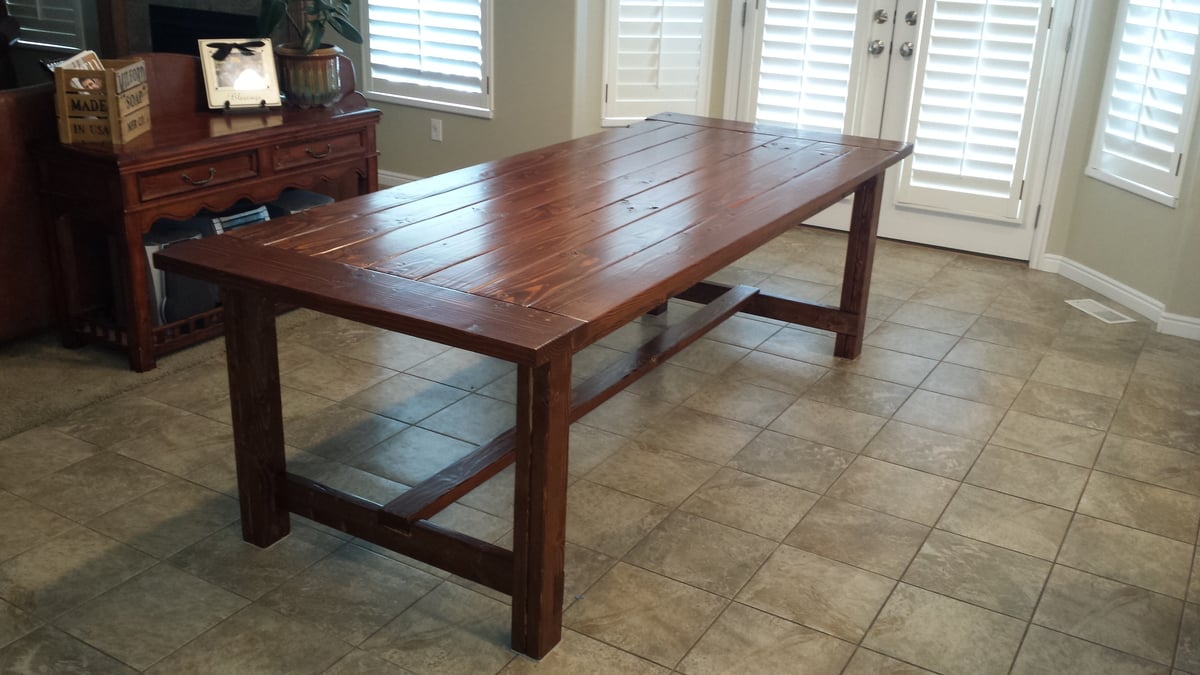
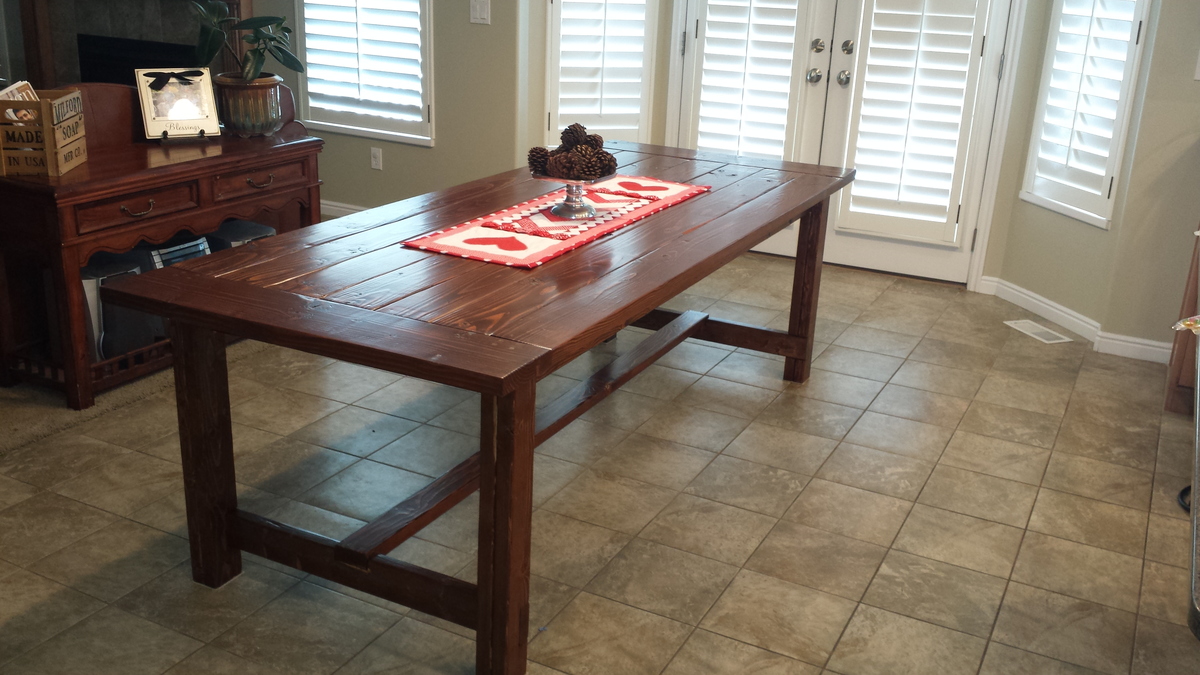
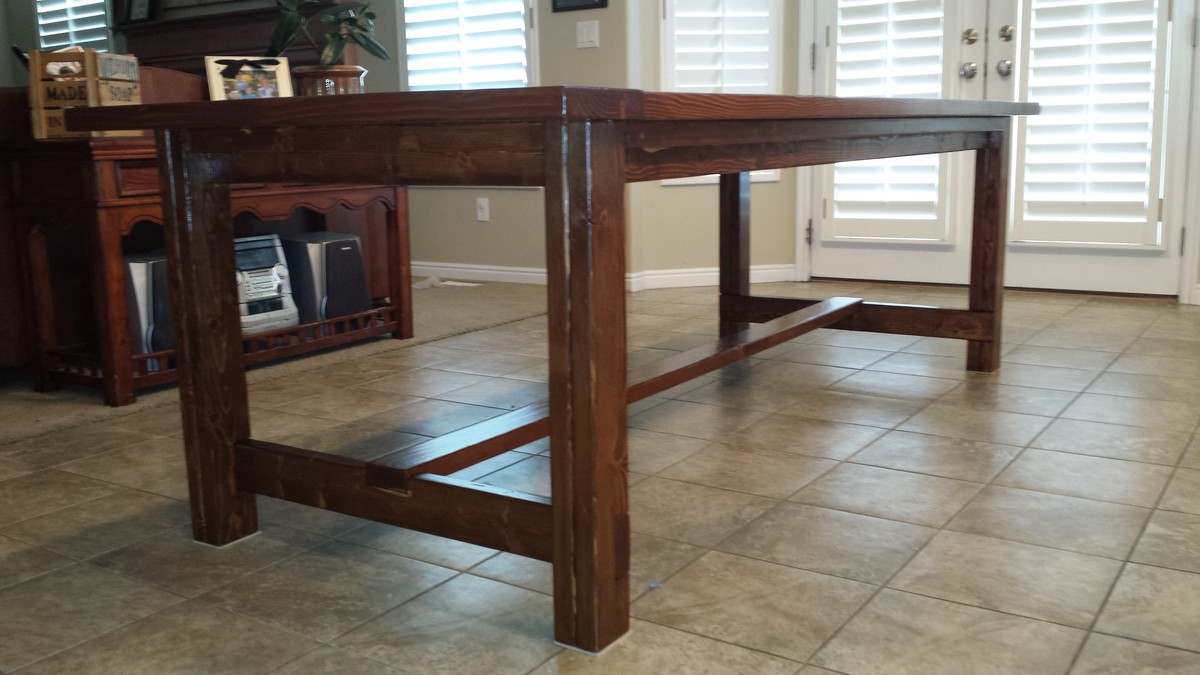
Submitted by johnandash on Wed, 01/15/2014 - 12:47

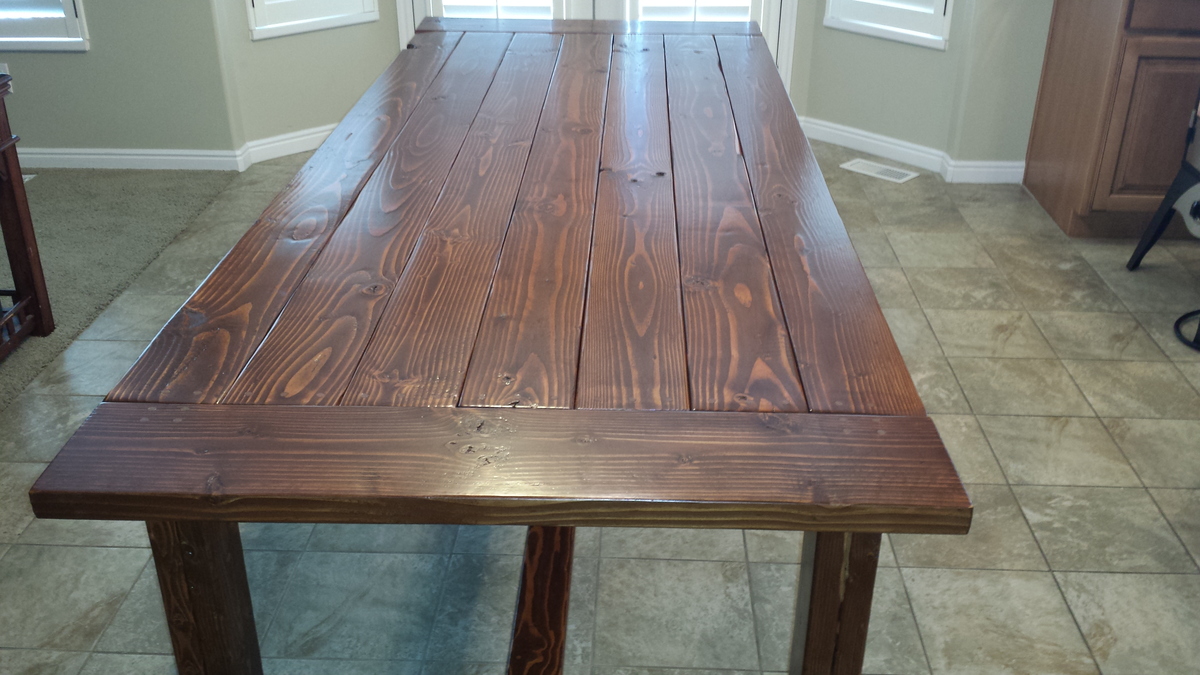
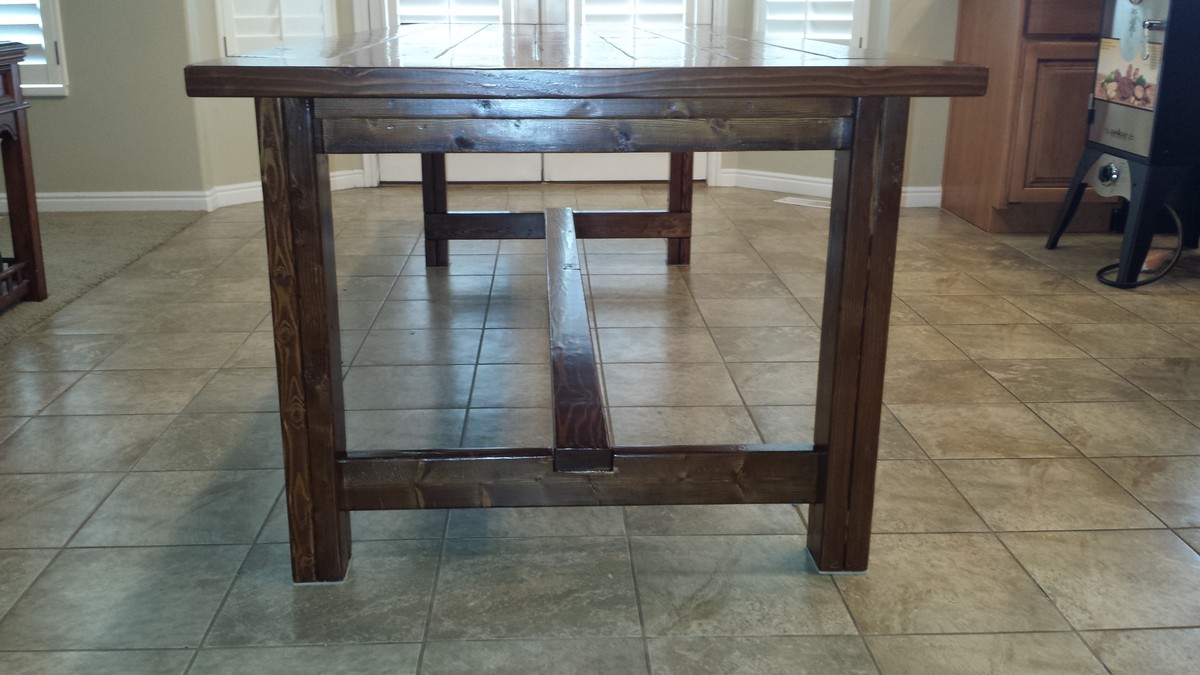
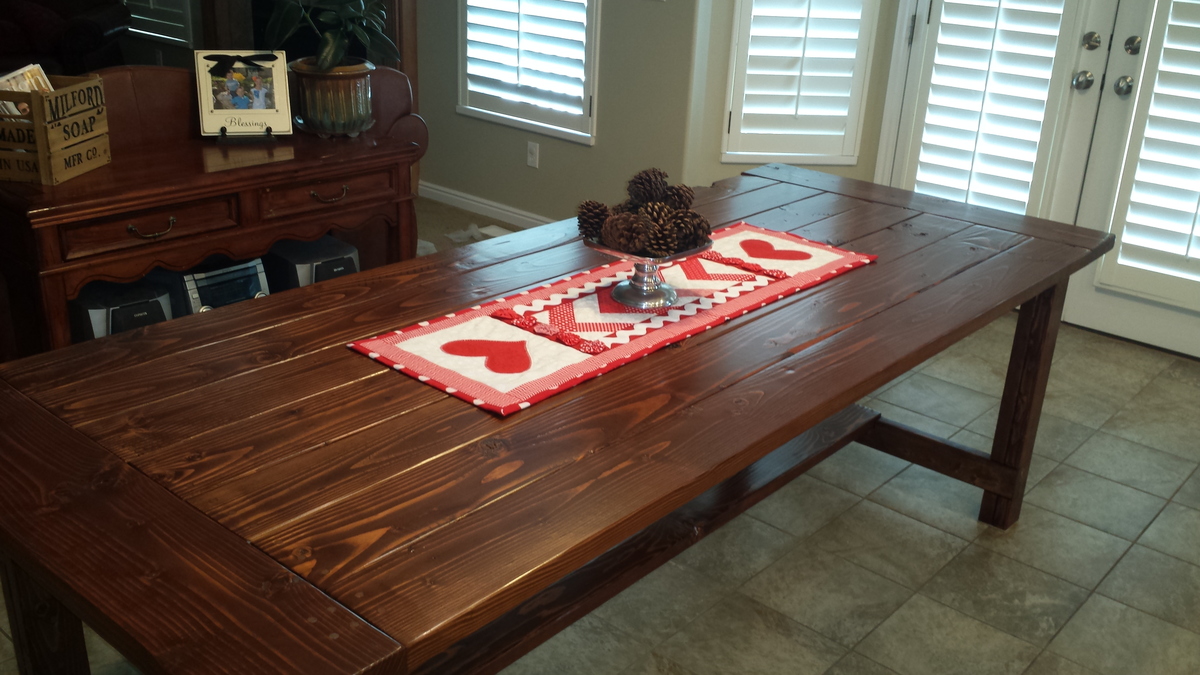
My husband surprised me with a big pile of wood in the garage on Christmas morning. 3 weeks later, this beautiful table is in my kitchen. The pictures do not do it justice - it turned out amazing. We have plans to make the matching bench when it warms a bit - our garage is freezing!

It took at least 20 hours to cut the wood, sand and assemble. It took another 10+ plus hours to stain and put 3 coats of the polyurethane.

The great people at Orange cut our wood for us, and we took it home and notched it out using a jigsaw. Once we got the hang of it, it was really easy.

We had a hard time finding 2 3/4 screws, so we used 2 1/2. It worked great. We used Elmer's Carpenter's Wood Filler in natural to fill the screw holes. It turned out so nice and looks great with the stain on top.

Neither my husband or I have very much experience building anything, so we took our time - measuring about 60 times and cutting once. However, it paid off. The table looks so great and I cannot wait to make the matching bench!

Estimated Cost
Around $250 (including stain and polyurethane)
Estimated Time Investment
Week Long Project (20 Hours or More)
Finish Used
Minwax English Chestnut 233 - wiped on with a cotton cloth
Minwax Polyurethane Clear Semi-Gloss - brushed on with a Purdy brush

We left the stain on, without wiping any off - 1 coat.
3 coats of polyurethane
Recommended Skill Level
Beginner

Laundry Room Storage

Submitted by jetoro16 on Fri, 04/08/2016 - 07:21

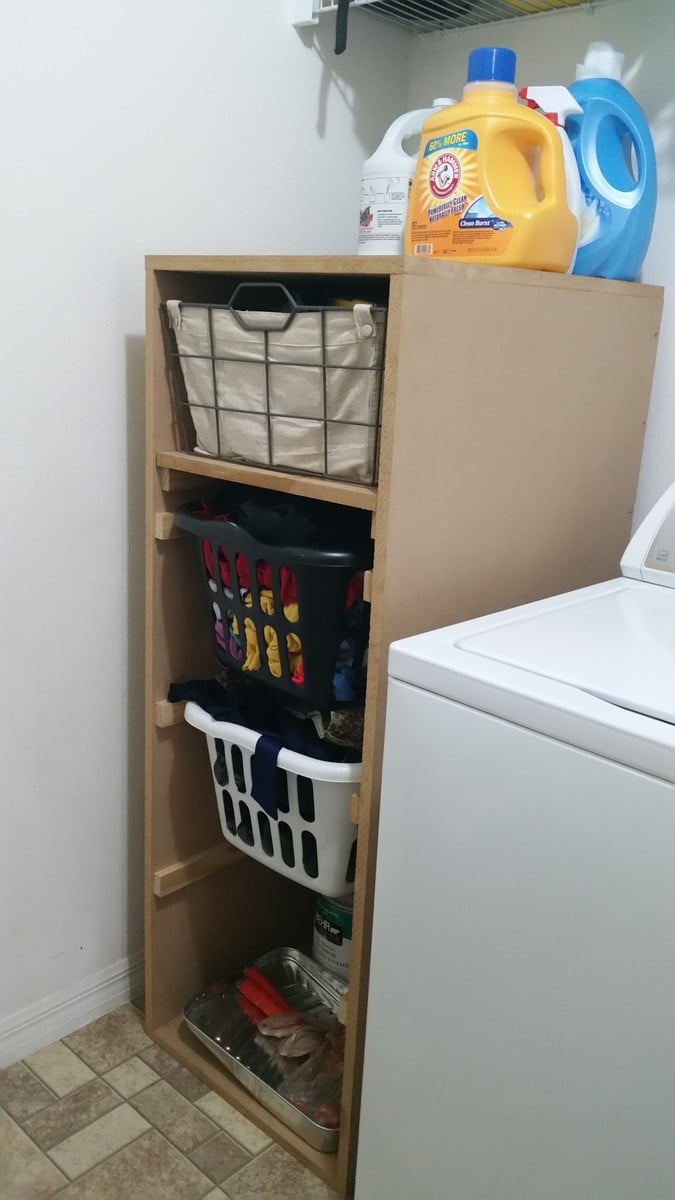
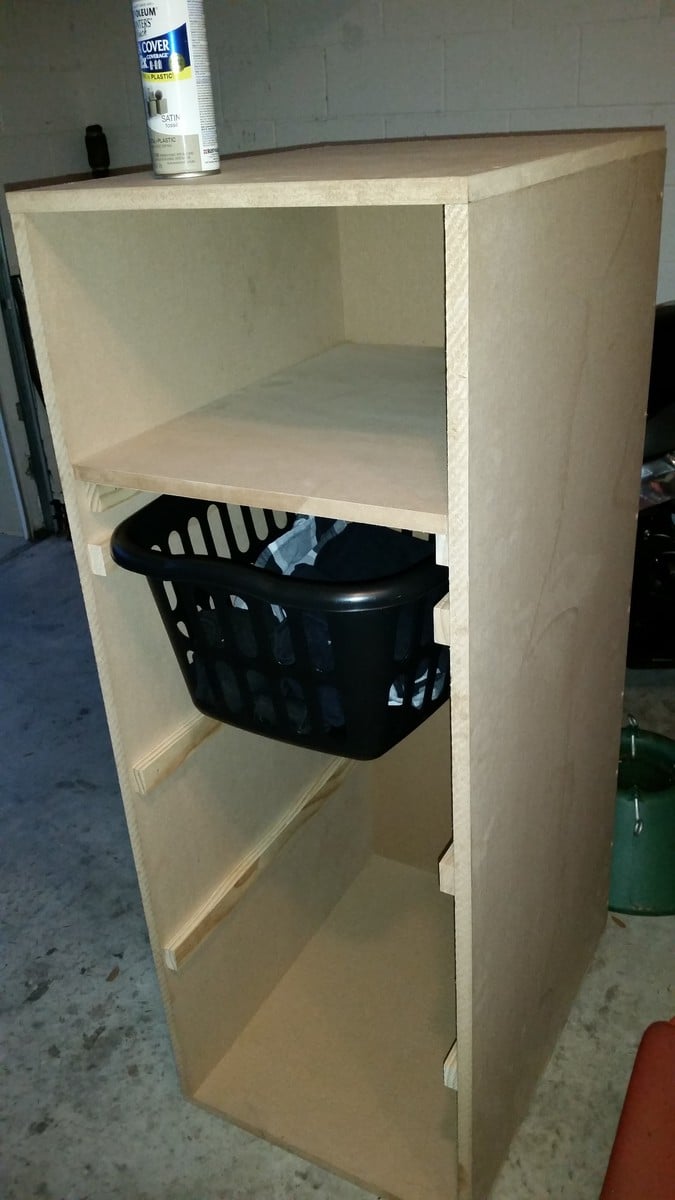
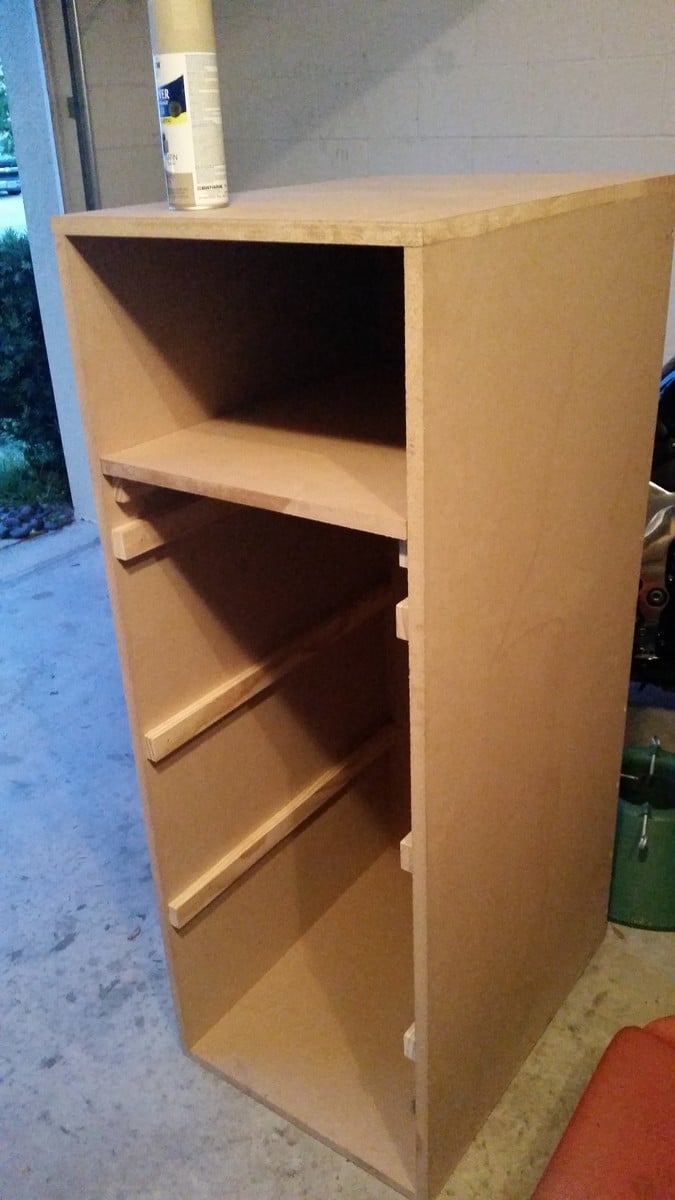
Modified the laundry basket dresser to hold 3 baskets and have a storage space for laundry/cleaning supplies in our small laundry room. We were going to paint it white, with some leftover paint we had (at the bottom there) but decided we want to change up the room and add some color. We will paint/stain it once we figure out what we want to do with the space but are using it as is until then.

Built from Plan(s)
Estimated Cost
$35
Estimated Time Investment
An Hour or Two (0-2 Hours)
Finish Used
Left unfinished; will paint/stain once we choose colors for the space.
Recommended Skill Level
Beginner

Toy Car

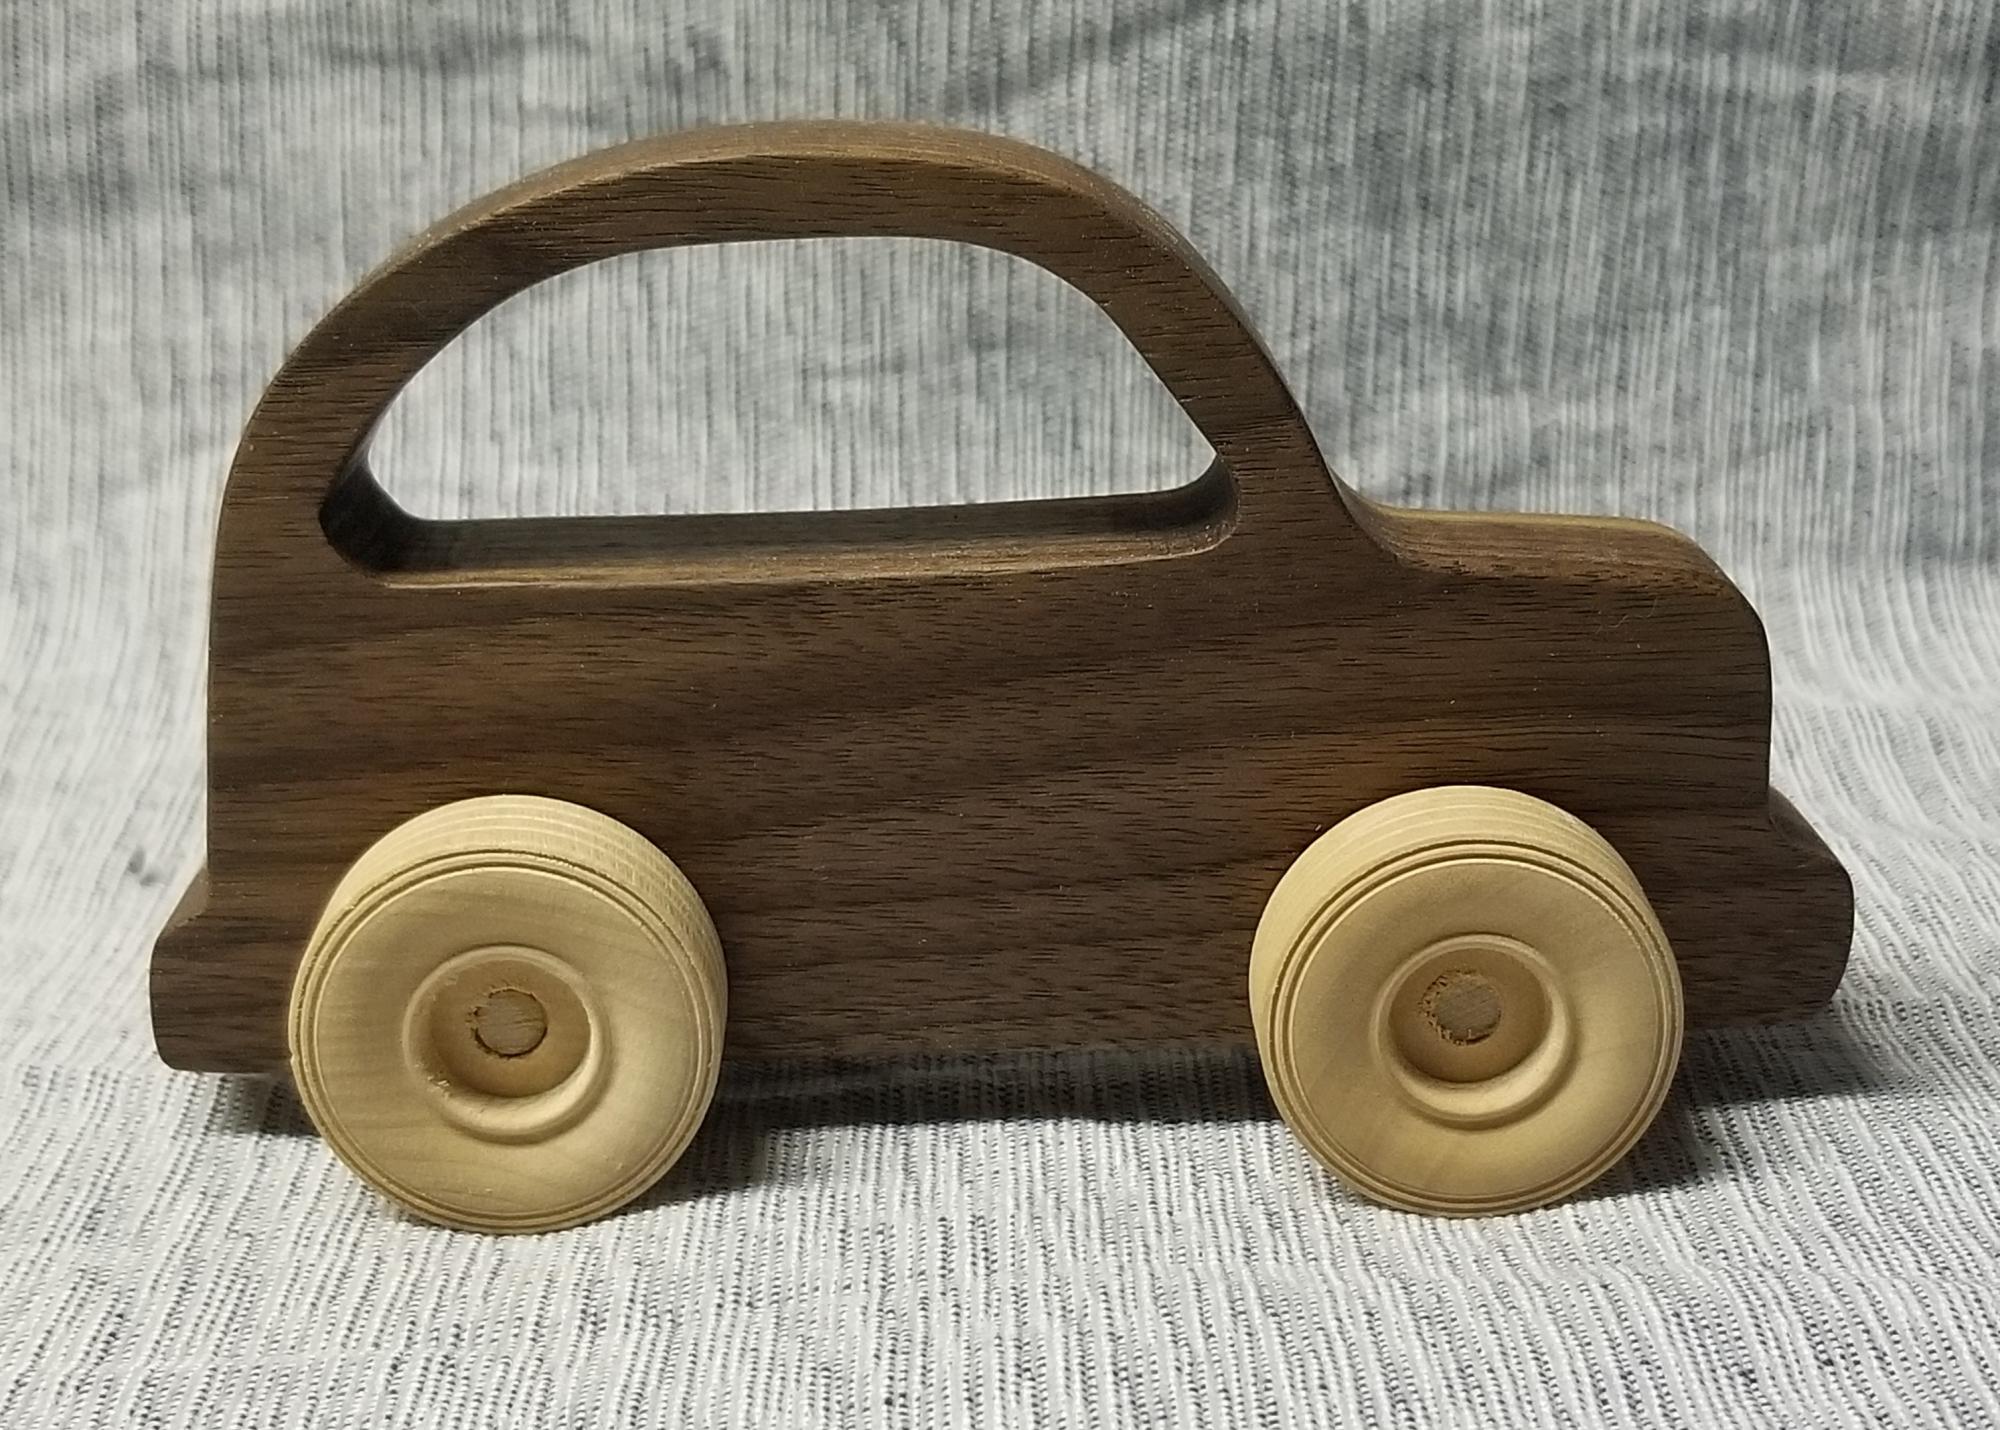
Instead of pine and paint, I used Walnut, finished with foodsafe Osmo Top Oil for a durable finish. I also made the truck out of Padauk for an orange color. 

Estimated Cost
$4
Estimated Time Investment
An Hour or Two (0-2 Hours)
Finish Used
Osmo Top Oil
Recommended Skill Level
Beginner

Wood Adirondack Chair

Submitted by Anonymous (not verified) on Mon, 08/21/2023 - 09:41

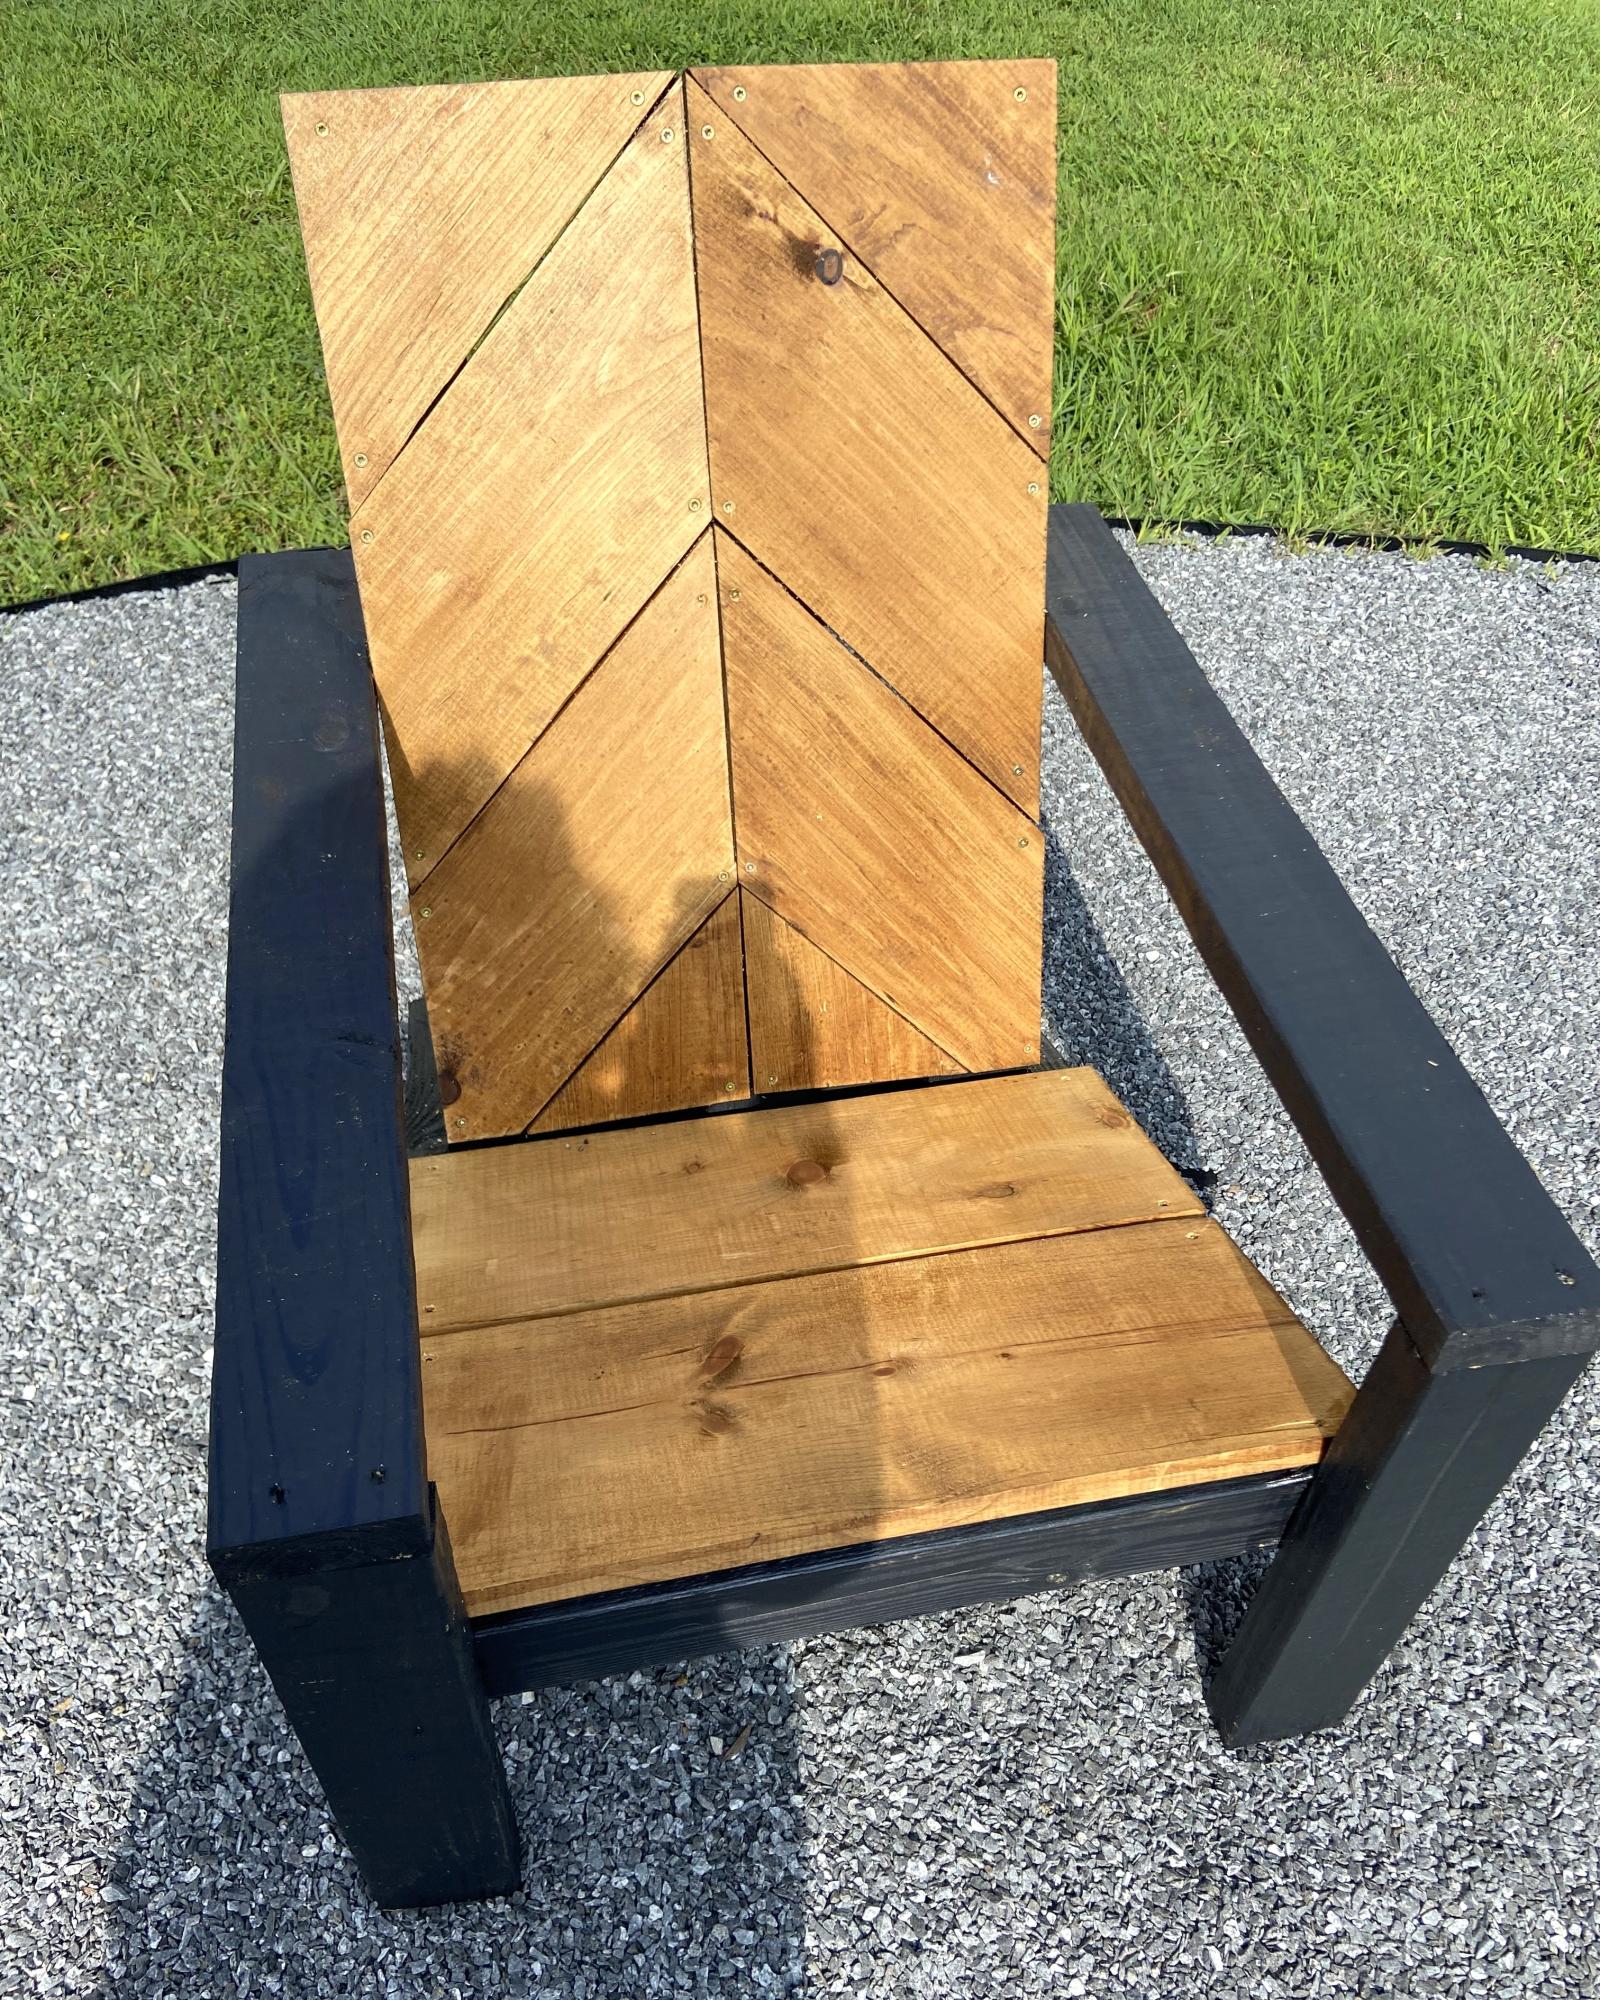
My young friend Carter used his own twist to your adiraondack chair with this herringbone pattern. He made six chairs from your pattern with three different design. These look so amazing around my firepit.

Susan Morris/Carter Tillman
 

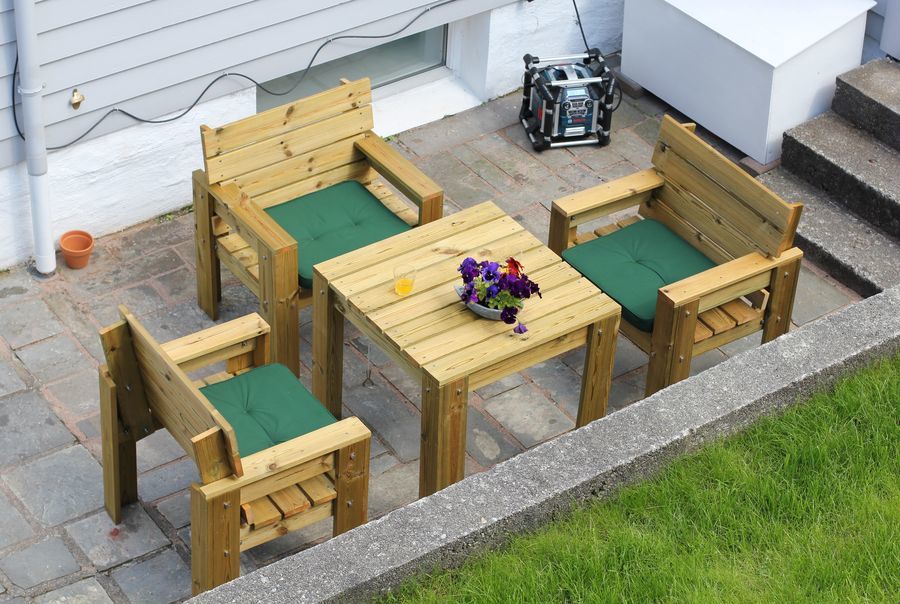
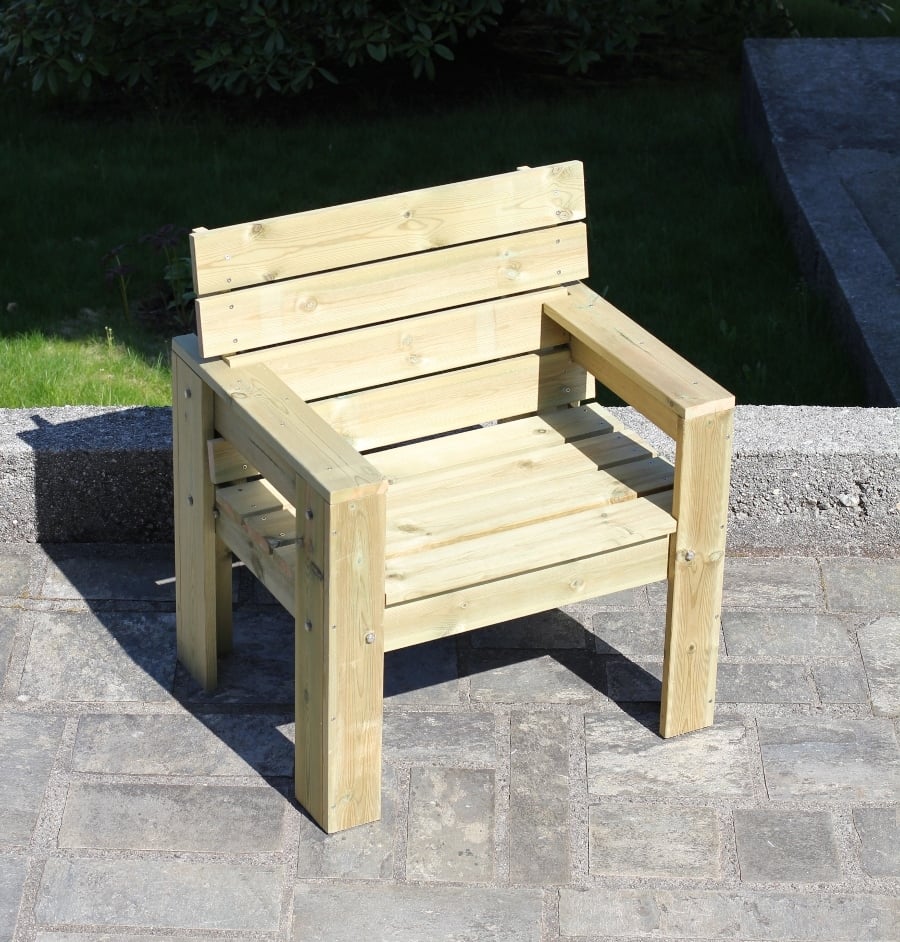
Garden chairs and table

Submitted by joja on Sun, 04/01/2012 - 14:06

It was after getting to know your website and seeing all your nice craftsgirlship we decided to make our own garden furniture.

We are wery satisfied with the results, thanks a lot for the inspiration!

PS) Time investment = per item.

Estimated Time Investment
Afternoon Project (3-6 Hours)
Finish Used
Saturating wood oil.
Recommended Skill Level
Beginner

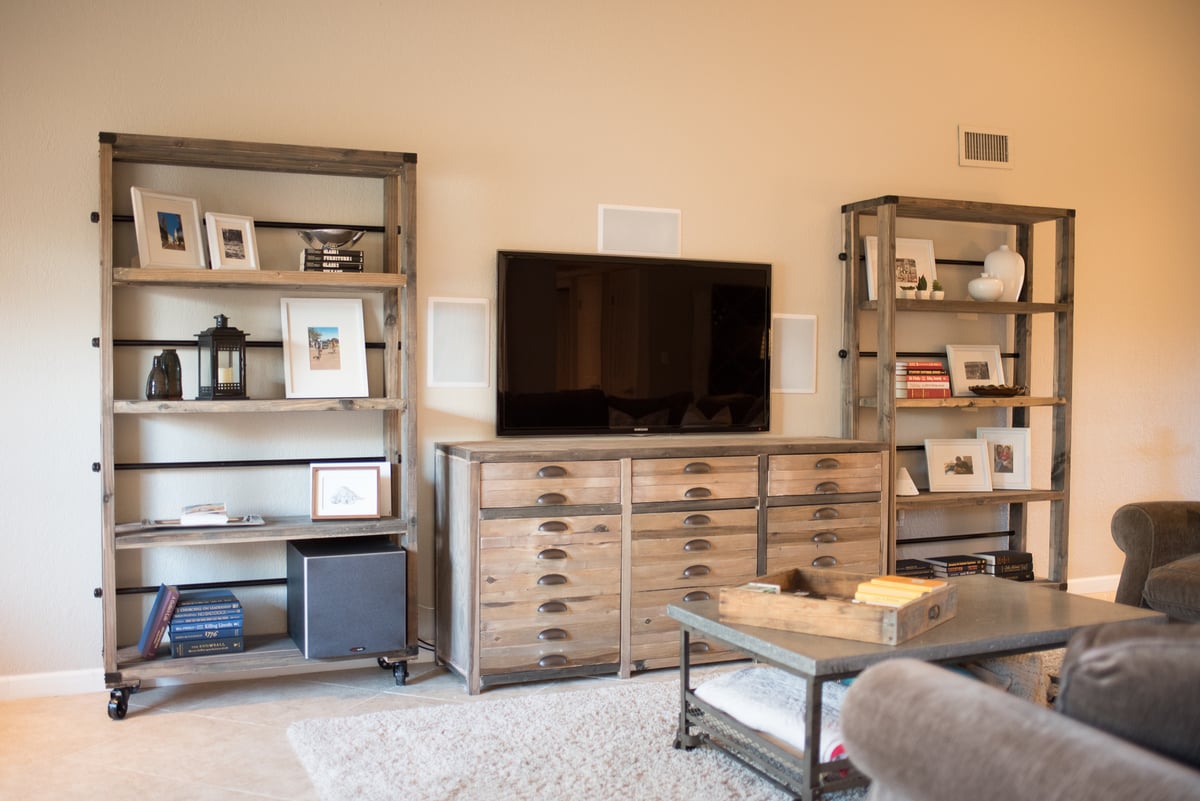
Entertainment Center and Bookshelves

Submitted by talvey50 on Sun, 04/10/2016 - 21:08

A combination of the Printers Triple Console Cabinet and the Reclaimed Wood Rolling Shelf (x2). We knew we wanted the bookshelves so I made those first. The plans were really easy to follow and I knocked out both in a weekend. Once I got those where we wanted them, it left a void that only the Printers Console could fill. That took a little longer than anticipated and was about at the extent of my woodworking skill (so far!) but it came together perfectly.

Estimated Cost
Rolling Shelves ($100 each)
Printers Console Cabinet ($250-300)
Estimated Time Investment
Week Long Project (20 Hours or More)
Finish Used
My favorite stain ever....white vinegar and steel wool. Shred up some 0000 steel wool in a jar and pour white distilled vinegar. I usually let it sit for a couple of hours before wiping on the wood.
Recommended Skill Level
Intermediate

Comments

Footboard Bench

Submitted by kristilmay on Wed, 04/04/2012 - 22:49

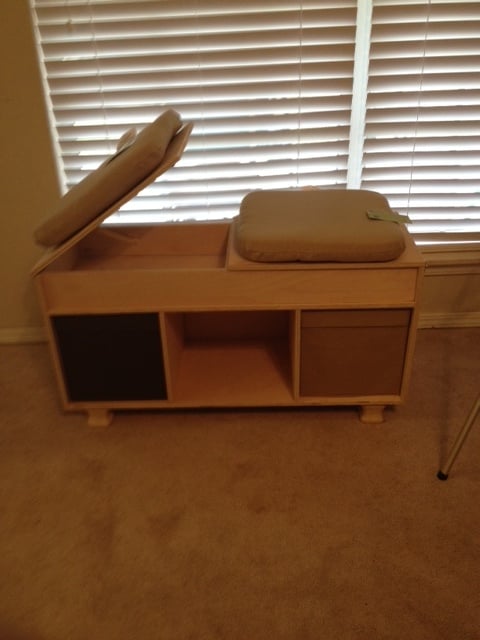
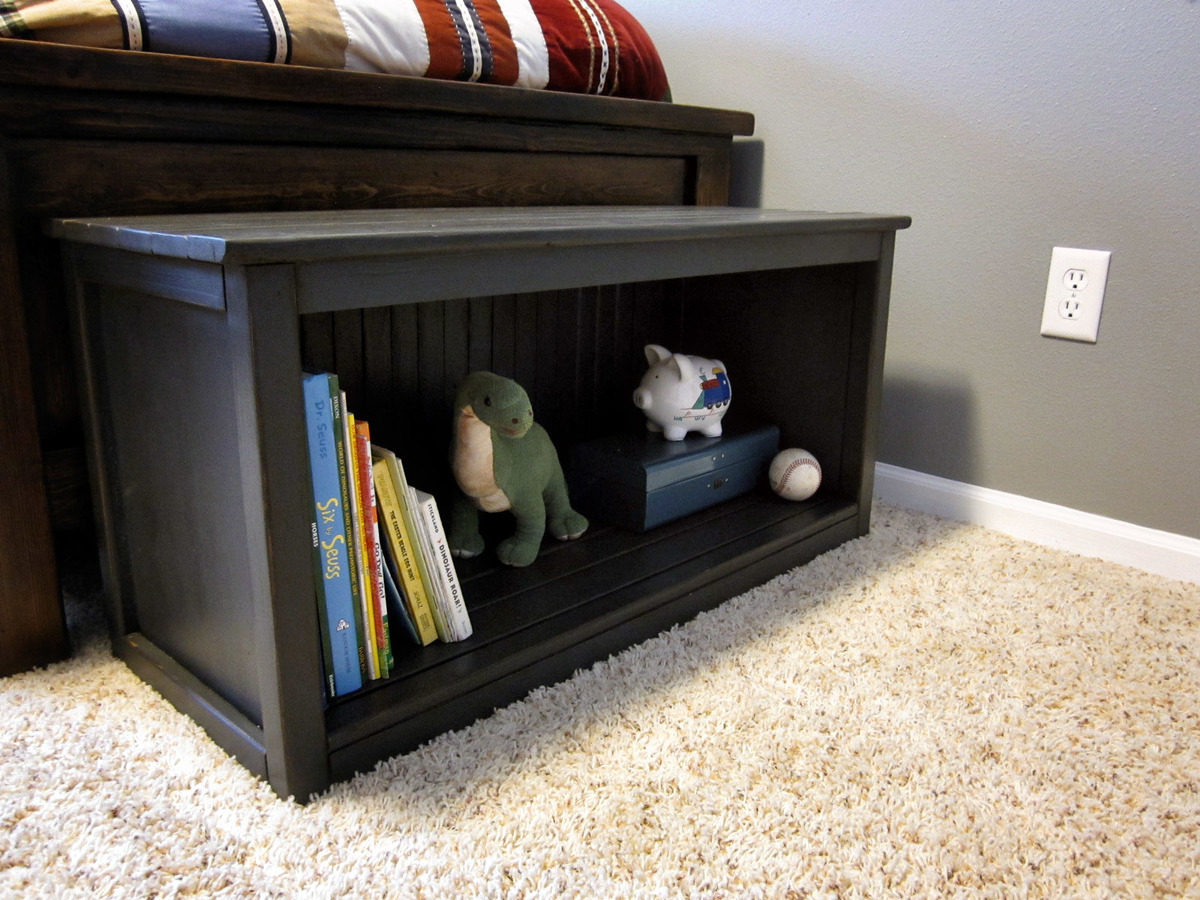
I'd been wanting to add a piece of furniture at the end of my son's bed for awhile, but I had a difficult time deciding on what exactly to do. Not only did I want it to be something he could sit on, but also I wanted to add some extra storage. We had thought of a trunk but the idea of little fingers getting pinched made that idea a little scary. I turned to Ana-white's website for help. I didn't find exactly what I wanted, but I did get some inspiration from the new Kentwood Bookshelf. It's constructed the same way but with some sizing adjustments.

Built from Plan(s)
Estimated Time Investment
Afternoon Project (3-6 Hours)
Recommended Skill Level
Beginner
Back