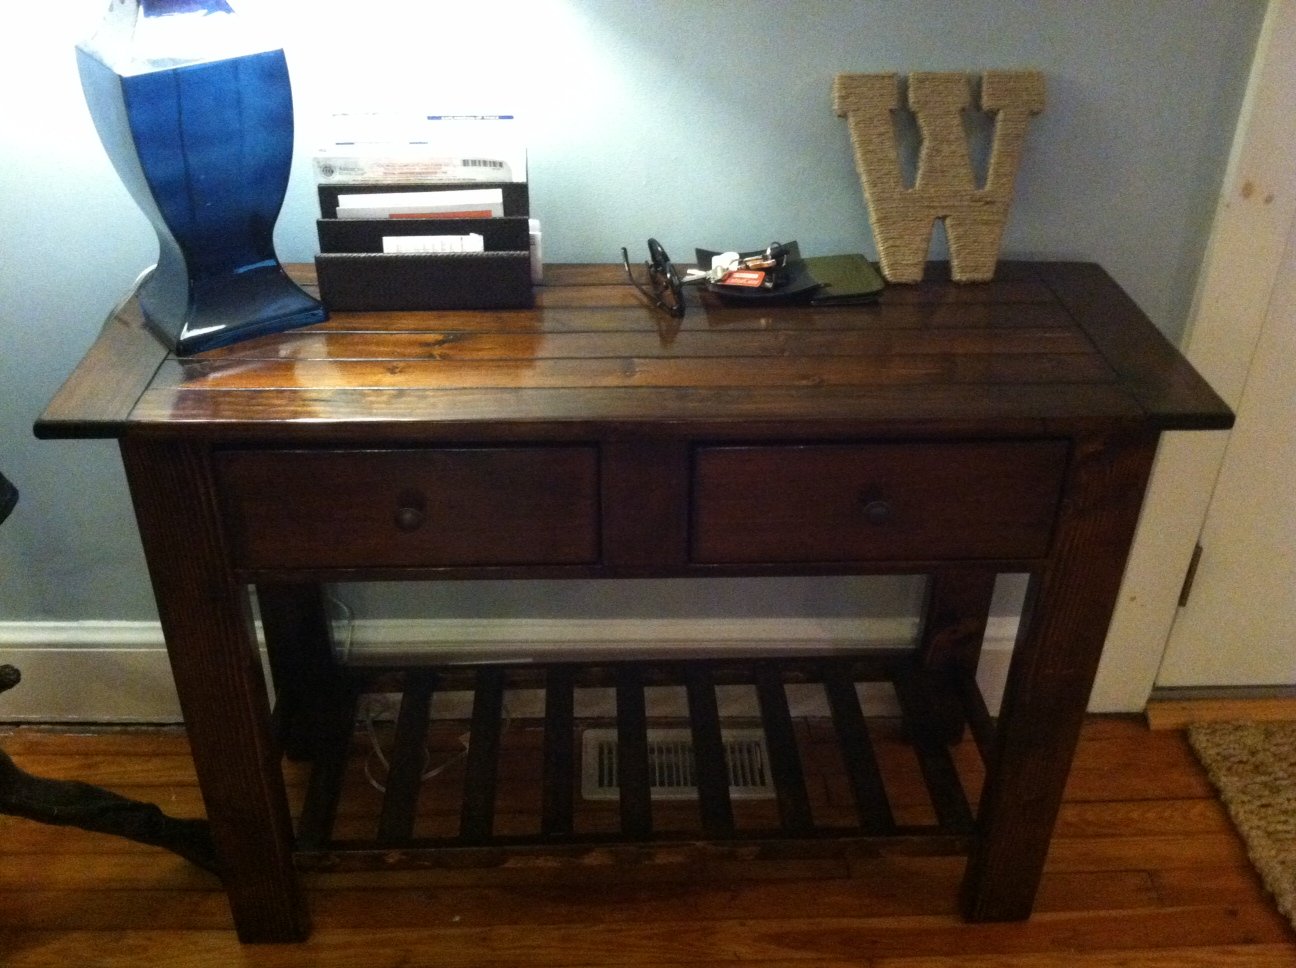
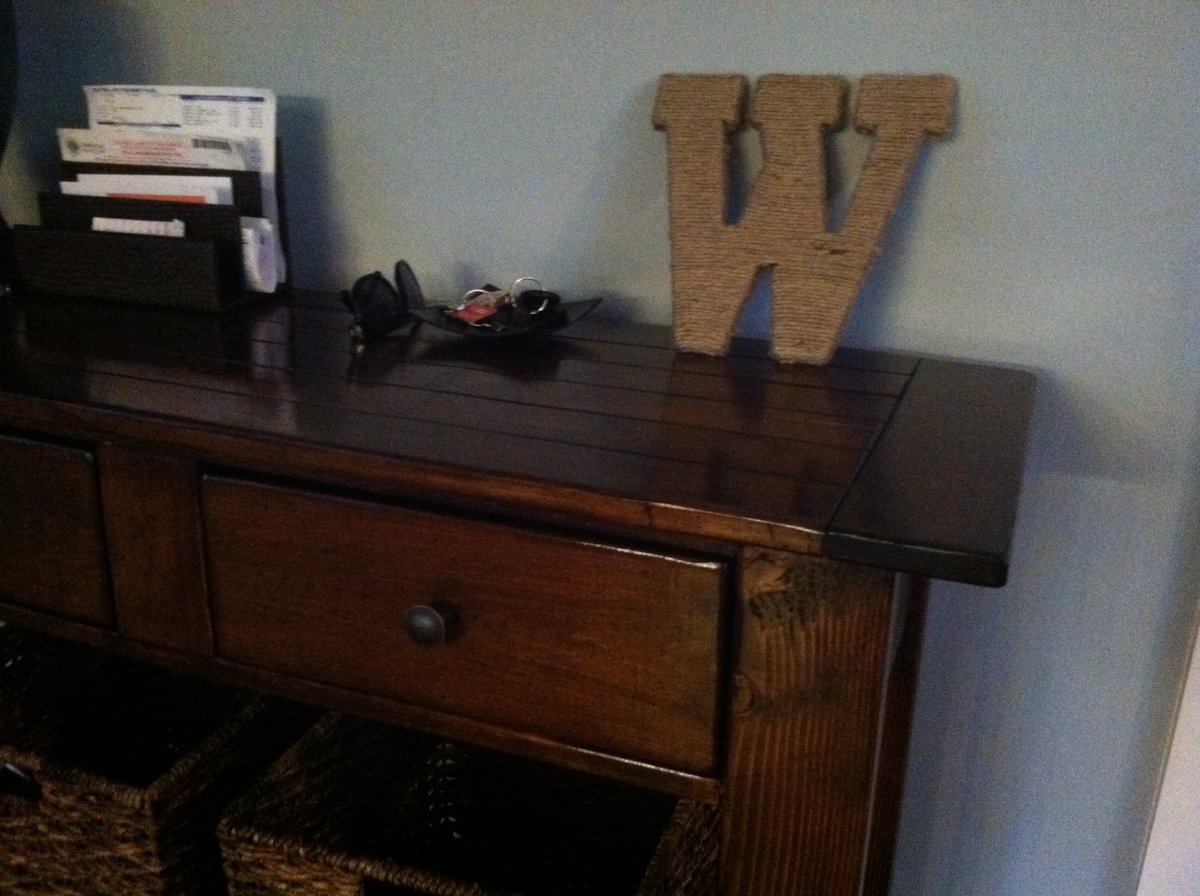
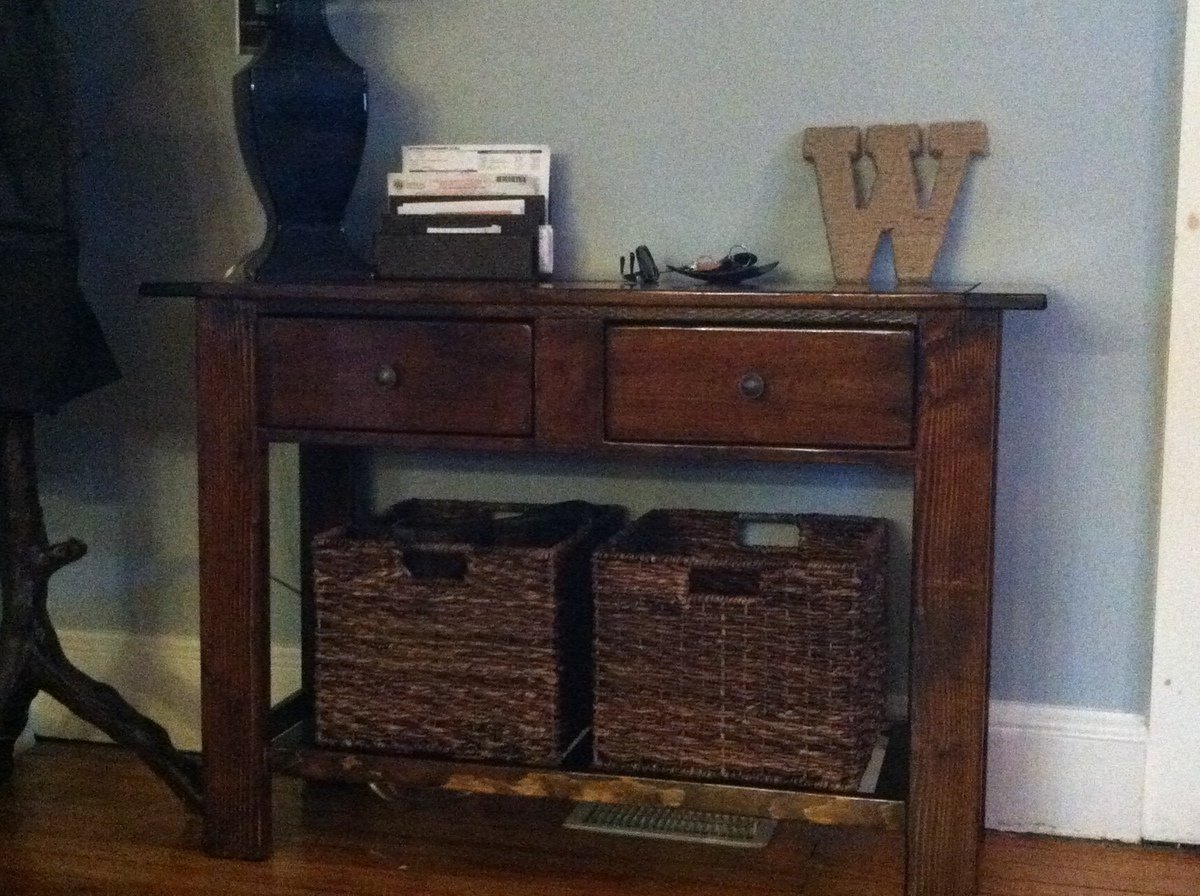
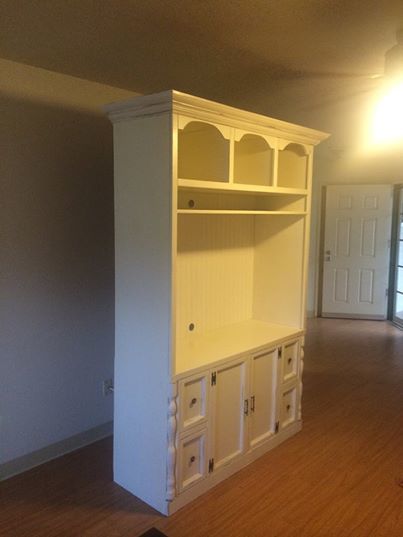
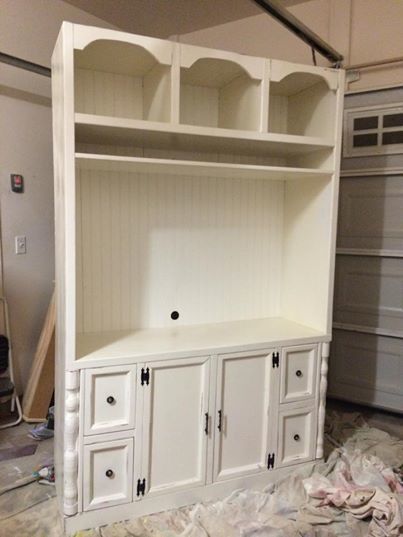
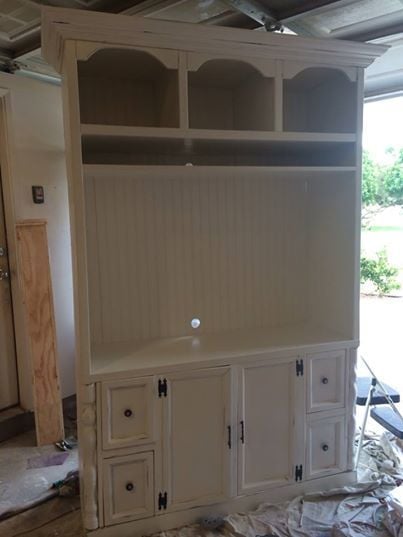
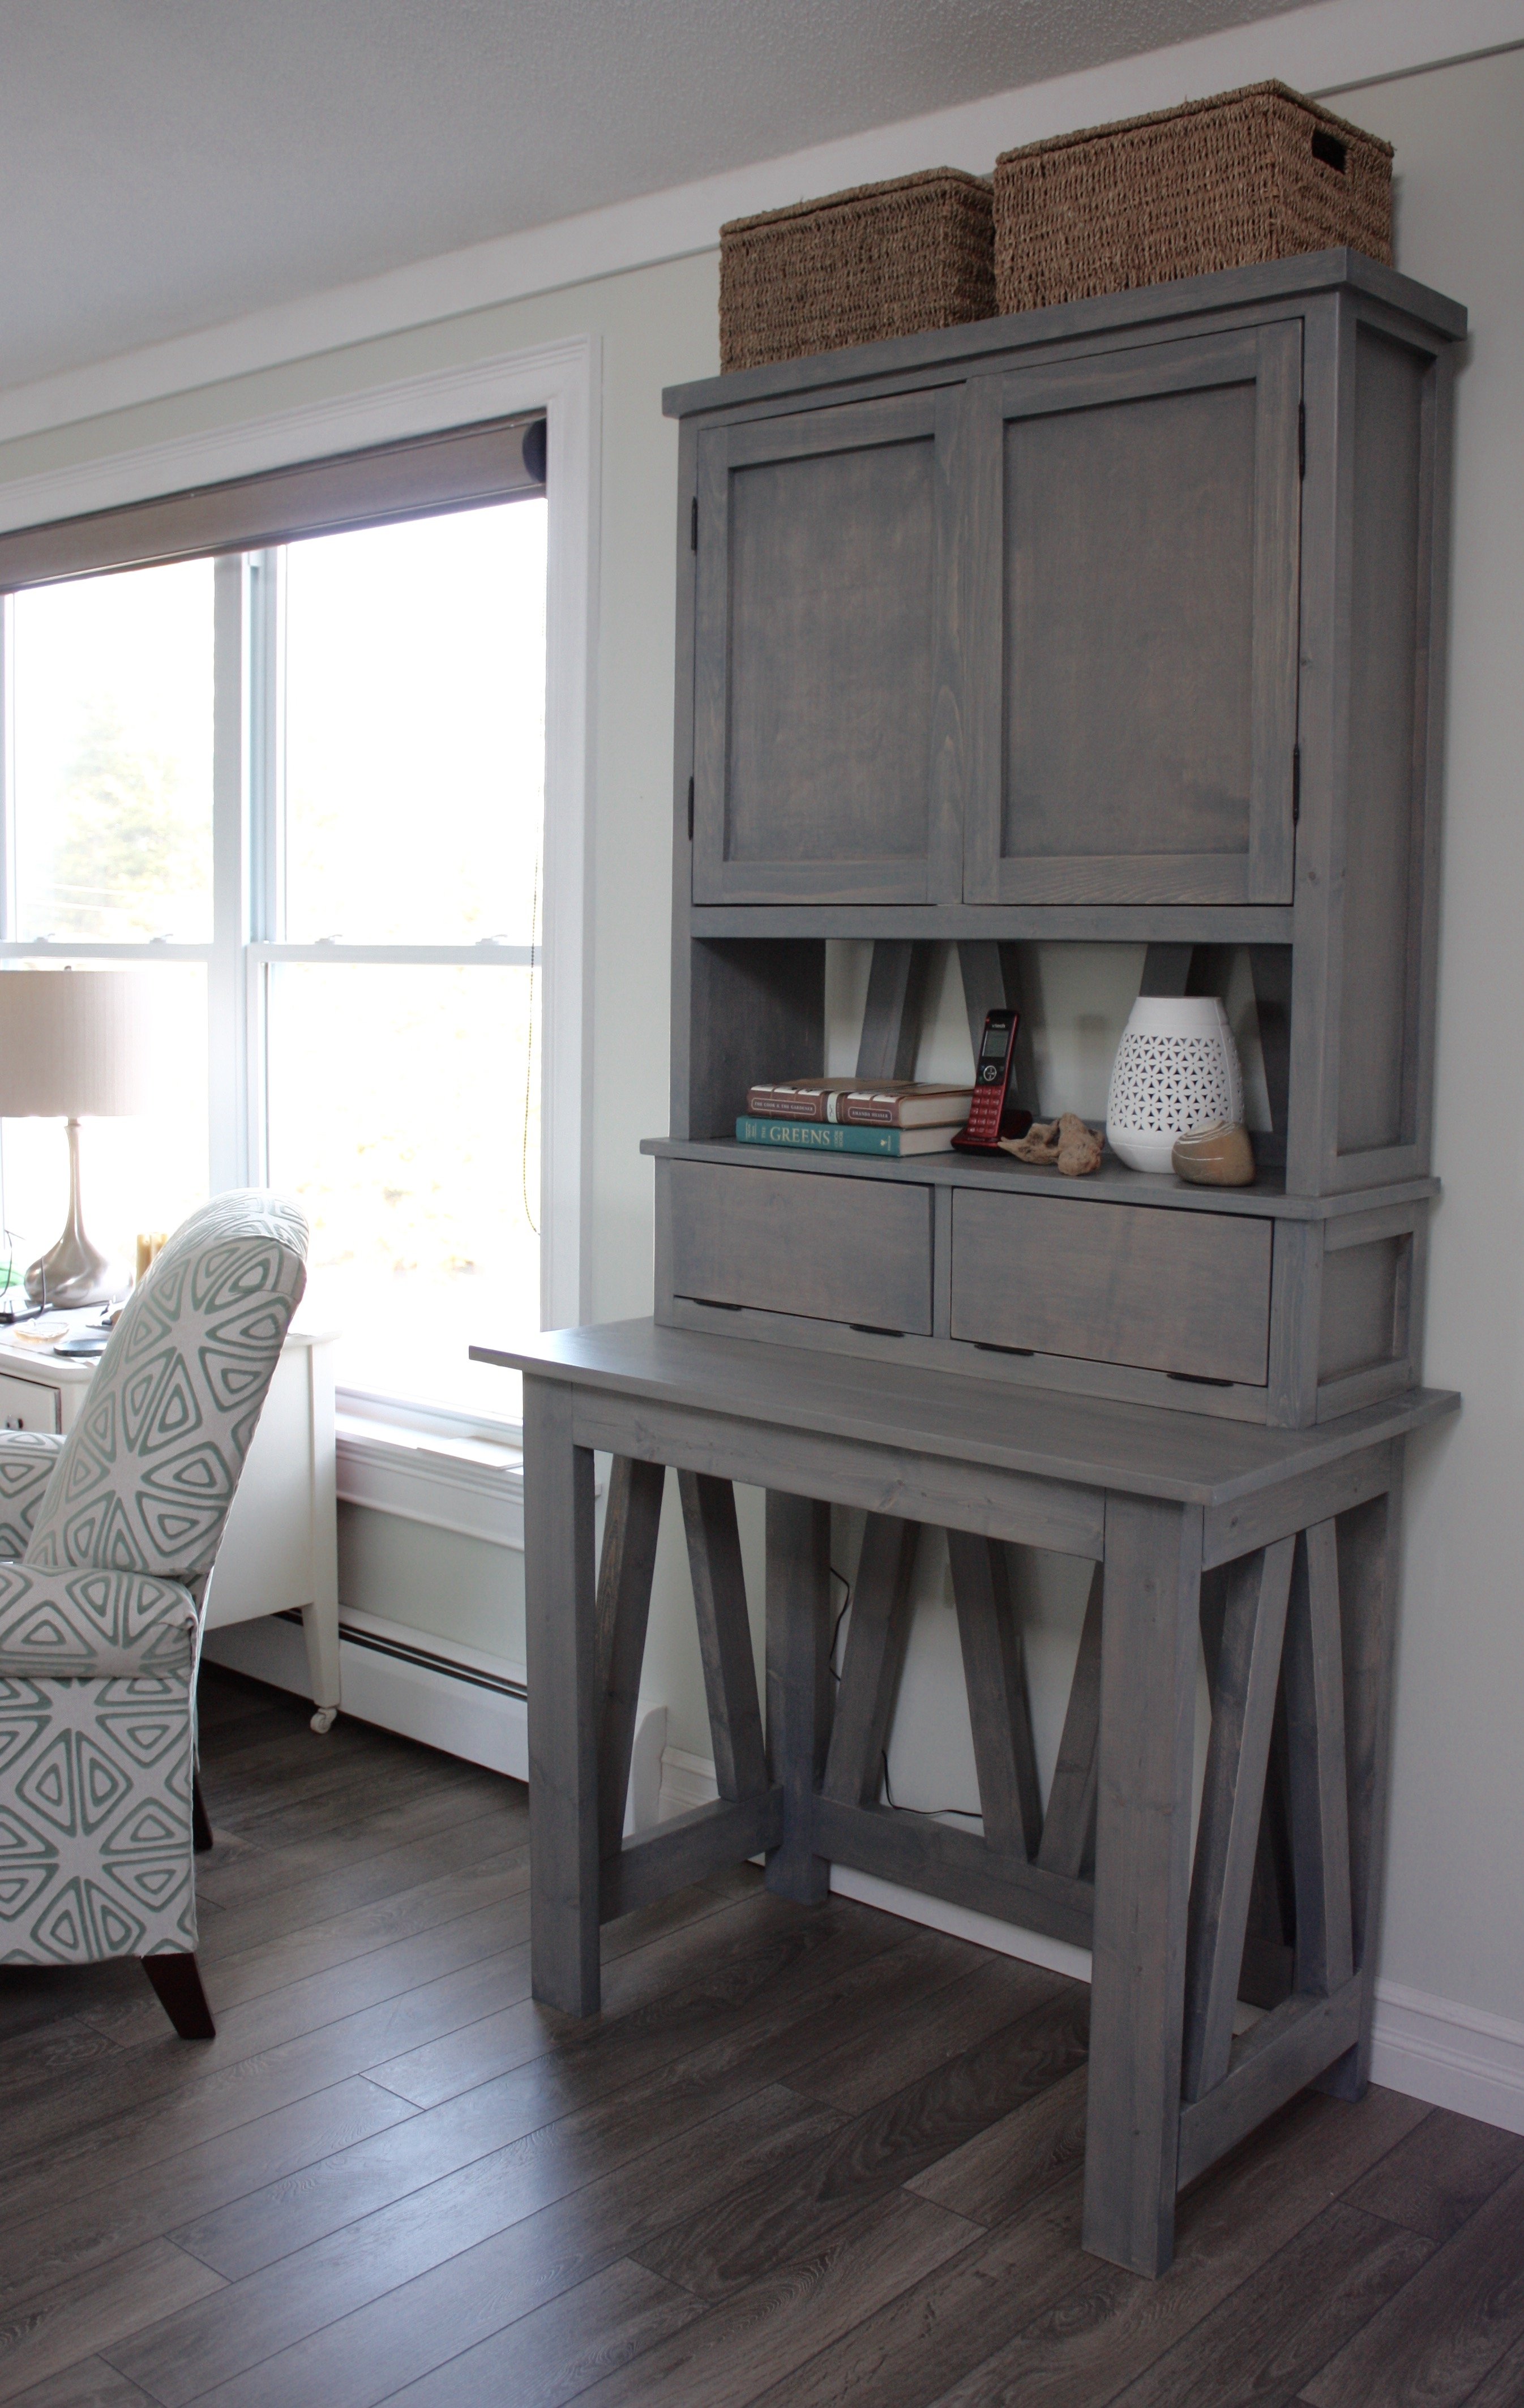
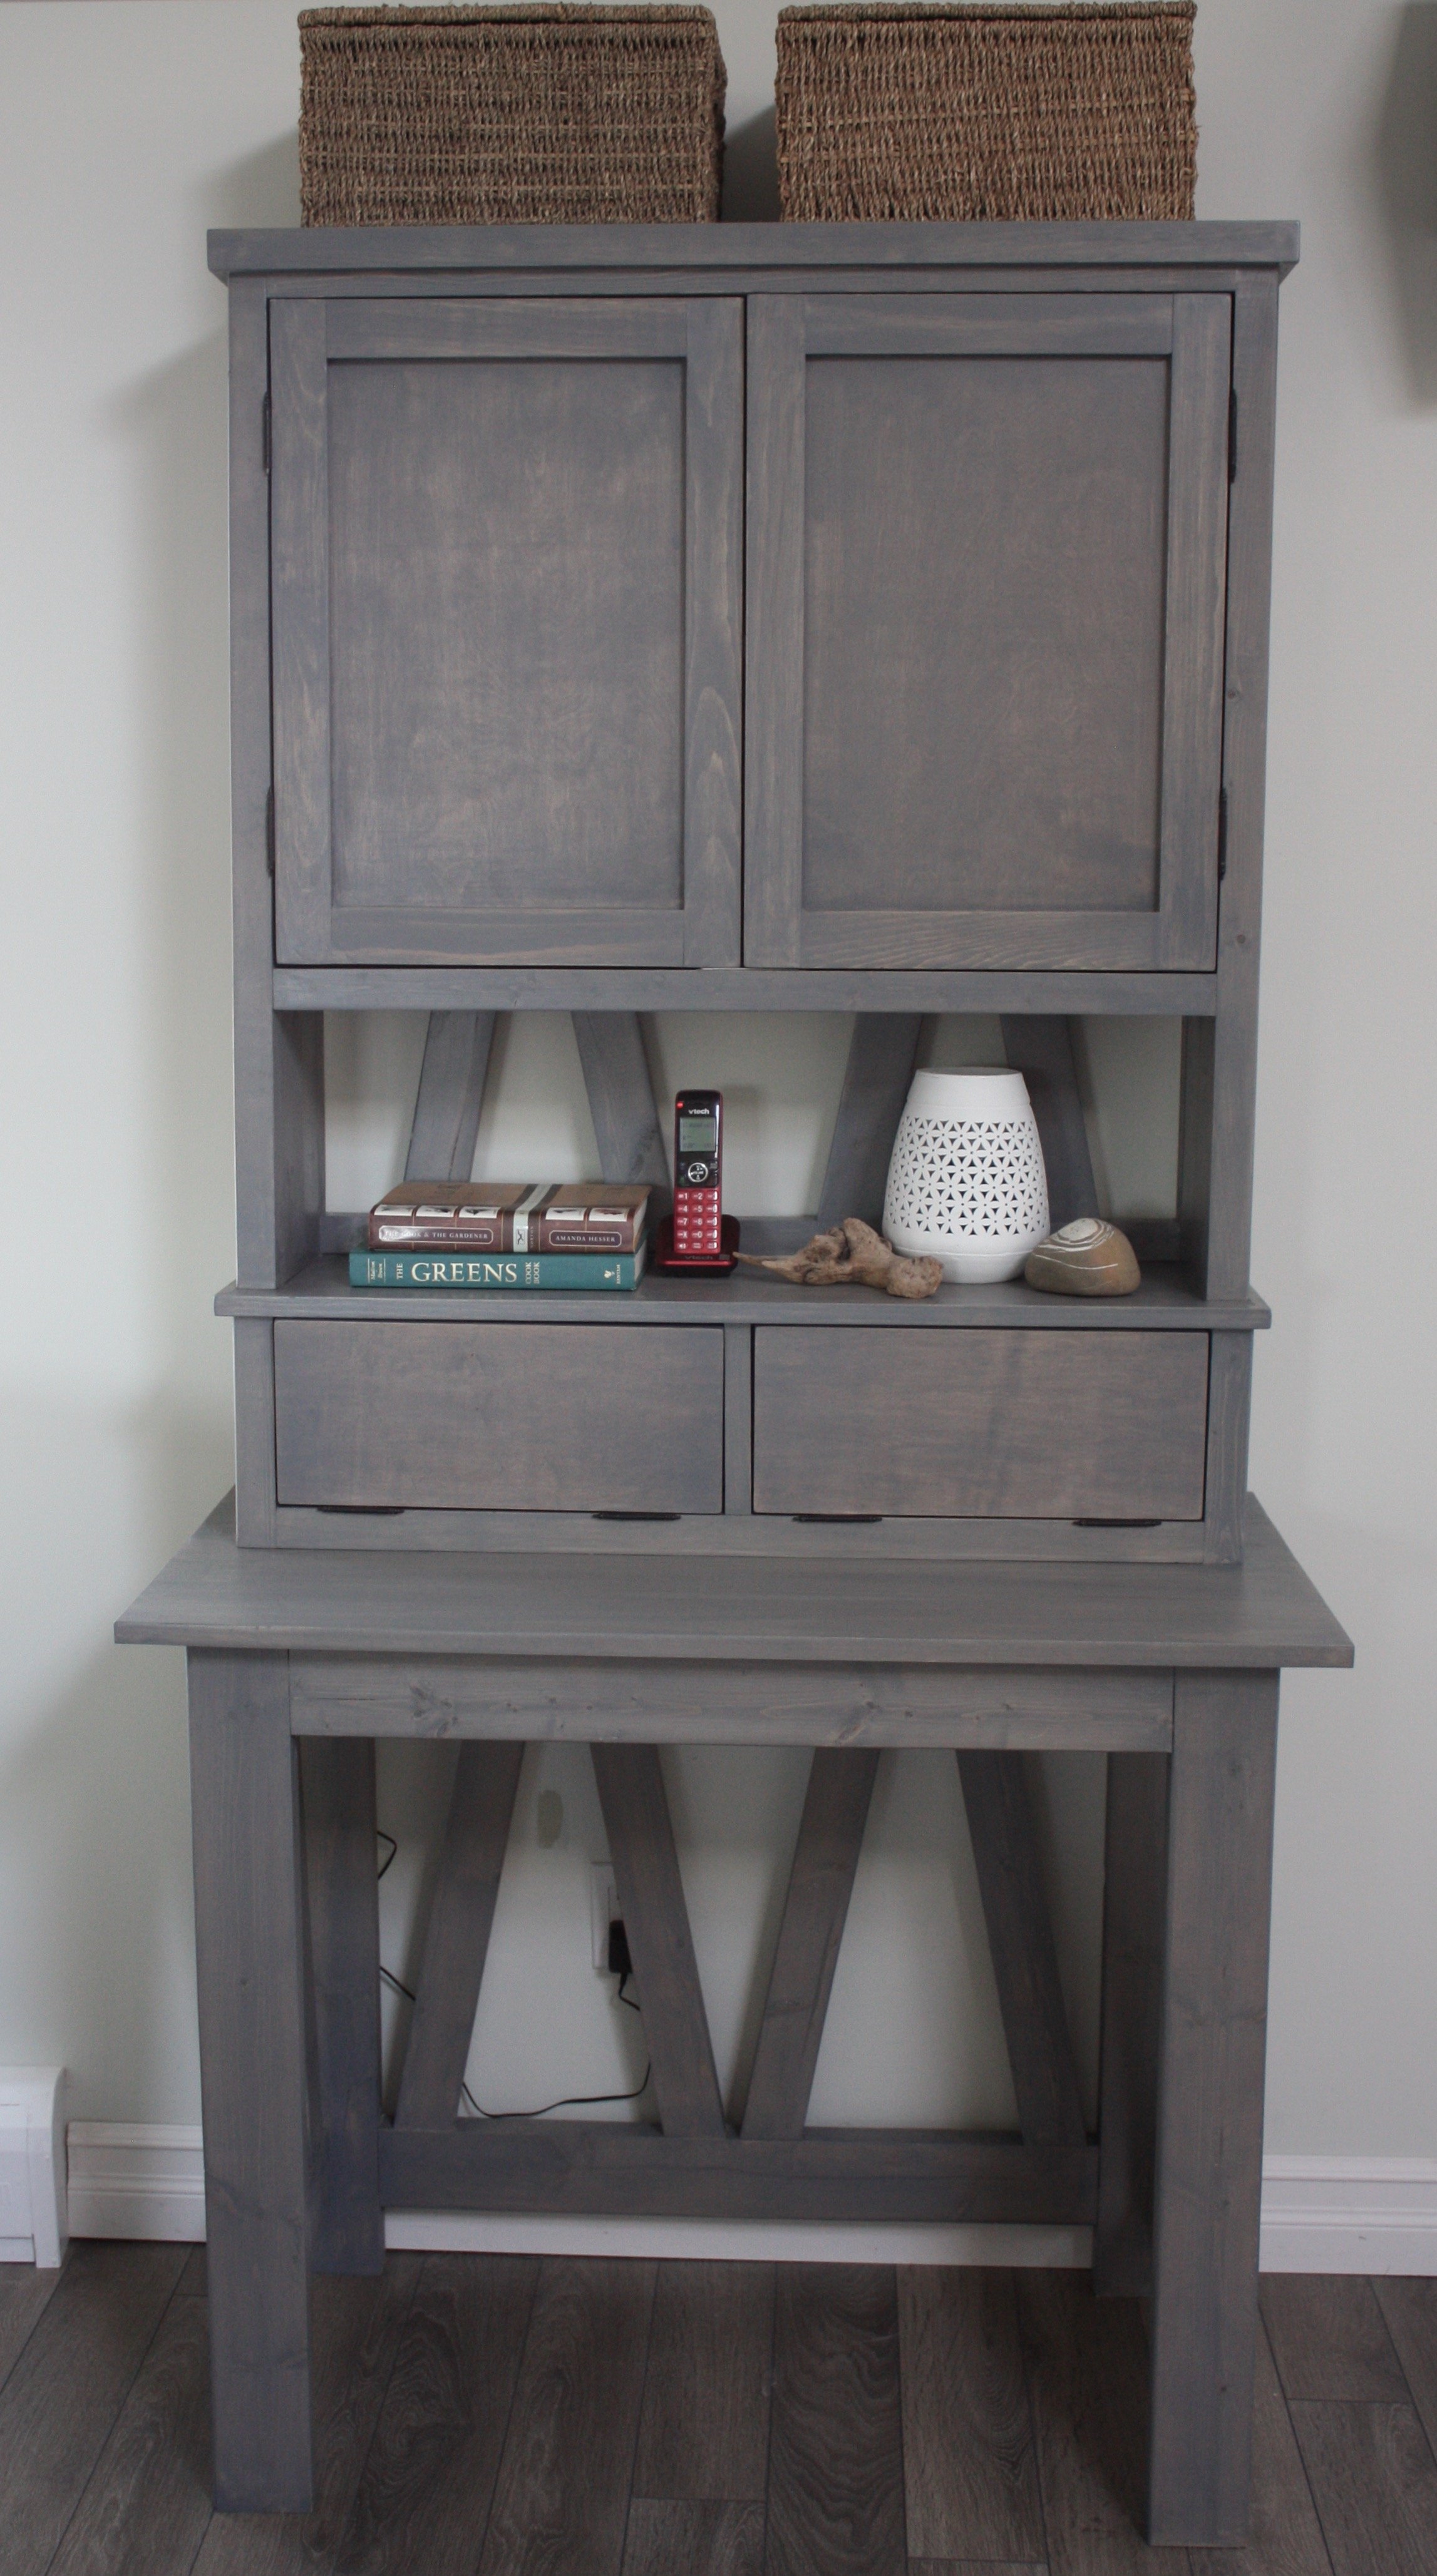
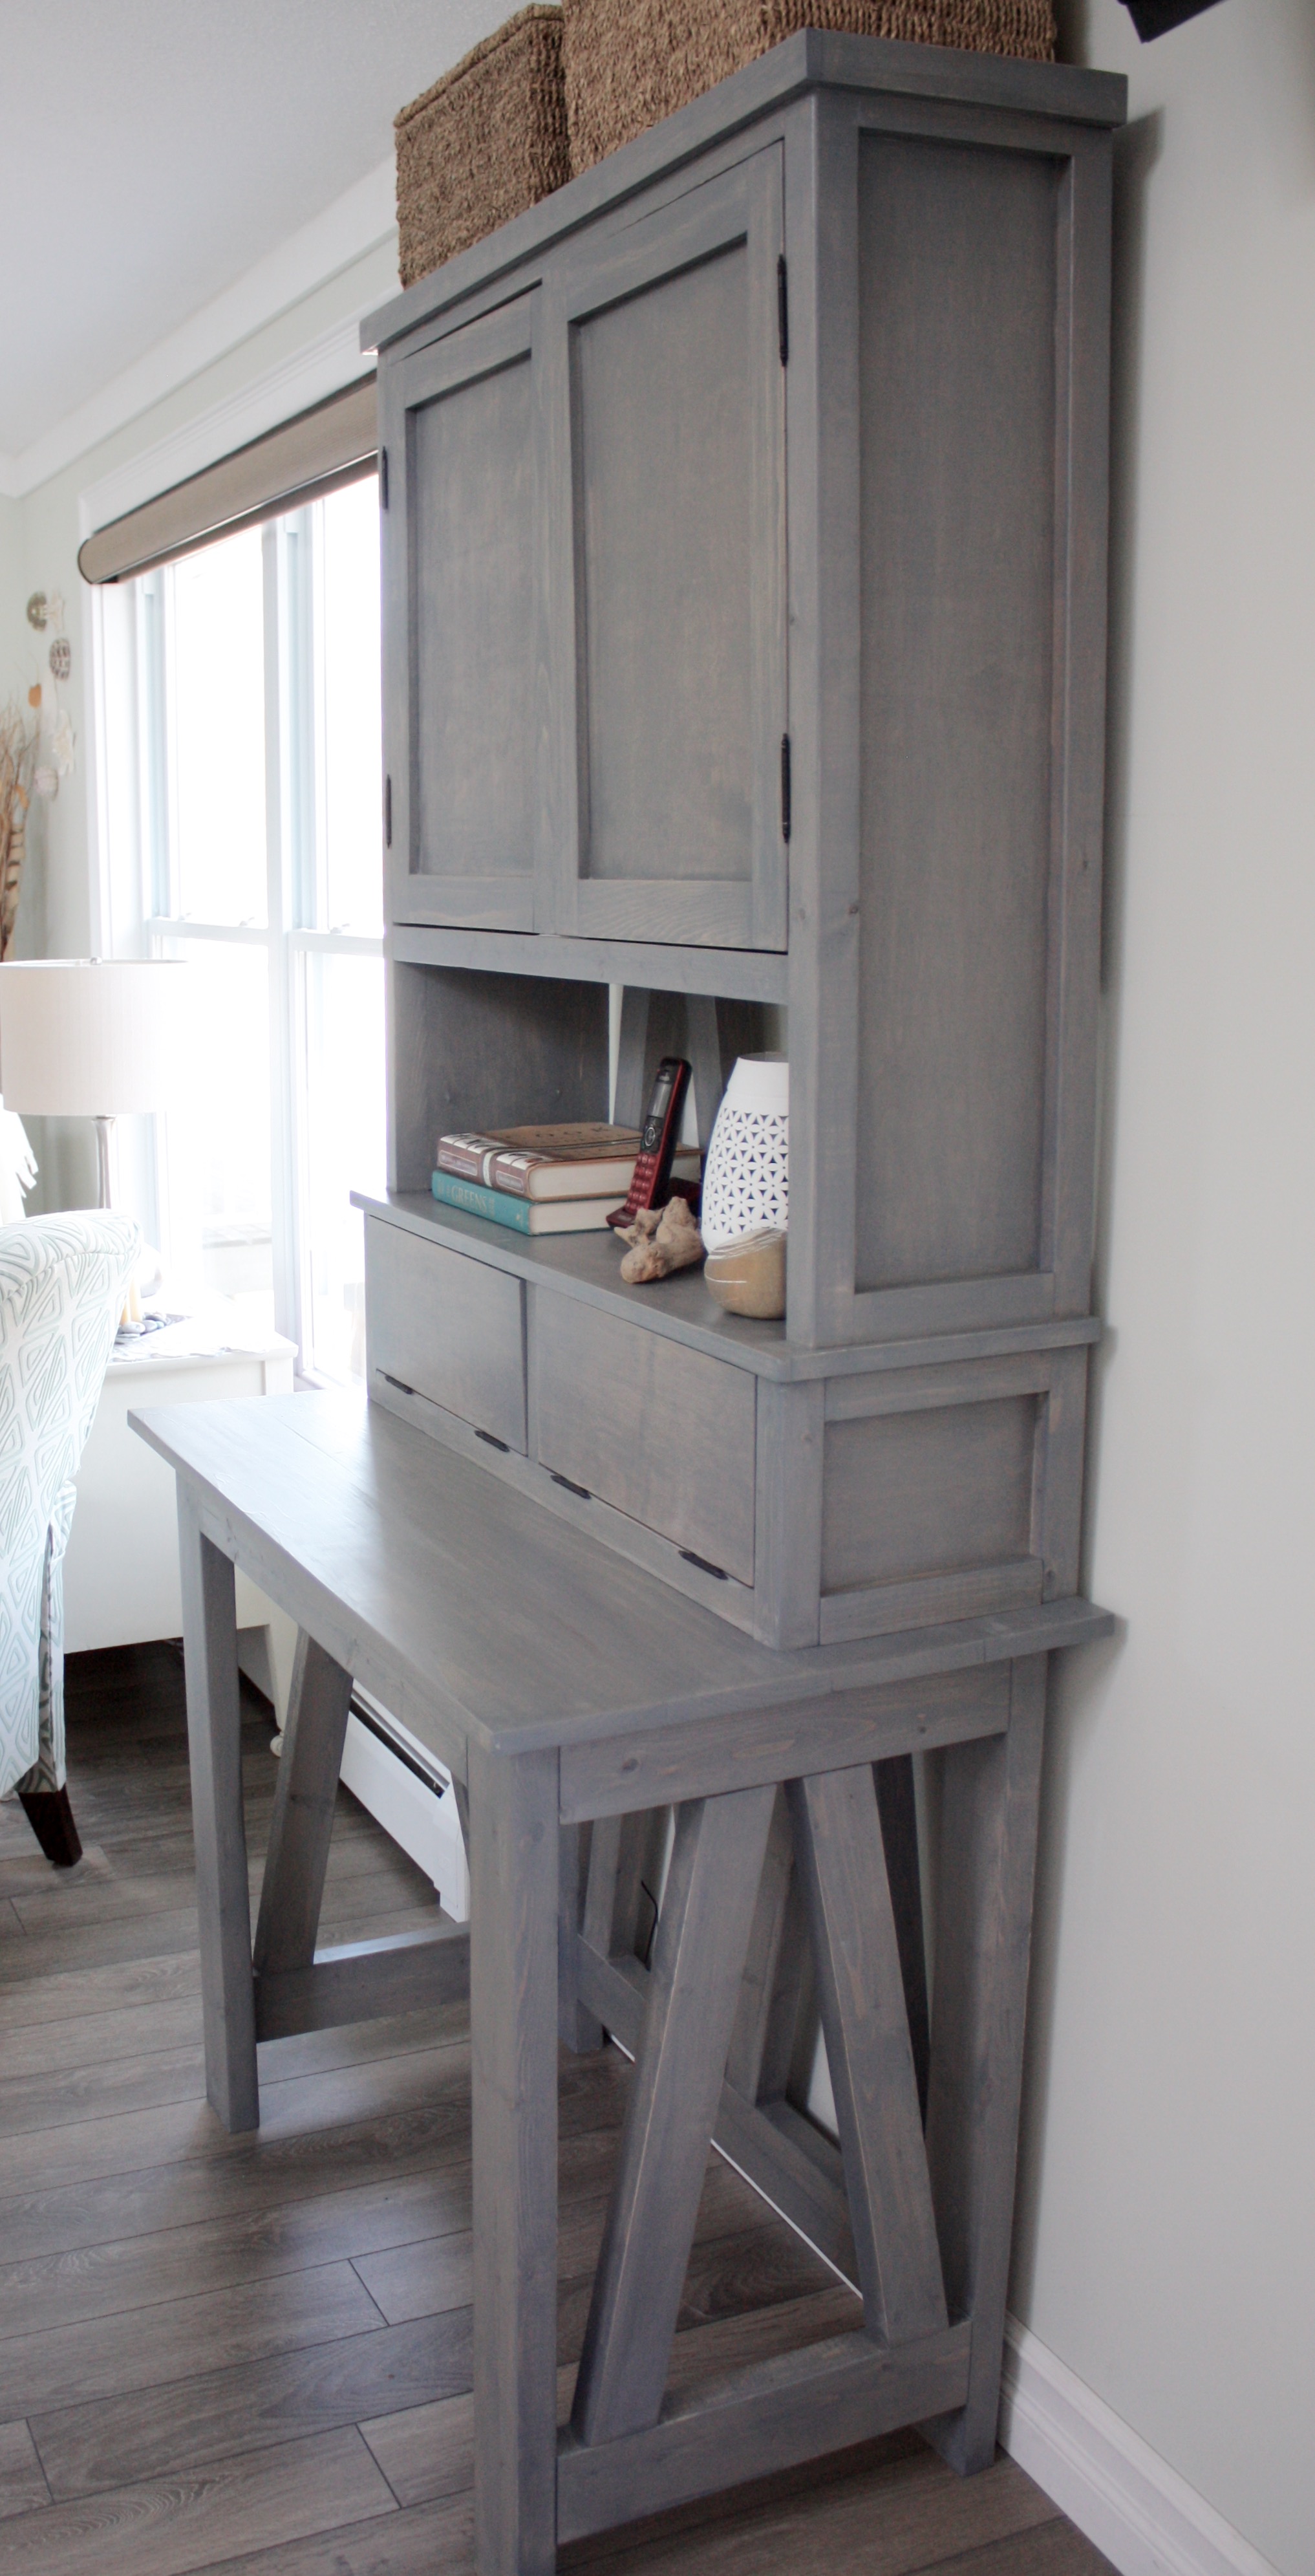
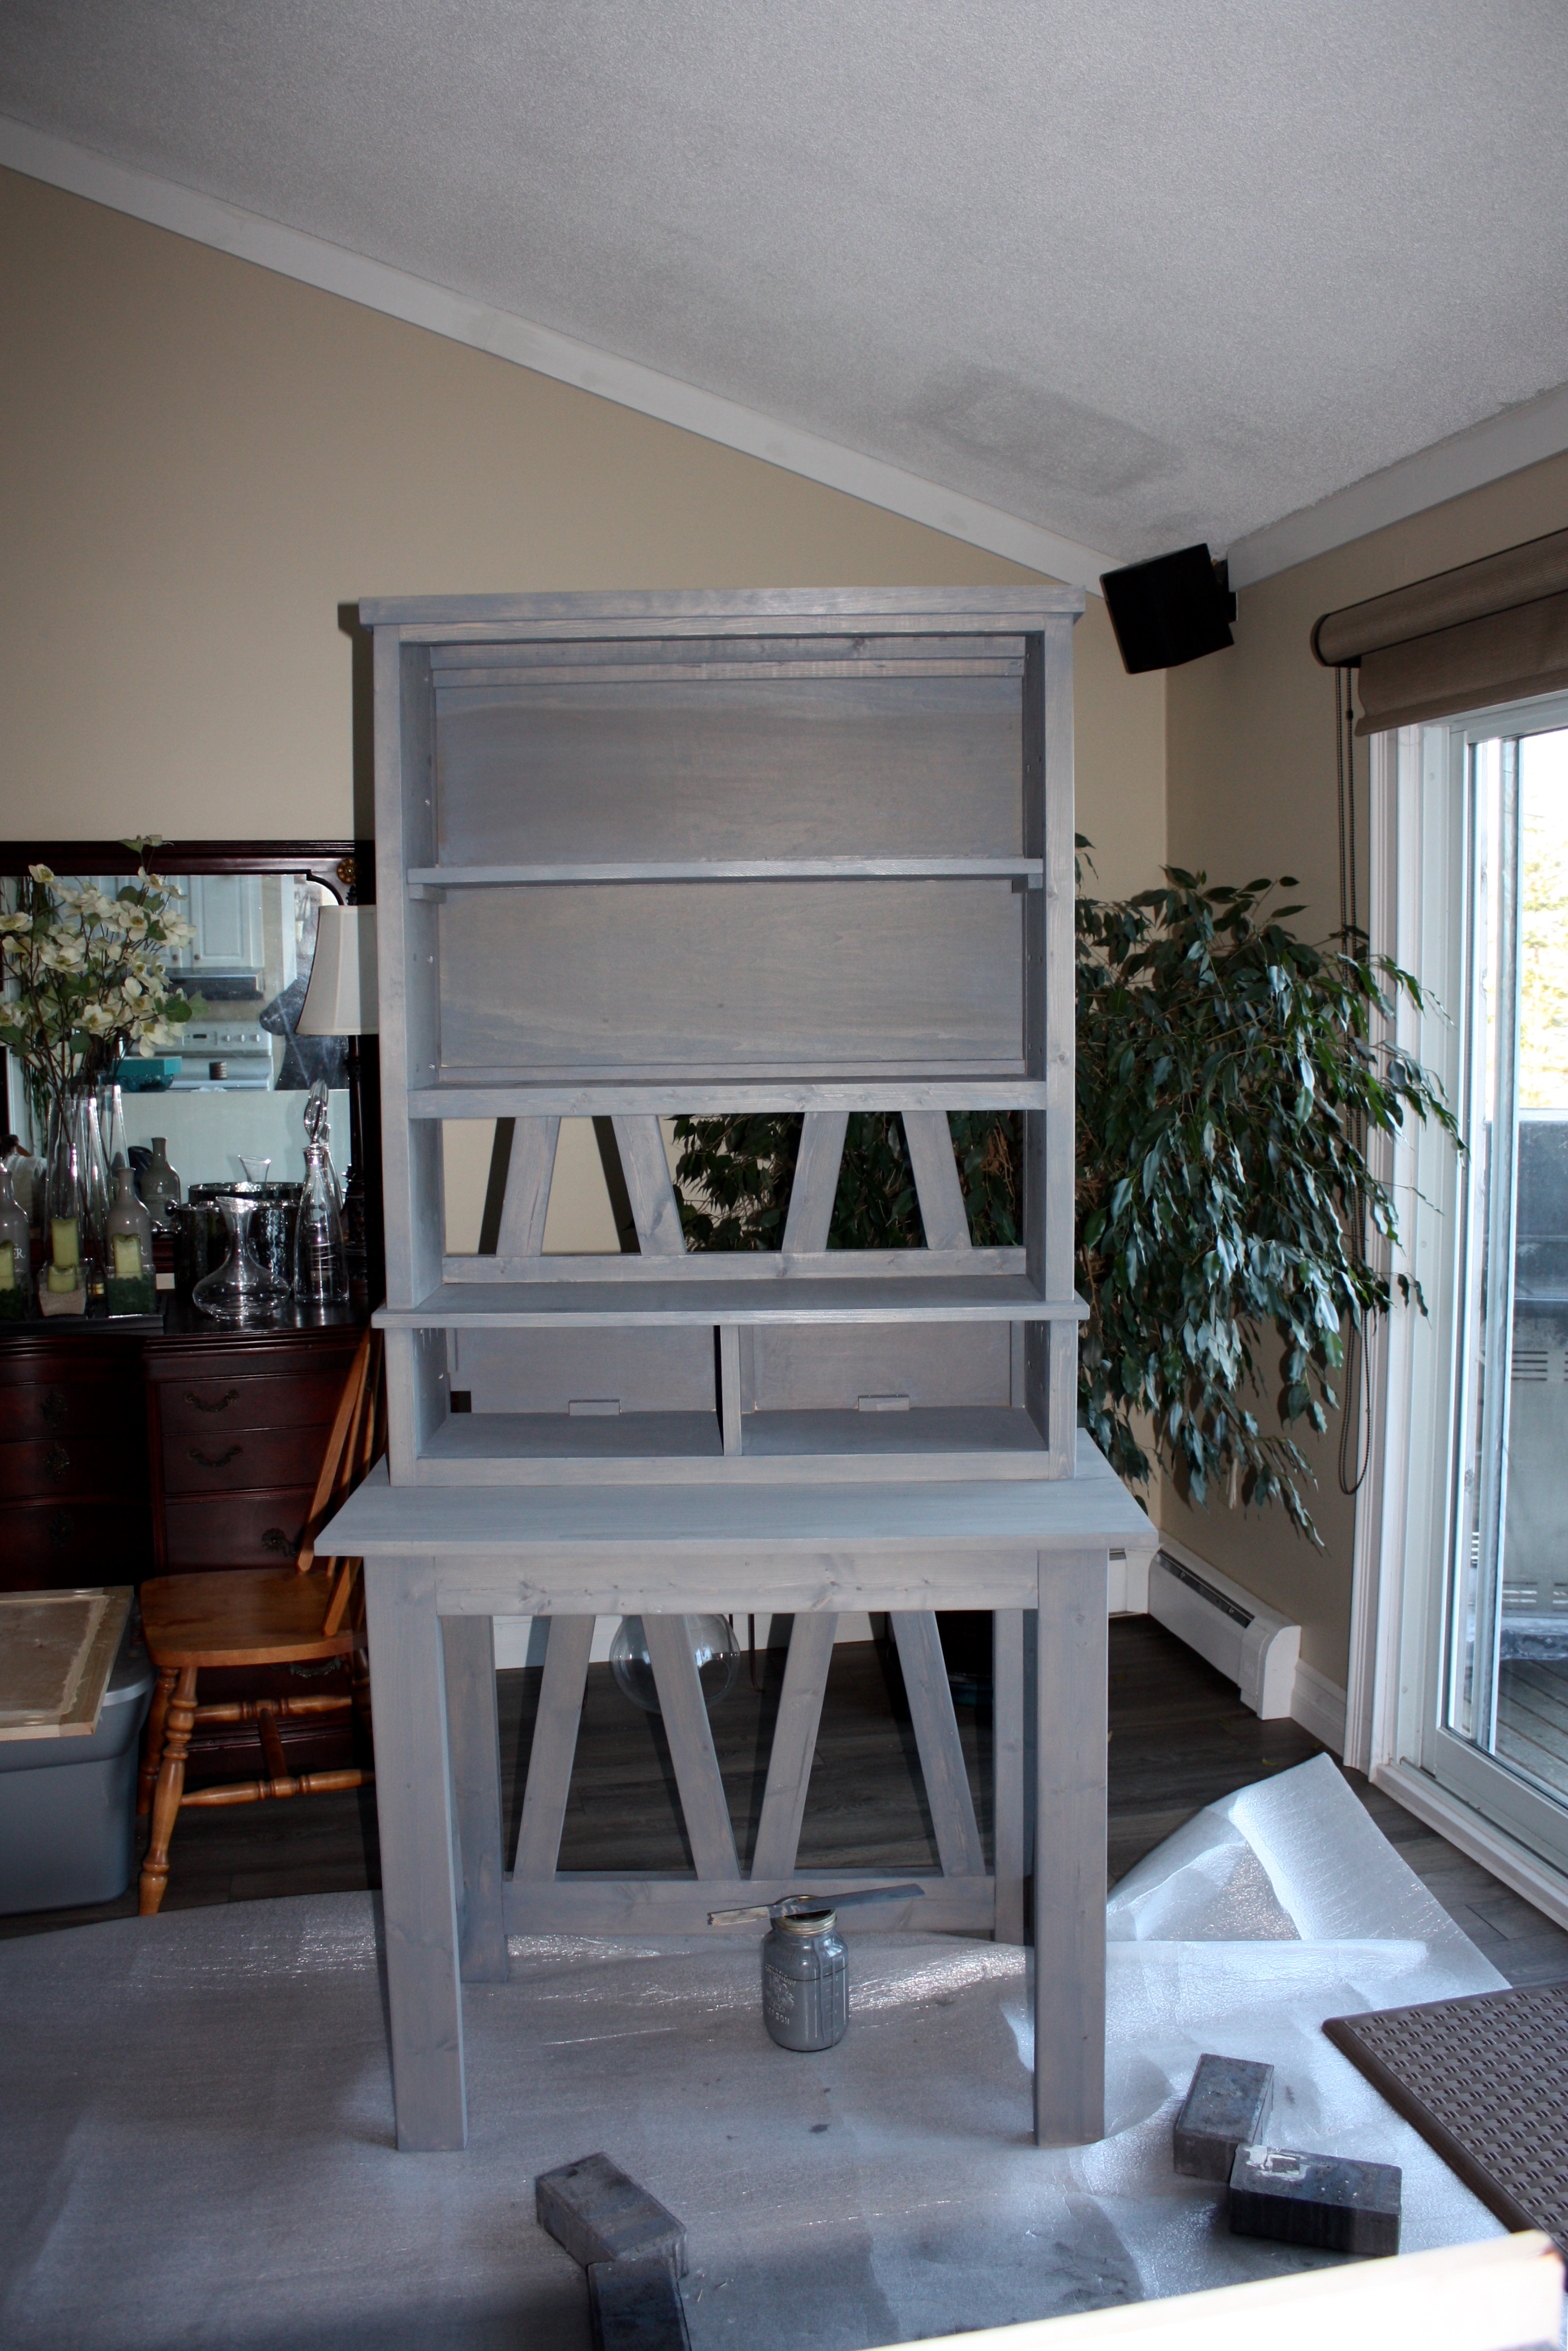
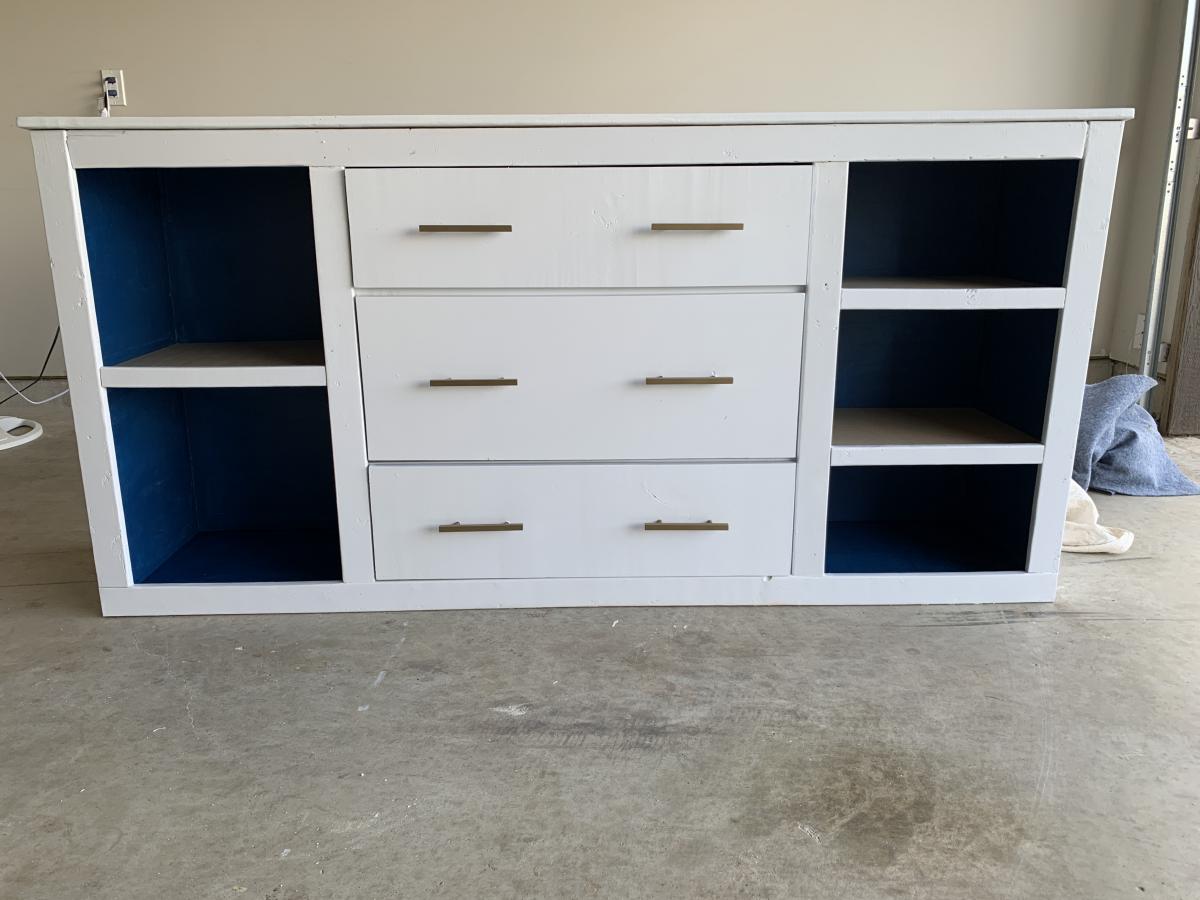
Buffet Cabinet
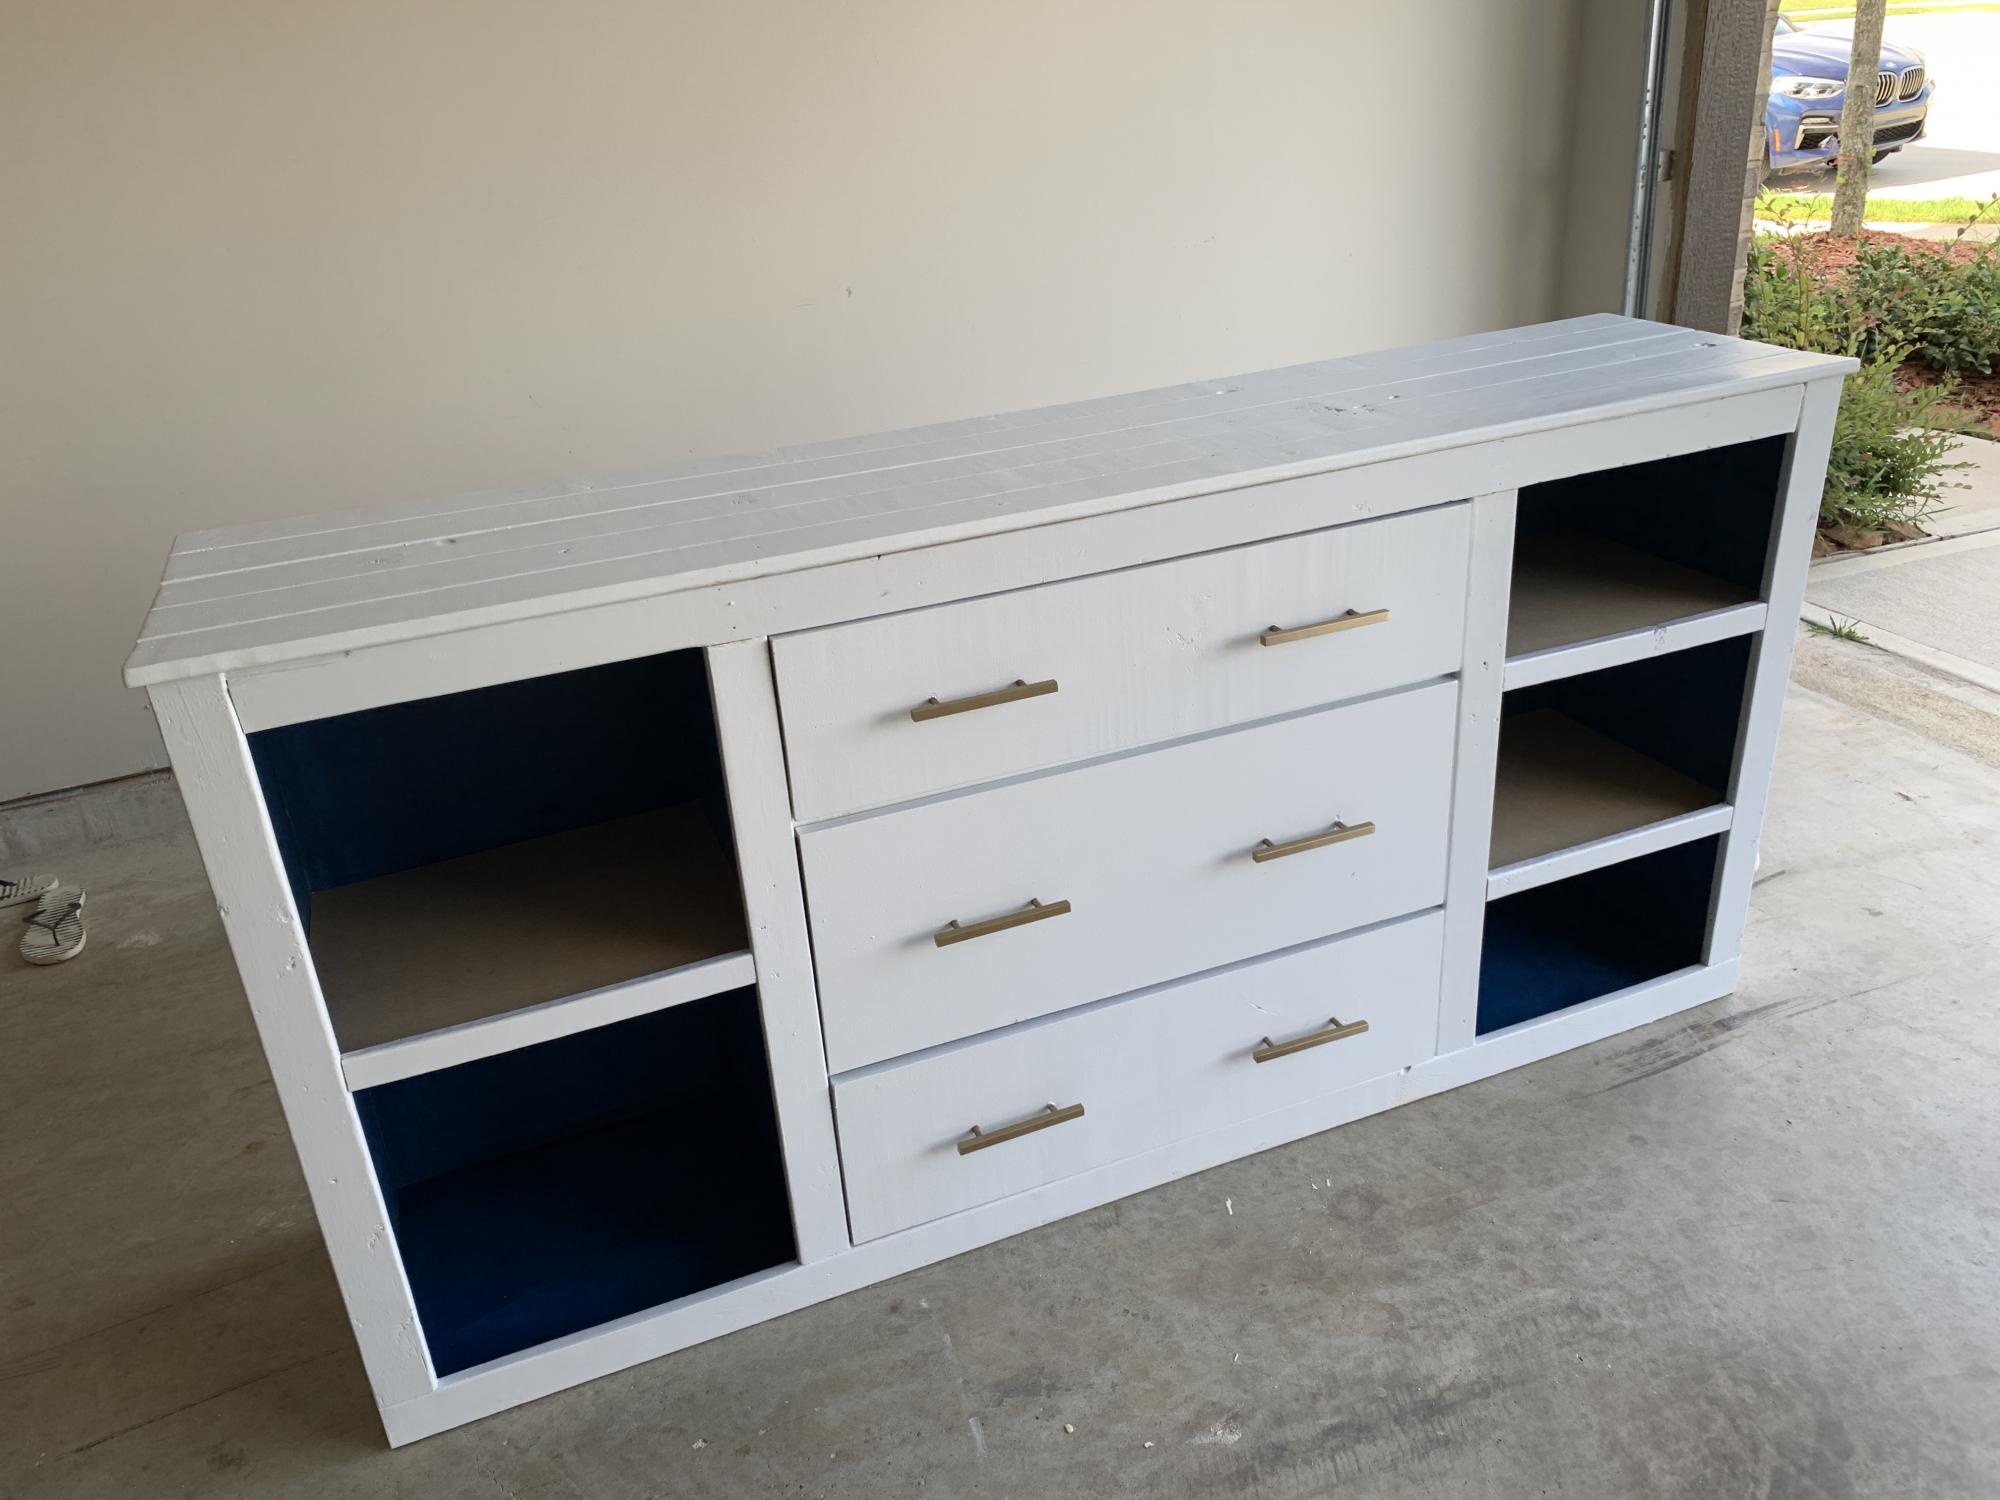
This is my third DIY project and it was a difficult one...I would recommended a beginner (like me) to do this alone. It took two weeks to get it done but I am impressed with how it turned out!
I needed storage for my office and decided to make this on a smaller scale. The doors did not work for me (and it may be because of the type of wood I used) so I decided to leave them off.
Built from Plan(s)
Estimated Cost
$500
Estimated Time Investment
Week Long Project (20 Hours or More)
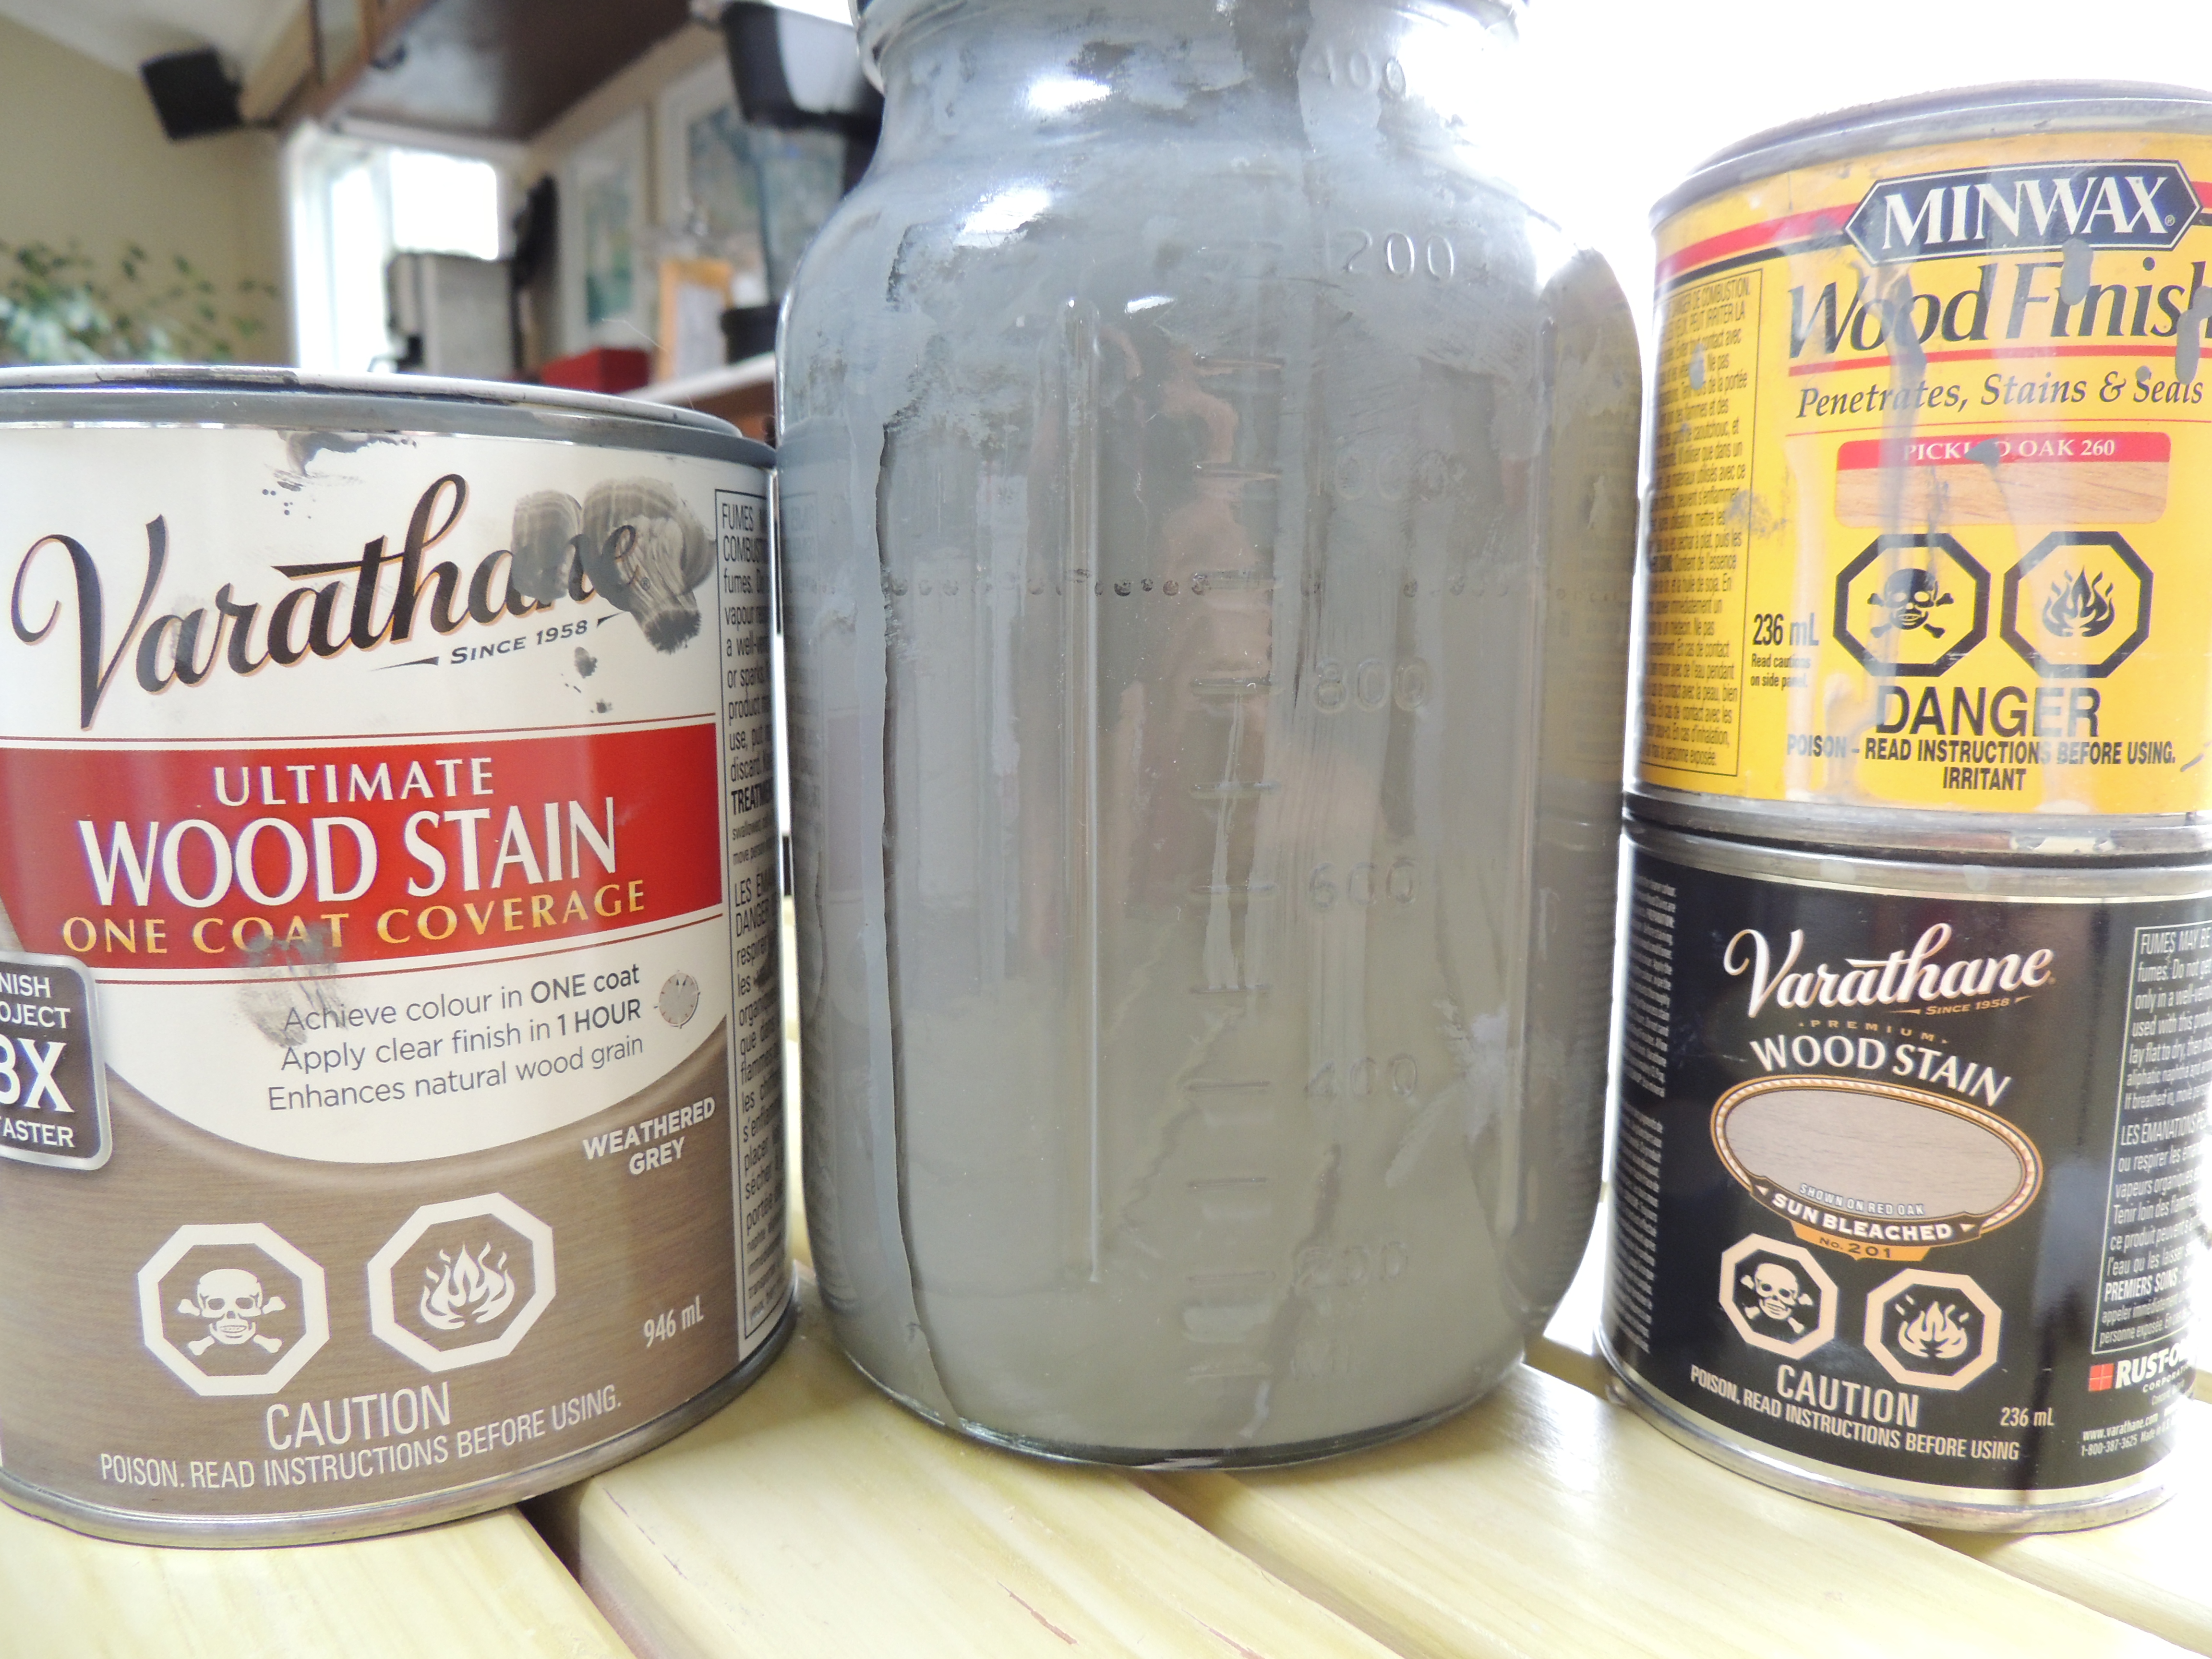
Finish Used
Behr ice sculpture paint, PPG Chinese porcelain blue paint (I had some left over) and champagne bronze square pulls
Recommended Skill Level
Beginner