Truss Shelves
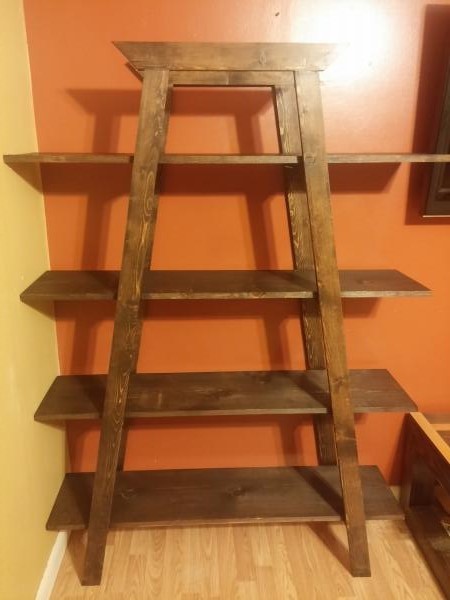
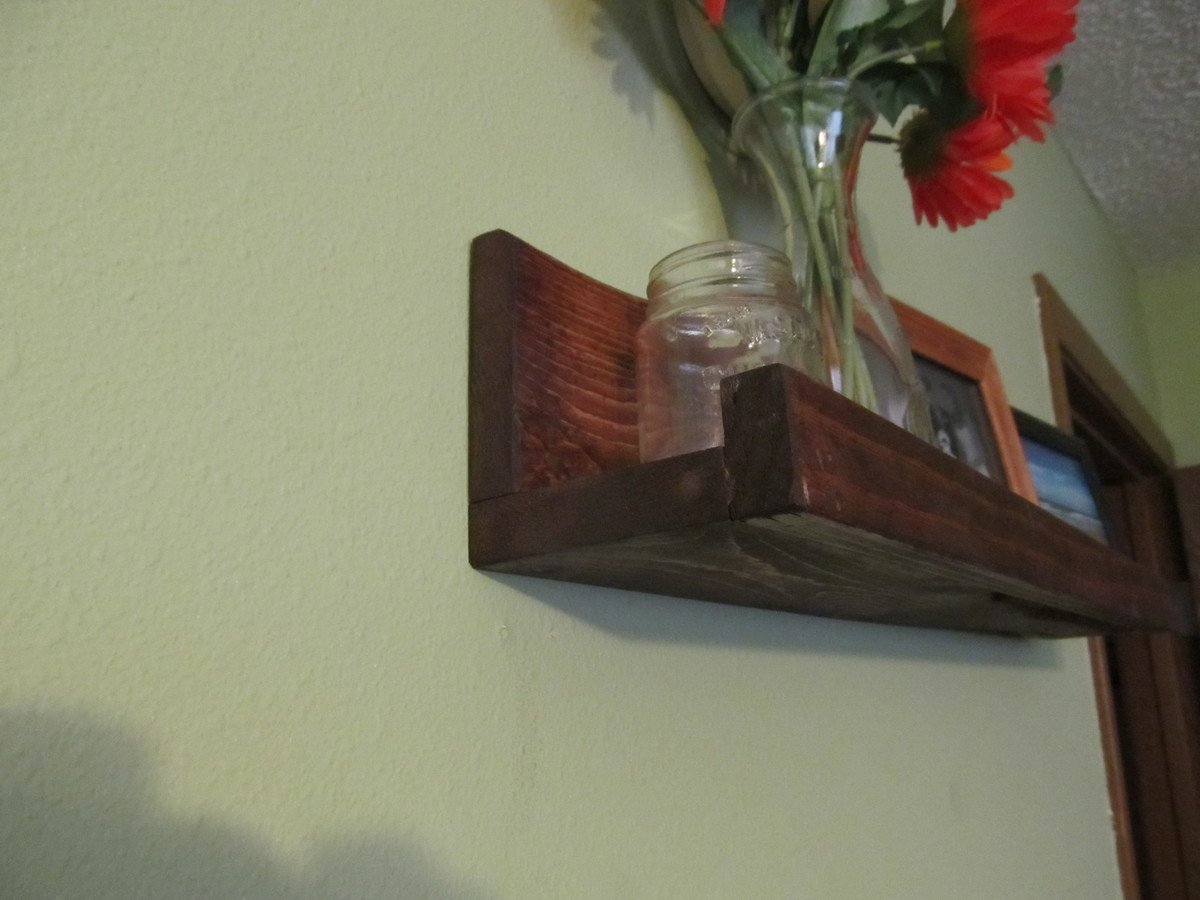
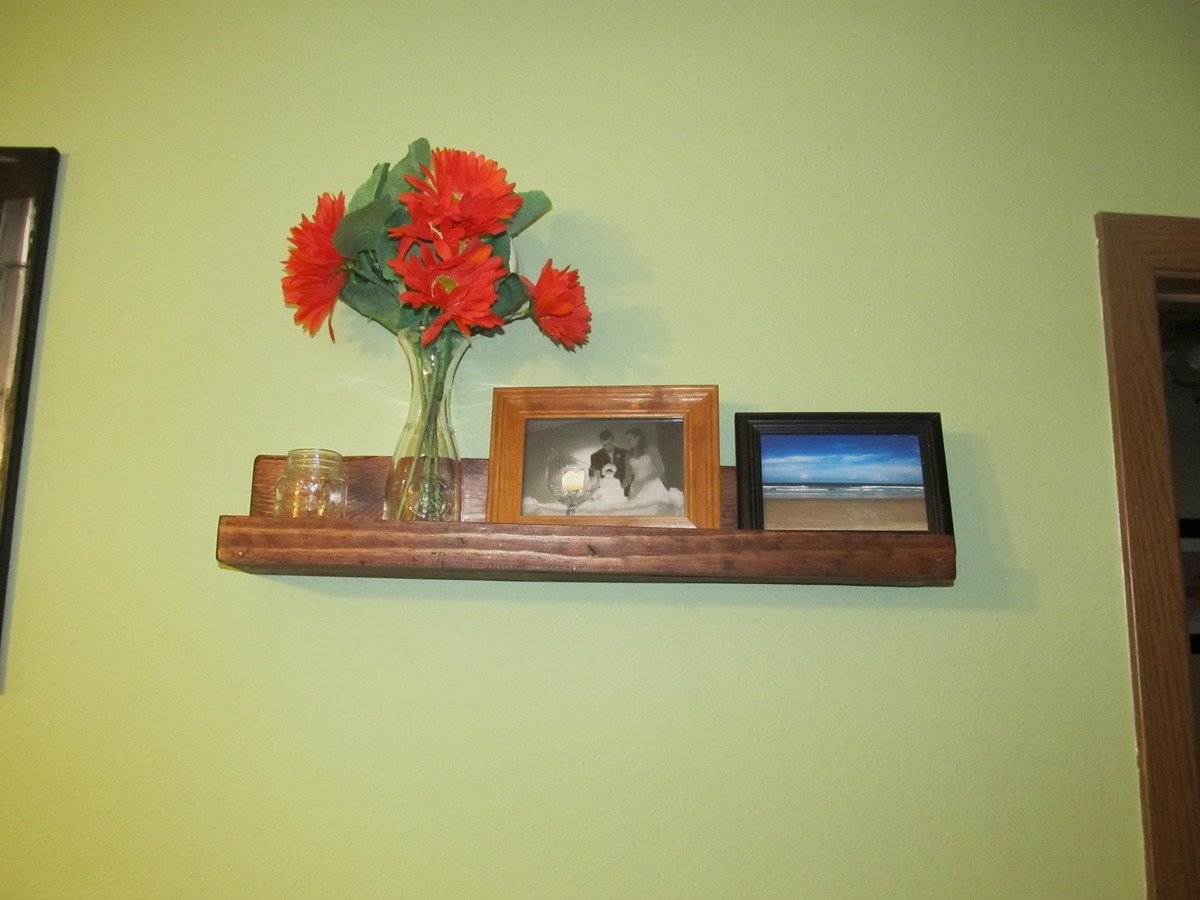
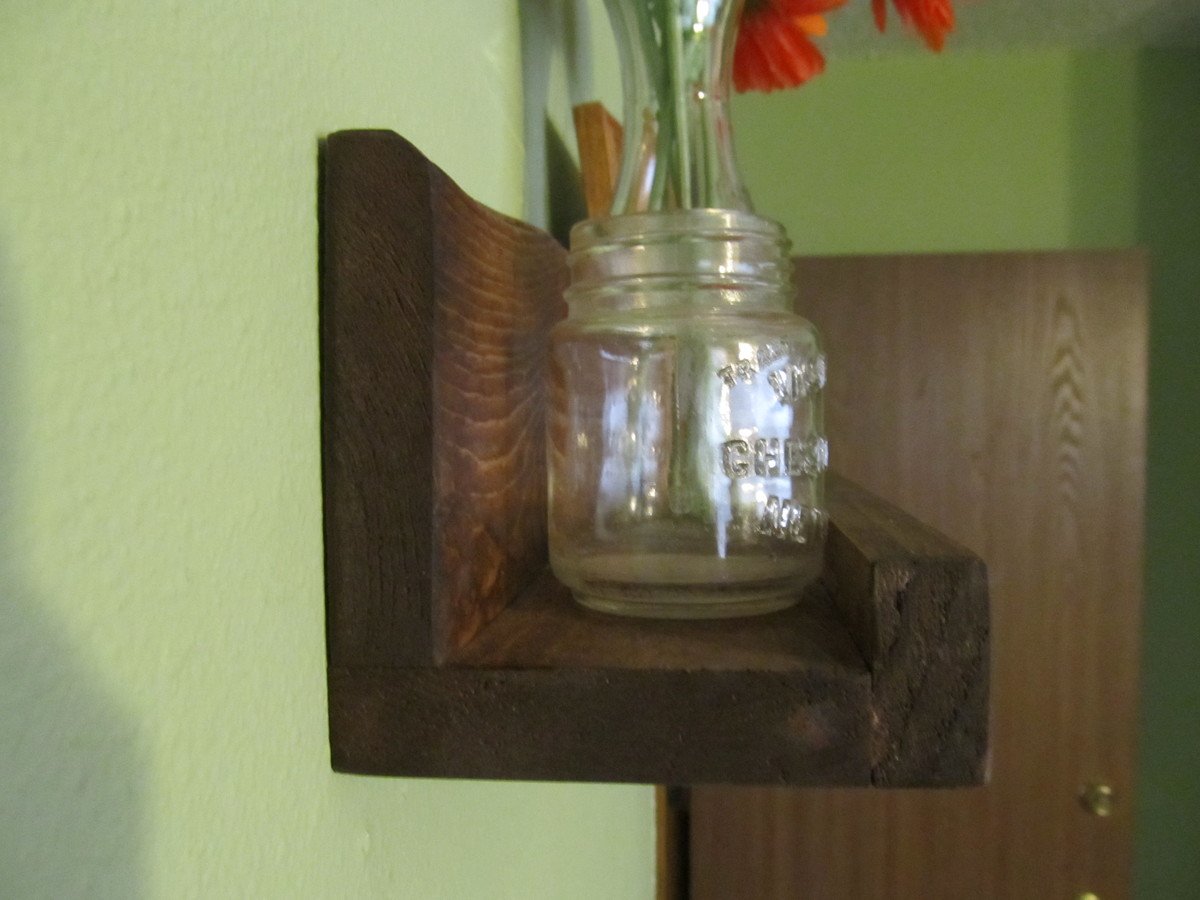
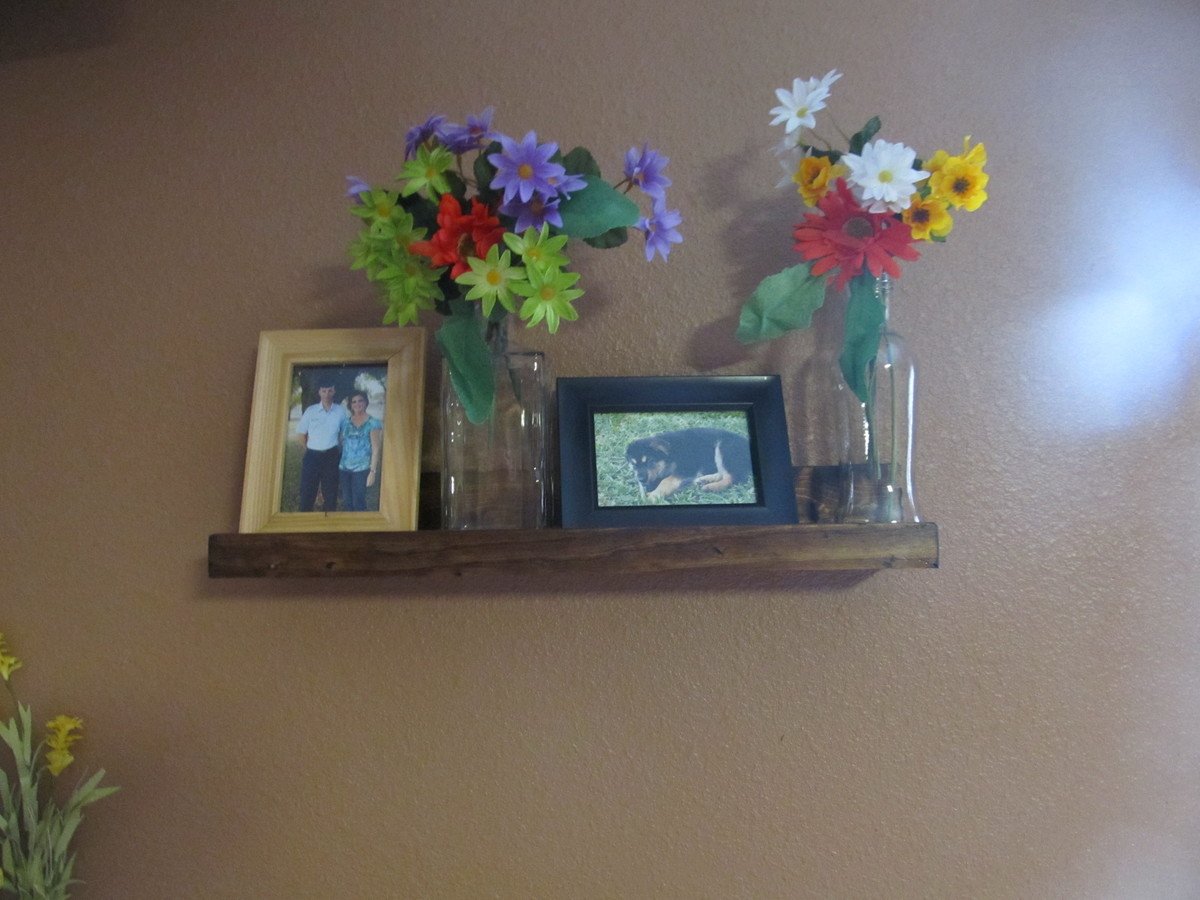
Went a slightly different route, since I'm not a fan of furniture built using 2x4's. I opted to use 1x3"s for the supports. Still more than sturdy, and I think it adds a little to the look.
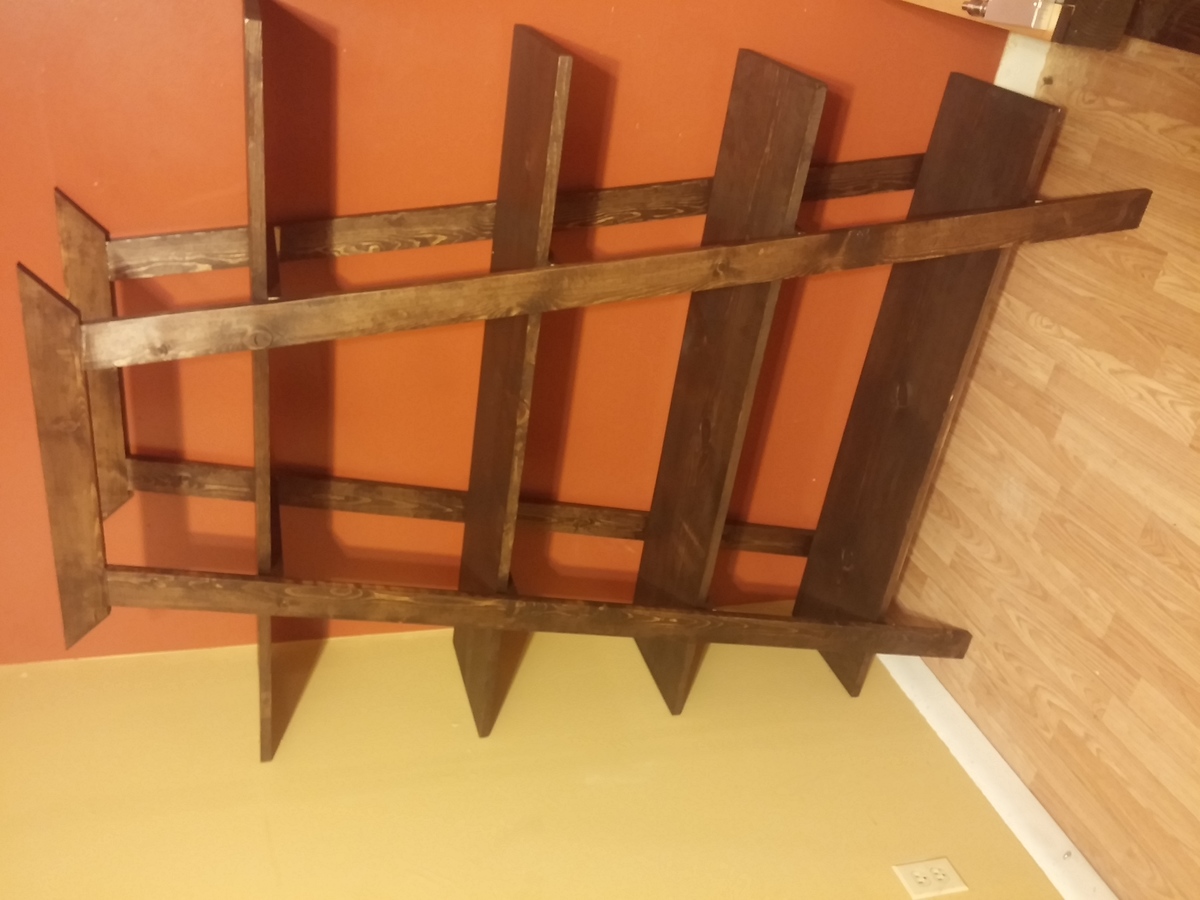

Went a slightly different route, since I'm not a fan of furniture built using 2x4's. I opted to use 1x3"s for the supports. Still more than sturdy, and I think it adds a little to the look.

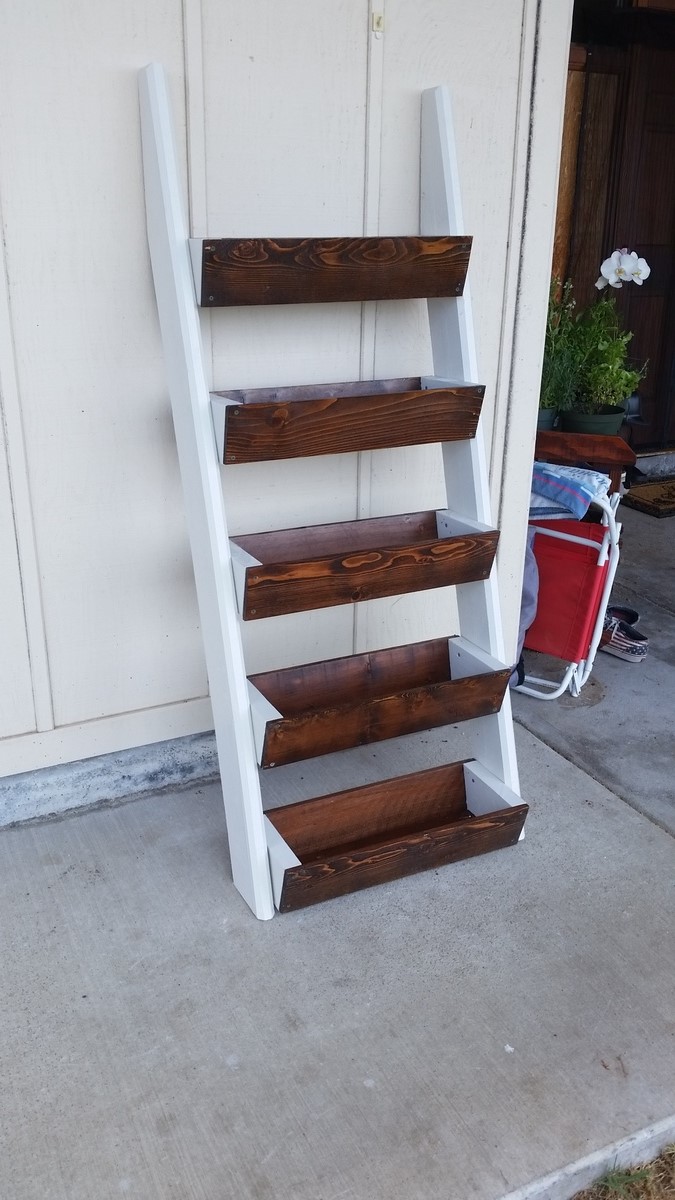
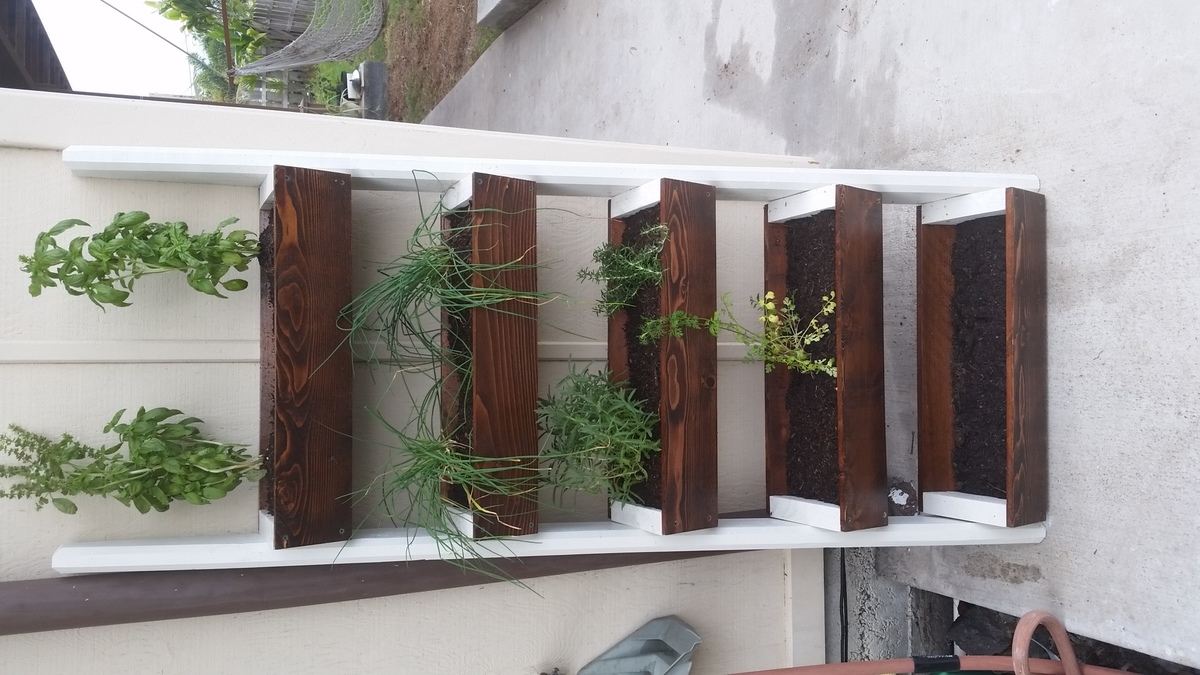
Starting a new garden in a new yard but with limited space this vertical planter was a must.
5 boxes Tiered up 2x6 legs. Changes to the plans Ana White provided include :I added mitered edges to the fronts and backs of each individual box to match the over angle of the legs, slimmed down the box sides to tidy up the look, routed the edges of the legs to sharpen it up and painted and stained/finished to bring the whole project together.
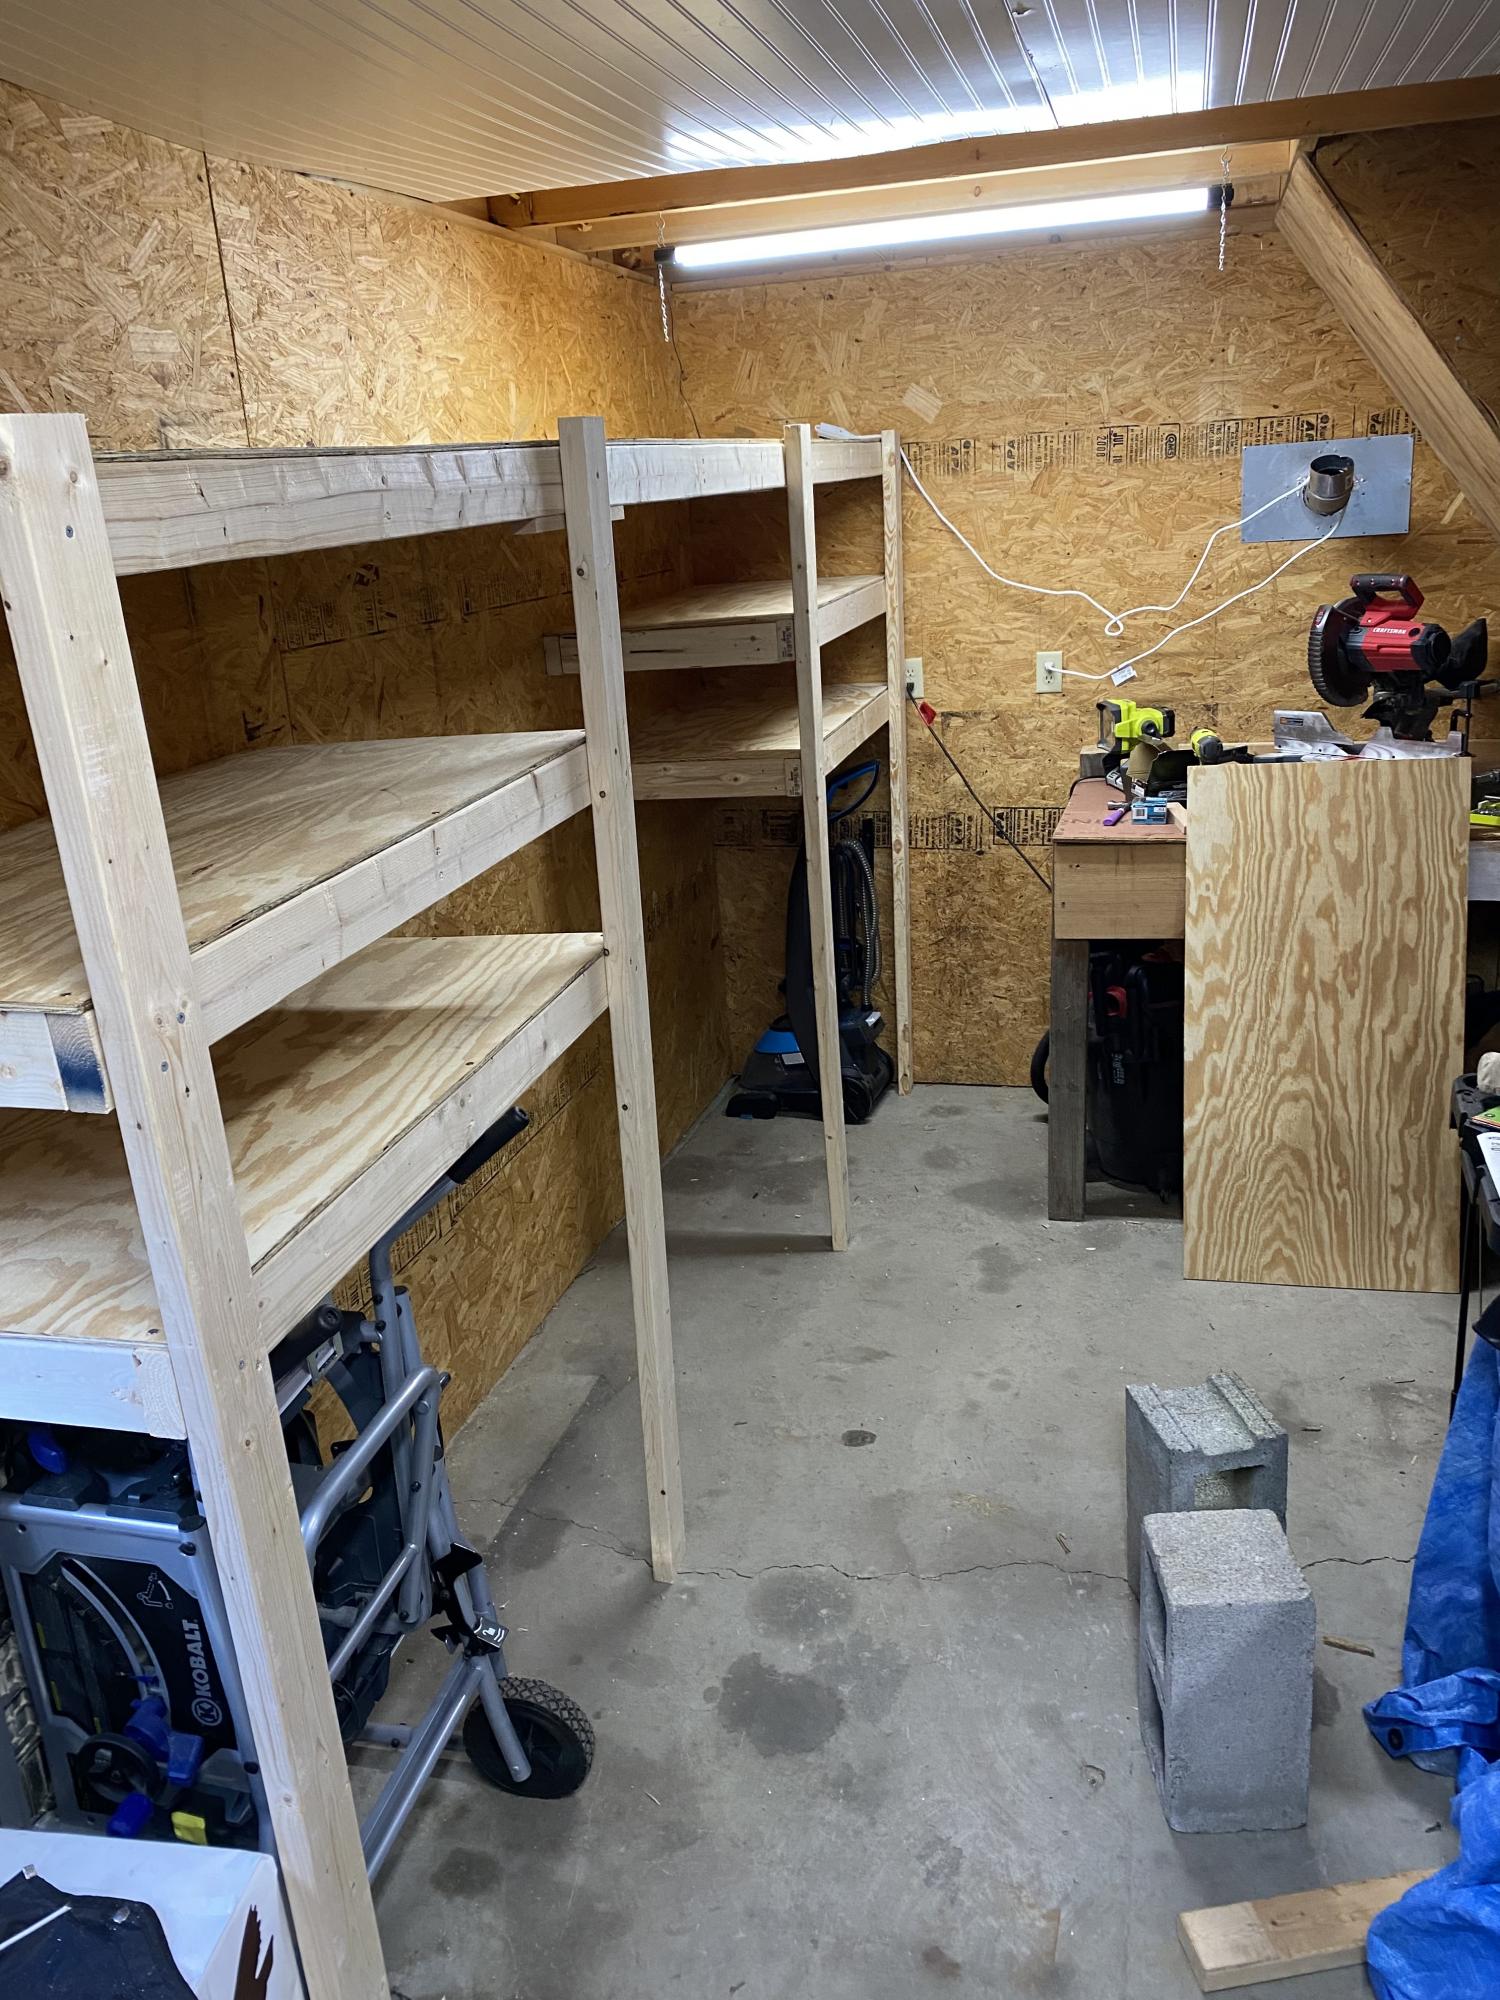
Took every pre-existing bit of rough, thrown up shelving the previous wonder tossed up and the garage walls. Moved the prior owner’s workbench build out of the corner, reinforced it, and relocated it to the center of the back wall. Spent the day building this unit in this corner of the space. Used modified version of plans below. Center gap is for a future build…rolling miter saw cart.
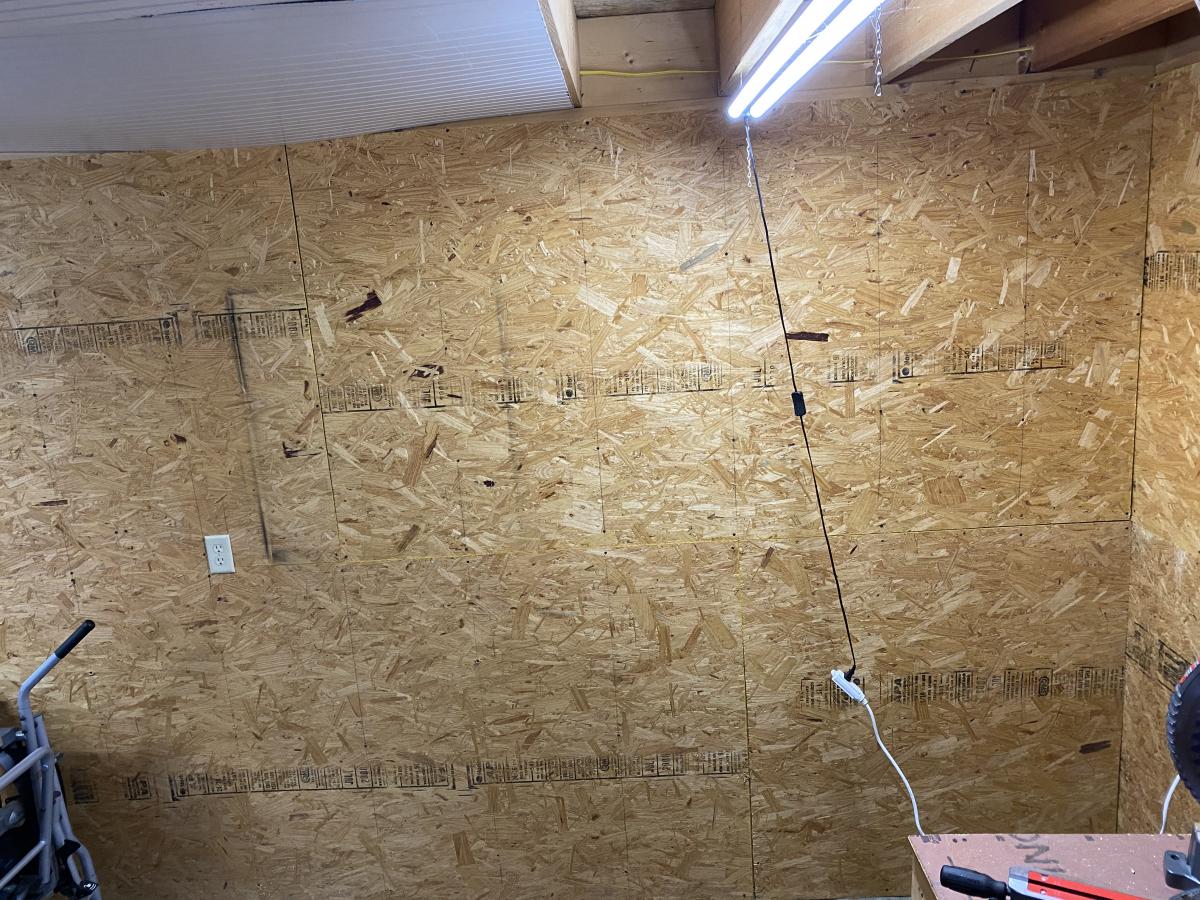
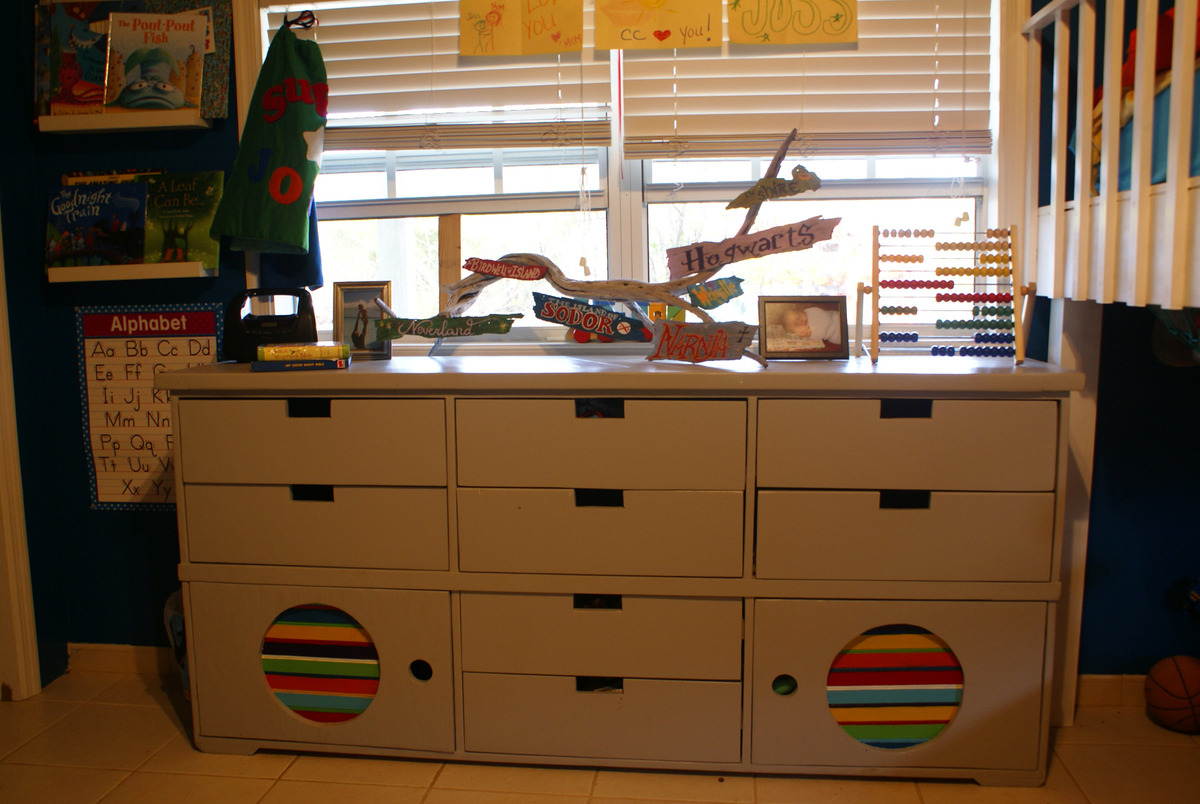
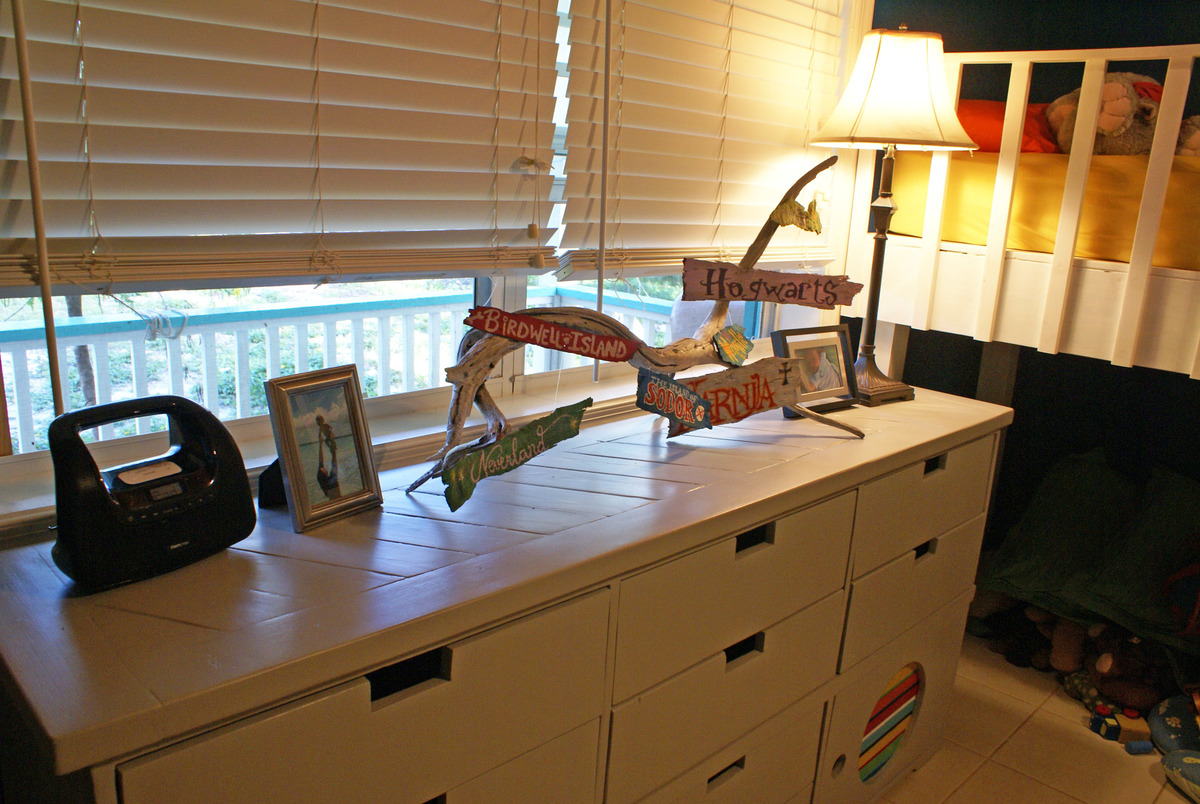
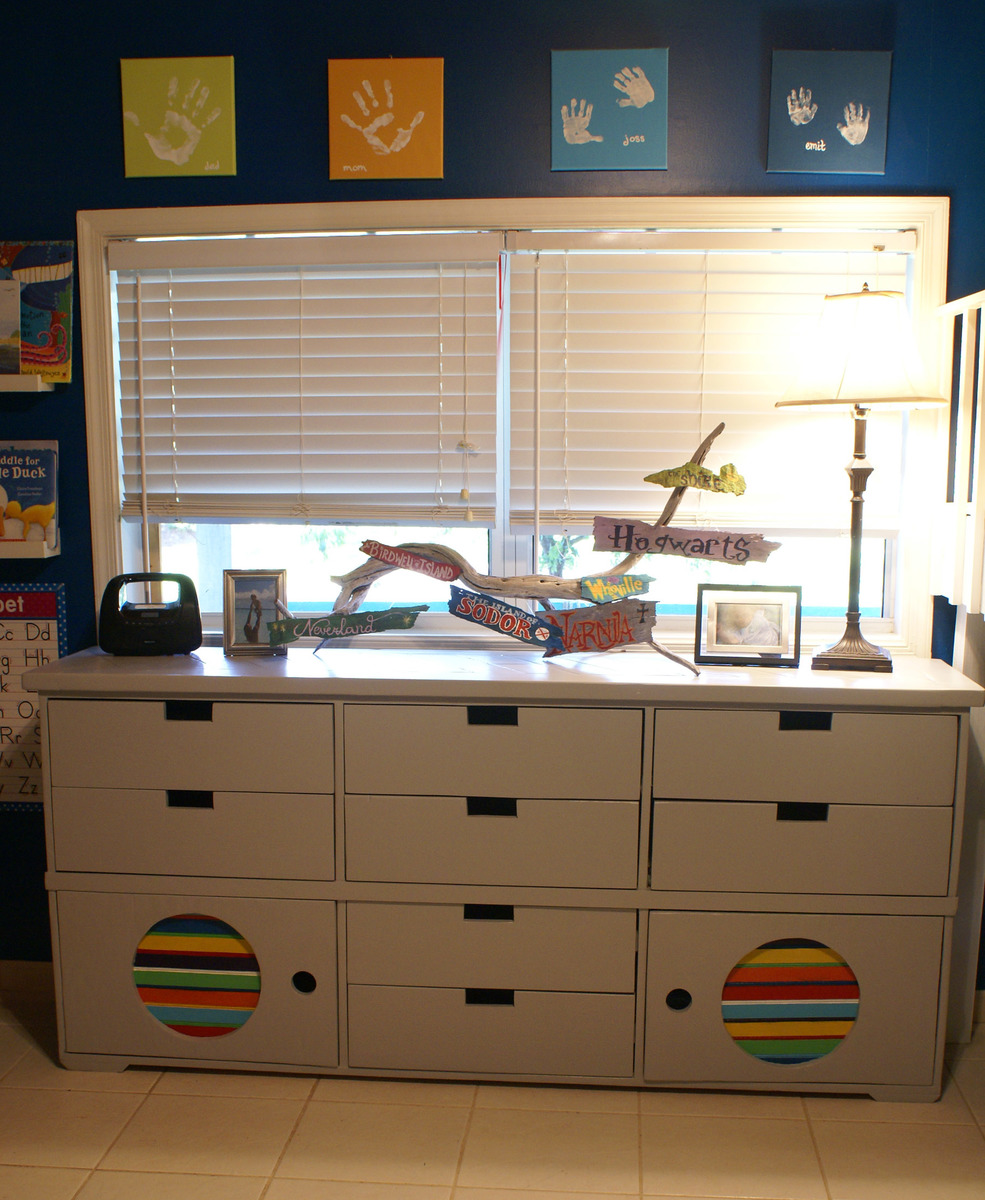
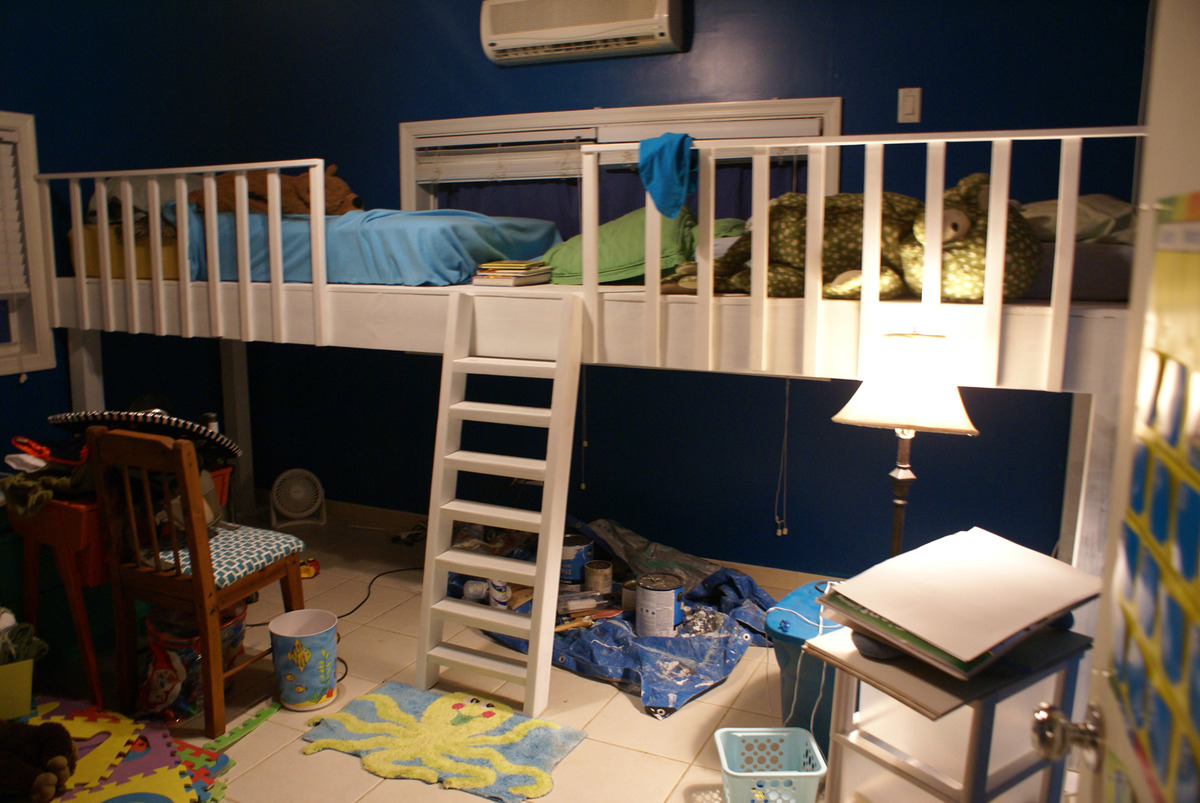
This project wasn't really a 'planned one', but just turned into something I could do fairly easily with the stuff I had on hand and some of the leg work I had already done. I did the original green bed in the Fillman Storage Bed with Drawers post. I had originally planned to do one of those beds for each of my boys in the room they share so we would have plenty of storage. We also homeschool and were in need of more room space, so we went a different route (you can see the messy picture that shows our new bed (double loft bed). WE LOVE the loft bed, but we also really love this dresser. The size is perfect and fits our needs. Thanks for checking it out. I have more specific photos showing what I did on the blog link I have on here.
Happy Building!!
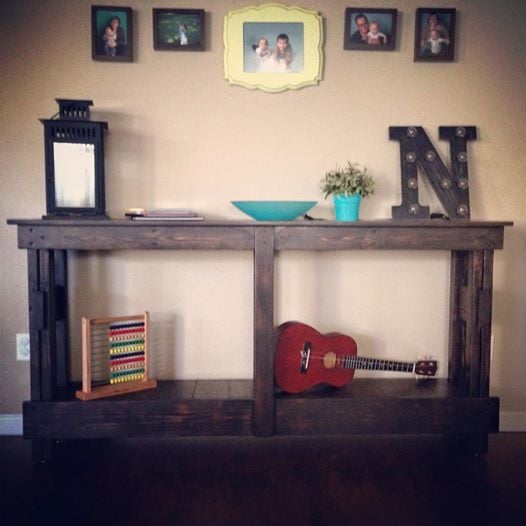
This was my first wood working project from Ana White. I am in love with how it turned out.
I ended up making the console narrow and long to fit in the living room area.
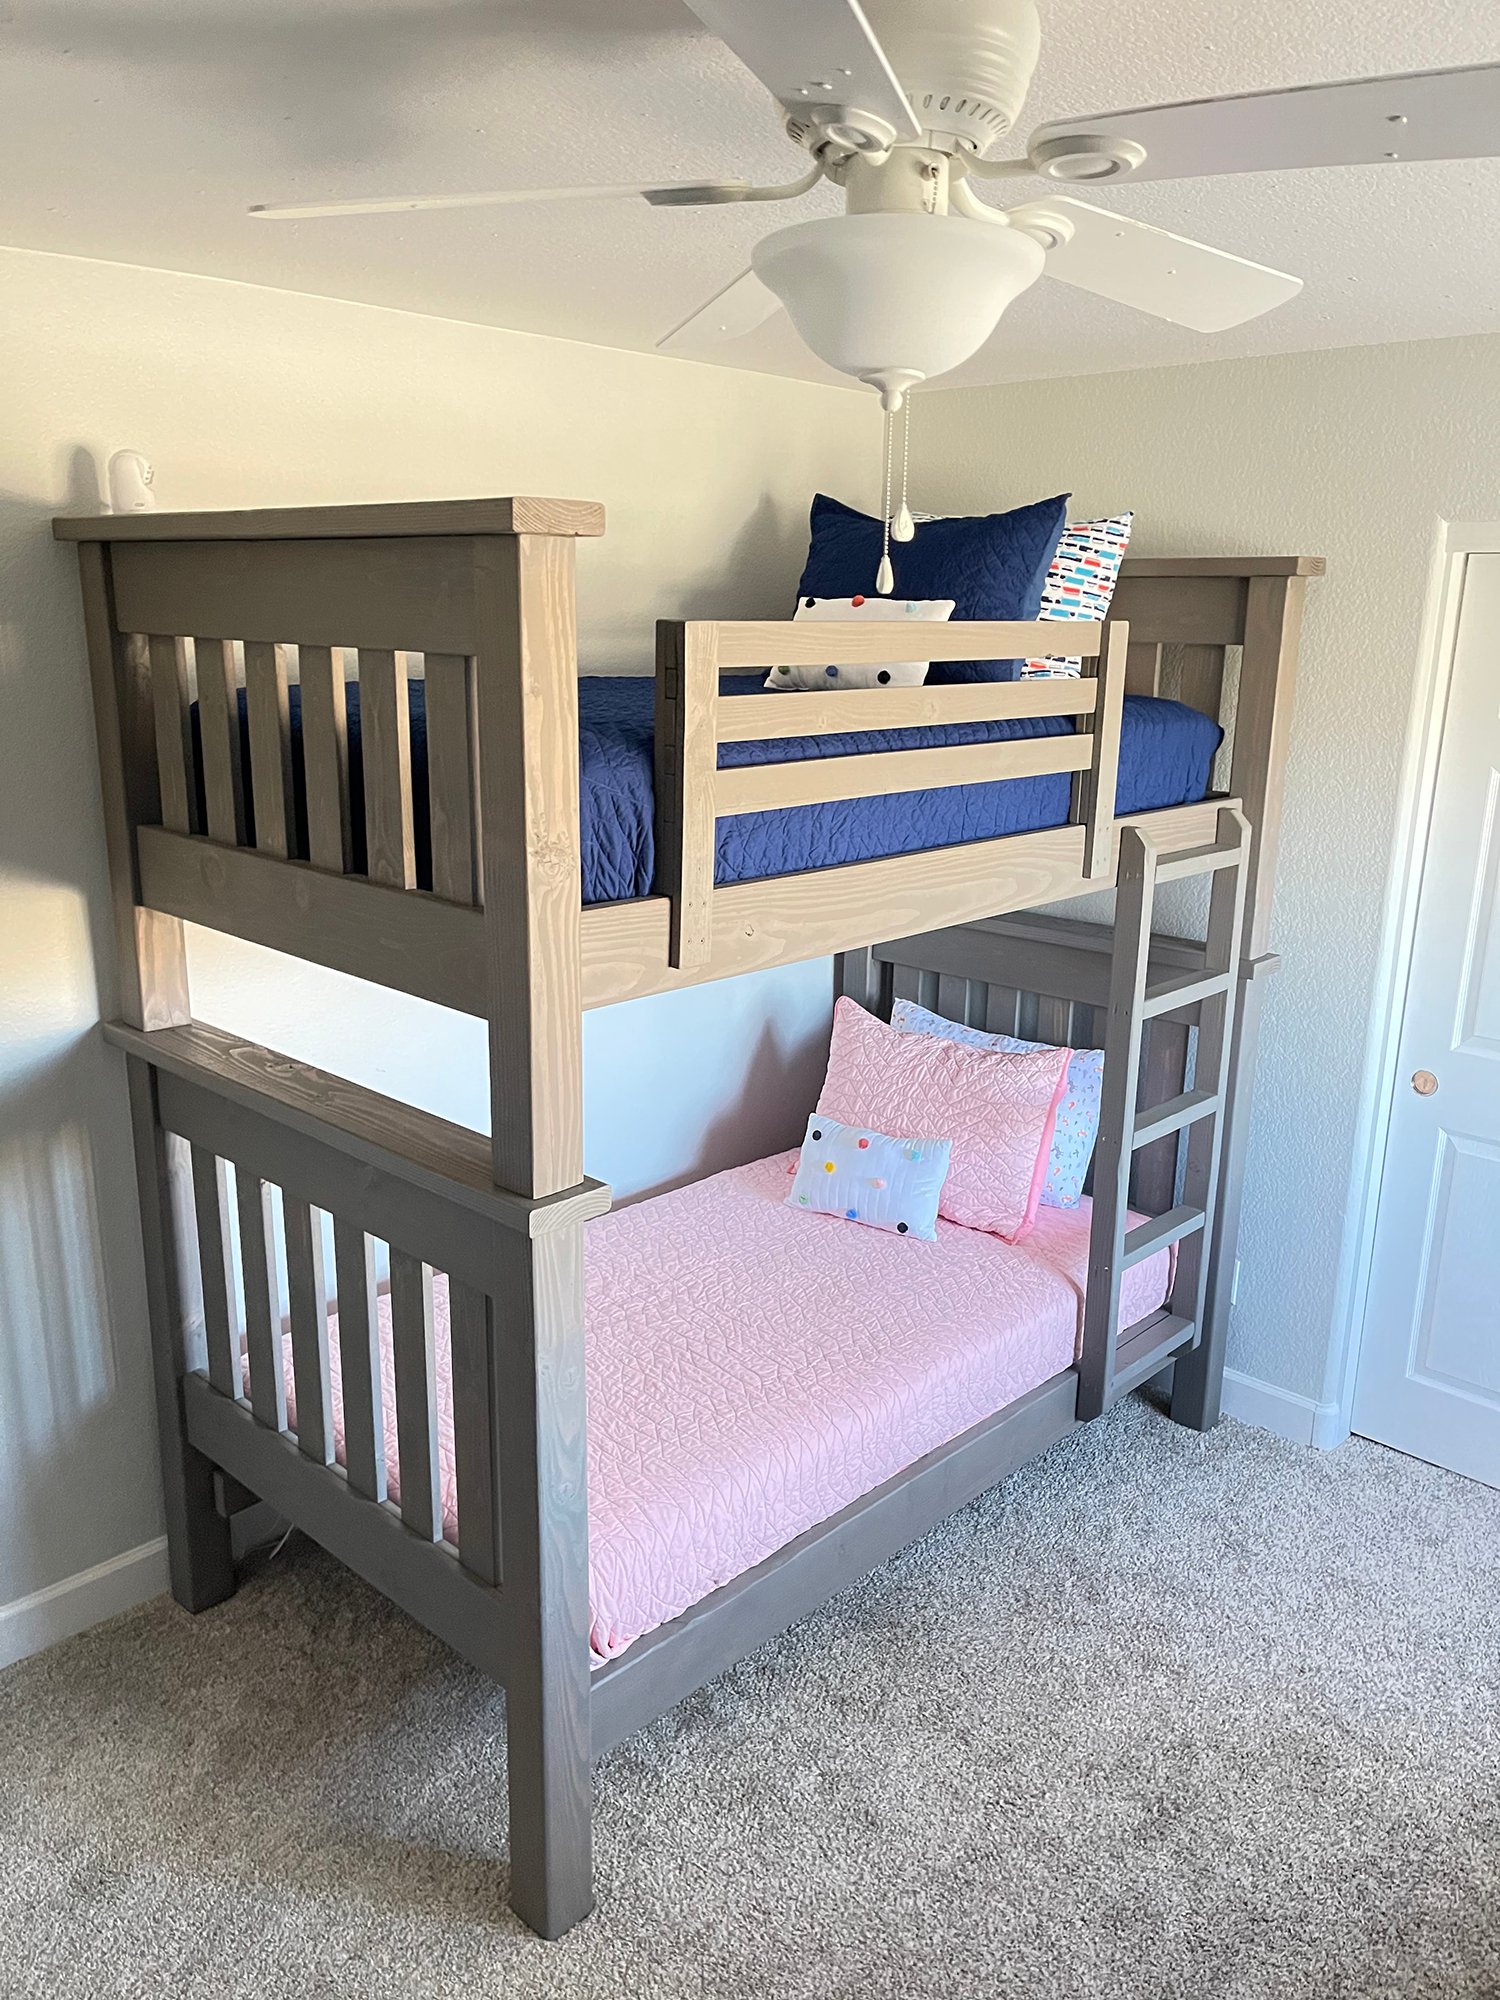
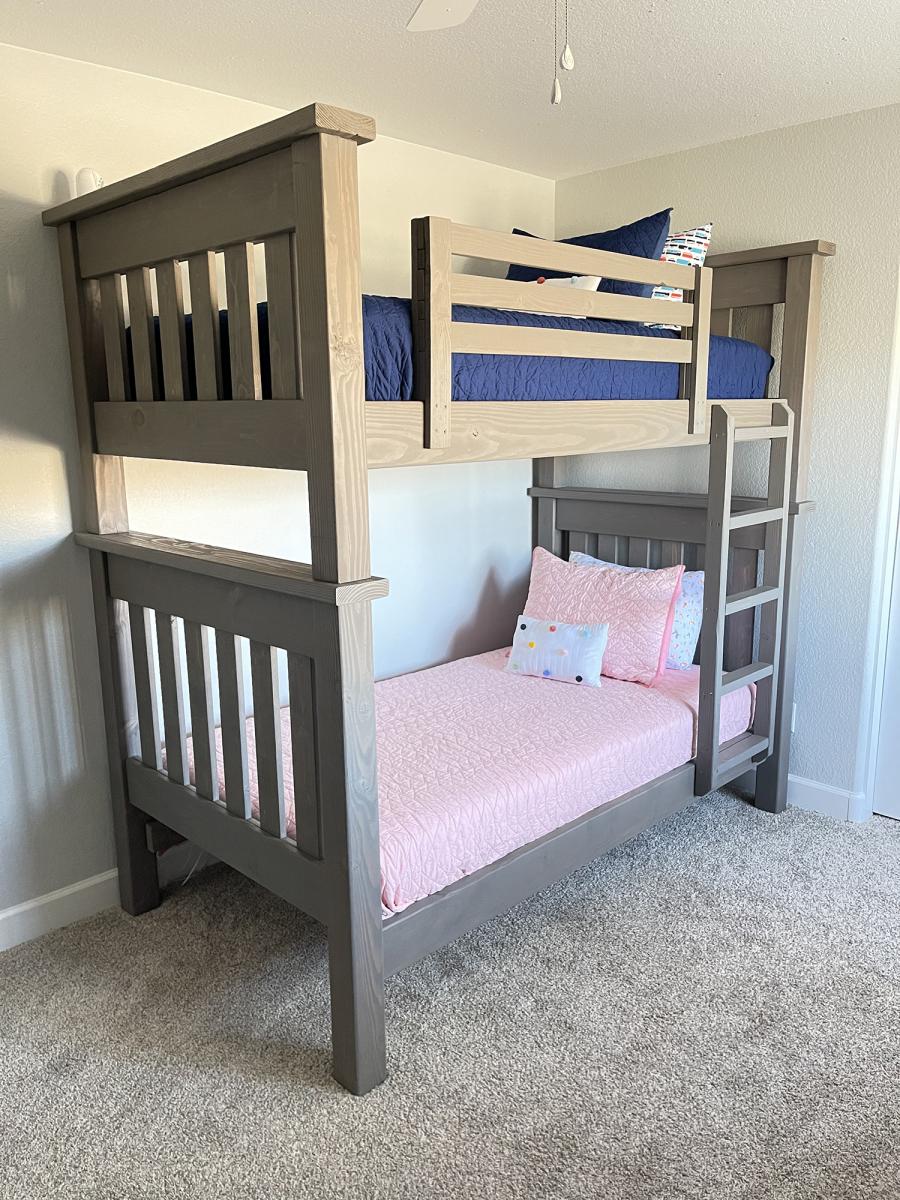
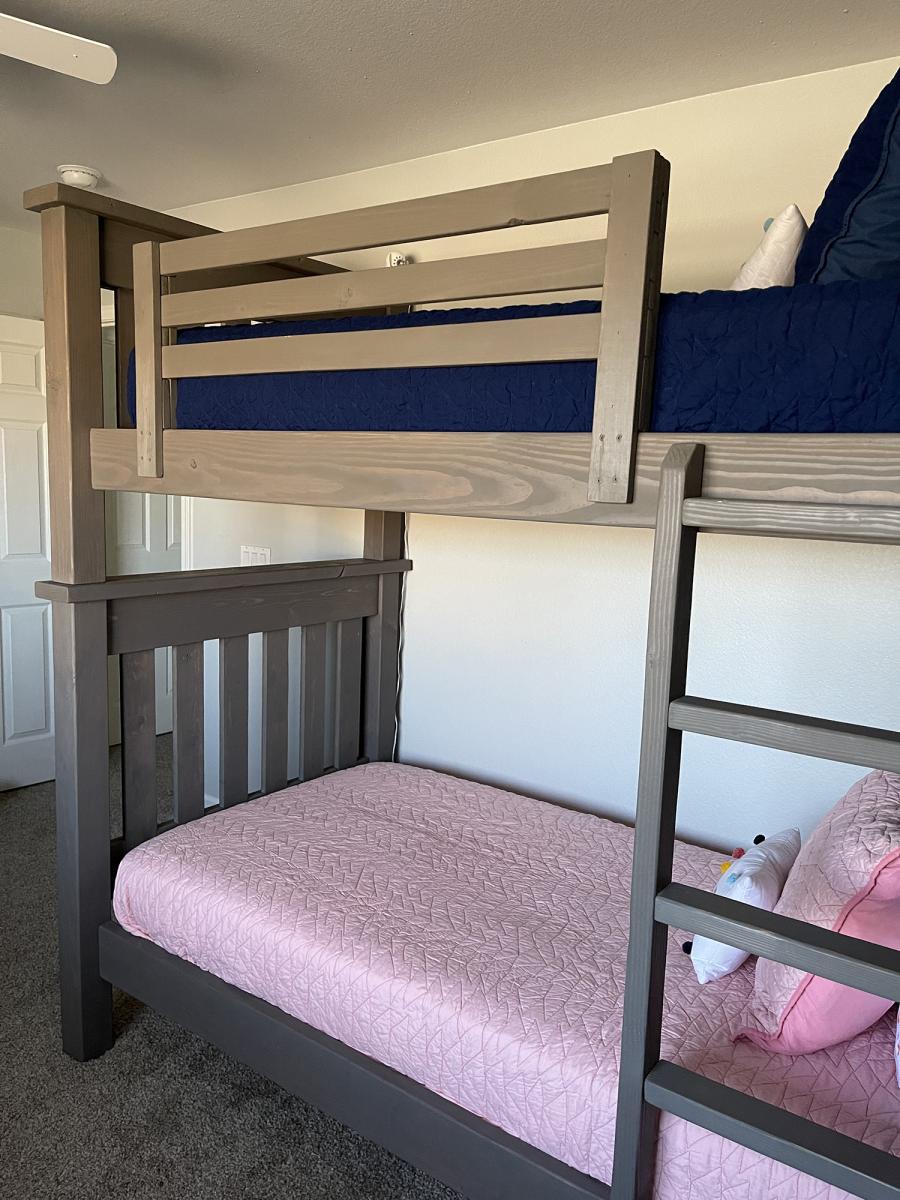
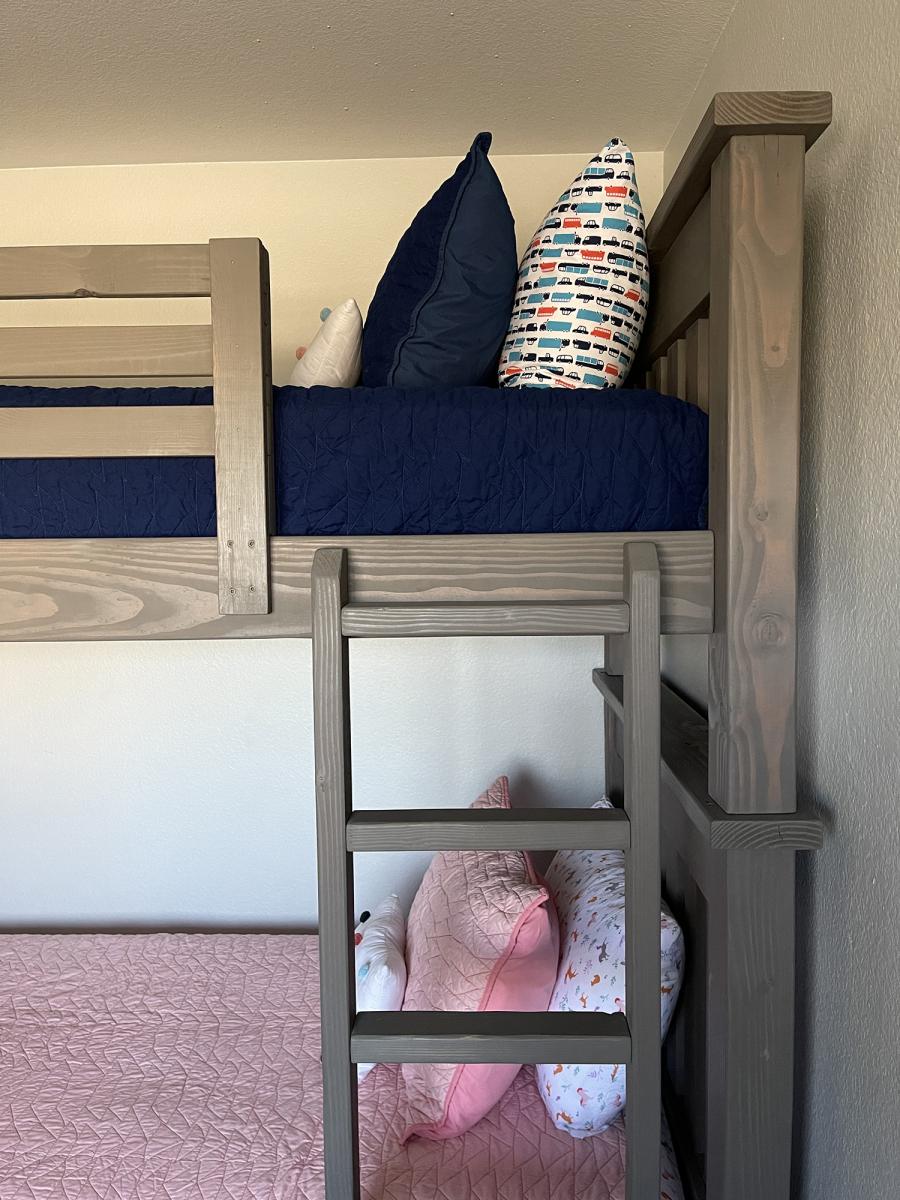
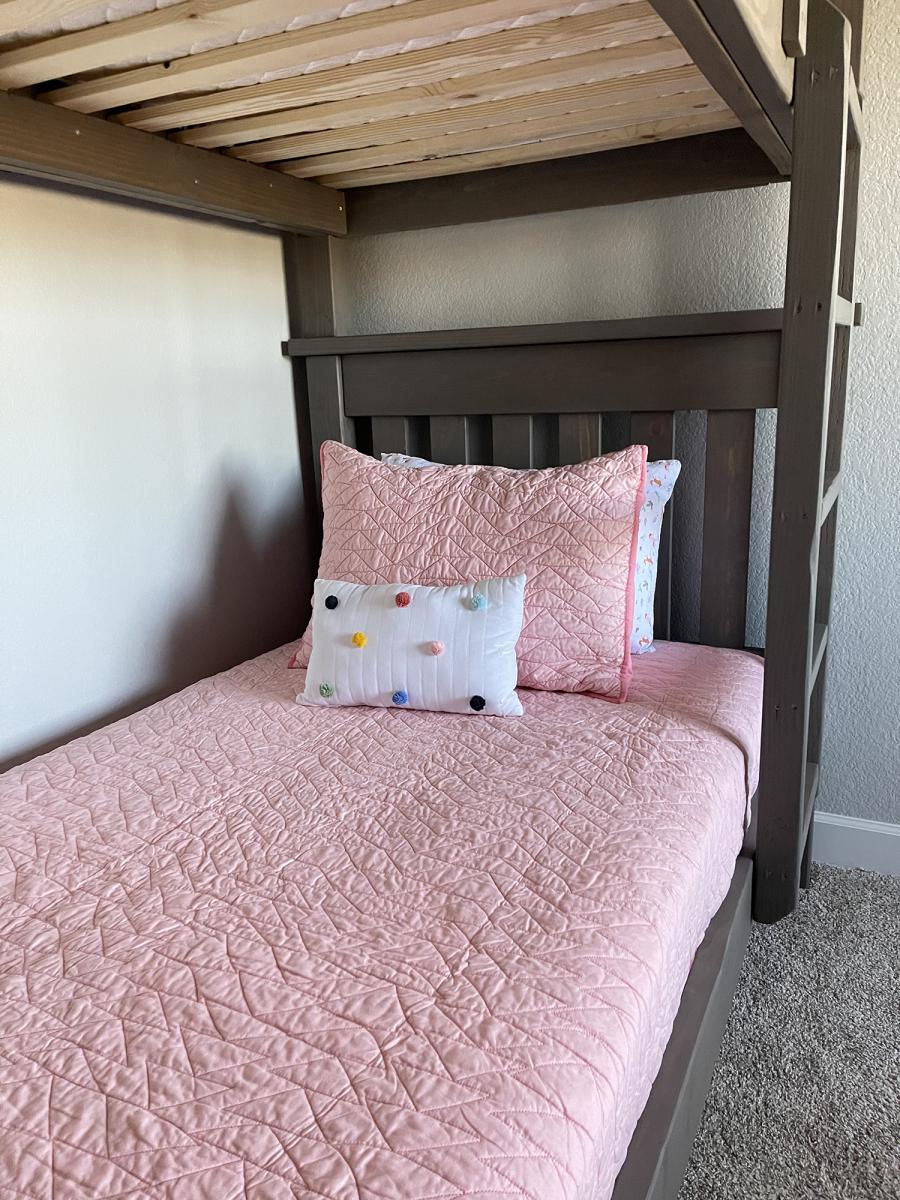
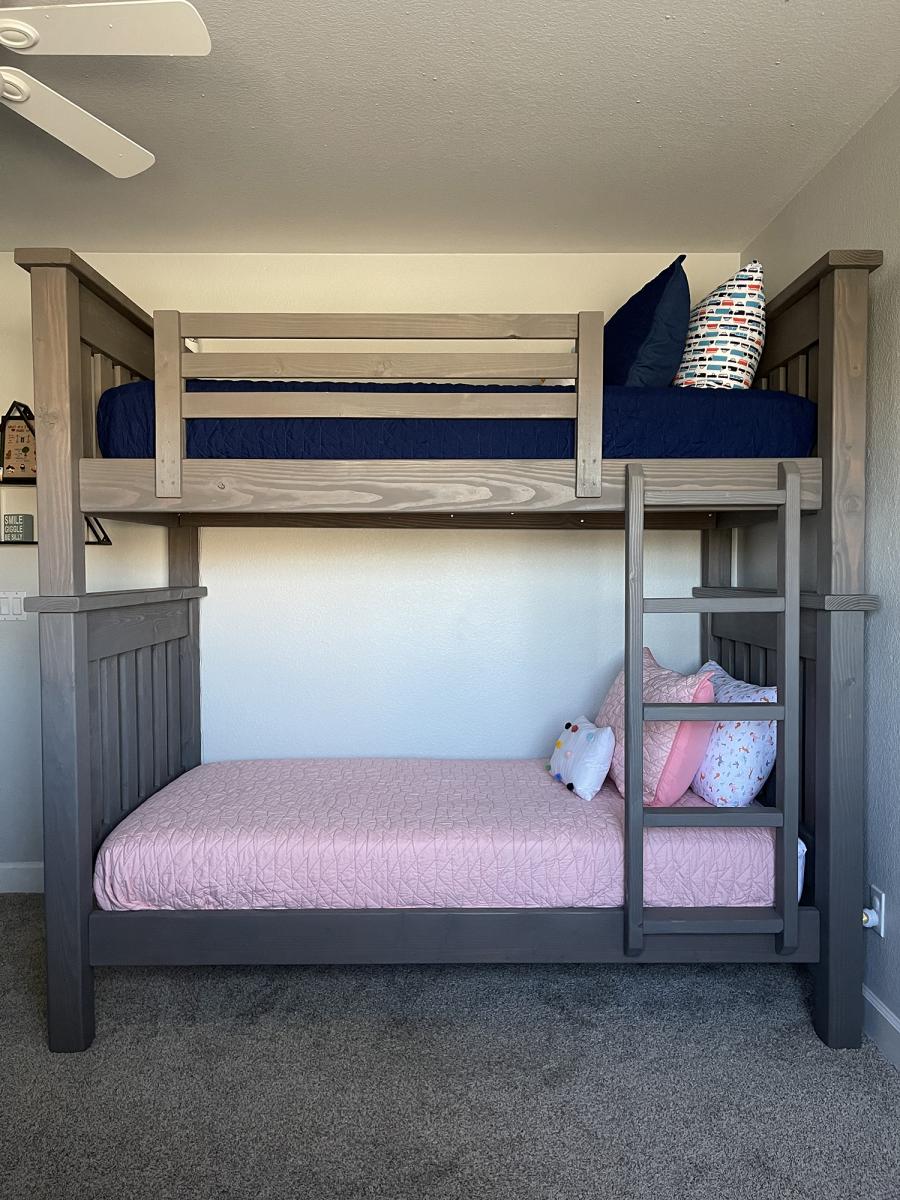
I searched high and low for the perfect bunk beds to buy for my four-year-old son and two-year-old daughter when our third child was on the way. We wanted something that had enough clearance between the top and bottom bunks so my husband and I could comfortably sit on the bottom bunk with our kids to read books before bed and it was nearly impossible to find a pre-made bed that fit that requirement in our price range. I was excited to find this plan because it looked like the perfect fit and we could modify it to meet our needs.
I built and stained most of the parts of the bed (while six months pregnant :P) and my husband did the final assembly. It took us about two weeks from start to finish since we could really only work during naptime and bedtime. We stained them with Behr water-based stain in Classic Gray. I love the way they turned out and they are super solid and heavy. My kids love them too.
This project was super easy, my husband and I did this together while I was 9 months pregnant with our other 2 kids and dog running around the whole time! We made the table and 2 benches for $250 including lumber and finishing supplies. Check out my blog for details.
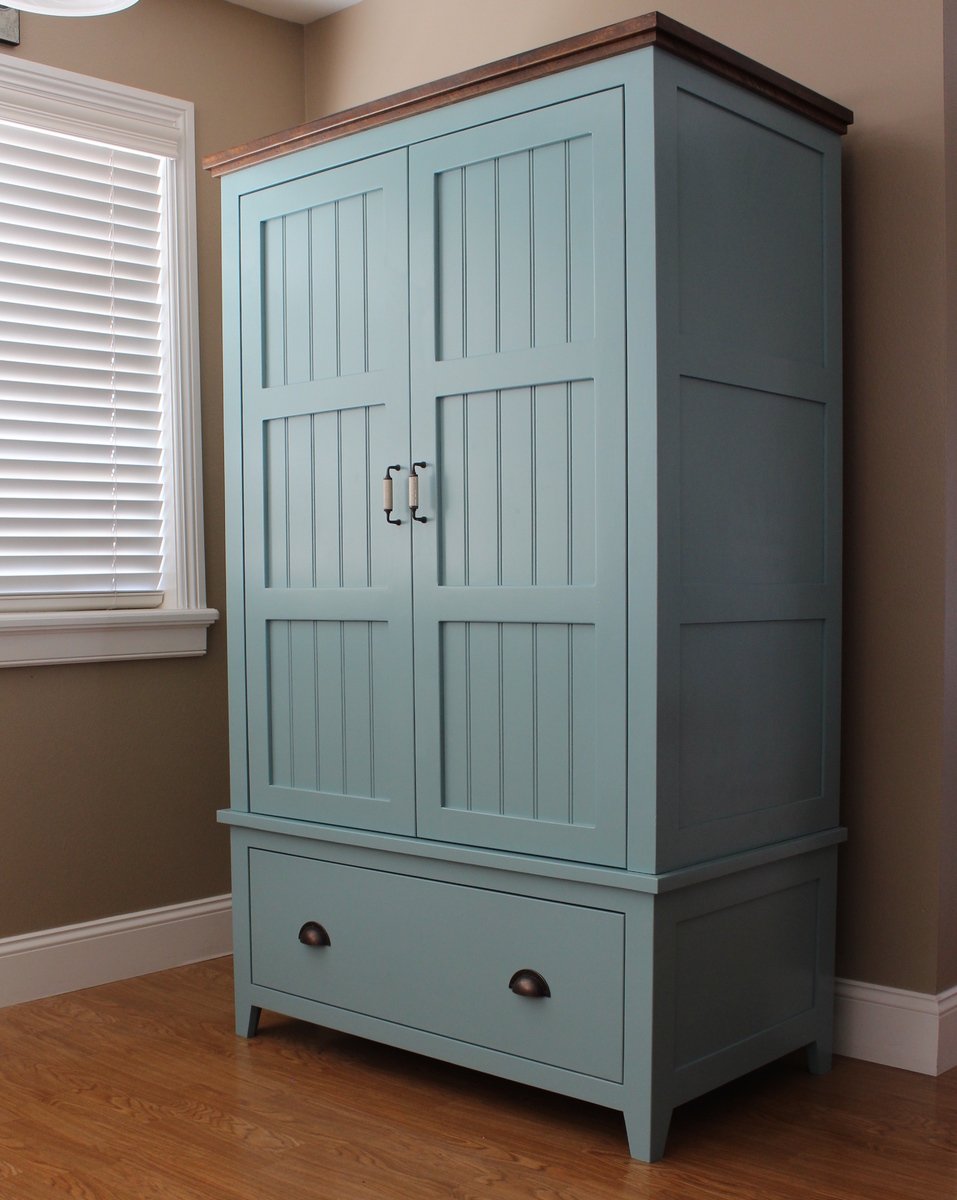
This is probably one of my favorite pieces I have built. Challenging but fun. I built it as two separate sections, an upper and lower cabinet to make it easier to carry indoors. I added a full-extension drawer below for storage. The two-toned paint combination did take a lot of extra time. Because I used an airless spraying to paint I had to tape and cover each section separately.
Fri, 03/06/2015 - 10:43
WOW it looks awesome the extra time spent on the painting was more than worth it looks spectacular. I bet you also could make a great profit selling this Wardrobe either on line or in a consignment shop, if I had the need for one and the money I would defiantly buy one!!
Sat, 03/07/2015 - 18:55
I love all the attention to detail. Great job! I especially love the color selection. How did you achieve the look of the top stained piece?
In reply to I love all the attention to by handmadewithash
Mon, 03/09/2015 - 22:01
Hi Ashley,
The top was built separate, stained, varnished and then attached to the painted wardrobe. :)
- Brad
Sun, 03/08/2015 - 07:36
This looks awesome! I love the the paint finish and it your profession work
Mon, 03/09/2015 - 17:30
I agree this is your best so far...which is hard to say b/c all your projects are amazing! I love the style, the paint colors, the stained top, and the hardware!
In reply to Beyond Beautiful by TwoCuteKids
Mon, 03/09/2015 - 22:02
Thank you so much! :)
Sat, 03/19/2016 - 15:06
It looks really great!
I have fallen in love with it the second I saw it and somehow I am now convinced that I need a new wardrobe ;)
I guess you don't have plans for the wardrobe laying around - but would you mind doing a fast sketch (just a simple one on paper) with all the measurements noted? I would be thrilled to try building it myself in the summer.
Greetings from Germany!
Sat, 03/19/2016 - 15:07
It looks really great!
I have fallen in love with it the second I saw it and somehow I am now convinced that I need a new wardrobe ;)
I guess you don't have plans for the wardrobe laying around - but would you mind doing a fast sketch (just a simple one on paper) with all the measurements noted? I would be thrilled to try building it myself in the summer.
Greetings from Germany!
Tue, 07/18/2017 - 05:43
Are there plans used for this beautiful piece? I do not see any links. Help please!! I absolutely need to make this armoire :) :)
Fri, 01/03/2020 - 08:09
Anyway I can get plans for this beautiful piece?
Mon, 01/03/2022 - 05:53
Love this wardrobe! Are there plans available to build it?
Thank you.
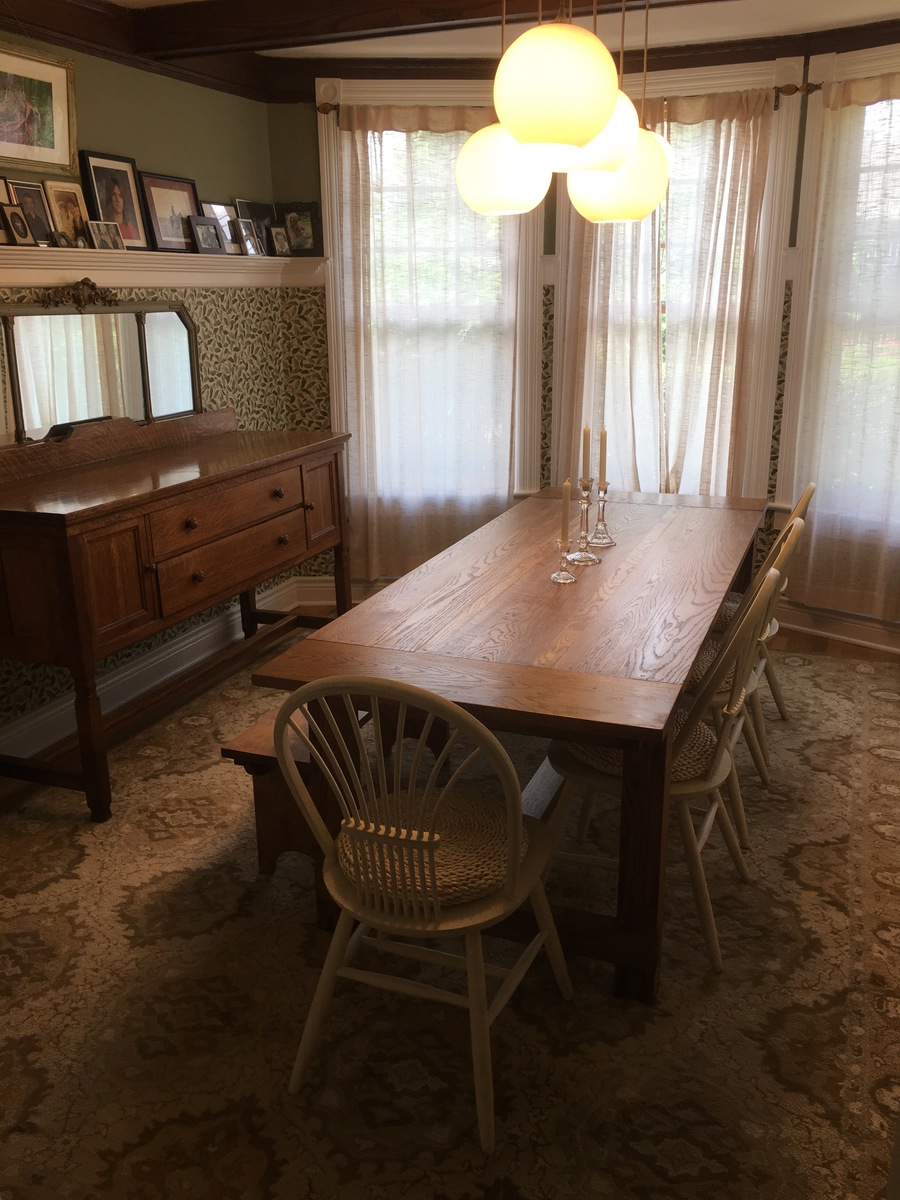
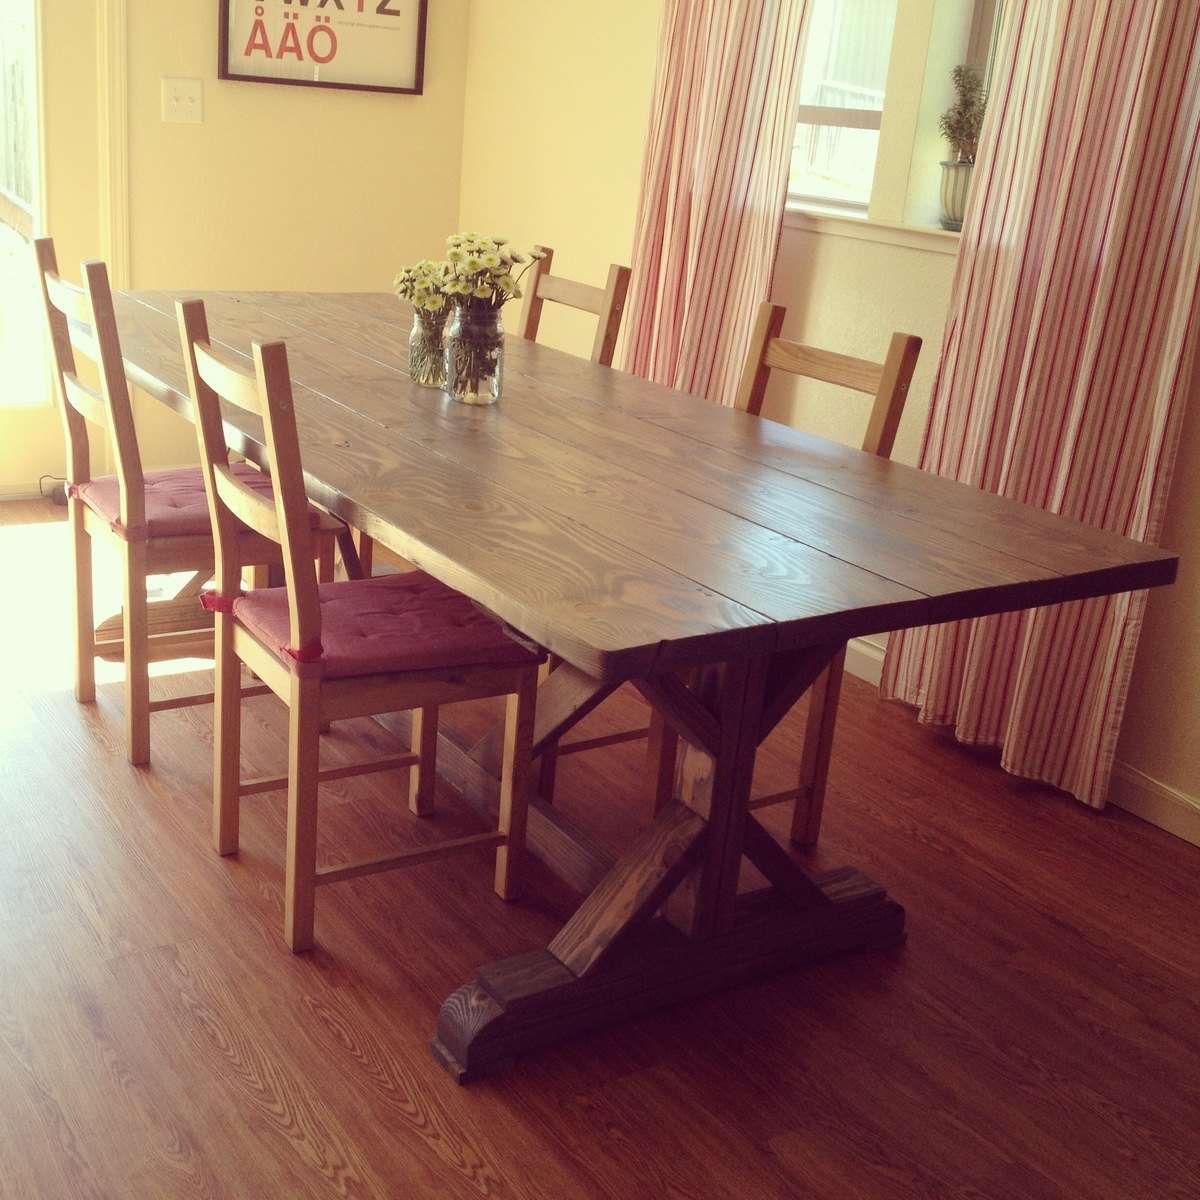
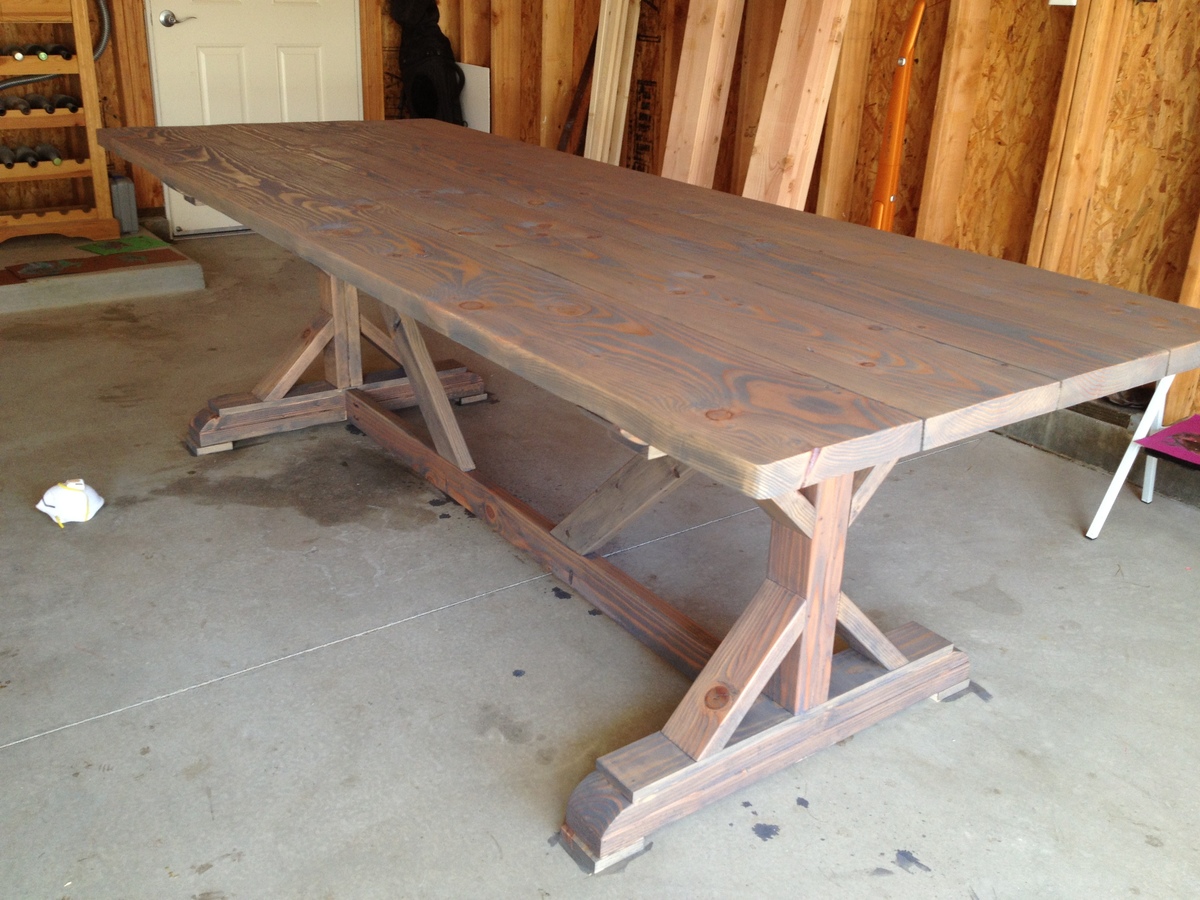
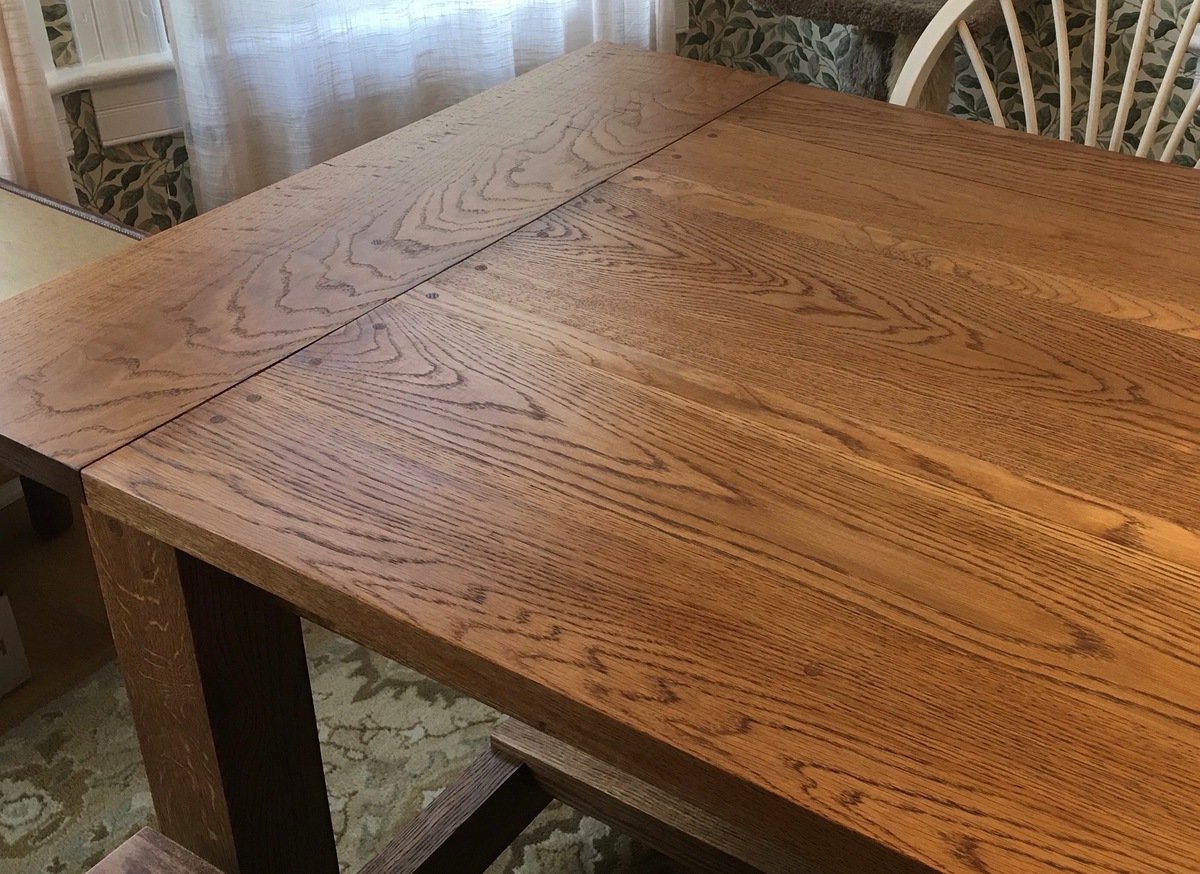
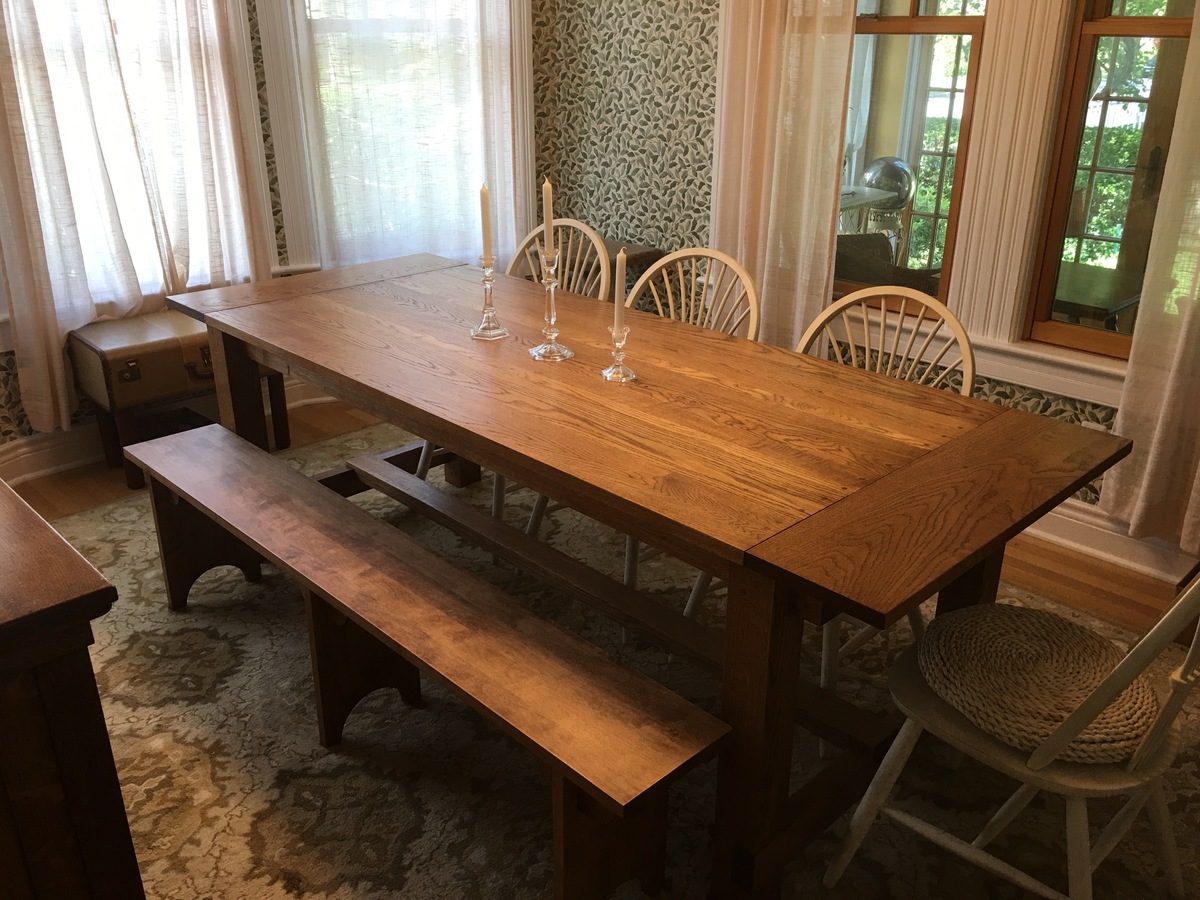
I built this using the Farmhouse Table plans, and we're thrilled with the results. My modifications included making the table longer and narrower to fit our dining room, and building it from some fantastic white oak from a local lumberyard called Boards & Beams in Fairfield, NJ. I used 5/4" thick boards of varying widths for the top, and created deeper overhangs at the ends by making the breadboard ends 10" deep. Unlike a more rustic version using pine, the lumber was extremely expensive, and the oak makes an already heavy table even heavier. Still, it is orders of magnitude less expensive than purchasing a custom table like this, and I only needed to "ship it" from my garage.
My idea was to match, as closely as my skills would allow, the antique buffet in the photo next to the table. Or at least to build something that would look good next to the buffet. My prior woodworking experience is limited to DIY carpentry and building plywood shelves and radiator covers. I am not a "mortise and tenon" woodworker (although I'd like to learn). The plans are excellent because this was the first "real" furniture I've ever attempted, and it is literally as solid as if it were carved from a single piece of wood. I rented a 12" compound miter saw from Home Depot to make most of the cuts in one day, which worked out extremely well. The visible screw holes I plugged with oak dowls.
If you decide to build this (or anything) from a hardwood, here are a couple mistakes I made early on that you don't want to repeat. First, EVERY screw into every piece needs a pilot hole. If you have even the slightest thought that your screw is about to strip or break, it is. Second, higher-quality wood is often cut larger than what you find in a big box store. A 2 x 4, which might be 1.5 x 3.5 from Home Depot, can be 1.75 x 3.75. This really matters a lot, and so you have to measure your actual wood and re-calculate every measurement accordingly. The upsides, for me, included fewer warped pieces, less splintering, and greater ease of sanding and finishing.
Thank you very much for posting these plans and for your excellent "how-to" on cutting out the notches.
Wife fell in love with these plans from Ana White. Took longer than I want to admit to finish, but looks amazing! Thank you for the plans Ana!
This was my first major project for my wife with a set of new tools to start into woodworking.
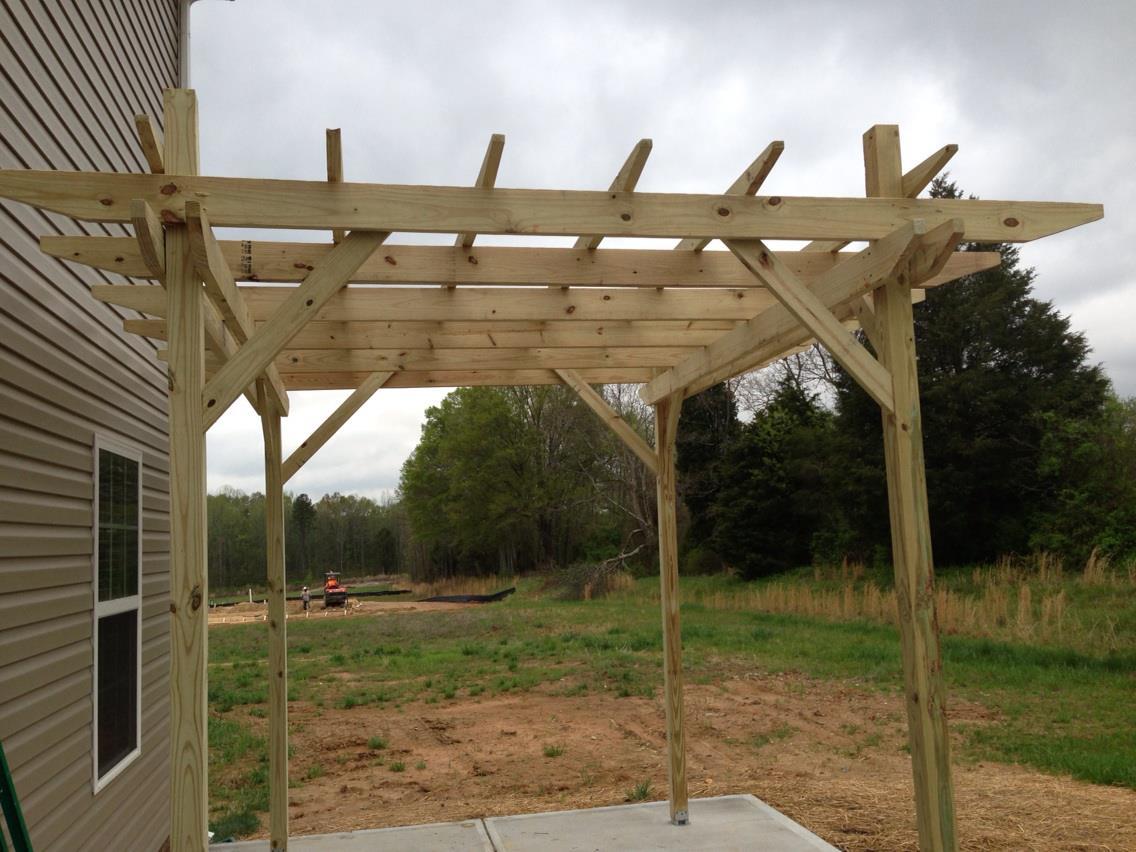
I have wanted a pergola for years and since we moved into our new construction in Dec. '12, I decided to finally go for it and add it to our new backyard plans. When I stumbled onto the plan on ana-white.com, I couldn't be more thrilled to see how simple of a project it was. I do not mean that it was an easy build by any means. I wanted a "beefier" look to it so I used 2x6 and 2x4's. The 4x4 posts are 10ft long (I was going to use 12 ft until I realized just how tall they were!). I stole the steel anchor post idea from the Popular Mechanics site and the "look" of the pergola from the Weatherly plan. I decided not to notch each beam due to time constraints and I just didn't think I need to. I did use zinc L brackets to secure the 2x6s to the support beams (also 2x6s). The top is stiff as can be but the bottom has a slight give to it since it is only four 4x4s sitting on post anchor brackets. I am planning on adding about 6 inches of concrete around the base of the posts (after my HOA "approves" the pergola) to stiffing the structure and then trim around the base for a more "custom" look to it. It will be similar style to the Weatherly except wider around the base so that I can set drinks on it. It took about 8 hours total and about an hour of that was setting the steel anchor posts (measuring and installing 2 1/4" red head screws into the 4" concrete slab patio).
I will stain it with a semi-transparent (BEHR brand) redwood-ish color in a few months after the PT pine dries.
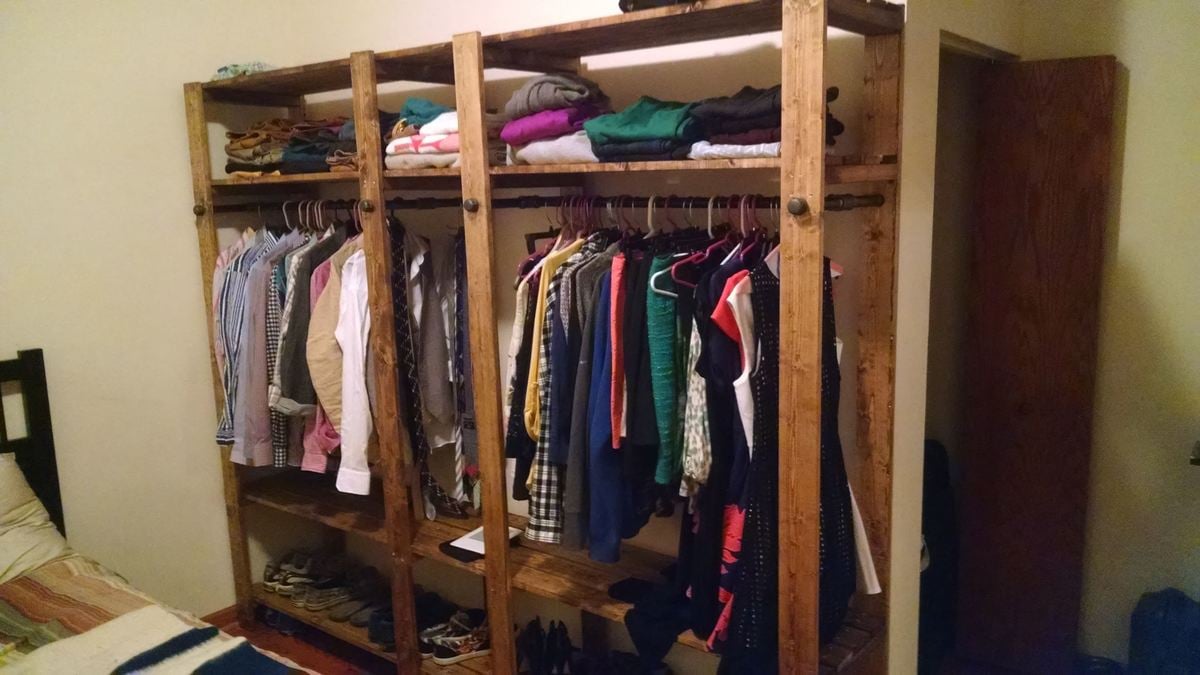
My girlfriend and I just moved into our new apartment. It has hardly any storage space at all and very little closet space. So we built our own! It was a long day's work, but the reward of a beautiful Chifforobe is well worth it.
This was my first carpentry project, and I couldn't be happier with the way it turned out.
Tue, 03/10/2015 - 18:42
This is sooo awesome! You look like a professional!
Angled leg nightstand. Legs made from 4 by 4's and angled at 5 degrees.
Finished in Varathane Worn Navy and two coats of Satin Protector
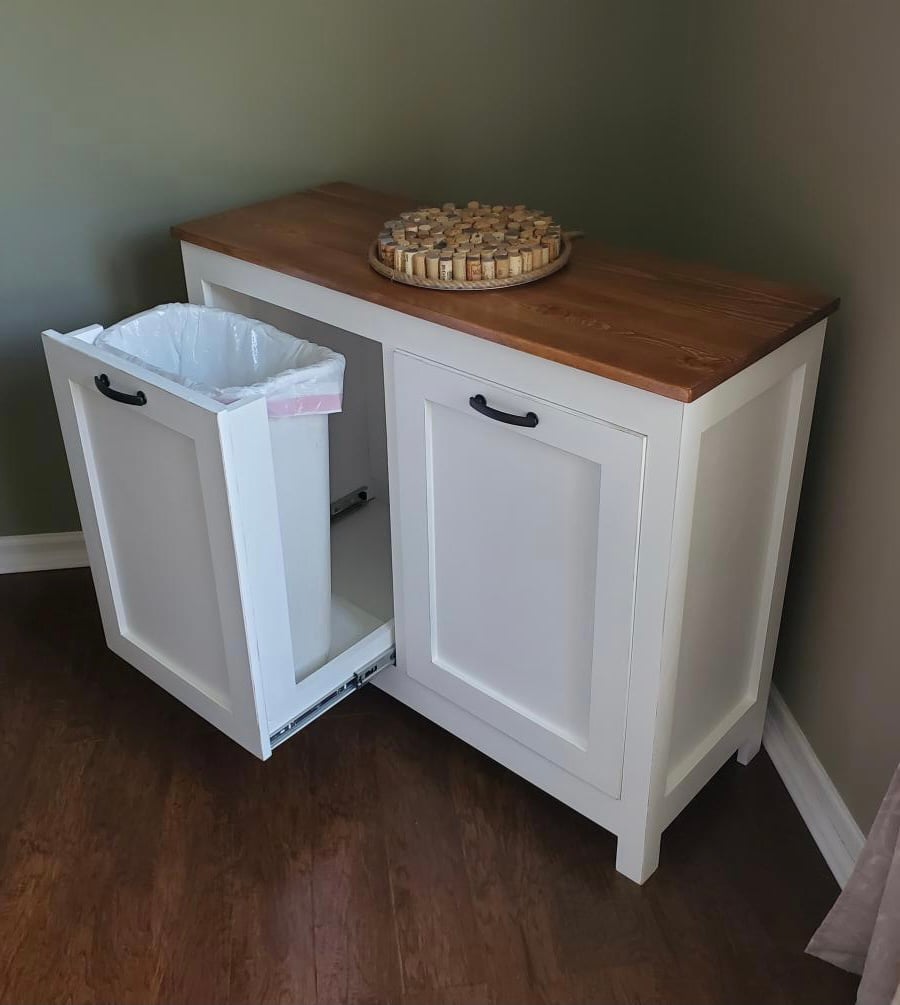
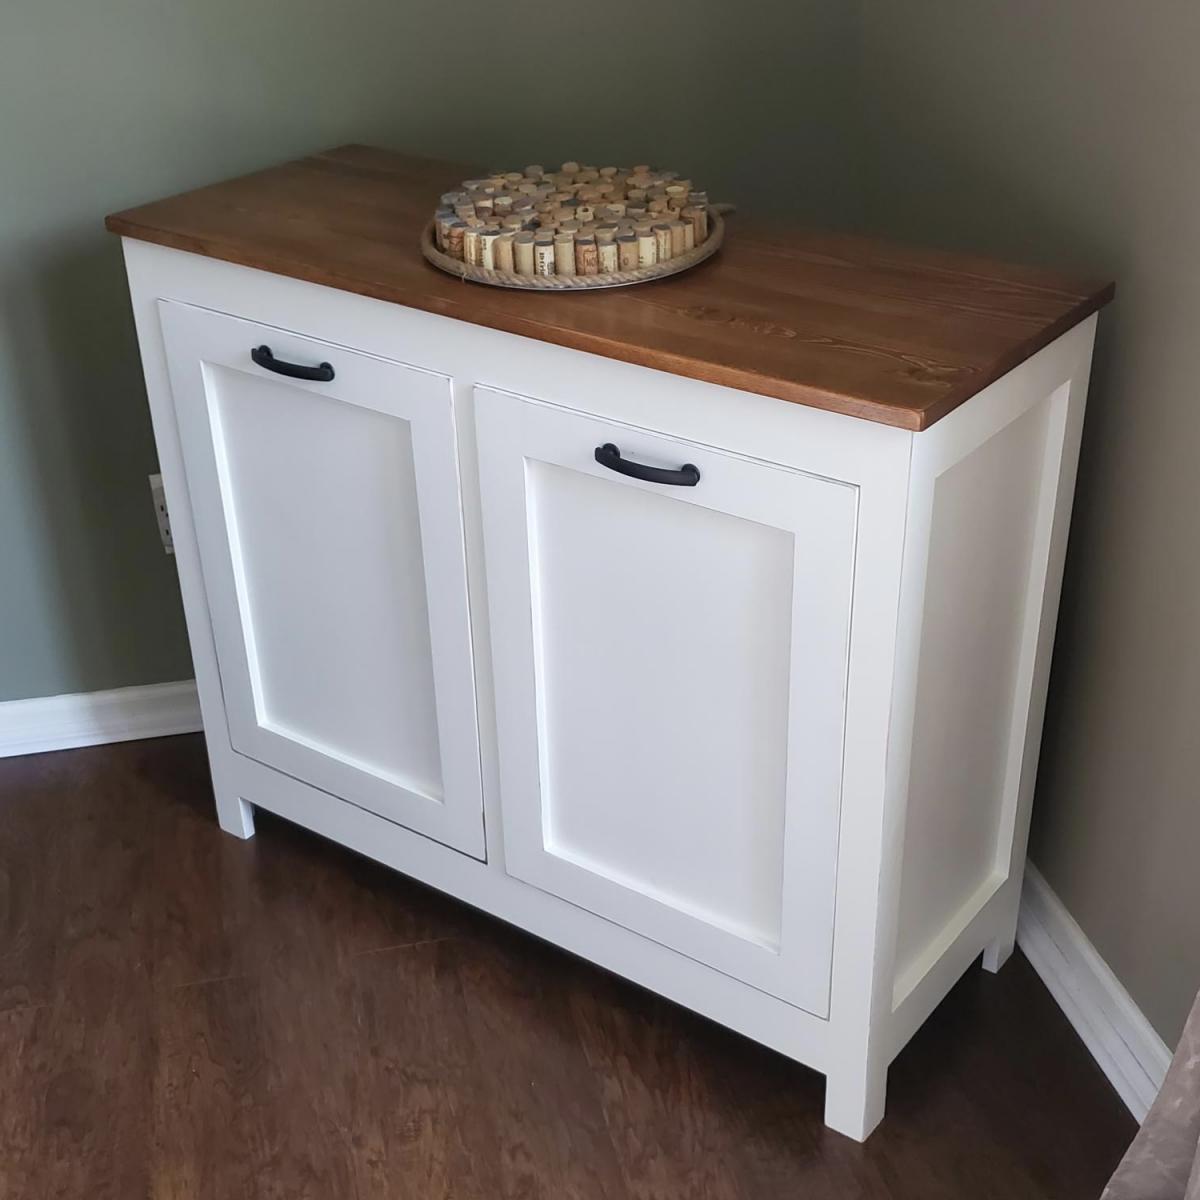
This was a build I was able to check off my Honey-do List. We use it as a Trash / Recycling Cabinet. Basic cabinet build with tray drawers for the trash cans.
This was my first project I ever assembled. It just took a while to get them on the wall. Was free since it was leftover from cutting wood for another project.
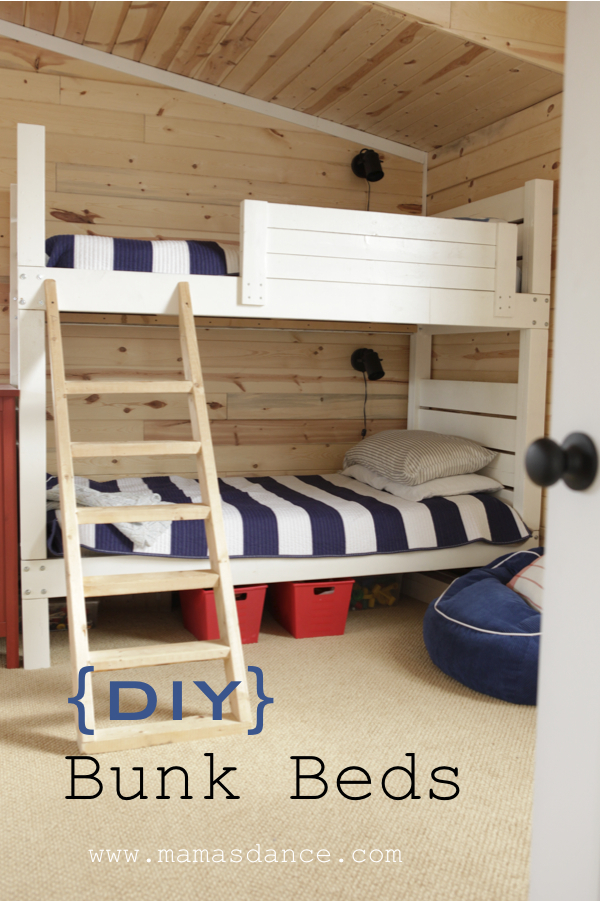
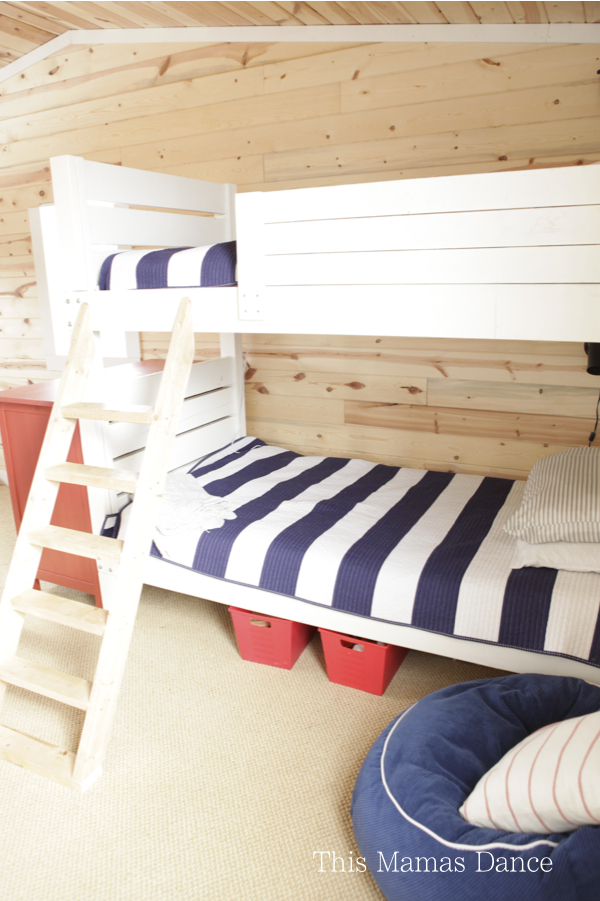
We built these bunks for our boys, ages 4+6. The plans were super simple to follow. The frame was built out of scrap 2x6's and 2x4's. We did have to make a modificatioon on the ladder- it came up just short for some reason, so we added a 2x4 to the bottom.
Sat, 03/14/2015 - 20:26
Great job on the beds! That room looks awesome. I love the color selection.
In reply to Great job on the beds! That by handmadewithash
Sat, 06/20/2015 - 08:56
Thank you!
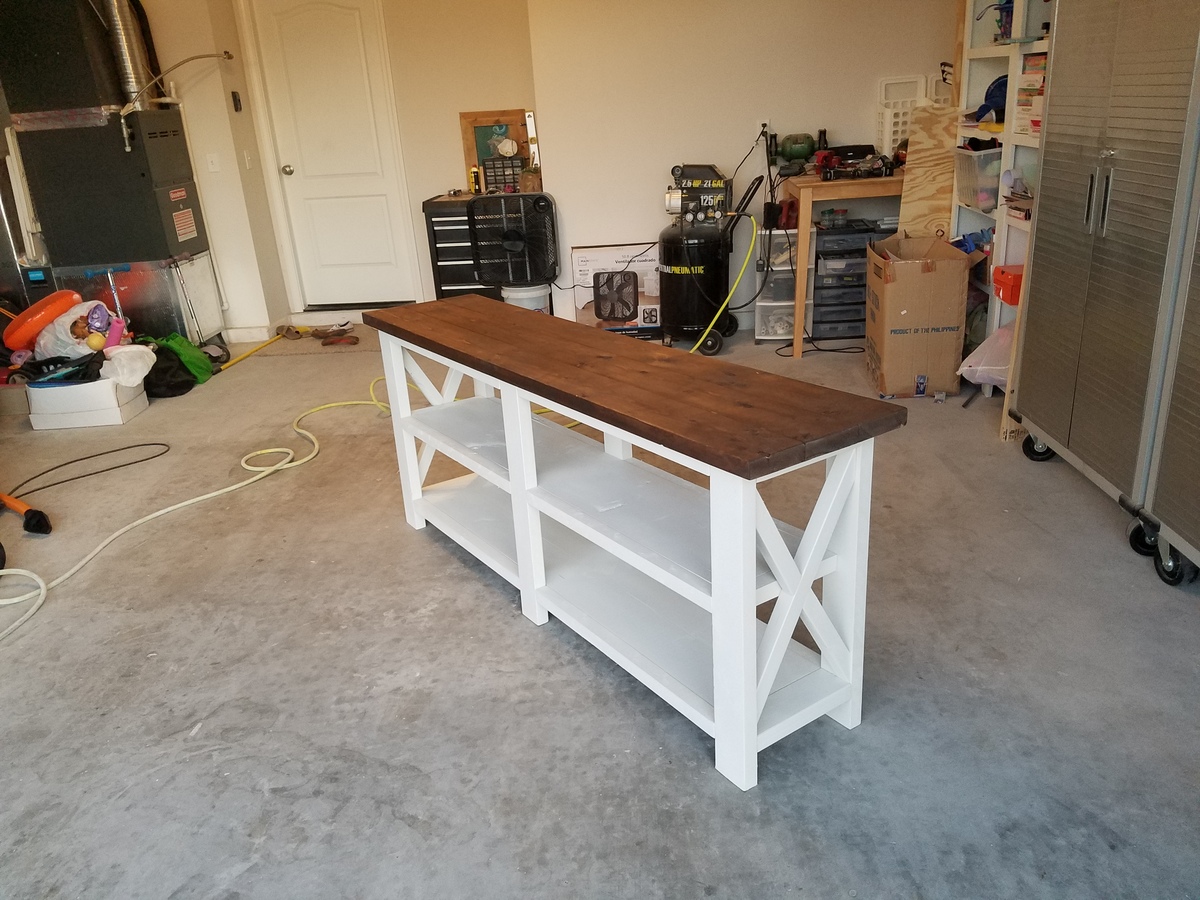
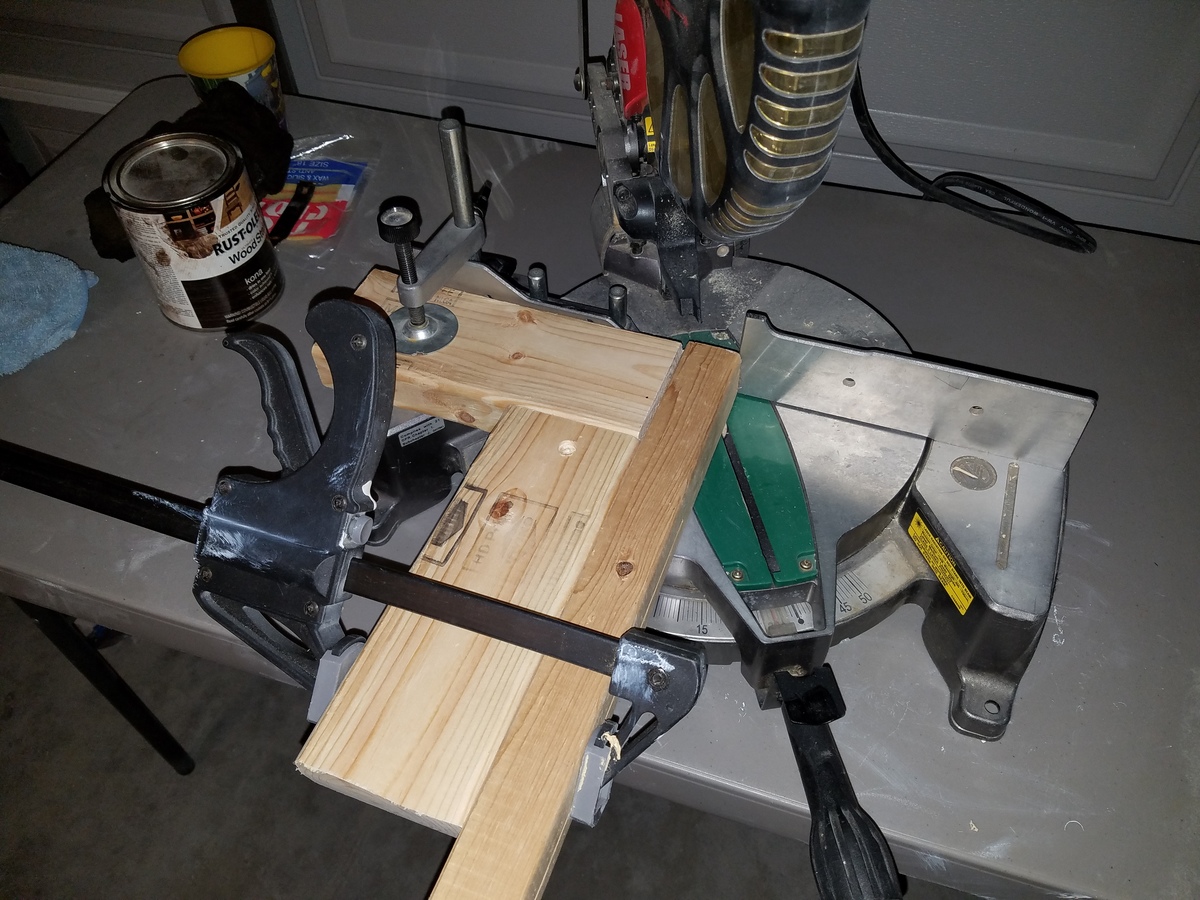
Quick and easy to follow plans. Only issue I ran into was that my miter saw only cuts up to a 50° angle. I set up a jig to hold the 2x2 perpendicular to the saw and set the miter to 30°. Viola, easy 60° angles! Pic attached for reference.
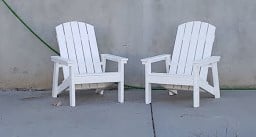
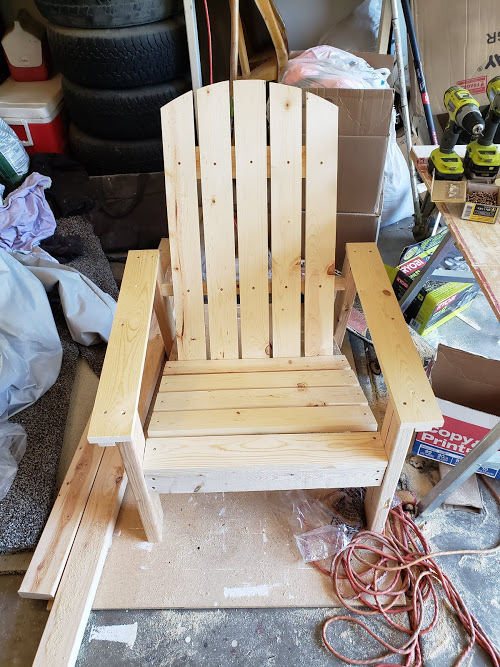
This was one of the first plans that I built and I haven't really stopped since then! These have been in my backyard by my firepit and have held up wonderful. They have had some rather large people sit in them with no problems at all. They are very sturdy and comfortable too.
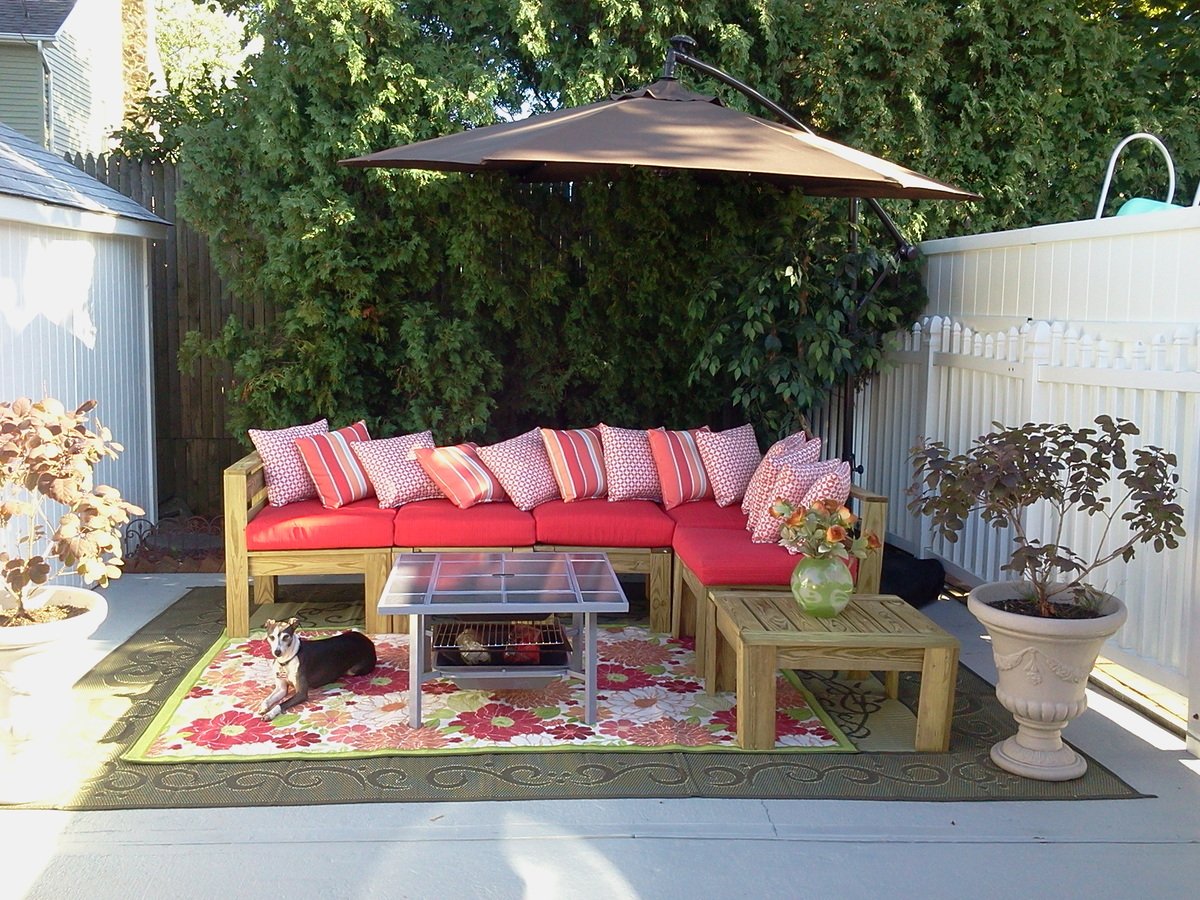
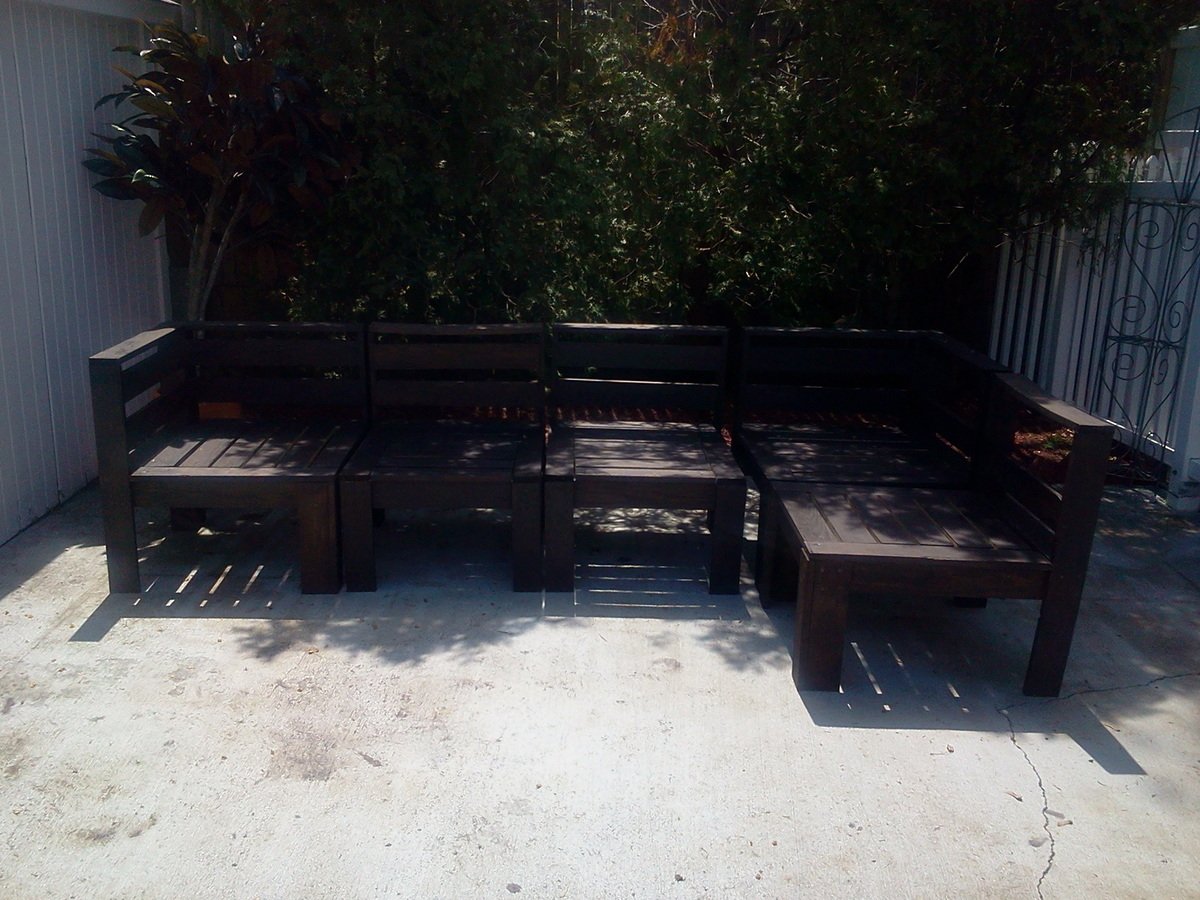
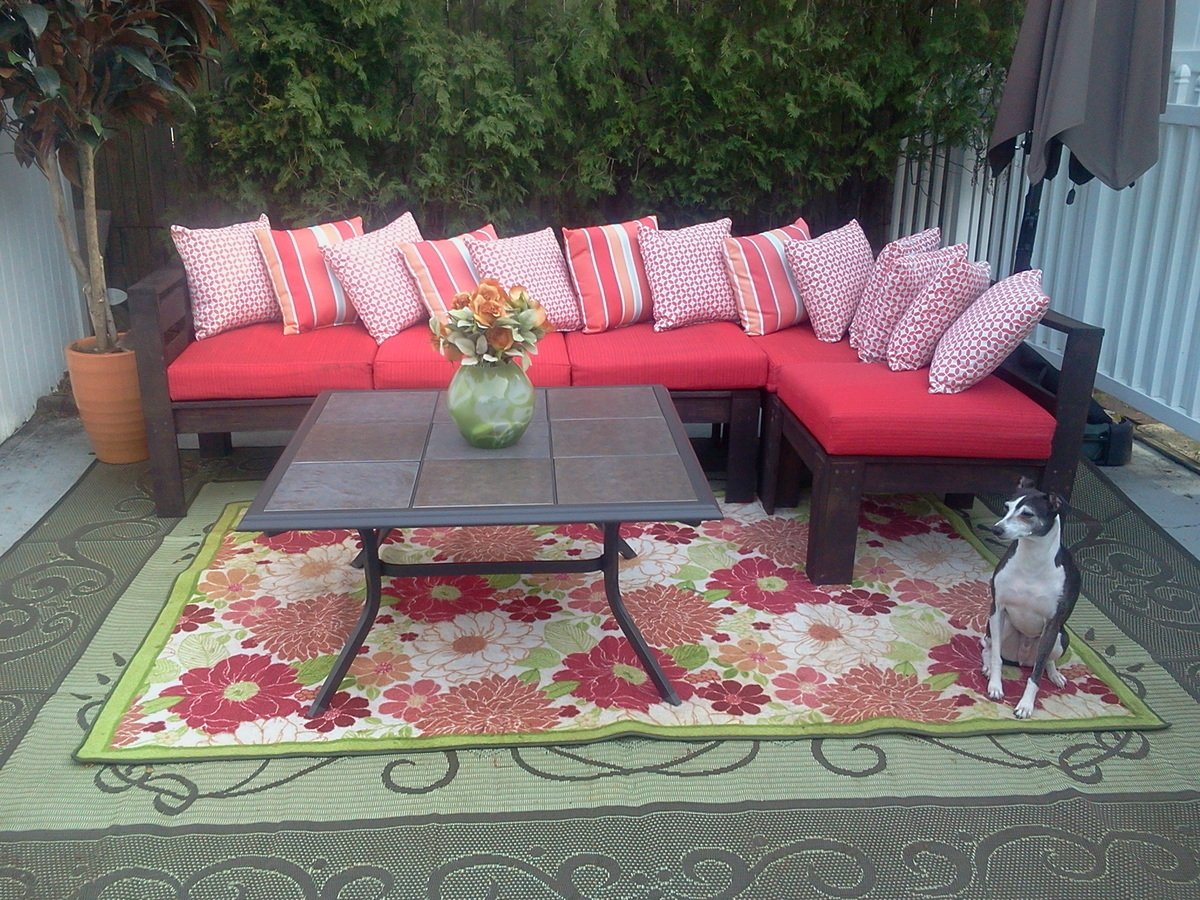
Thank you Ana White!!! This website is Awesome!!! I started my outdoor sectional project last summer and used the "Modern Outdoor Sectional" plans for my project....it really was easy....In fact, I went to Lowes and had all my sizes cut for me and all I had to do was use the kreg jig as recommended and a drill and "Wa La!"....my sectional didn't cost me more than $350! This year I am going to paint it since it is pre-treated wood, I needed to wait the season!!! So, I will upload another picture soon to show you what it looks like painted......
Mon, 04/07/2014 - 21:58
Thank you so much! Sorry, I never knew how to check if I had any comments and I am starting a new project and seen that you commented. Thanks again!
Mon, 04/07/2014 - 21:59
Thank you so much! Sorry, I never knew how to check if I had any comments and I am starting a new project and seen that you commented. Thanks again!
Mon, 04/07/2014 - 21:59
Thank you so much! Sorry, I never knew how to check if I had any comments and I am starting a new project and seen that you commented. Thanks again!
Thu, 04/25/2013 - 11:52
I can not wait until the Hubs and I can get started on ours! :) Looks great!
Mon, 05/06/2013 - 11:18
I've been looking at this project to build for awhile. I love how all the colors in the area work together. This looks like something you'd spend thousands on in a store somewhere. Nice!
Mon, 04/07/2014 - 22:00
Thank you so much! Sorry, I never knew how to check if I had any comments and I am starting a new project and seen that you commented. Thanks again!
Wed, 02/03/2016 - 06:37
Love the colors you used. Are the cushions handmade?
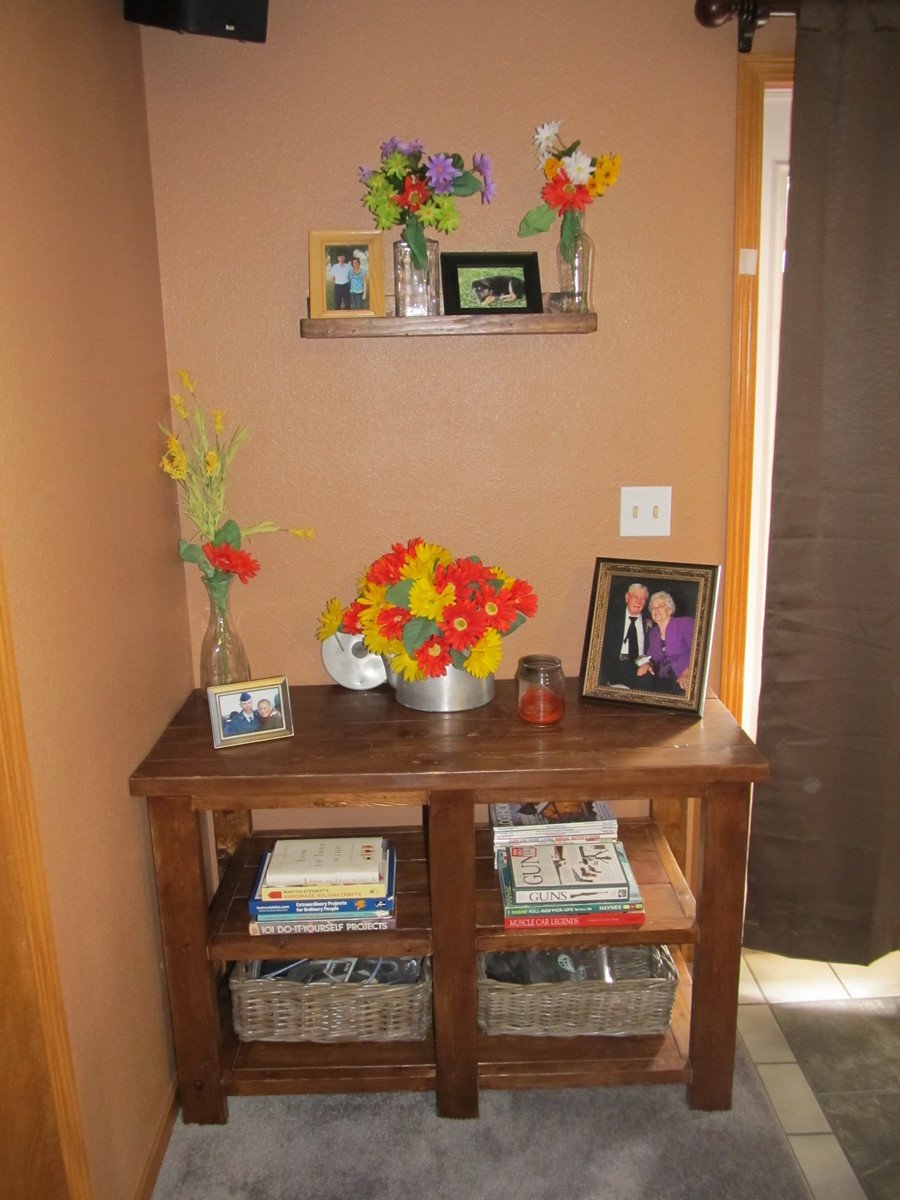
I built this project totally from pallet wood and leftover 2x4's. I already had the paint and stain from other projects, so the only cost was for the baskets, which were $6 a piece at Ikea. This project turned out even better than I expected and I couldn't be happier.