Blanket Ladder
Reclaimed this wood from a >100 year old home that was being renovated. The plans were from www.akadesigns.ca
Bolts - $20
Reclaimed this wood from a >100 year old home that was being renovated. The plans were from www.akadesigns.ca

I started a custom woodworking bussiness about 18 months ago. Since then we've build everything from consoles to dining room tables to baby cribs. And to this day, I still refer to Ana White plans. Thanks a bunch!!


I built this stove for a close family friend for her 3rd birthday. For the burners I used heart shaped wooden cutouts. I also added her first name initial to the backboard as well.
Built this pallet christmas tree for decorating the house during the season, nothing too difficult, just cut/paint/assemble.
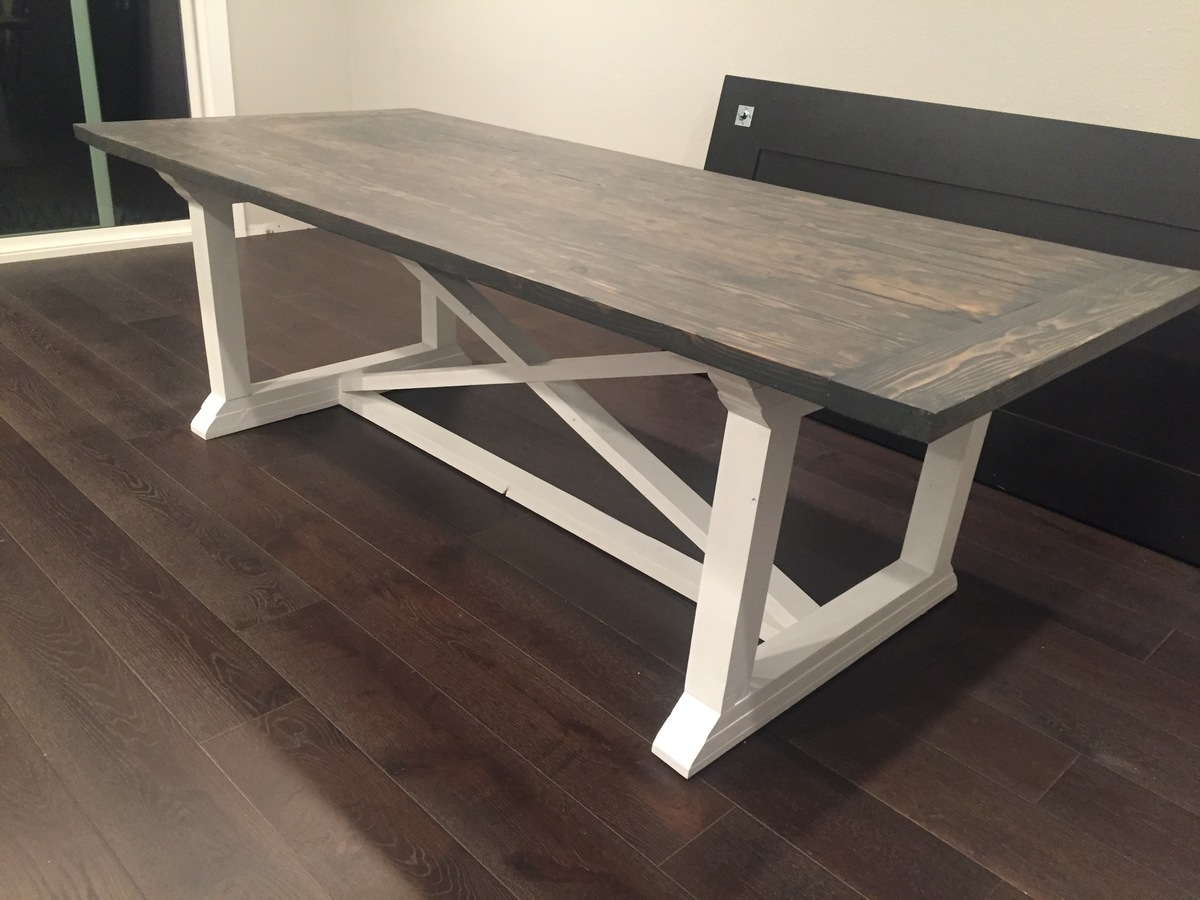
Awesome table plans! This thing is super sturdy.
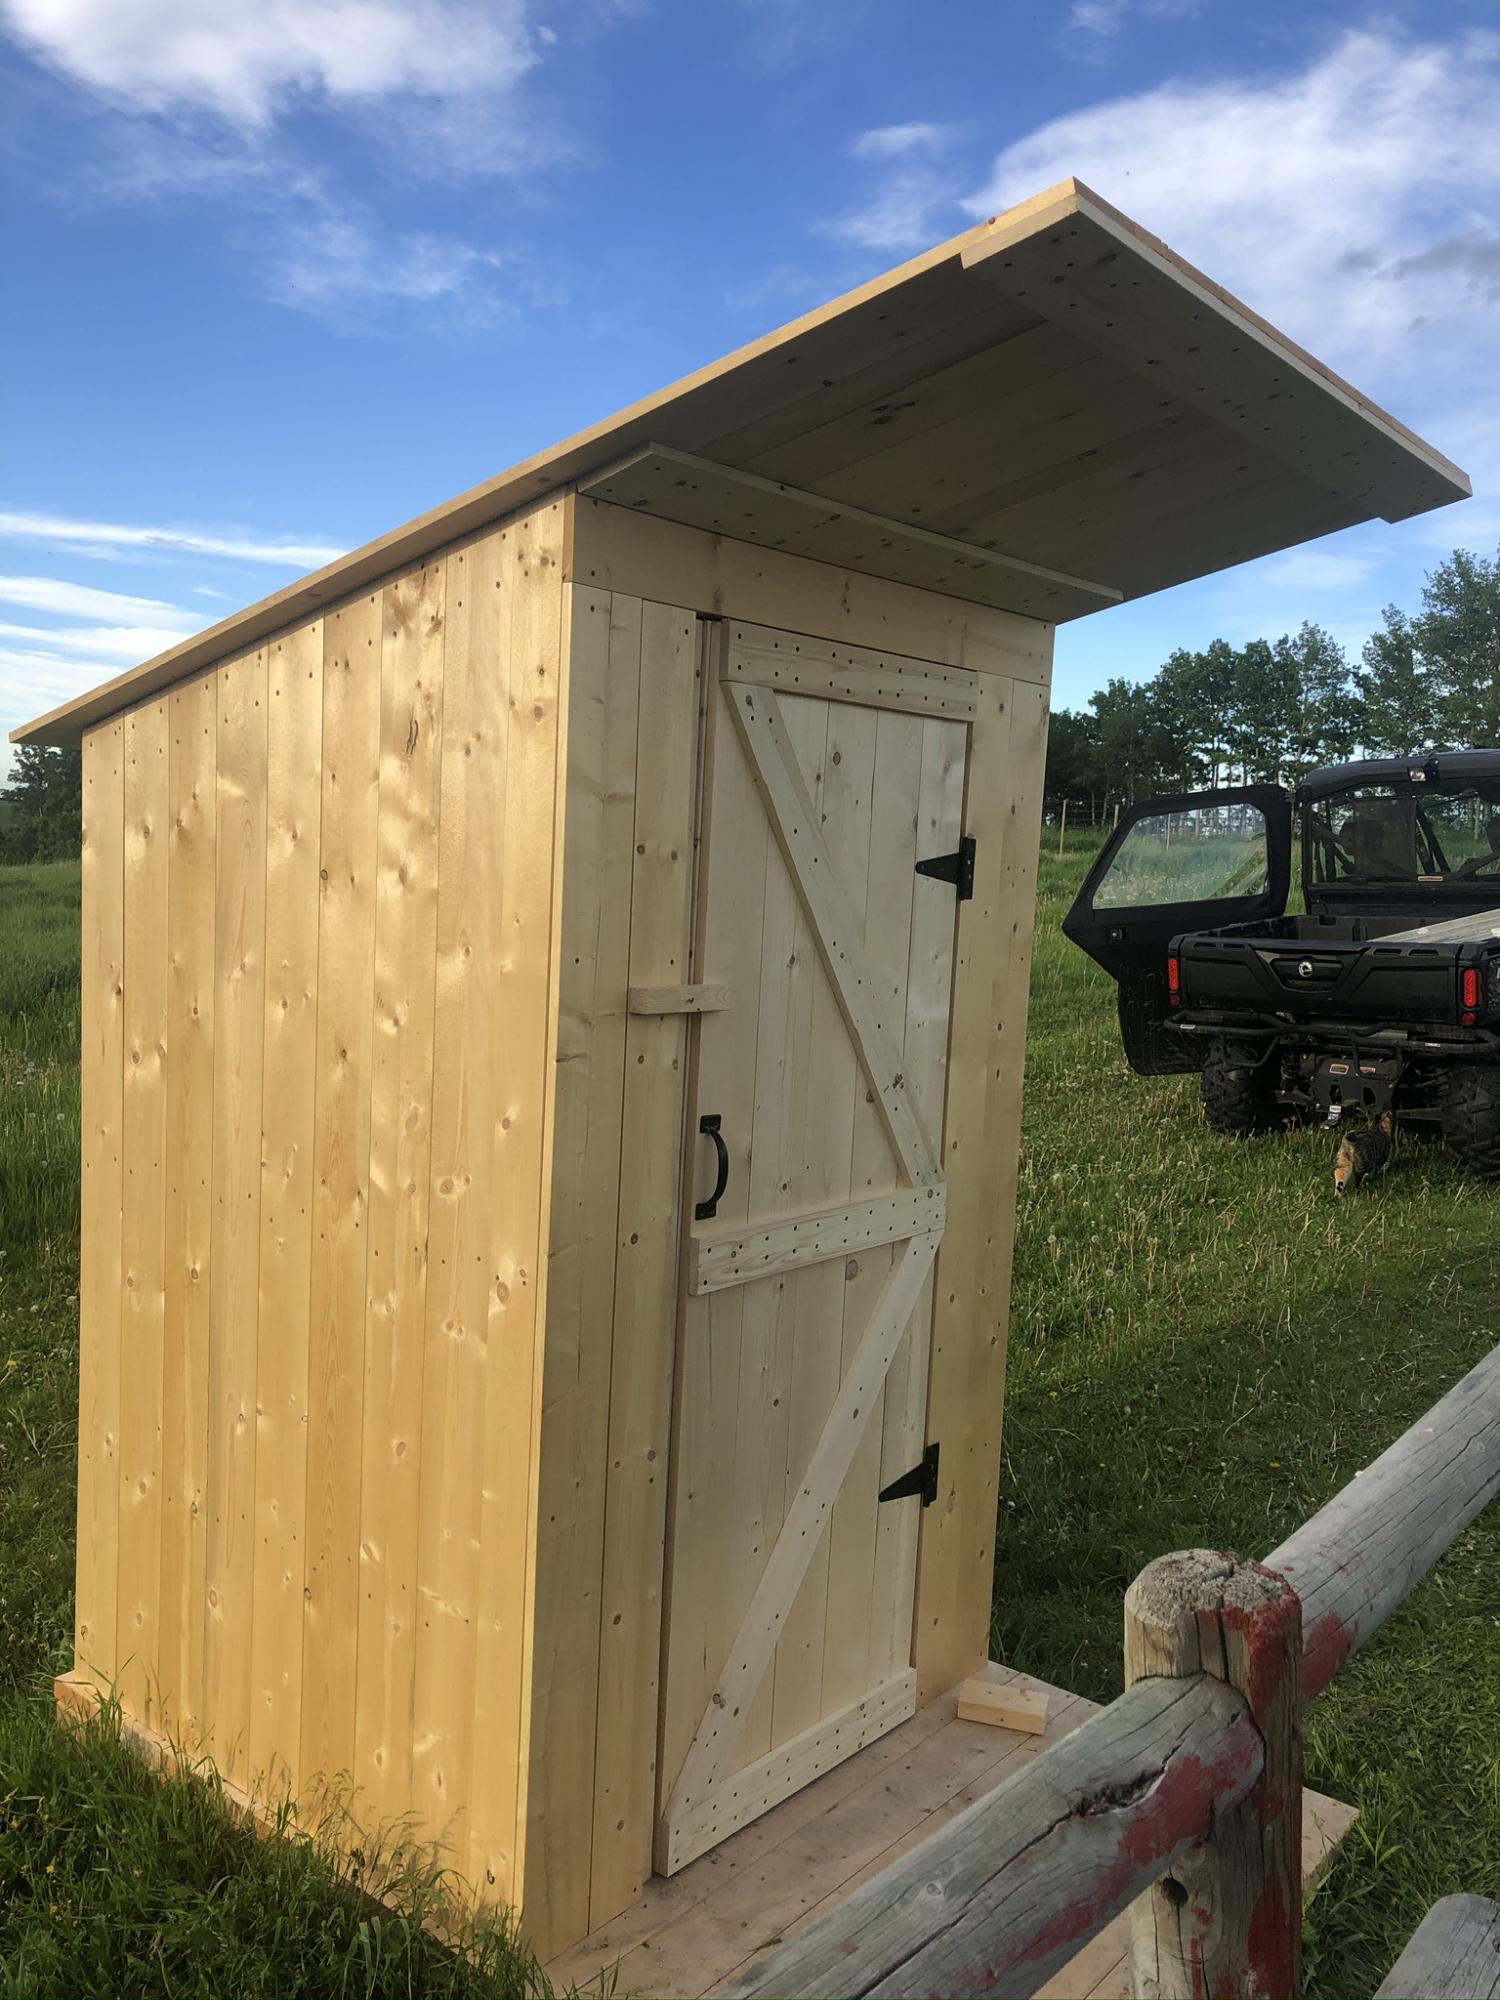
I built this outhouse for beside our barn. My first large project and I’m really pleased with how it turned out!
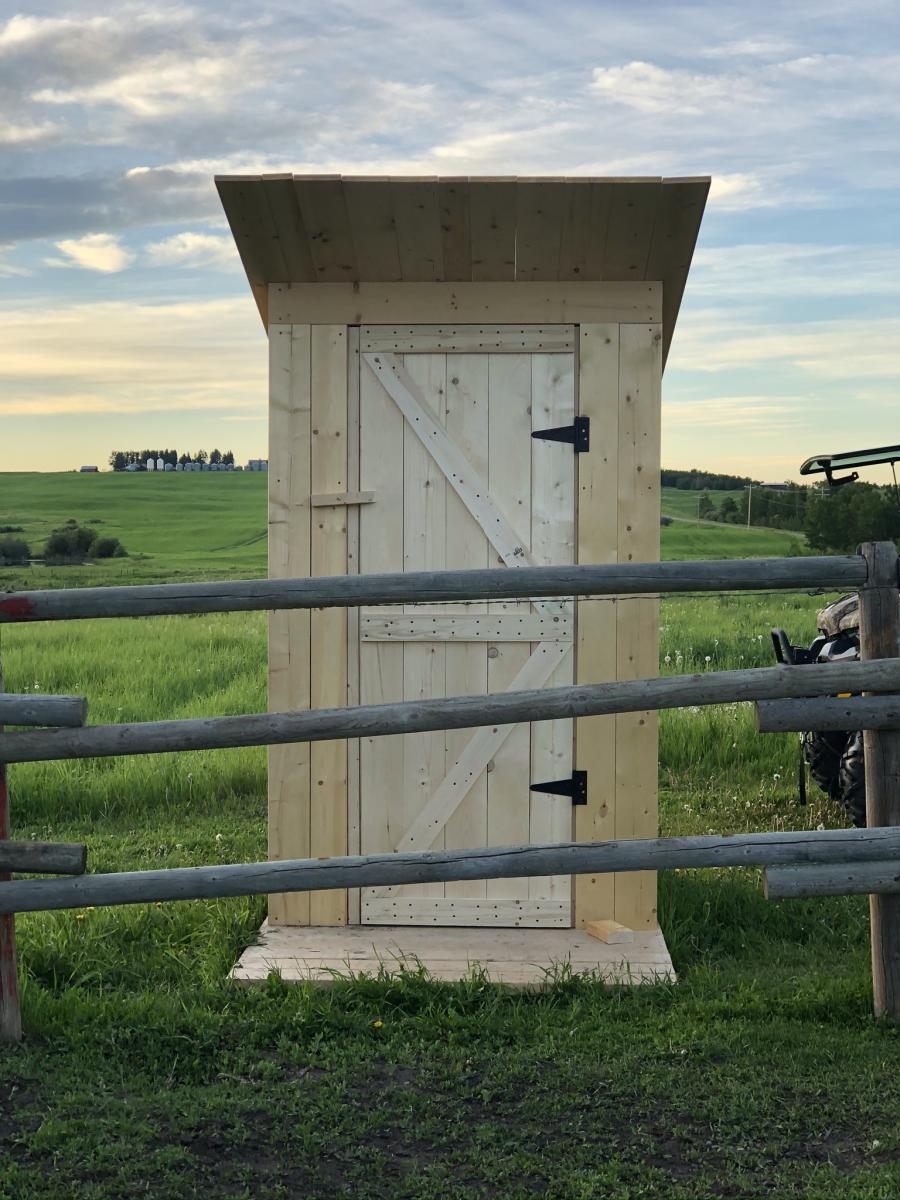
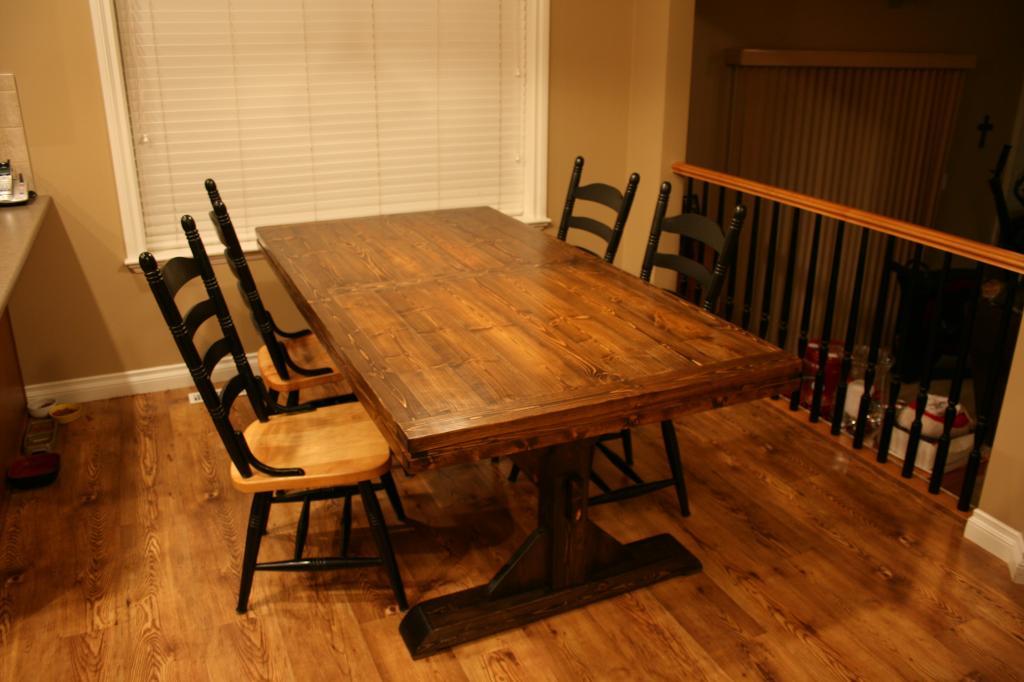
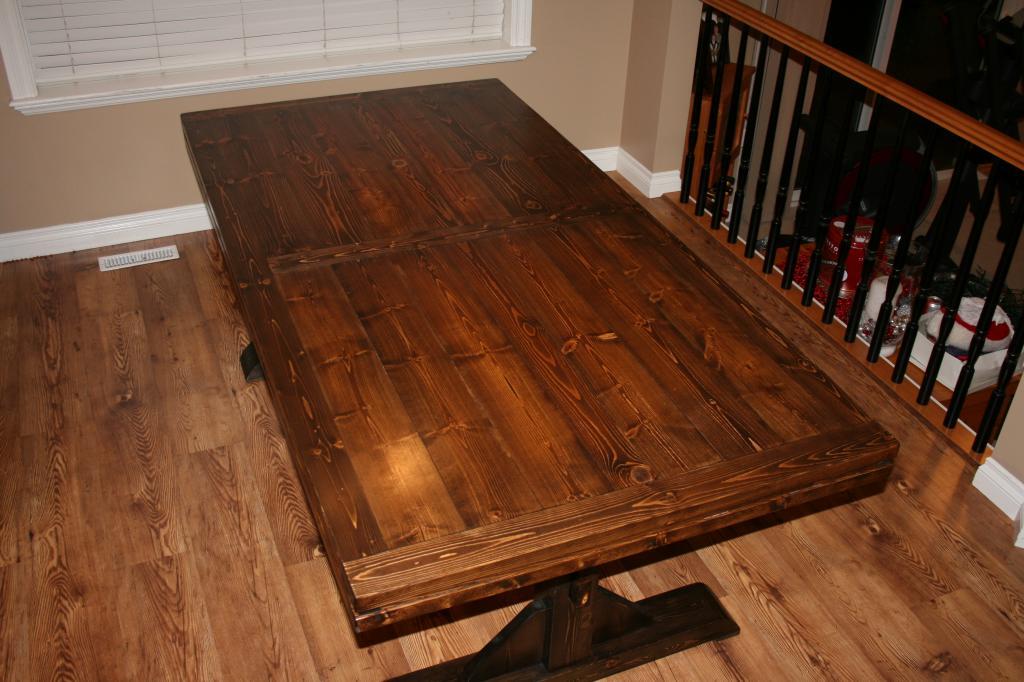
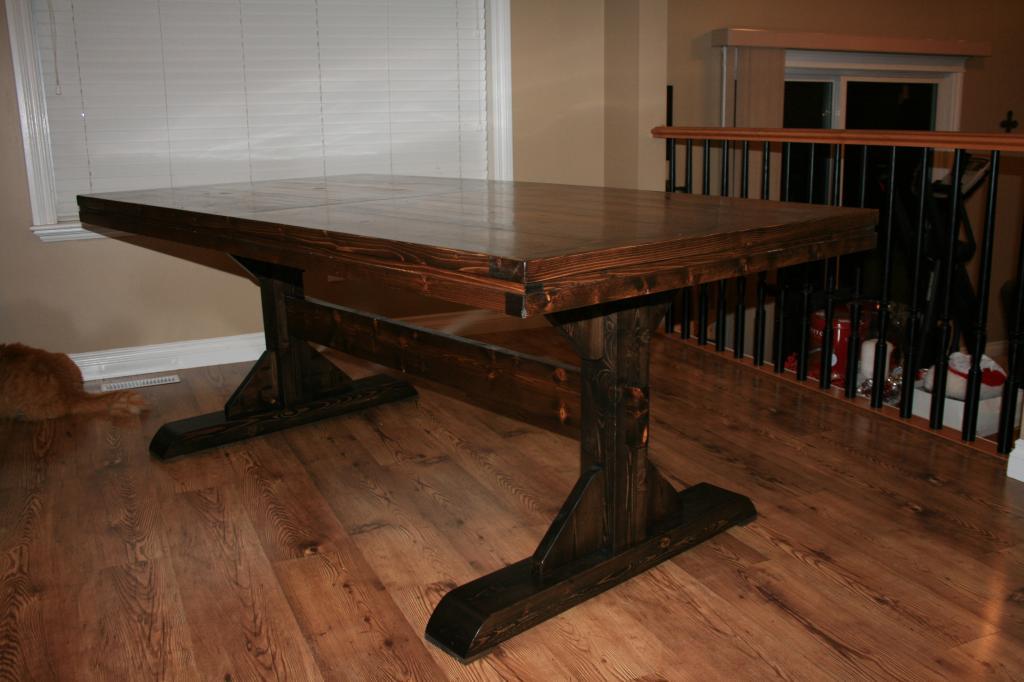
After my wife pinned the triple pedestal table, I took a look at the plans and redid them for a double pedestal table 78"x40". This is the first wood project that I have done in close to 12 years, it was good to get back to wood and I look forward to builing some more.
Fun weekend project! I had never tried pocket hole joins before. The Kreg jig worked out great. Looking forward to trying a bigger coffee table in this same style. Thanks for the plans!
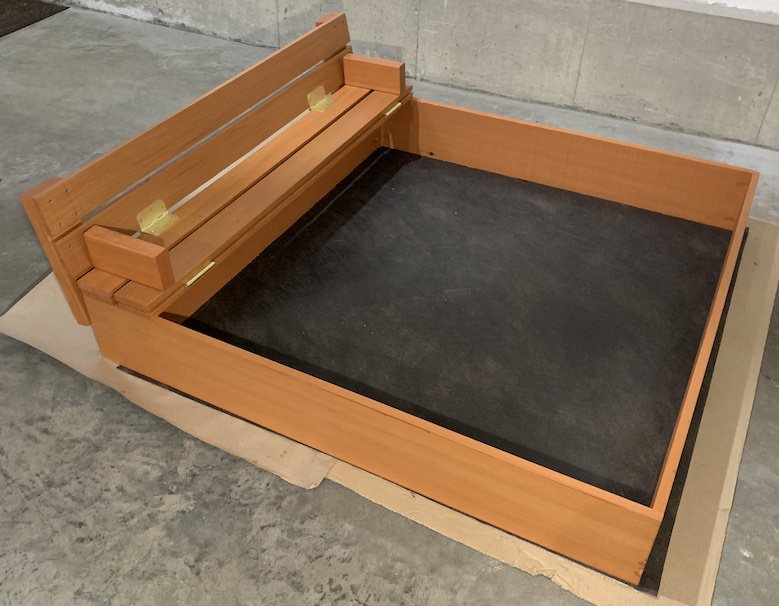
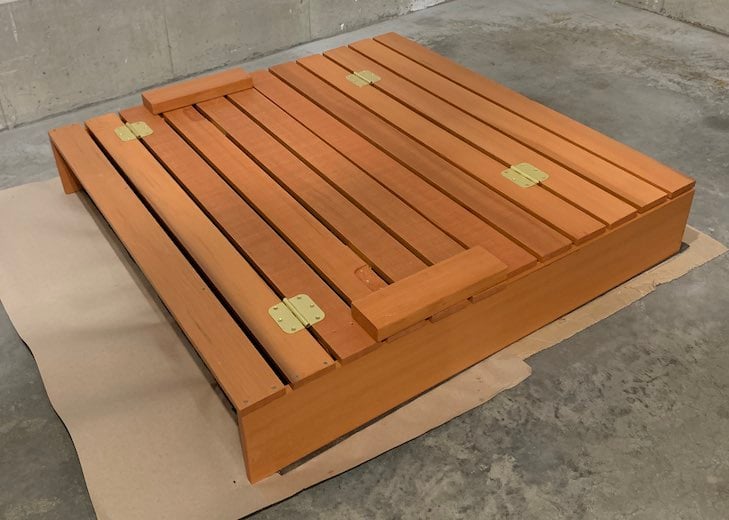
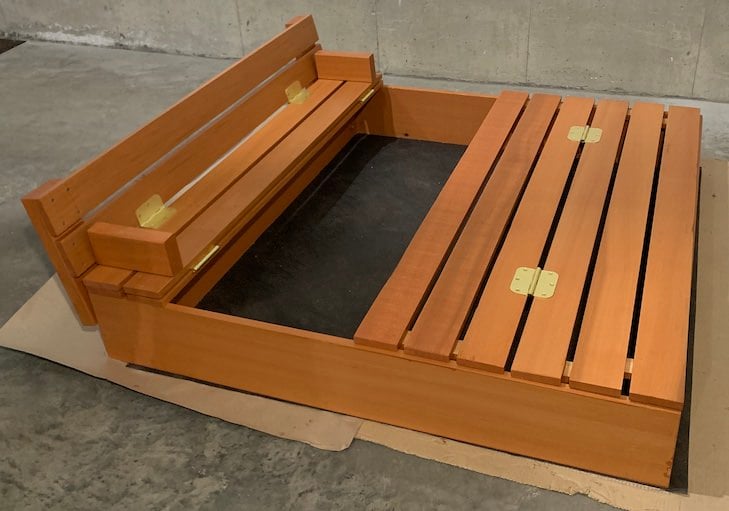
Followed the original plan except below changes:
- Only one seat to make it more spacious
- Made 2 groups of 3 planks each and connected both using hinges so it can cover the end without seat
- Stapled Hardware Cloth with landscape fabric
Cedar wood was the most expensive thing in this project, since I would want it to last long.
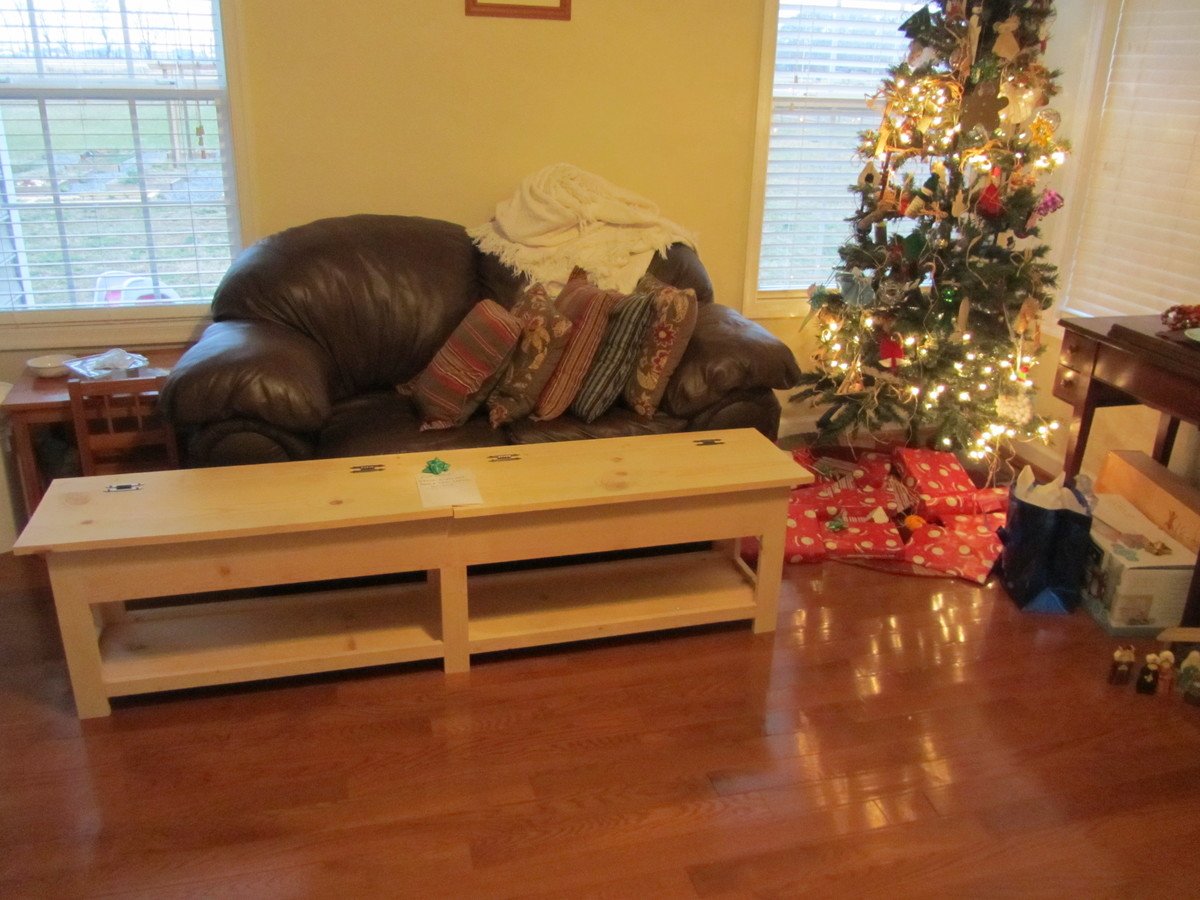
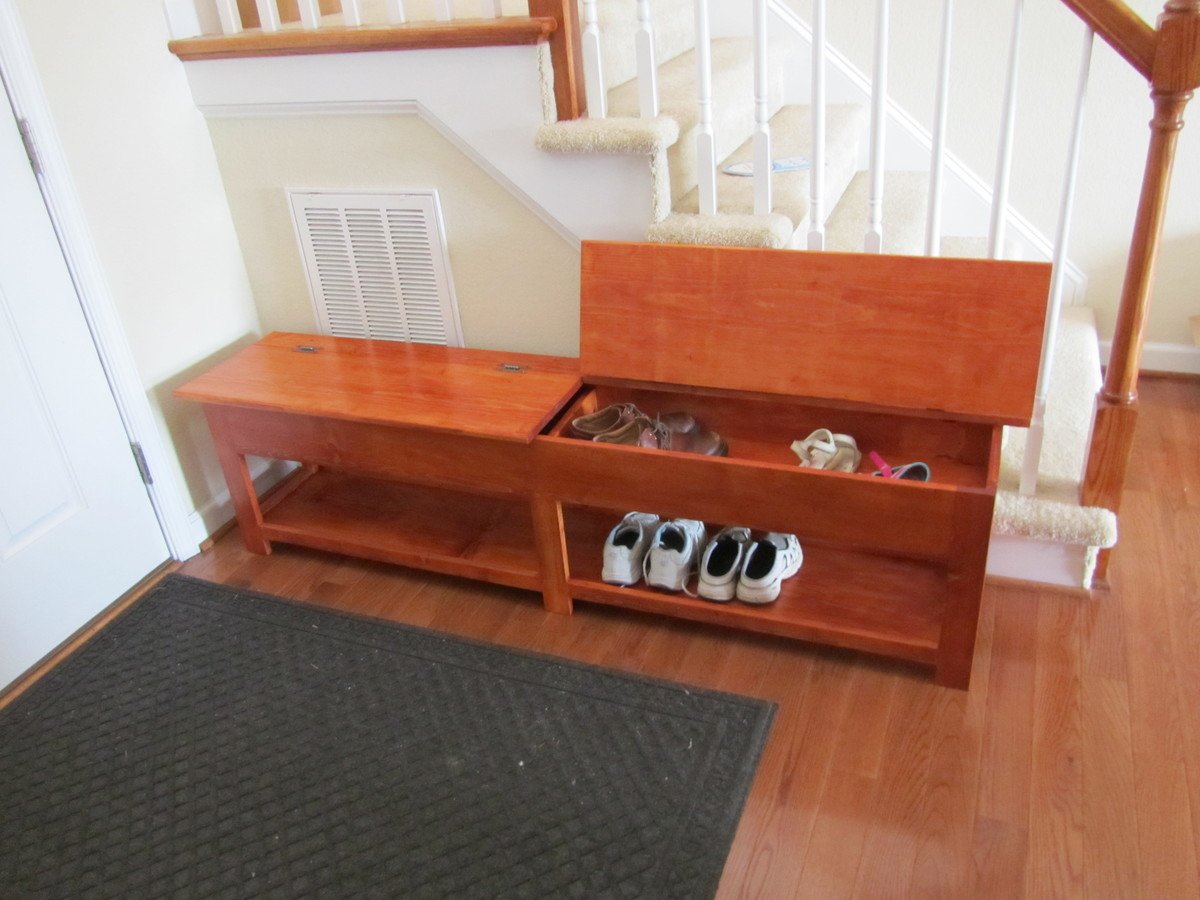
We needed somewhere to store shoes and sit while changing shoes, so I built this based on the flip top storage bench plans at http://ana-white.com/2012/10/plans/flip-top-storage-bench-new-plans
Total length of the project was 6 feet, so I added a 1x3 support at the middle. I made the storage top deeper so that it would hold adult shoes by using 1x6s instead of 1x4s.
I made the top into two "doors" so that they would be smaller and easier for our children to handle. I also rounded off the front edge with my router to make it easier on bottoms and shins.
Fri, 02/08/2013 - 11:14
You've done a beautiful job. I like the extra length and how you divided the top so it's not so unwieldy.
My son was in a pirate mood and needed a ship to help sail the high seas. So I built him one. I added maps, used magnetic paint for the waves so that we could put fish magnets on them, and then a wheel from a playhouse kit from Home Depot.
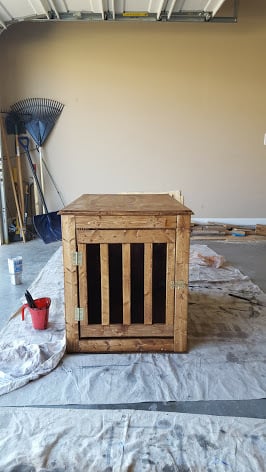
Dog crate / end table built from the plans on your site. Customer chose Early American Miniwax finish. This was a fun build. Thank you! -j.
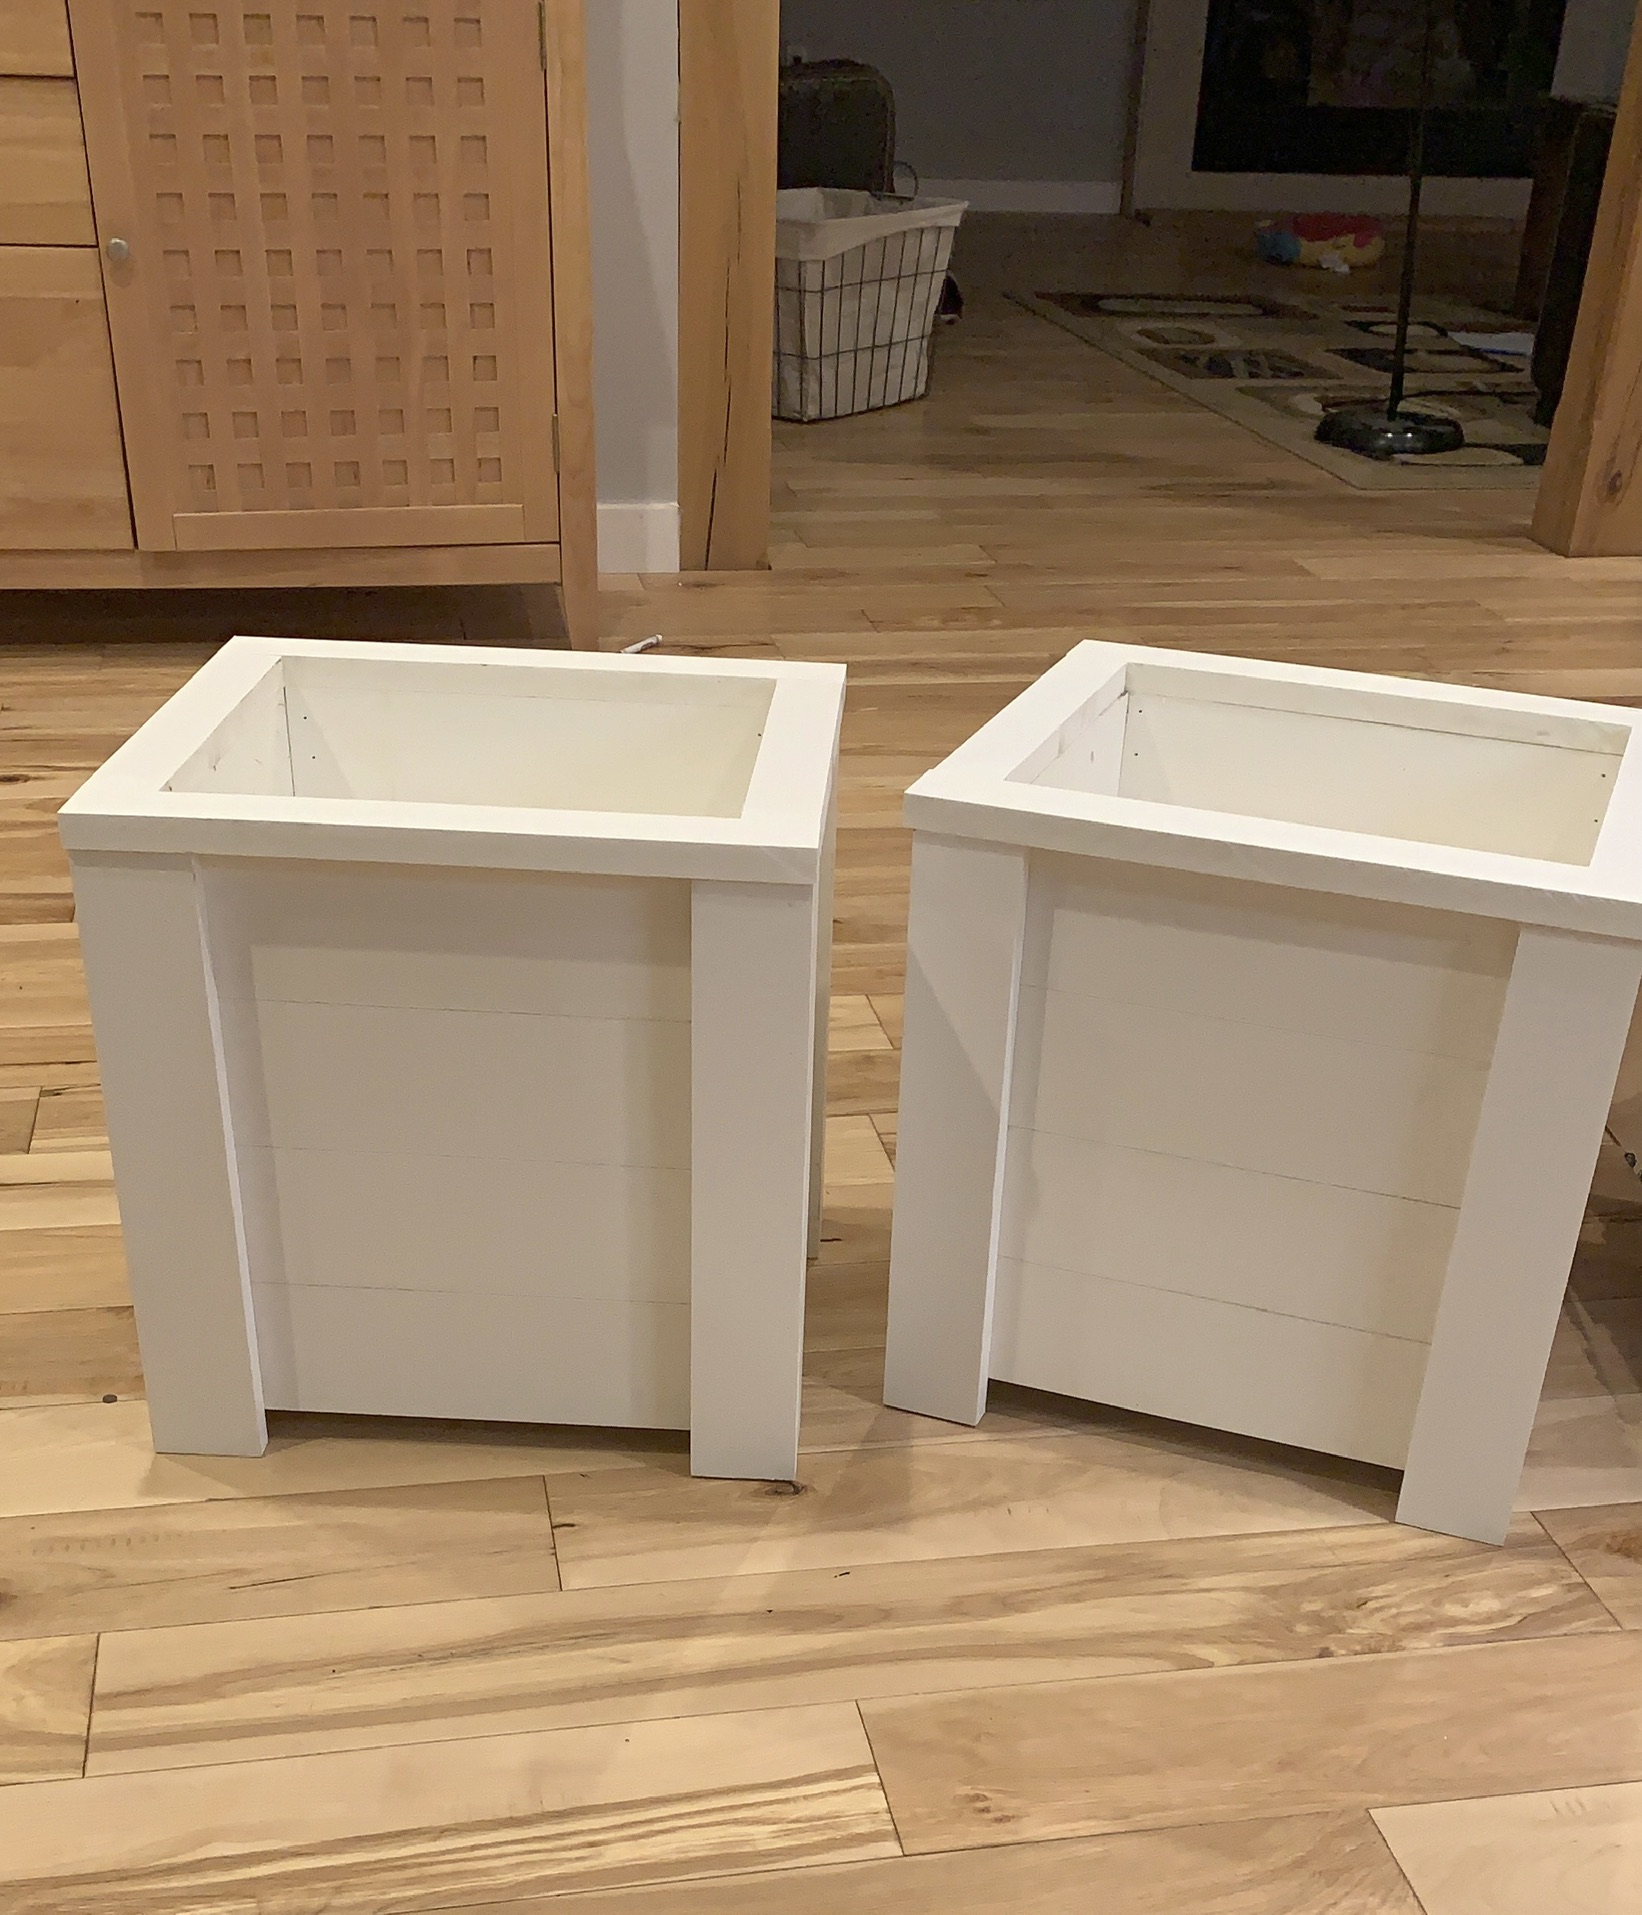
Just made these last night! So quick and easy, thank you so much! You are so inspiring!
Mon, 10/26/2020 - 11:29
They really are easy and such a great way to add some curb appeal! Thanks for sharing!
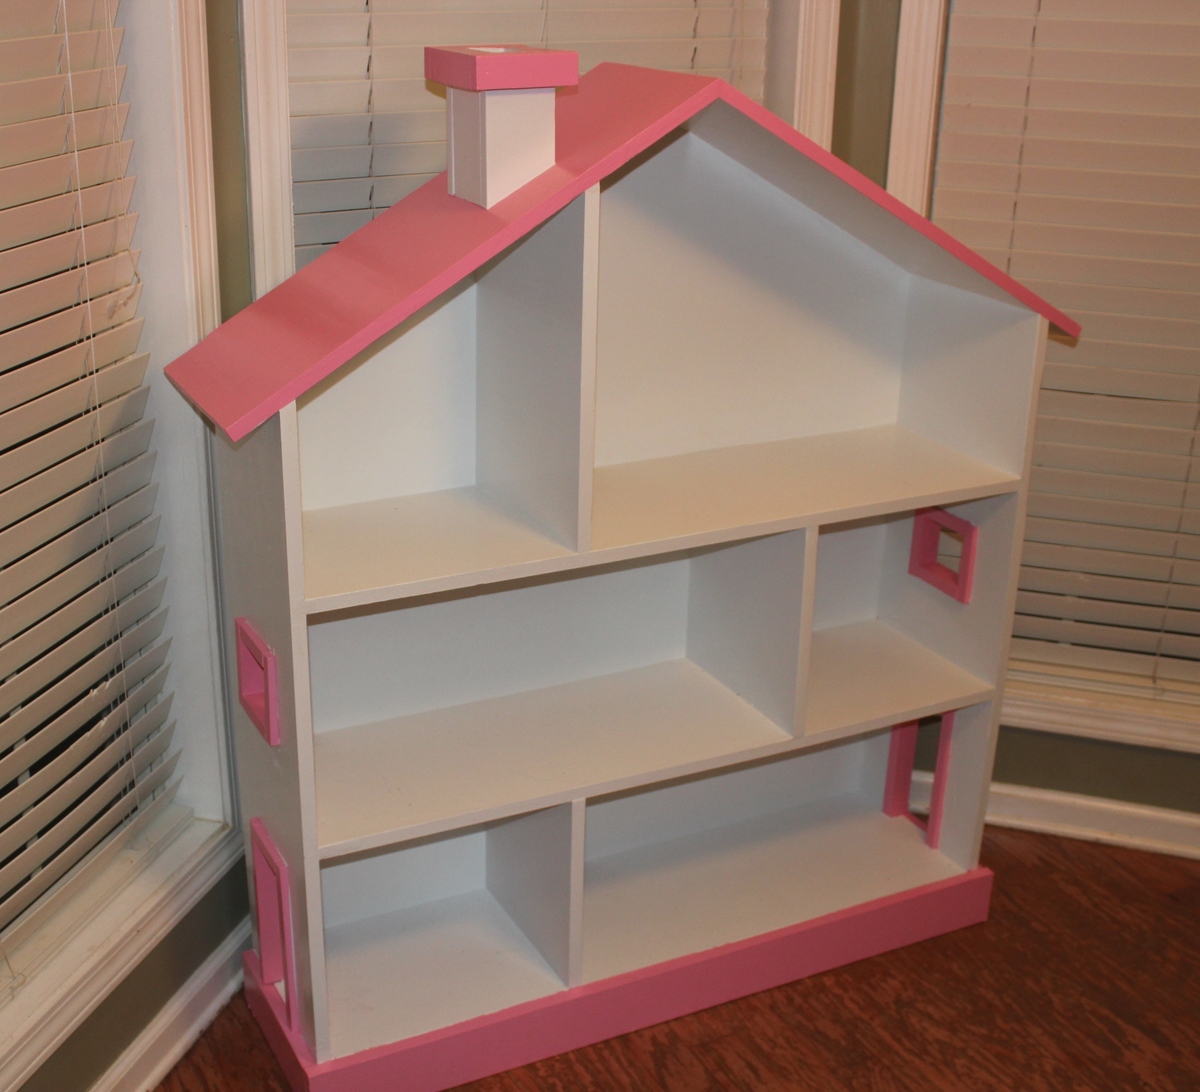
This was a great project to get back into woodworking after many years of not building anything. Used my table saw for cutting the 30 degree miters. Plans didn't call for it, but I made dado joints for the shelves using a router. This made the bookcase very solid. For the miters I cut them first and then measured and cut the piece to the finished length. I cut the vertical shelf supports after the shelves were in which insured they were the exact length. A great suggestion is to use The Hillman Group "Procrafter" #8 x 2-in Yellow Zinc Square-Drive Wood Screws. The #2 square drive never slipped out and the screws were self drilling and countersunk themselves. No need to predrill a countersink hole or anything else. Added the chimney after seeing it on another brag post. This cute little item brought a big smile to my granddaughter's face on Christmas morning. The time investment of 10 hours for me was due to rusty woodworking skills and needing time to think about things. Could probably build the next one in five hours. Painting took as long as the building.
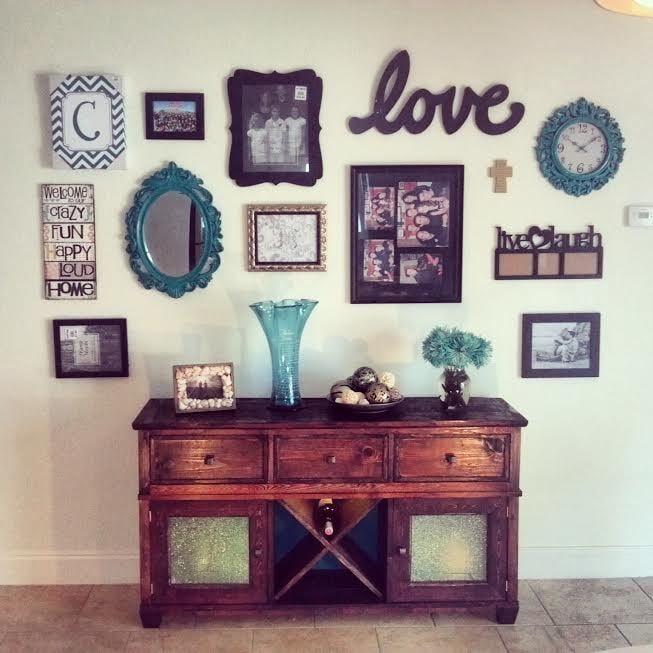
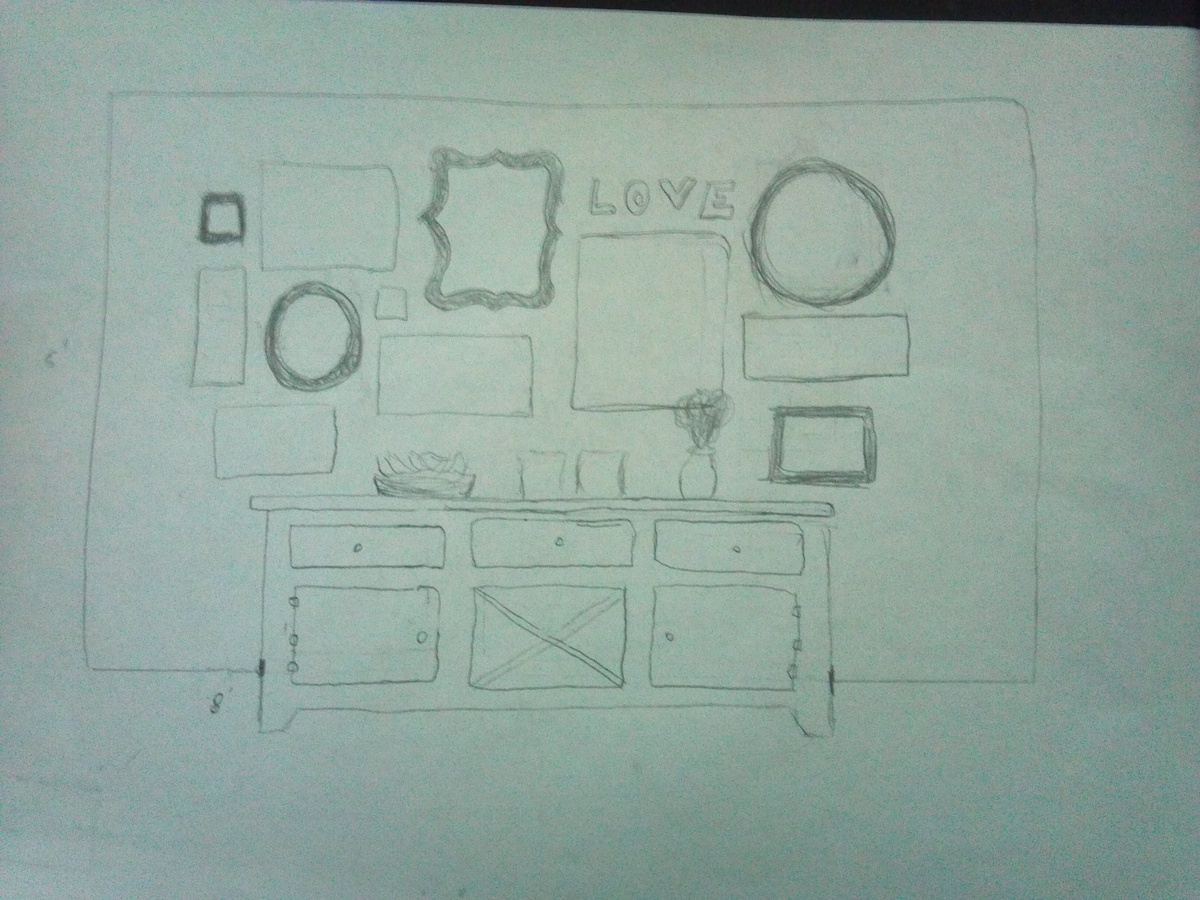
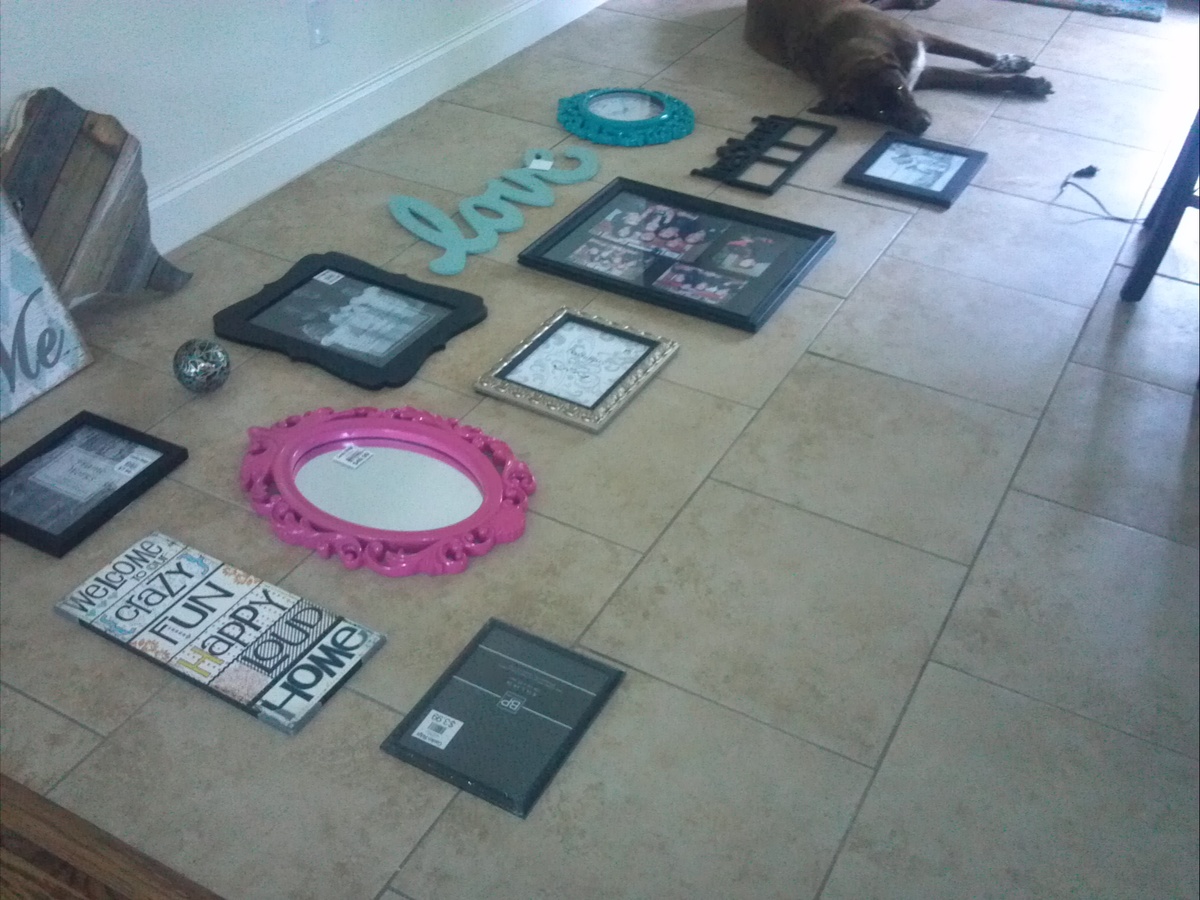
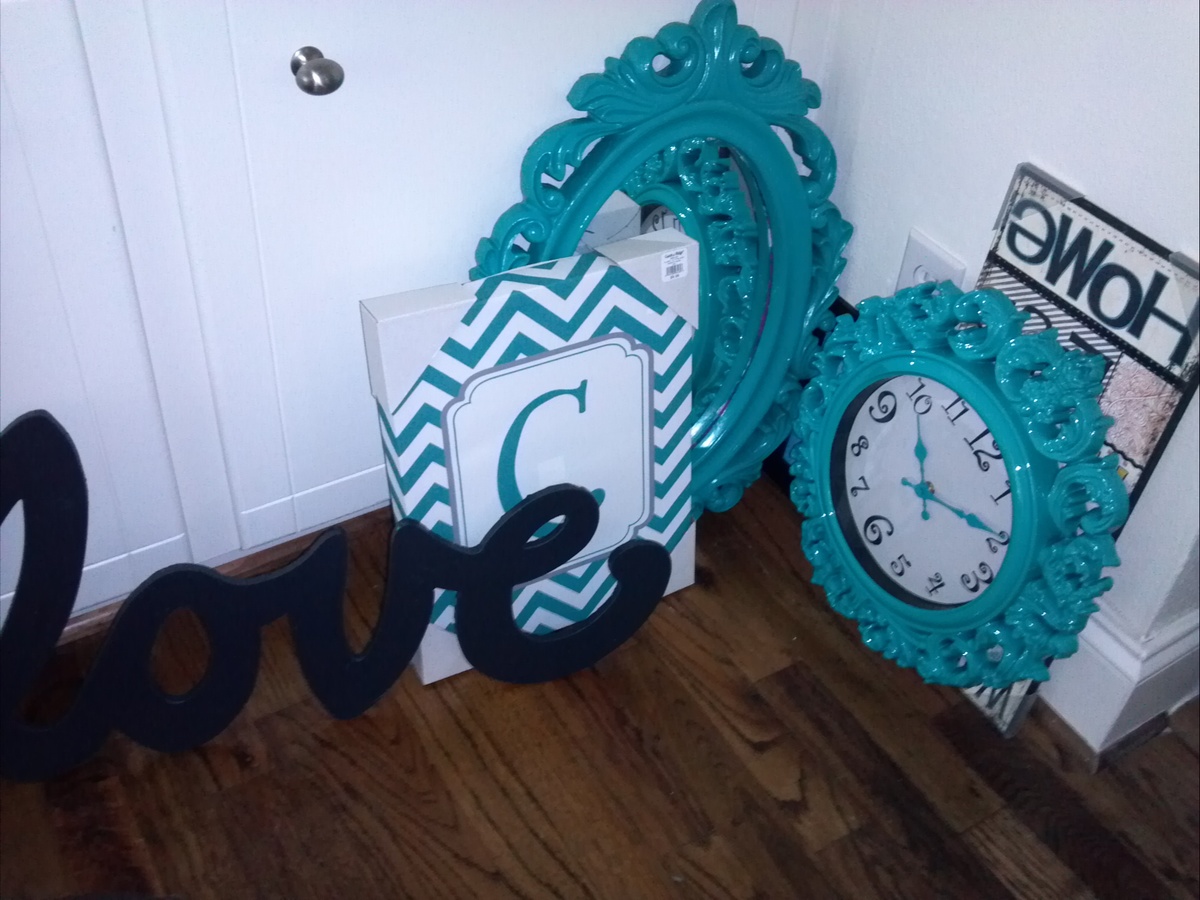
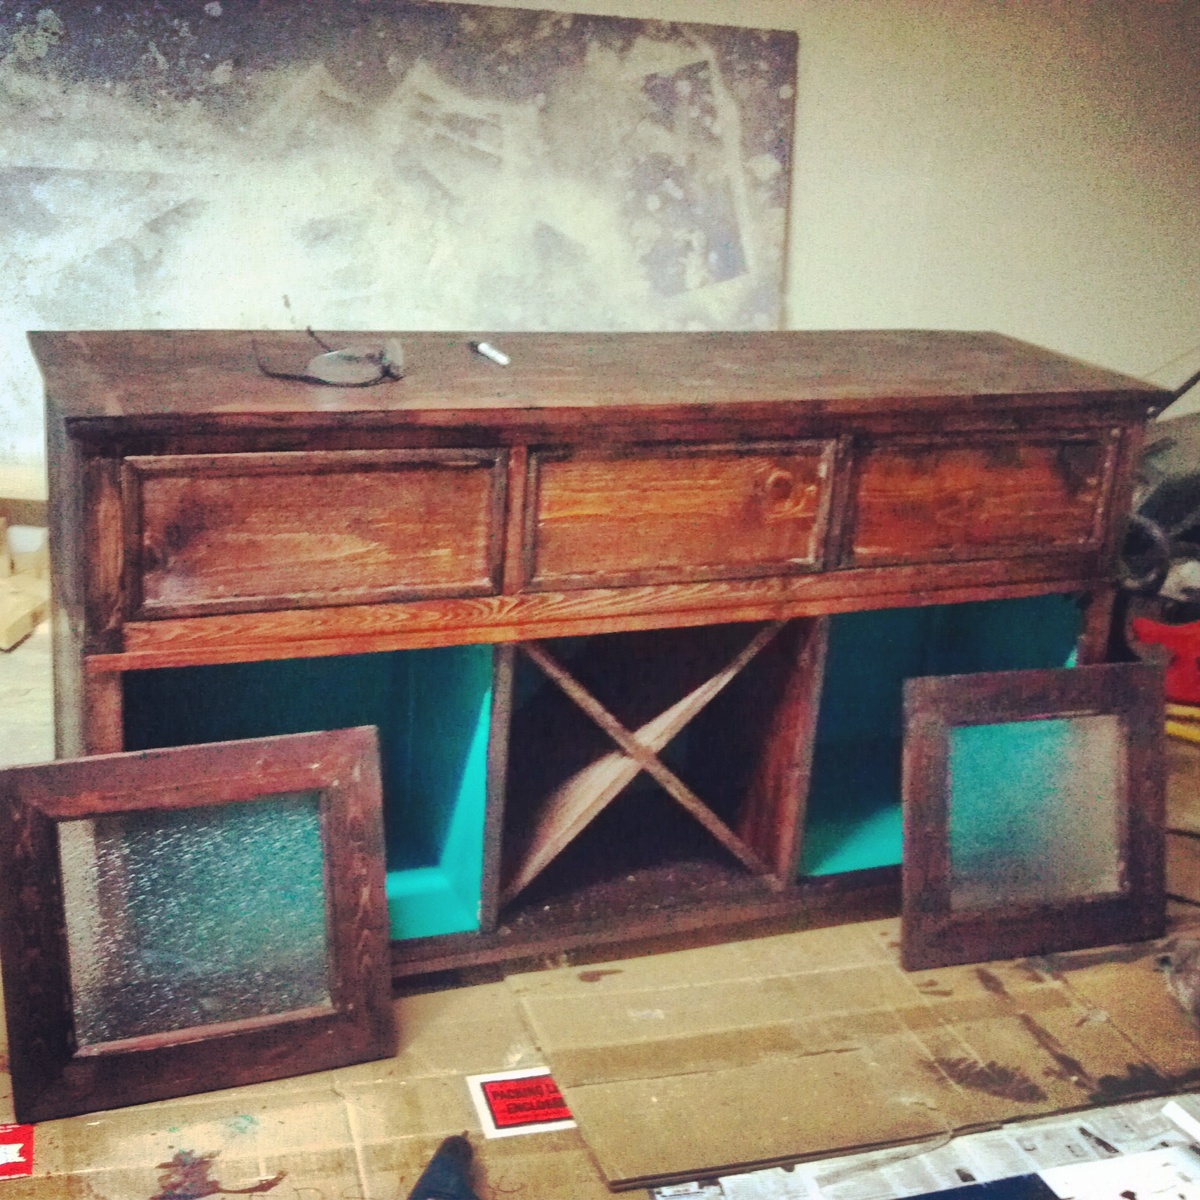
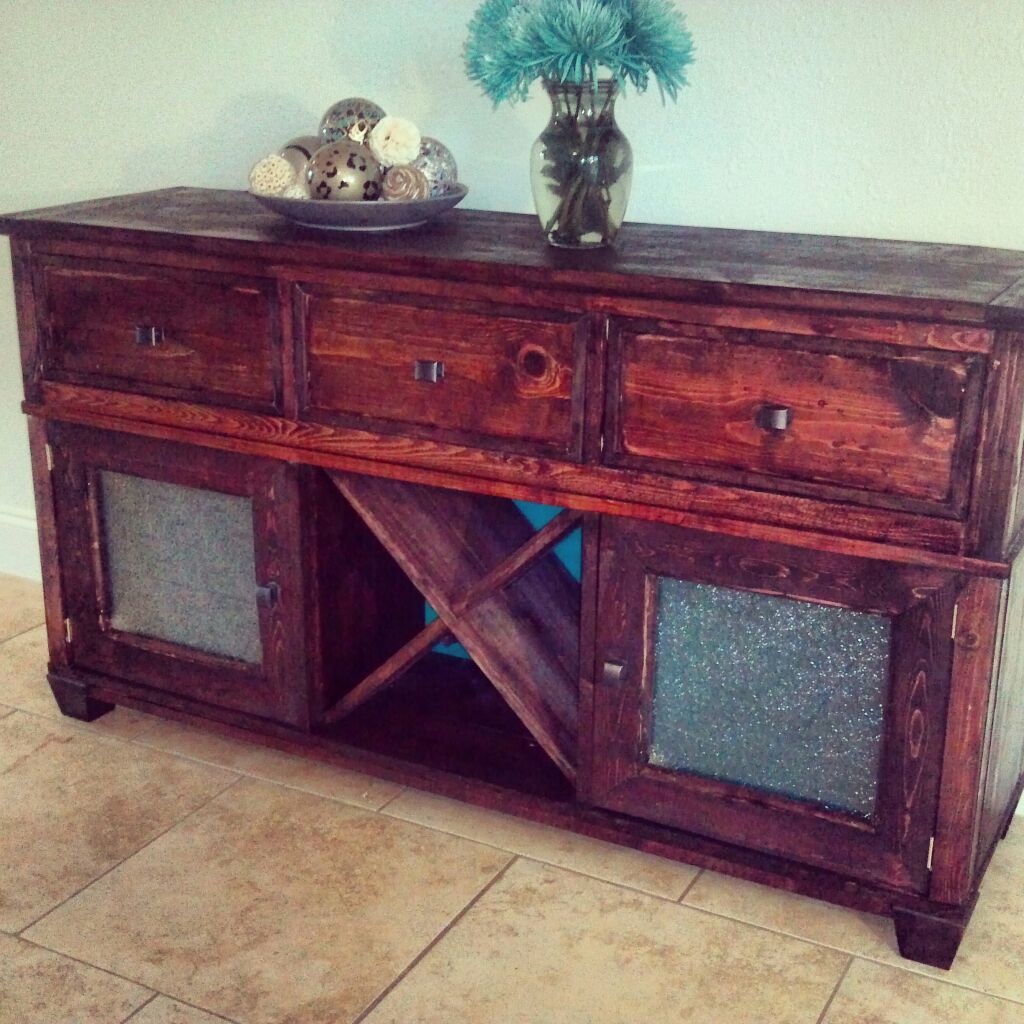
My wife wanted something to fill up a large wall in our kitchen so I designed a collage centered over a buffet table. I used the plans from the Salsa Console that I found on this website for the table. I had to modify the plans quite a bit in order for the table to fit the space that we had. After I had the design the way I wanted it, my wife and I found the frames that we needed and painted them with a black, brown, and terquoise theme. I built the hutch using pine that I bought from the hardware store. I used quarter round moulding strips to accentuate the drawer faces and the cabinet doors. I added glass to the center of the cabinet doors and then backed the glass with the material from one of those cheap ceiling light panels to give the glass a 3D frosted appearance. I then painted the interior of the cabinets with that same terquoise color and ran lights inside the cabinets so that the terquiose color would show through the forsted glass. I finished the table off by staining it with a dark red maple stain (to match our kitchen table and island) and then added a few simple drawer/cabinet knobs. Everything came together nicely when we hung it all up over the table. Now all we have left to do is add our pictures to the frames.
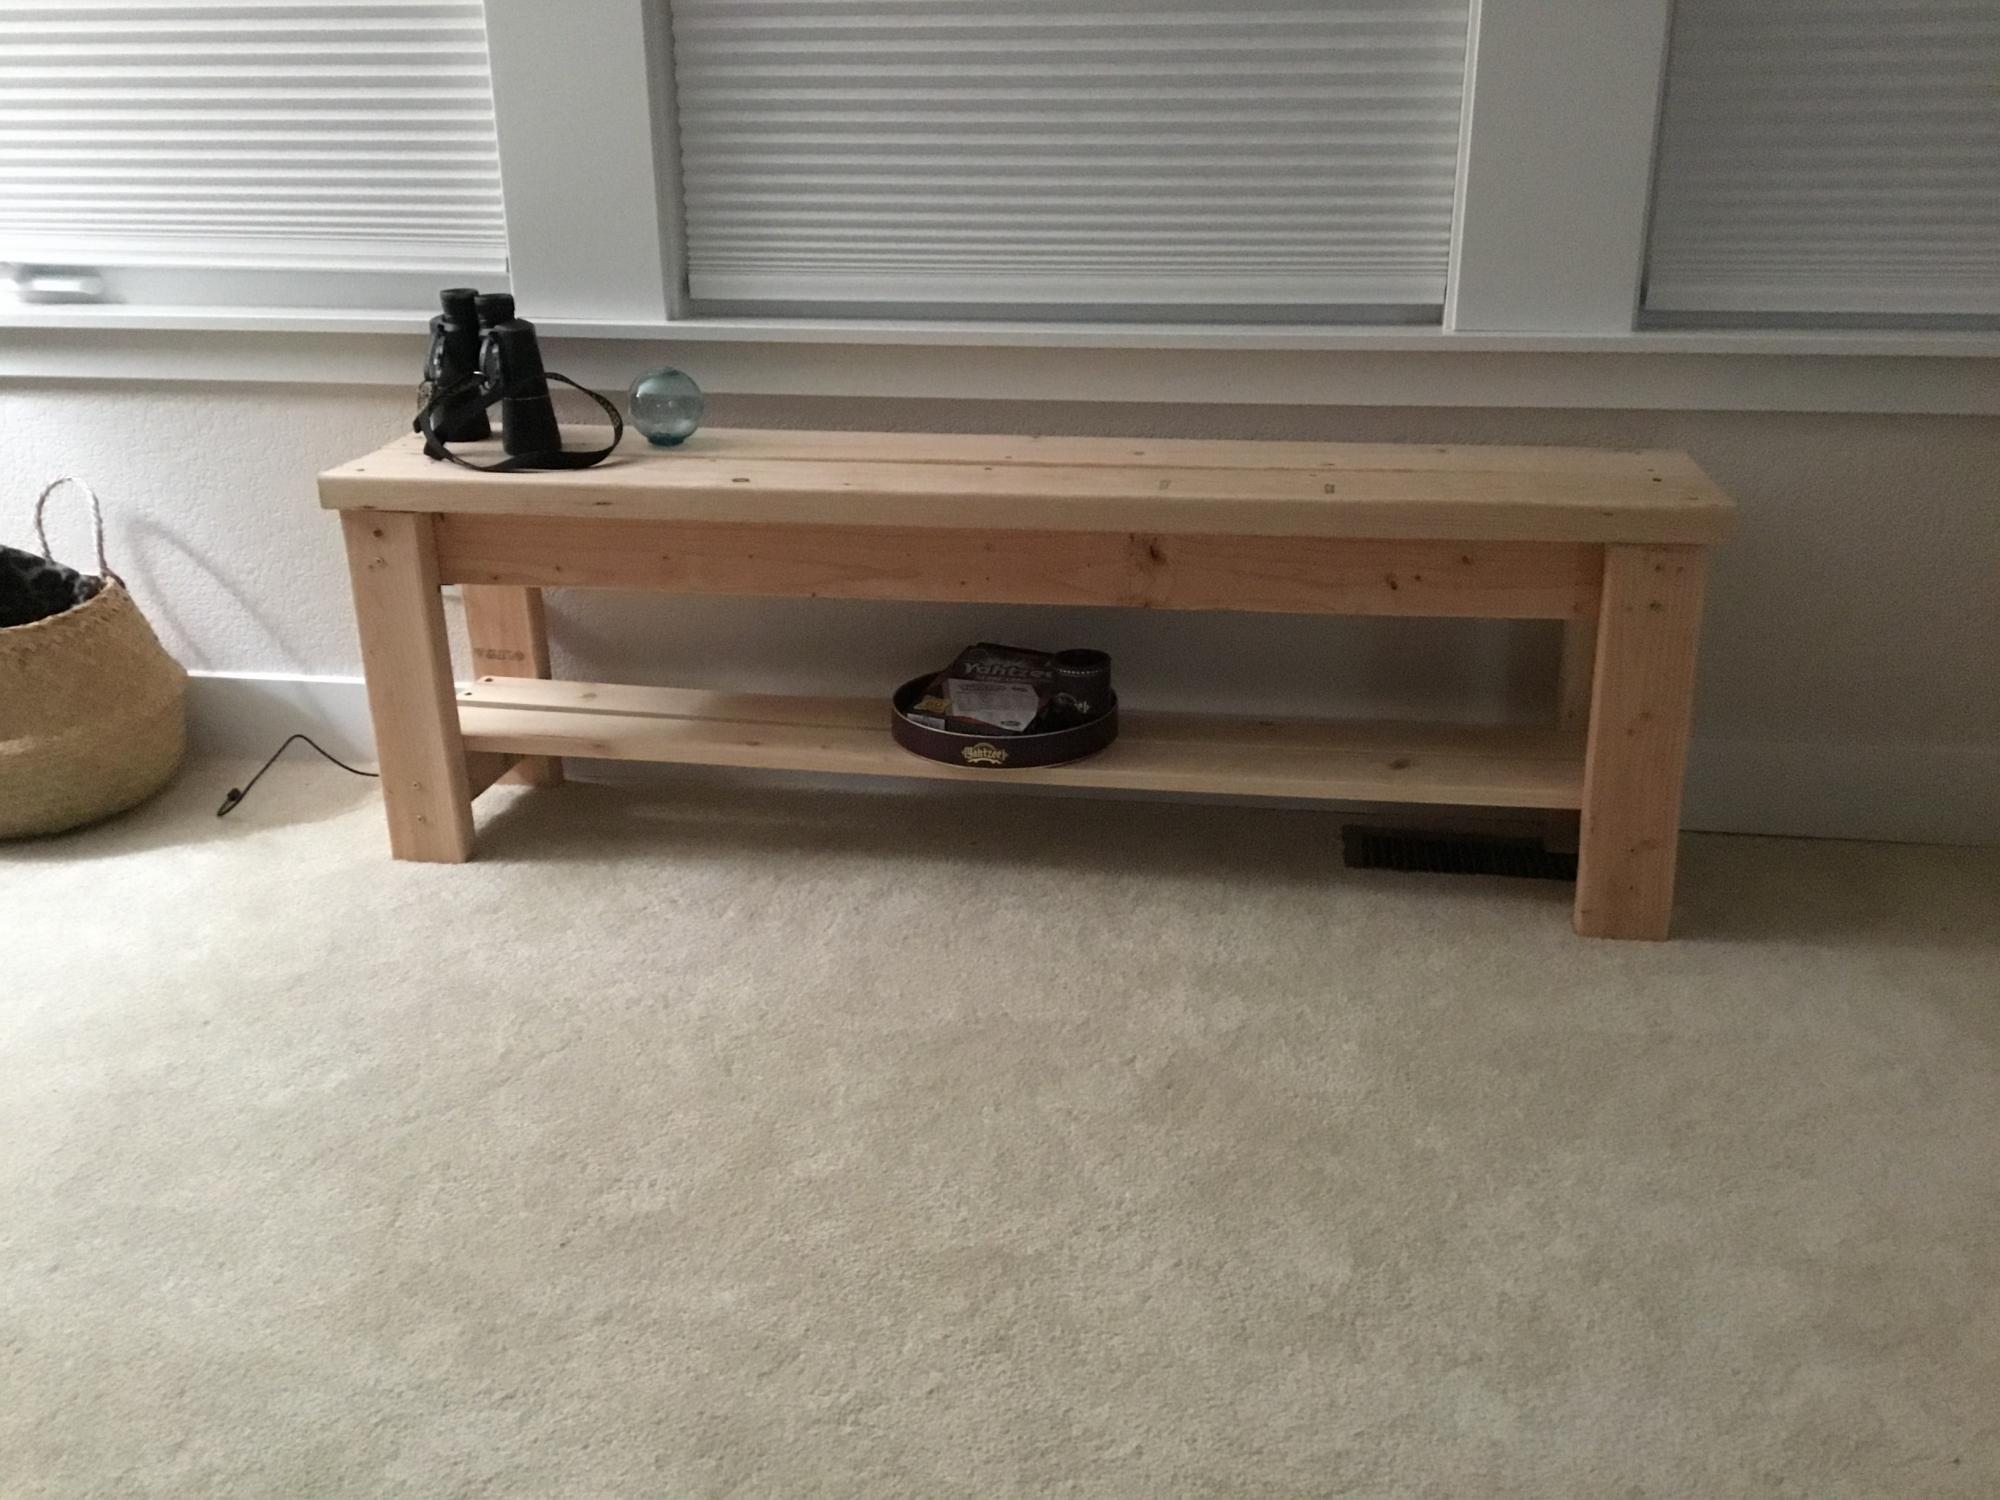
I made my bench around 53” and put the bottom leg apron about 1 1/2” from the floor and tha gave me the space to put 2 1x4 boards as a shelf
We used the basics of the plan as presented but added scroll-cut names and small clipart designs on the backs. He also routed a curved edge along the sides and fronts of the seats for a little smoother look.
For the lettering, I printed out the names on the computer, then applied them to the wood with adhesive for cutting. The font I used is called Epistolar. I had to find one that didn't look funny with the A since there would not be a way to keep the little triangle part at the top. Epistolar was the only font I had on my computer that would work for that. We simply drilled a hole midway below the peak of the A to make it look right. The font itself does not have any cross piece on the A.
For the small Jeep and Rocking Horse, I just looked online for a silhouette of a car and a horse. The rocking horse again presented a slight challenge since if we cut the rocker as it was shown, the horses legs would look funky. We solved that by cutting the rocker part slightly smaller and leaving some space between it and the horses legs.
A few things we learned: Be sure your letters aren't too close together or the wood will split when you are sanding. We had this problem with some of the A's before we drilled the hole smaller. We used a drill press, for the holes, and the board underneath was not fresh so some of the back pieces splintered. A fresh board under the holes would have kept that from happening.
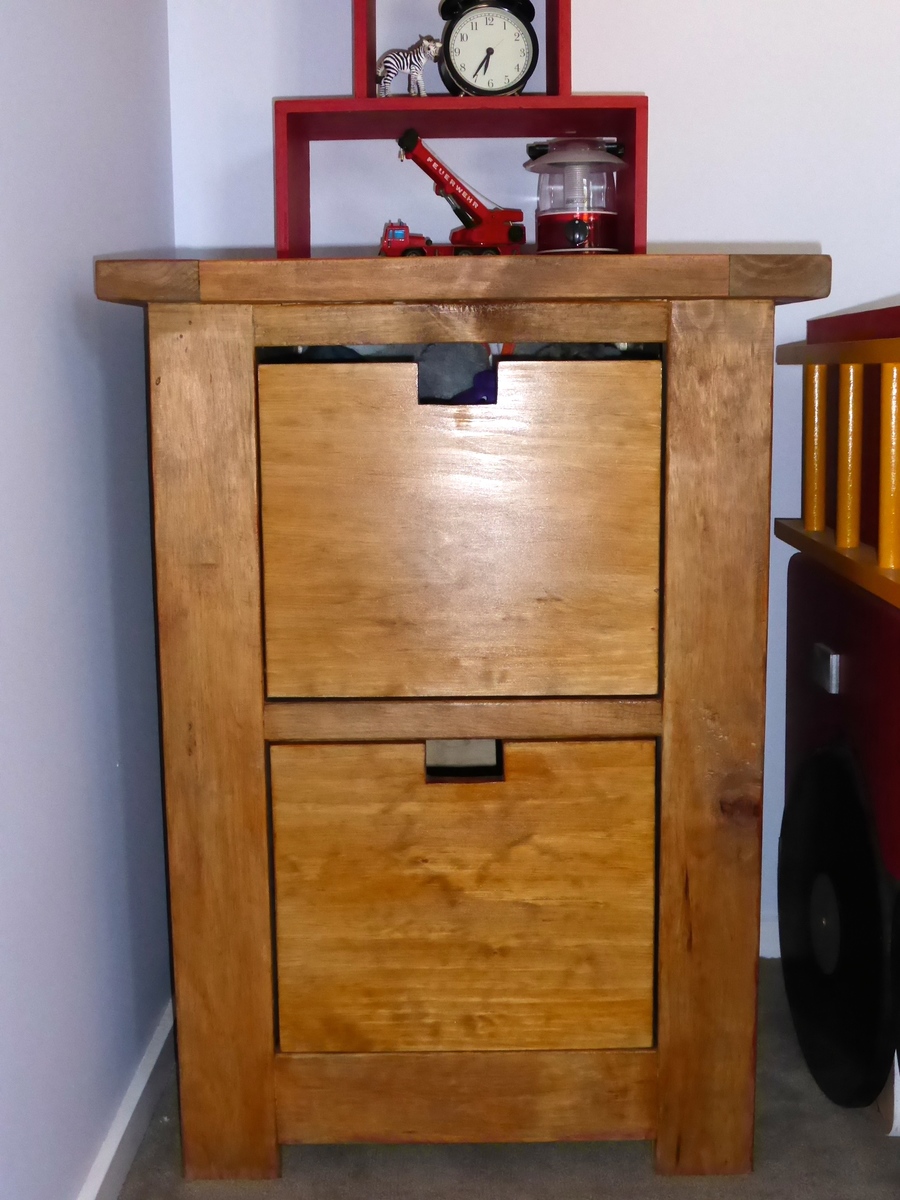
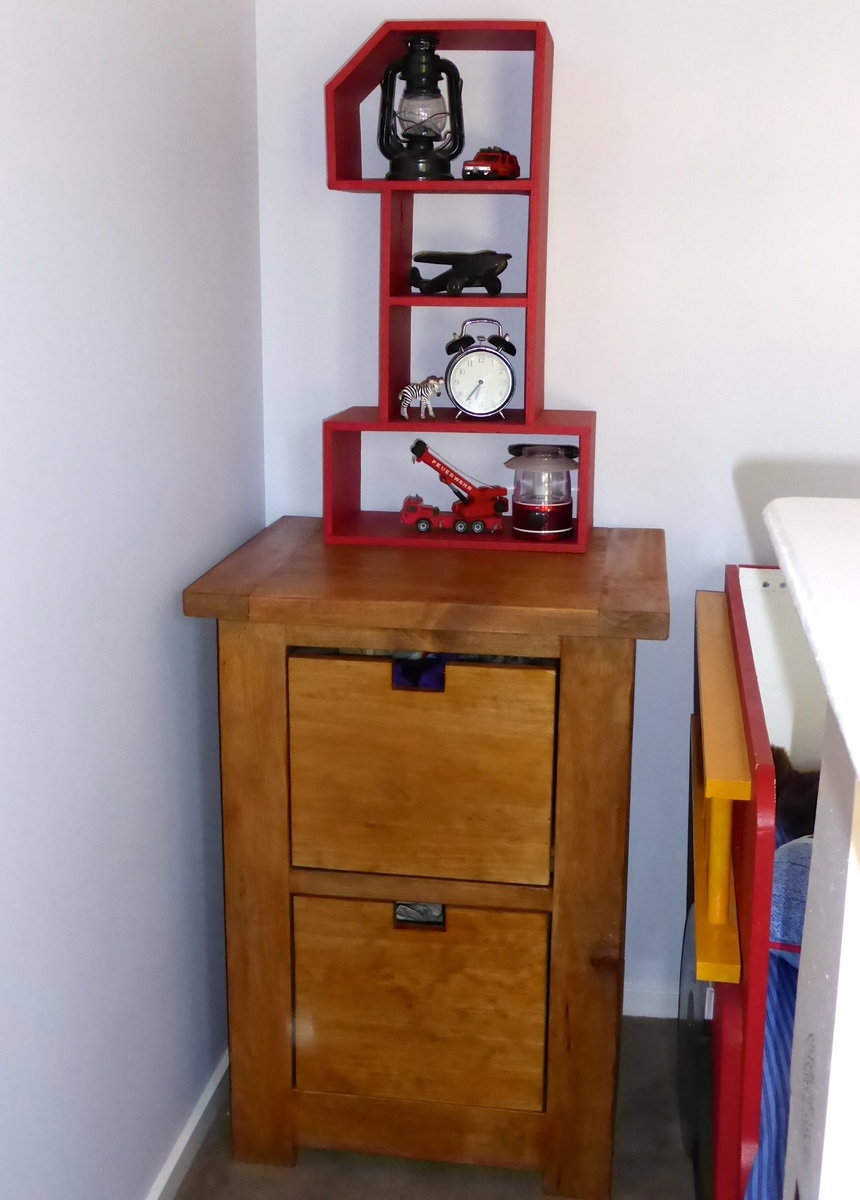
A modified smaller version of the dumpster dresser.
Barn door slider with all 3 shelfs stained dark walnut with a white cabinet
Mon, 02/20/2017 - 15:12
Where do I find the plans I have looked everywhere for the sliding barn door console plans
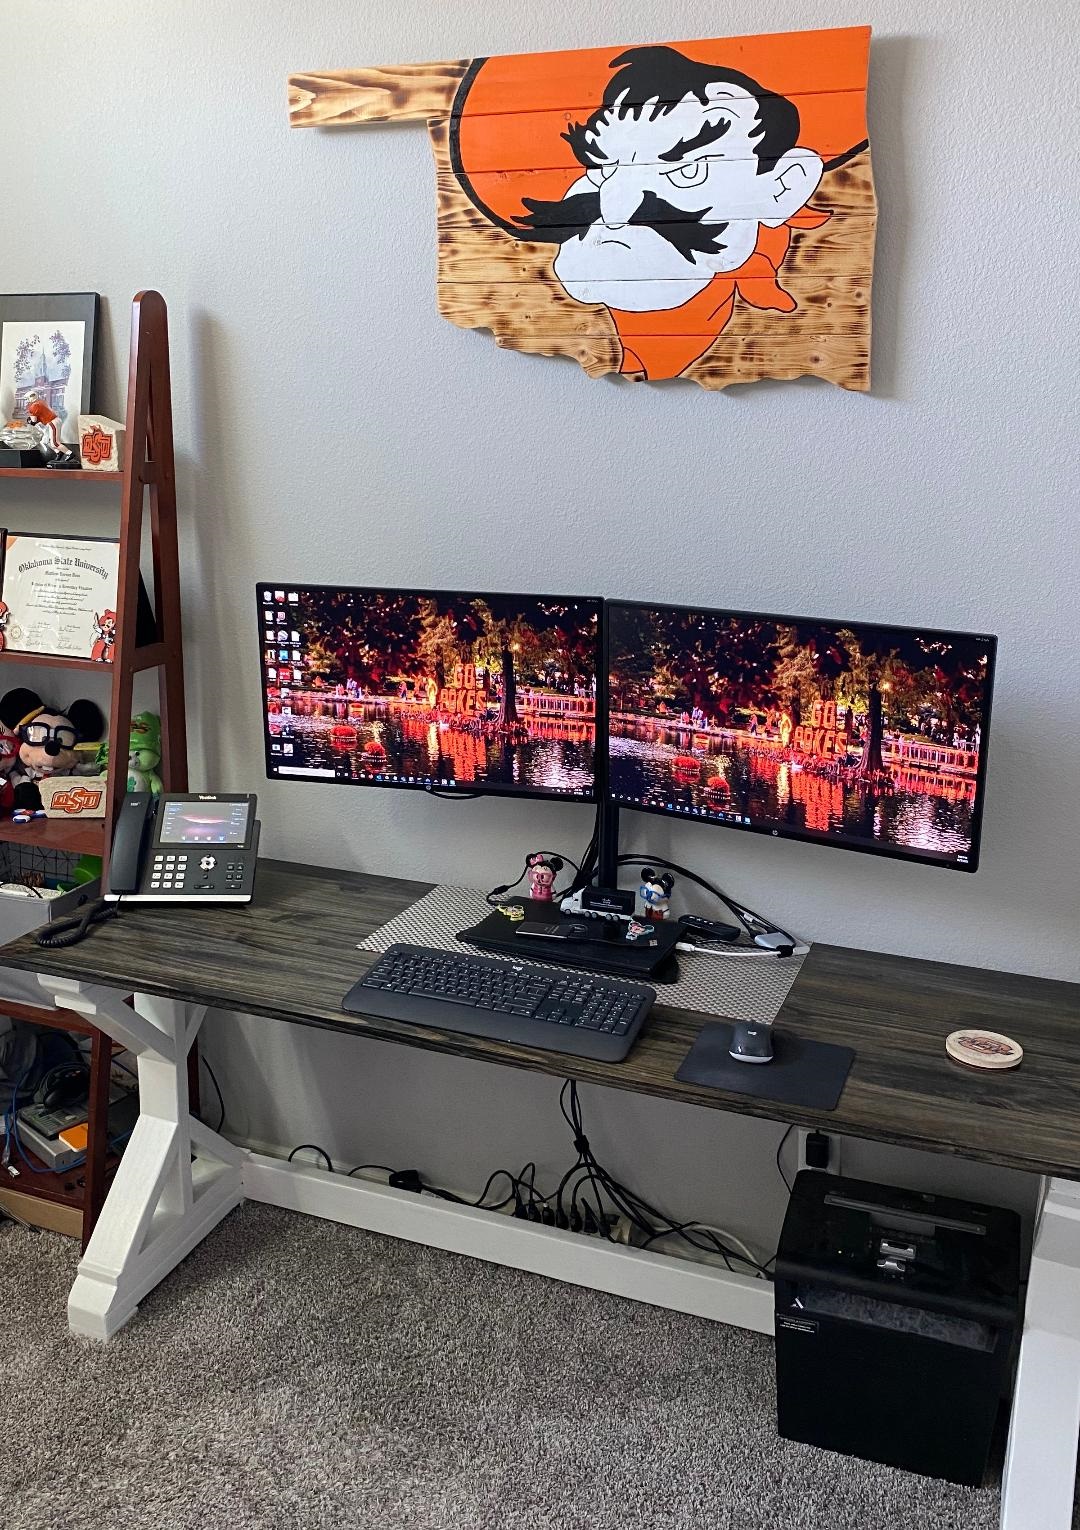
I created this desk using the Fancy X Desk plans, but I used a project panel for top.