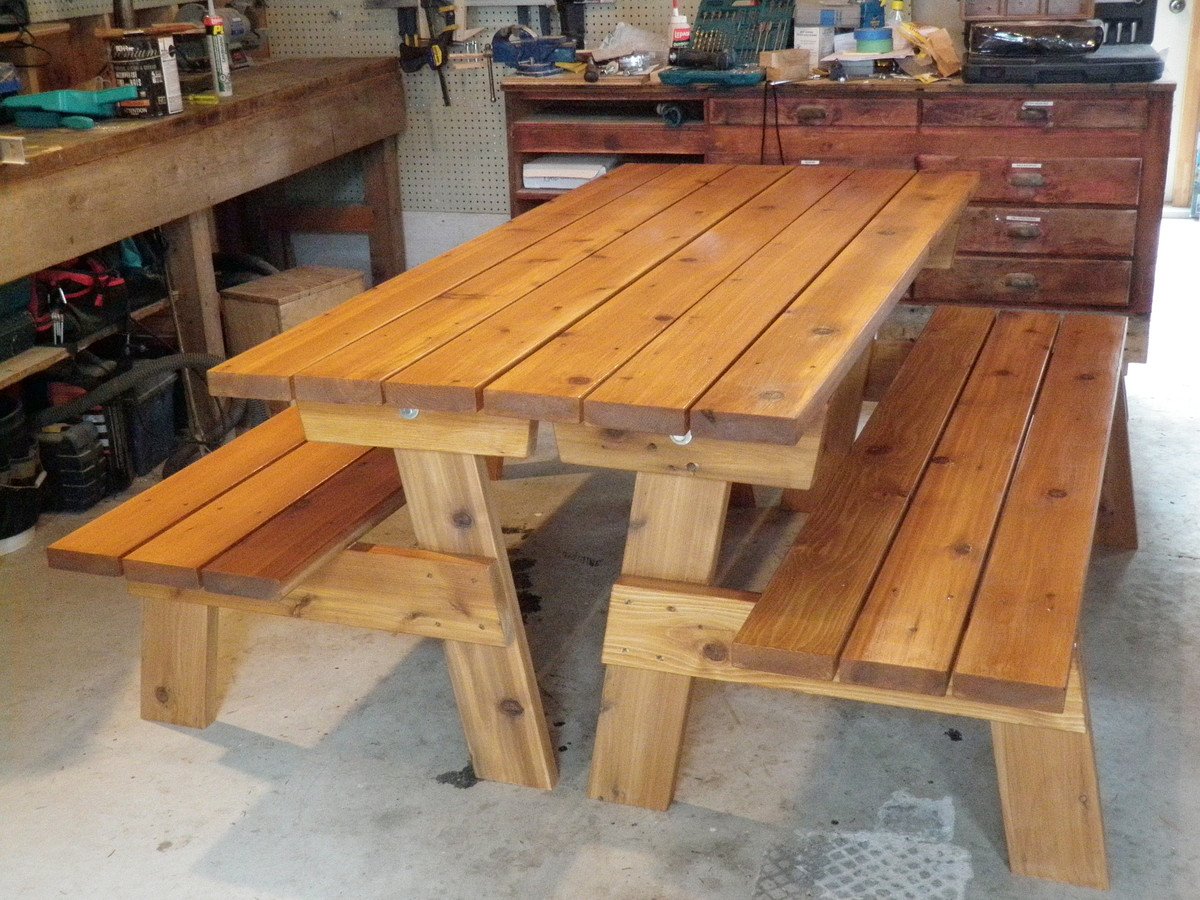
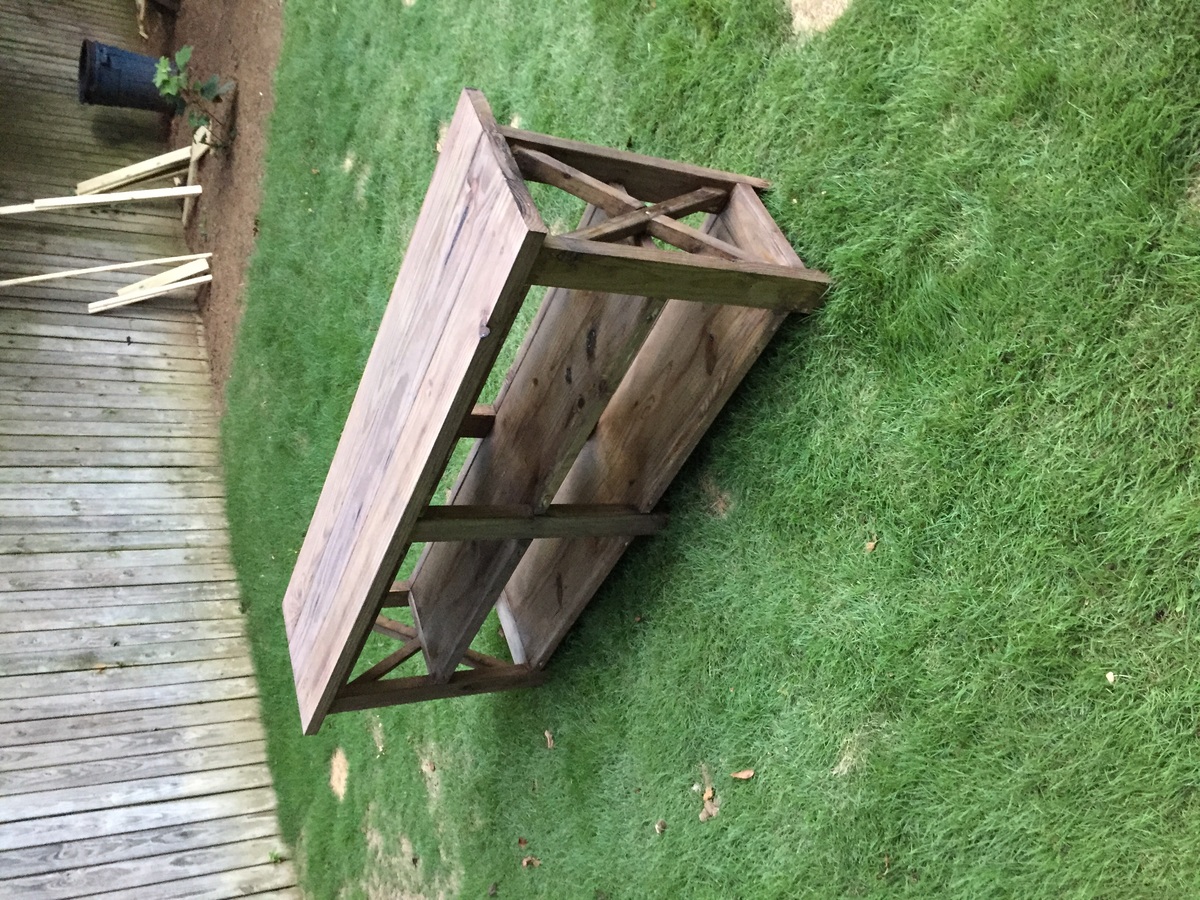
Convertible Picnic Benches
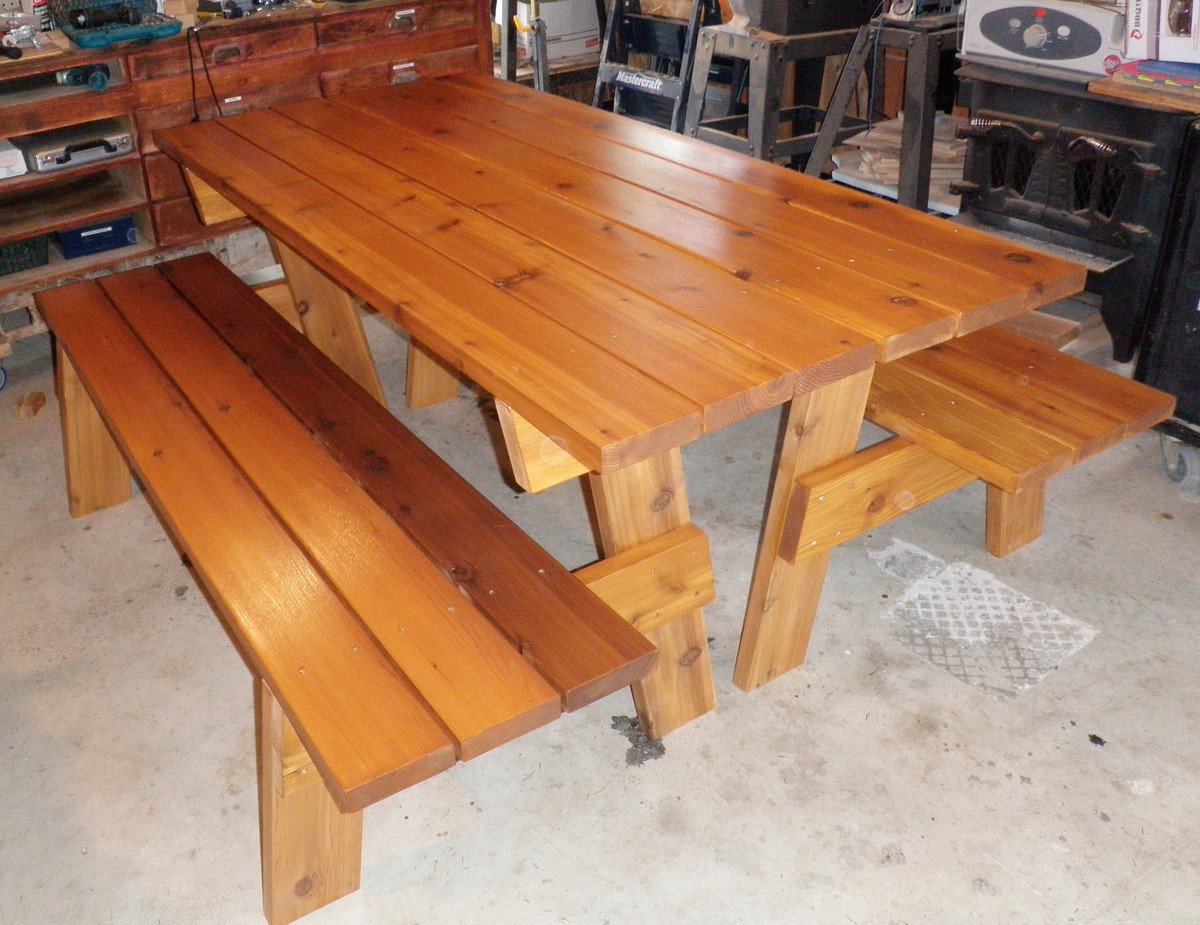
With the condition of our inherited 6-sided picnic table in my mind, the idea of these picnic benches was too appealing to ignore!
I gave away our old picnic table, and bought some cedar 2x6 from the lumber mill down the road. (He had a pretty good price so I used 2x6 for everything)
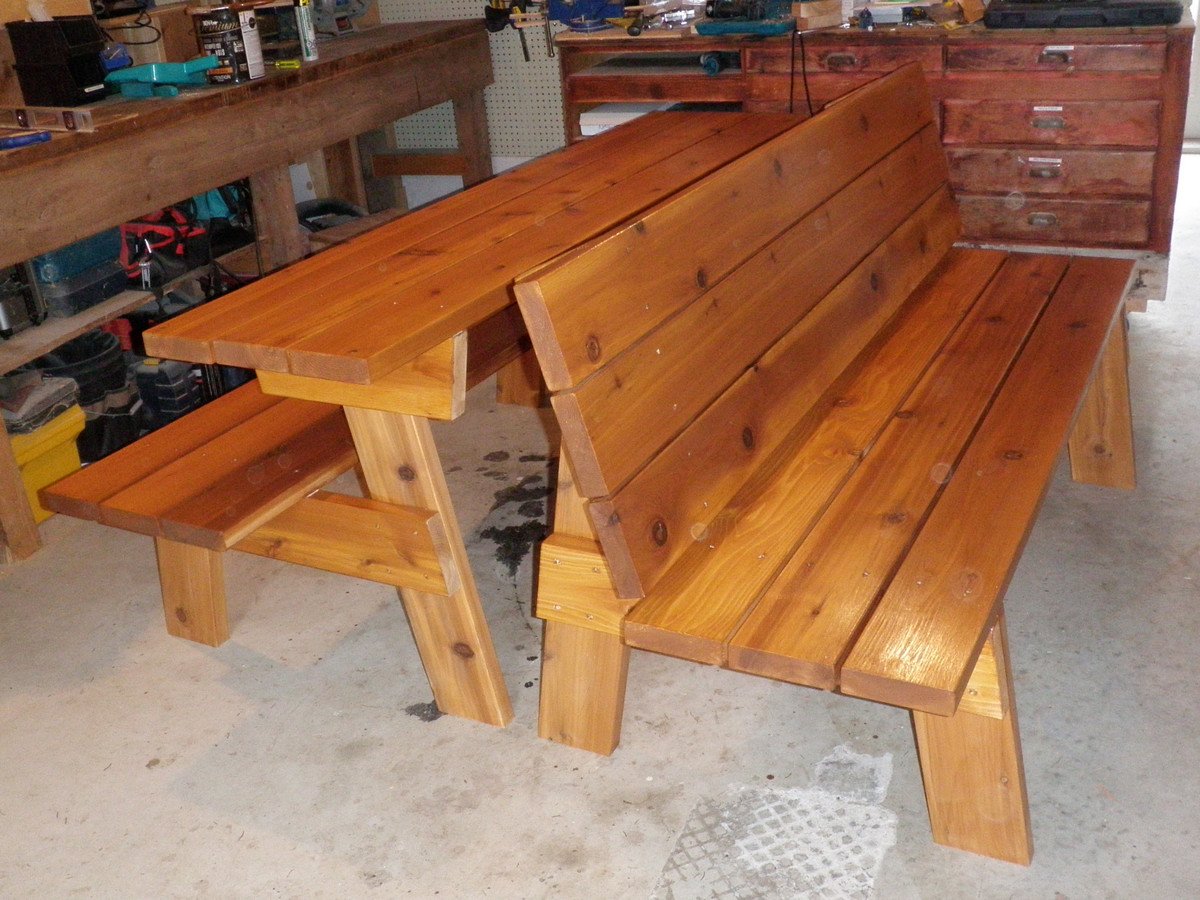
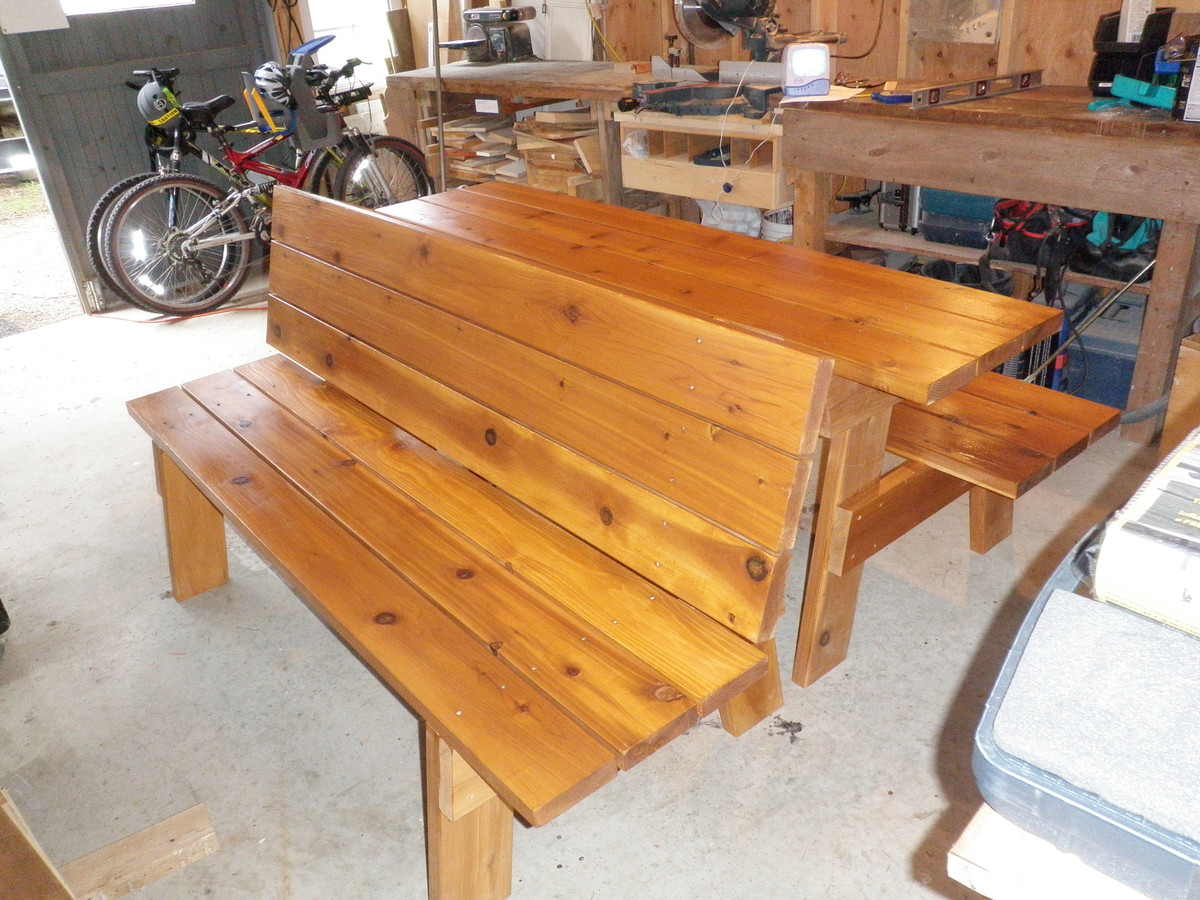
I decided to make them 6feet long instead of 4, and with an overhang of 8 inches rather than two I was able to avoid making a third leg set.
I got everything cut and gave it all a coat of stain before I assembled anything and then screwed the boards together with cedar deck screws.
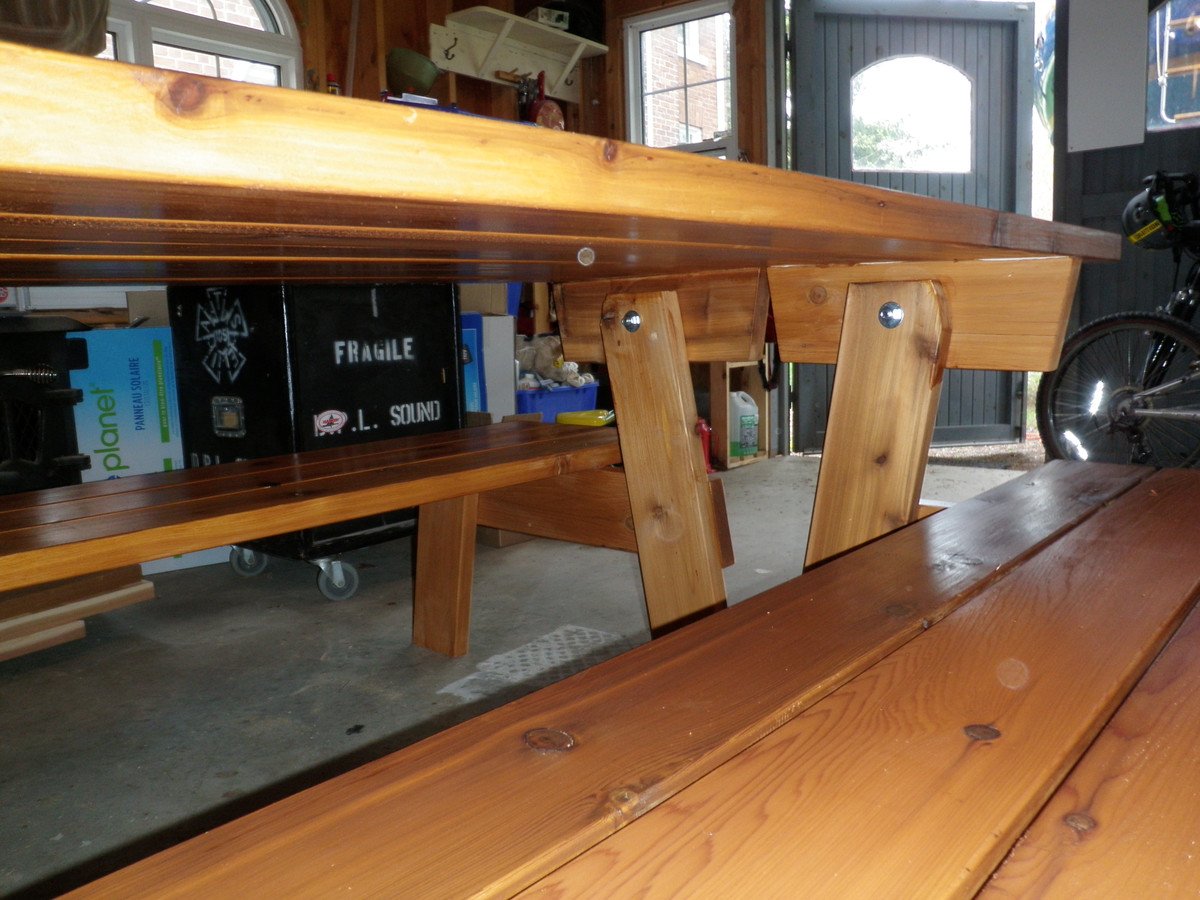
I discovered when I had the tabletop bolted on that the 2x6 caused some issue with the tilting, so I had to go back with a handsaw and trim the front top corners of the back legs so that the table could tilt to the bench mode.
I'm still puzzling out why I have a bit of play in the top when it's bolted in either configuration...
Now if only this chilly rainy weather would quit so we could put them outside and start enjoying them!