Distressed chalk paint
Doubled the size of Ana's toy storage to accommodate my niece and nephew.
Table top is tight knot cedar, sealed with ship n shore, 7 coats spar urethane.
Base is fir, sealed and painted in latex outdoor paint:
These planters are exactly what we needed to warm up this blank siding! The smaller planters are made from pine, the larger from cedar.
I tweaked the console plans to work best for my space, and to work with the reclaimed barn threshing floor boards that I used for the top.
I love how it turned out and it works wonderfully in my space.
Hi Ana! Thank-you for the detailed instructions on how to build the indoor playground! We had our contractor build this for our twins' 3rd birthday present. The kids absolutely LOVE the playground and use it every day. I'm planning to paint it, reinforce and install a rock climbing wall up to the bridge, and install some easels in the bottoms of the playhouses. You can see more pictures of the kids playing and the construction here: http://feedingtwins.com/body/the-best-3rd-birthday-present/ Thanks again! Julie
My daughter absolutely loves this bed, and everyone who comes over can't help but to compliment it. I was able to build it in 4 pieces in the basement then carry them up to our apartment and put them all together. It was not an easy build especially since I kept making little mistakes and had to go back and fix them. For example I did not use wood glue at first for the bars so after I screwed them all into place i relaxed they wobbled and twisted so I had to unscrew all of them, add glue and screw them all back in. But overall the instructions were pretty simple to follow and I am very happy with the way it came out.
Wed, 07/17/2019 - 10:15
Love this bed! The color is great! Thank you for submitting your brag posts, we appreciate it!
Took me maybe 30 minutes to put this together. Used 1-5/8 spacing, every other row is a little tight, but they work.
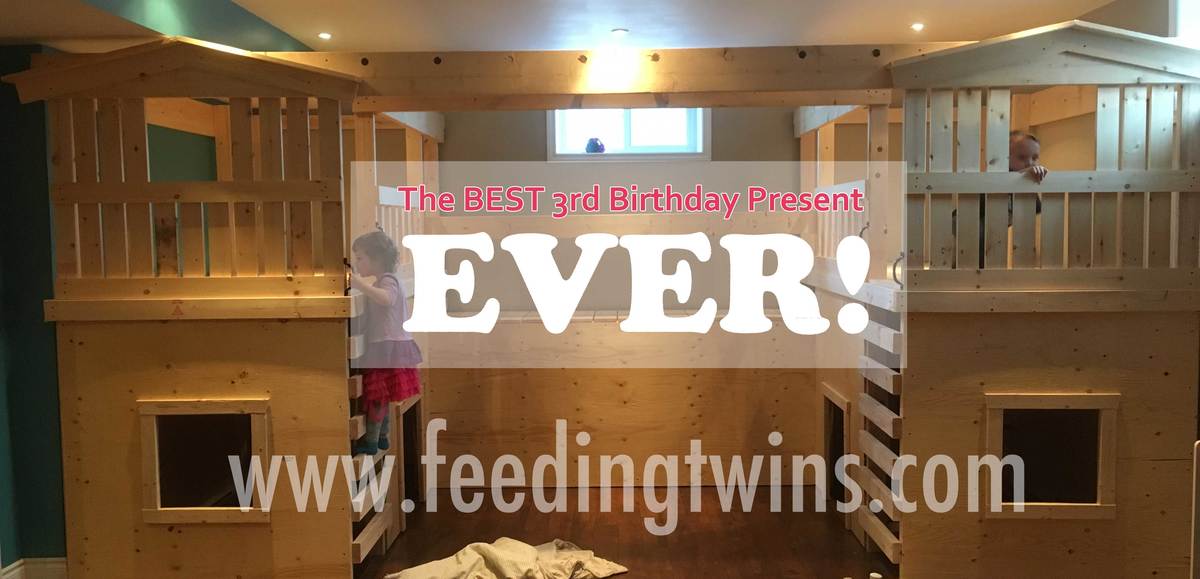
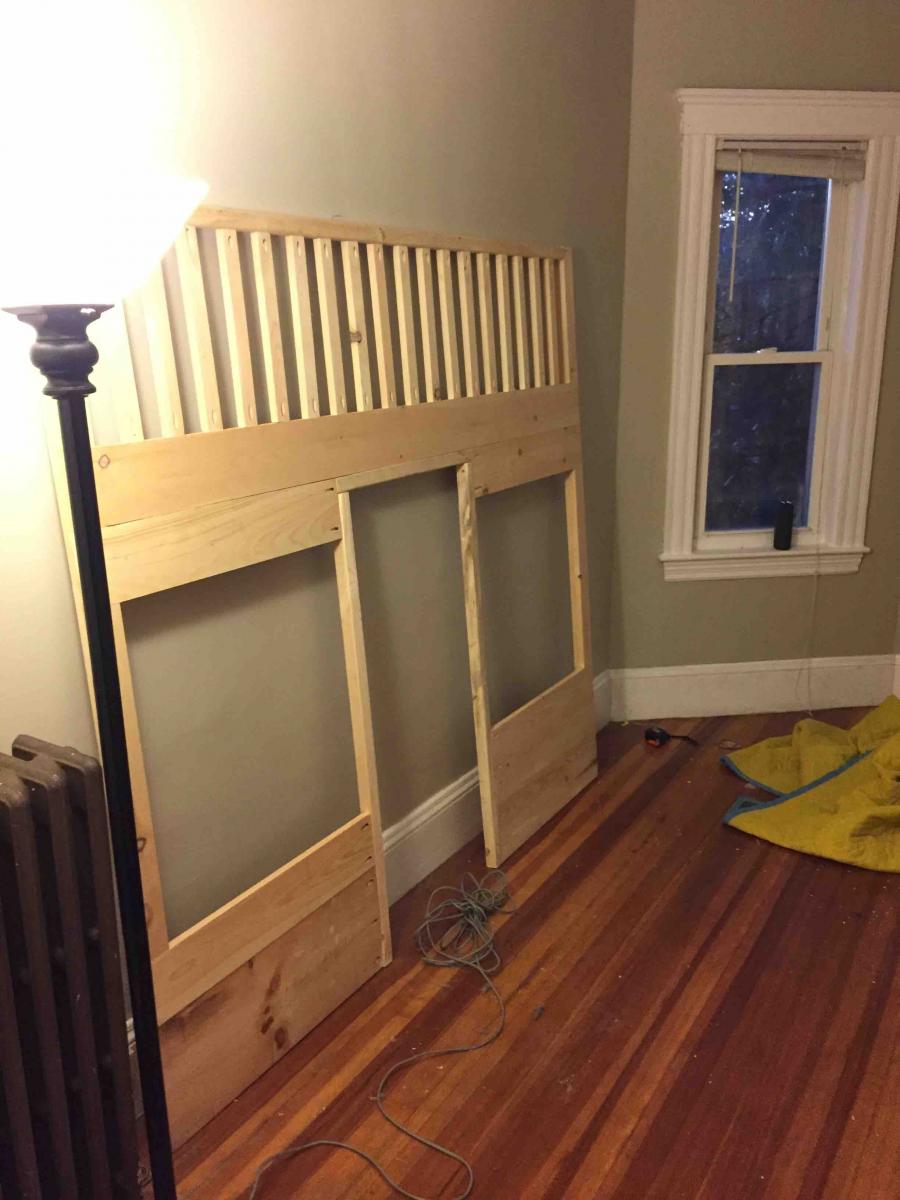
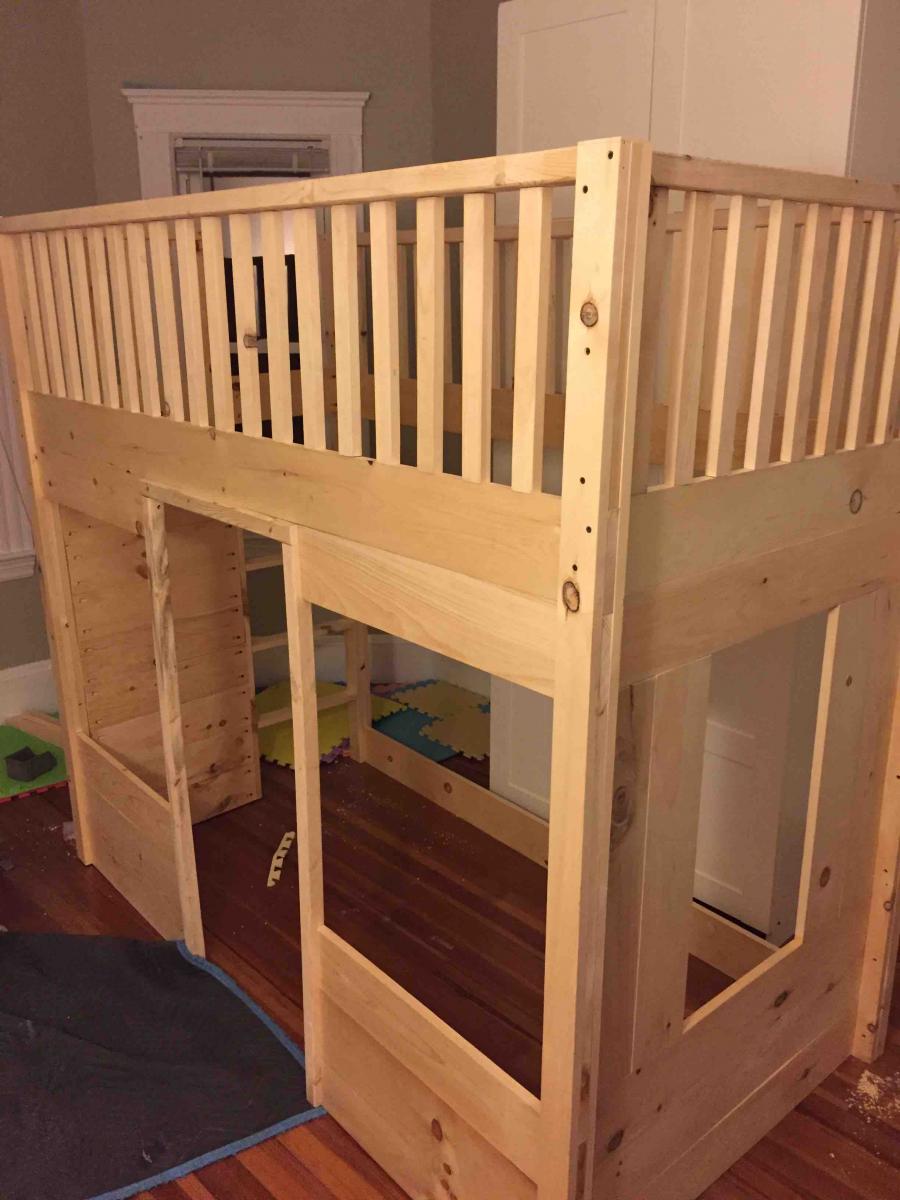
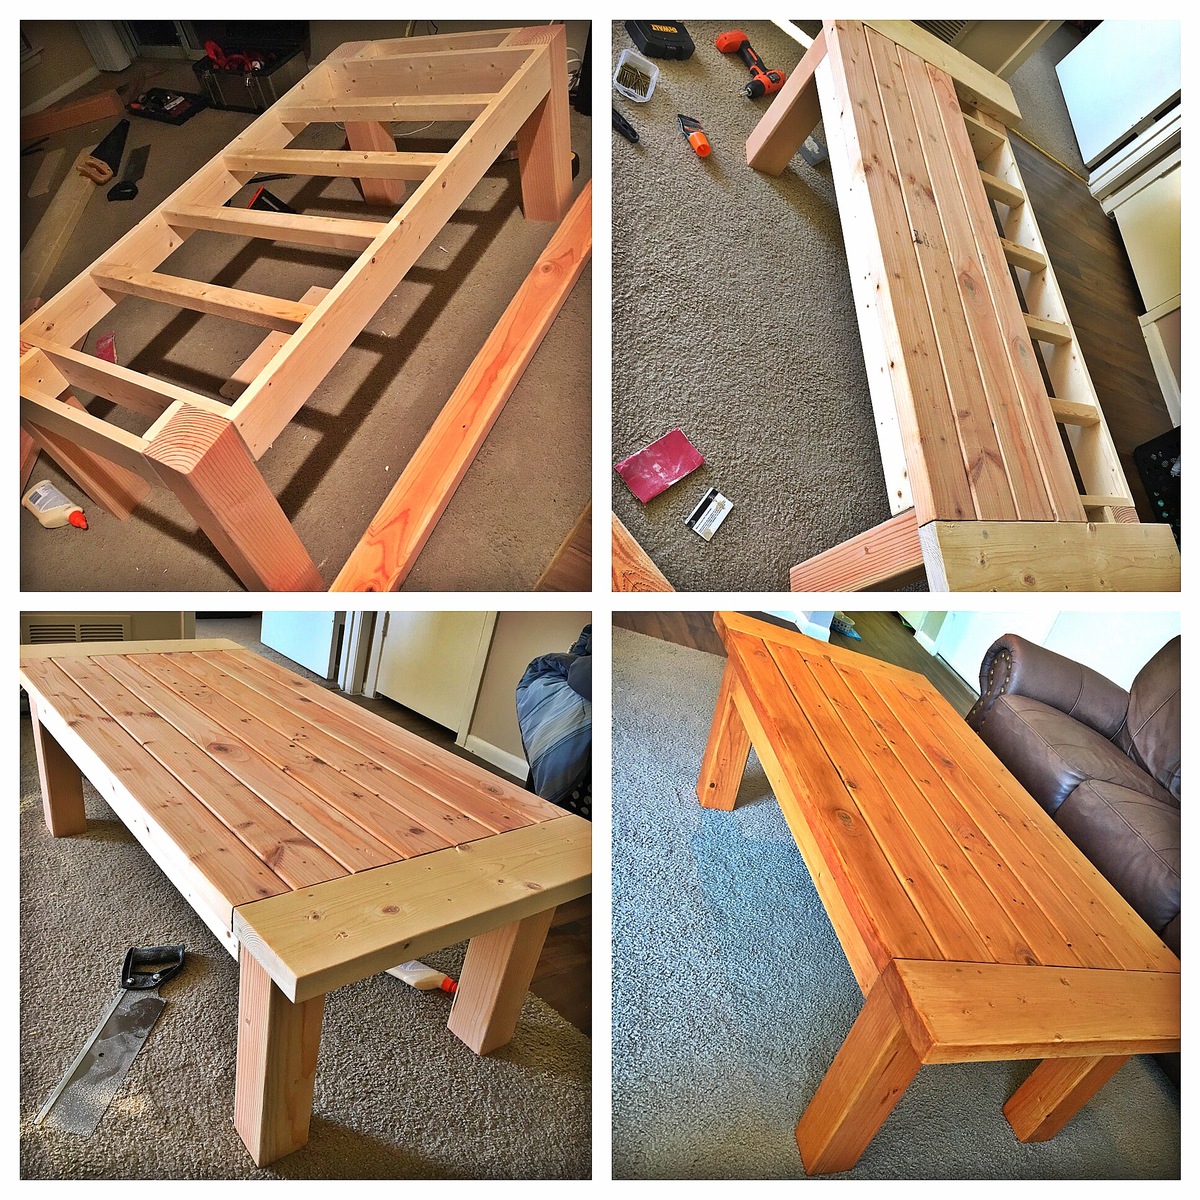
Well, this was my first ever wood build. I have made plenty of sewing projects and many other things, but haven't ever done a wood build.....and I have to say - I'm ADDICTED! I can not wait to do my next wood build. Actually, already making plans to take the beach hut bed and modify it to be a bunk bed for my two girls!
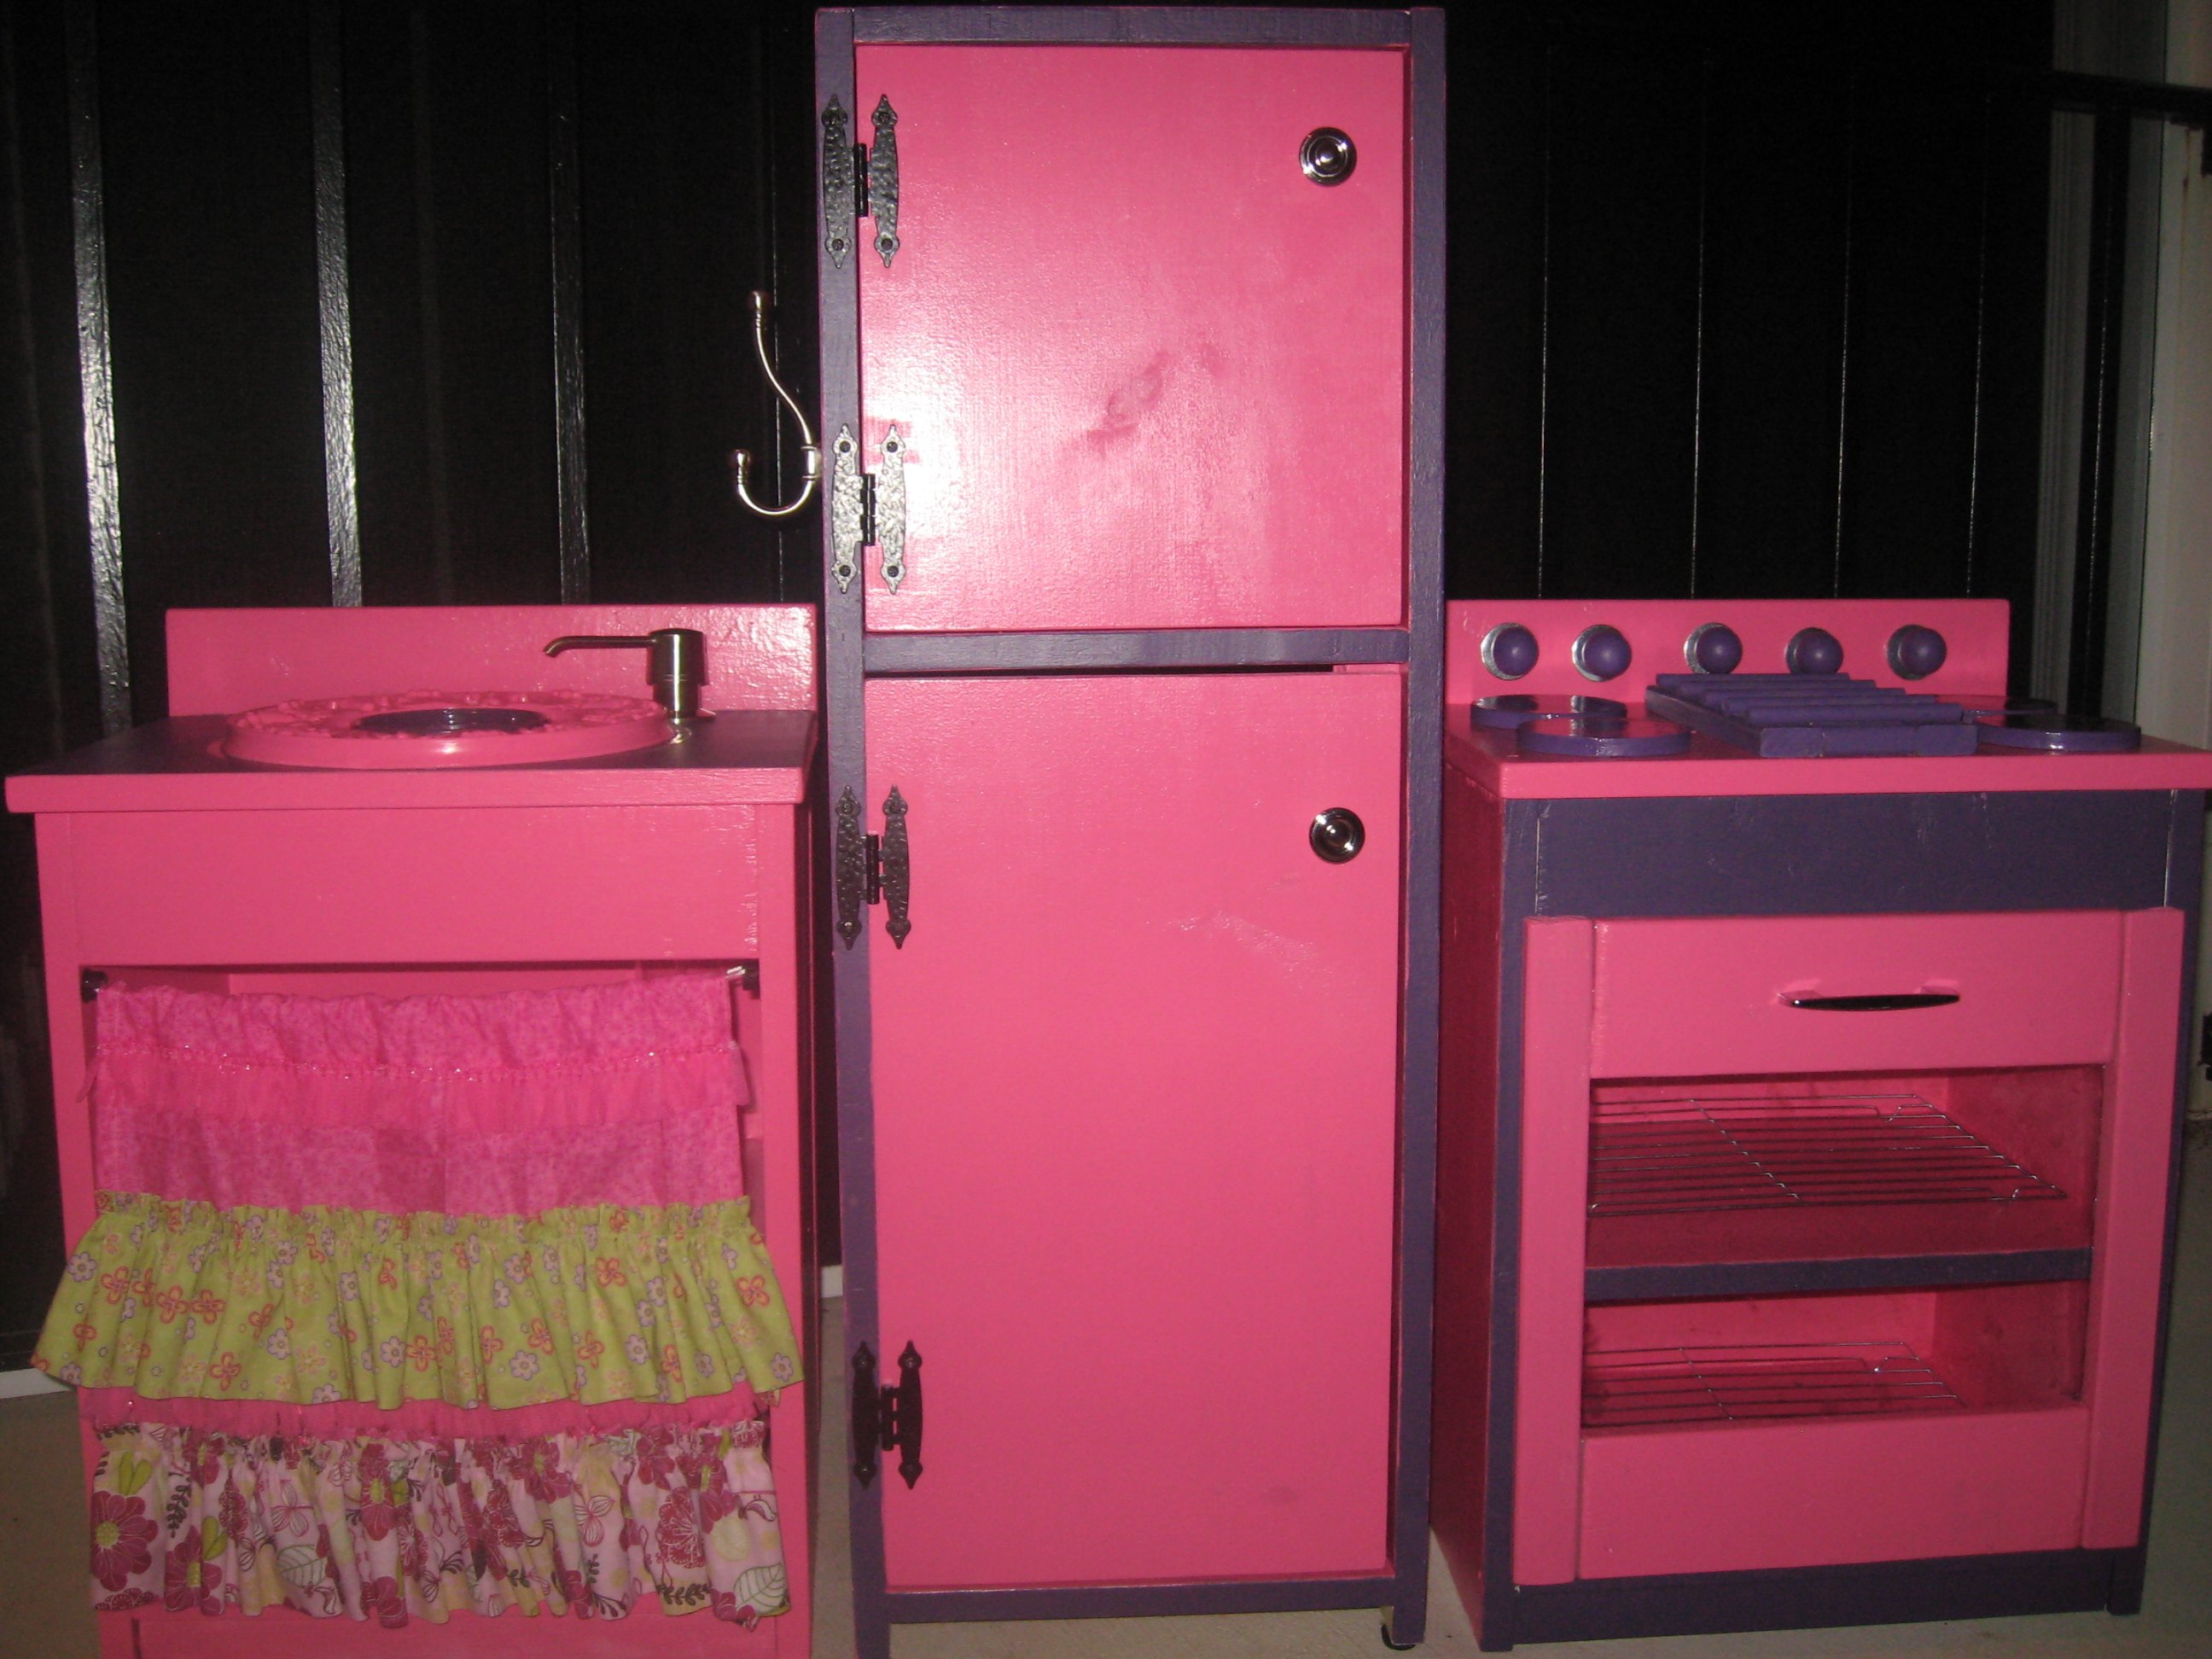
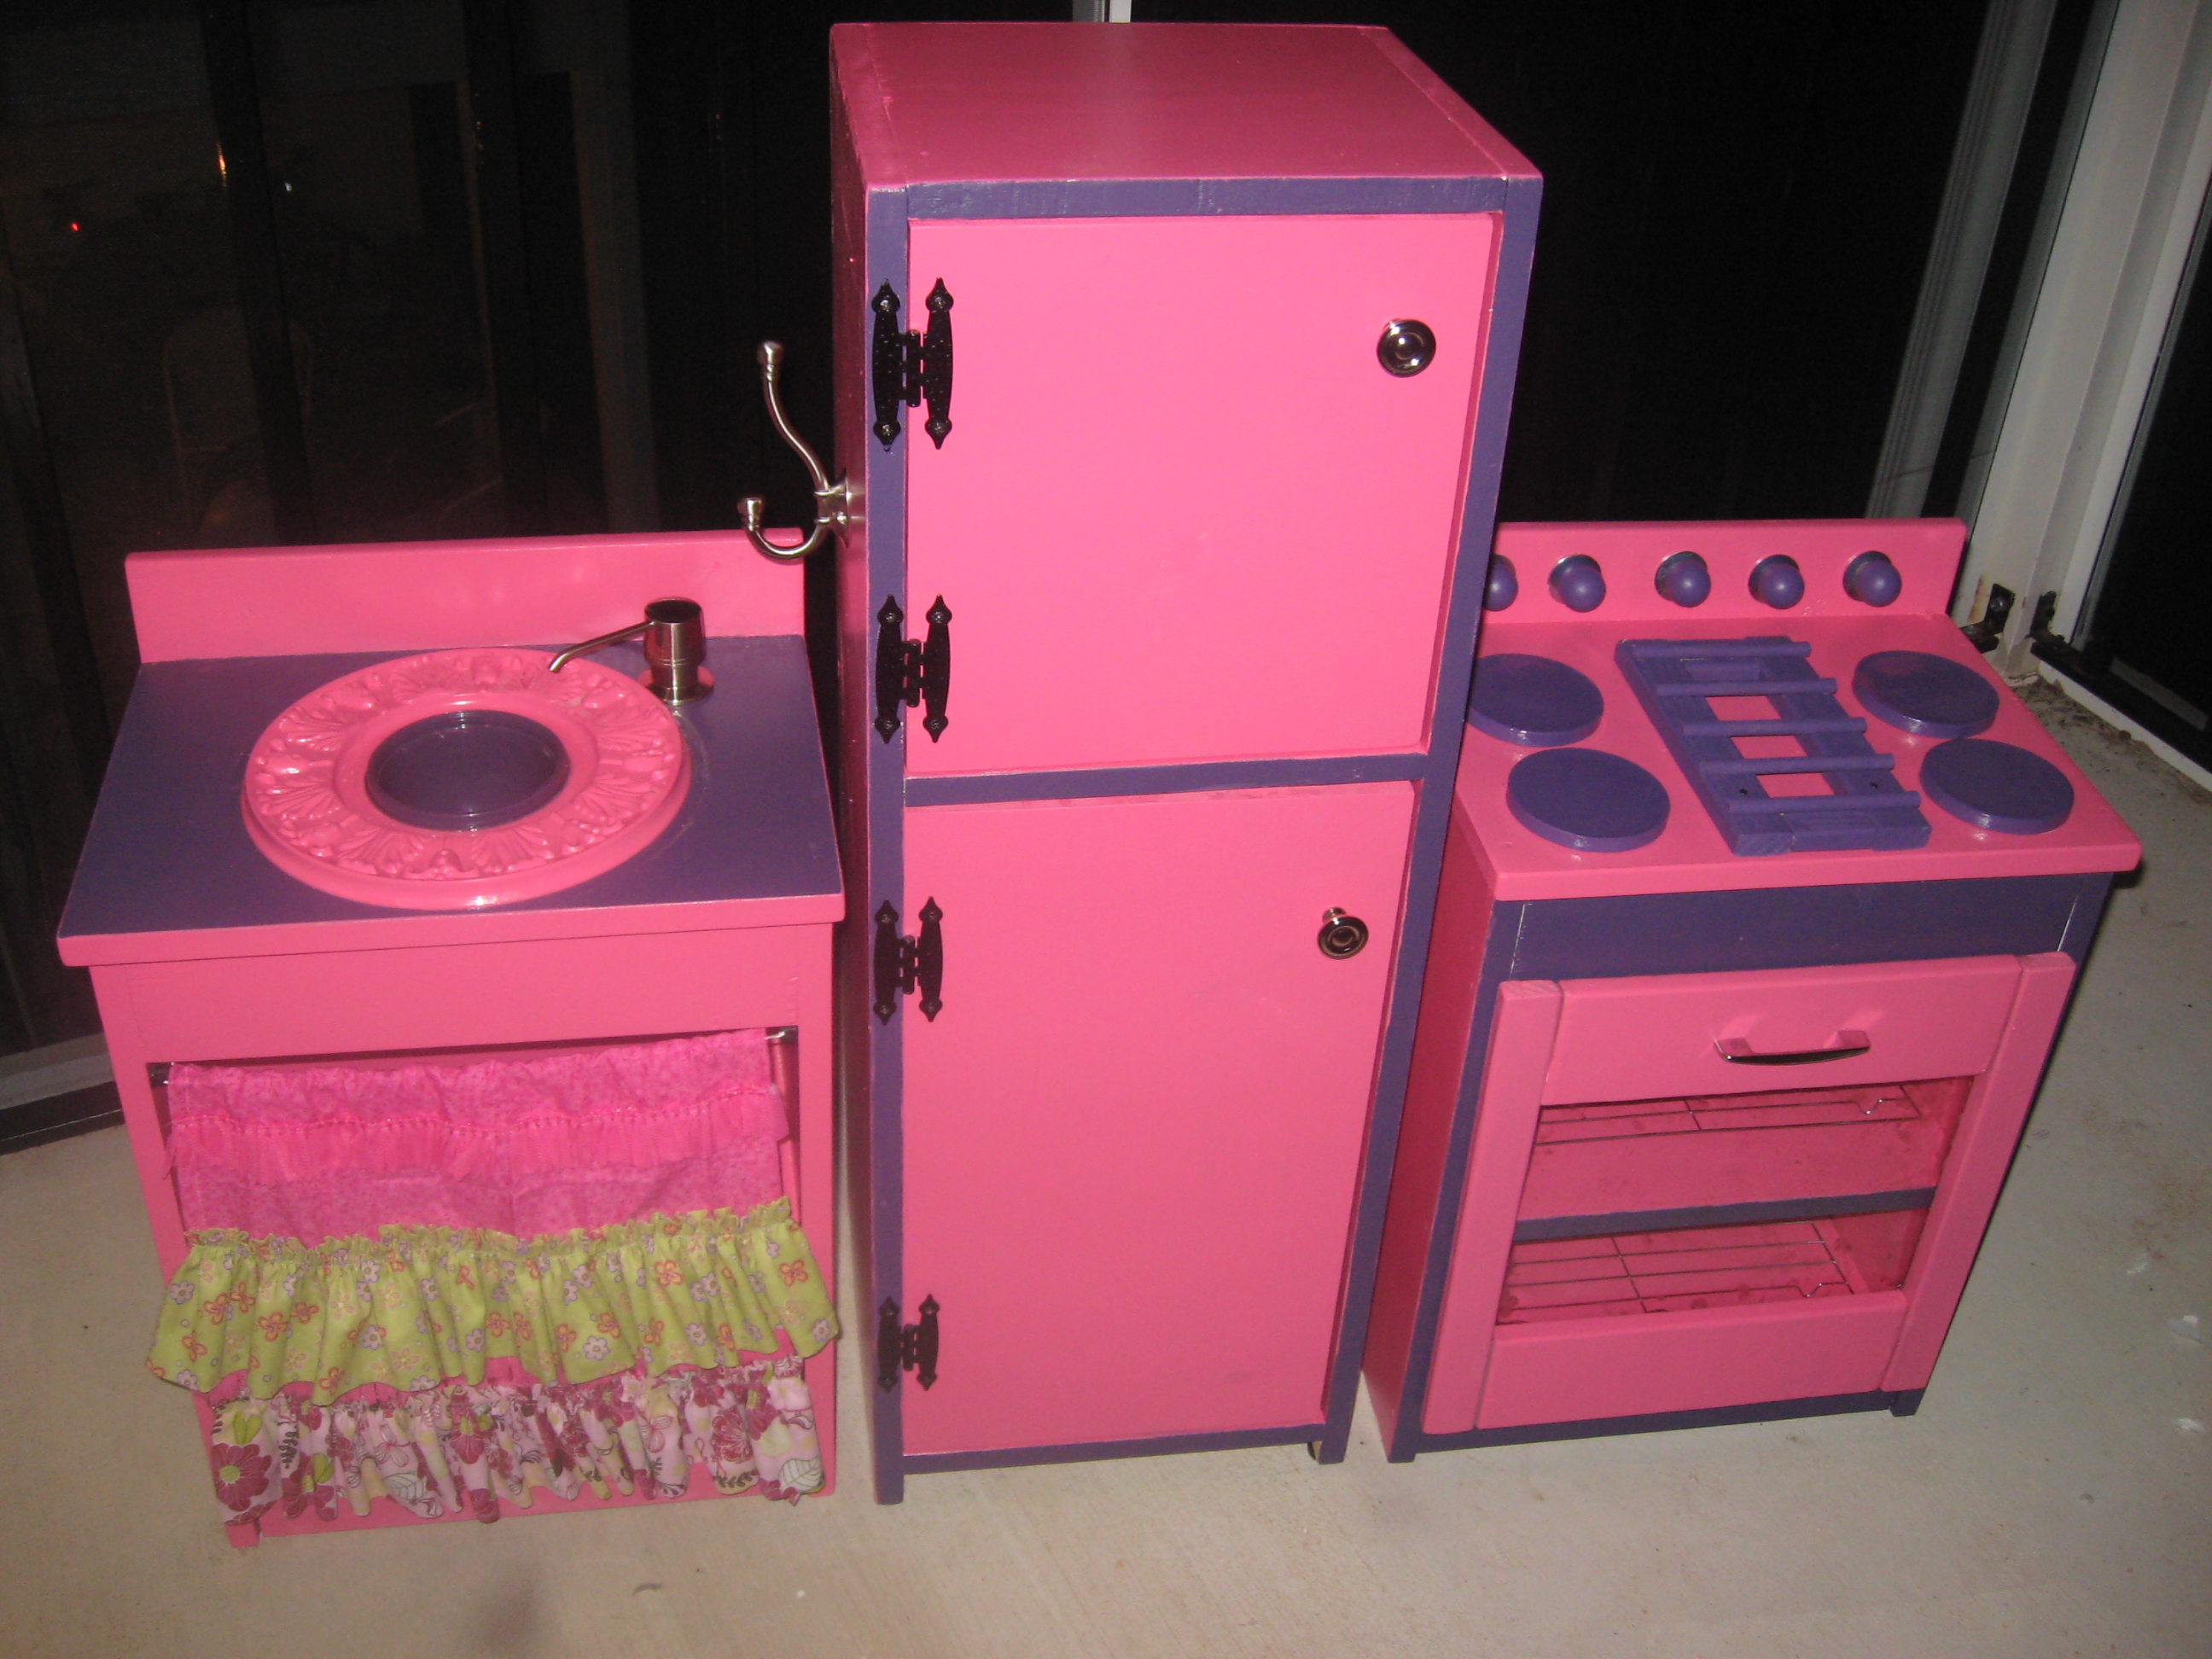
Modifications I made to the kitchen center are as follows:
Fridge: I installed magnetic clips inside the door area so it would stay closed and not go in to far when she closed it. I used basic exterior hinges due to the ackwardness of the size of the boards and placement, but it actually looked better. I installed hooks on the left side for her apron and hot pads and hooks on the right side for her cooking utensils to hang up.
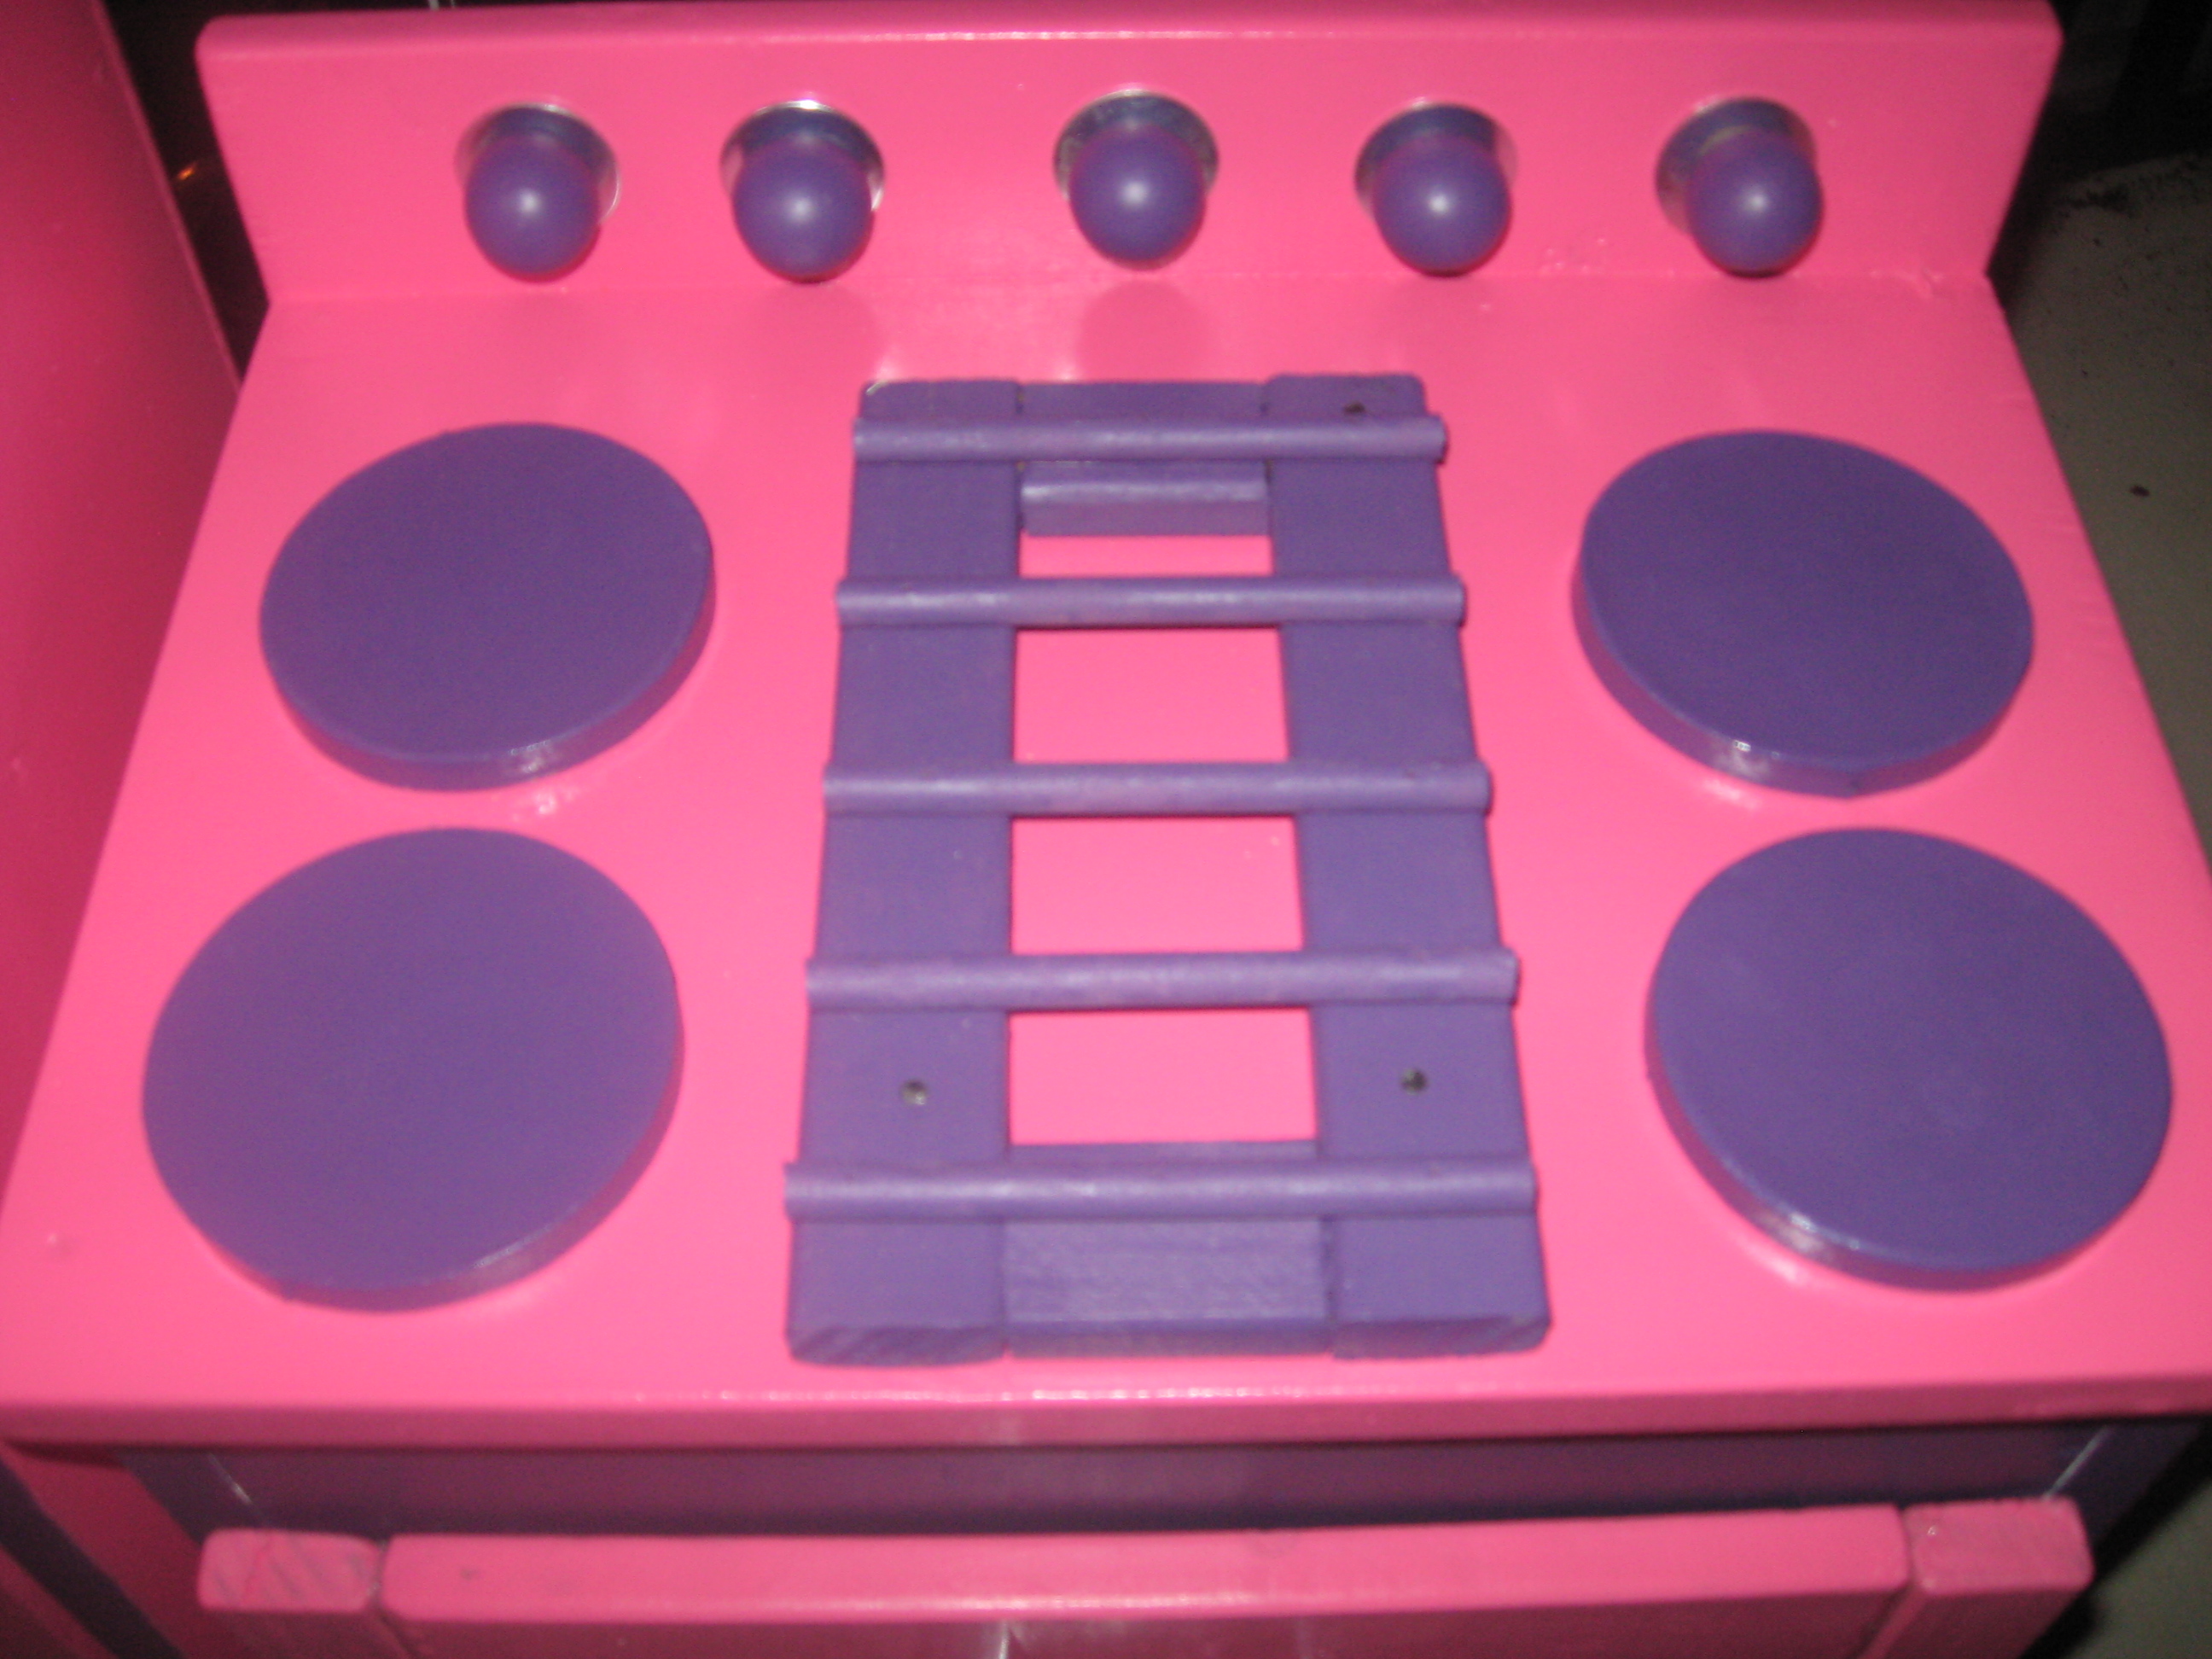
Stove: I made the knobs to the stove able to turn and pull out a little to imitate an actual knob on a stove so she feels as though she is able to turn on the stove and cook. I made the top have four electric burners on the sides and a gas grill plate in the middle....she loves this for her "burgers" lol. I found some cookie cooling racks at dollar tree and they sit perfectly on the shelves inside the stove. I also mounted a tap light on the inside of the stove so it has an "oven light" in it.
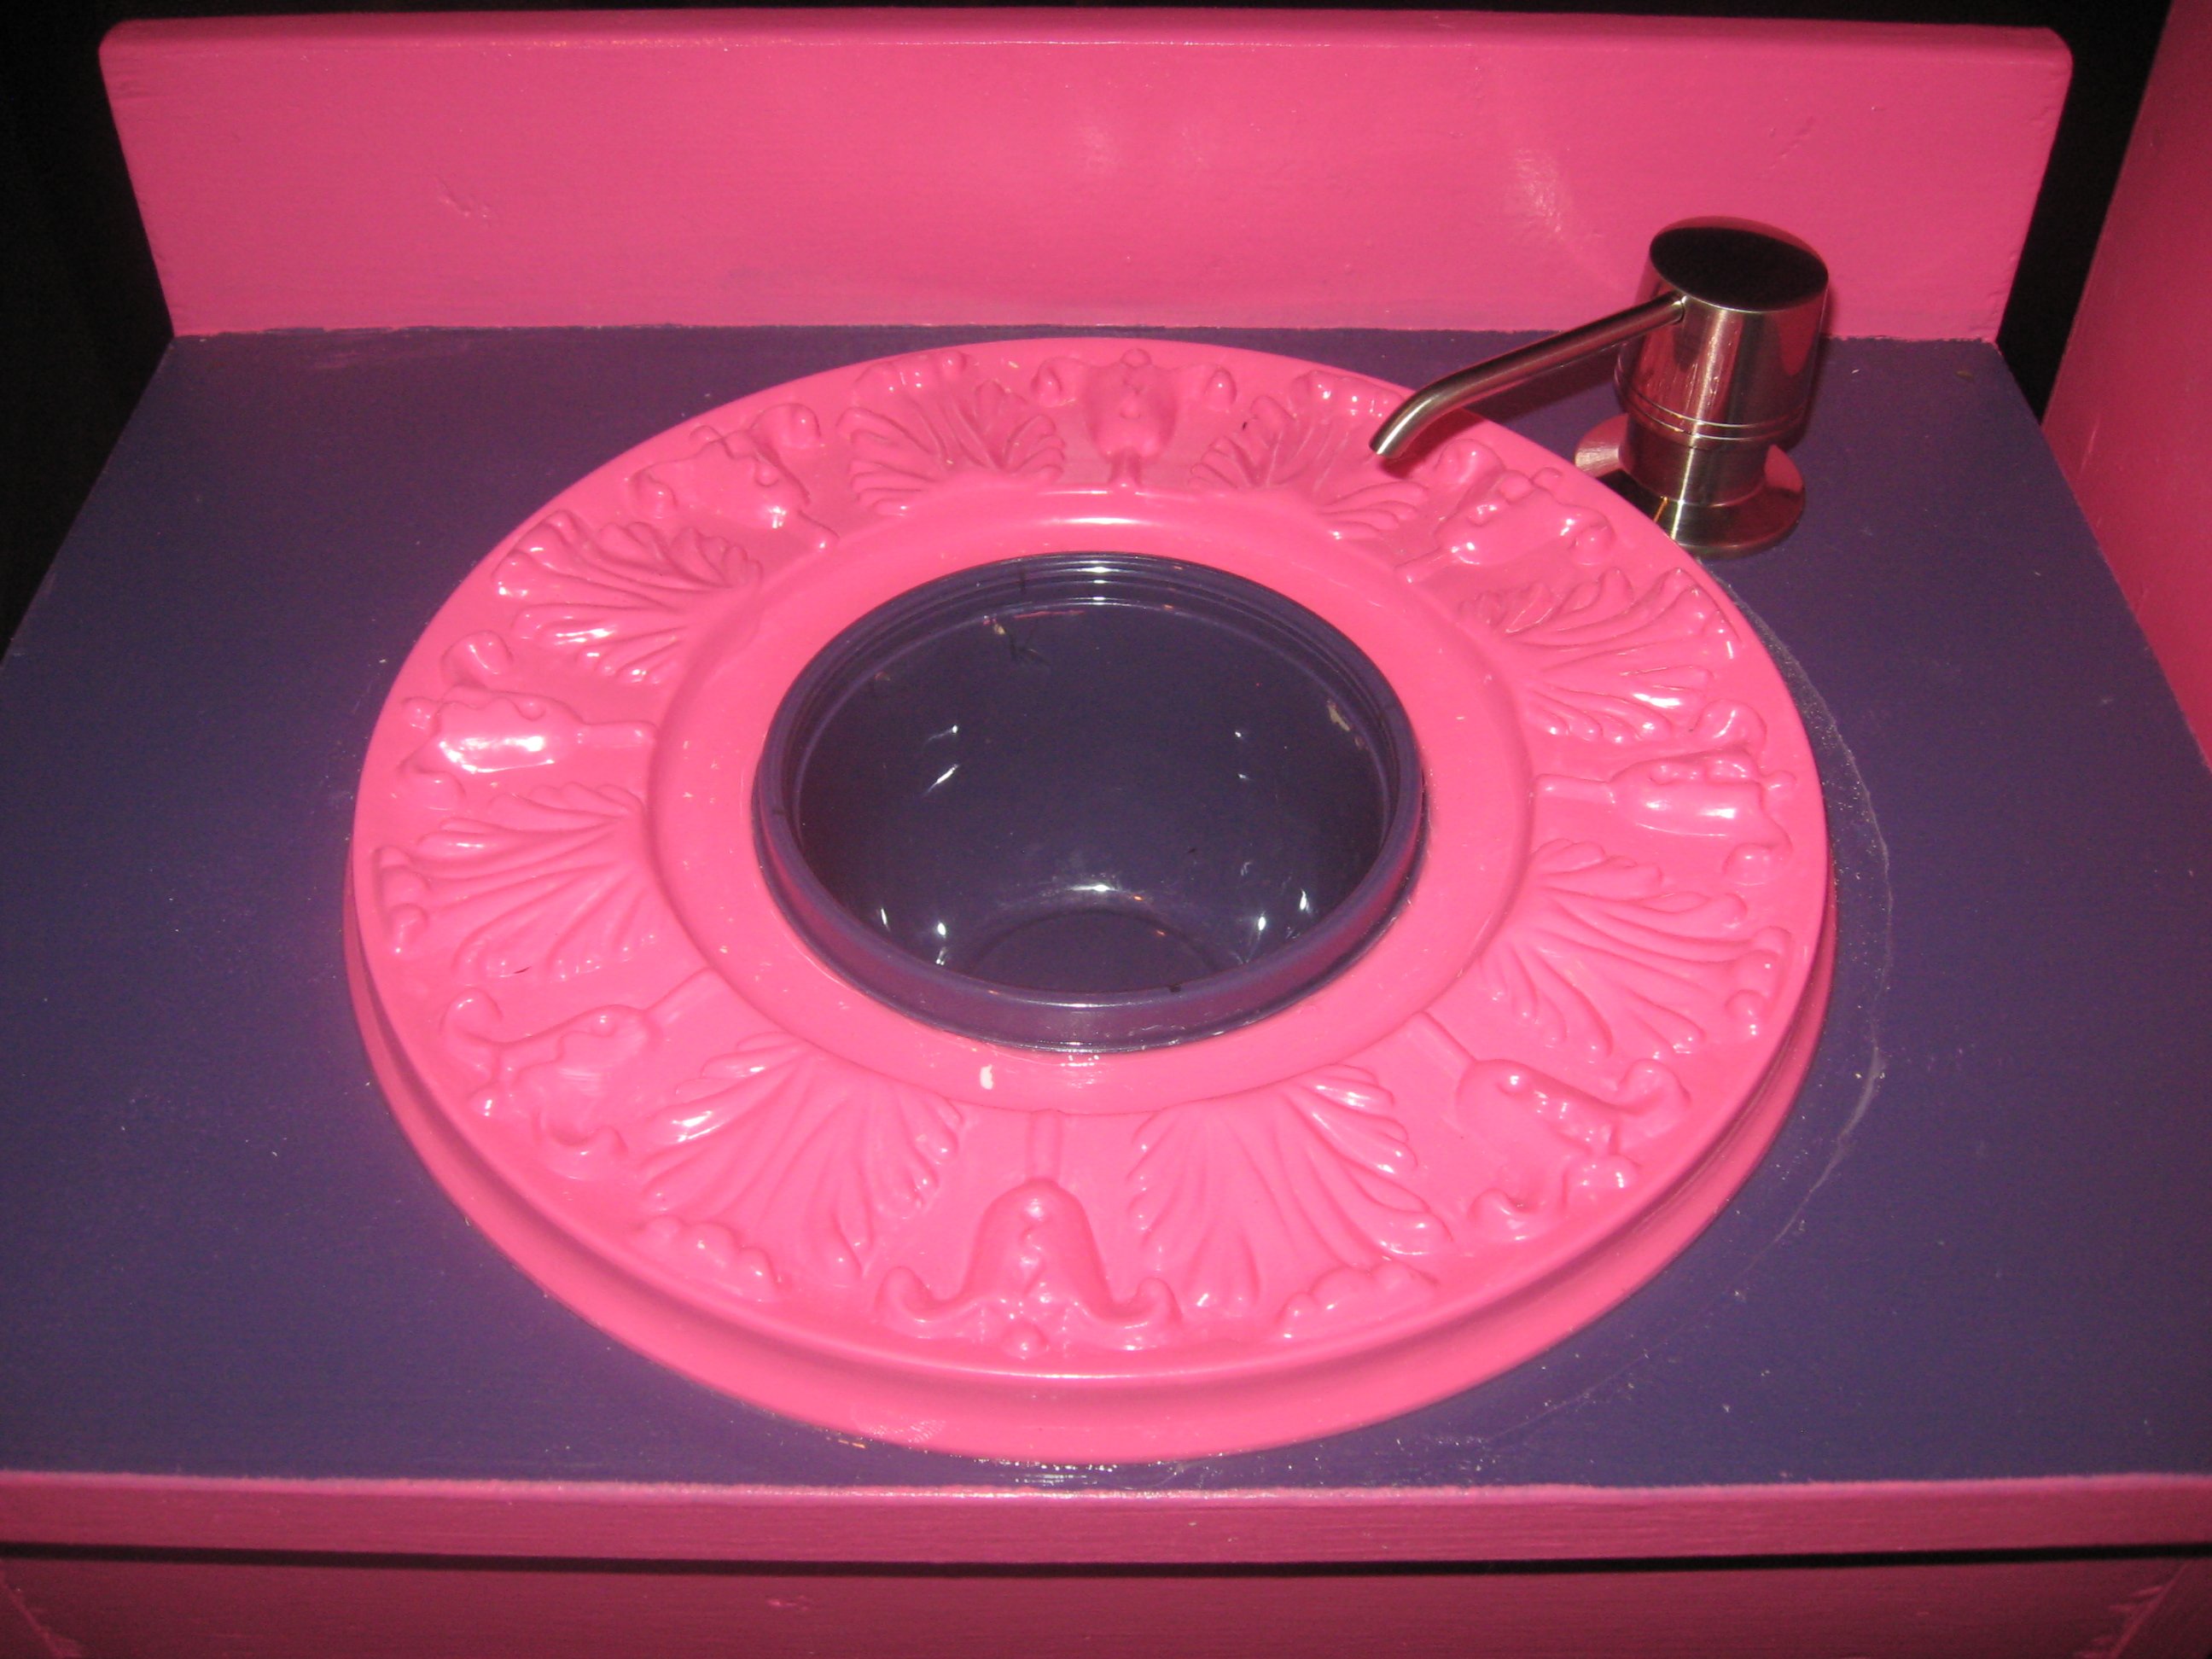
Sink: I painted a ceiling medallion to match the set colors and have that as her decorative sink border...the actual sink is a purple tupperware bowl. The faucet is actually a sink mounted soap dispenser I purchased. It has a bottle that attaches under the sink that I can fill with water so that when she is playing she can pump the faucet and actually get water! I made sure to use kitchen and bath grade silicone sealant on the sink and used paint that is ok in a kitchen/bath area.
I painted her set Disney Tink Pink lol.....her favorite color! She is loving this set and I am so thankful I found this site so I could make it!
Sun, 01/01/2012 - 09:47
Congrats on your first build! You did a super job! So cute. Love the creative elements like the turning knobs, grill and the 'running' water. Your sink bowl and trim colors are a great touch too. :)
I followed the plans and everything went really well. Th bench was built to match a Farmhouse Bed and nightstand that I built. I added fake drawers and knobs to make it match the nightstand. The top of the bench is made from boards screwed together rather than plywood, to add a little character.
My husband made this with a few tweaks: taller dividers to be even with the sides, smoothing of edges, and handles! It was perfect for our salad bar and pizza party!
"I took a dead spot in our kitchen and designed it into a functional space that also added value to our home!
I built the frame using the sideboard plans by Ana White & Shanty2Chic. From there I designed it to fit our needs perfectly."
I found a picture of a mail organizer (URL below) on Ana's website and my wife really wanted one similar to it. So we took that idea, added some antique accessories to the side and name plate on the front.
Fun quick project!
My husband built the dresser for our three-year-old son. He built and stained the dresser over the course of a week.
Built this table out of solid Maple, which made it much more expensive to build, but such a beautiful piece of furniture. I bought the legs from Osborne Wood. One thing I did to cut down on cost was to use 1" X 6" wood for the 5 center table-top boards instead of the 2" X 6" called for in the plans. Underneath those, I put a piece of 3/4" plywood to increase the thickness to match the (4) 2" X 6" outer edges. This is not visible unless you climb under the table to look at it from underneath but I think it actually helped to create a flat (almost seamless) table top. Thank you for the plans! I put a lot of work into this piece and I think it will remain in my family for generations!
Simple workbench using 2x4's and a 3/4" 24"x48" top and 2.5" screws.
Added an extra board to the bottom for more storage space. Actually built 2 of these to have a longer work station for the miter saw and to assist in ripping larger boards with my circular saw since I do not have space in my garage for a table saw.
This was my very first project. I wanted to jump right in and start with a Storage Farm House bed but my husband was convinced that I would start a project and just leave it hanging and insisted that I start with something smaller. He was sooo impressed with these stools! I originally had planned to upholster the top as in the plan but we preferred the look with out it! The plans were very easy to follow.
Comments
msaimee
Thu, 01/23/2014 - 20:17
Nice!
Very clean looking and beautiful. Thanks for sharing.