Pallet Wood Planter
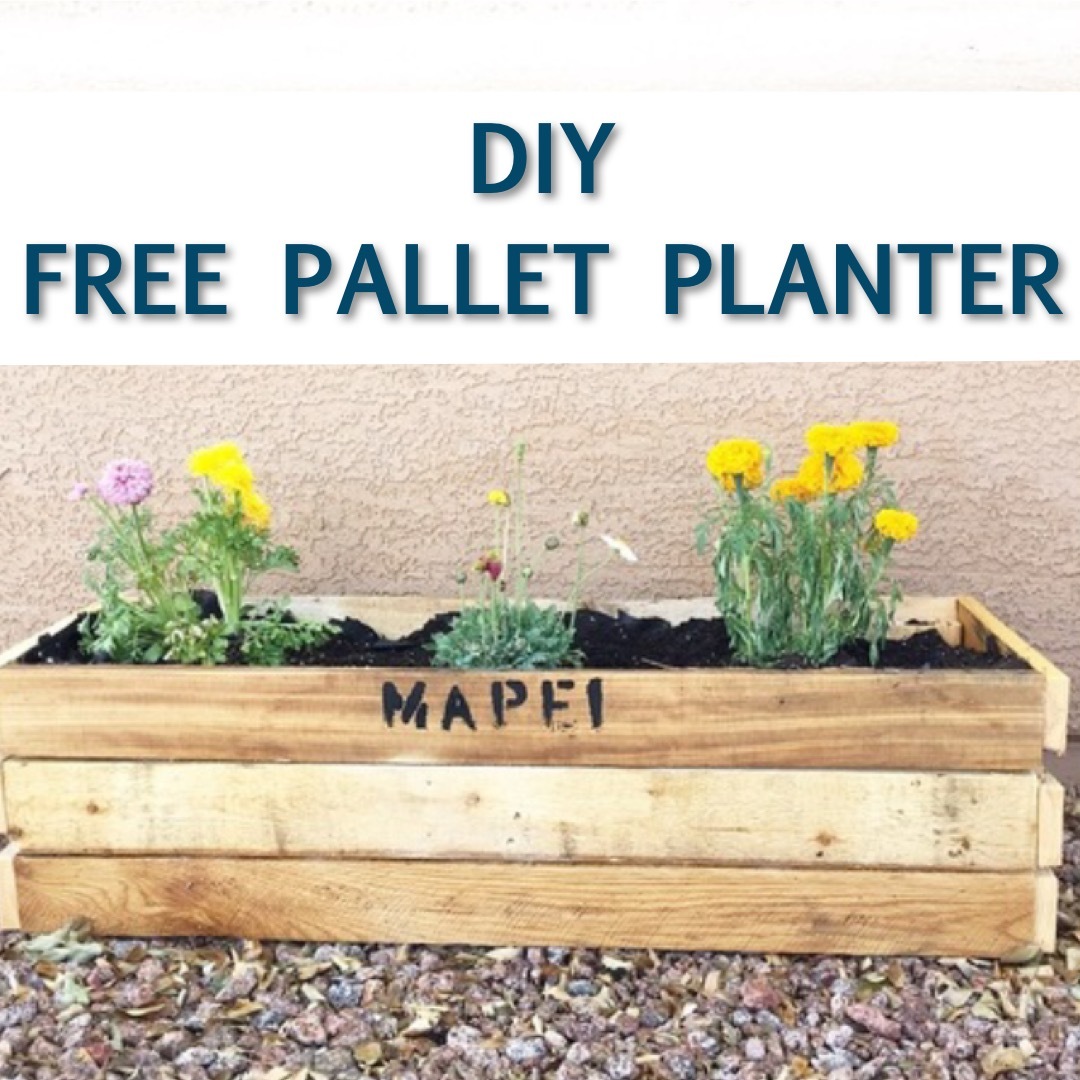
I made this planter out of some left over pallet wood that I had. It was pretty quick. It went together in about 2 hours. I have the step by step plans on my blog.
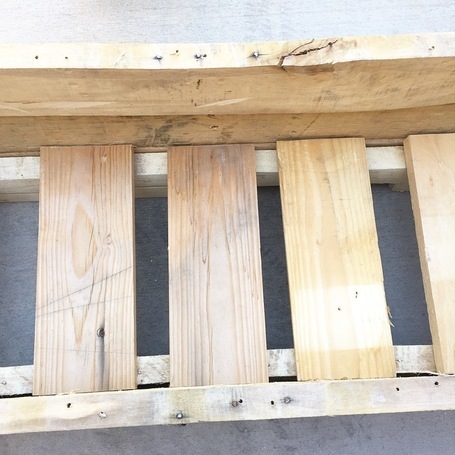

I made this planter out of some left over pallet wood that I had. It was pretty quick. It went together in about 2 hours. I have the step by step plans on my blog.

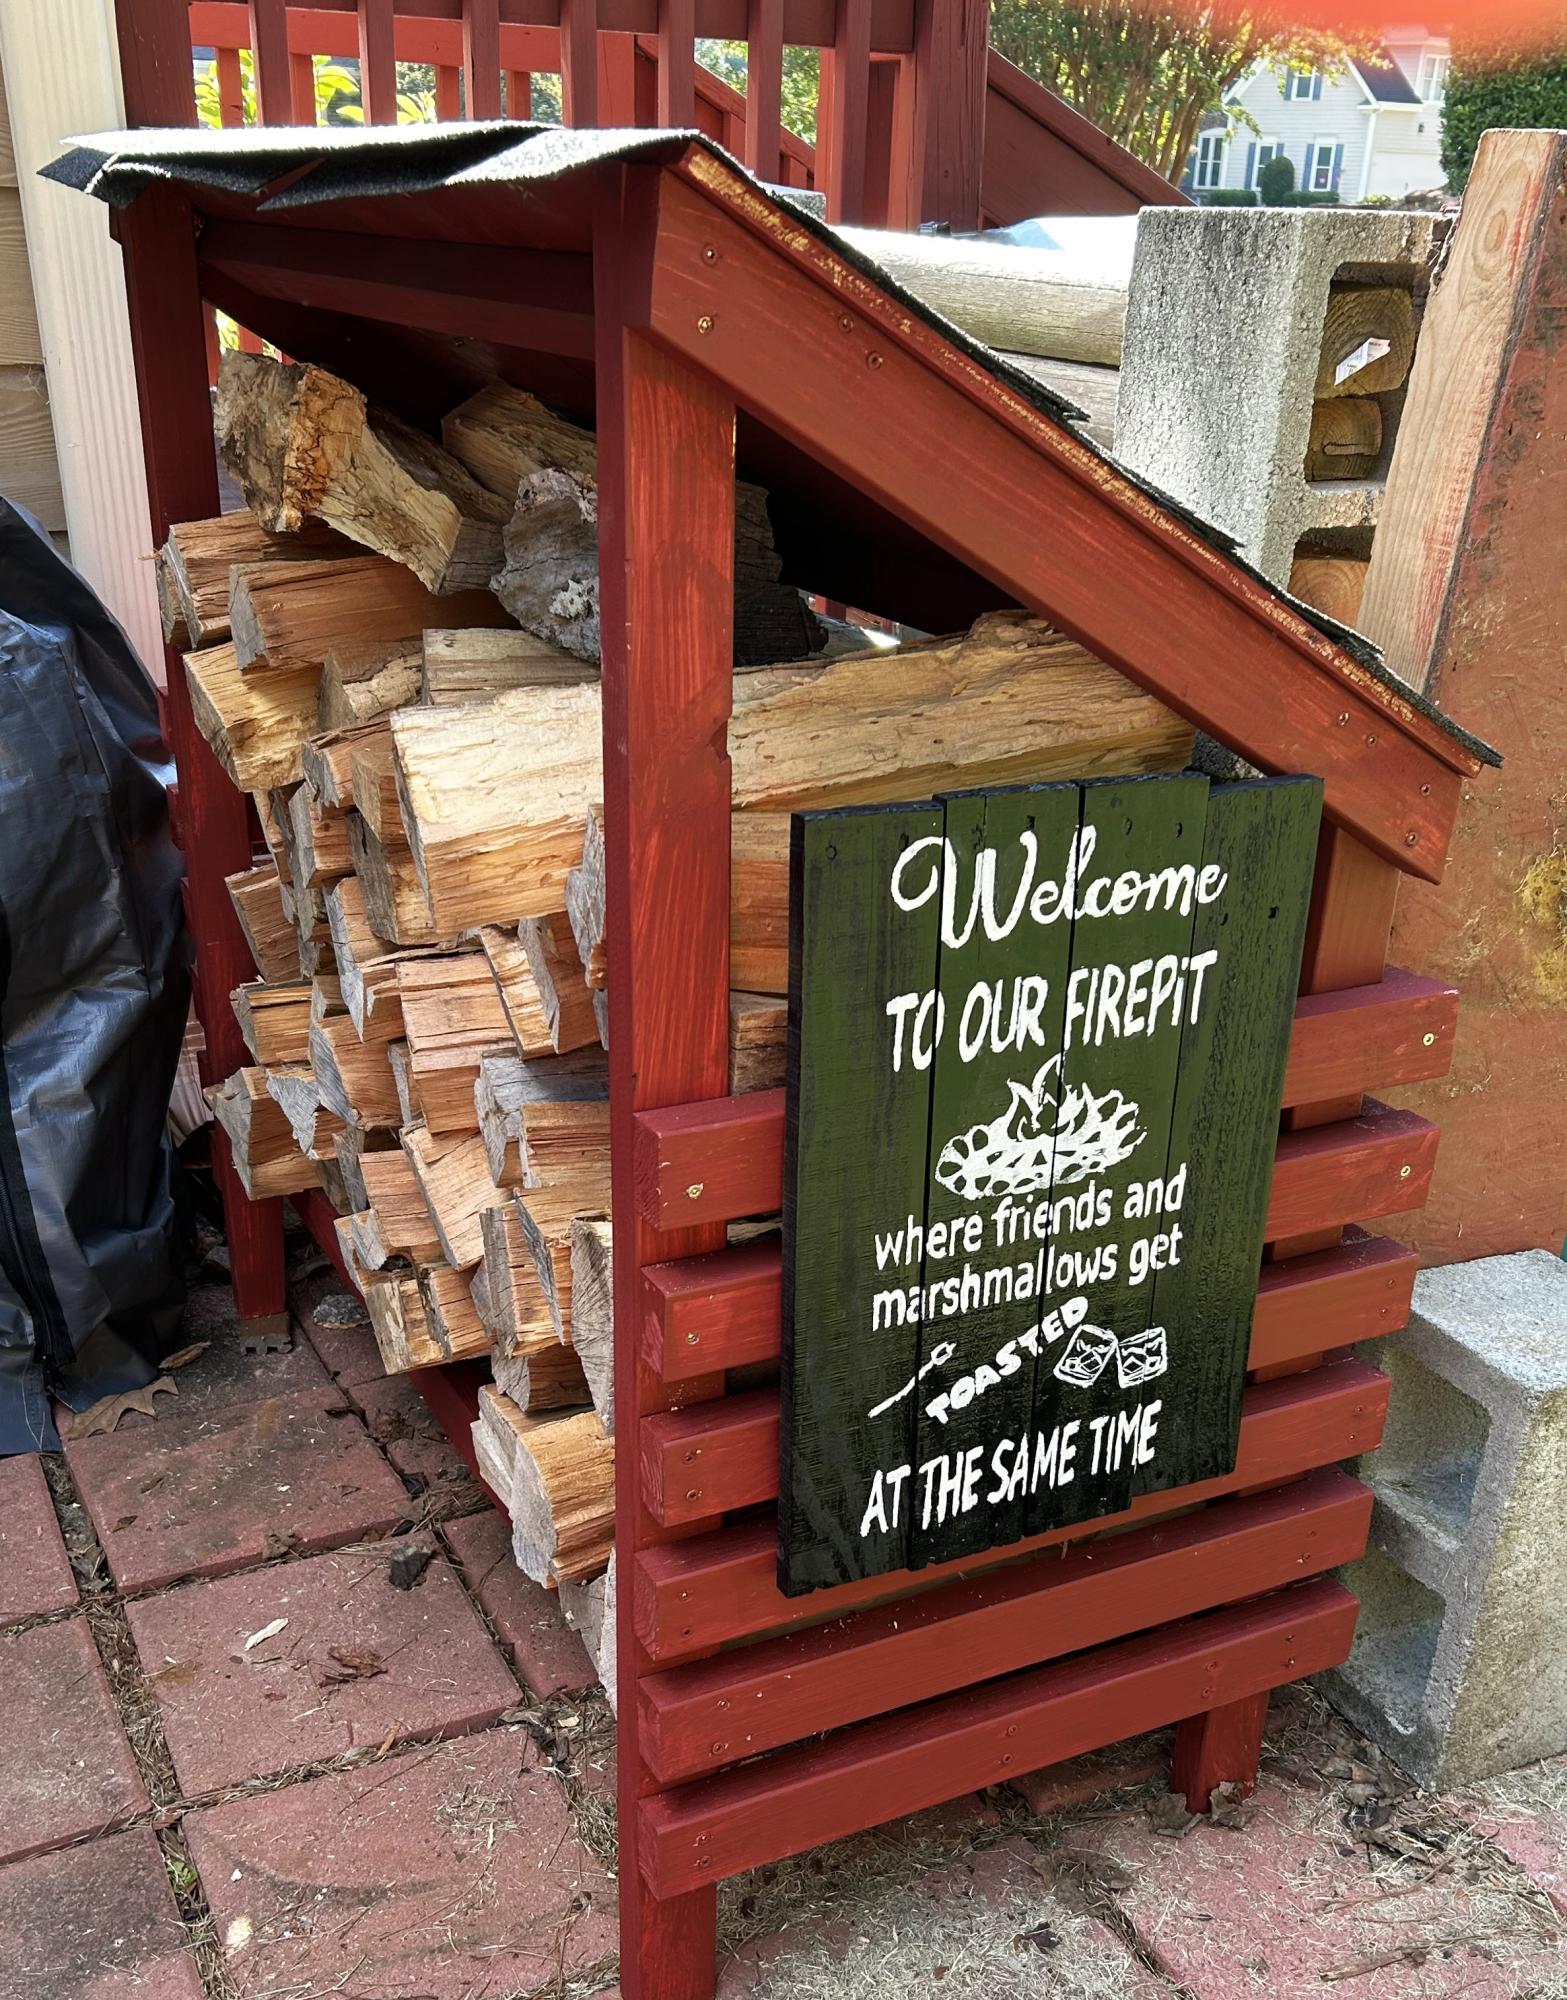
Smaller firewood shed. So pleased with how it turned out.
Skellykath
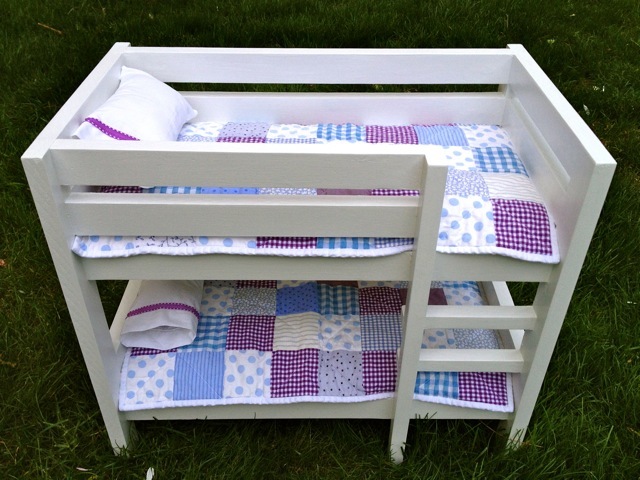
Doll bunk bed painted in white with purple patchwork bedding.
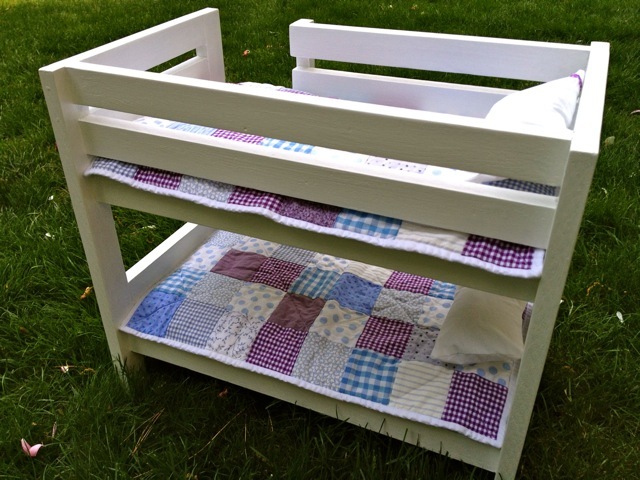
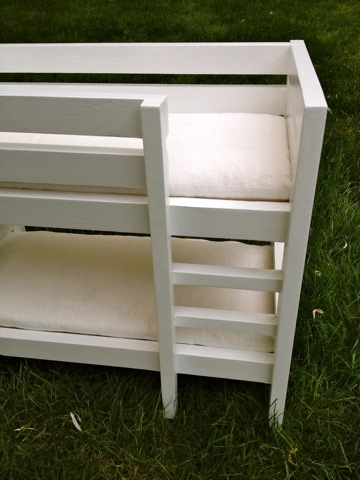
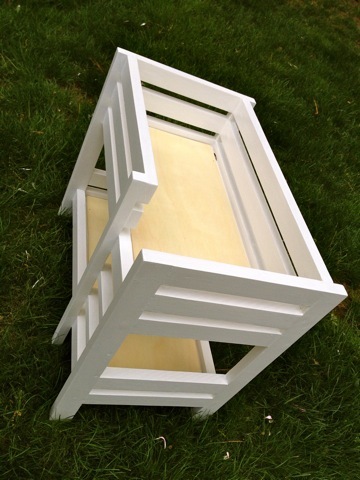
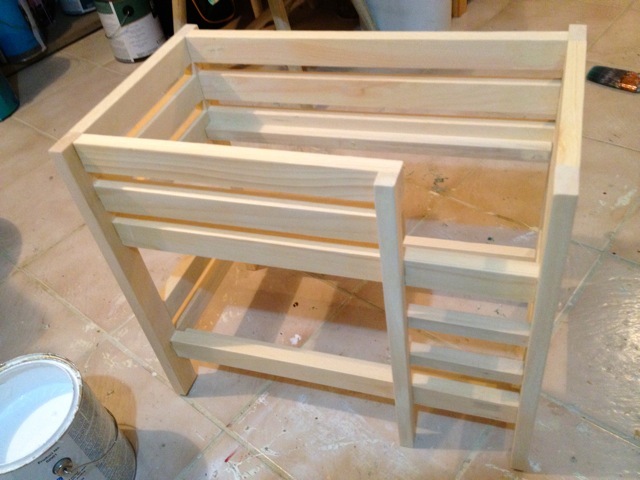
I modified Ana's plans a little for our own needs. The simplified design feels a little more masculine to me and matches my boys' bunk beds a little better, too. I used pine. The 1 x 2's are select pine, not rustic, because that's all our HD had to offer. I wiped the whole thing down in tea, let it dry and then used a rusty vinegar solution as a stain. Gave it a few coats of varnish and voila! Love the final product. Thanks, Ana, for an incredibly empowering and motivating website. :)
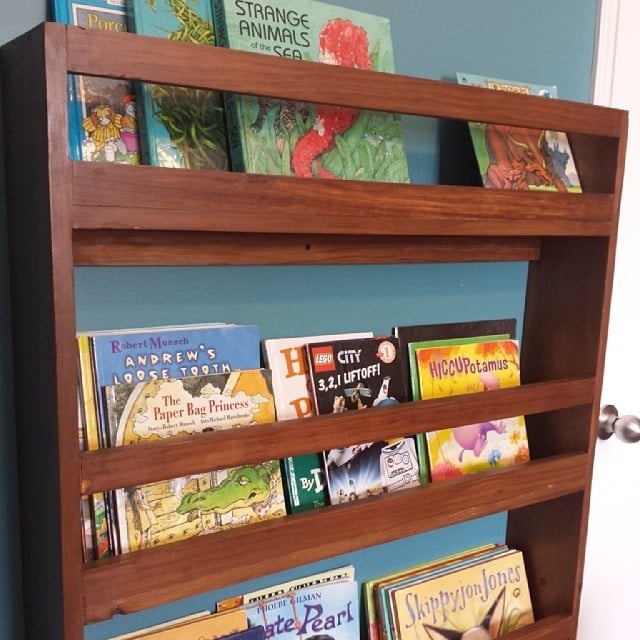
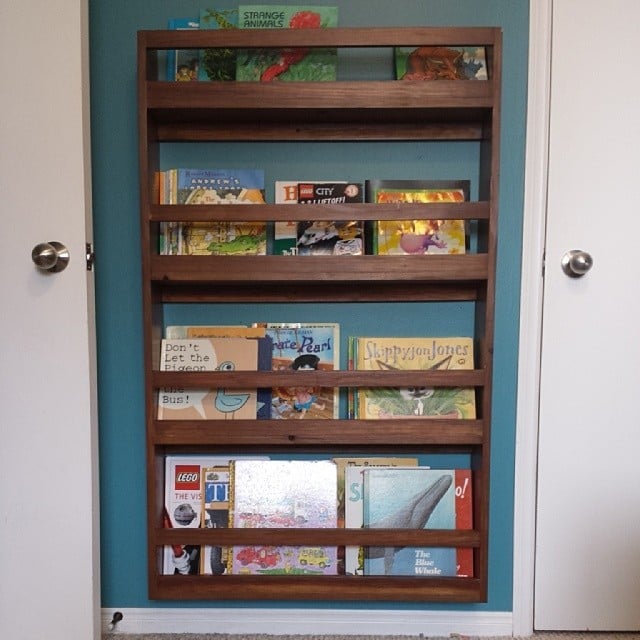
I built 3 30" picture ledges for my daughters for all of their books.
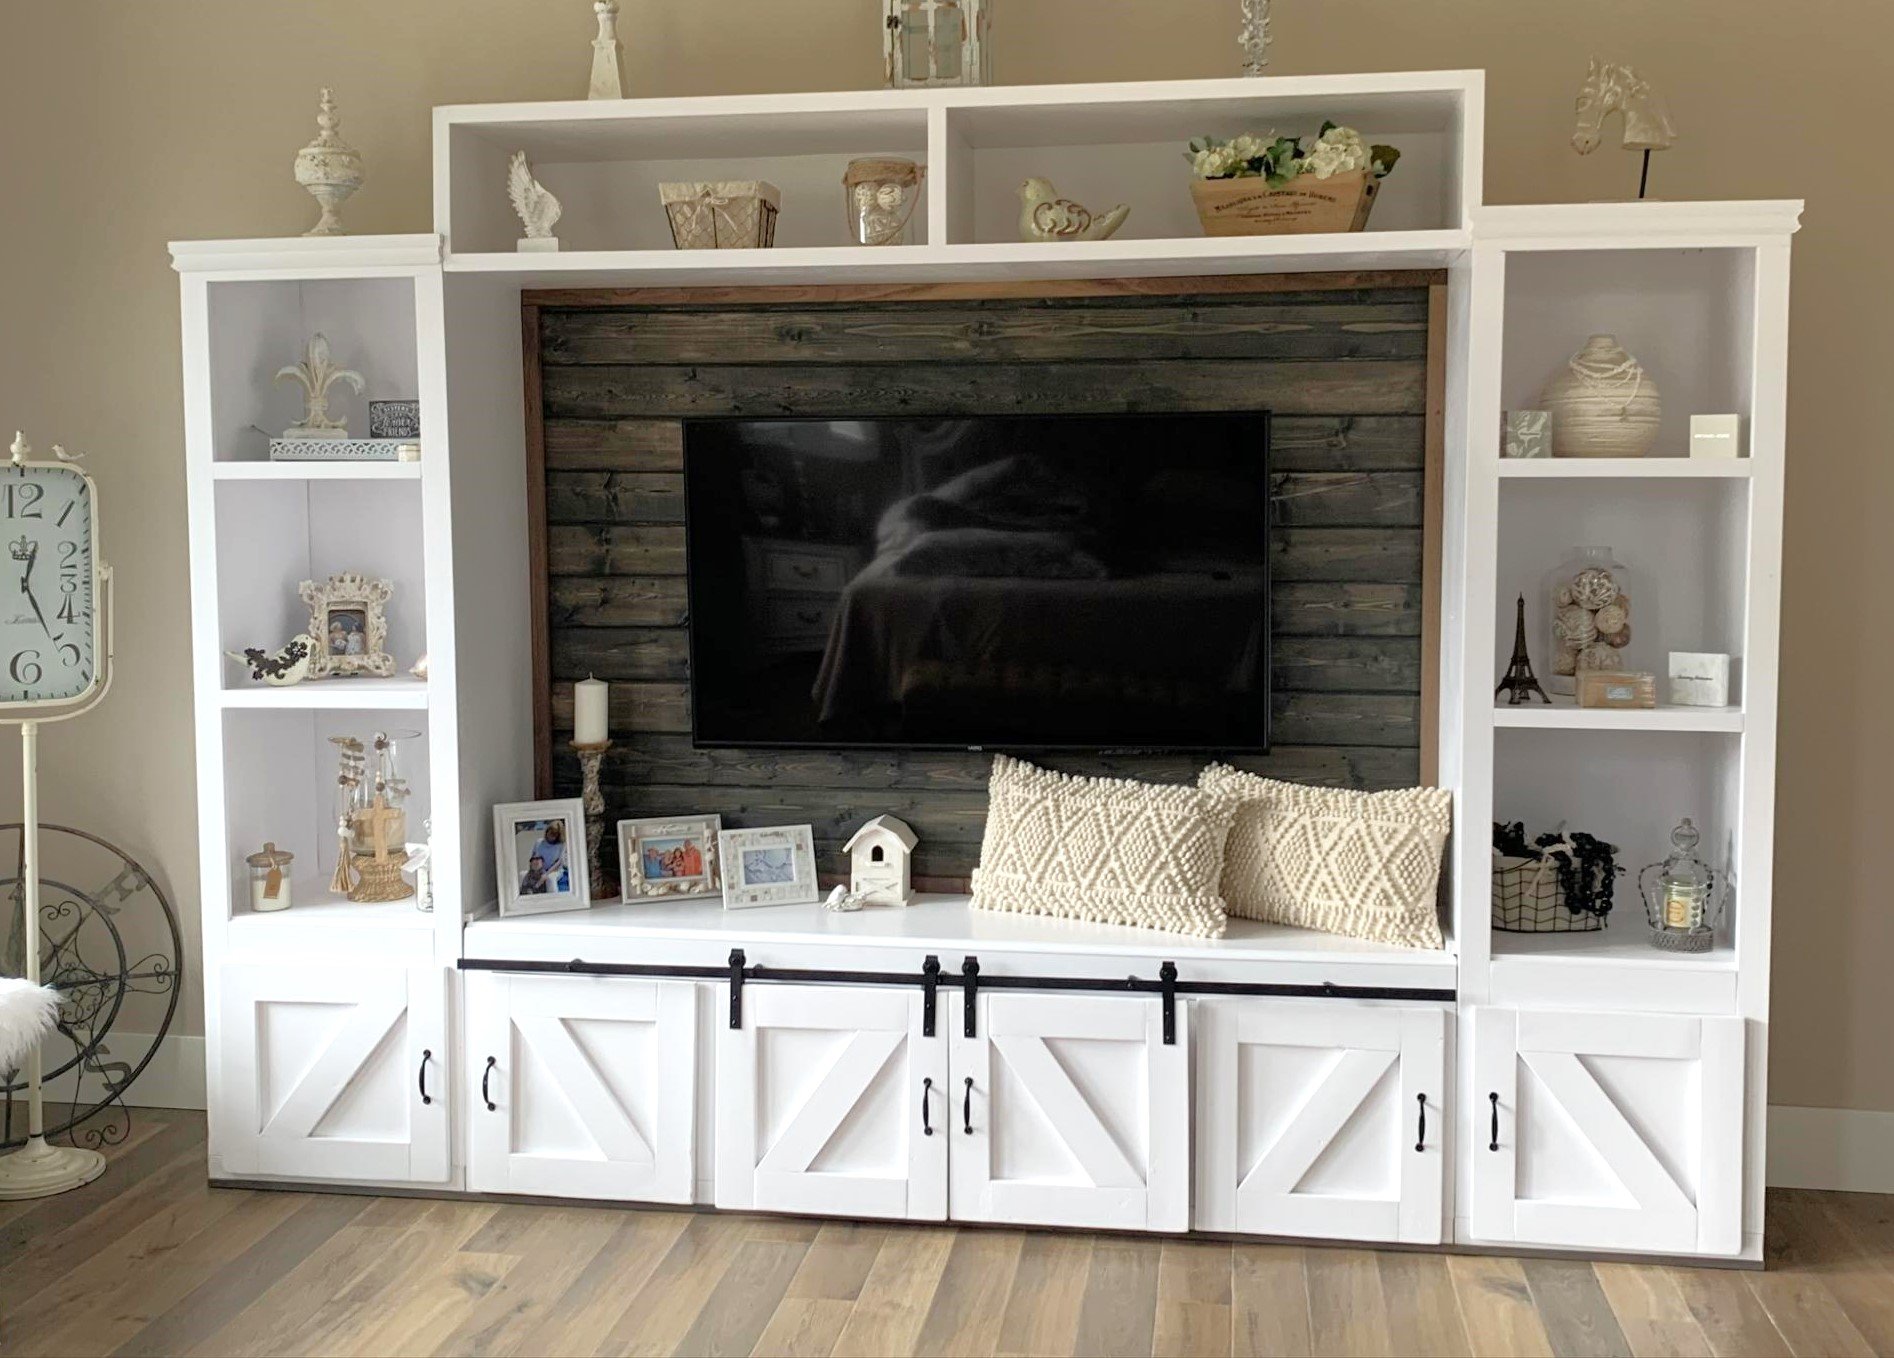
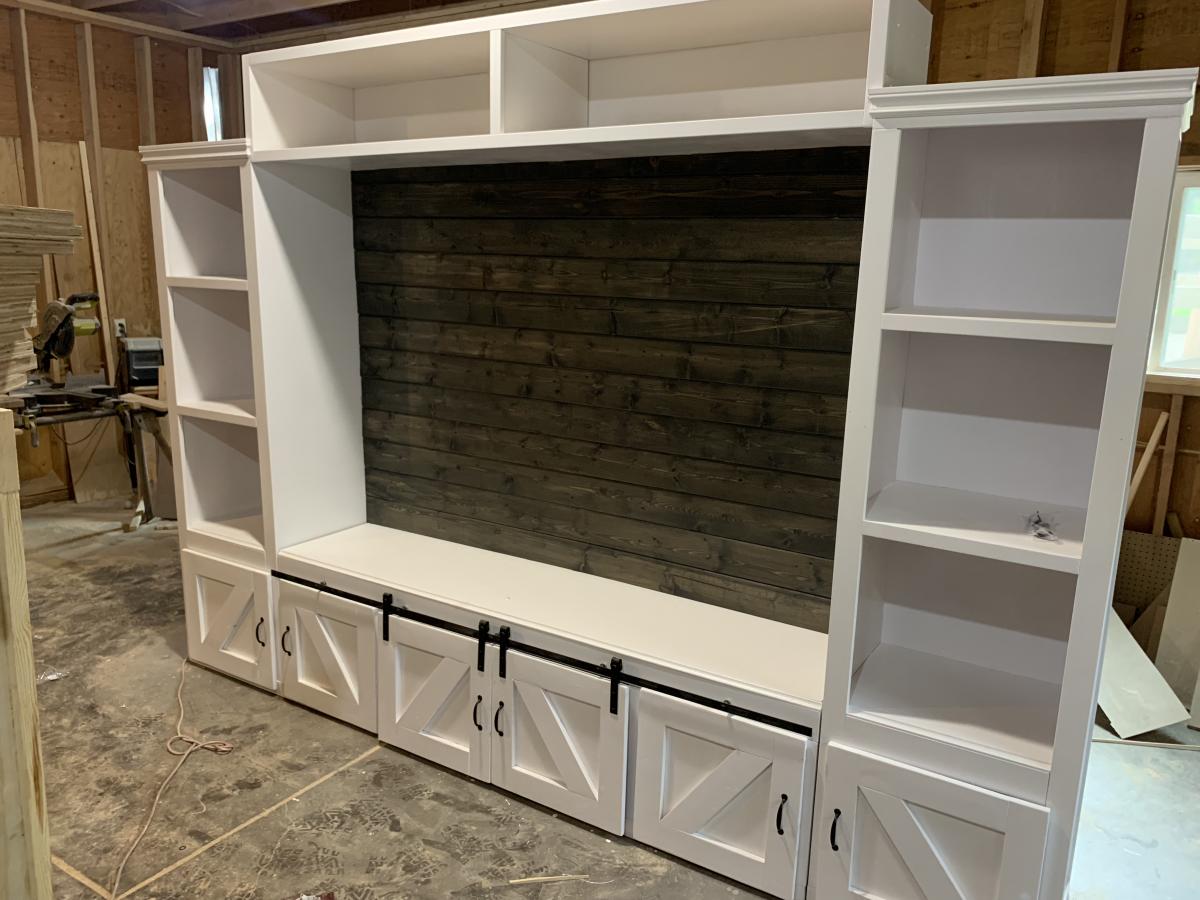
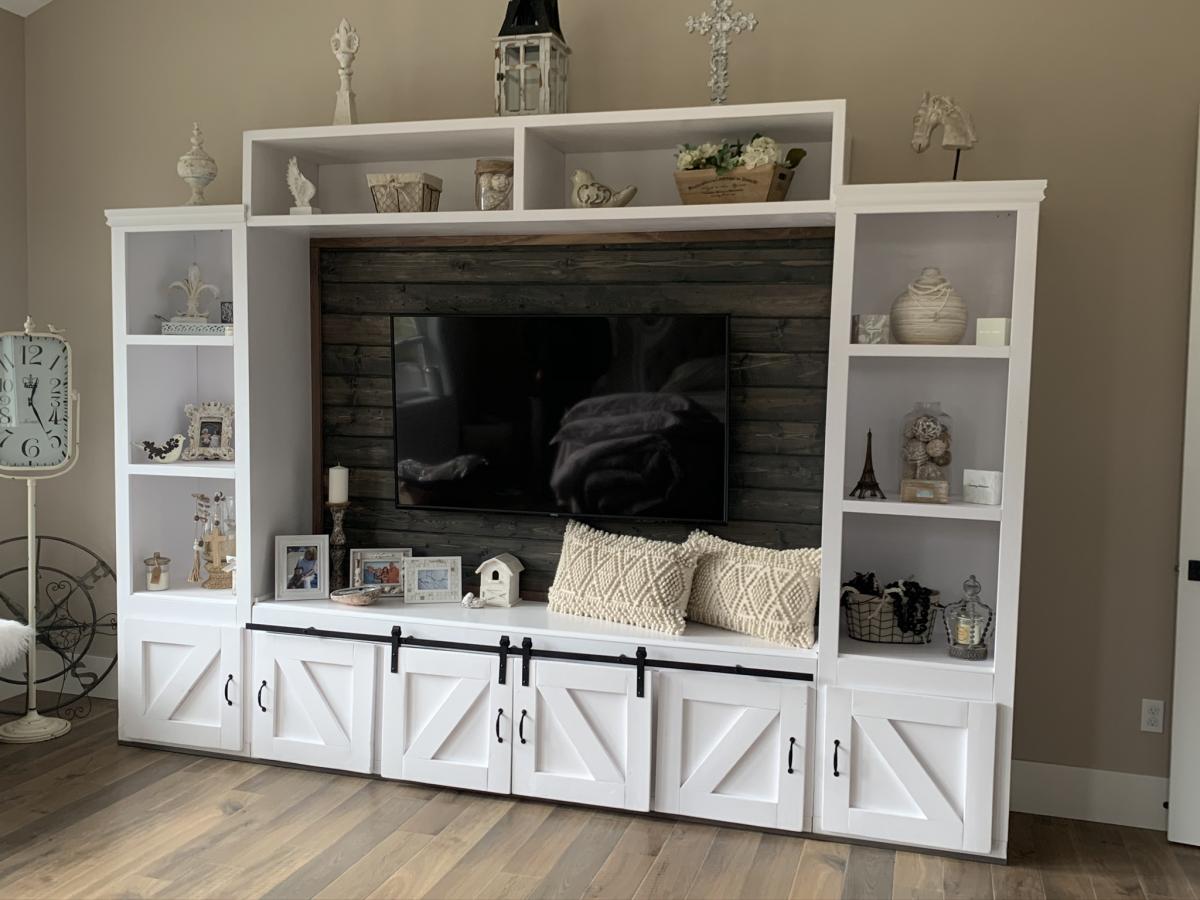
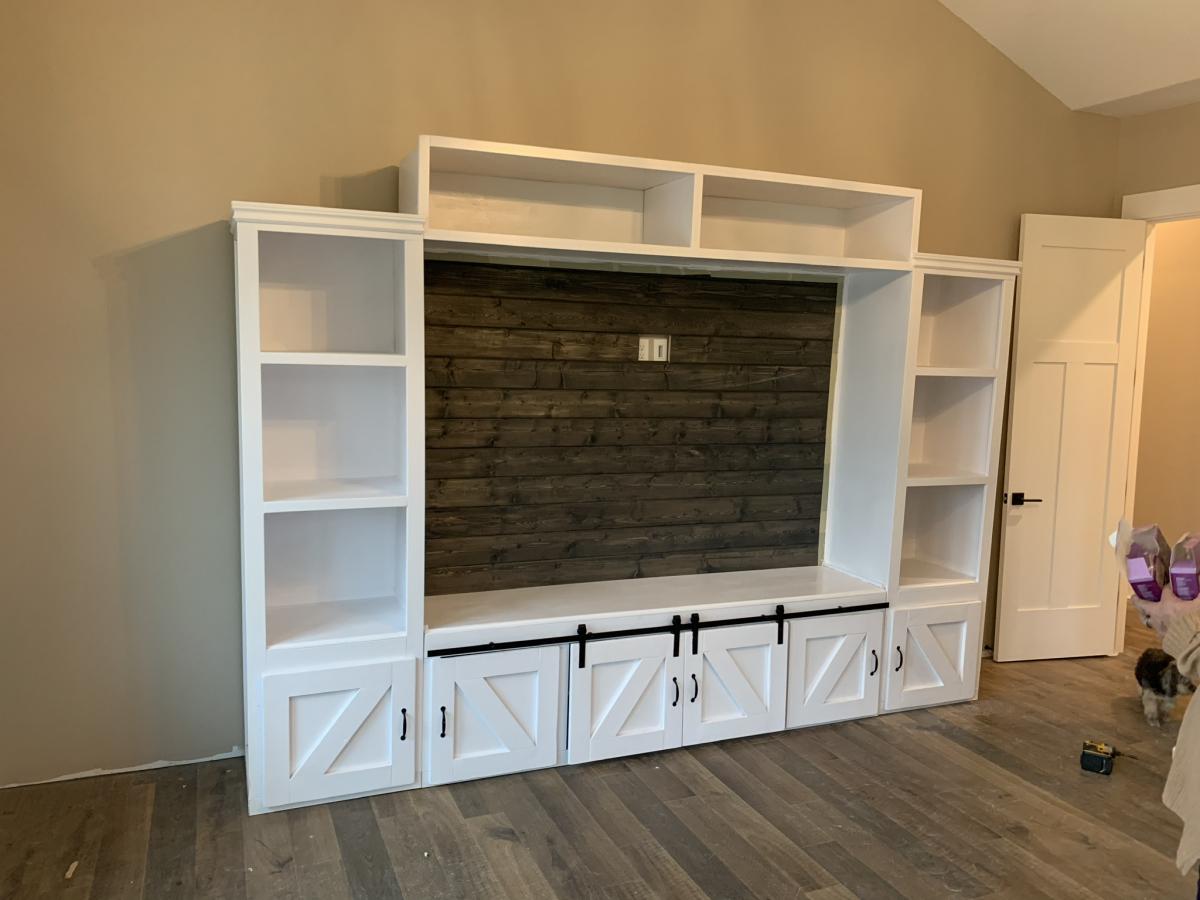
Hand made entertainment center
My daughter wanted a Farmhouse/Industrial look for a headboard, so I found a nice selection of hardwood pallets that had heat treated wood and put together this headboard & attached and wired a light set.
P.Schimmelpenningh
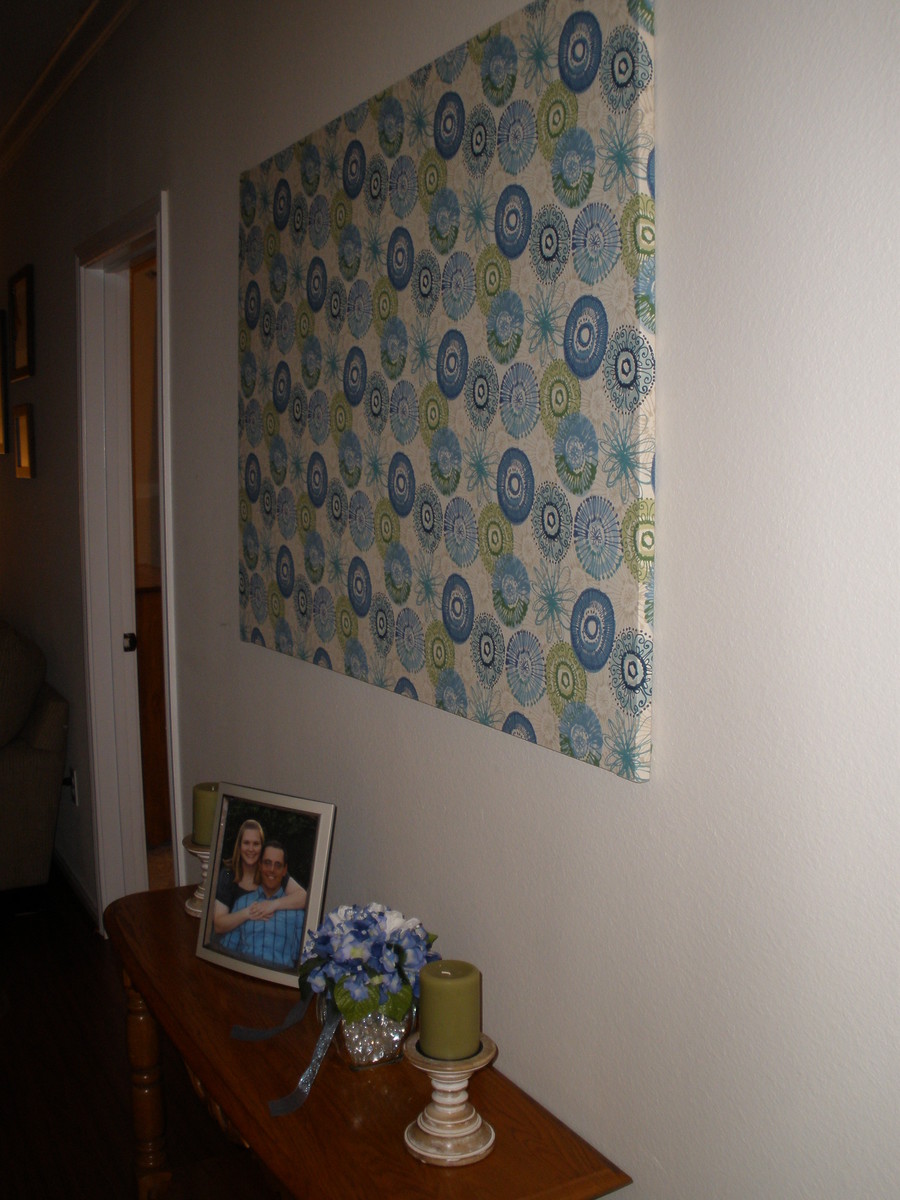
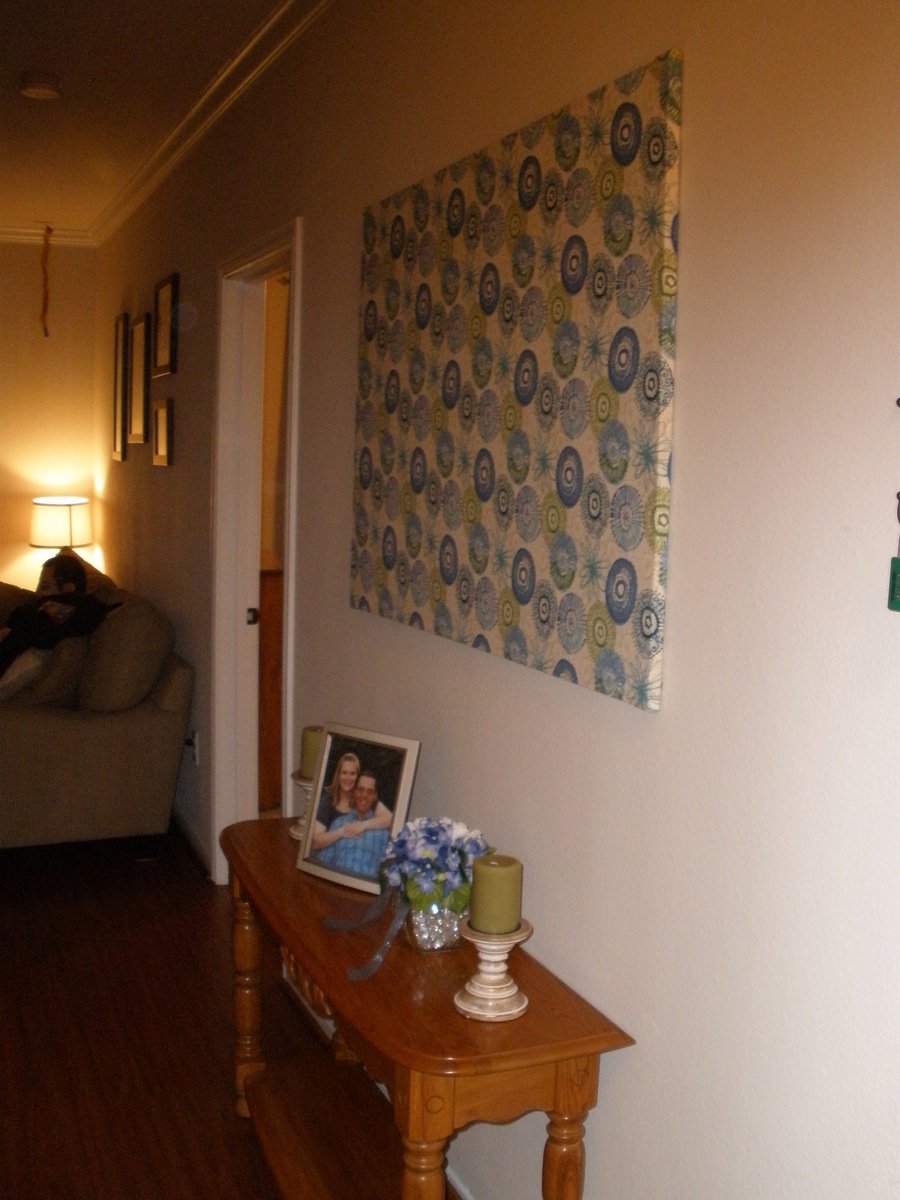
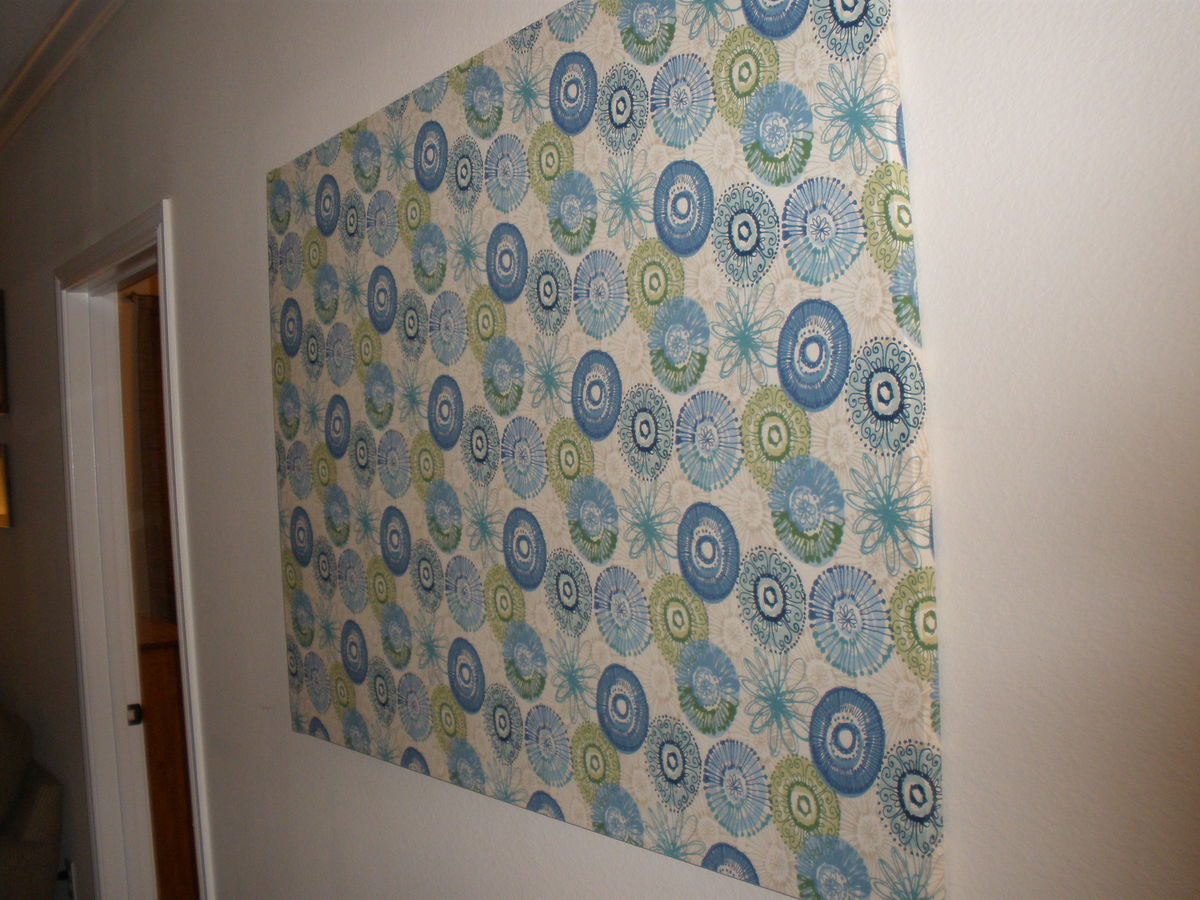
This is a simple and cheap way to decorate any space. Just use some 1x2's to make a square frame. Stretch the fabric over the frame and staple it. You can make one large one or many different sized ones to cover a boring wall.
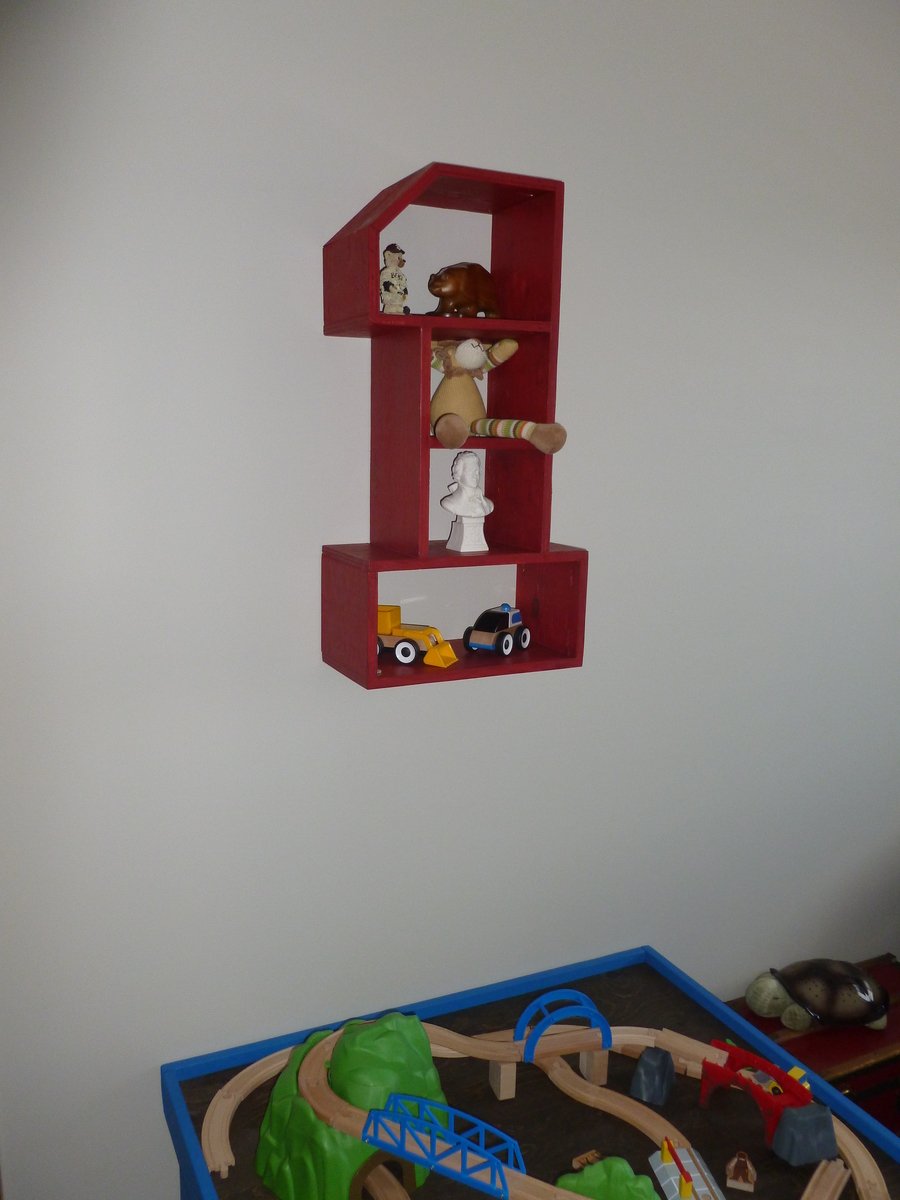
I saw this plan posted and knew I had to have it for my son's new bedroom. Most of the build was simple, it just got a bit tricky fitting in the angle piece at the top because I wasn't sure how to attach it without having a nail gun. Every time I line it up to nail it in with a hammer it would slip a bit. So I ended up using Gorilla Glue Epoxy to attach it. Since it's not hanging on the wall by the very top shelf, I didn't need it to be rock solid to support any weight, just needed it to stay in place.
I had scrap plywood laying around so it was free for me to make.
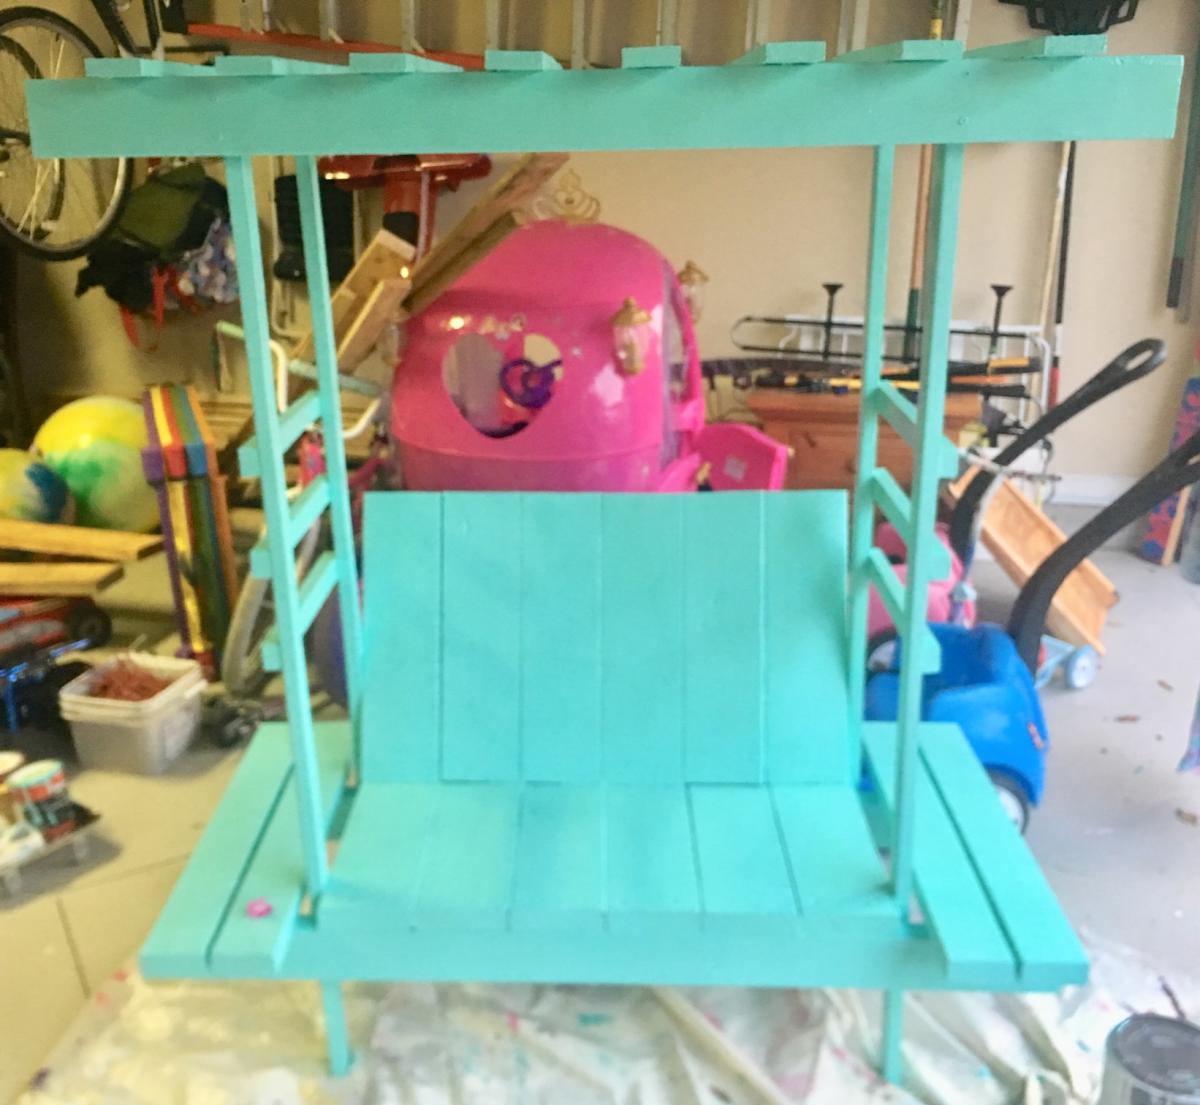
This was one of my first Ana-White projects. I am a hack builder and found this to be fairly easy with the back of the seat to be intermediate (However, I slanted the back and found that to be challenging for me.) Loved this little arbor bench and how it turned out. A couple coats of polyurethrane has helped it last outdoors all year through the sun and rain in Florida. Kept costs down using extra wood in the garage. Kids love to sit on it but mostly climb...!
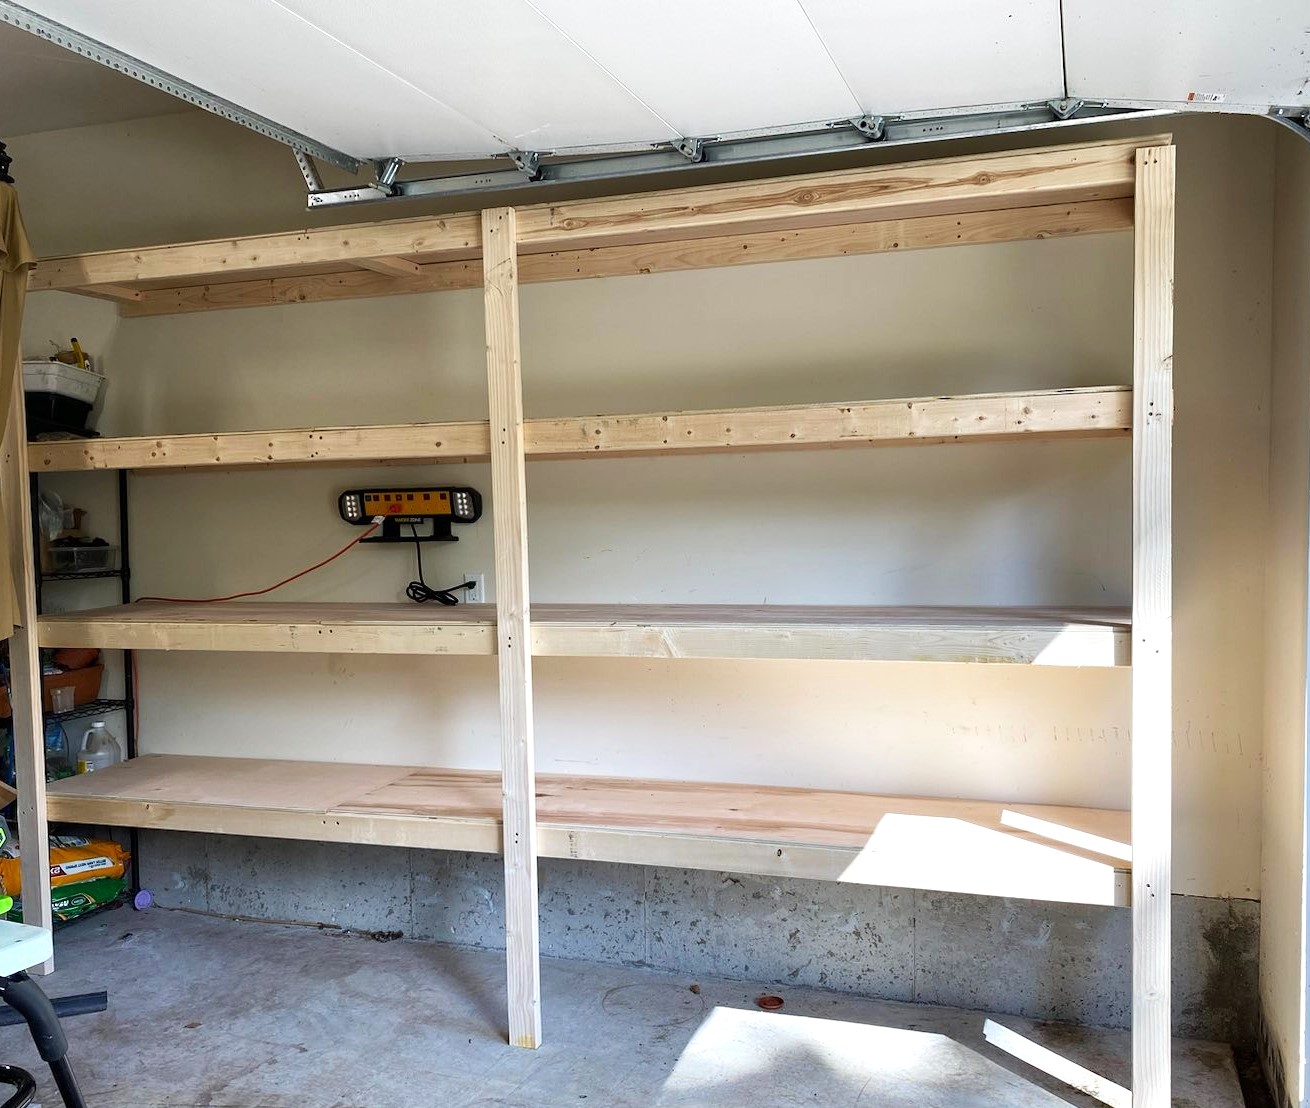
I want to thank you for such great videos and plans!! They worked so well that now I will do the wall on the left side of the photo.
Bill
I had been wanting to make this for sometime but didn't have the curtains. I was at a friend house and she asked if I wanted the red curtains that she was going to throw them away. So I got to make the tent, her daughters got a cool place to play and the curtains got a new purpose also the tent was made to fold for storage!!!
Thanks Ana for all the plans and ideas you give us!!
This was the first piece of furniture we ever built and it was a big success, although knowing what I know now, I certainly would have done a few things differently. Luckily for me, following Ana's plans don't require a very steep learning curve if you have read The Handbuilt Home! Instead of investing $1500 into the brand new table I wanted from Pottery Barn, I decided to invest that money in power tools, equipment and materials for the table, which I acquired for about $900 (I had no tools in my possession at all so was basically starting from nothing). The price of this table decreases every time I make a new piece of furniture from scratch, and in the year that I began making furniture, I have made the farmhouse bench that accompanies this table, a coffee table, an upholstered vanity seat, a kitchen island, a book shelf, lots of shelves and small tables, and I am currently in the process of making a bathroom vanity for our newly renovated master bathroom. Each project I make from Ana's plans is easier than the one before it, and I continue to feel more confident in the work and in my understanding of how furniture is built. I feel so grateful to Ana for sharing her work and for inspiring so many people, both men and women alike, to reach a bit outside of their comfort zone and develop new hobbies that they never would have imagined having.
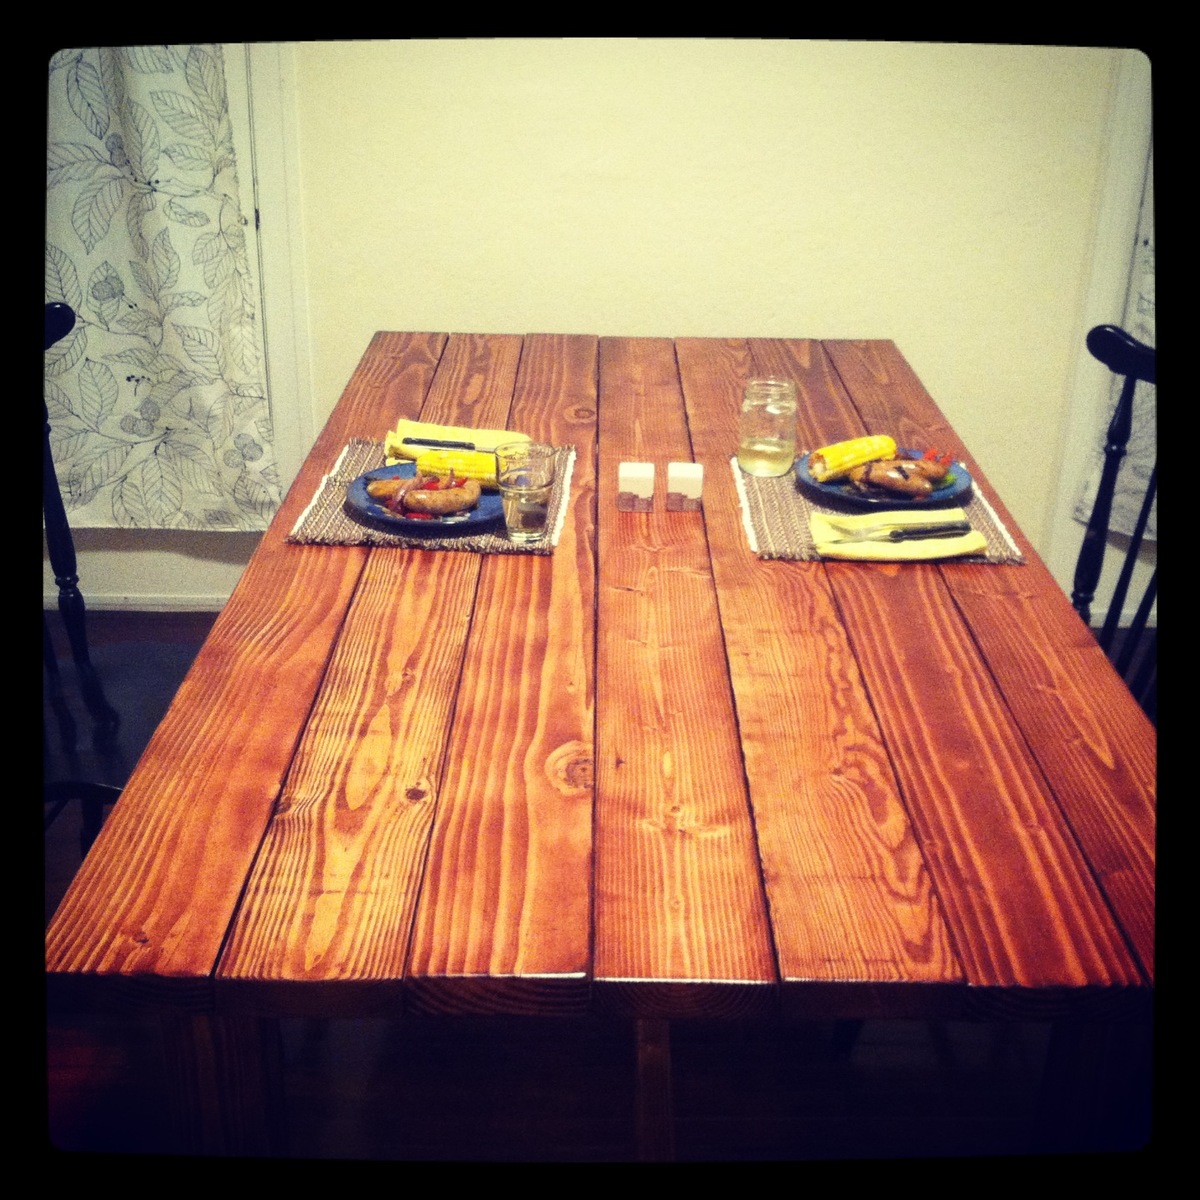
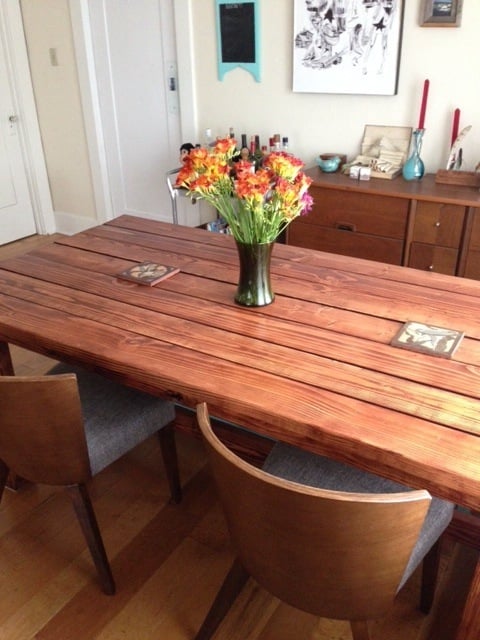
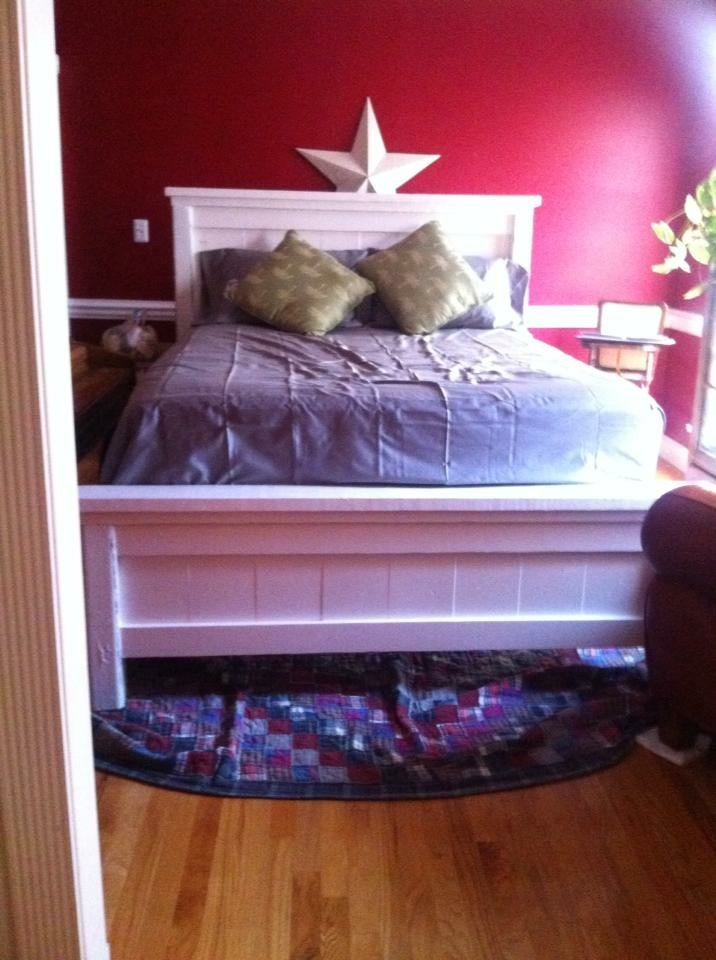
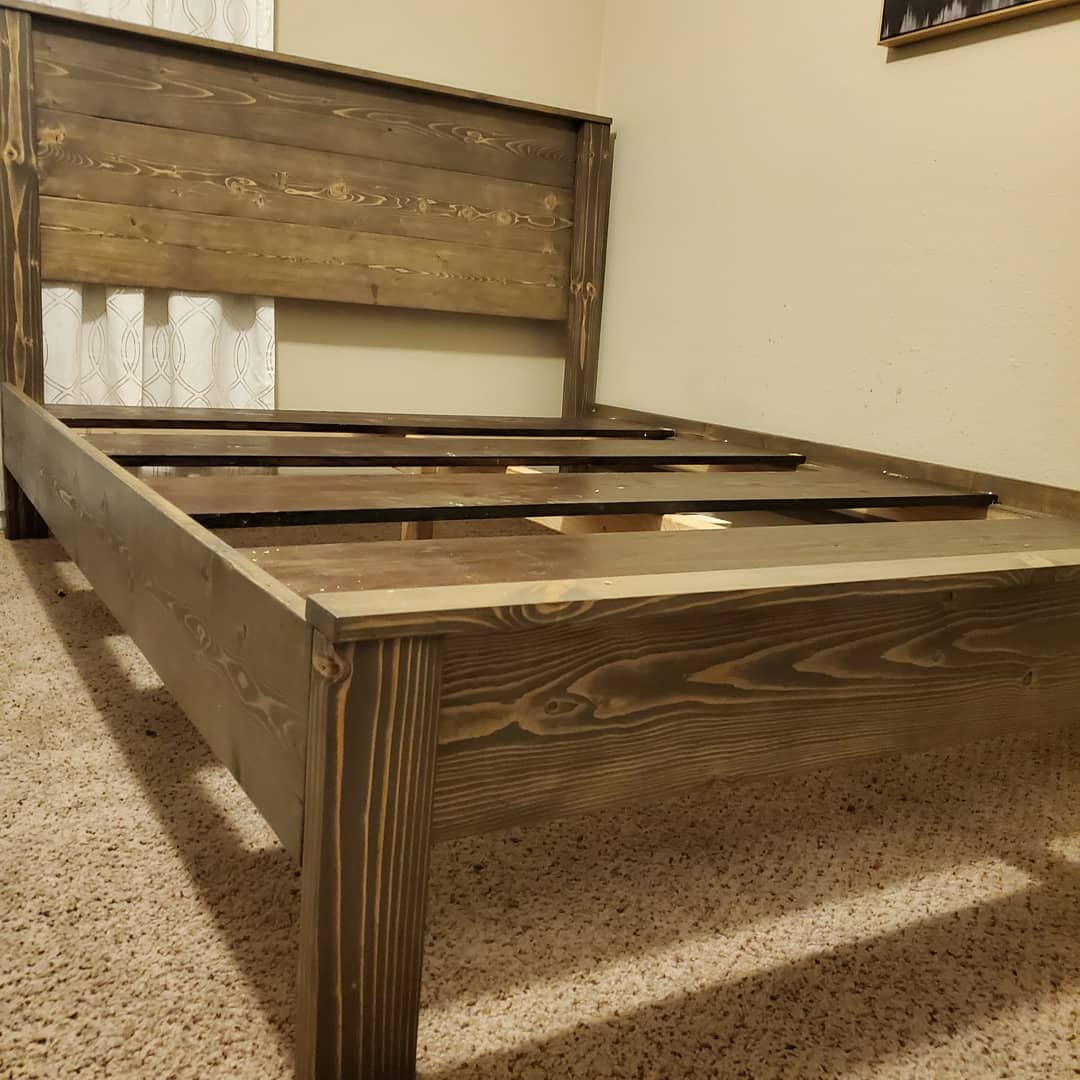
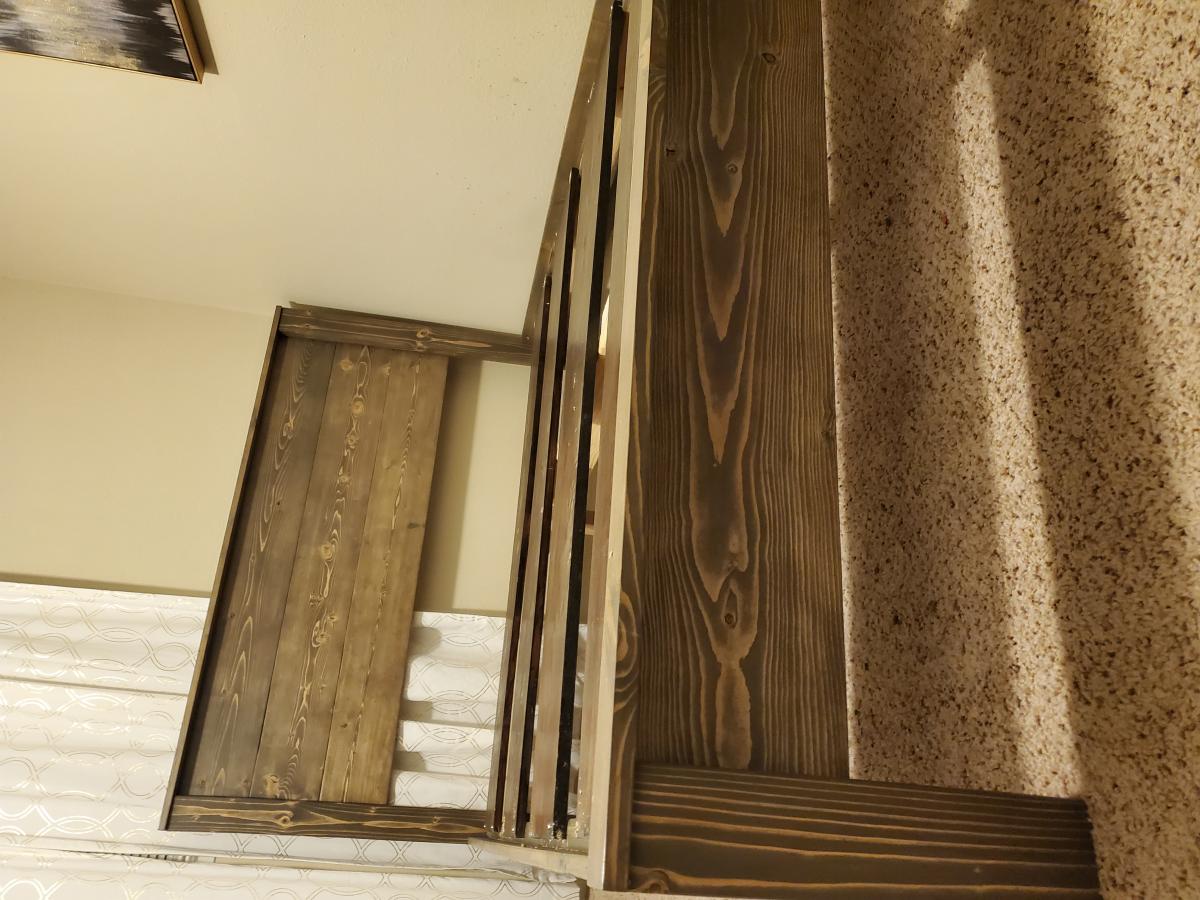
I stumbled across Ana White one day 3 years ago when I was 18 and about to go off to college. My parents weren't home for the weekend, I was bored, and decided a twin bed at my rental just wasn't going to cut it but I was an 18 year old who had champagne taste on a beer budget. I had been helping my dad ever since I was little with wood work all around the house but furniture was something we had never tackled and the idea of building a bed was a little daunting. However, these plans were super easy to follow and I must say, the finished product is absolutely beautiful. After 3 years and many more projects, this bed is still my favorite.
Needless to say my mom asked me for a few years to bring it back to go in my old bedroom at their house - so now I get to build another one!
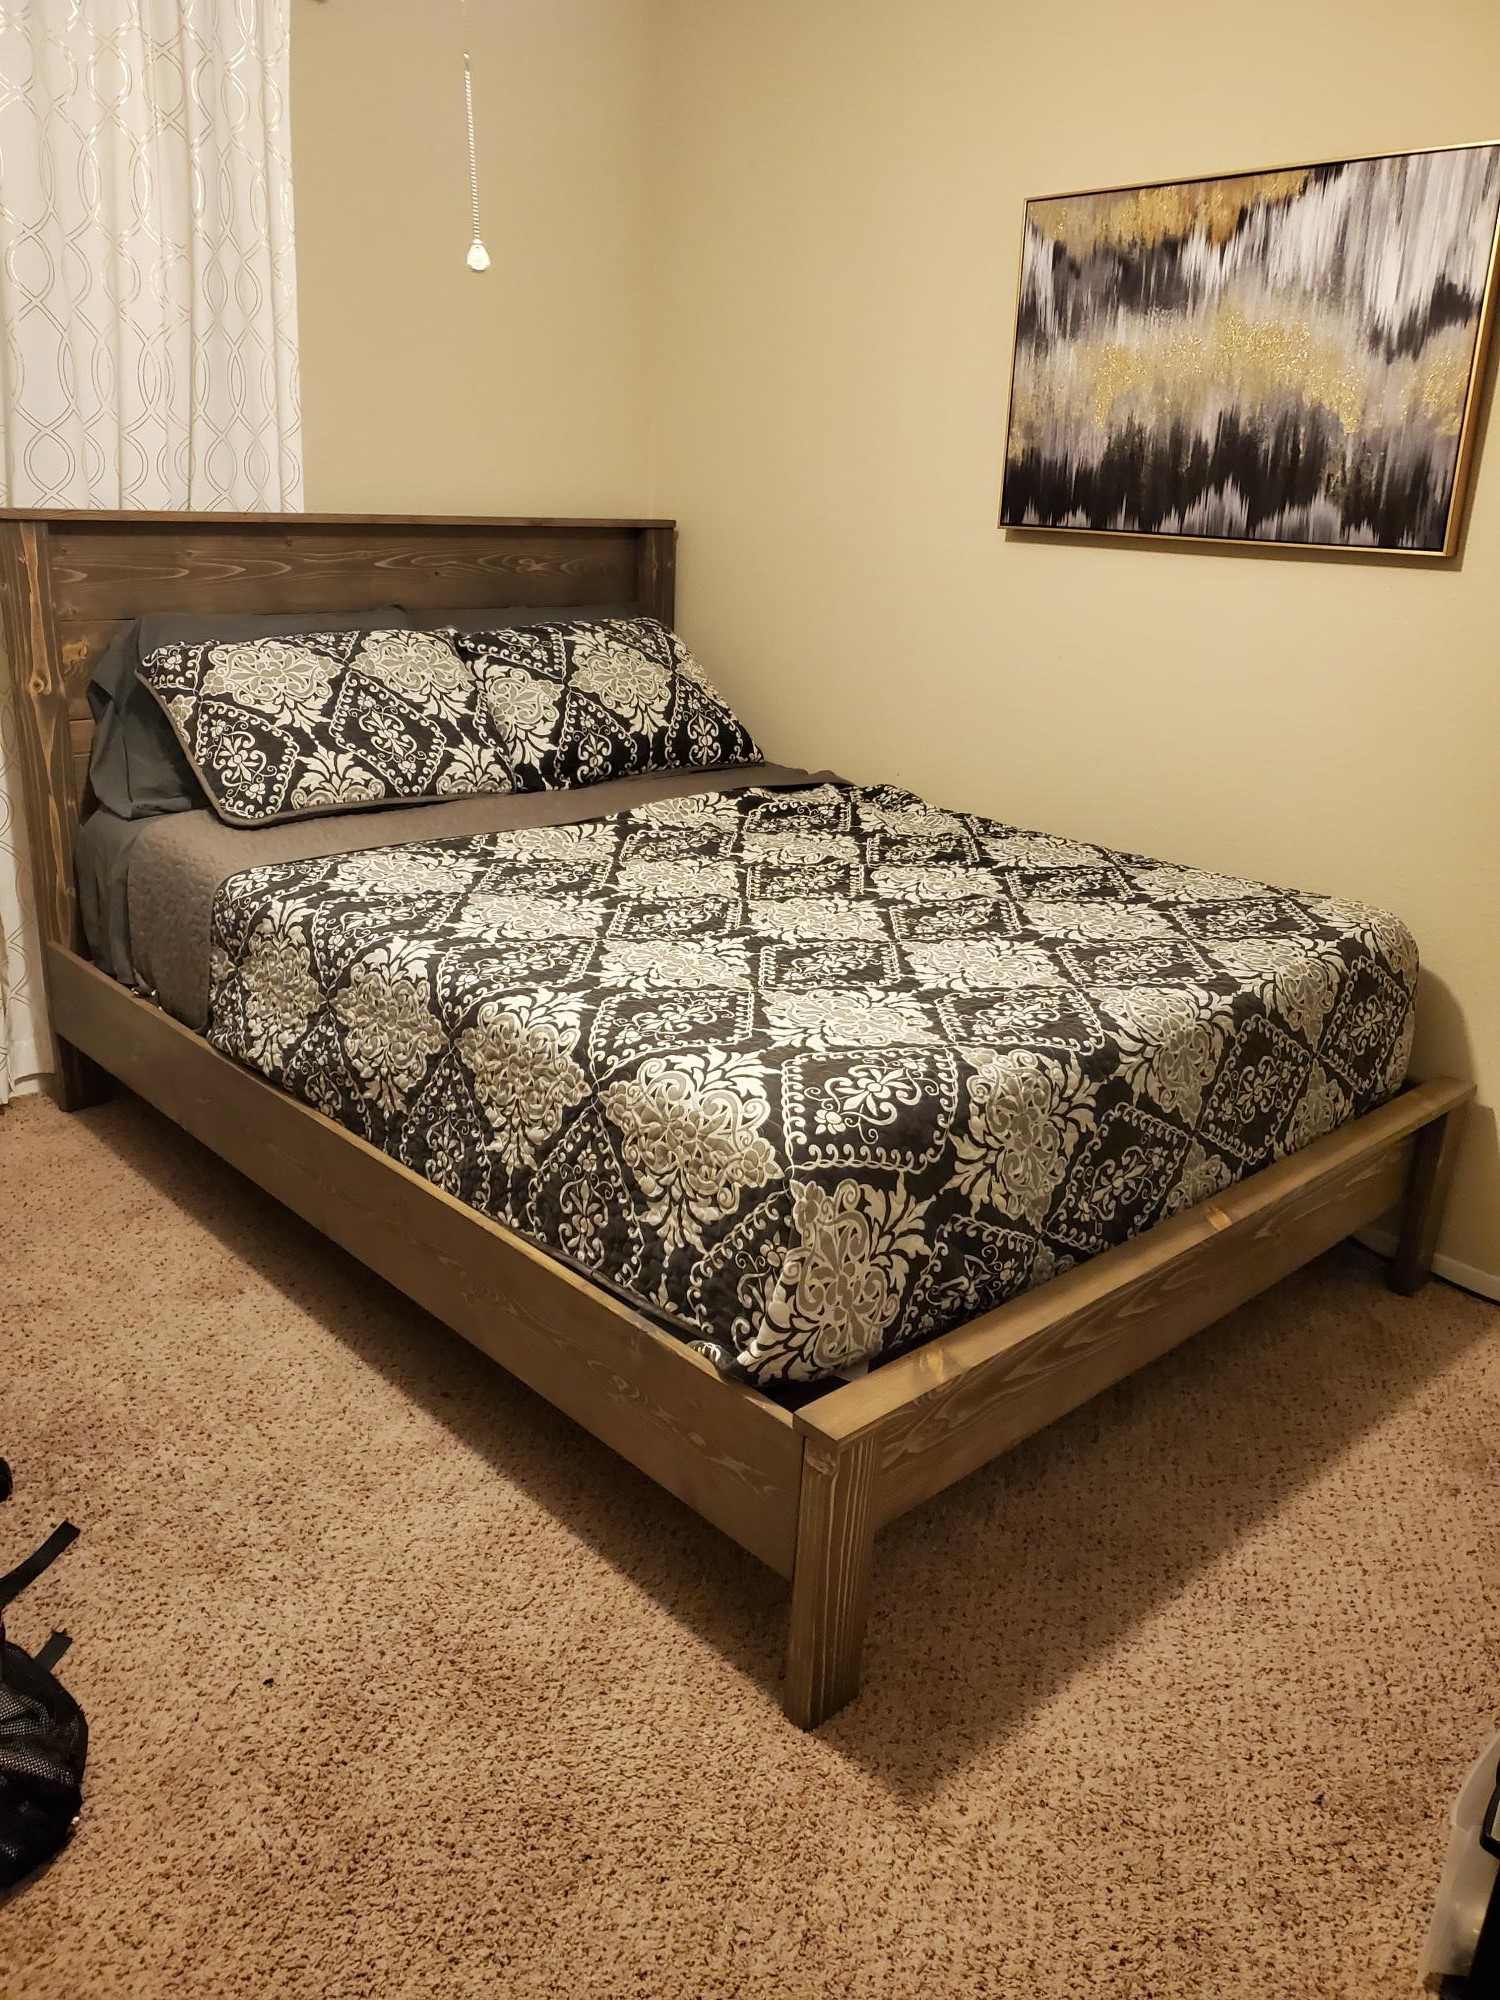
Queen size built according to plans. Stained in Briarsmoke by Miniwax.
Fun, easy build. This is the first project from this site and the kids loved helping make their own chairs. They got to pick their own color paint - I think I spent more on paint than I did on the wood!
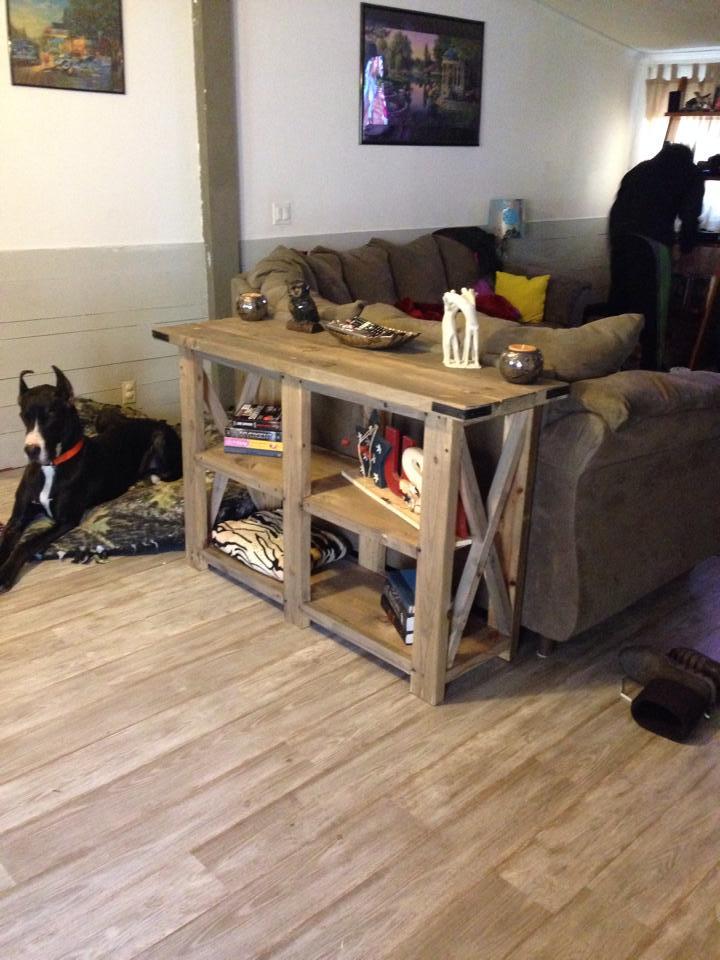
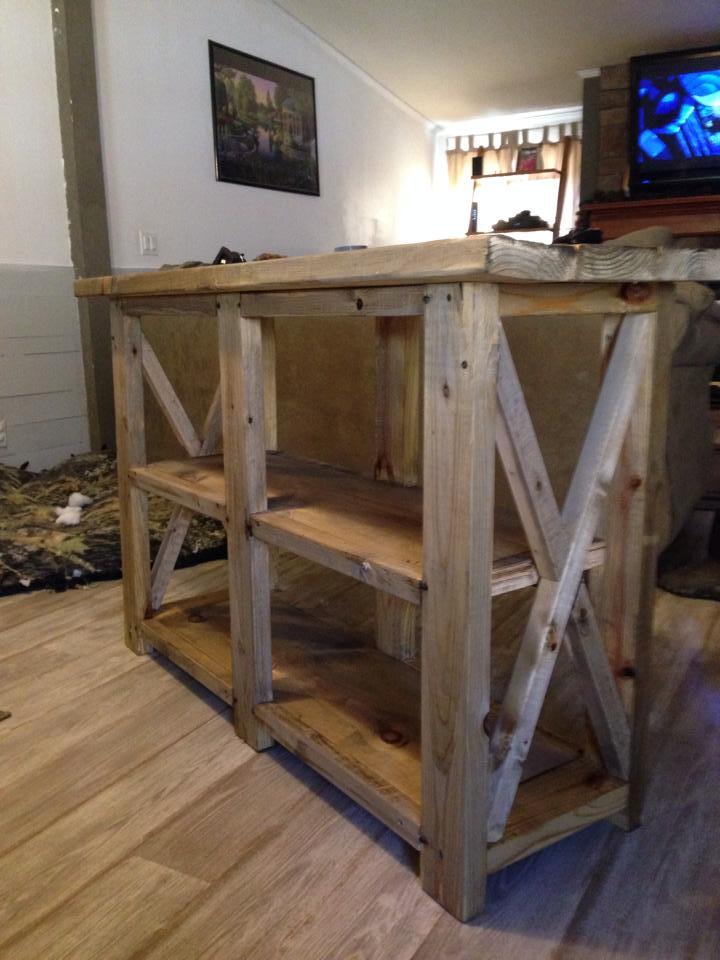
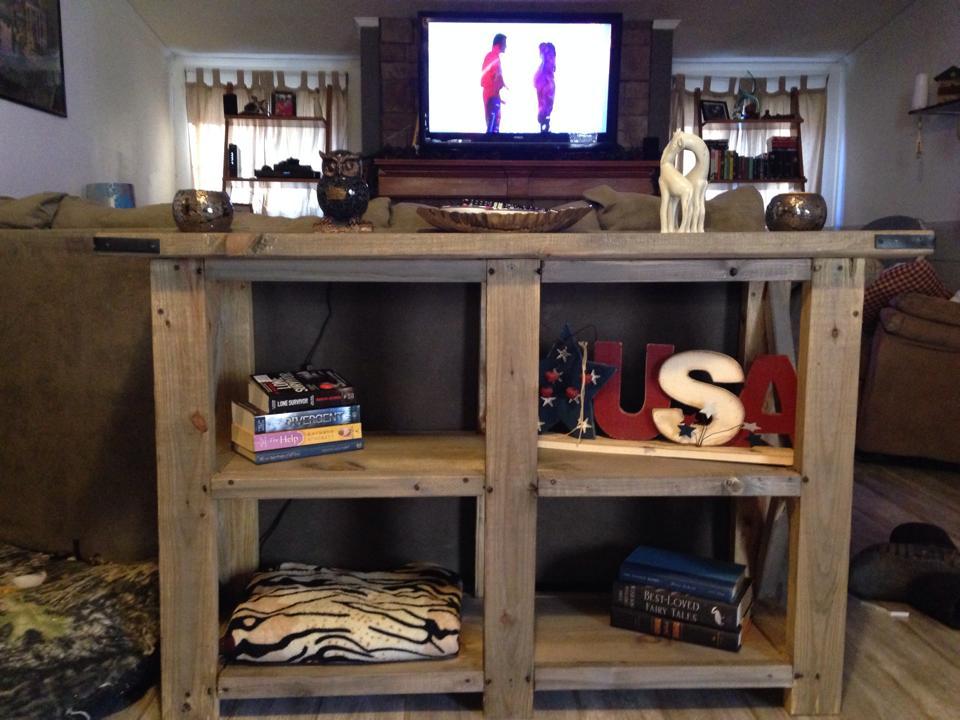
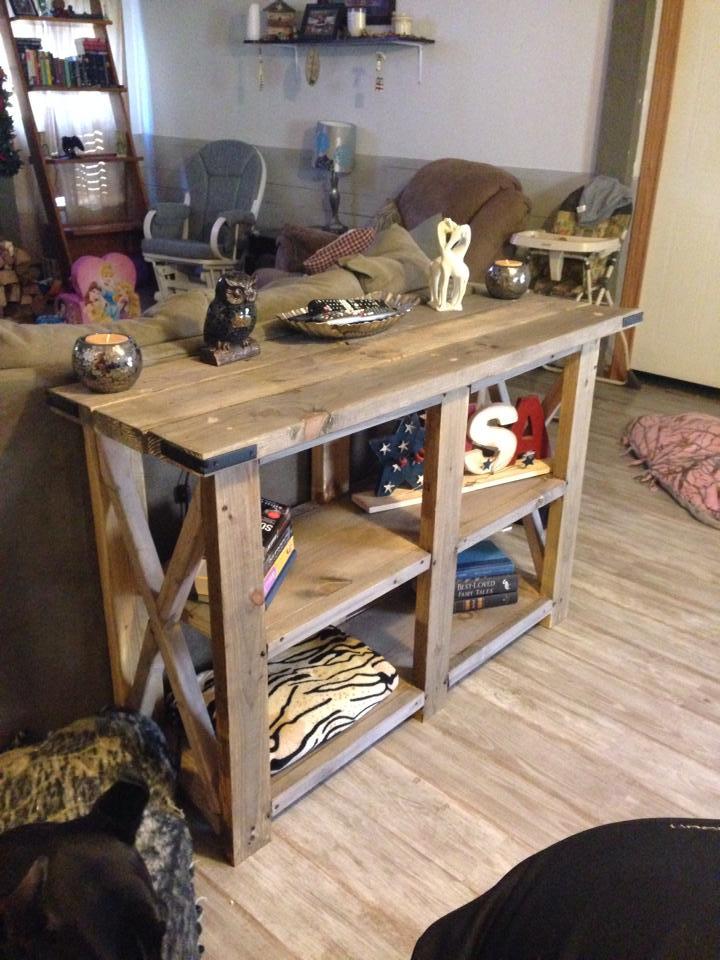
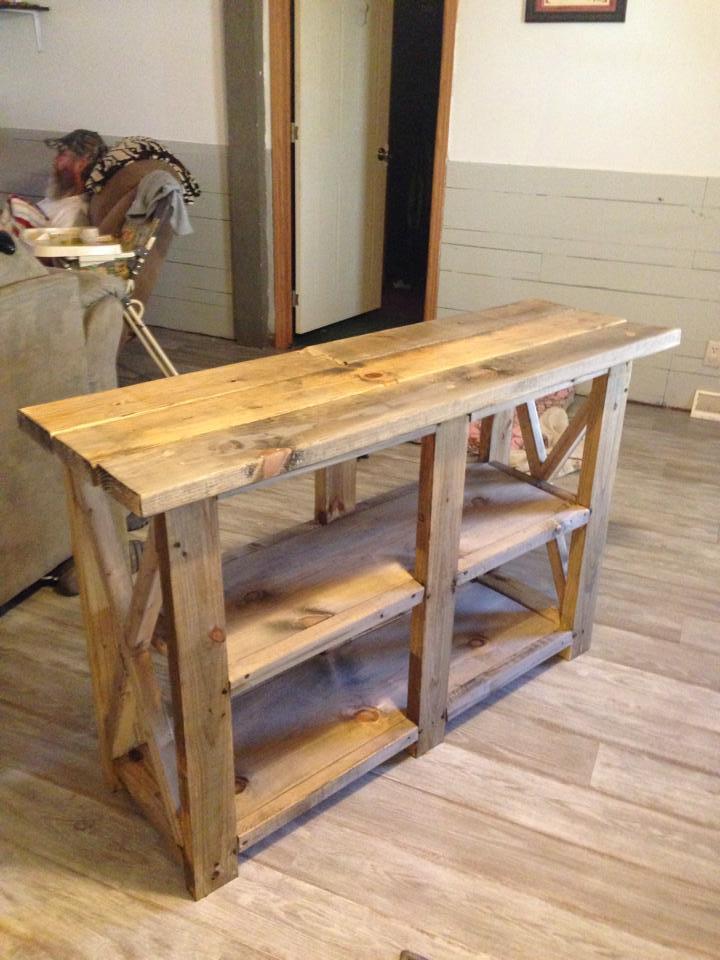
I saw this project and fell in love with it. Ive never done a wood working project before and wanted to do this all on my own so i wouldnt let anyone help just to know if i could do it. It didnt turn out perfect but i CAN NOT stop looking at it. Ana thank you somuch for theses plans!
Mon, 02/24/2014 - 11:22
Looks amazing! I'm dying to build this also and am nervous about trying out that finish. Where did you get the corner hardware?
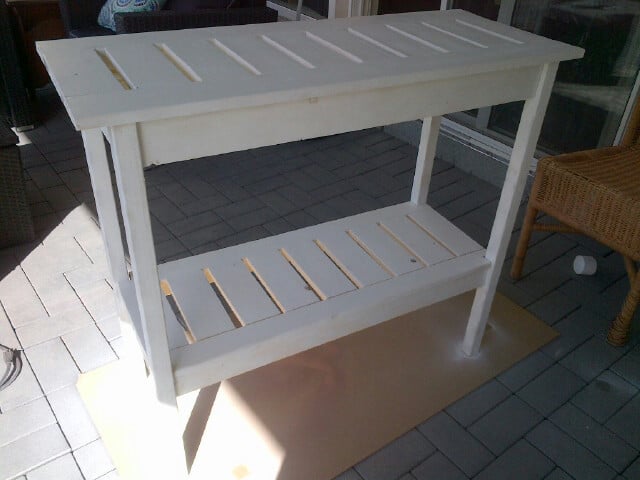
Console table with straight stair legs