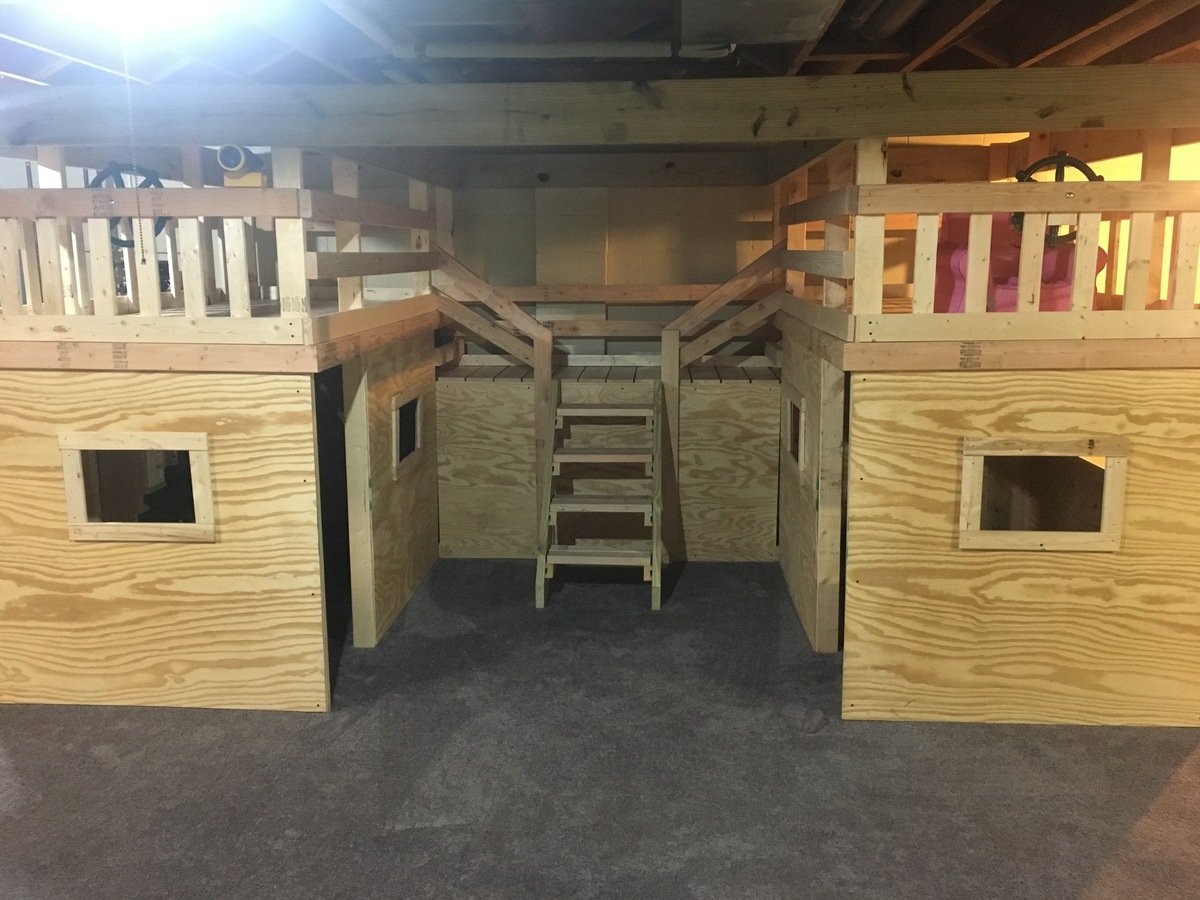
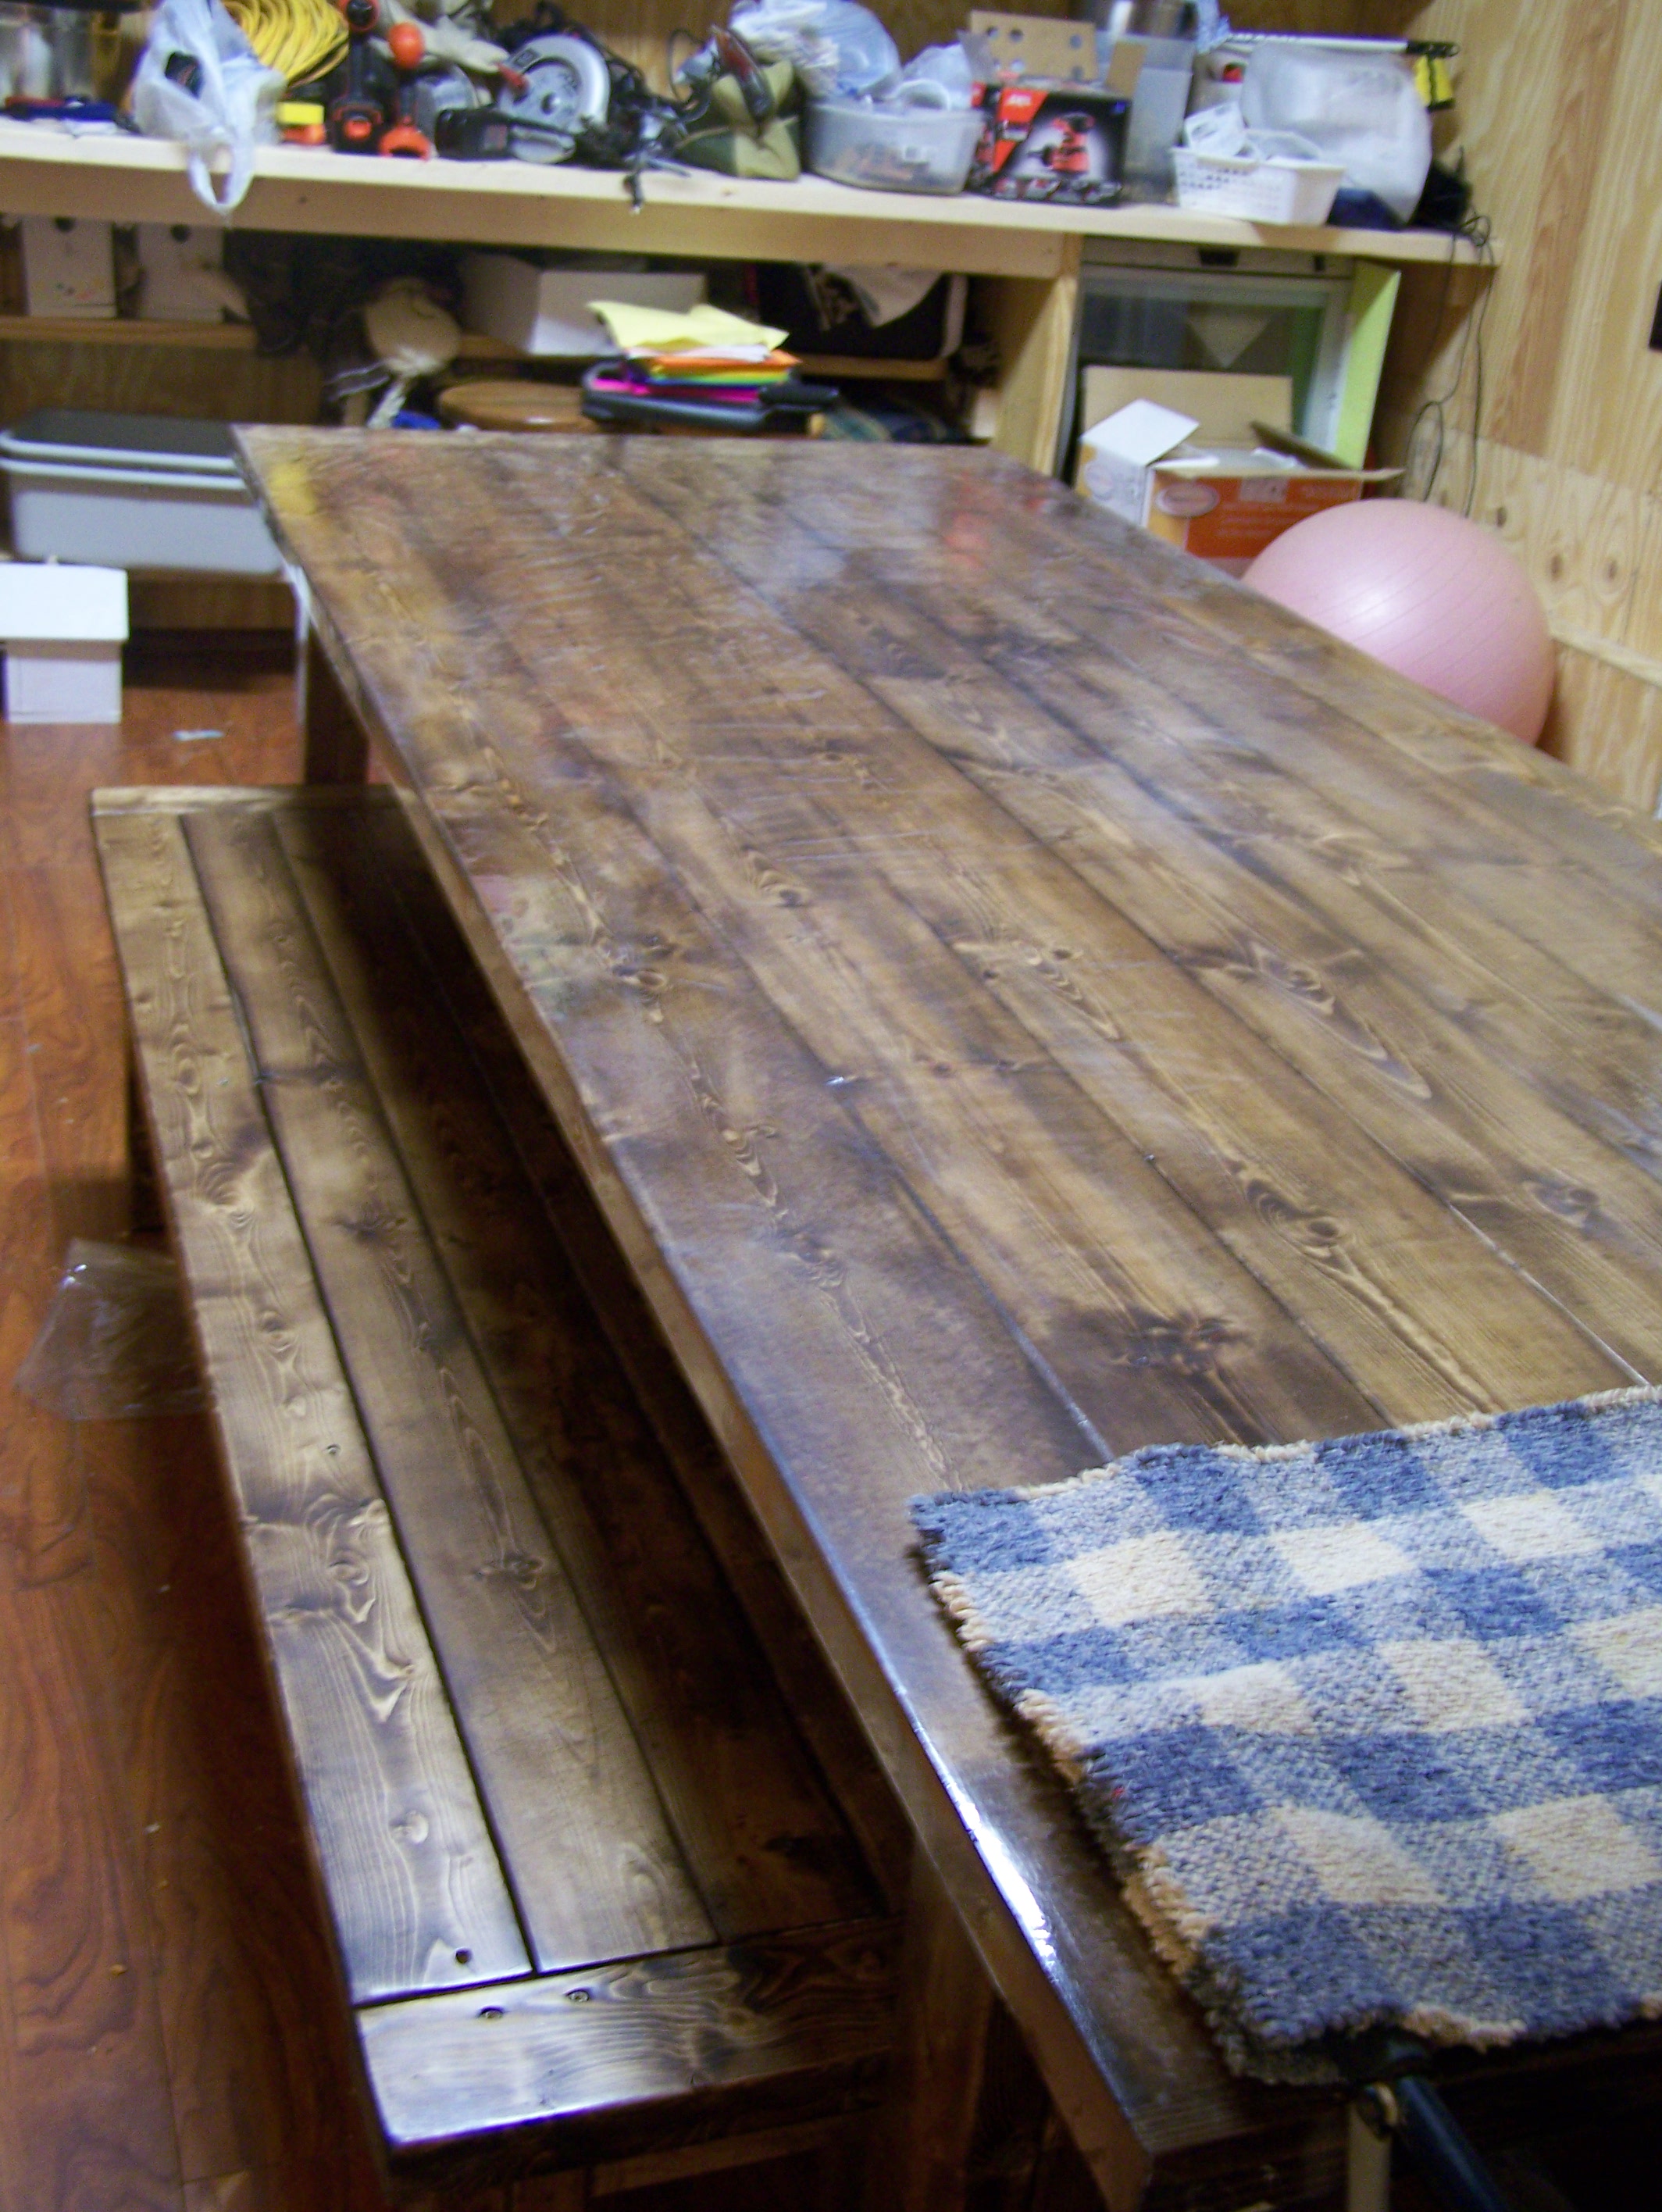
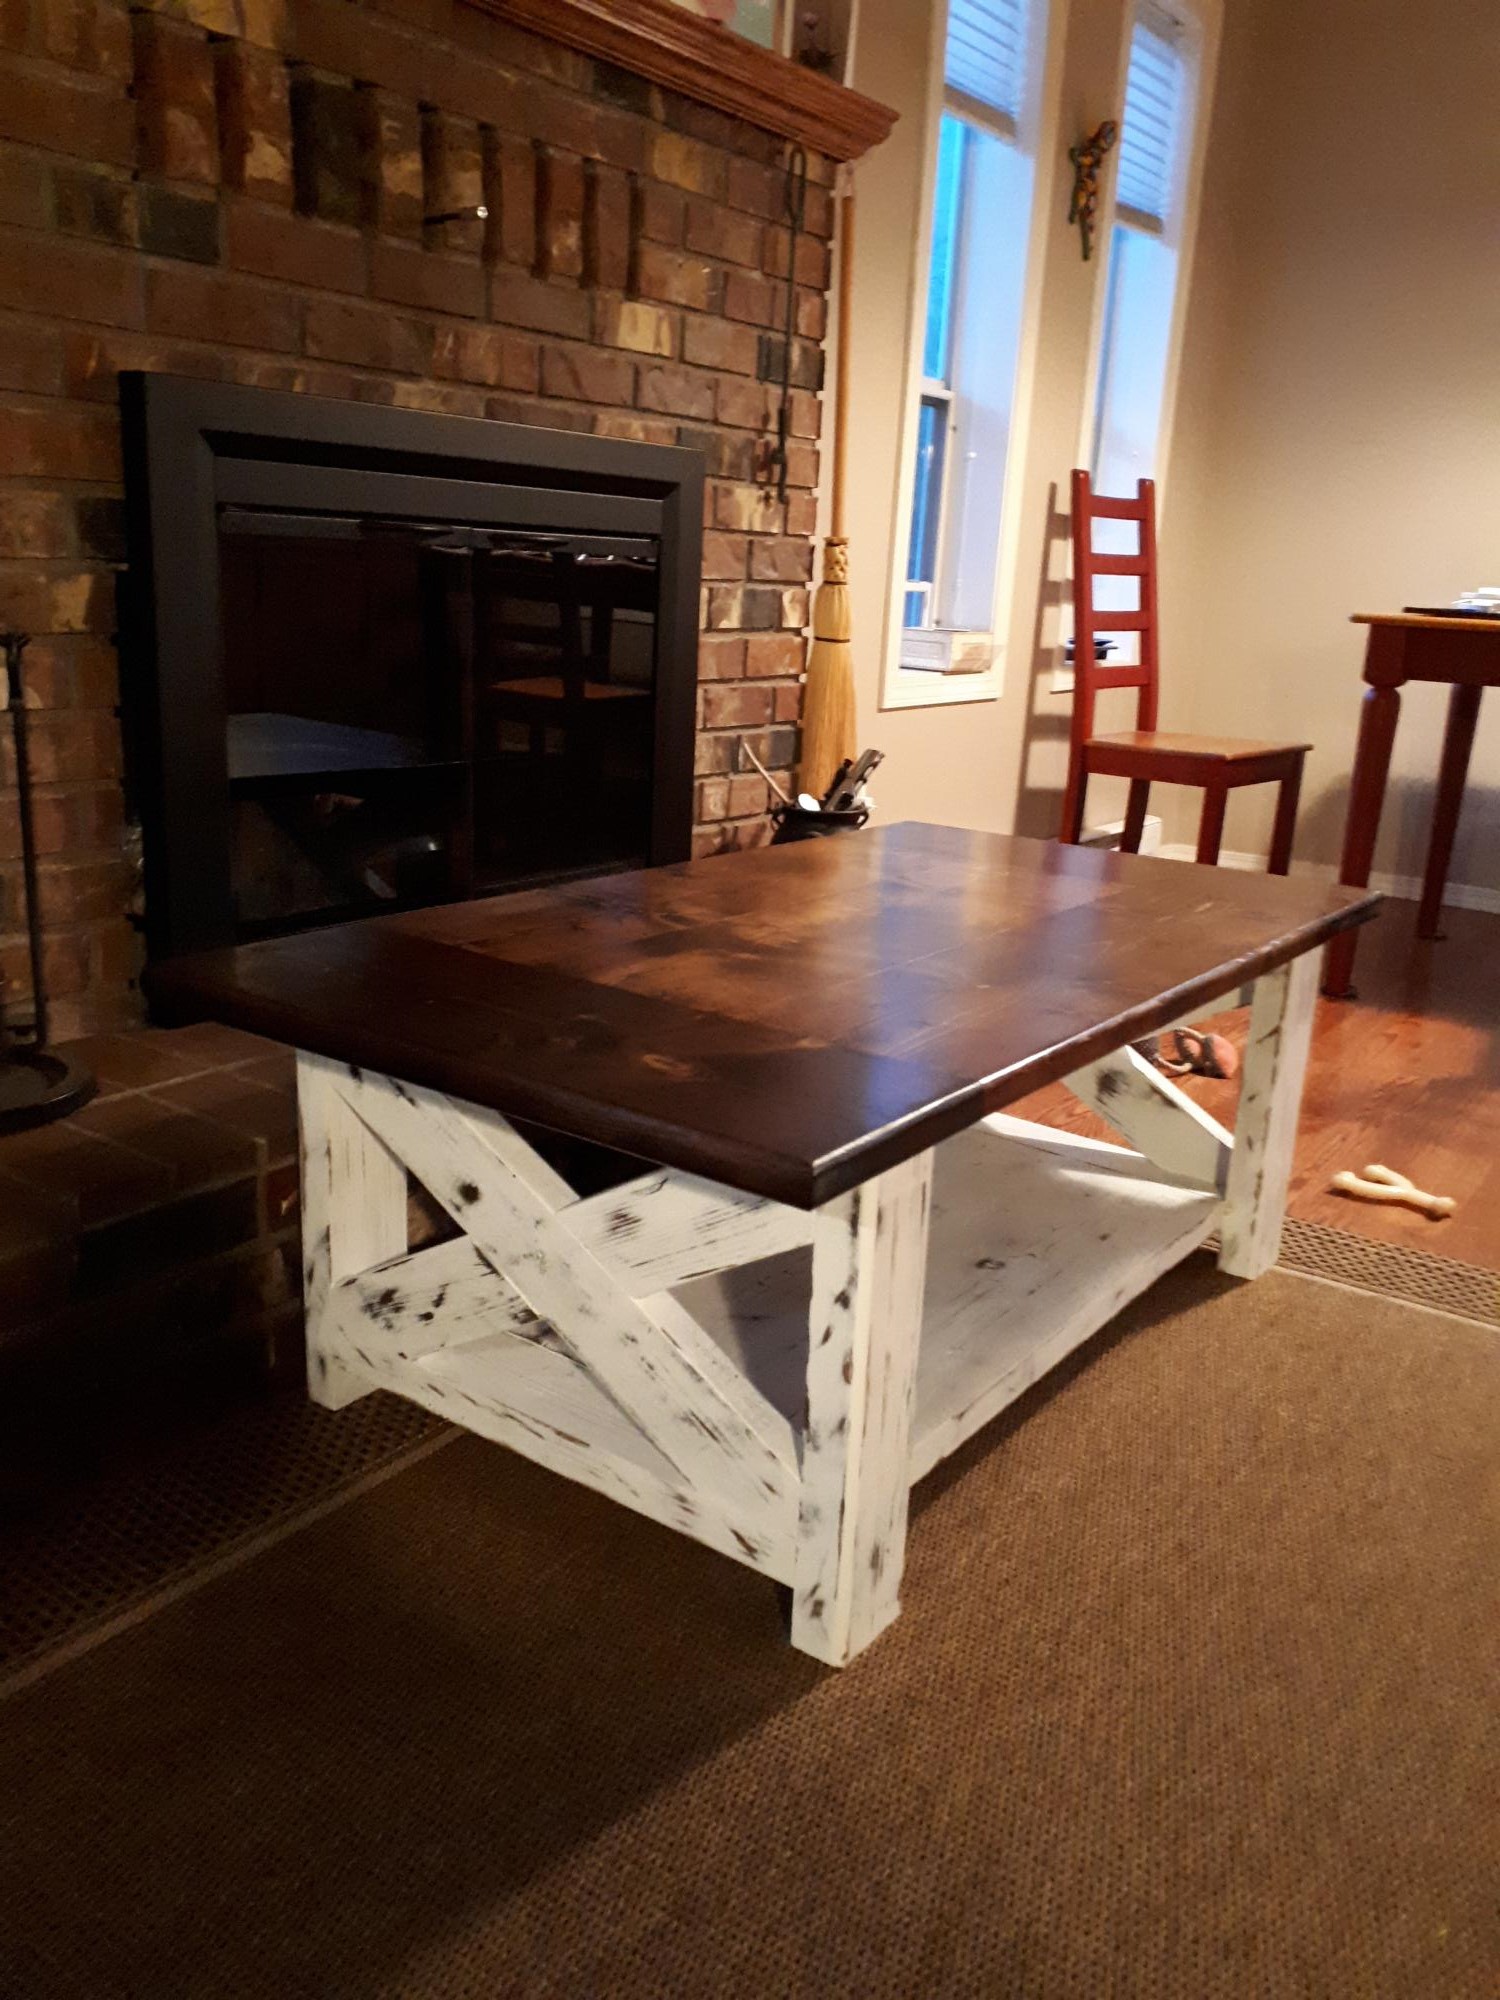
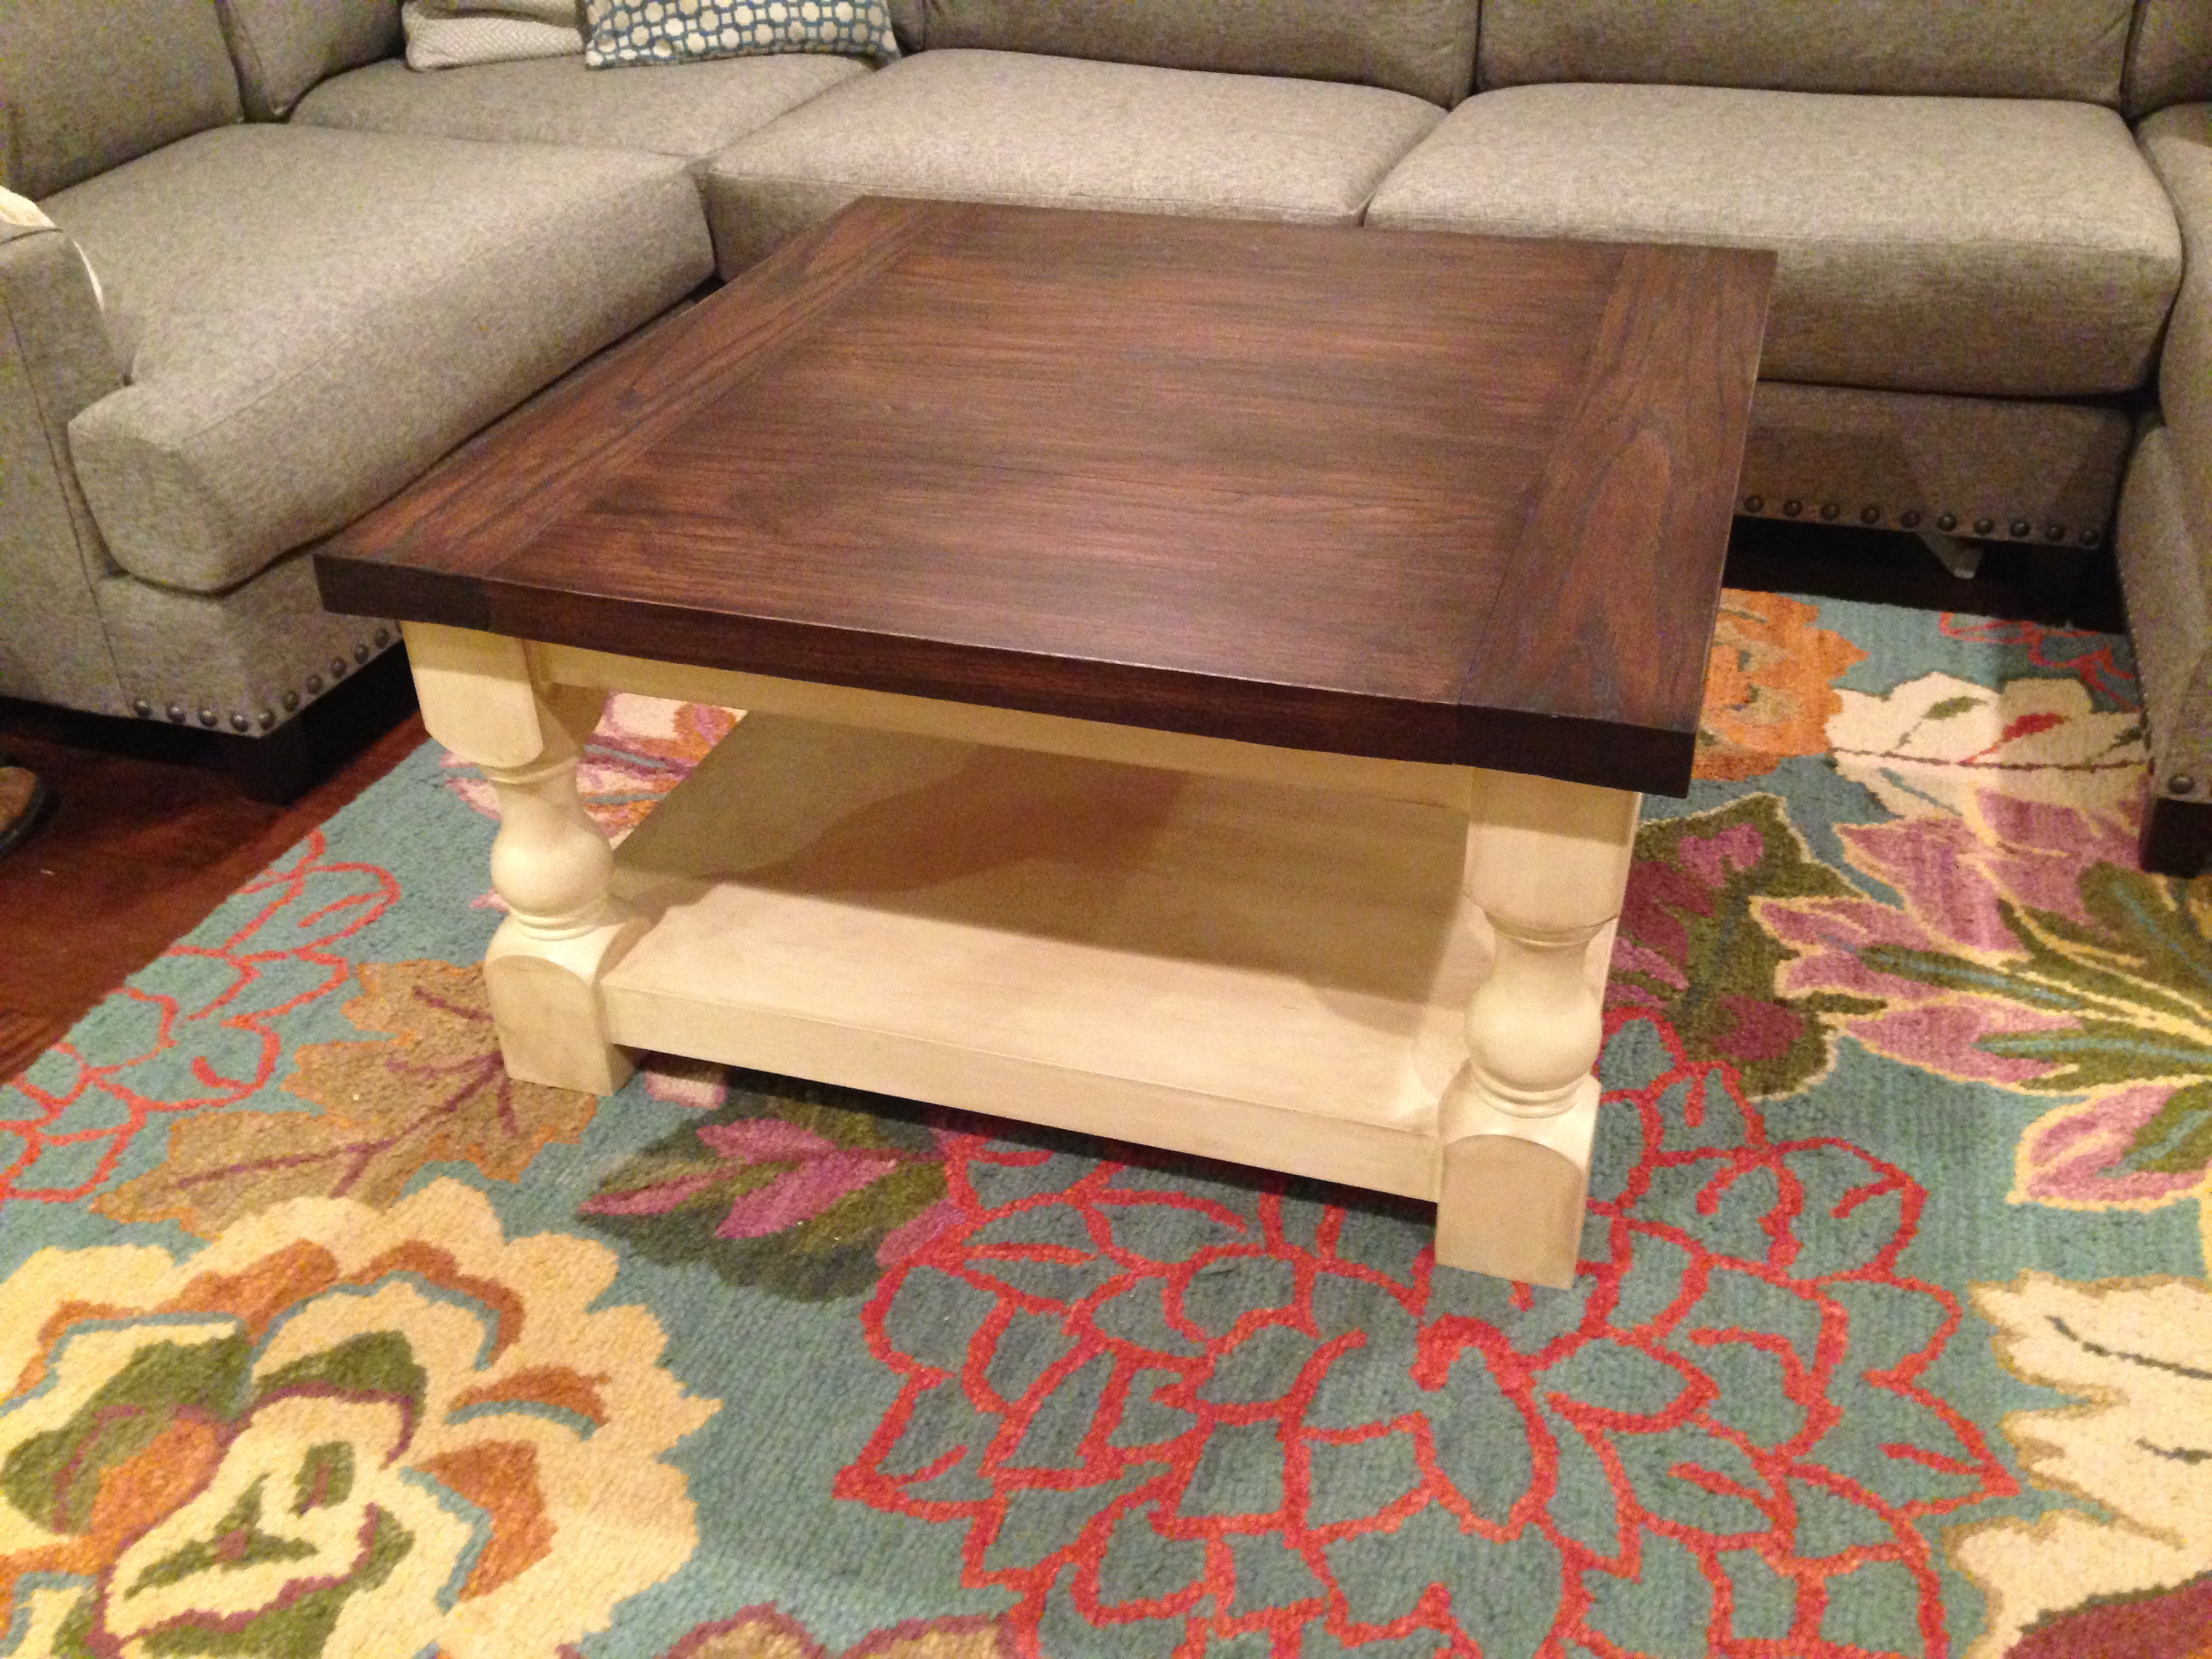
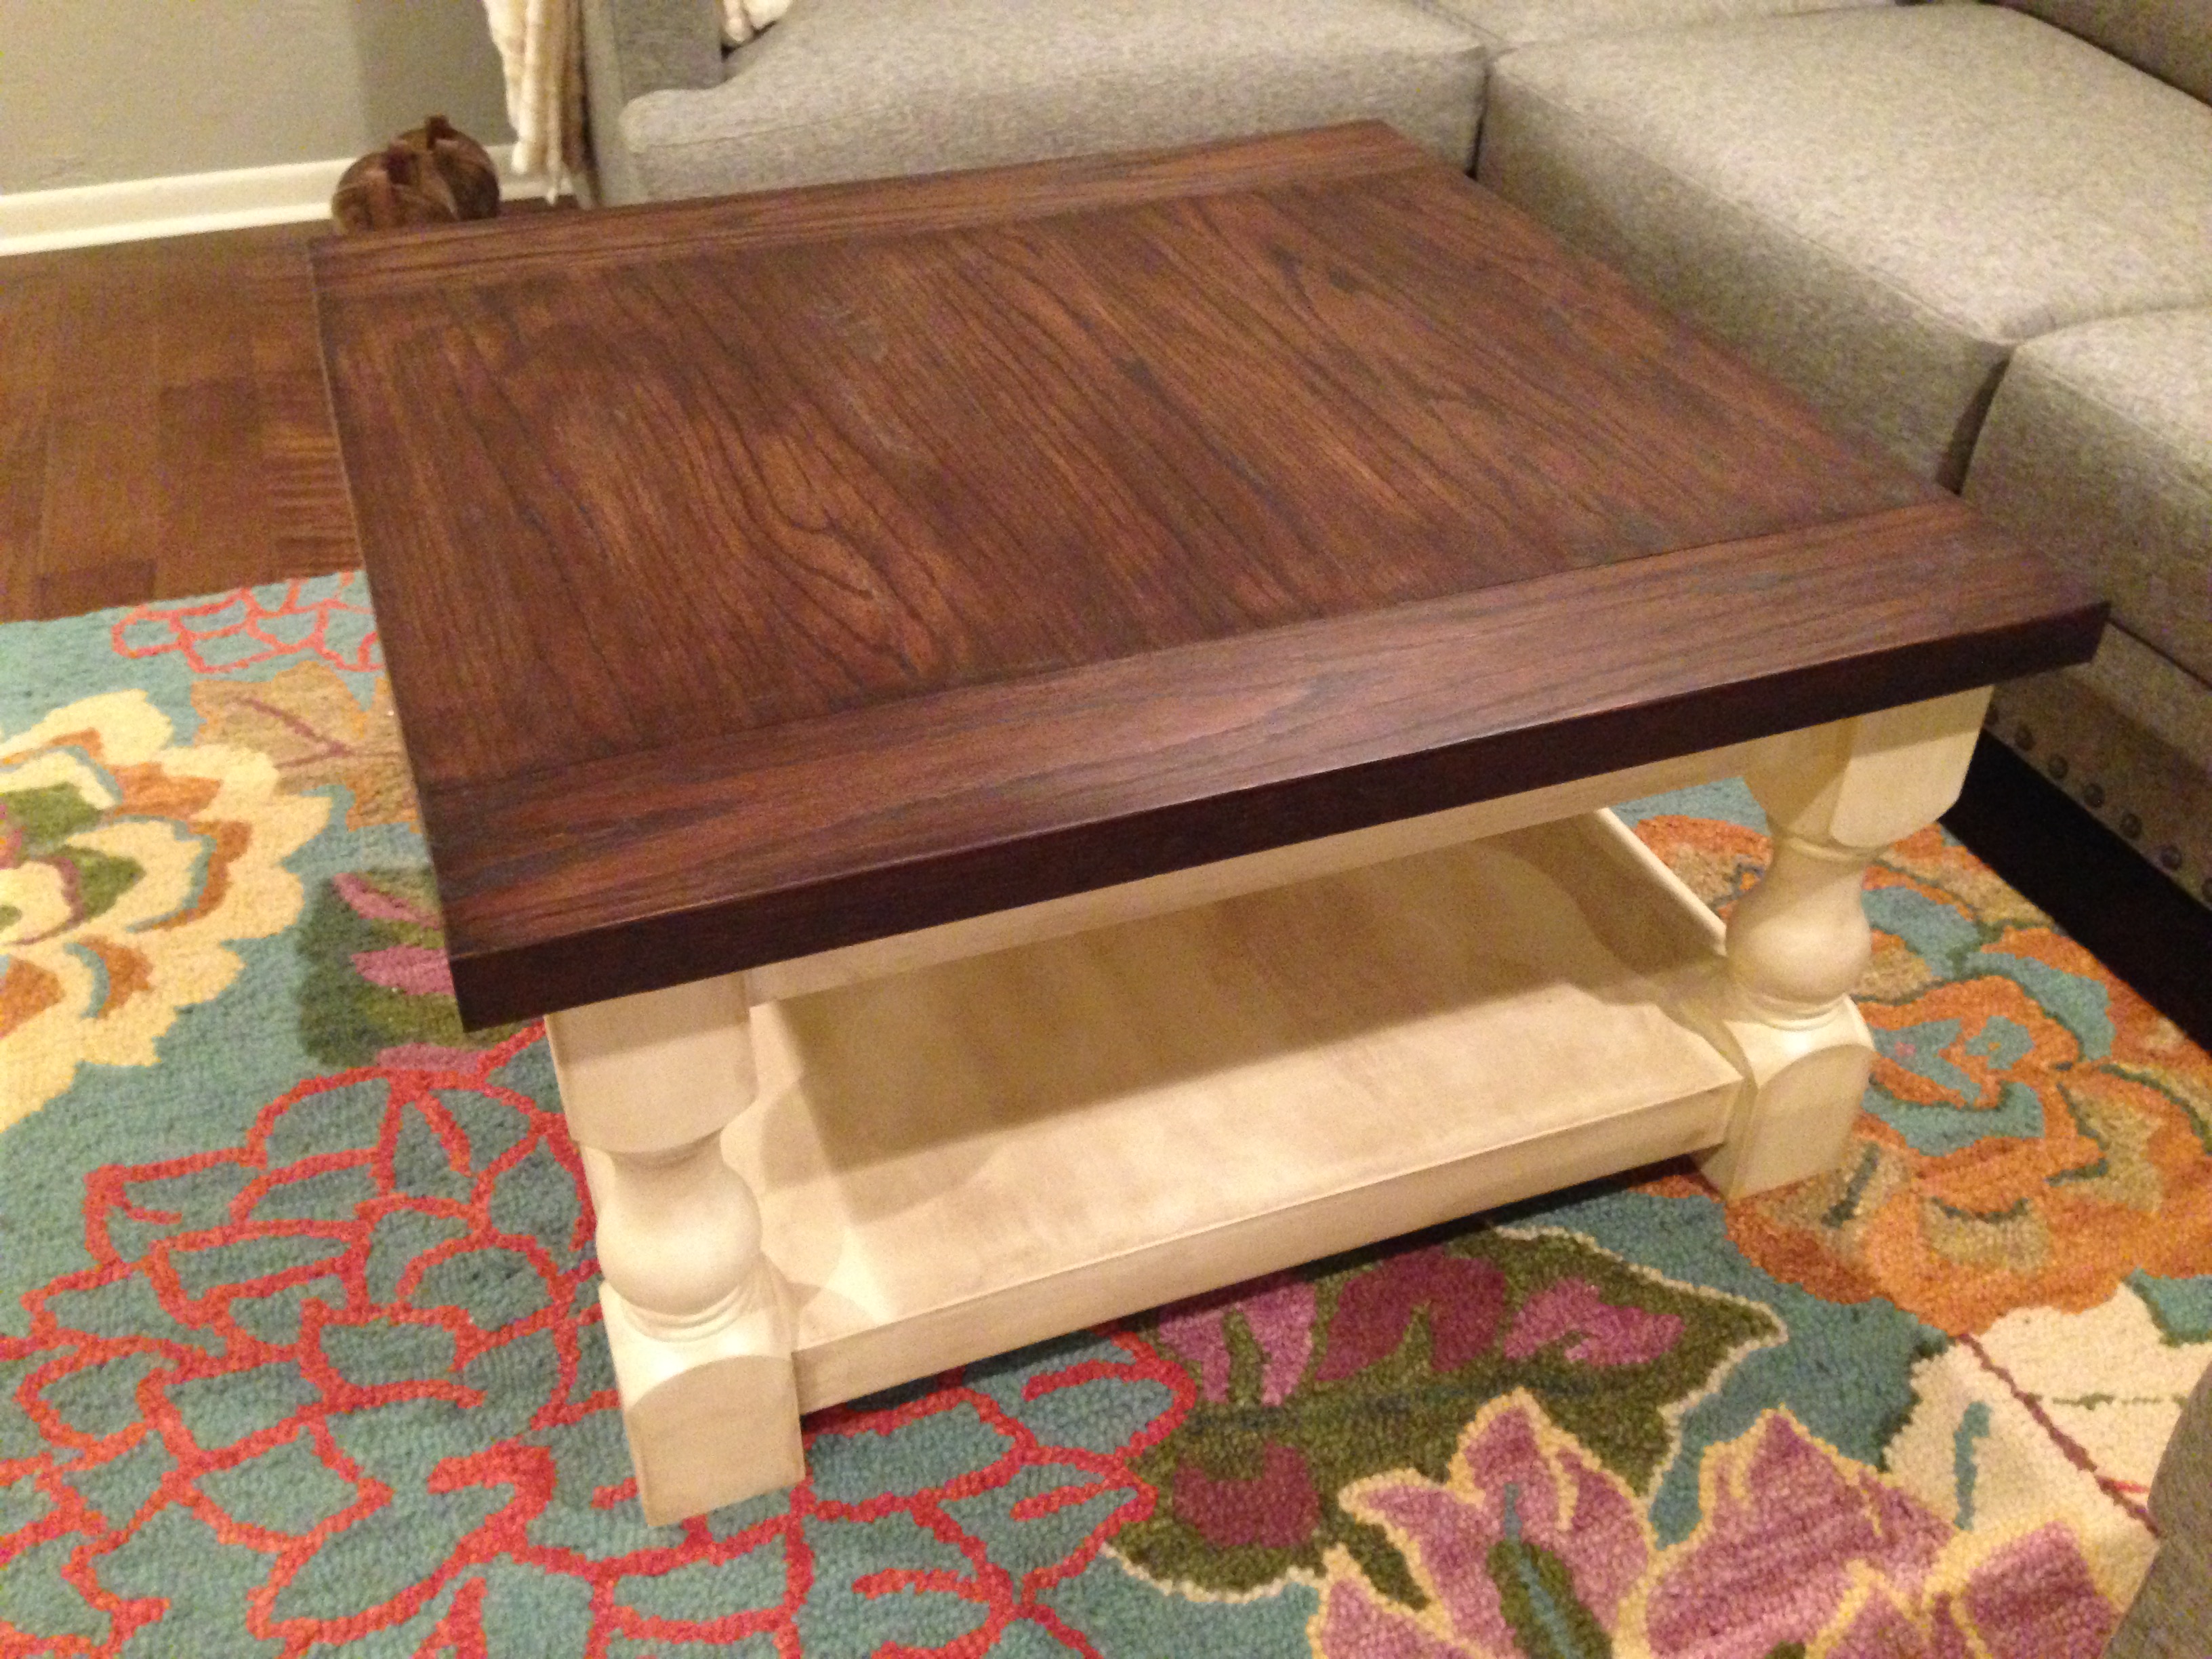
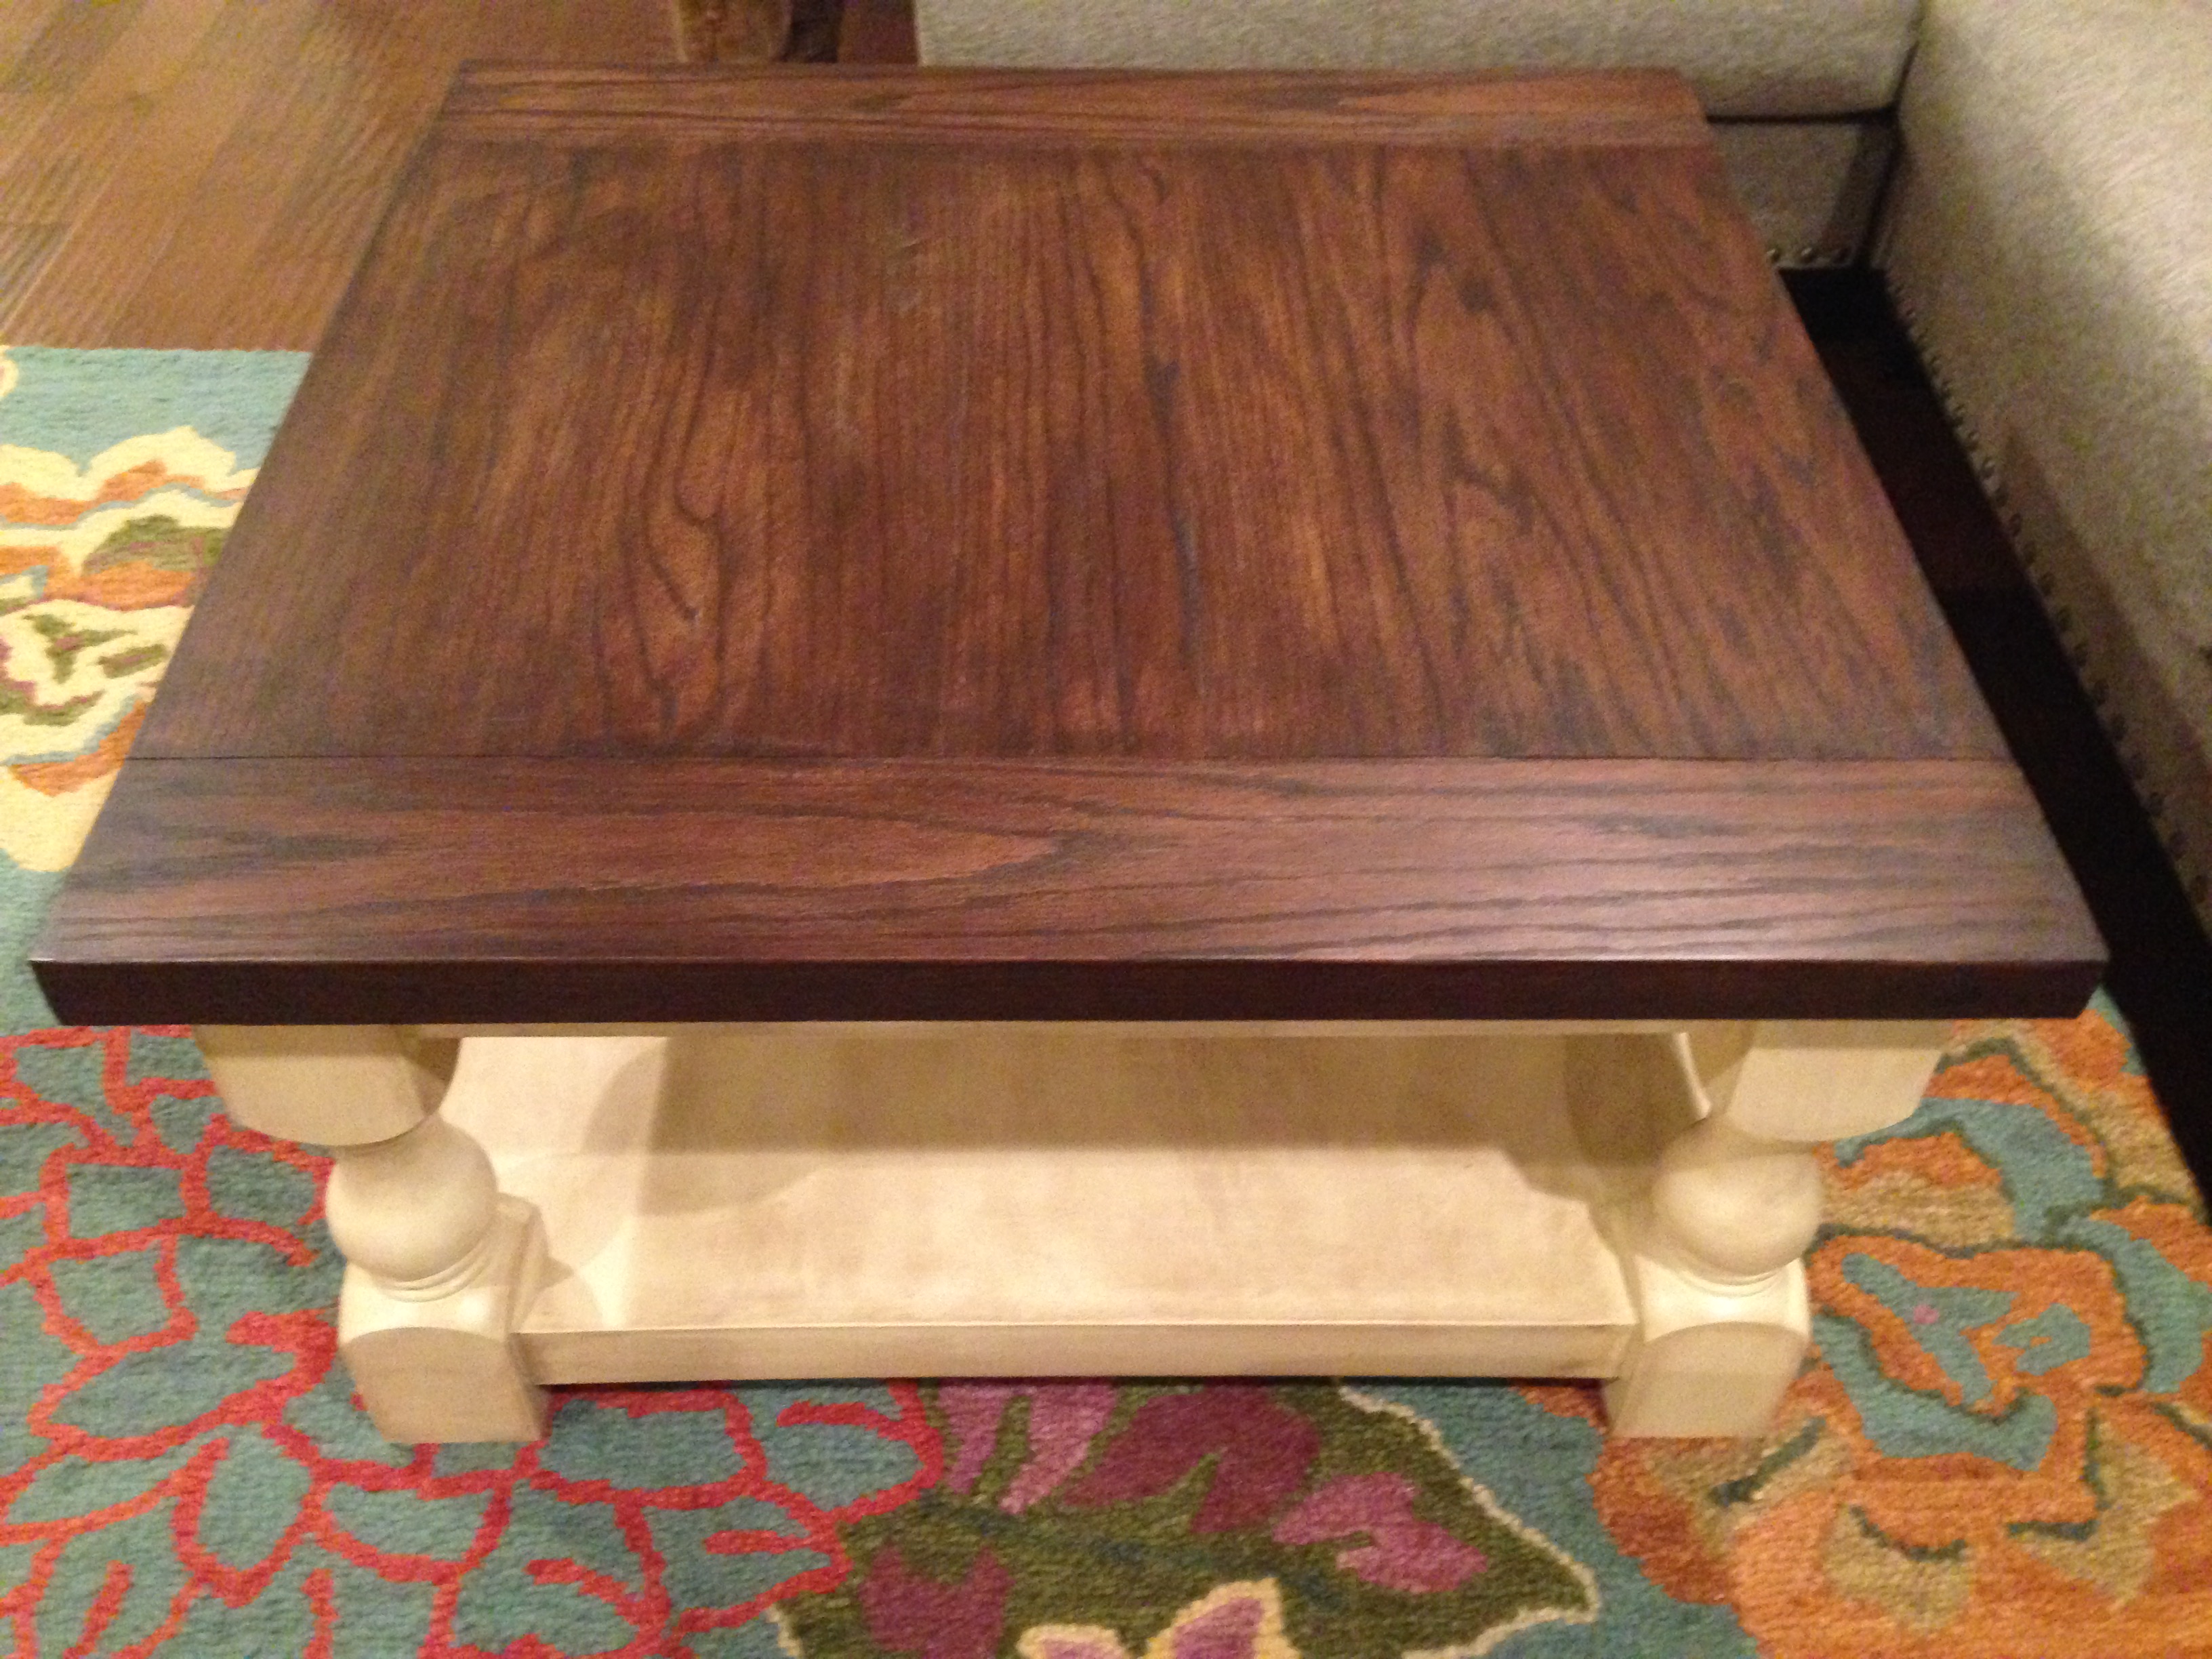
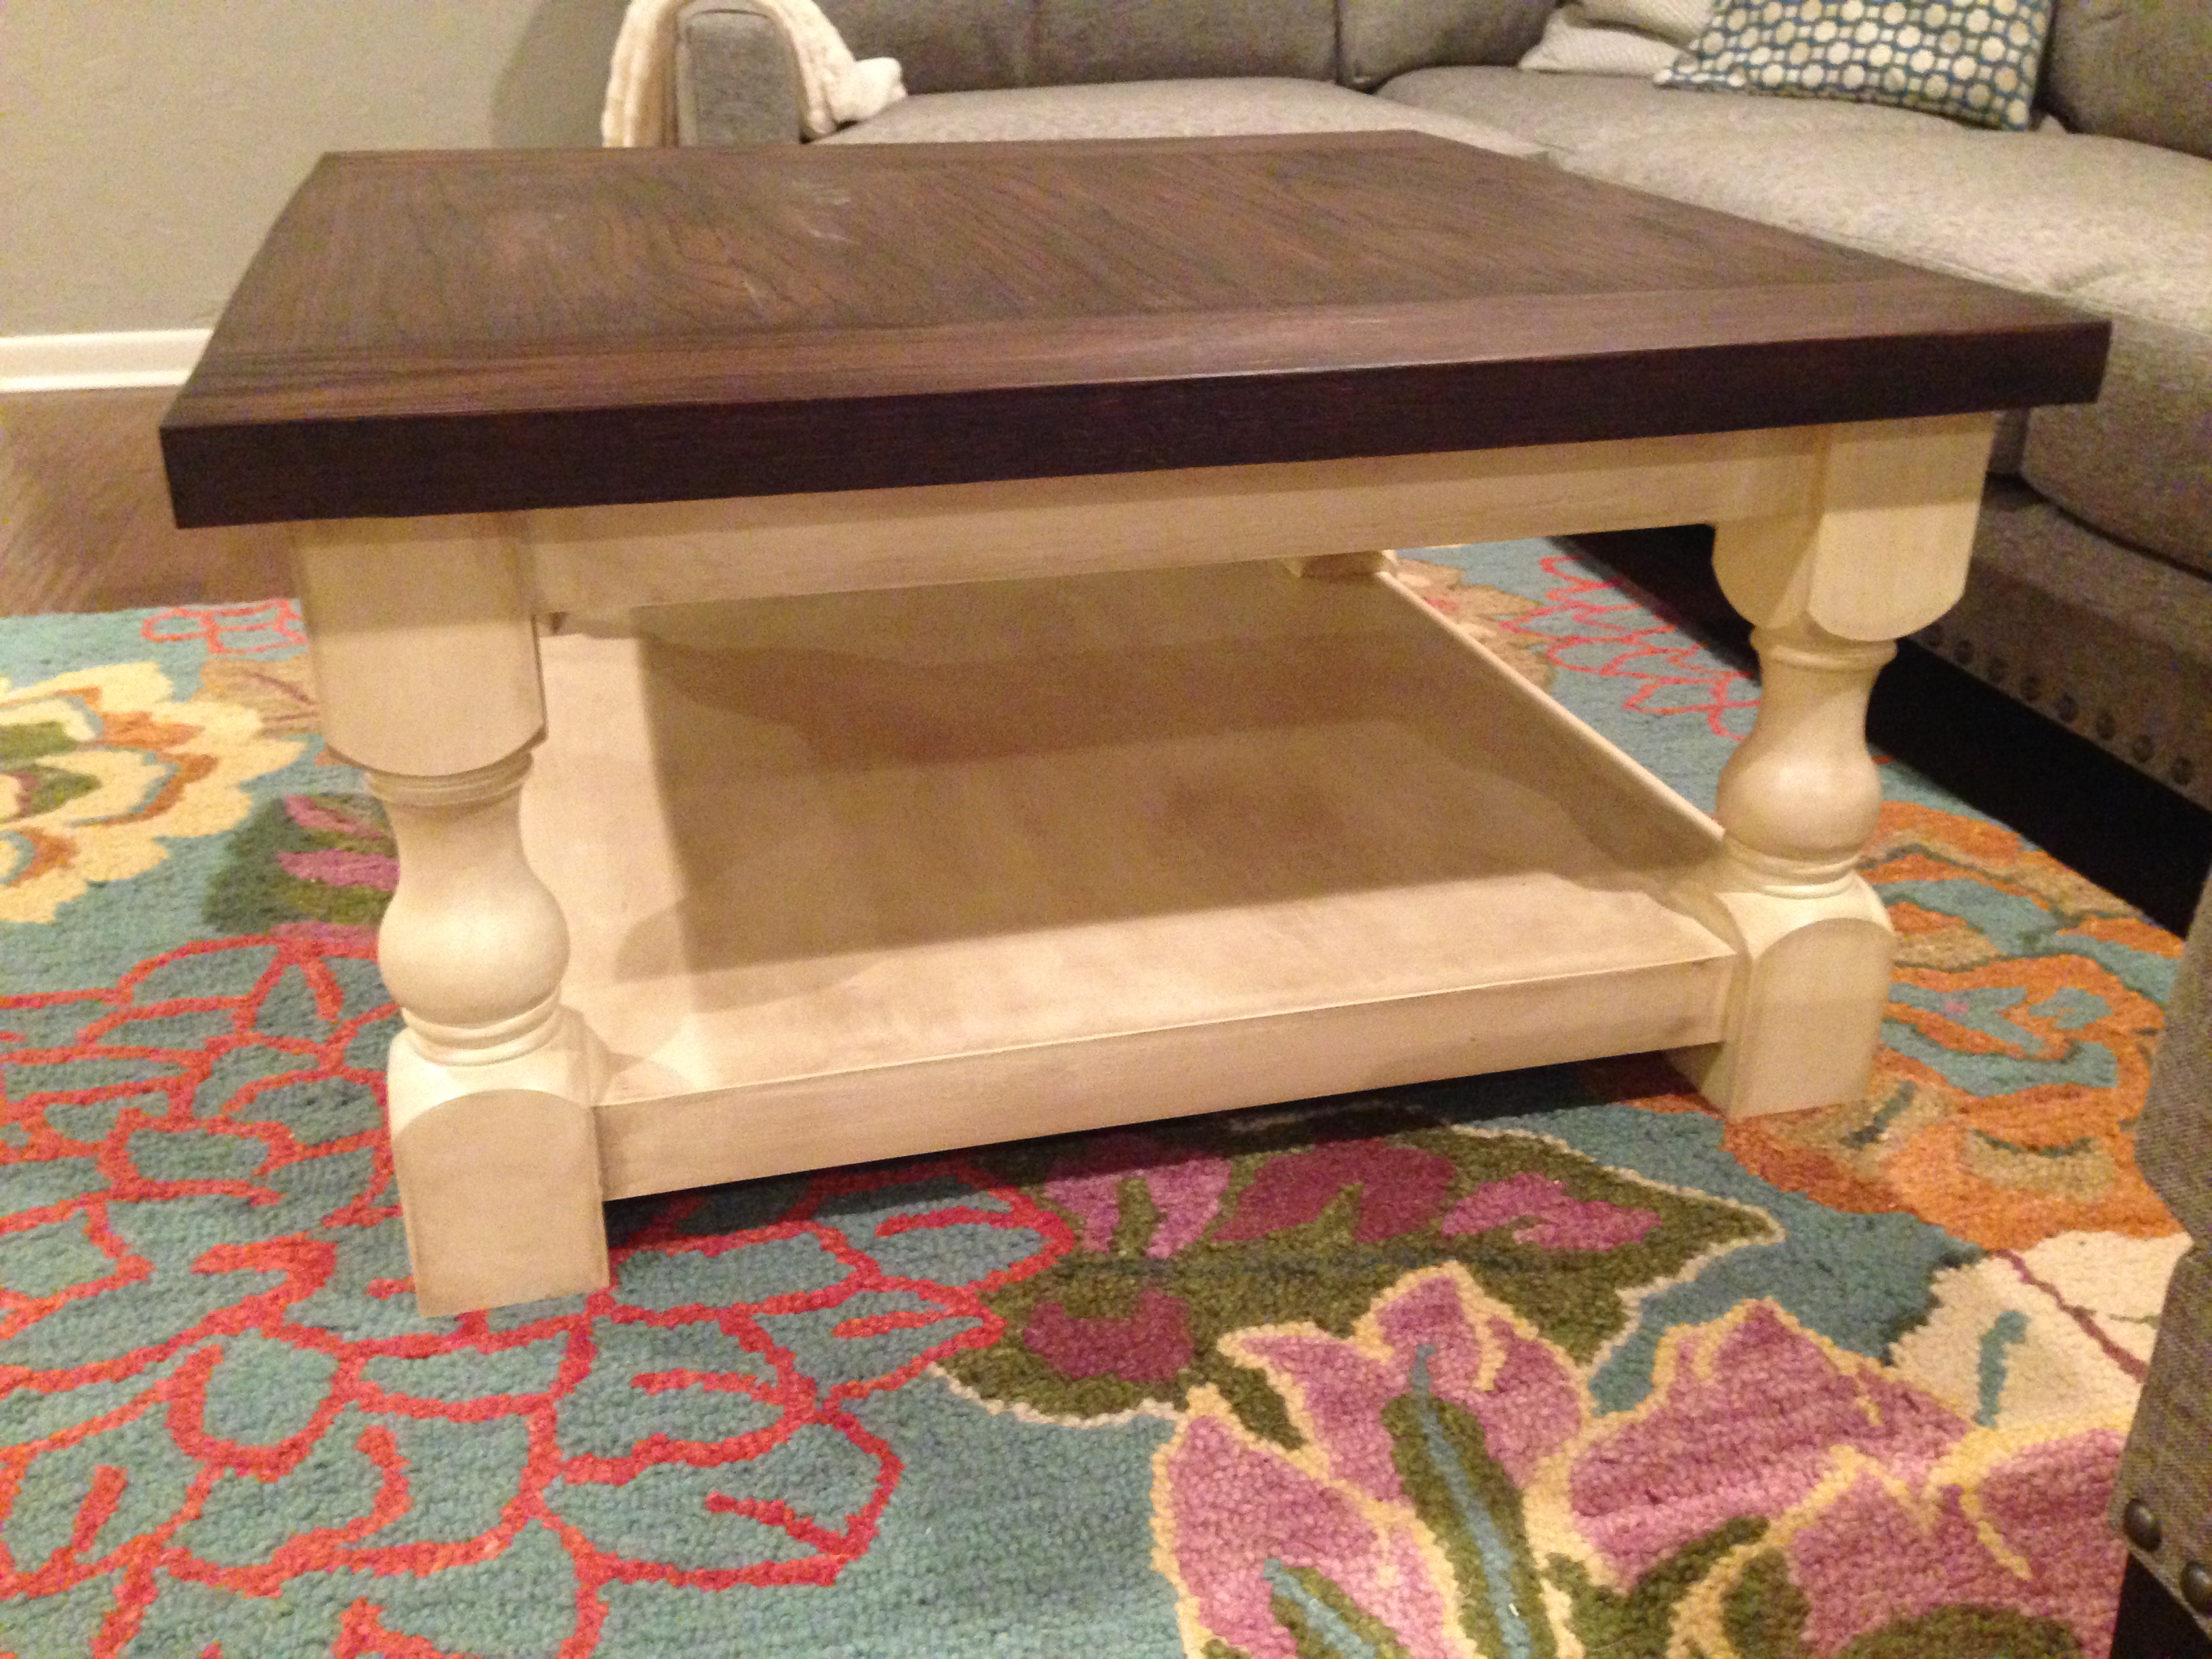
Rustic X Console
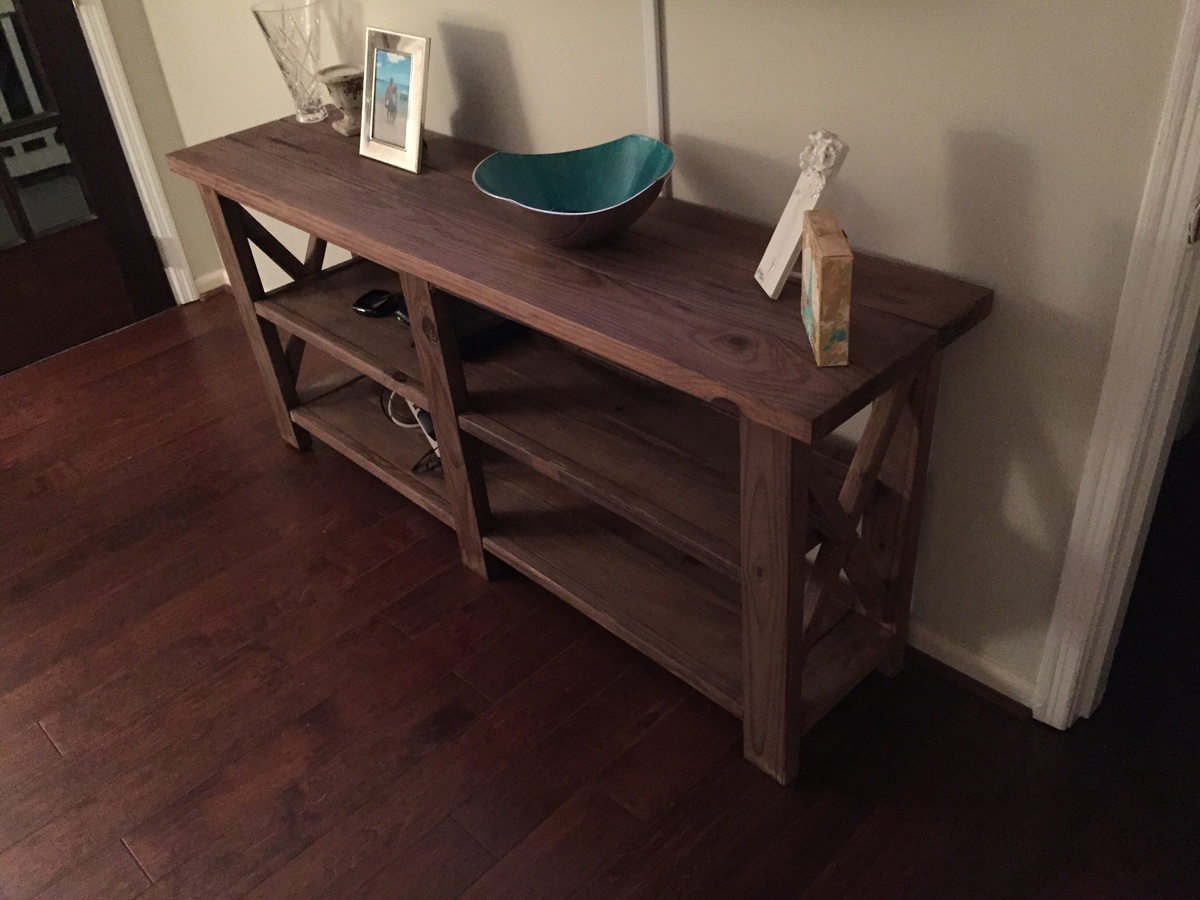
Needed a table under the TV, and this was perfect. I had to adjust the dimensions to decrease the length 6 inches to make it fit. Used the black tea, vinegar and steel wool combo for stain. Turned out great!

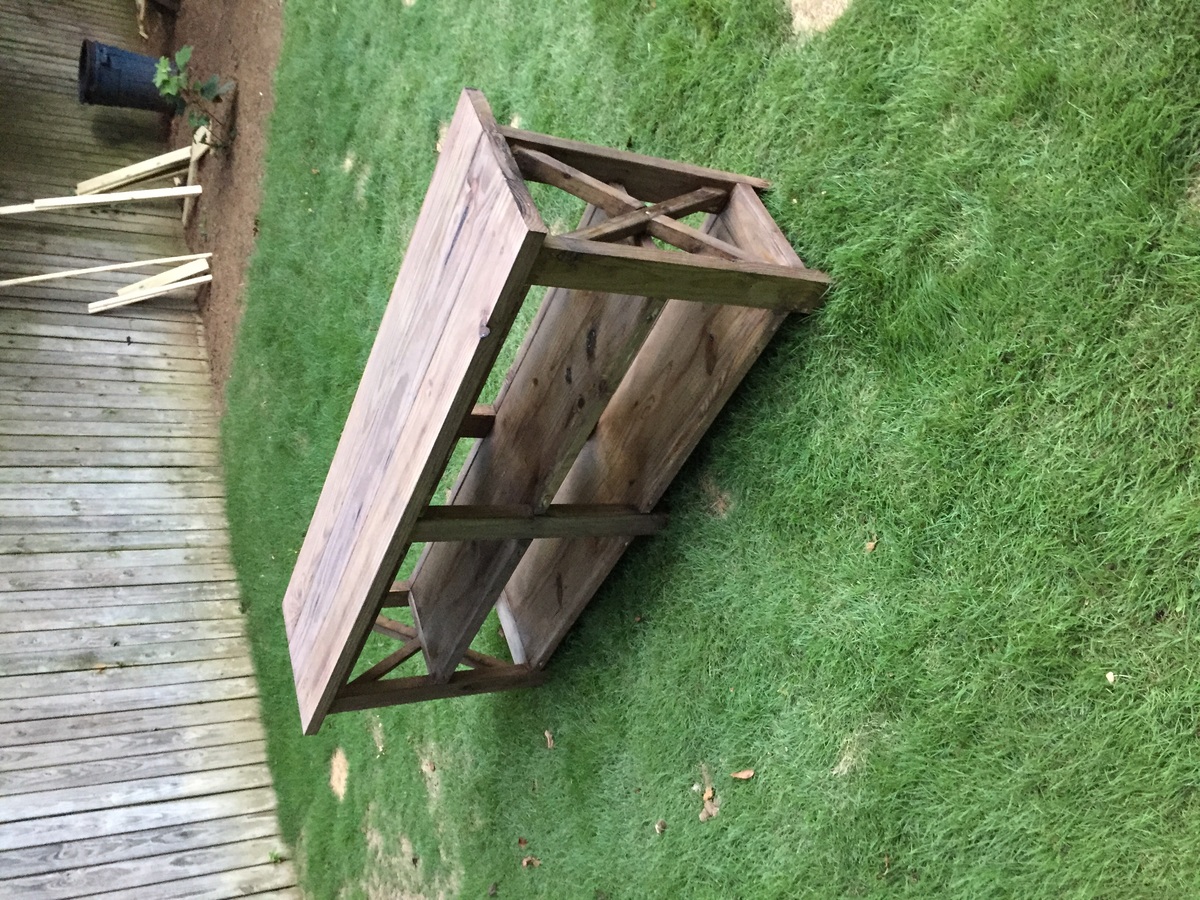
Built from Plan(s)
Estimated Cost
$85
Estimated Time Investment
Weekend Project (10-20 Hours)
Finish Used
Black tea and Vinegar/Steel Wool
Recommended Skill Level
Beginner