just.plain.chair.
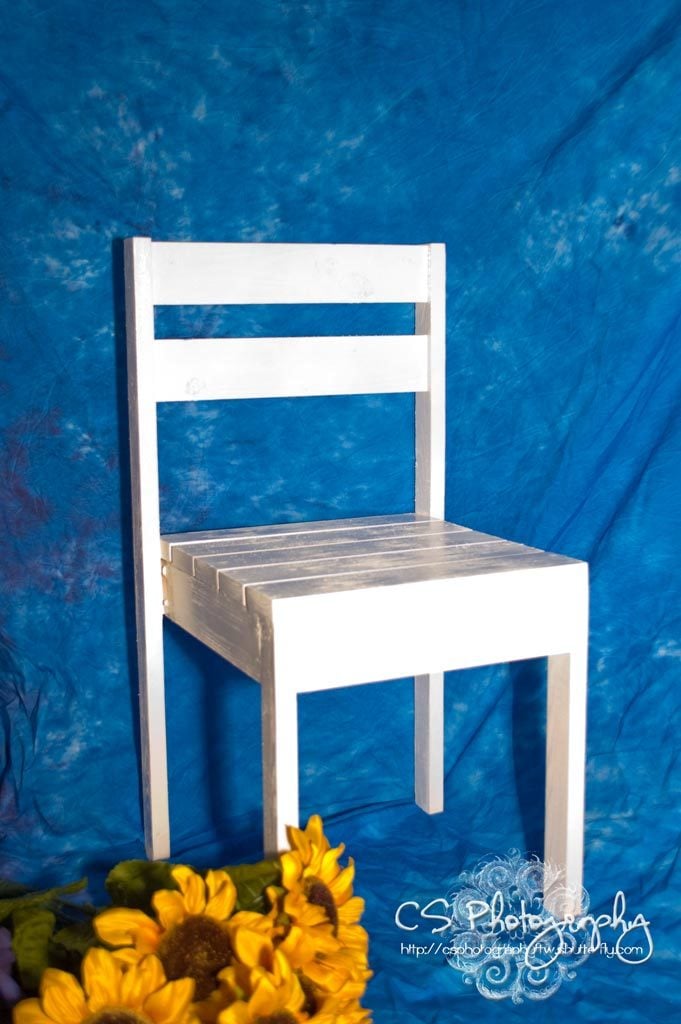
I guess I never got around to sharing my finished chair! I'm almost ashamed to...1) because it was so long ago when I made it and 2) because everyone else's looks so great!
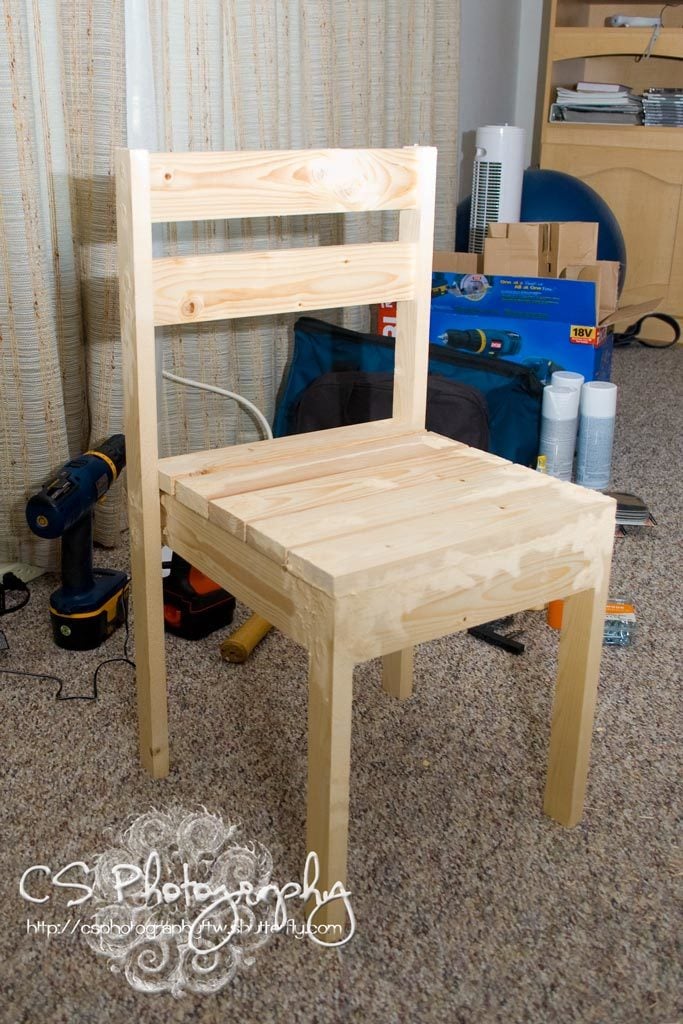
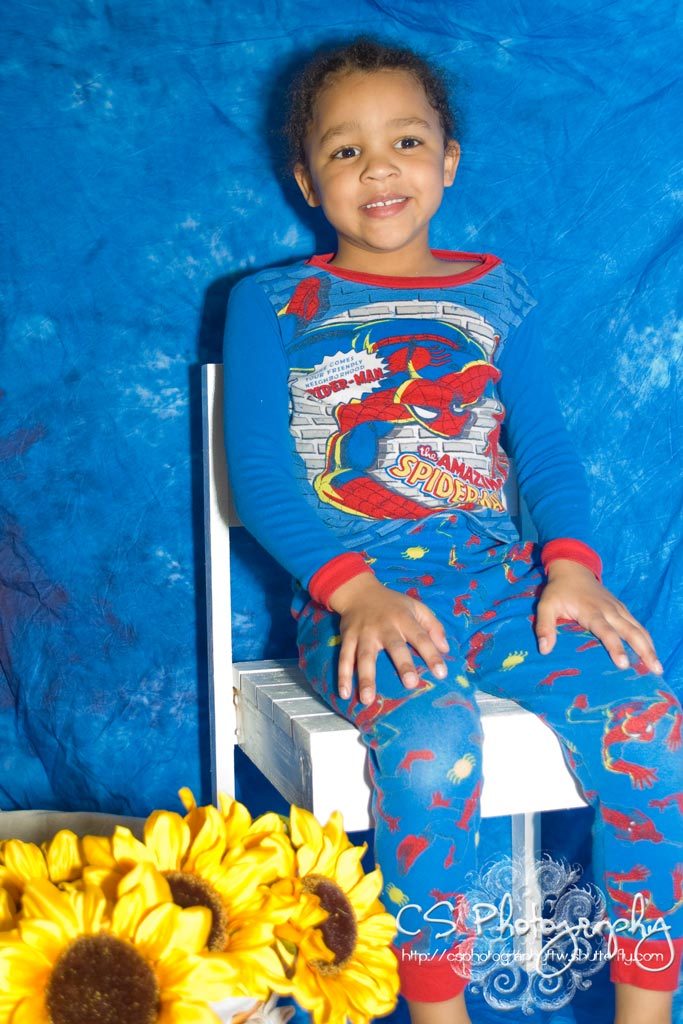

I guess I never got around to sharing my finished chair! I'm almost ashamed to...1) because it was so long ago when I made it and 2) because everyone else's looks so great!


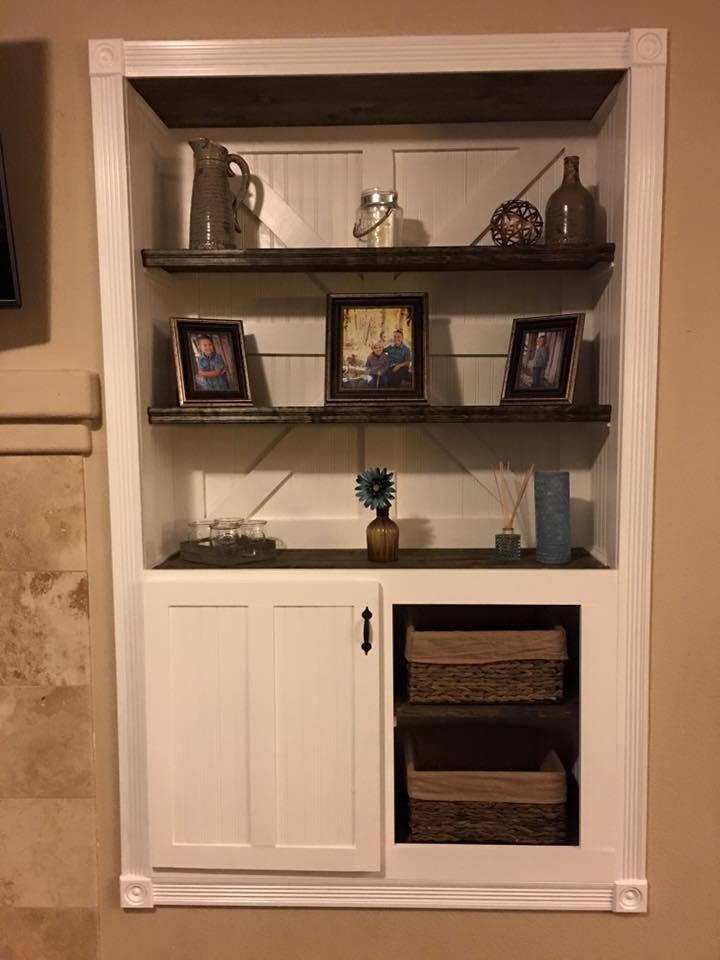
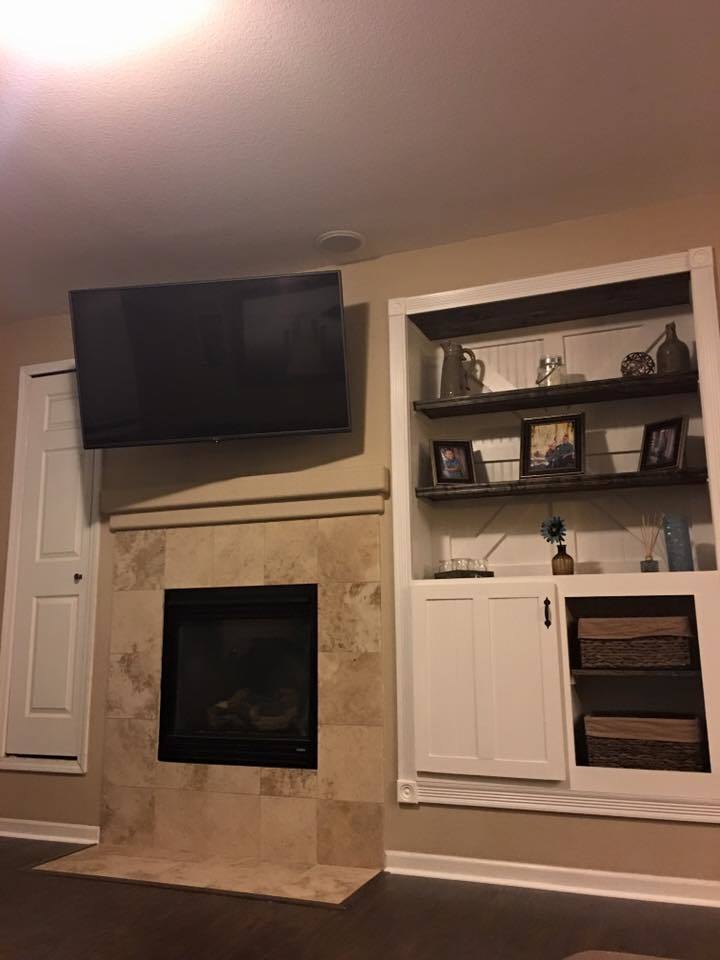
We built and designed this as we went. All the wires are concealed behind the back of the center and all the media equipment is in the cabinet. Everything was custom built for roughly $400 and it took about 2 days.
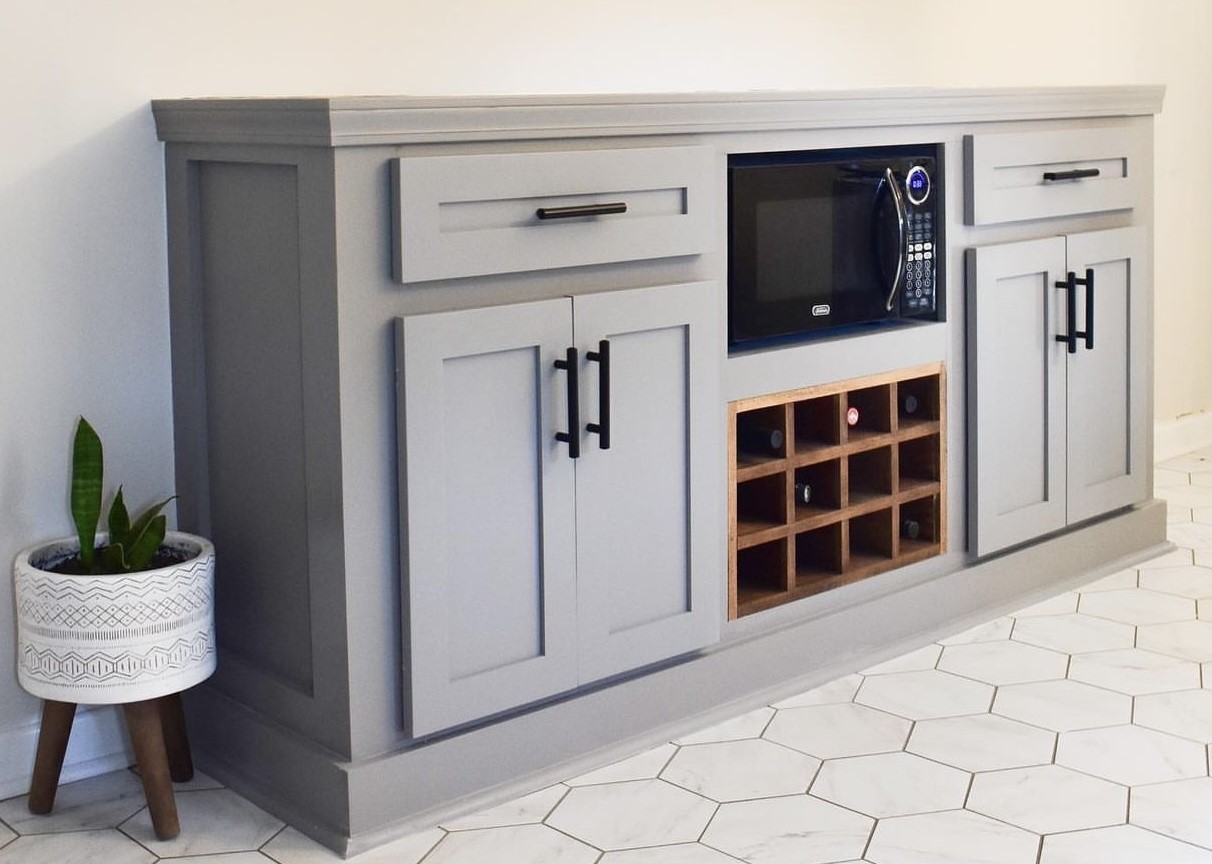
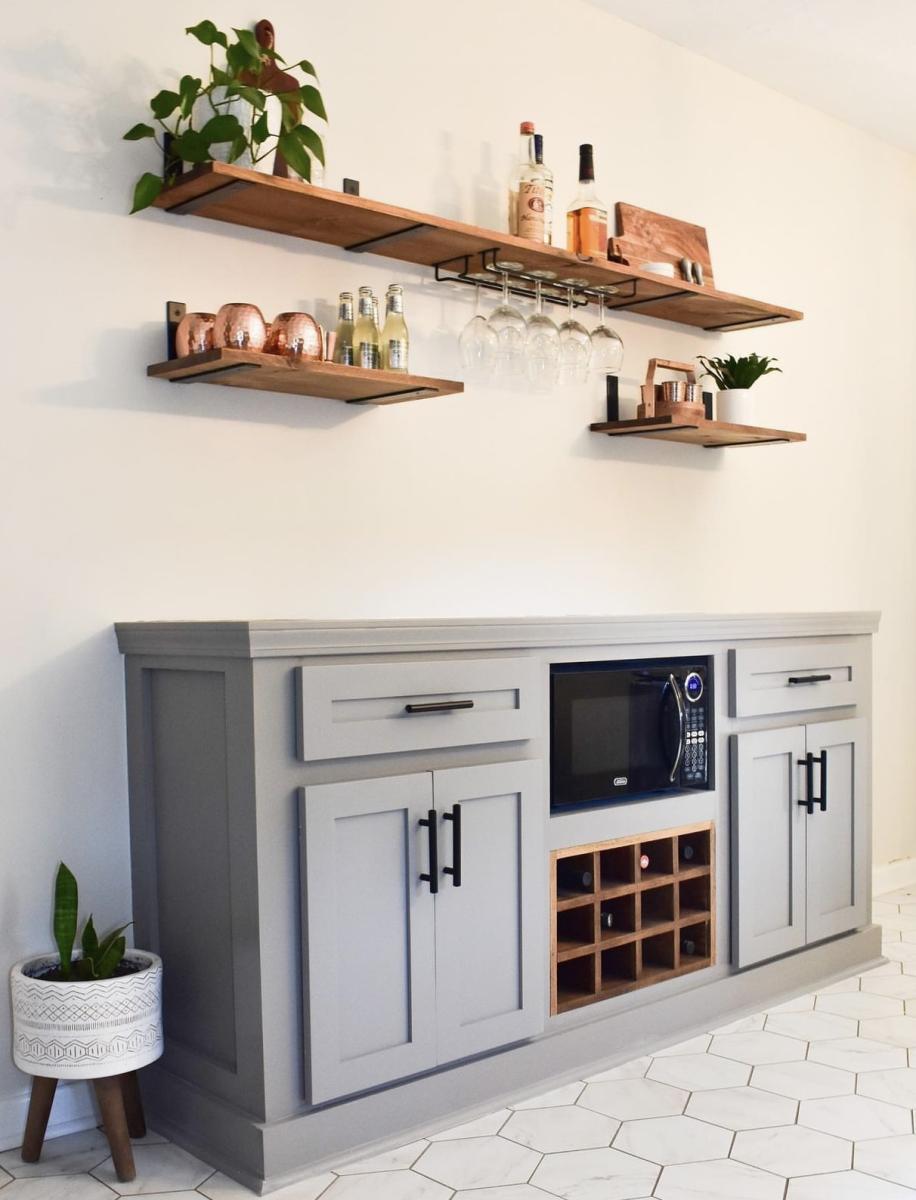
"I took a dead spot in our kitchen and designed it into a functional space that also added value to our home!
I built the frame using the sideboard plans by Ana White & Shanty2Chic. From there I designed it to fit our needs perfectly."
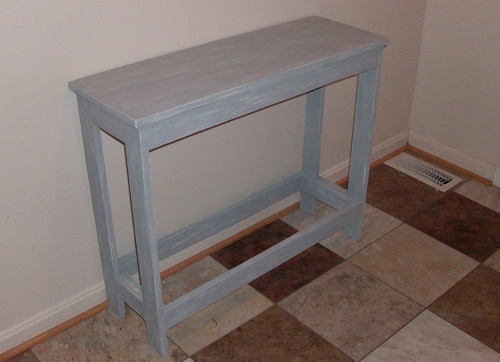
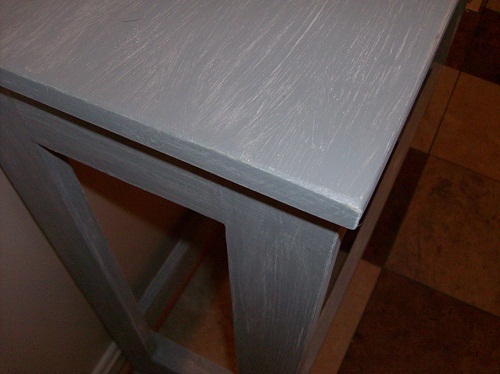
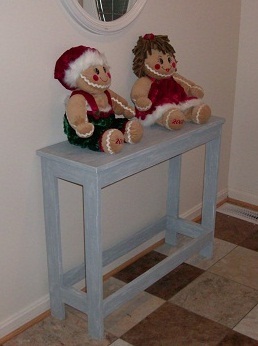
Ana's simple, cheap and easy console table, made entirely with repurposed and scrap wood, so it was free! The plan was great, and it was easy to adjust to the wood I had on hand. The distressed finish was fun to do too.
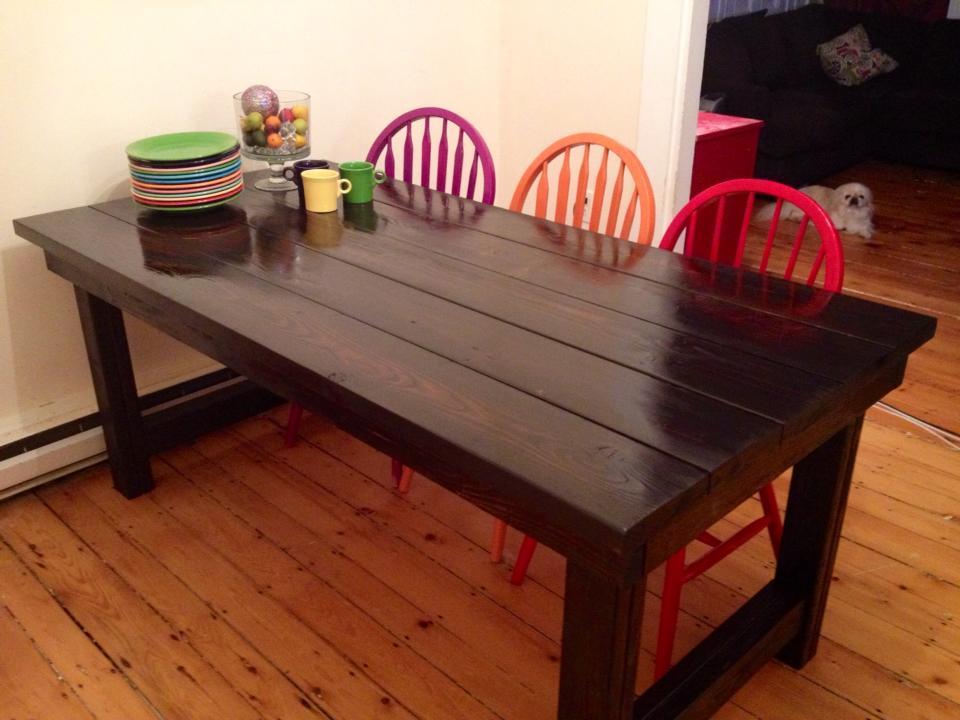
This was our first Ana White project. We knew we wanted to do a table, and decided this was the easiest one for first-timers without a kreg jig (YET!). We made things even SIMPLER by having Lowe's do ALL the cutting for us! I didn't even know they would do that, but they will.... and happily so!
The project went VERY well and we are delighted with our new table. We used Rustoleum "Kona" stain and we used Rustoleum spray gloss poly because Lowes had a bunch of cans of it on clearance. We were happy with the results, though it may not be the best indoor product in the future ;-)
The project took us about 4-6 hours to build, and then we just sanded a little each evening, and the next weekend we stained and poly.
Tue, 11/19/2013 - 19:30
Looks fantastic! I want to make one just like this. The dark stain looks beautiful! Great job.
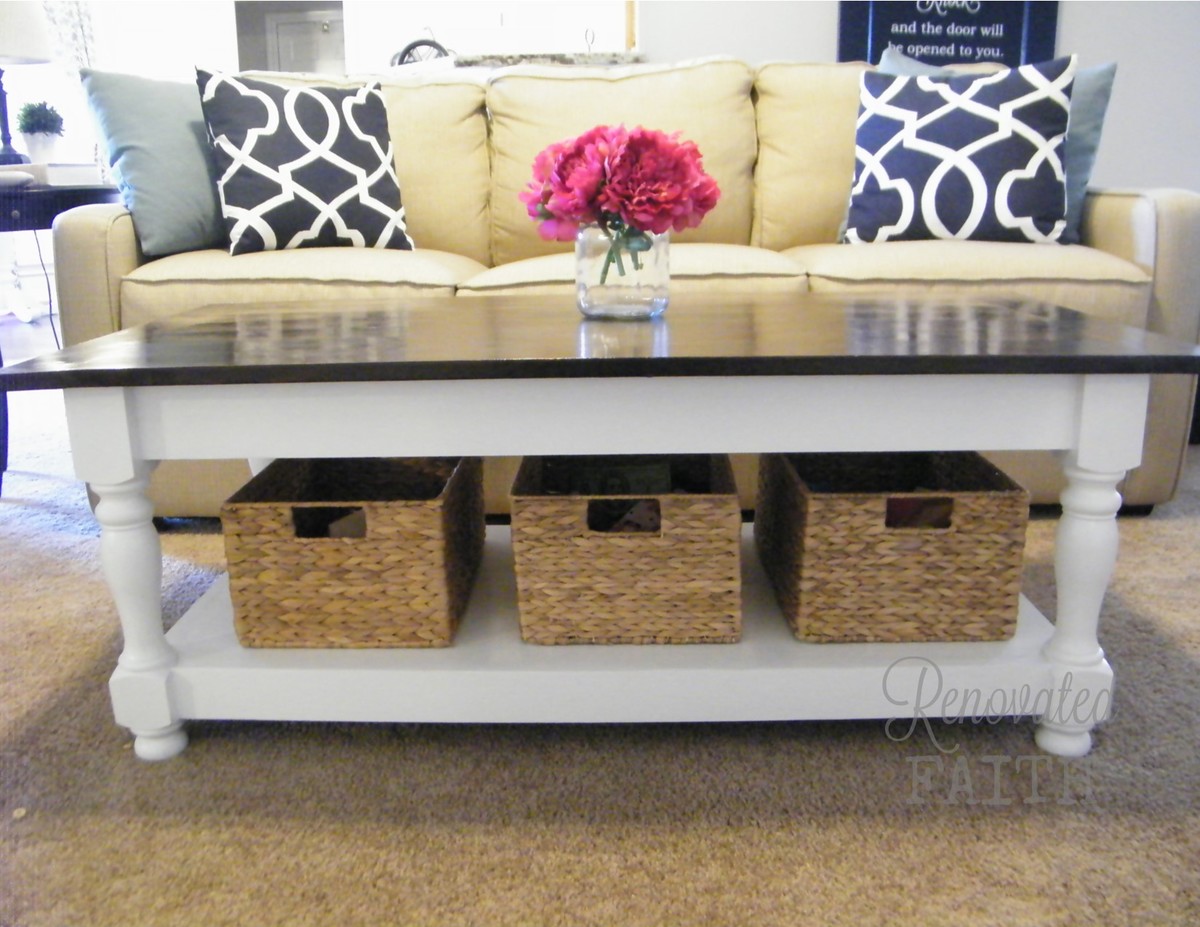
We combined the plans for the Turned Leg Coffee Table and the Corona Coffee Table to add the storage shelf for toys. Visit my blog for more details and pictures:
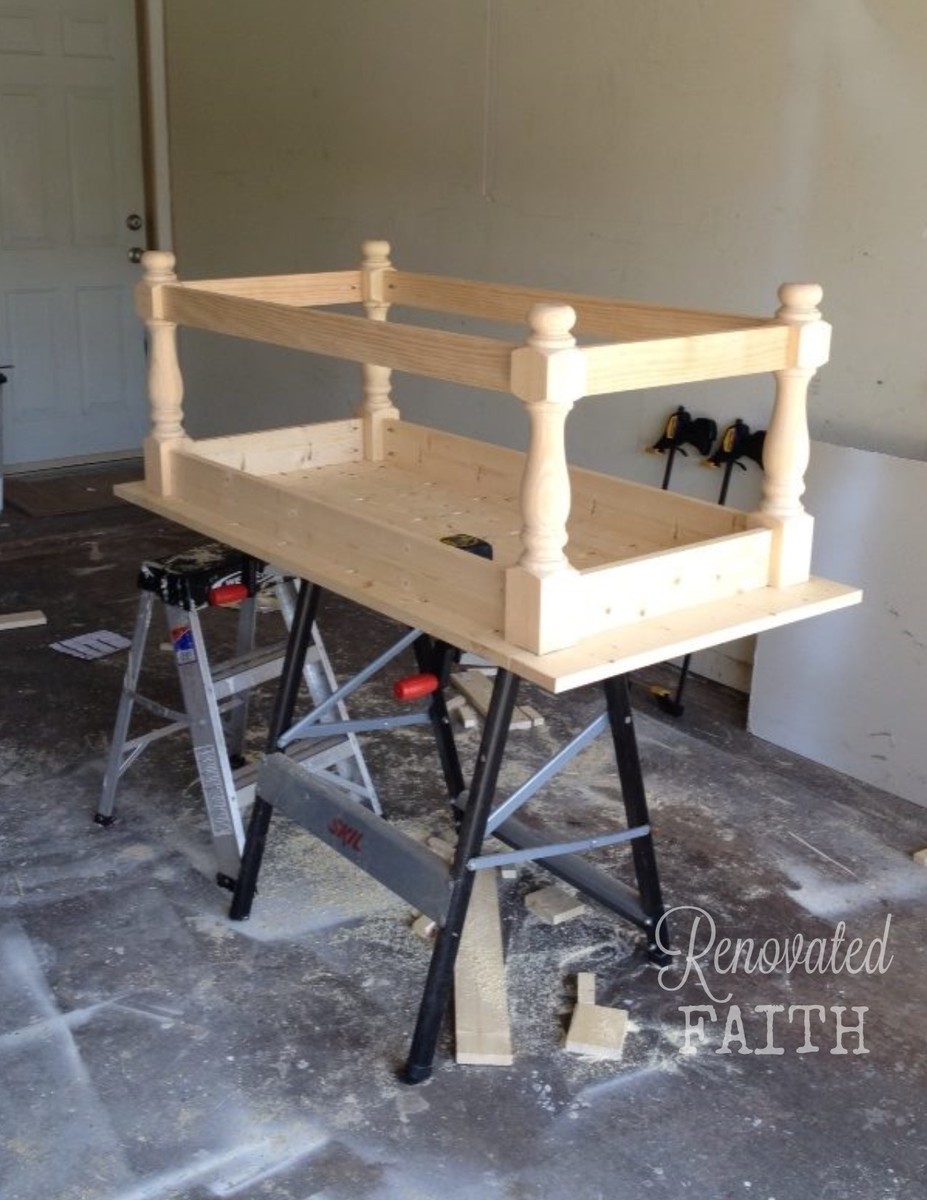
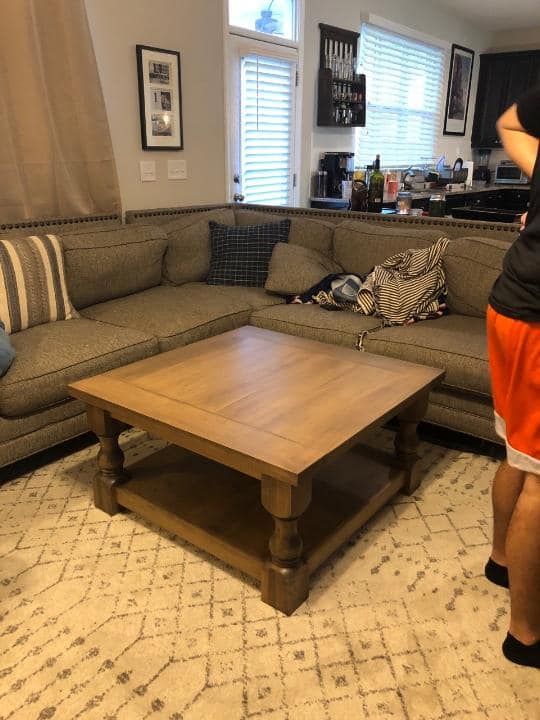
Built this table out of solid Maple, which made it much more expensive to build, but such a beautiful piece of furniture. I bought the legs from Osborne Wood. One thing I did to cut down on cost was to use 1" X 6" wood for the 5 center table-top boards instead of the 2" X 6" called for in the plans. Underneath those, I put a piece of 3/4" plywood to increase the thickness to match the (4) 2" X 6" outer edges. This is not visible unless you climb under the table to look at it from underneath but I think it actually helped to create a flat (almost seamless) table top. Thank you for the plans! I put a lot of work into this piece and I think it will remain in my family for generations!
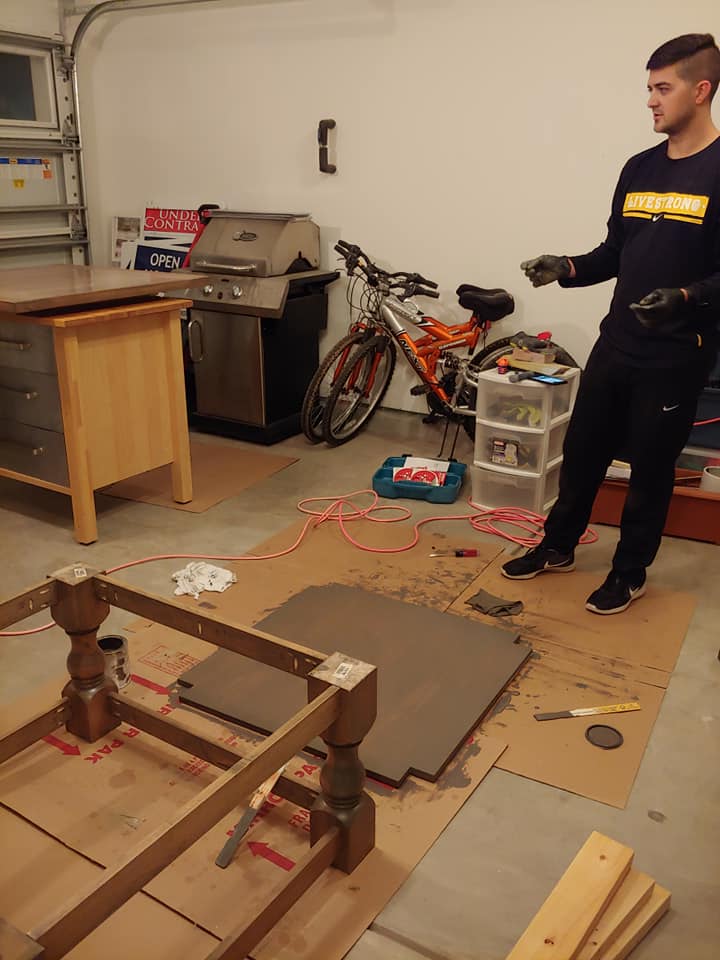
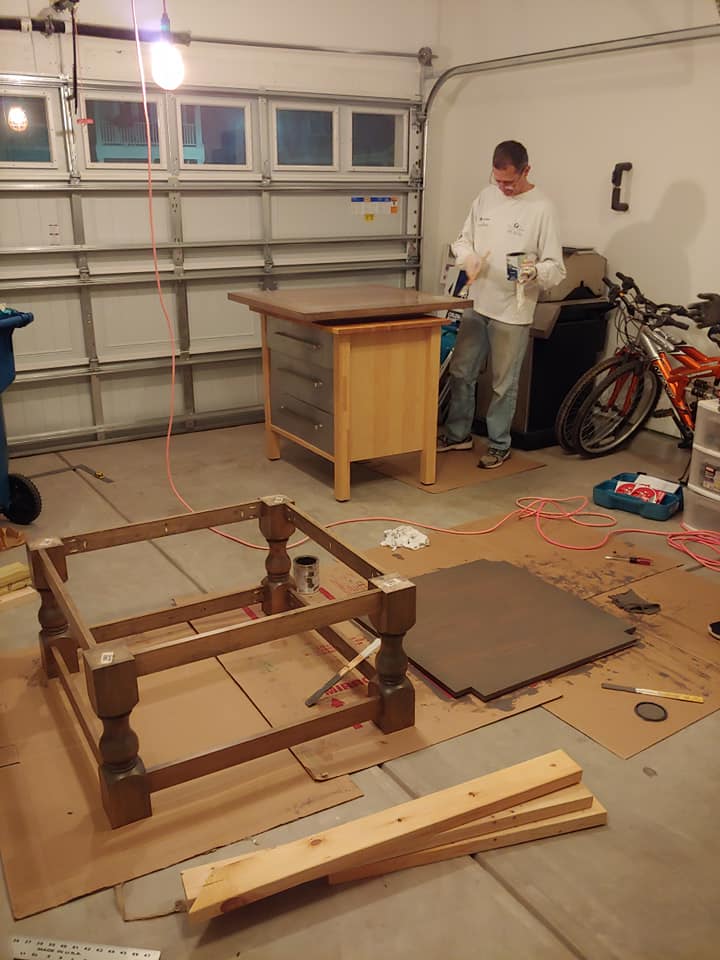
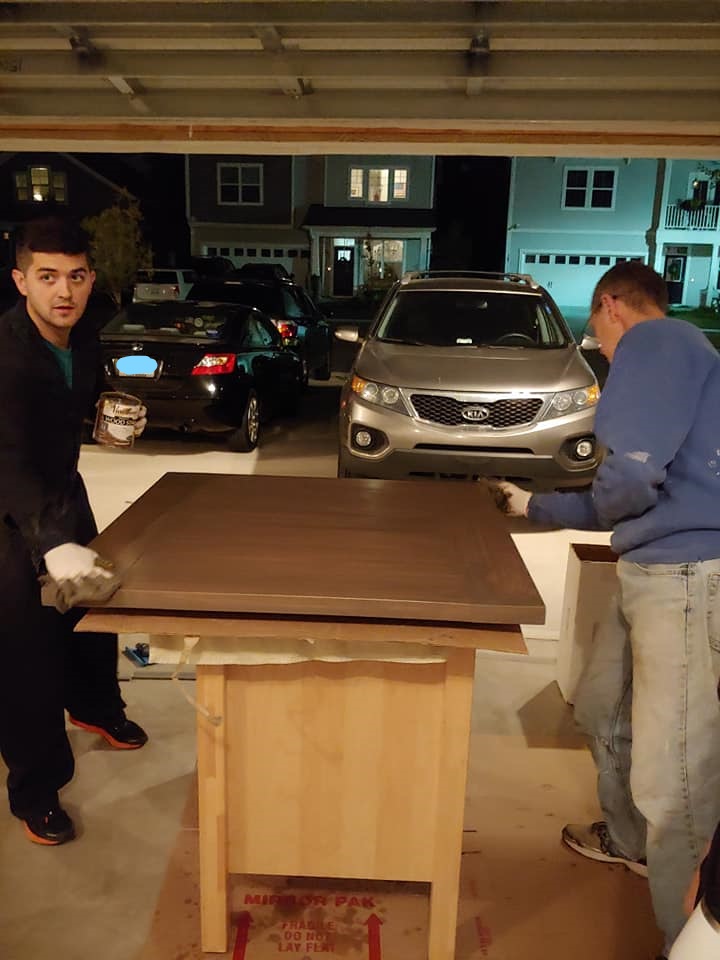
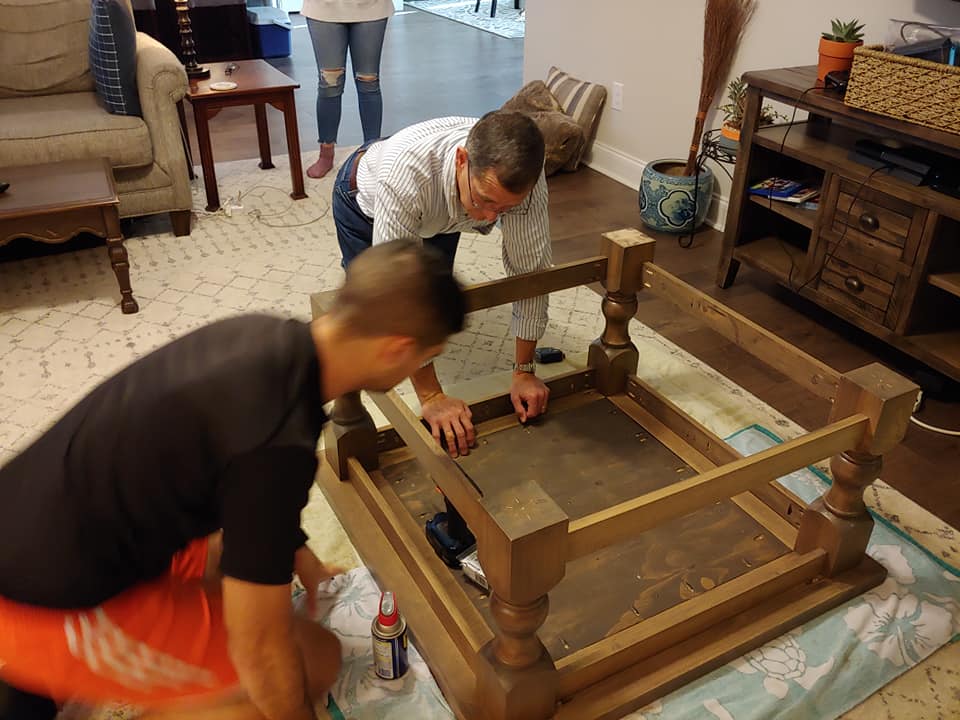
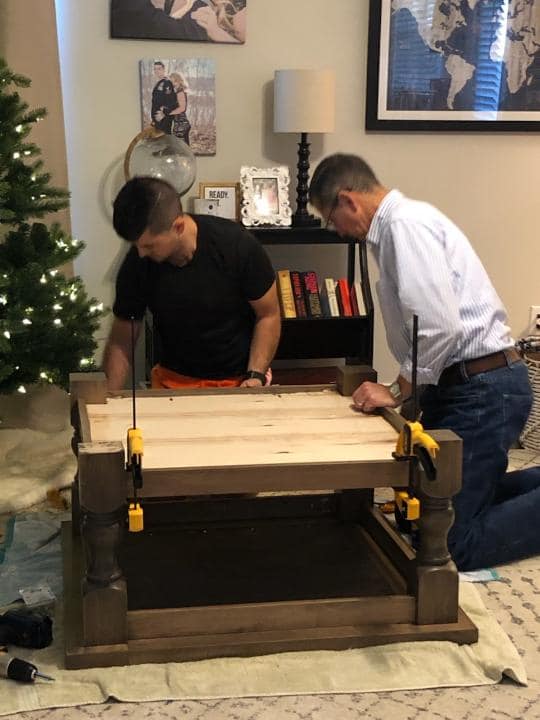
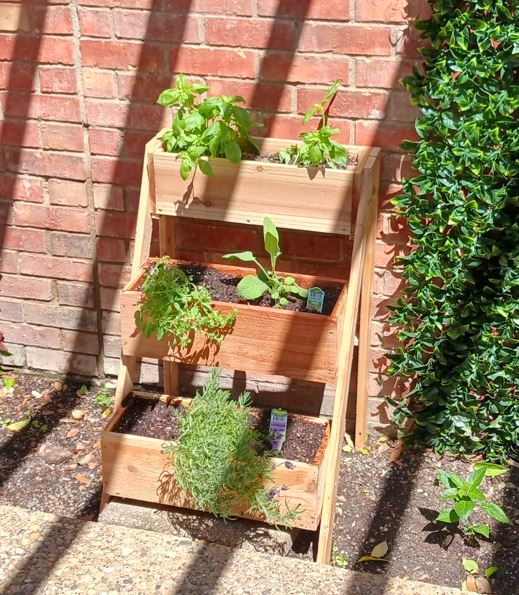
I made the boxes a little wider than the plans called for but still came out great. I'm very happy. Thanks Ana for the inspiration.
This project is all about using a Kreg Jig. My daughter asked for some shadowboxes to go around her chalkboard. 1 piece of 3/4" plywood and a few 1x2's later - here it is. It's really just an 8' x 2' box with the window panes inside - super simple, but does require a compact drill. Mounted to the wall using a ledger board underneath, then, pocket holes in the top shelf to join it to the studs. Quite sturdy. One day I'll learn Sketch-Up well enough to make this into a plan.
Made from scrap wood left in the empty lots besides me, from framing crews.
Cost me just the time, screws, sand paper and stain.
Made all the cuts with a skillsaw, by saving the $$$ I have now went and bought a mitre and table saw. YAY!
Rebuilt the tops of a coffee table and two end tables using 1x3 and 1x4 common pine boards. Boards were joined together using glue and then Kreg Jig pocket holes and Kreg screws. Tops were finished with Minwax dark walnut stain and bases were painted a light cream color.

We made these chairs following easy instructions from AnaWhite!
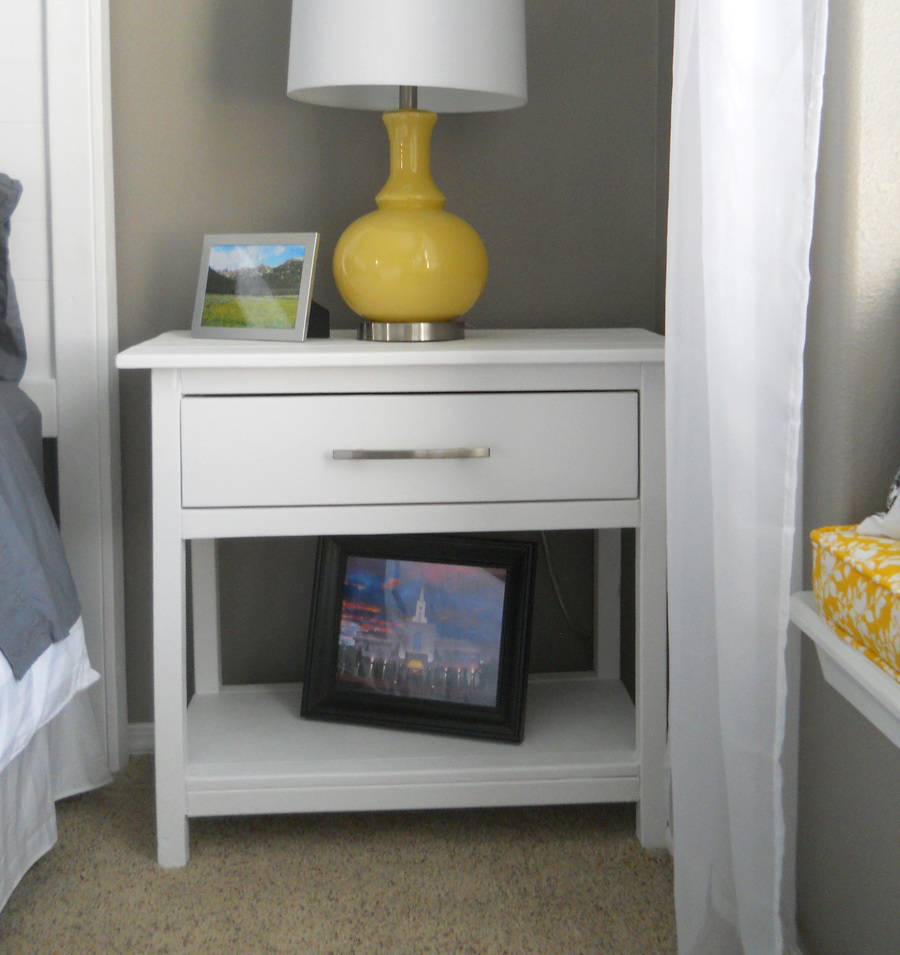
I looked ALL OVER for a bedside table that met my demands and my budget. It did not exsist. I found the Farmhouse Bedside Table and fell in love with it! It was definately a more tricky build, and my husband and I learned ALOT about what we know and what we don't know about tools, wood, angles, measurements, etc. But it was a fun project to do together and I just LOVE how it turned out! We definately surprised ourselves on this one! Only about $35, not too shabby! Only piece of advice would be to measure and cut as you go- some of the measurements didn't work out for us (not sure why...) but we were glad we didn't cut them ahead of time! We measured everypiece and double checked it. But we are new to work working, so cut at your own risk :)
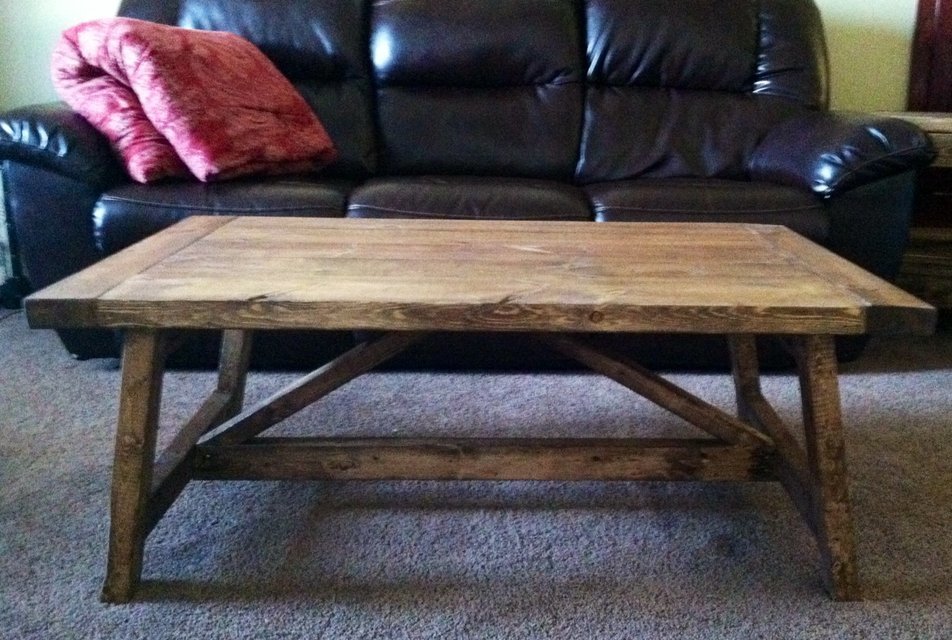
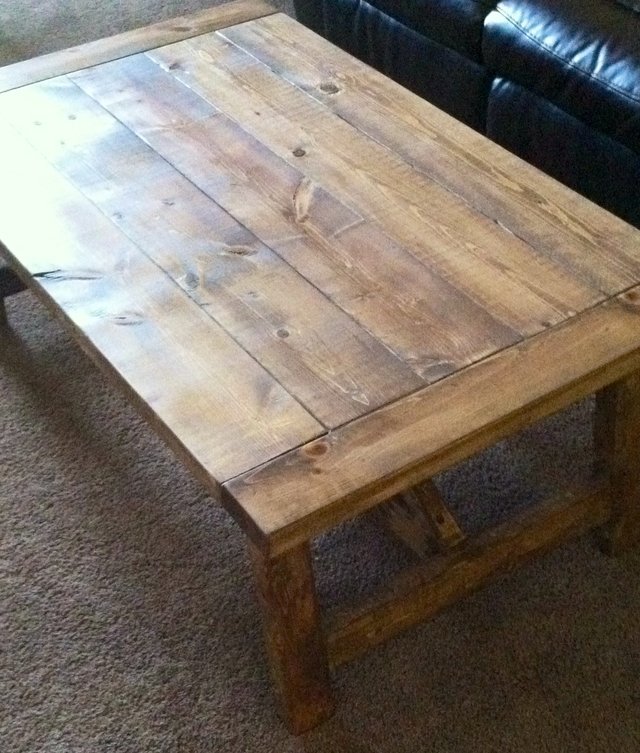
This was my third project so far. I am having so much fun with your designs! I bought your book and also got a copy for my friend. Thank you so much for all of your free posts and for being such an inspiration!

I replaced my gas stove, and could not find a 36" wide stove that was affordable, and had the features I wanted. I bought standard 30' stove, but had a gap to fill. Found this site; adapted the filler cabinet to 7 3/4 inches and found the pullout shelving unit. Added a drawer front with a pull, and it is great!
Mon, 02/08/2016 - 11:39
This is awesome! What a great use of space and amazing customization to your kitchen!
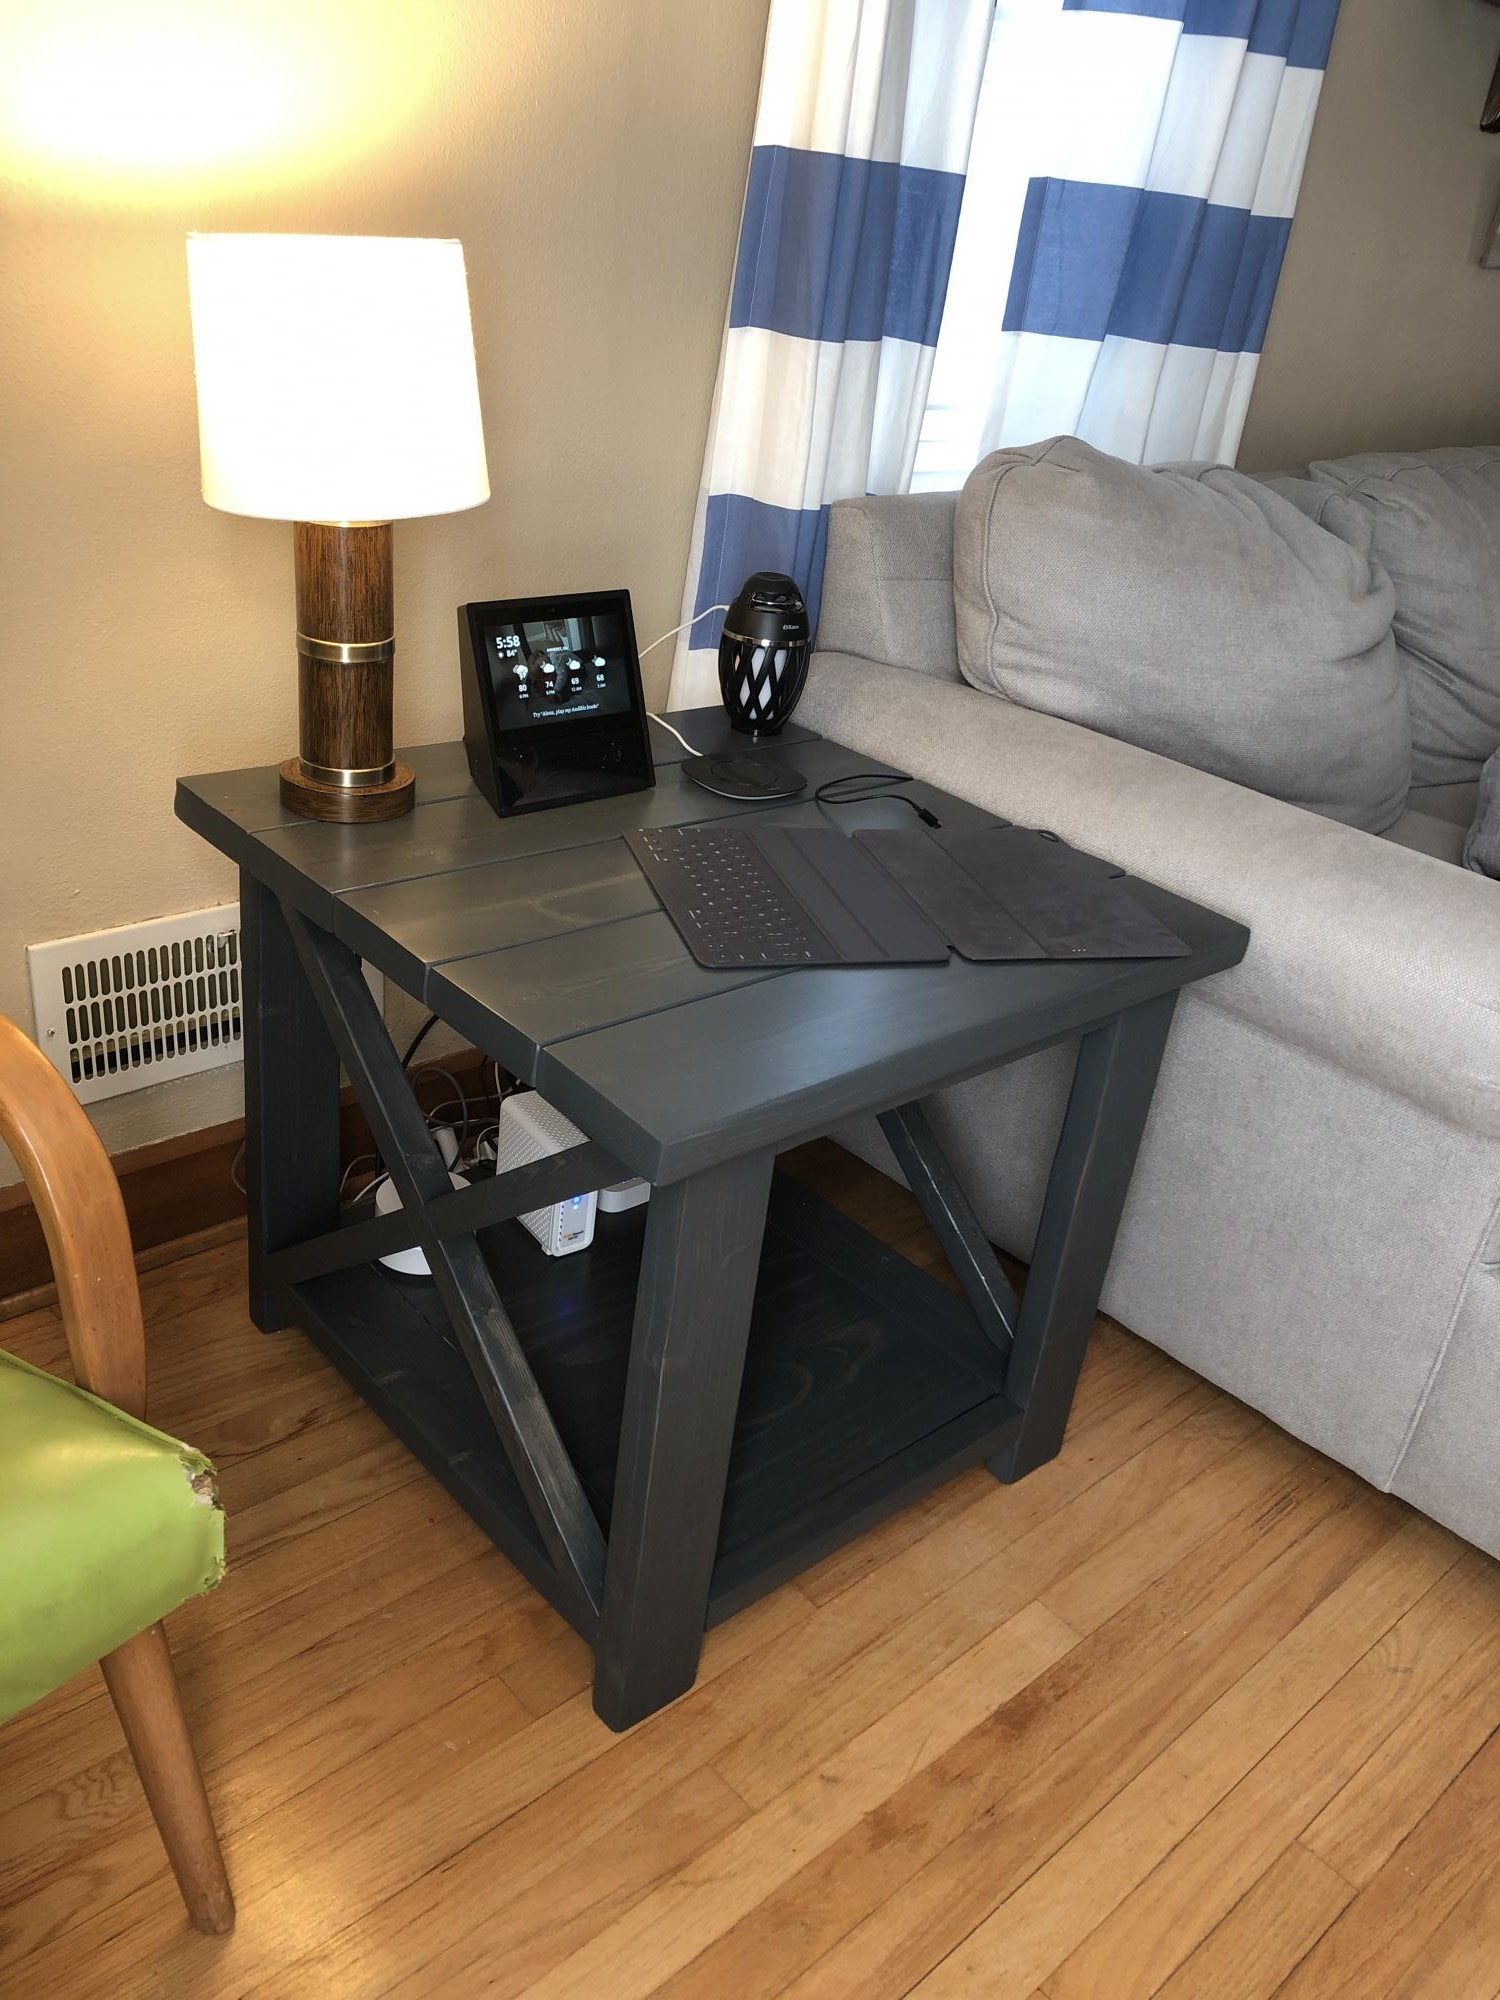
First thing my husband has ever attempted to build and I love it! Thanks Ana!!
Sat, 08/31/2019 - 11:20
What a beautiful first project. I love the dark stain or paint? It's gorgeous!
Can't wait to see more projects from you!
I needed some furniture for the entryway and made this dresser. All it needs now is a few accessories! Thanks Ana.
Fri, 01/06/2012 - 12:00
I love this. I would love to build this, but modify it to be more narrow. I am afraid to do both. I don't have the confidence yet to modify or tackle drawers. Yikes. Going to have to bit the bullet one of these days!
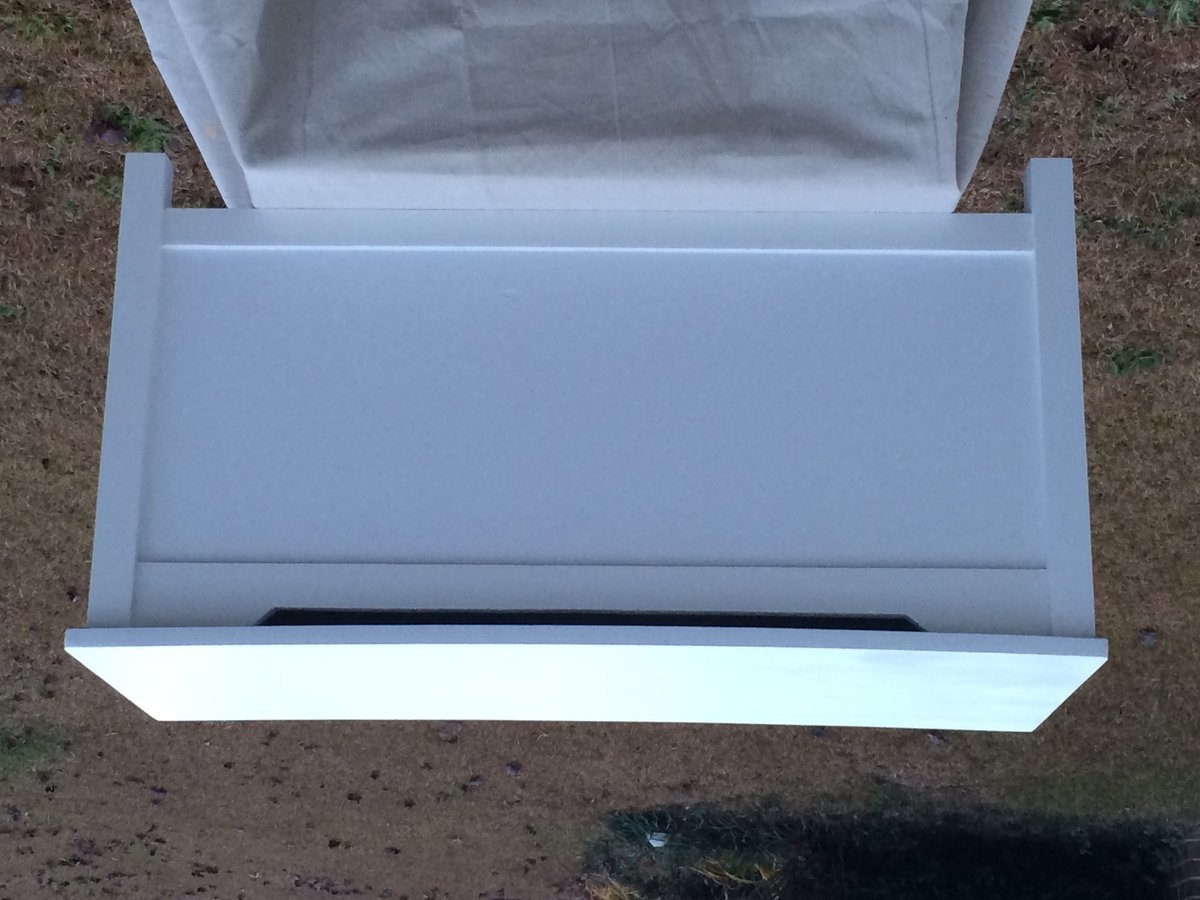
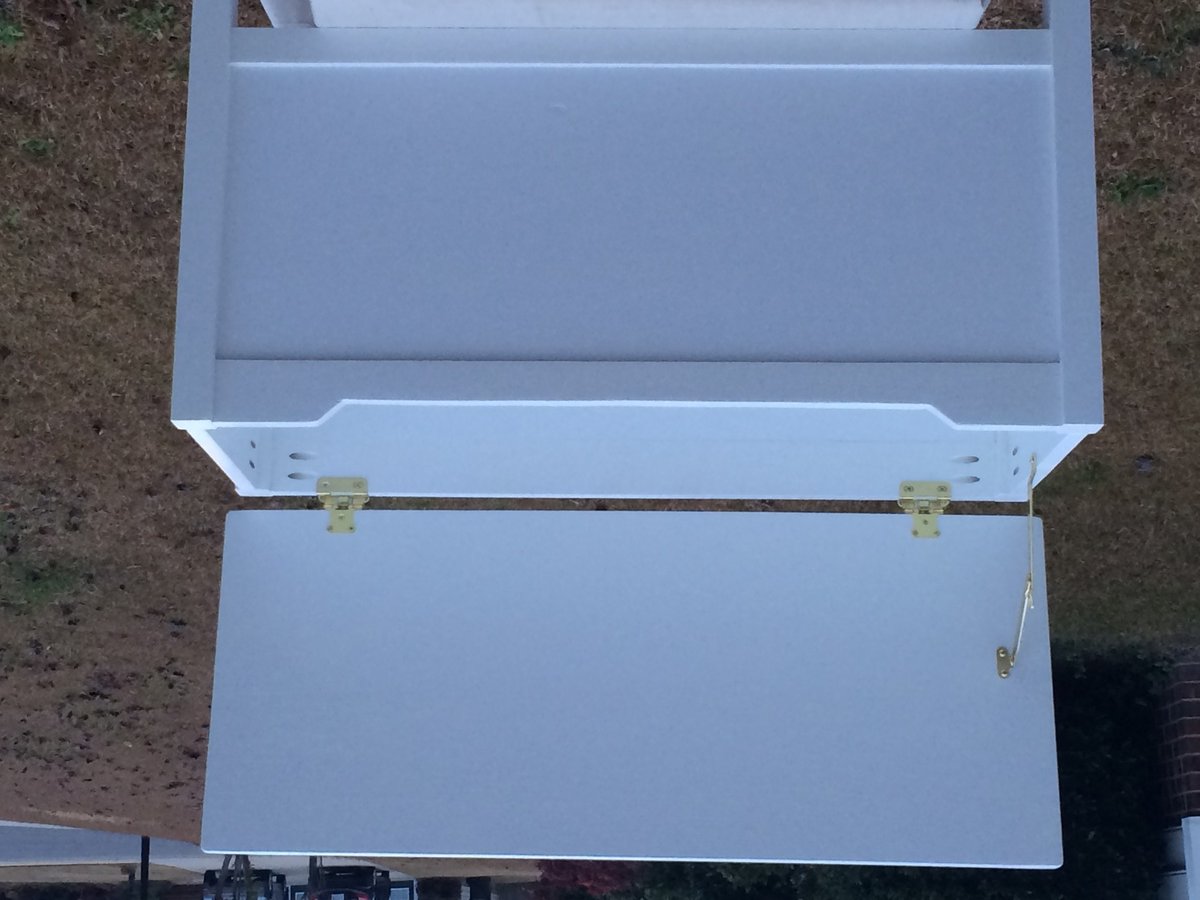
This is my first wood working project I've done. I am definitely a beginner, but feel that it turned out great. The project instructions were easy to follow and very descriptive. Some of the problems I ran into was my hardware store had a very limited selection of wood to choose from. I ended up buying a 2x4x1/2 sheet of plywood for the sides so when I made my cuts, I didn't take into account that the blade from the saw would eat up an 1/8" of wood which made my cuts off. Next when I was attaching the 1x2s and 1x3s to the plywood, I didn't realize I clamped the wood to hard which left a slight bend in my joined pieces. Overall I feel the project turned out great and my 3 year old loved it (which is the most important thing)!! I look forward to making more projects, to include another toy box.
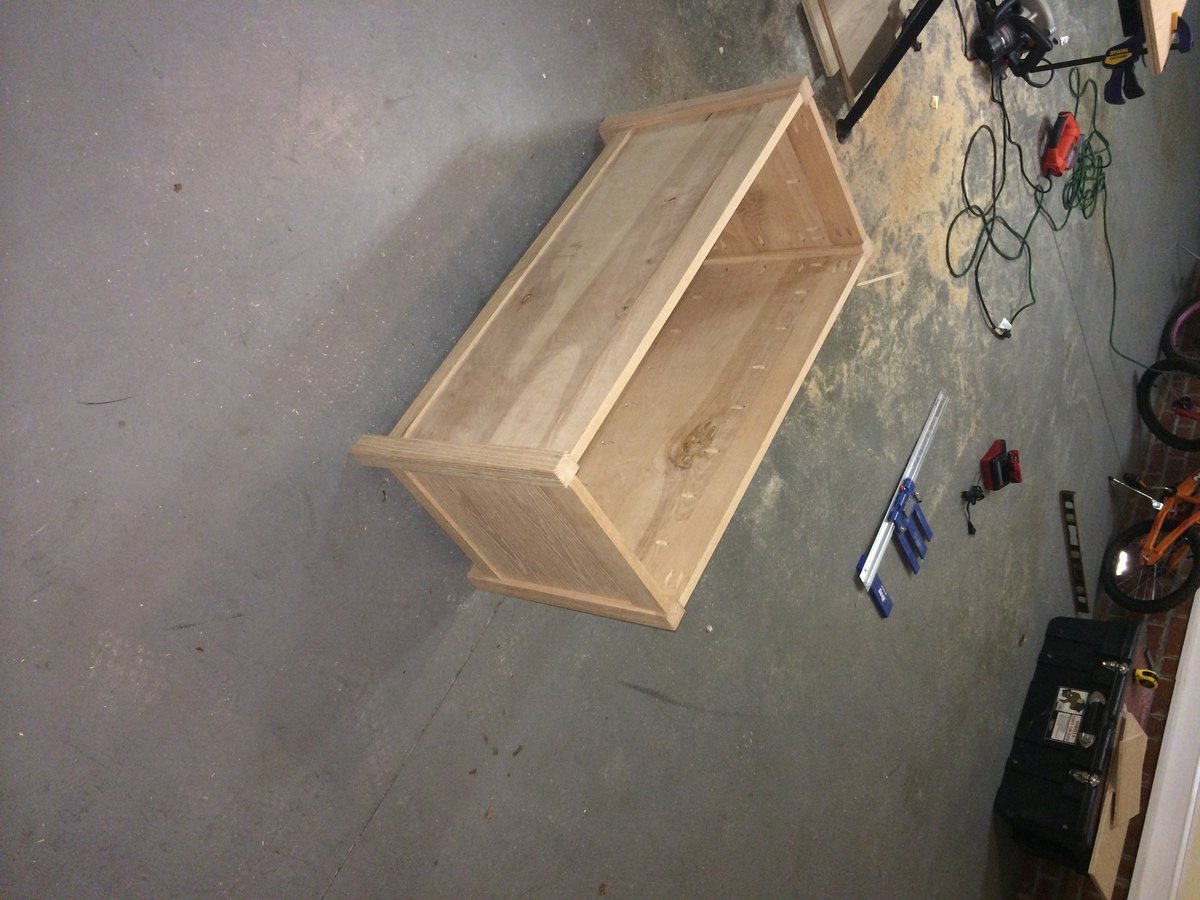
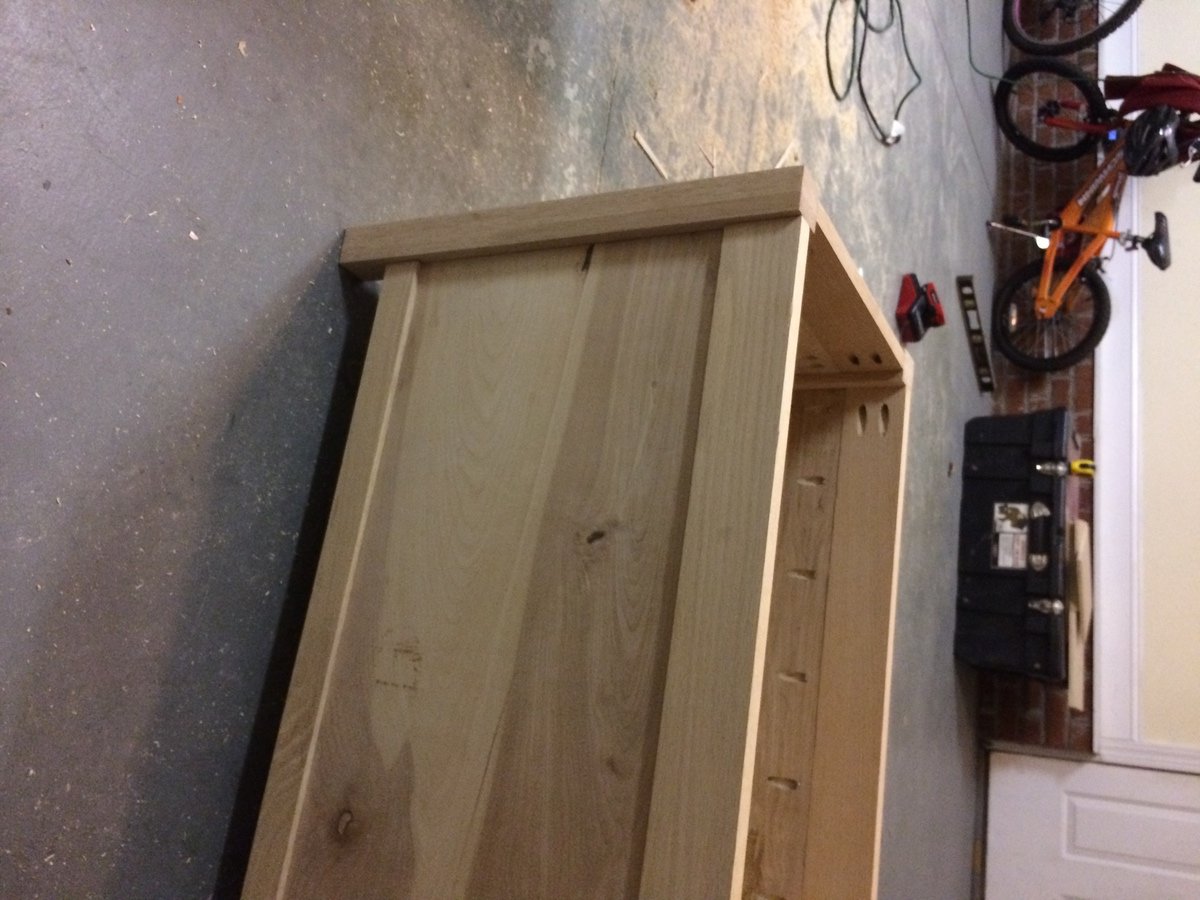
Handmade coffee table base on Corona plans. Bottom shelf was chagned to wooden slats instead of solid plywood.
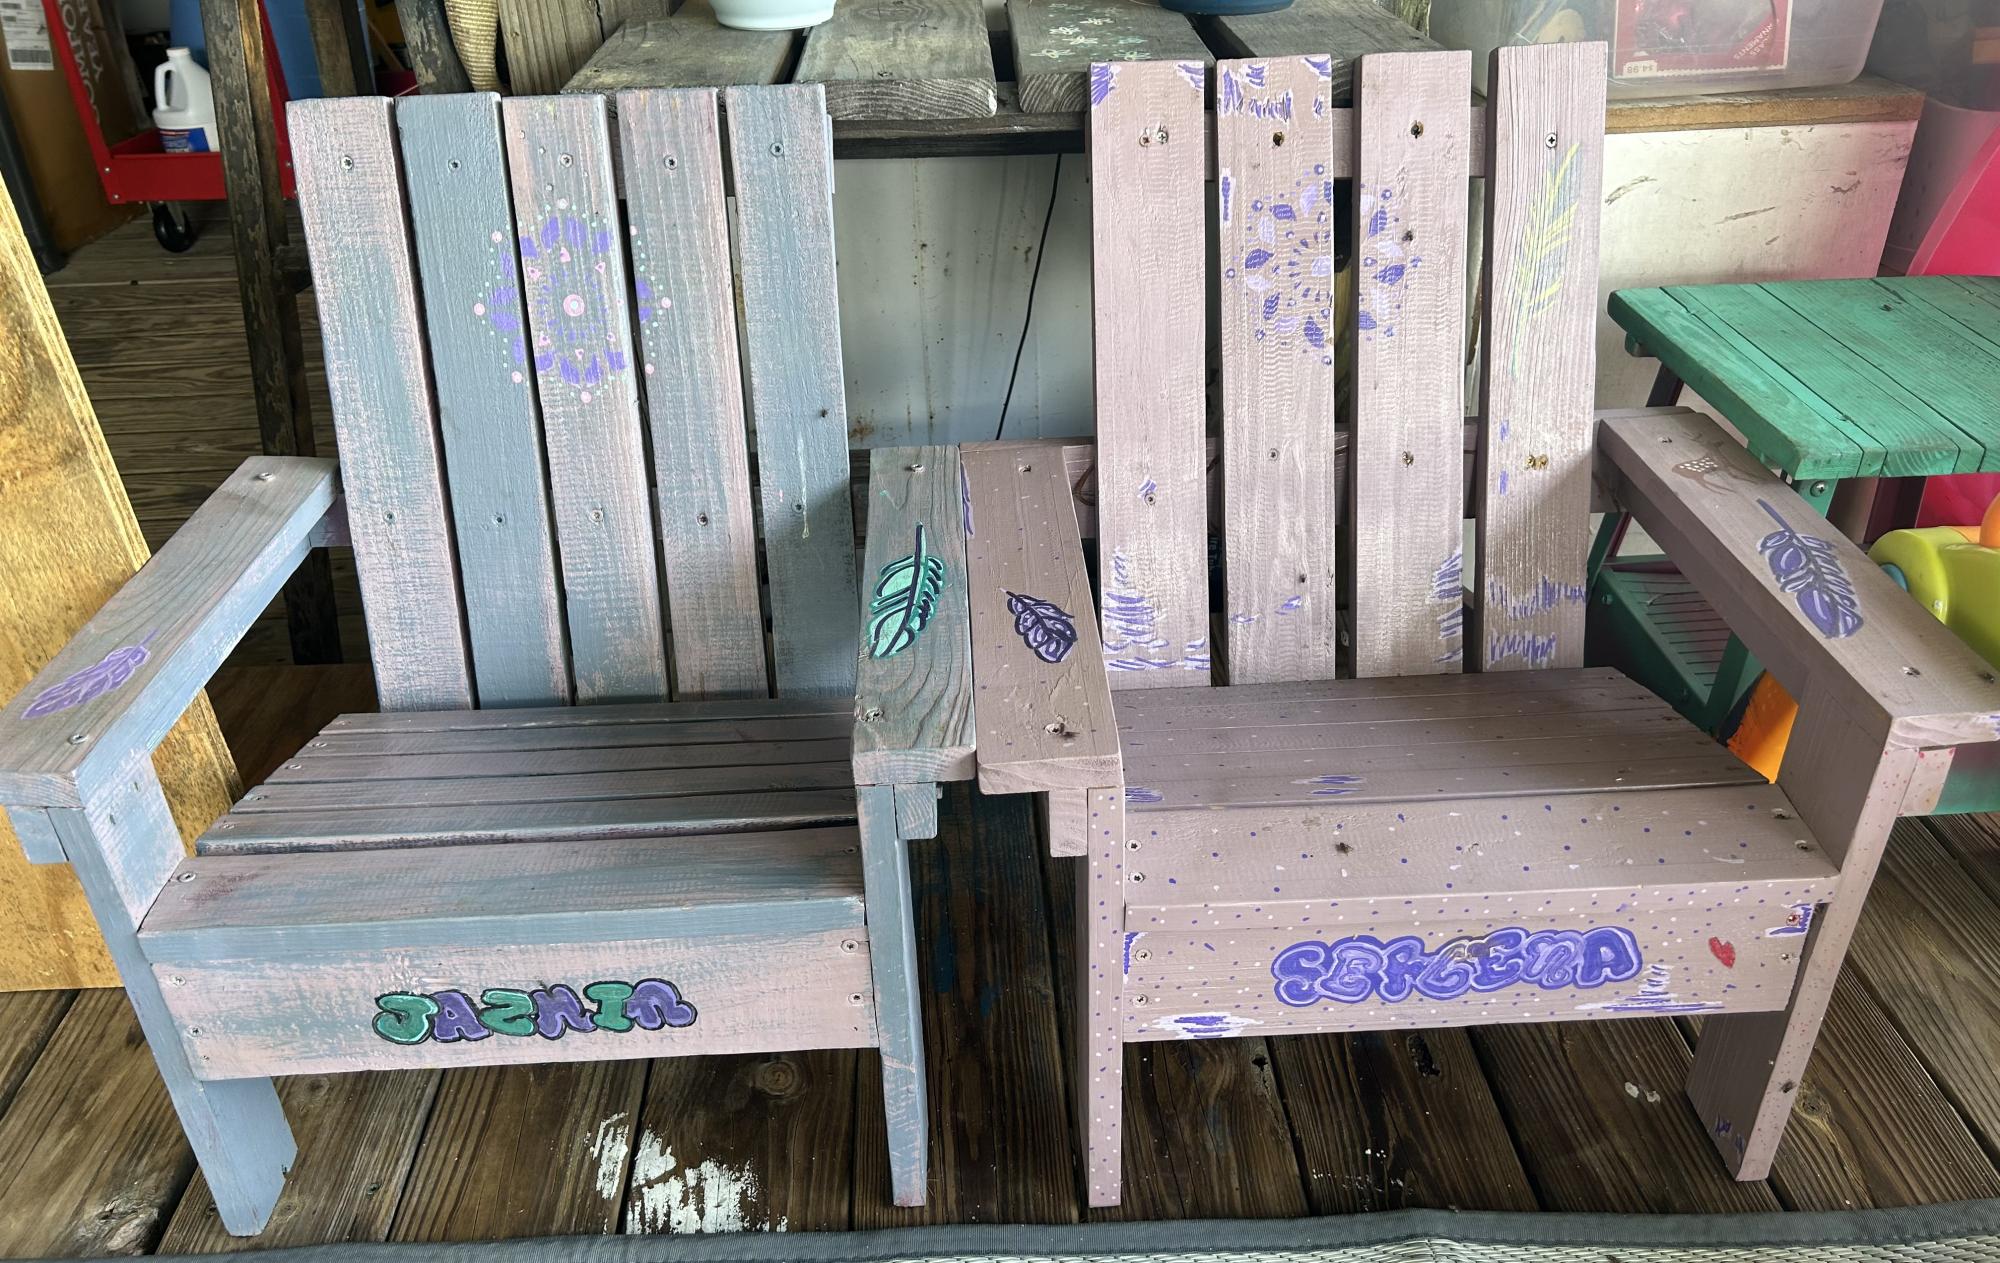
I made two. Somehow one turned out just a tad larger than the other. It works though, my kids are 2 and 9. Love all your plans. Thanks.
Wed, 05/17/2023 - 13:28
I bet your children love having their very own chair! Thanks for sharing.
Comments
Pam the Goatherd
Thu, 11/14/2013 - 09:20
Your chair looks good. I
Your chair looks good. I like clean, white furniture. It looks so fresh.