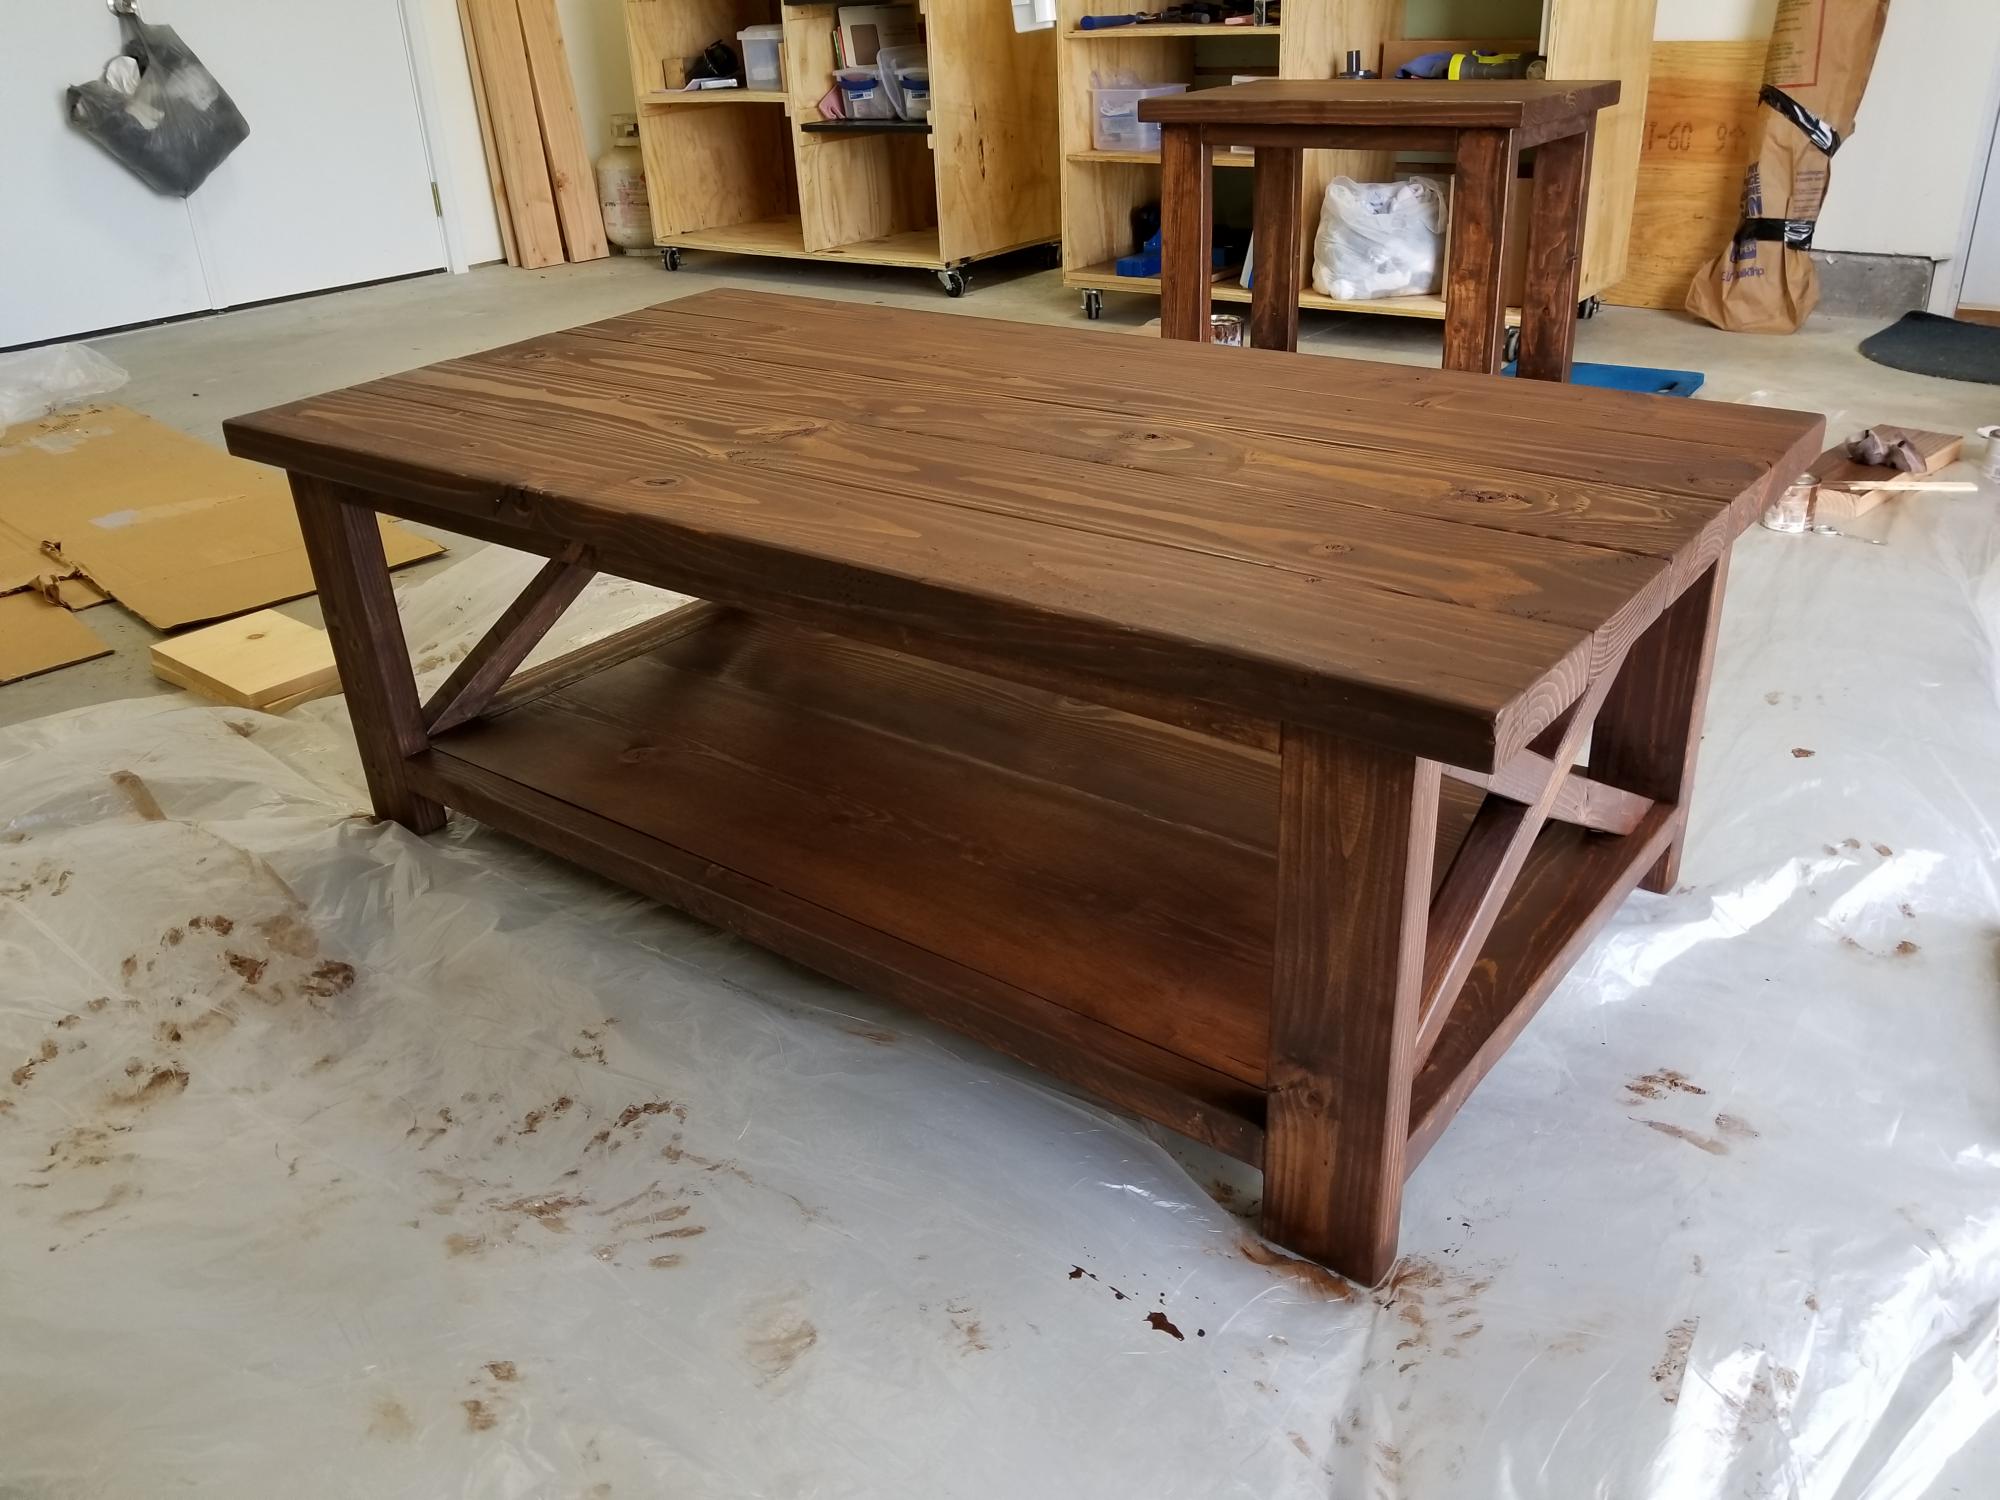
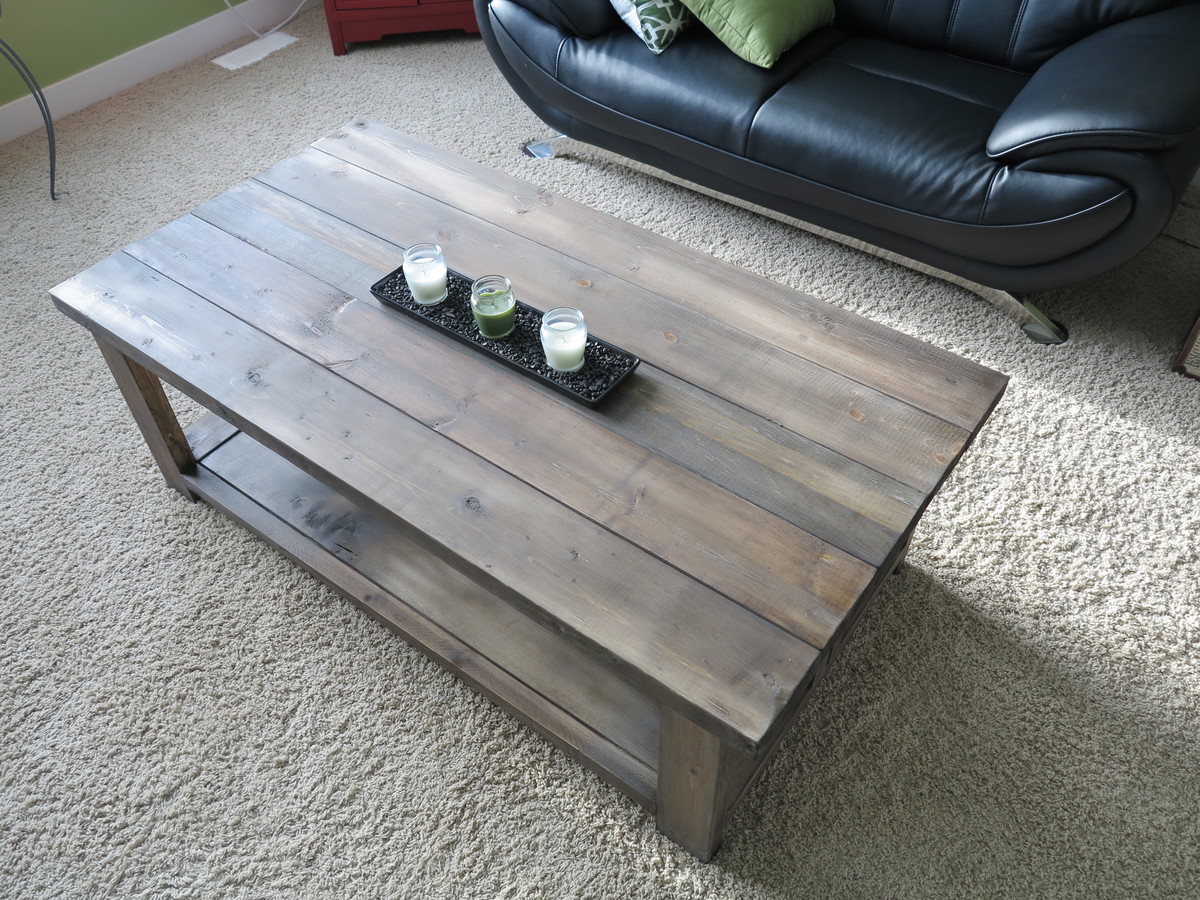
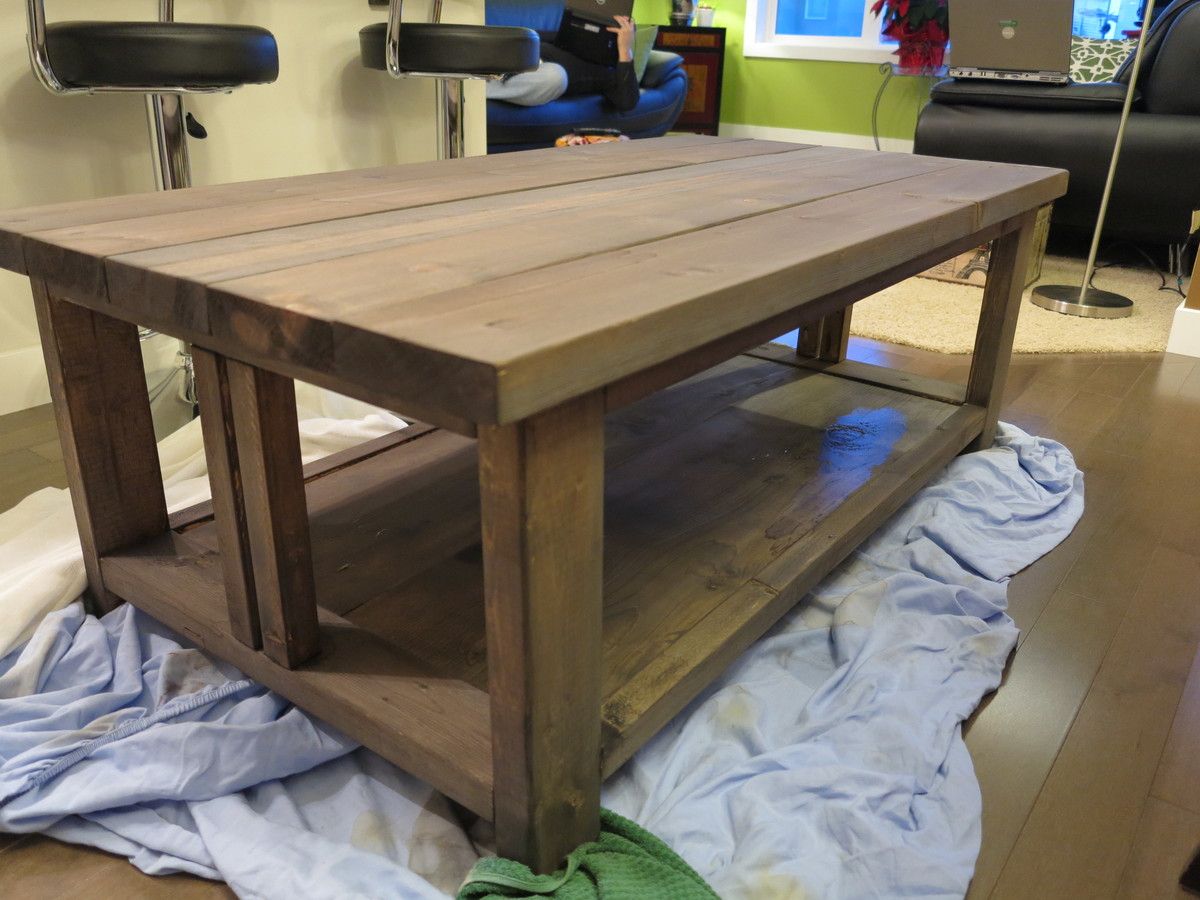
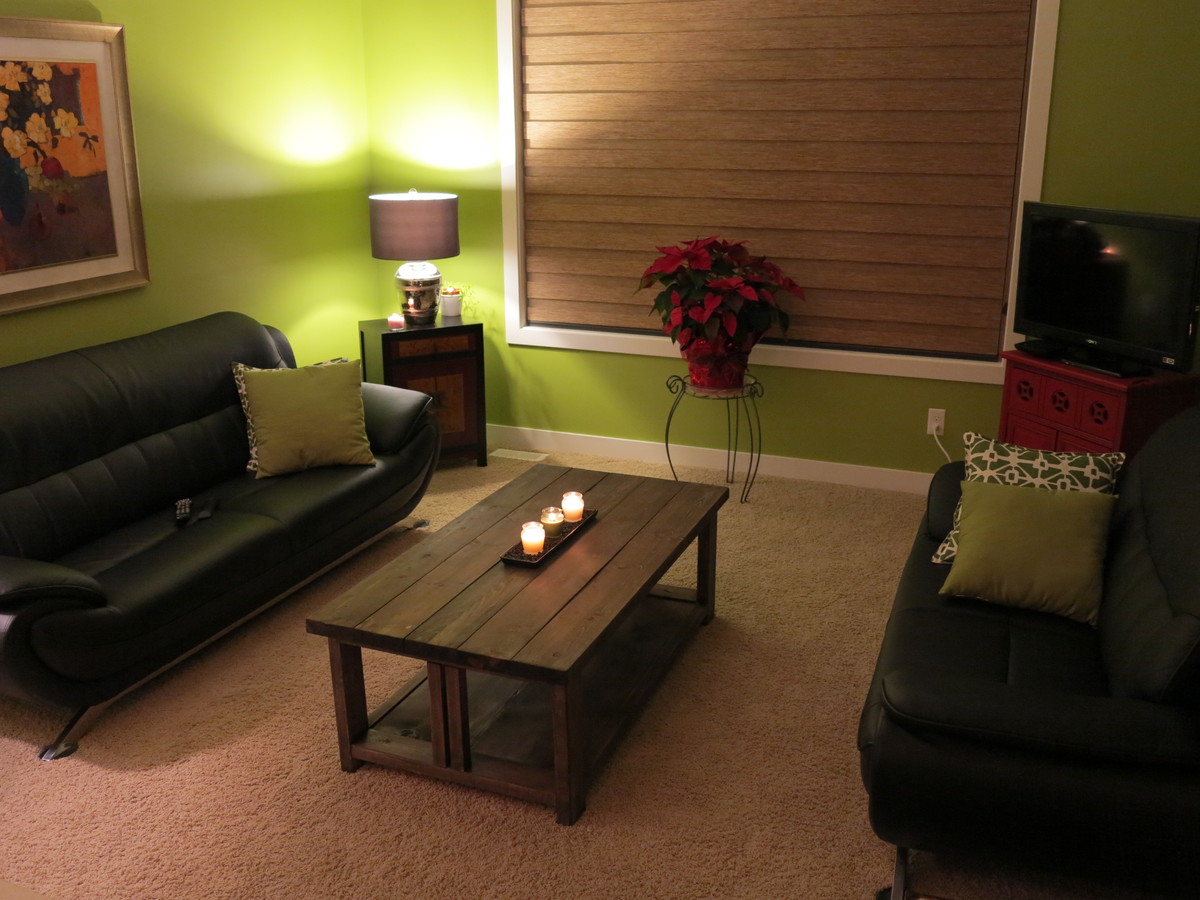
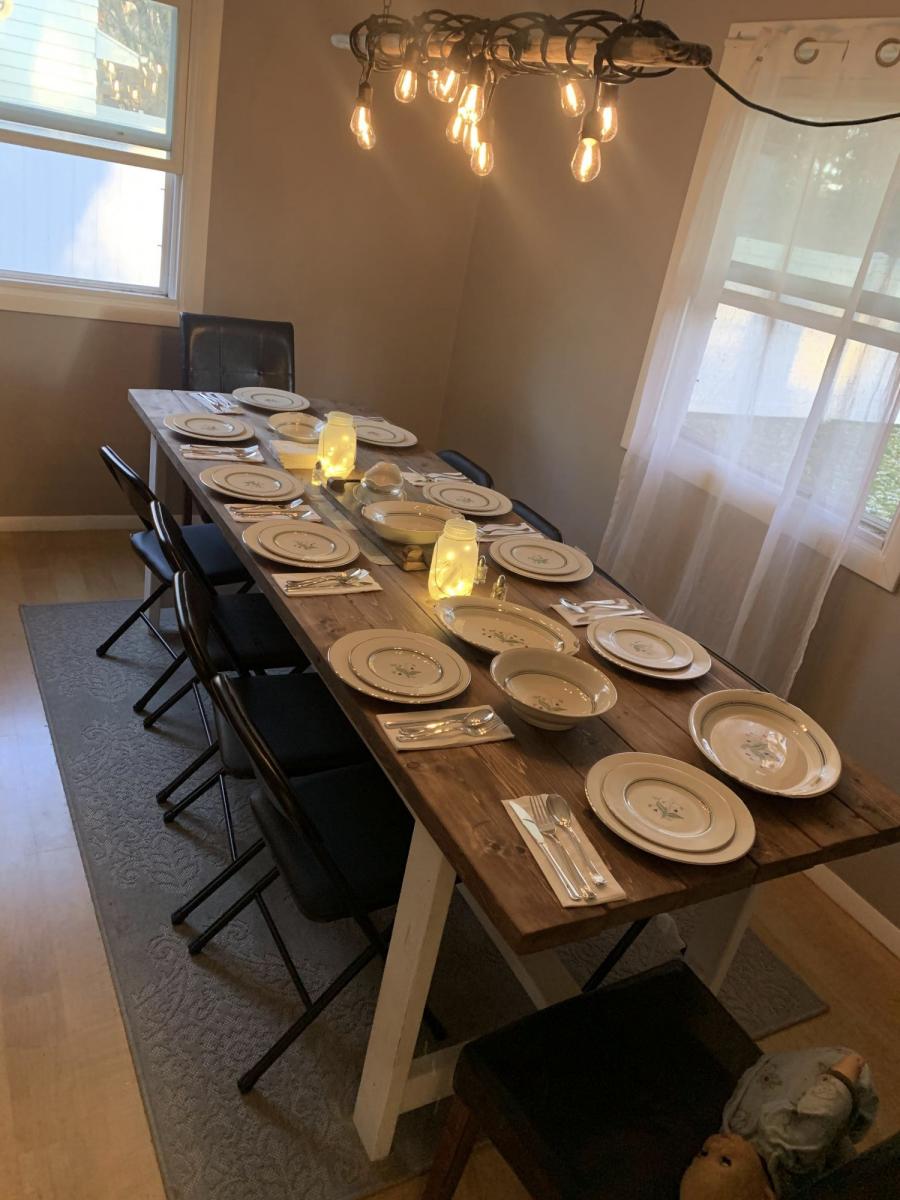
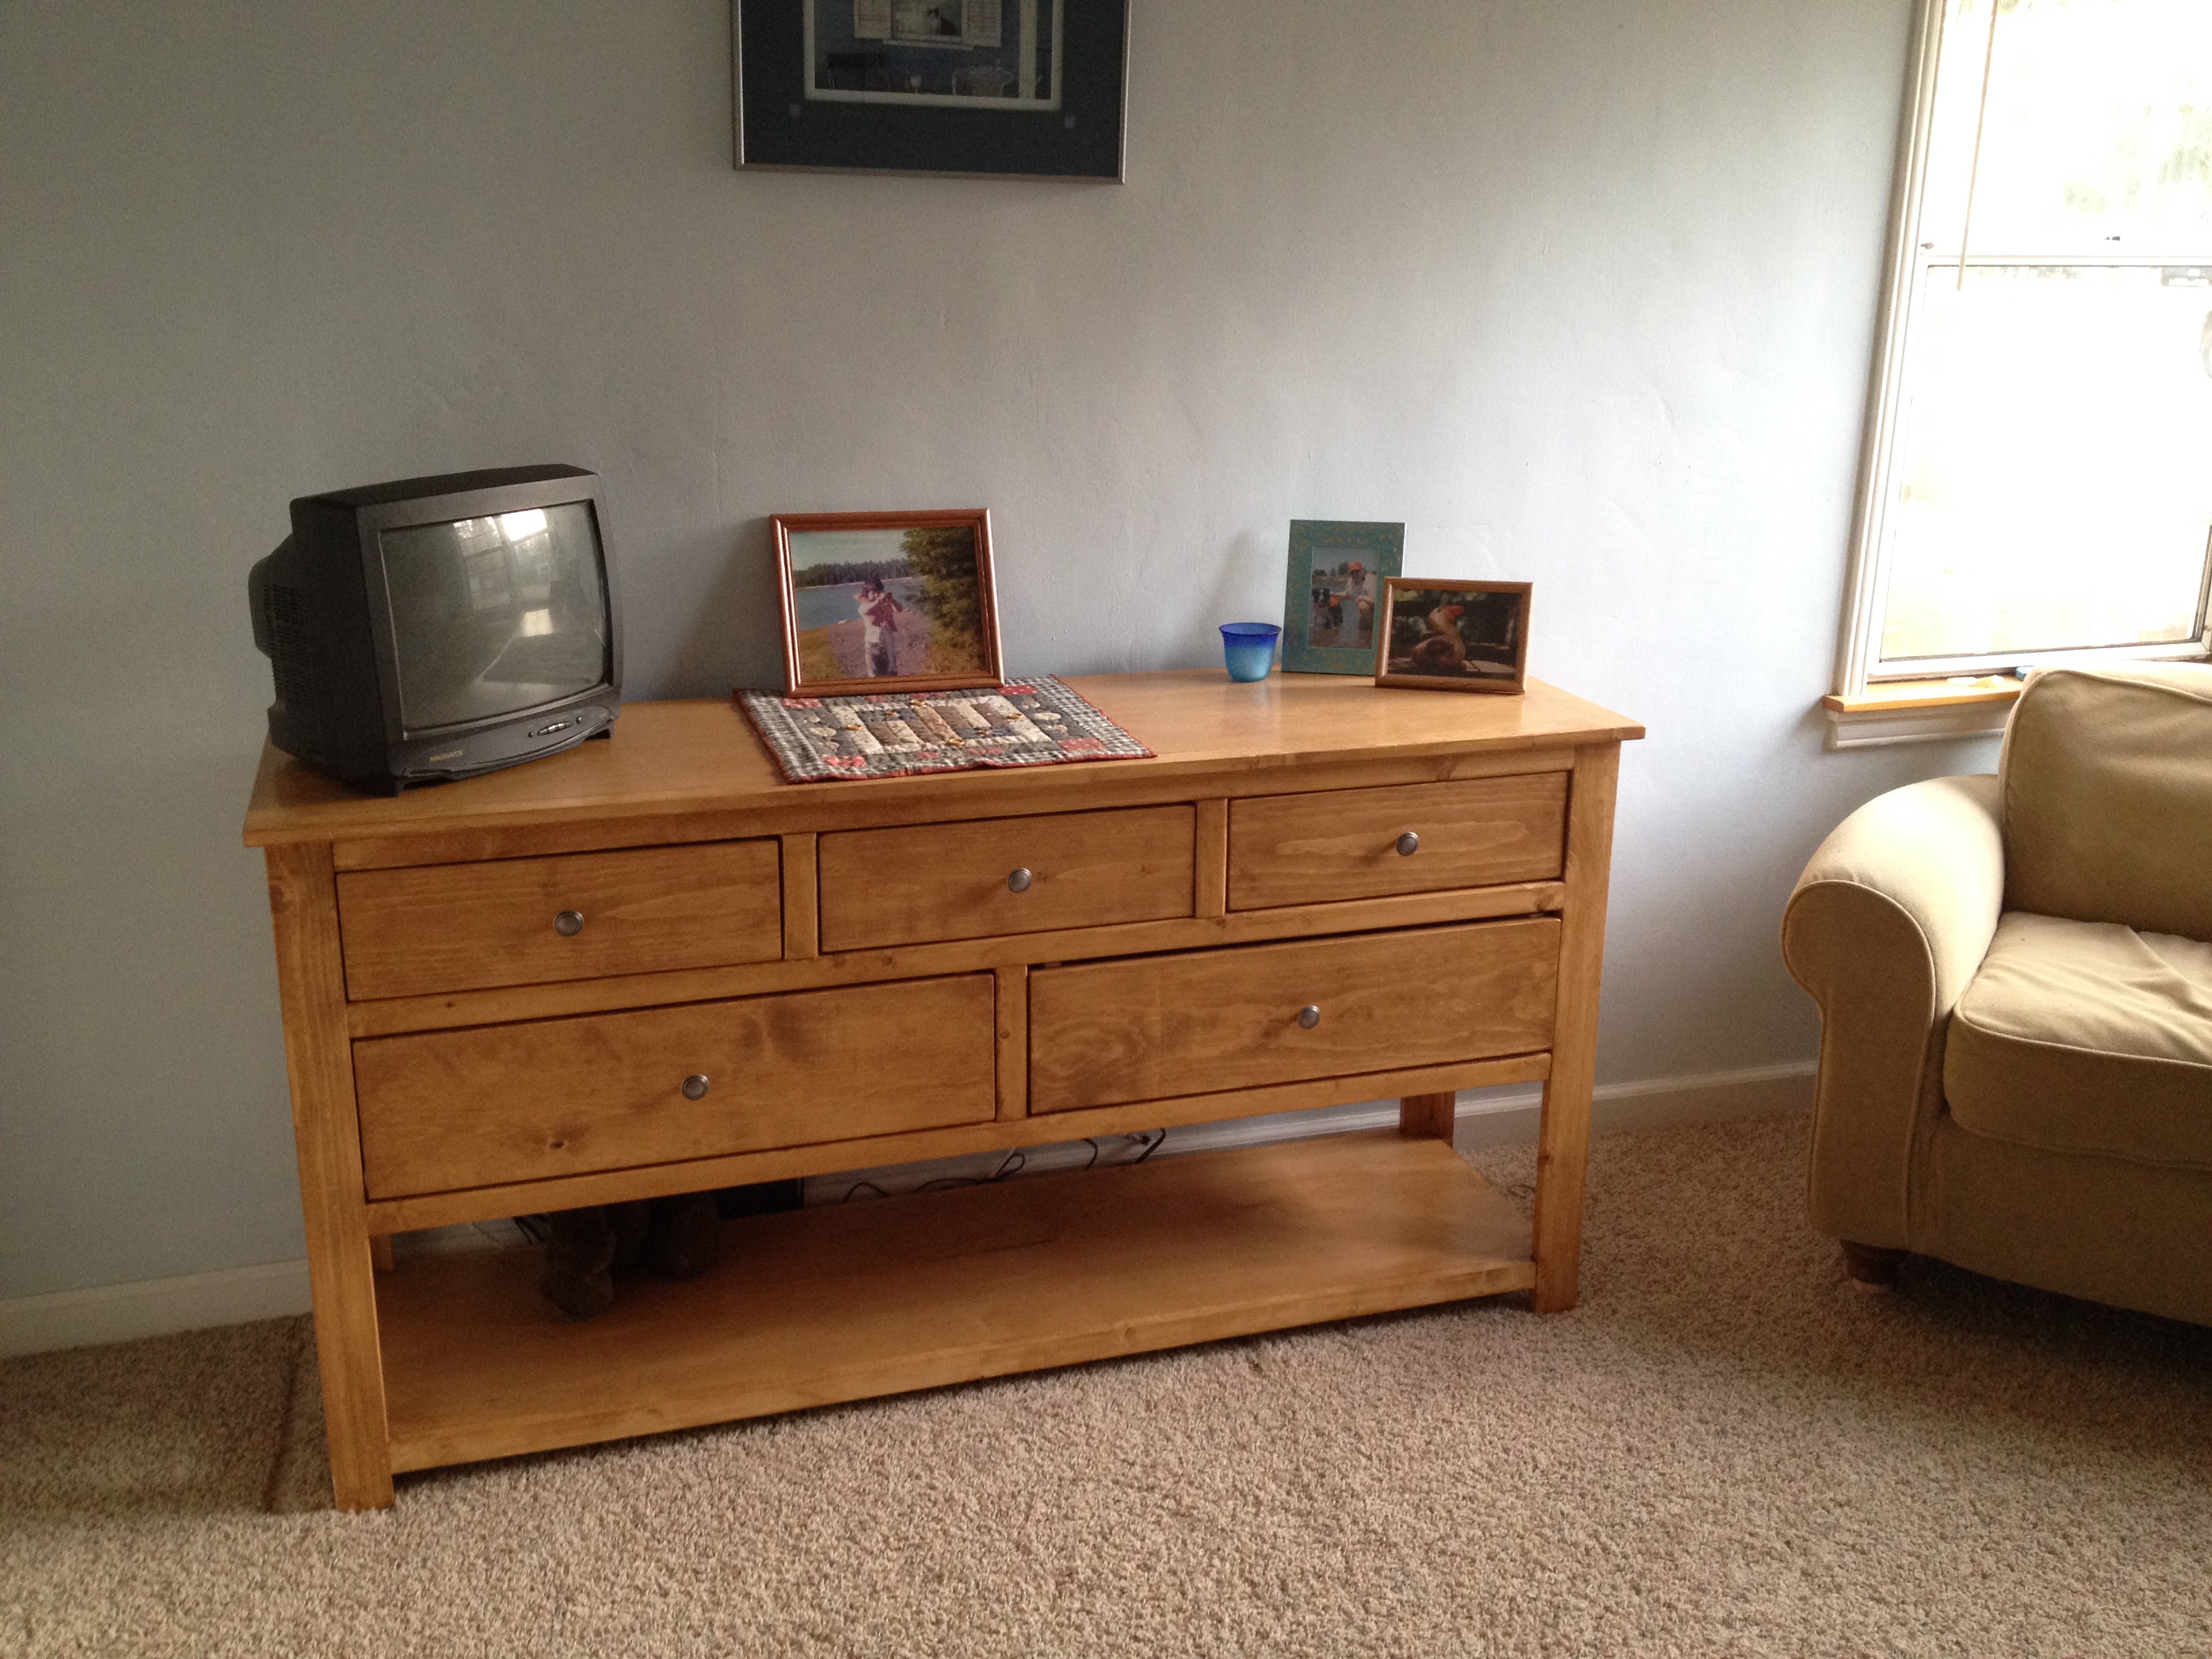
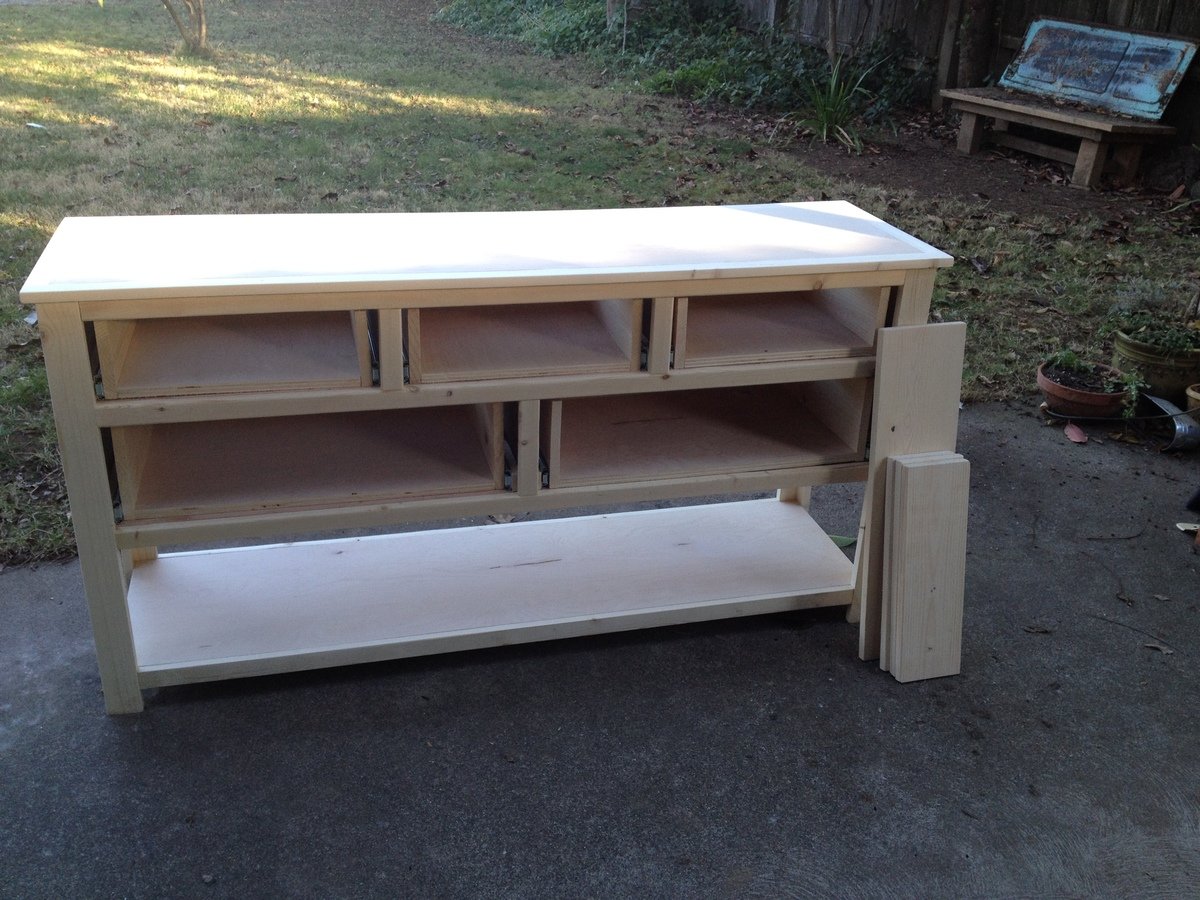
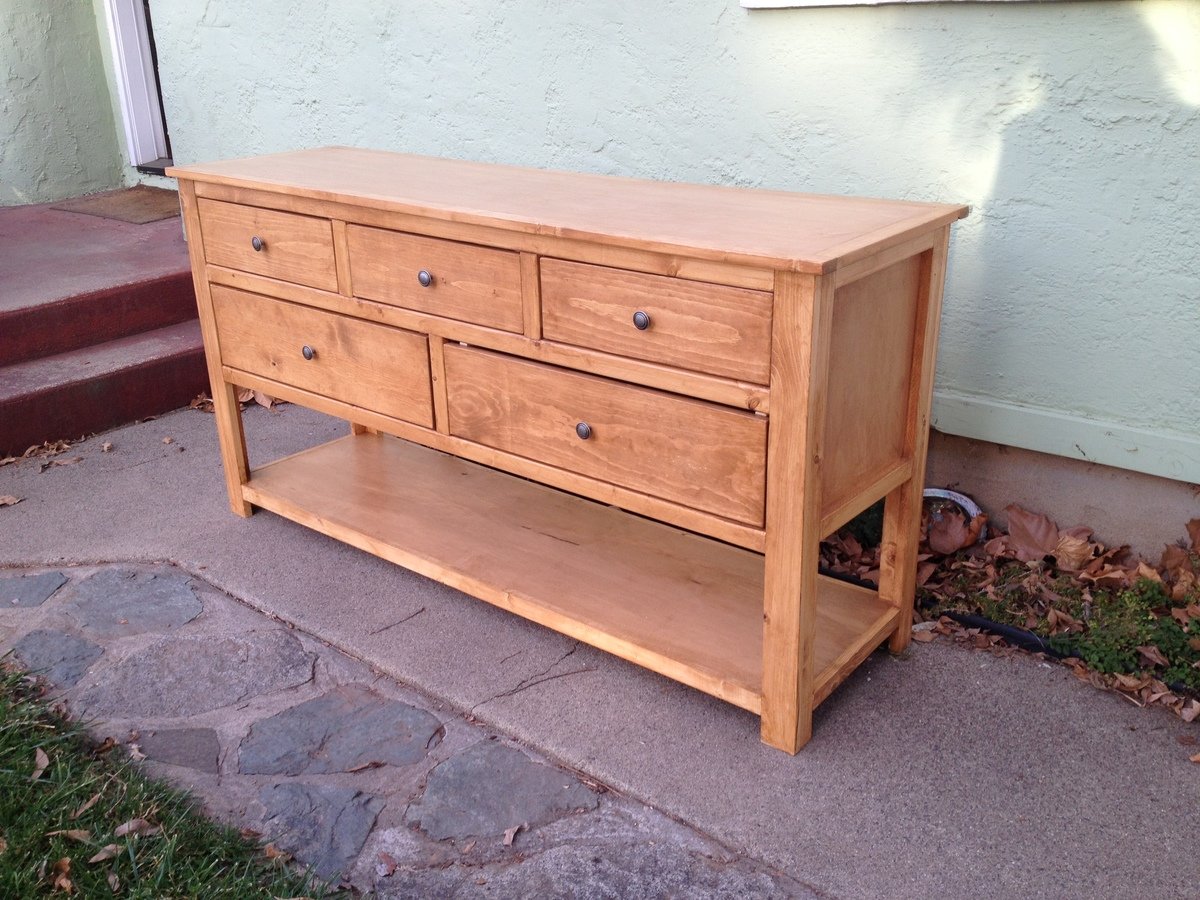
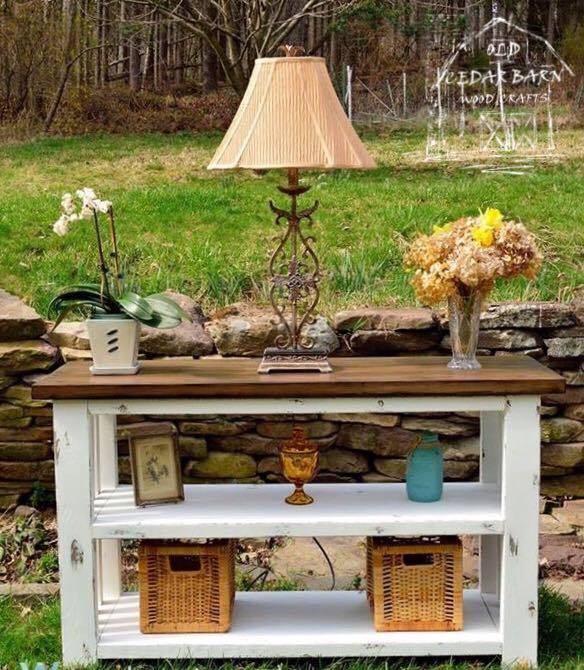
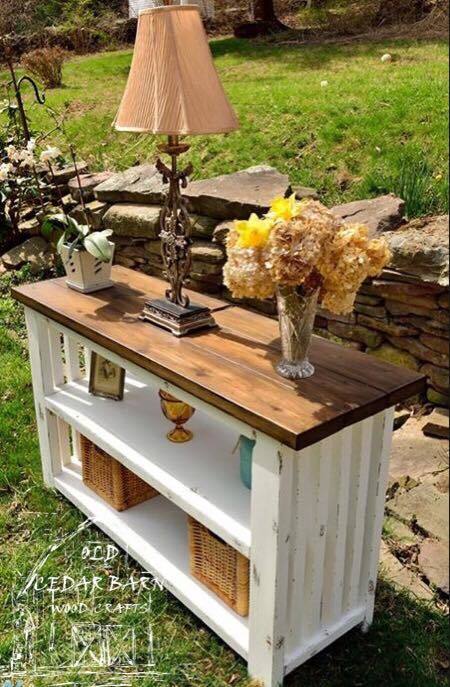
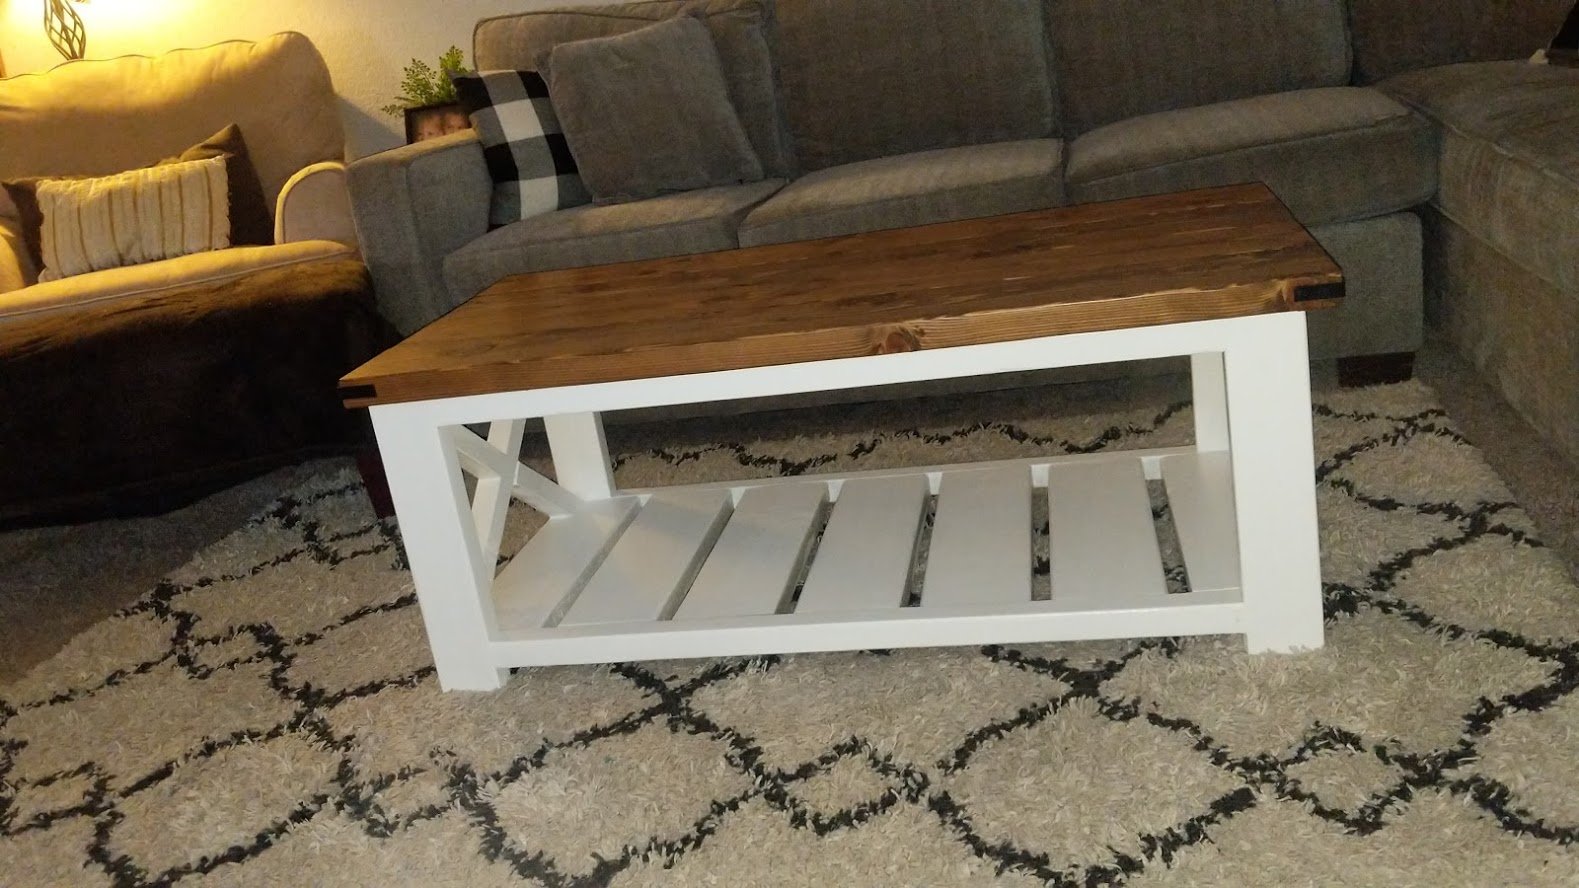
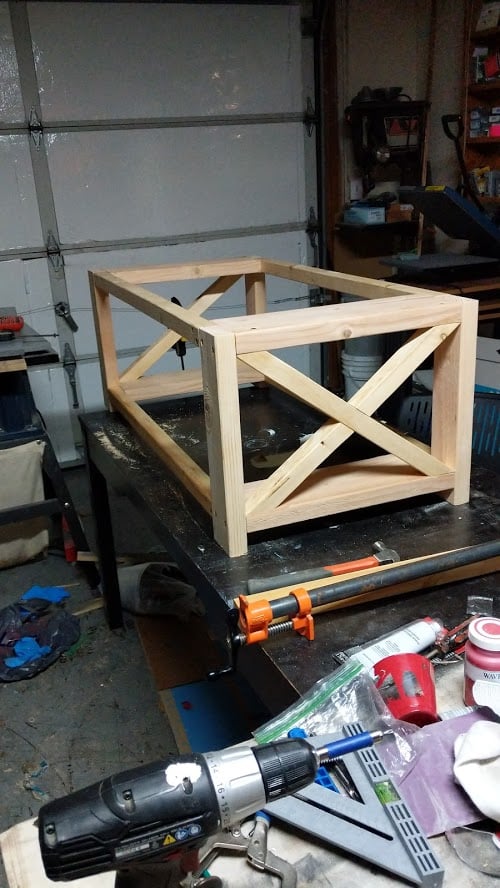
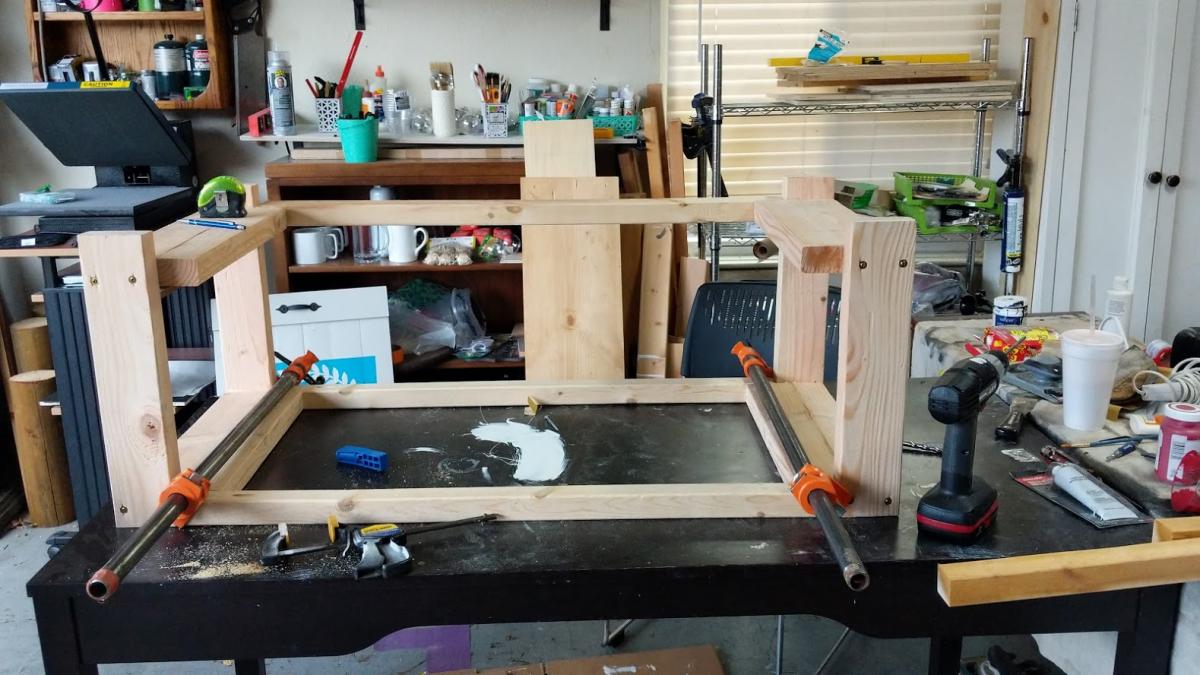
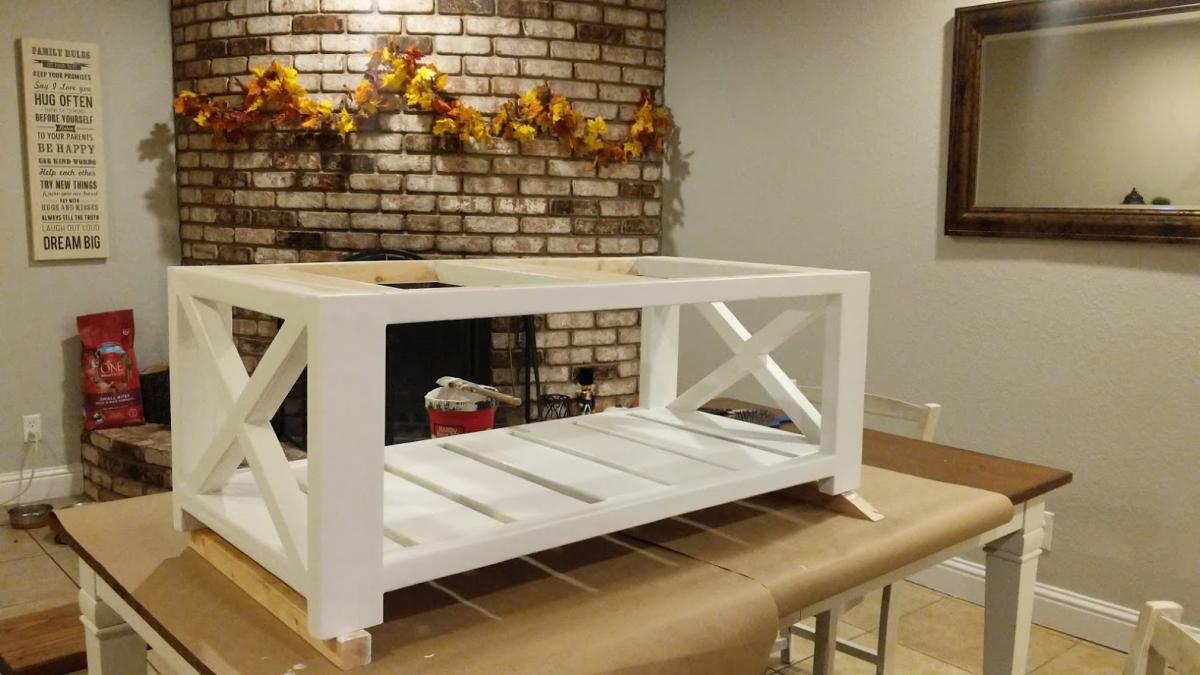
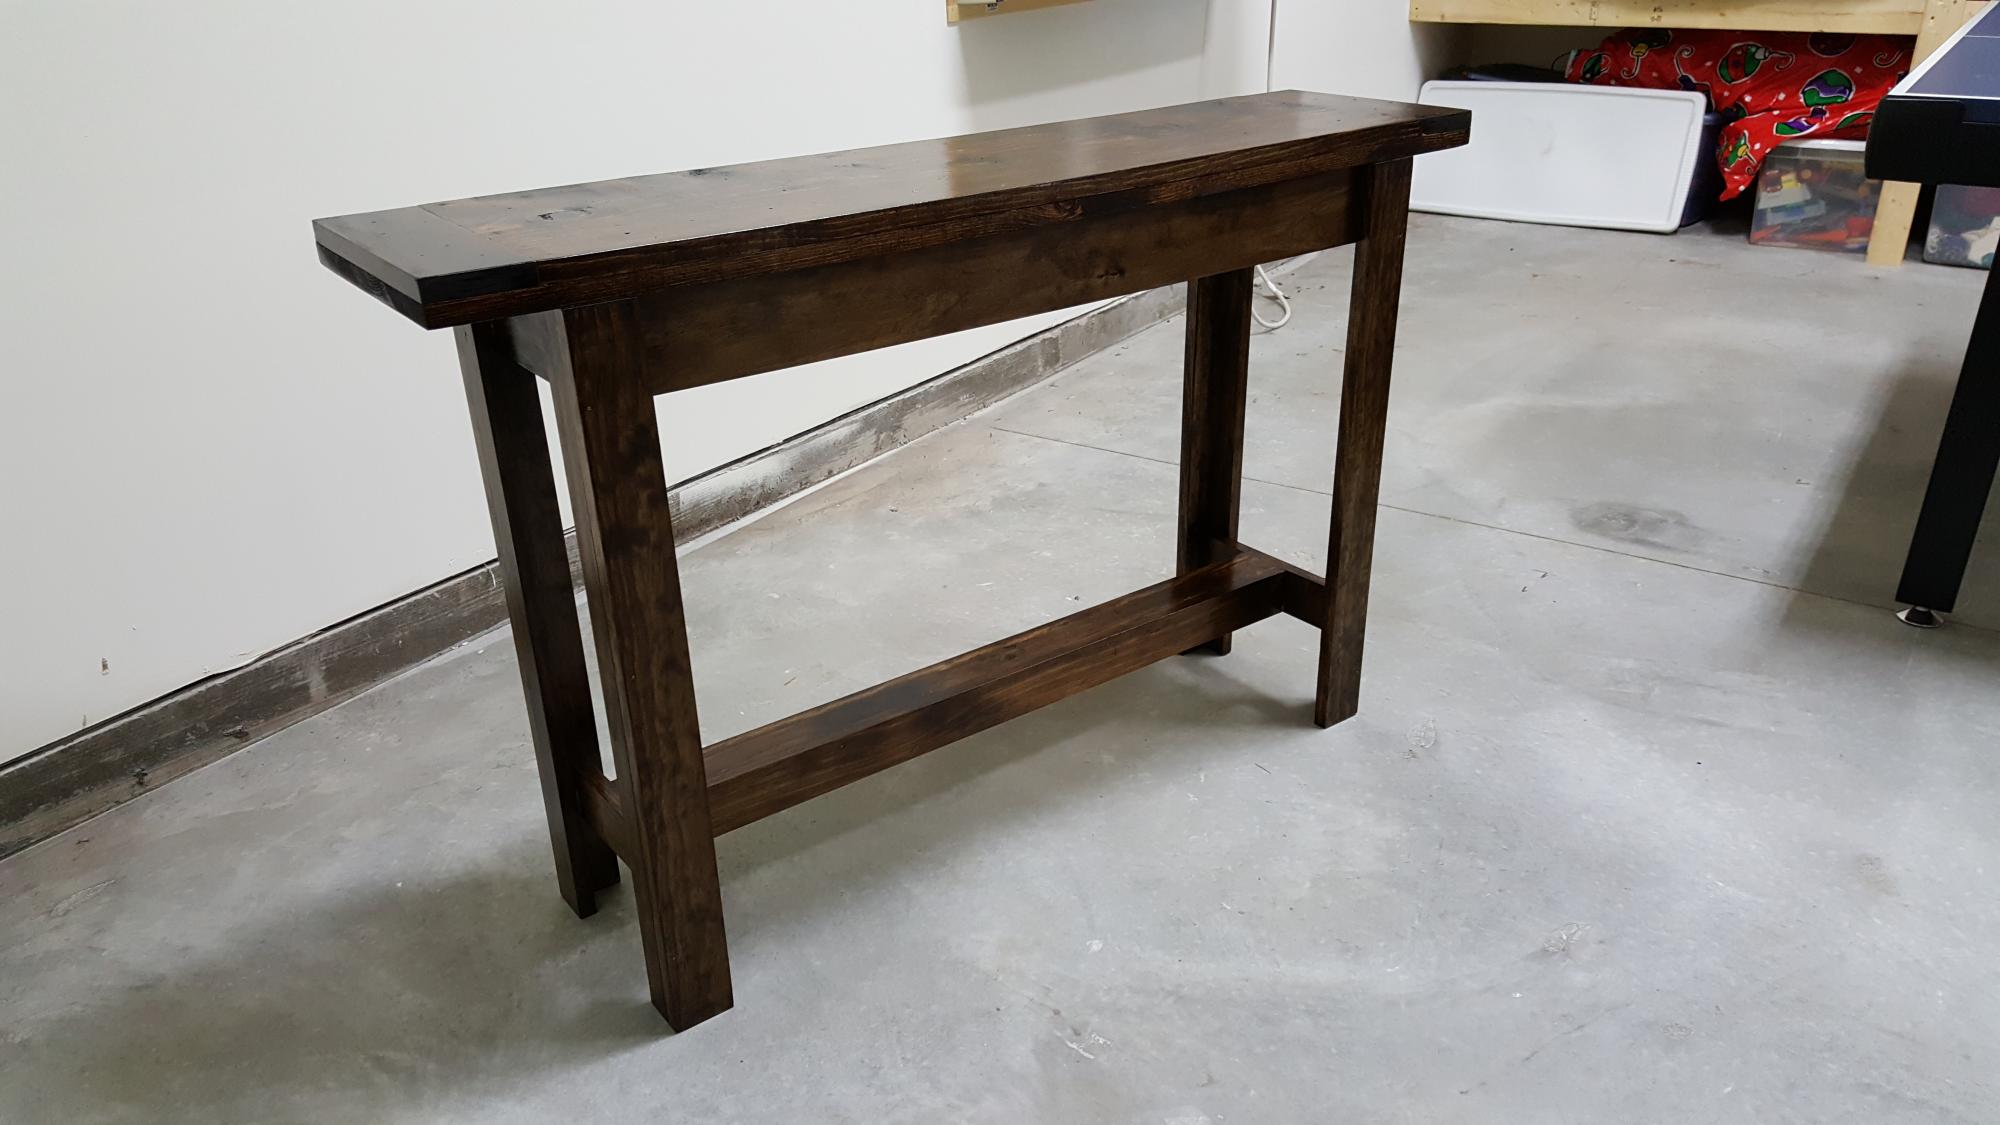
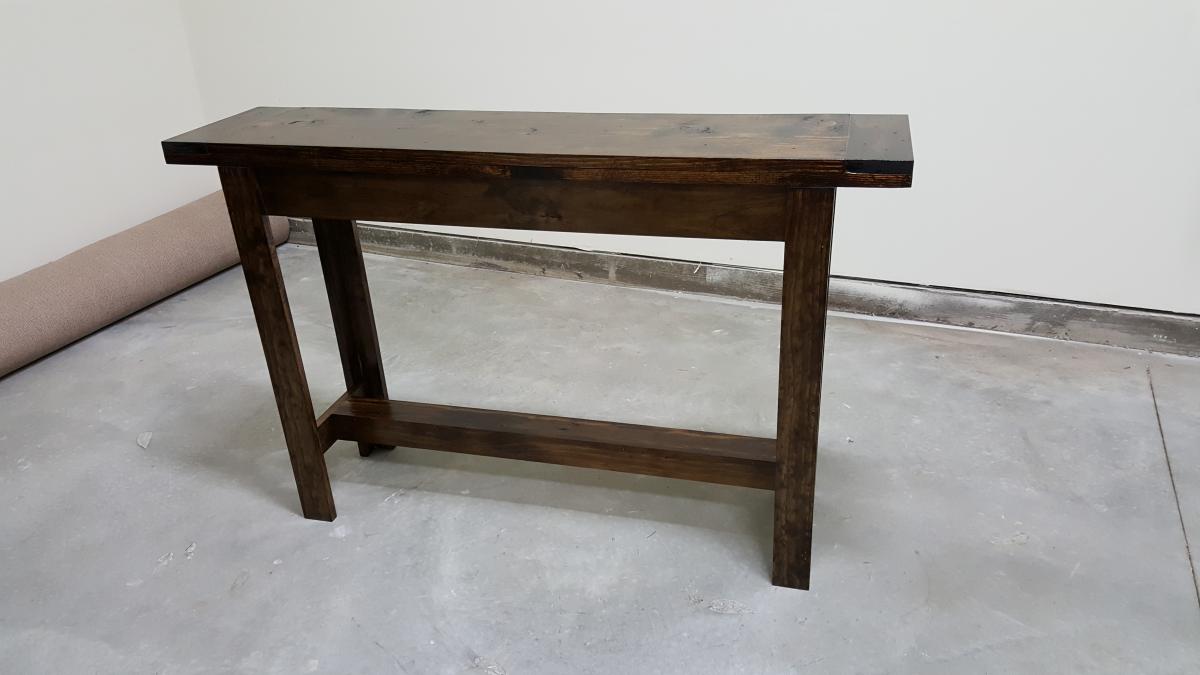
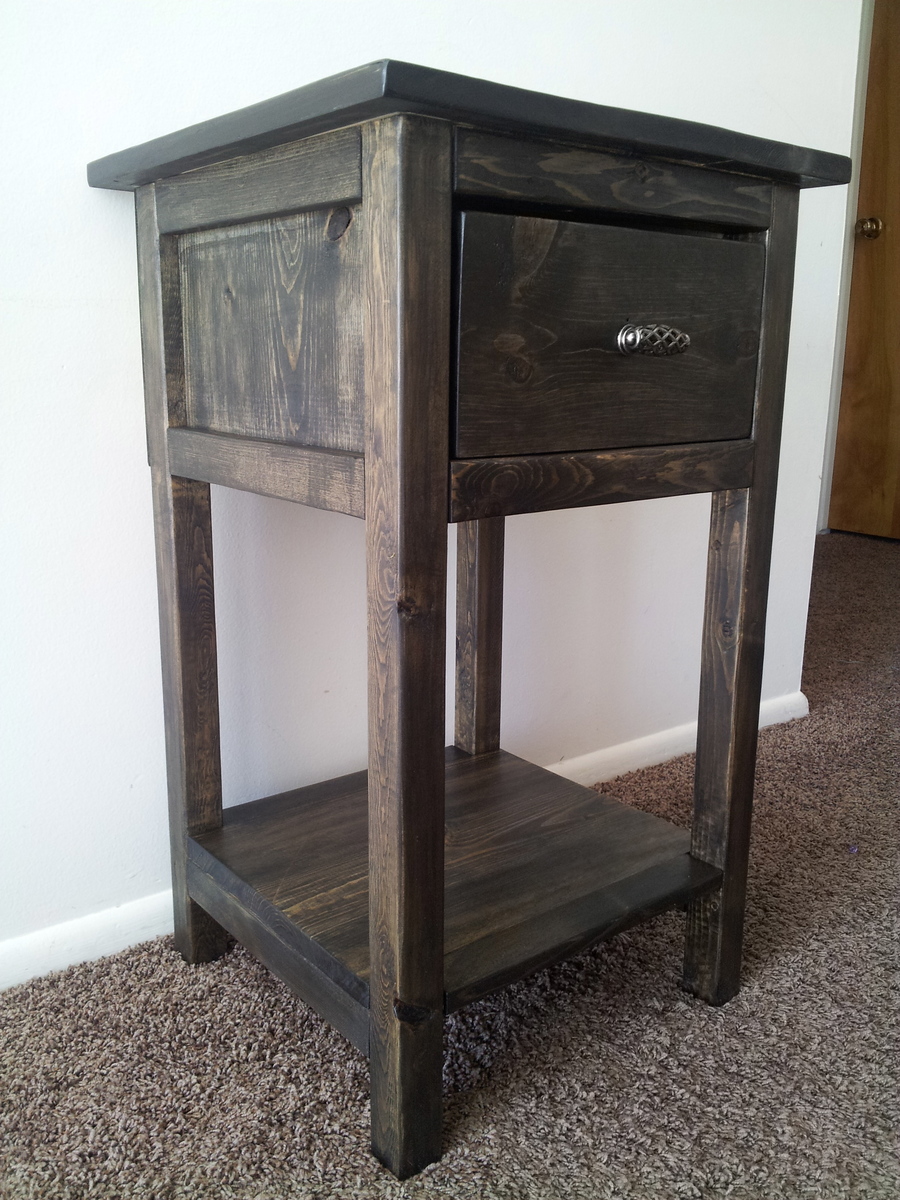
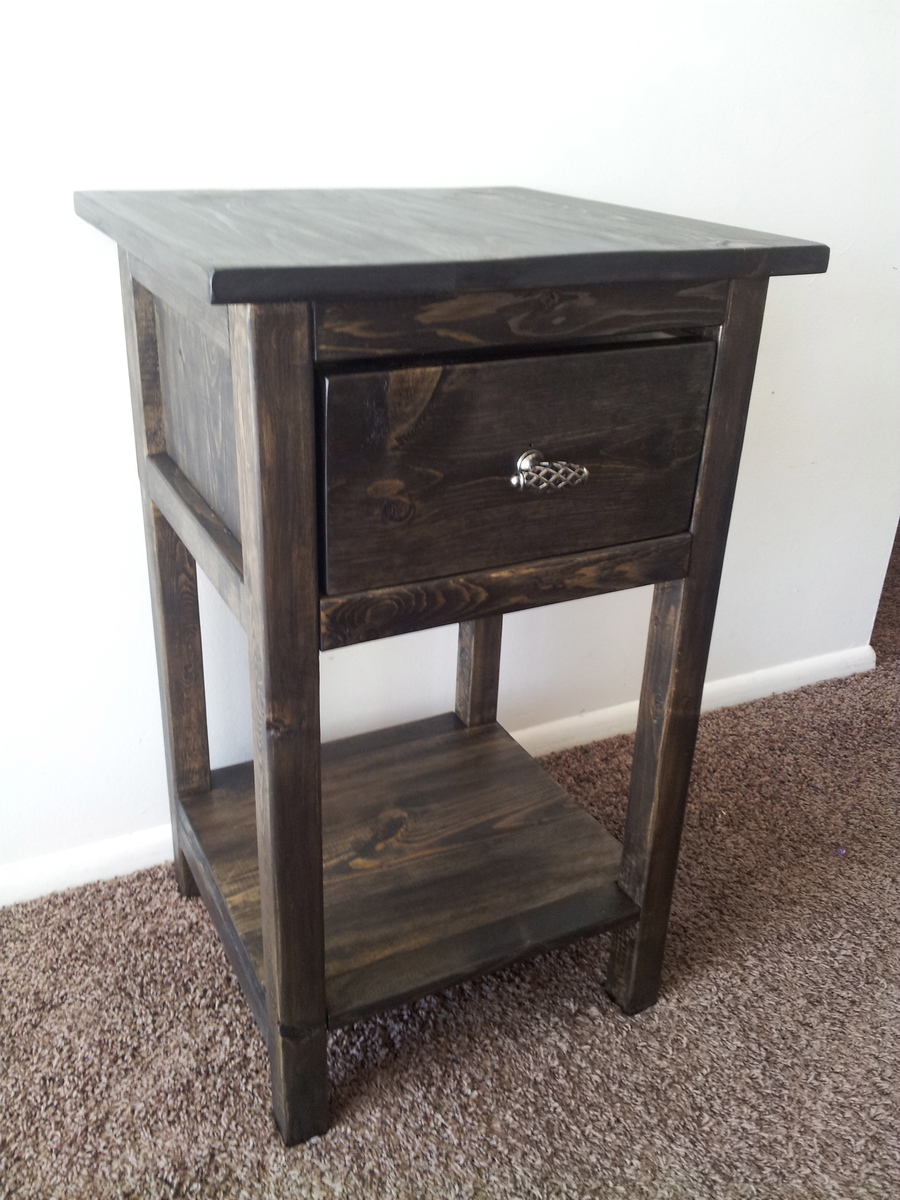
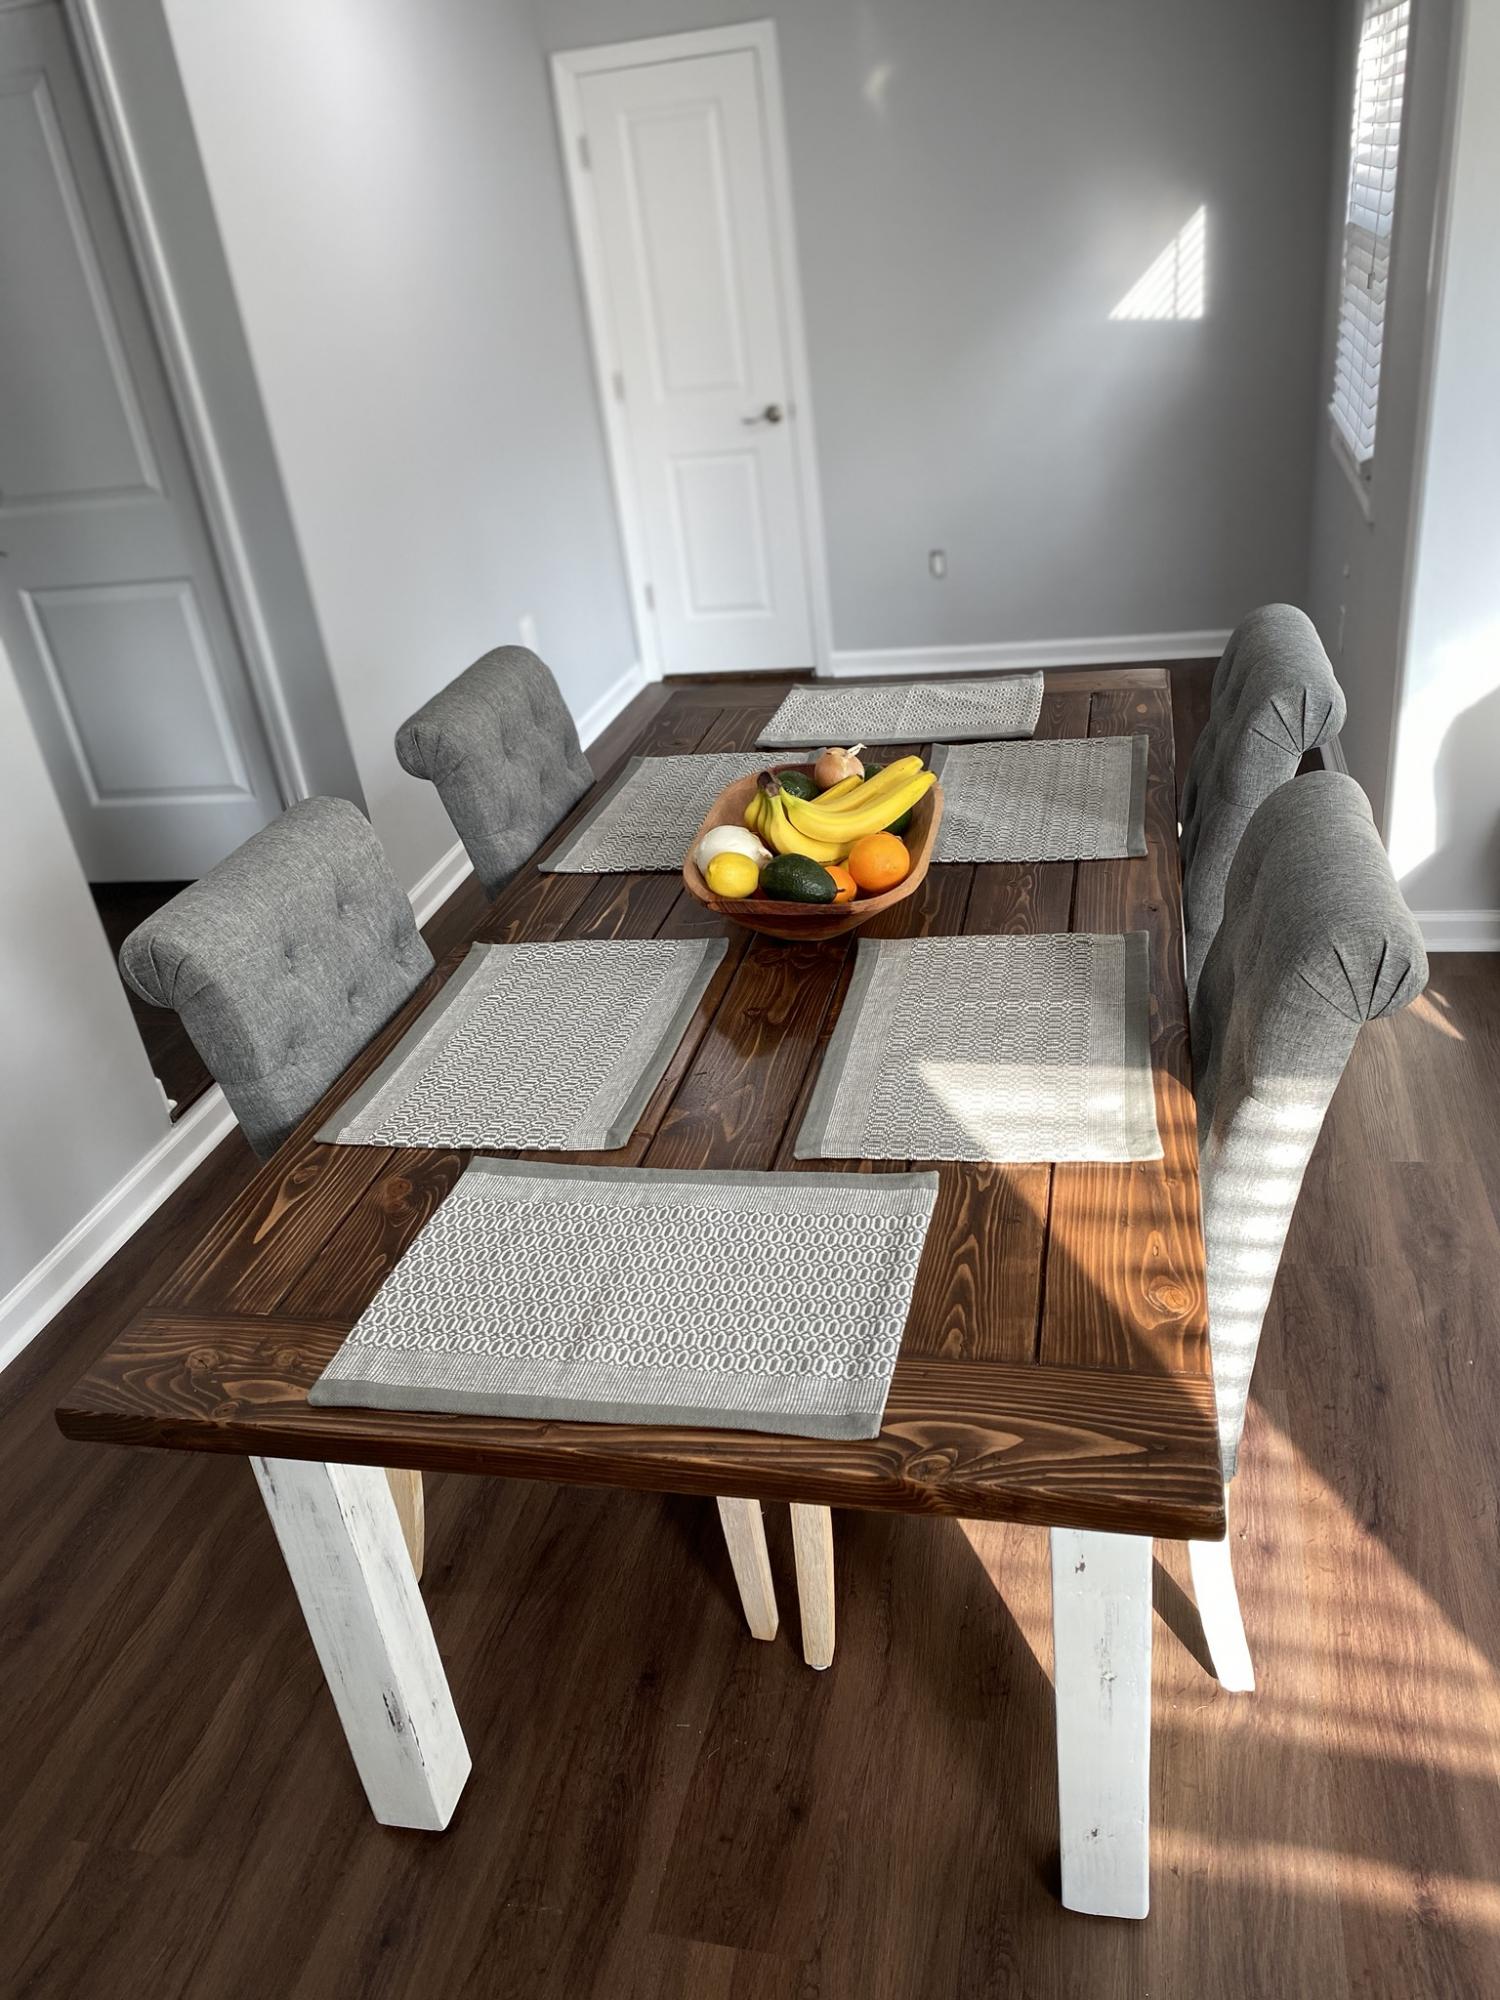
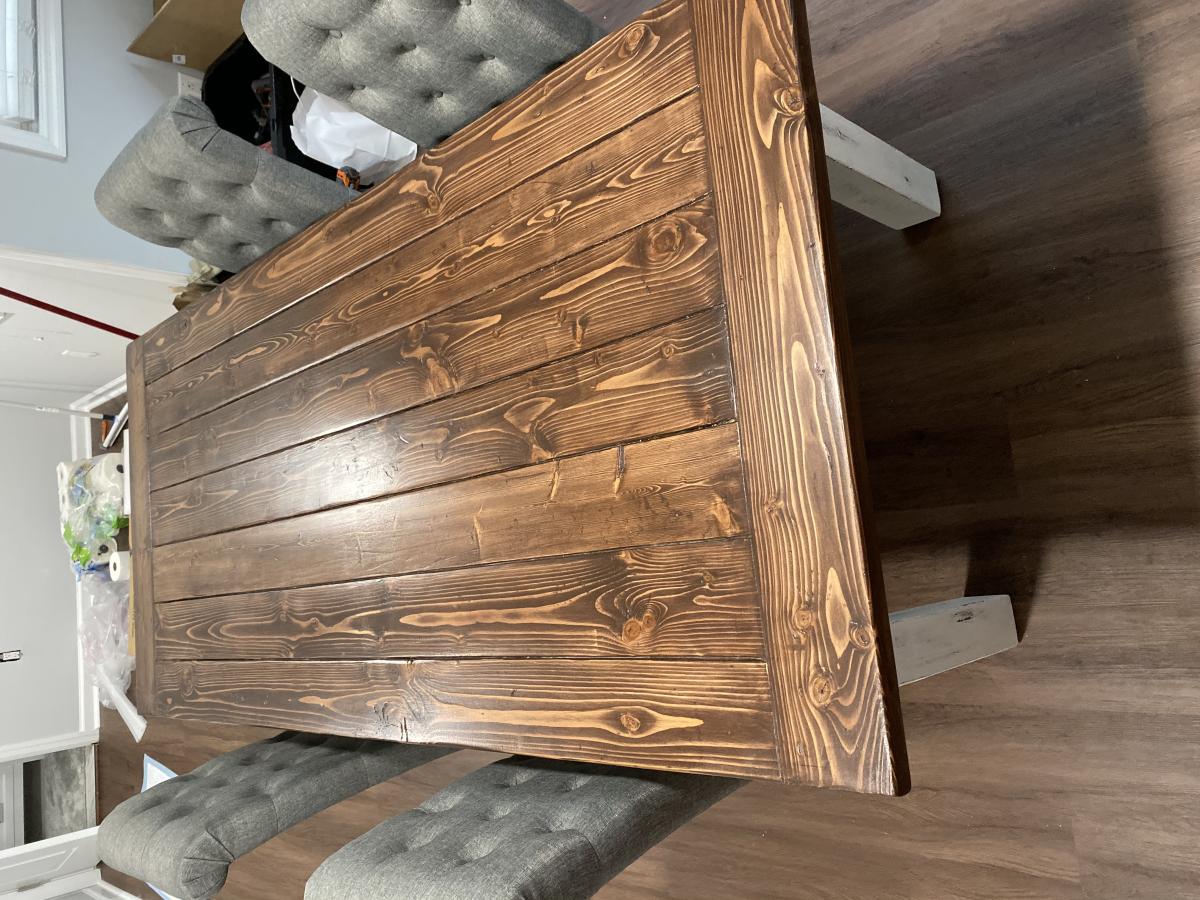
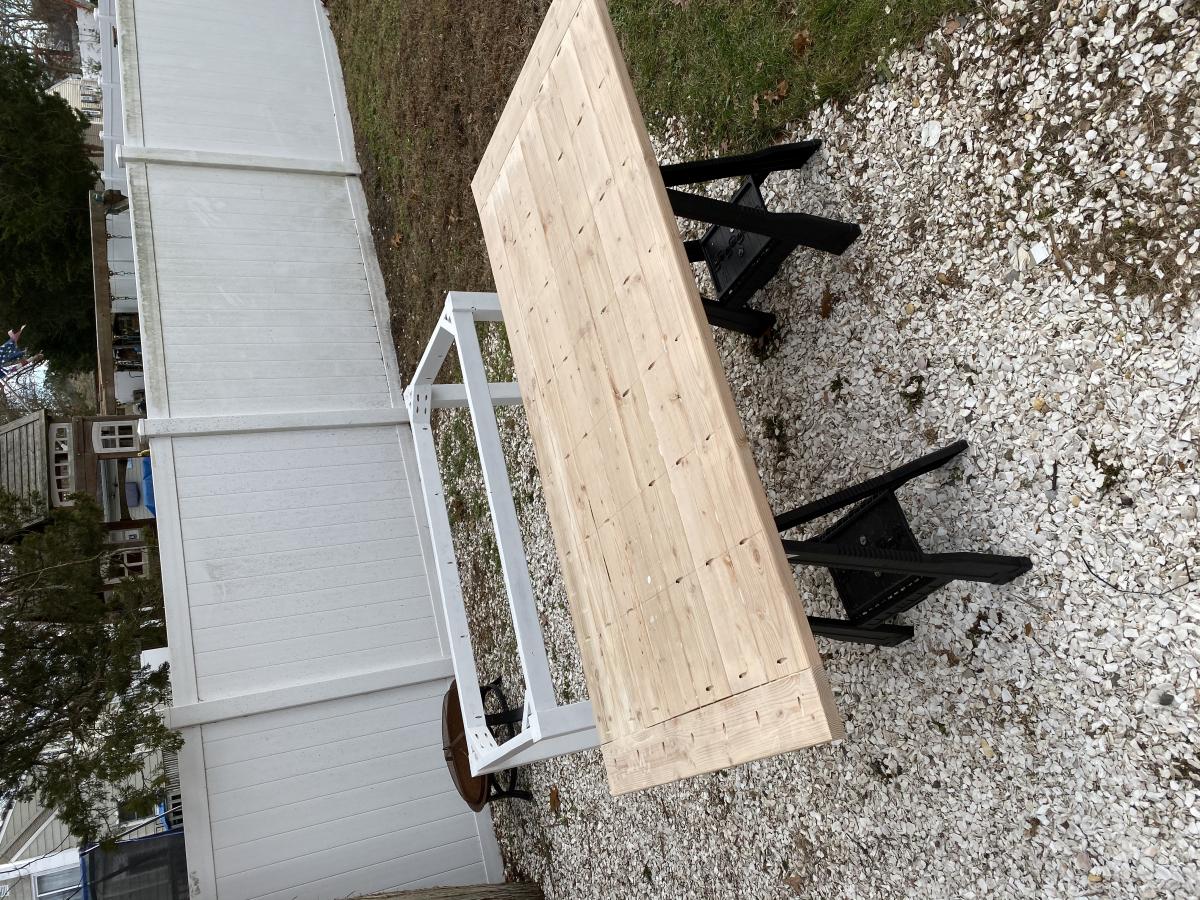
Coffee table and matching side table
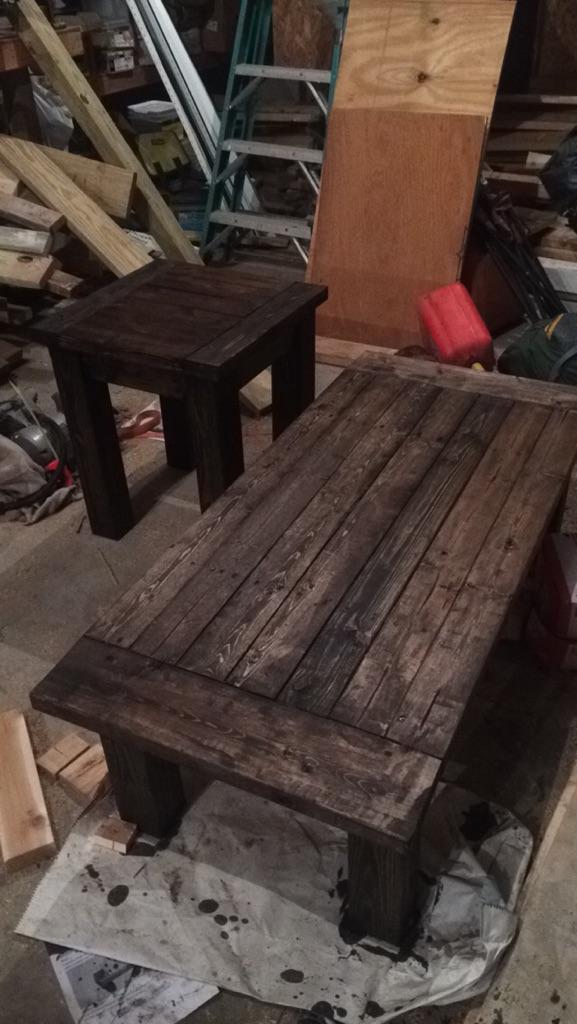
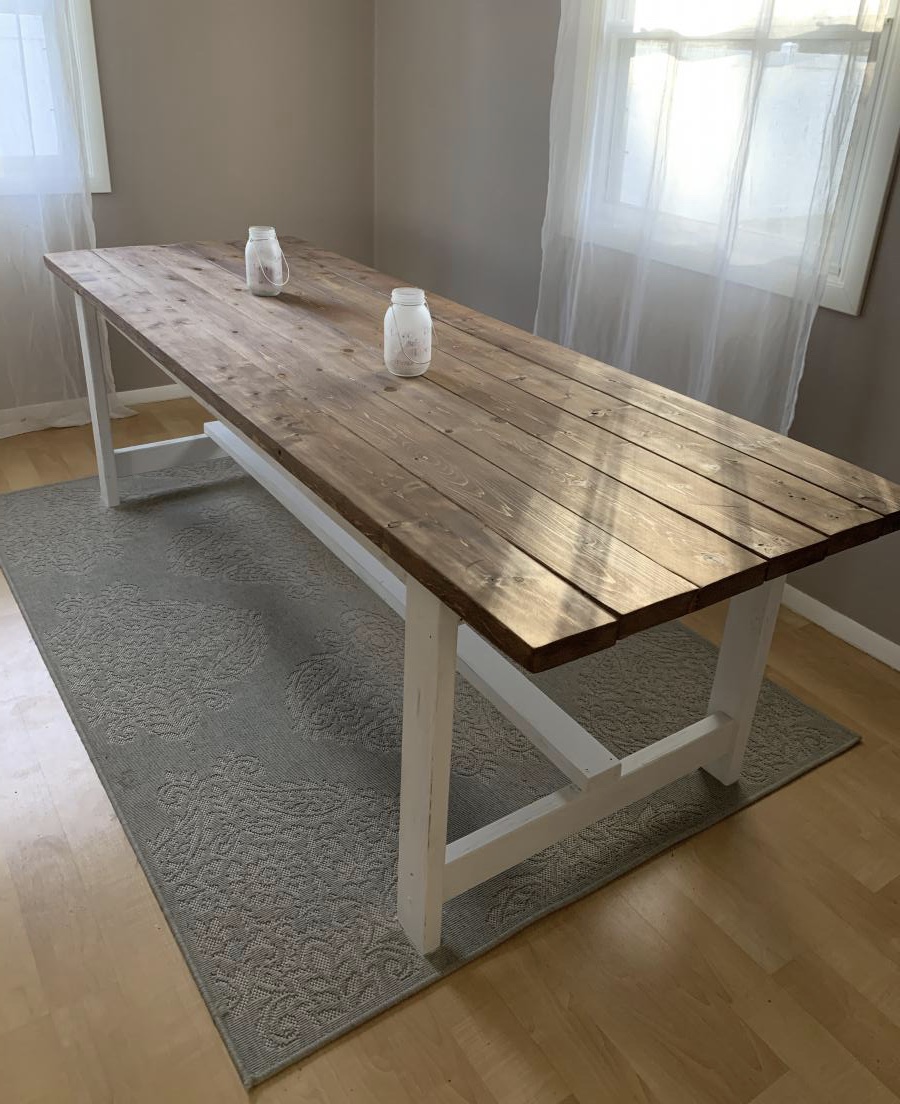
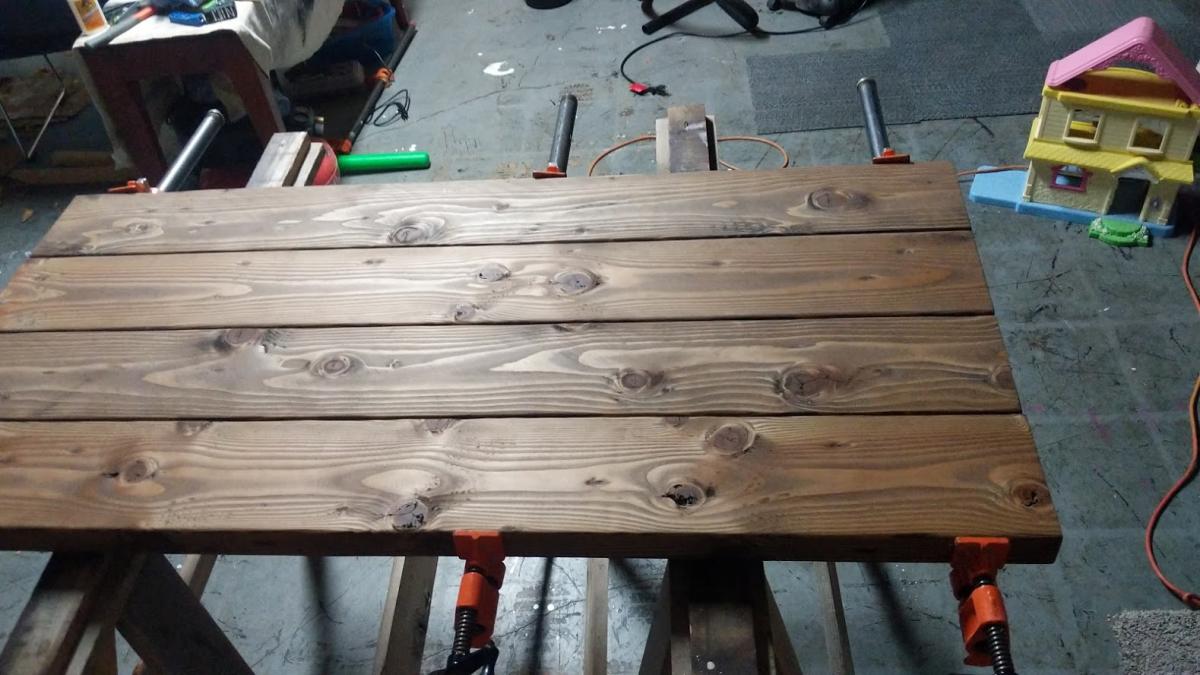
Great plans. I got a lot of attention for these tables. I think they're easy to build and a few bad cuts/mismatches can make it look more rustic so no need to worry about perfection with these. I use them in my apartment and they're both really nice. I stained with miniwax jacobean and used a satin clear poly on it after. I only needed one layer of stain.I think a dining room table version of this plan would be really awesome too!
Built from Plan(s)
Estimated Cost
stain/poly/lumber/screws all were around 50$
Can be alot cheaper if you already have these things. I had a bunch of the lumber in scraps already.
Can be alot cheaper if you already have these things. I had a bunch of the lumber in scraps already.
Estimated Time Investment
Afternoon Project (3-6 Hours)
Finish Used
Darker Stain (jacobean) with clear polyurethane.
Recommended Skill Level
Beginner