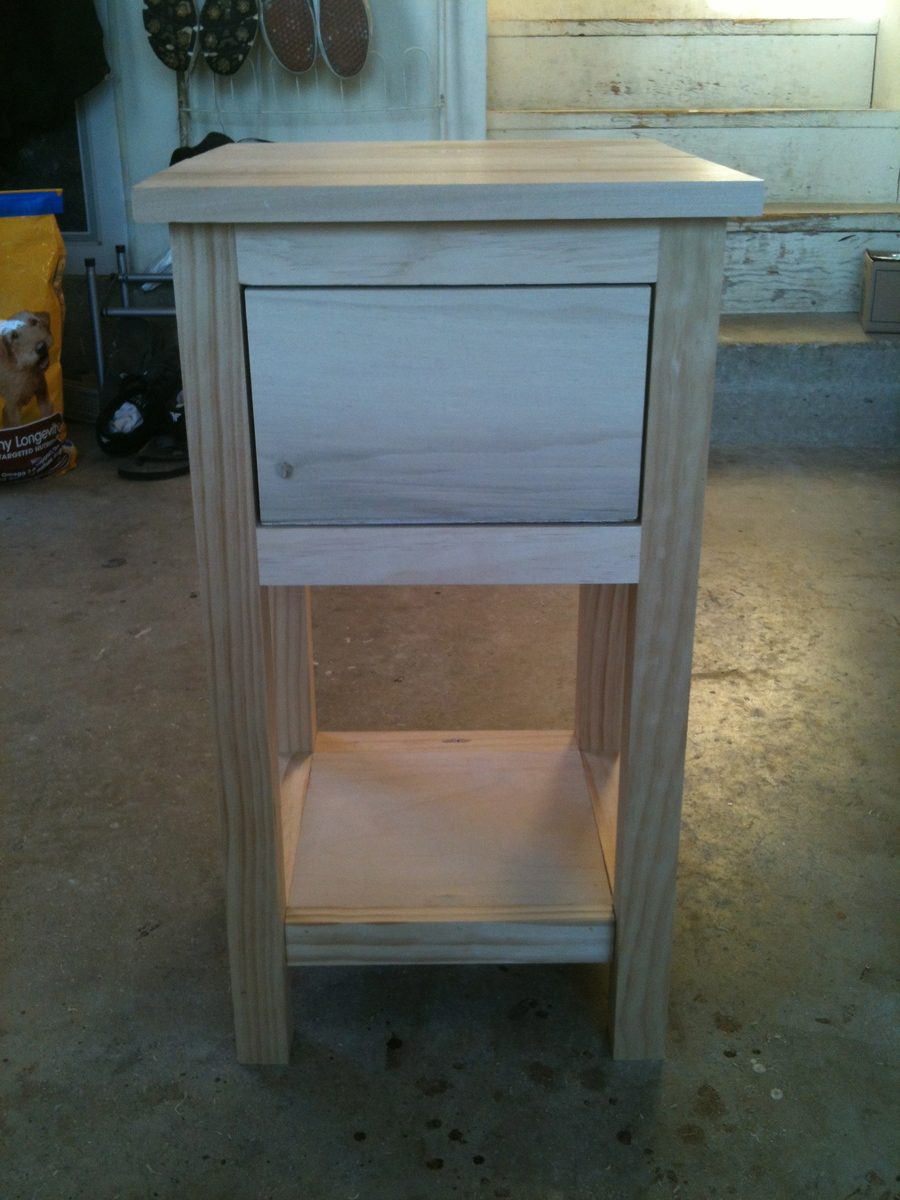
Over the last several weeks I’ve built a few different variations on the Easy Jewelry Box plan:
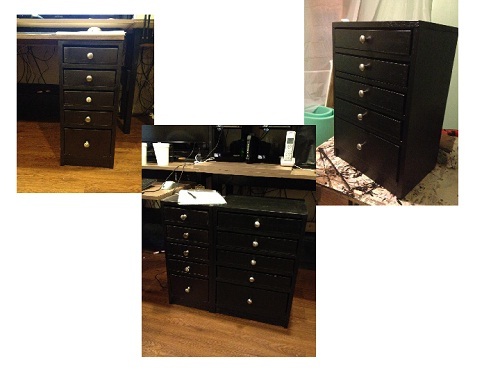
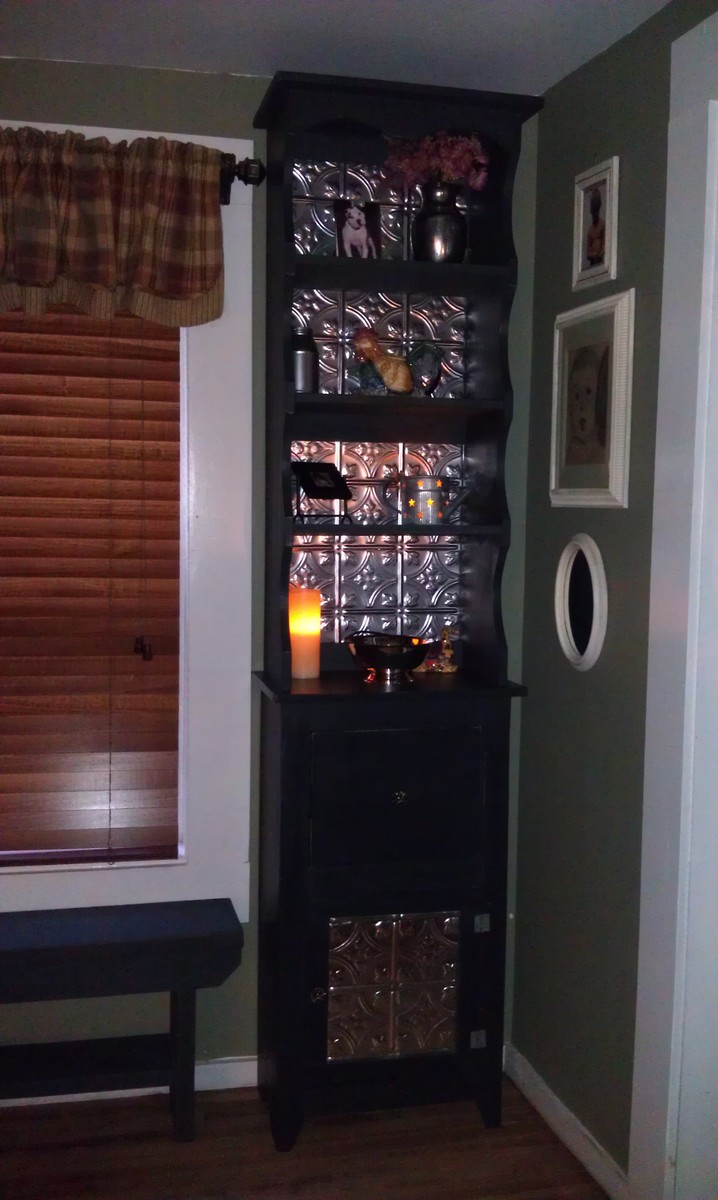
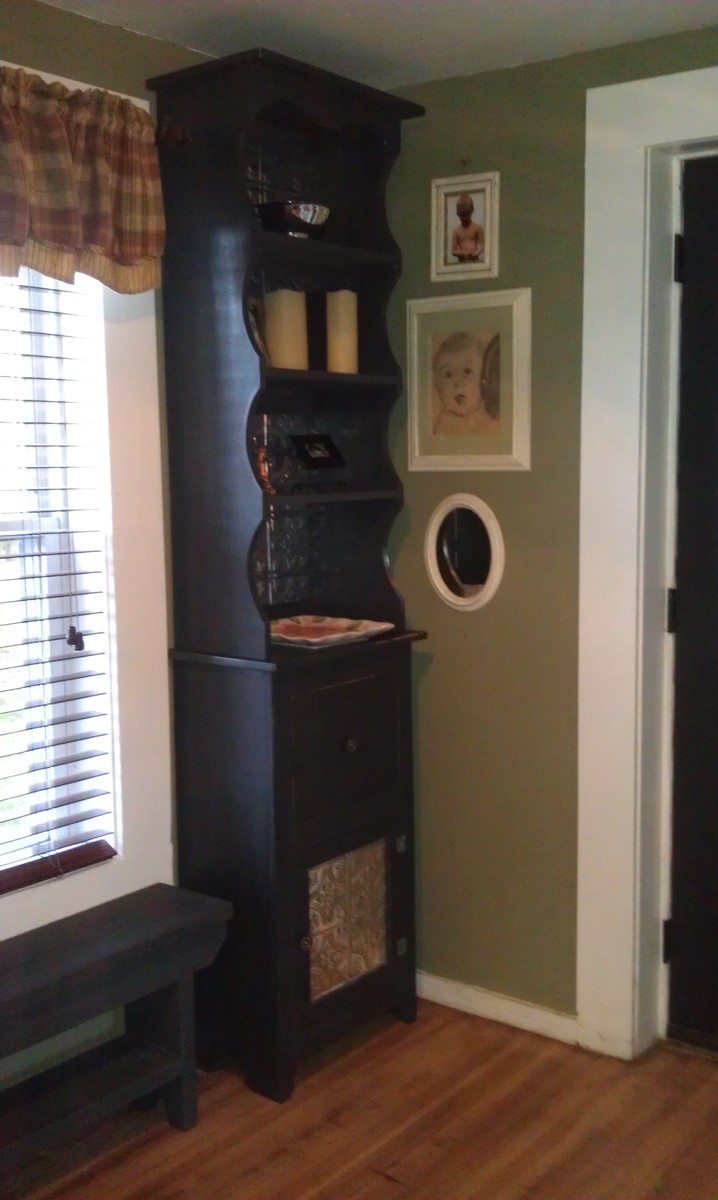
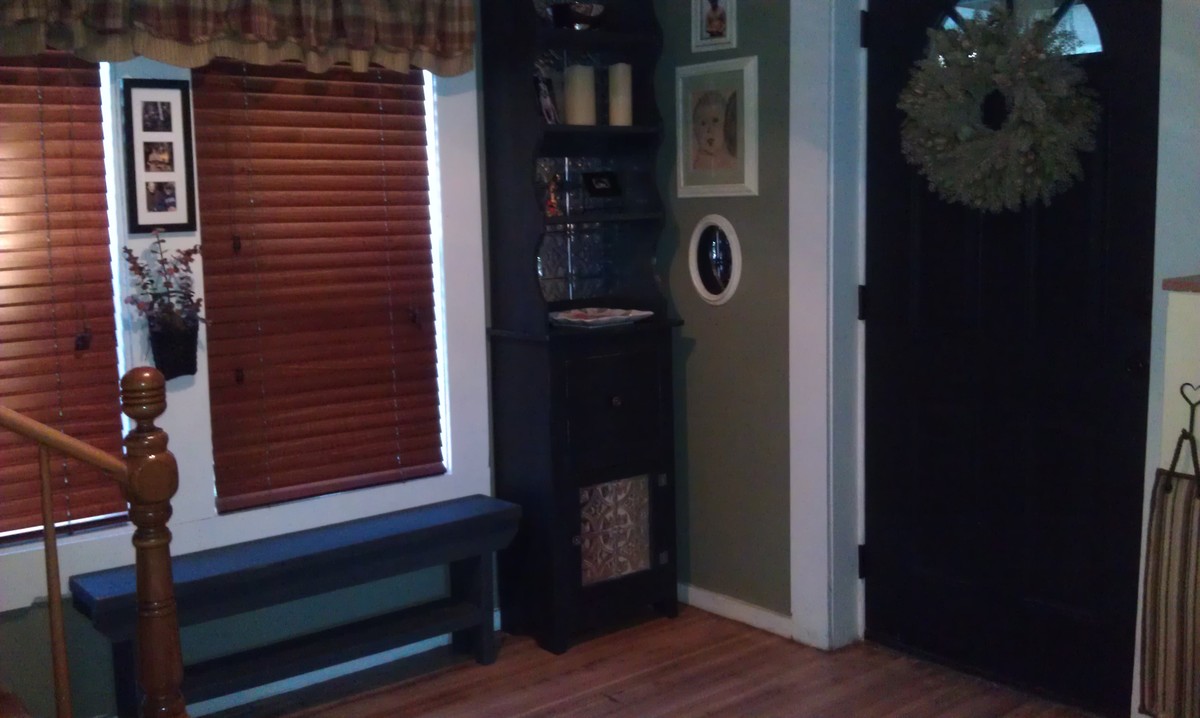
A narrow tower style one for my Hubby to use in the office at home, using 1x6 and 1x3 for the drawer sides, and 1x10 for the dresser box sides (no overhangs on this one) measures 10 ¾”wide x 24 ¾” tall. The drawers are not lined. The bottoms on these drawers don’t have felt – I used wax on the bottoms of the drawers, and also on the shelves, and they slide just fine.
The wide tower – this one is wide enough to hold paper and office supplies, and was made to the same height as the original narrow tower. The drawer sides are 1x3 and 1x6, with 1x12 as the dresser box sides (measures 16 ¼” wide x 24 ¾” tall). These are unlined, and also got wax on the bottom of the drawers and on the shelves.
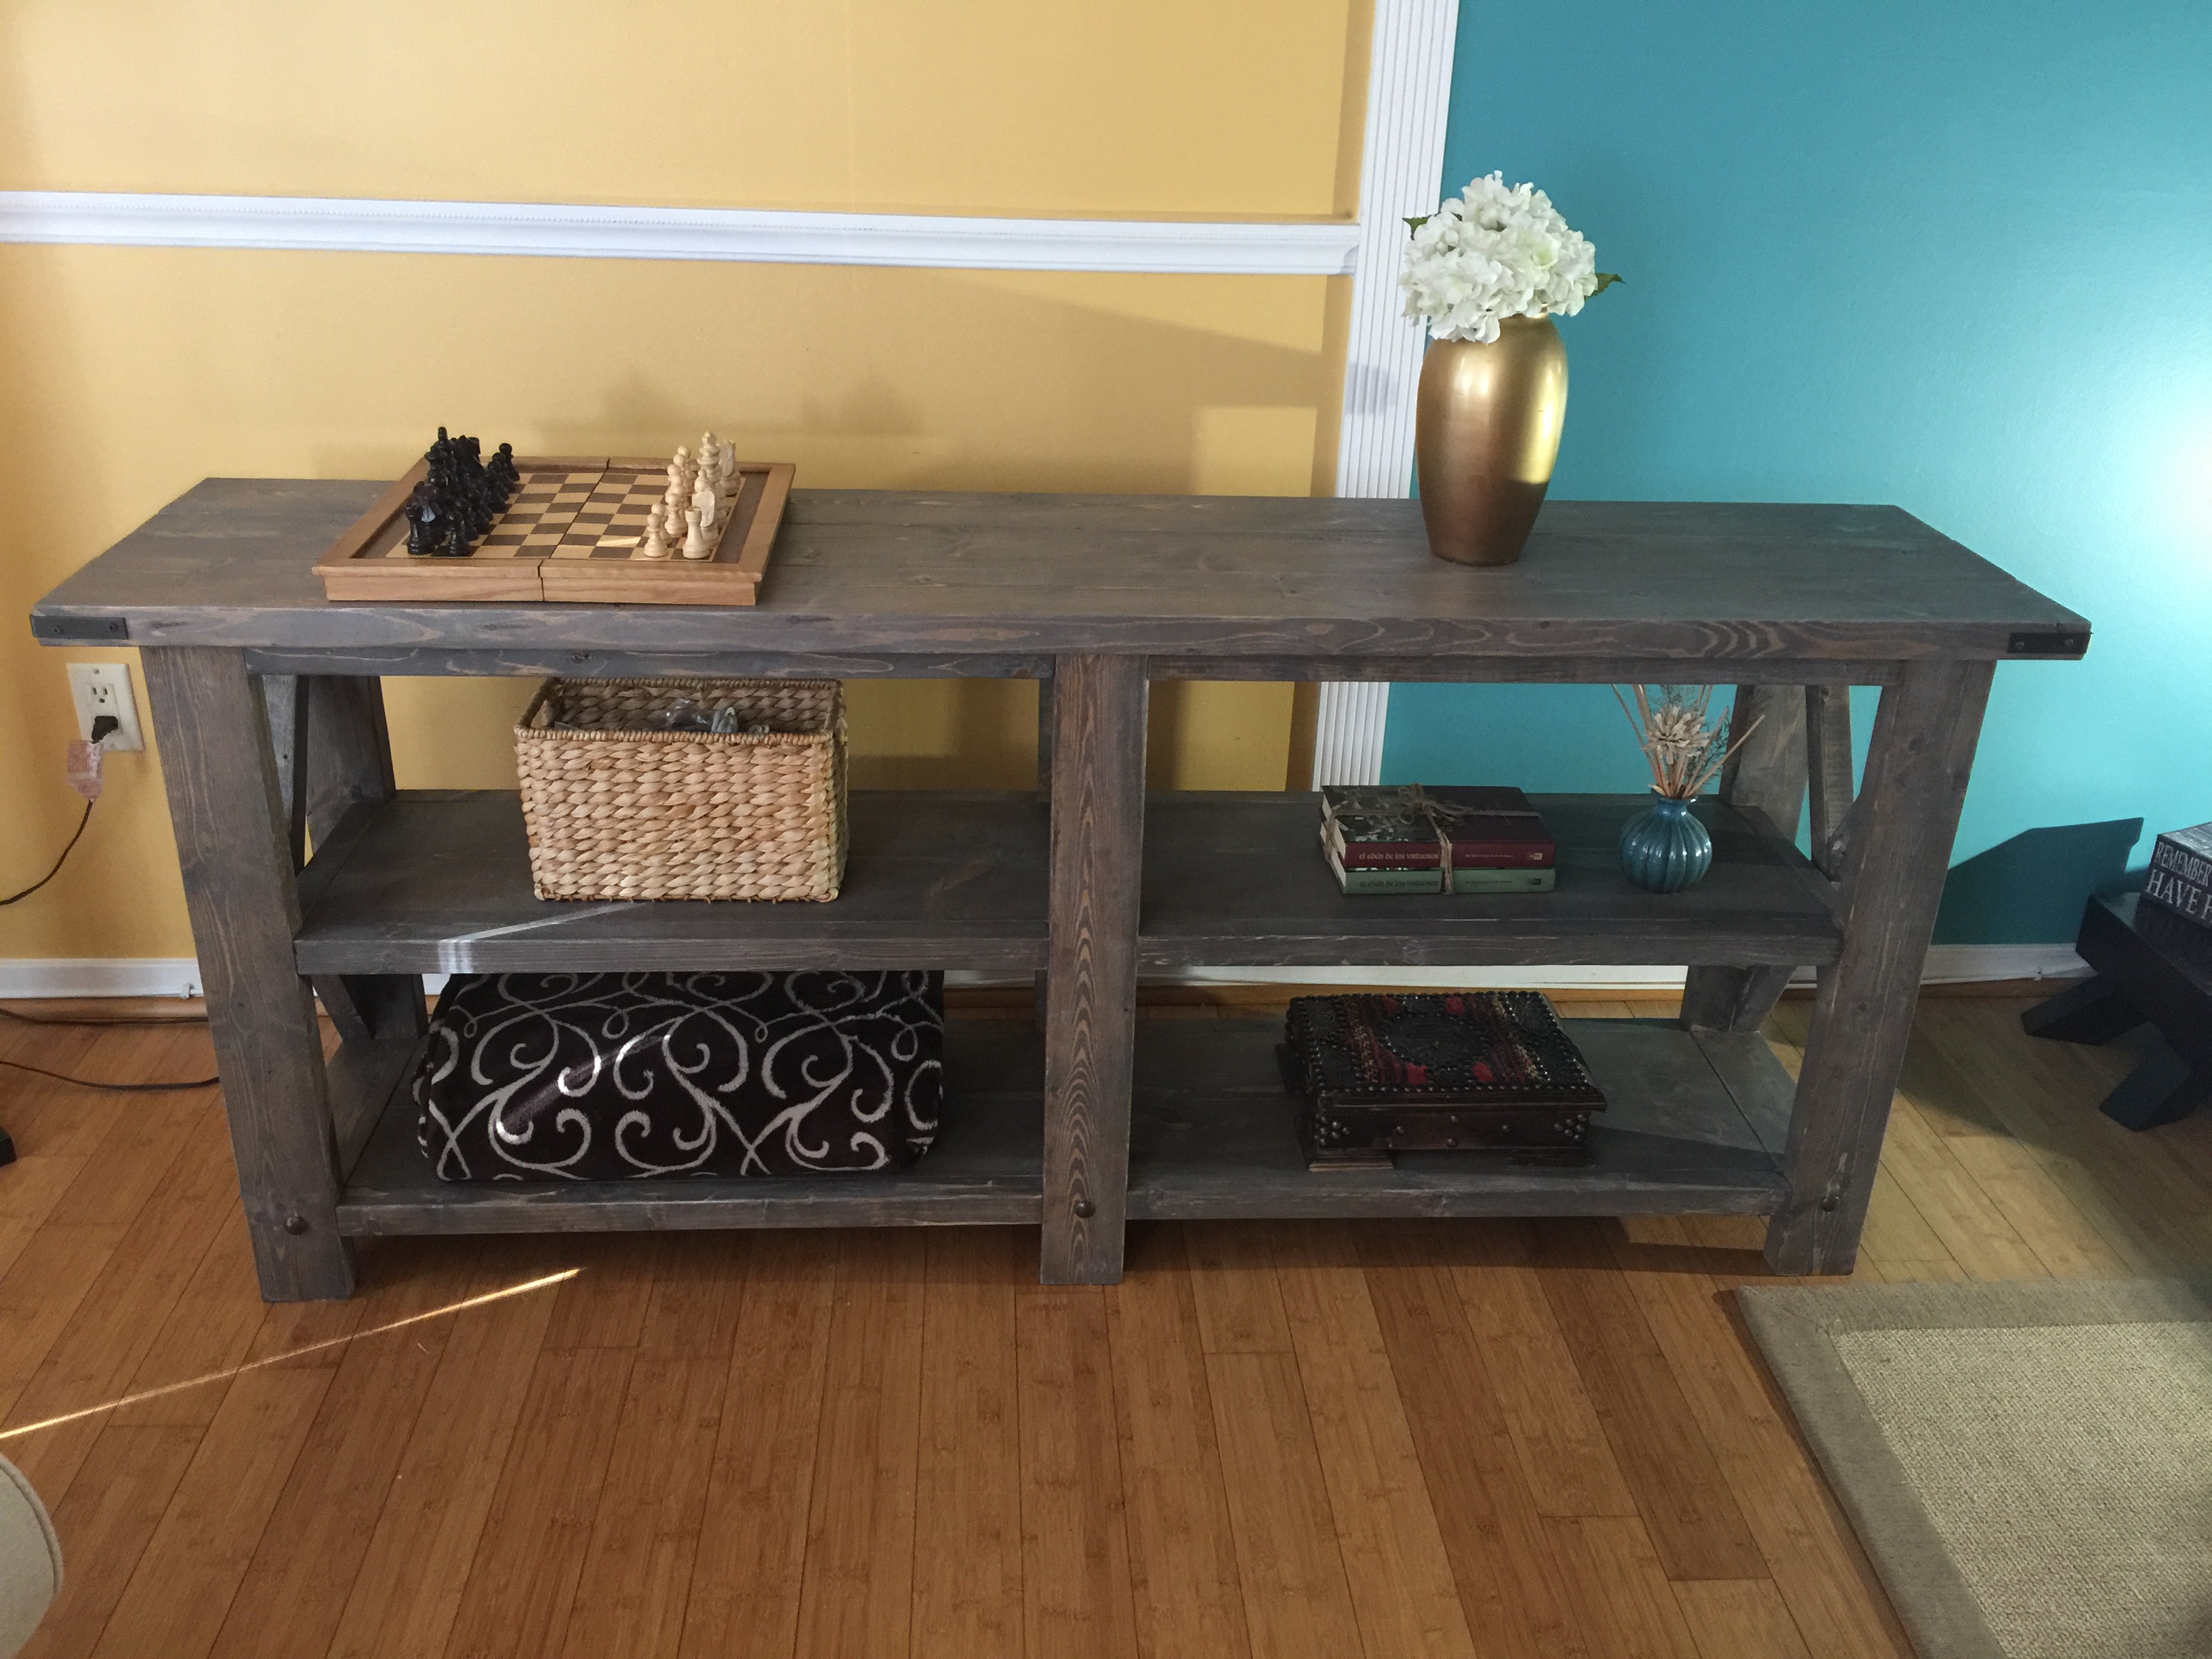
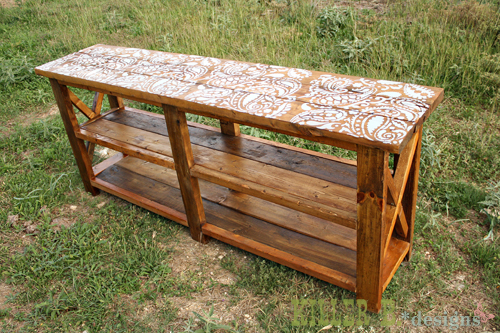
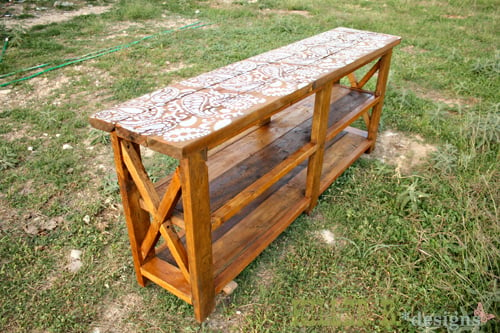
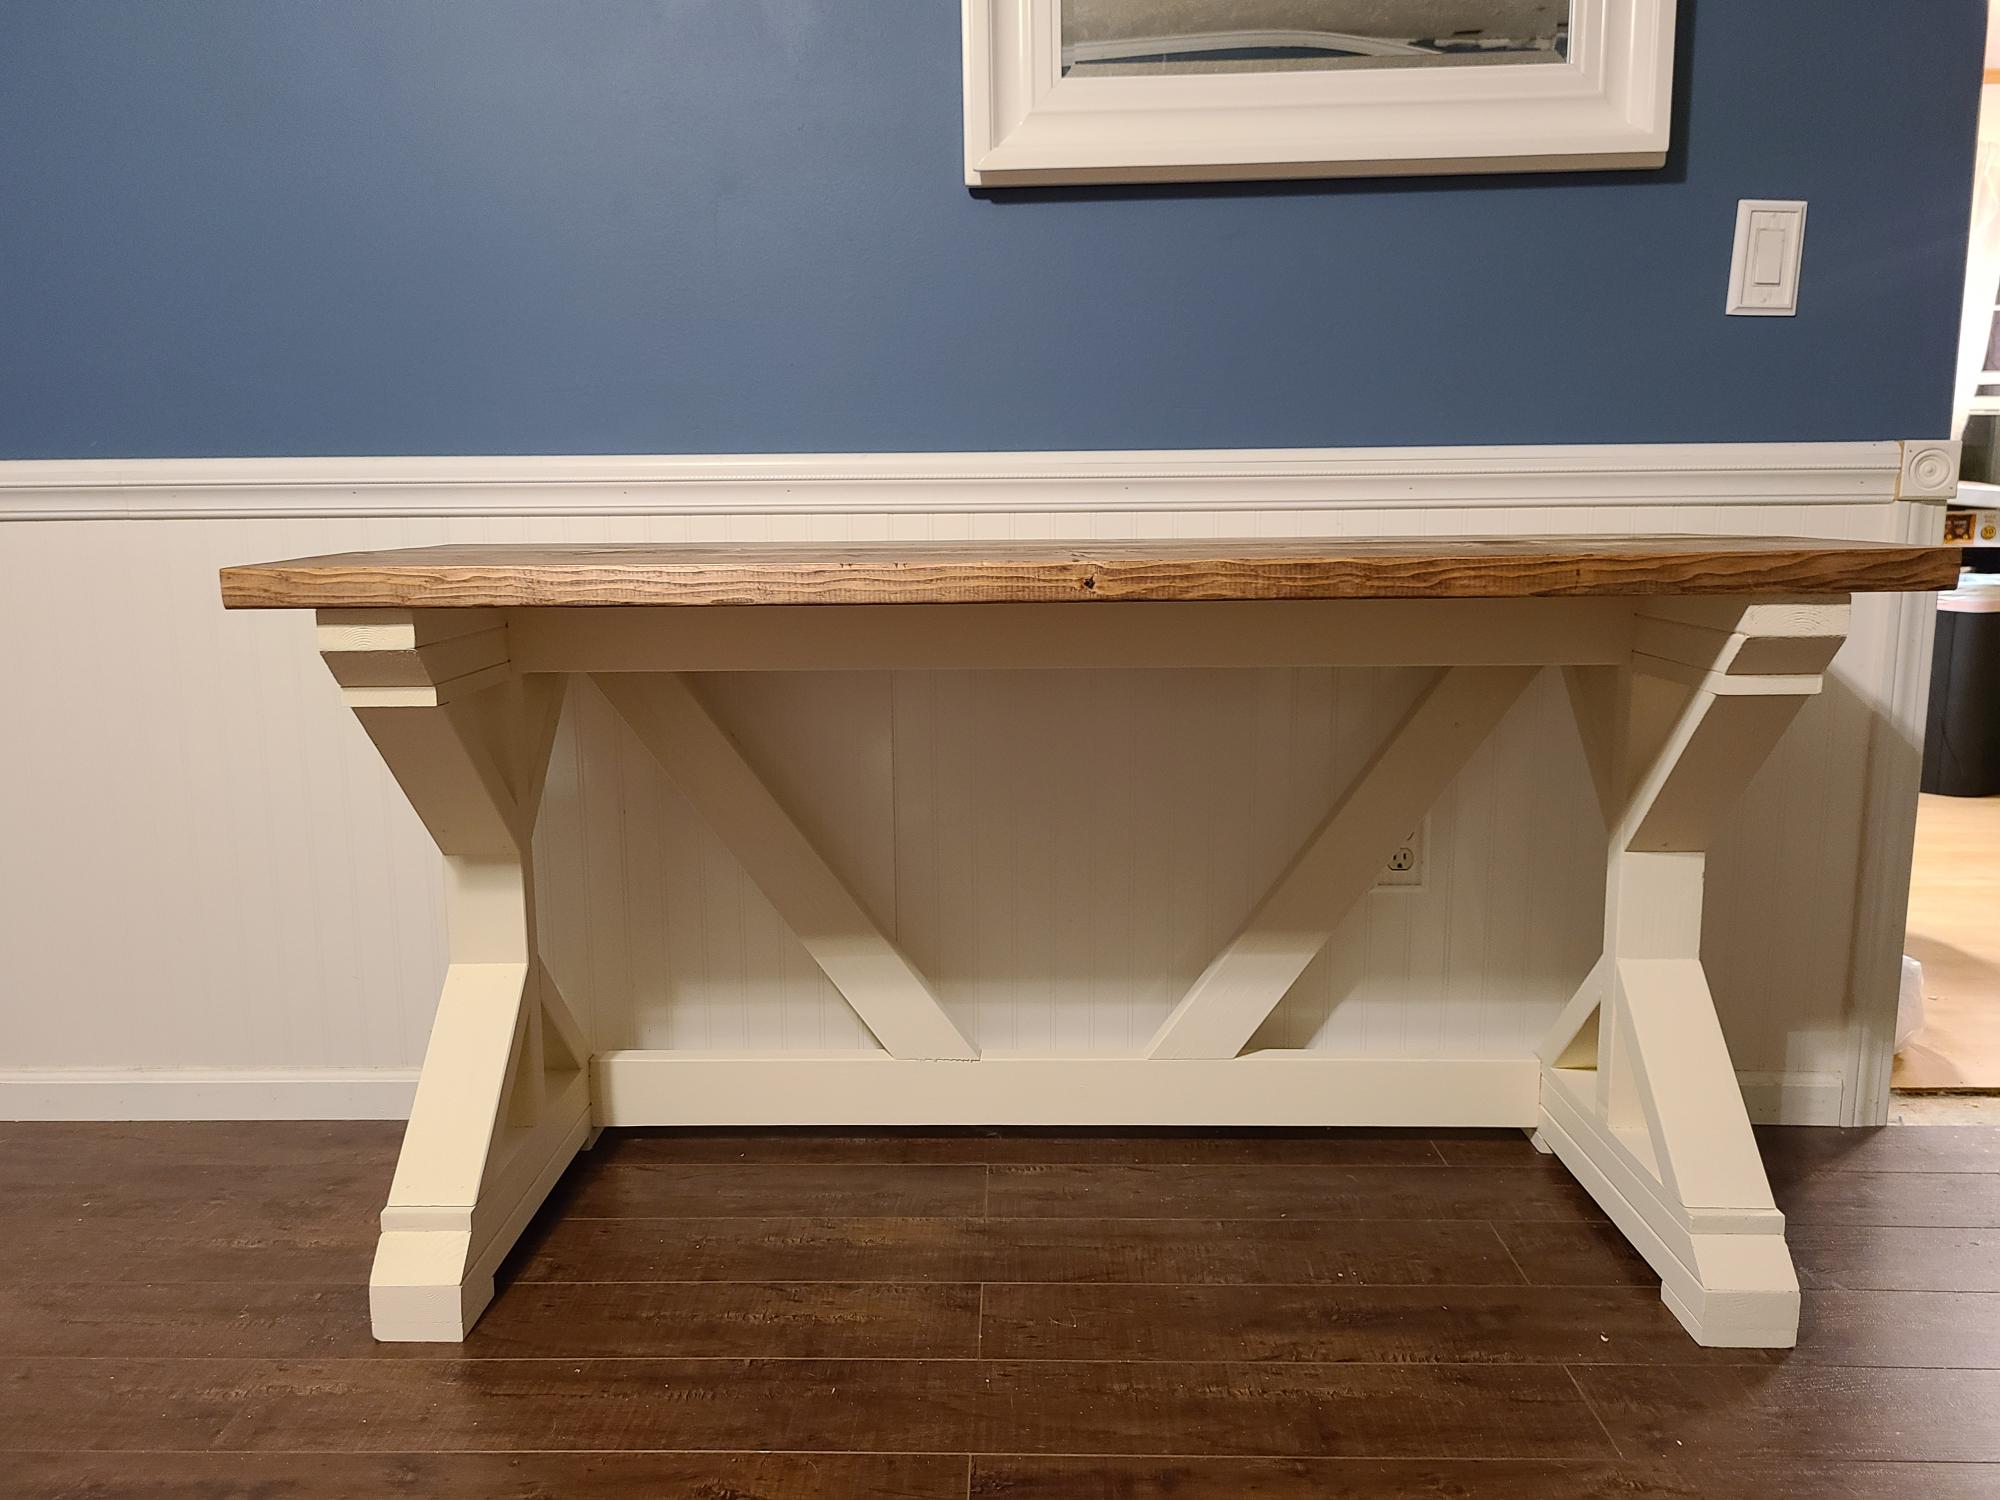
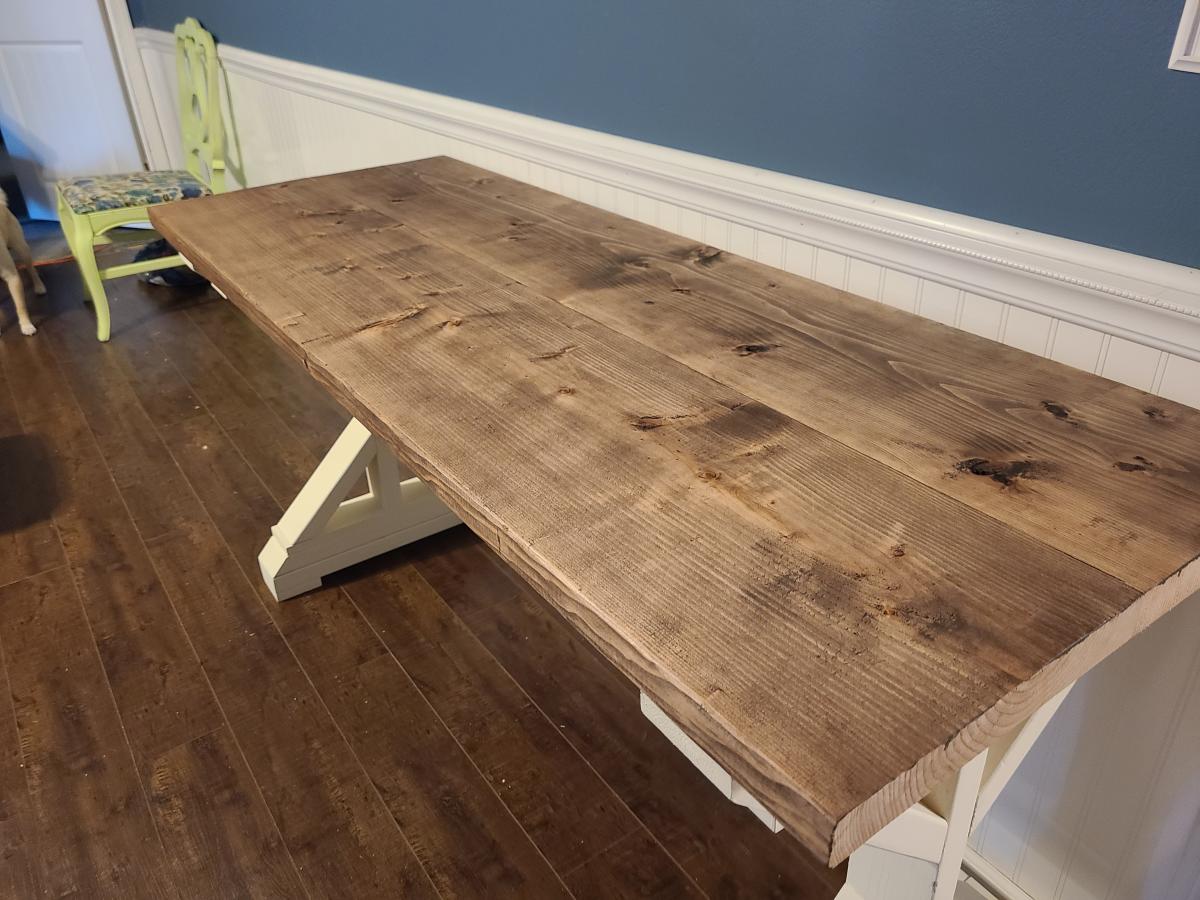
I’m going to make a top to go across both of them so it’s the same height as the keyboard/mouse, and paint it to match the desk surface (BTW – the desks are a variation on the Rustic Table).
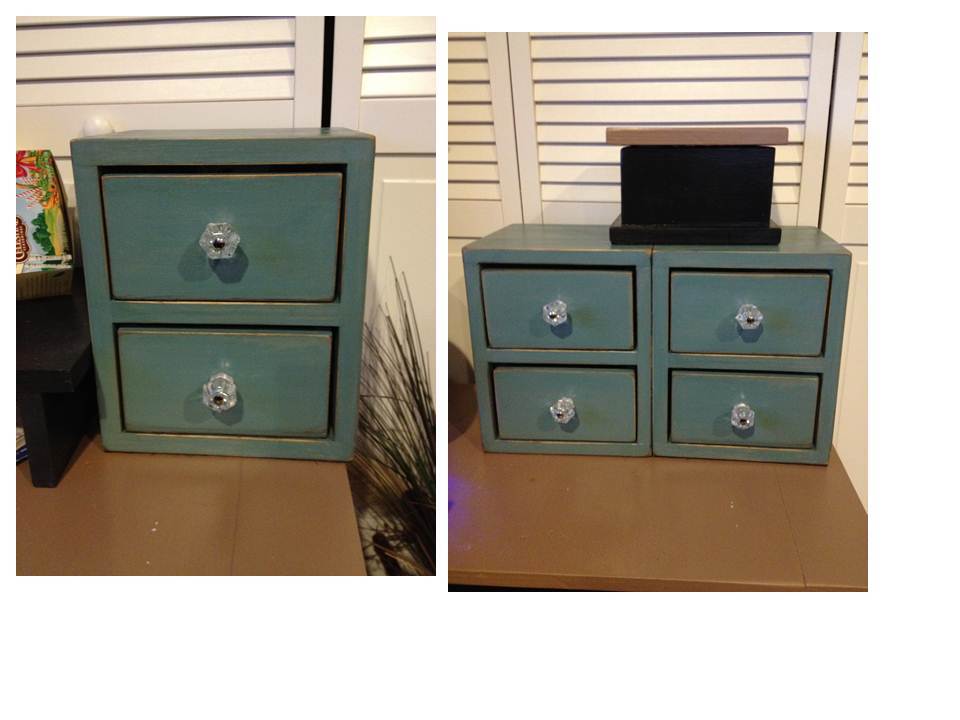
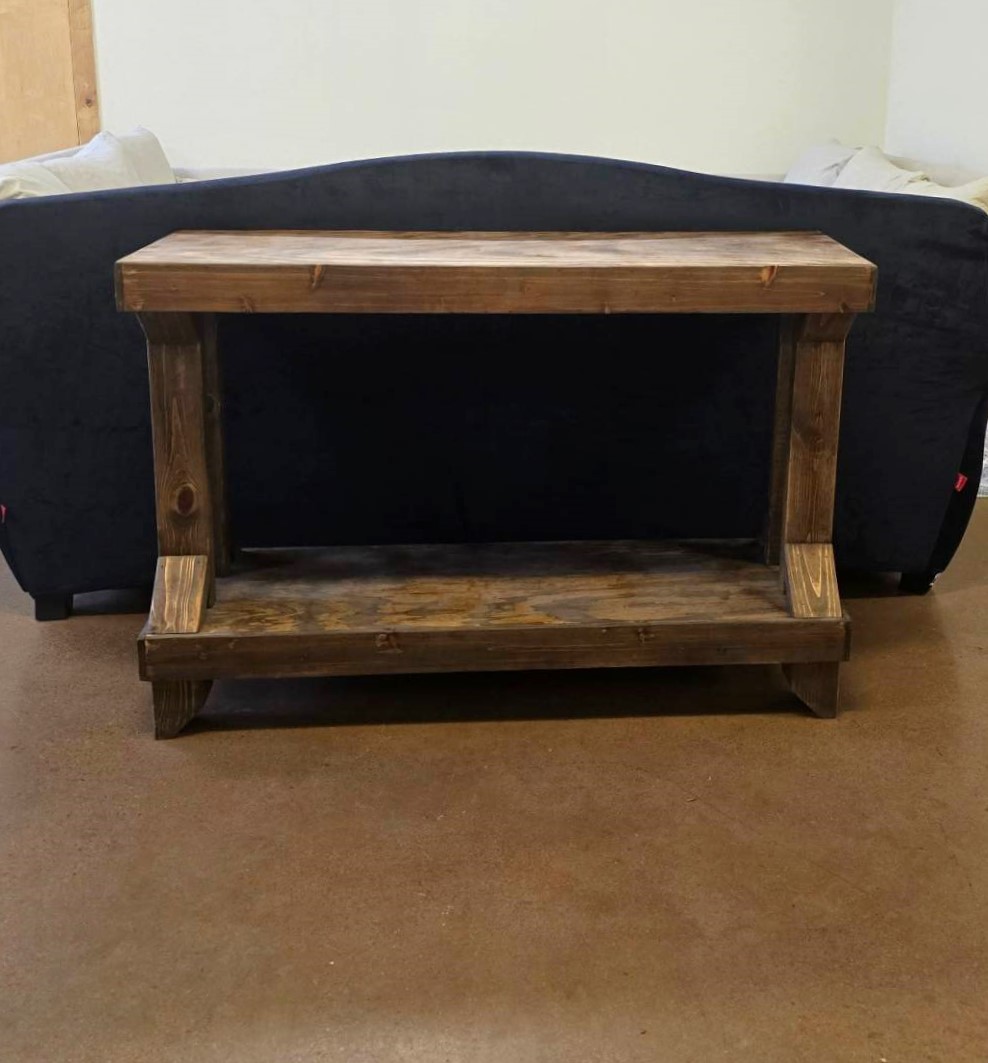
Distressed storage – the drawers for these are some strips of ½” plywood that were left over from another project. The dresser boxes are from 1x8. Also for these I left off the overhangs, and used the Minwax stain pen on the edges for a painted distressed finish. I liked the first one, and ended up building another to match. Each one measures 8 ¾” W x 10 ¼” T x 7 ¼”D.
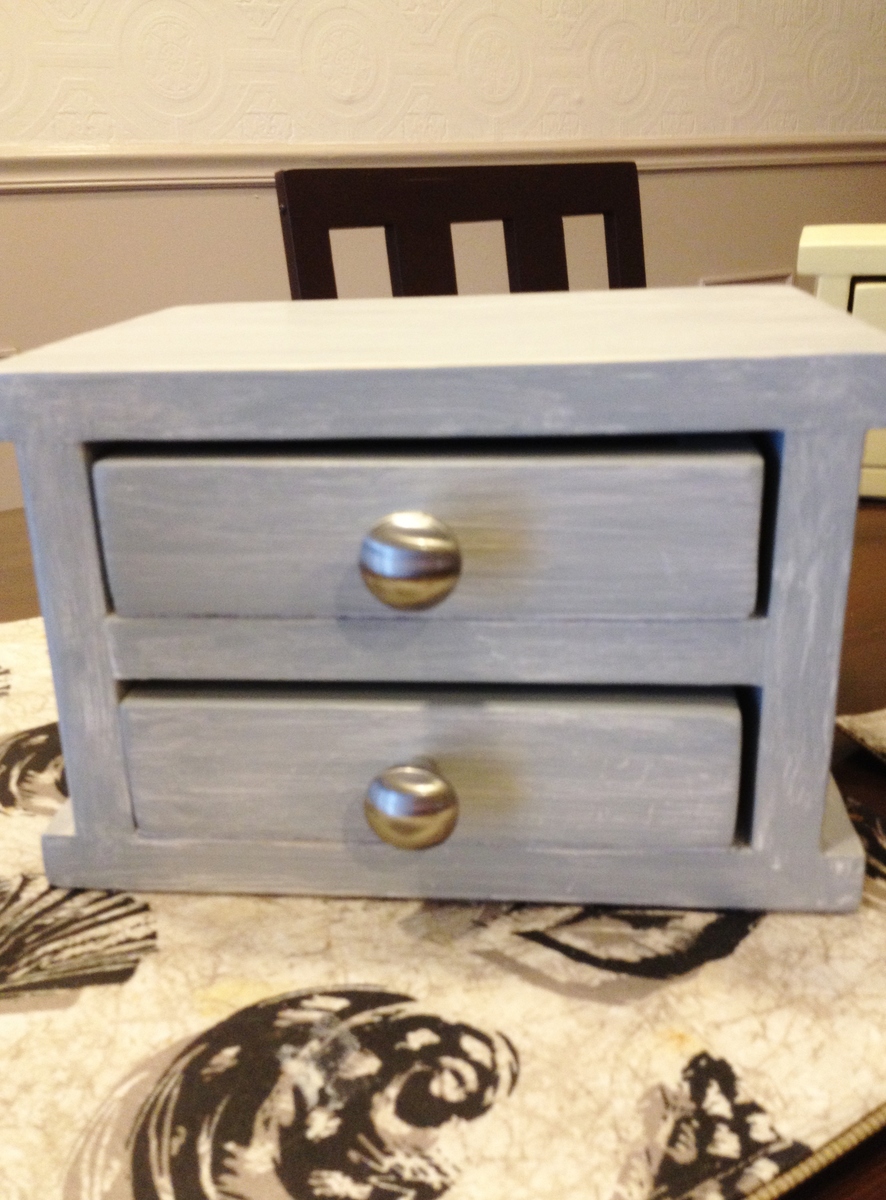
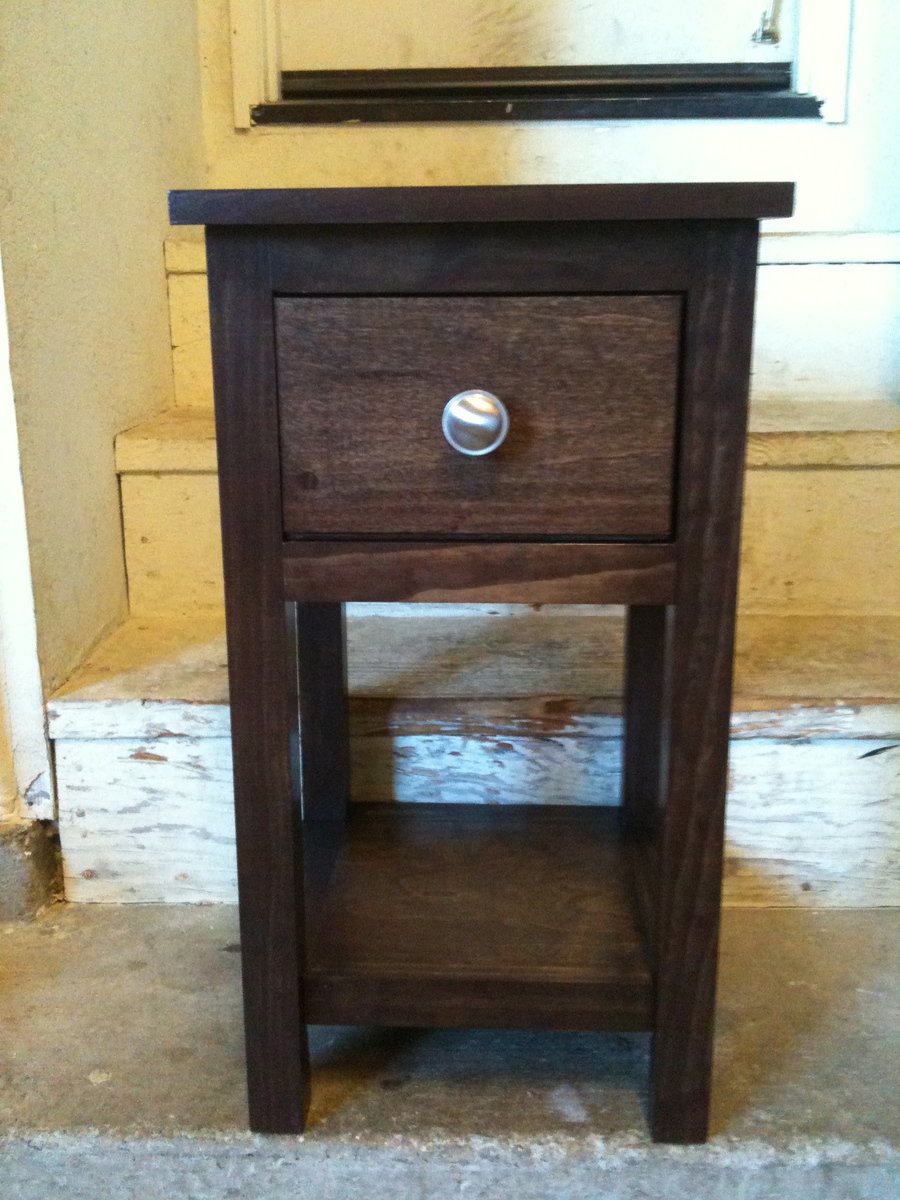
Also, one of the easy jewelry boxes made exactly to the plan, with a weathered gray finish and the optional drawer divider. I’ve built more of those in different finishes, but they will be gifts, so I won’t brag those just now.
I used up a lot of my scrap wood, and the paint was what I already had on hand. Most of the knobs are from Target (the multi-packs were cheaper than buying the single knobs).
Estimated Cost
$15 for distressed blue (felt & knobs, wood was scraps), narrow tower $50 for wood & knobs, wide tower $60 for wood & knobs; Distressed gray: $30 for wood, felt, & knobs
Estimated Time Investment
Afternoon Project (3-6 Hours)
Finish Used
Office towers: Oil Rubbed Bronze and Black Semi Gloss paint; Distressed storage: Benjamin Moore Blue Echo, distressed, with Minwax stain pen in Early American on the edges and a few streaks rubbed into the blue, with a coat of Minwax water based wipe-on poly; Distressed gray: 1 coat white, 1 coat gray (Ace Greek Column), distressed with sandpaper then added a coat of Minwax water based wipe-on poly
Recommended Skill Level
Beginner