Mason Jar Caddy with Leather Handle
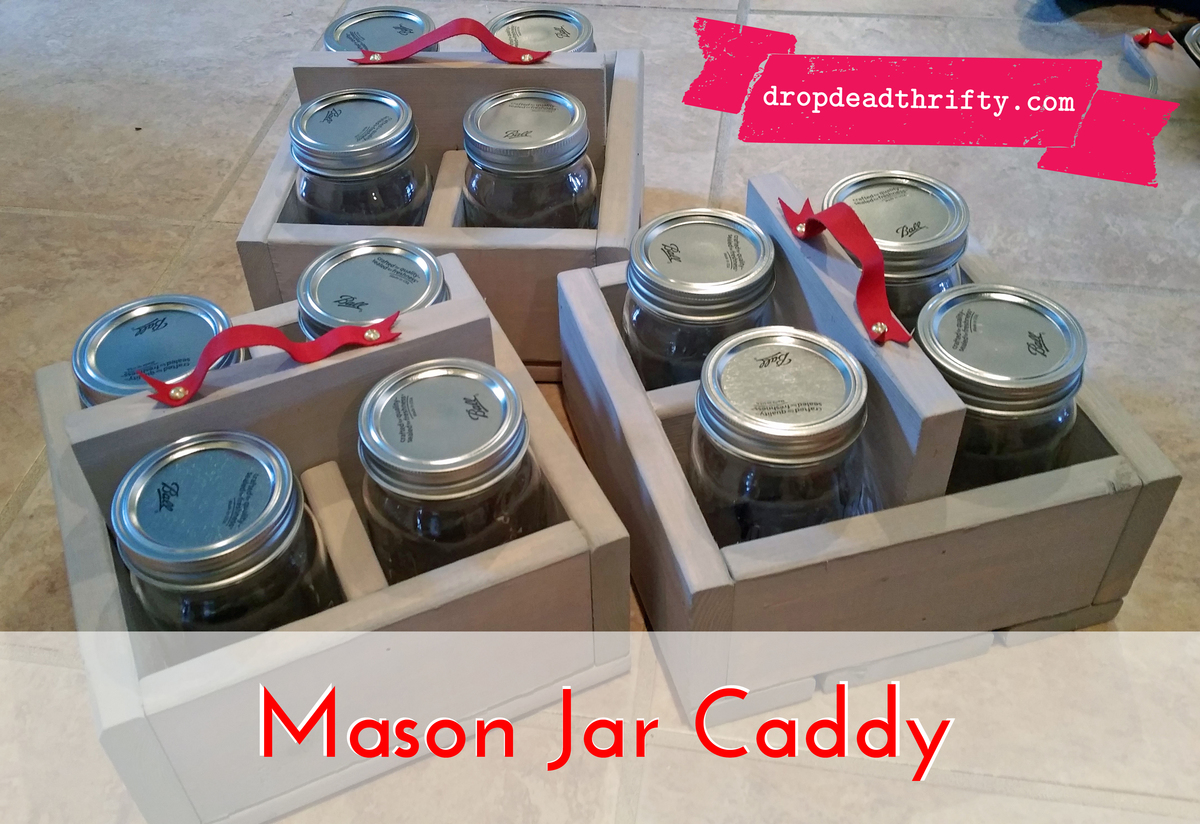
I made this version of Ana's Reclaimed Soda Crate as Christmas gifts for my kids' teachers. Less than $6 per gift! Full instructions can be found on my blog at www.dropdeadthrifty.com


I made this version of Ana's Reclaimed Soda Crate as Christmas gifts for my kids' teachers. Less than $6 per gift! Full instructions can be found on my blog at www.dropdeadthrifty.com

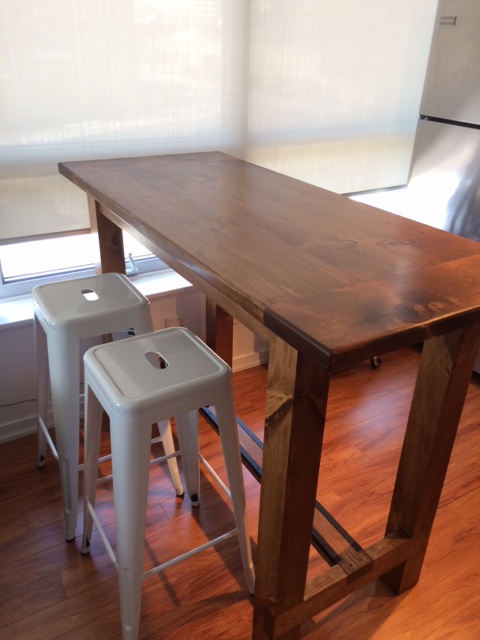
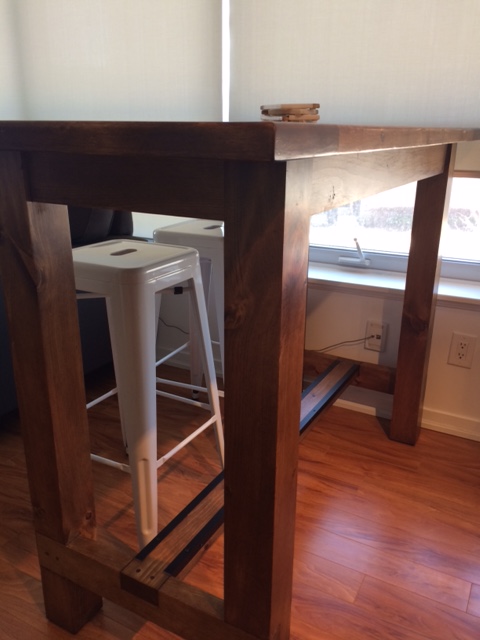
Variation on the Farmhouse Table plans. Built from knotty pine and finished with Minwax Early American stain.
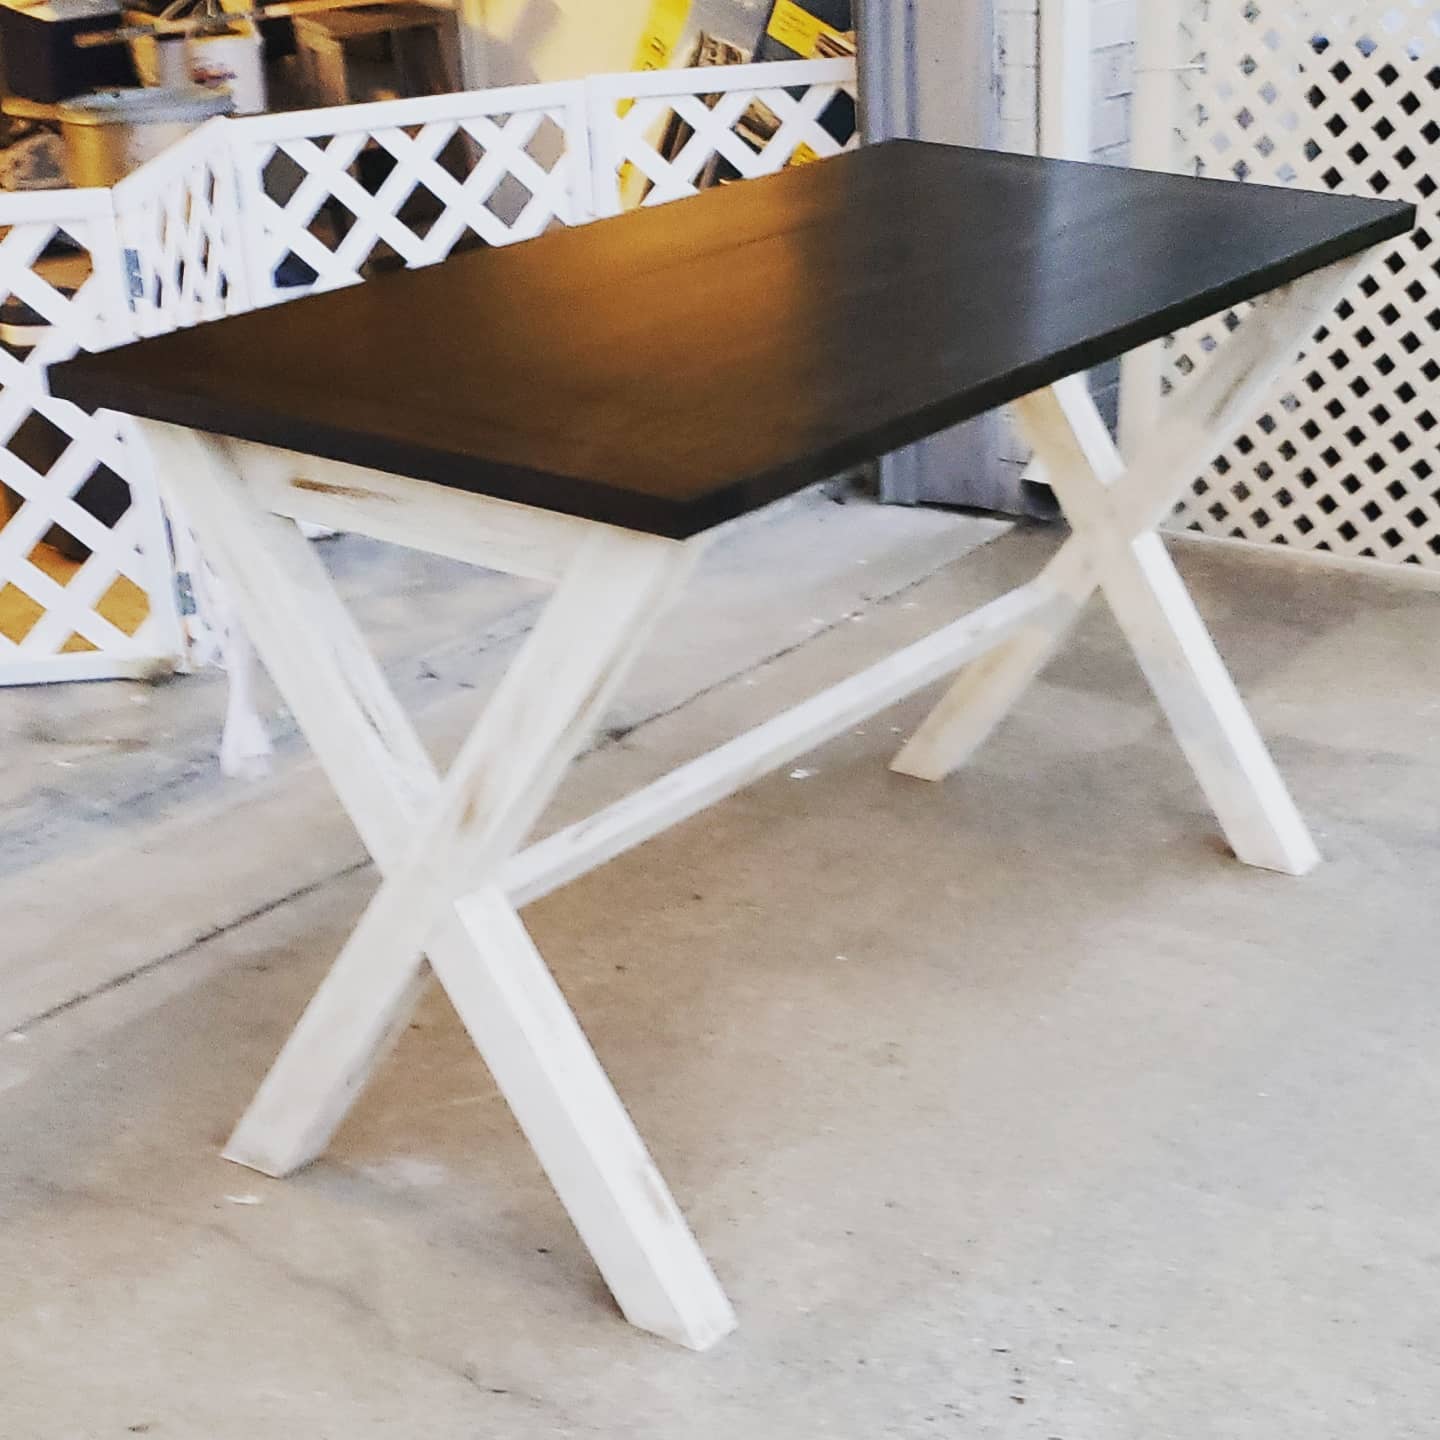
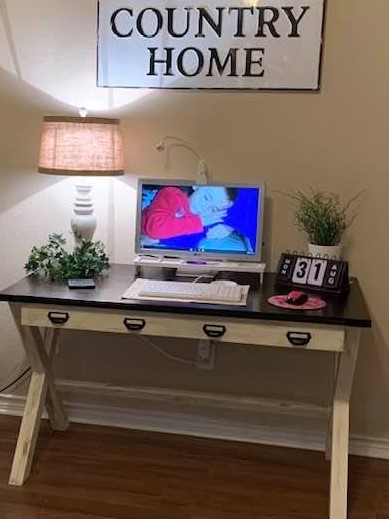
Here is my version of Ana White's X desk with a drawer. This desk was made out of poplar wood.
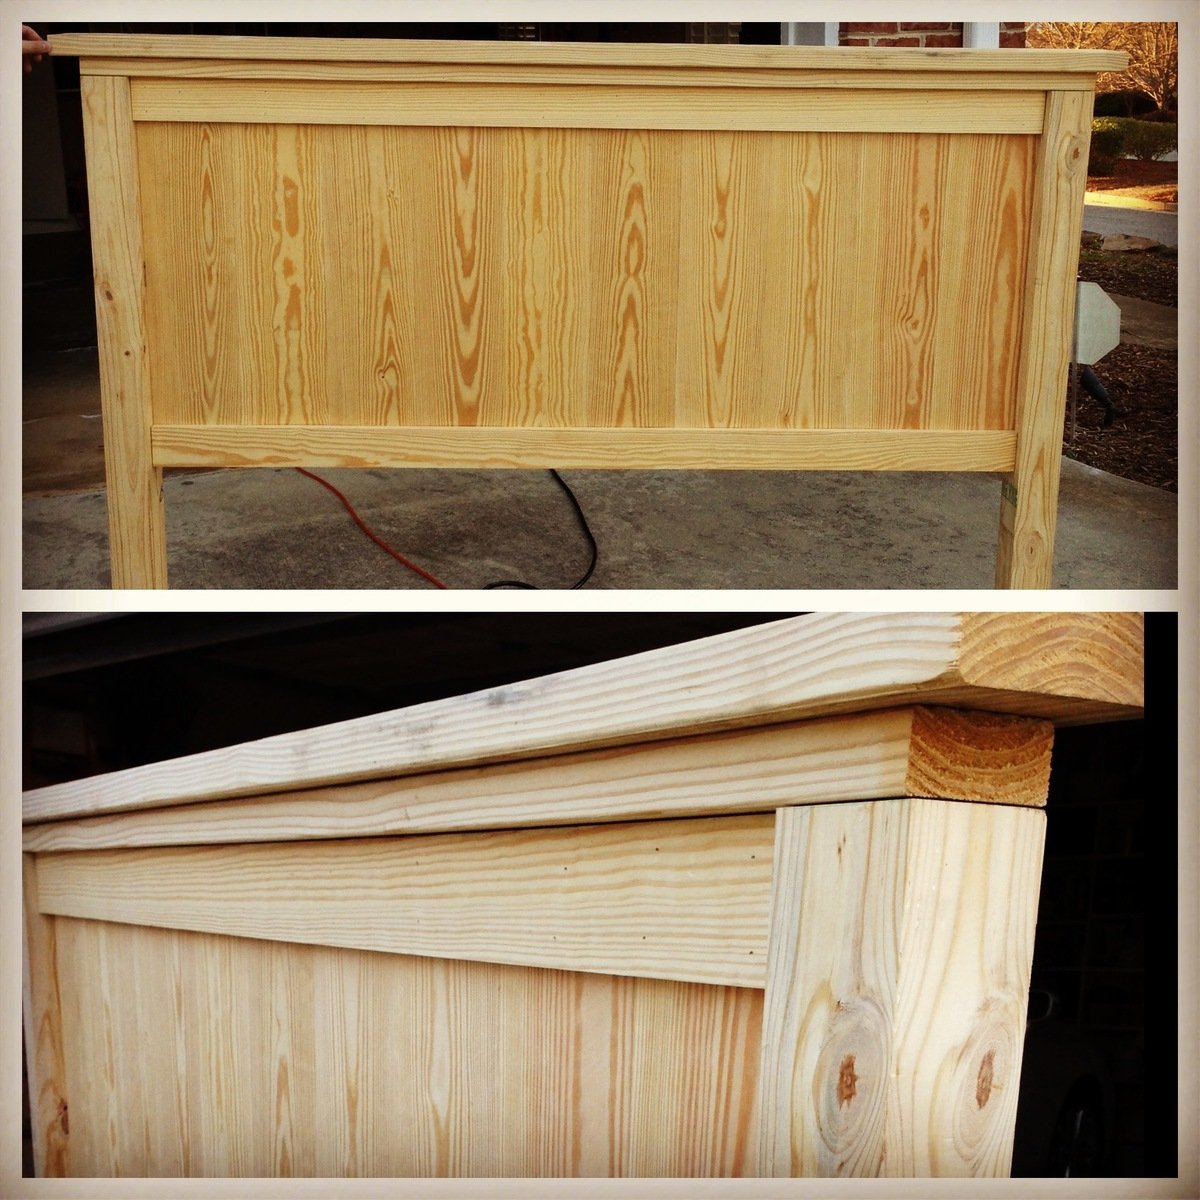
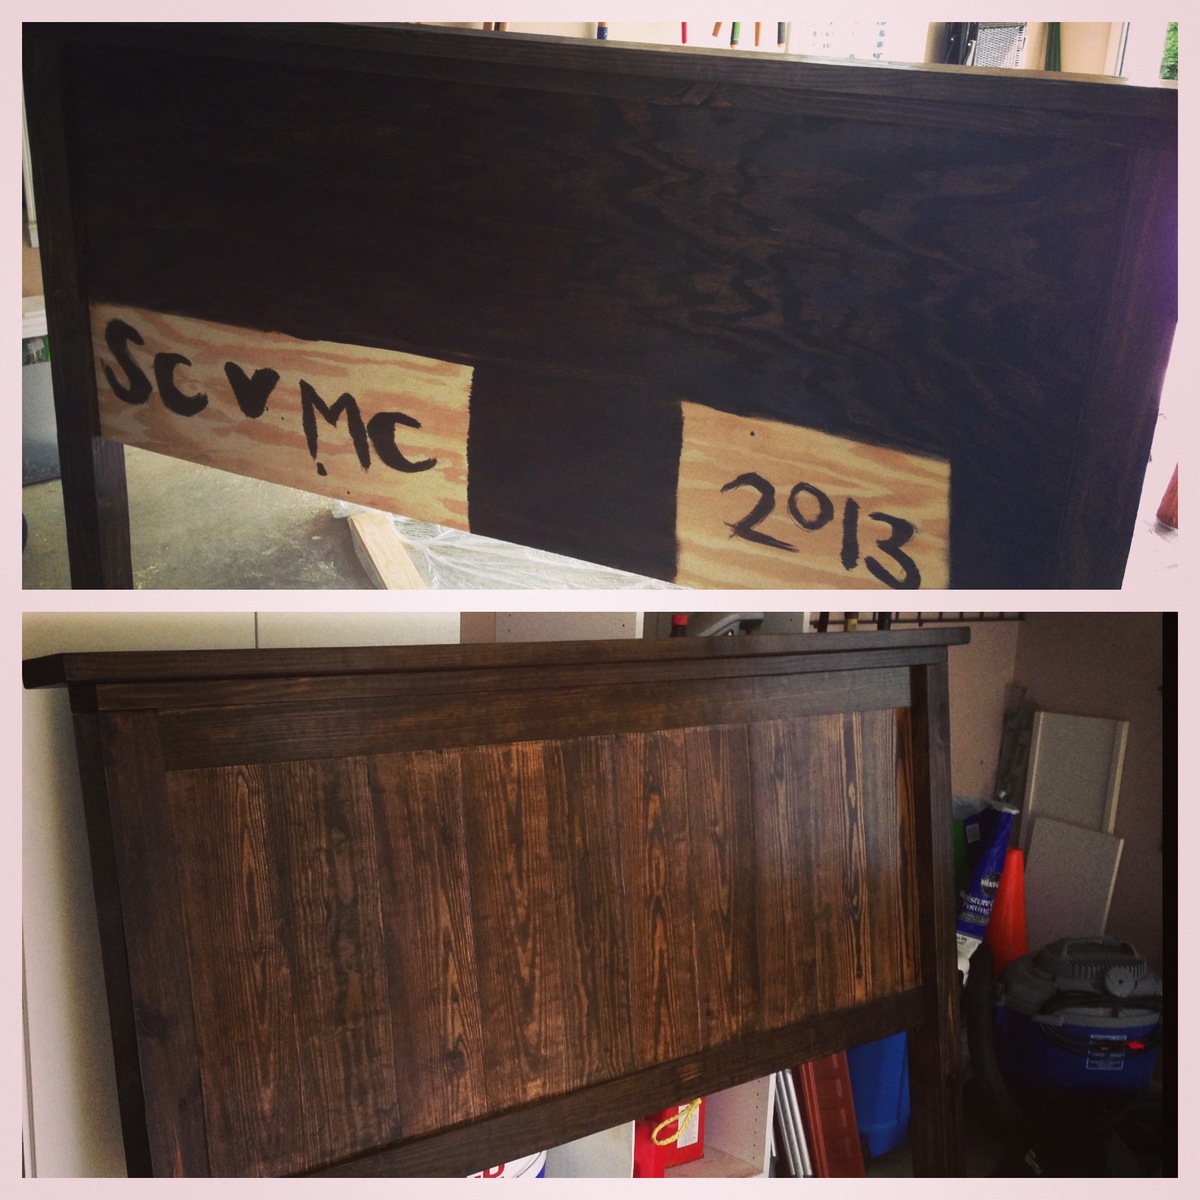
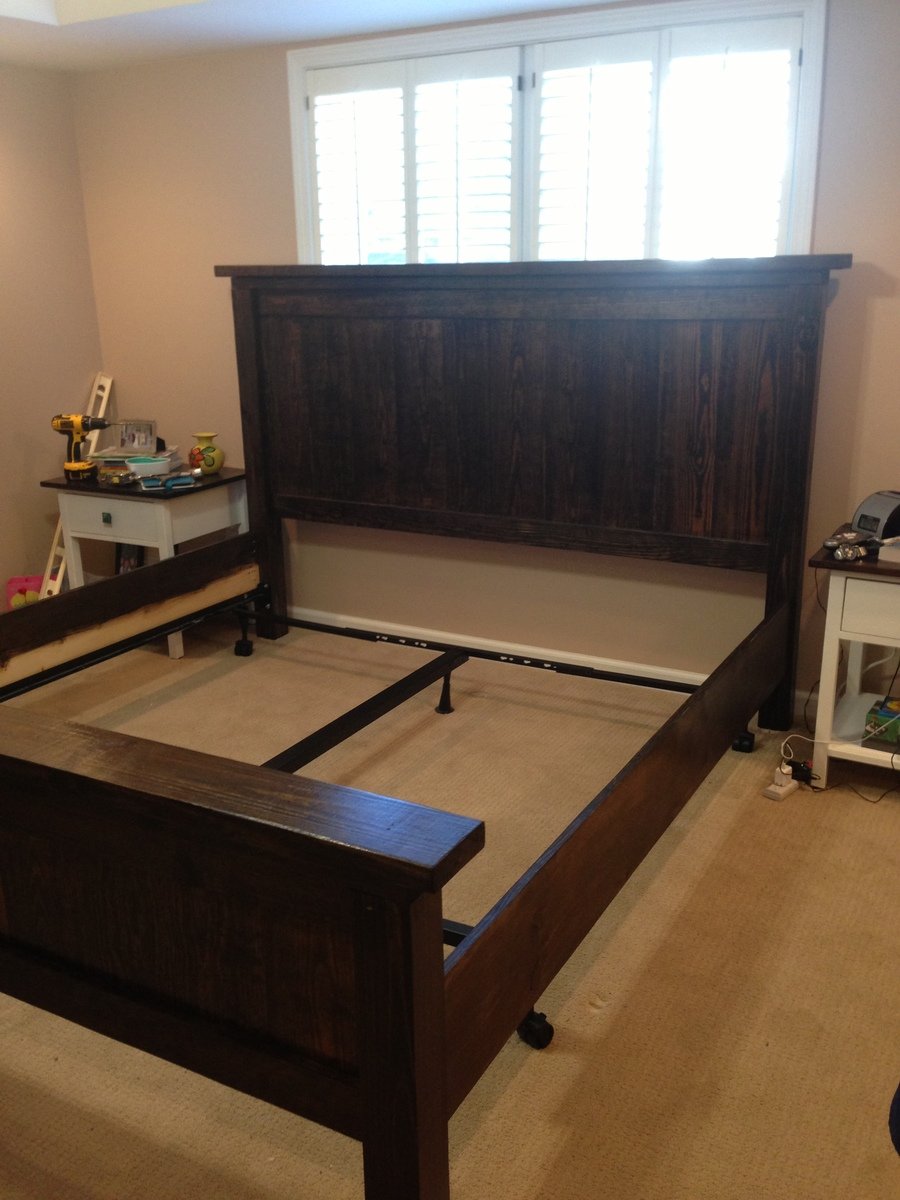
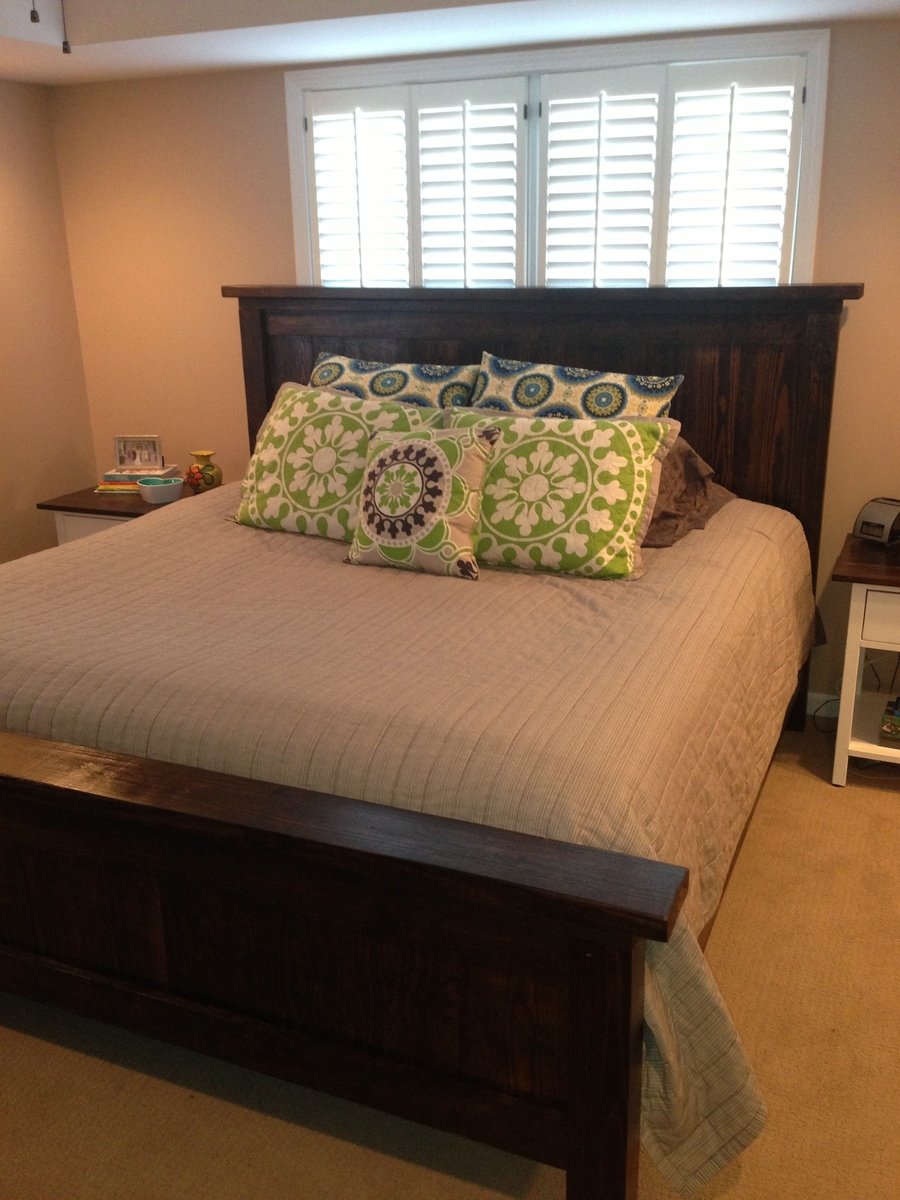
We made this bed after making the farmhouse bedside tables. So now we have a whole new bedroom set for probably less than $600. We love how it all turned out, and the plans were so easy to follow. We built both projects from Ana's book and plan to build a lot more from it too!
**In the book the plans are for a queen size bed, we modified it to fit our King size**
We added a piece of plywood to the back of the headboard and footboard and stained them so that it would cover all the pocket holes. Also, we extended the very top piece of wood that is on both the head and foot boards so there was a two inch overhang instead of just one.
This bed is so sturdy! I think if a tornado ever blows through we could just hang onto the bed and we wouldn't go anywhere! The side rails also give it a nice finished look even though they just essentially cover the box spring and bed rails. The bed still sits on the metal frame that is bolted into the headboard.
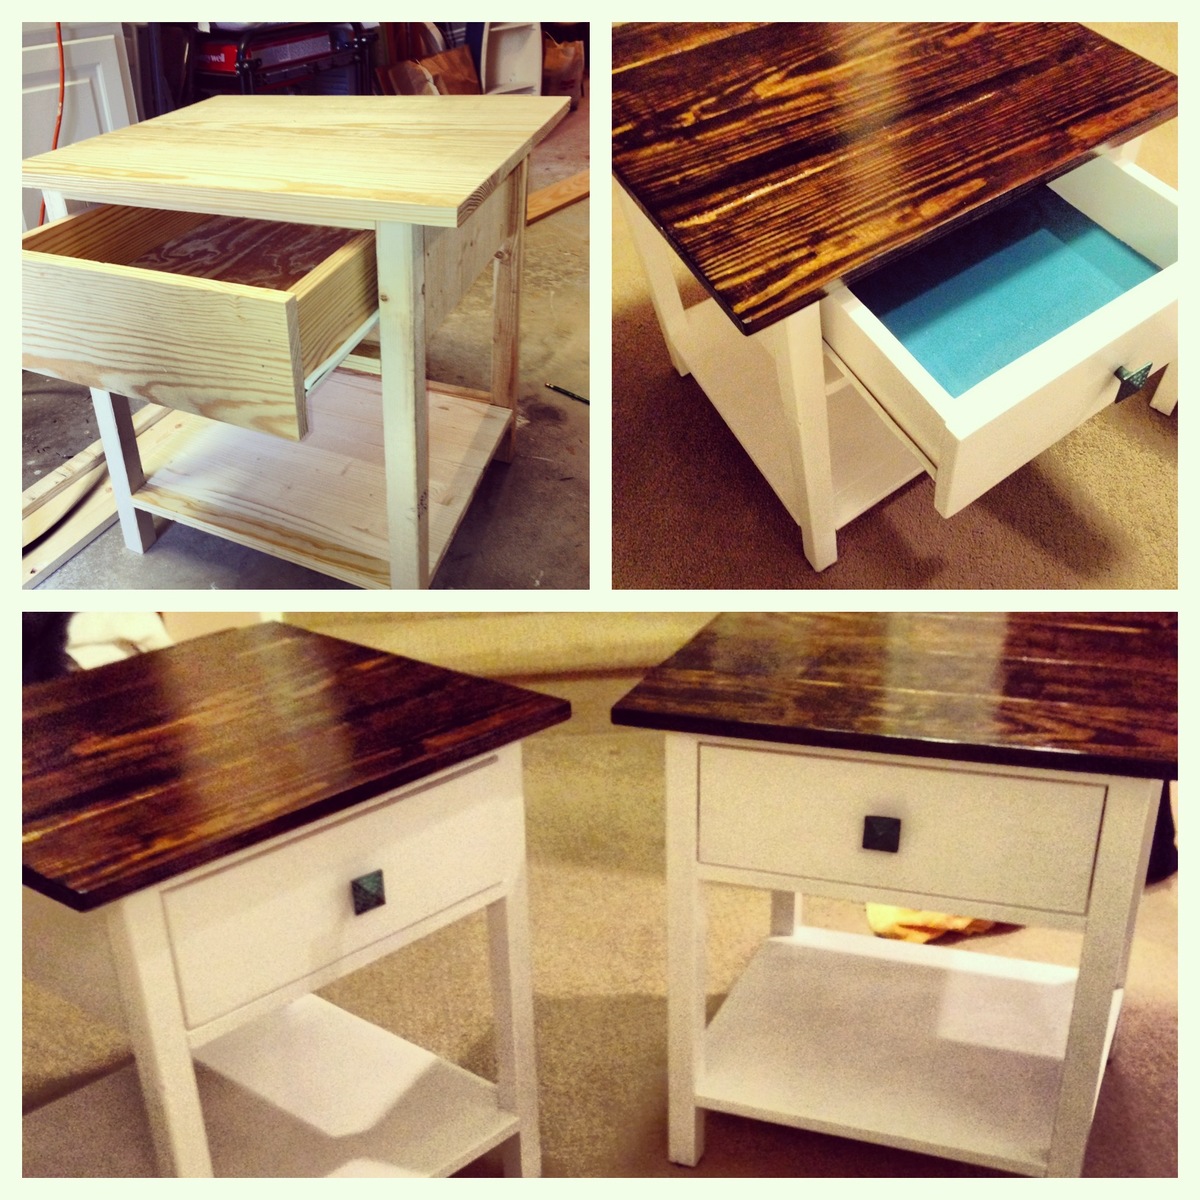
Check out the bedside tables we made to go along with it!
http://ana-white.com/2013/02/farmhouse-bedside-tables-2-toned
Mon, 09/14/2015 - 10:05
is there a link that gives the dimensions? When I click on the print friendly or PDF version it doesn't have much on there
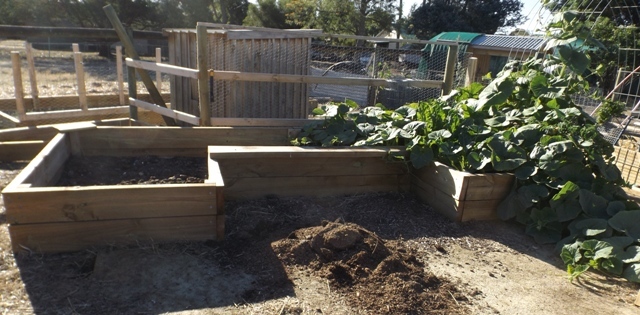
I changed a few things and it's not 100% finished, but far enough along for some production to start. It takes a LOT of dirt to fill this and I only made it 400mm high.
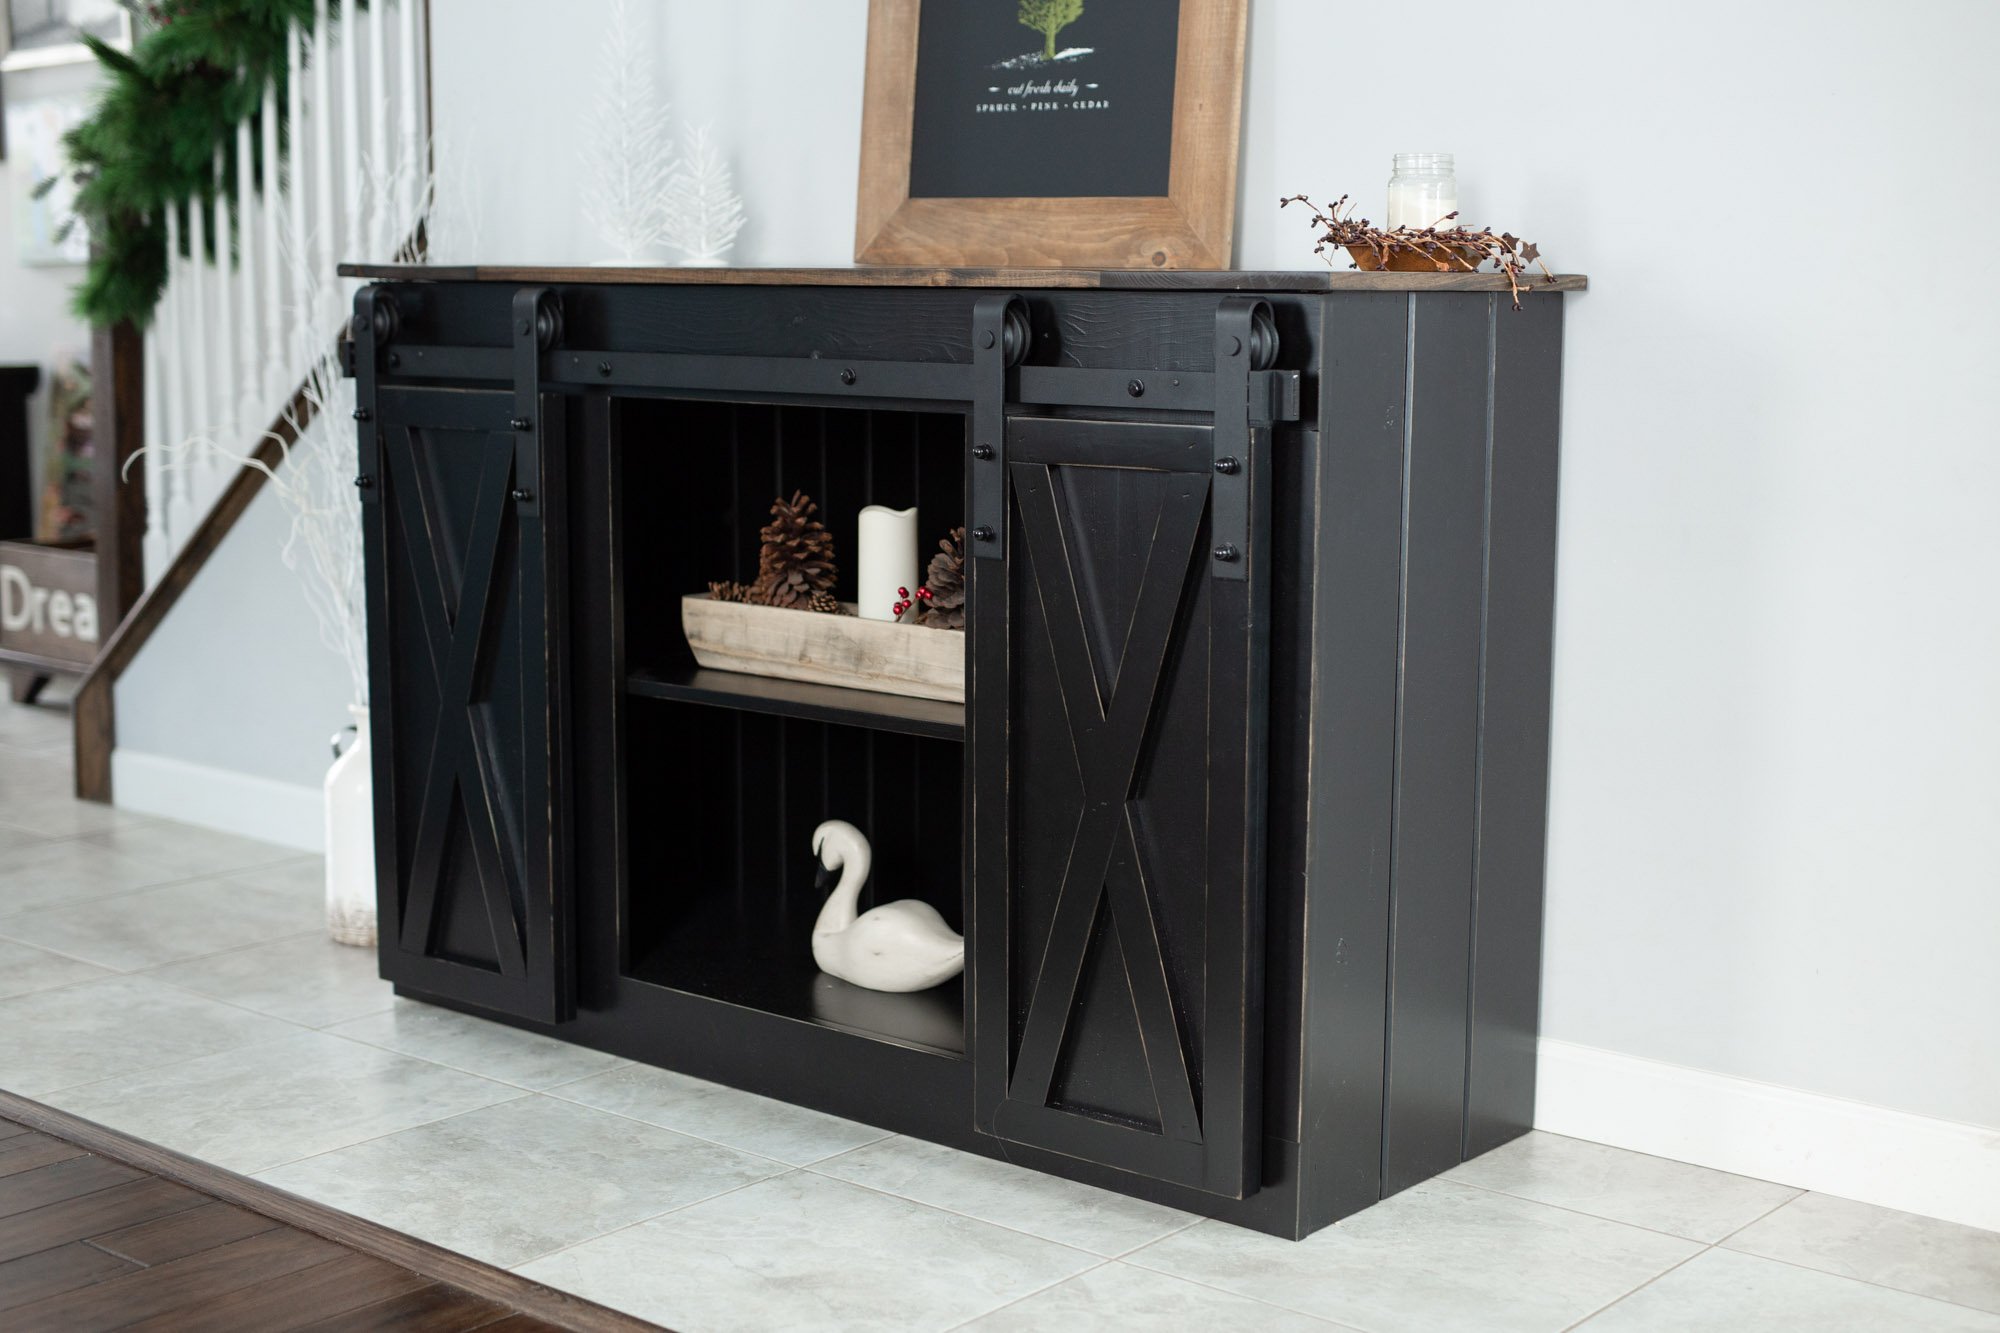
This is my #1, go to, piece to make and sell! I love these plans and I'm so grateful for Ana for posting them!!
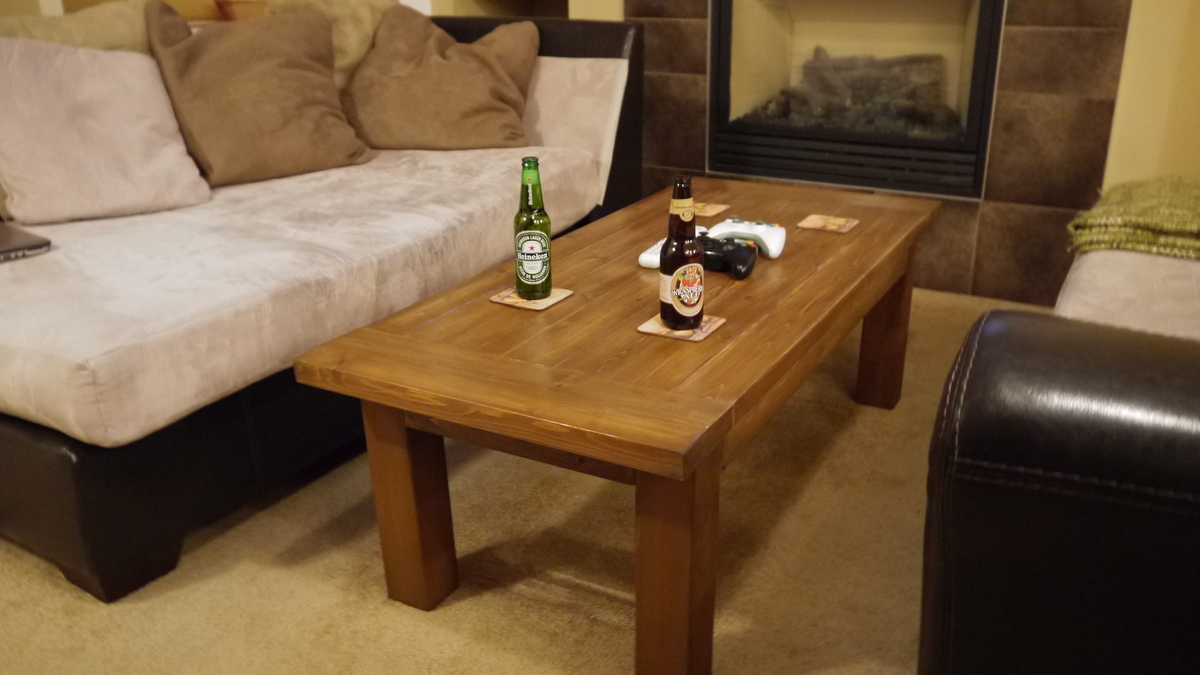
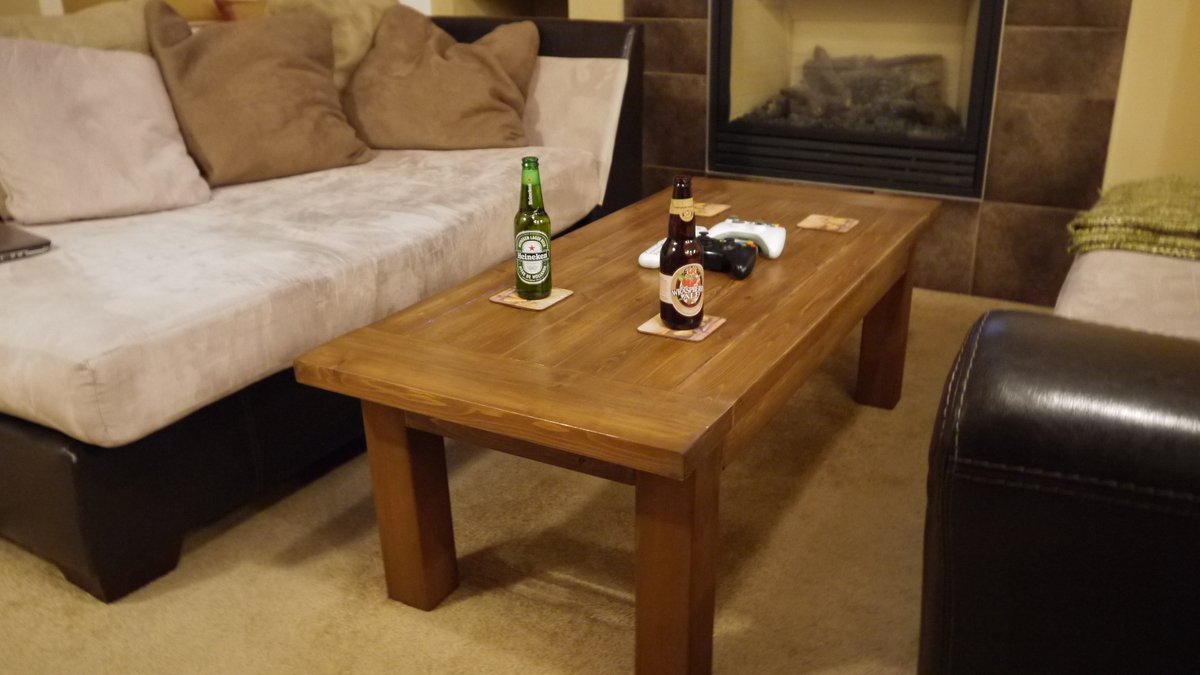
This is our very first Ana White project! We are so happy with how it turned out and have definitely been inspired to continue to create. Plans are already in the works for matching end tables, a dining table, and a bookshelf! We used cedar for this table. The stain was MinWax American Walnut, the slight red hue is from the wood only. We finished it with polycrylic because we didn't want any ambering. I think we probably spent about 6 hours doing the actual building A lot of that was spent trying to get the table top boards flush against each other. Any tips for picking straight pieces would be very helpful!! I would suggest cutting and screwing together on the same day do boards don't start to dry out. The rest of the time was really about doing test staining, waiting for coats to dry, etc. We did this in our basement so having water base stains was really key.
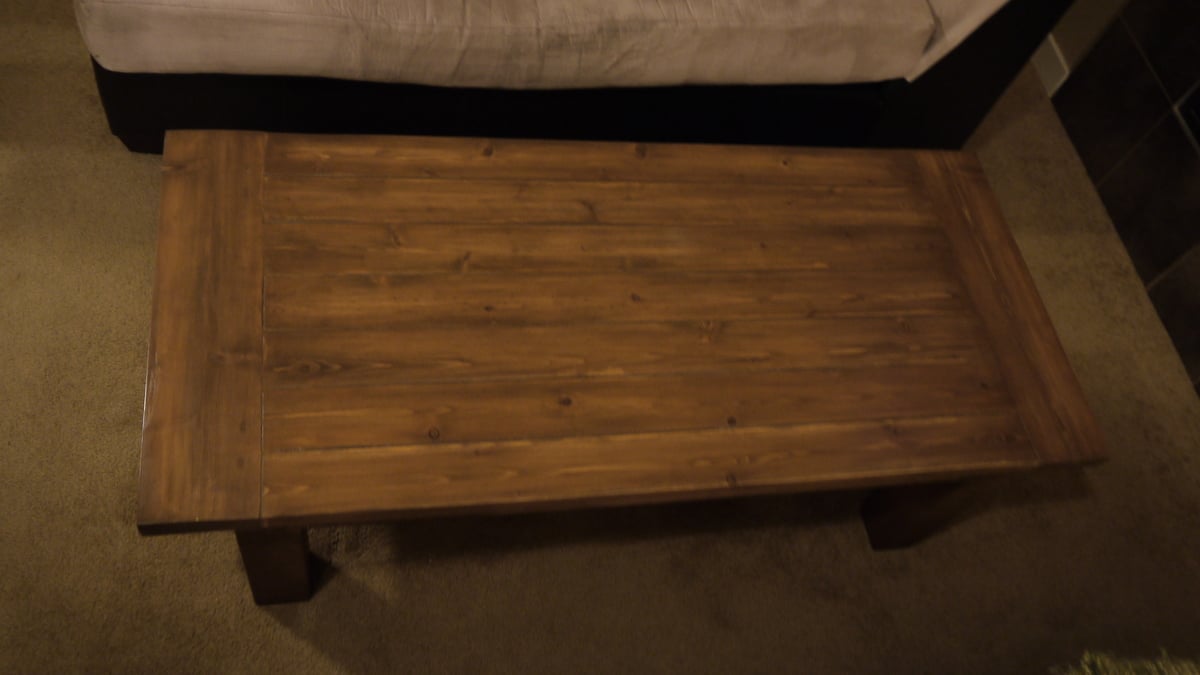
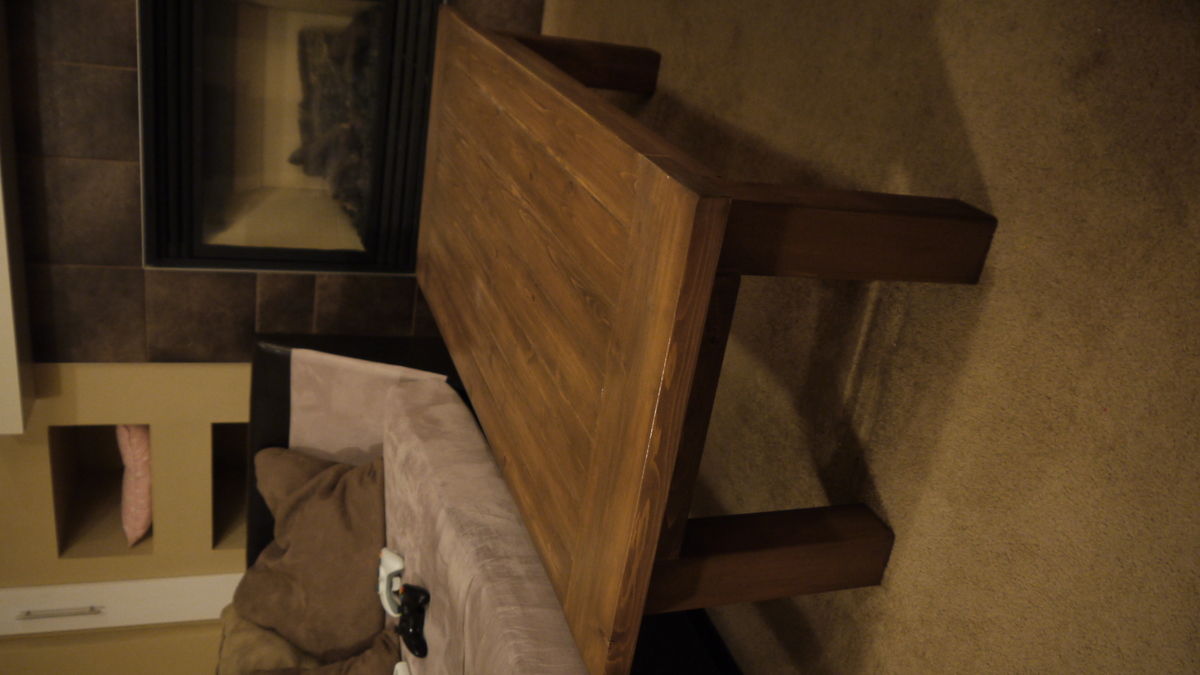
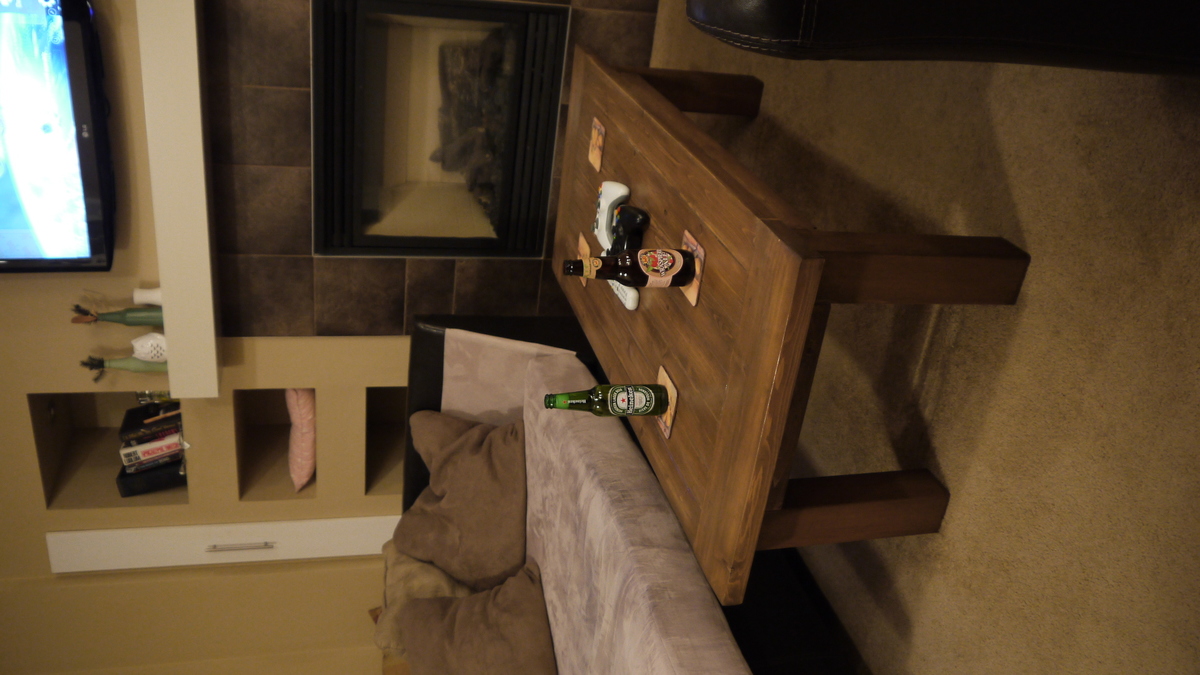
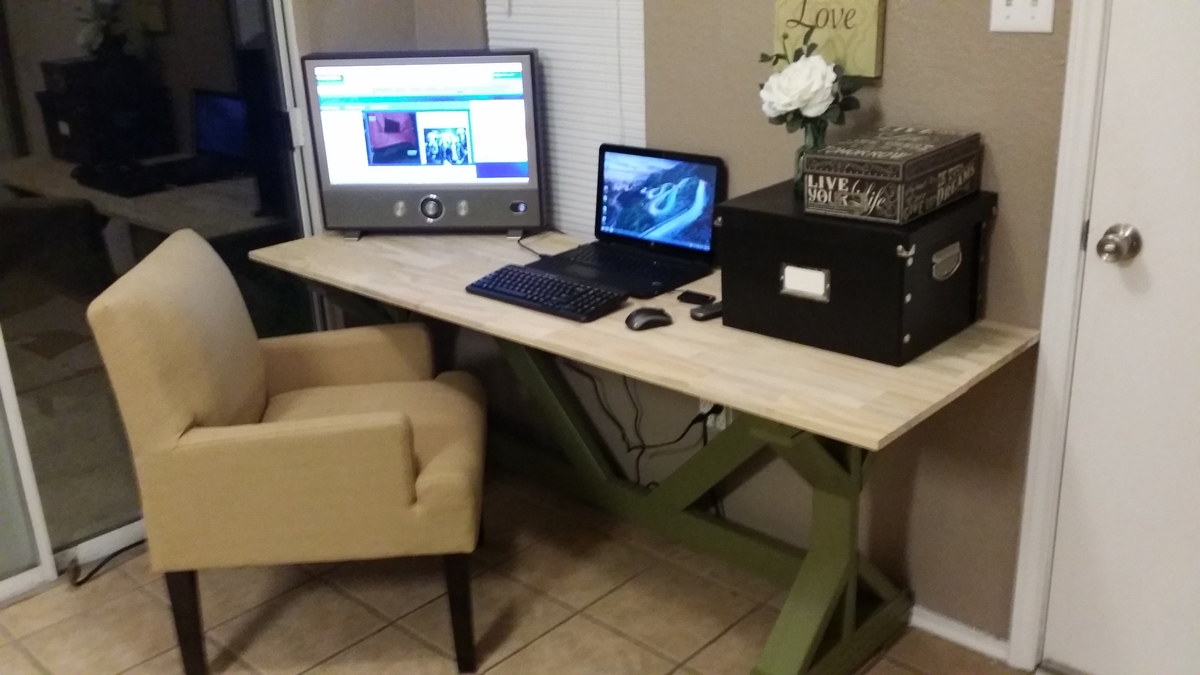
Made a few changes to the cuts on the supports as I made a mistake on the mitres. However, it worked out and added a different look than the plan's design. (notice pointed mitres on supports)
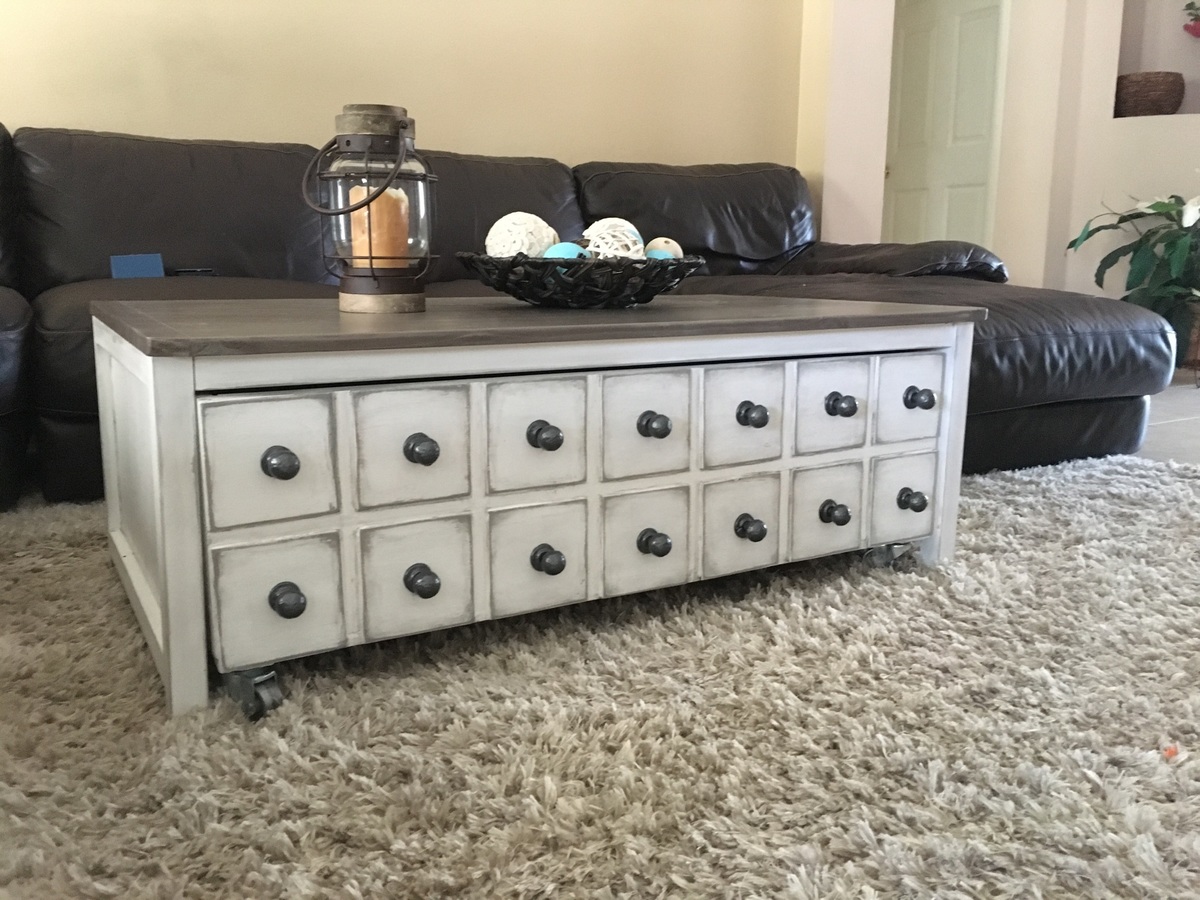
Can't believe I did it myself without hubbys help at all!! Wasn't expecting to like the outcome, much less LOVE it!!
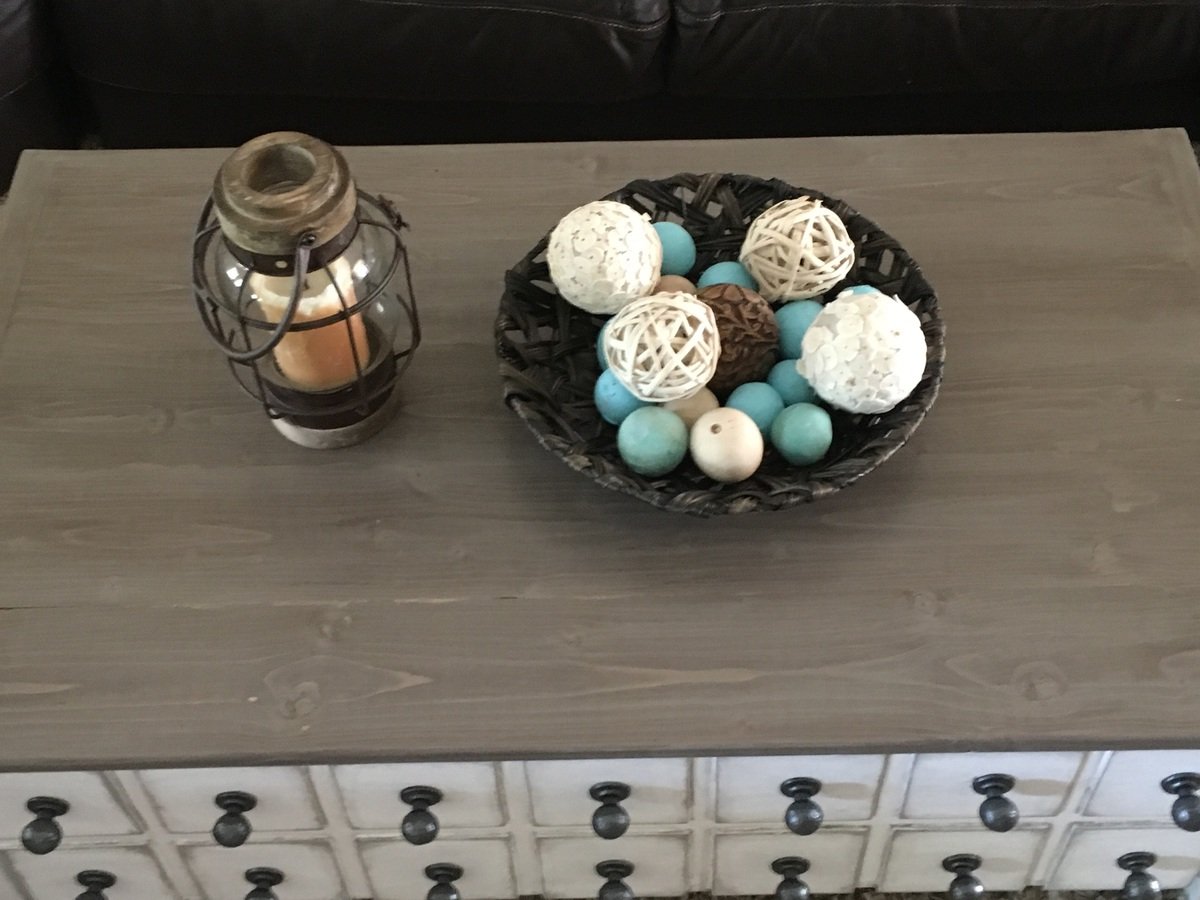
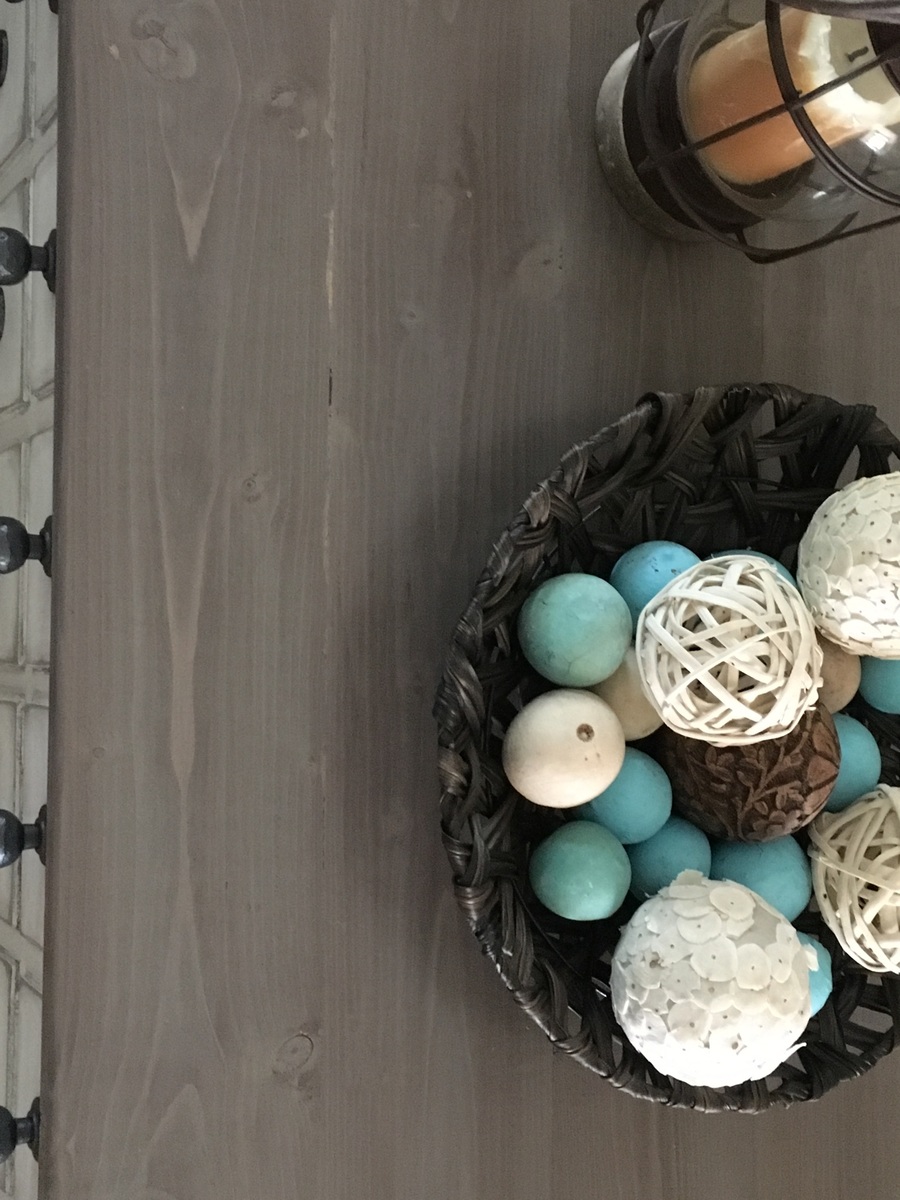
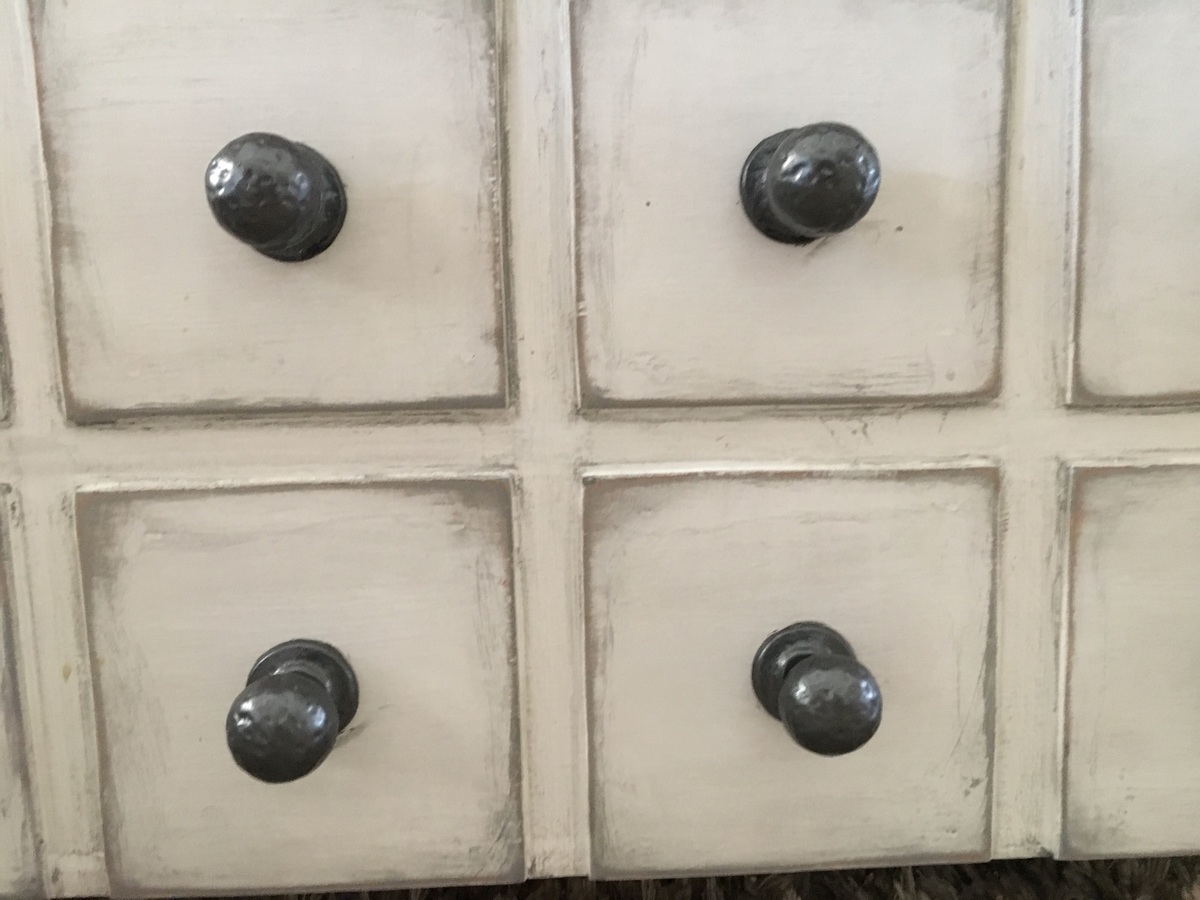
I made my stain with grey paint and special walnut stain...came out beautifully!! I used Behr white paint on the base and grey paint as the glaze. I got the knobs on sale at Hobby Lobby and painted them a dark silverish color. The inside of the box is the same as the top.
I will say this is far from perfect...but I learned a lot and know I will do even better on my next project ;) Thank you for these plans!! Can't wait to build more!!
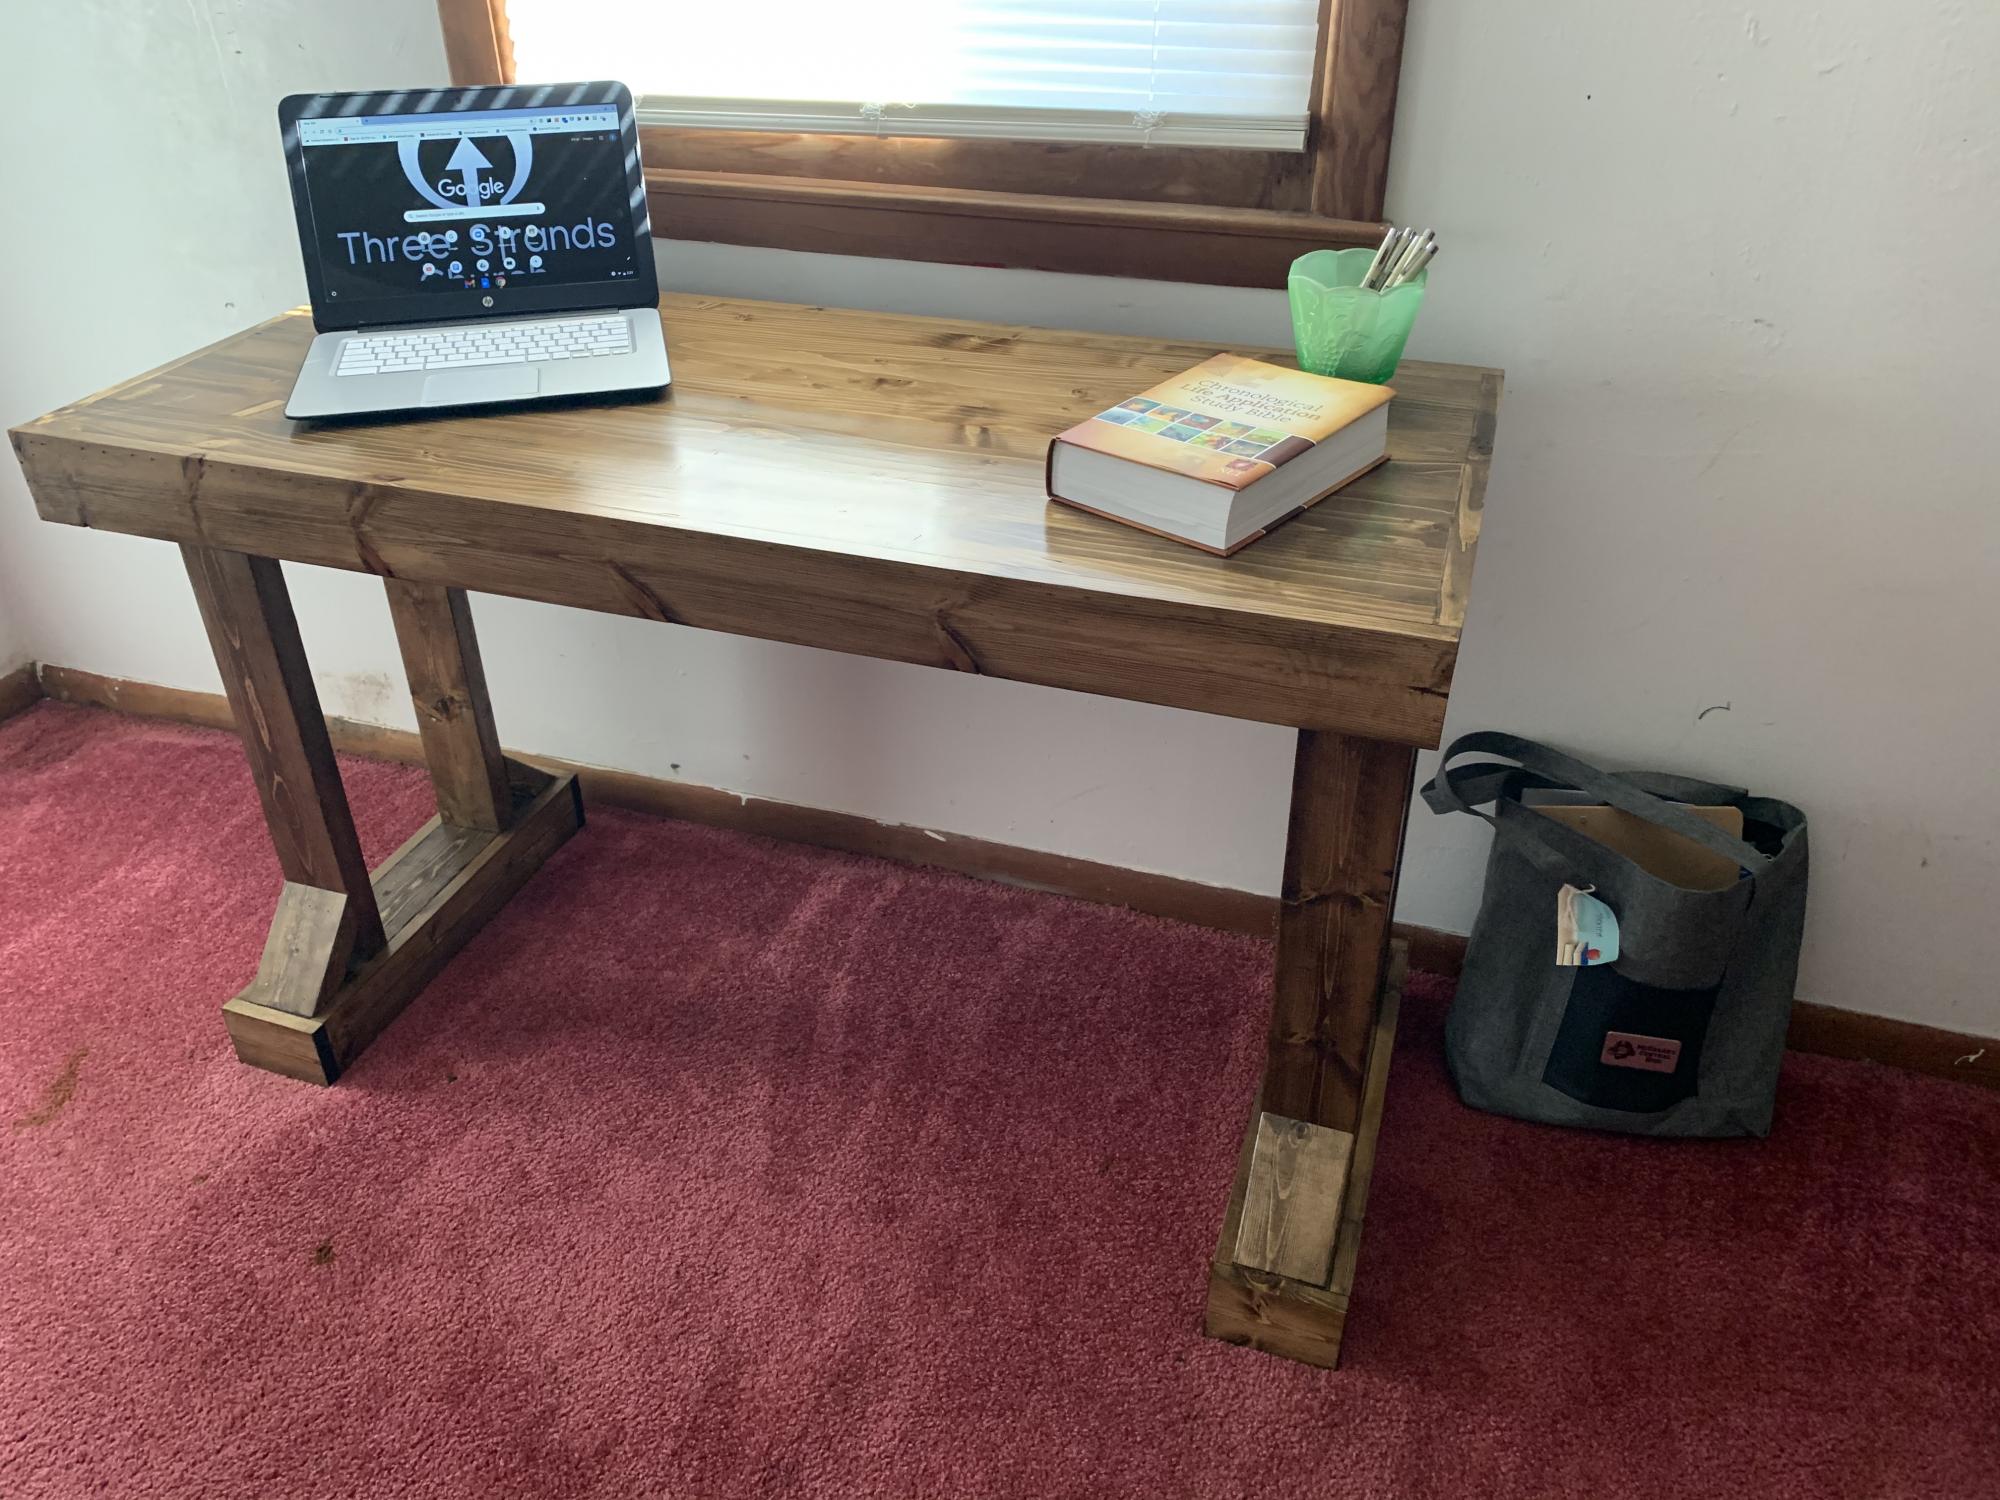
Made this for my wife who is an English teacher. I renovated a spare room into her an office space. She loves the desk.
Wed, 02/03/2021 - 10:28
Very nice and I am sure she loves being able to work and look out the window!
Wanted to make our friends who were expecting a nice gift that would serve them for many years to come. Used a Kreg Jig (greatest tool ever for amateur carpenter or wood worker!!) for most of the joinery. Wanted it to have a bit of an older look to it.
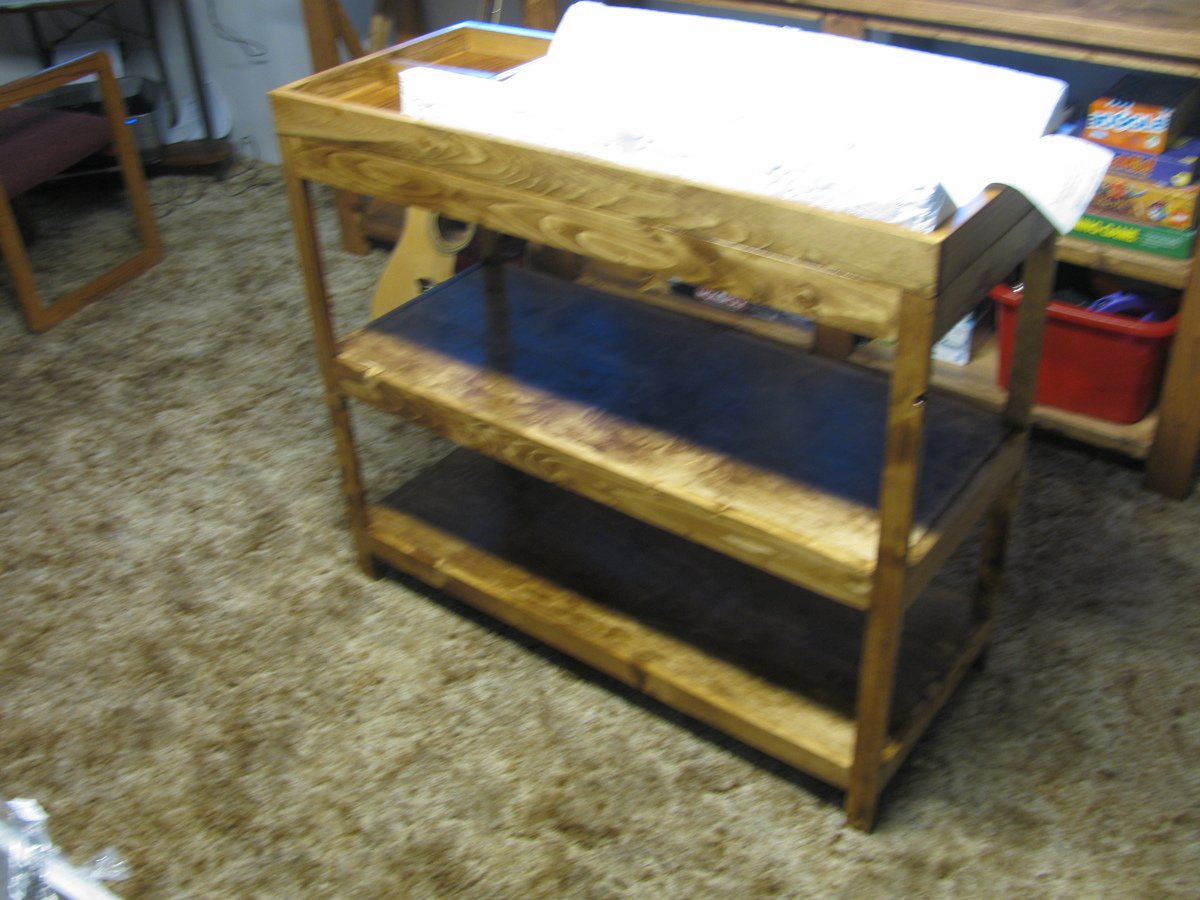
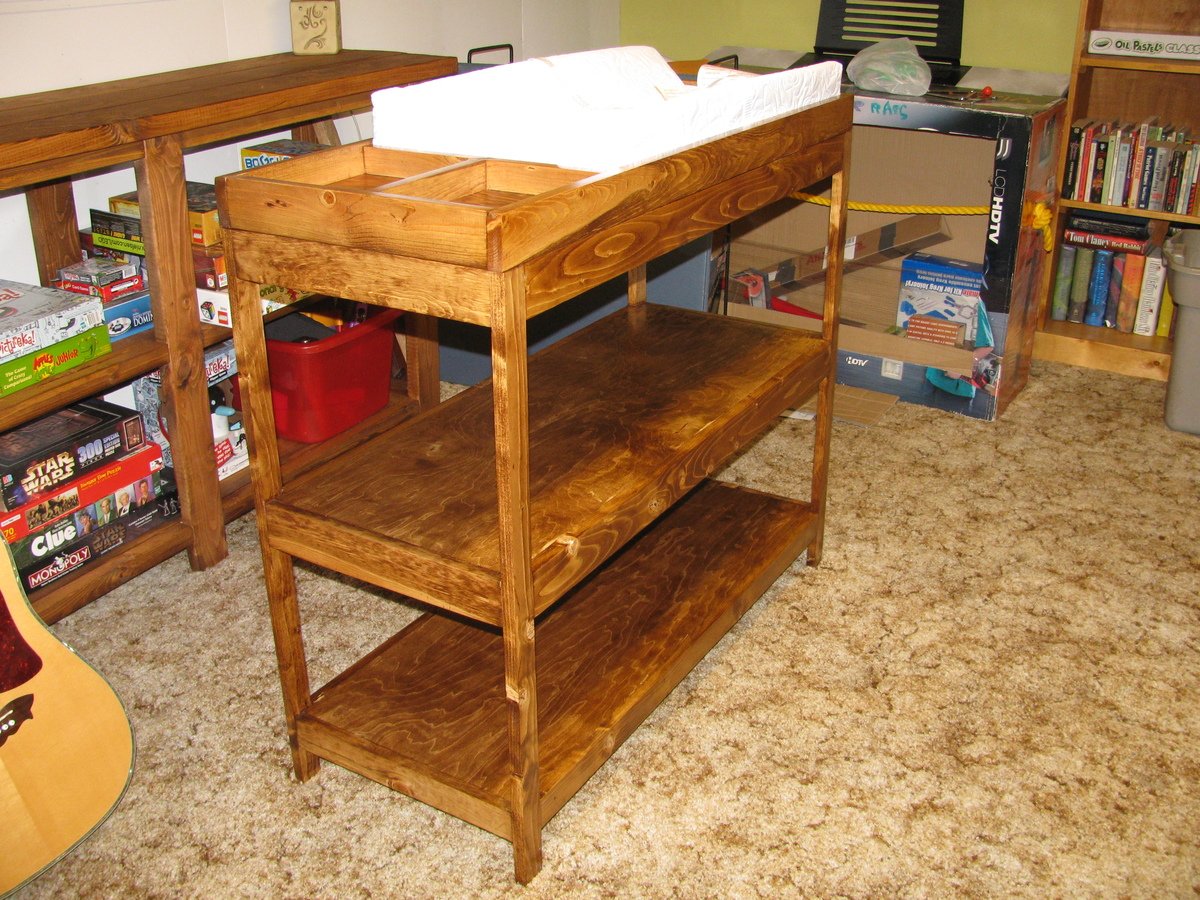
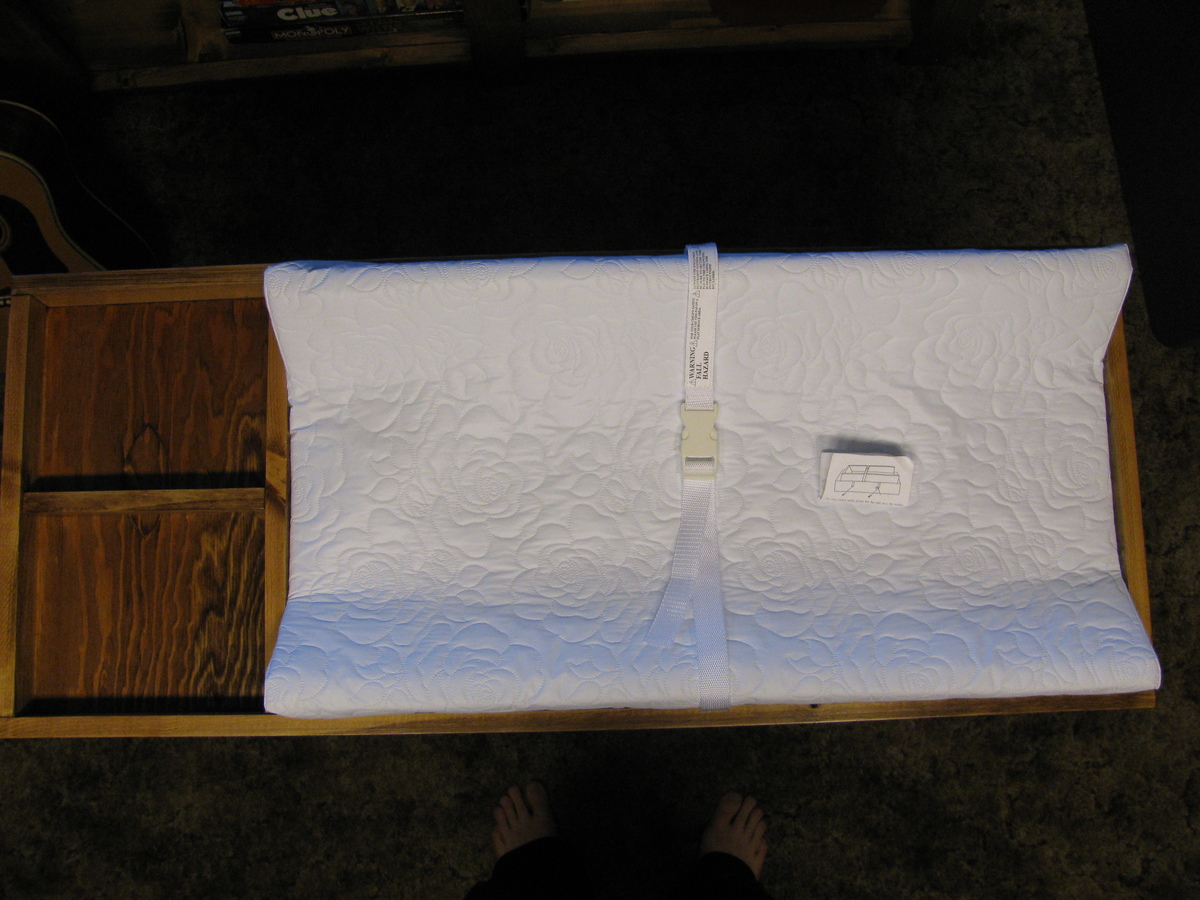
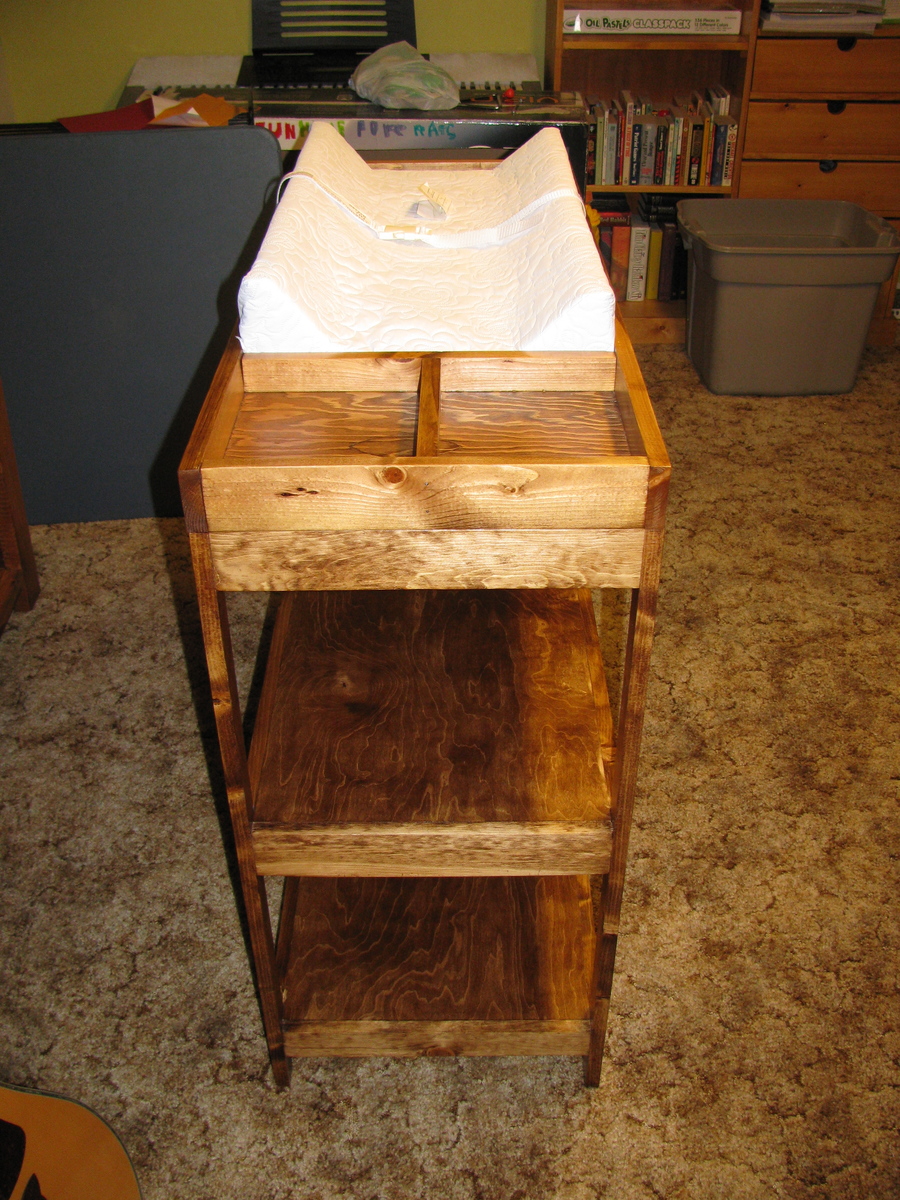
Table was really fun and difficult to complete. It took me about 30 hours to complete. However, it is a real hit in the neighborhood. I used pine and some of the material was really soft and difficult to sand/finish. Decided to paint the pedestals chalk white (wife's inspiration), which was a really good choice. Fitting the center sections of table top to frame was most difficult aspect of project. Thanks Ana for the inspiration!
Johnny Wilson
Shelbyville, TN
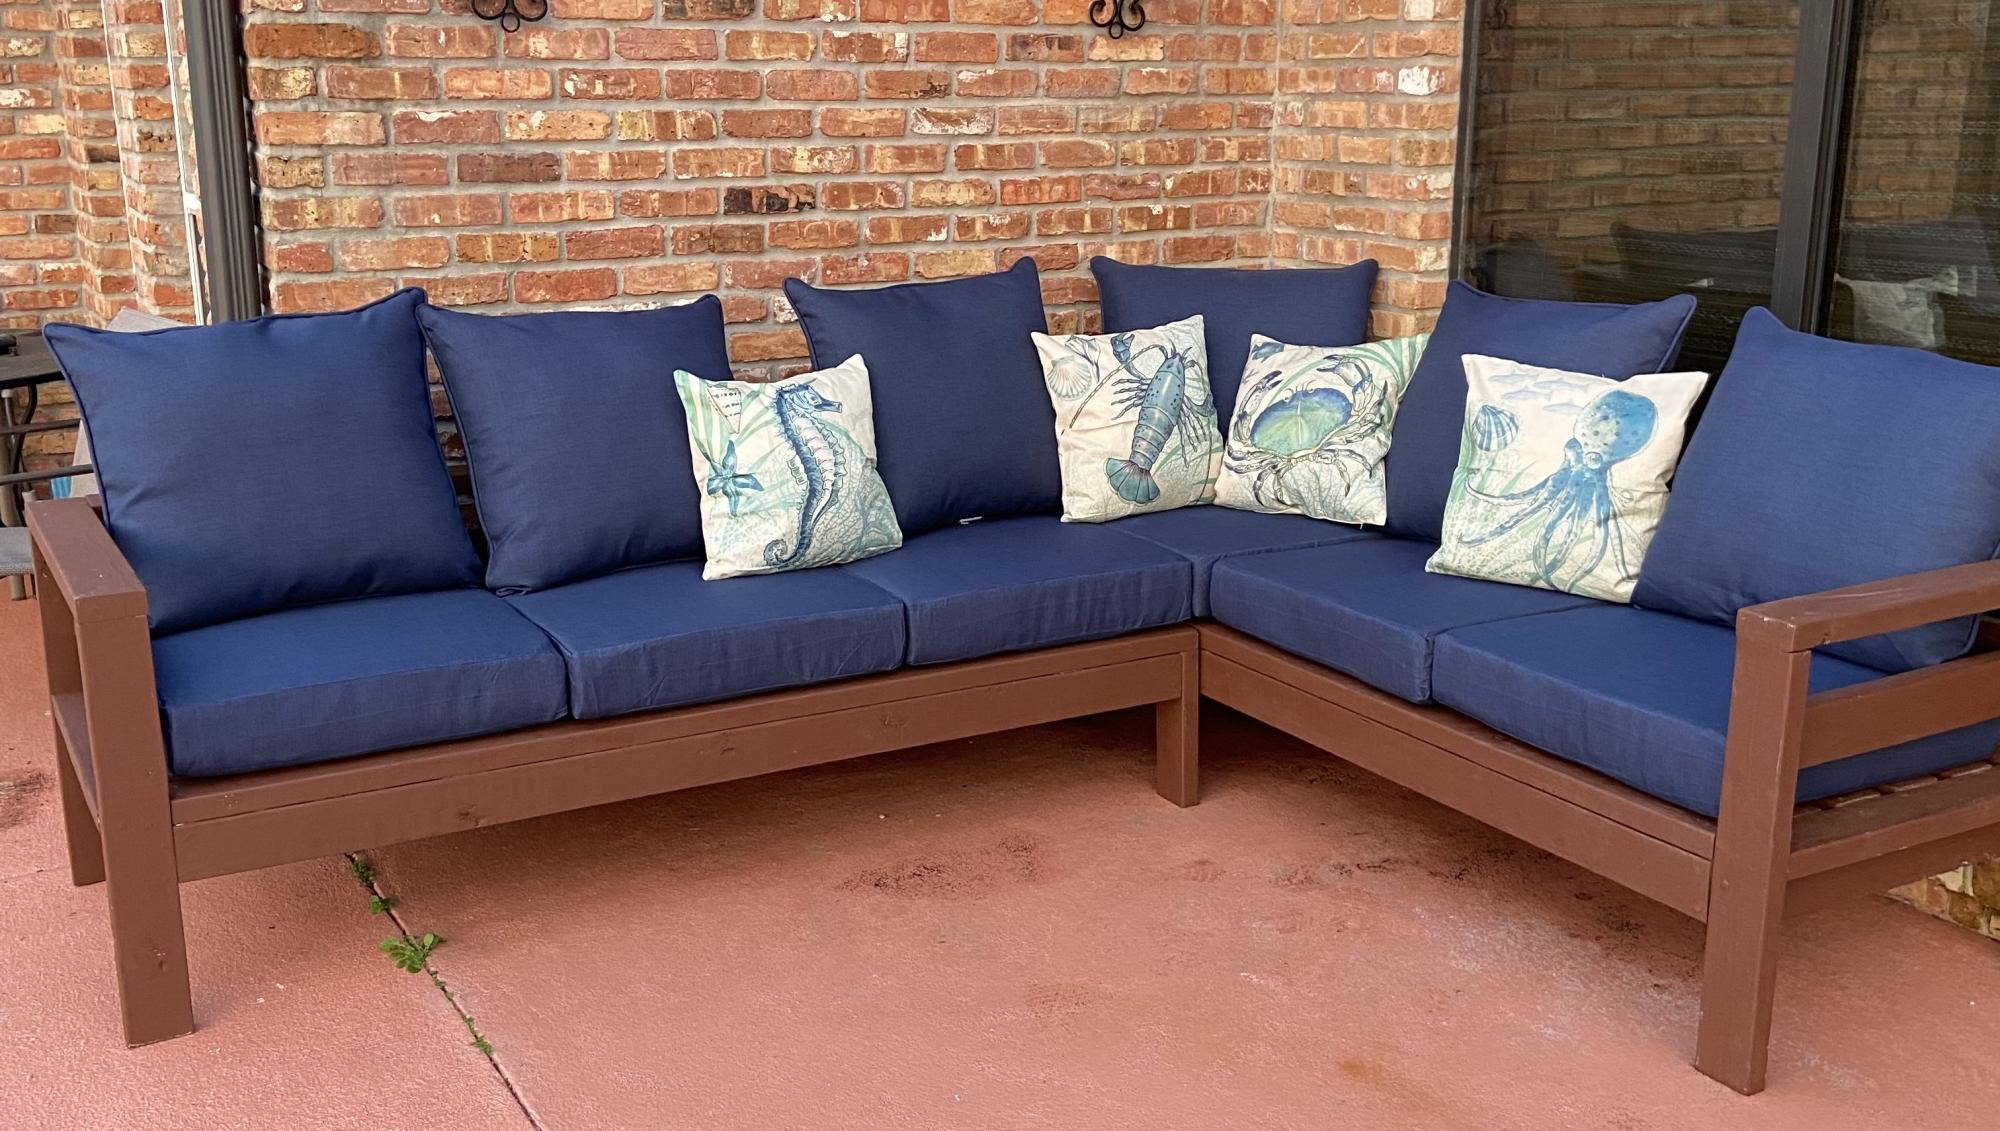
Thanks Ana White, love the way my sectional turned out. Your plans are perfect for someone want to start building things around their house. You are an inspiration to women like me!!!❤️
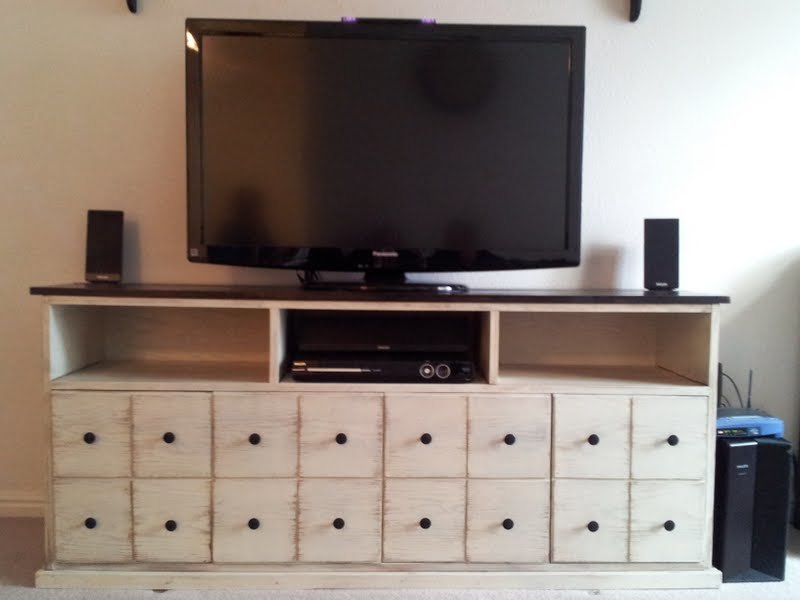
Apothecary Console
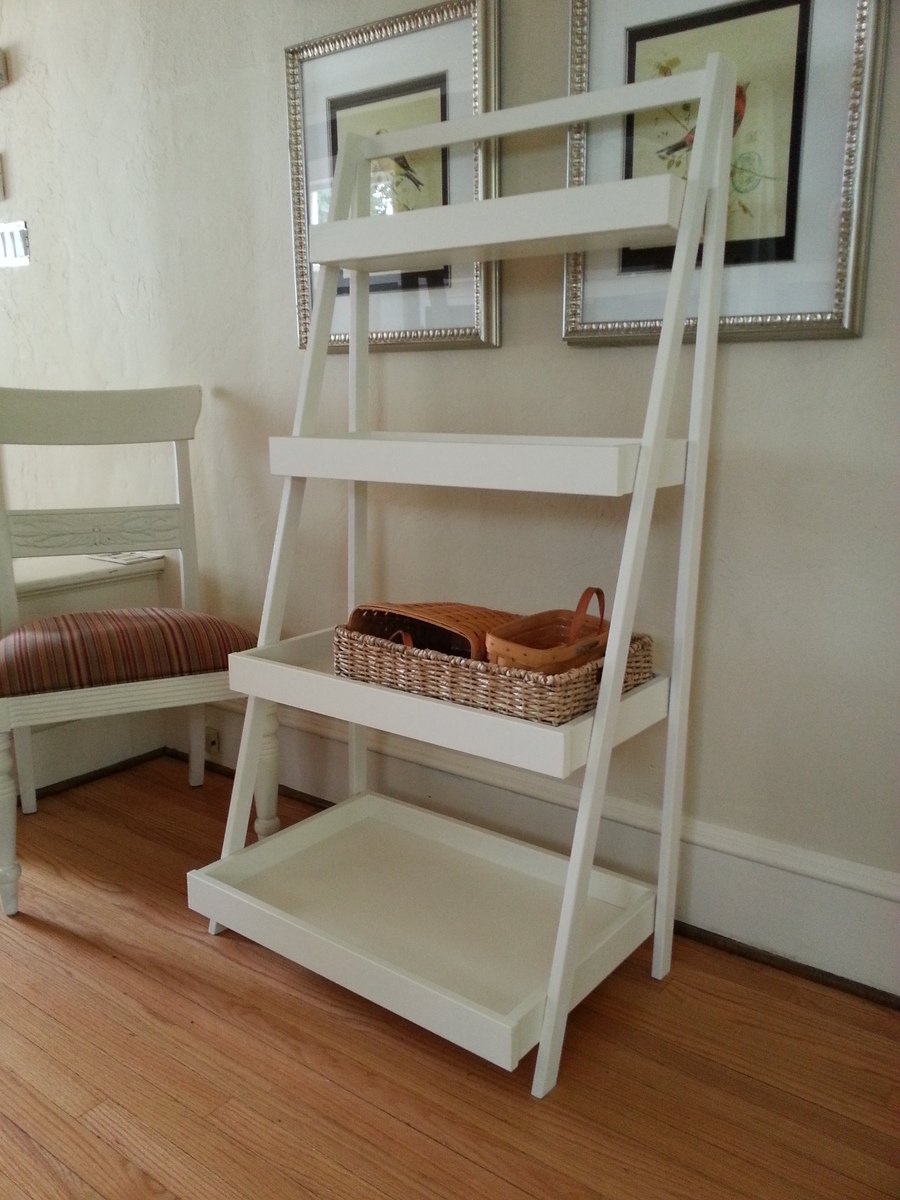
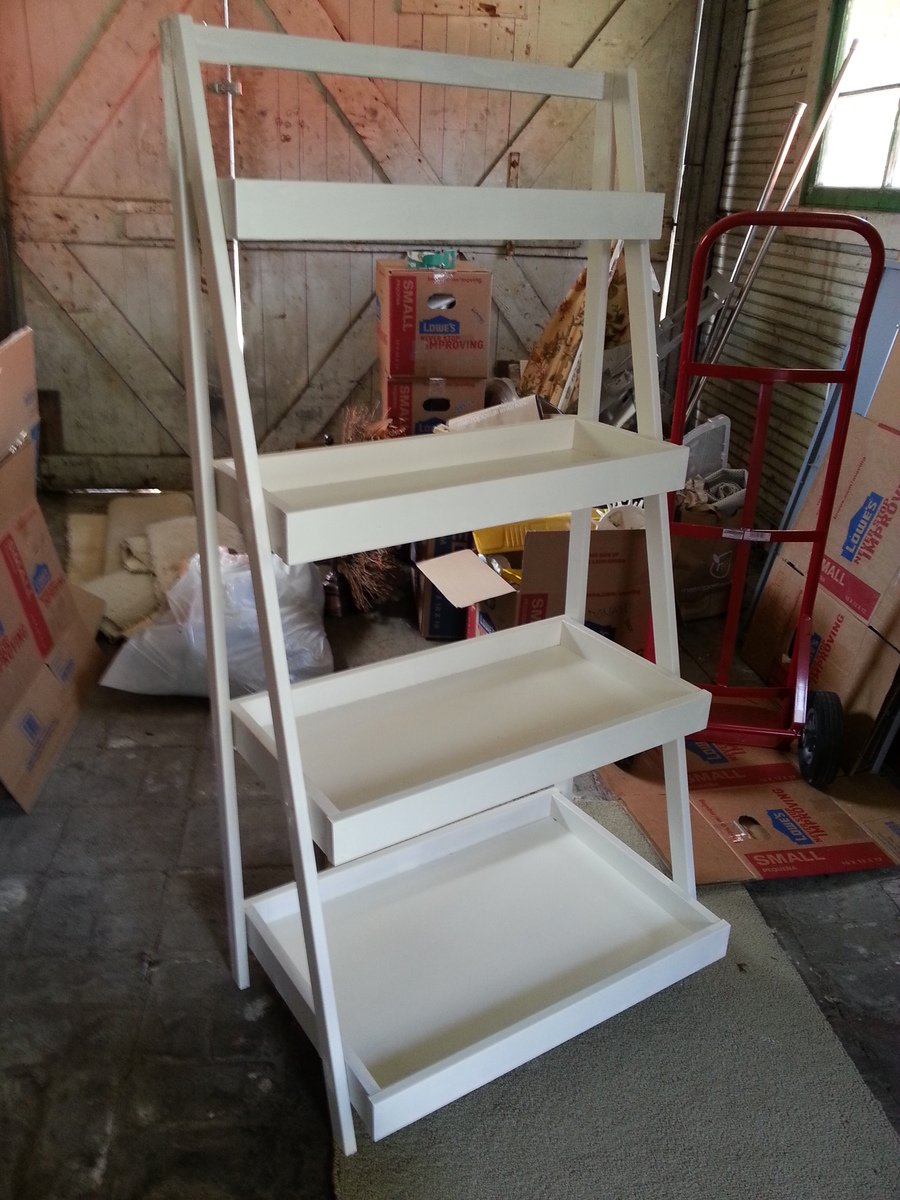
My master bath was in desparate need of storage, and as usual, it was Ana's site to the rescue. I built this Ladder Shelf exactly from Ana's 'Painter's Ladder Shelf' plans. I built and had it painted in about 2 days. Now I finally have a place to store towels. Thanks again, Ana!
We altered the plans to match our kitchen island to our 10-seat farm table my husband made. The top design is a replica of our table. We then added some wrought iron hooks and iron bottle opener for detail as well as corner plates to match our dining table. We decided to leave out the drawers and add a little open cubby for storage instead. Will look great with our rustic, country theme in our house!
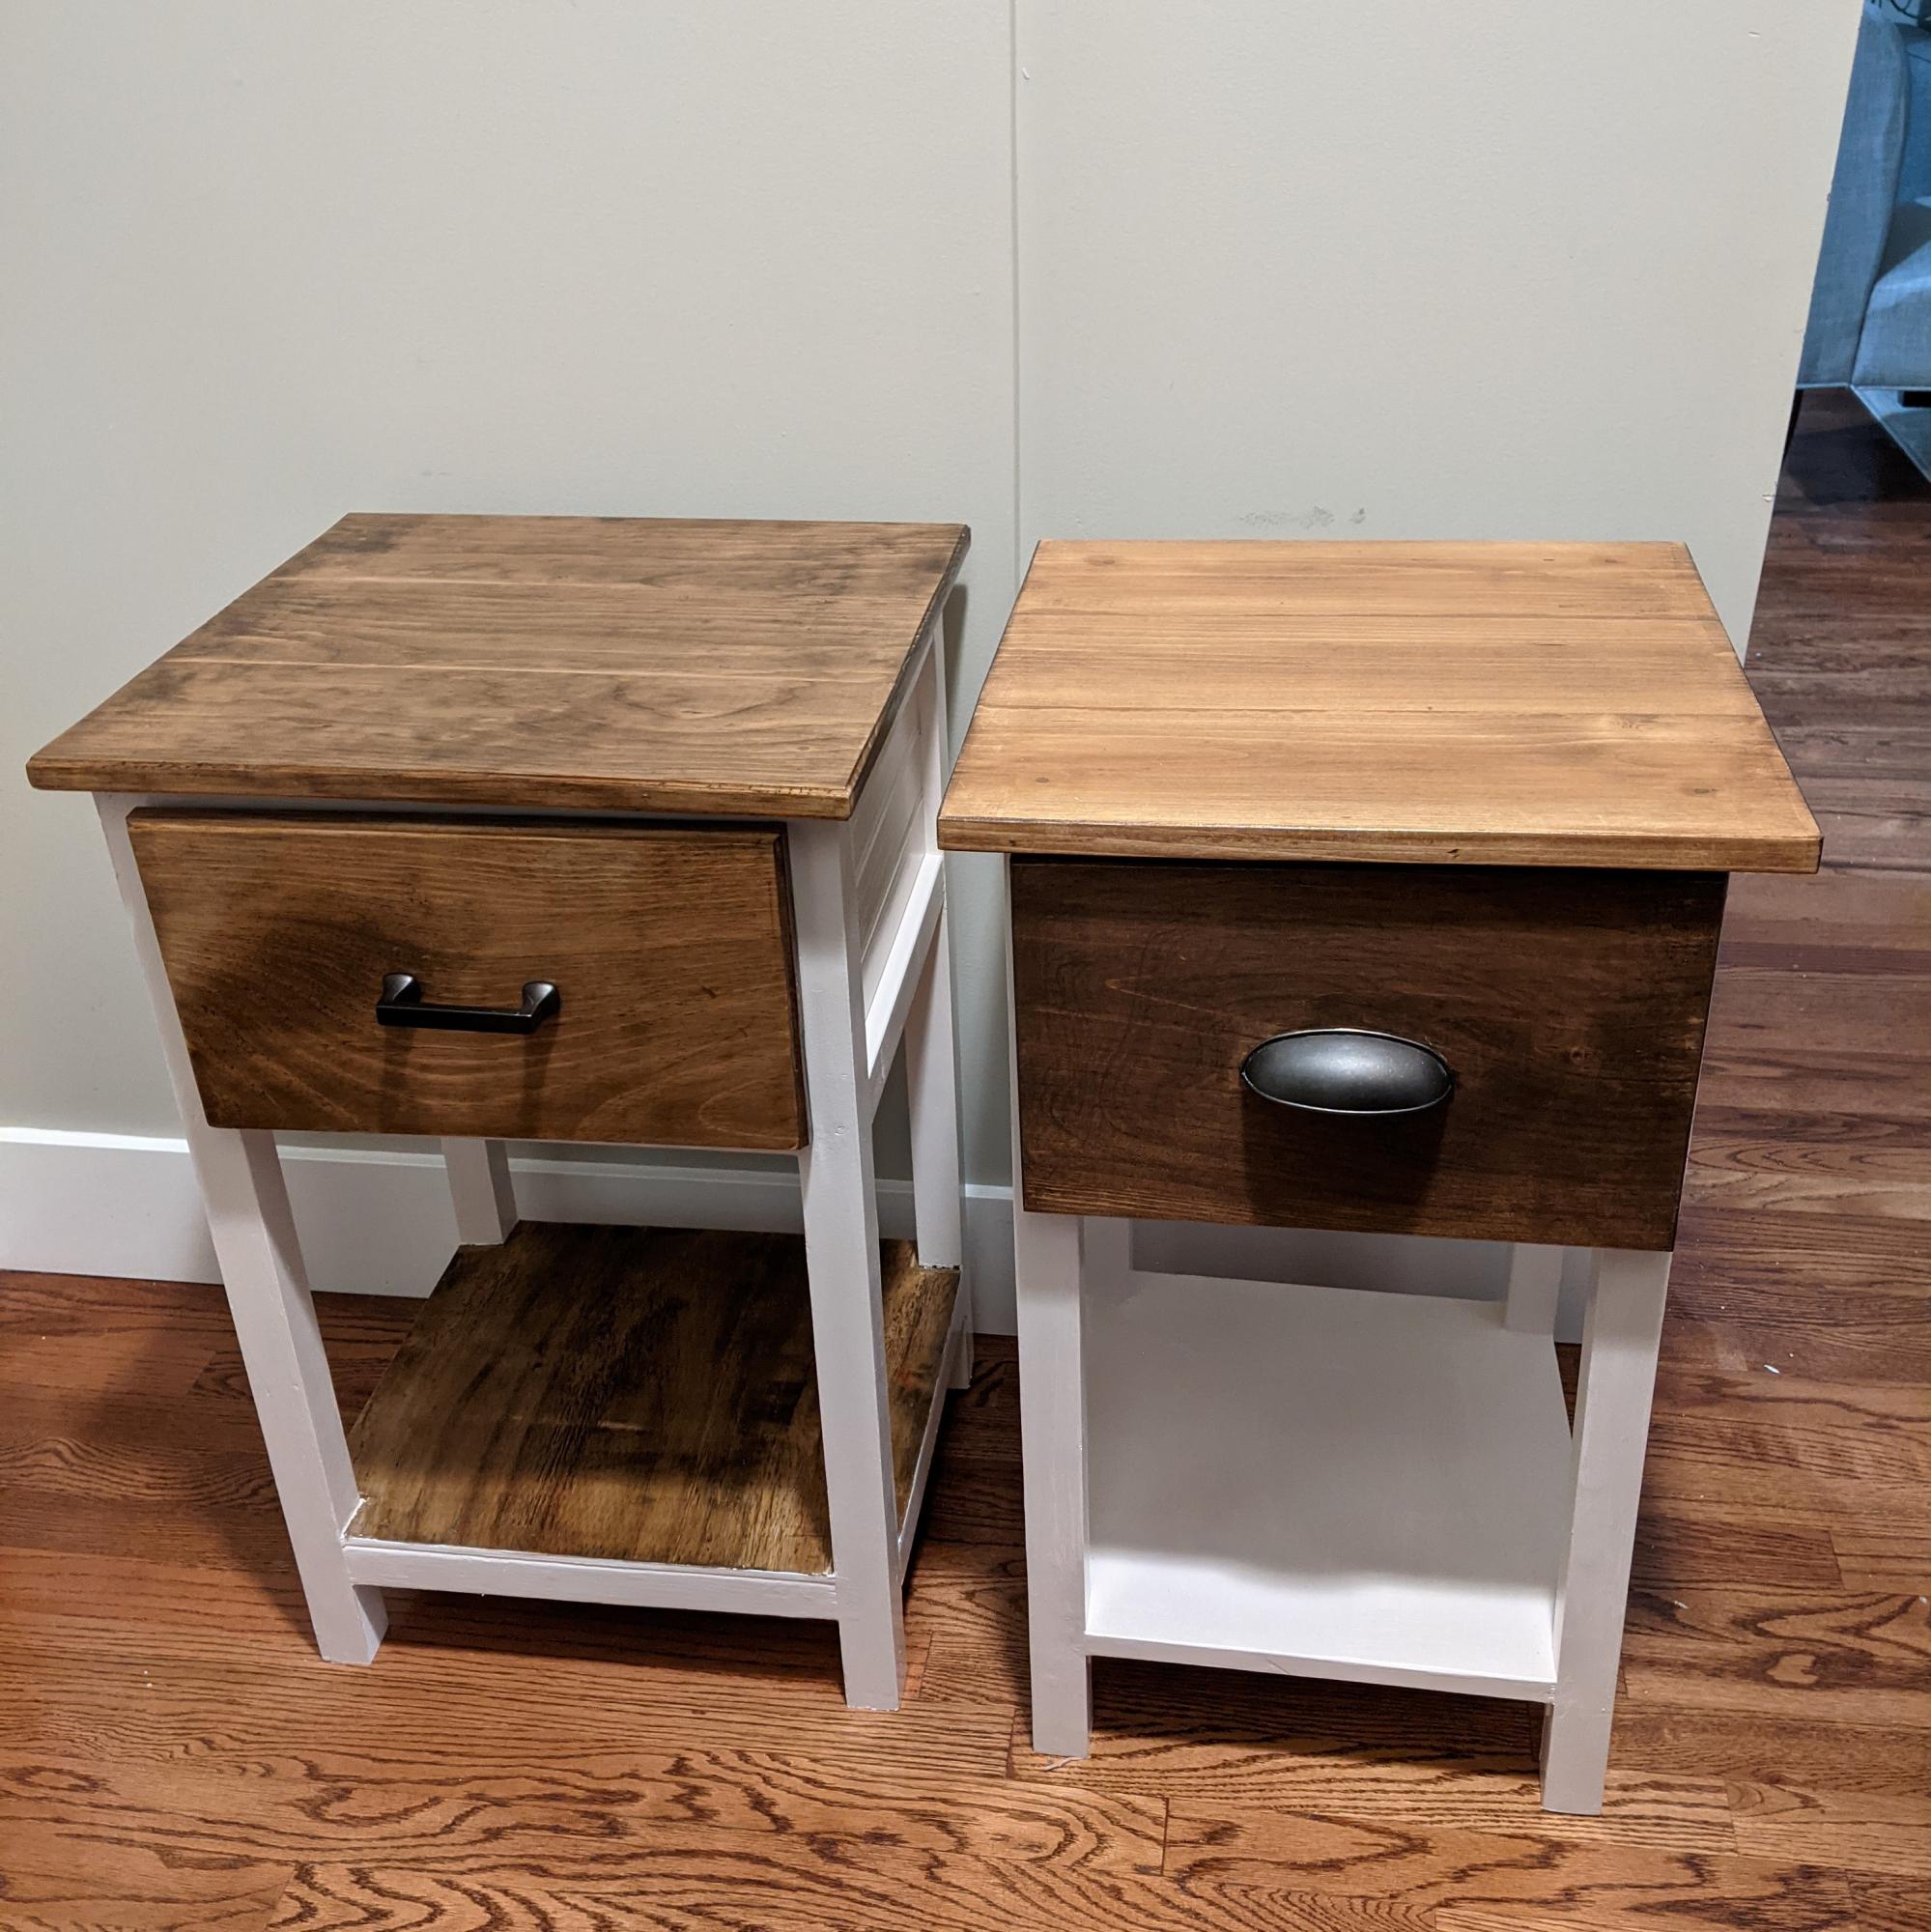
I built these tables for my brothers who wanted extra space in their rooms. These tables were the second and third ones completed. The table on the left has some decorative plyboard I had leftover from another project.
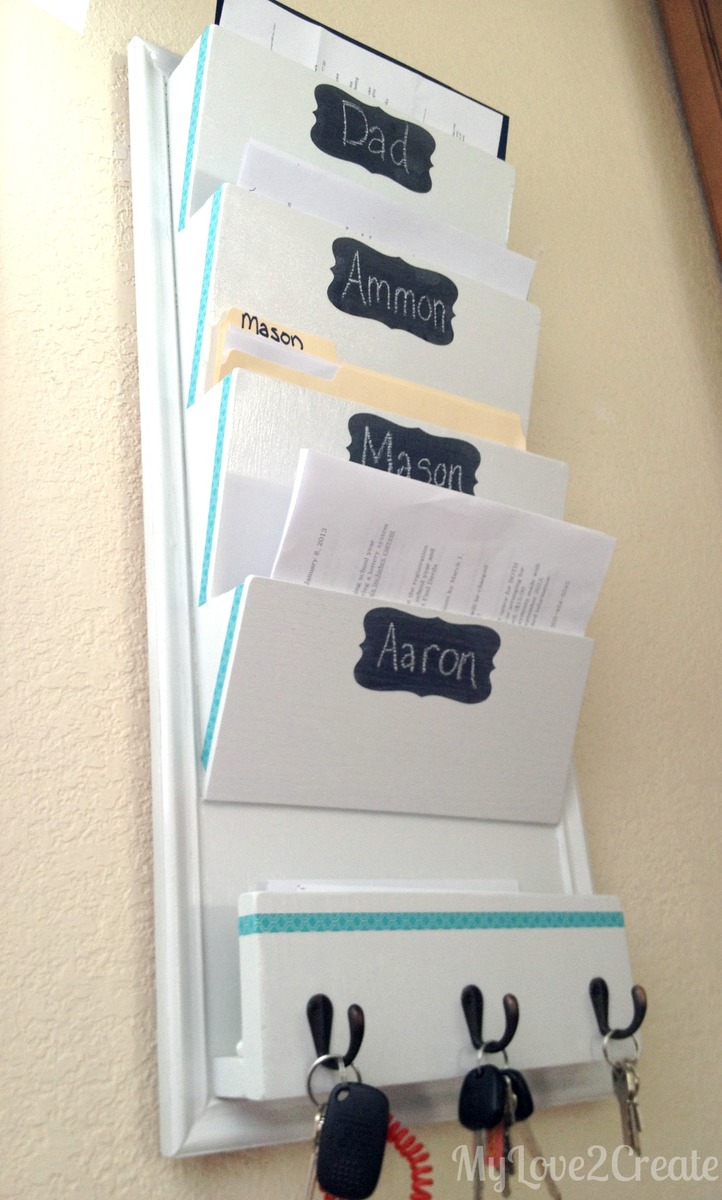
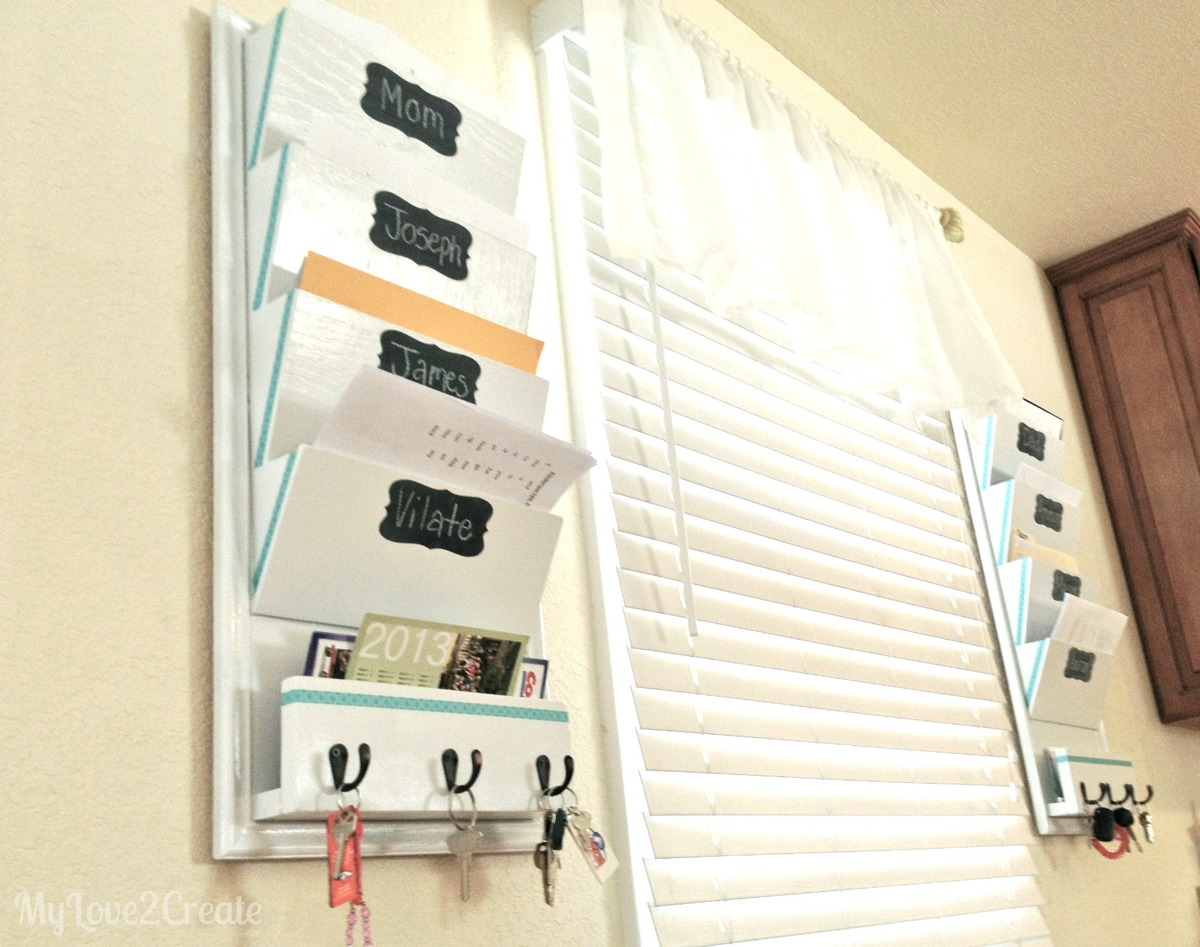
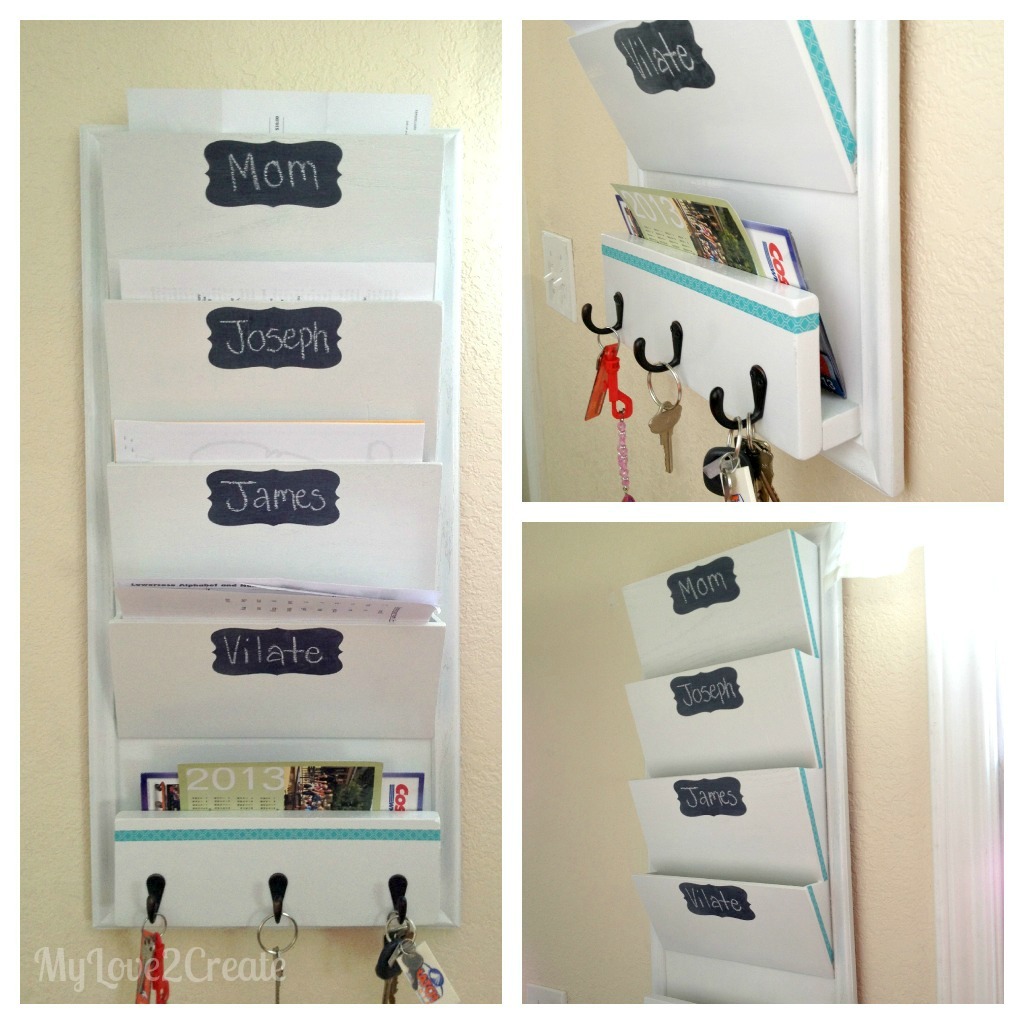
I fell in love with this project when it was first posted...which was quite a while ago. I am so happy to have it hanging in my home making my life SO much easier! I modified it to fit the needs of my family and I LOVE it! Check out my blog for more details!
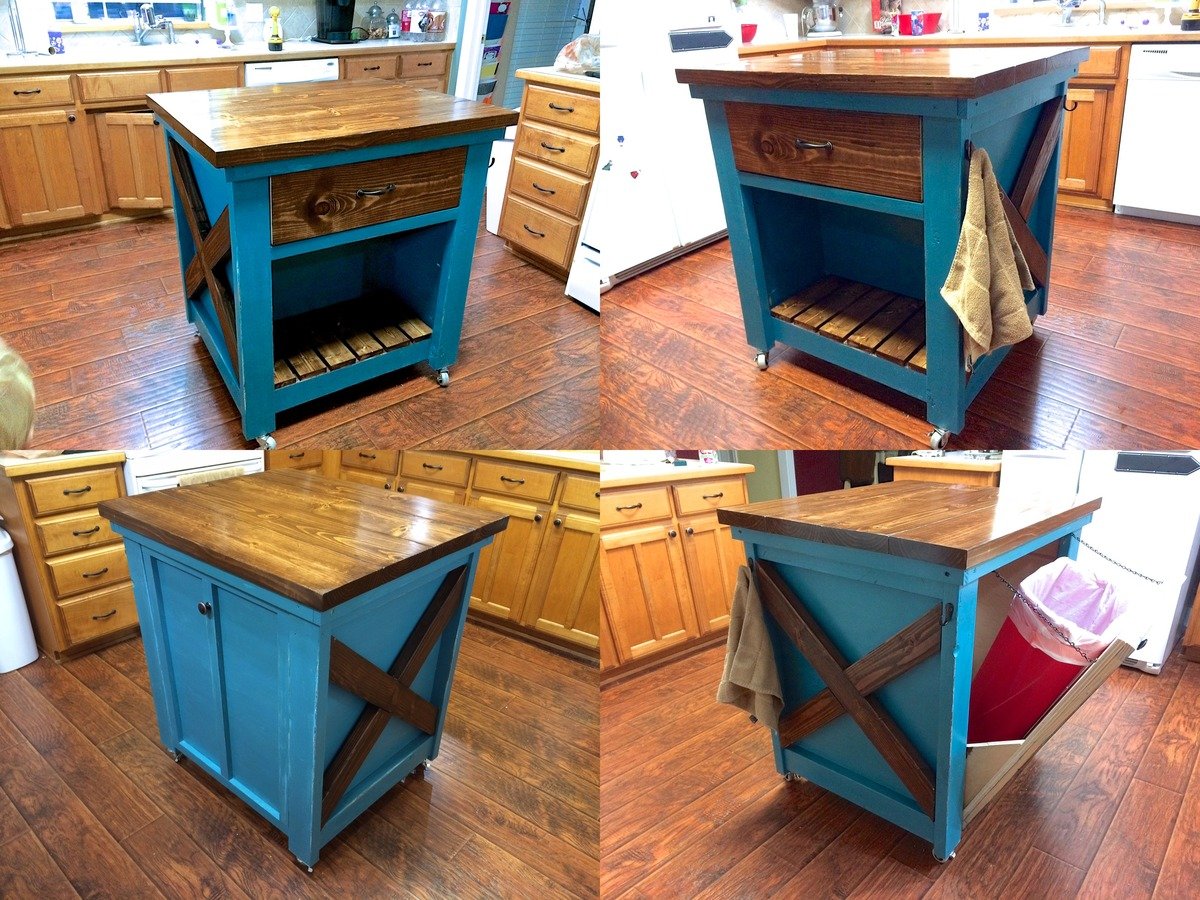
Well this was definitely the most challenging so far because we decided to modify the kitchen island plans to incoporate the tilt out trash bin. Very pleased with the results. Extended the back of the island to accomodate a 11" deep trash bin. Slim trash cans fit perfect. Found a gift wrapping bin for half price after Christmas and it is a perfect fit and 13 gallon bags fit great.
The x's were definitely a challenge because it changed the angles and it would have been best to just mark it with the board before finishing the whole box.
Now we just need to paint the cabinets and change the countertops and paint the kitchen walls. Not happening anytime soon, but at least the island is done.
Mon, 01/05/2015 - 19:18
Thanks Ana! We love your site. We've never built anything before finding it a couple months ago and now we can't stop.
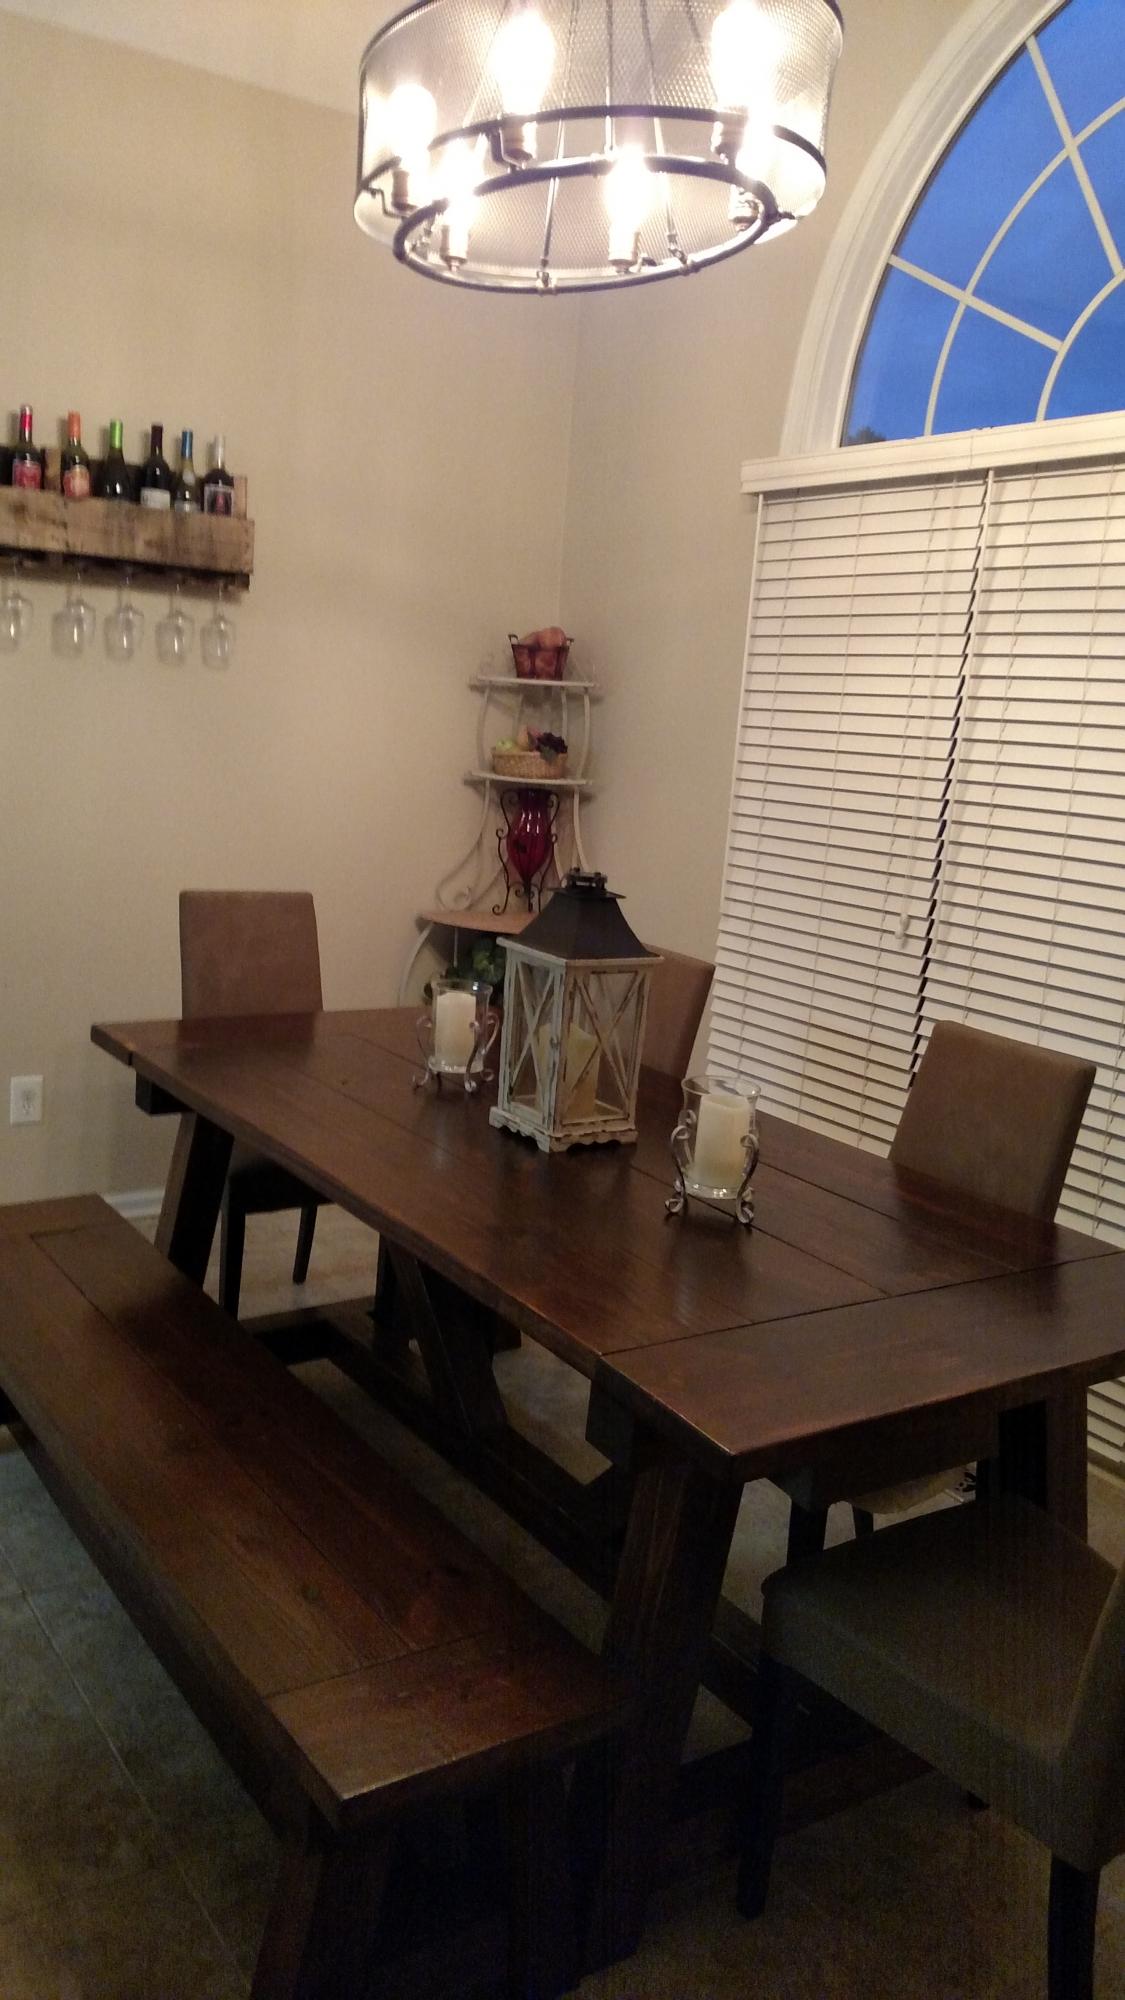
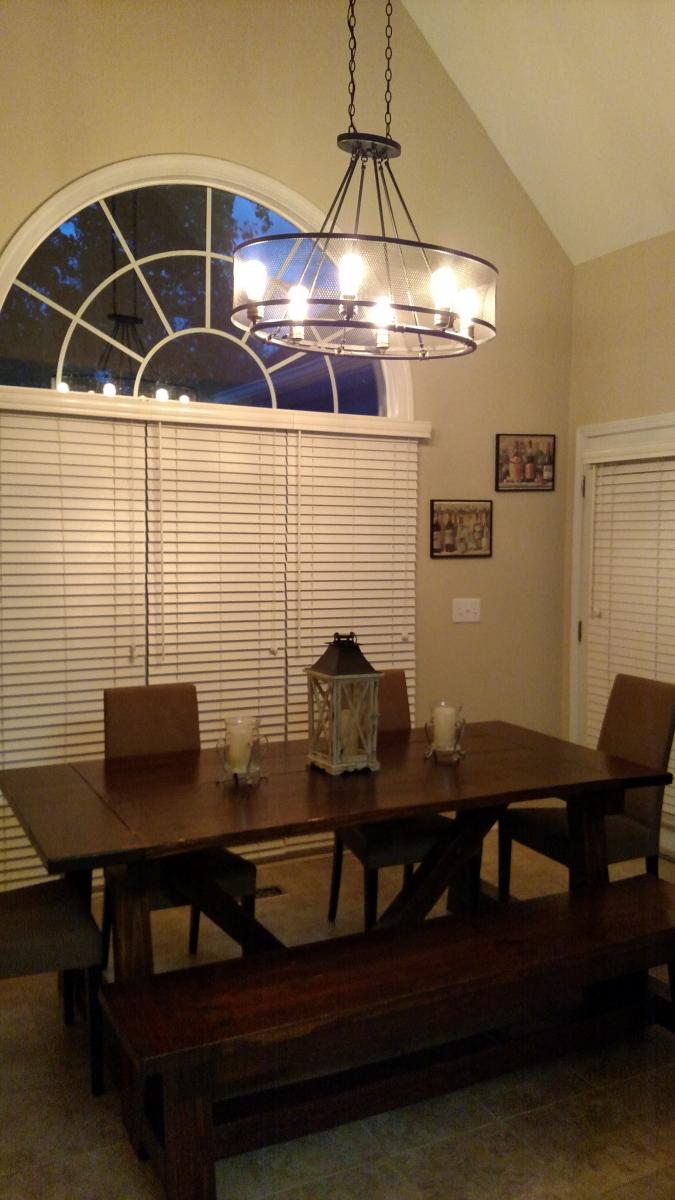
I loved making this, I’m totally in love with the color it turn into. Thanks Ana
Comments
rolli623
Mon, 01/19/2015 - 04:32
Thanks for the great stuffs.
Thanks for the great stuffs.