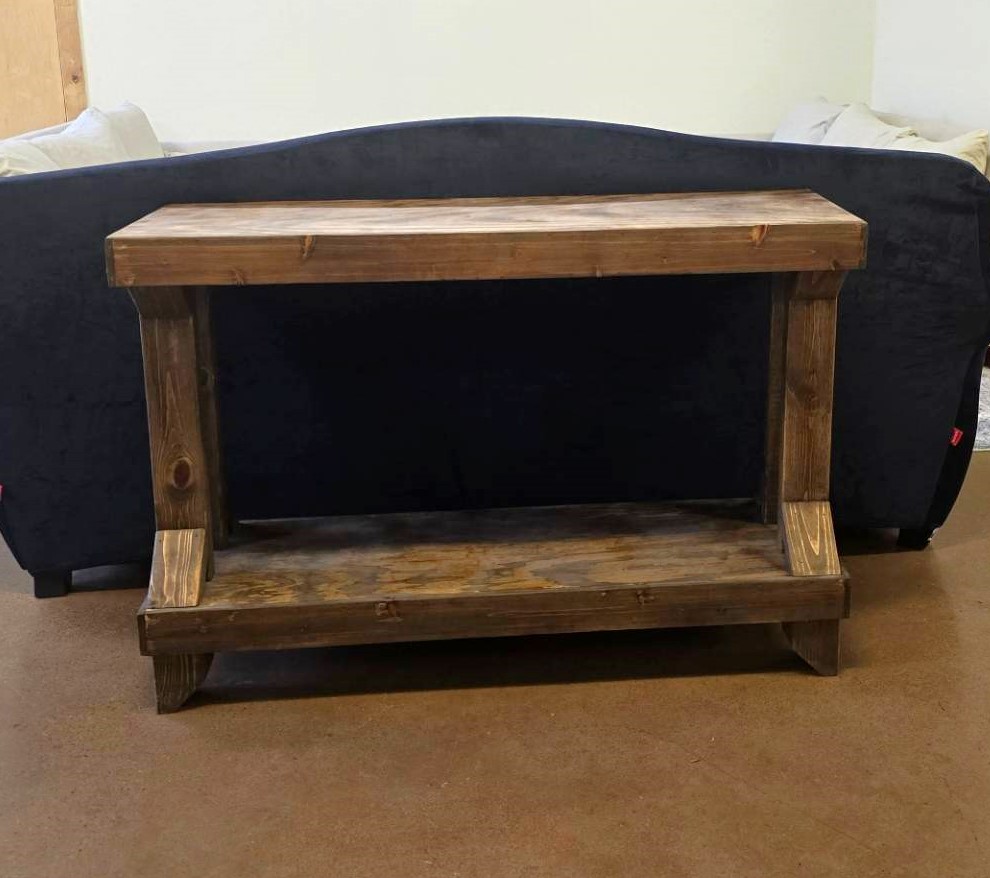
Custom Behind the Couch Console
Thank you for such an easy project to follow! I used plywood, 2x4s and fence pickets to make this.
Built from Plan(s)
Thank you for such an easy project to follow! I used plywood, 2x4s and fence pickets to make this.

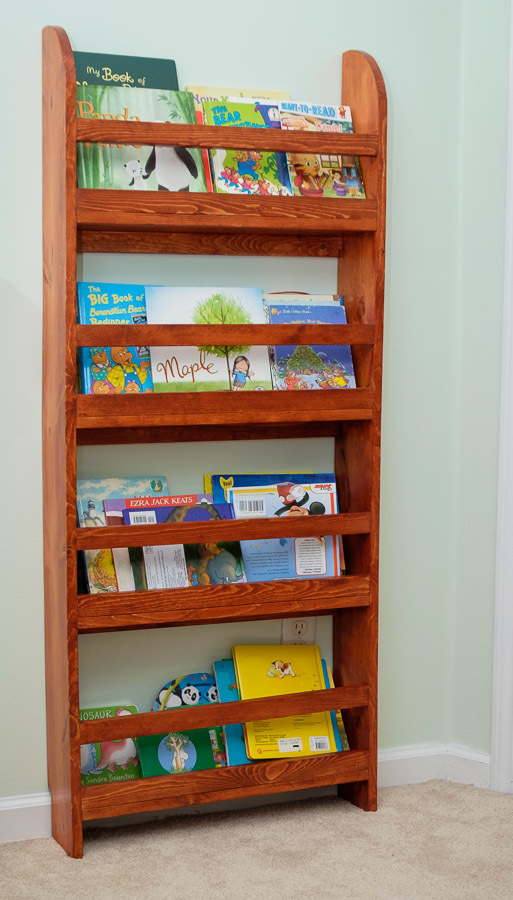
I based my shelves on the Subway Tile Bookshelf plans. The space I needed to fill was roughly 72x108. I wanted the offset shelves so I didn't need extra supports and it also had to be lifted off the floor because of a space heater. I used 12 inch melamine boards that I had the store cut for me because I have no experience. I used a drill for the first time and it came together very quickly. I used 14 inch pre-made legs that I spray painted white.

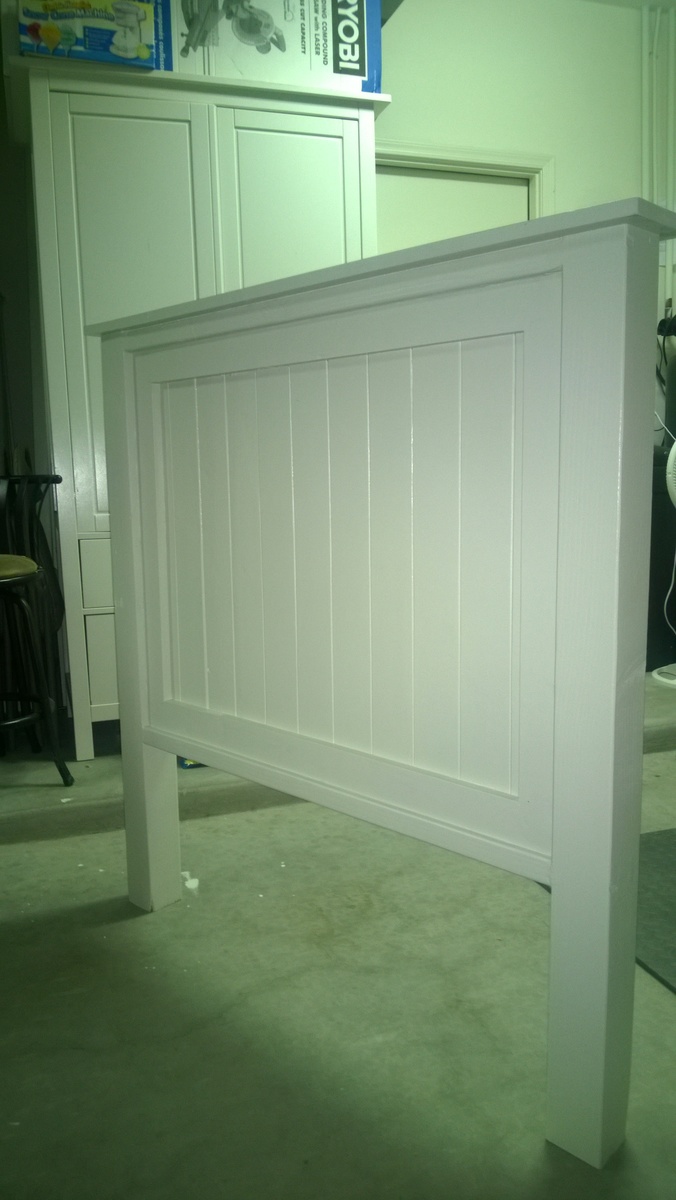
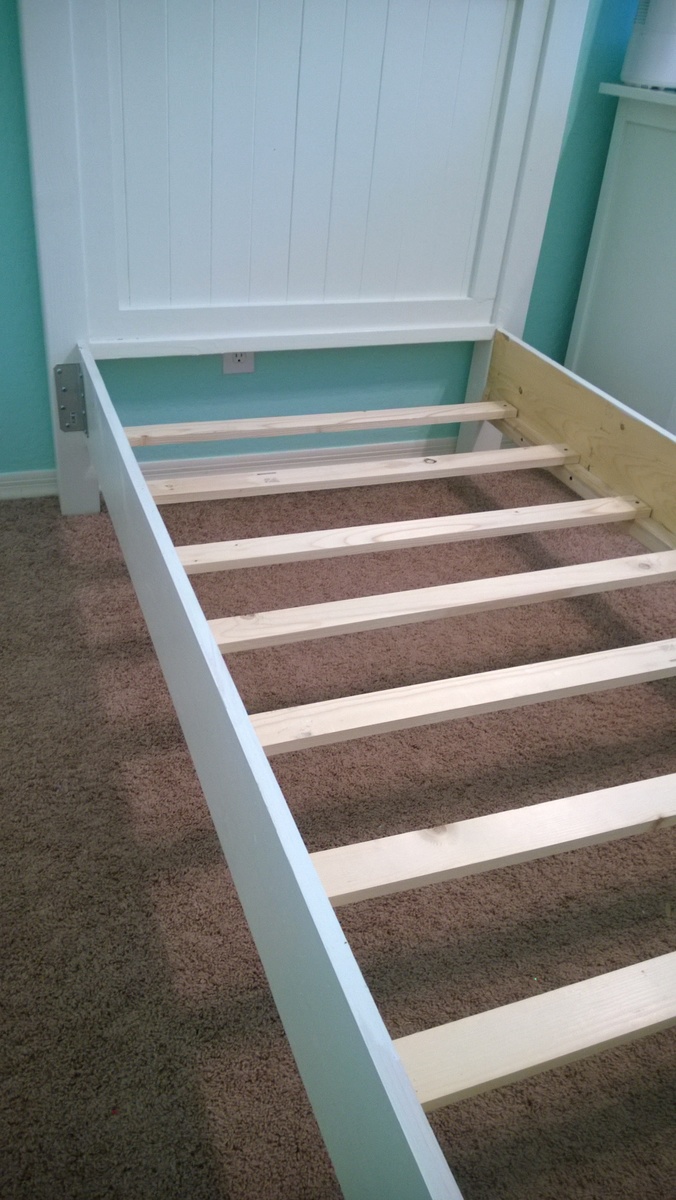
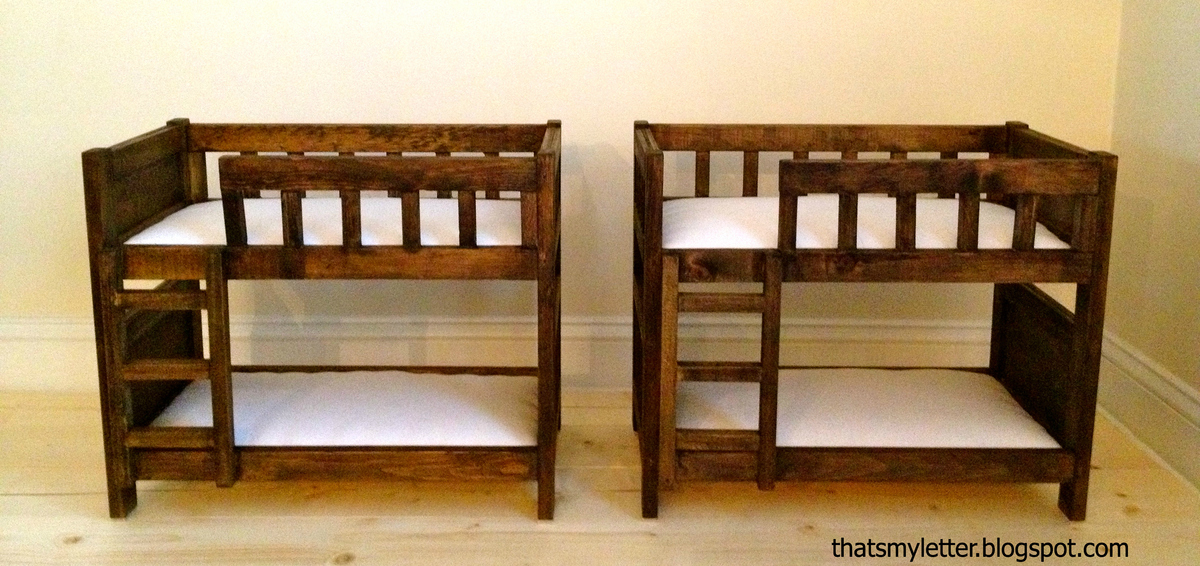
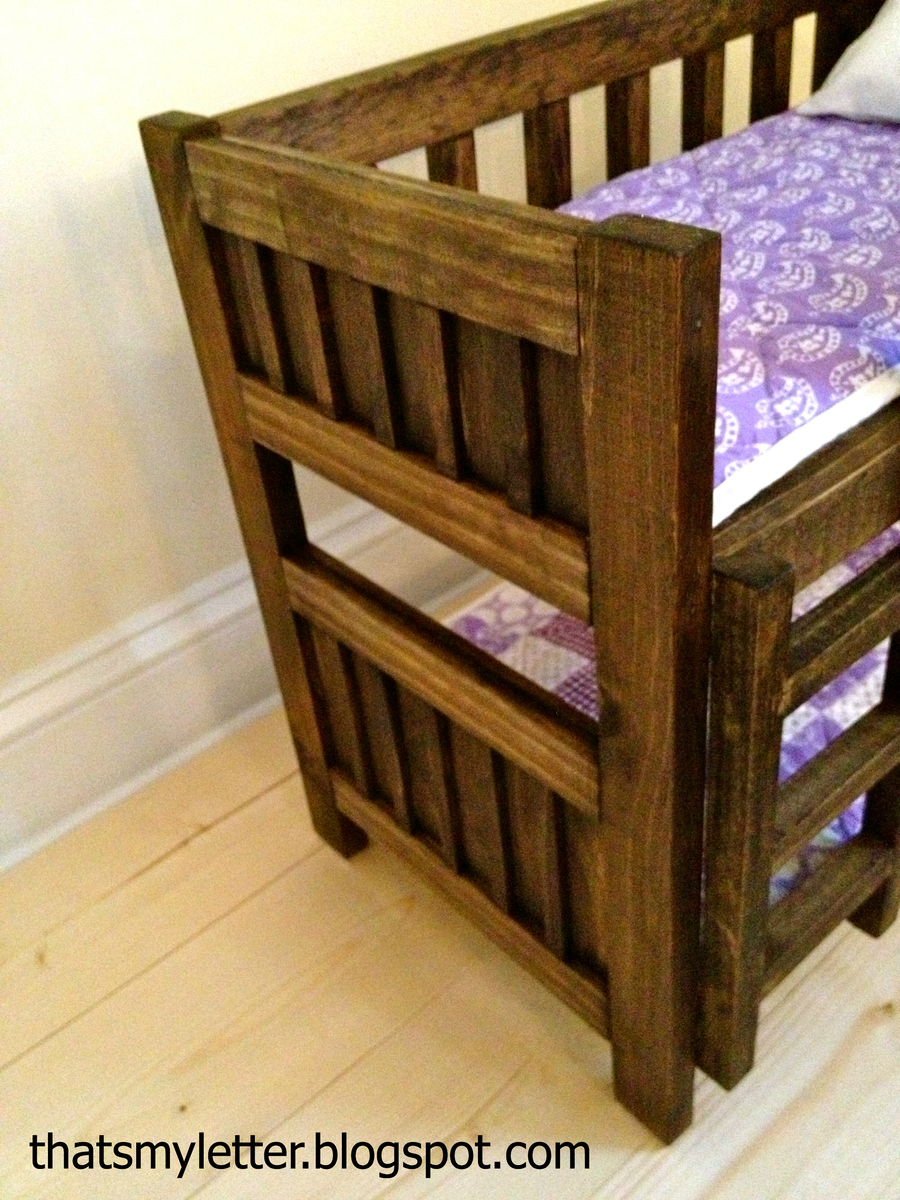
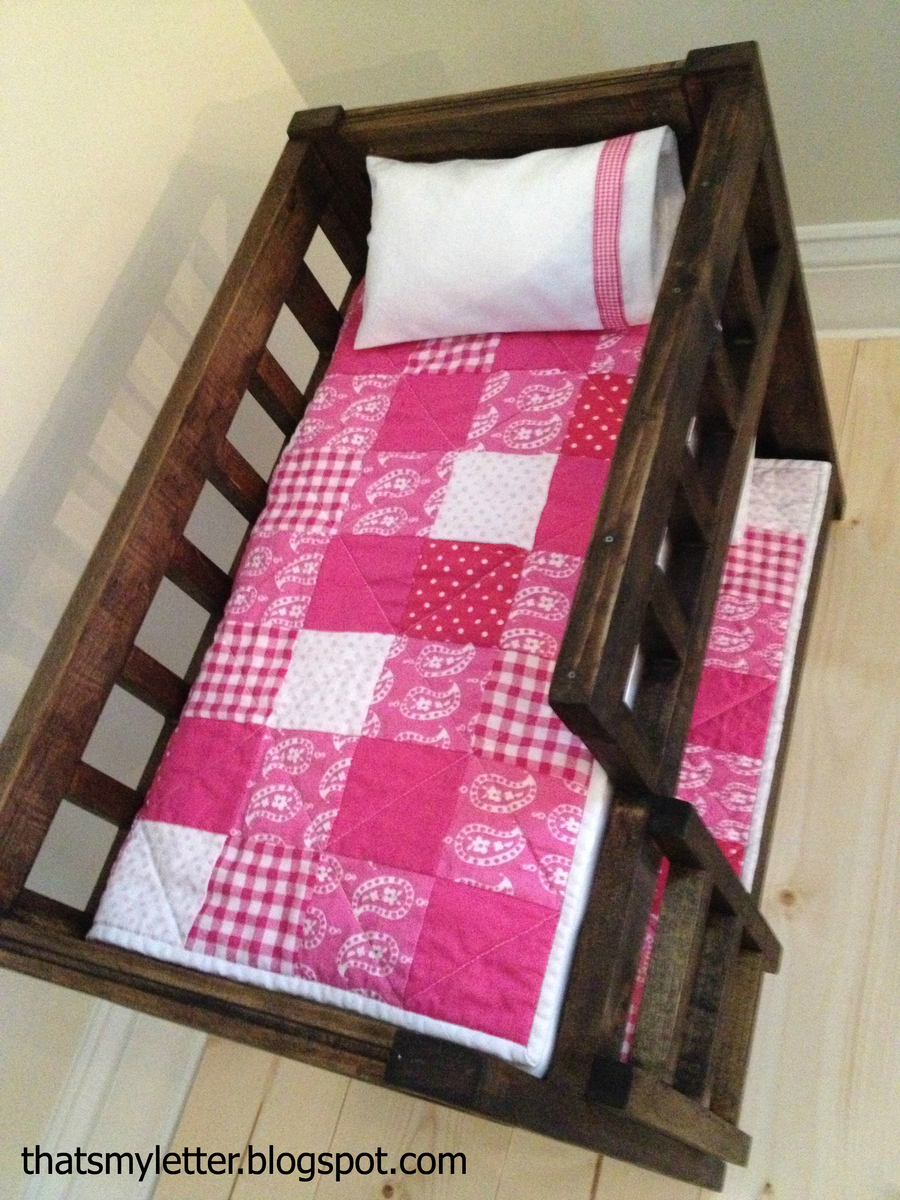
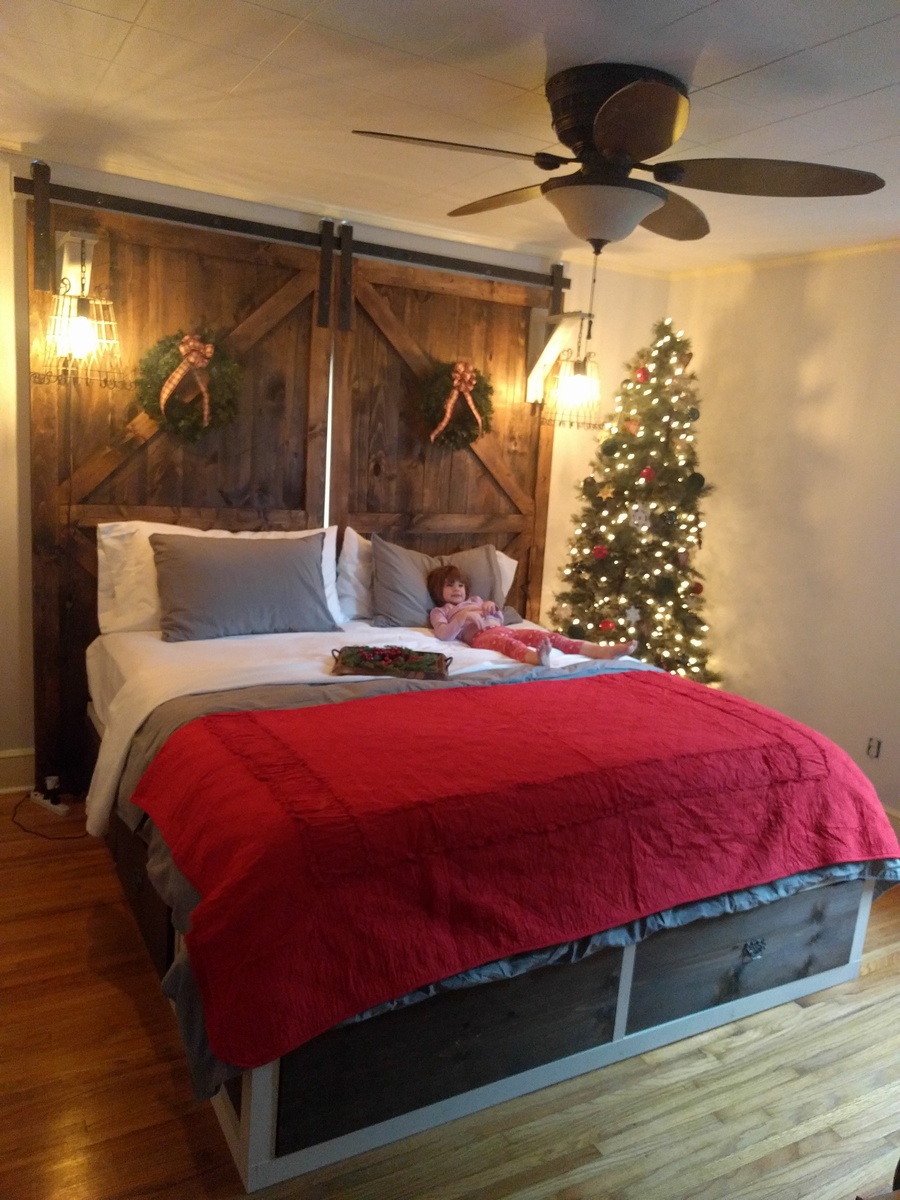
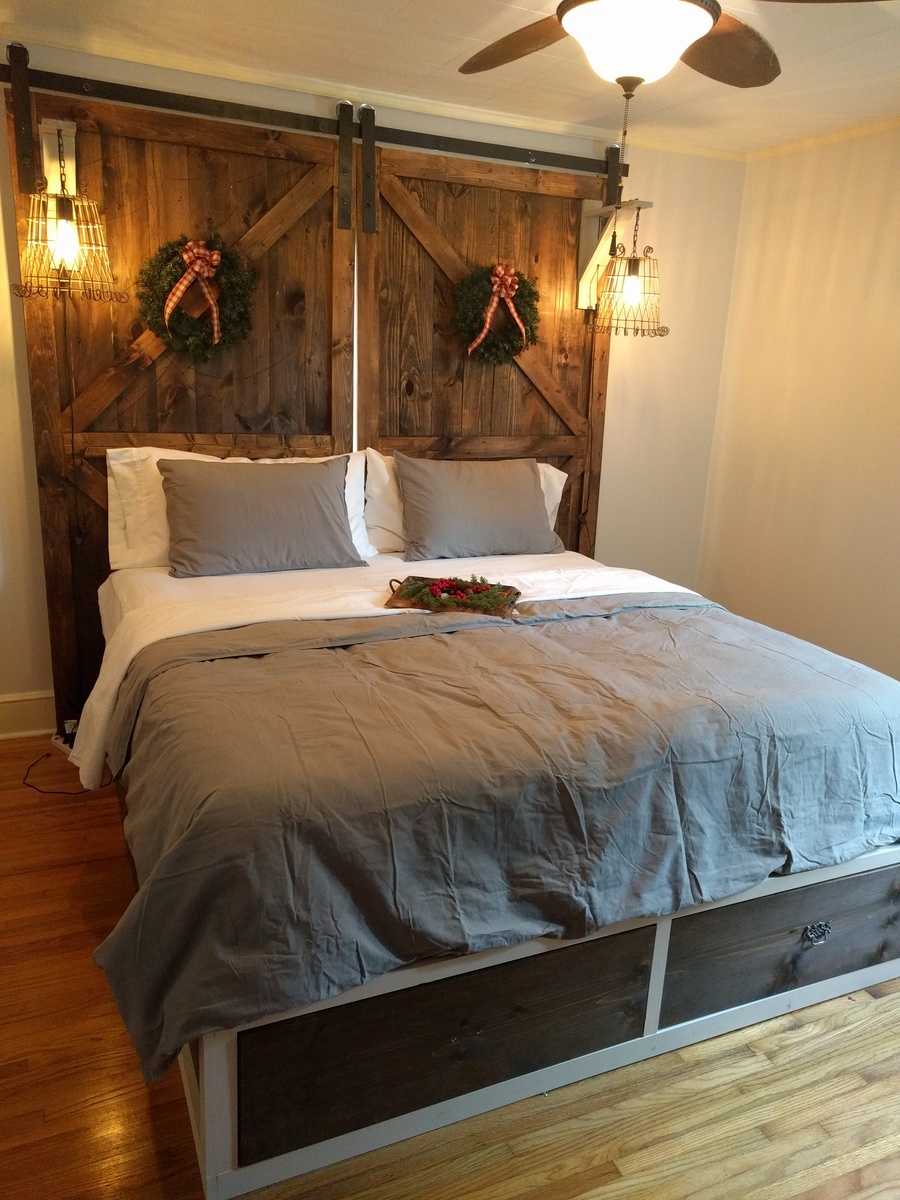
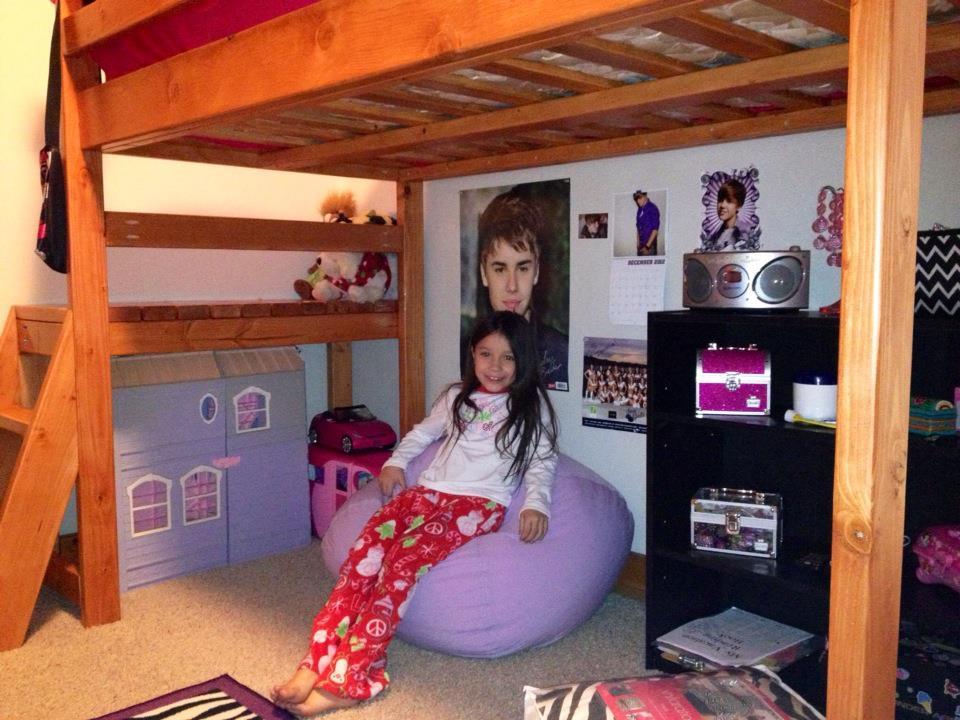
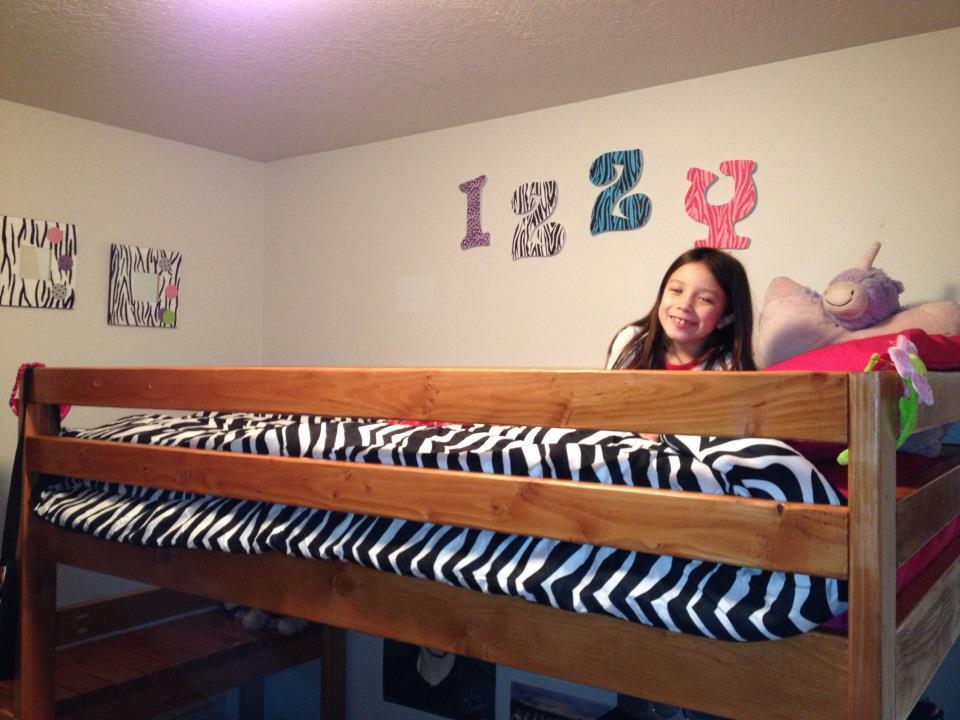
This is a variation from a brag photo I saw on the Modified Twin Farmhouse Bed. I built two for my girls and also created plans of the variation. We love these beds! They are so beautiful!

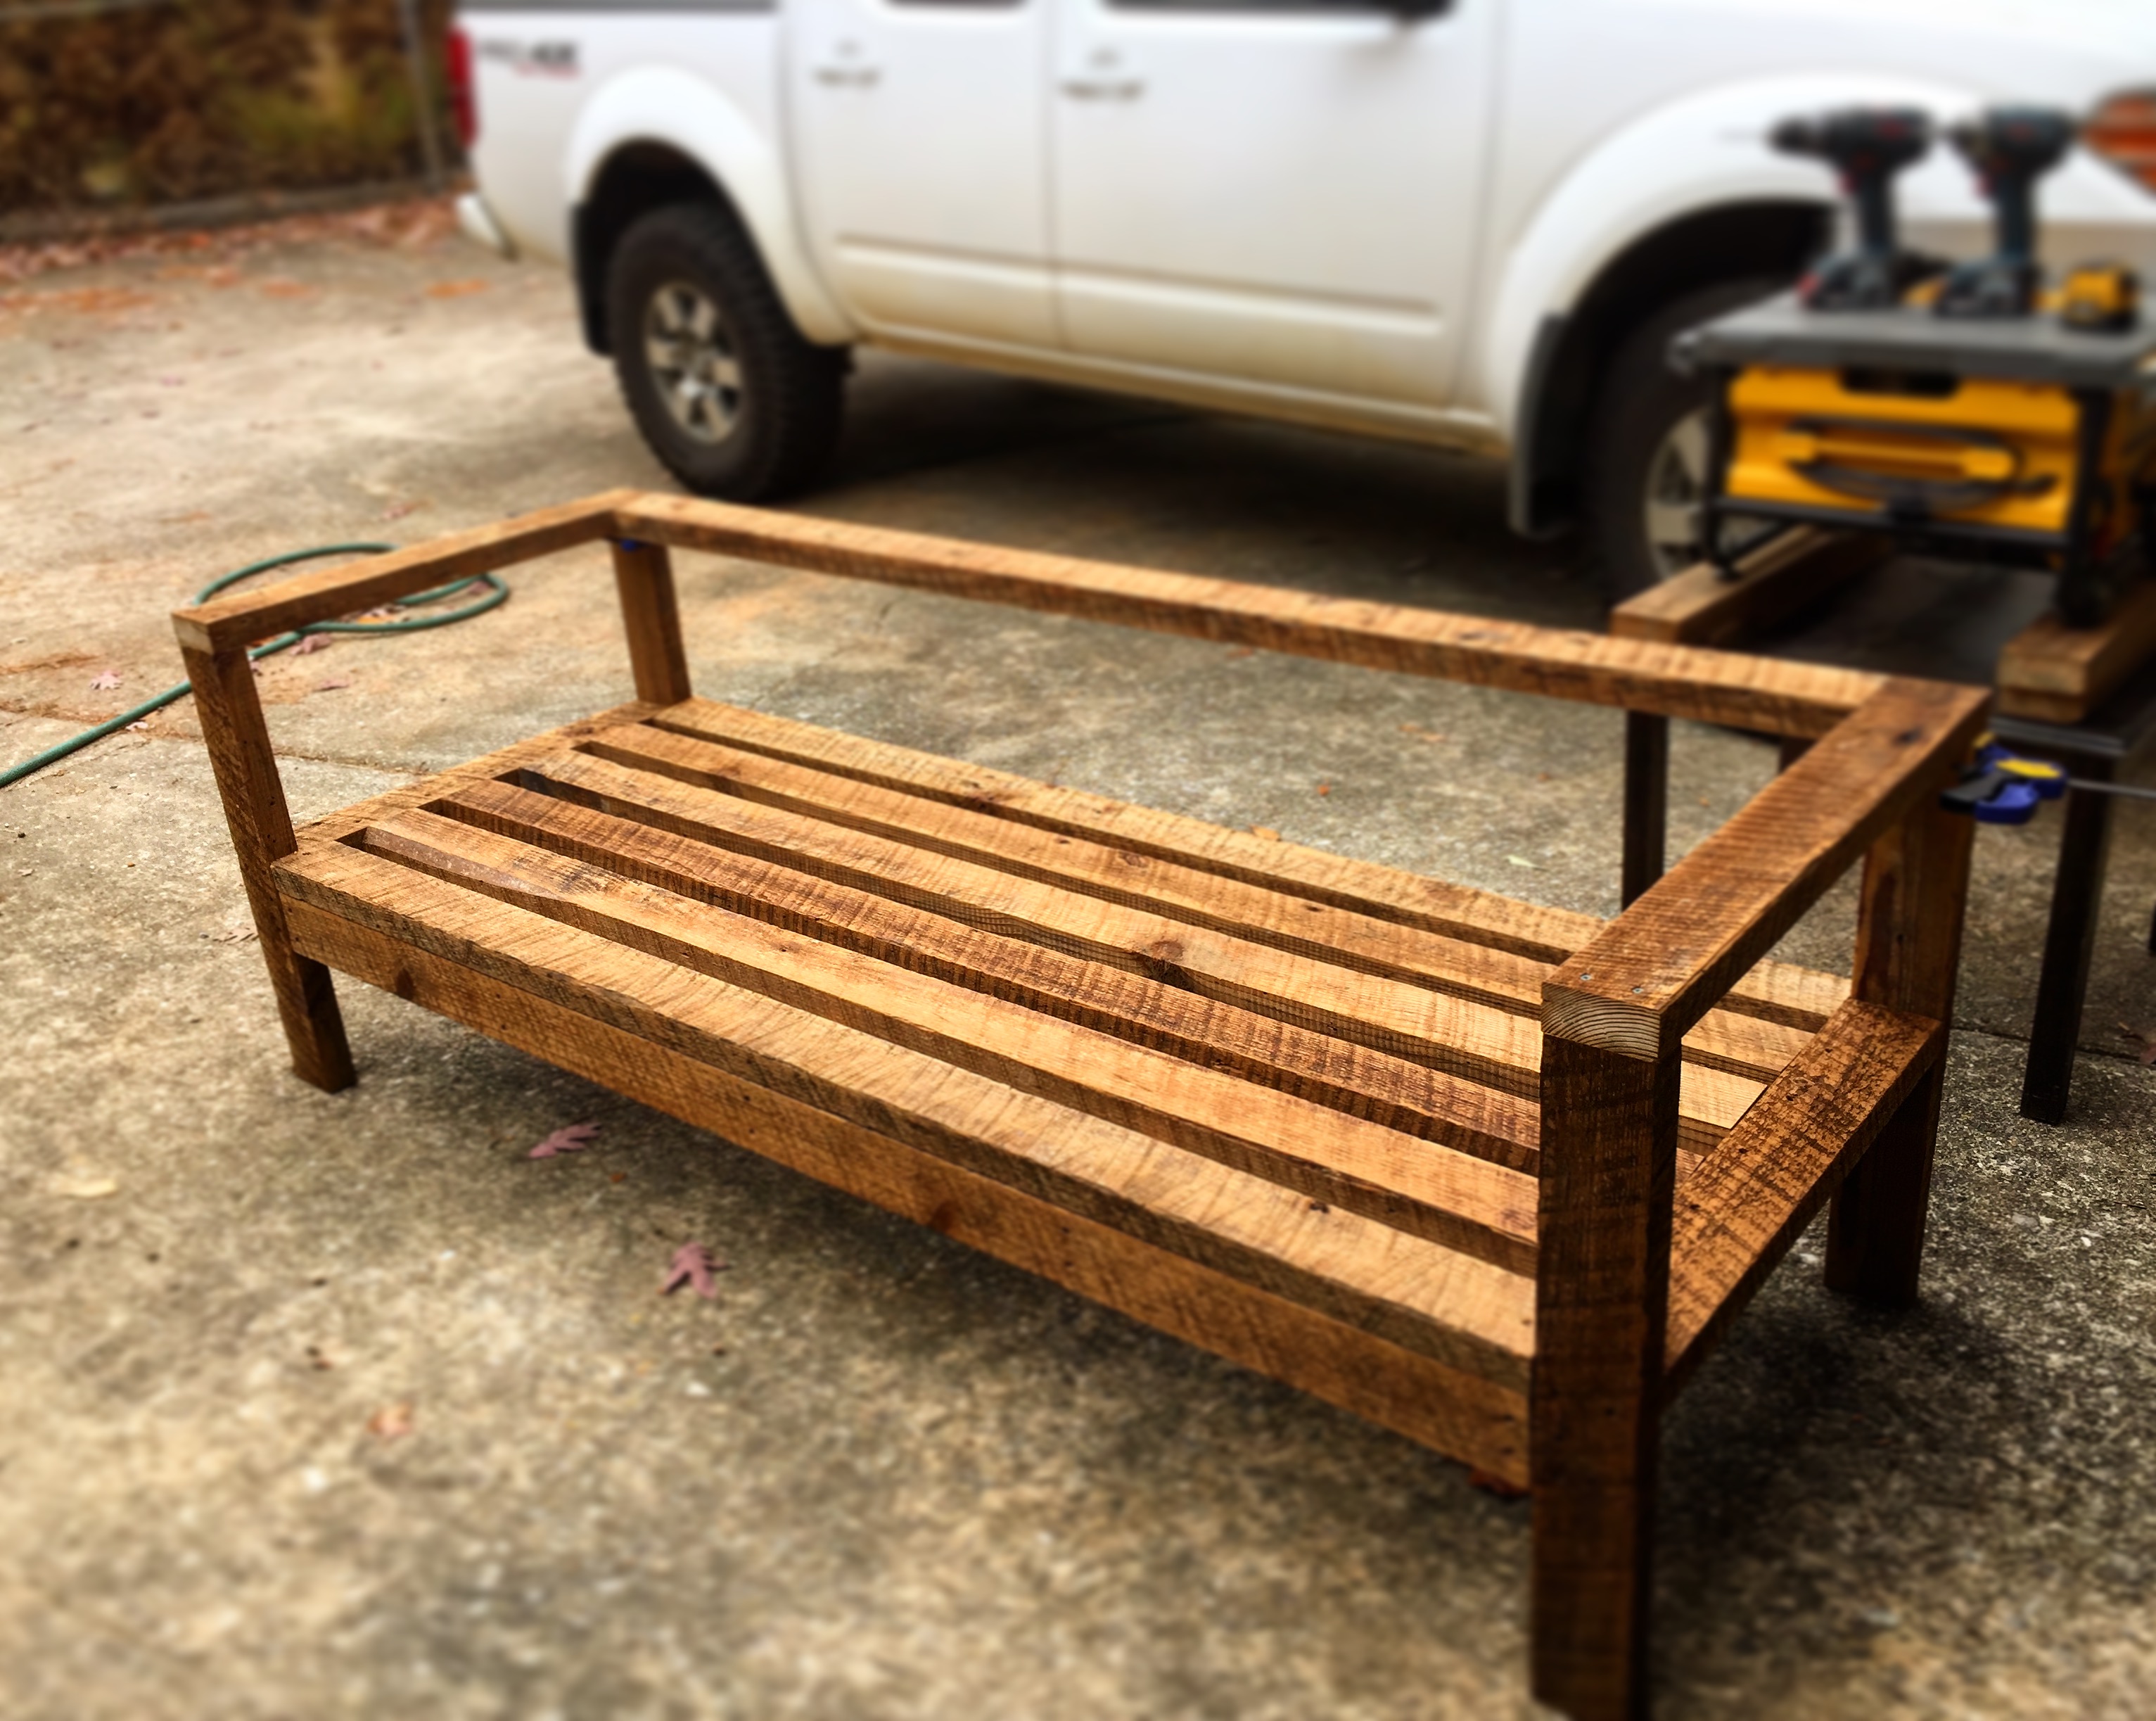
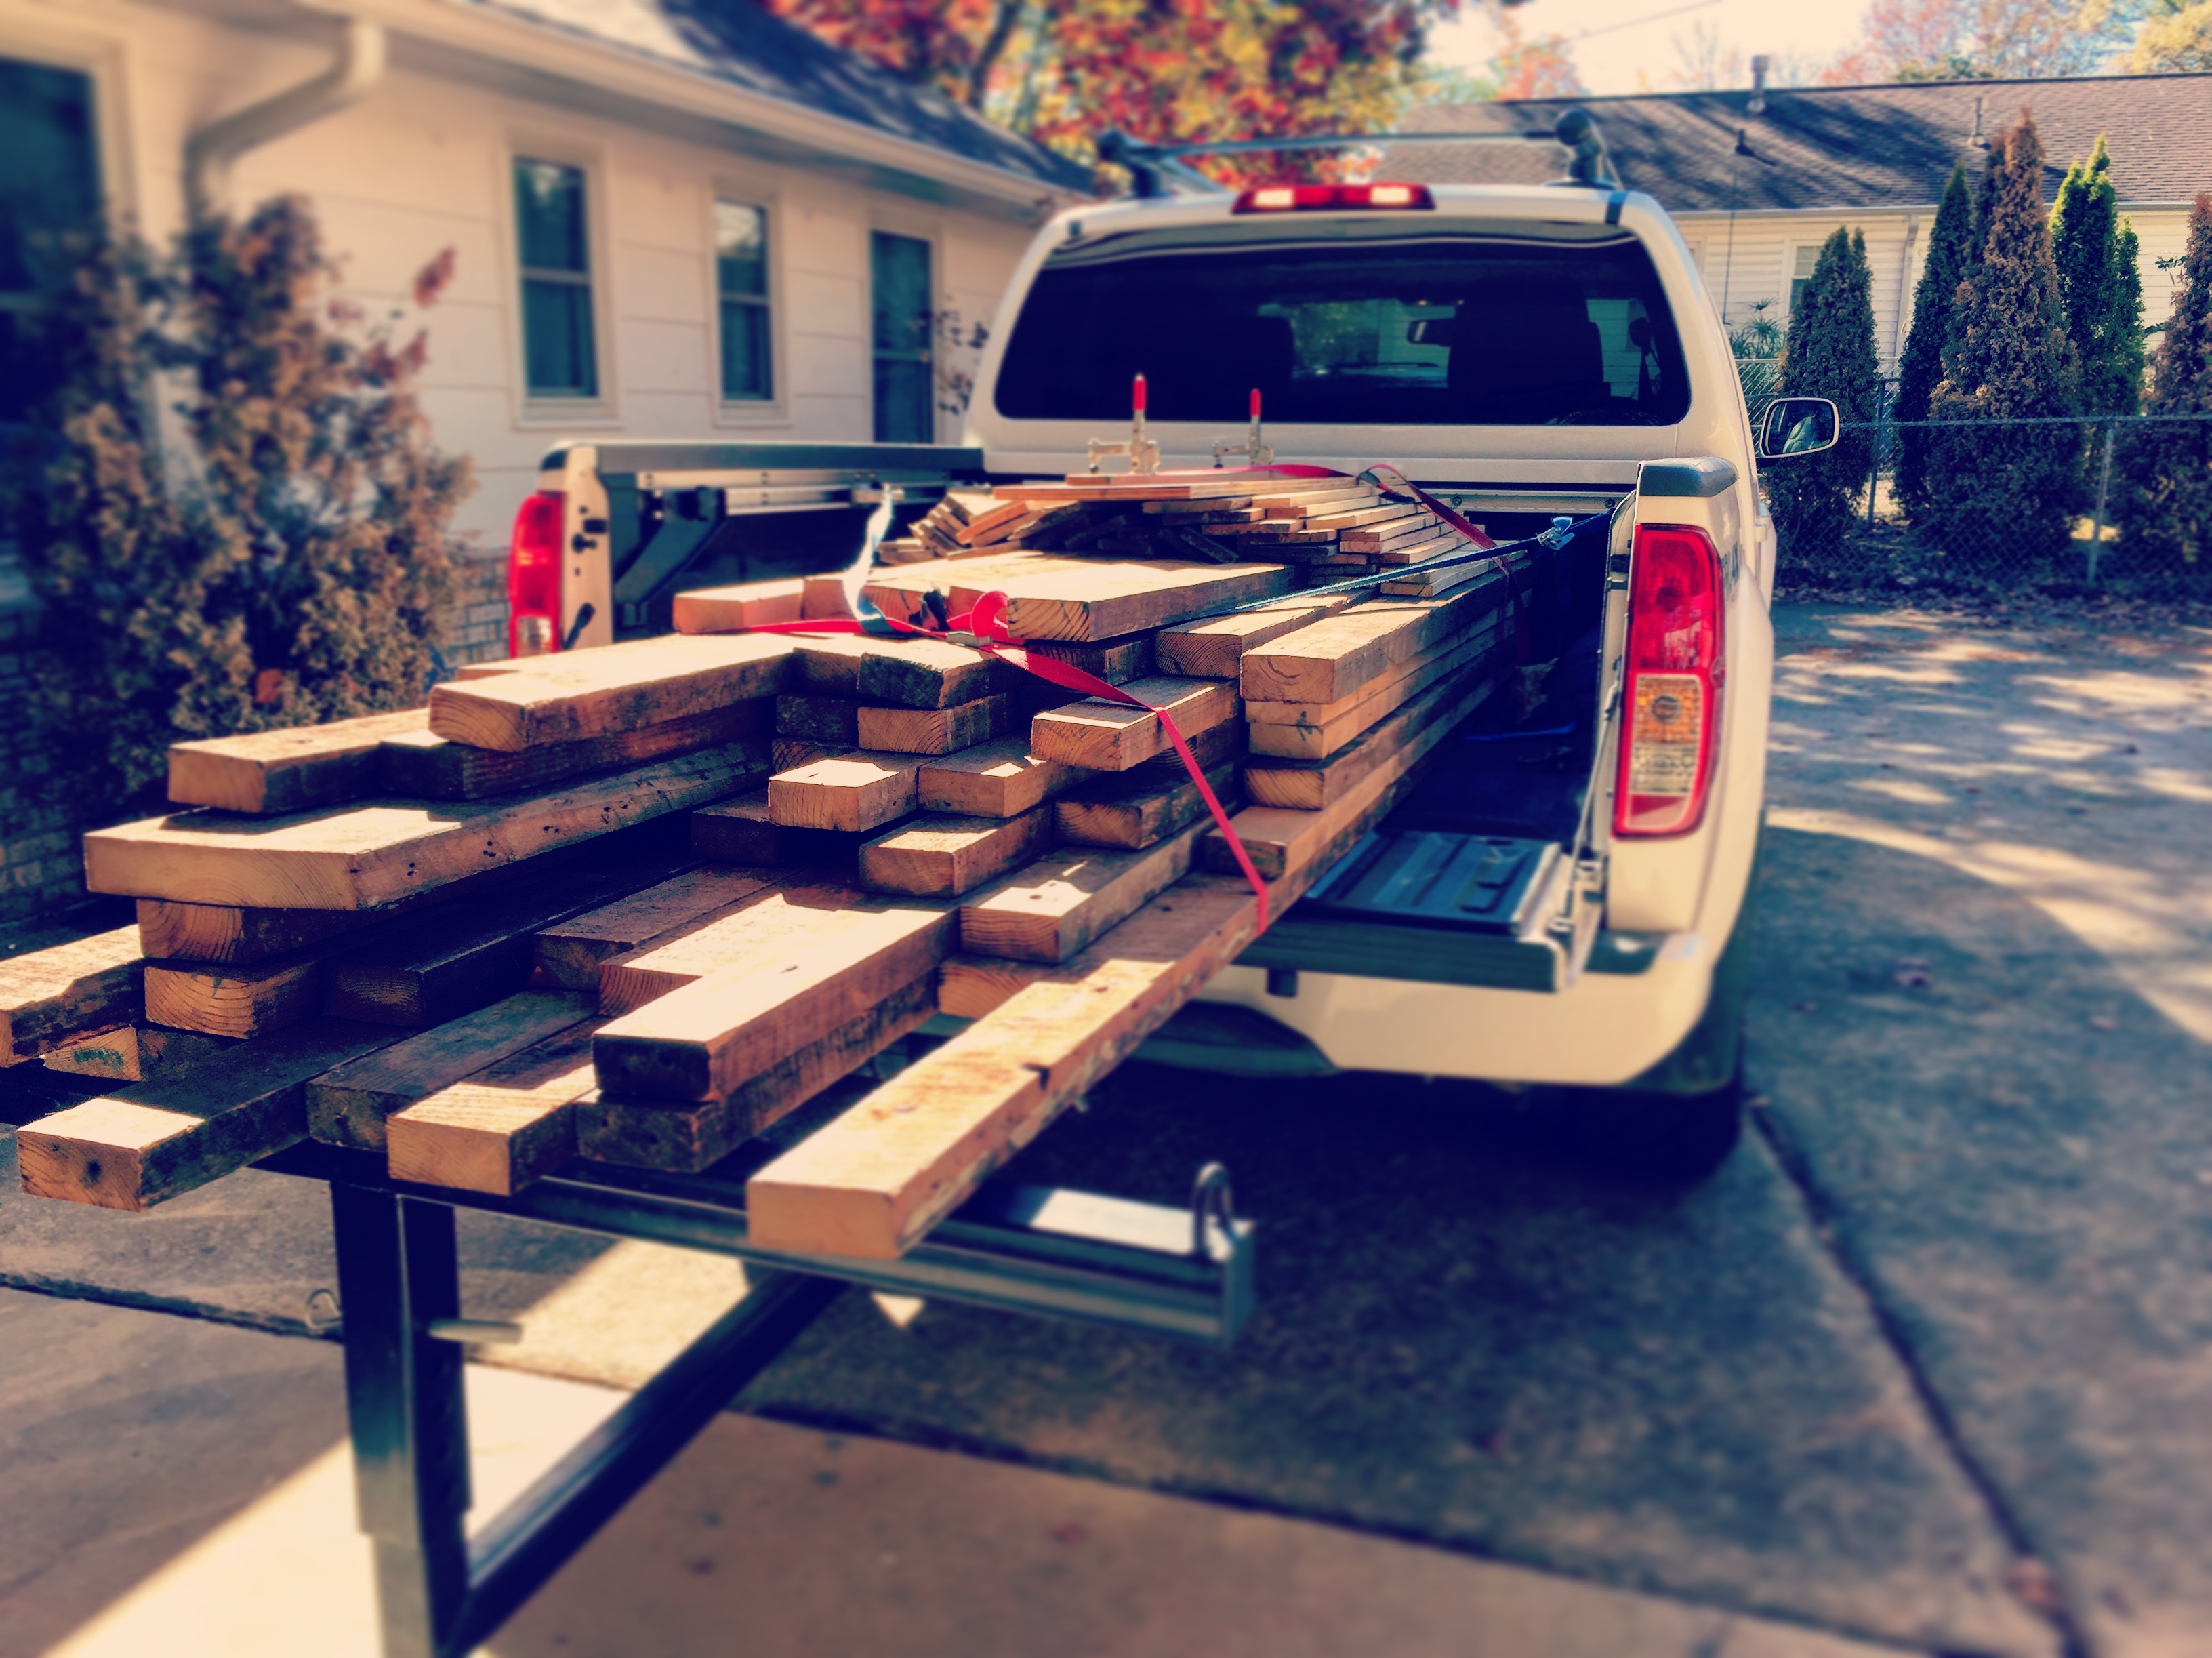
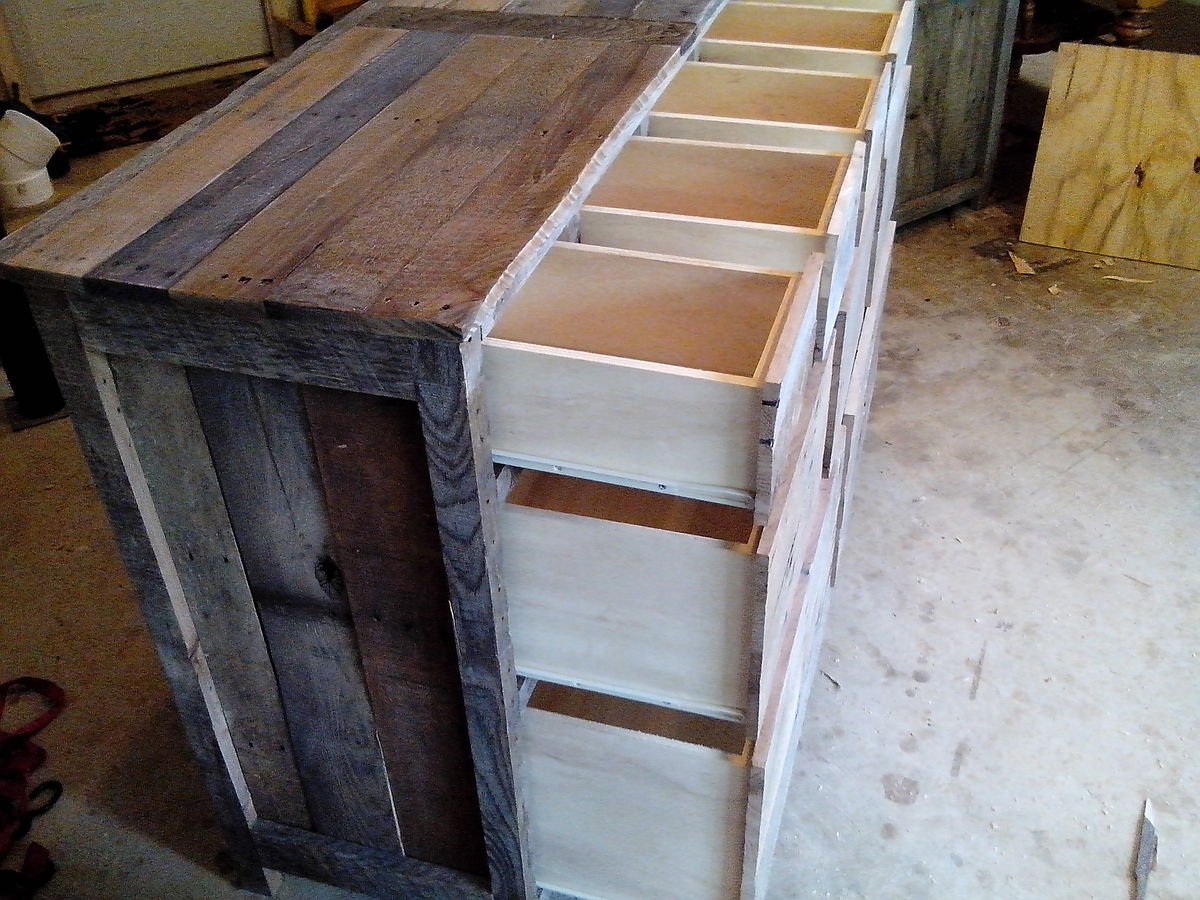
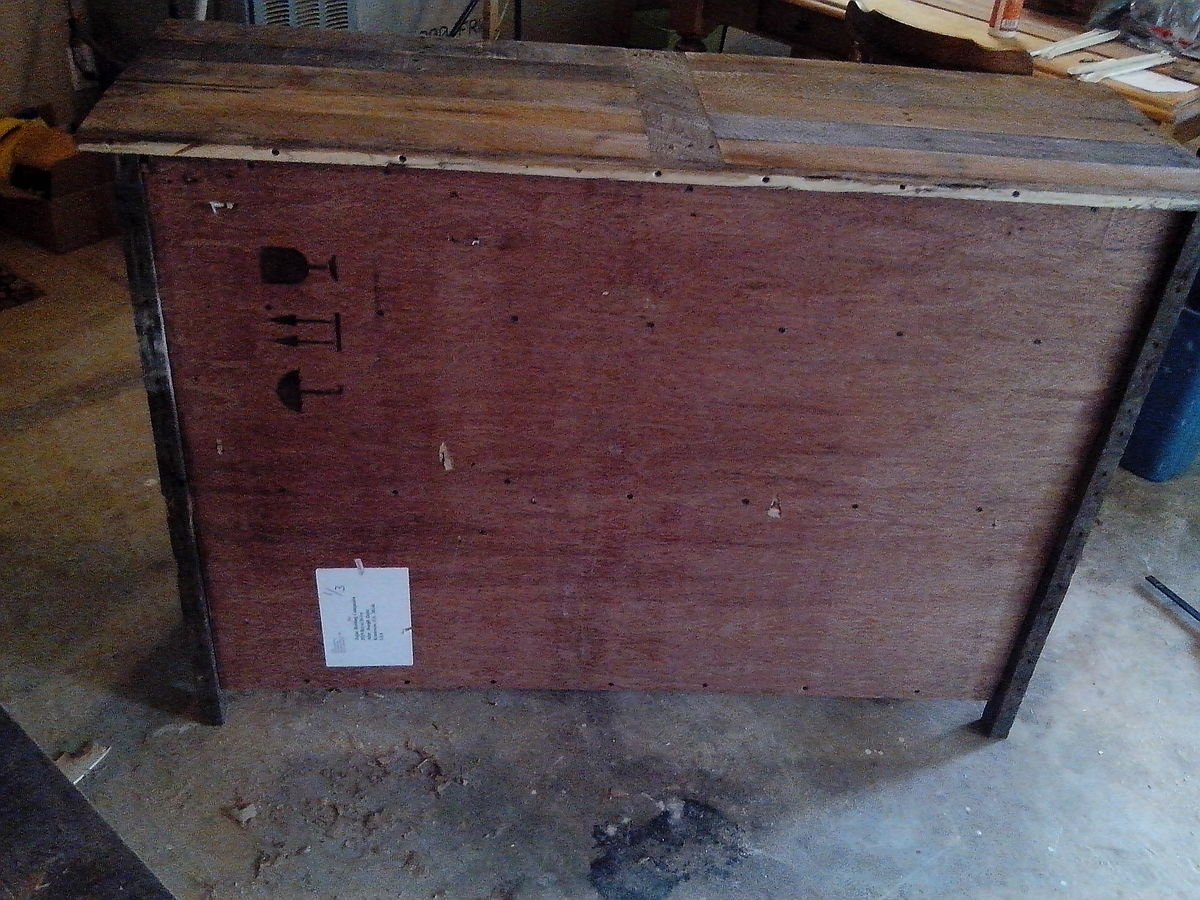
Reclaimed this wood from a >100 year old home that was being renovated. This is just the couch portion, I also built the sectional part. I really like how it came out.
What a fun build, the whole family helped!
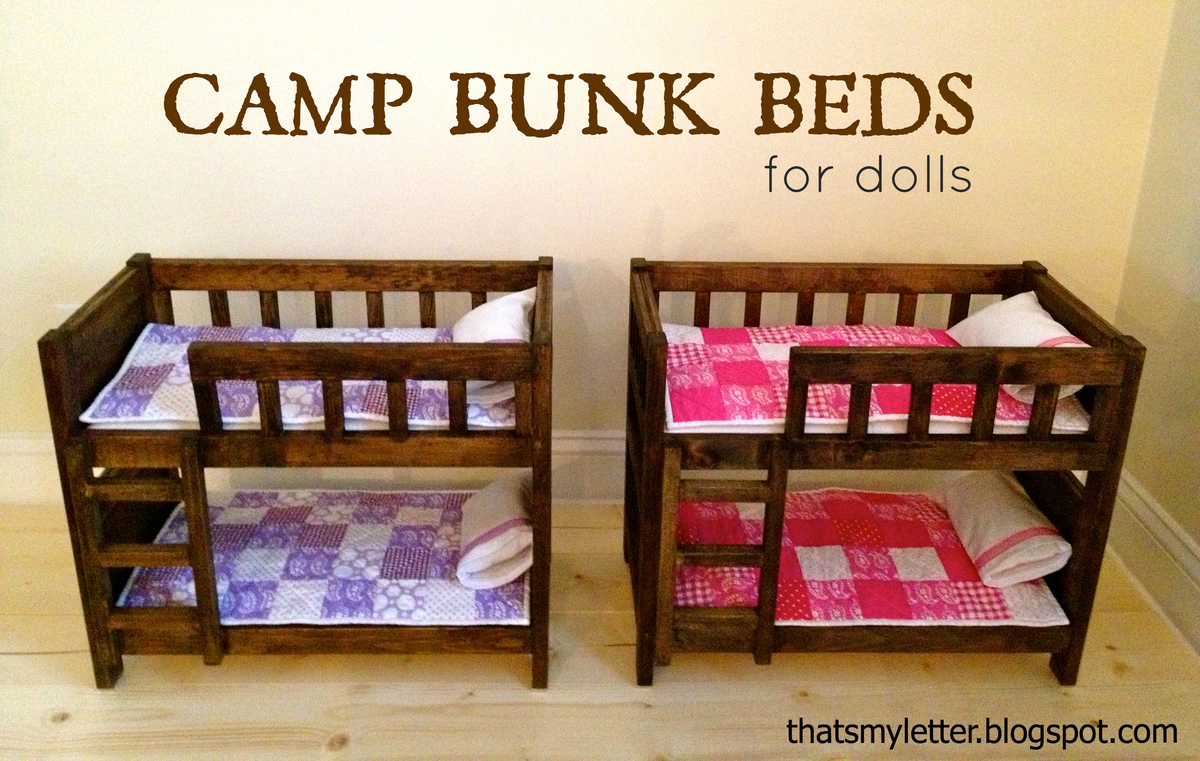
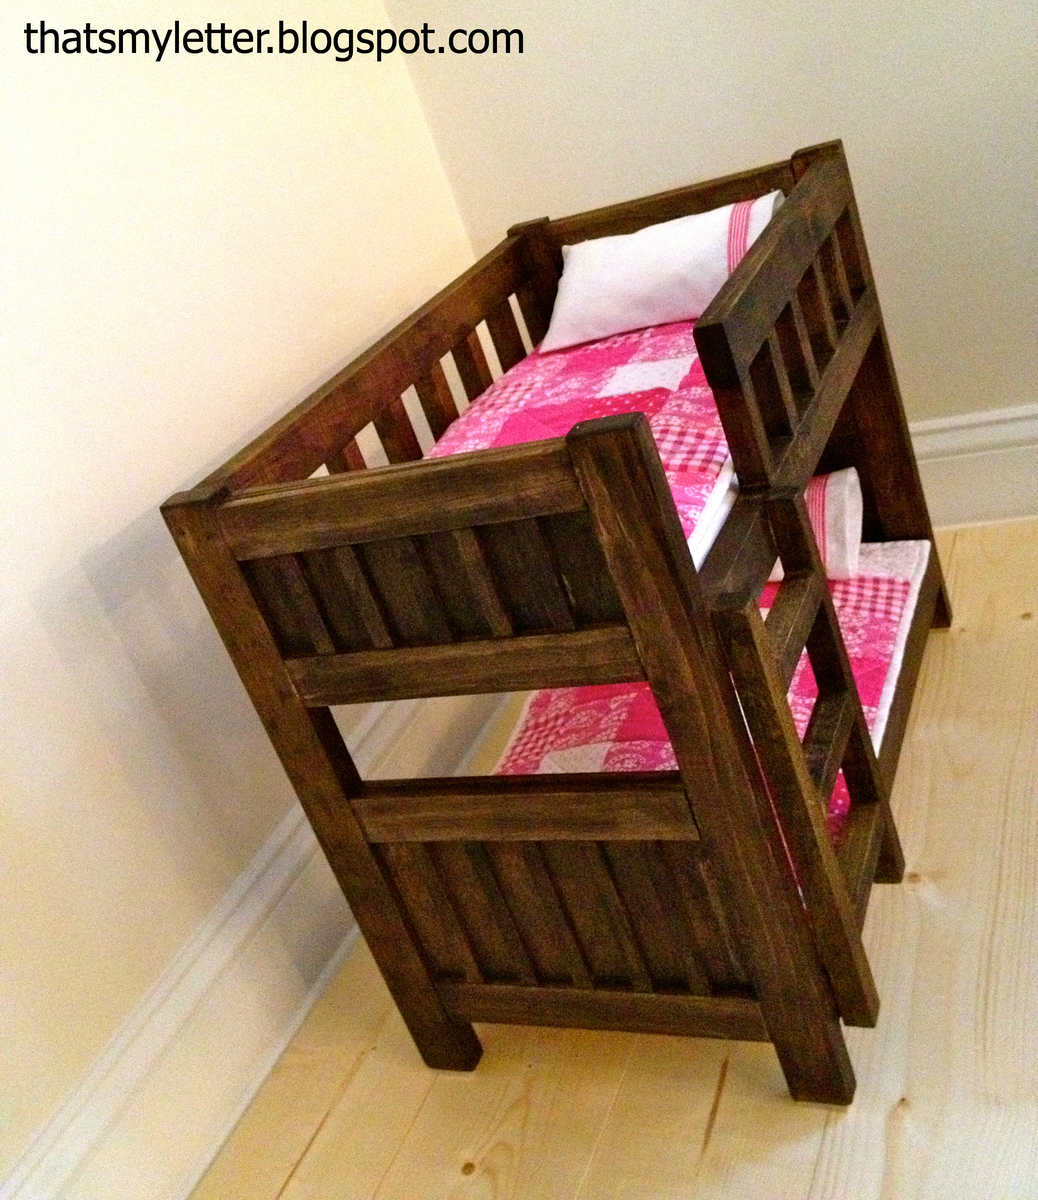
The doll size version of PB camp bunk beds with a solid head and footboard made to mimic the real life size version. I made these bunks to match the life size version which the girls have in their ski house complete with matching quilts using the same fabric from their bedding.

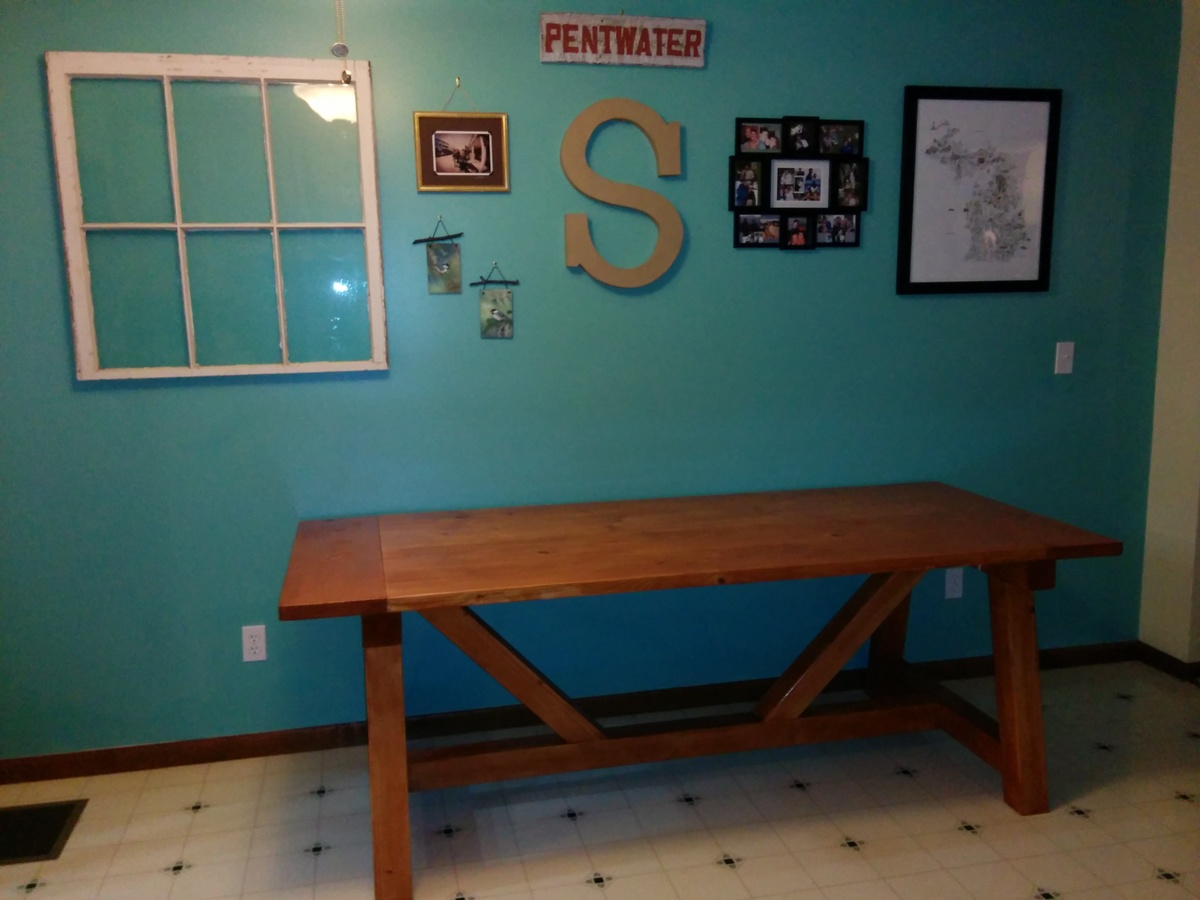
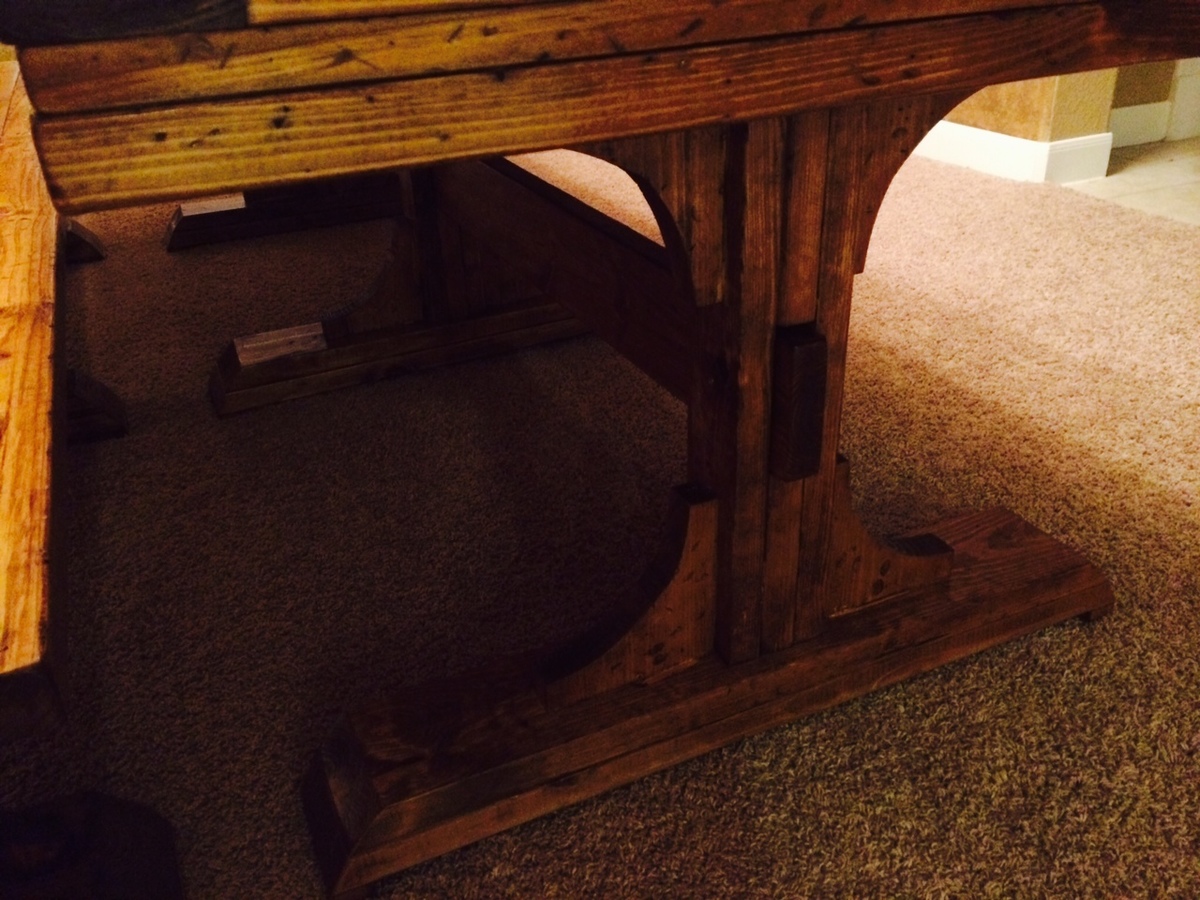
This was my first table, great directions from Ana White and other postings. Turned out great, the main addition I had was to add some supports for the ends as it felt like it needed it.
It was a long and brutal process, but so is child birth and I did that twice so... I was definitely a beginner at the start. I learned A LOT from this process and it paid off in the end! Couldn't be happier with the outcome!
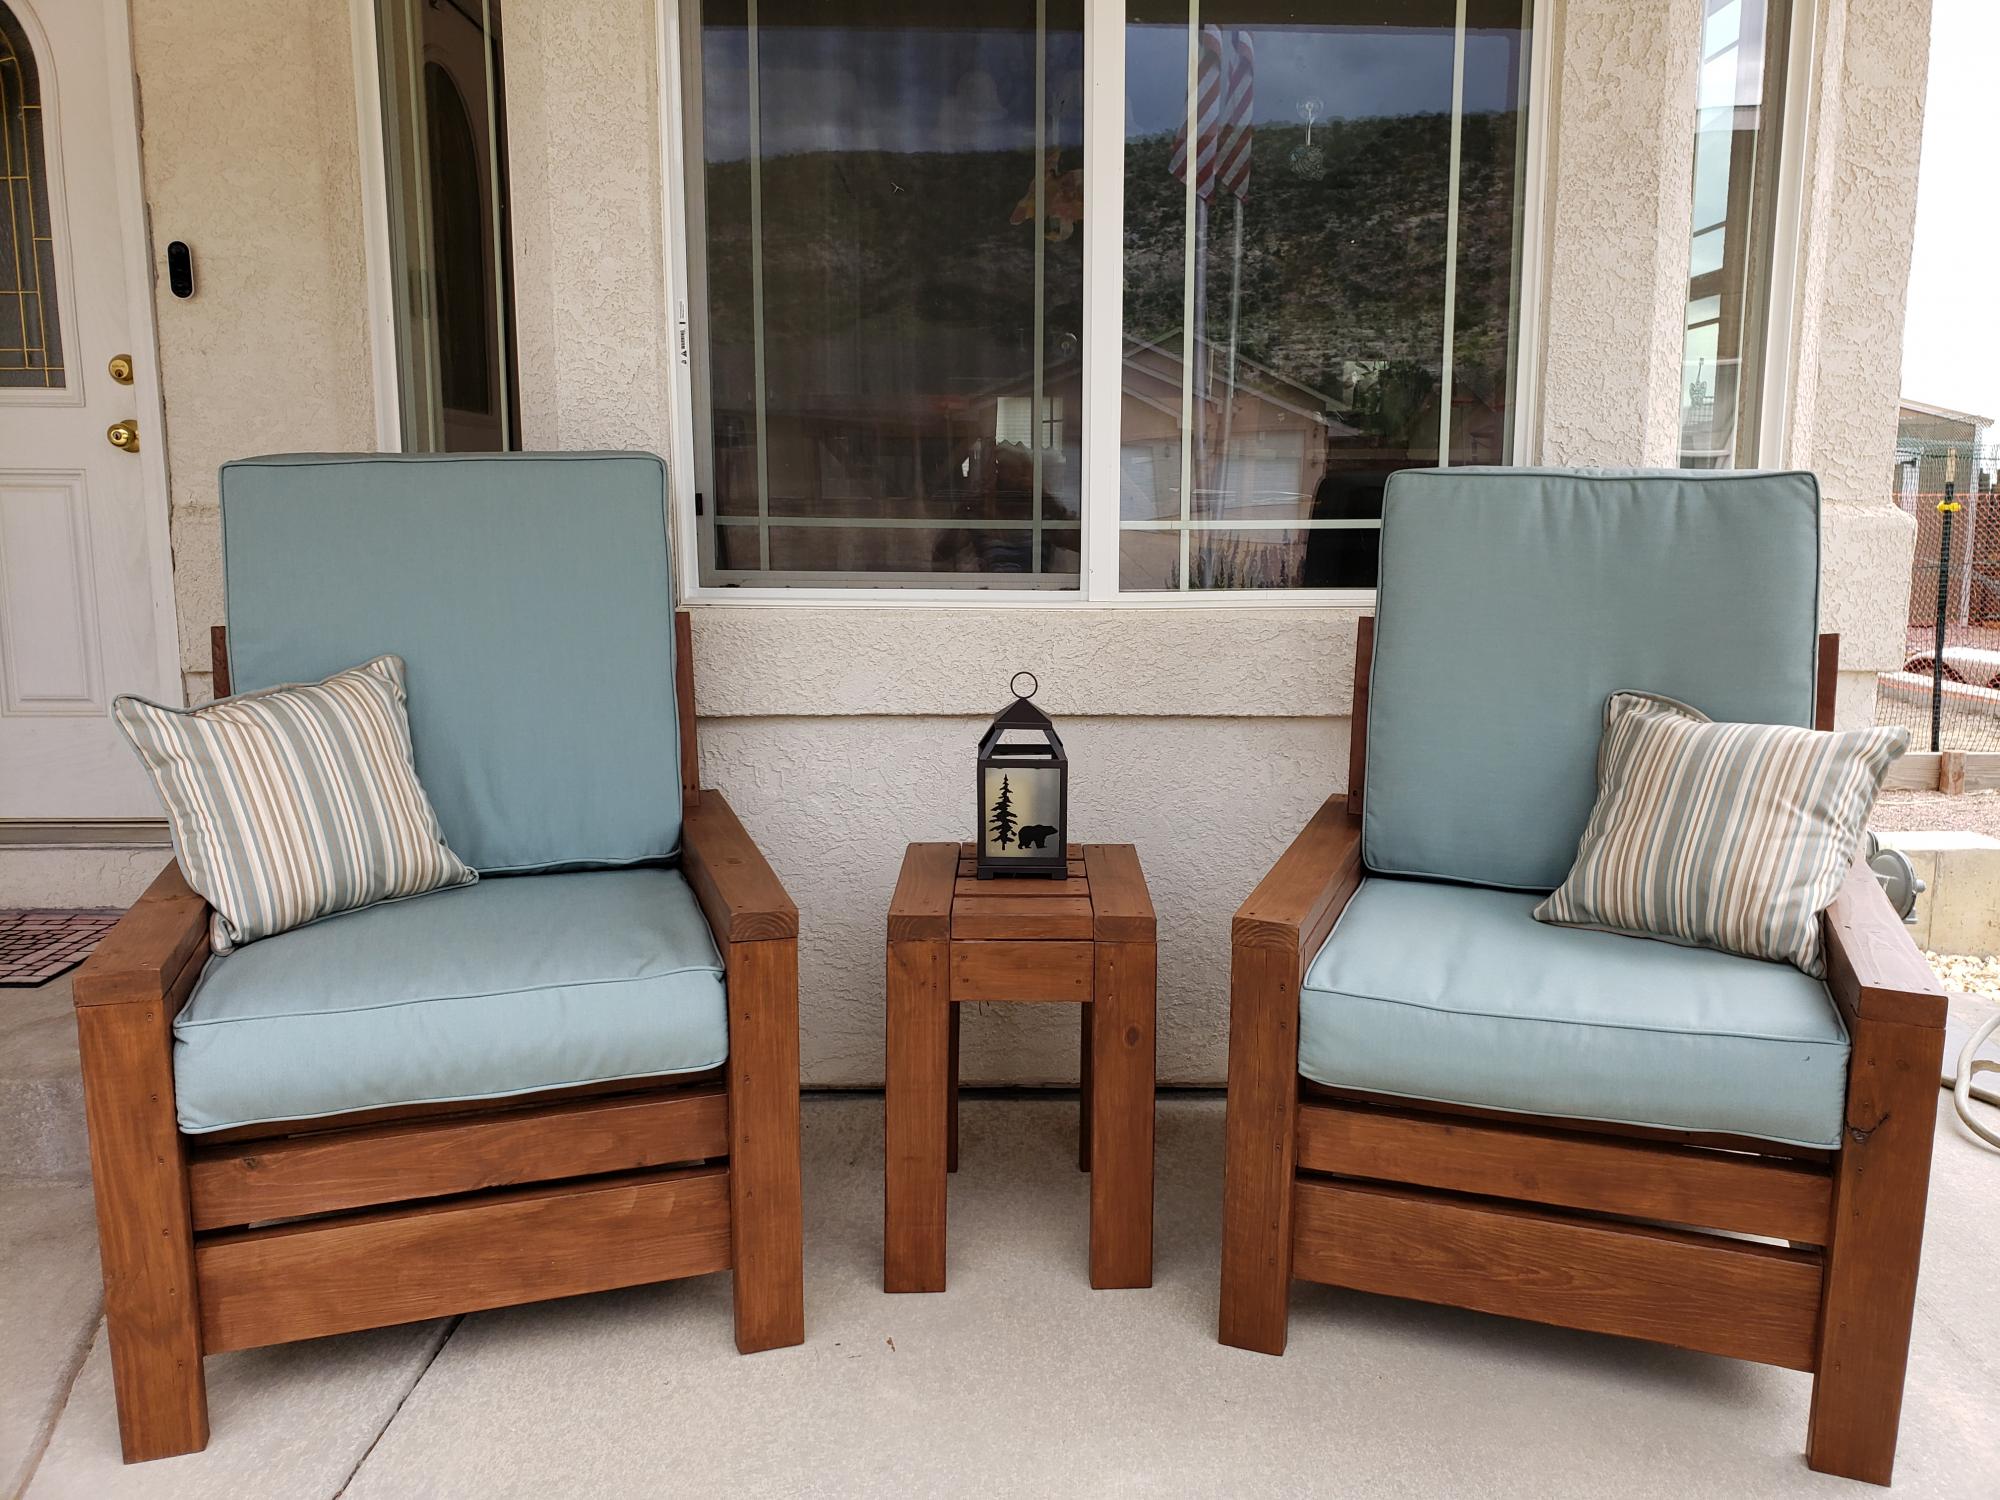
Very clear plans and directions. My husband and I built these and the table in a weekend. We added a back and made a table from the scraps. First time of not chasing furniture that has blown away! We love them!
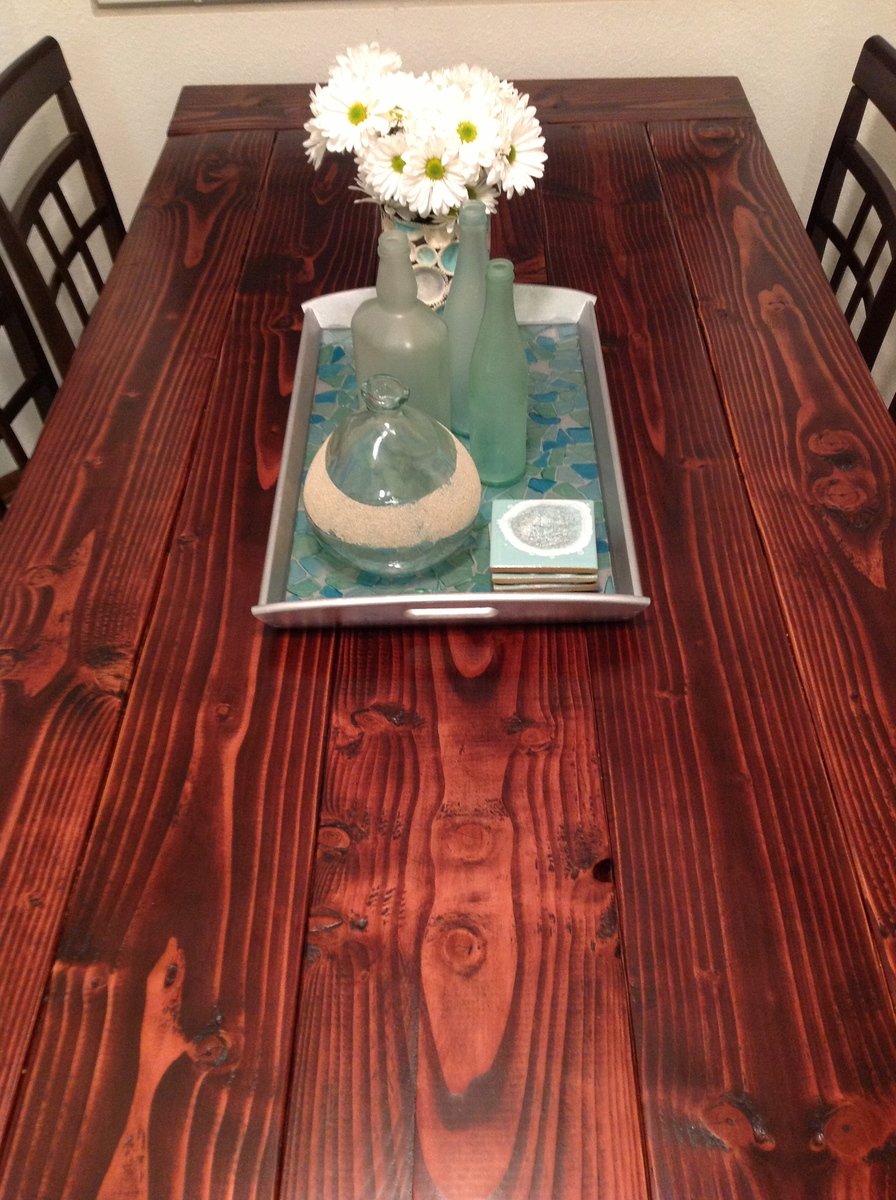
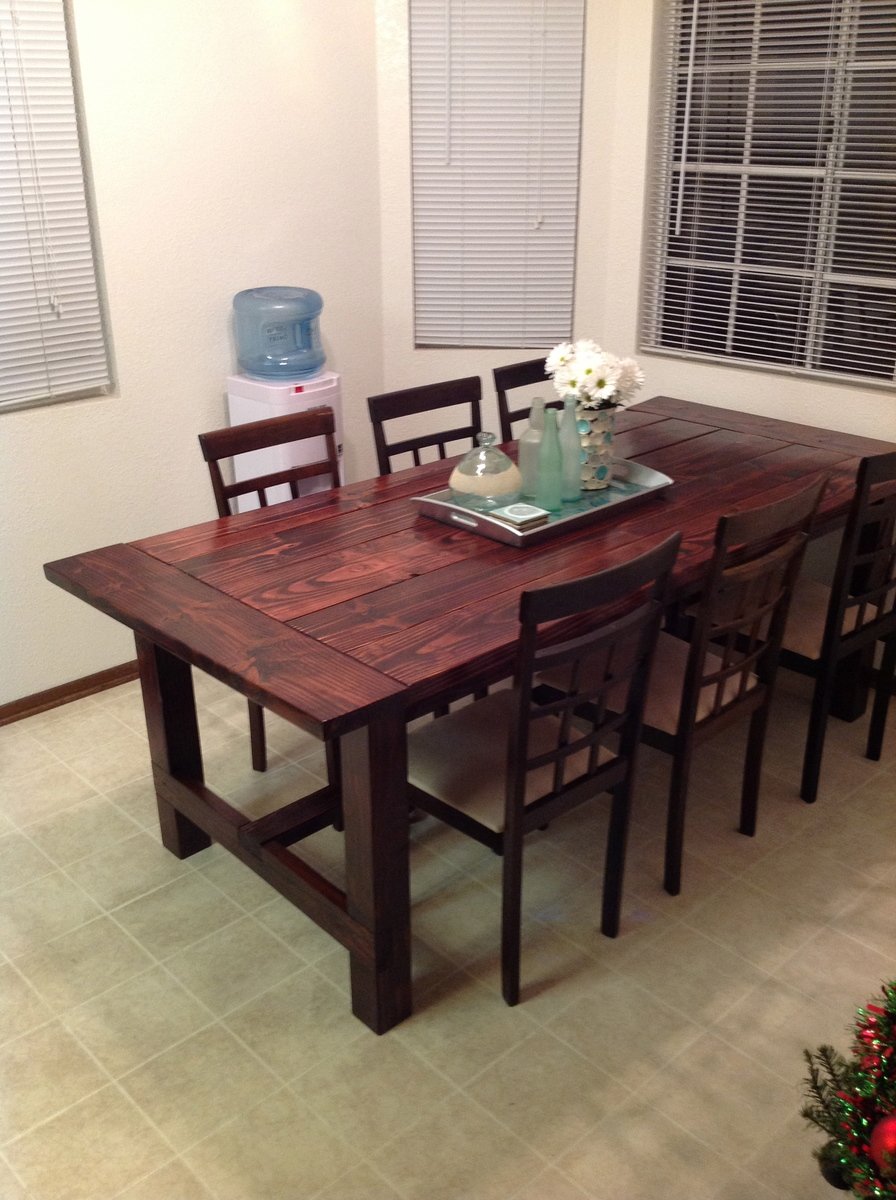
I built this farmhouse table for my beautiful wife for christmas using the update pocket hole plans. It was a lot of work but well worth it.
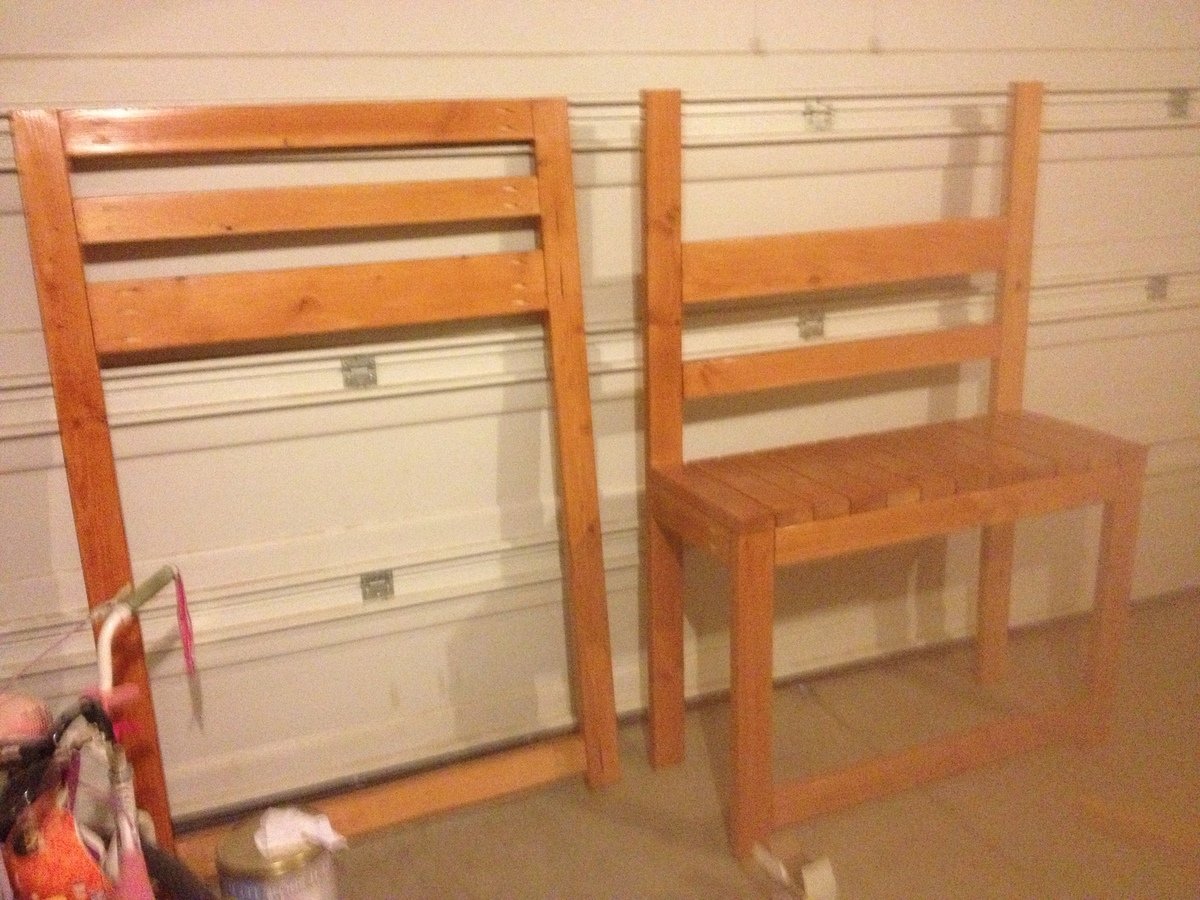
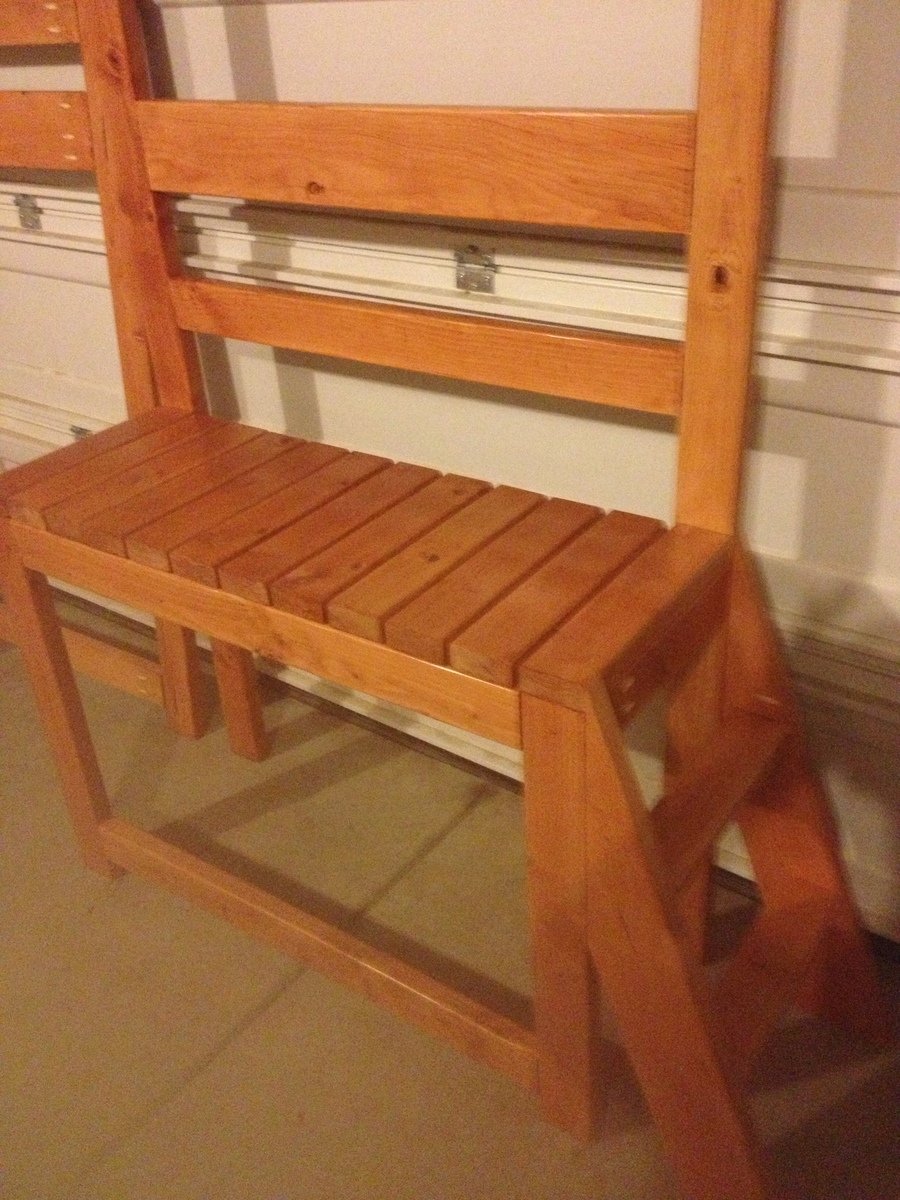
Bench in the making!
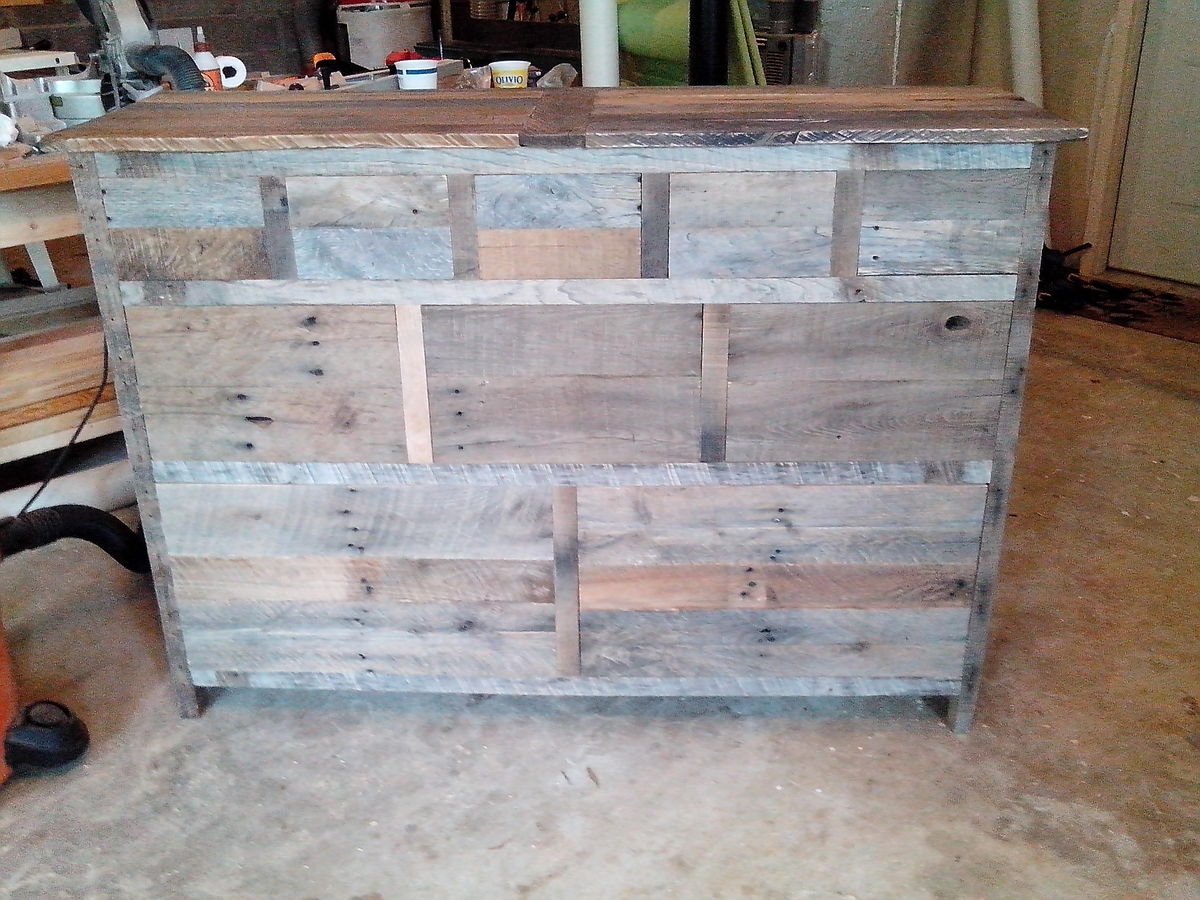
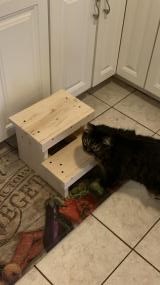
To build I used mostly all pallet wood. This made things interesting because not one drawer was the same and had to custom fit each drawer.
Turned out great! Instructions were very easy to follow. My first attempt at building a piece of "furniture".
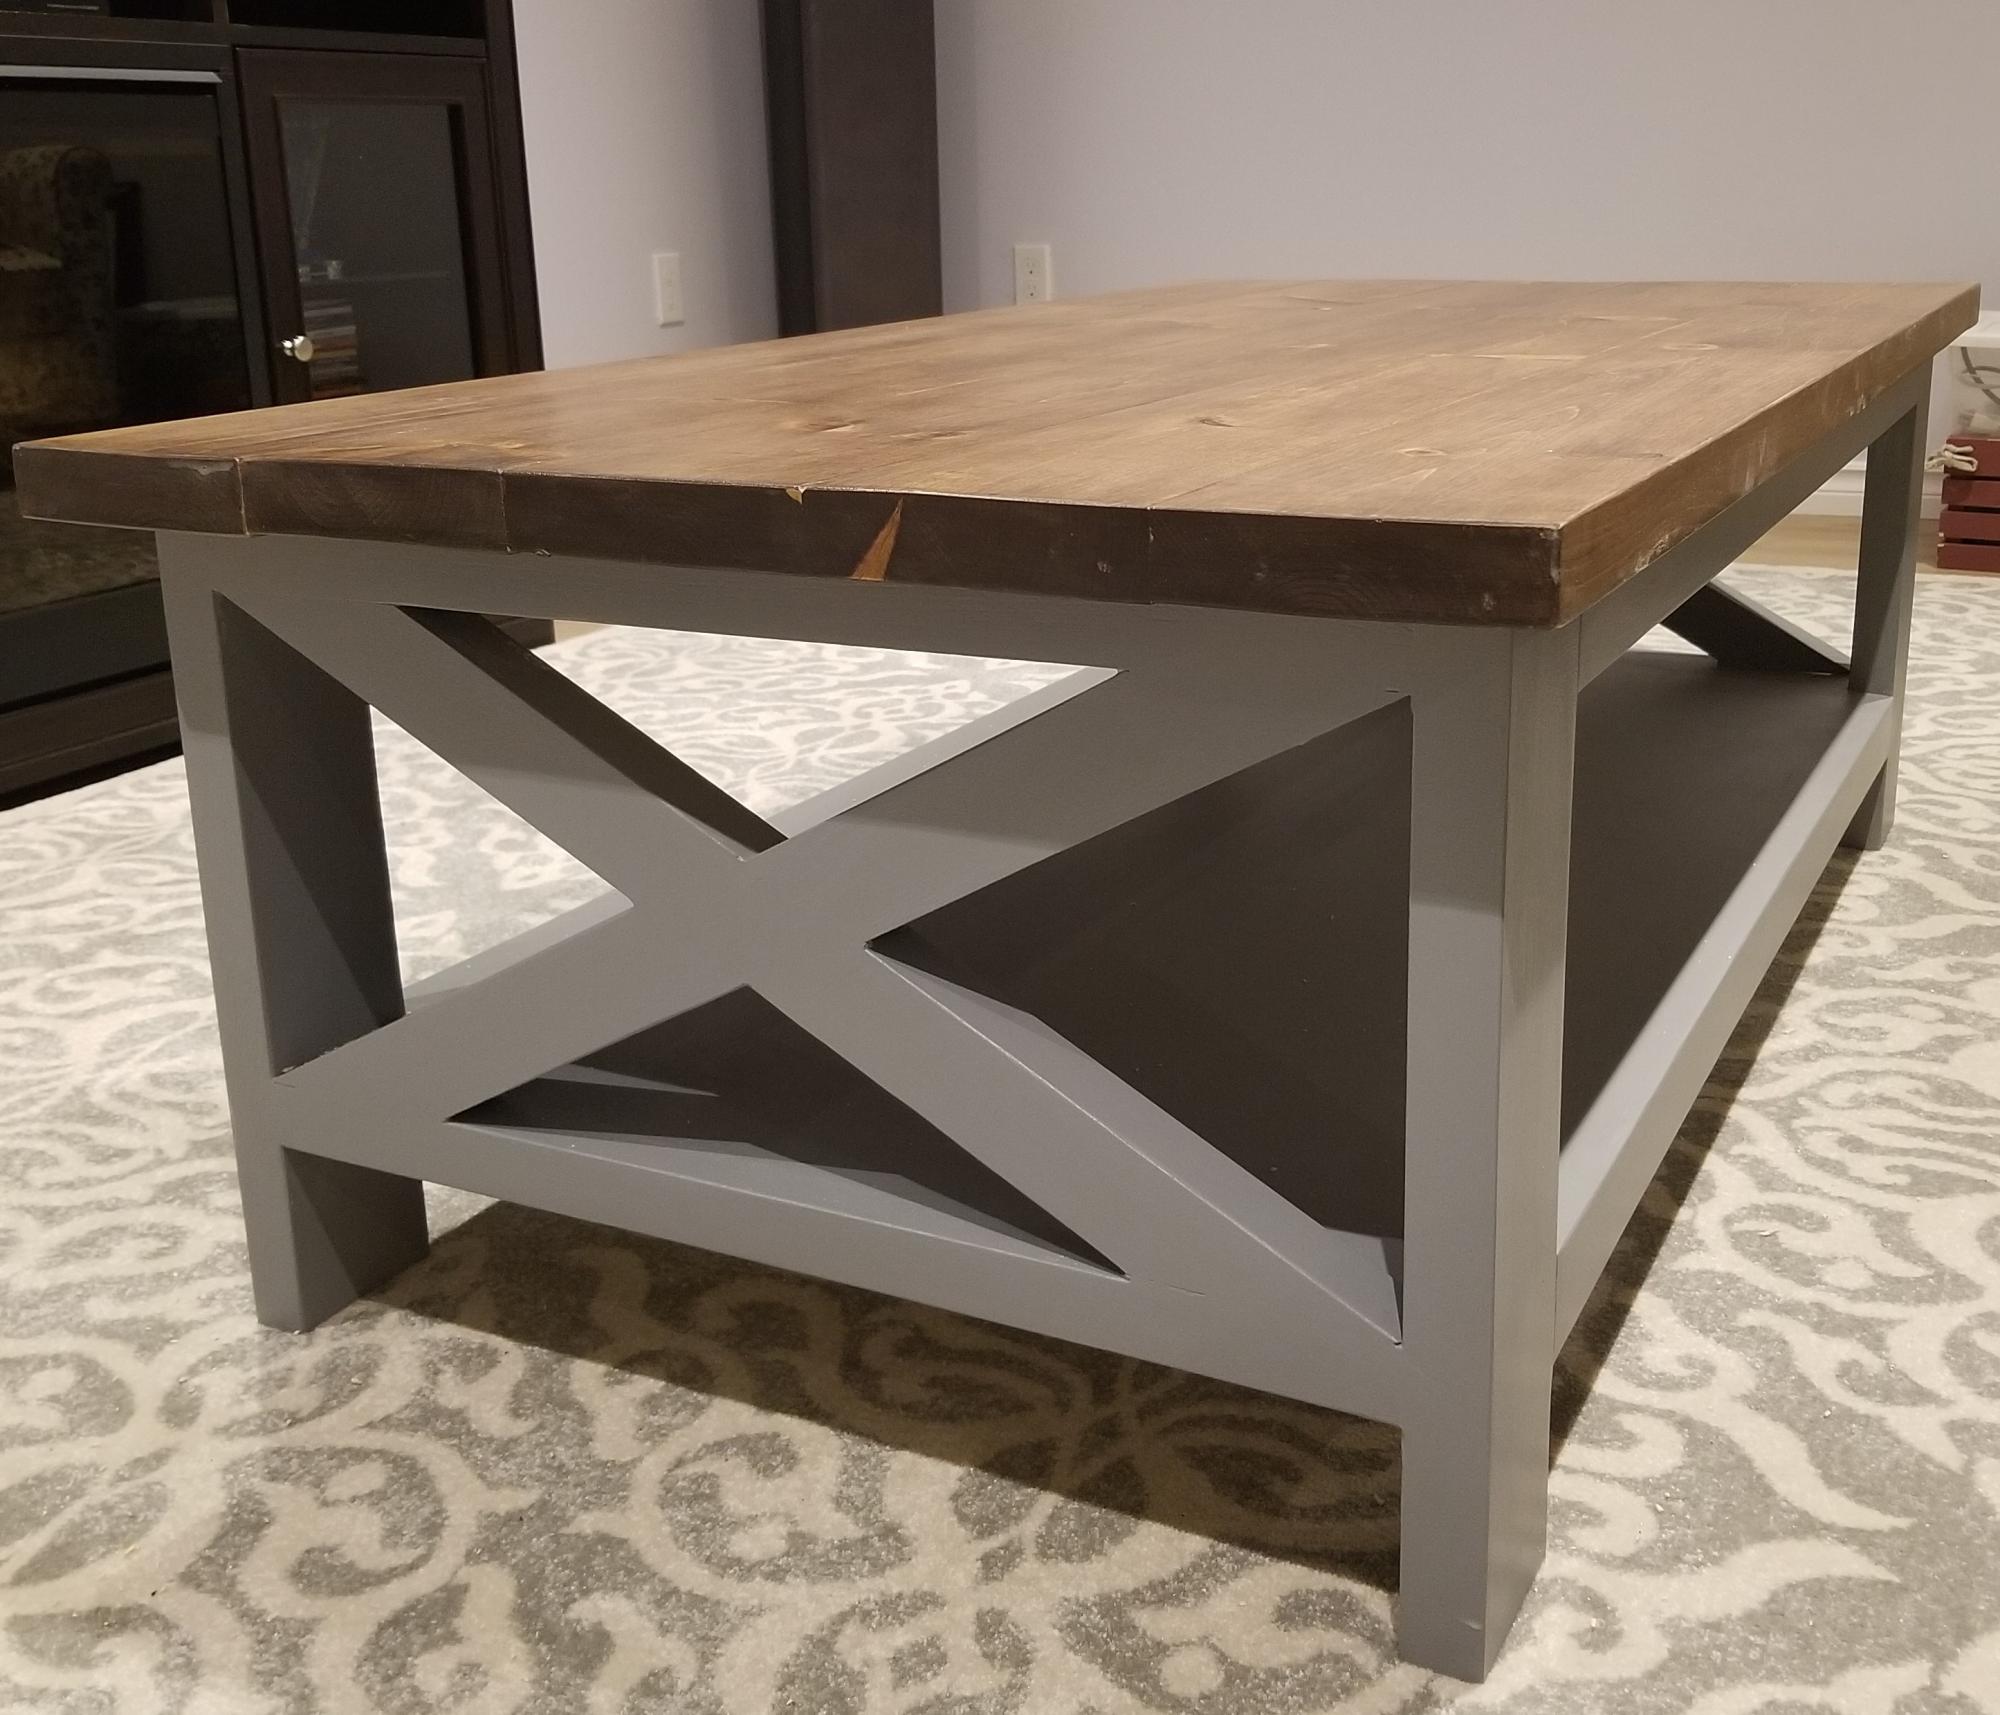
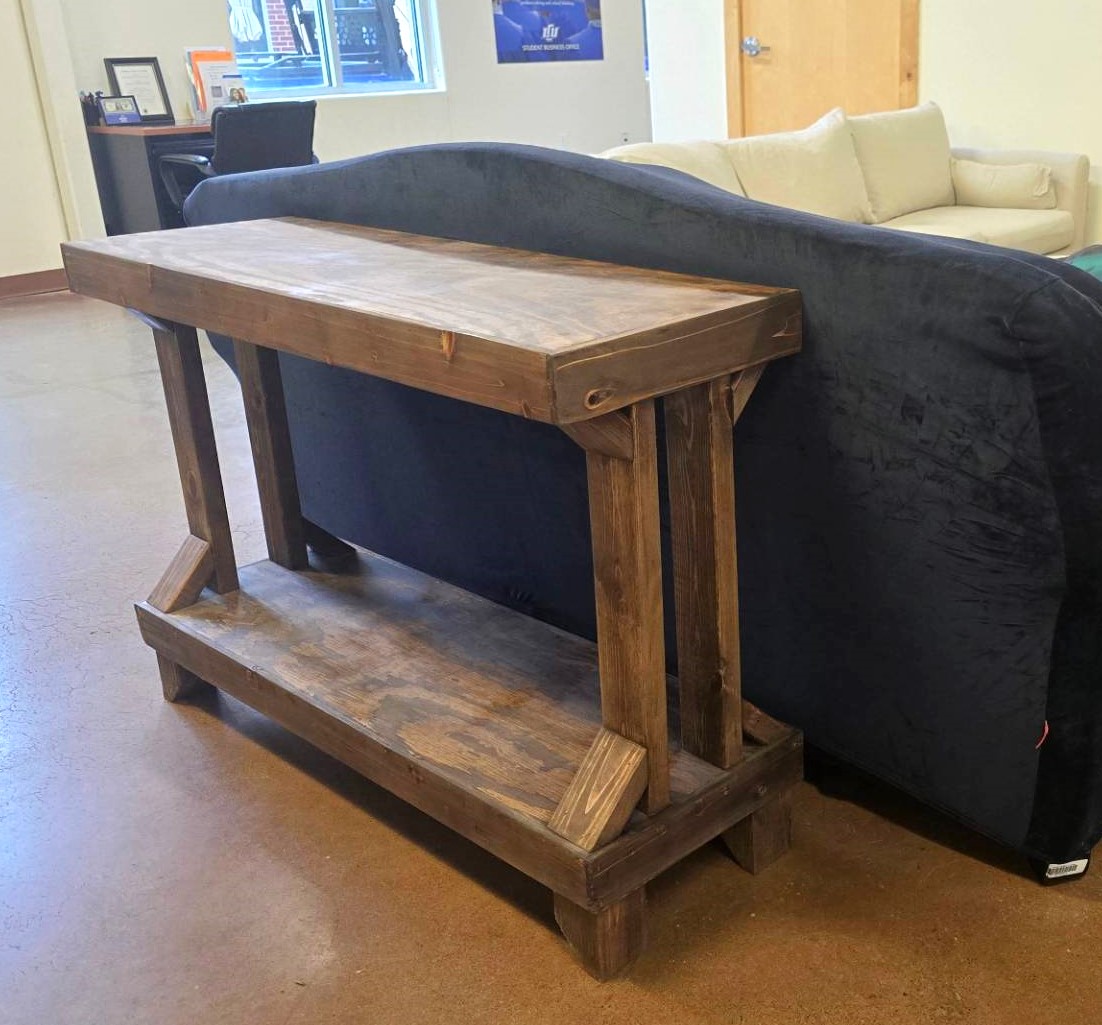
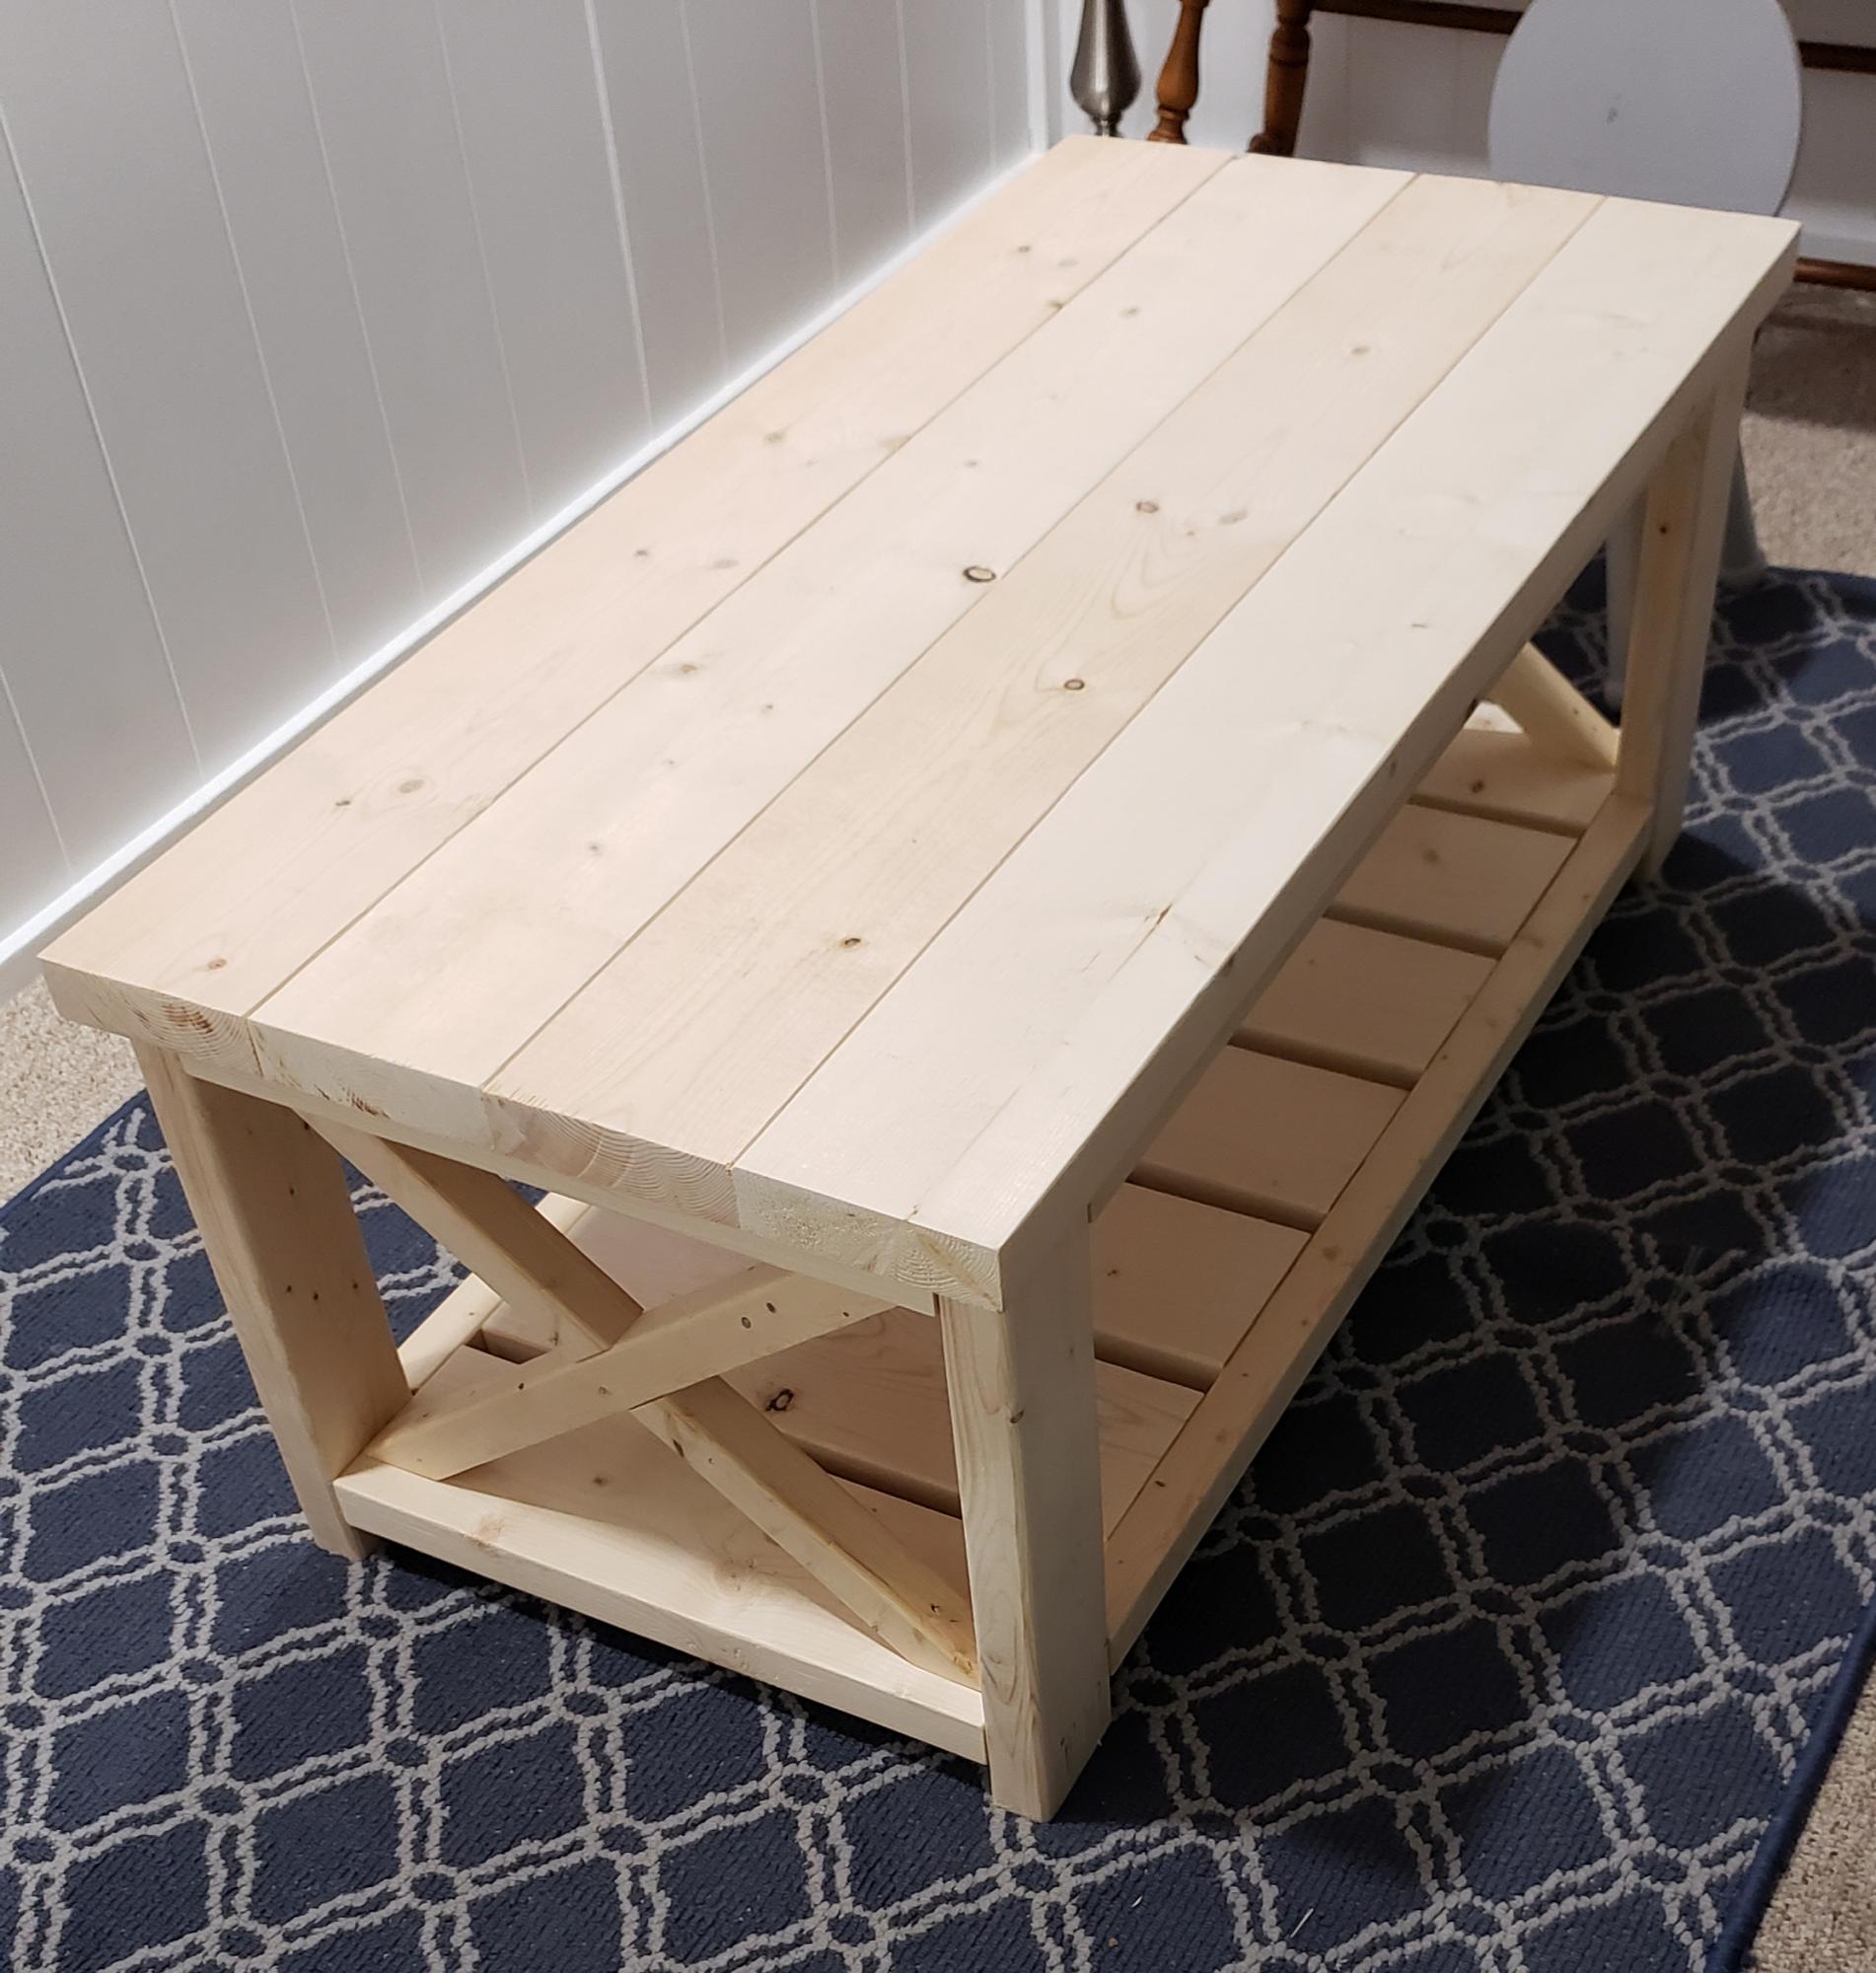
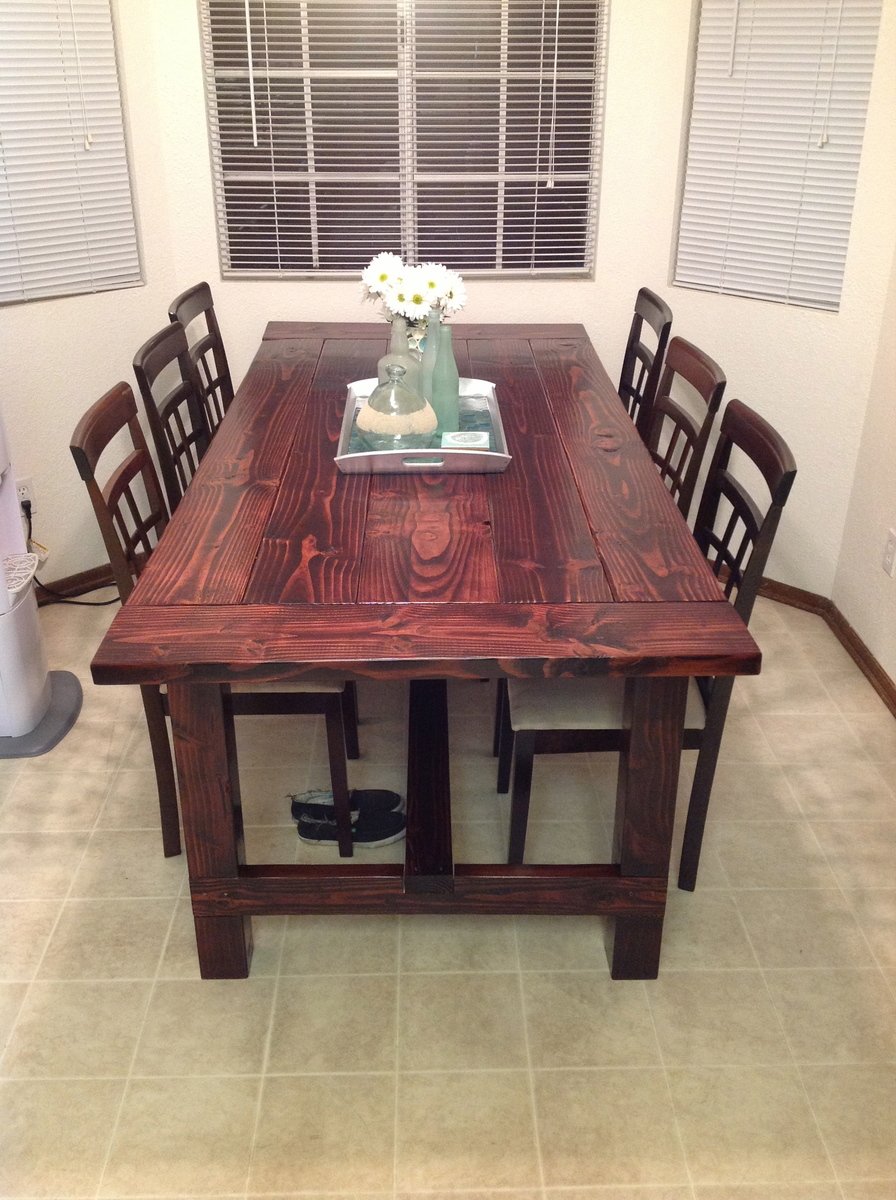
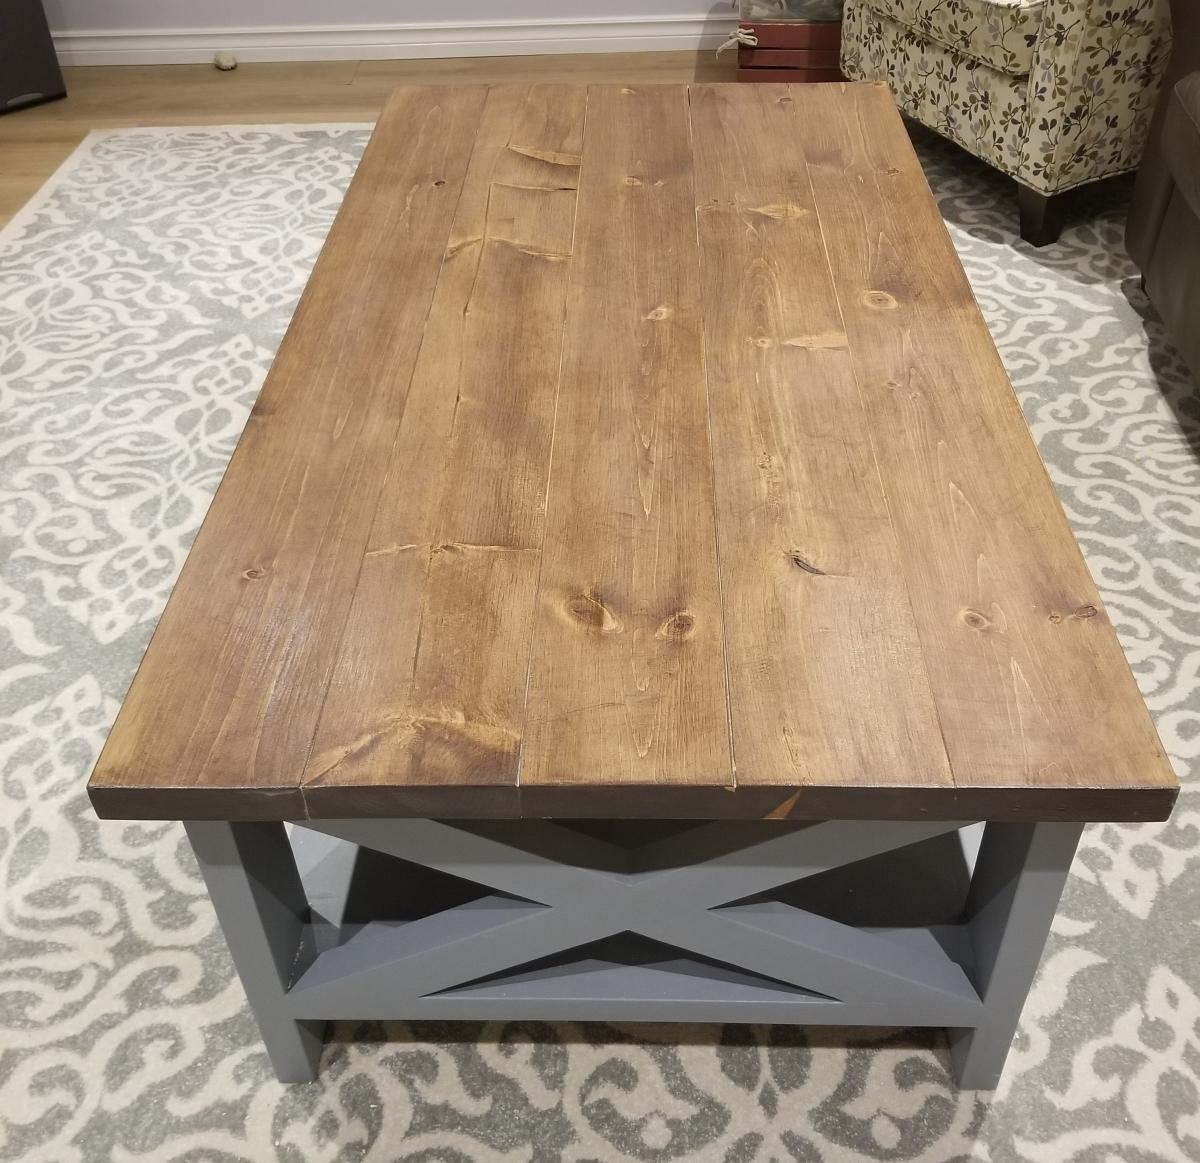
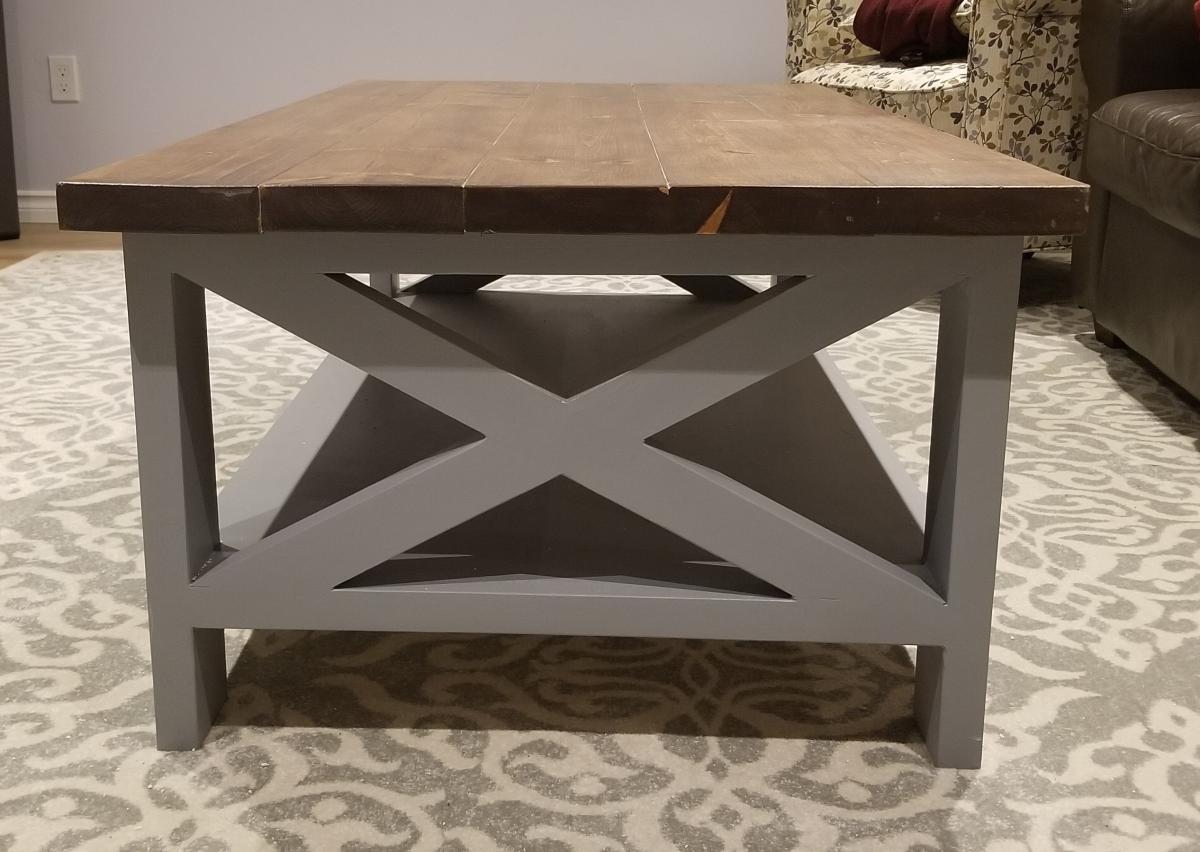
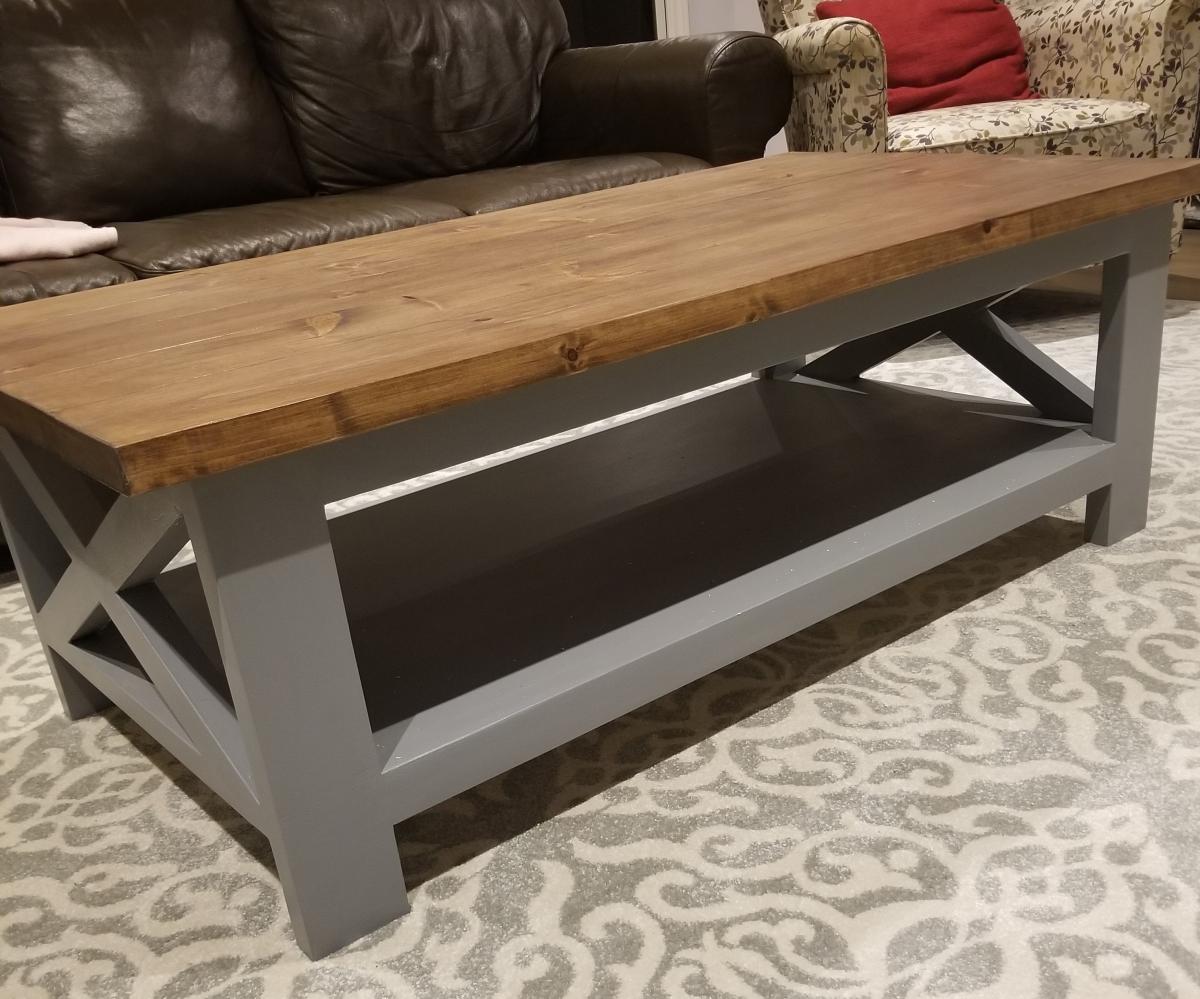
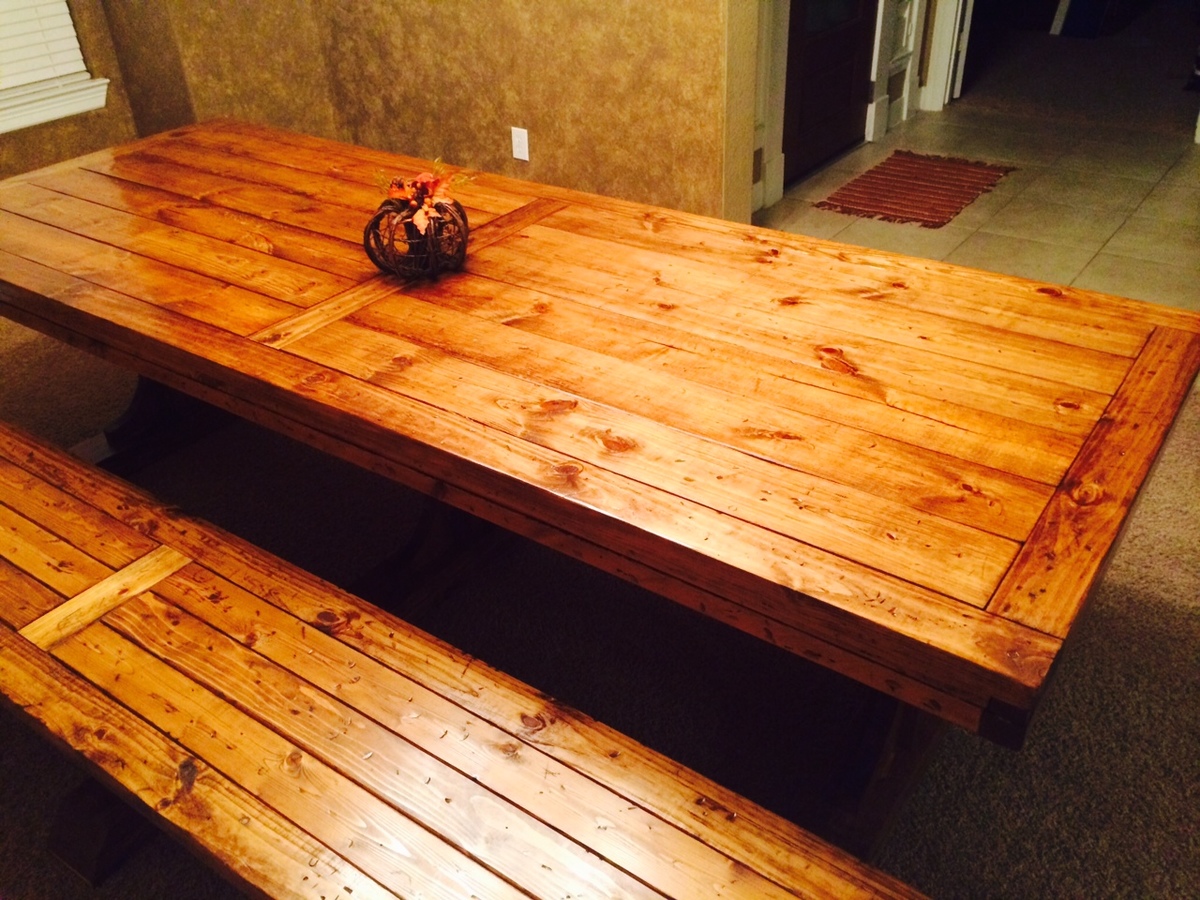
When COVID hit I quickly realized that I had absolutely no hobbies - aside from Netflix (is that considered a hobby?) One day I went down a YouTube worm hole and ended up seeing one of Ana's video's. As I watched I thought "She makes this seem easy", I think I could do this. So I went and bought a few tools and got to work. I'm now proud to say my first project ever is done!
I really enjoyed making this table and I'm looking forward to new projects. My next will be matching side tables.
I learned a ton doing this and while I'm happy with the final outcome I'm also highly aware of all the mistakes I made. The thing is I didn't know I was making mistakes at the time. (I didn't know what I didn't know) A little bit of experience now helps eliminate those same errors next time around.
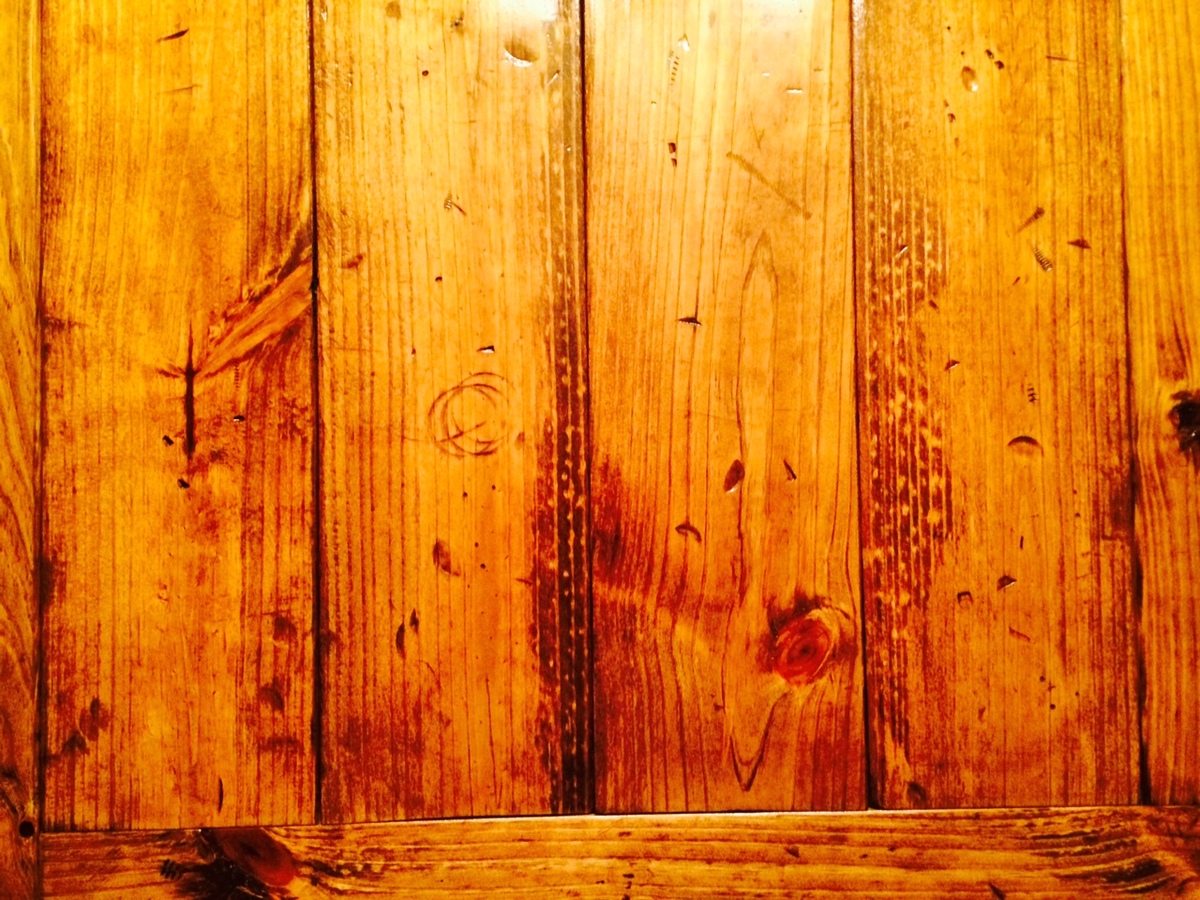
I certainly discovered that finishing is where all the magic happens. It's what makes the project look either amazing or just "ok". It's also the part of the build that takes the most attention to detail, the most patience and is also (in my humble opinion) the most boring repetitive part of the build. The reality is it's also the most important, transformative part. It definitely makes the difference.
Ana, I hope it's helpful for you to know that your video's really do inspire people to get creative and make things. I'm excited to start on my next project!
Sincerely,
Brent Rodgers
Ontario, Canada
We built this bed for the lil neighbor girl as a gift for Christmas. It turned out better than I expected! The Plans were amazing and easy to follow... It is the first project that I used my Kreg Jig! I am so excited to build another one for my daughter now! We decided to pre-finish all the parts after we cut them to ensure proper sealing of all the ends, just in case of any sap or what not. Special thanks to Ana for all of these plans and Ideas! You truely rock!
Built from the Triple Pedestal Farmhouse Table plans. It took at lot longer than I wanted, but I was taking my time to avoid mistakes. All of the wood is "2 x ?" pine studs. the table is solid and very heavy.
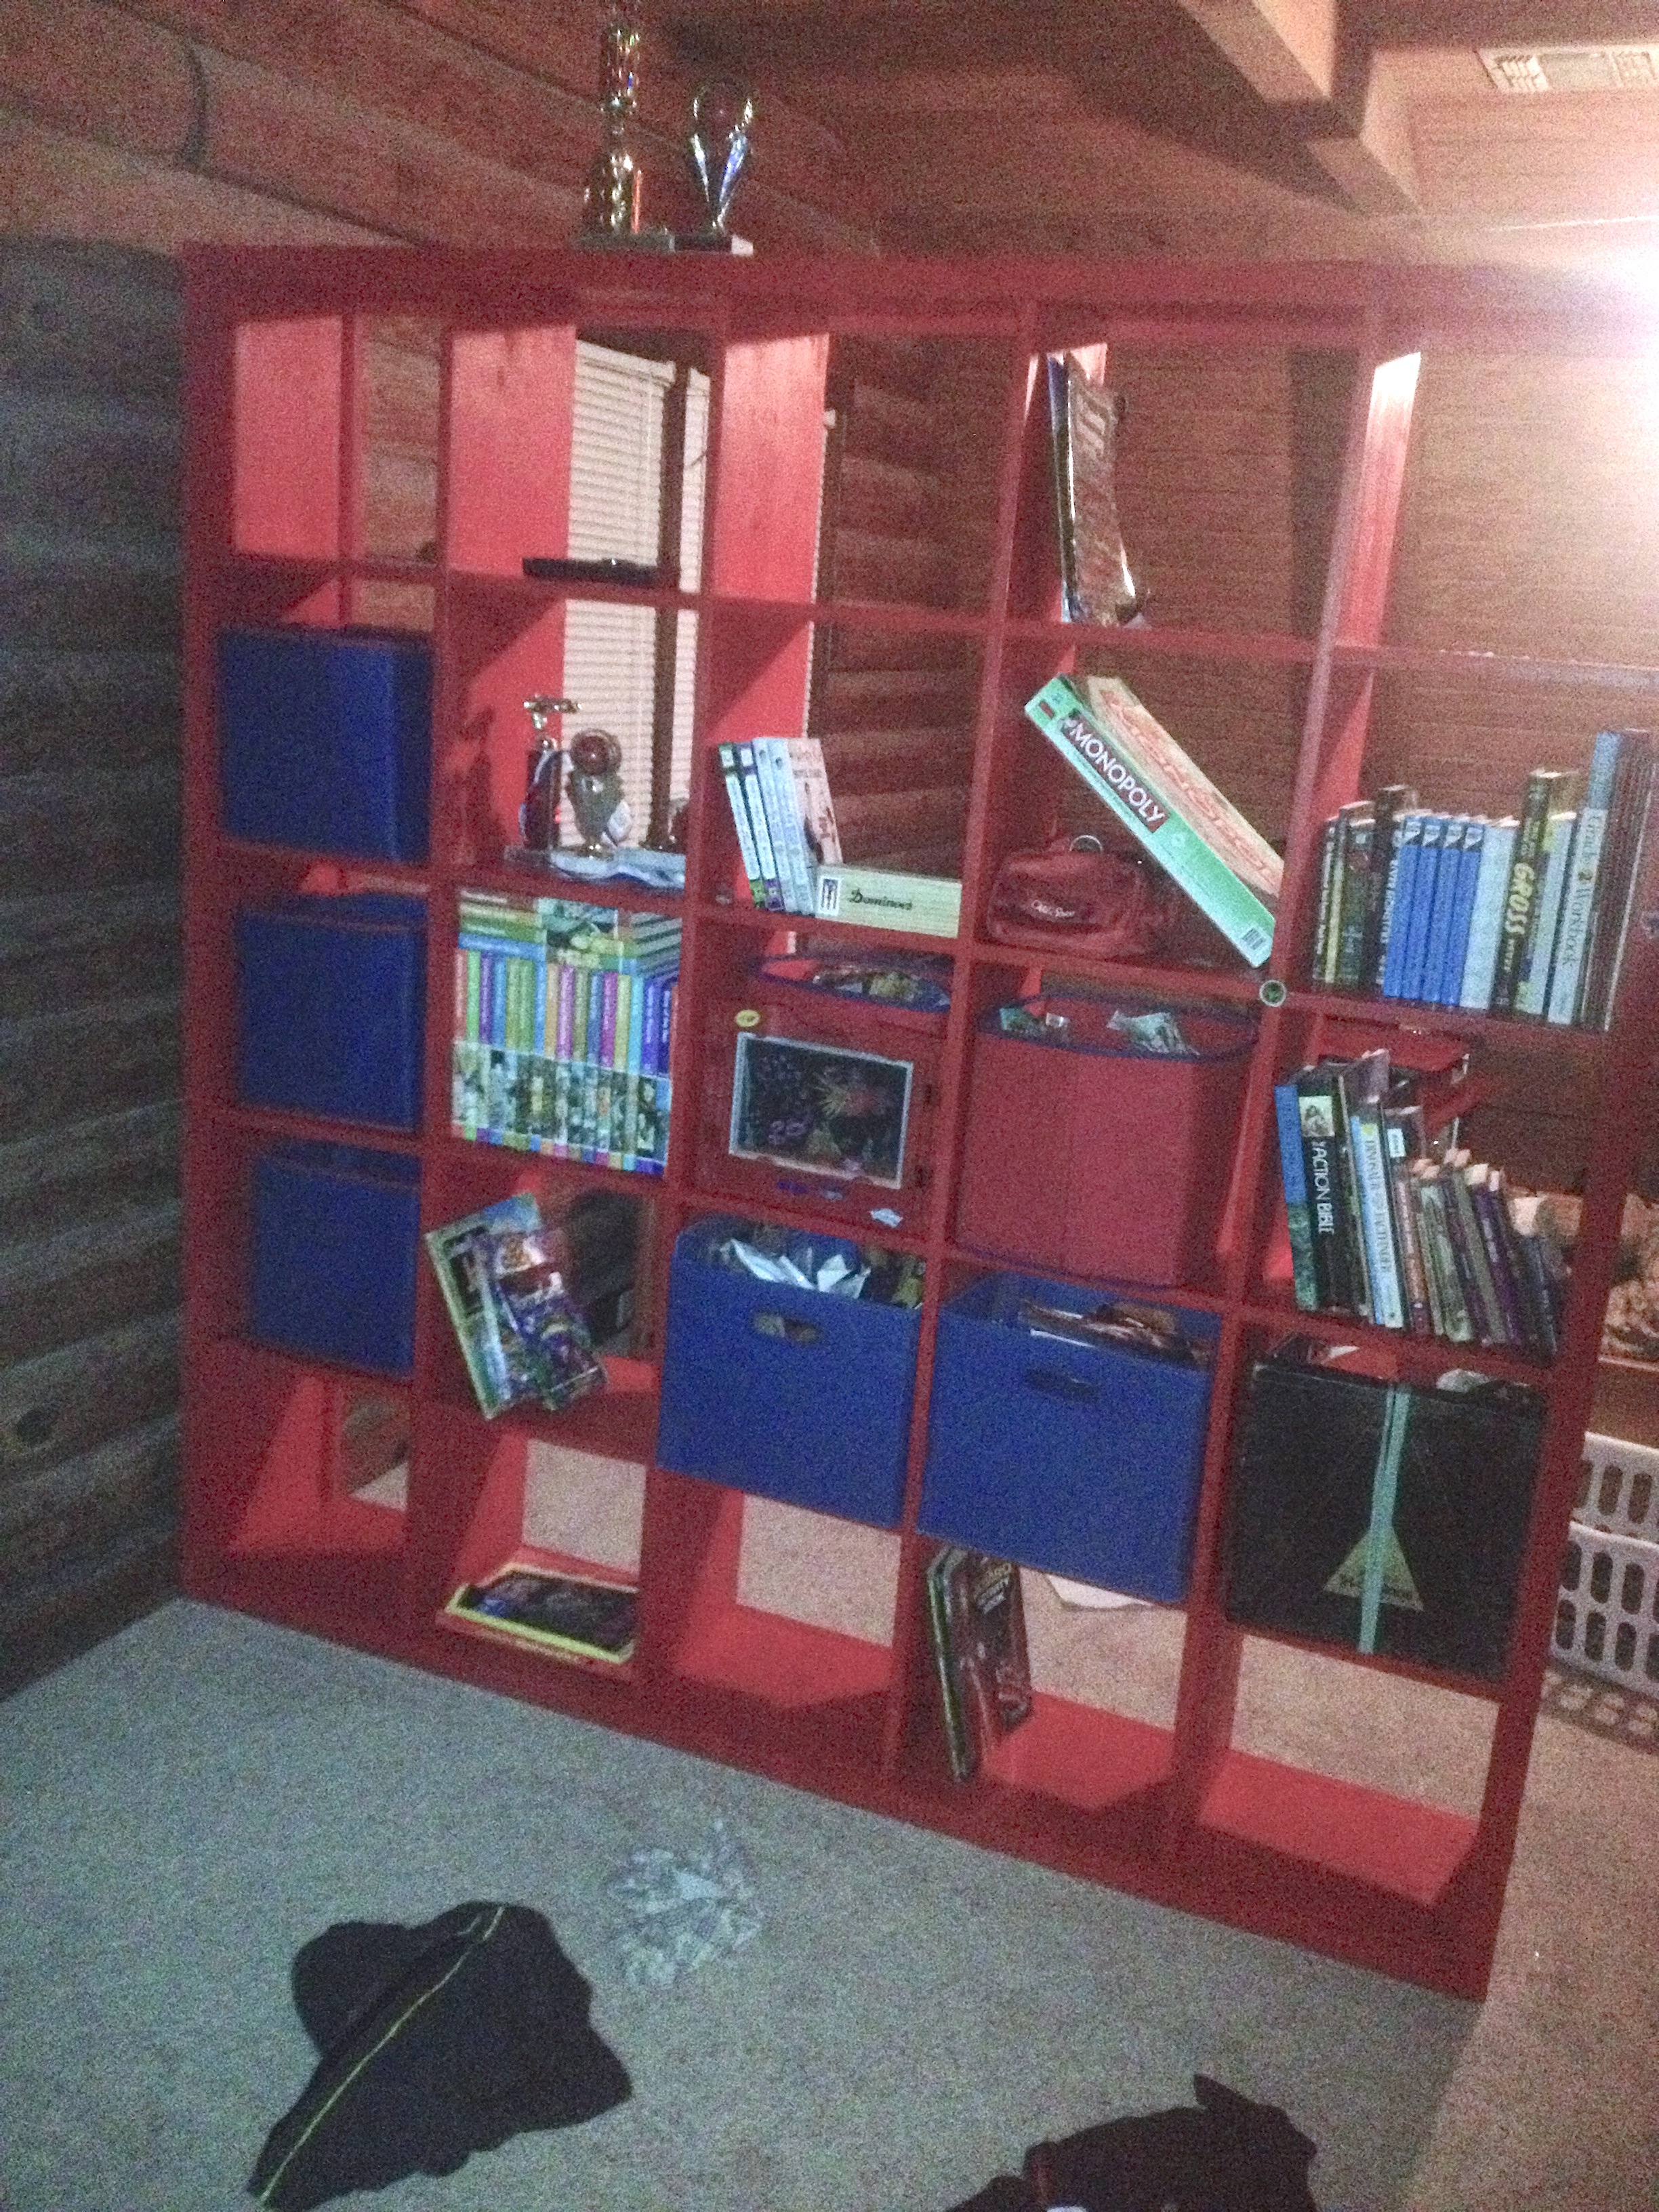
My twins share one pretty large room. They are 11 years old now and getting old enough to want more of their own personal space. This 5x5 cubby shelf was perfect to be used as a room divider!
My challenge was that I typically work in the basement, but their room is on the 2nd floor. I didn't have anyone that would be able to help me carry this massive creation up 2 flights of stairs, so I had to build this "on site." Unfortunately, their room is carpeted (poorly), so I brought up some old subfloor panels that I had to have a more flat surface to work on. It wasn't ideal, but made it possible.
It also took me much longer than it would take most people since I was limited to working only during nap times. It probably could have been done in a day or two if I had the opportunity to work continuously.
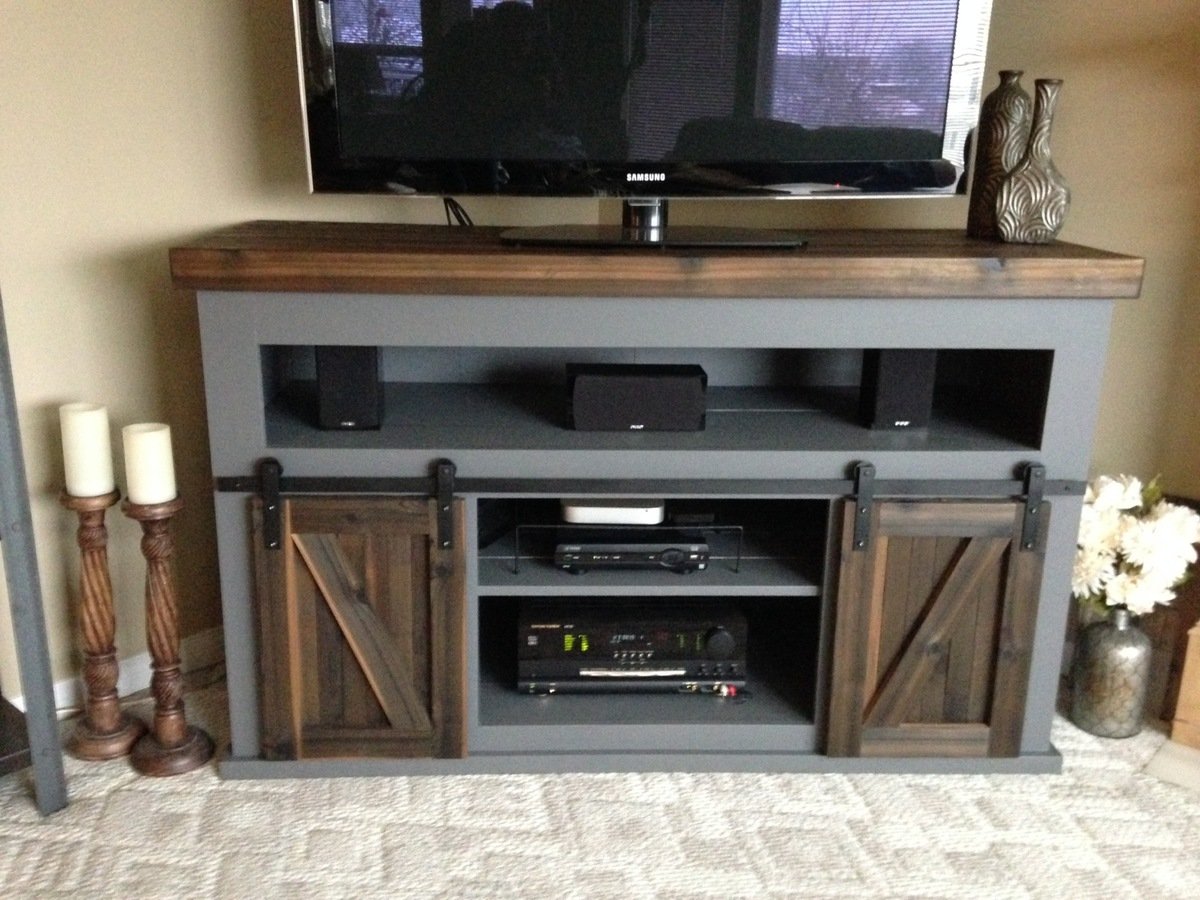
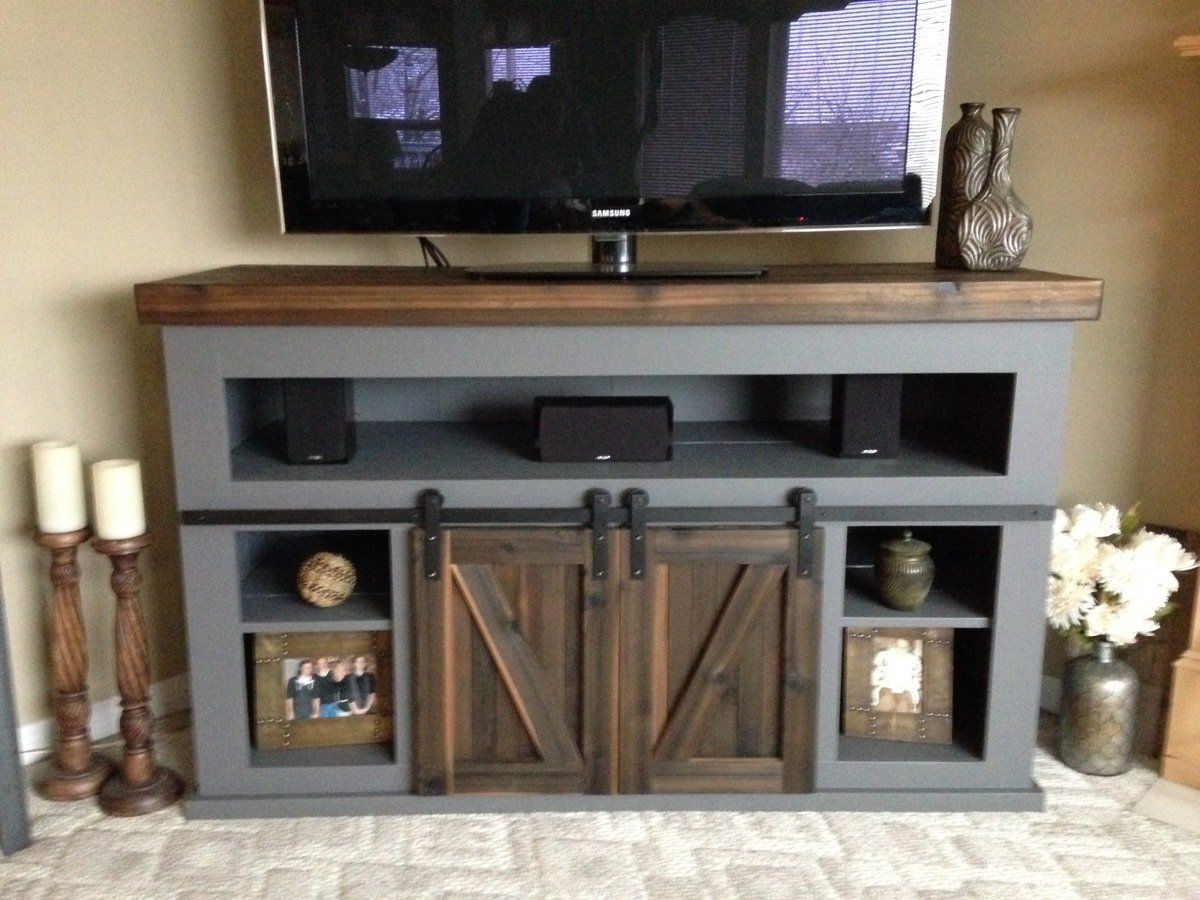
I made it a little deeper to accomodate my tuner (59" wide x 21" deep x 35" tall).
I liked the look of the long, top shelf that others makers had built, it's perfect for my 3 front speakers!
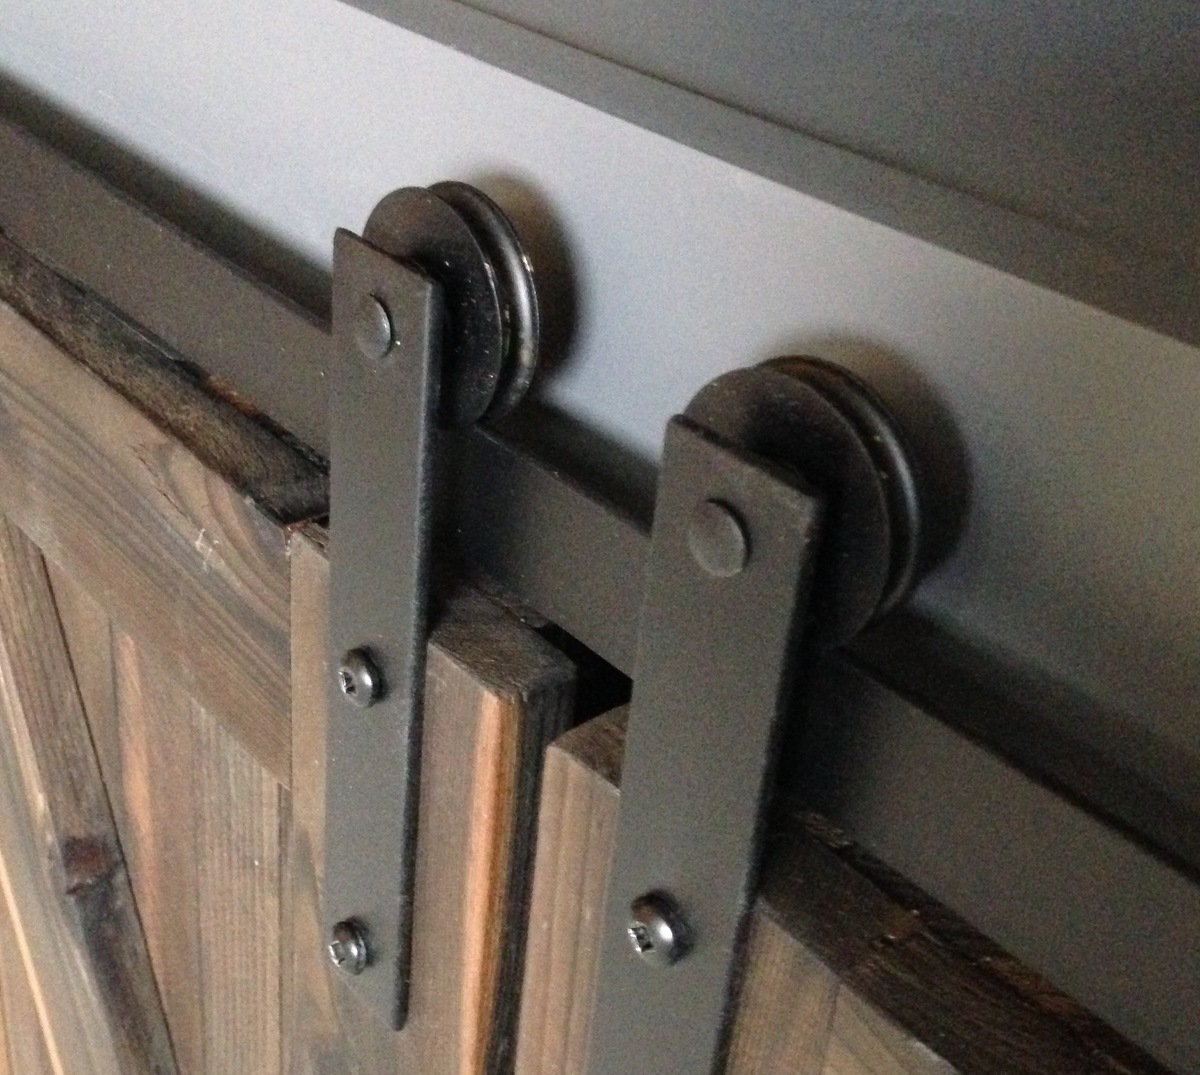
These sliding door rollers worked great for the door hardware:
https://www.amazon.com/gp/product/B00DPH8M9Q
I used 1" x 0.125" flat bar (hot rolled steel) for the rails and door mounting stips (6" x 4). It's fairly soft, so is easy to drill the holes for the screws.
Total cost was about $250, but $80 of that was for the thick cedar top. I used cedar, as I like the colour it goes when ebonized with vinegar/steel wool solution. The door are also cedar. I finished the top and doors with wipe-on polyurethane. The paint was grey eggshell latex.
Thu, 01/11/2018 - 06:48
Hi is it possible to get the plans for that my son would like for me to make for him.
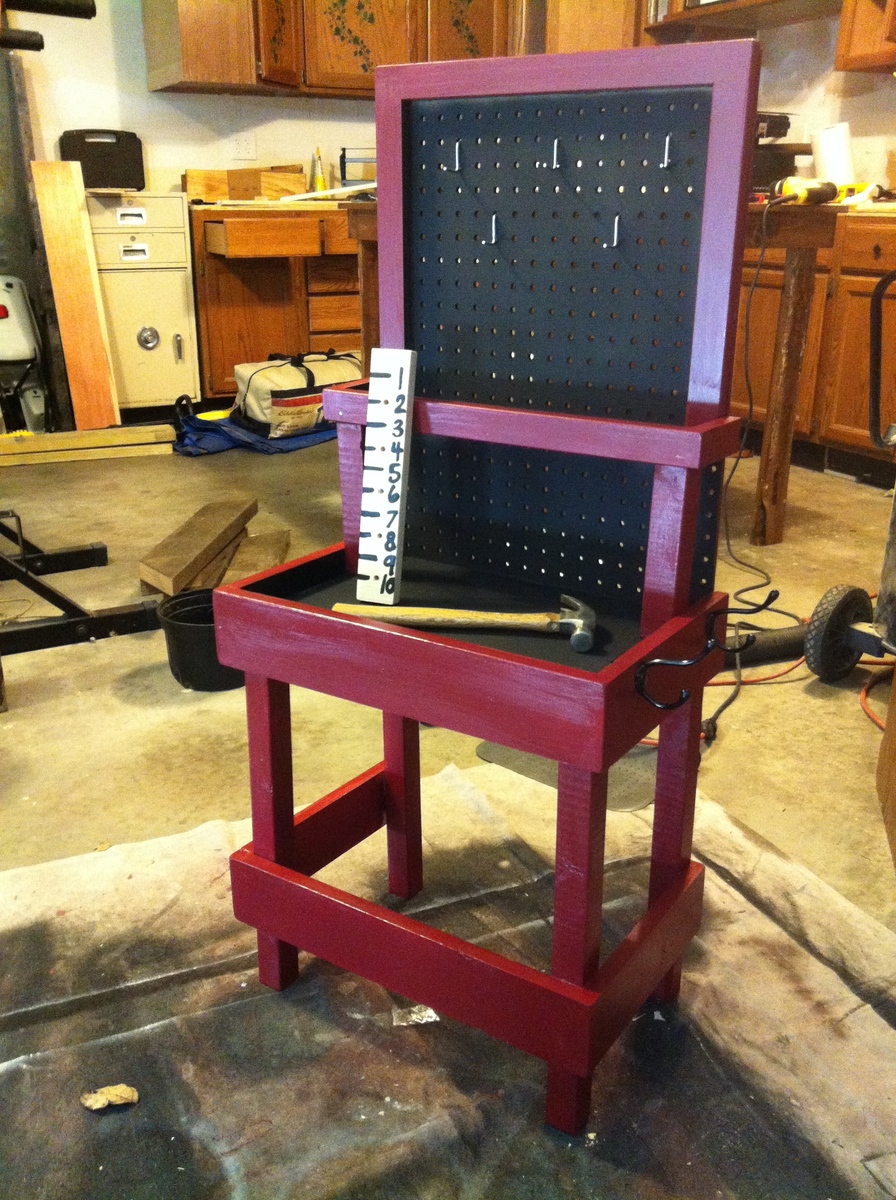
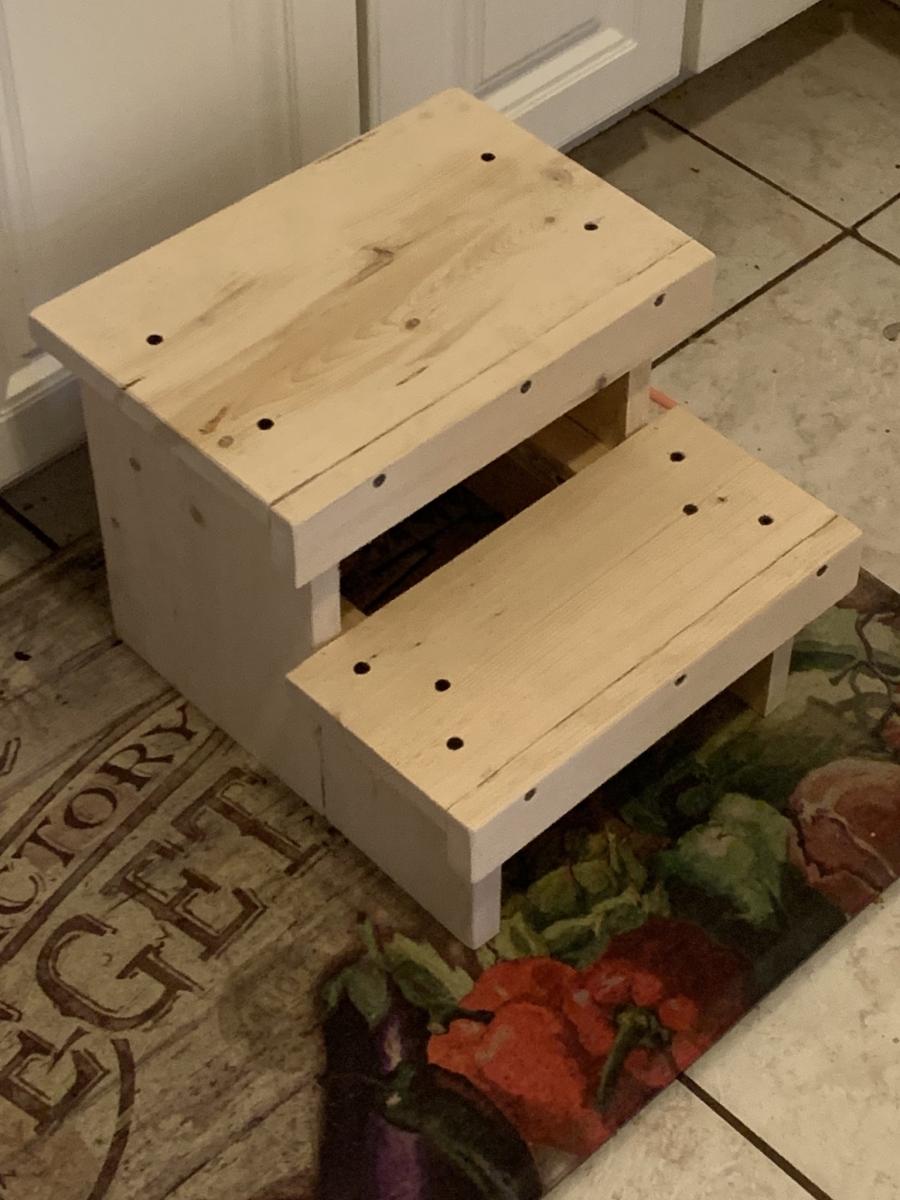
This was a really simple and easy project. I modified the design to fit the scrap wood that I had on hand to lower the cost. This bench is for my 2 year old and is the perfect height for a 2-5 year old. I used chalkboard paint on the work surface and peg board to add another interesting dimension to the piece.
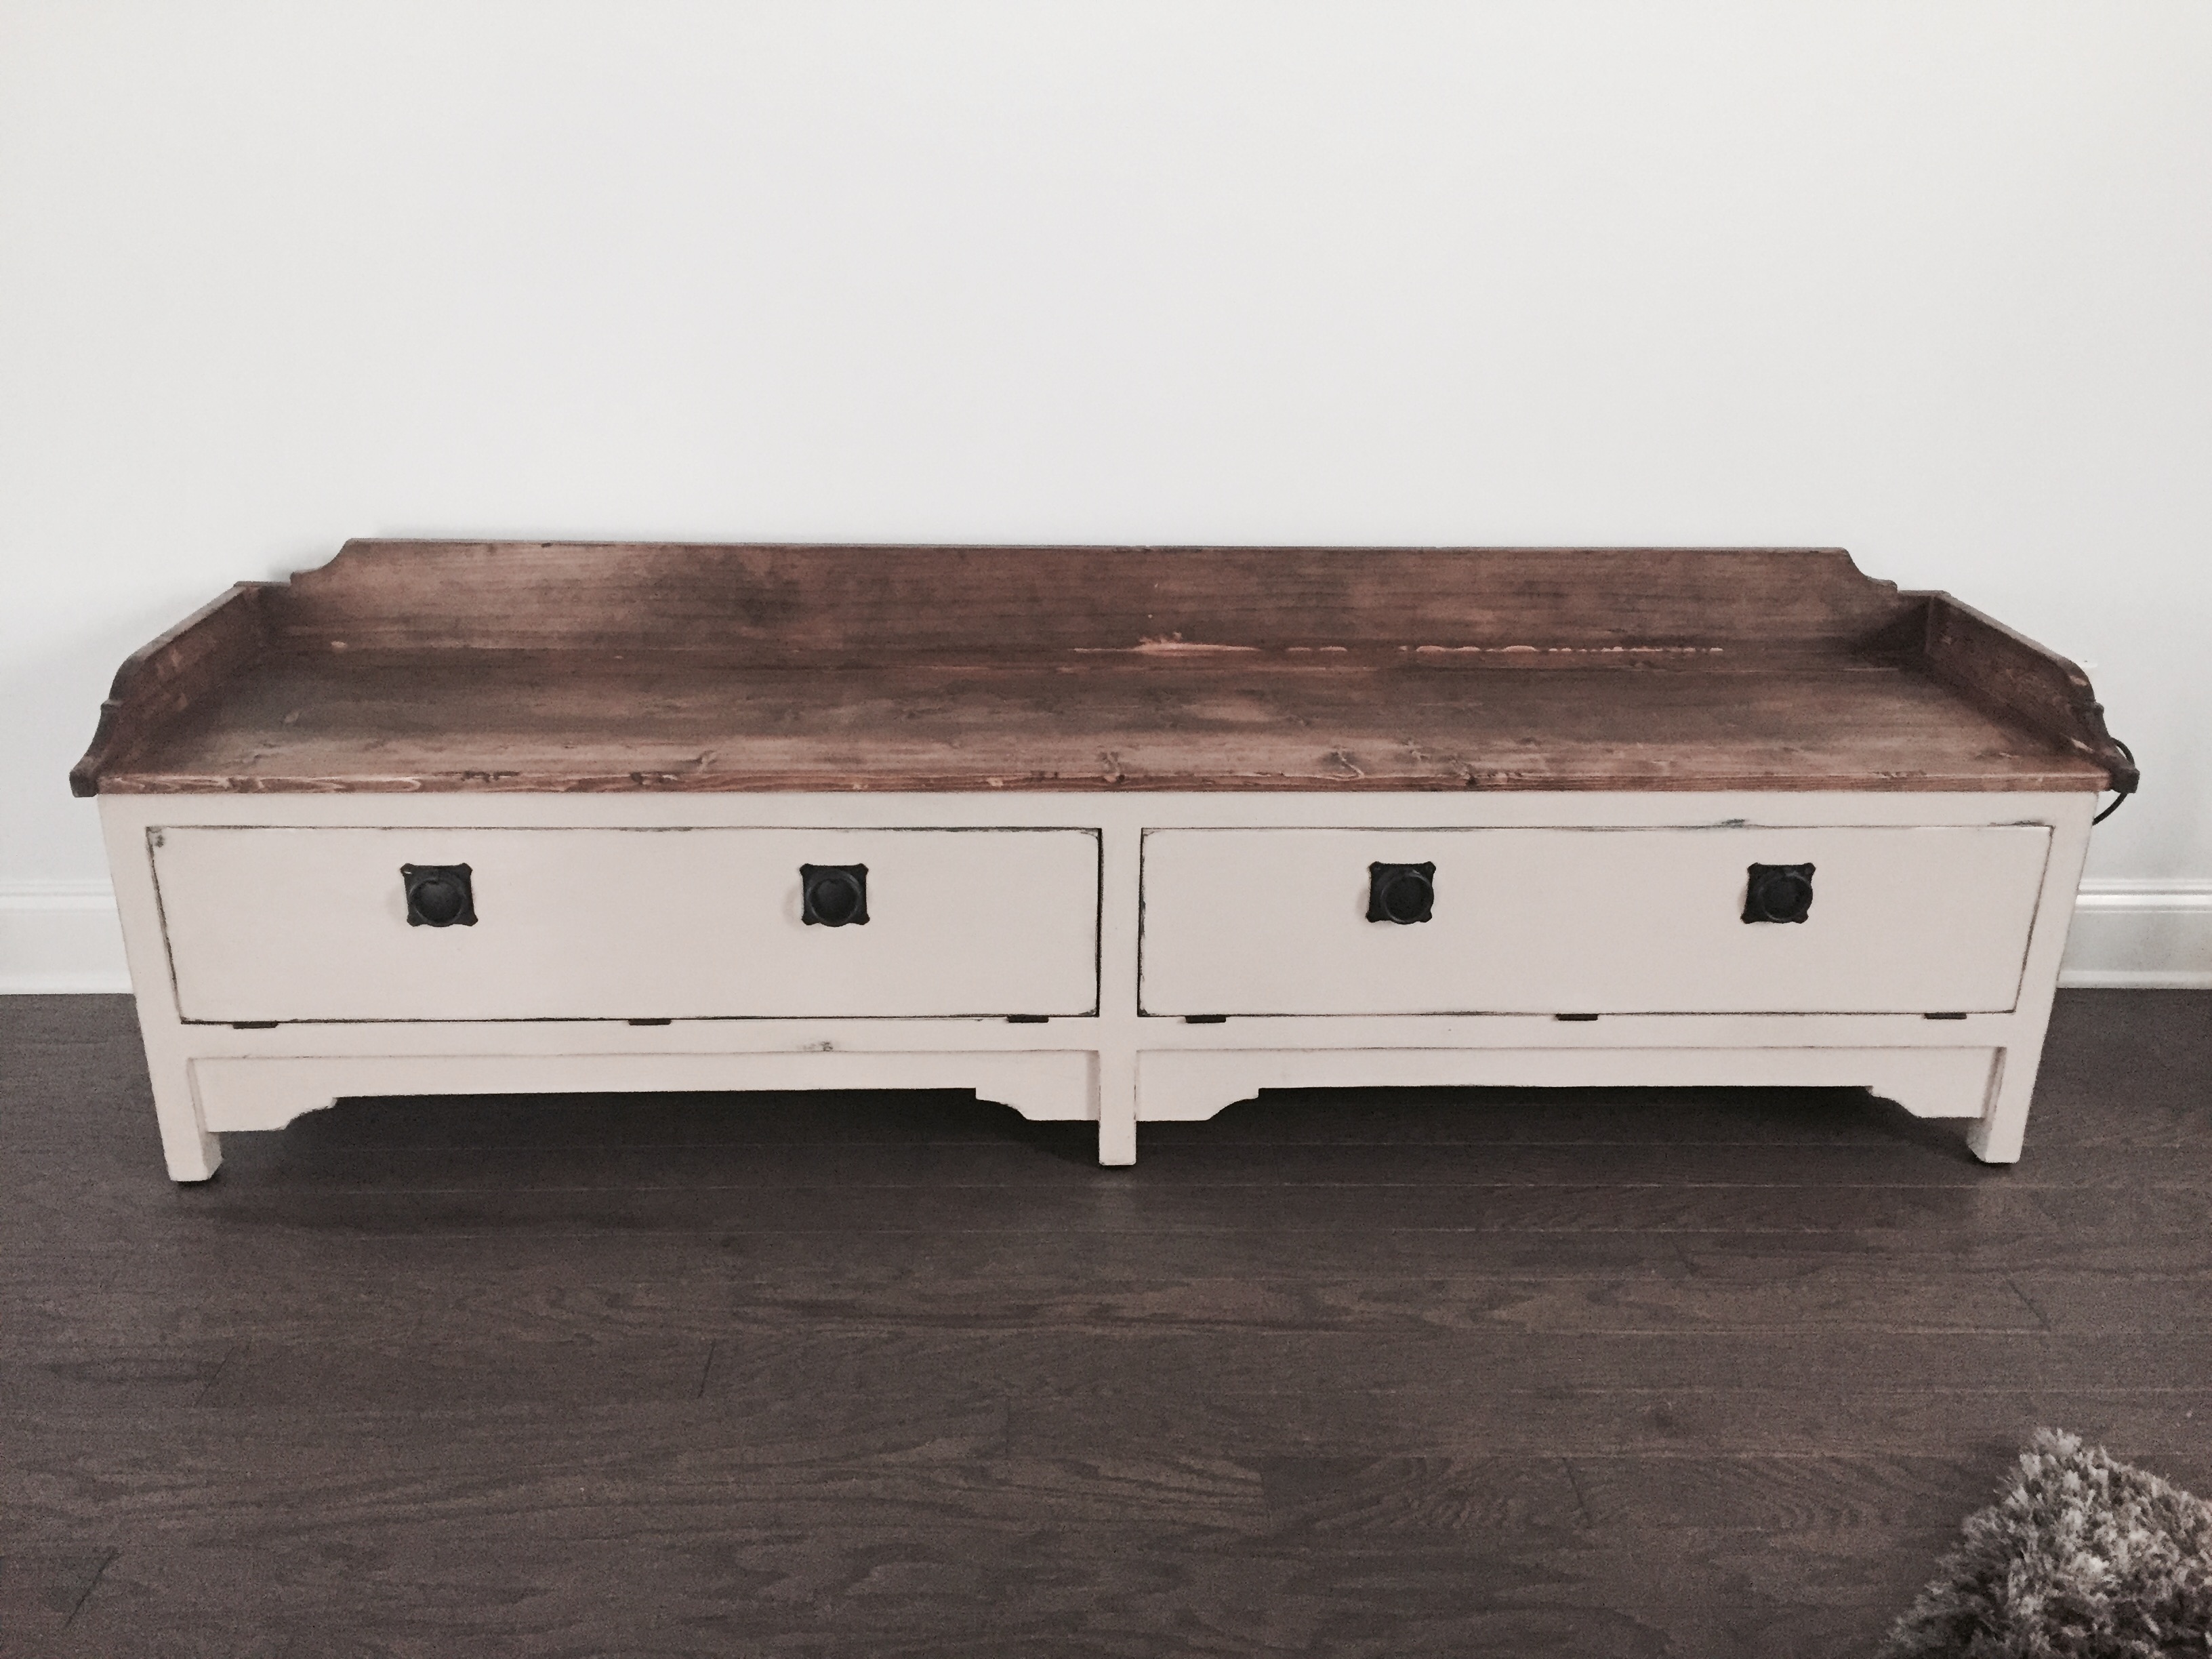
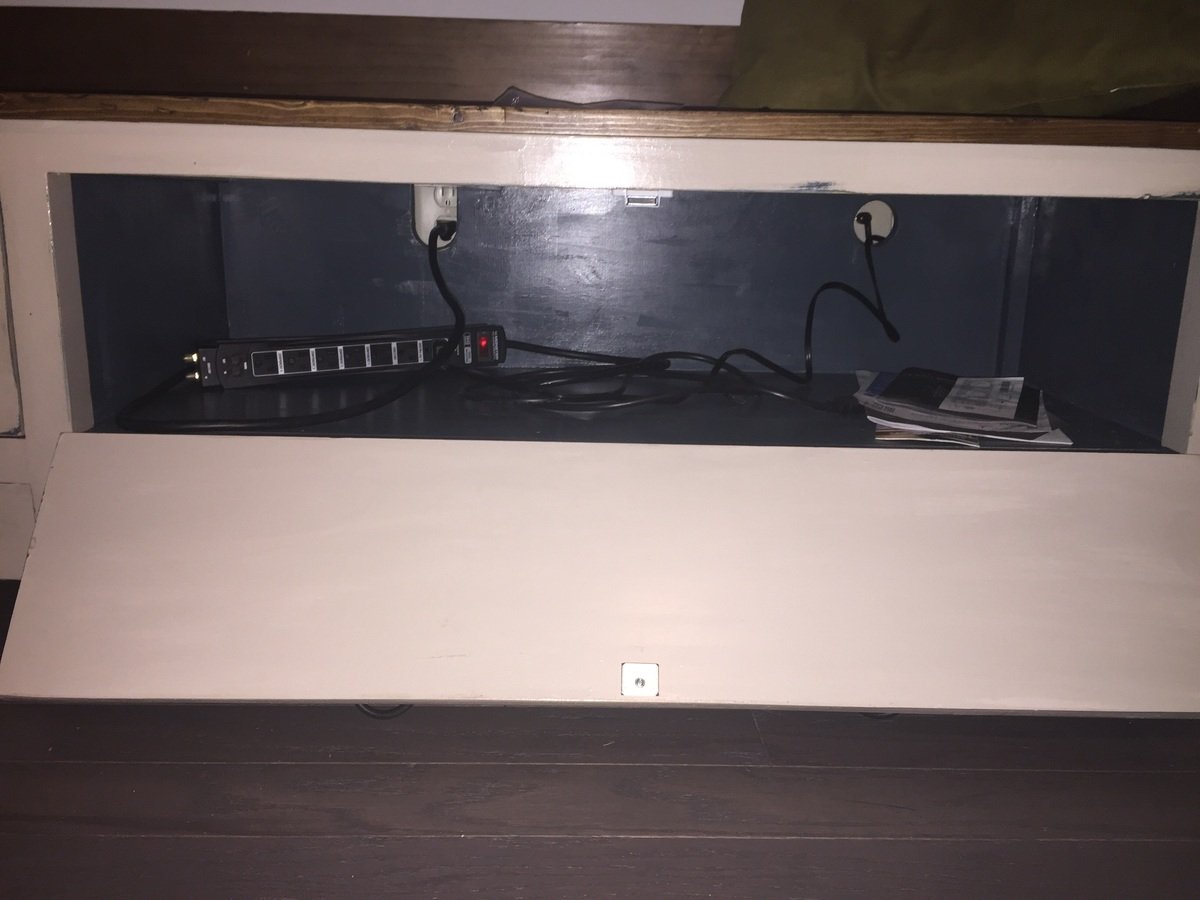
We needed a long bench to cover up our chords and outlets against a fairly large wall. My husband cut holes in the back of the bench so that chords could pass through and we could hide a cable box inside the bench.
It turned out perfect!
The great plans to follow for this project made it much easier.