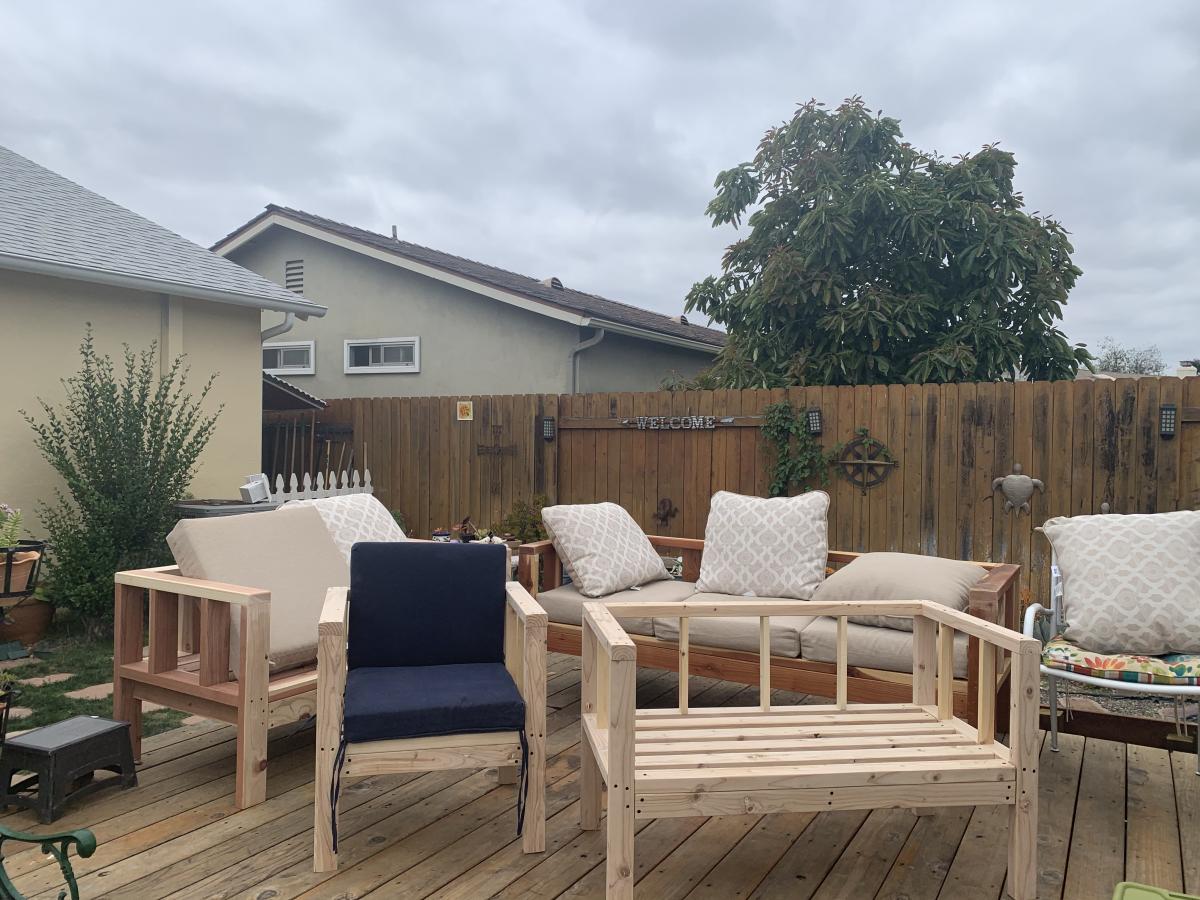
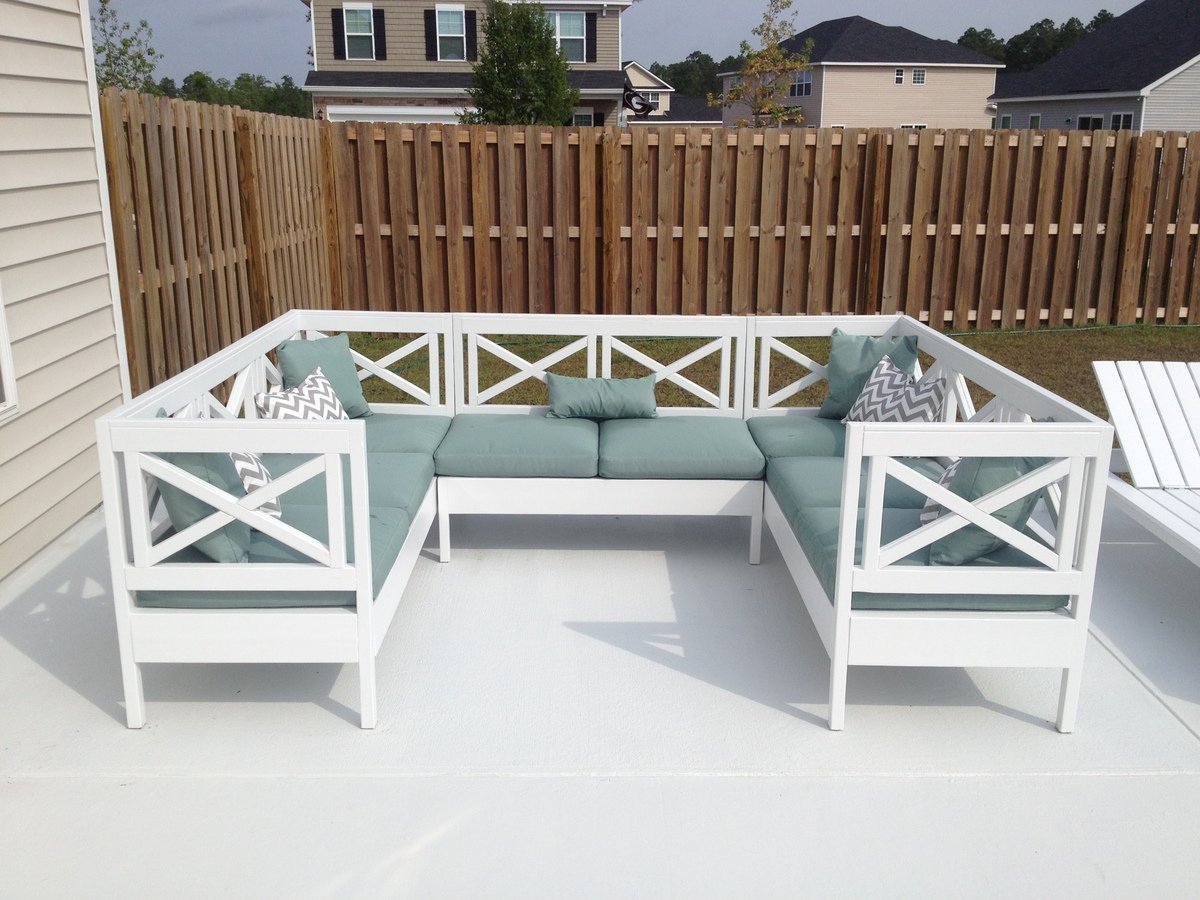
My first patio furniture build

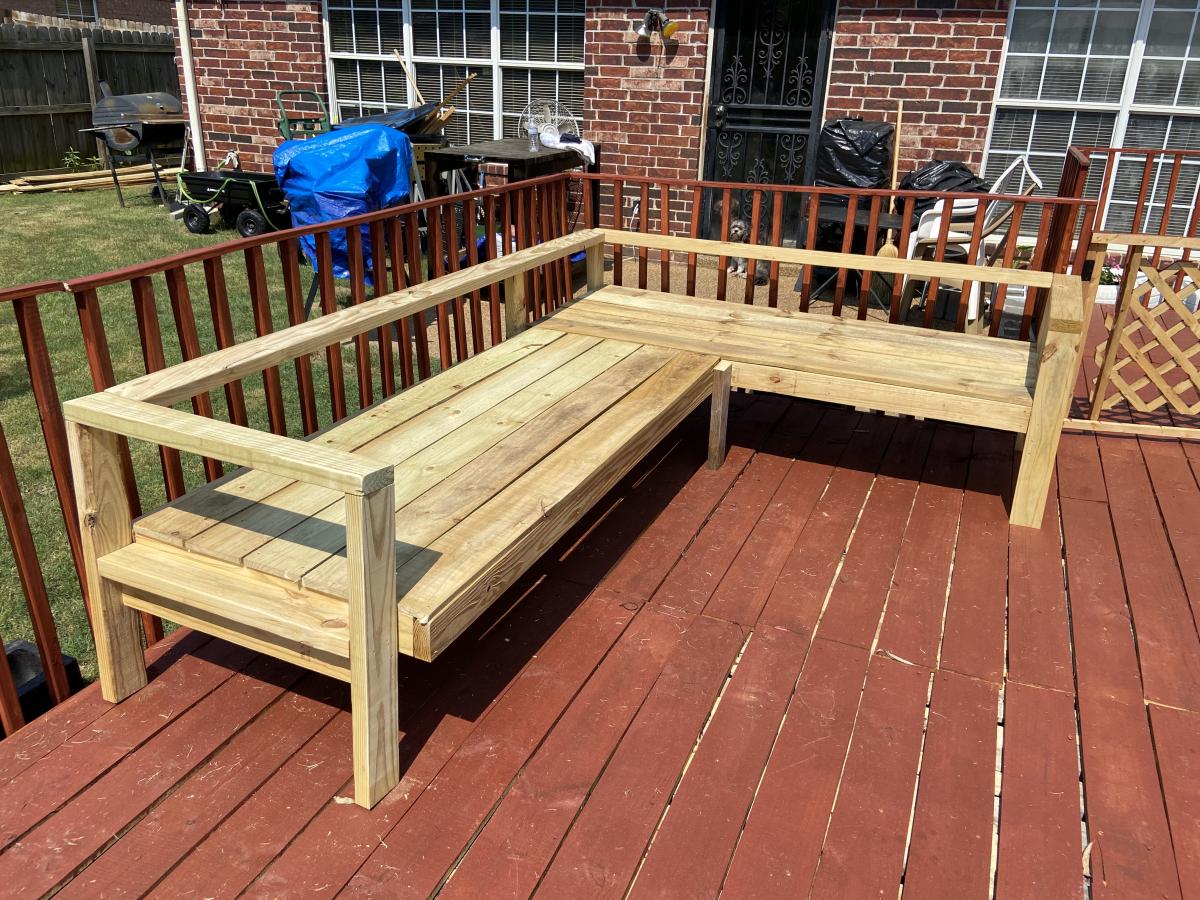
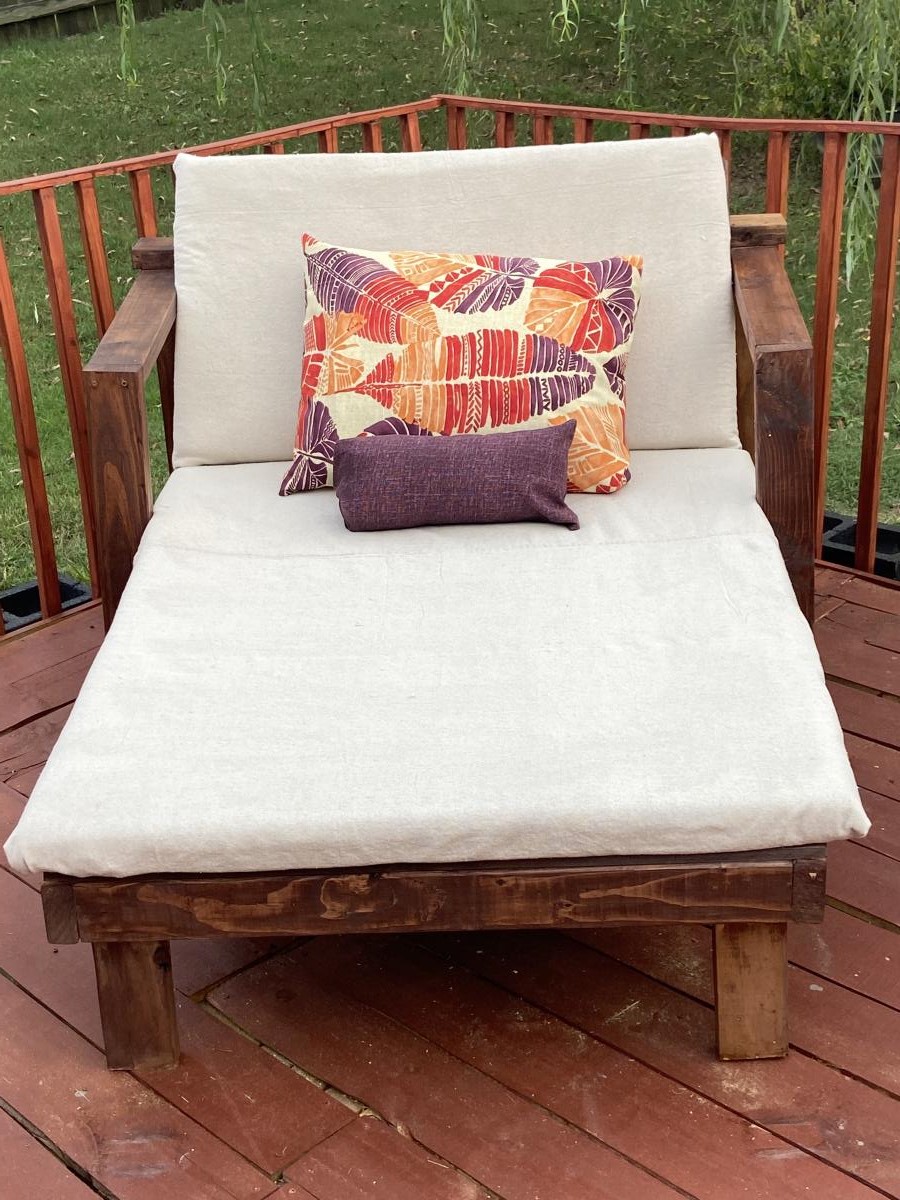
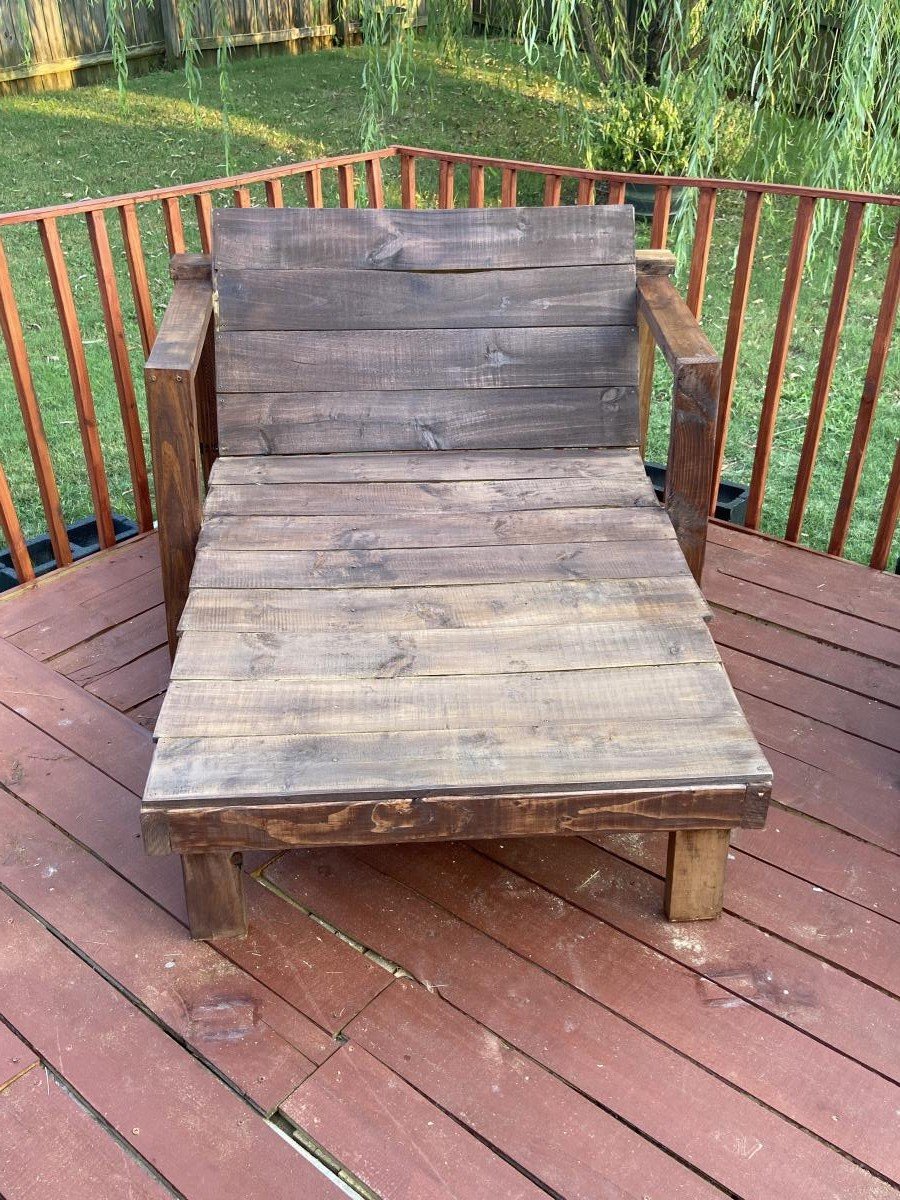
The sectional is based from Anna’s design. The lounger was a combination of different design. I love Anna White designs. As a beginner in woodworking, I find her to be easy to follow.
Built from Plan(s)
The sectional is based from Anna’s design. The lounger was a combination of different design. I love Anna White designs. As a beginner in woodworking, I find her to be easy to follow.
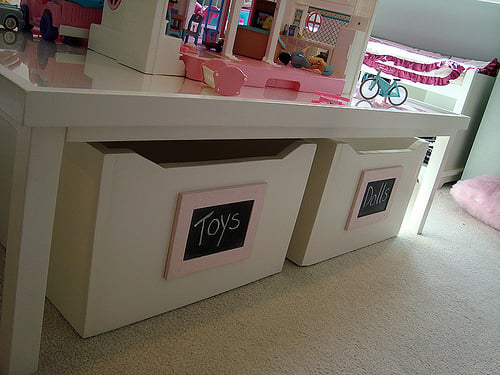
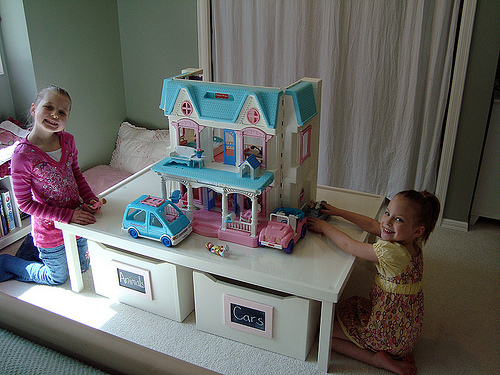
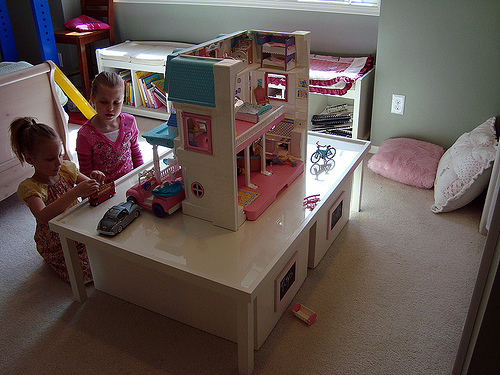
Anna's (the one on the right) new activity table with rolling carts! Rolling drawers are made of 3/4" MDF with 2" casters underneath. The chalkboard frames (found here) were painted with satin finish pink paint, then two coats of glitter Mod Podge. I love how they turned out!!! We added a piece of 1/8" plexiglass to the top to protect it better. The flat top is made of MDF, sides and frame are made of pine and the legs are poplar. Two coats of primer, three coats of semi-gloss paint and three coats of poly. She is sooooo excited!!! Ana's estimate of $50-$100 on her website is fairly accurate depending on where you live, minus the plexiglass. So adding it all up... 3 - 2" x 2" x 8' stud/strips are $1.29 each at HD (total $3.87) 4 - 1" x 2" x 8' Radiata Pine boards are $4.82 at HD (total $19.28) 1 - 49" x 97" sheet 3/4" MDF was about $40 at HD (they rip cut it for me for free) 8 - 2" casters were about $2.50 each at HD (total $20) That's $83.15 plus tax and doesn't include all of the smaller extras like screws, glue, sandpaper, primer, paint and poly. I had most of those already... but it's items like that would easily push the total over $100. The little extras that I did were pricier poplar legs since I didn't like the look of 2x2 stud/strips and the custom sheet of plexiglass $35 at local plastics company. 2x2 studs/strips are fine, but after using them on my sawhorses and painting them, I wanted something more perfectly square (prettier?) for this table.
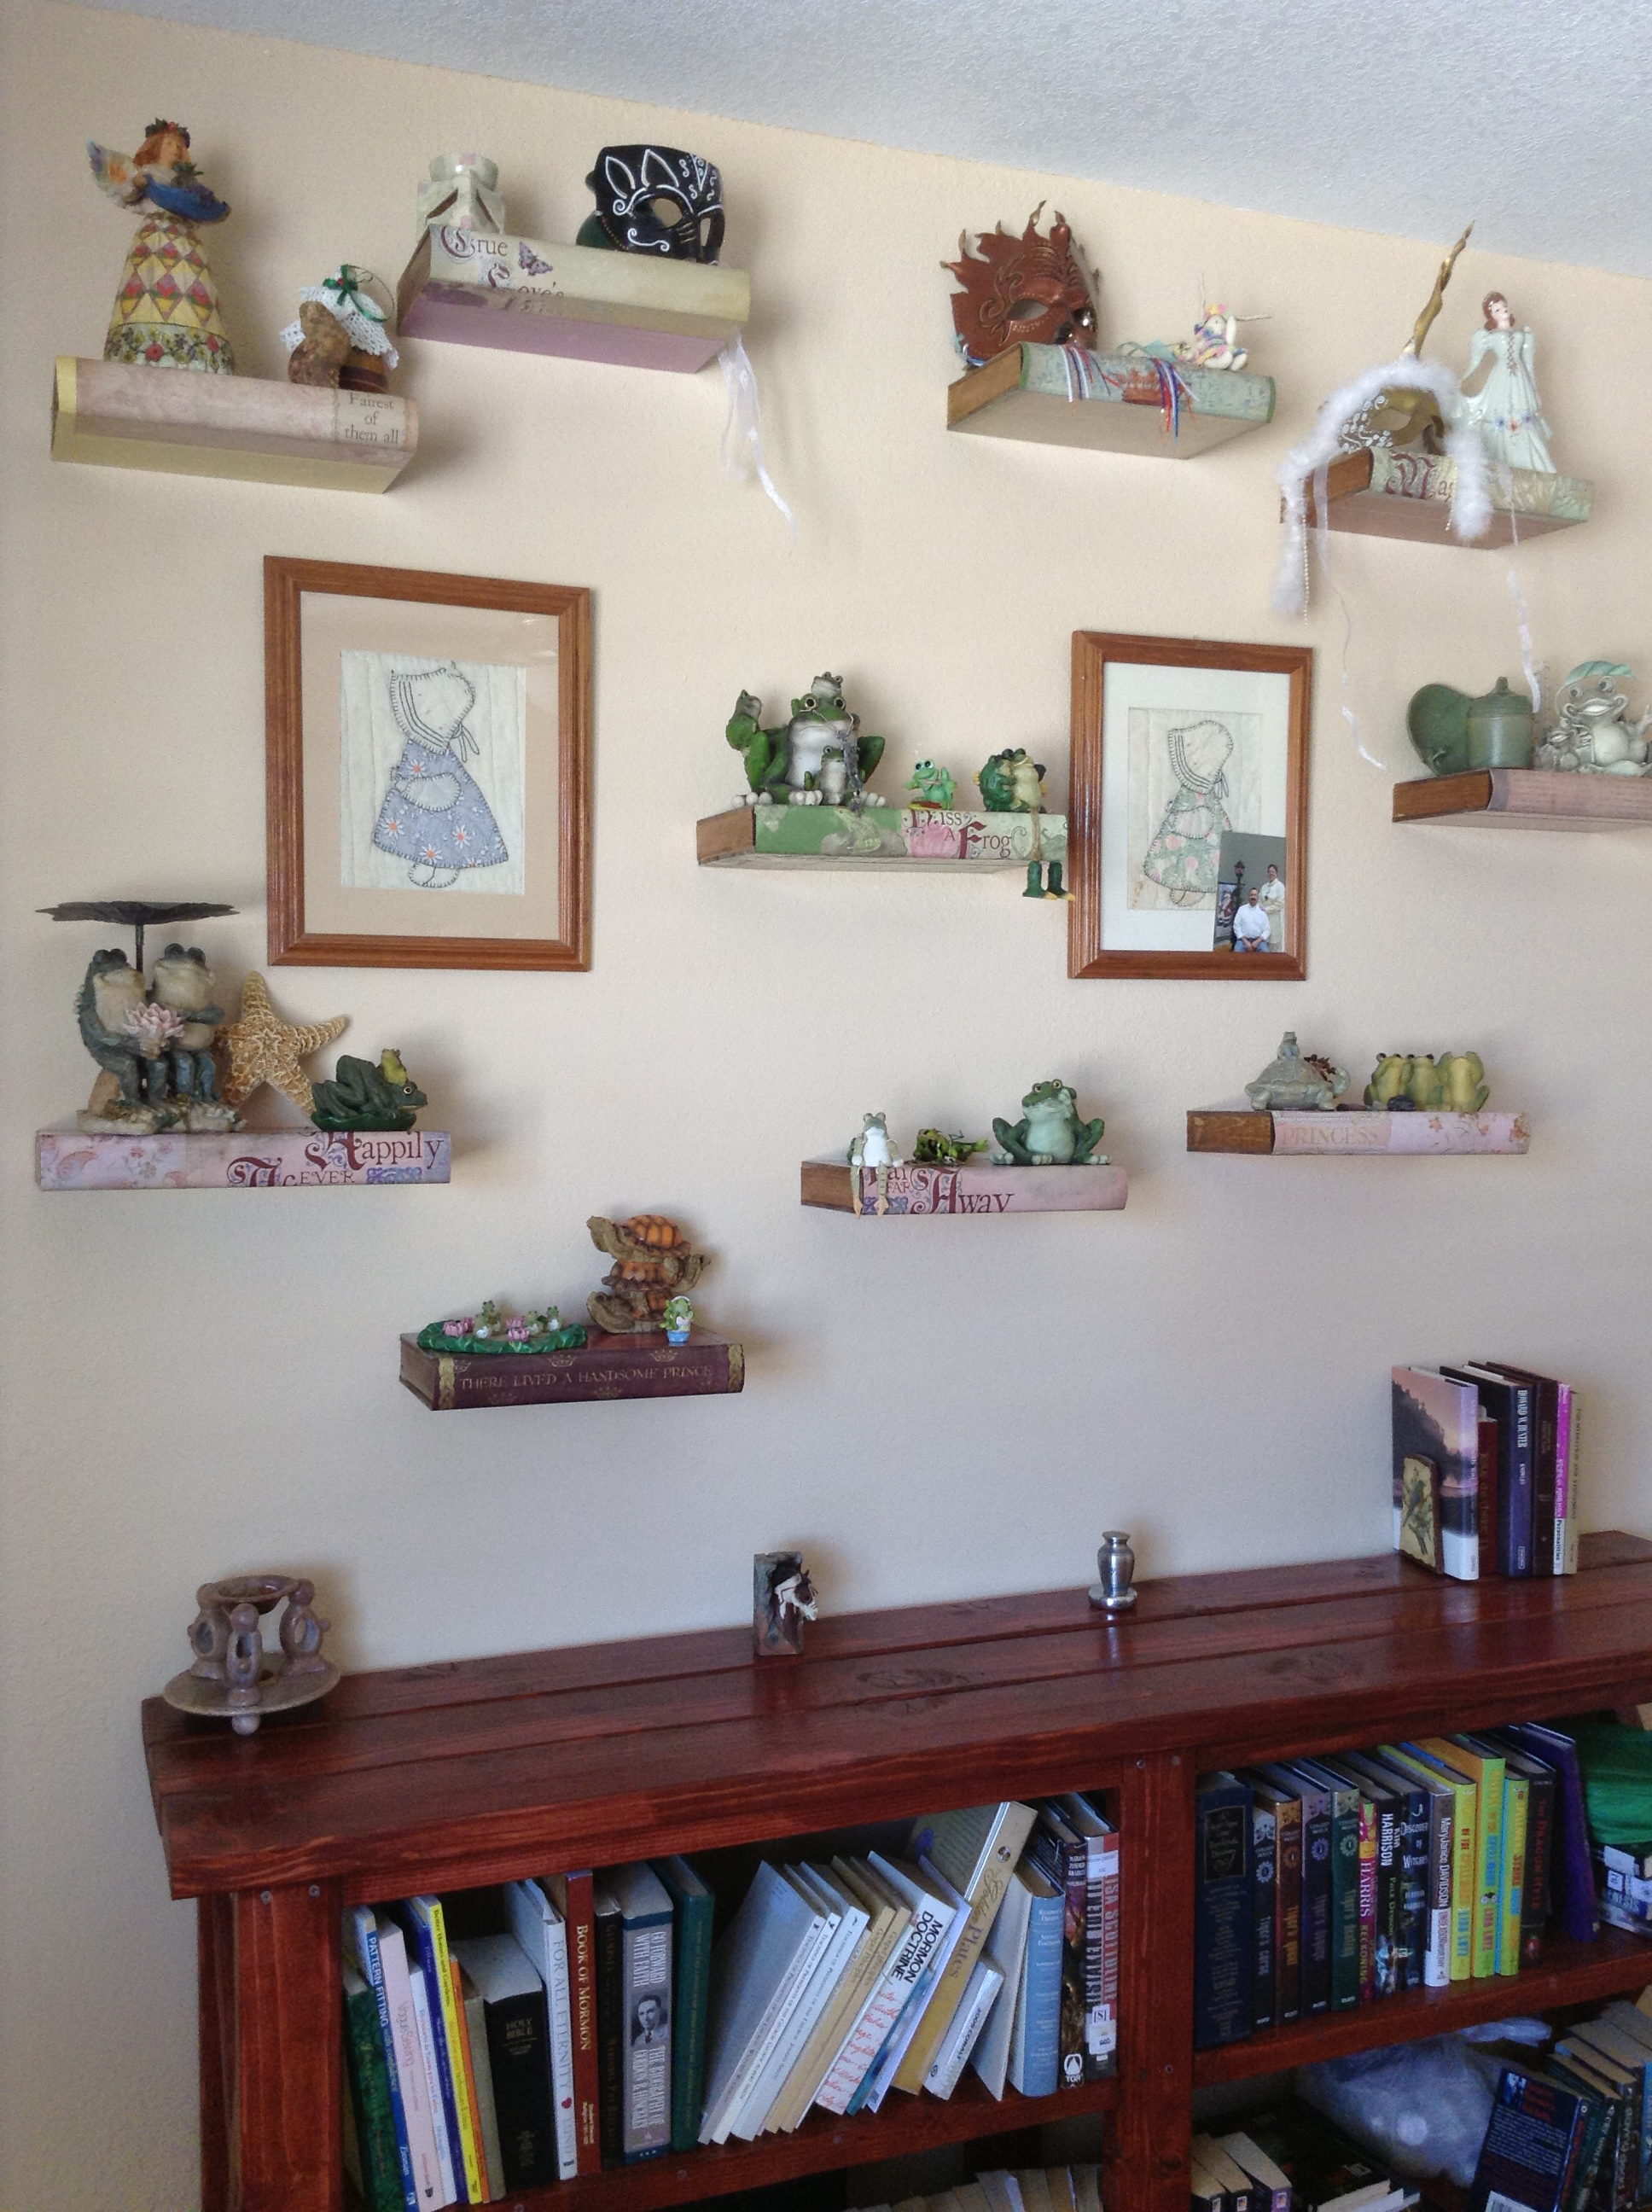
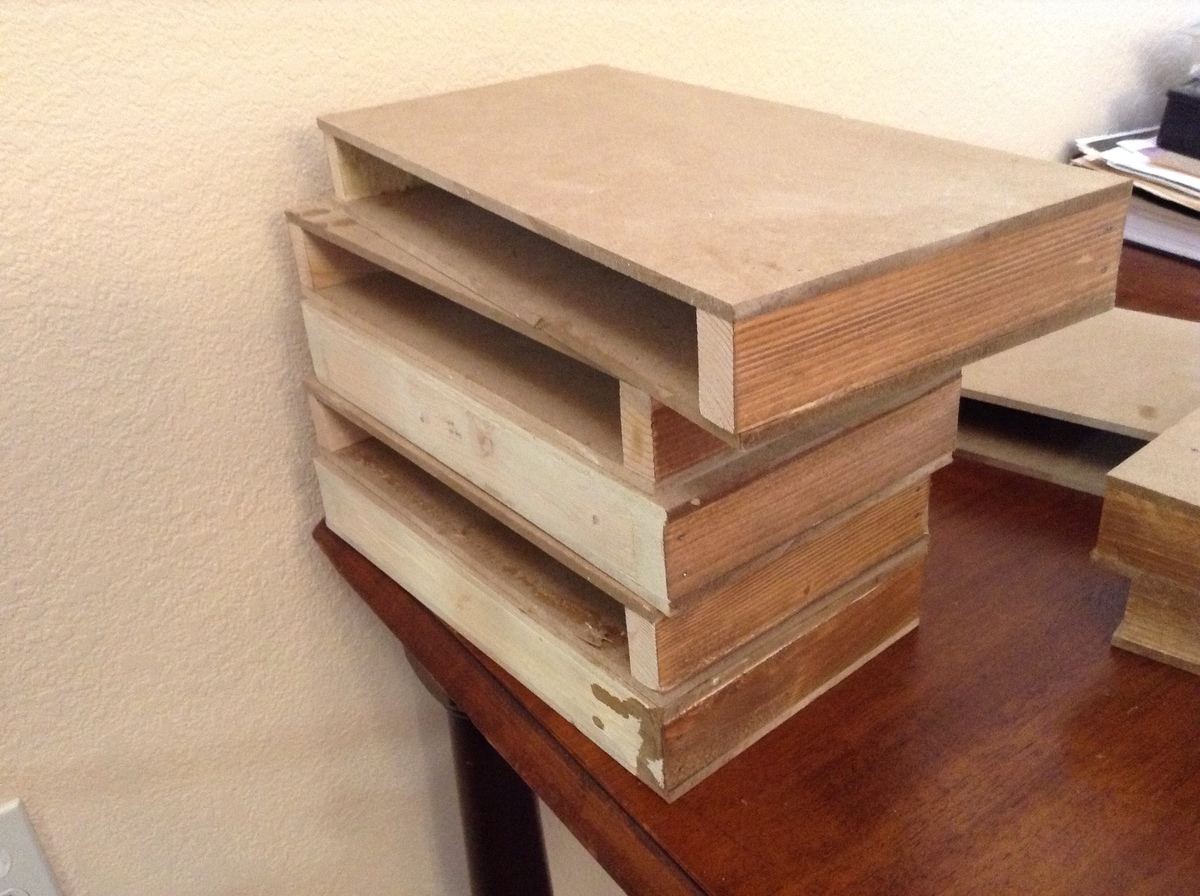
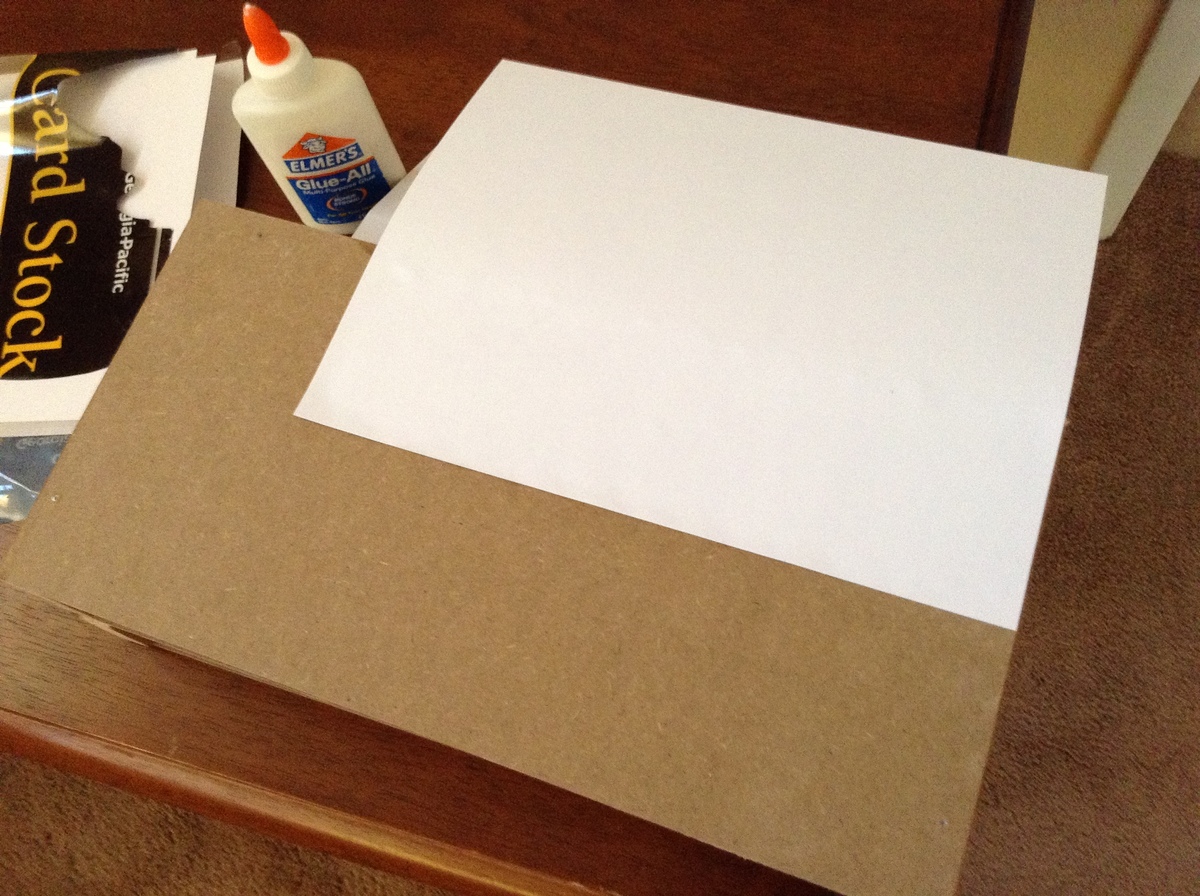
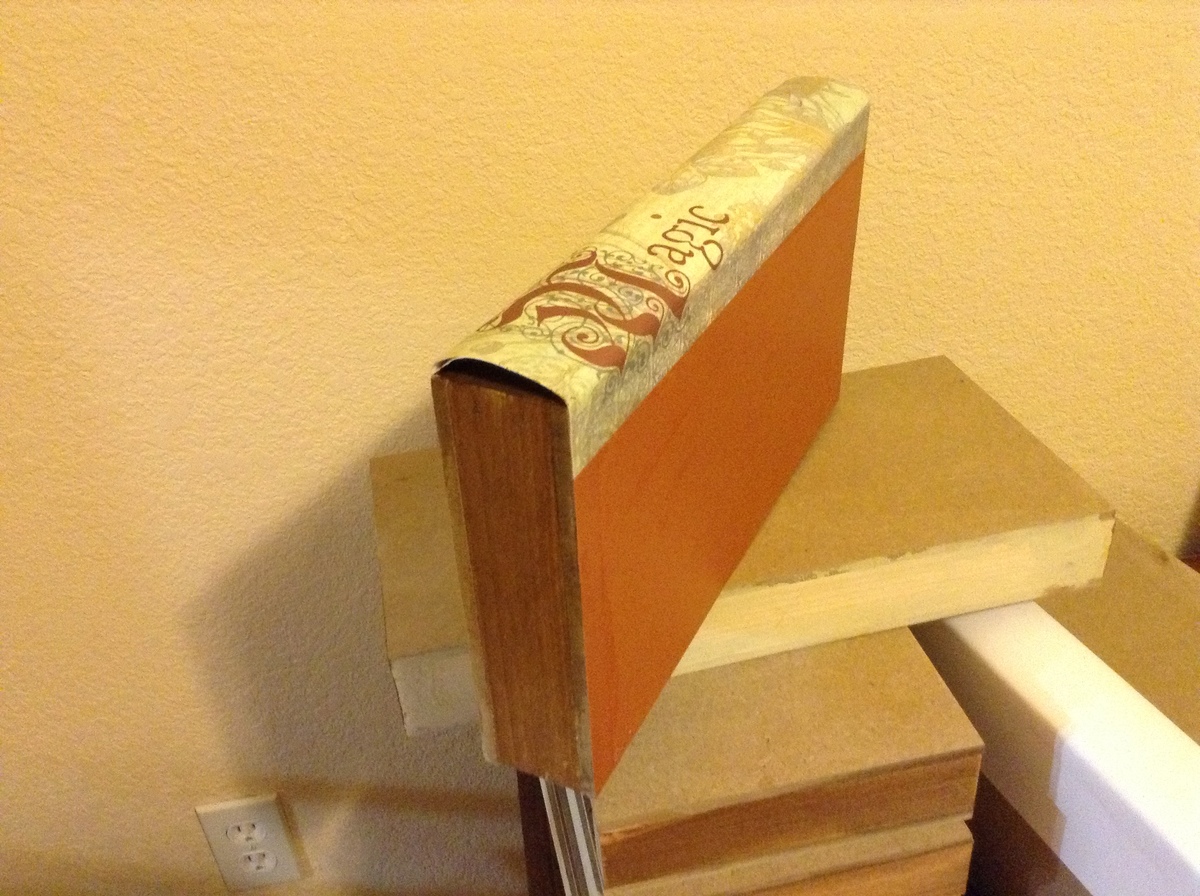
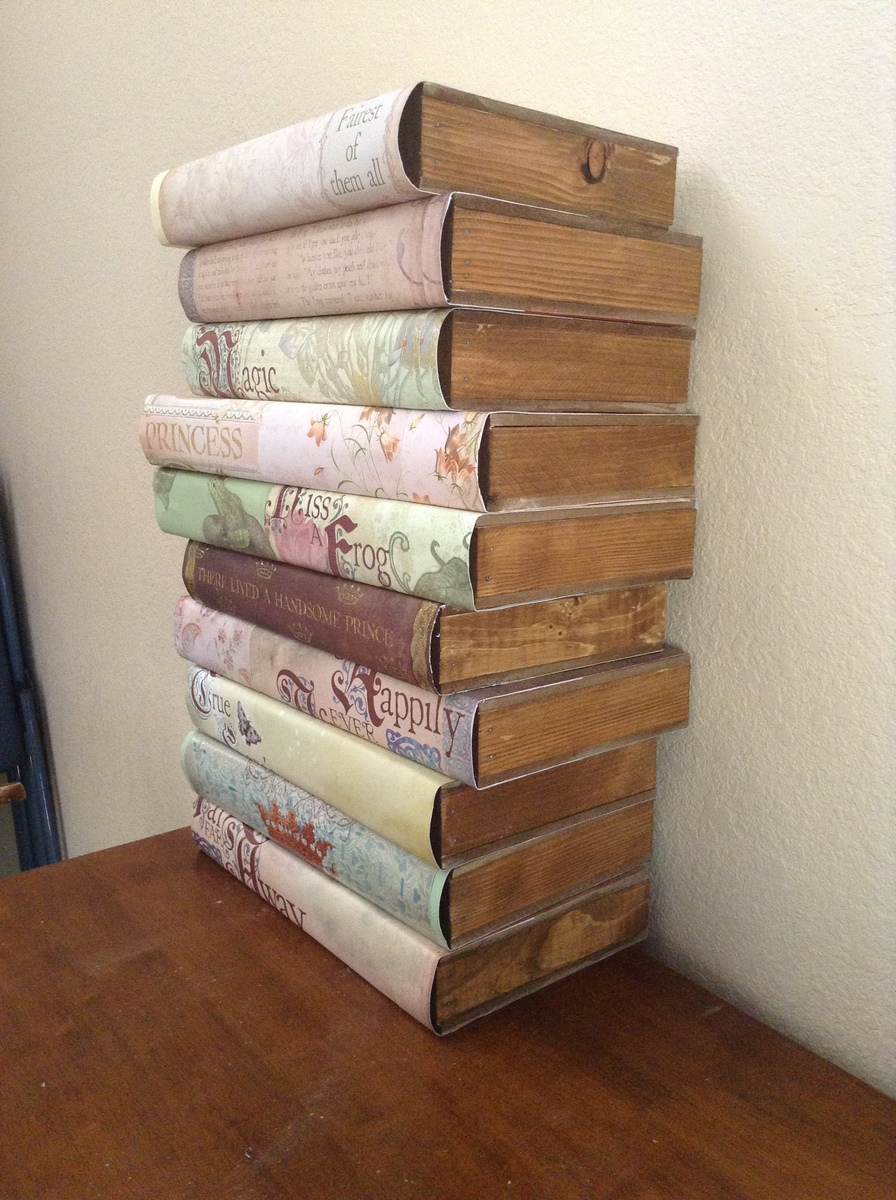
I wanted to make floating shelves. As I was making them, I got the idea to decorate them like books.

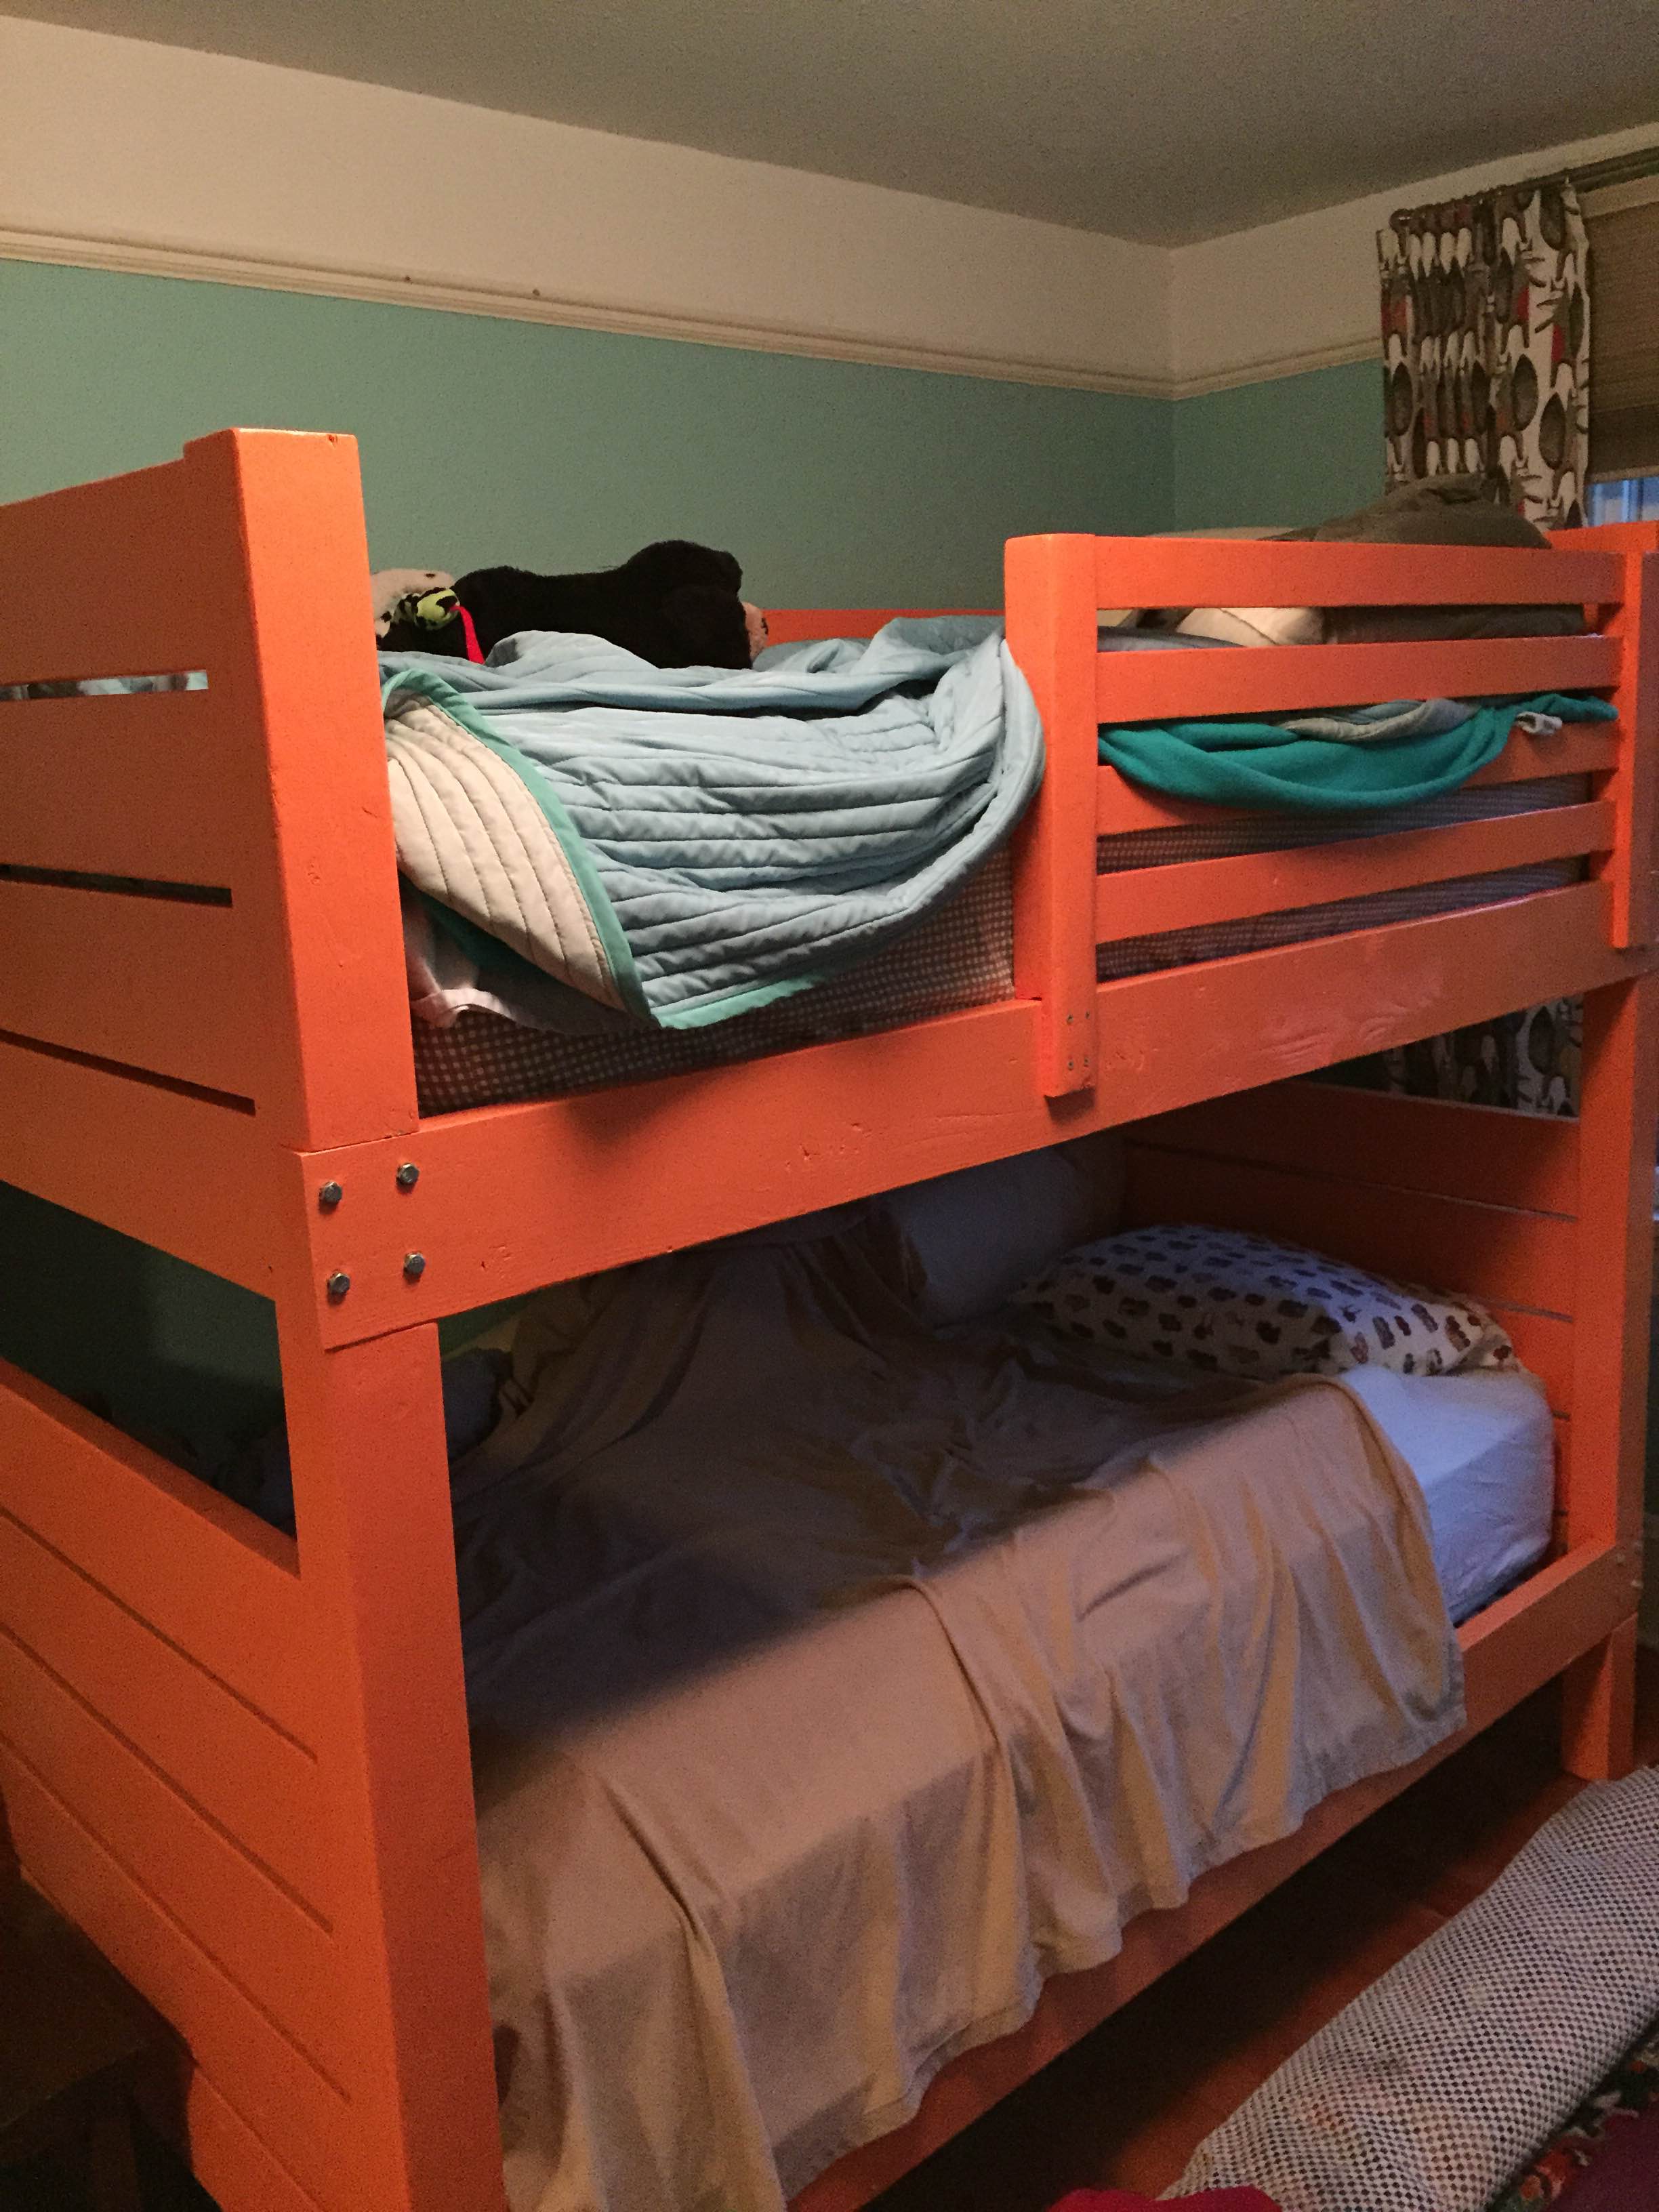
This is my first large project and I'm very happy with the result. Since I knew we were using regular (thick) mattresses instead of thin bunk-style mattresses, I built the guard rails taller than in the plans. The bunk beds are painted Benjamin Moore Citrus Orange http://www.benjaminmoore.com/en-ca/paint-color/citrusorange. The walls are Benjamin Moore Waterfall http://www.benjaminmoore.com/en-ca/paint-color/waterfall.
Helpful Hint: IKEA's LONSET slatted bed base fits perfectly instead of needing to cut your own bed slats. http://www.ikea.com/us/en/catalog/products/80278715/#/30278732
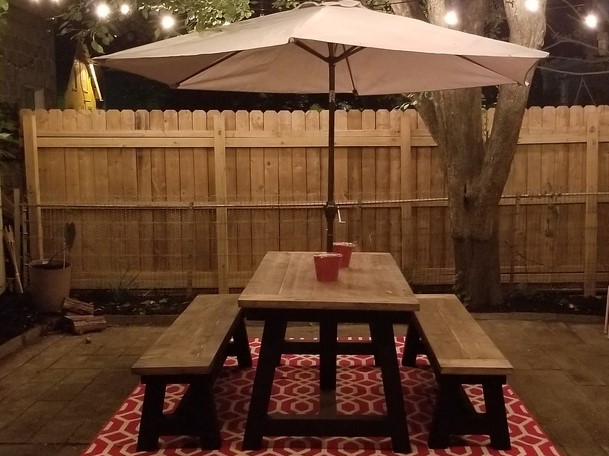
I needed an outdoor table and thought this design would look lovely on my patio. I used 2x8's for the table and bench tops, which meant I couldn't run them through my 6" jointer; so I had to plane them as they came from the store. This resulted in a fair amount of sanding once I assembled the tops with a kreg jig and glue. Plugged the pocketholes and used an outdoor deck stain for protection. The stain over the plugged pocketholes looked interesting enough that I almost used those sides for the exposed tops, but ultimately decided on the cleaner finish. The 4x4 legs and apron are in a black matte exterior paint, and I used a 1 5/8" forstner bit for the umbrella holes. It's a fun project, and assembly doesn't take too long at all. My patio is now a great place for a morning cup of coffee while reading the paper and has already become the spot for neighborhood gatherings.
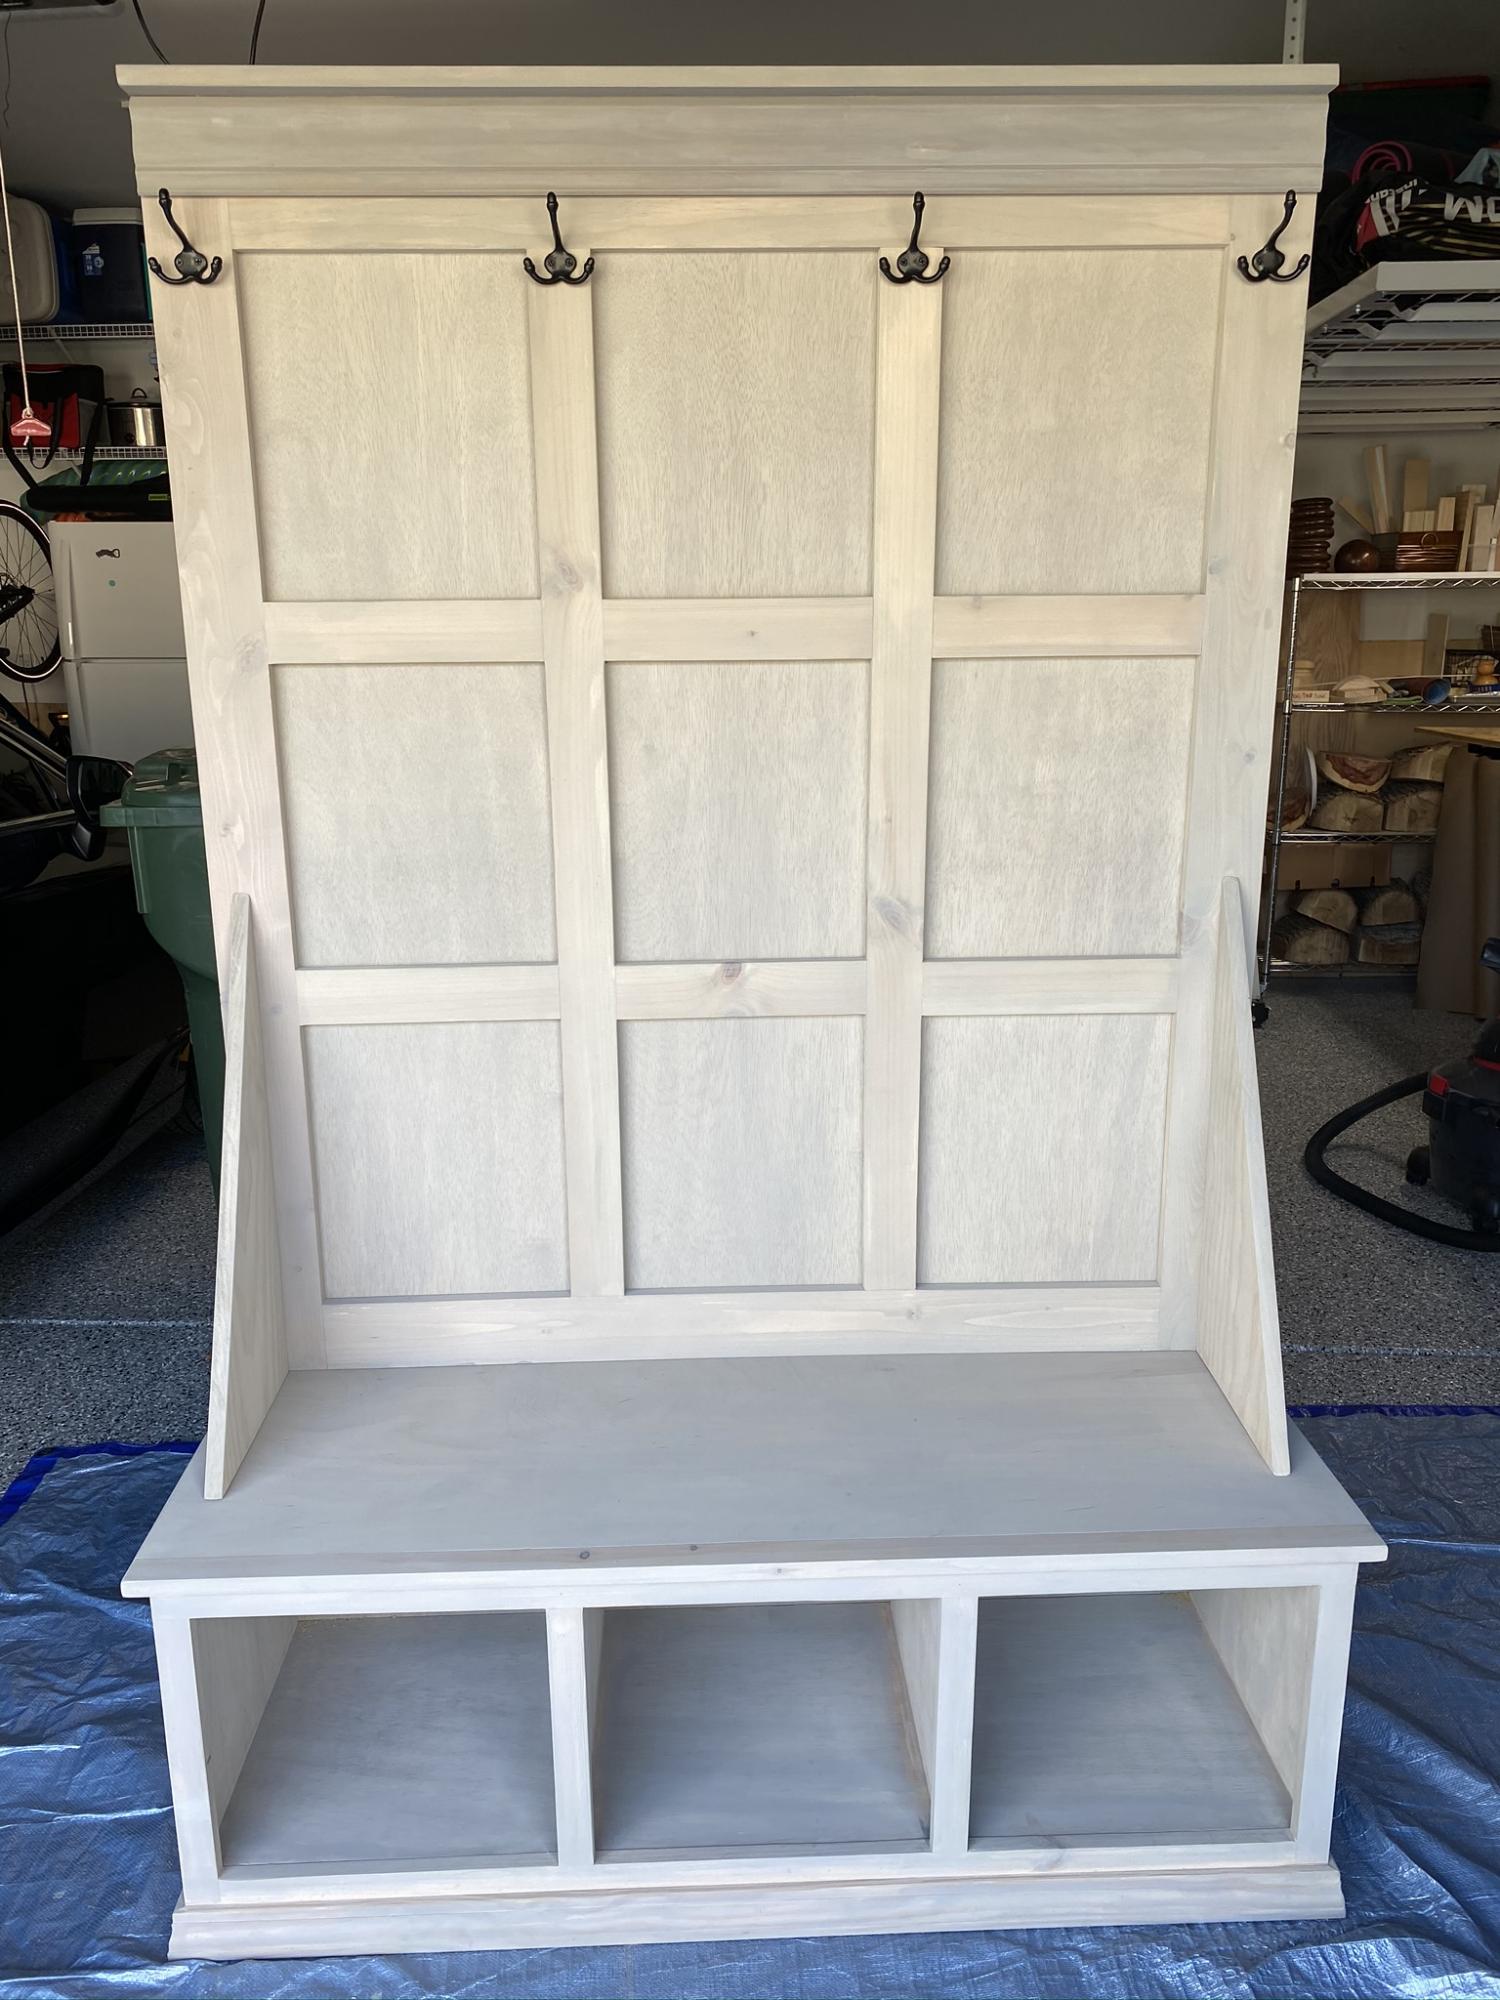
Built this Hall Tree for my daughter. Saw the Ana White project and found it to be the easiest, most clear plan by far. It turned out great!
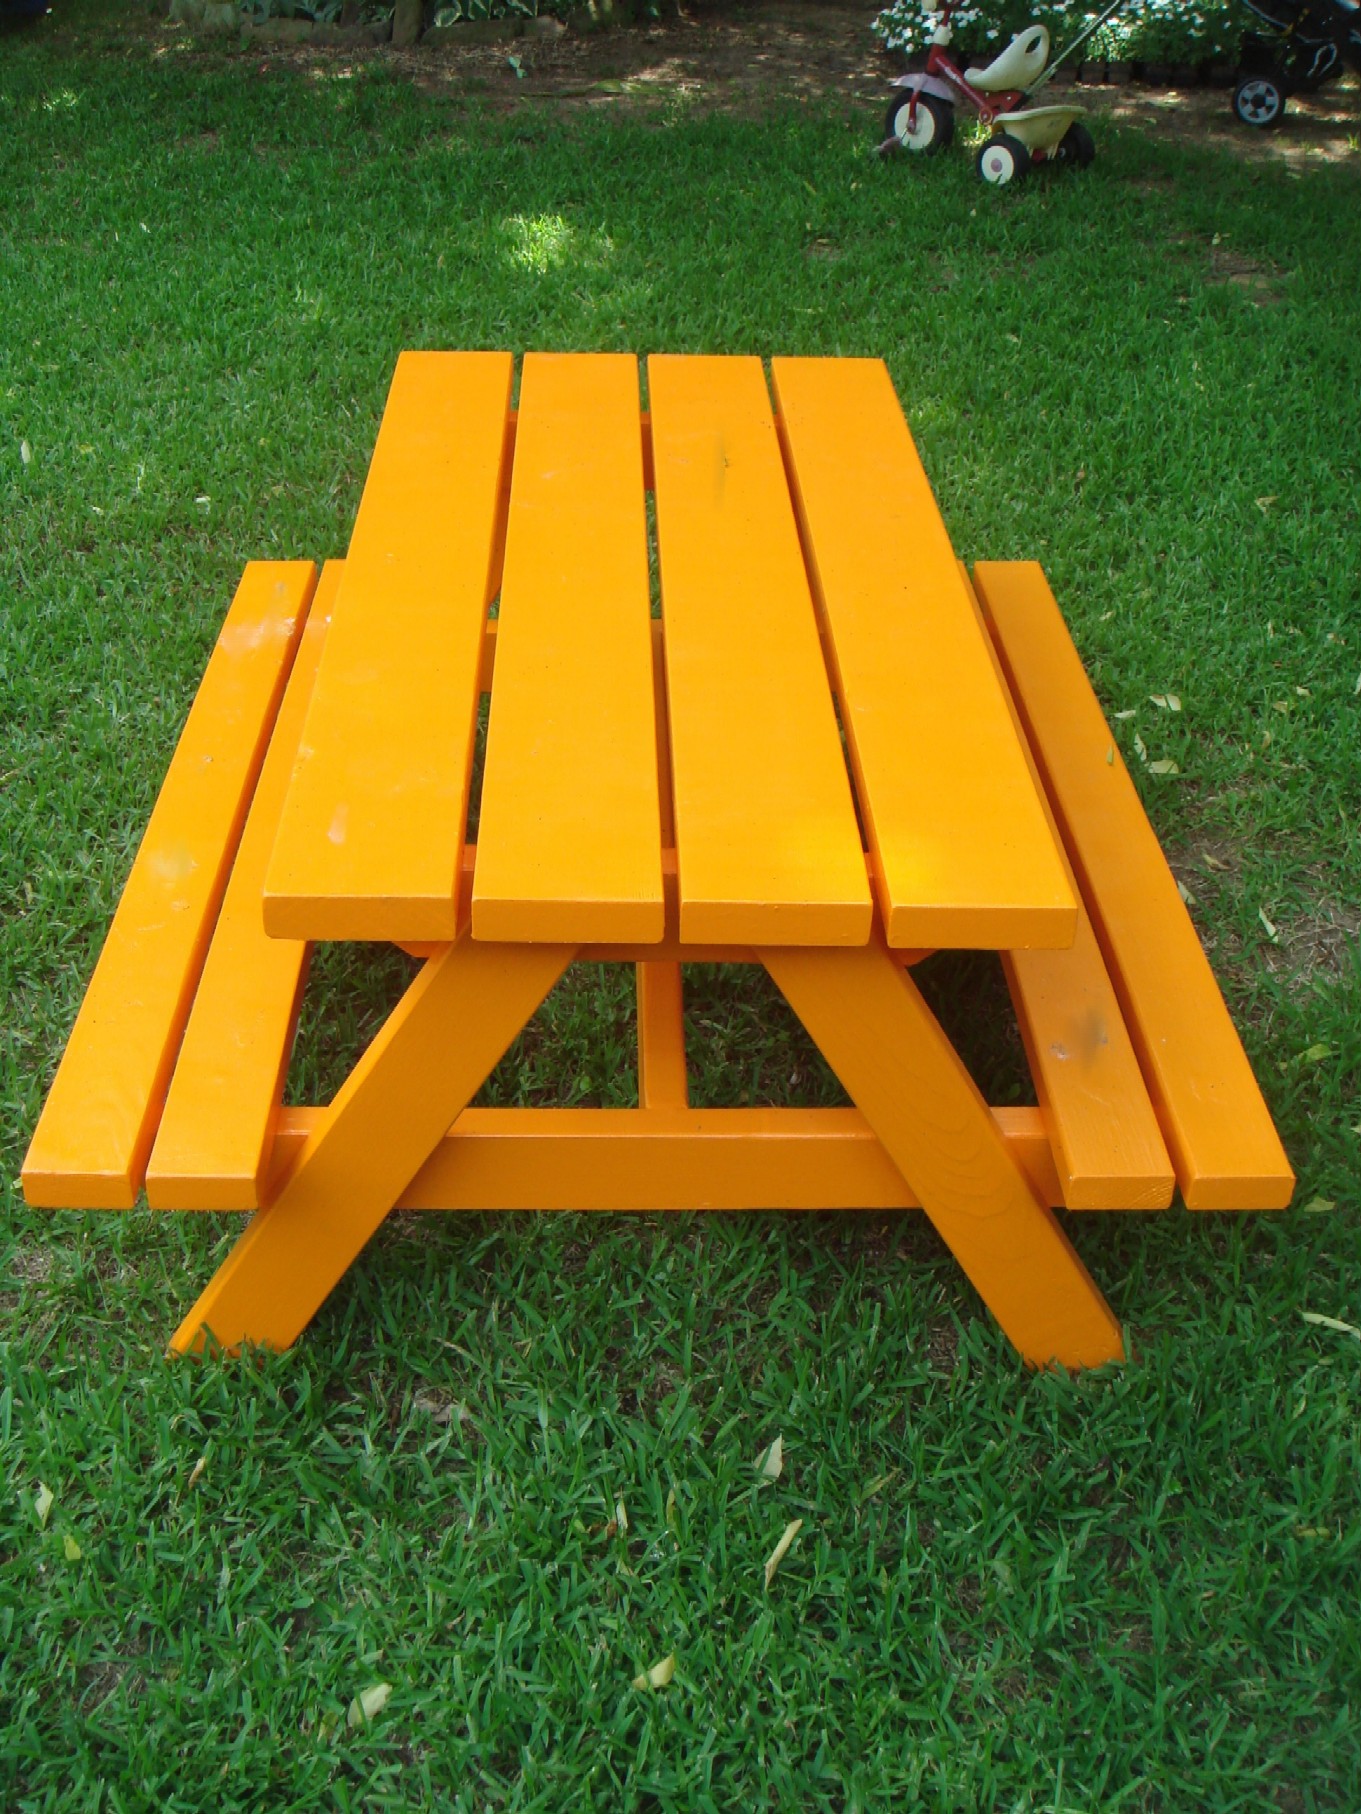
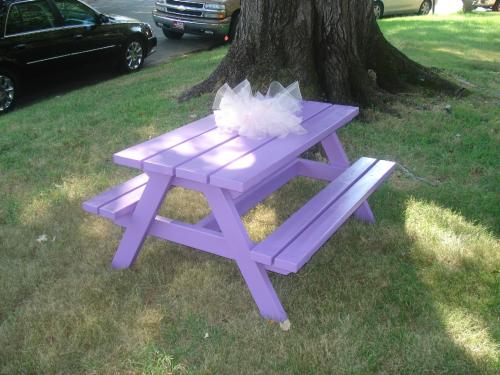
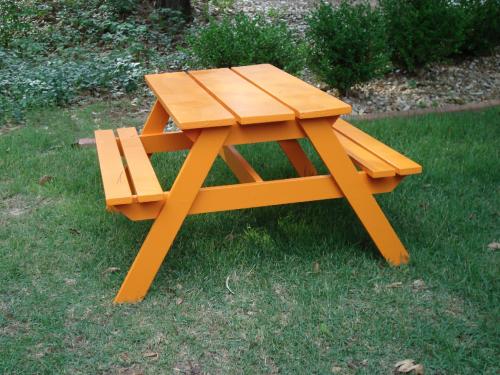
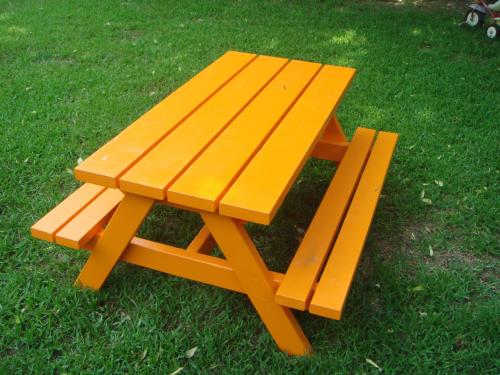
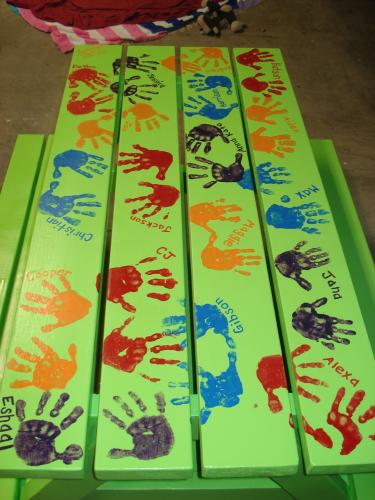
For my son's 4th birthday party, we were doing it at our house and needed outdoor seating, so I took on the task of building 3 Toddler picnic tables and 1 smaller one. Building them was not that big of a deal, but painting all 4 took some time! After the party, we sent 1 to my parents, 1 to in-laws & 1 to my bro/sis-in-law, so only ended up with 1 left over. FYI-the picture on the plan is one of mine, thanks Ana!
Sat, 04/04/2020 - 15:43
I’ve build many picnic tables according to your plans, they all love them.
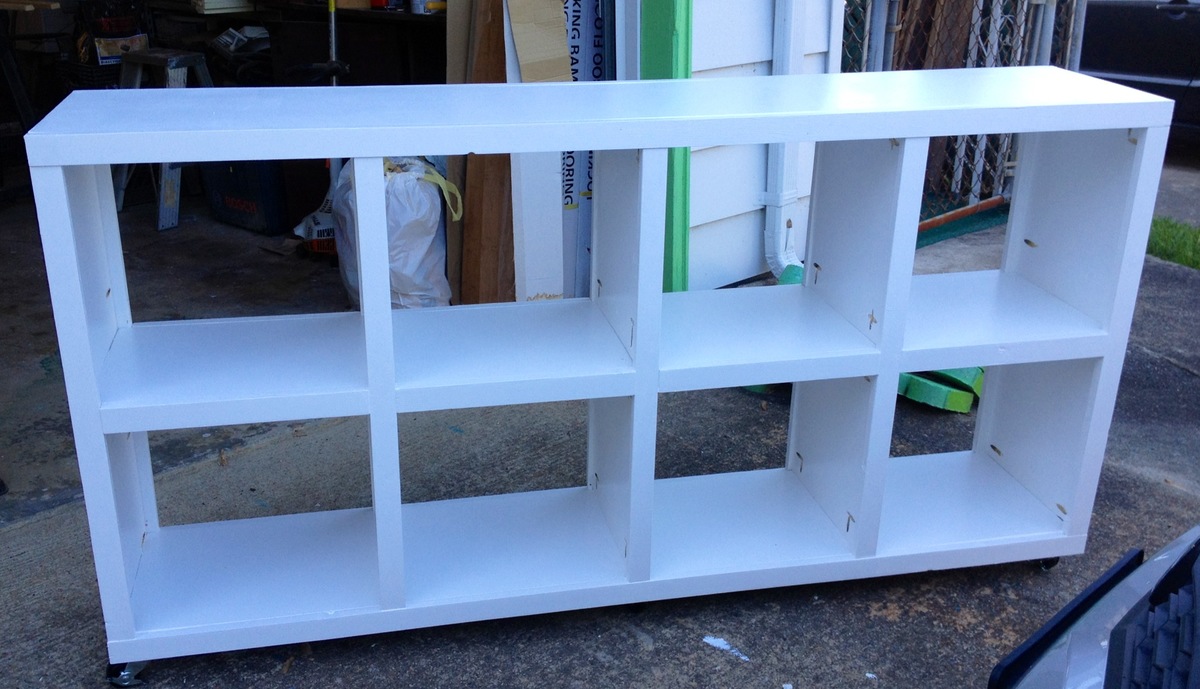
These cubbies are the next step in organizing my sewing/guest room. I plan to fill the shelves with fabric and books very soon!
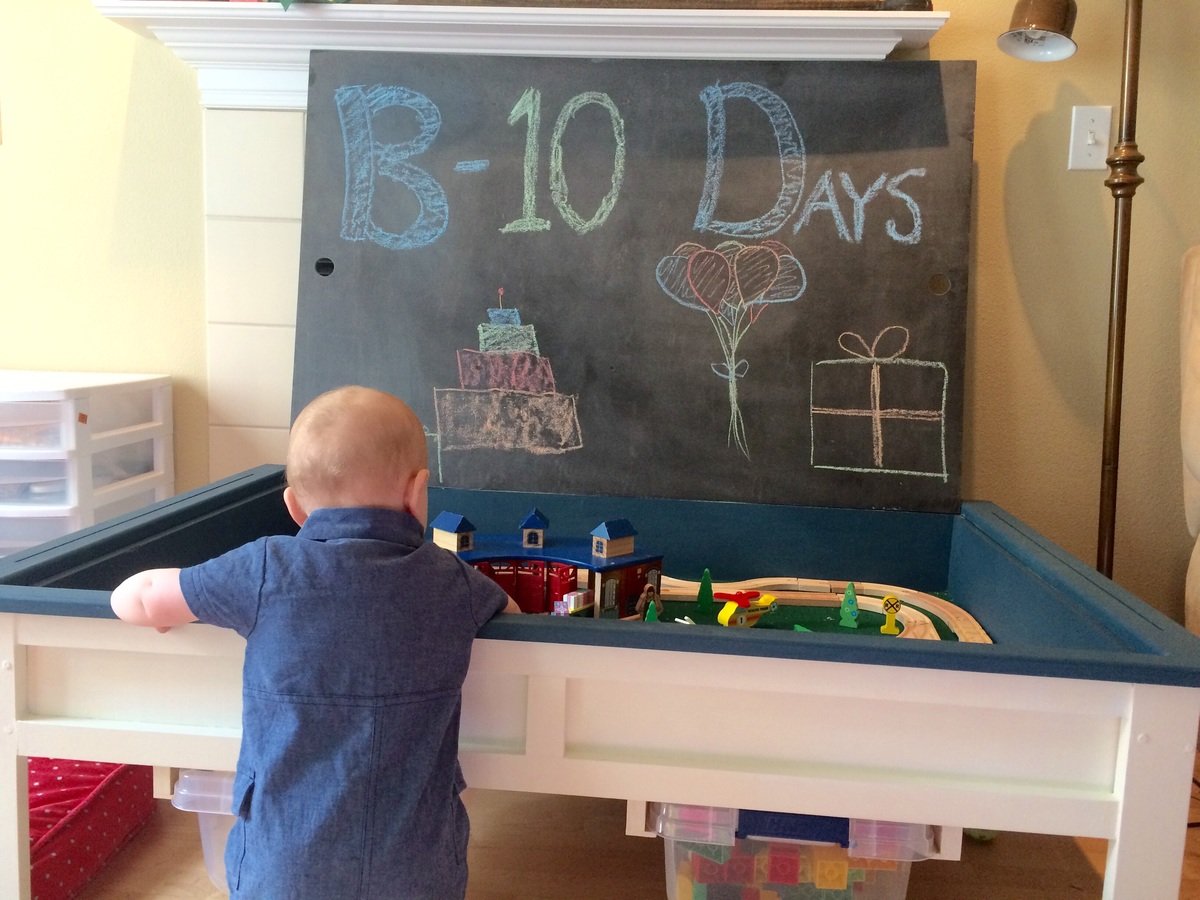
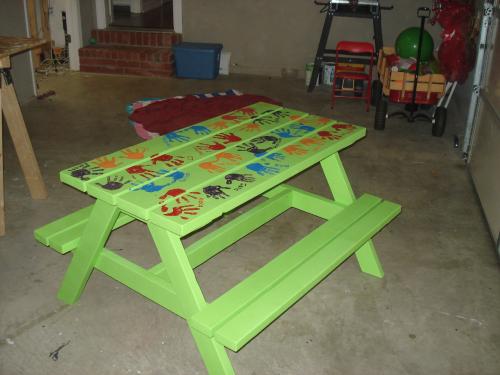
With a few modifications, I made this table into an actovity table for my son.
I made the lid out of 1/4" plywood so it would be lighter, painted one side in chalkboard paint and glued down lego base plates to the other.
Instead of a shelf underneath, I added sliders to hold storage bins.
I also mounted a curtain rod on one end to hold a roll of art paper and cut slots in the end trim pieces to feed it through.

Sun, 04/05/2015 - 17:55
I love this! I love the two colors too. I'd like to build something like this for my little guy too :)
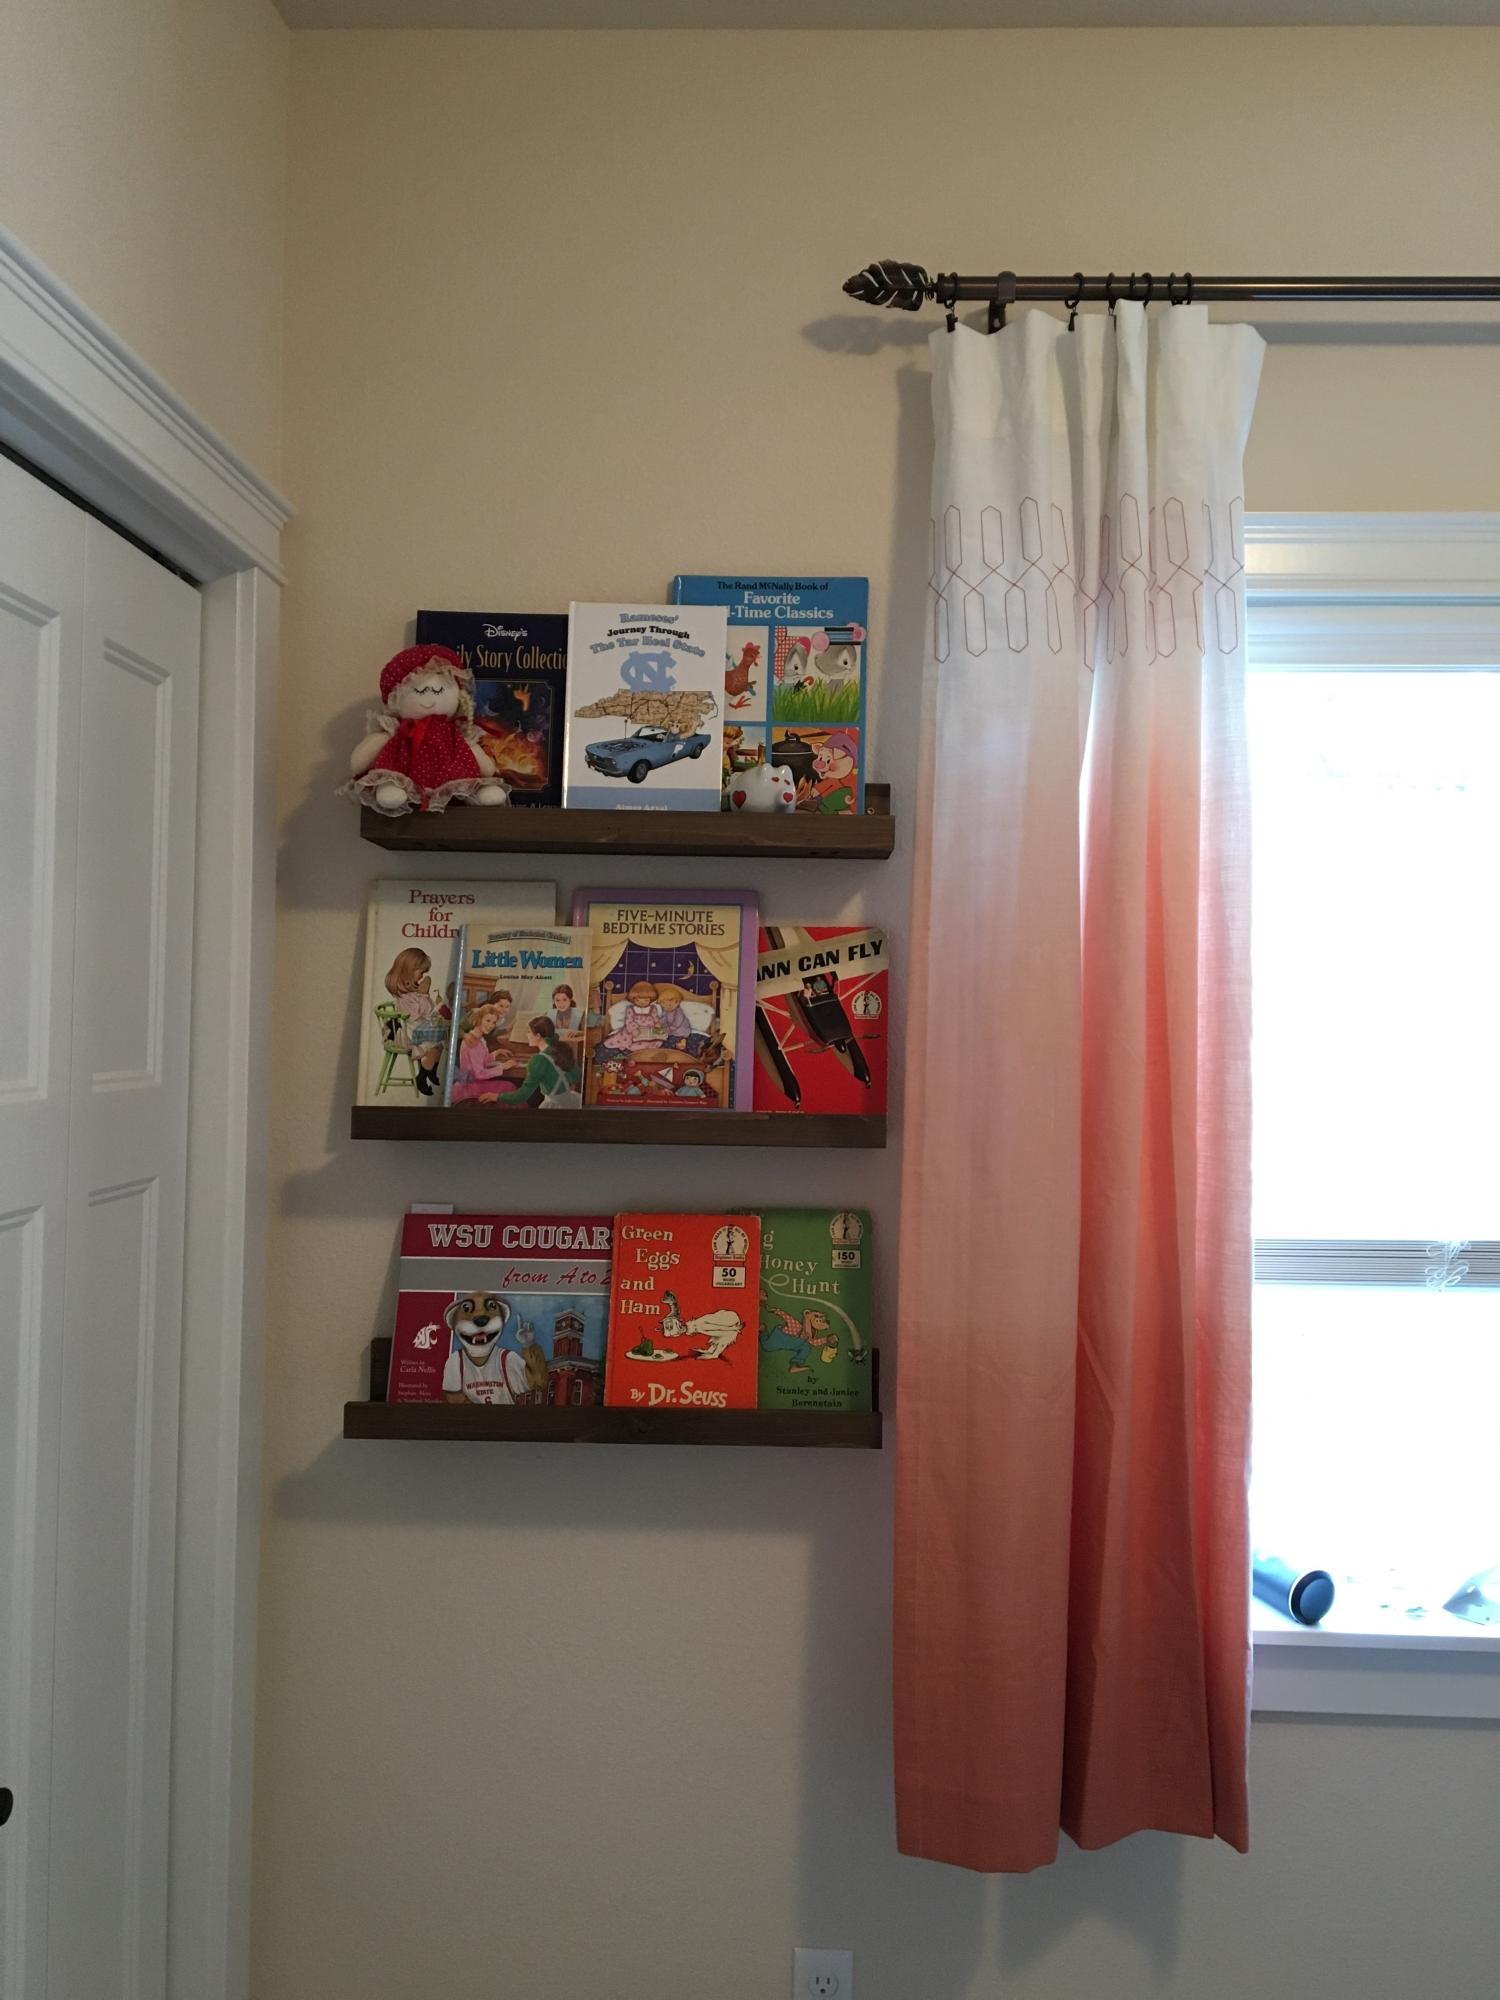
My husband and I built the 10 dollar ledges to use for book storage in our nursery. I love how they allow you to display the books as well as store them. This is the second time we have used this plan for wall decor in our house, and our fifth build overall from one of Ana's plans. I love all the fun options!
For the small size, we only needed three boards so it was inexpensive and they came out great.
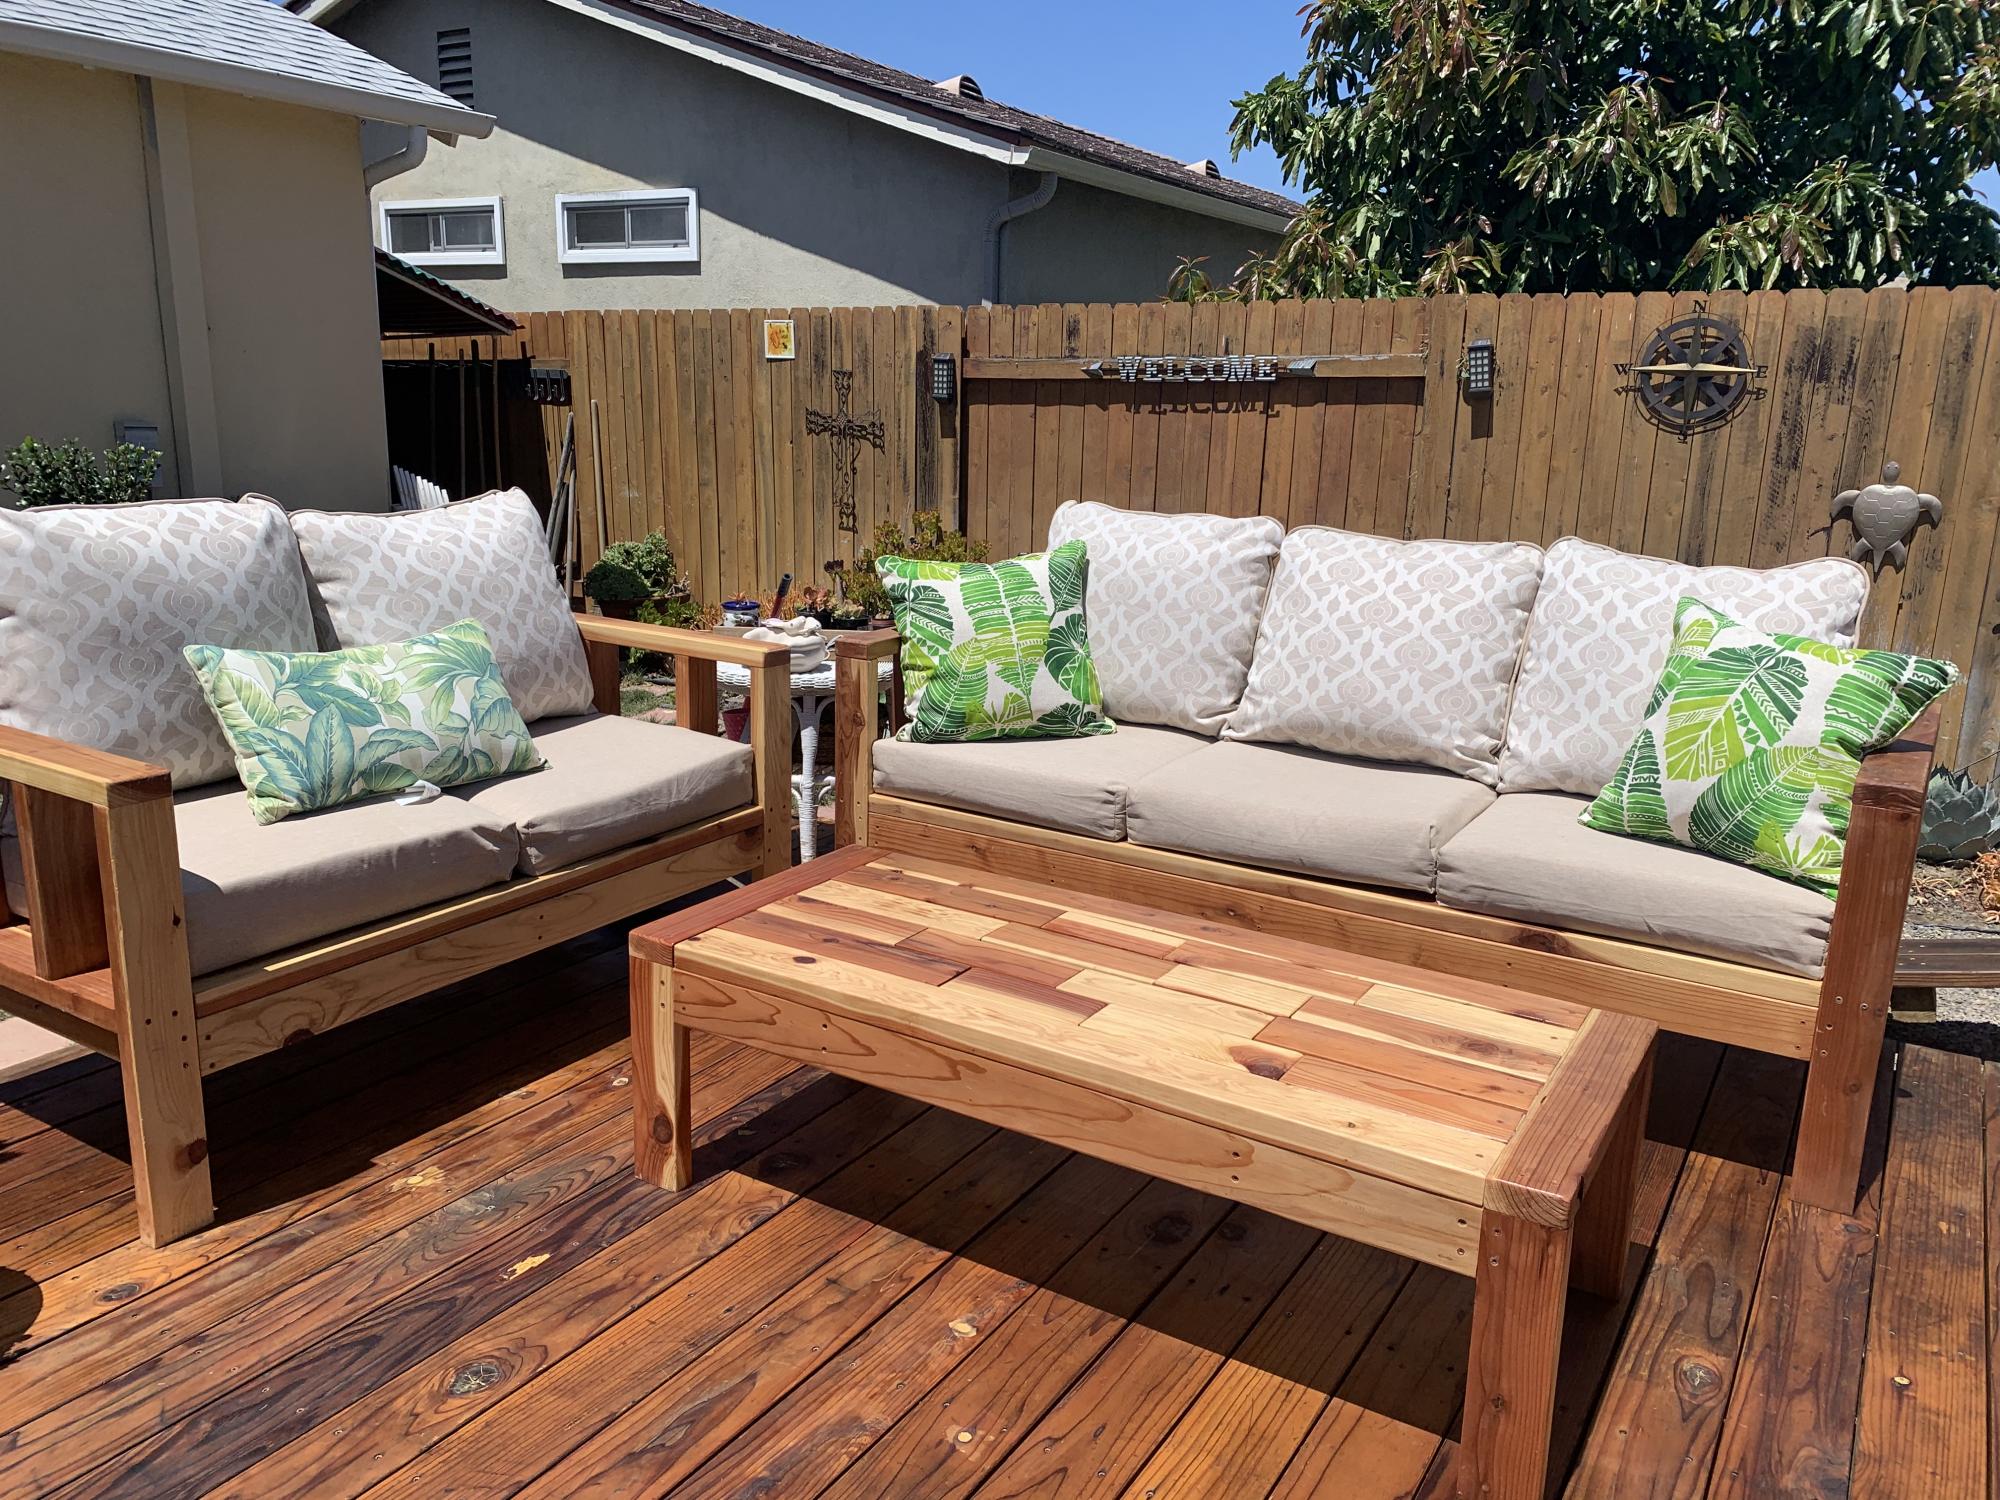
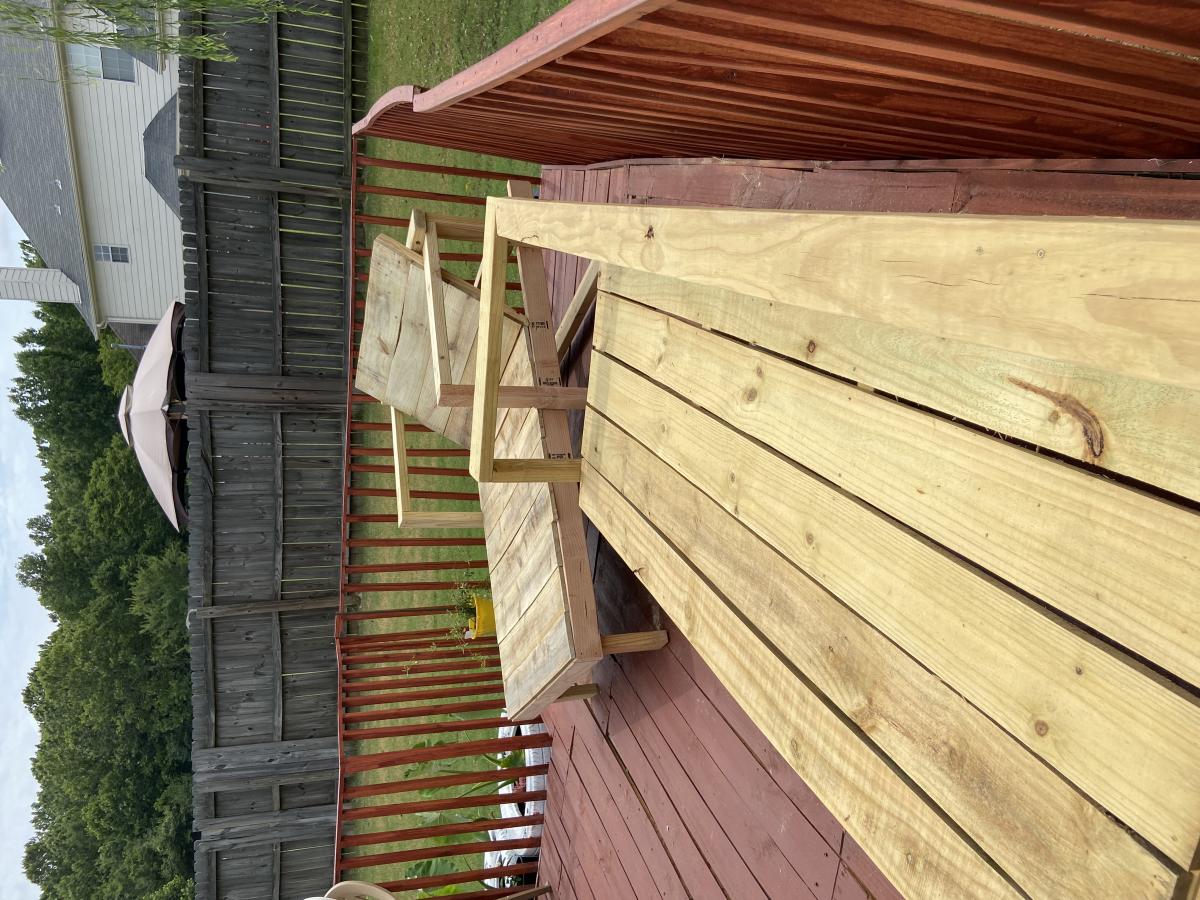
Followed Ana’s plans, very easy to follow. Chose two different sizes, different woods, and different cushions. Very pleased with outcome.
Tue, 10/05/2021 - 09:46
Very nice, love the different colors of wood! Thank you for sharing~
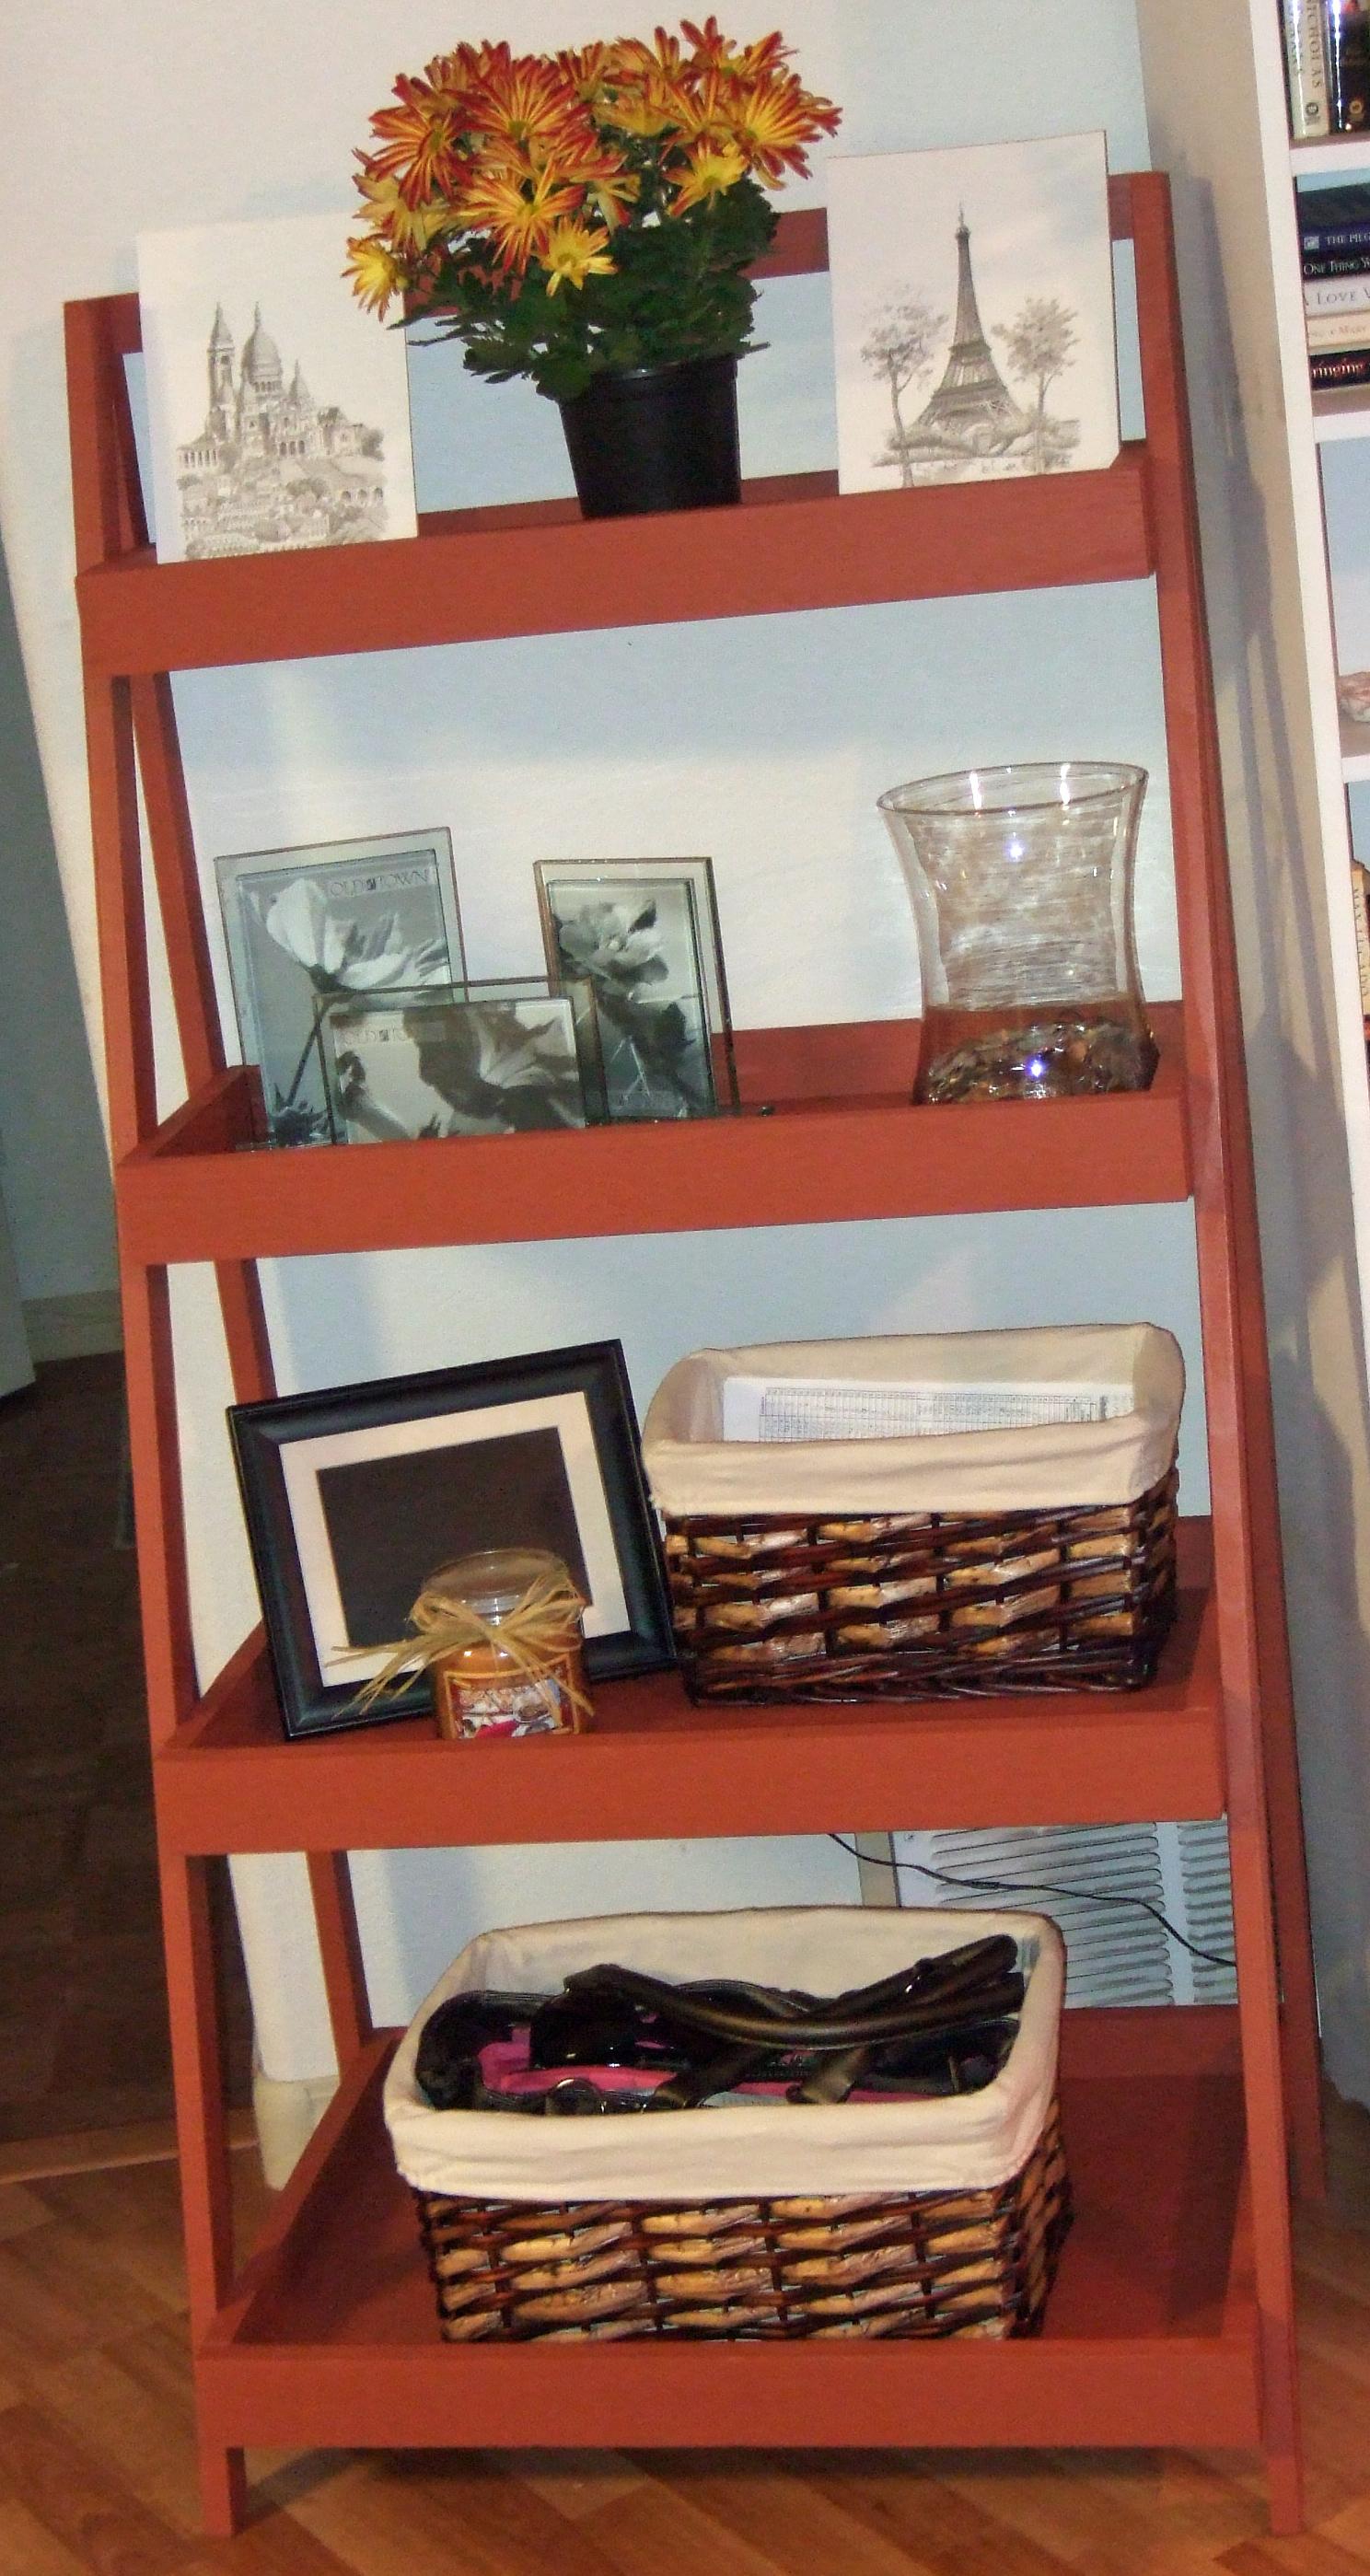
This was the first good-sized project I built by myself. I finished it more than 4 months ago and it still makes me smile every time I look at it. :-) A simple, functional and BEAUTIFUL shelf that will work anywhere and for anyone! I was so impatient for it to be finished I didn't put poly or any clear coat on it and I'm still in love!
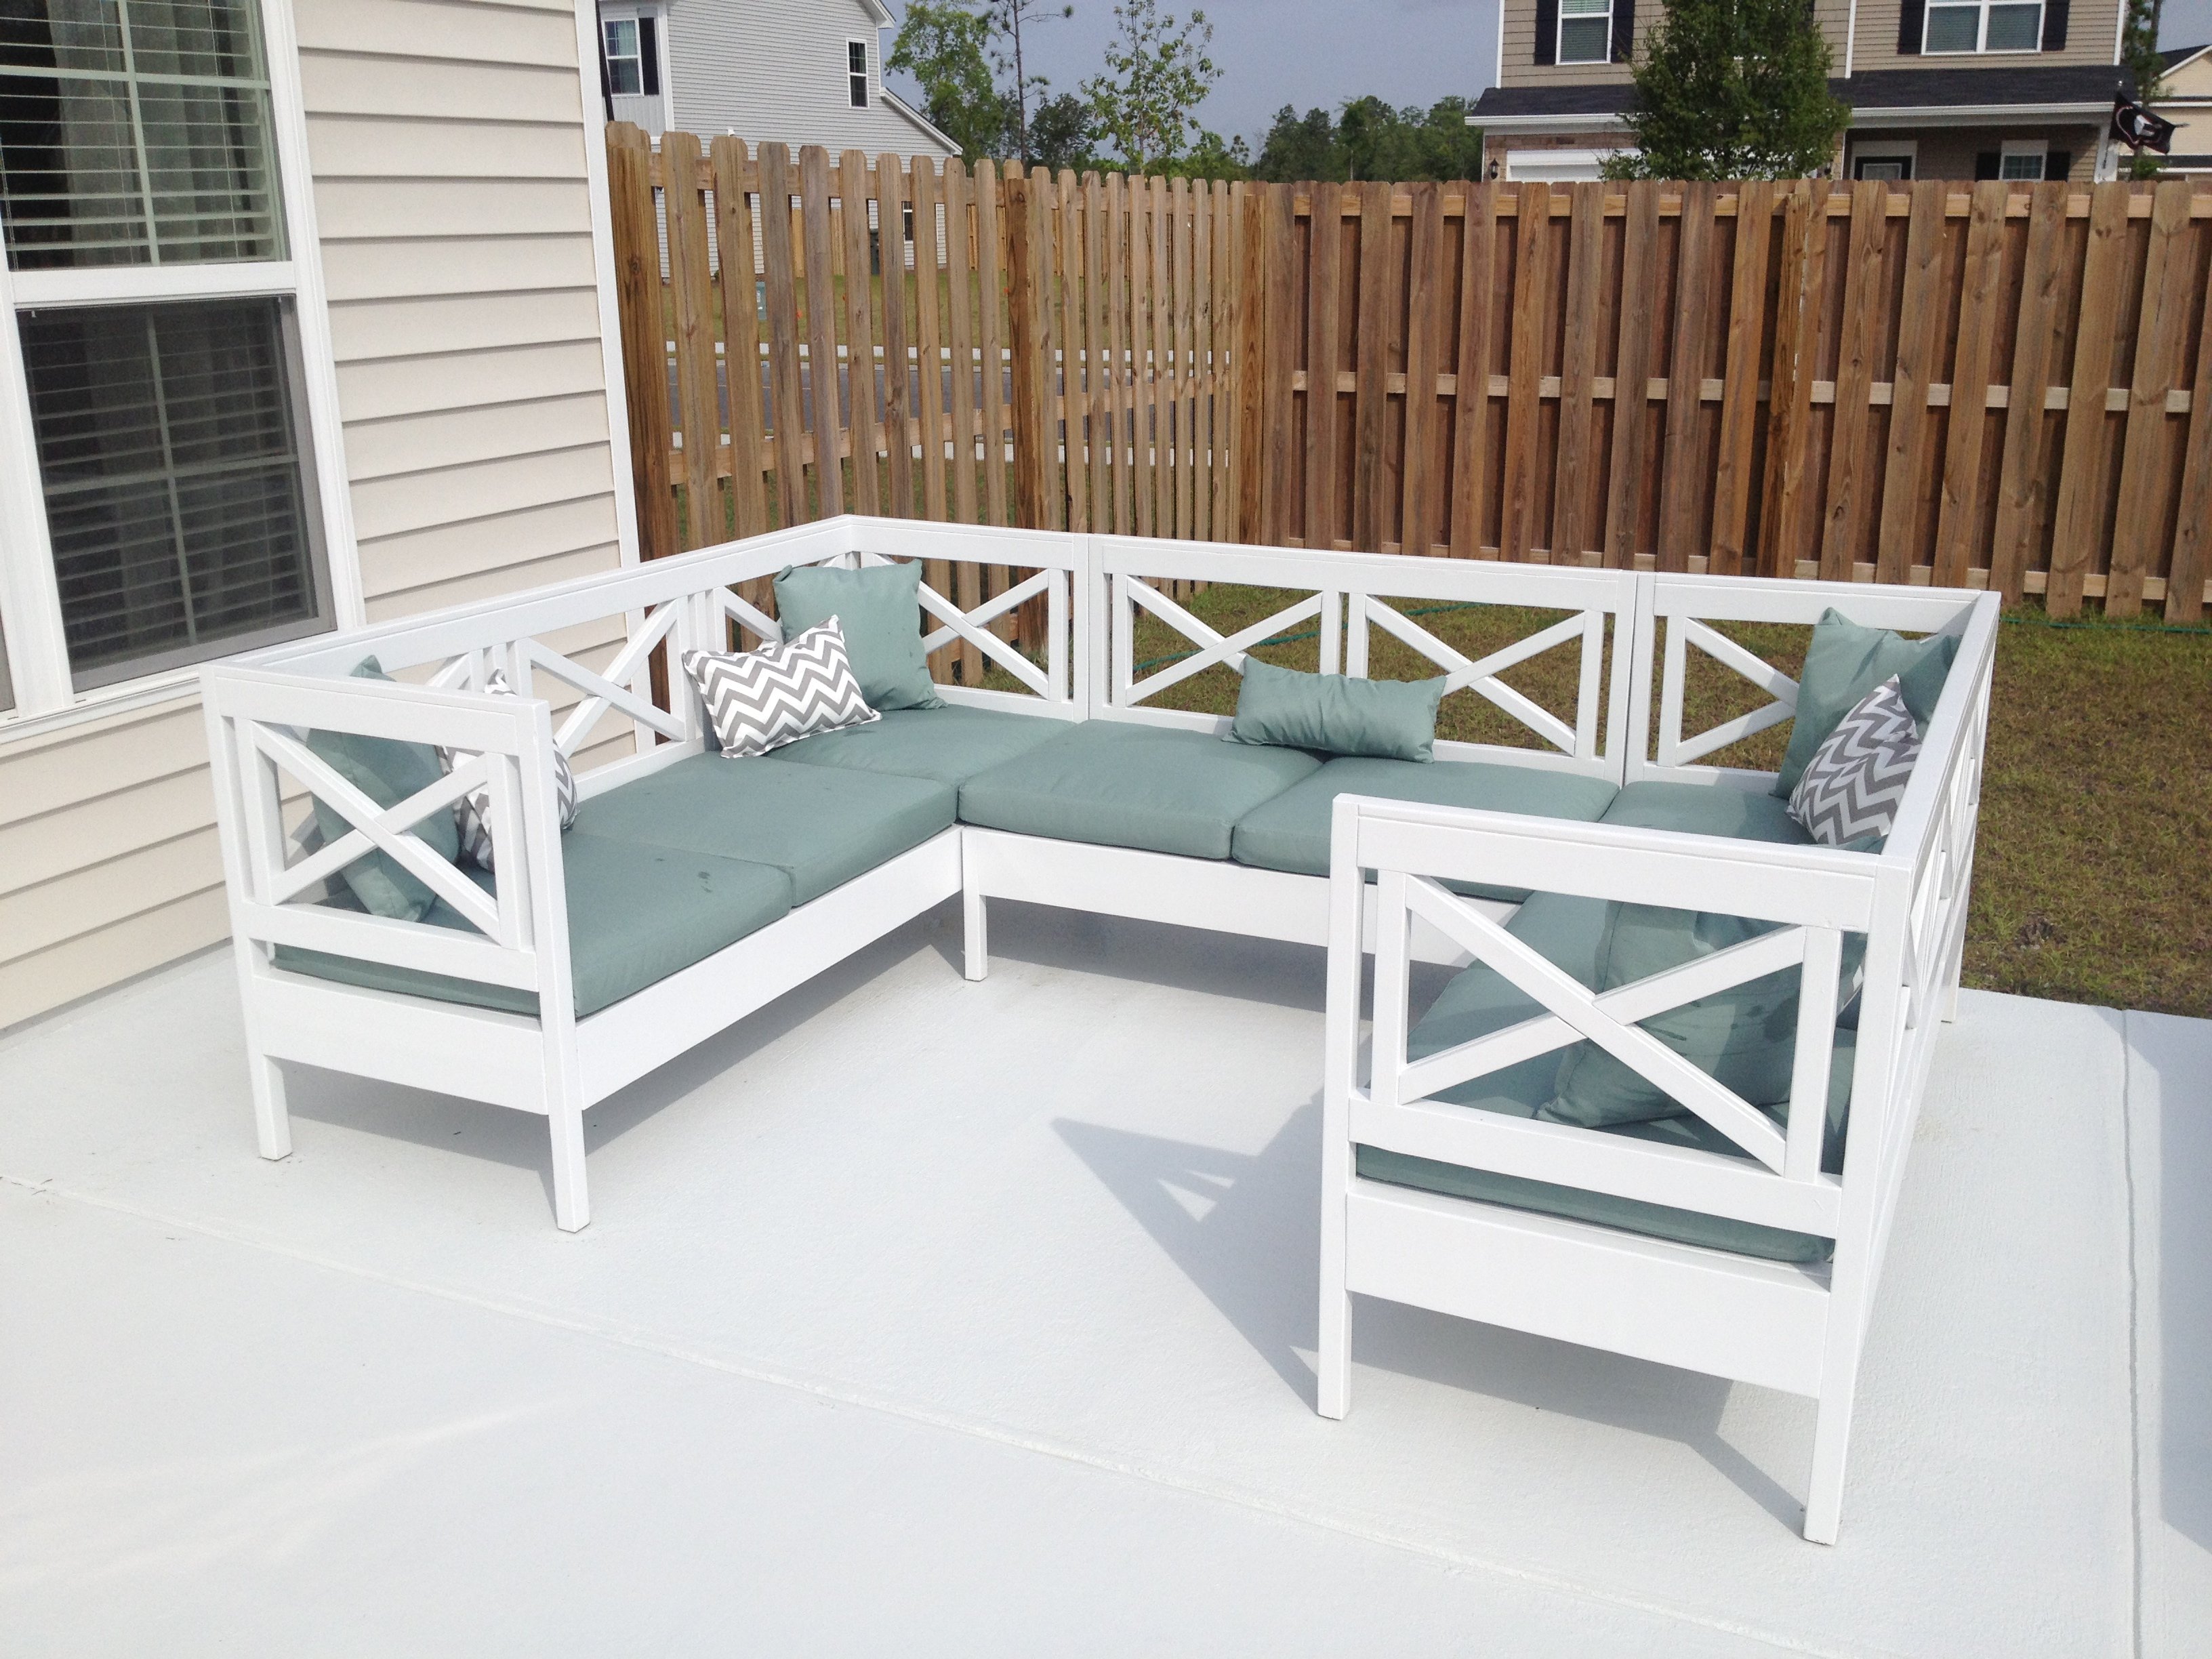
I really wanted some outdoor furniture but did not want to spend the thousands for a sectional. I used this plan and created the entire sectional for less than $500!
Wood =

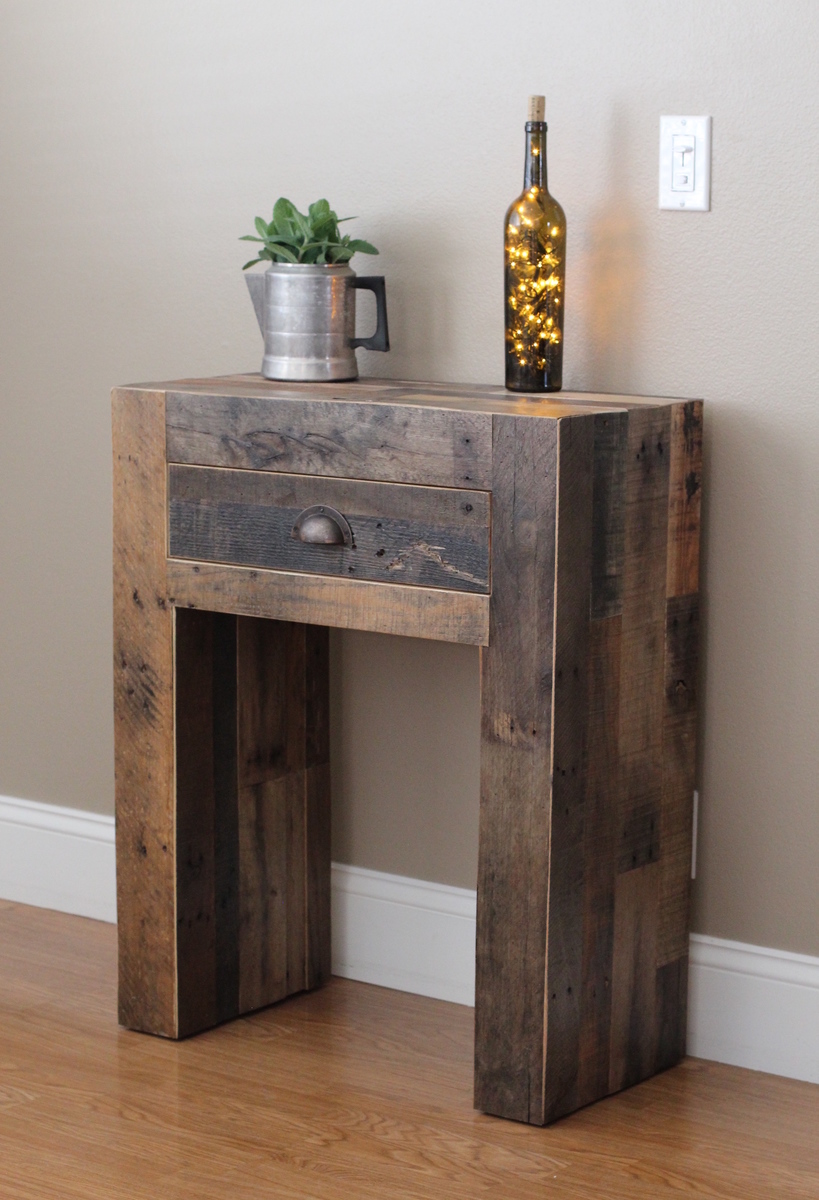
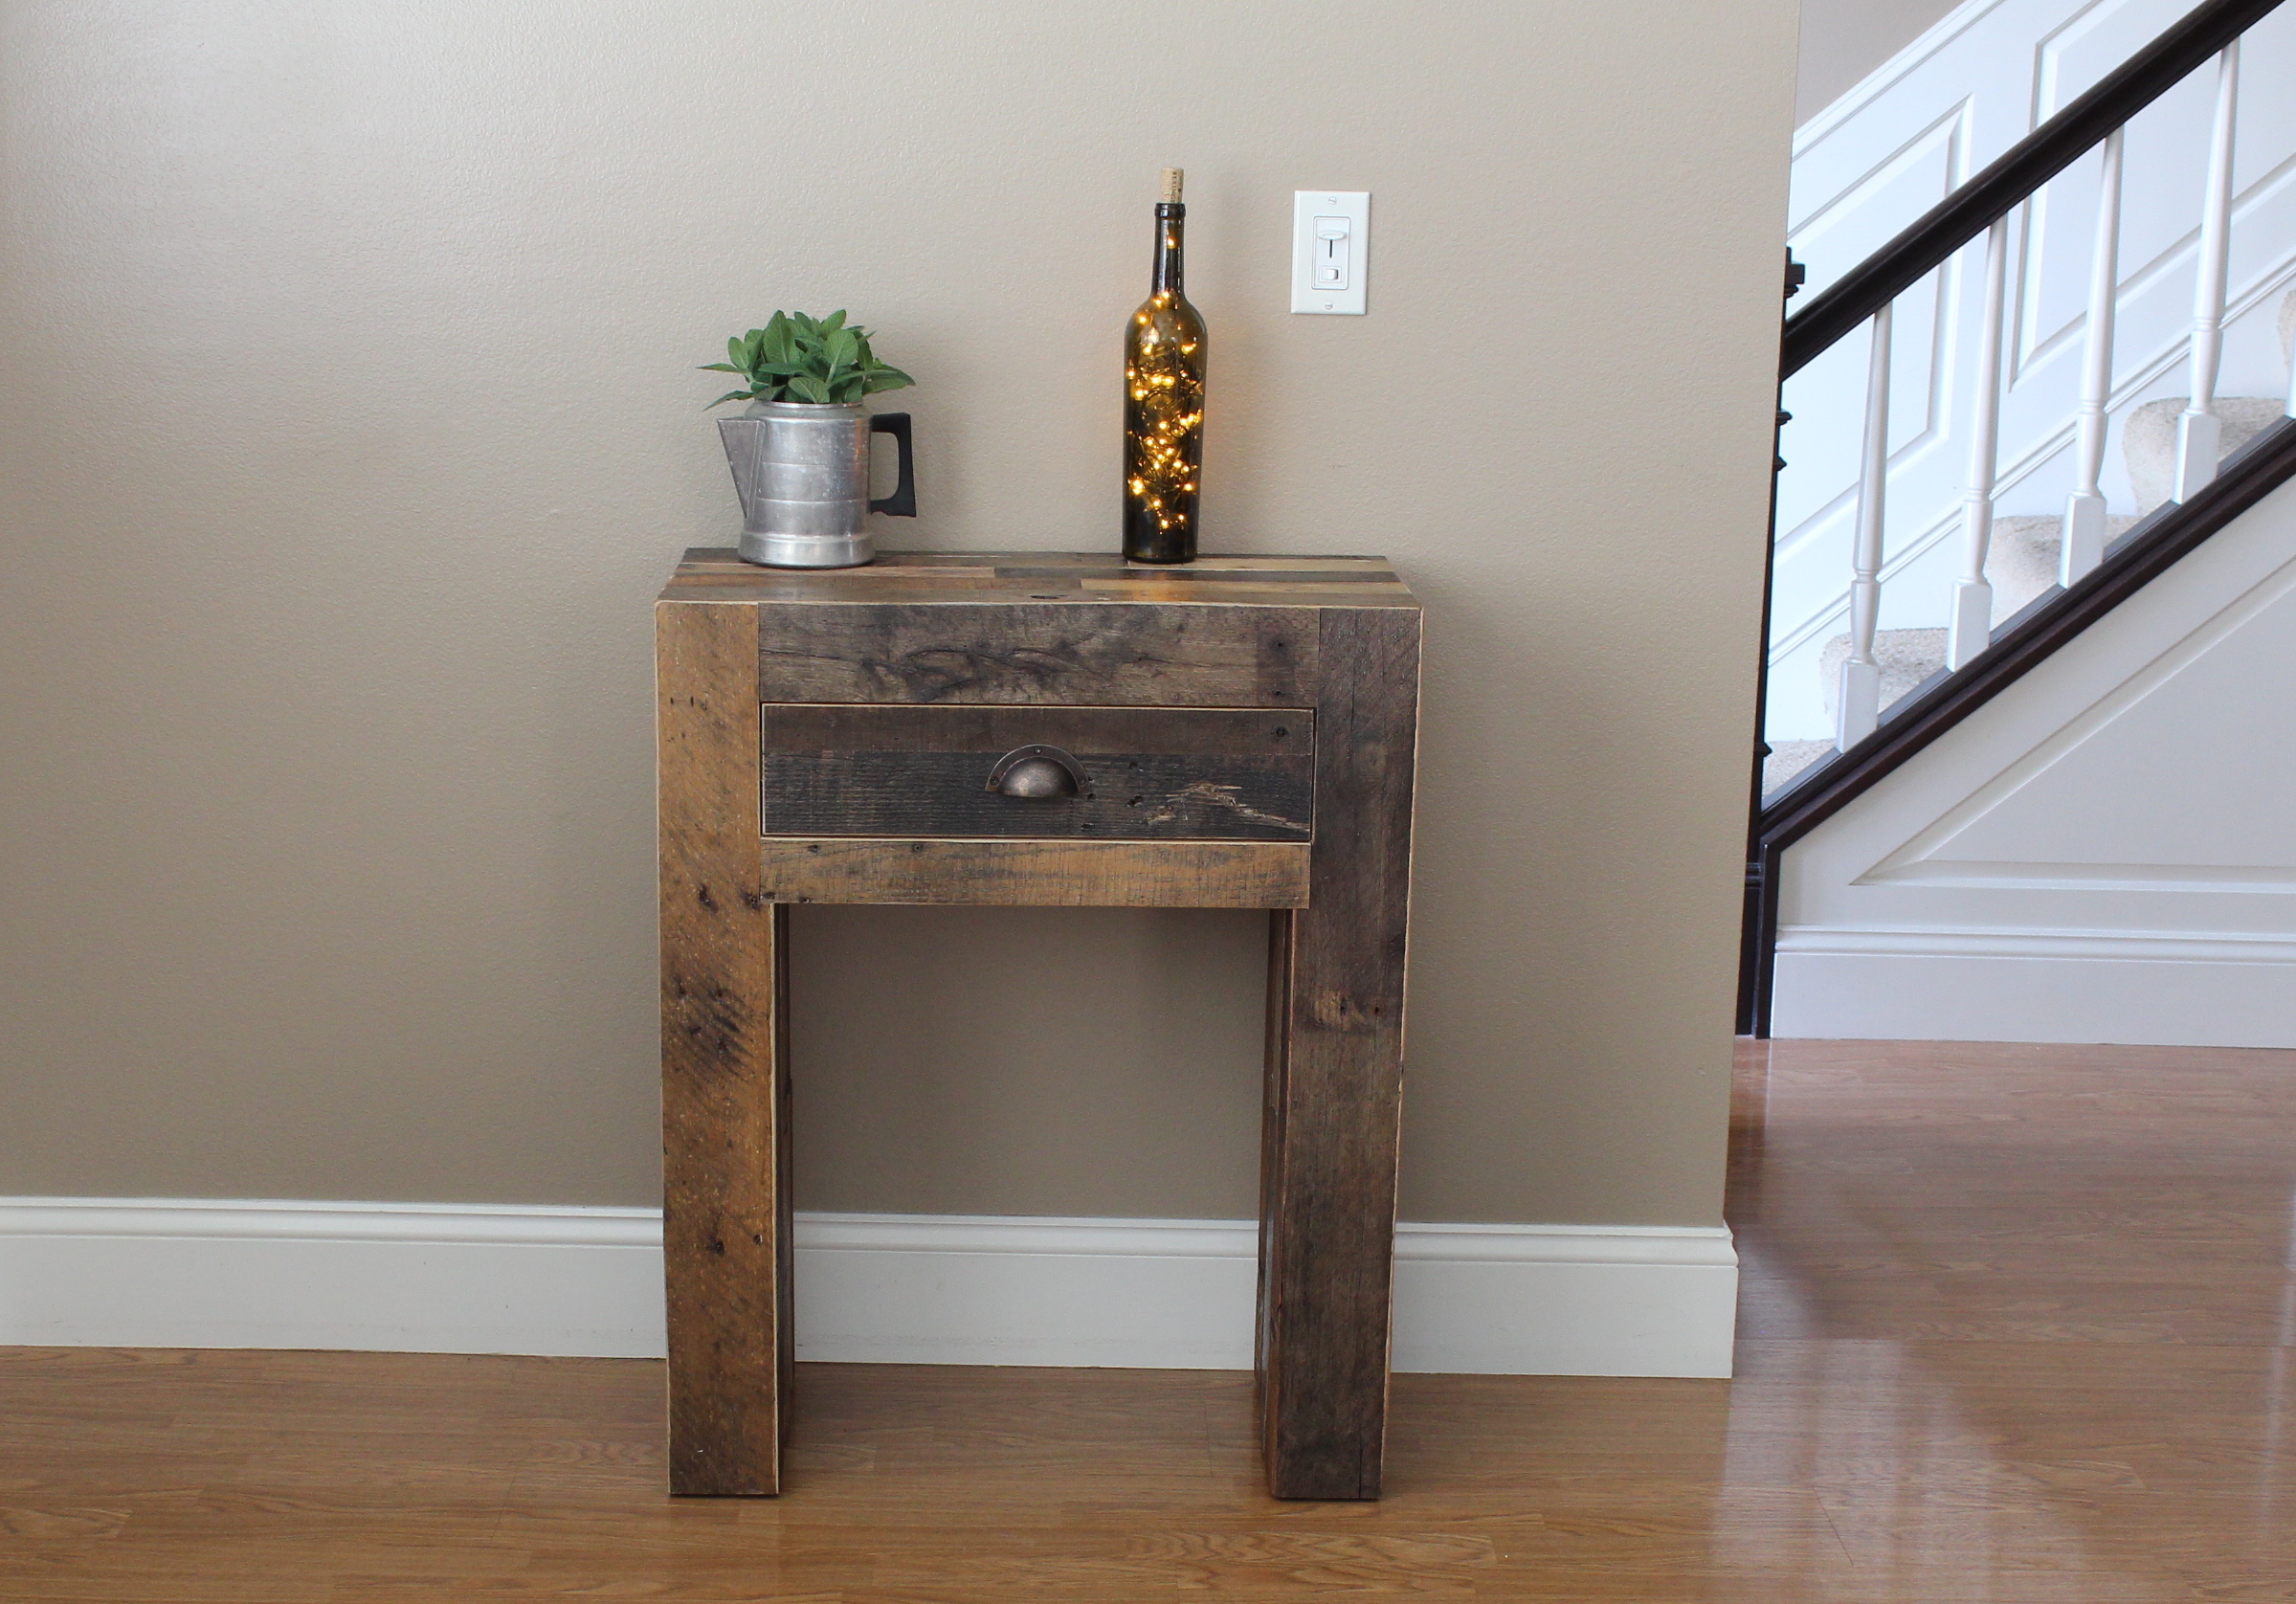
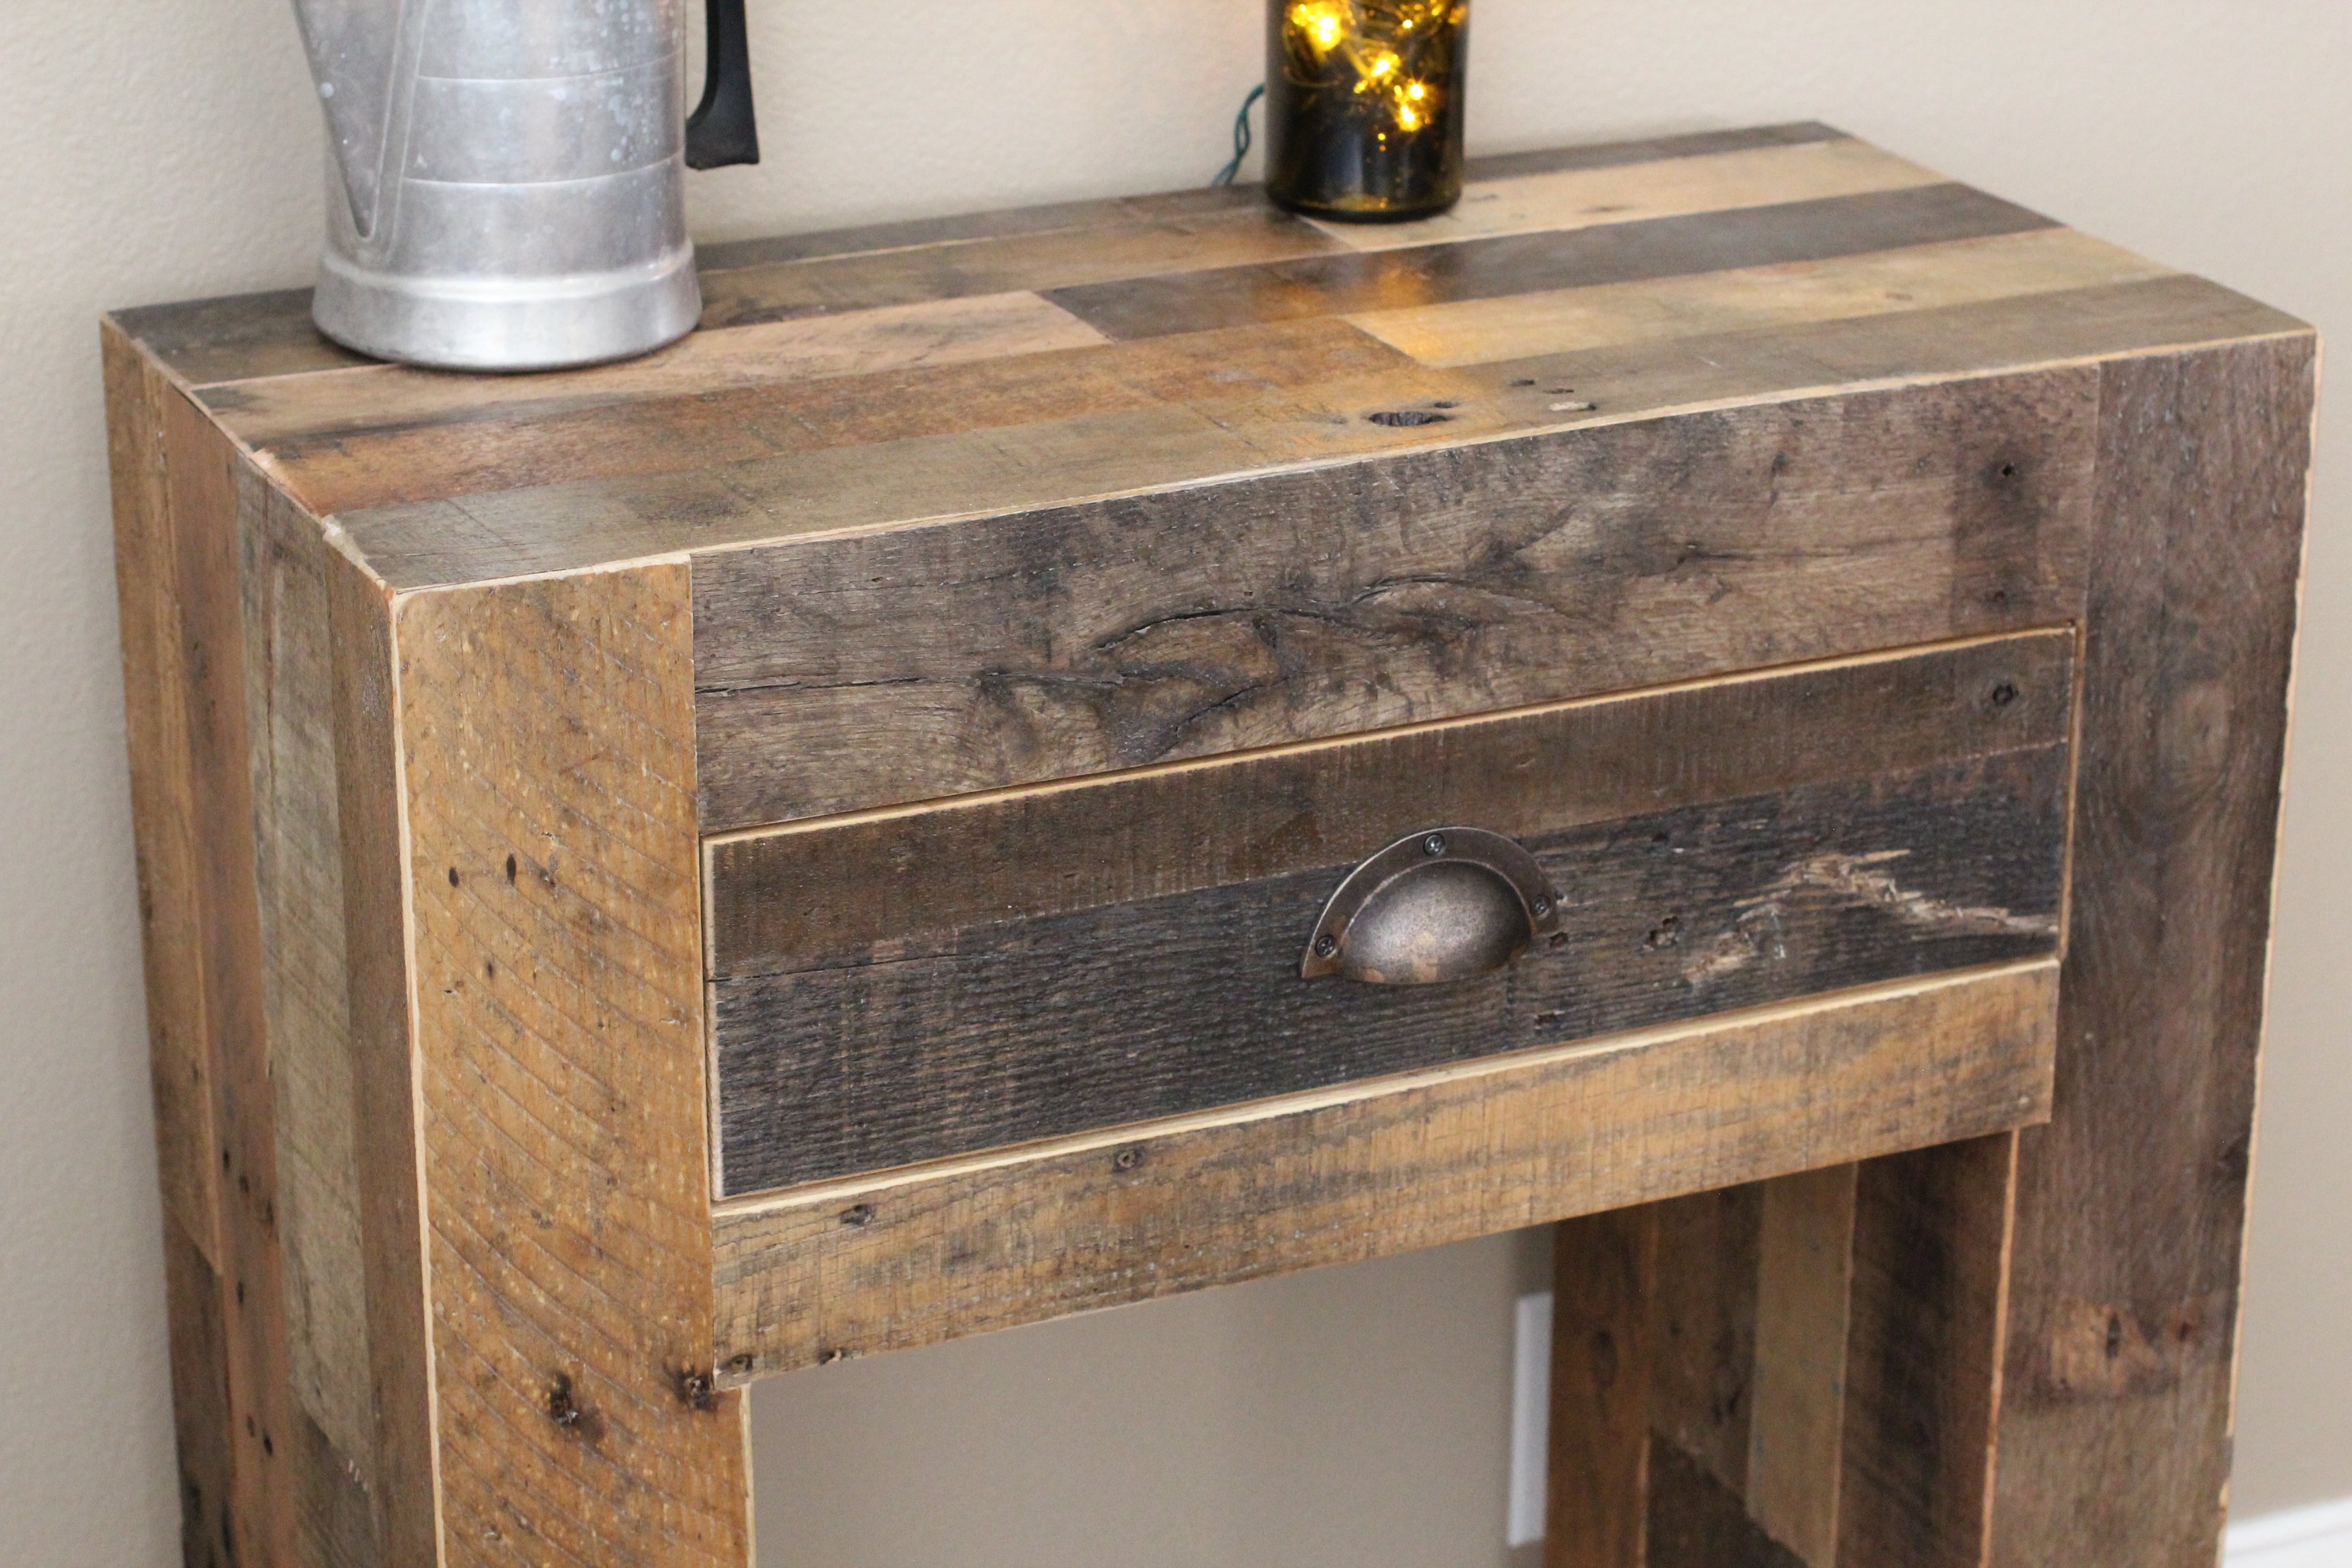
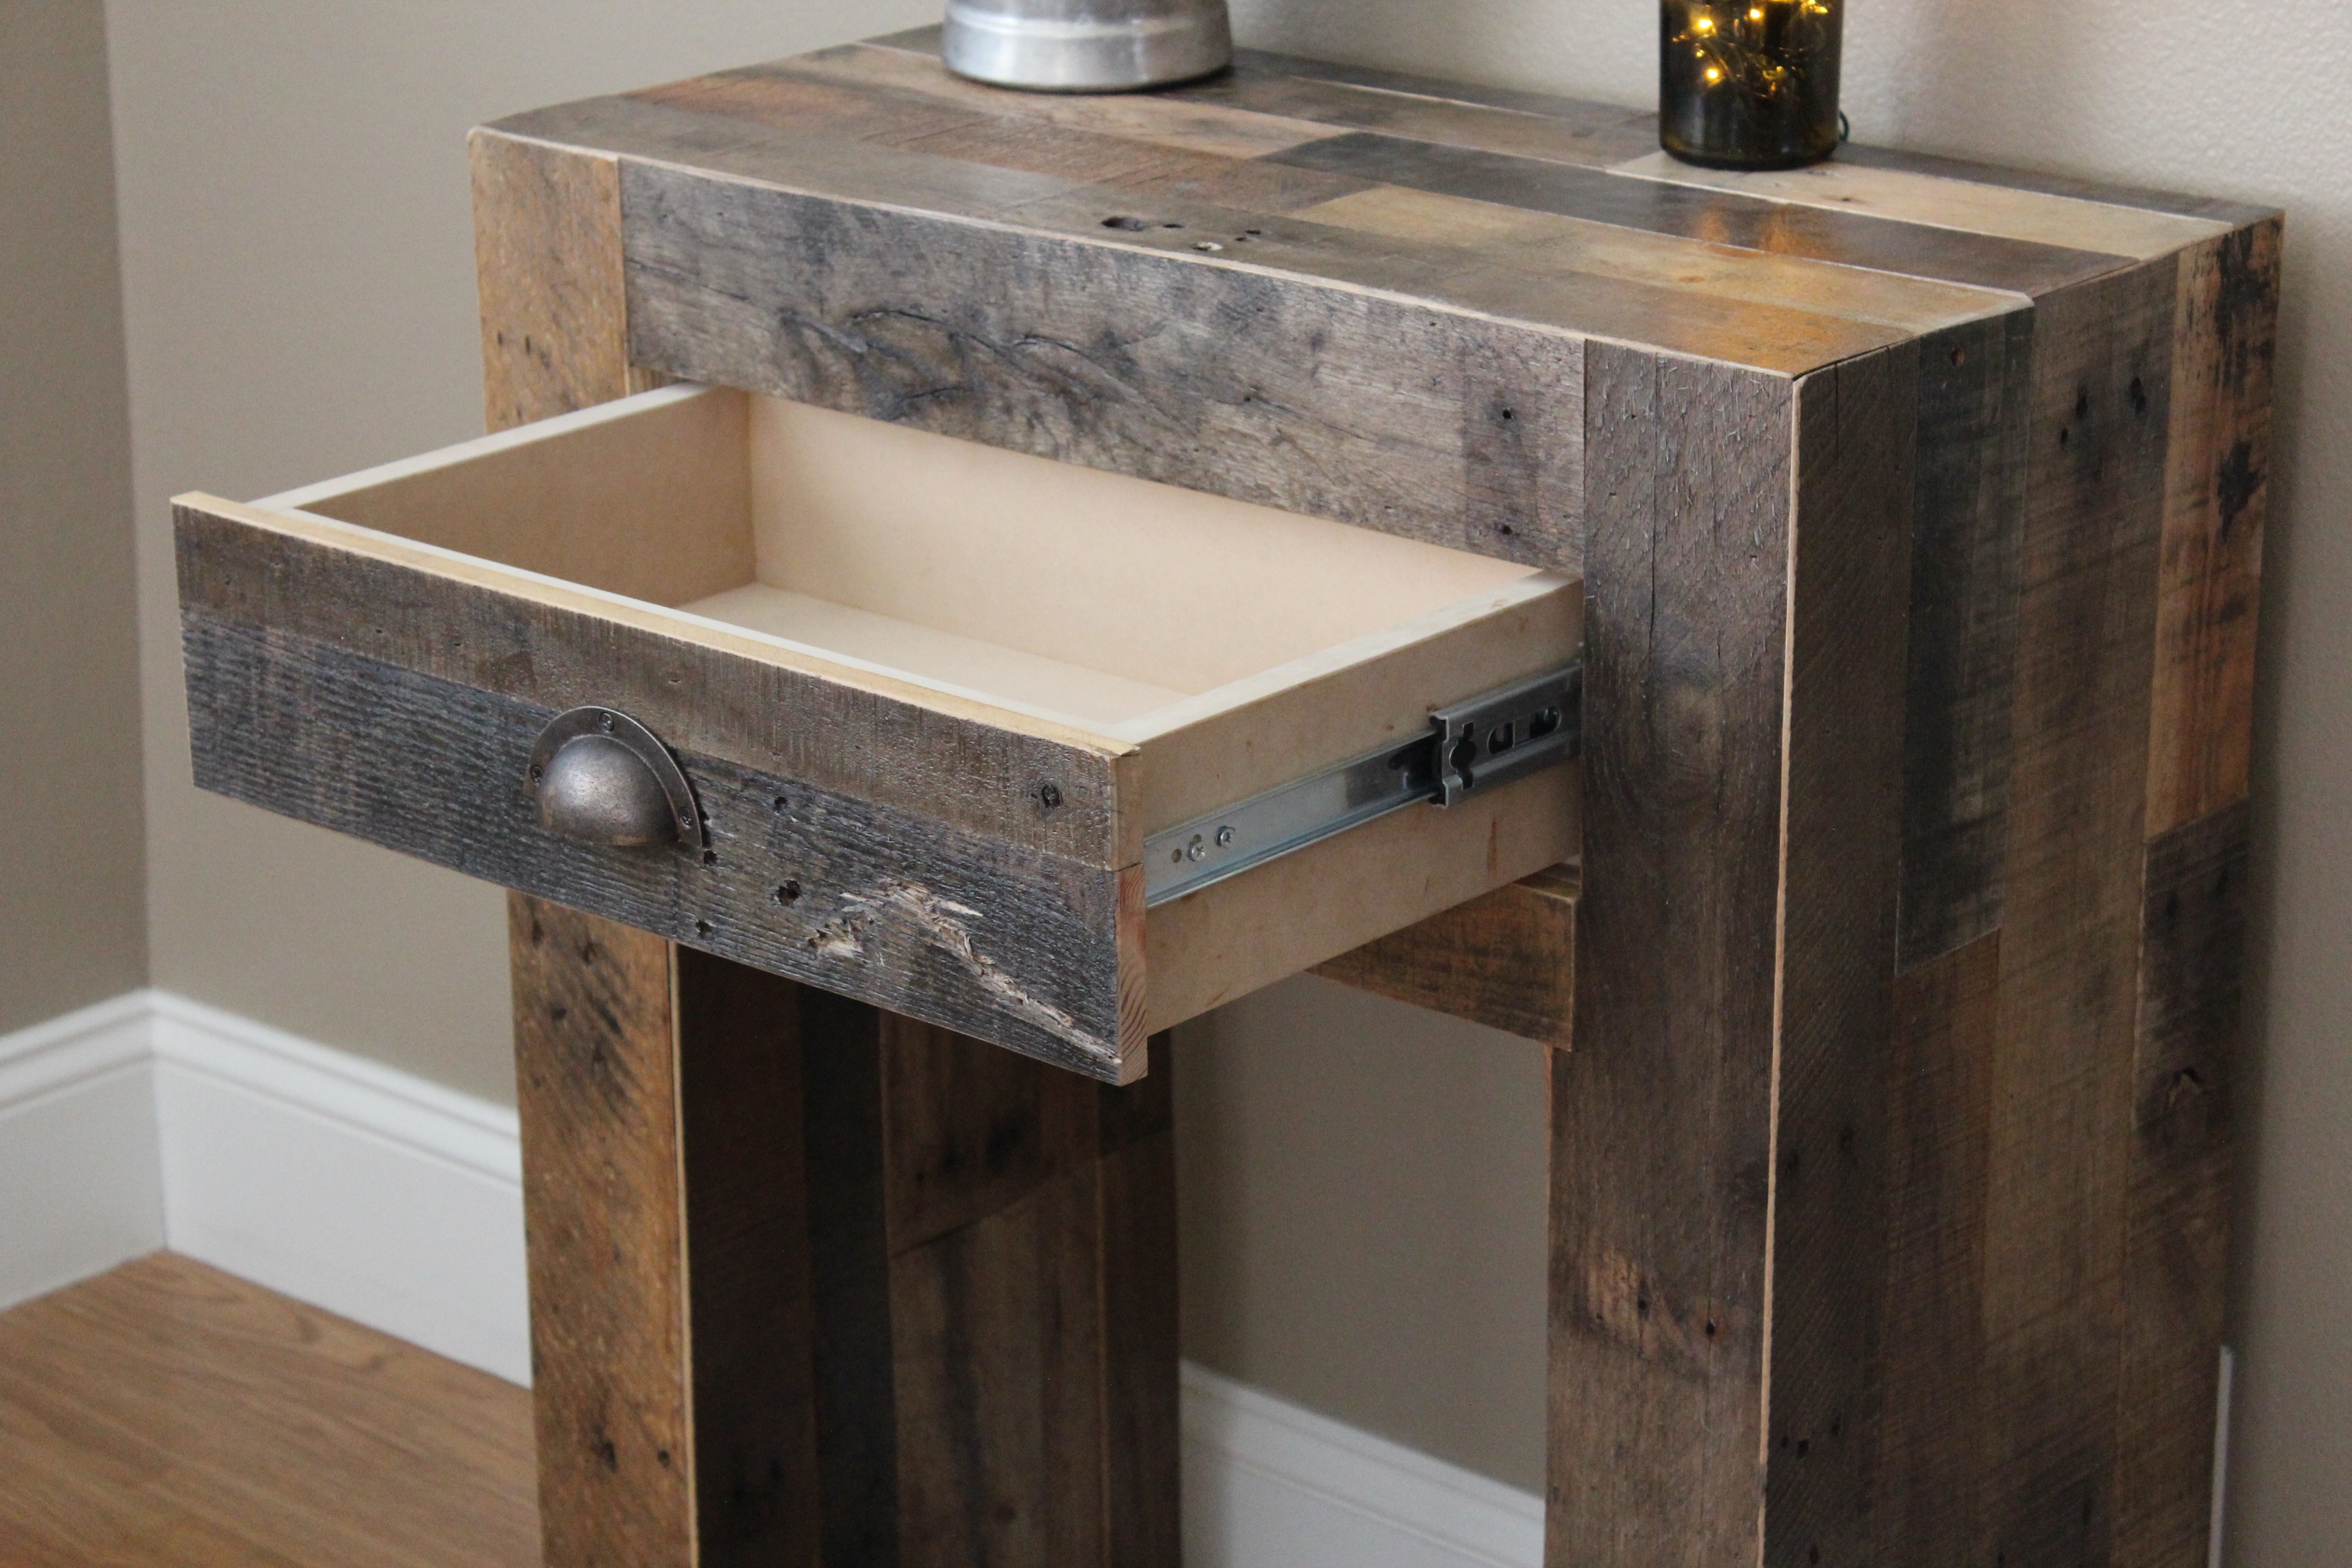
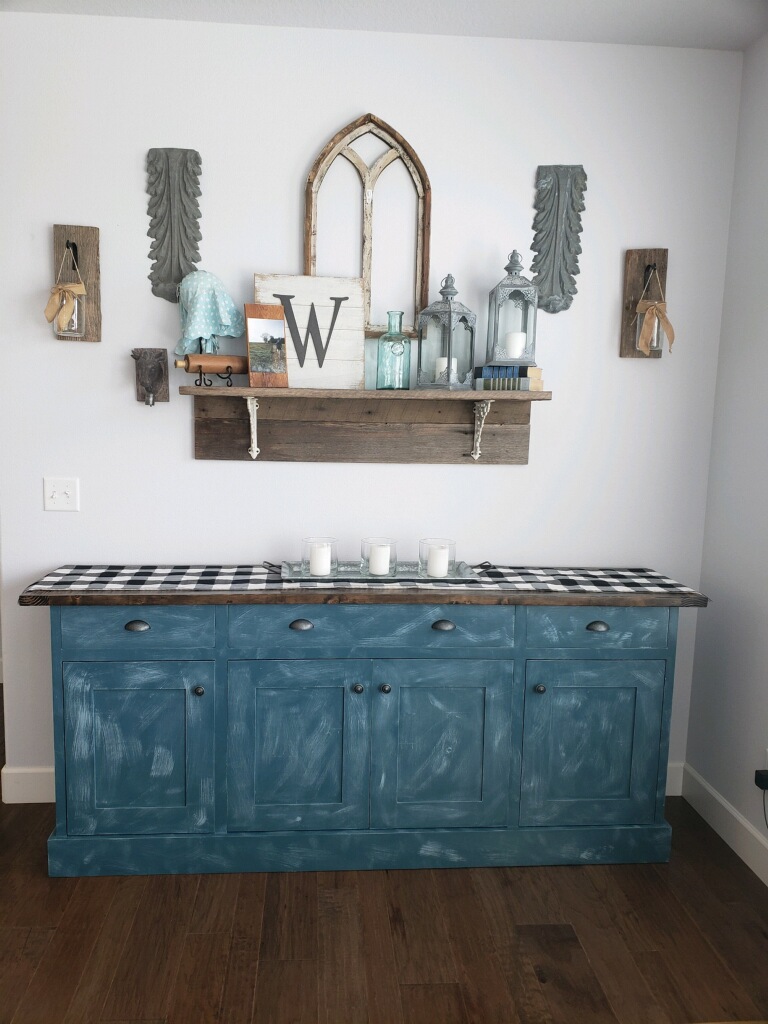
This reclaimed console was not build from one of Ana's plan but I did want to share it to inspire others to work with reclaimed wood. I used reclaimed pallet wood for this build, except for the drawer, I used MDF. For the finish I used an oil based poly.
In reply to Love it! by tracygator
Wed, 04/08/2015 - 15:43
Hi Tracy. Everywhere there is a joint or seam, I cut each reclaimed plank on a 45 degree angle to hide the exposed raw wood after being cut.

Wed, 04/08/2015 - 19:38
It looks just like west elm. Did you lay the boards on plywood first? It looks like there are a few pieces per row on the side if that makes sense. Seriously I love this
In reply to Thank you! by tracygator
Wed, 04/08/2015 - 21:11
You are correct, I build a plywood box basically with a face frame. I rip down all the reclaimed pallet to 1/2" thickness and then nail it to the plywood. The pallet wood is basically a veneer.
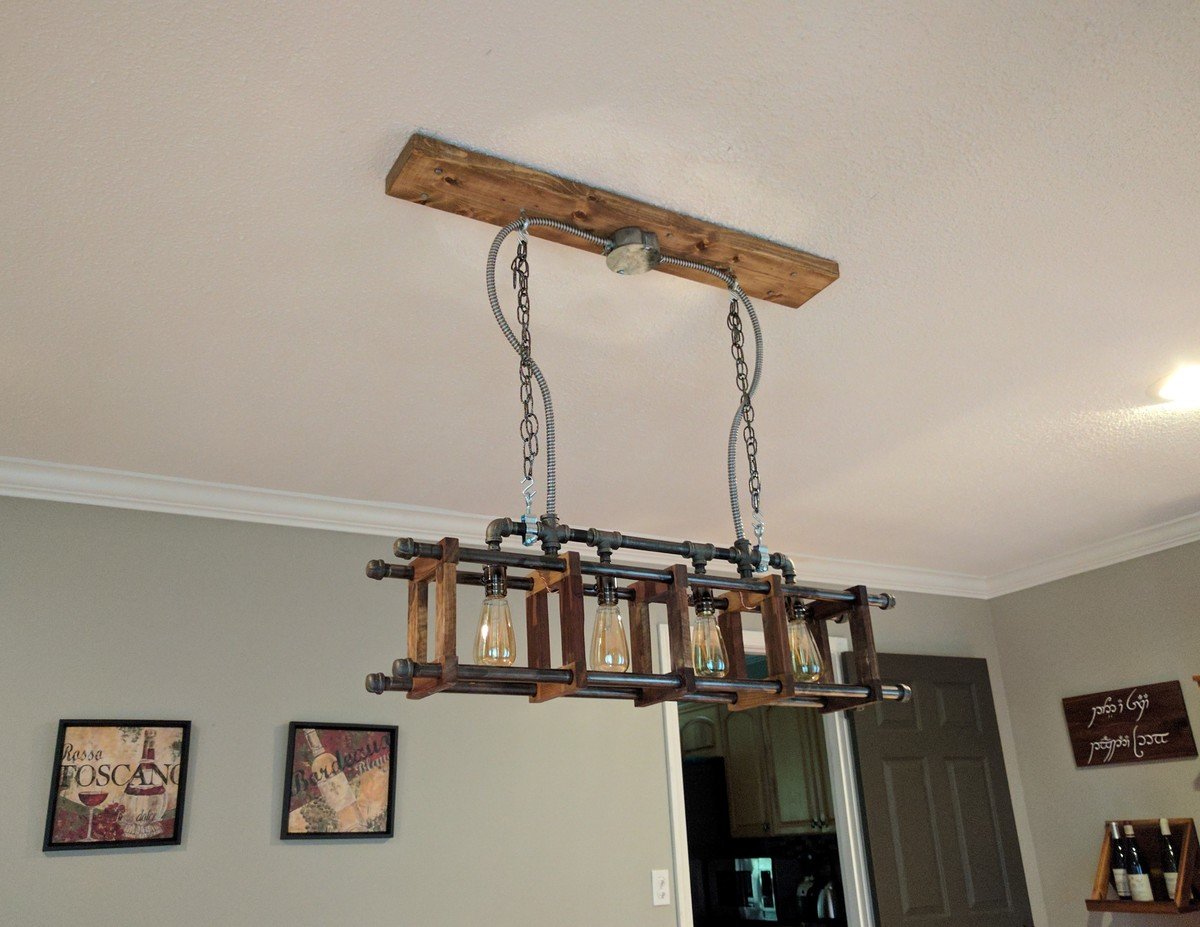
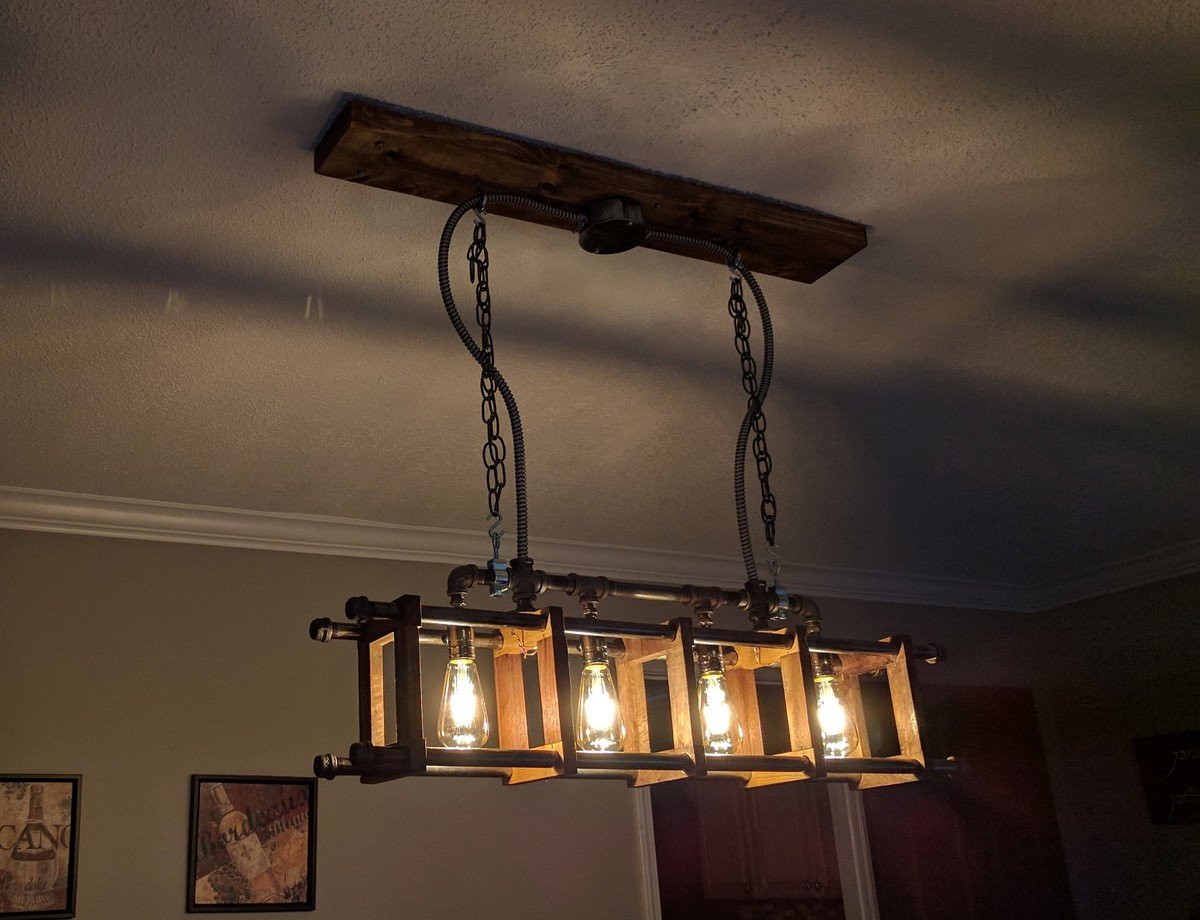
Industrial chandelier for our dining room made from black iron pipe pieces from Lowes and some leftover black walnut scraps. It was a sometimes frustrating design-as-you go project that required loads of help from my electrical engineer husband. Love how it finally turned out!
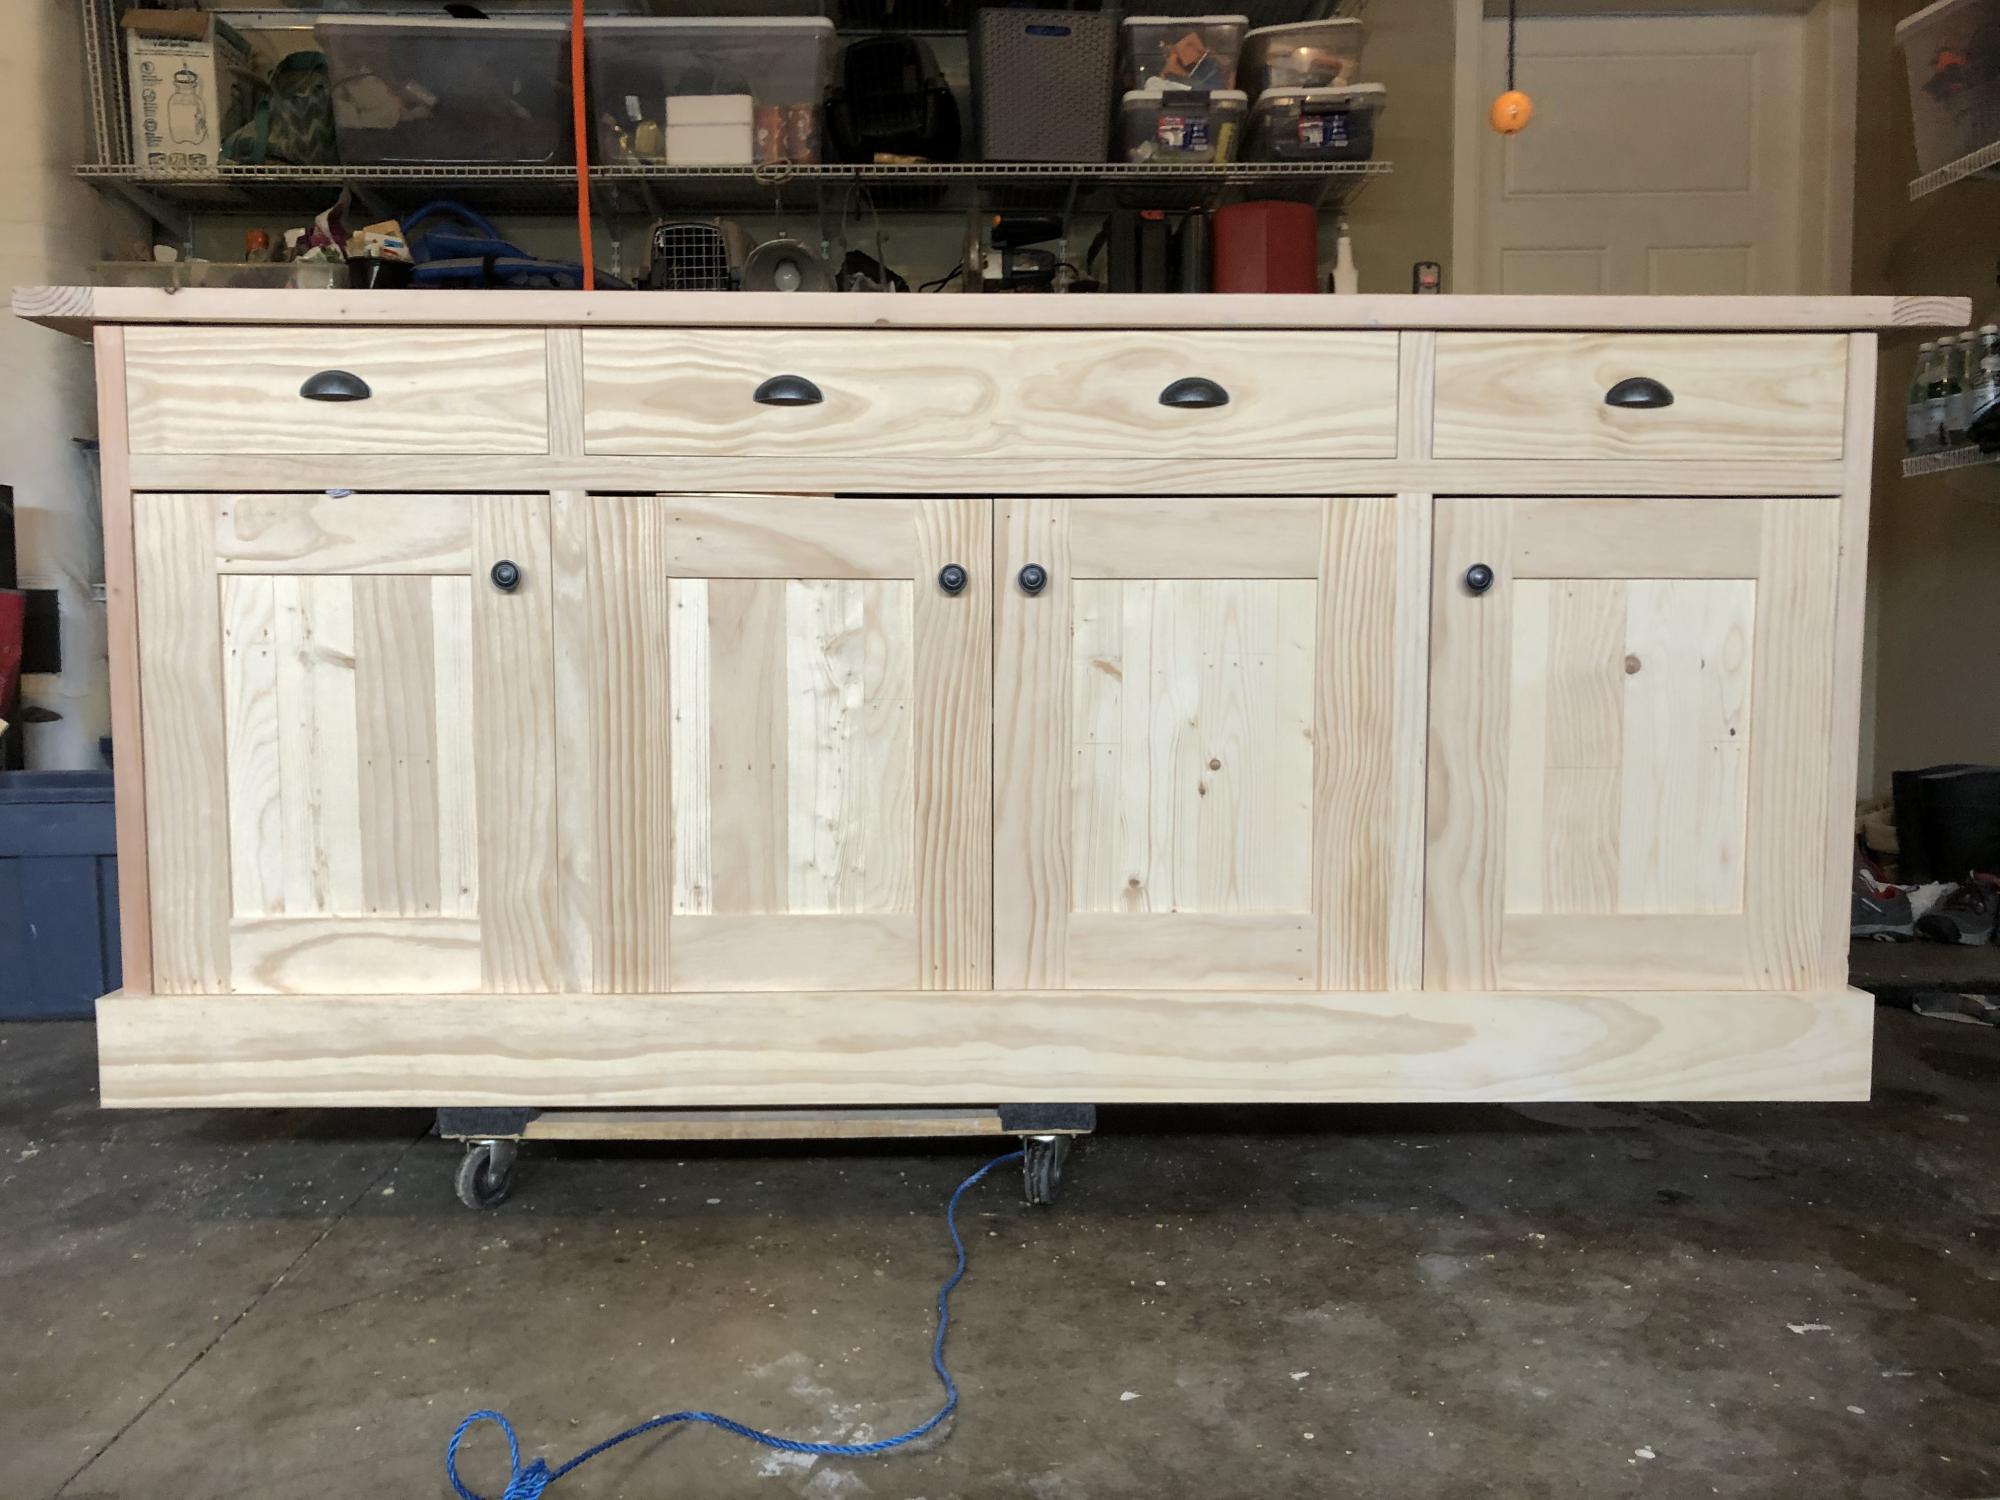
I had a friend ask me to build them a sideboard that fit a 7' wall in their dining room. They found the picture and I made to their specifications. First picture is just finished, the second picture is how they painted and placed it.
Mon, 10/04/2021 - 16:49
Beautiful build and wonderful finish, thank you for sharing!

Tools Used:
Jigsaw, Hammer & Sander.
FIRST Project! Made this for my brother who works out at home and uses his bed as bench when he lifts weights. tsktsk. It took me 2 days, on and off to finish this. :))
Thanks Ana for the plan. I learned a lot and I can't wait to try and build your other plans. :)
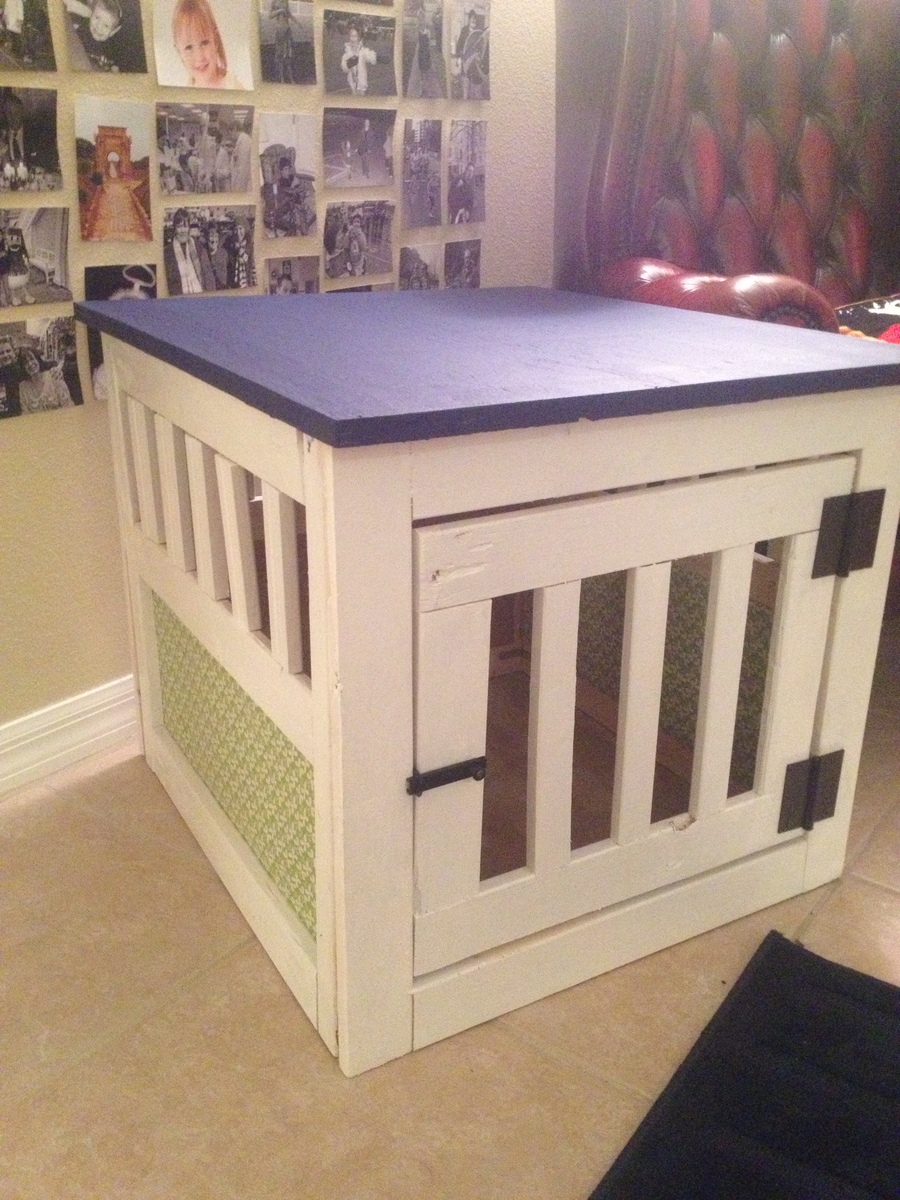
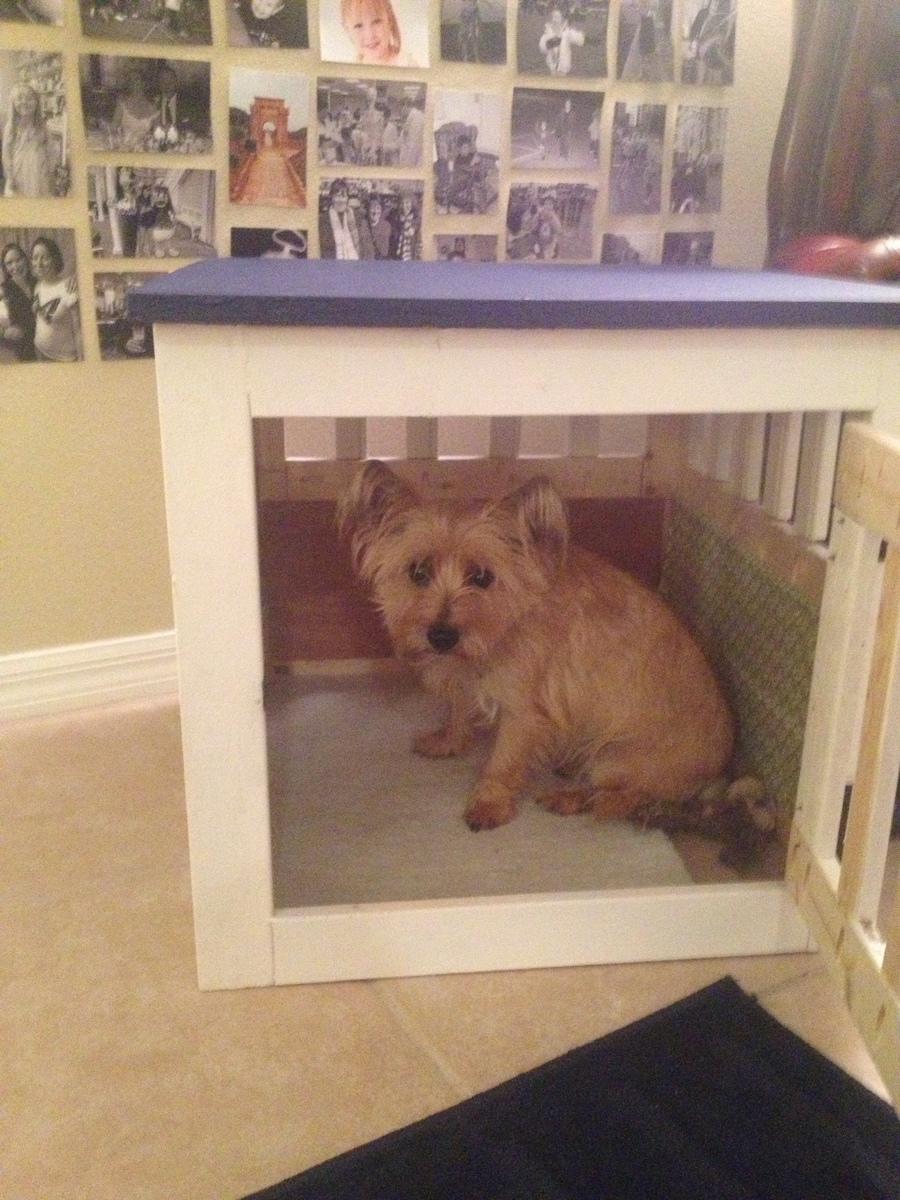
I loved this plan, but needed to cut down the size. I added fabric to the side panels to make it a little prettier. I had my ply cut at Home Depot, but cut all of the rest of the wood with my little had miter box, which added a lot more time to the process, but it was worth it! More details on my blog. Great plan, as always, Ana!
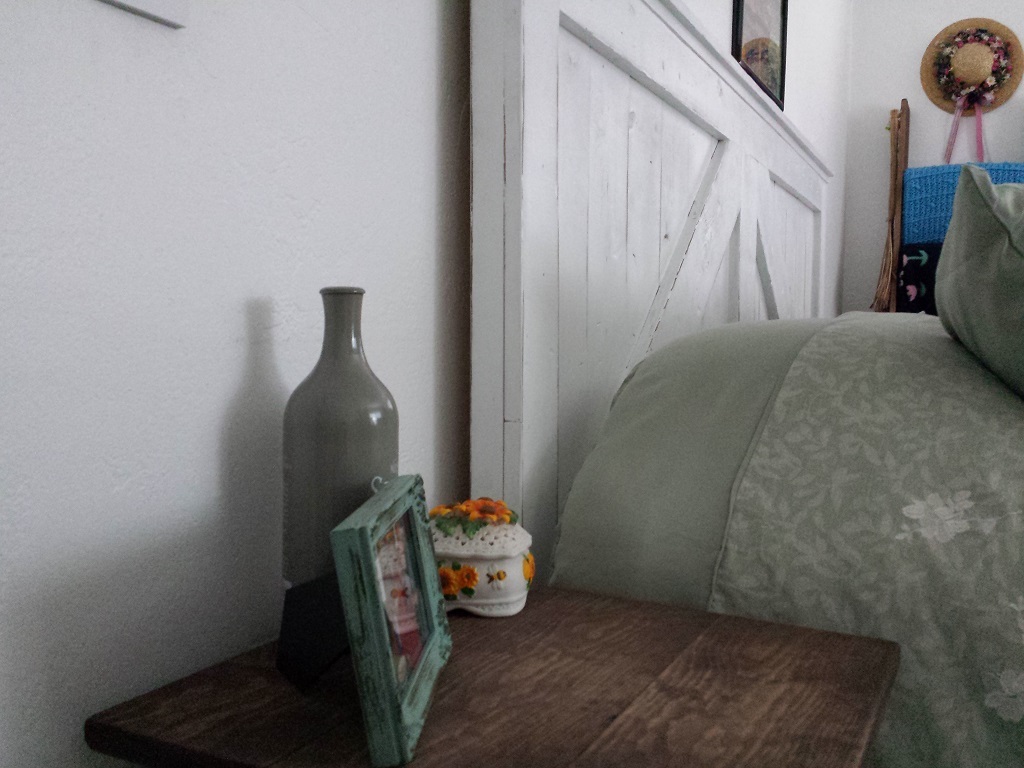
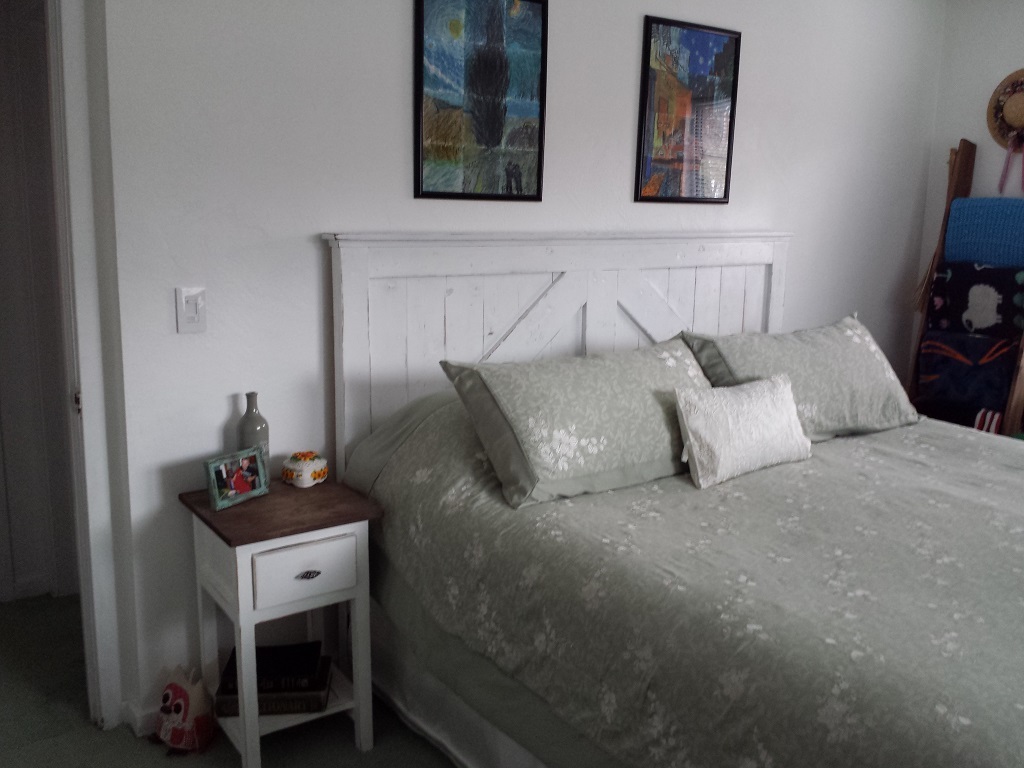
I built this headboard to coordinate with the nightstand, tv console and blanket ladder I had previously built. We recently purchased a King size bed and found ourselves in desparate need of a furniture makeover. I modified the plans to fit our bed, and wanted a beefier look so I used a combination of twelve 1x6s and three 1x4s as opposed to only using 1x4s for the panel back. I also used 1x6s for the trim as well. Legs were made of 1x4s, doubled up at the bottom for additional support. I built it so that the legs could bolt to the bedframe using lag bolts. I also wanted it to be a bit taller so I increased the height to 56" tall.
Fri, 04/10/2015 - 23:19
I also wanted it to be a bit taller http://wp.me/p5ZUhY-1S
http://ref.li/paYsW
http://bit.ly/1NdOcoW
http://wp.me/p5ZUhY-1P
http://wp.me/p5ZUhY-1D
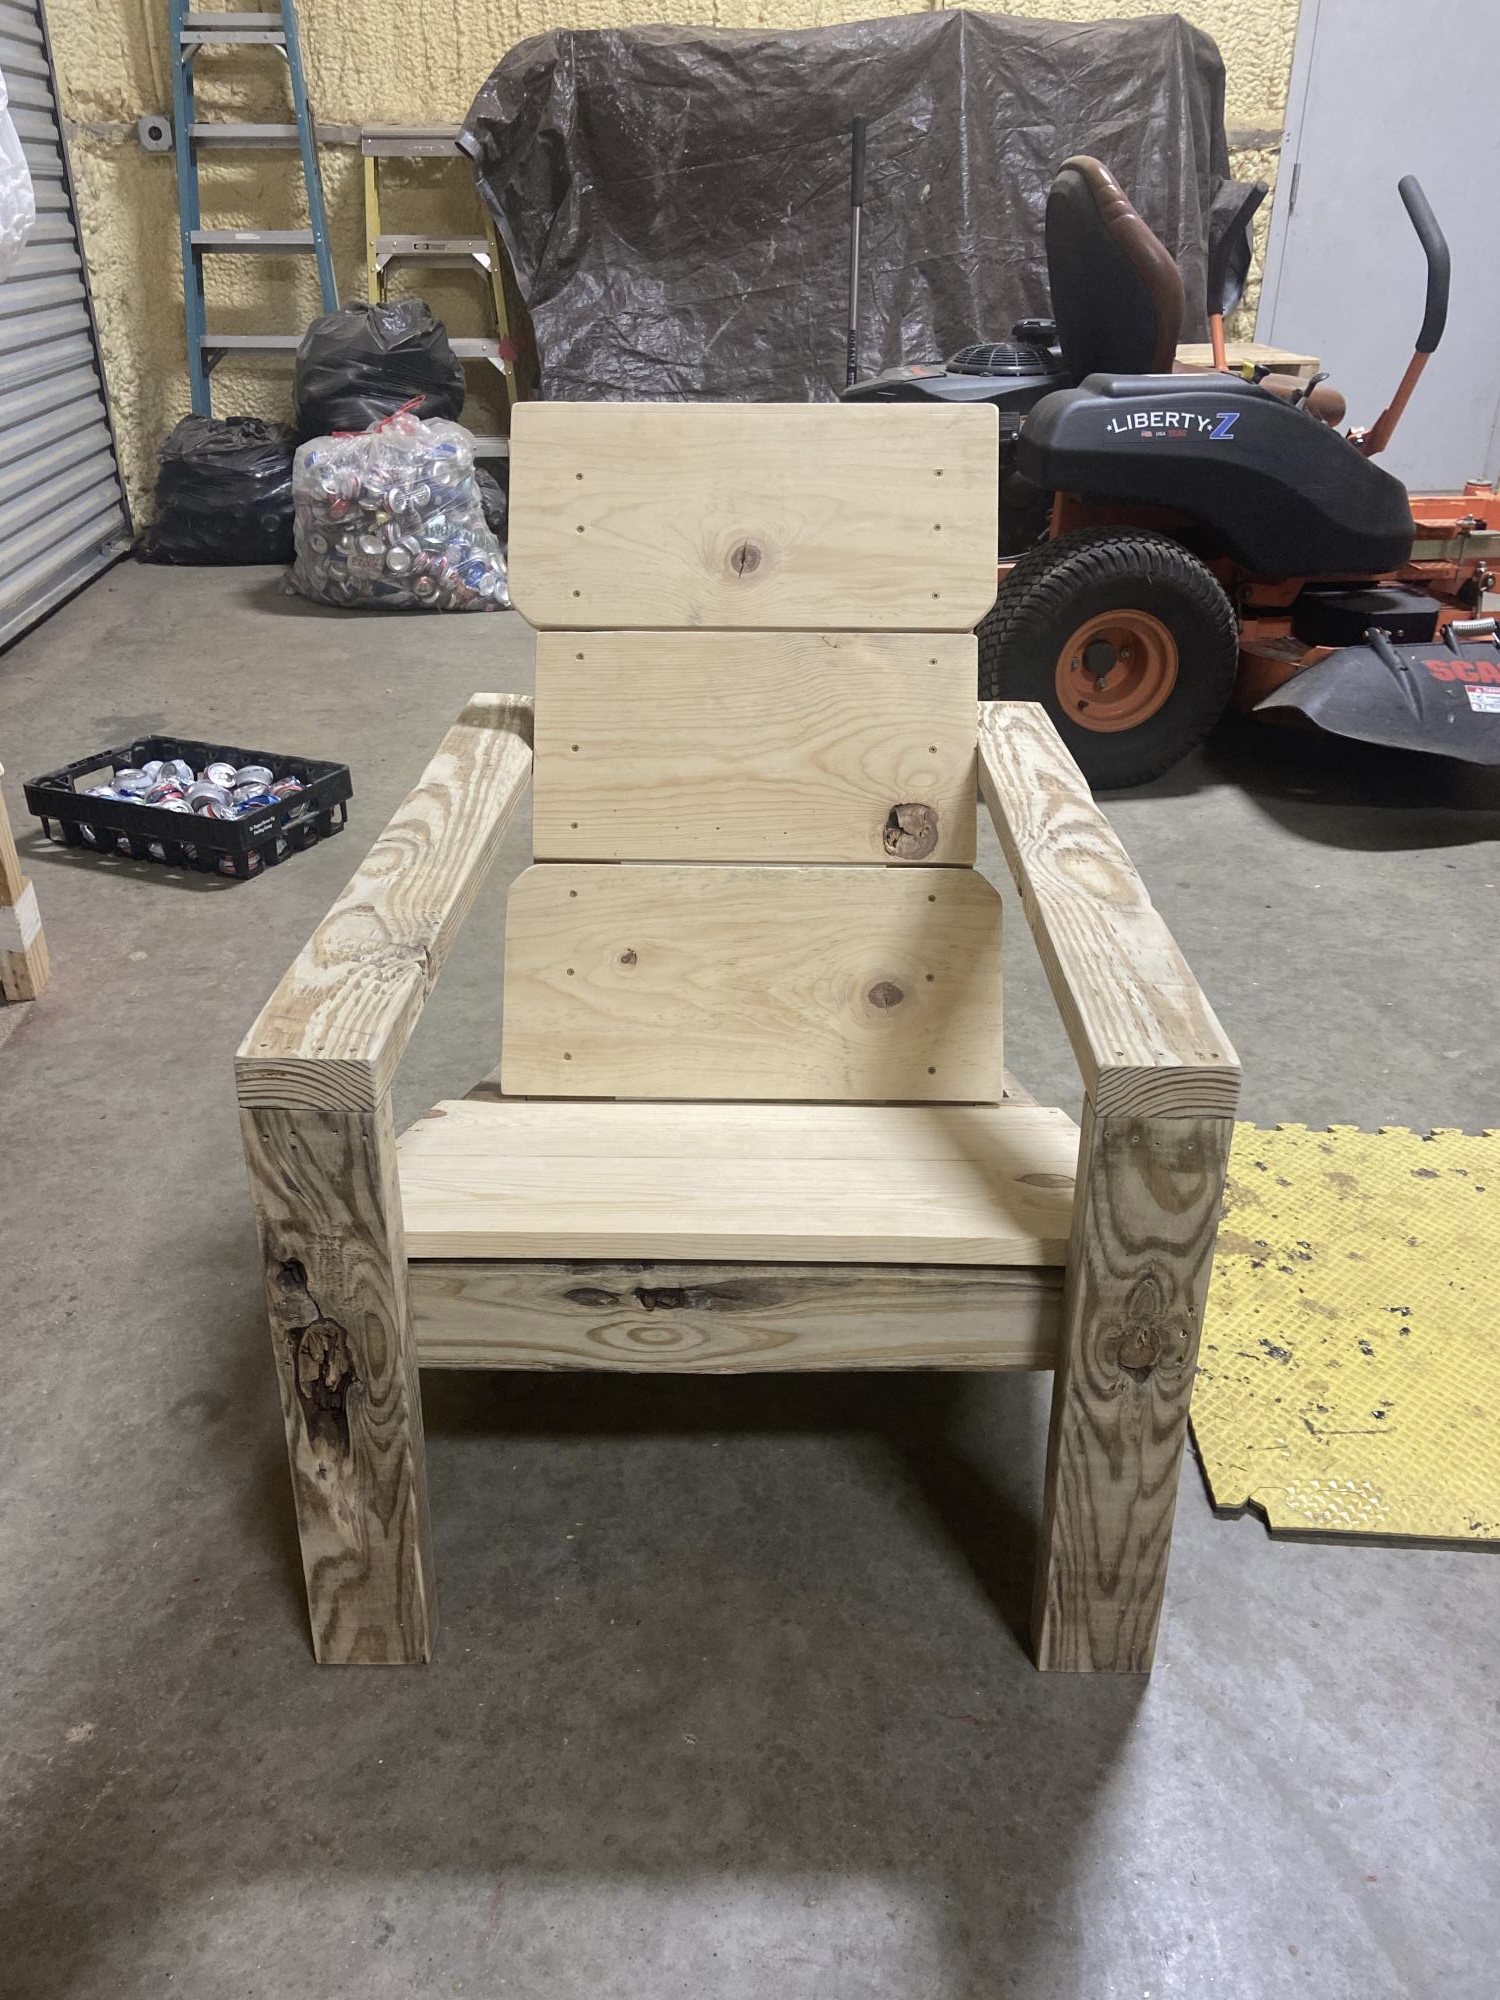
I tweeked this project because I was making it for a larger person. On the whole, I think it came out pretty good! Thanks Ana! I love your website and plans.


Comments
Ana White Admin
Tue, 10/05/2021 - 11:00
WAY TO GO!
Awesome set and love the lounge option! Thanks for sharing:)