Simple Slatted Back Potting Bench

This was such a fun project! I’ve wanted to build a potting bench for years. I can’t imagine why it took so long take a shot at it, it’s such a simple build and only took a couple days.

Built from Plan(s)
This was such a fun project! I’ve wanted to build a potting bench for years. I can’t imagine why it took so long take a shot at it, it’s such a simple build and only took a couple days.
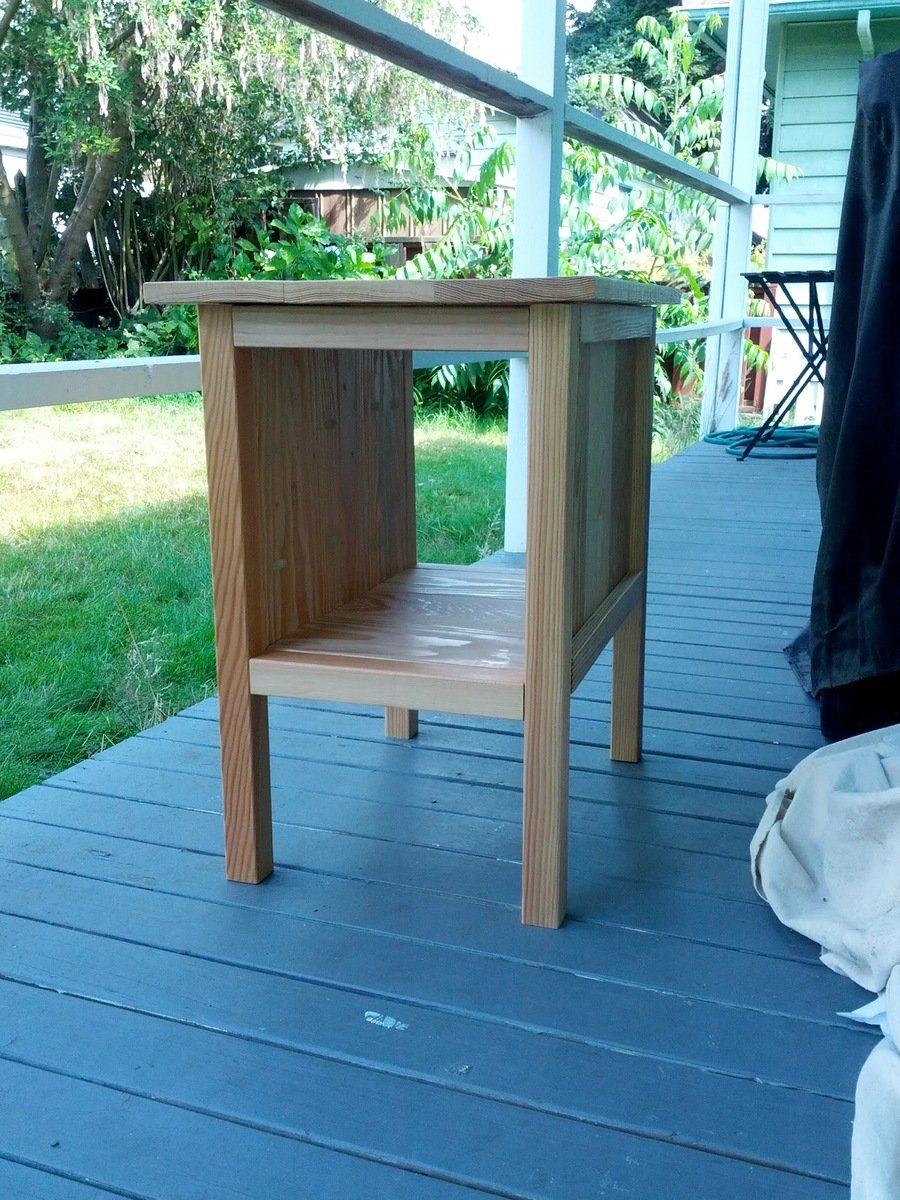
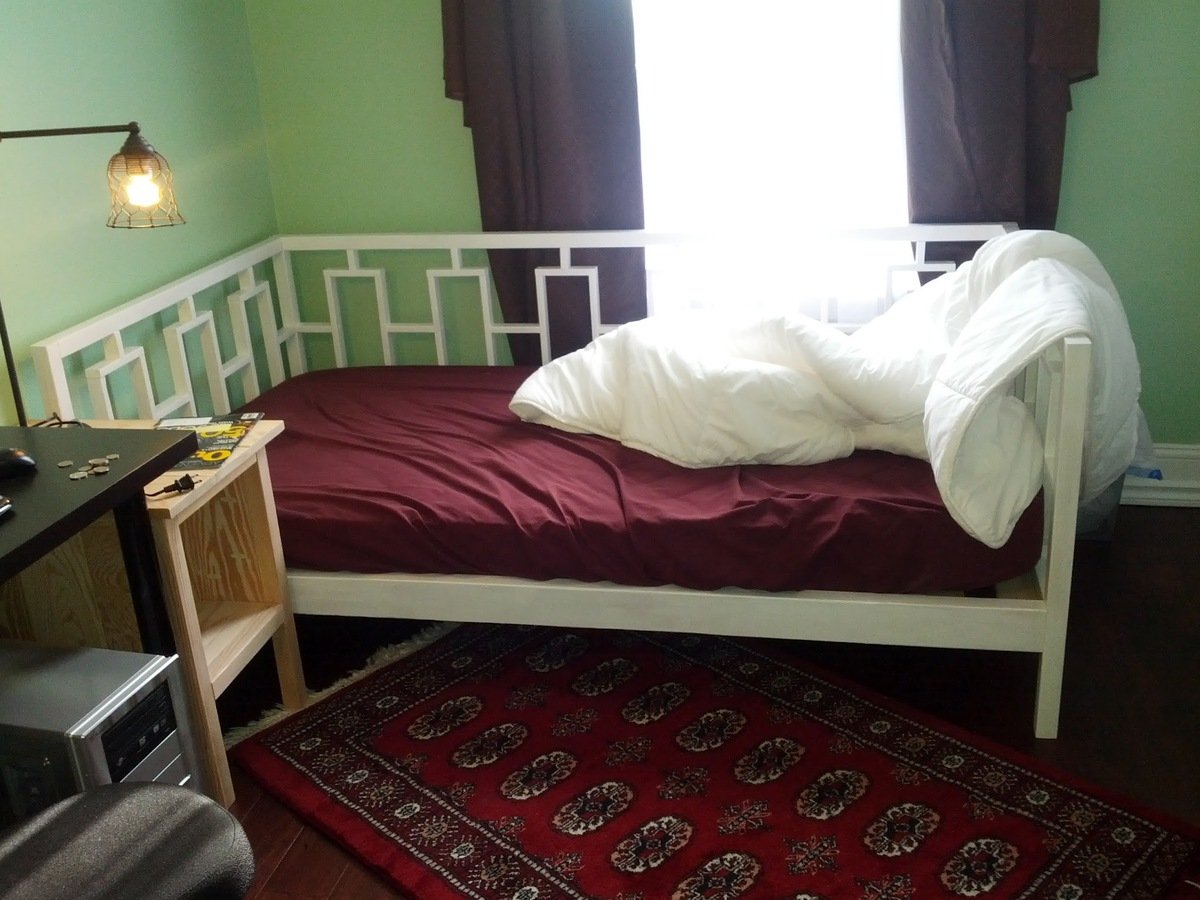
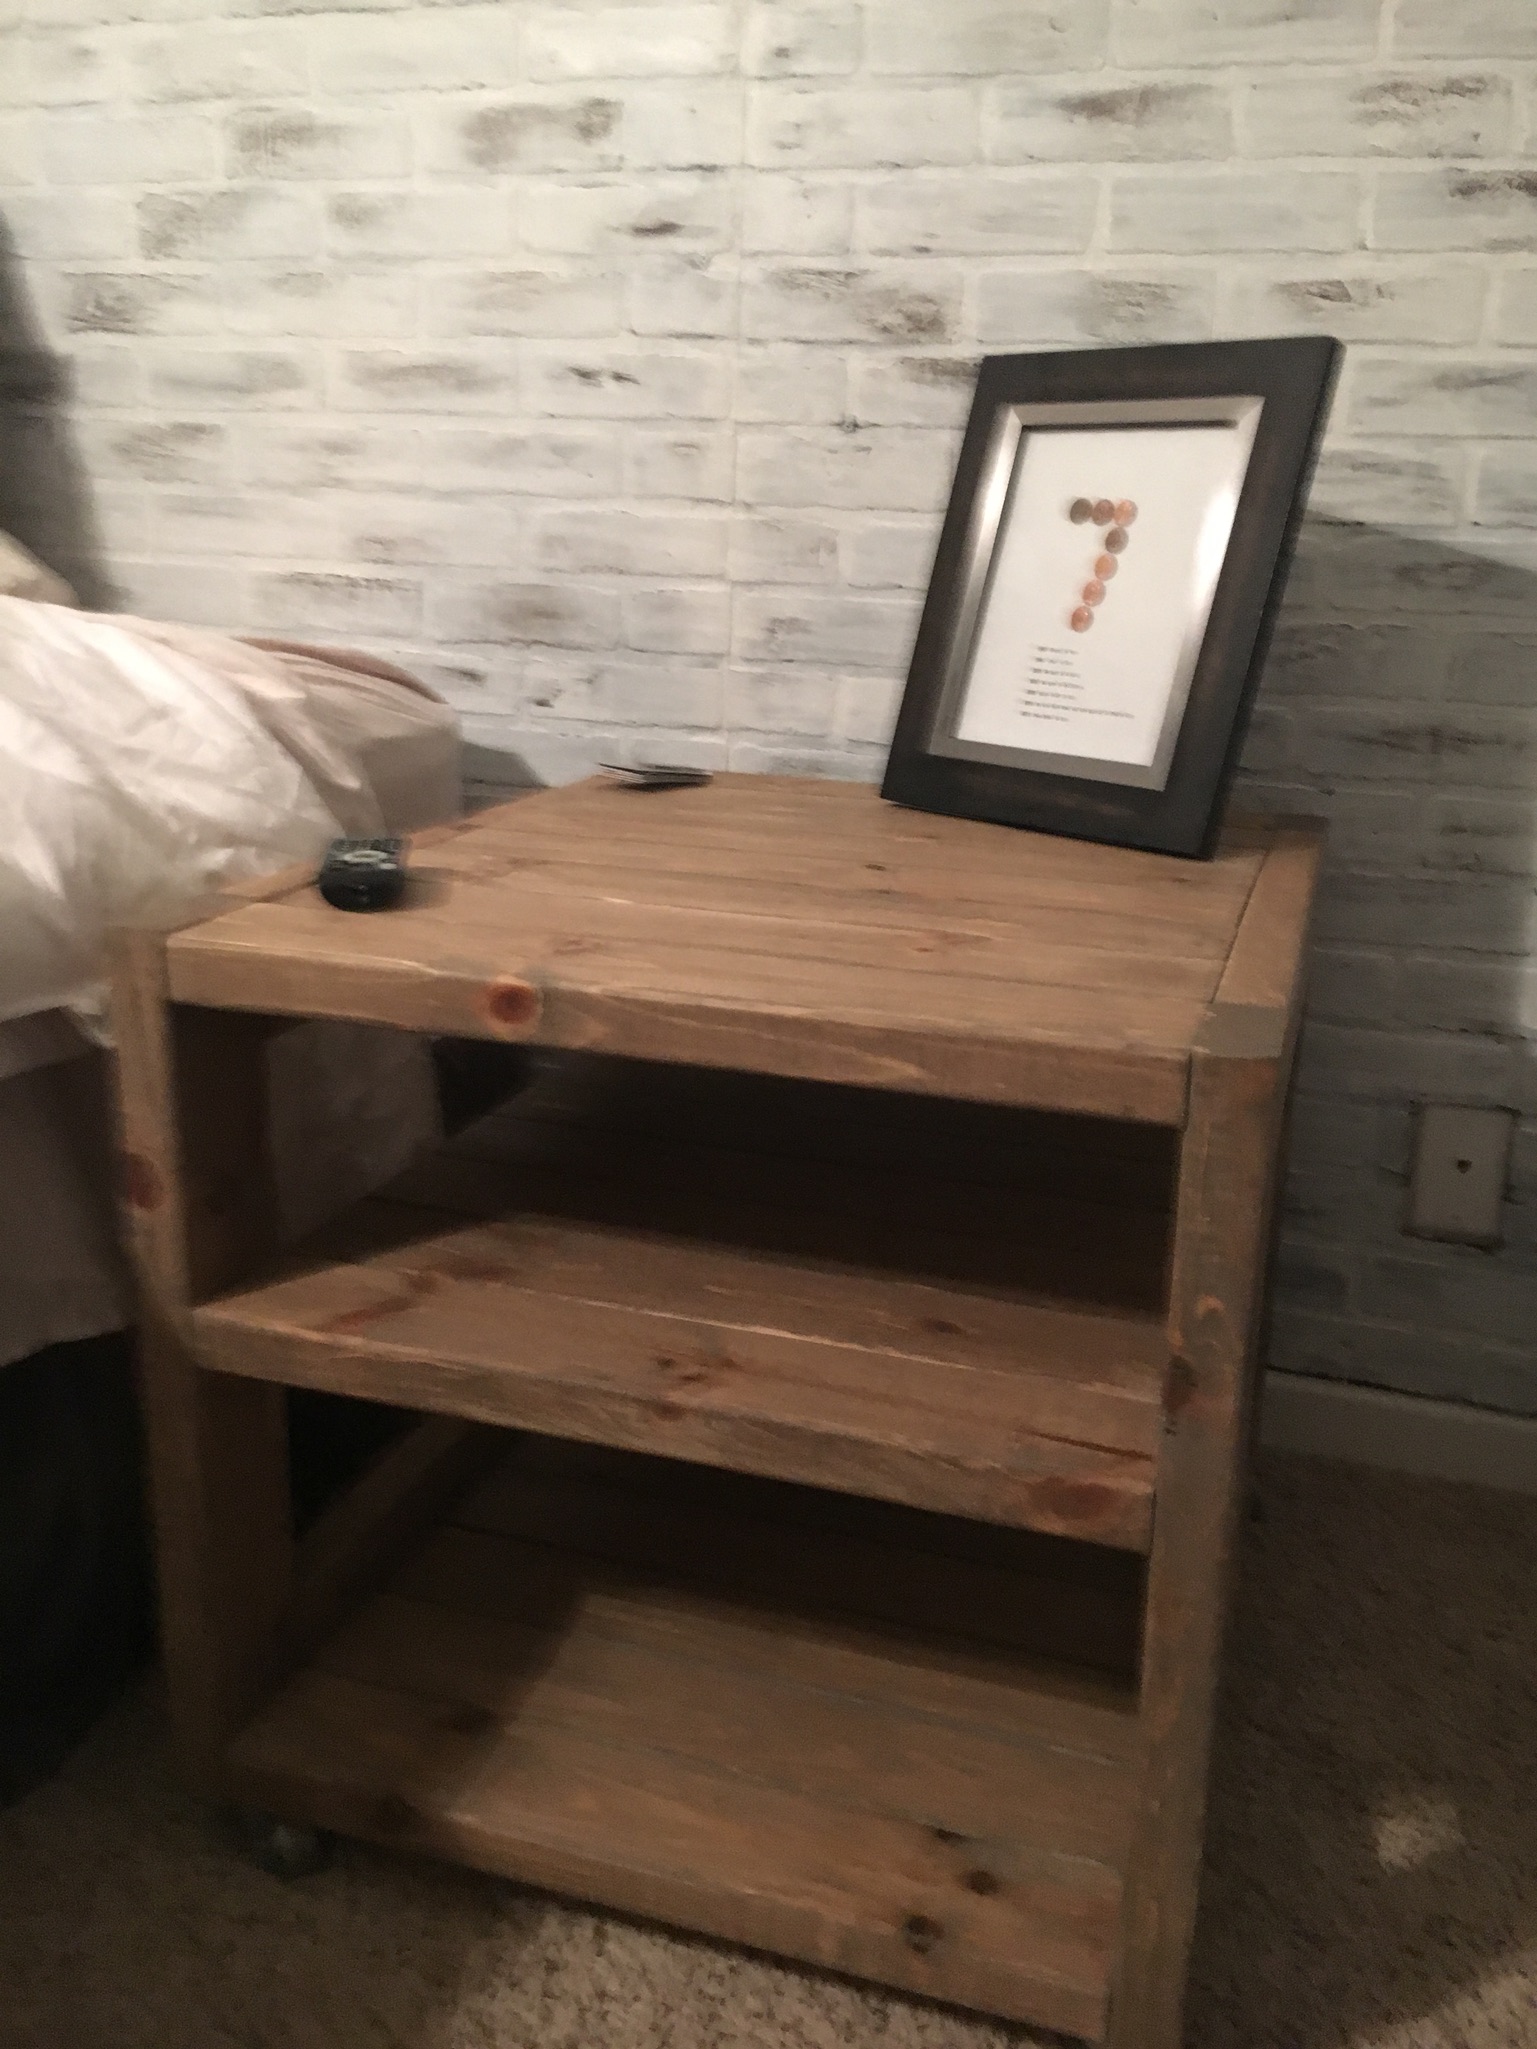
A simple Tidy Up end table. It was super easy to make, and fit between my desk and the day bed perfectly.

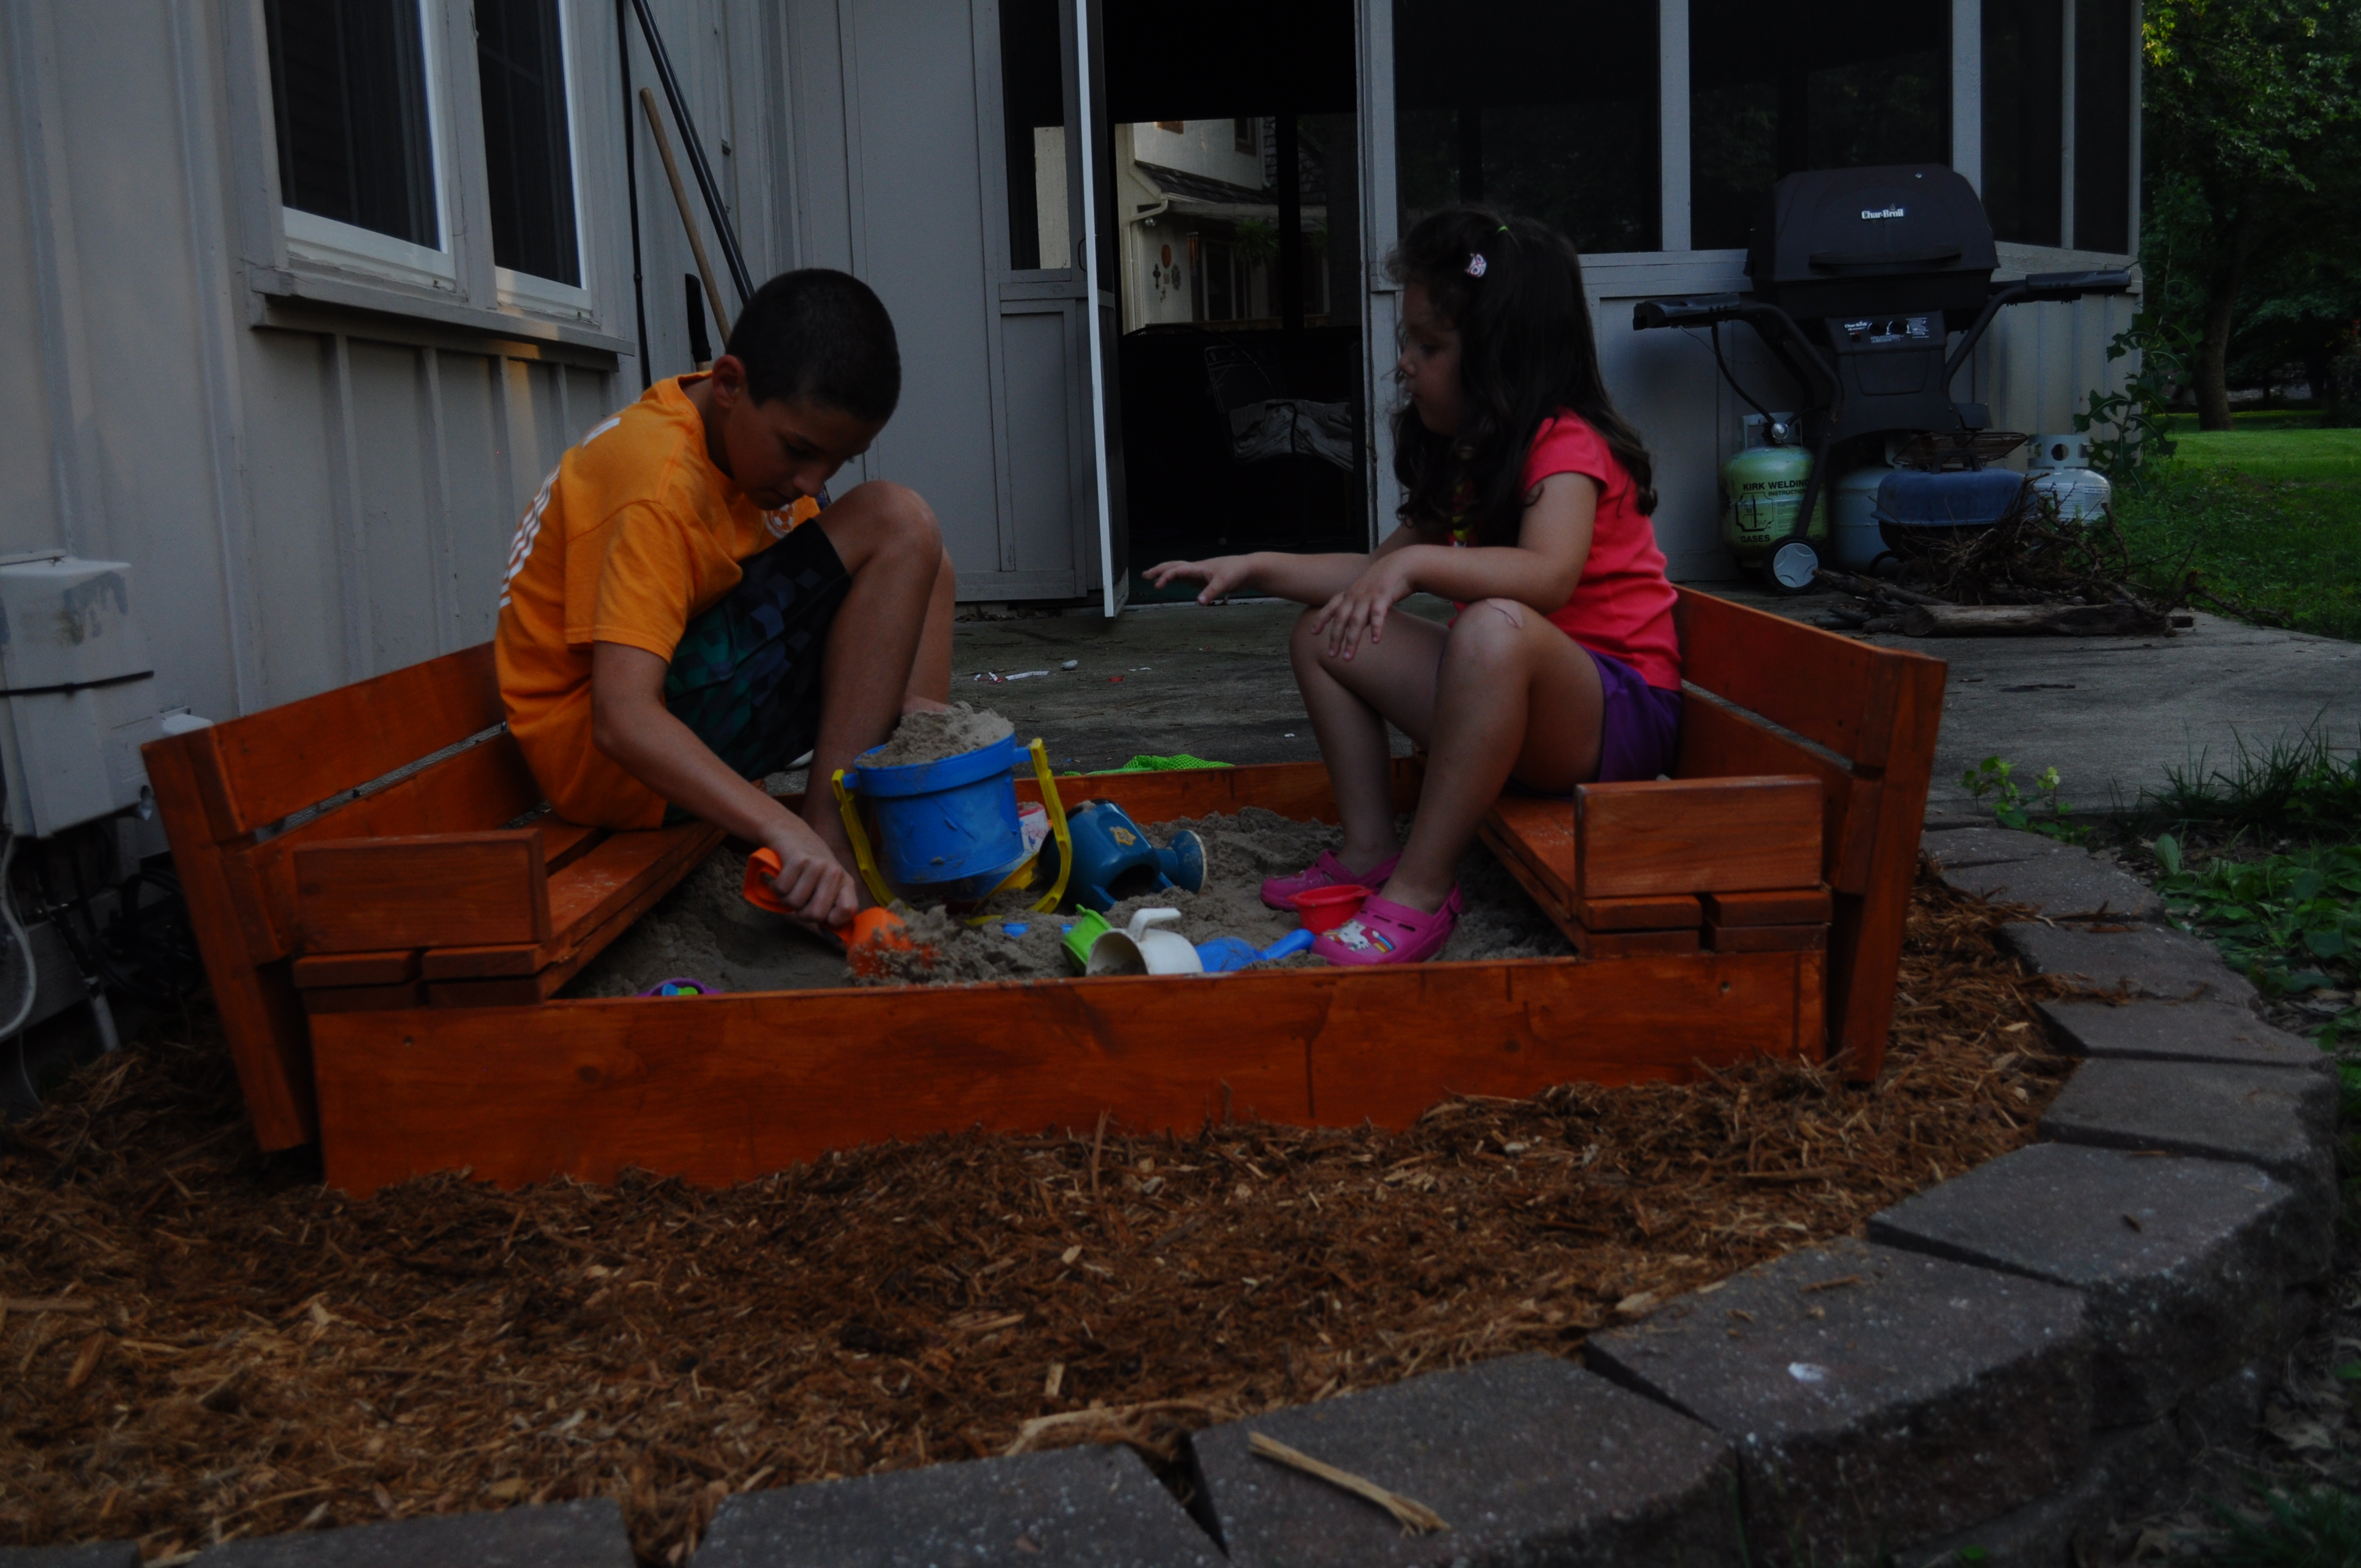
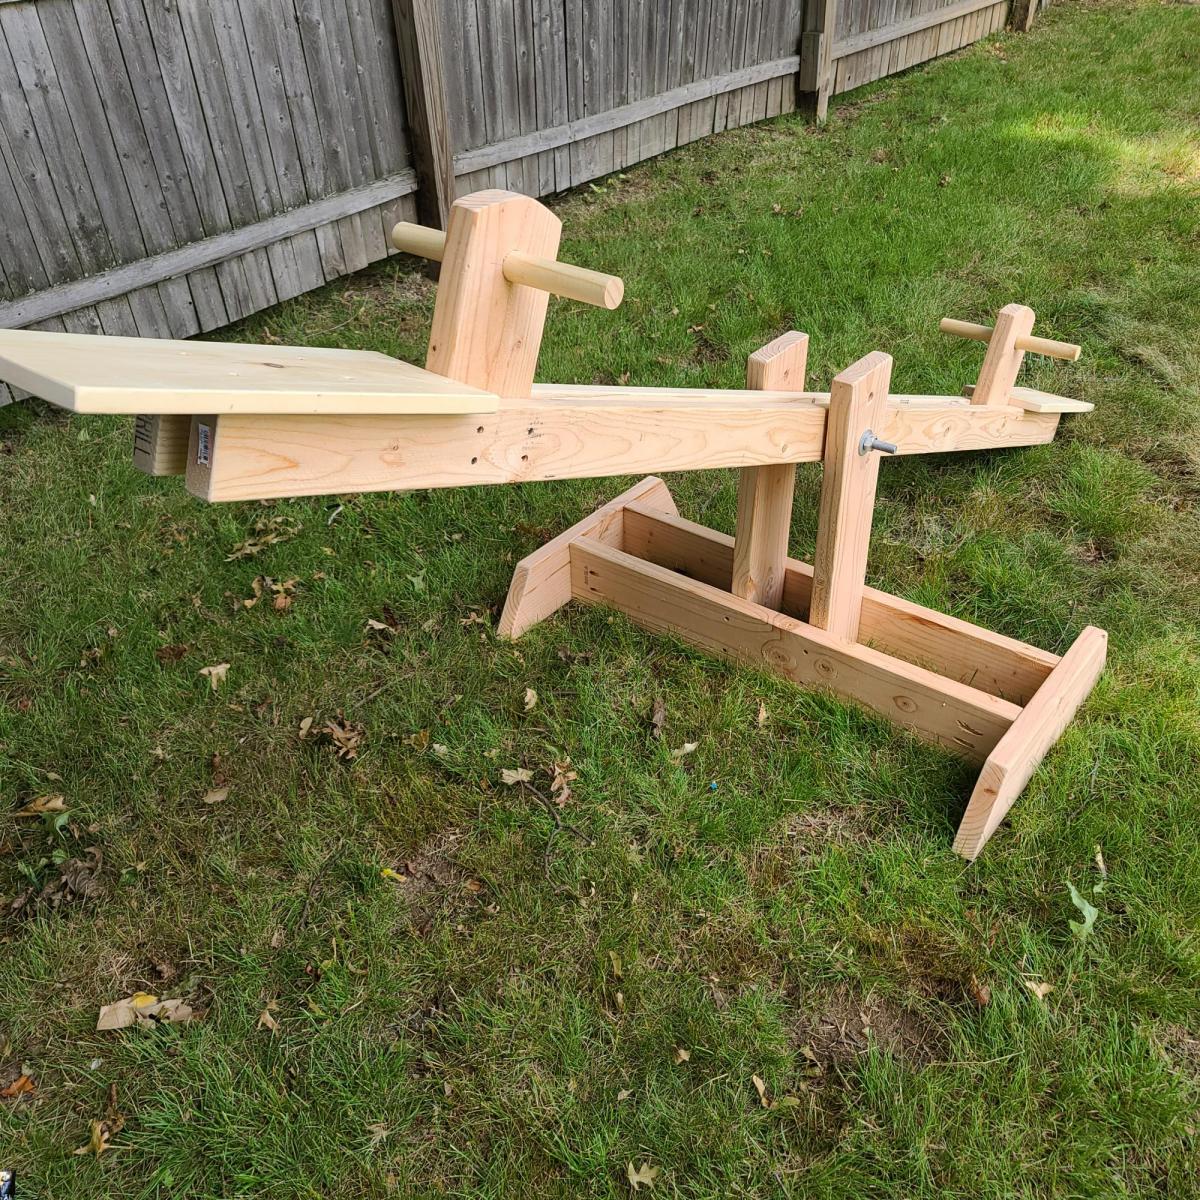
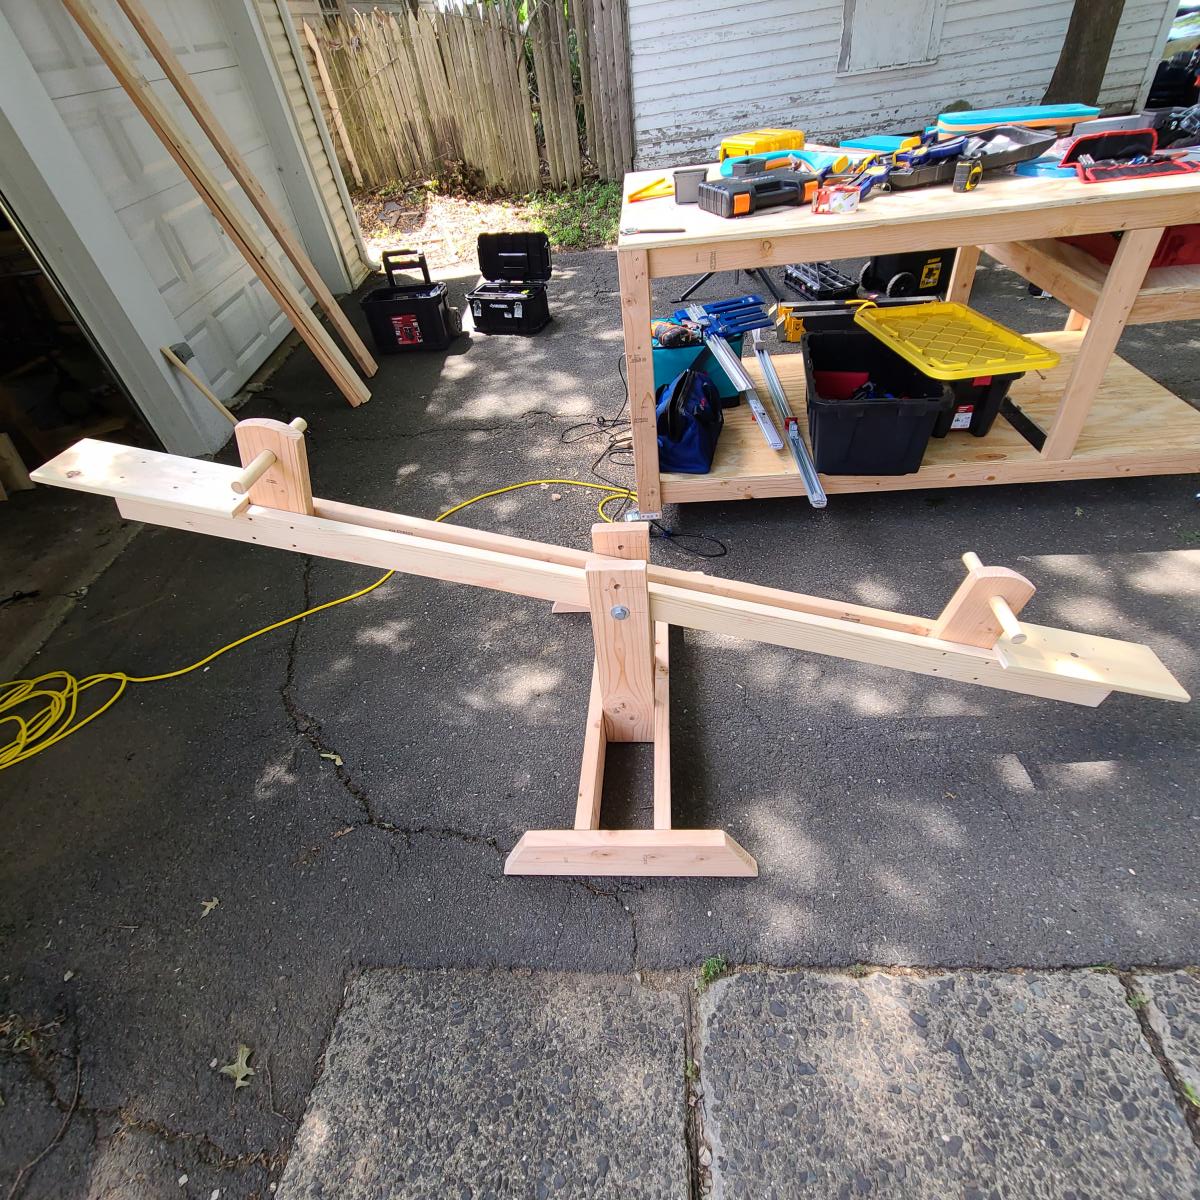
My kids are loving this seesaw. Easy to make. I followed the plans, and completed it all in about 8hrs. Rounded all sharp edges to make it a bit safer. I recommend adding an additional hole on the vertical support if you have smaller kids. A tip, pre-tape the washers over the holes prior to final assembly. It'll save you a lot of frustration.

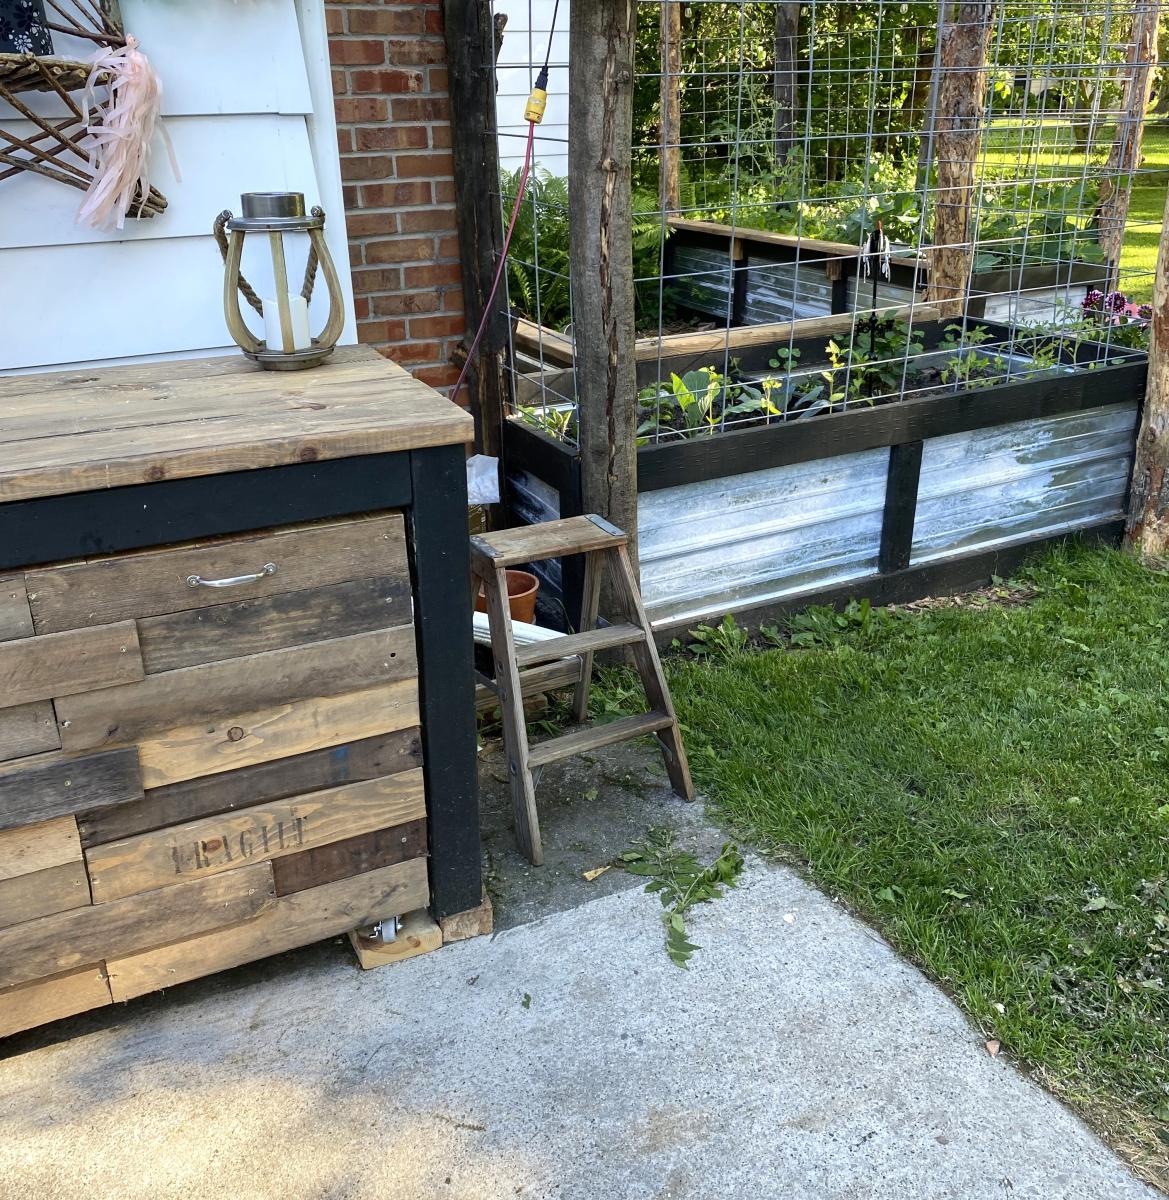
I made the grill table to match my chicken coop and my garden beds. Absolutely LOVE it!! (Ignore my cracked concrete (the table is level). The plans were easy to follow and it all came together great!! Thank you!
Kelly

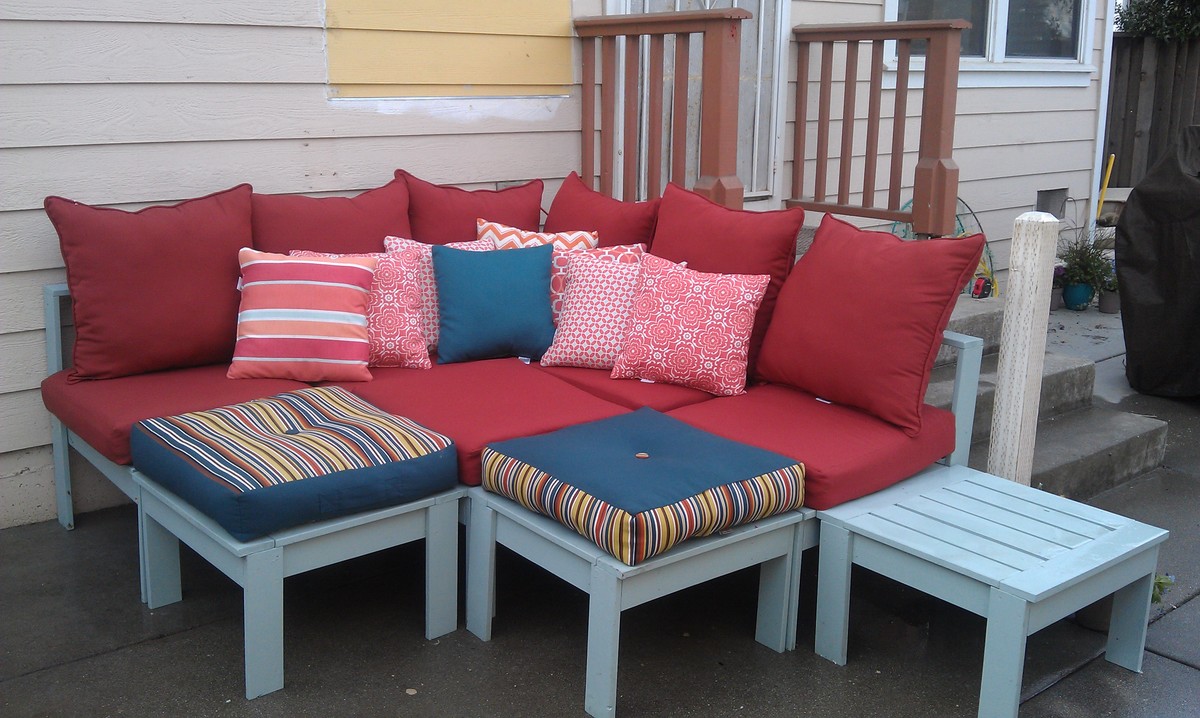
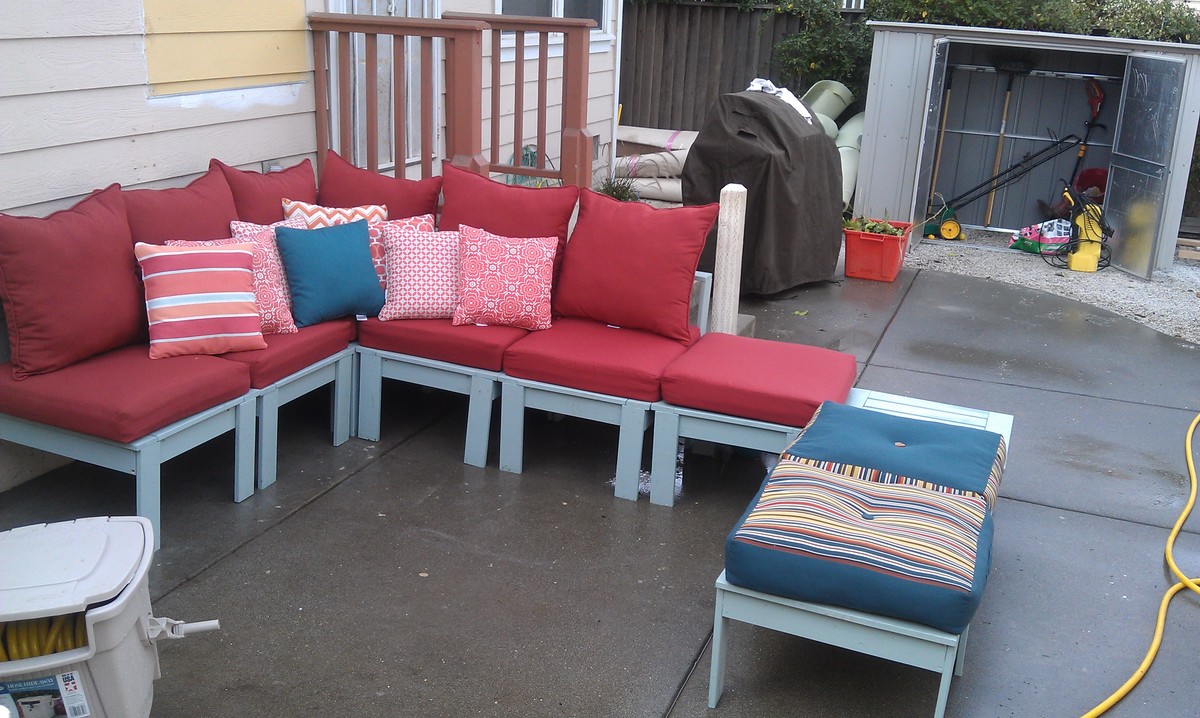
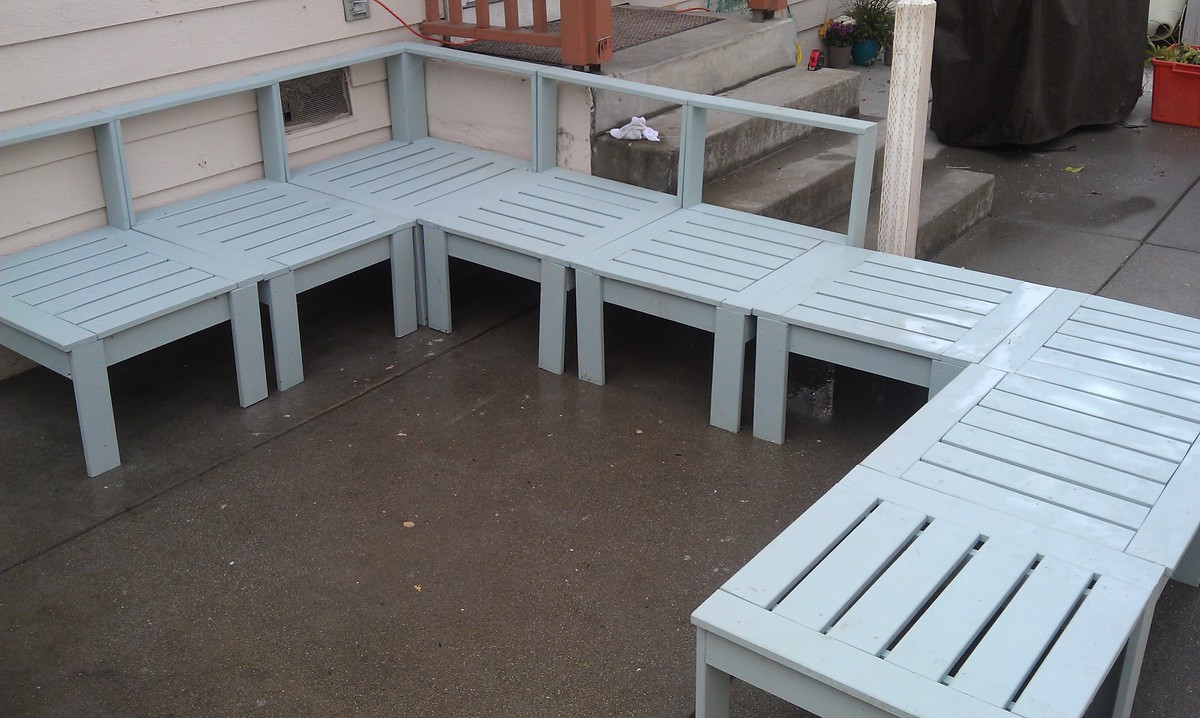
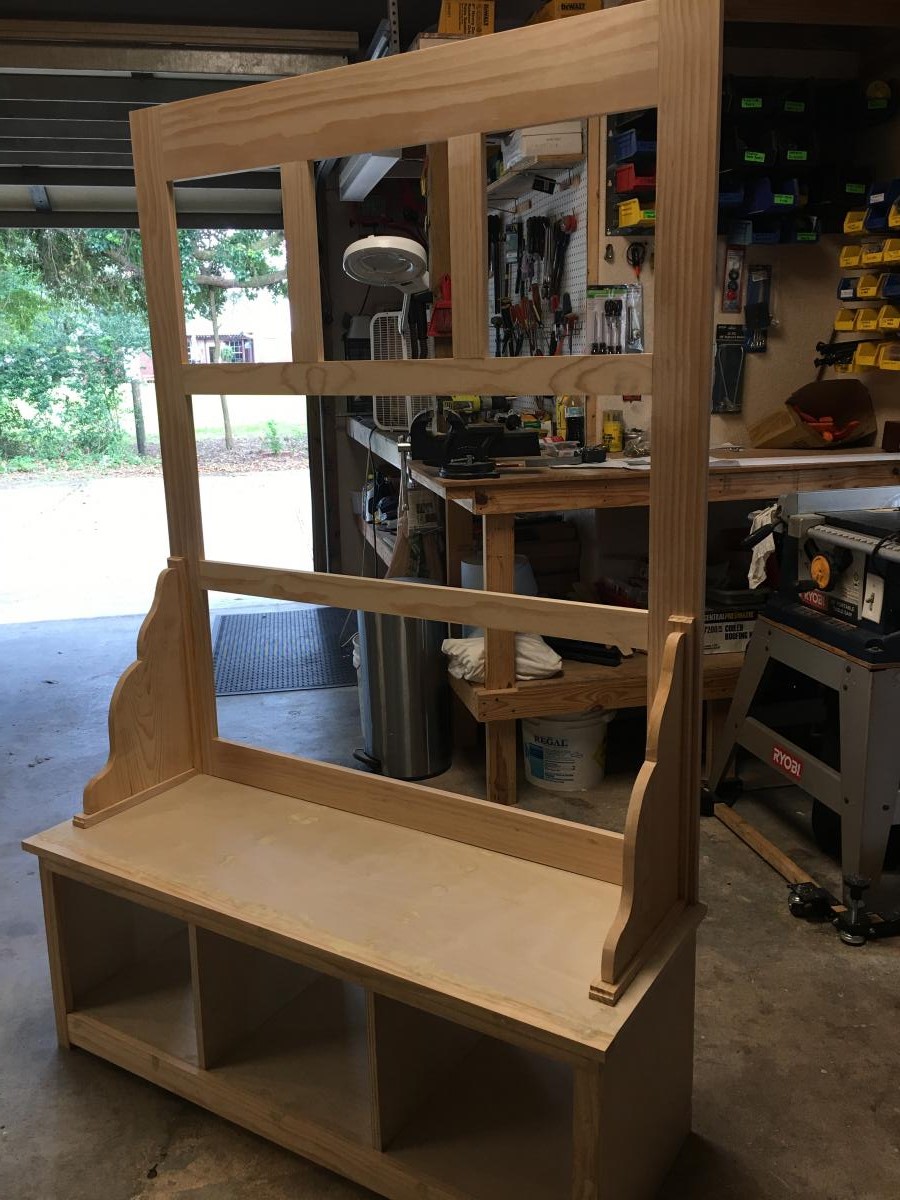
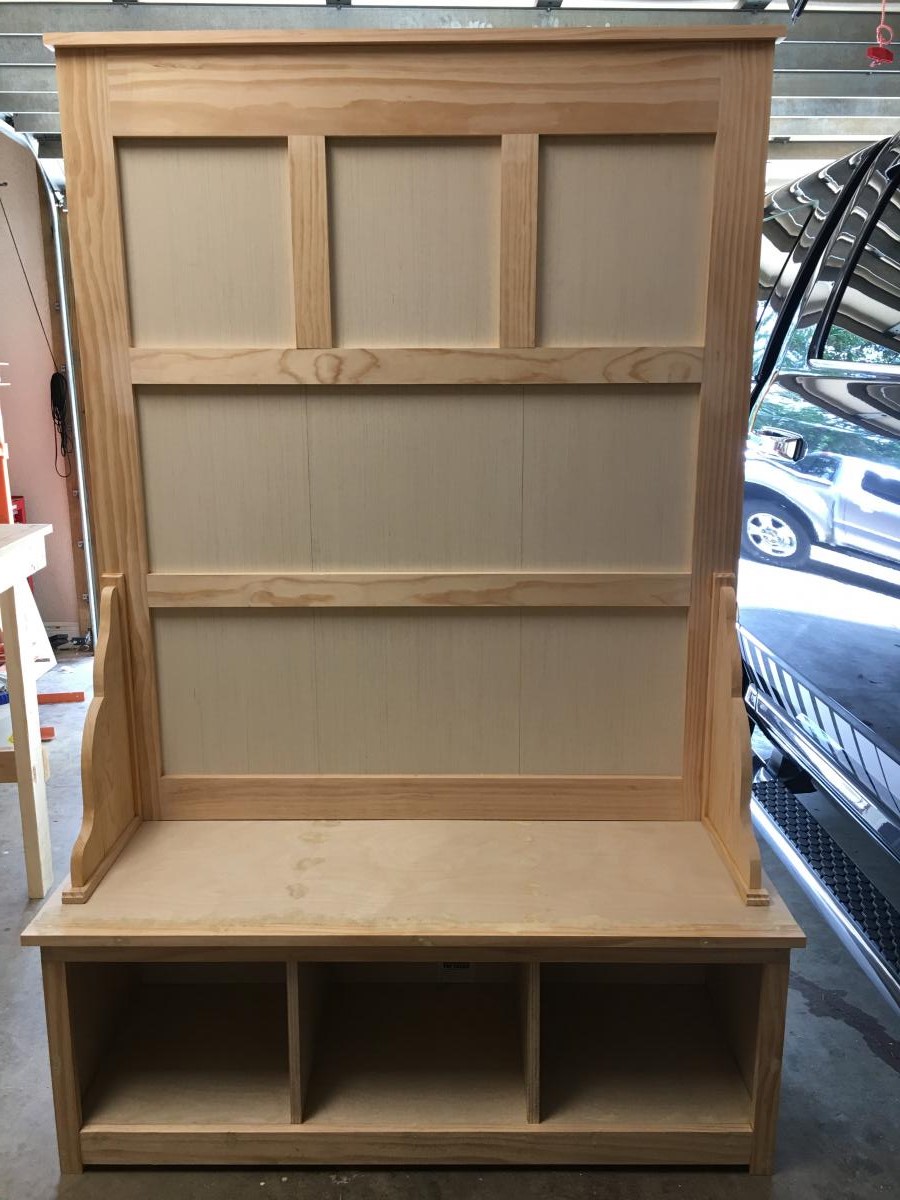
This project started off as a way for me to get some much needed "me" time and create a sense of accomplishment. However, after purchasing the wood & cutting it into lengths, my "Lego Maniac" 17 year old son decided he wanted to take over! He begged me to let him assemble the units. Since he single-handedly assembled our IKEA kitchen remodel, I decided to let him have his way.
We spent one day painting the cut pieces. I think it looks nicer having them painted first and patching up holes, rather than deal with drips and such with the numerous spaces and sections. We had a wonderful time chatting the whole day and painting. O.K., this is just as good for the soul as "me" time.
That evening, after the paint had dried, we couldn't help ourselves...we NEEDED to assemble one section. So we started with the corner unit. And after one major "re-do", we had it figured out. My son, Jacob, ran with it from there and he and his cousin finished it, wood patched, sanded, and re-painted.
All told, it took him (us) about 3 days to complete. We found the cushions at Lowe's and the entire project cost us about $500.00! HUGE savings and some serious mother-son time!
Sense of accomplishment doubled!
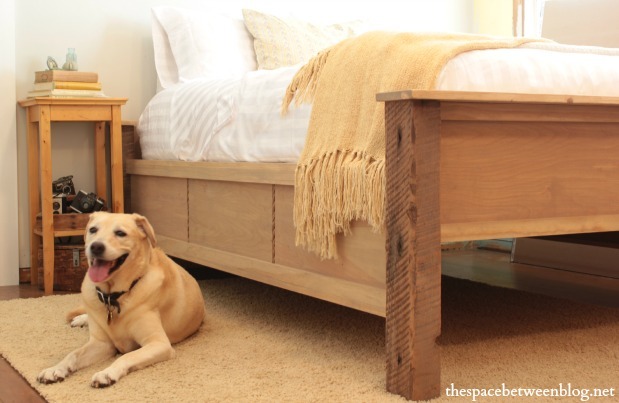
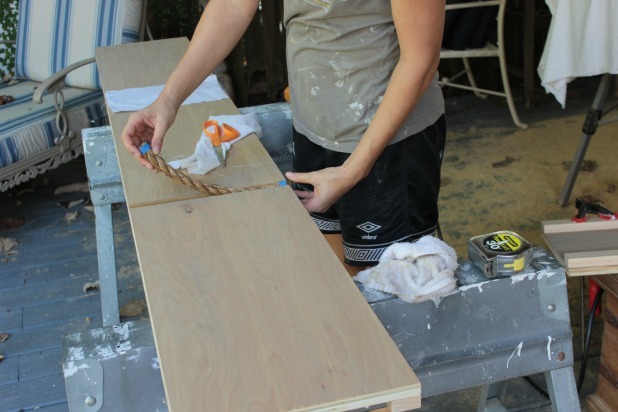
Inspired by Ana's Farmhouse Bed I adjusted my plans to work with the scrap wood I had on hand and an old reclaimed wood post I snagged from my neighbor's garbage. To make the scraps of wood work for this large piece I added 3/4" rope in between the wood pieces. I like how the rope also helps tie it into the room as we created a wood and rope accent wall in this same room. You can see the full project here, http://thespacebetweenblog.net/2013/09/10/how-to-make-a-wood-bed-frame/. And since this was my first furniture build I also posted about the top tips and tricks I learned in the process, http://thespacebetweenblog.net/2013/09/12/wood-bed-frame-making-tips/.
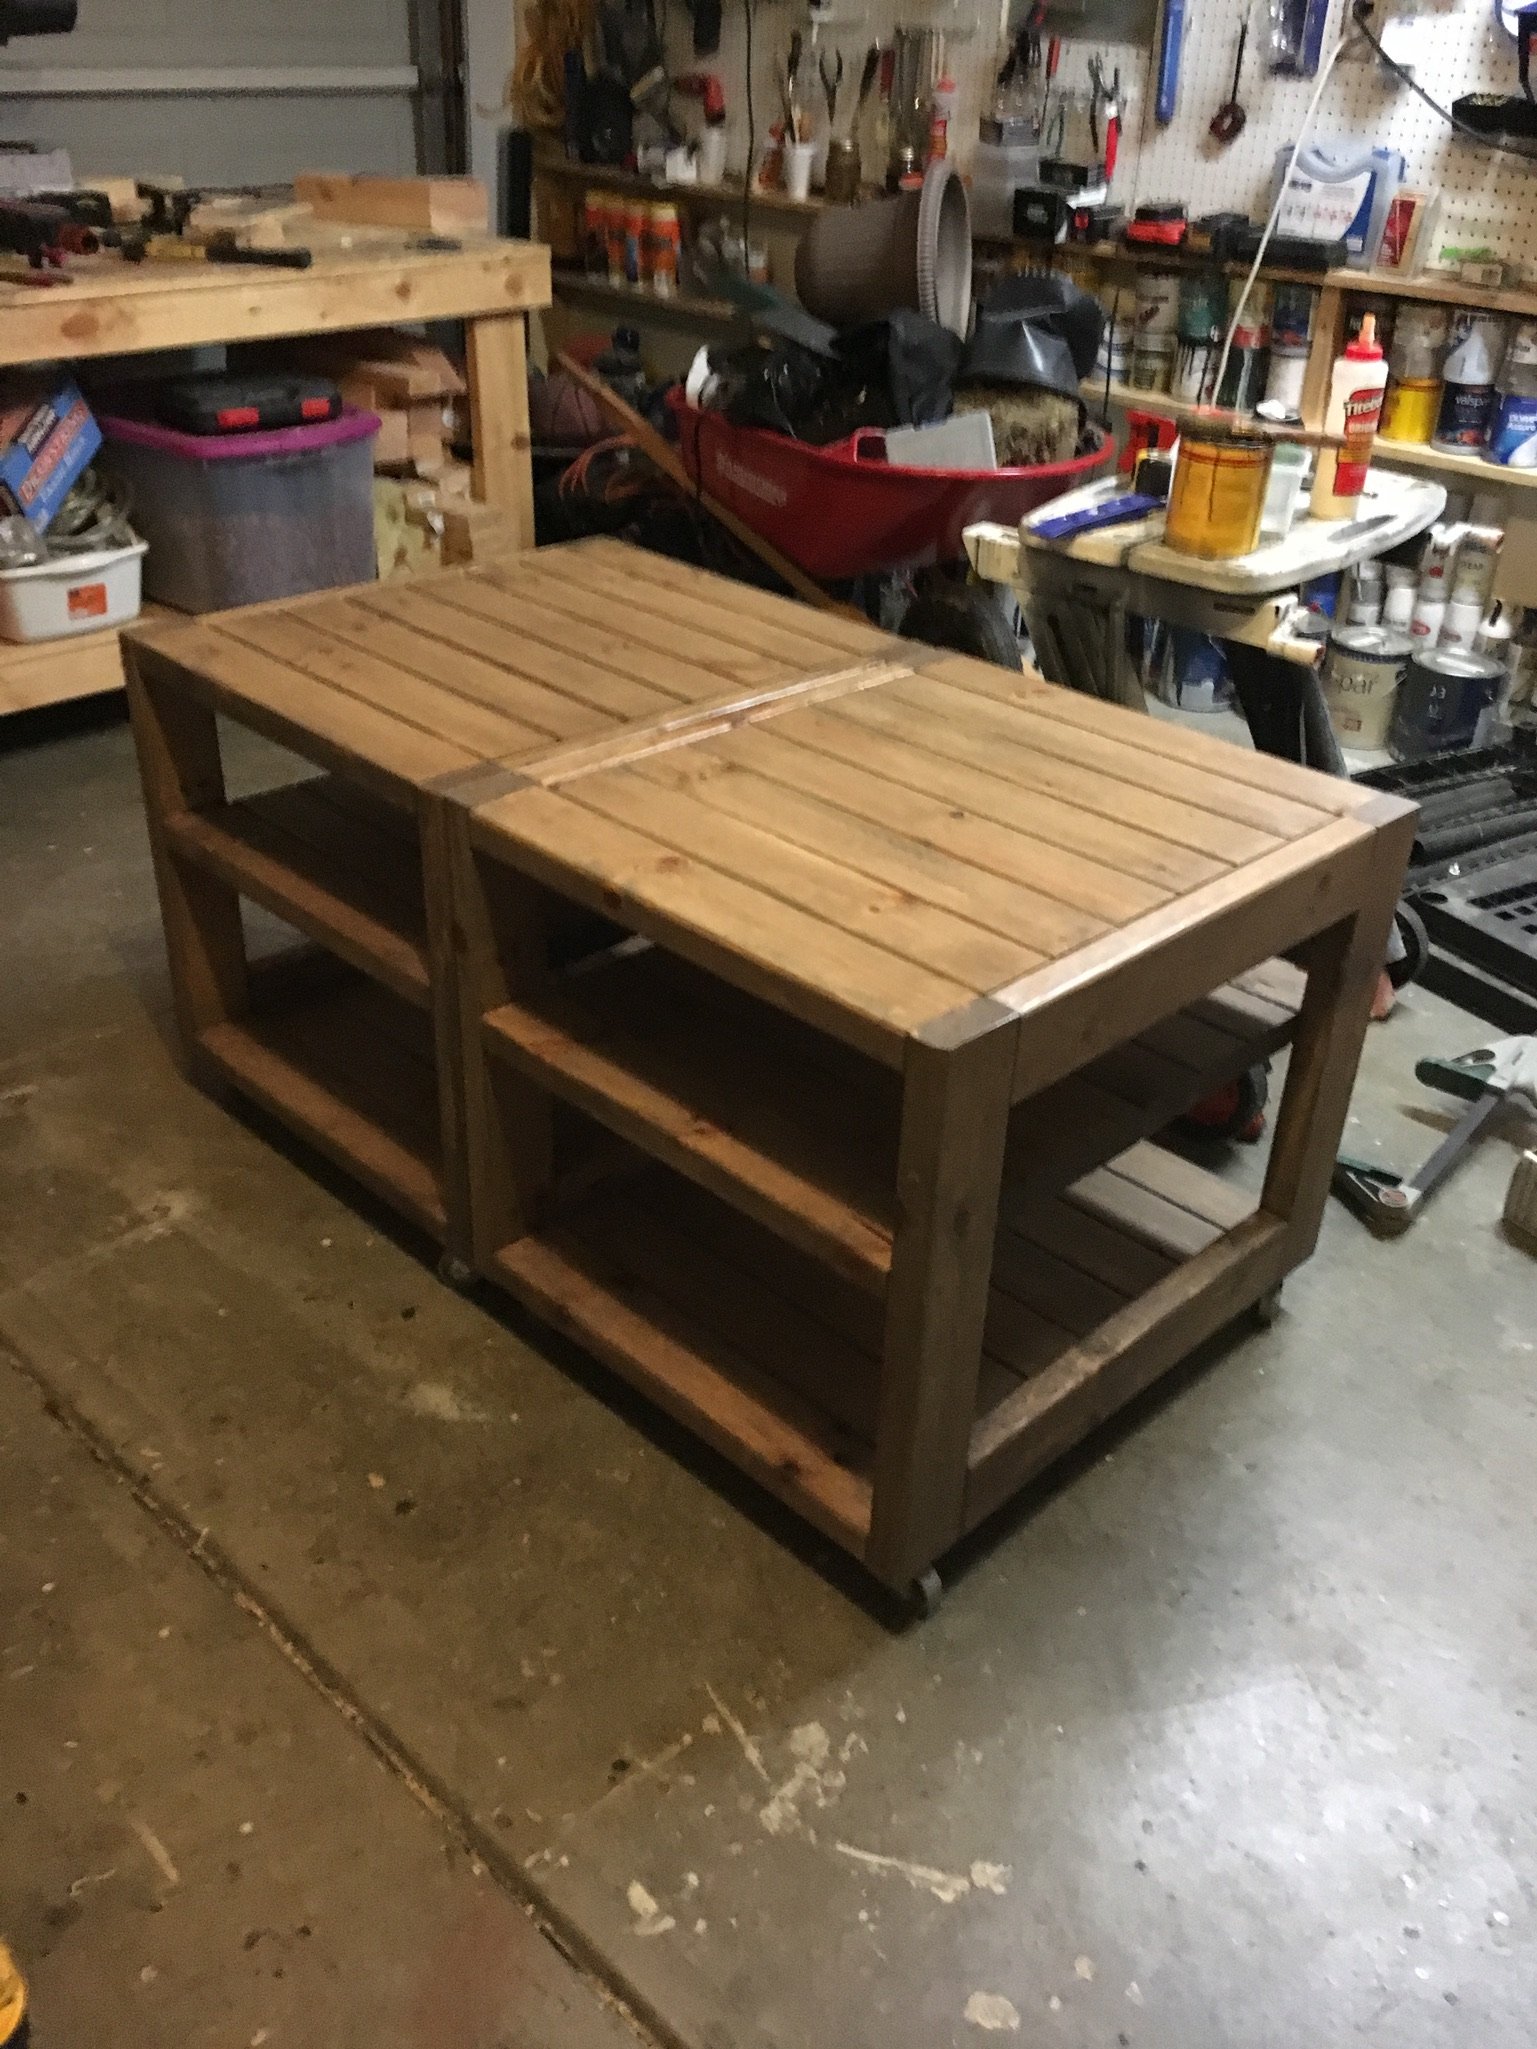
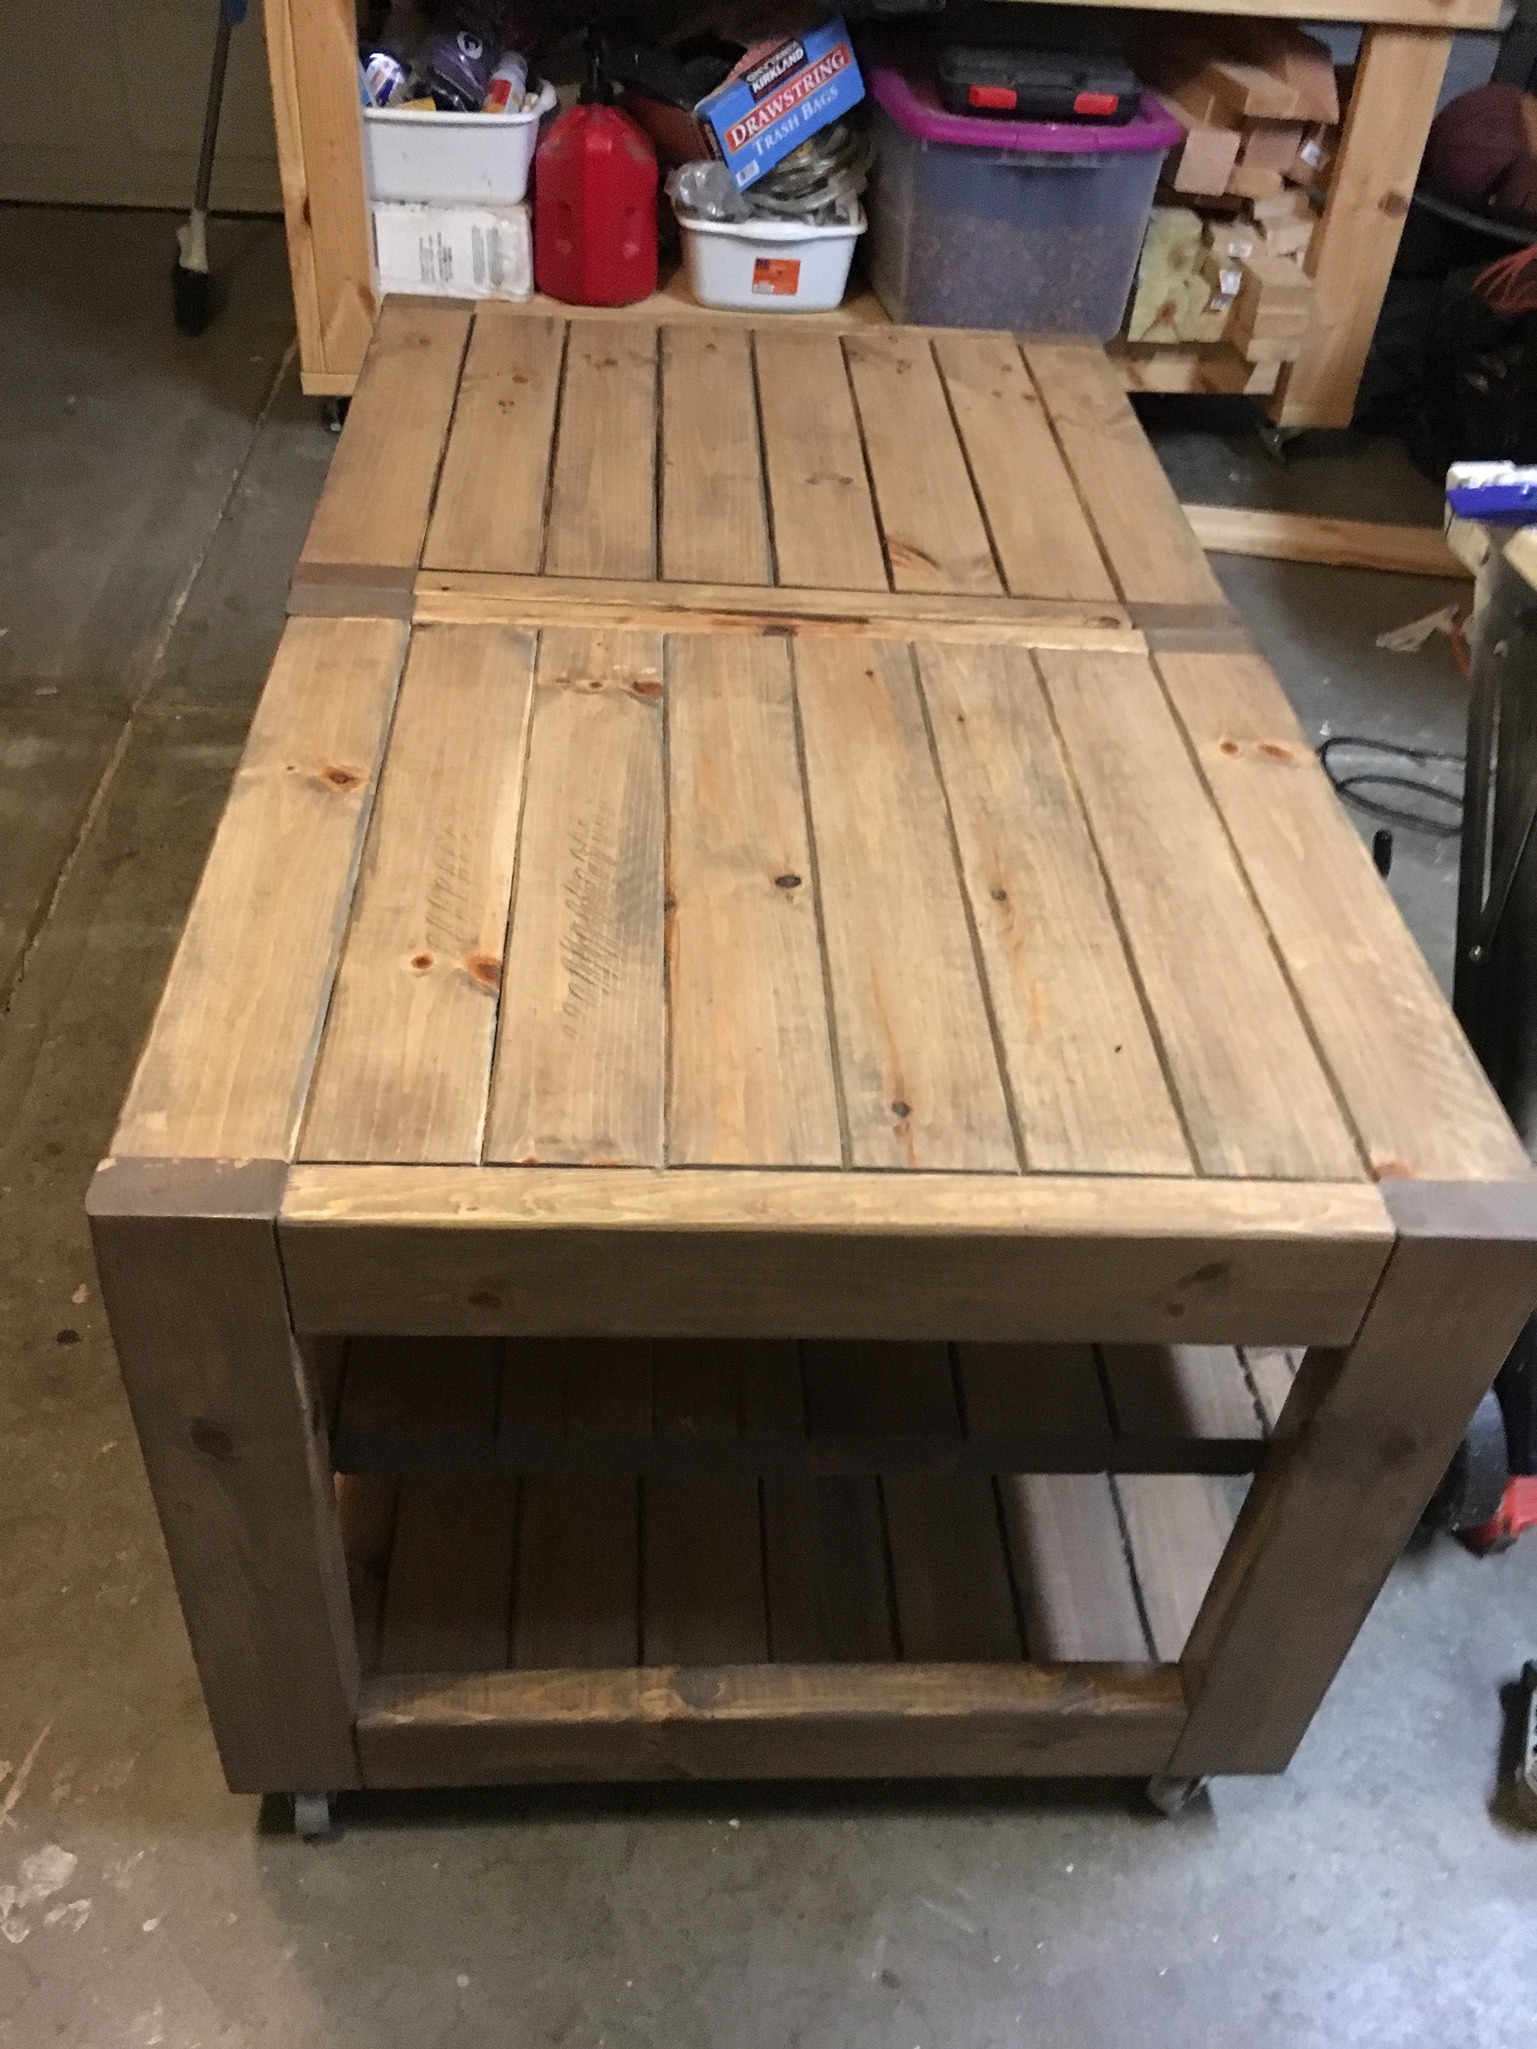
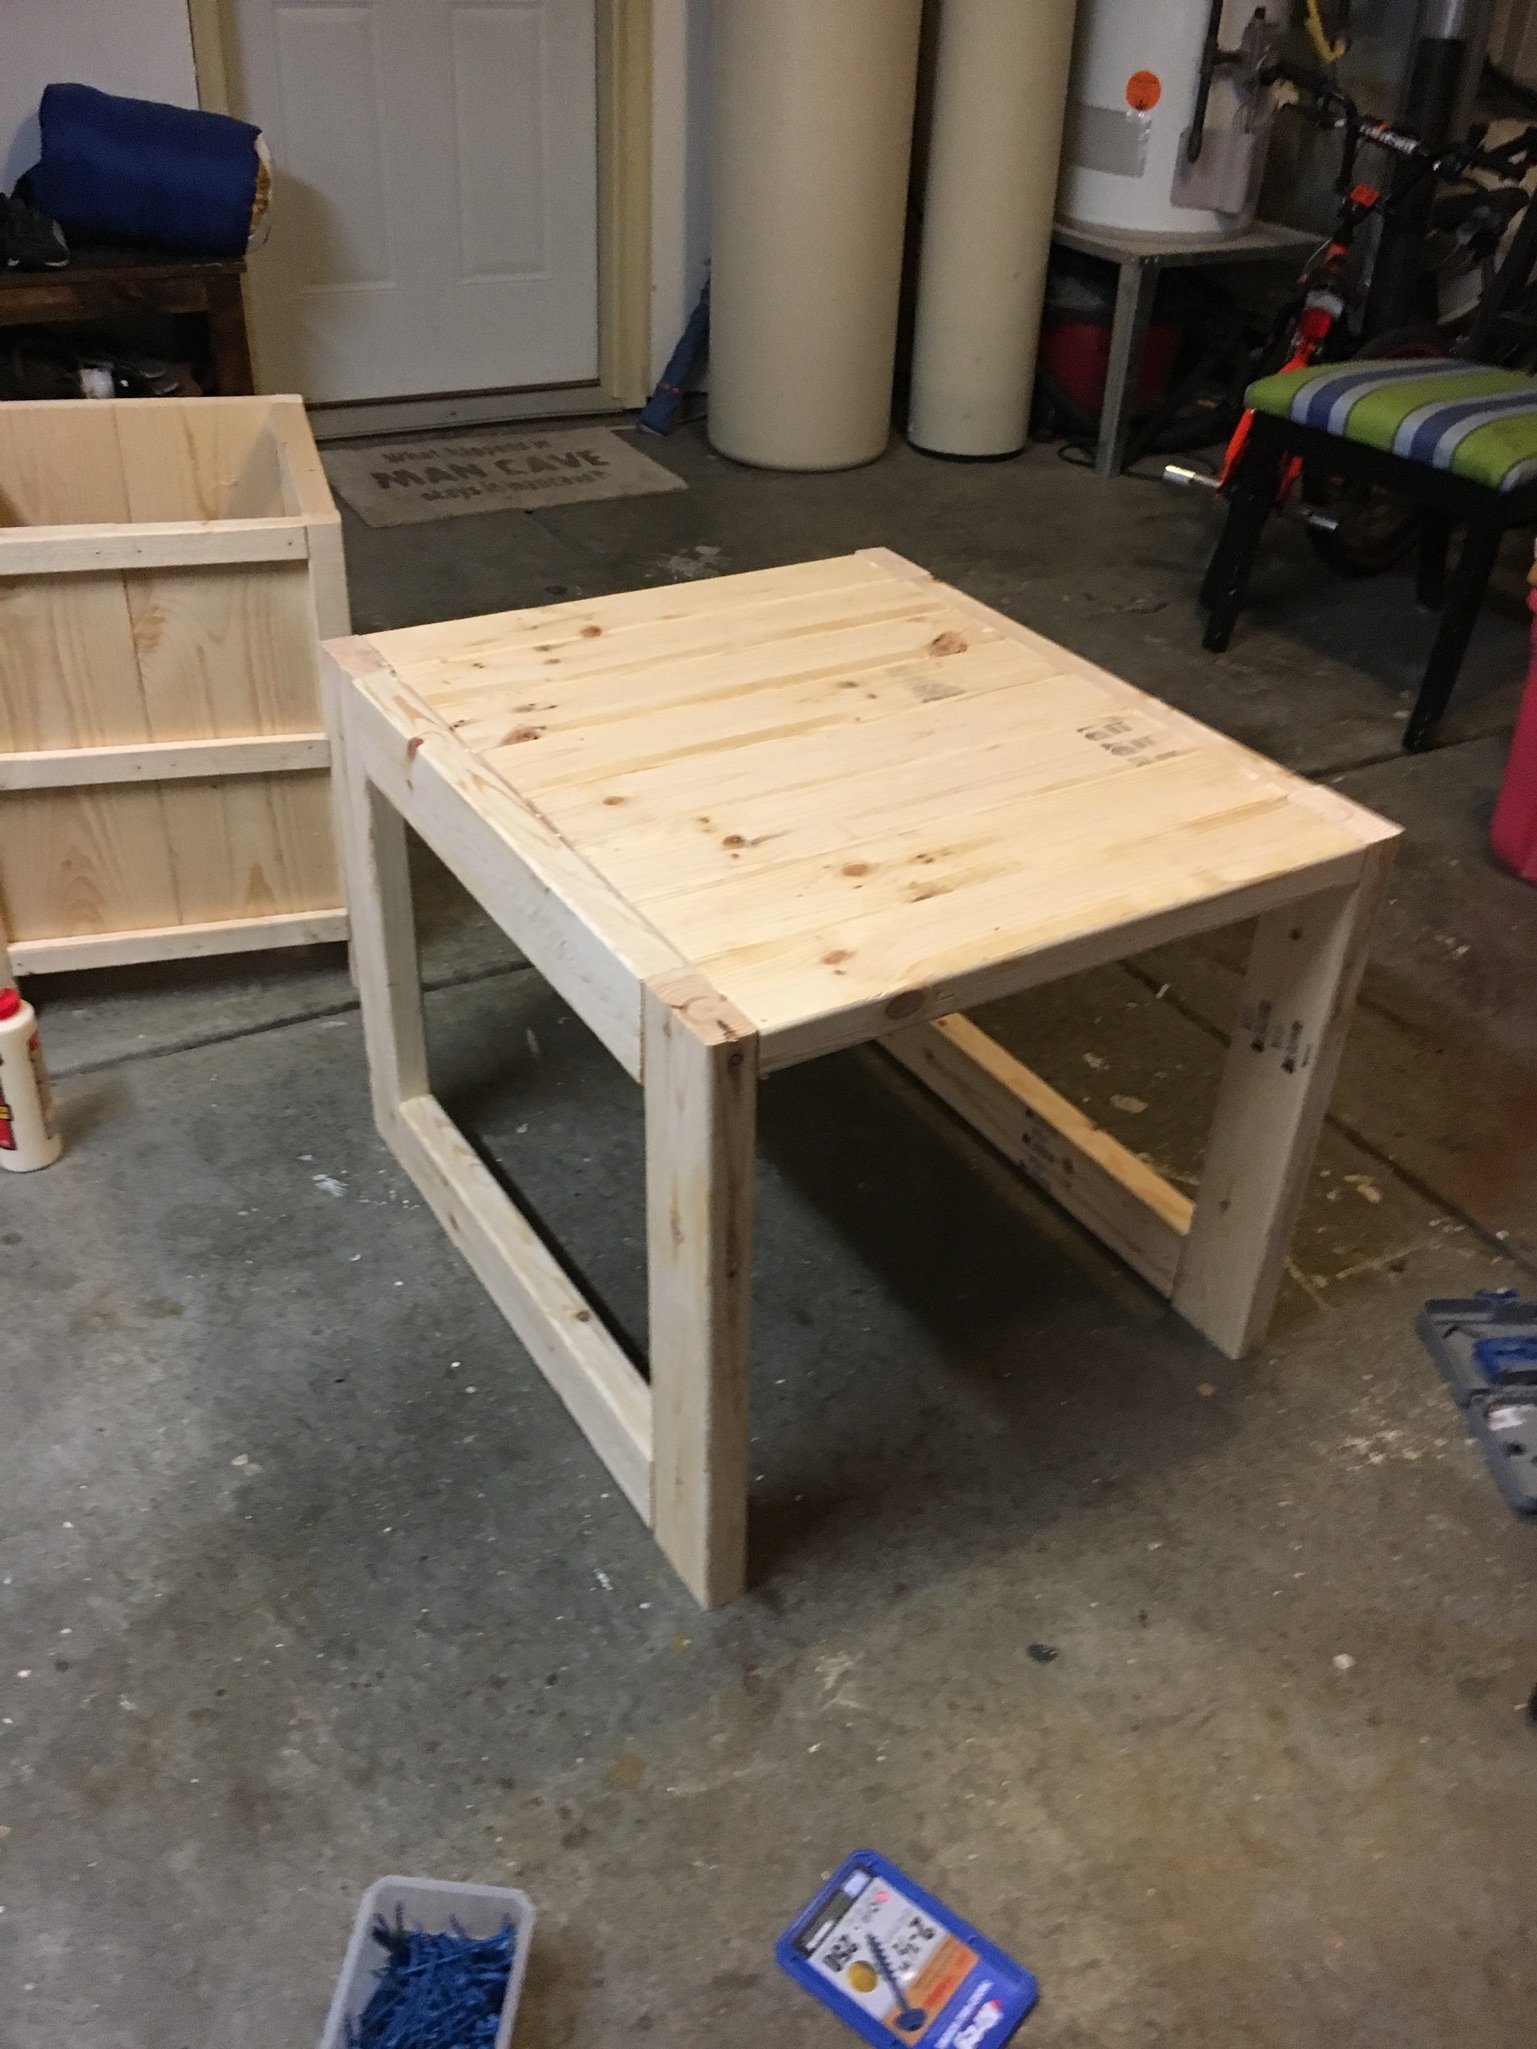
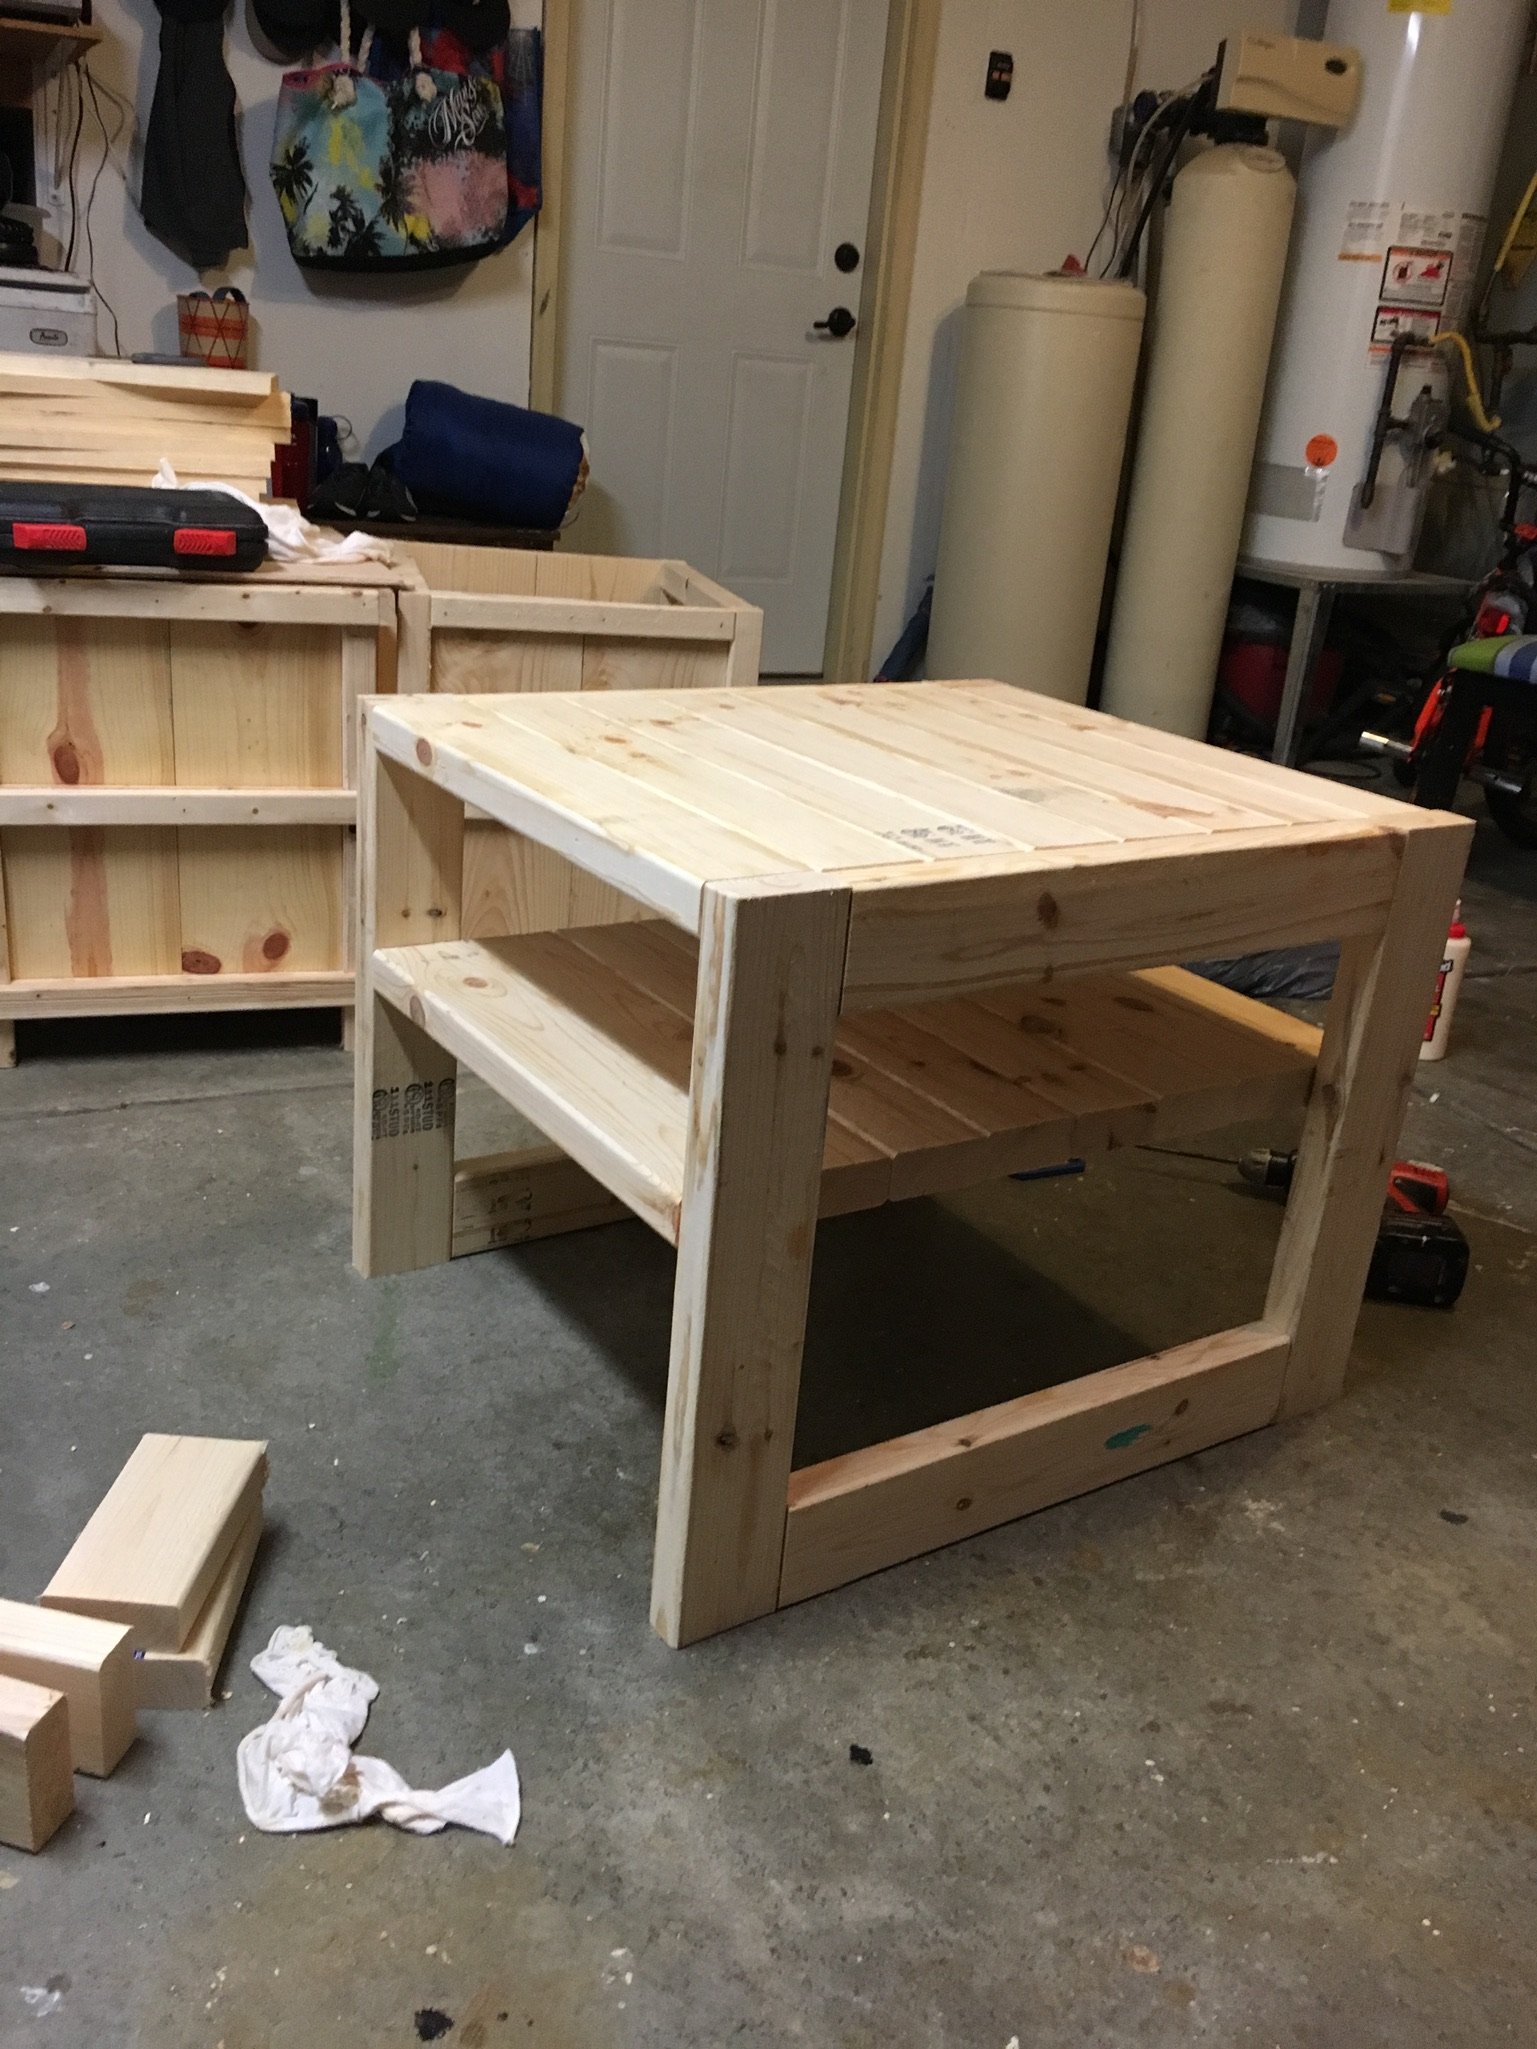
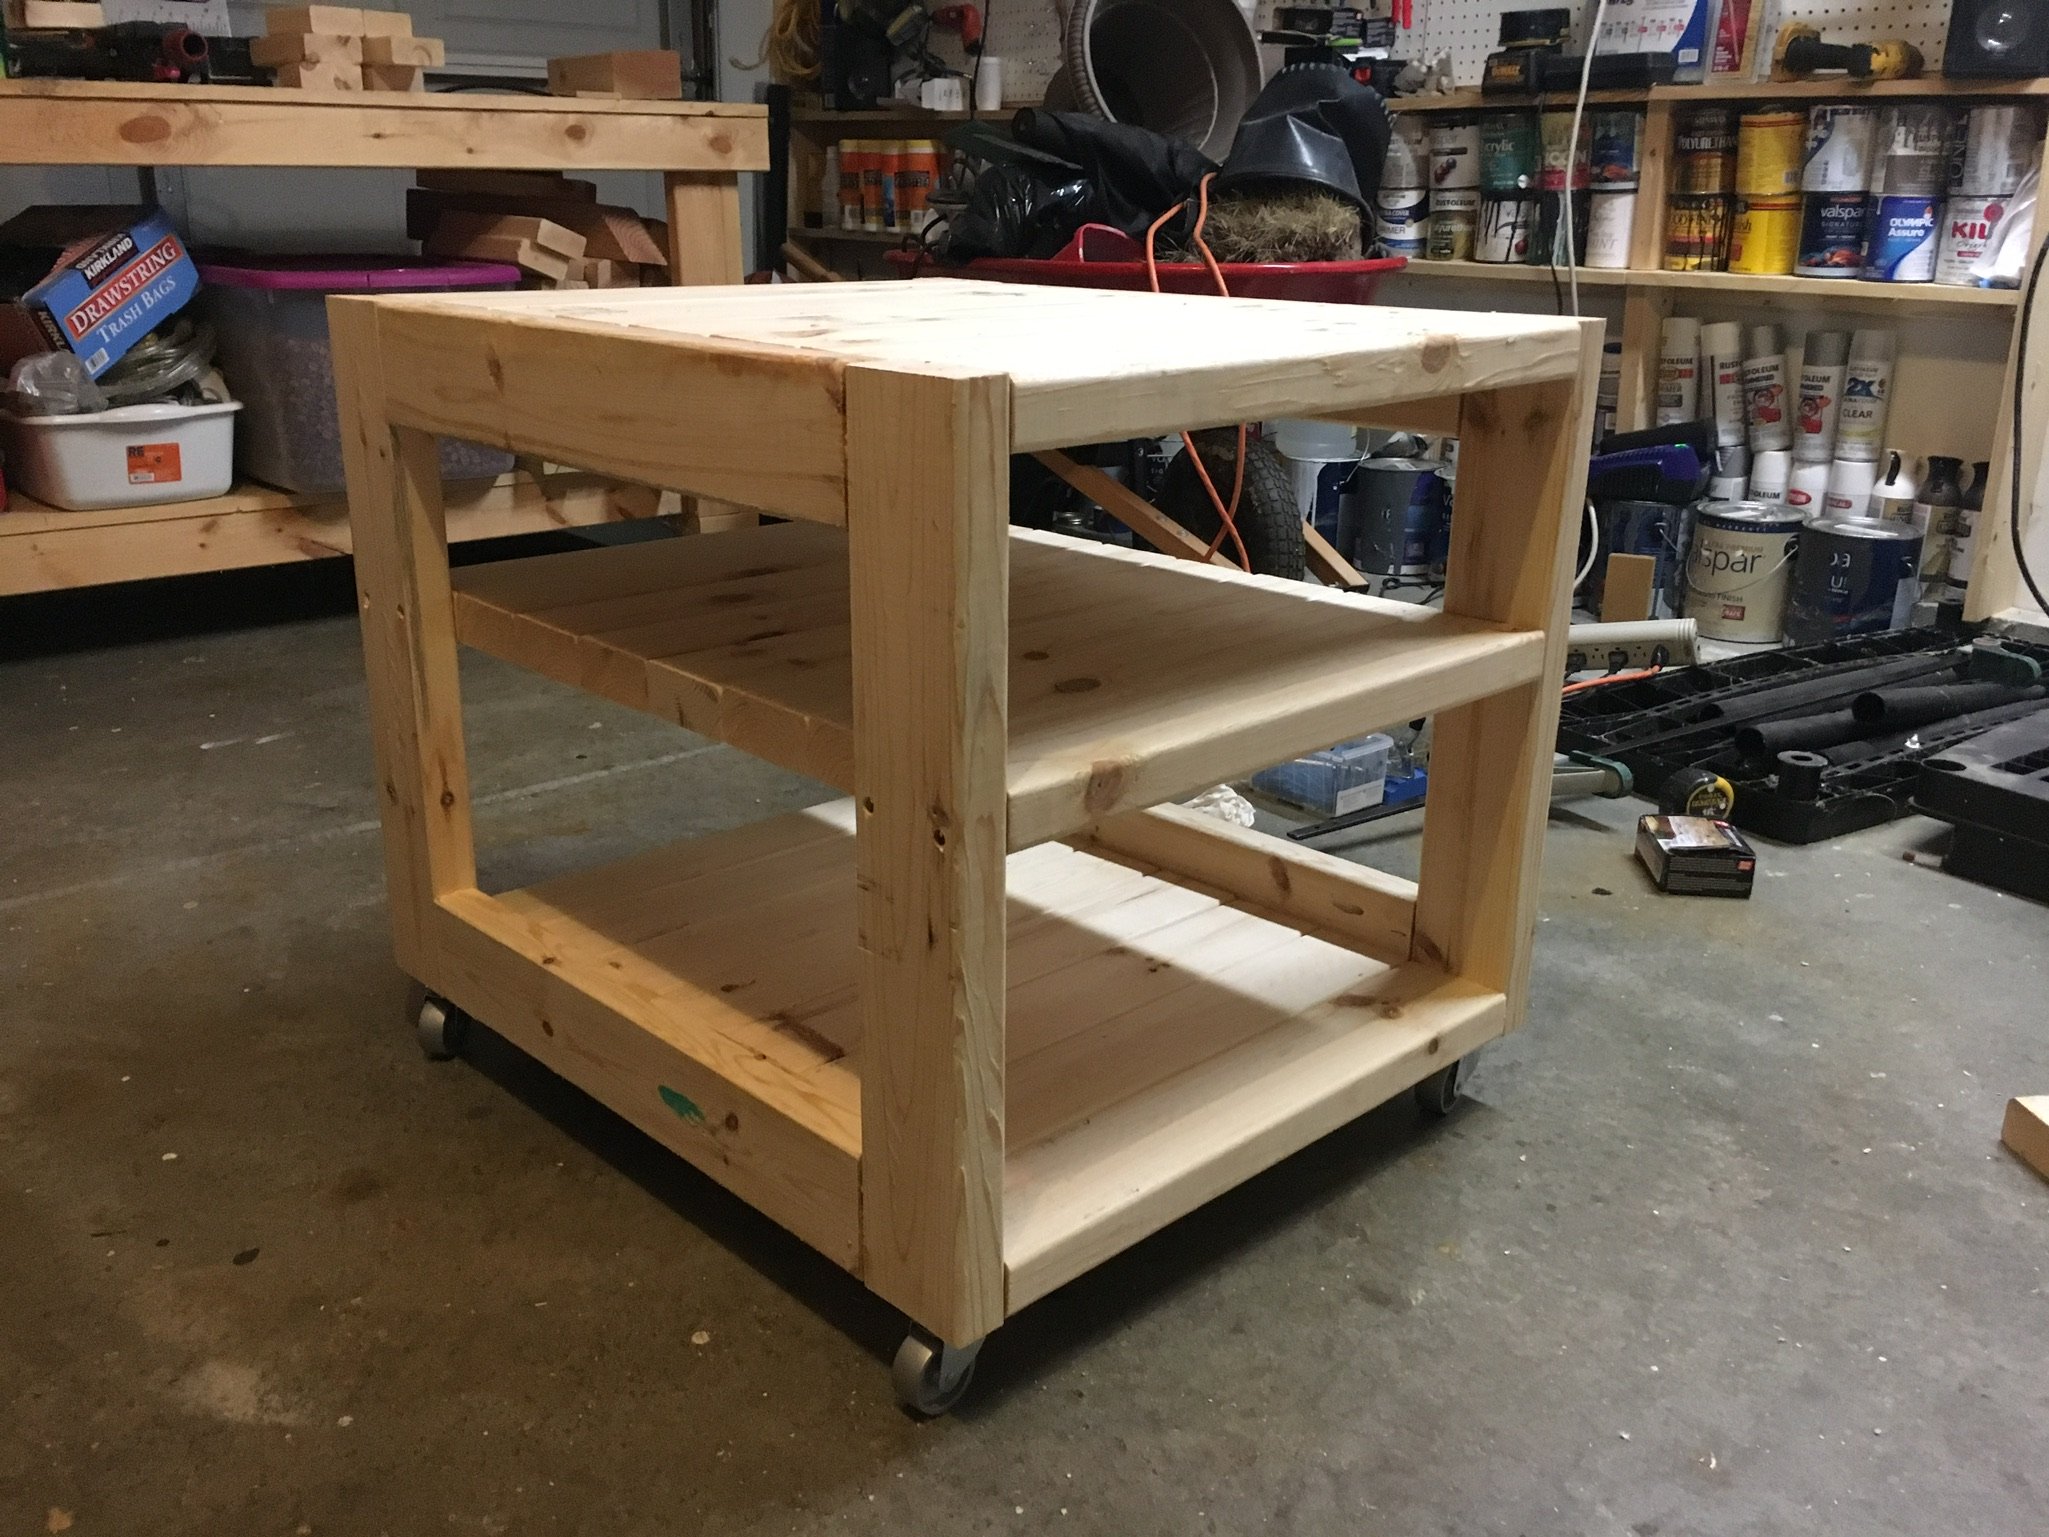
I made this project with all 2X4's and 2.5 in pocket holes. This took 8 2X4's. To add the industrial look, I added some metal casters on the bottom. I haven't finished it 100%, but will add some metal corner brackets on it as well. This project was super easy to make. Took me about 6 hours to cut and build (2 tables). And another 3-4 hours to sand, stain and finish.
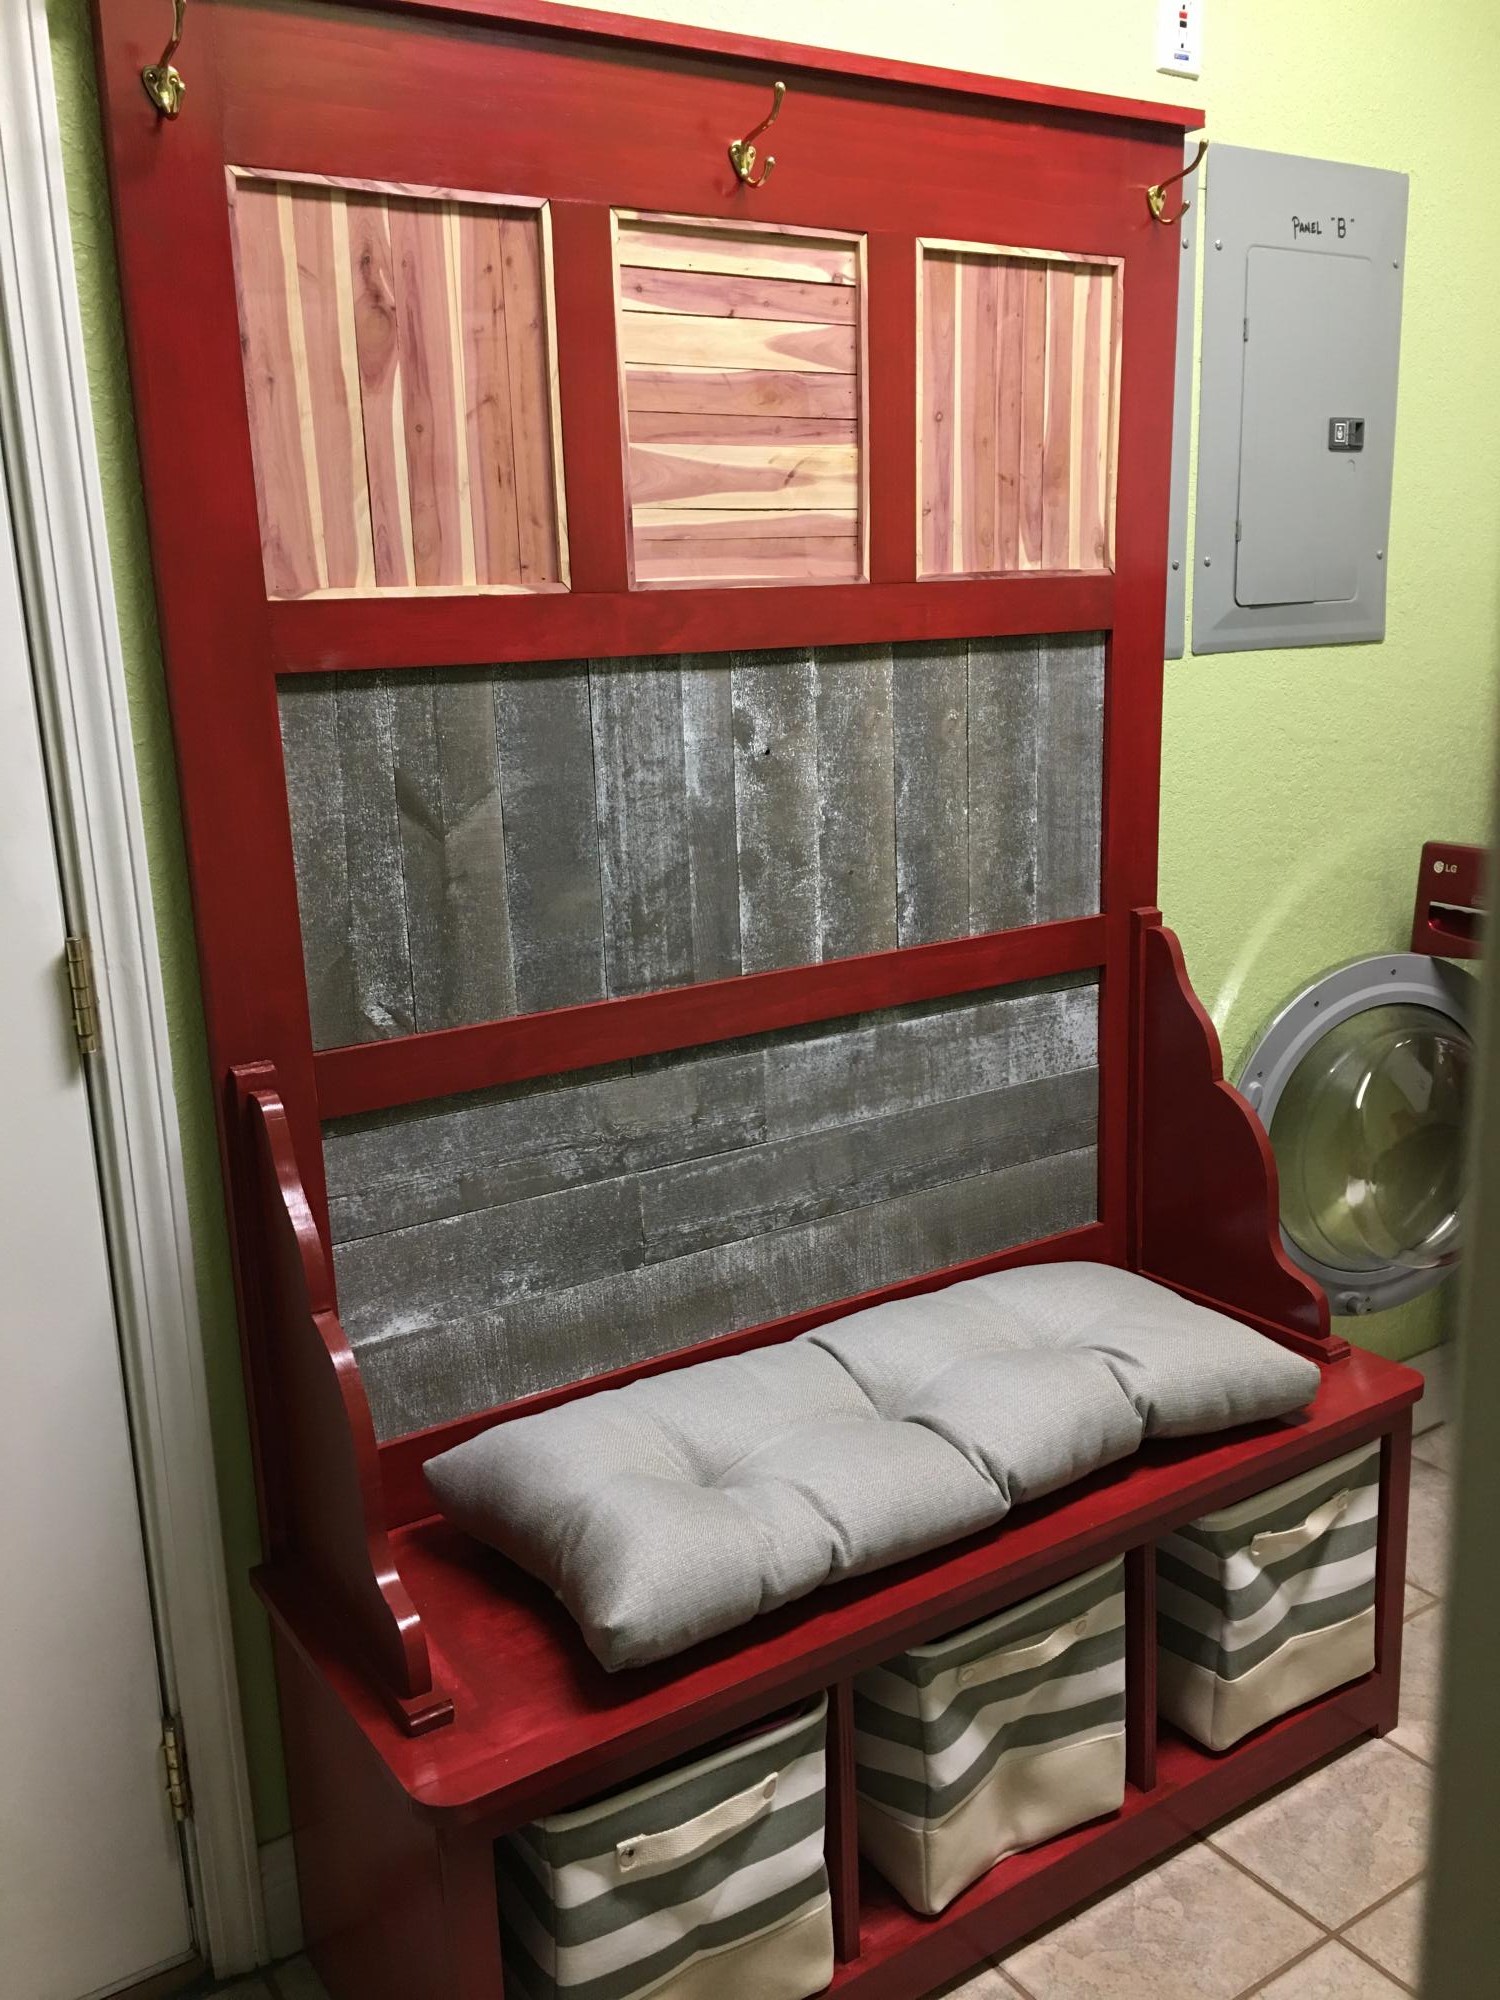
Hall tree I got off your web site, very simple to build, out standing plans I put my own twist into it. I had some cedar tree limbs on my property that I had cut down . I ripped down on my table saw and added to my project. it was a challenge to turn limbs into small boards but worked out well.
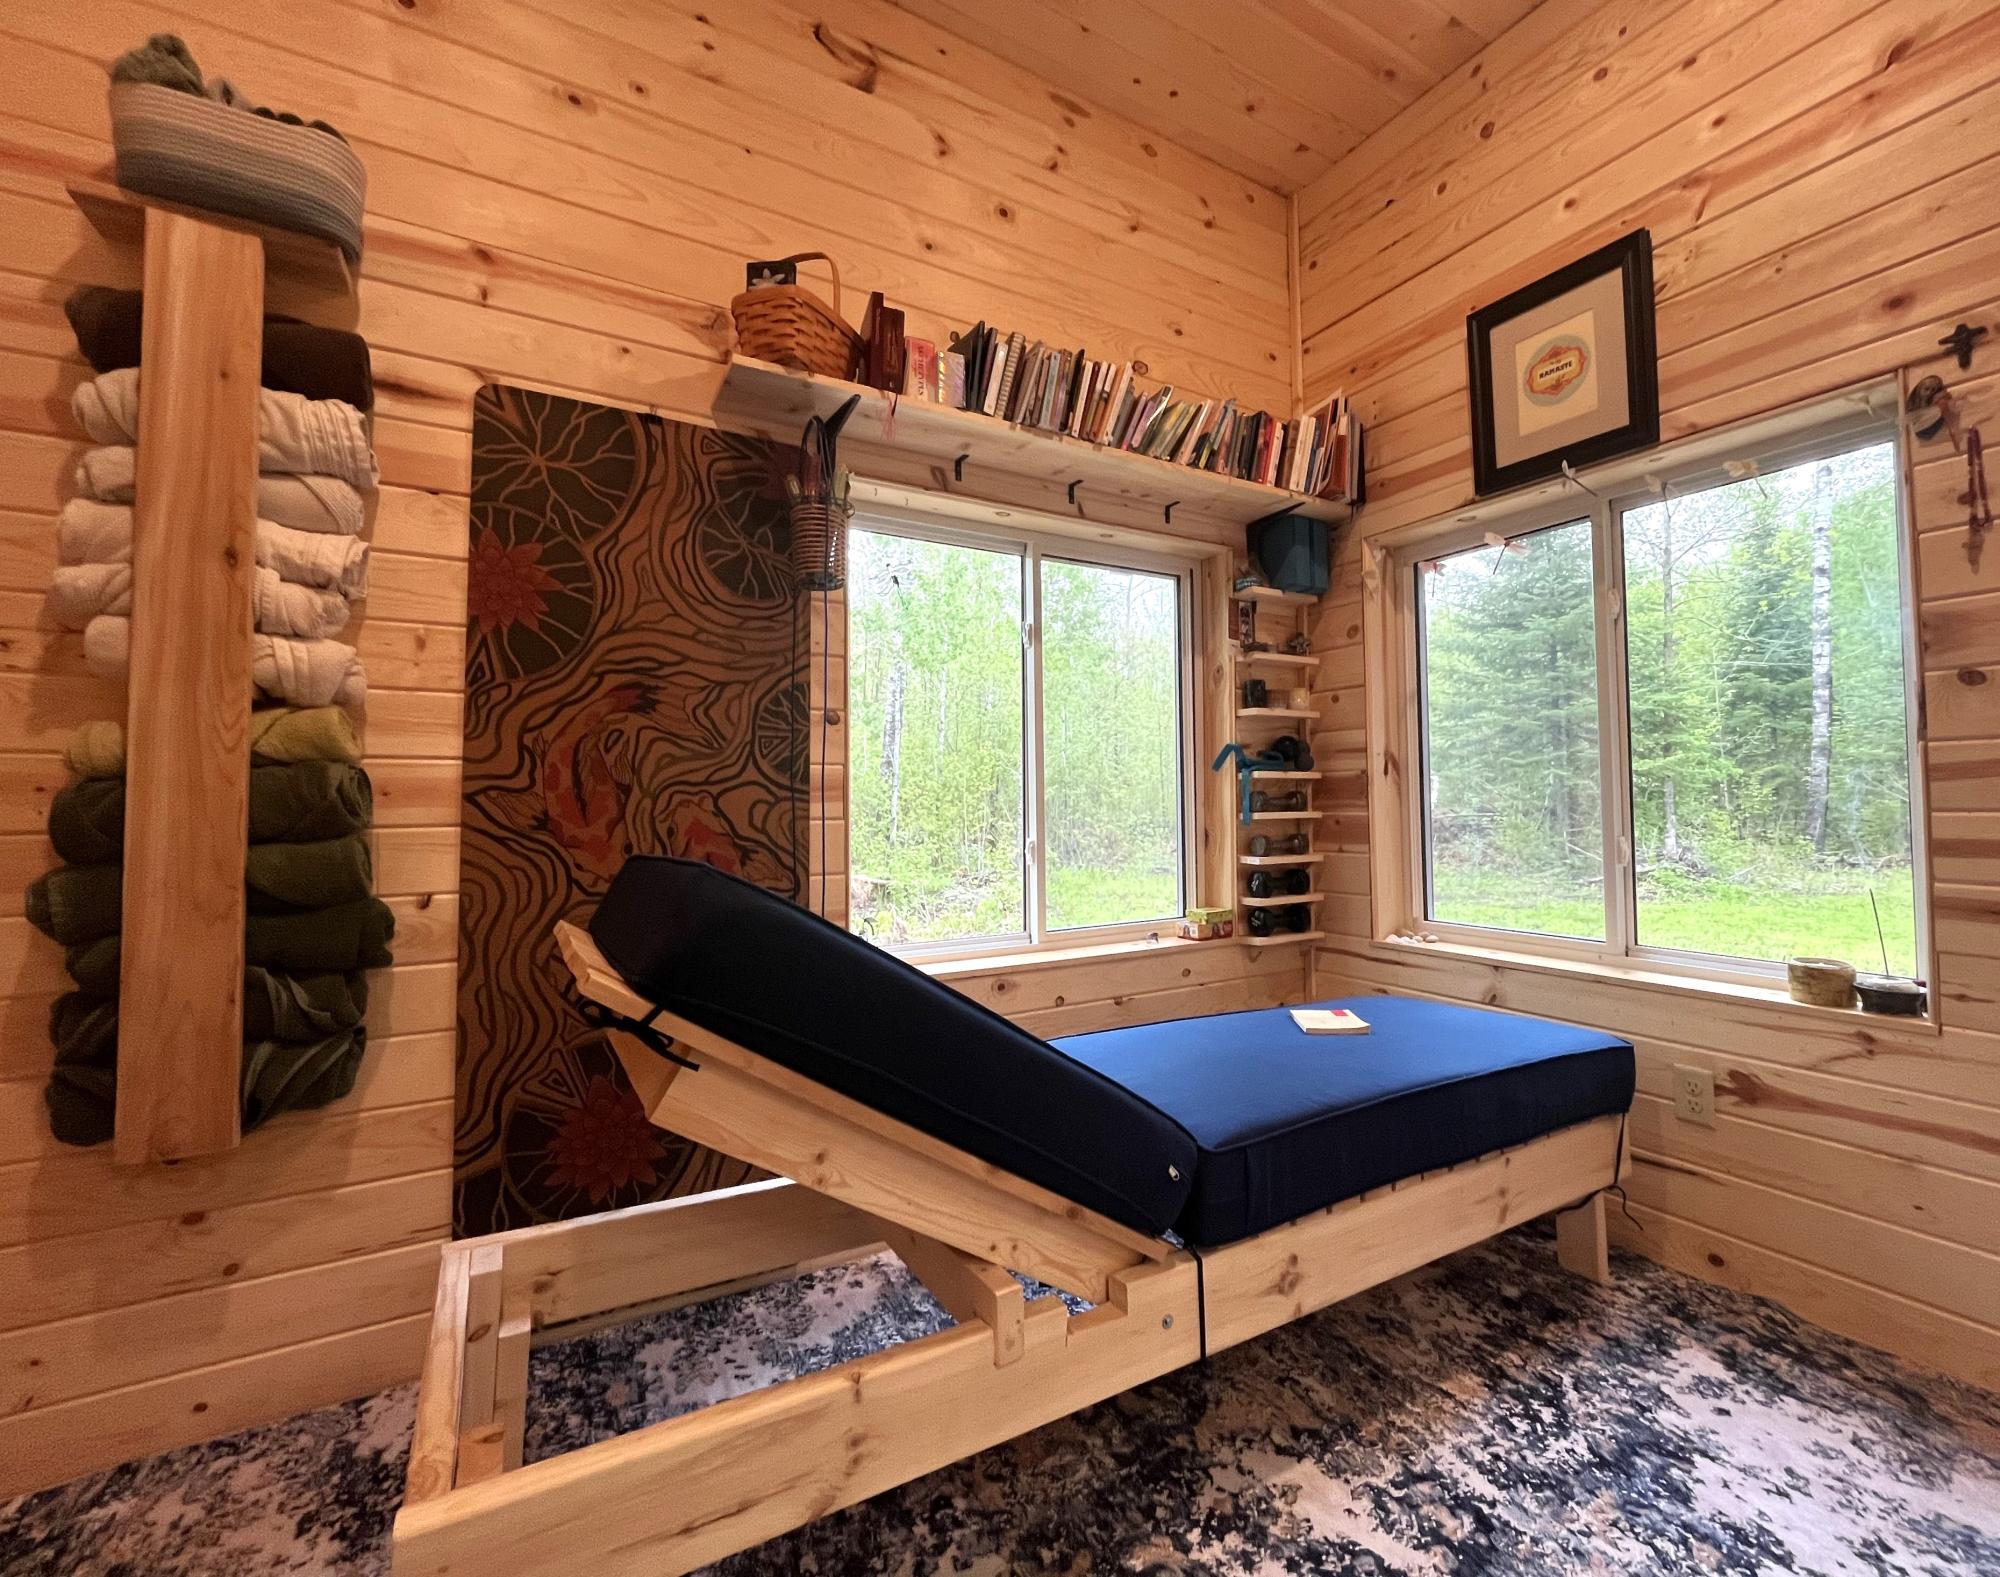
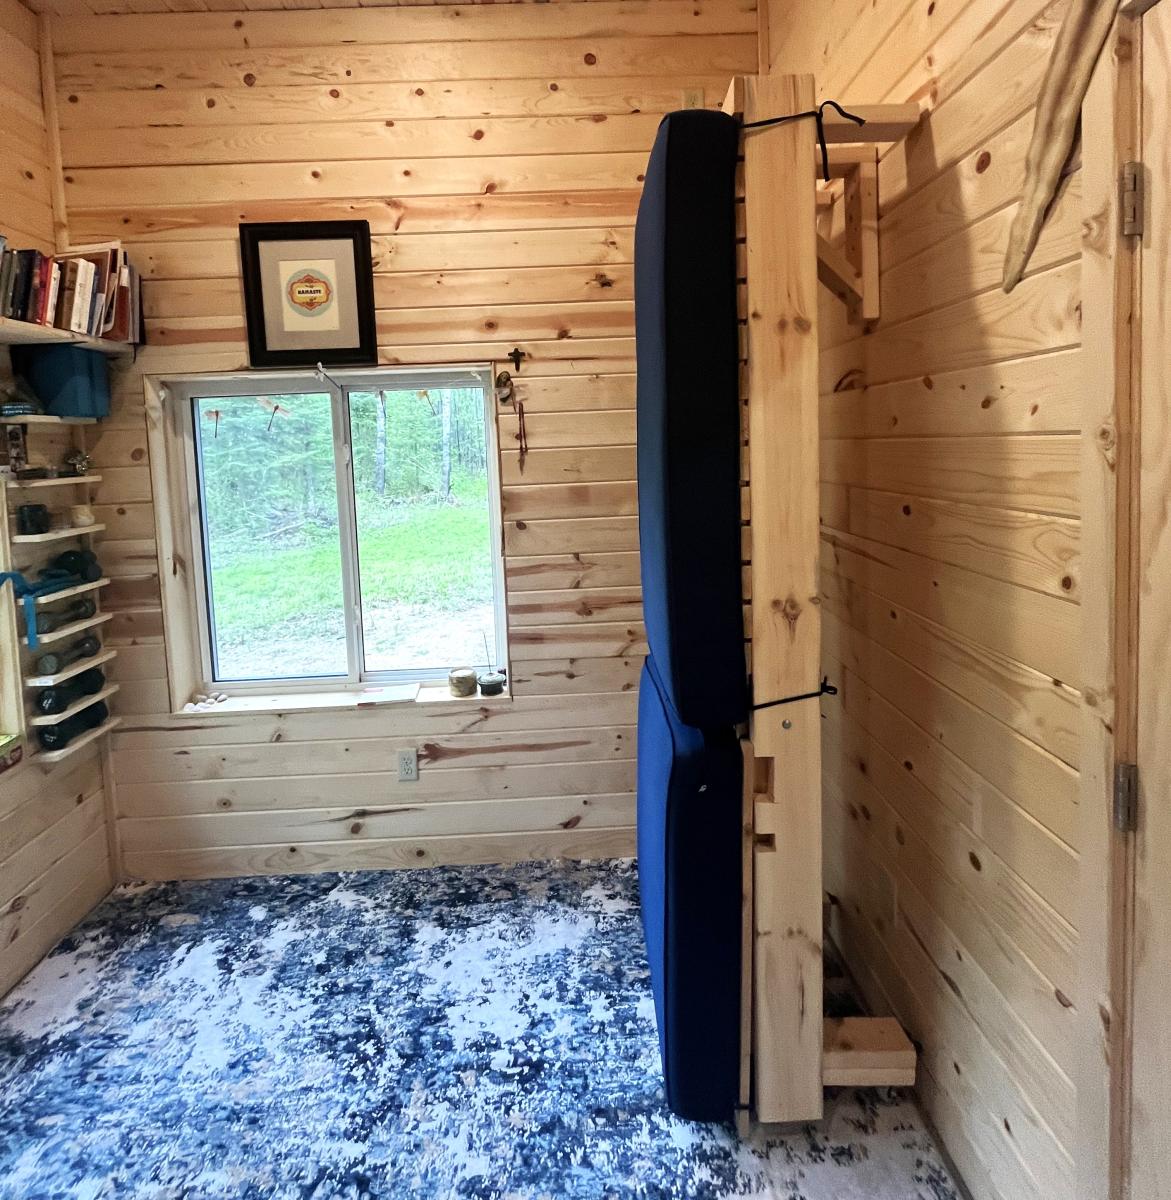
The 8’ chaise lounge… my first furniture build. Such a great plan to follow Ana! And since I need space for yoga I made a triangle brace to hang it on.
Laurie H
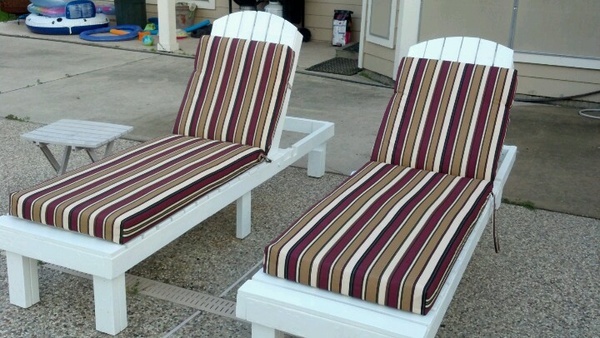
We built two of these wood chaise lounge chairs from Ana's plans. We wanted to make sure they could endure the Texas weather so we sanded, primed and painted them. We used wood we had left over from other projects so our costs were limited to screws and chair pads....about $125 (chair pads are expensive).

Tue, 09/25/2012 - 21:56
Love the way you rounded the top of the chair backs. The paint andcushions are quite attractive.
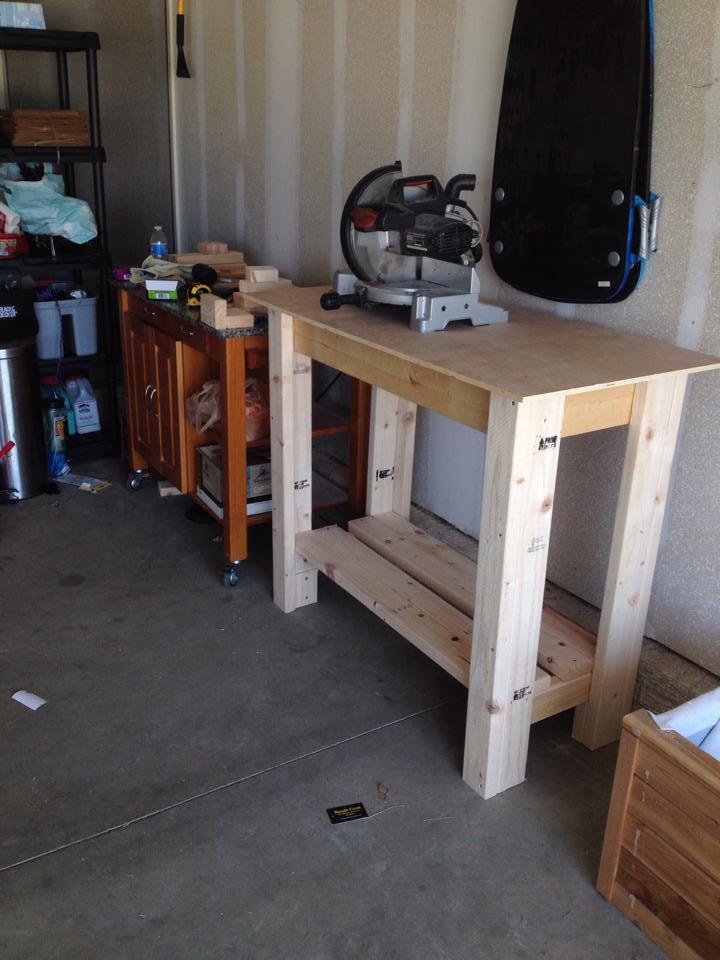
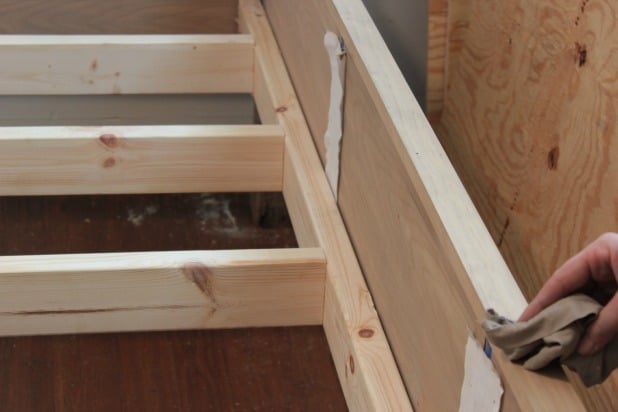
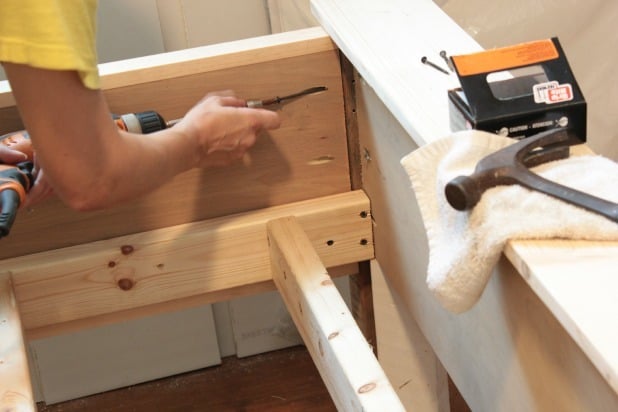
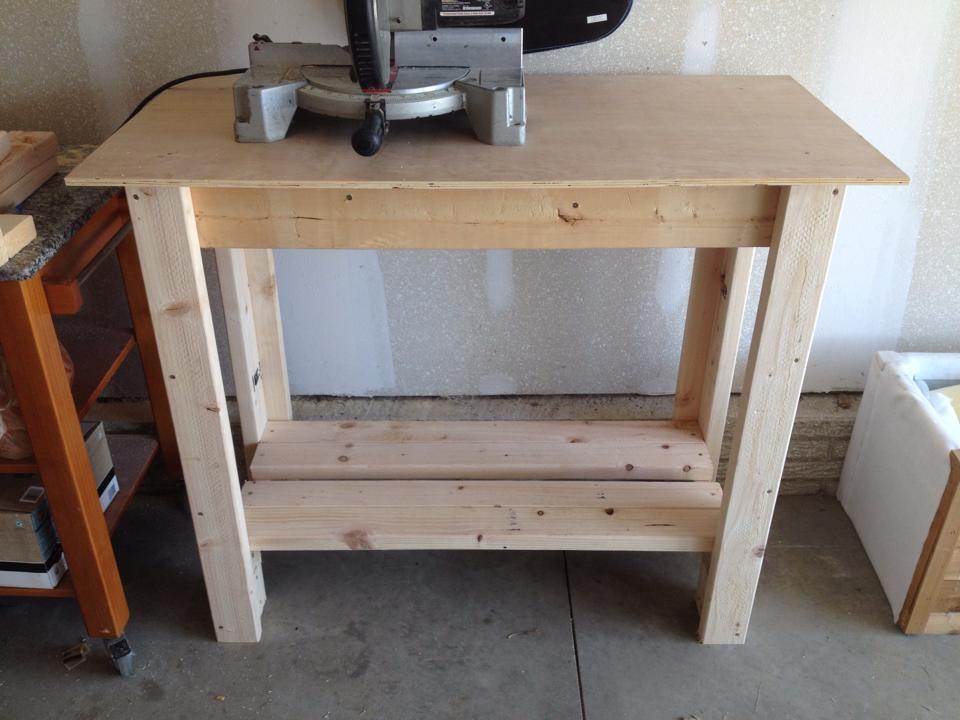
I've been a long time creeper, pinner, favoriter of this site. I finally got a garage sufficient to build. Of course, the first project had to be an actual work bench for the many projects to come.
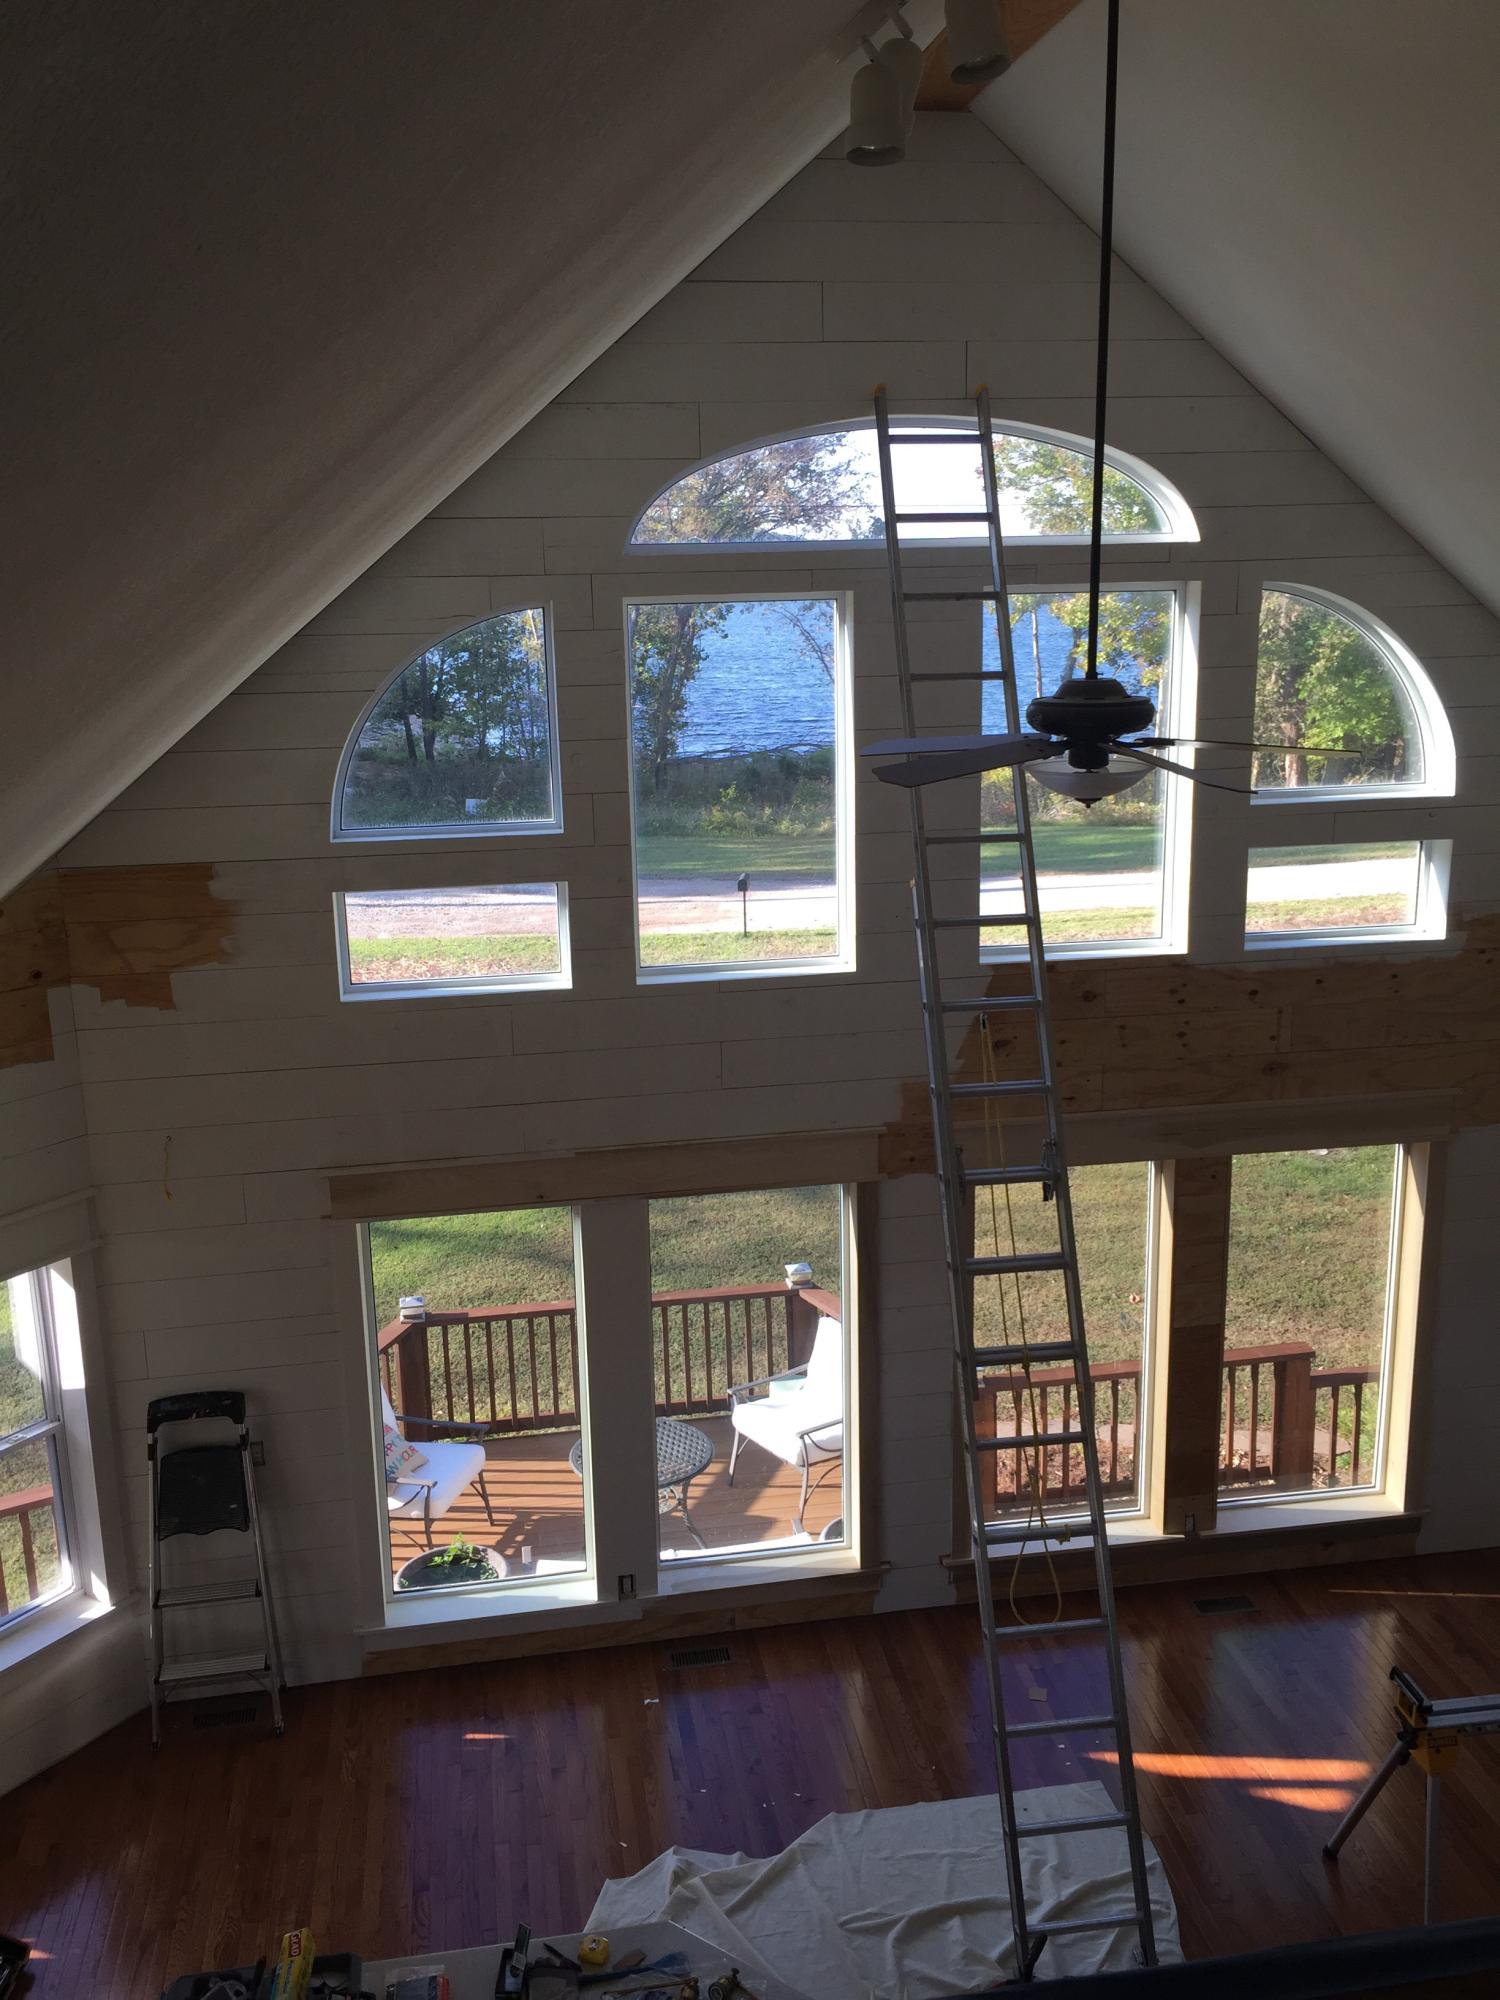
33" was a bit short for my tastes so I adjusted the leg height to 40". Also half way through my project I realized that my 2x4's were not true 2x4's. This became problematic with the four support beams for the top board. I was able to cut some proper length boards from some backup/emergency lumber. I still plan on figuring out what I want to do with the stain but that was all time allotted for!
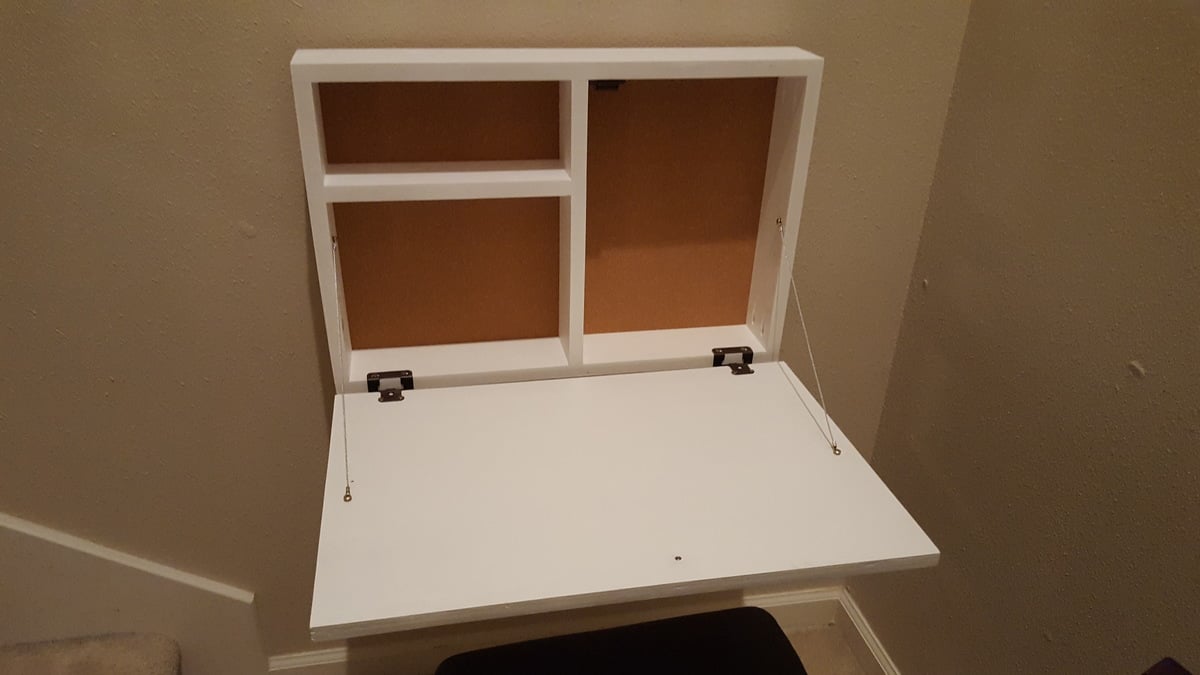
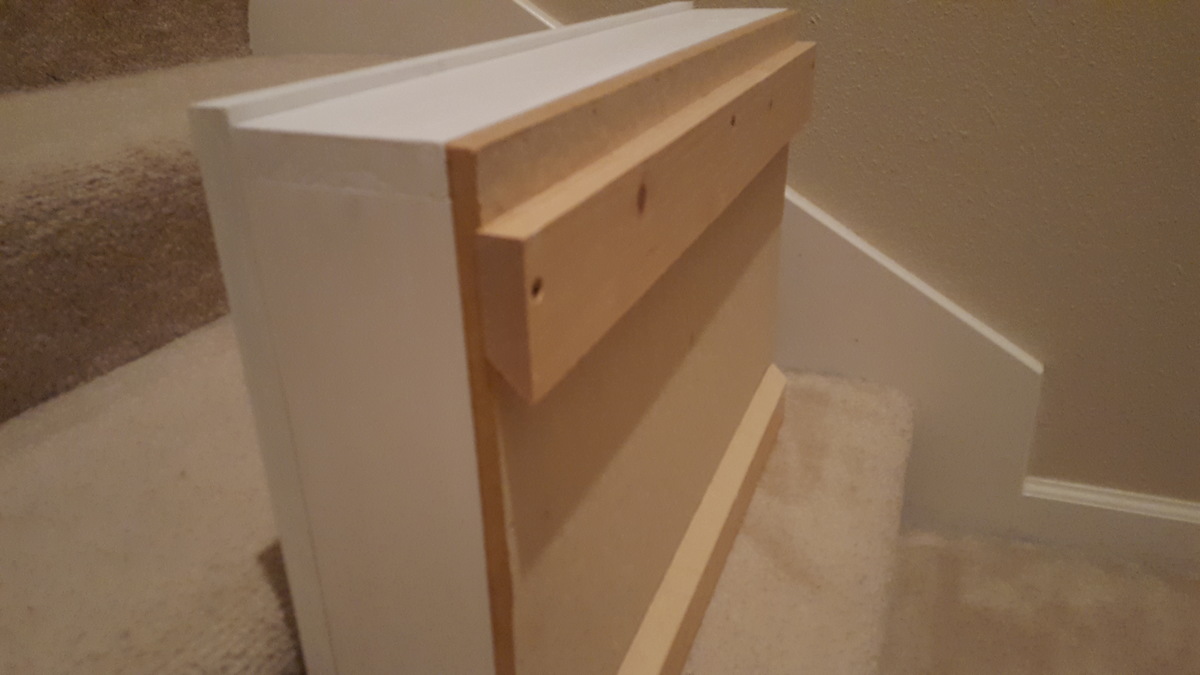
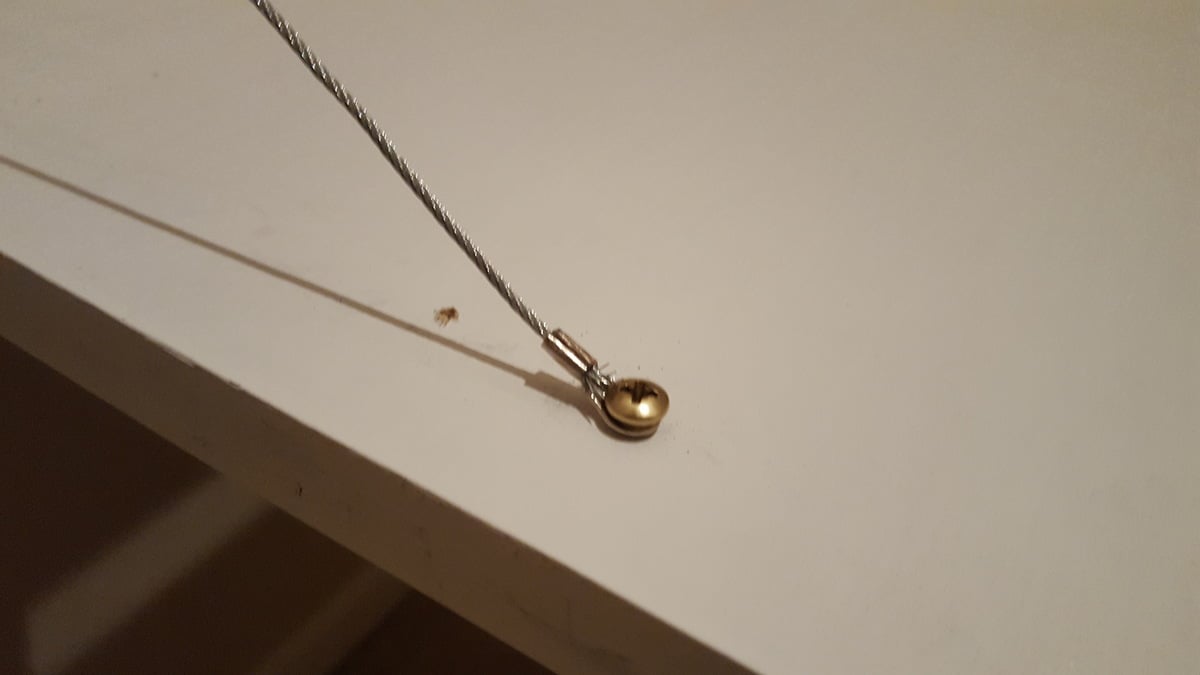
Had to make some modifications since I was using some old hinges. Use some 1/16" cable with an eye fitting on either end. Since my kids have a habbit of leaning, standing, jumping, and hanging on things I attached it to the wall using a french cleat system using a circular saw. Pretty easy to do and extremely stable. Last mod was the corkboard on the back for my wife to post homework and to-do lists.
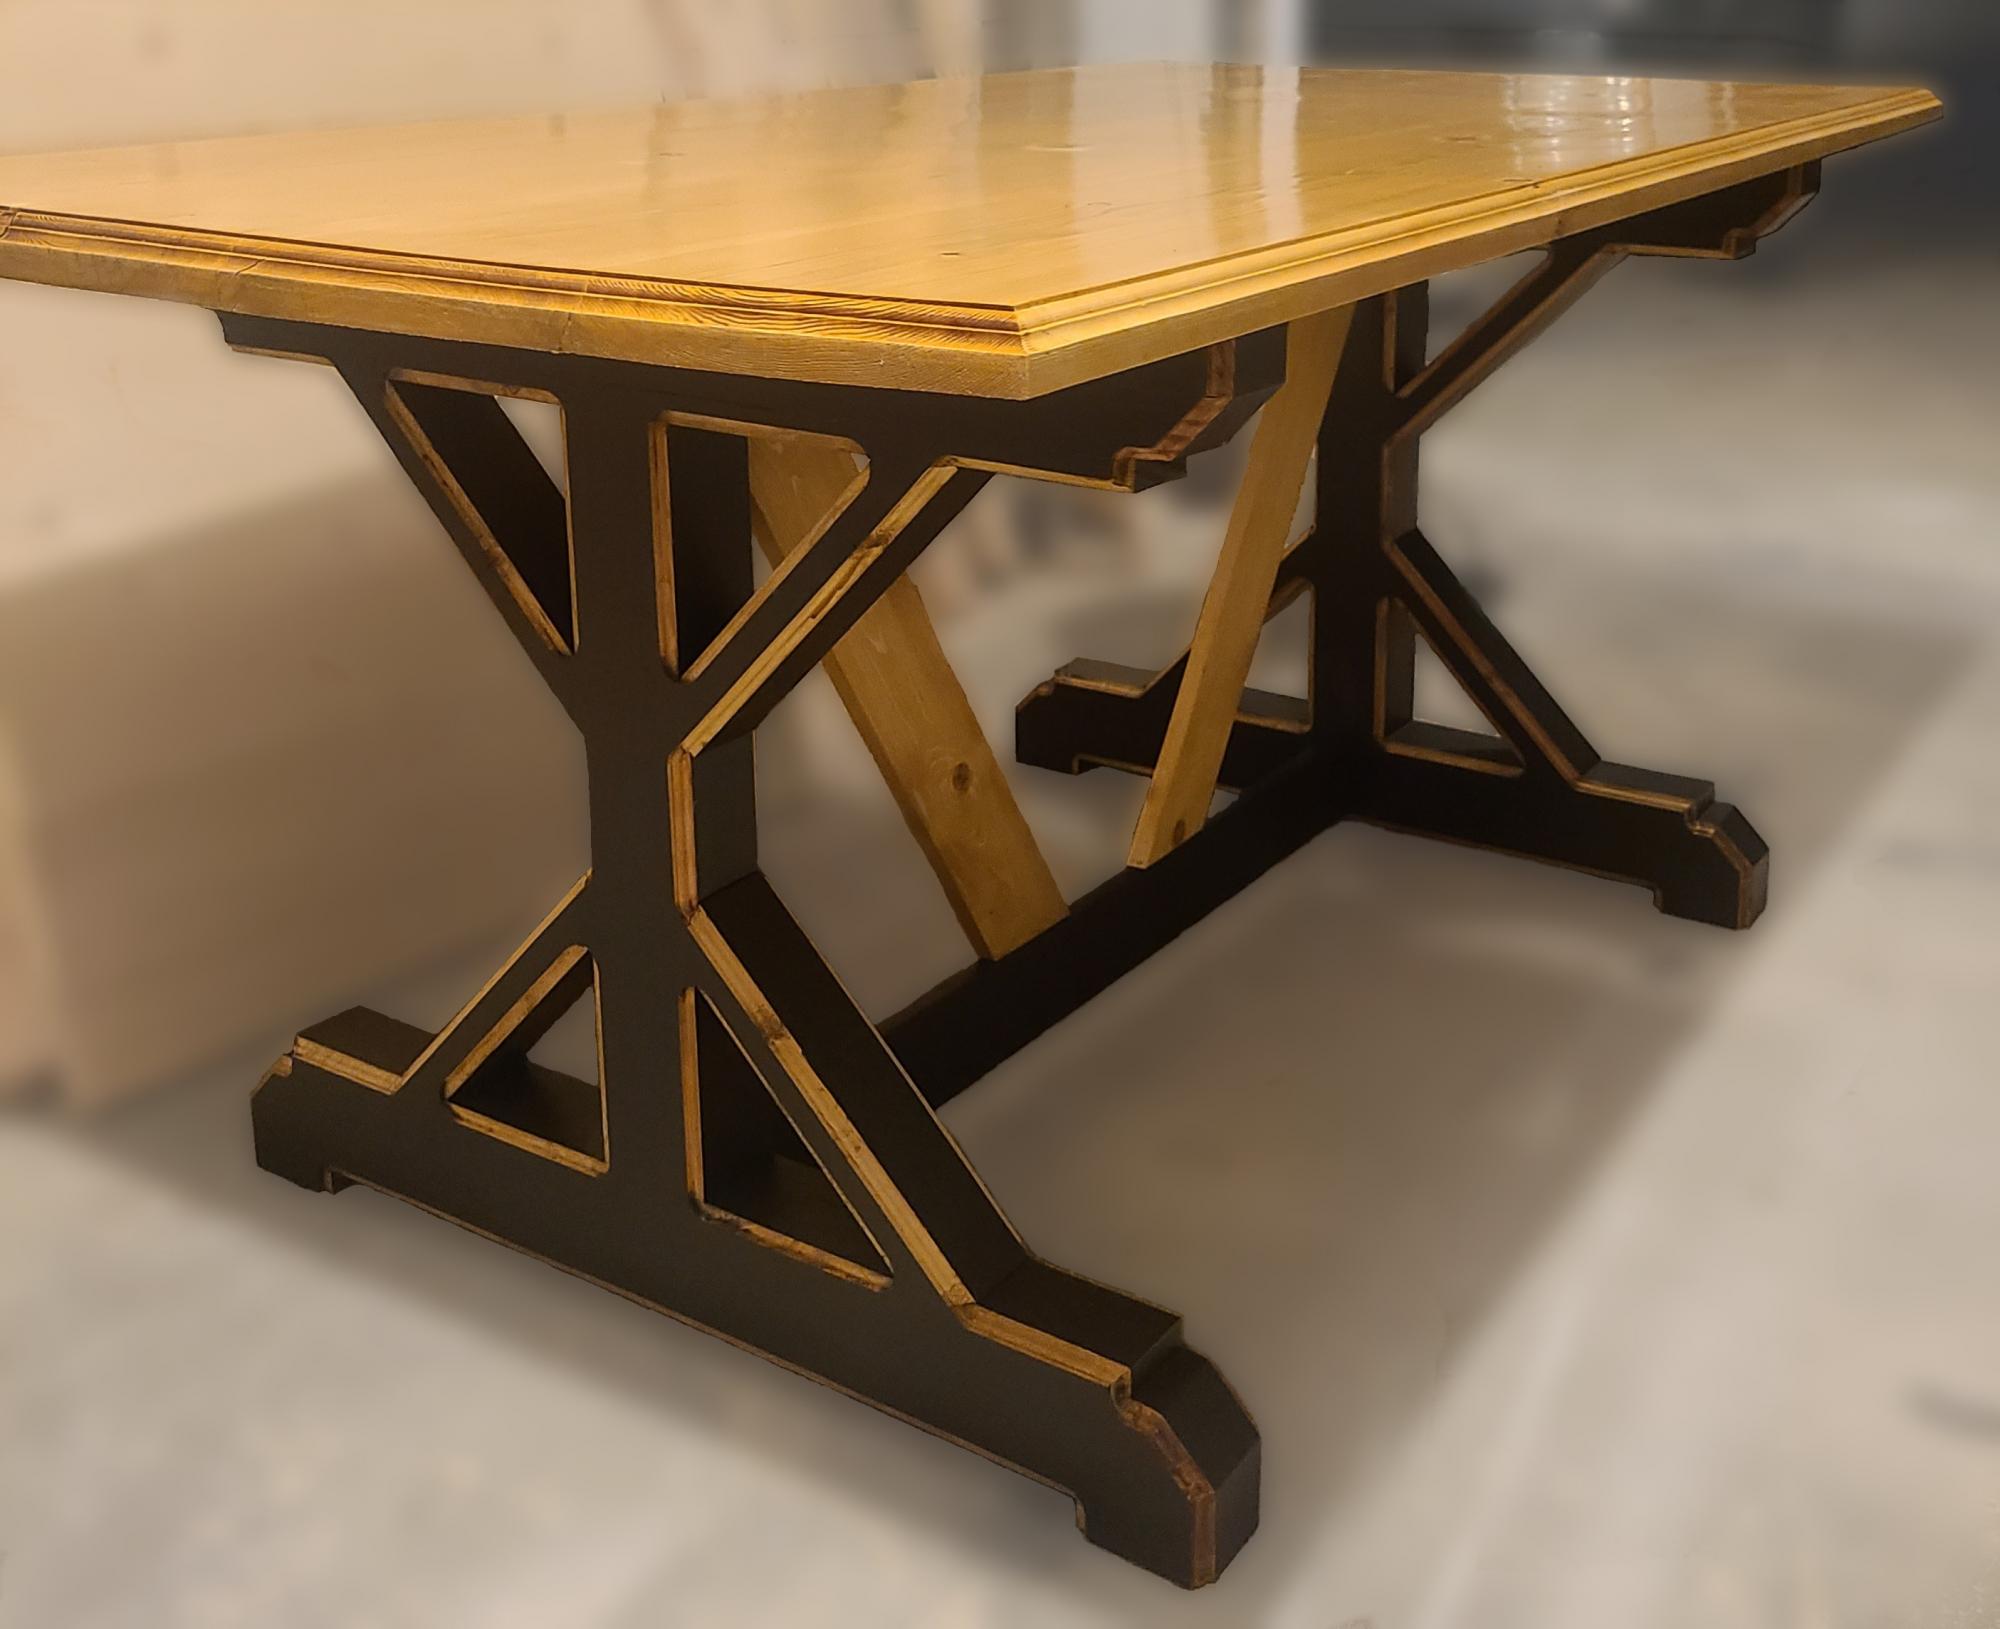
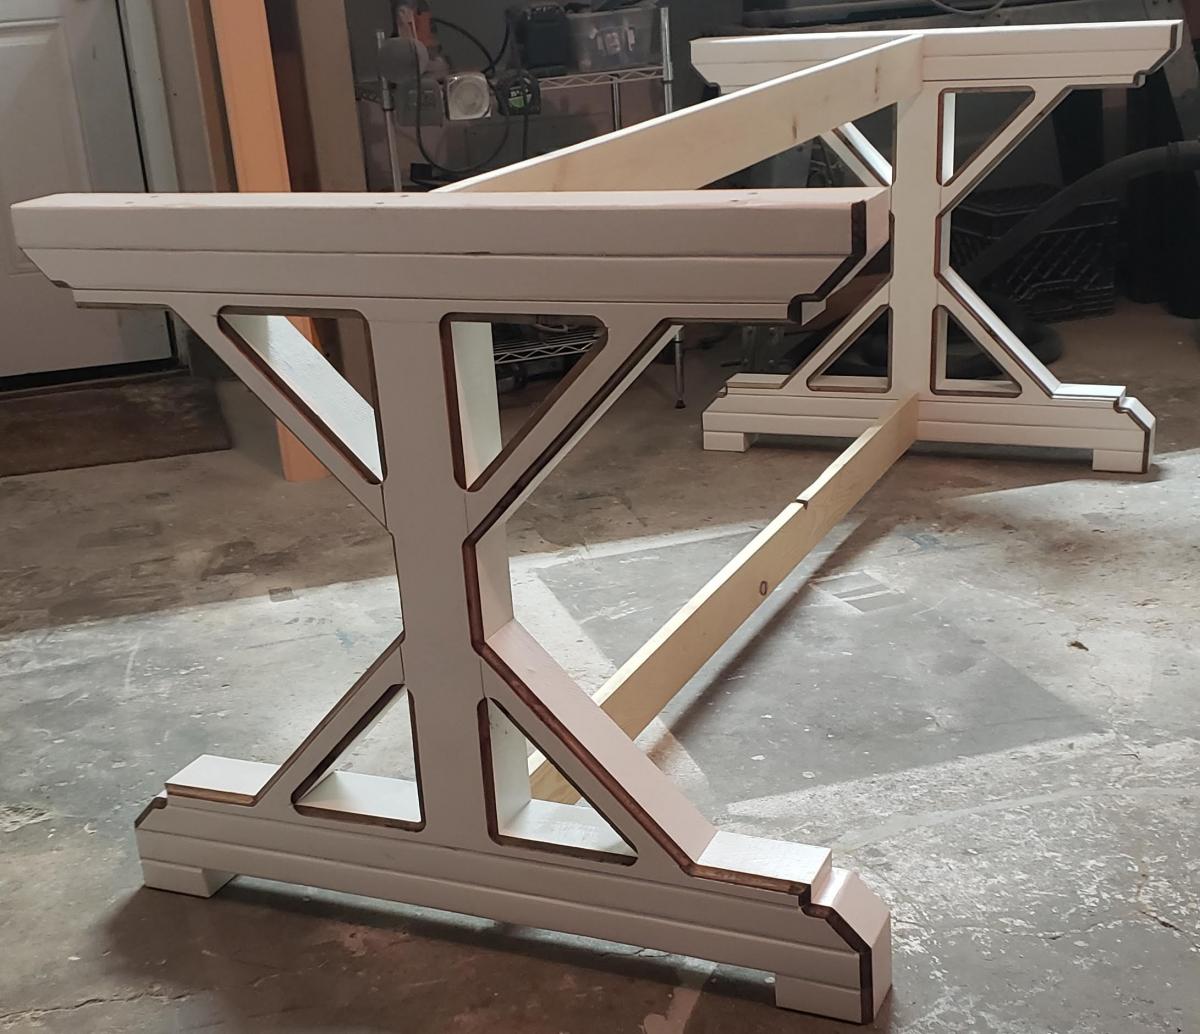
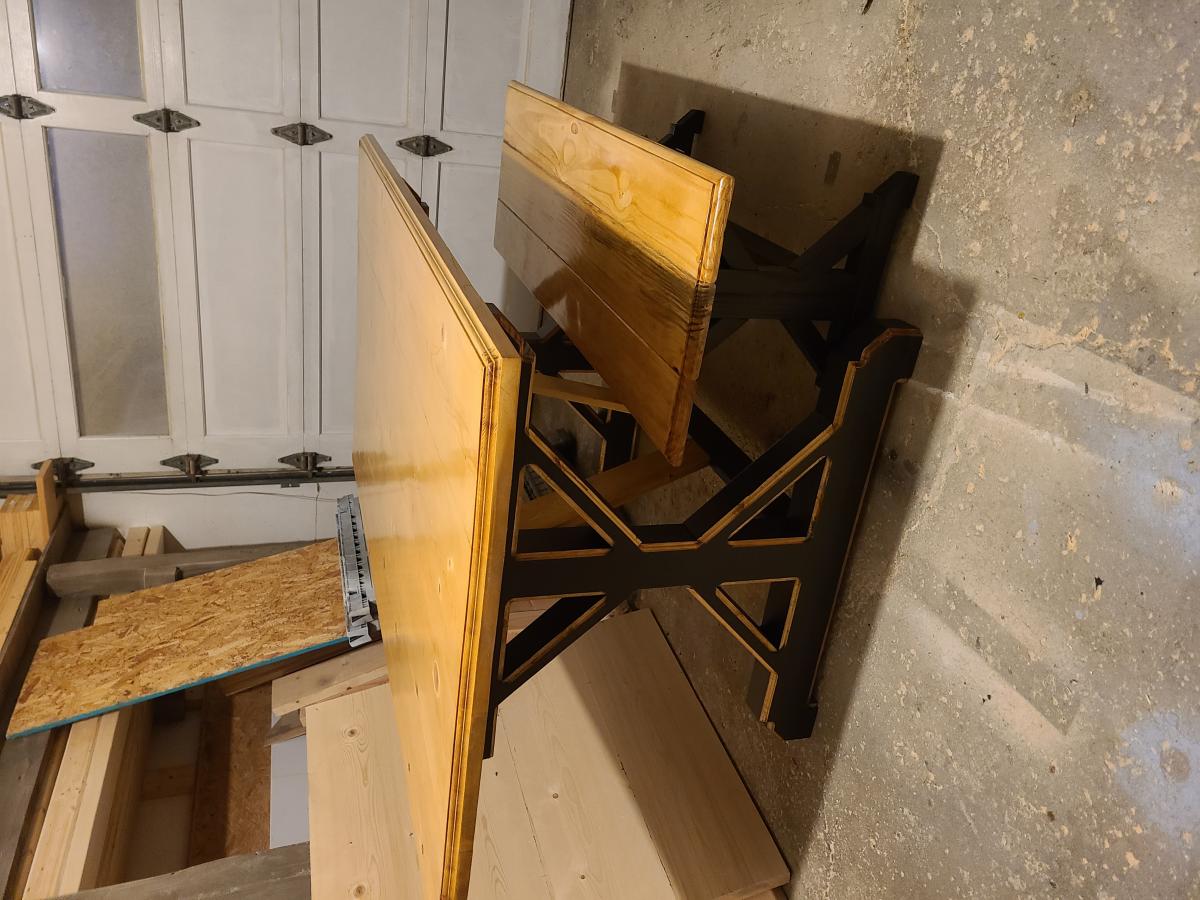
I used this awesome plan from Ana White and tried to add my own touch on it. After painting the legs, I then routed the edges and stained them to match the table top. Thank you for this plan!
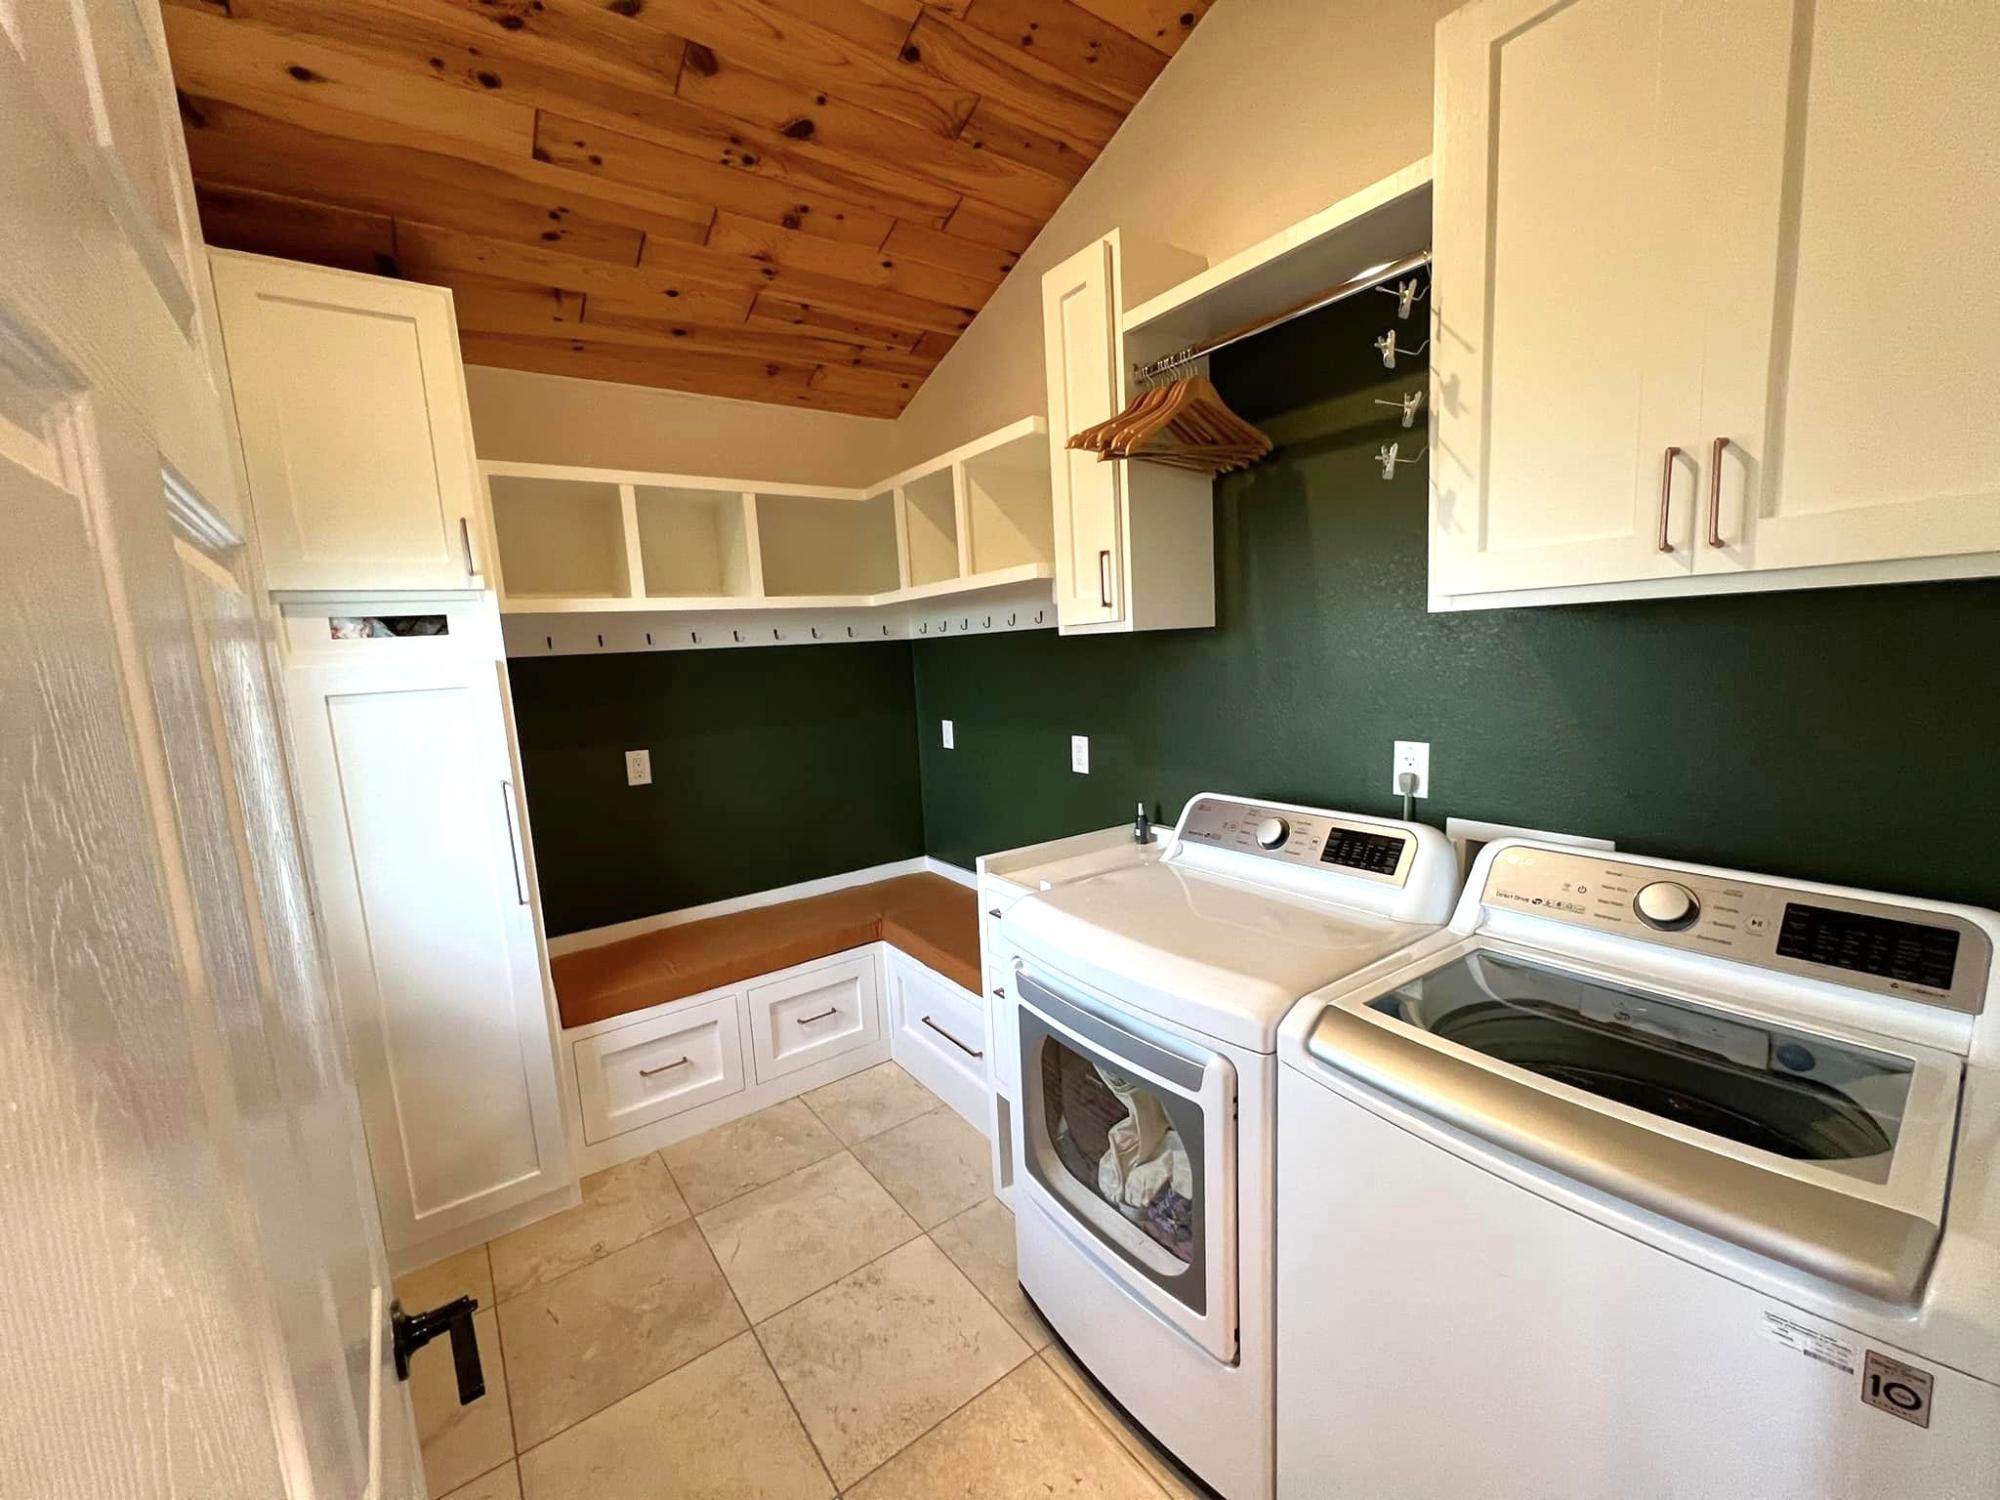
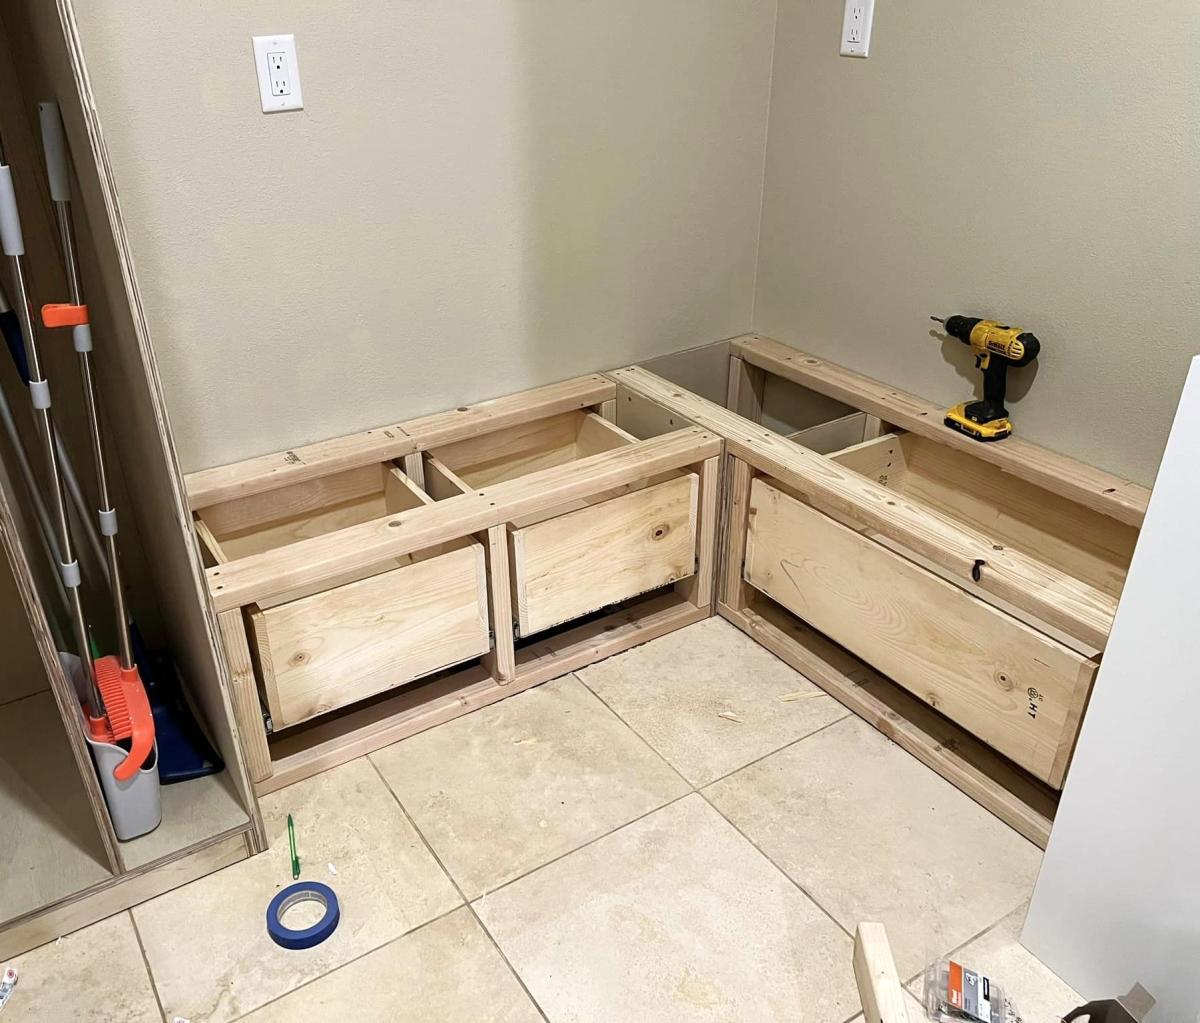
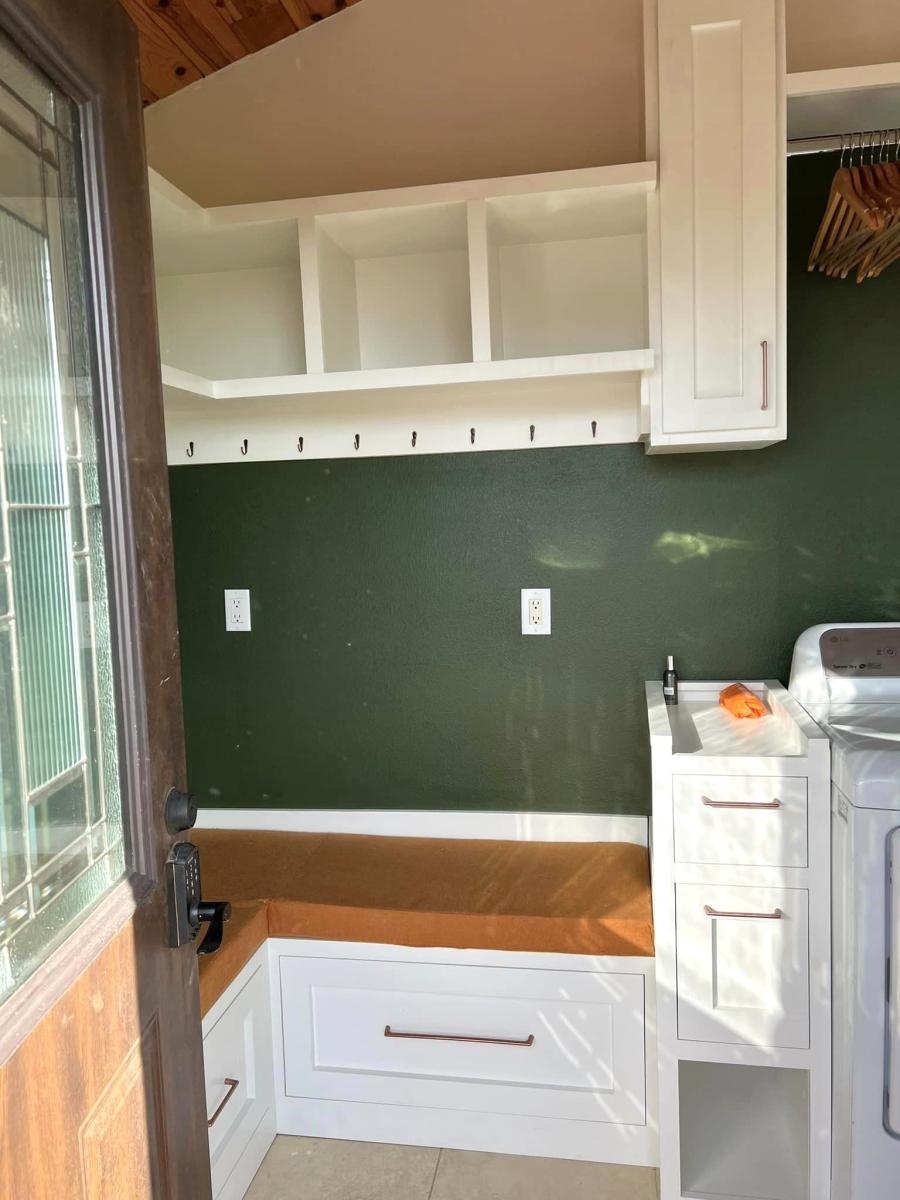
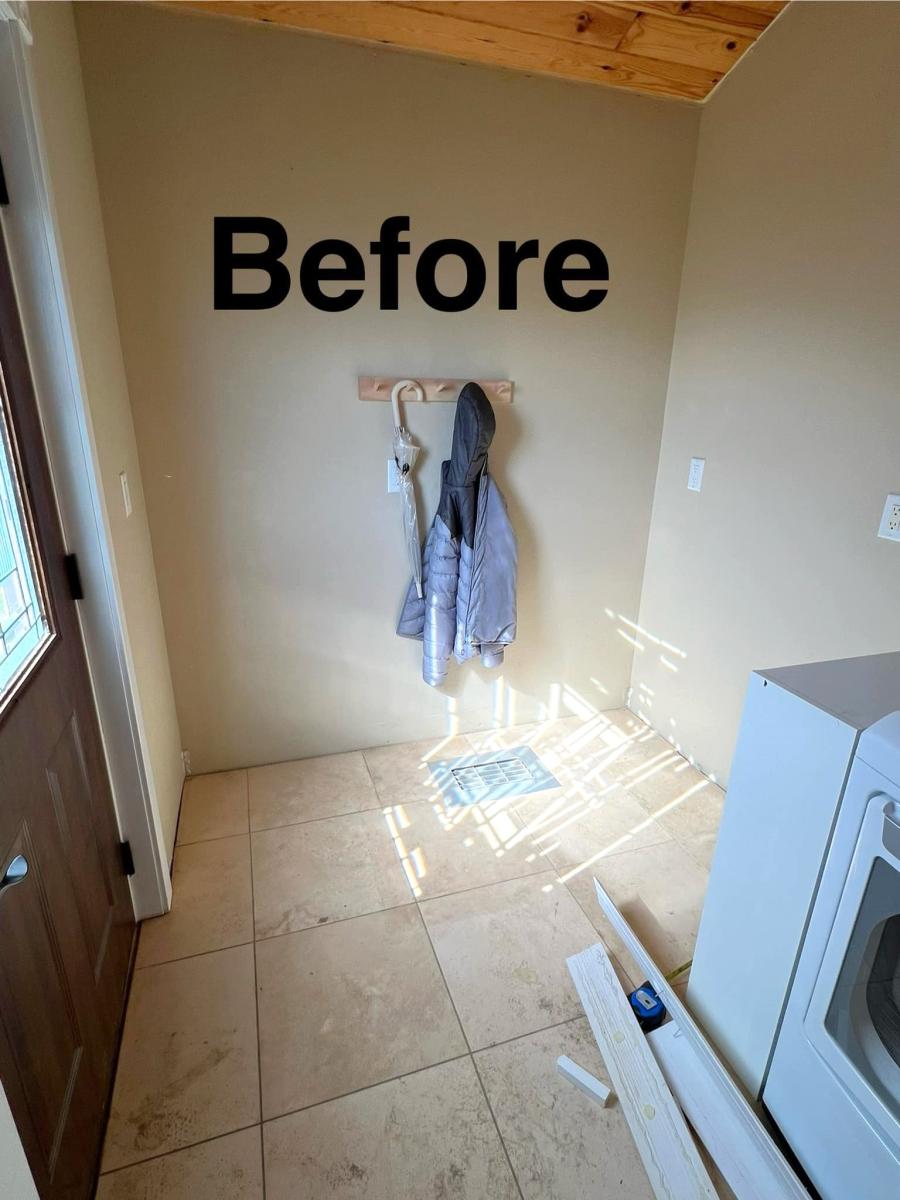
When looking for ideas/plans for designing my mudroom I came across Ana’s plans for the bench with drawers. I’ve NEVER built anything like it, or cabinetry, or anything like that type of stuff, but with her videos and plans I was able to design my own layout and make it all completely by hand and by myself. I’m in love with how it turned out!! Her designs/plans are so easy to follow and customize!! I can’t wait to do more in my house.
Mikishea Mauss on Facebook

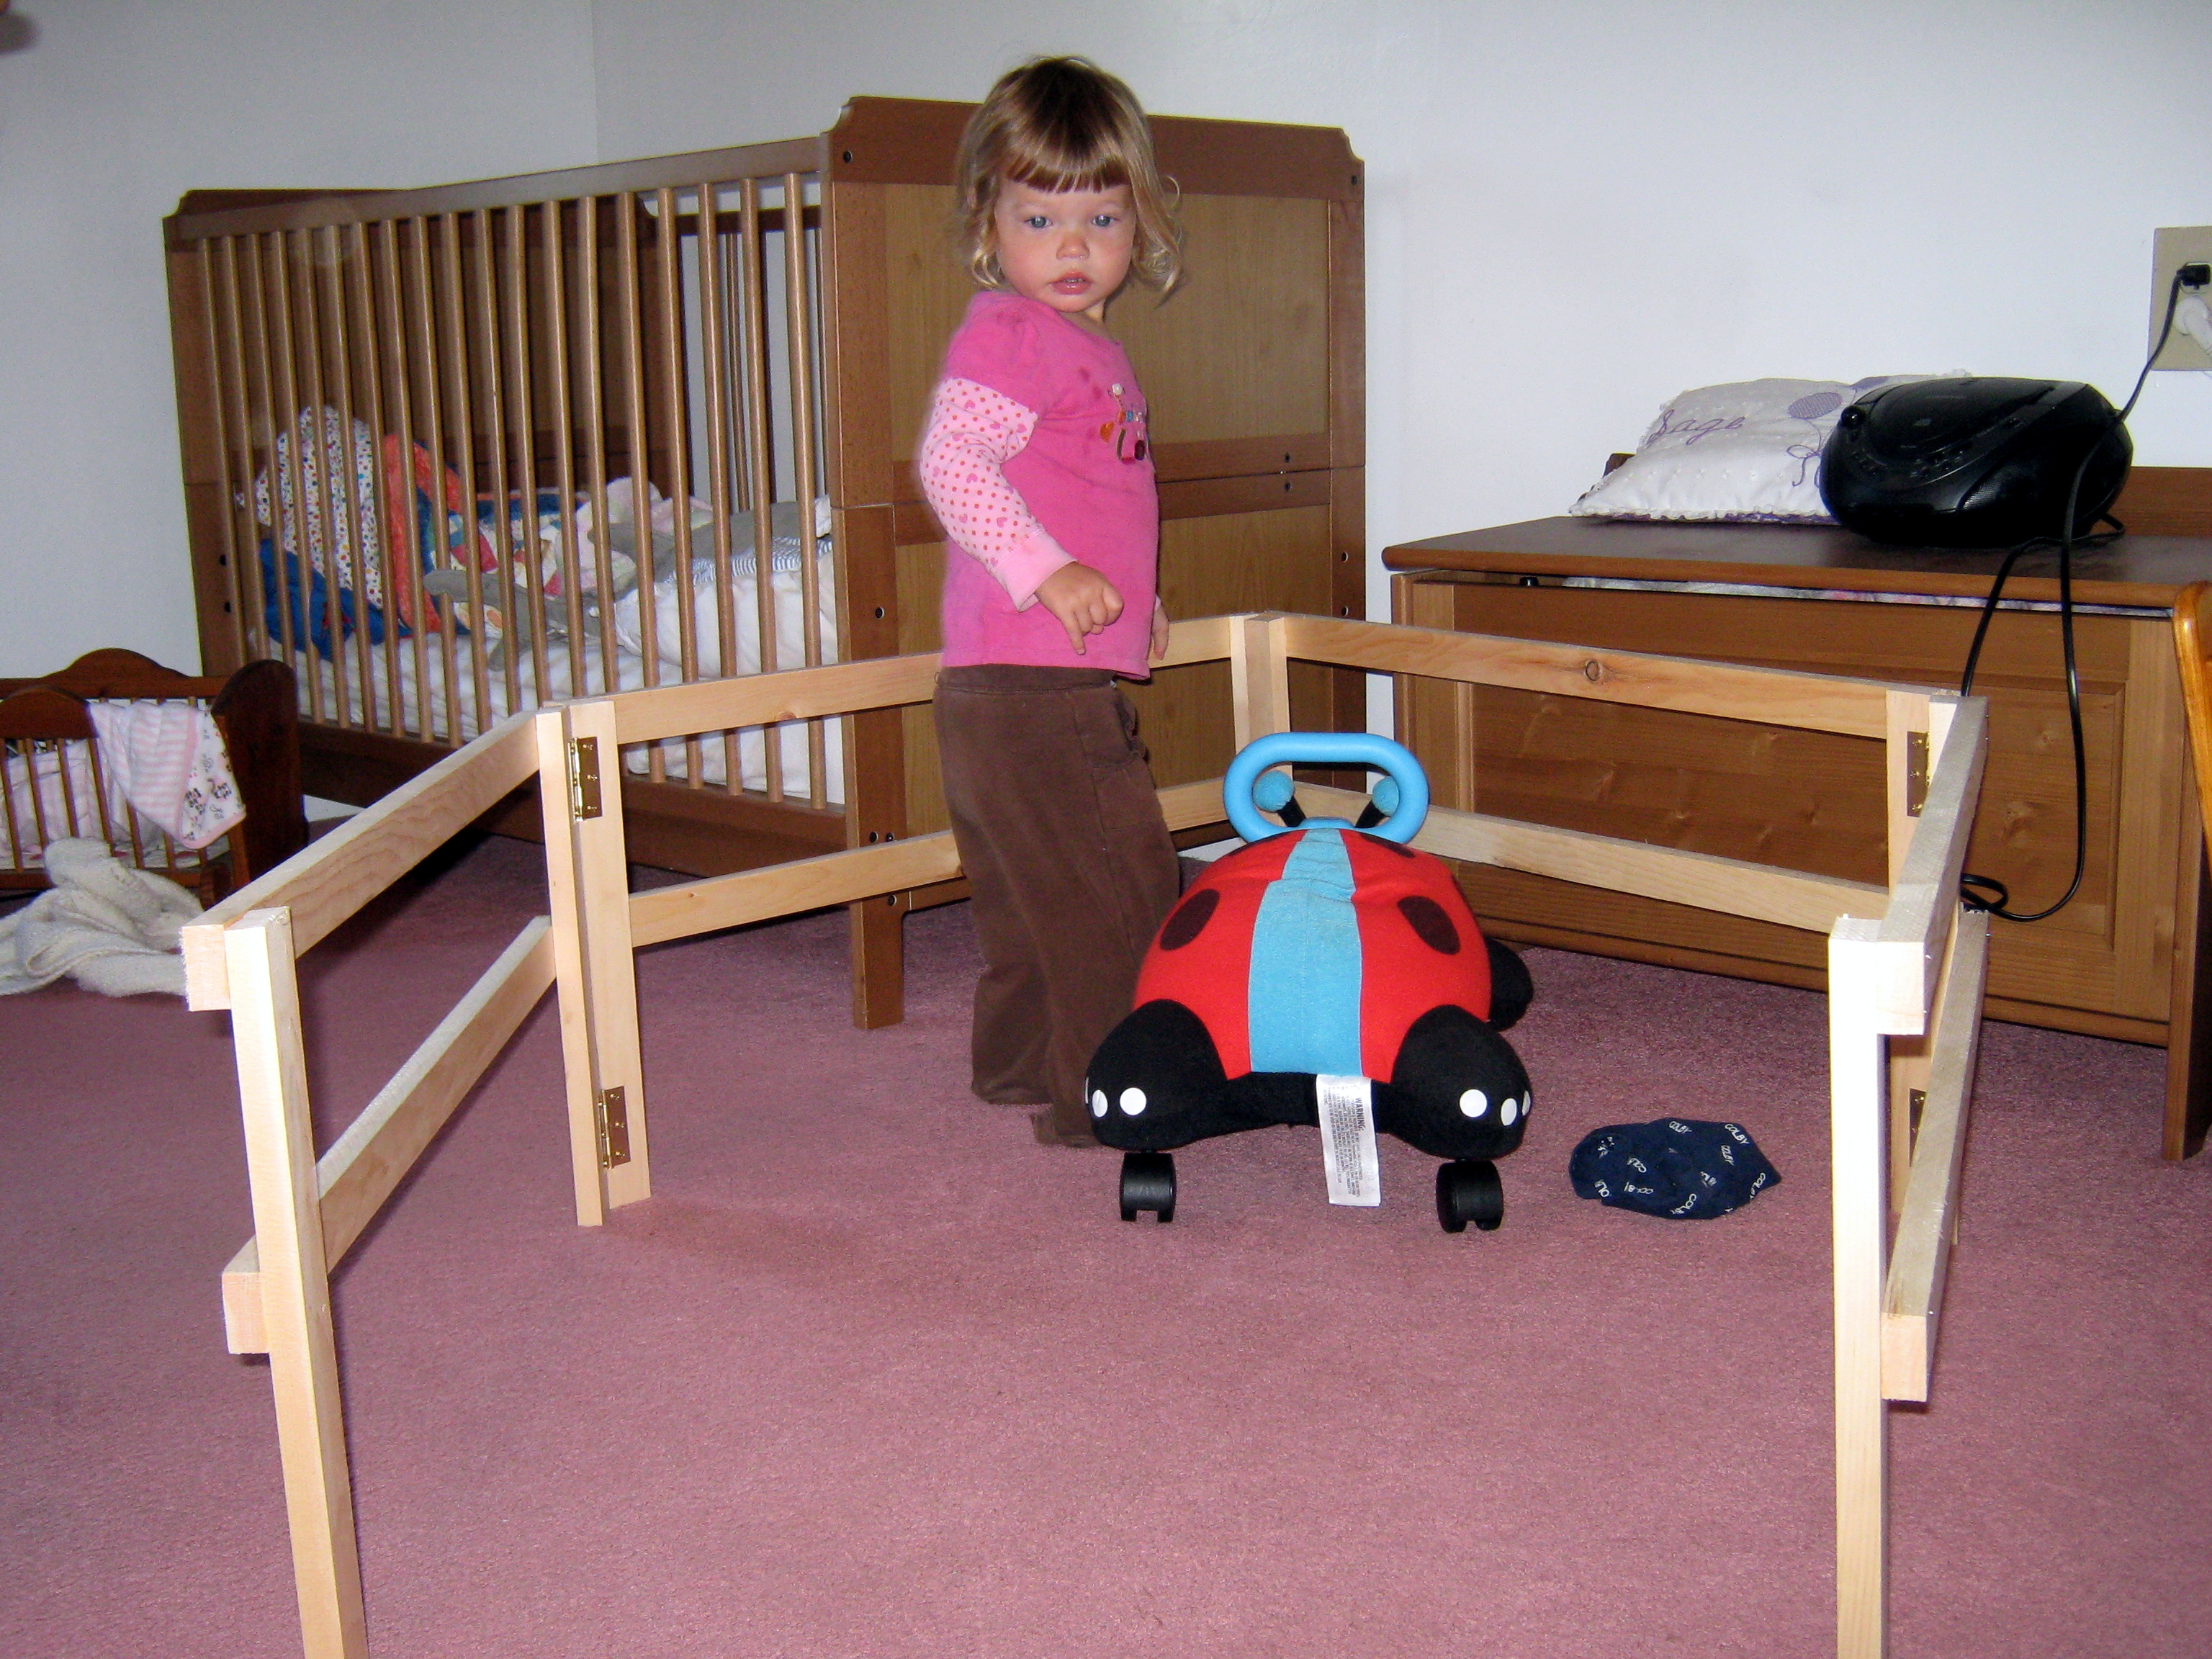
My first ever building project! I learned a few important lessons: it's really hard to make a straight cut with a jig saw, and you have to use large hinges (the tiny hinges I put on there first ripped right out). It was a great learning experience, the fences really were easy to build, and my two-year-old LOVES them! Now I'm ready for my next project. :)
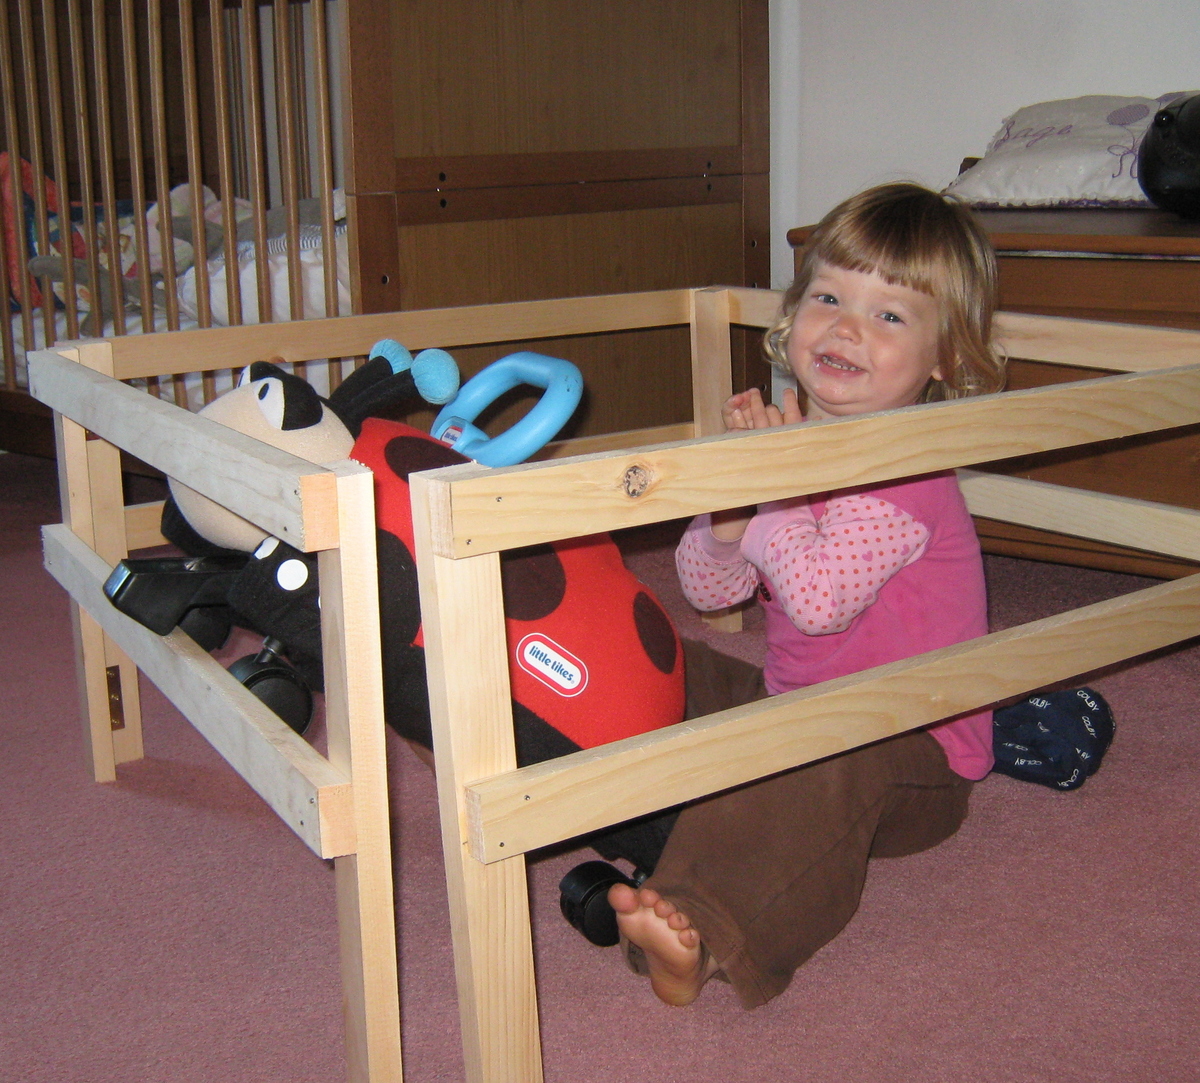
Mon, 10/01/2012 - 04:44
Use a carpenter's square (shown in the "getting started" section to draw a straight line where you will cut. Now for the secret to straight cuts... line up the blade of you jig saw with the cut line and then slide the carpenter square up to the jig saw base and hold it firm so it acts as a straight edge and make your cut.

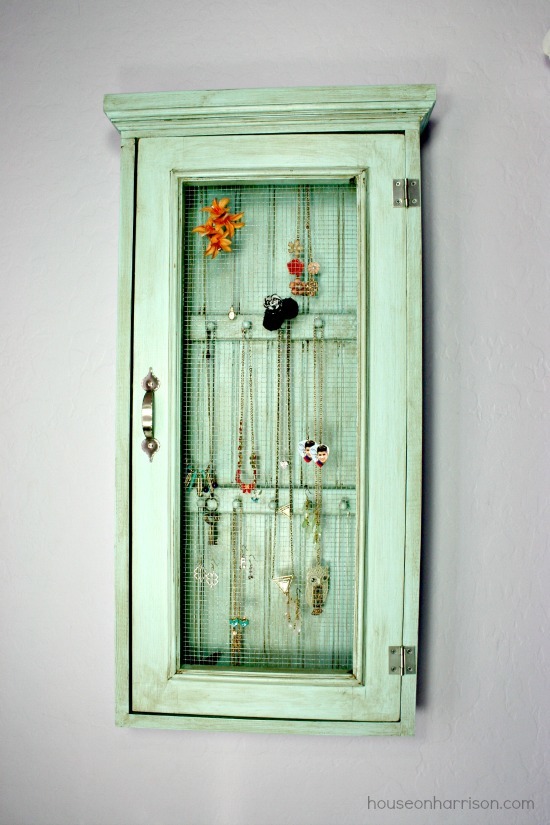
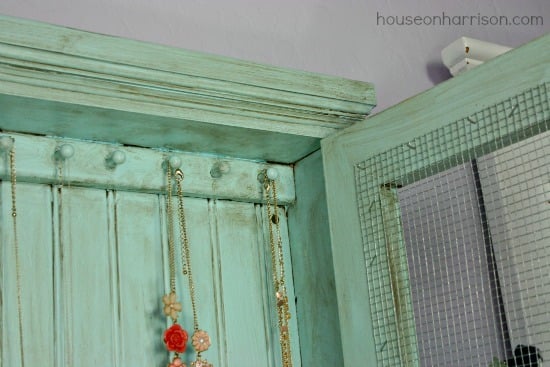
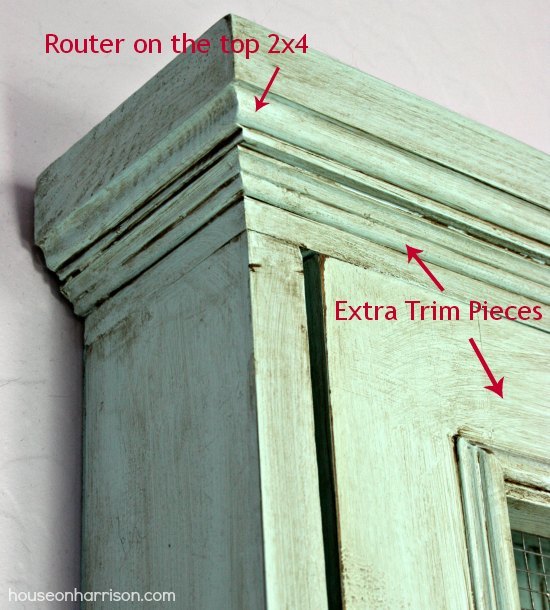
I made this awesome jewelry cabinet for my teenage daughter's room. It holds all her jewelry and then some, and it keeps it looking nice and organized. I followed the Wall Jewelry Cabinet plans, and made just a few minor modifications to better suit the style of my daughter's room. Plans were super easy to follow and this only took a few hours to build.
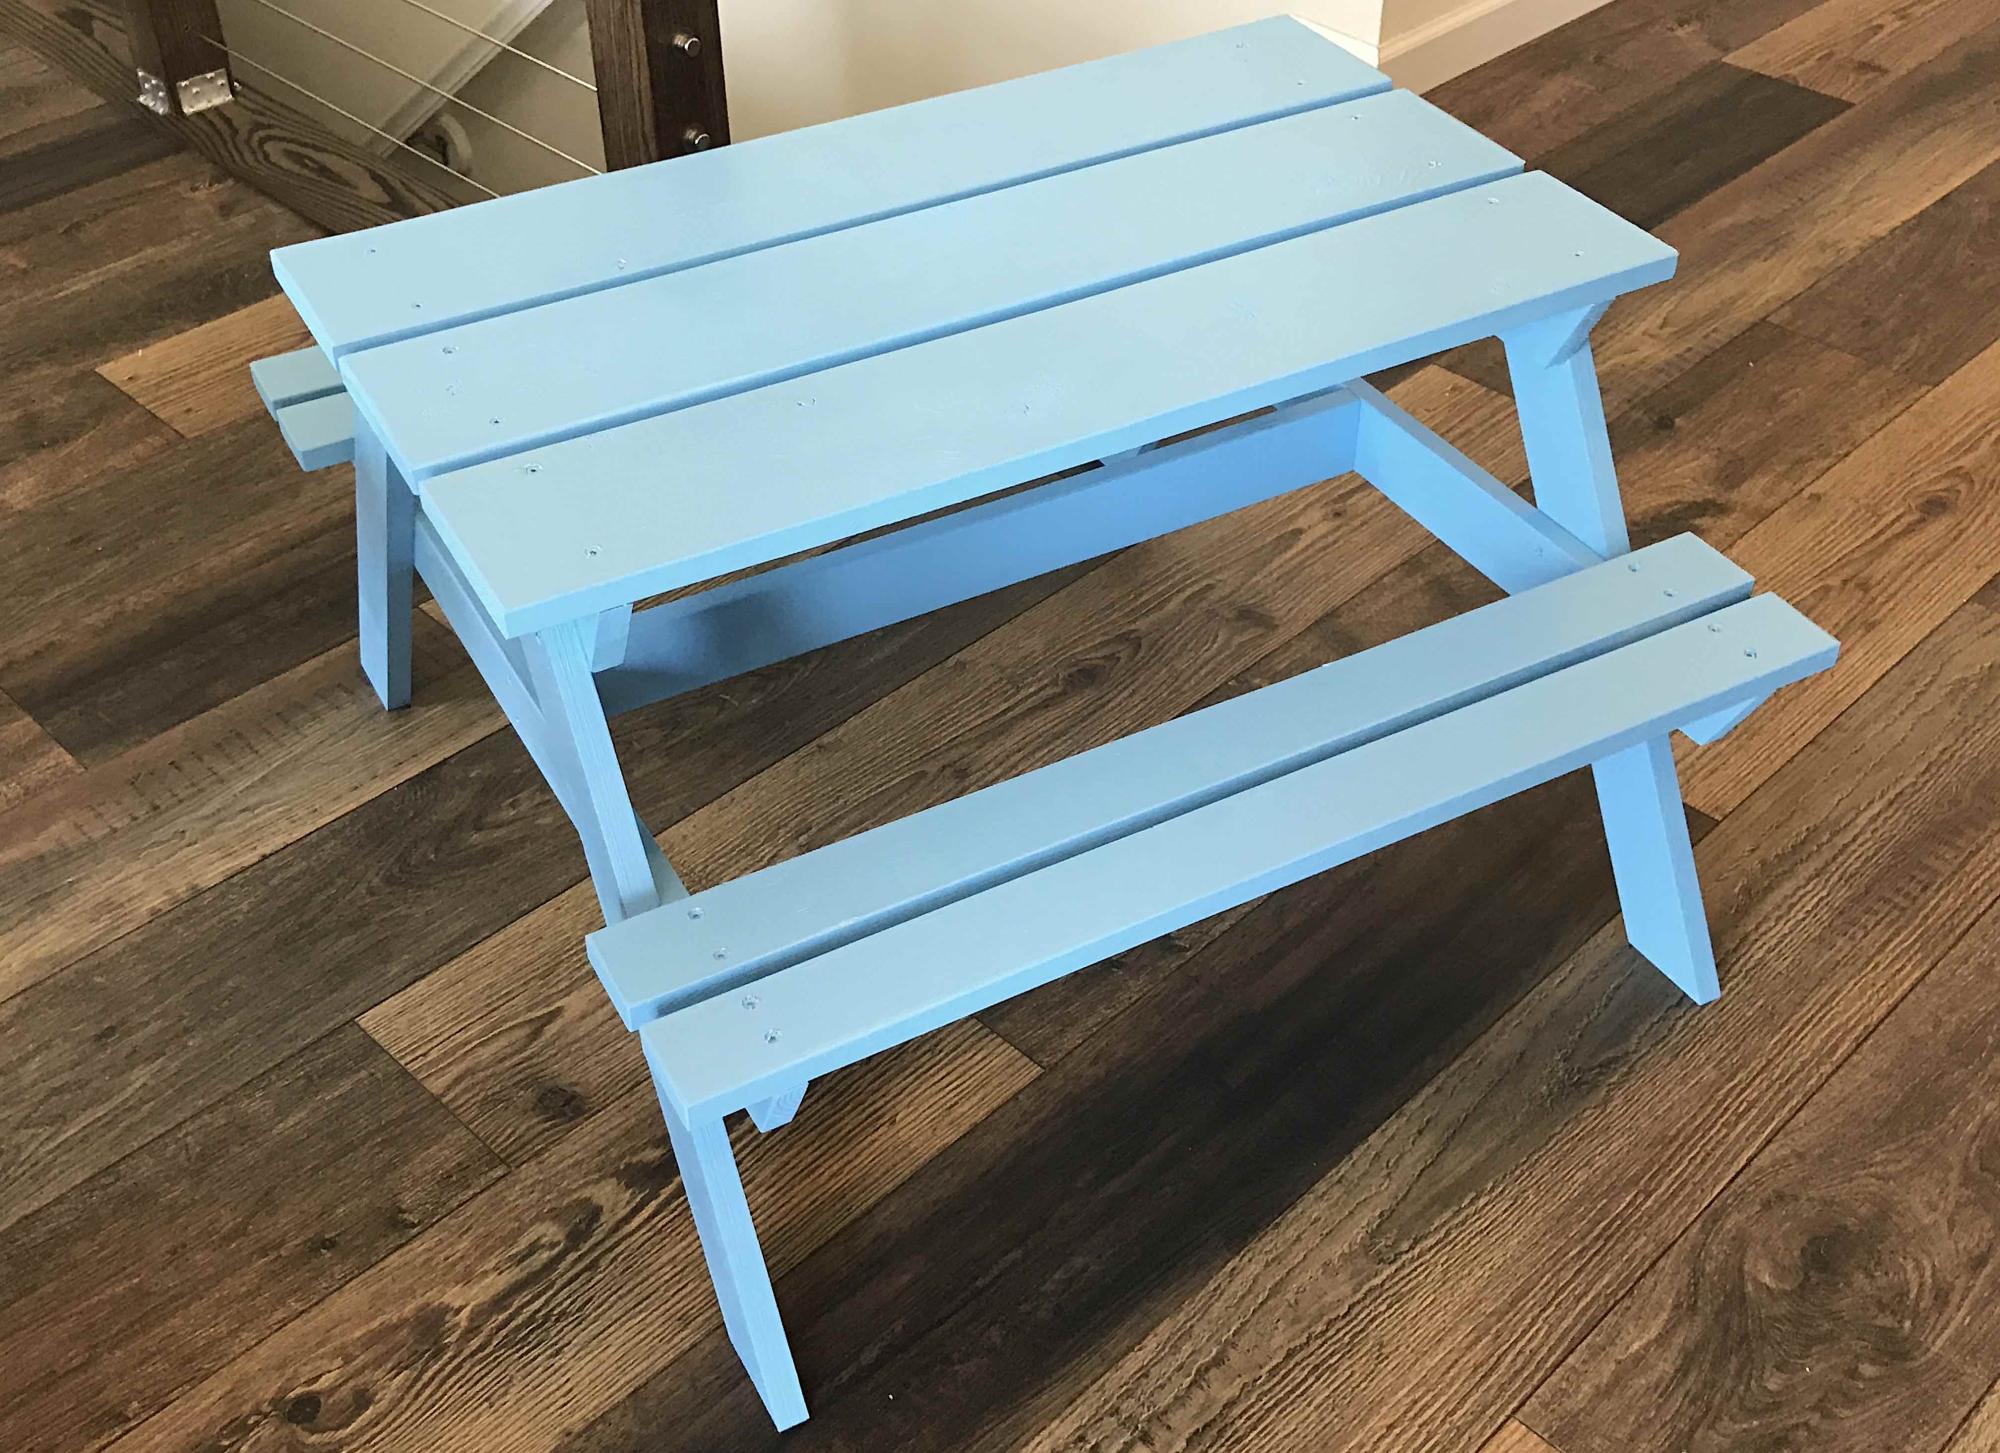
Built this picnic table for our twin foster nephews for their 2nd b-day. It was a hit!
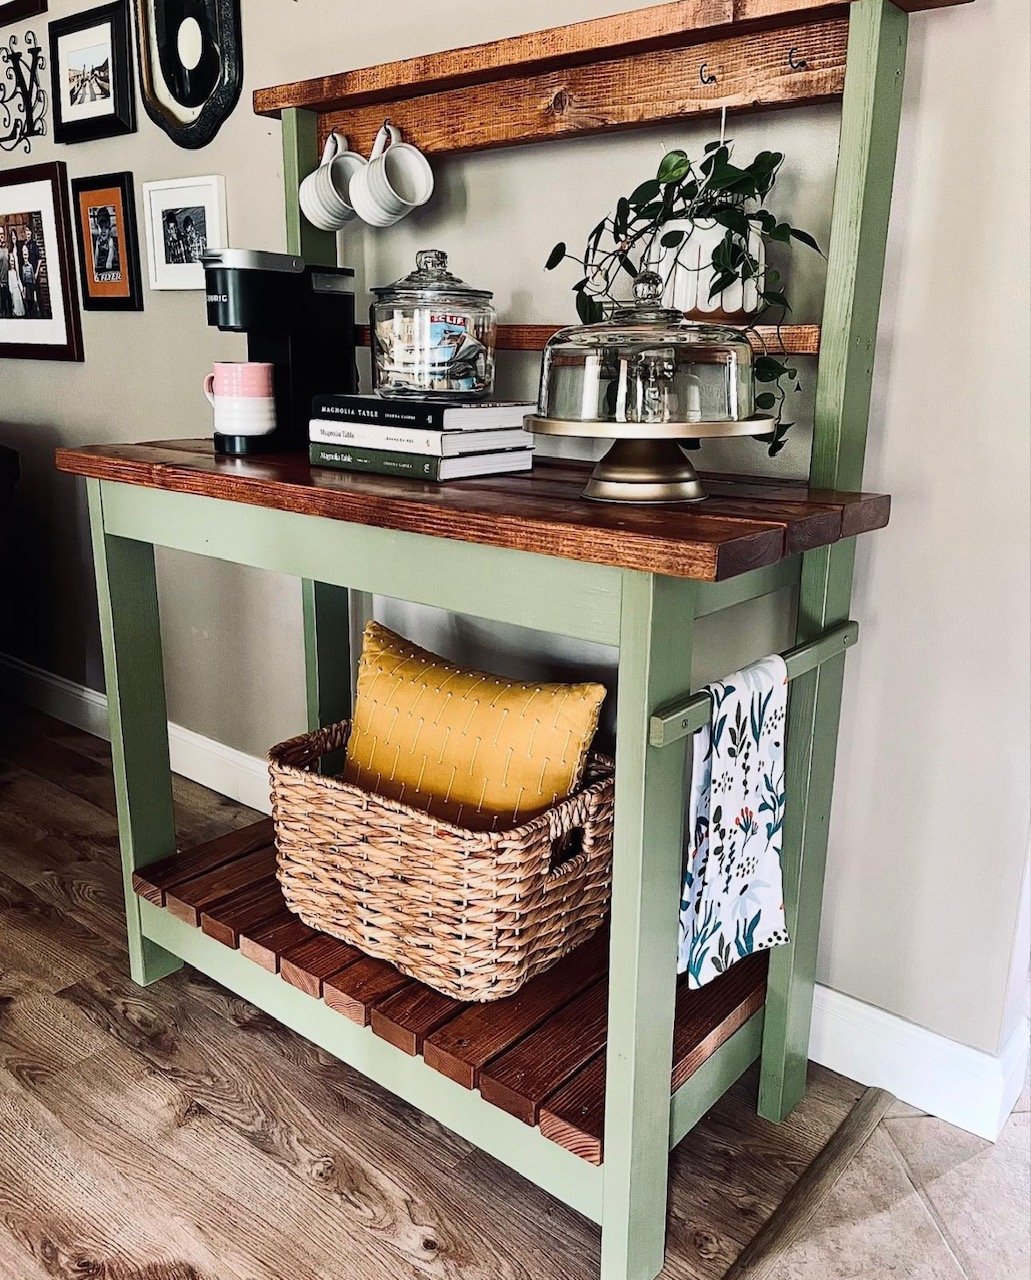
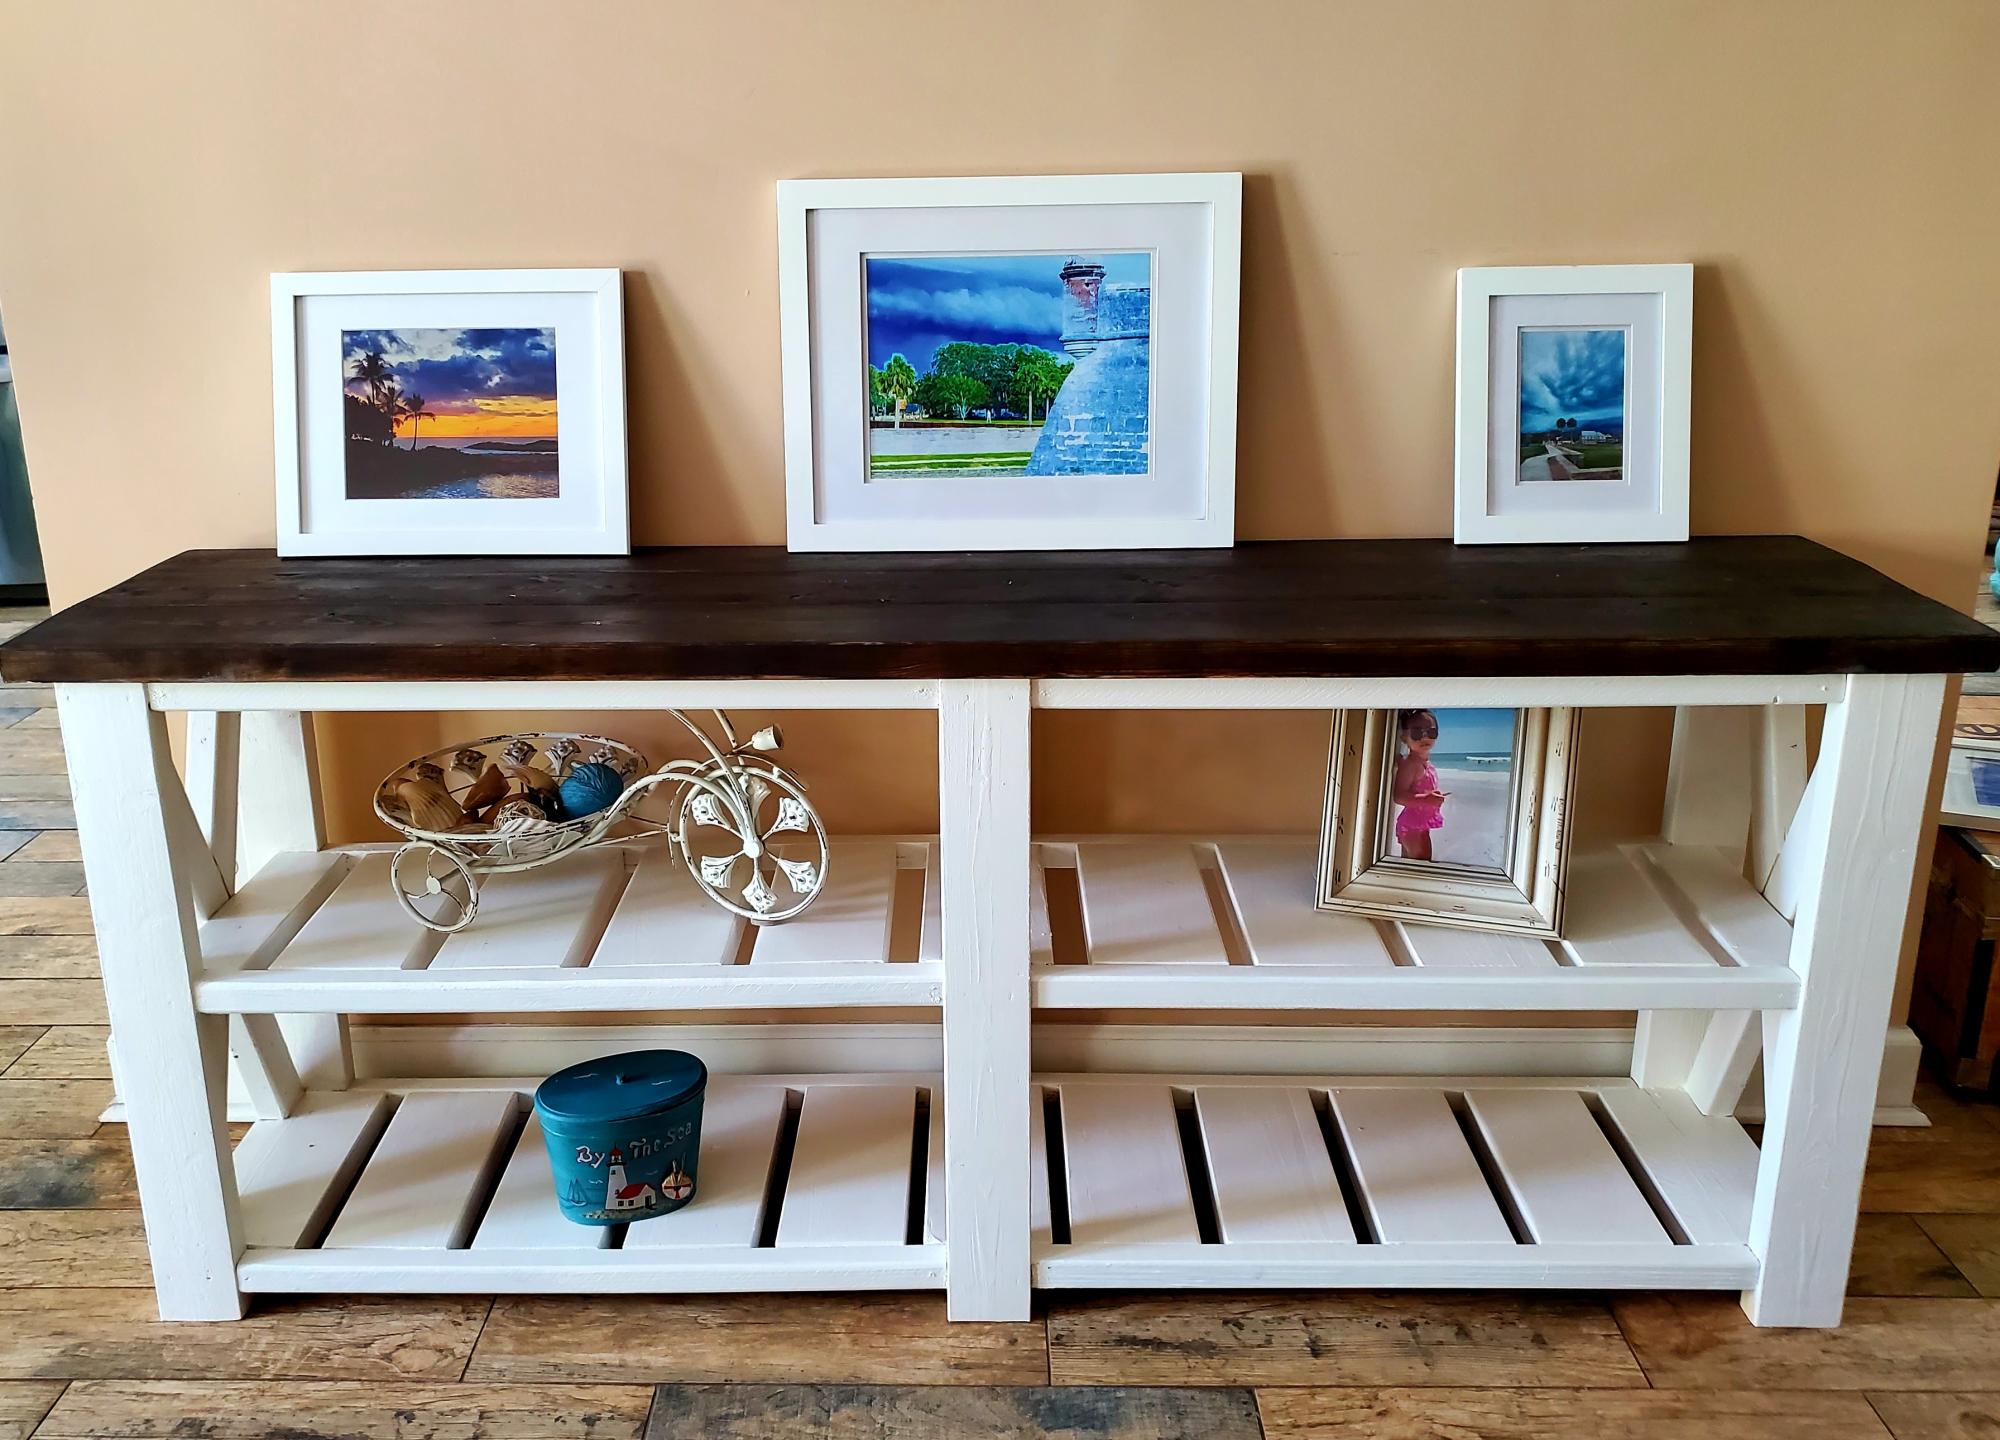
Beverage Station using the Farmhouse Potting Bench Plans by raising4kingsdesign on Instagram