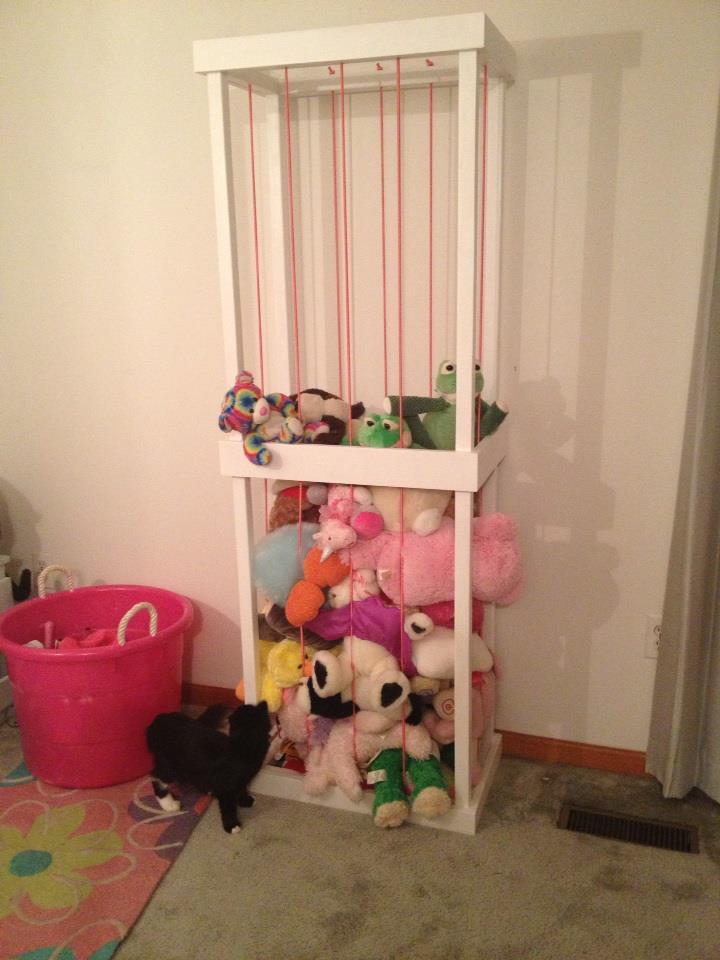
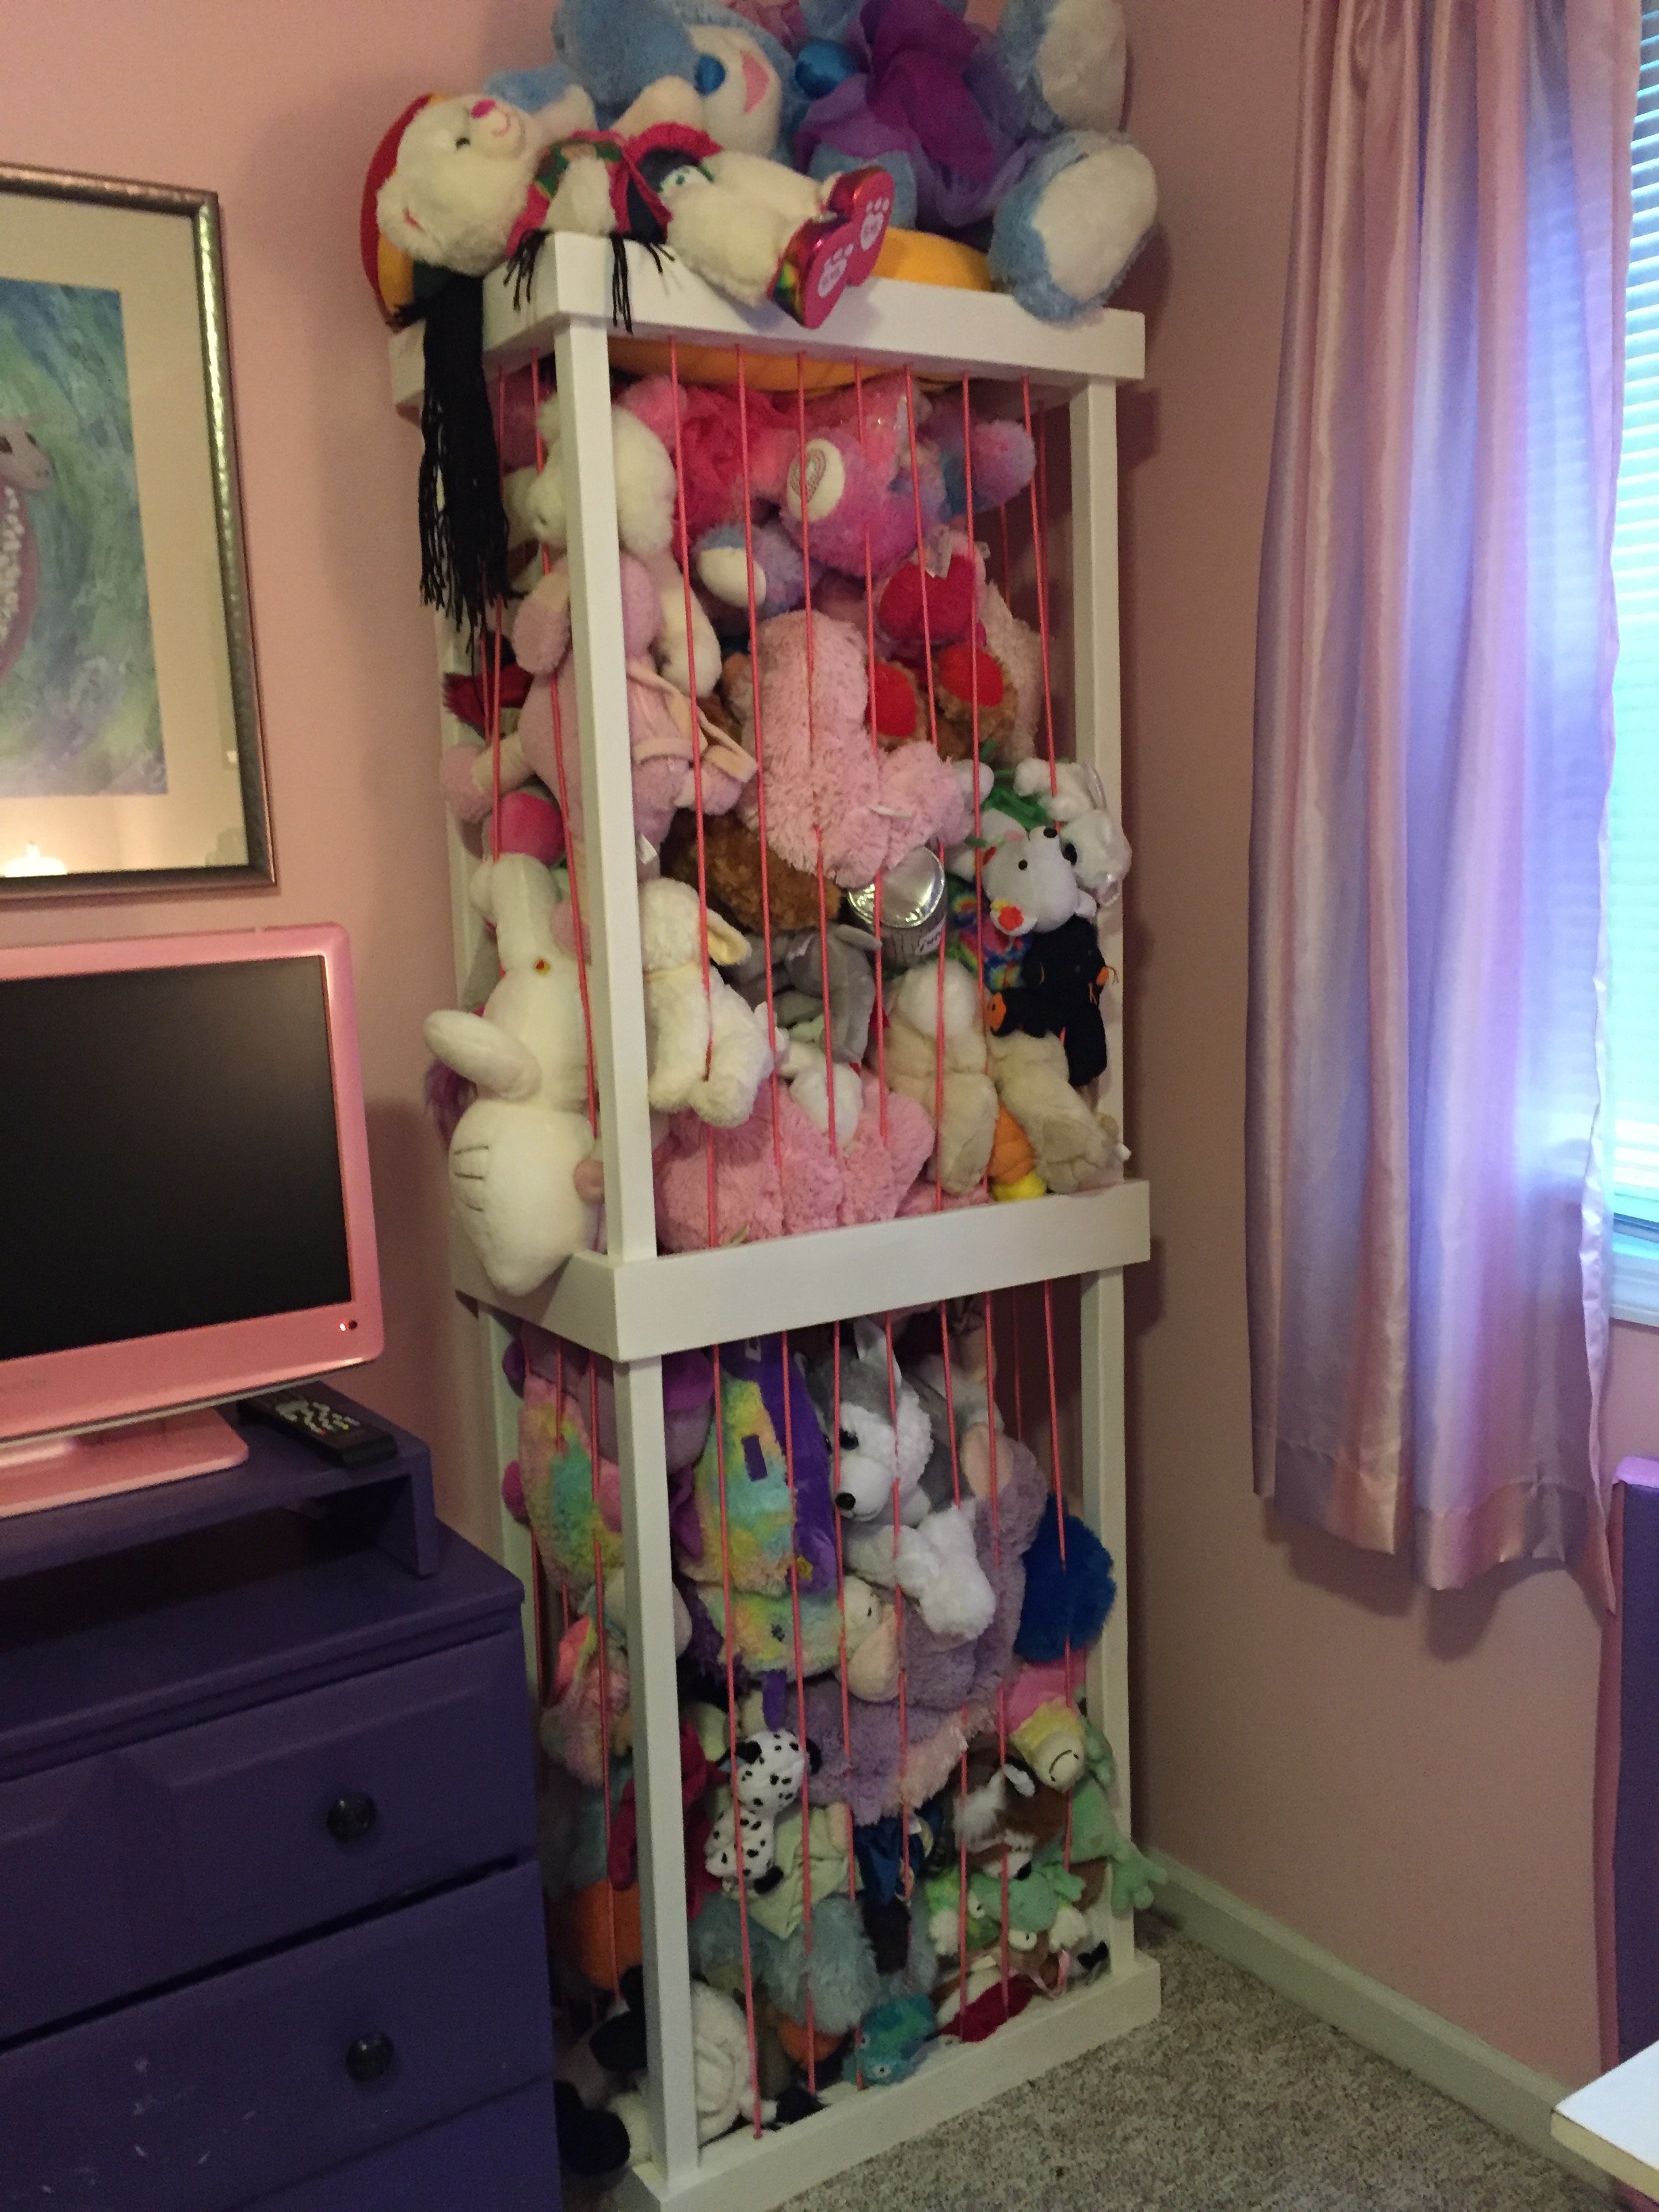
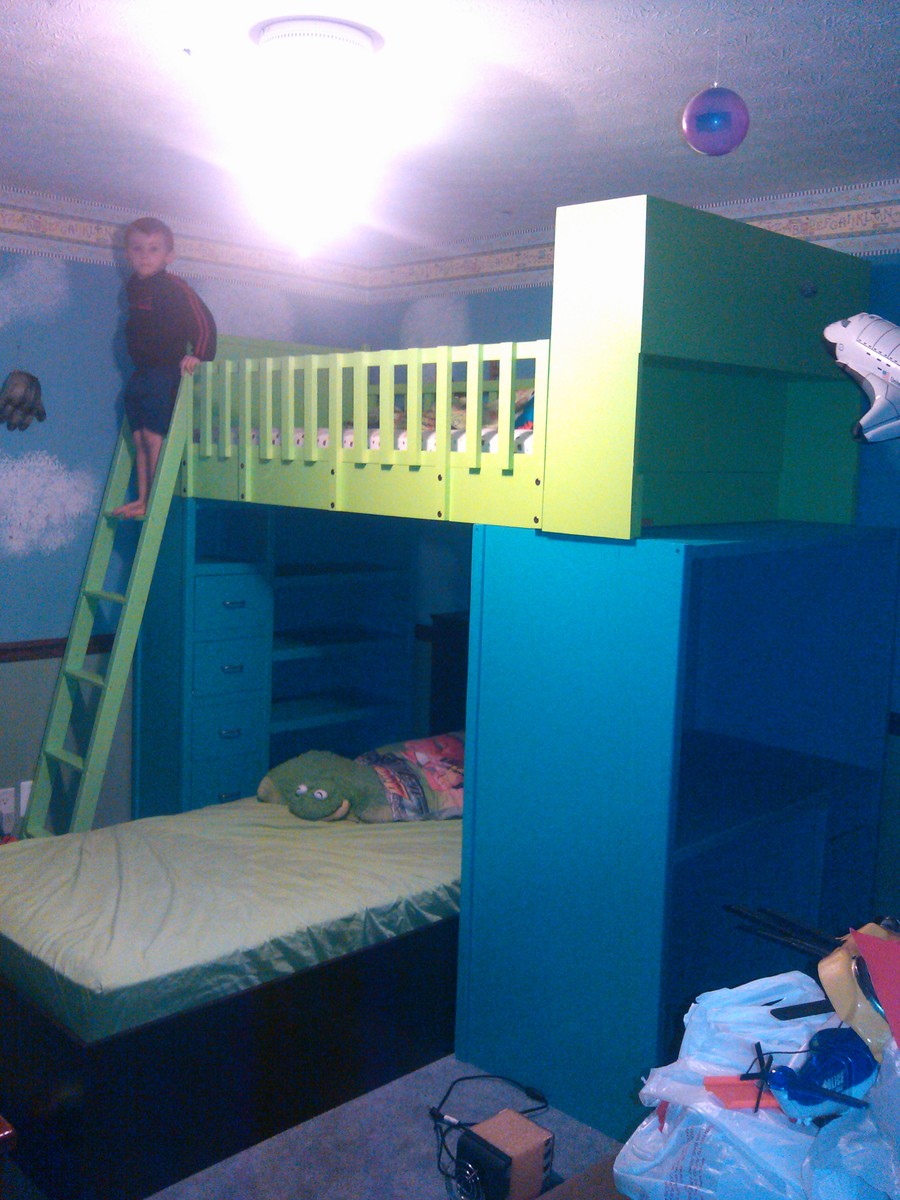
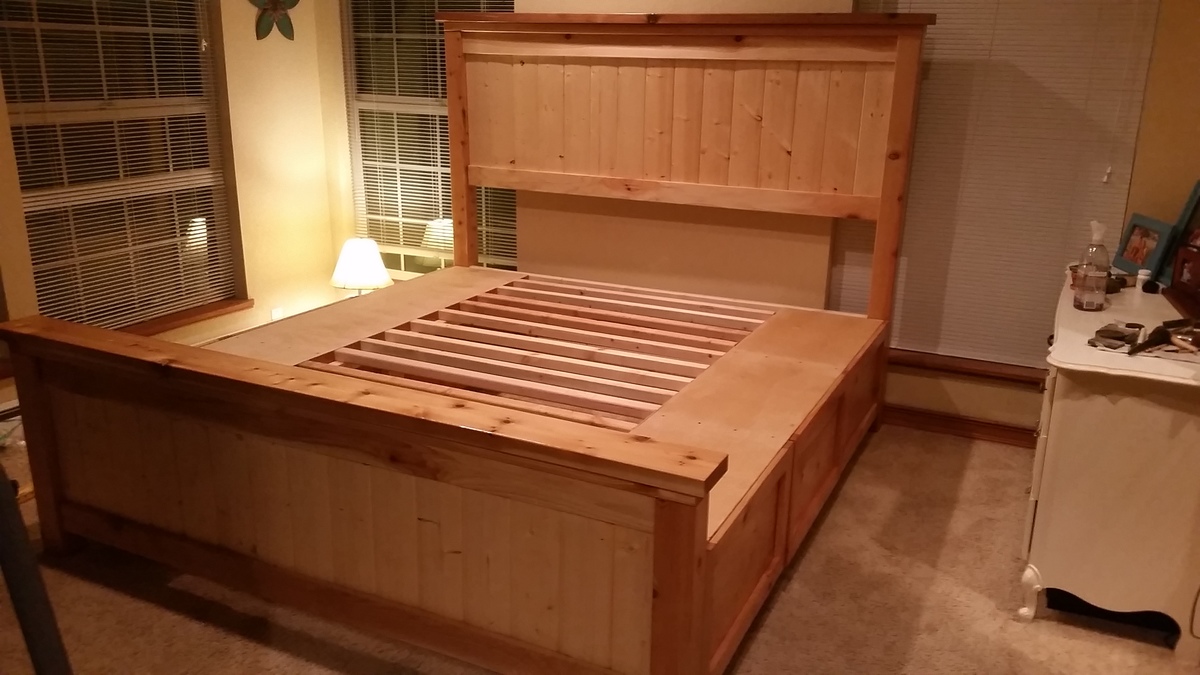
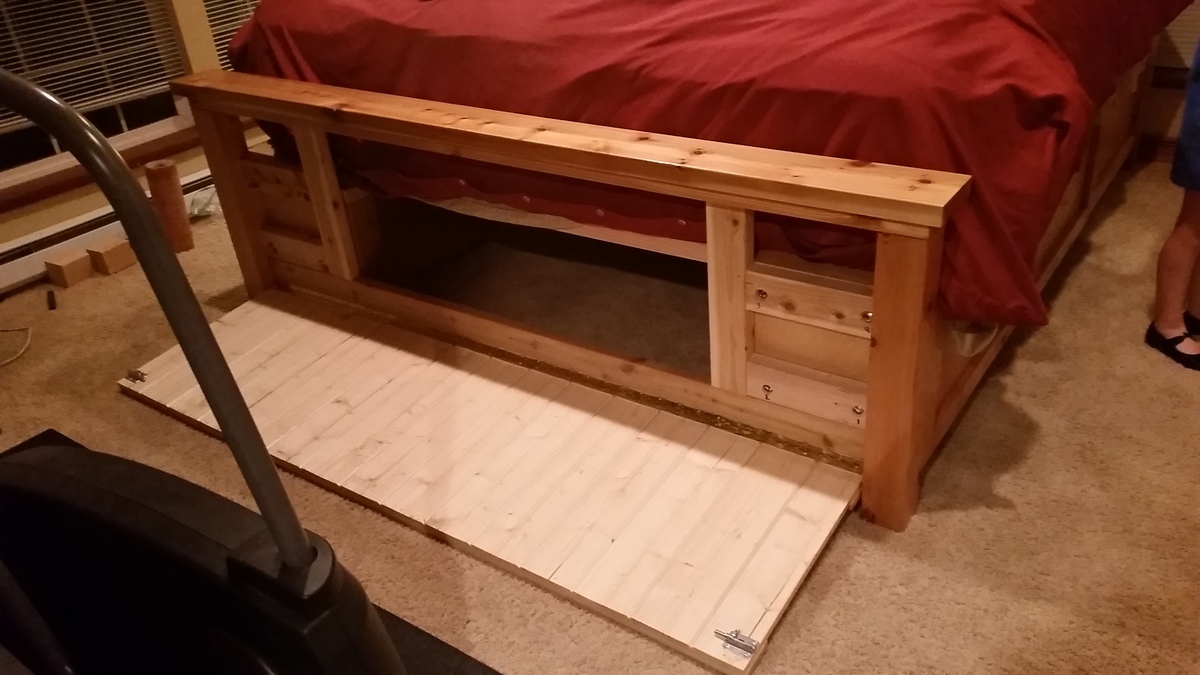
stuffed animal problem

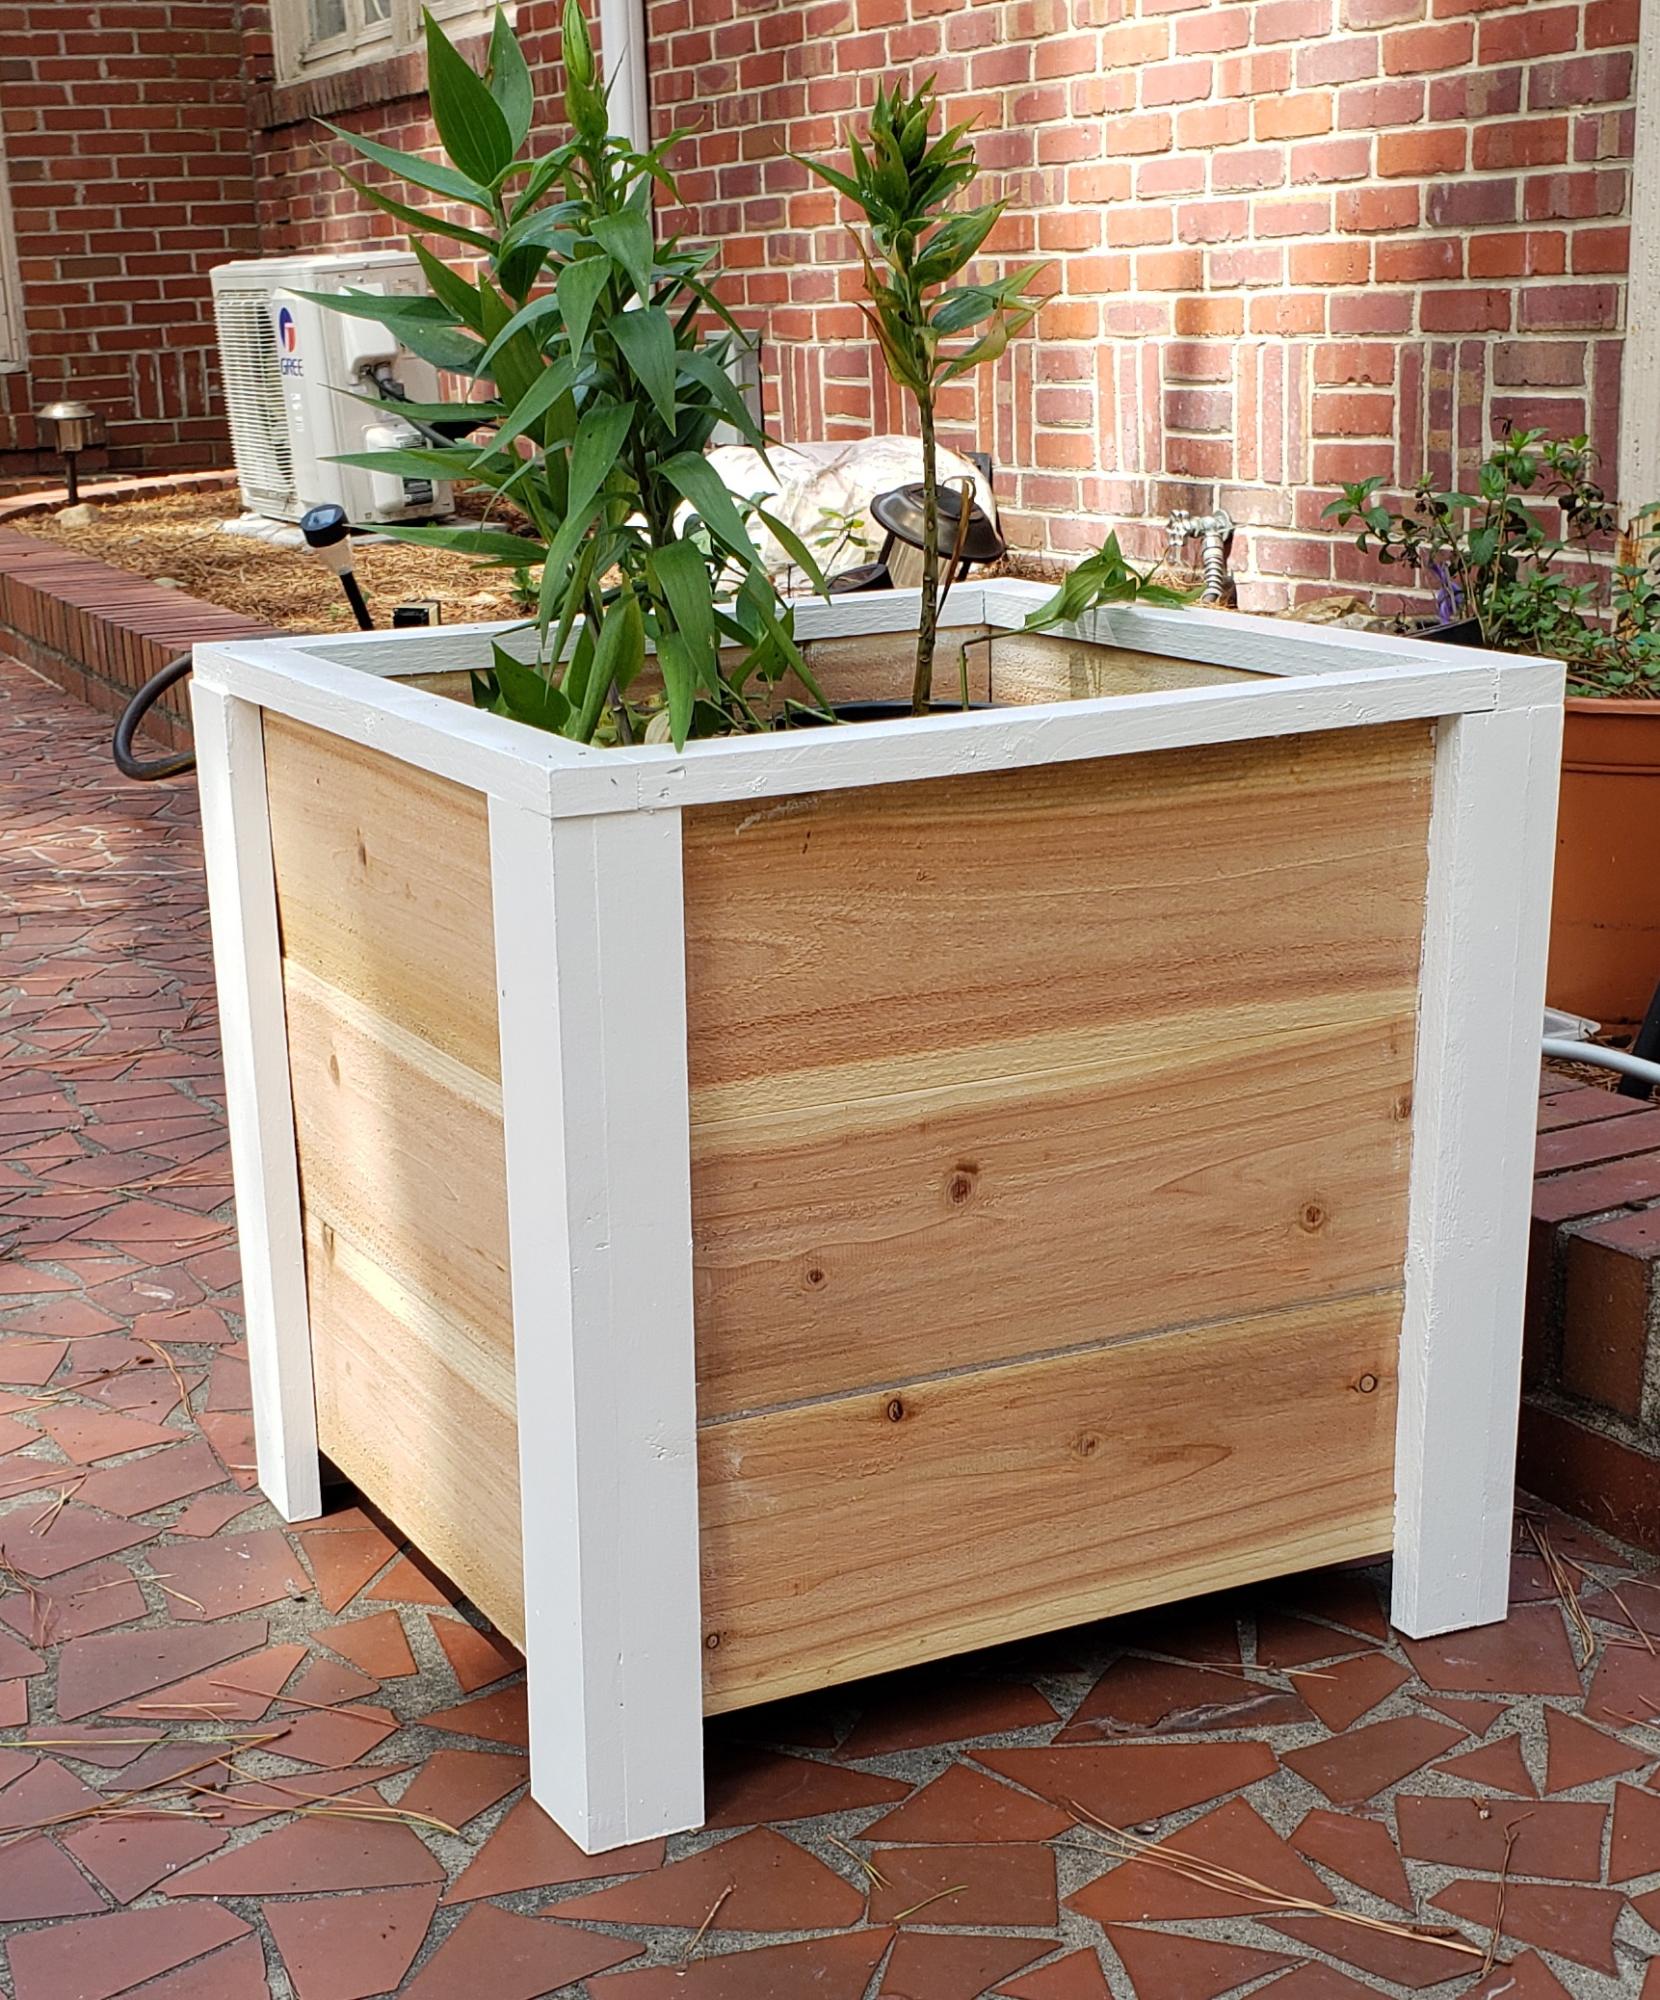
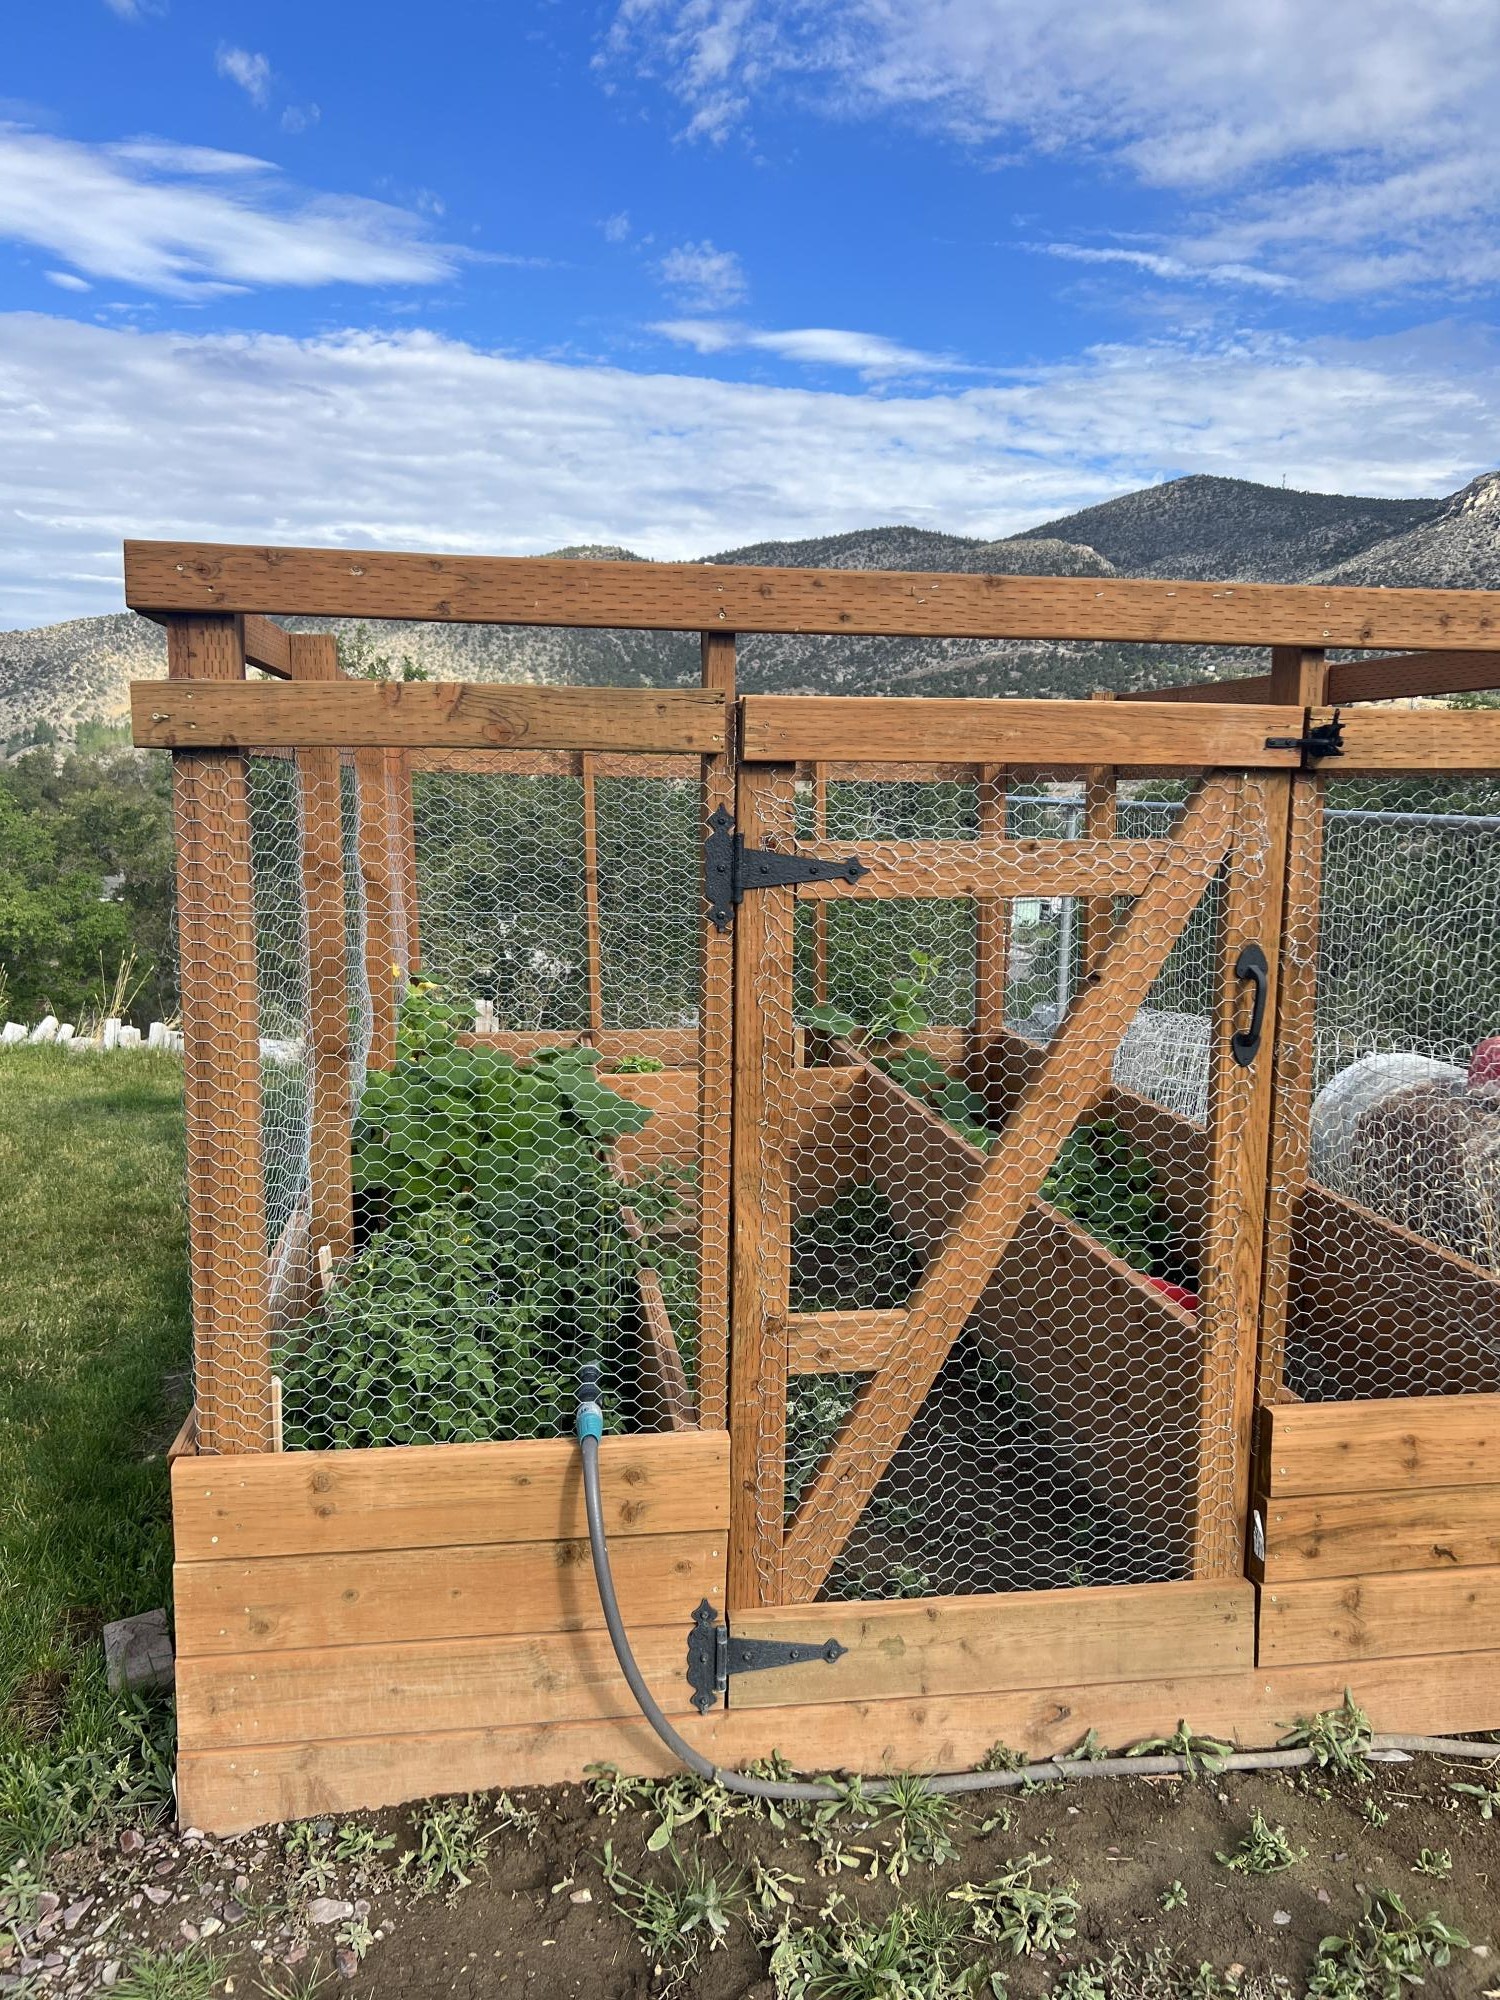
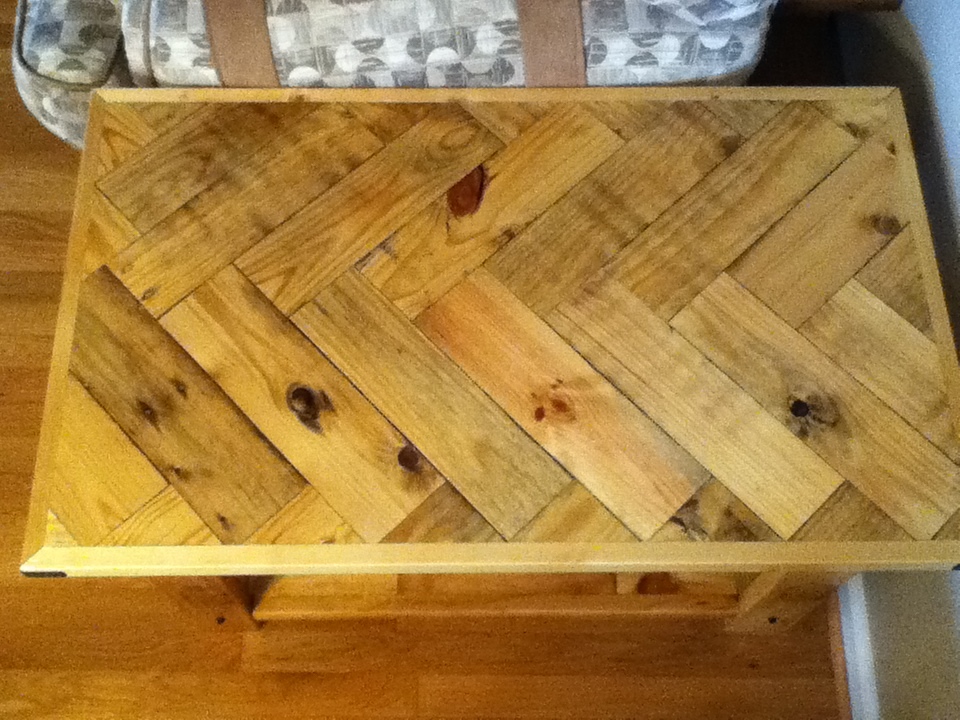
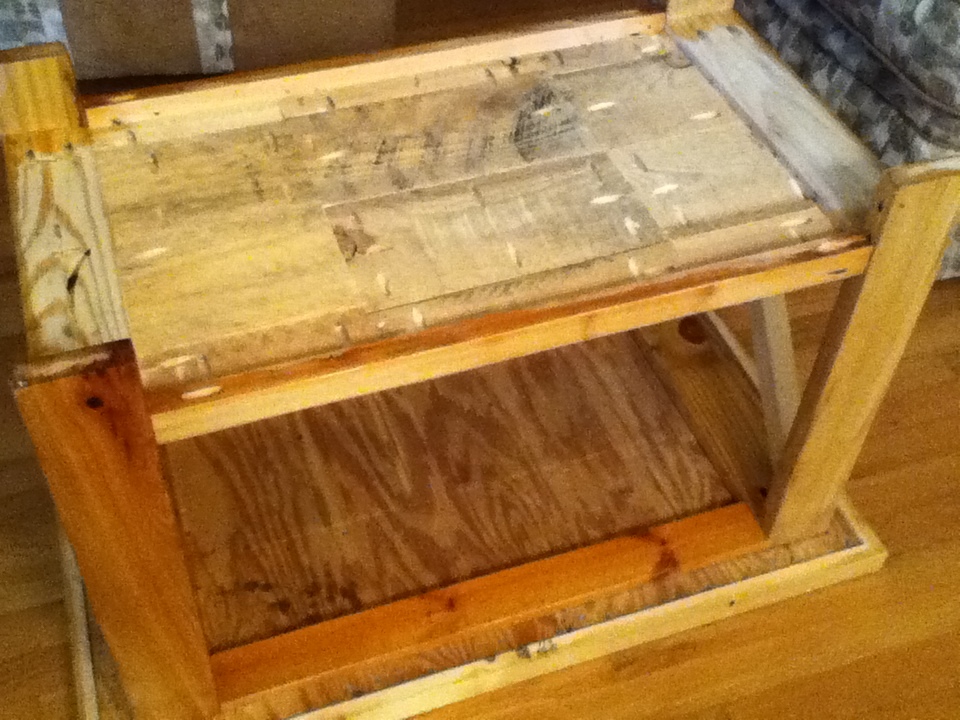
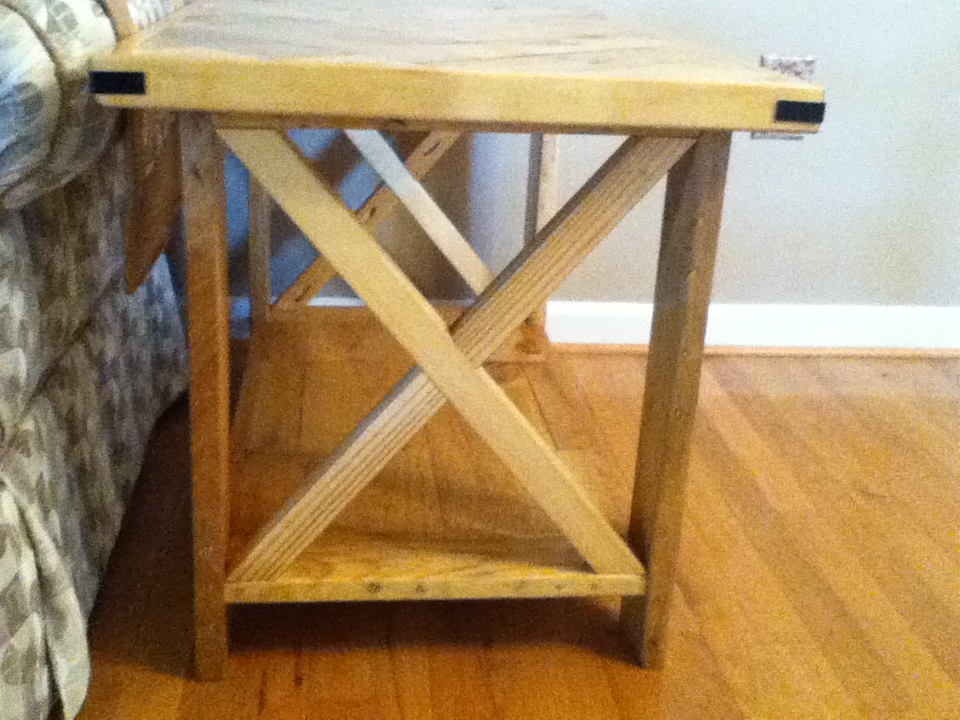
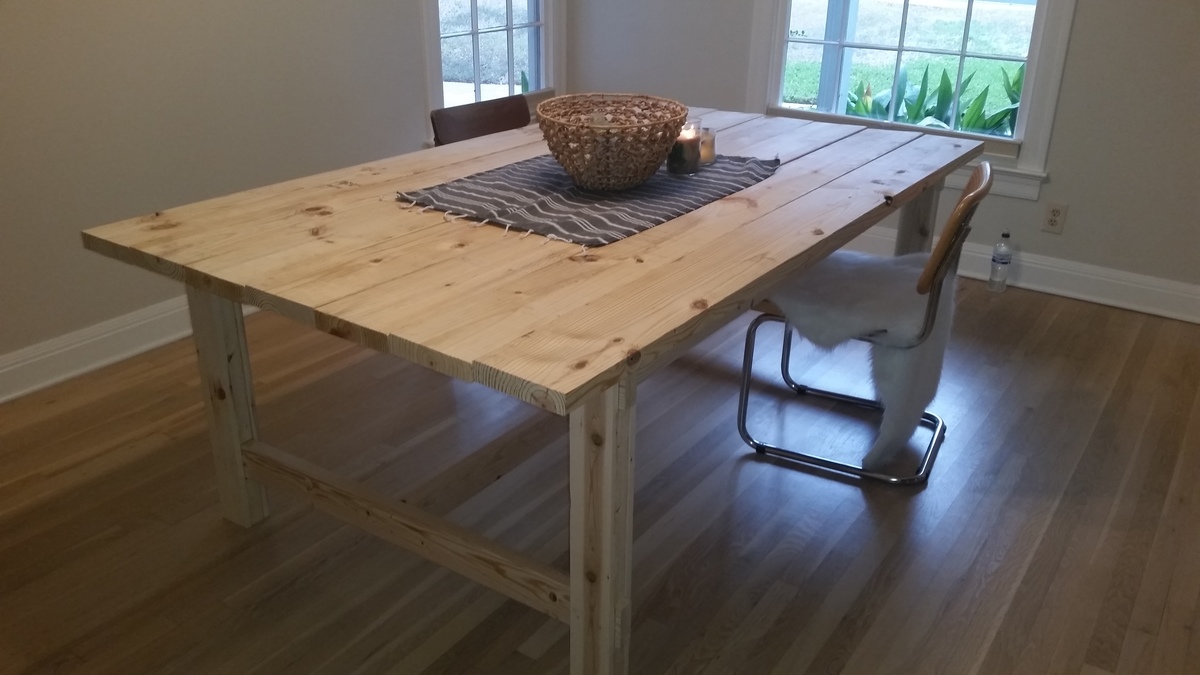
There were a few of these floating around pinterest so I just looked at a few pictures and kinda winged it. It is made almost just like Jamie’s except I used additional 2x2’s as you can see in the pics… I needed something to thread the bungee cords through. I tied them off on the top and bottom. I ordered a roll of pink bungee cord off of amazon. This is actually two years old as you can see from how much it has filled up. I also went back and added additional rows of bungee cord between all the others as stuffed animals were falling out. Again, I winged it. Having plans will make this build much easier!!

Built from Plan(s)
Estimated Cost
$50
Estimated Time Investment
Weekend Project (10-20 Hours)
Finish Used
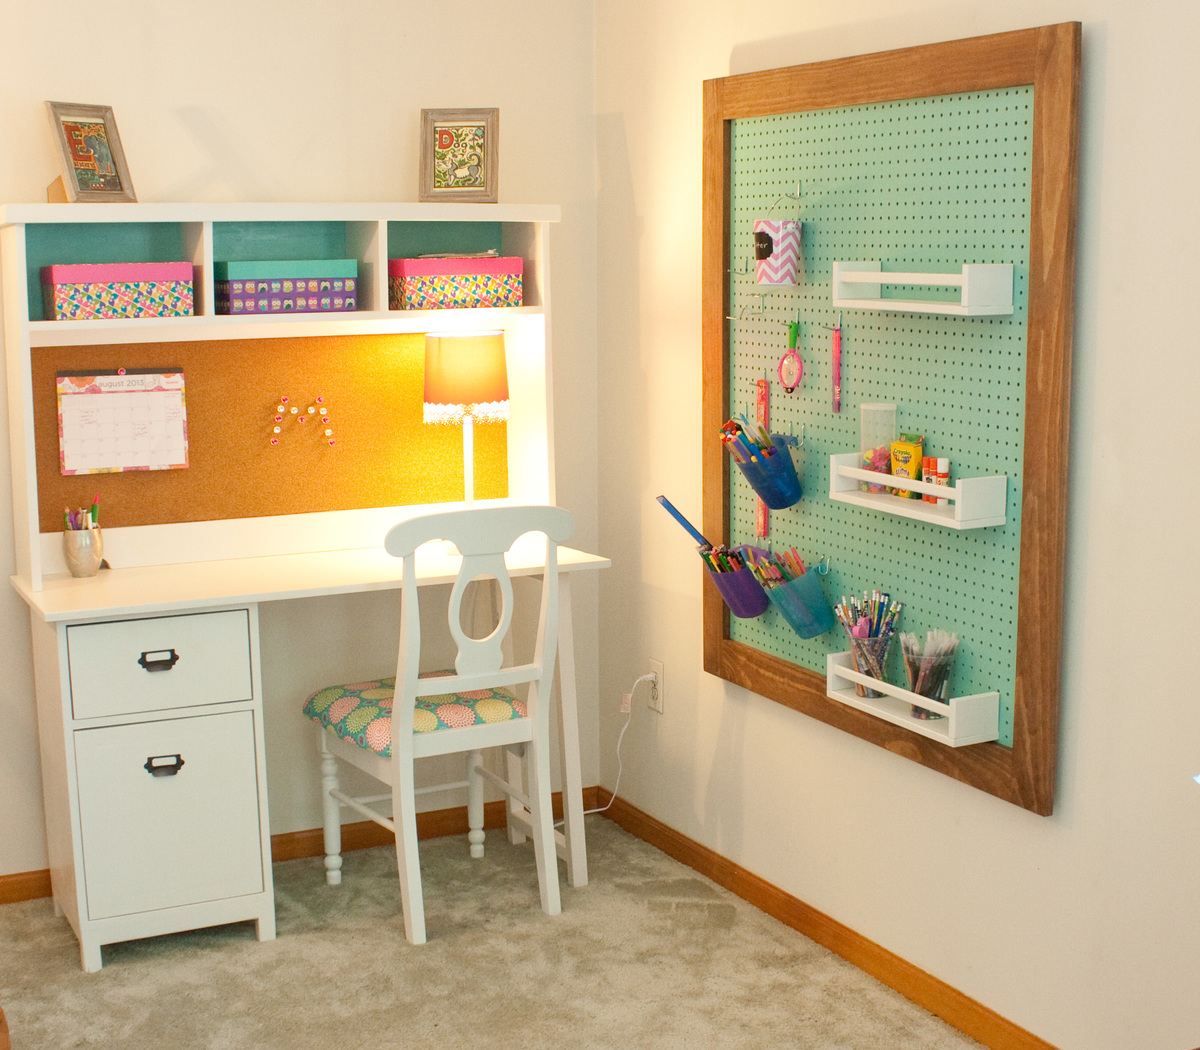
primed with kilz and satin white paint I already had
Recommended Skill Level
Starter Project


Comments
mrsloveless
Mon, 01/18/2016 - 13:19
Question
Where did you purchase the 2x2's and 1x3's? Are they furring strips or pressure treated lumber? Thanks!
bhoppy
Wed, 10/02/2019 - 06:37
Sorry its so late... I just…
Sorry its so late... I just saw your comment. the 2x2's were furring strips that were untreated. I used dimensional lumber for the 1x3's