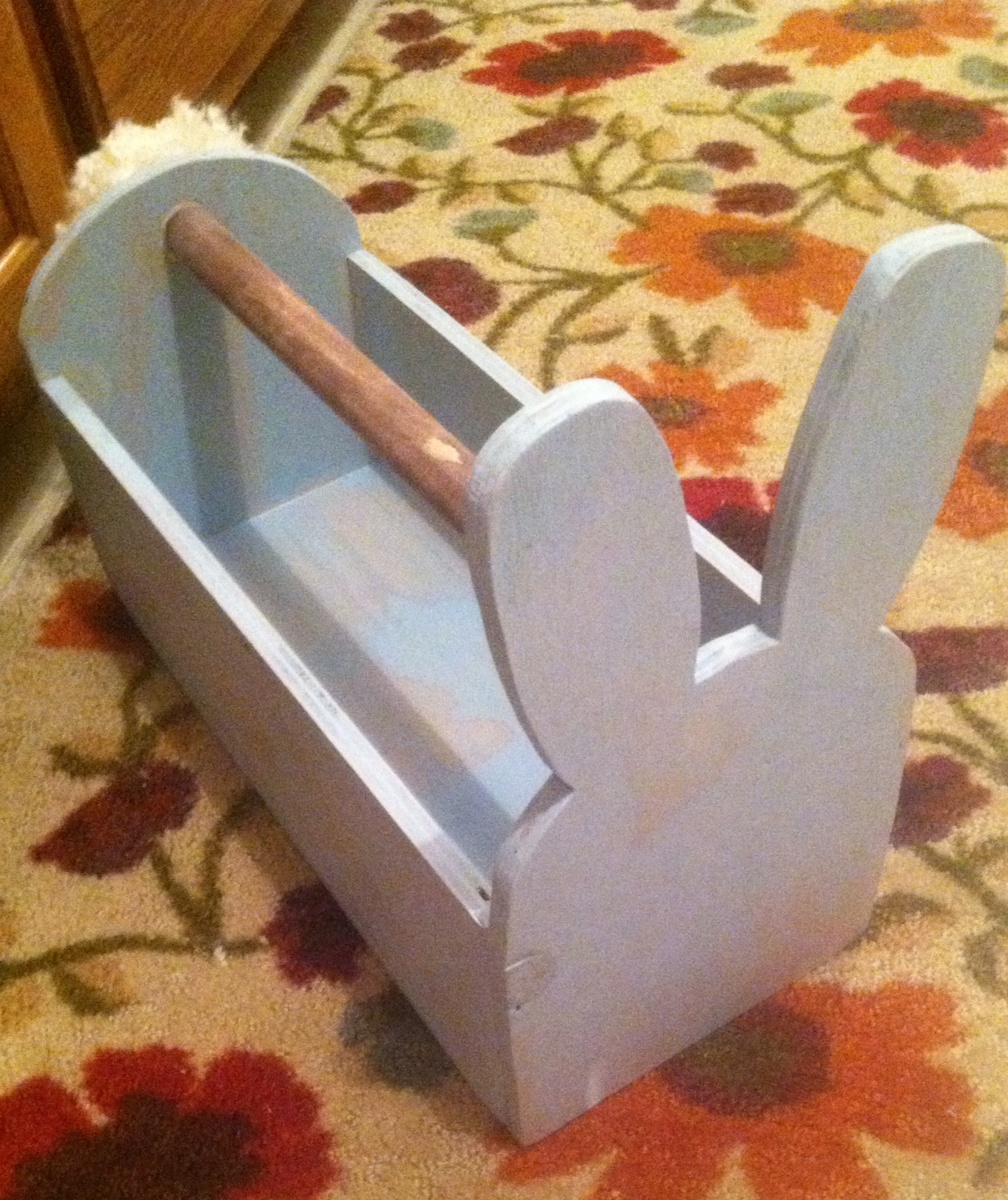
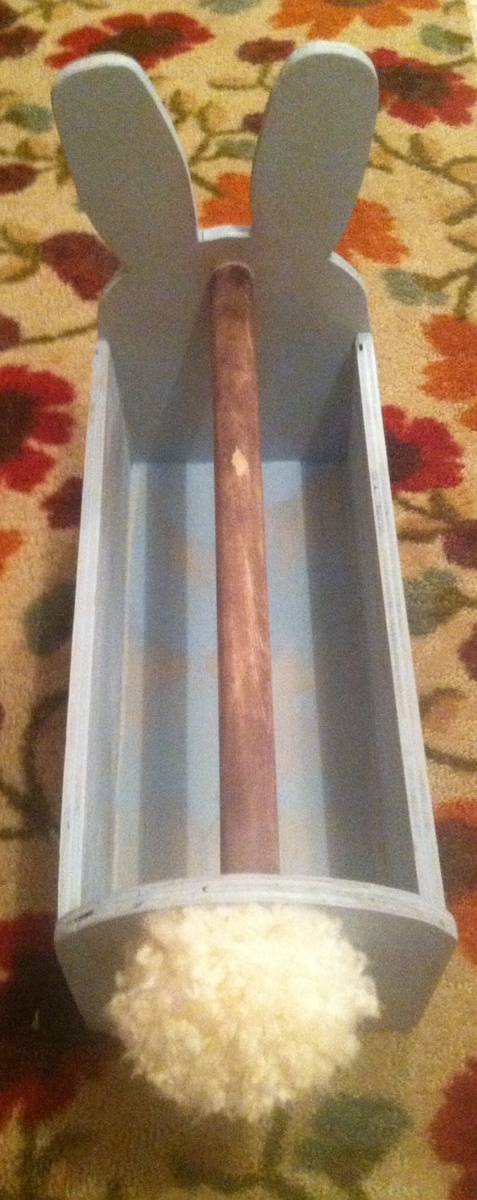
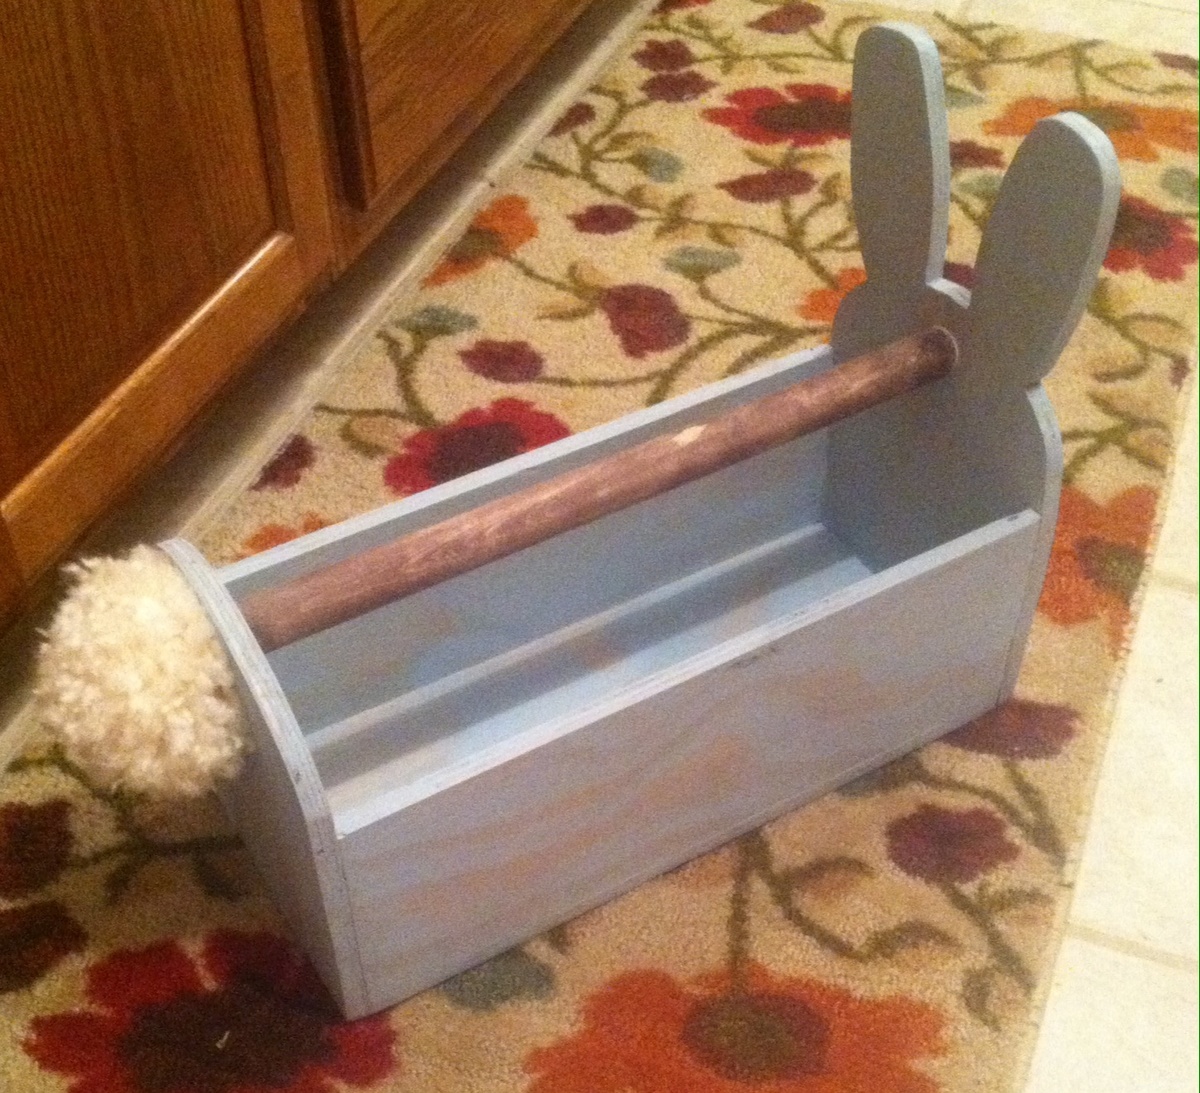
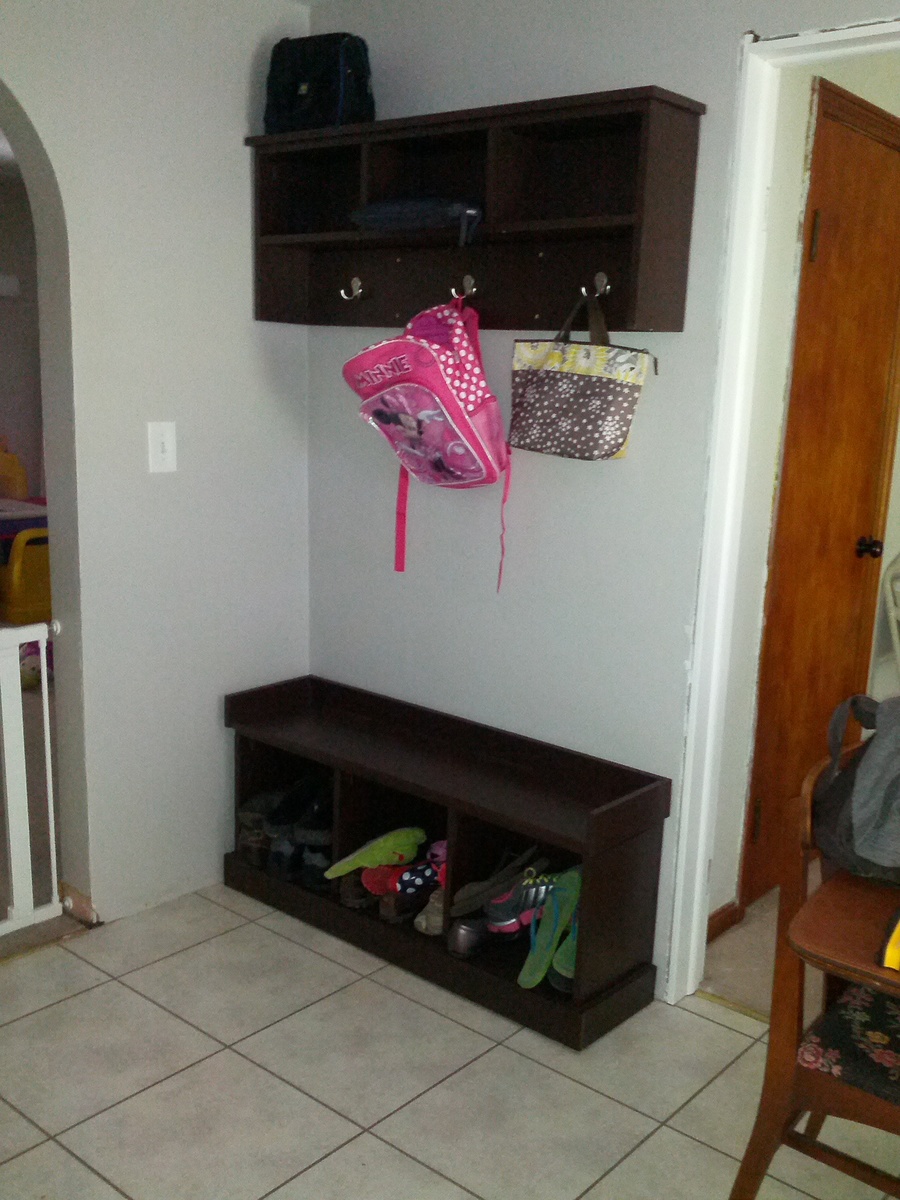
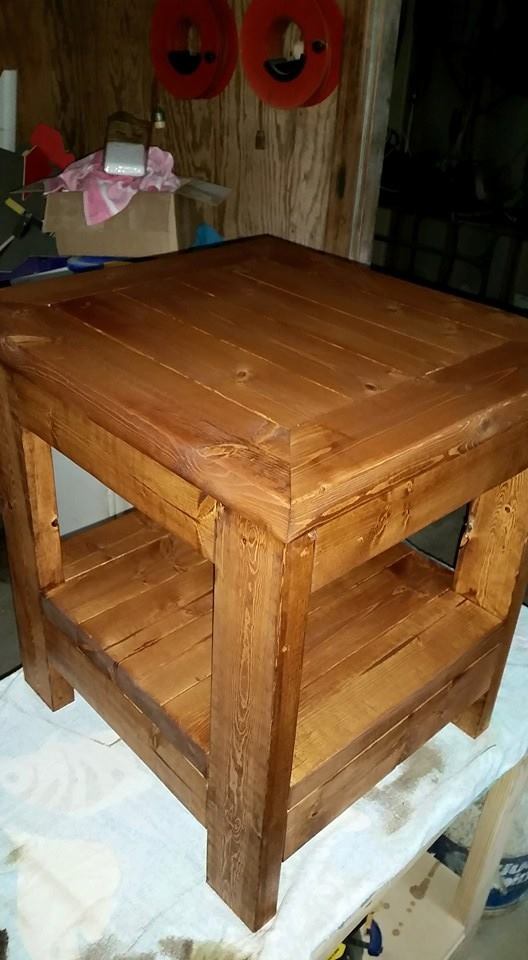
Upholstered Bench w/ Slatted Shelf
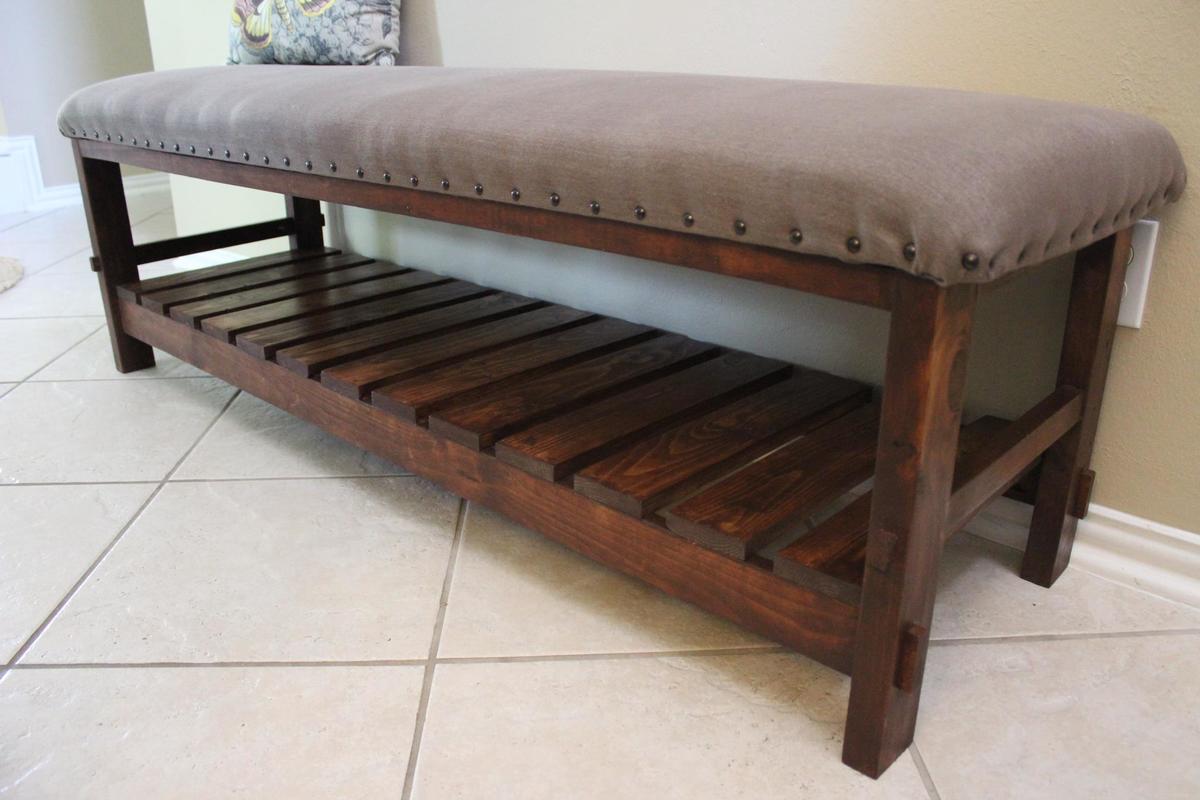
I had a client who requested a bench like the Caden Leather Bench by Pottery Barn, except she wanted it longer. I didn't bevel the legs because I used 2x3's instead of 2x2's and wanted to make it as sturdy as possible to accommodate the additional length. Needless to say, she was VERY happy with the bench and I am getting ready to work on one for our home now!
Built from Plan(s)
Estimated Cost
Client provided the fabric and most wood was re-purposed, so biggest expense was foam and batting.
Estimated Time Investment
Afternoon Project (3-6 Hours)
Finish Used
special walnut stain, then finished with a clear paste wax
Recommended Skill Level
Intermediate


Comments
Larryshandywife
Thu, 11/07/2013 - 14:22
Really Nice
That is very nice and would love to know how to make one! :)
Molly cherry
Sun, 01/26/2014 - 17:57
Wonderful -- plans?
Do you have plans for how you built this, and if, so are you willing to share them?
Would love to give this a try!
Molly
Molly cherry
Sun, 01/26/2014 - 17:57
Wonderful -- plans?
Do you have plans for how you built this, and if, so are you willing to share them?
Would love to give this a try!
Molly
Molly cherry
Sun, 01/26/2014 - 17:57
Wonderful -- plans?
Do you have plans for how you built this, and if, so are you willing to share them?
Would love to give this a try!
Molly
scokenour
Thu, 02/06/2014 - 17:35
Plans
Sorry - didn't have plans for this one and I really stink at using the software Ana uses to make plans. I did loosely follow the Cayden Nailhead Stool plans, but, of course, modified in my attempt to duplicate the Pottery Barn bench the client wanted to match. I would be happy to help in any way I can, but you definitely need to be comfortable to work without plans. I used my Kreg jig quite a bit for this project and the little piece of wood that protrudes from the legs is faux - just cut a 1/2" piece and glued and nailed with my brad nailer.
ashleighslaney
Tue, 04/29/2014 - 03:41
Would you be willing to
Would you be willing to provide a shopping list?