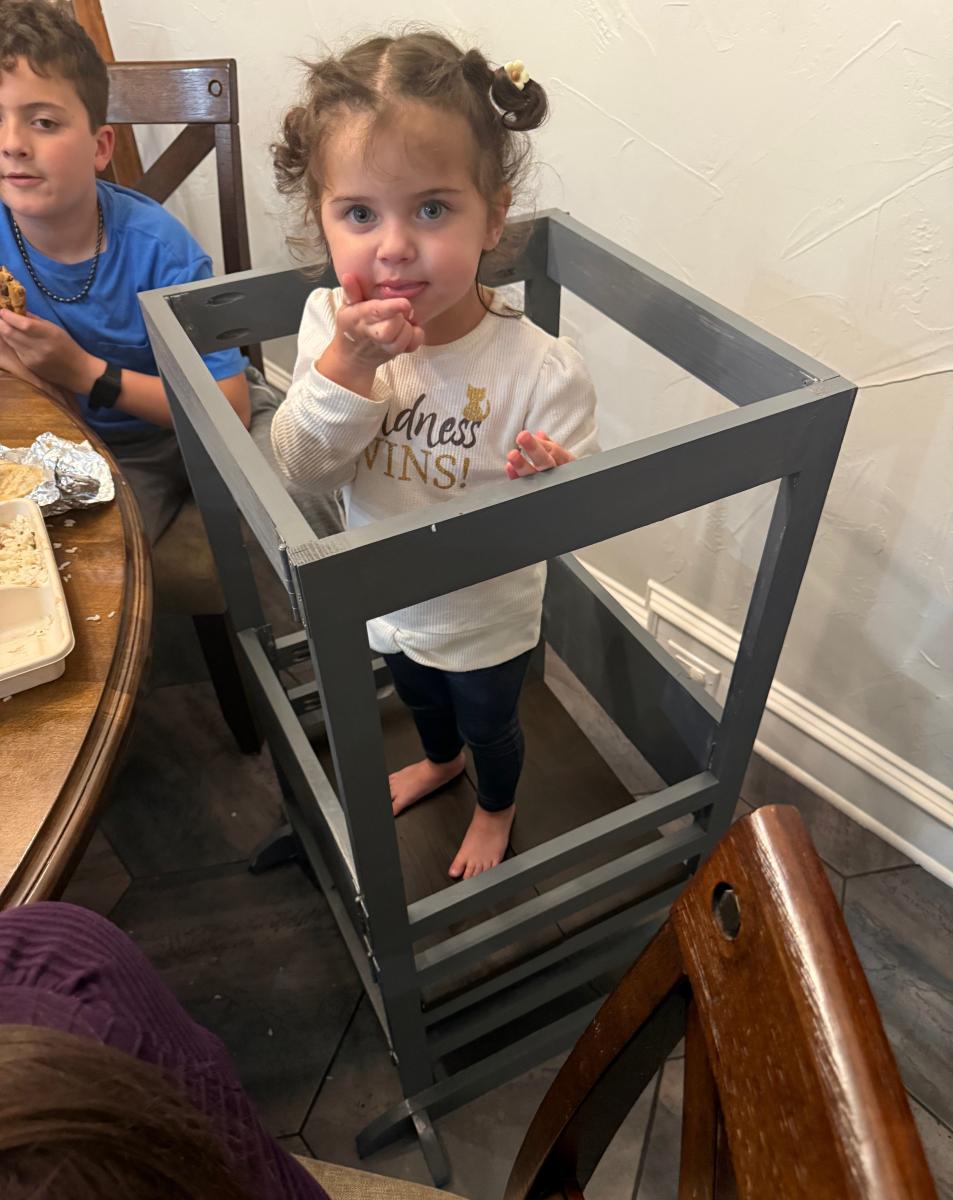
Little Helper Tower
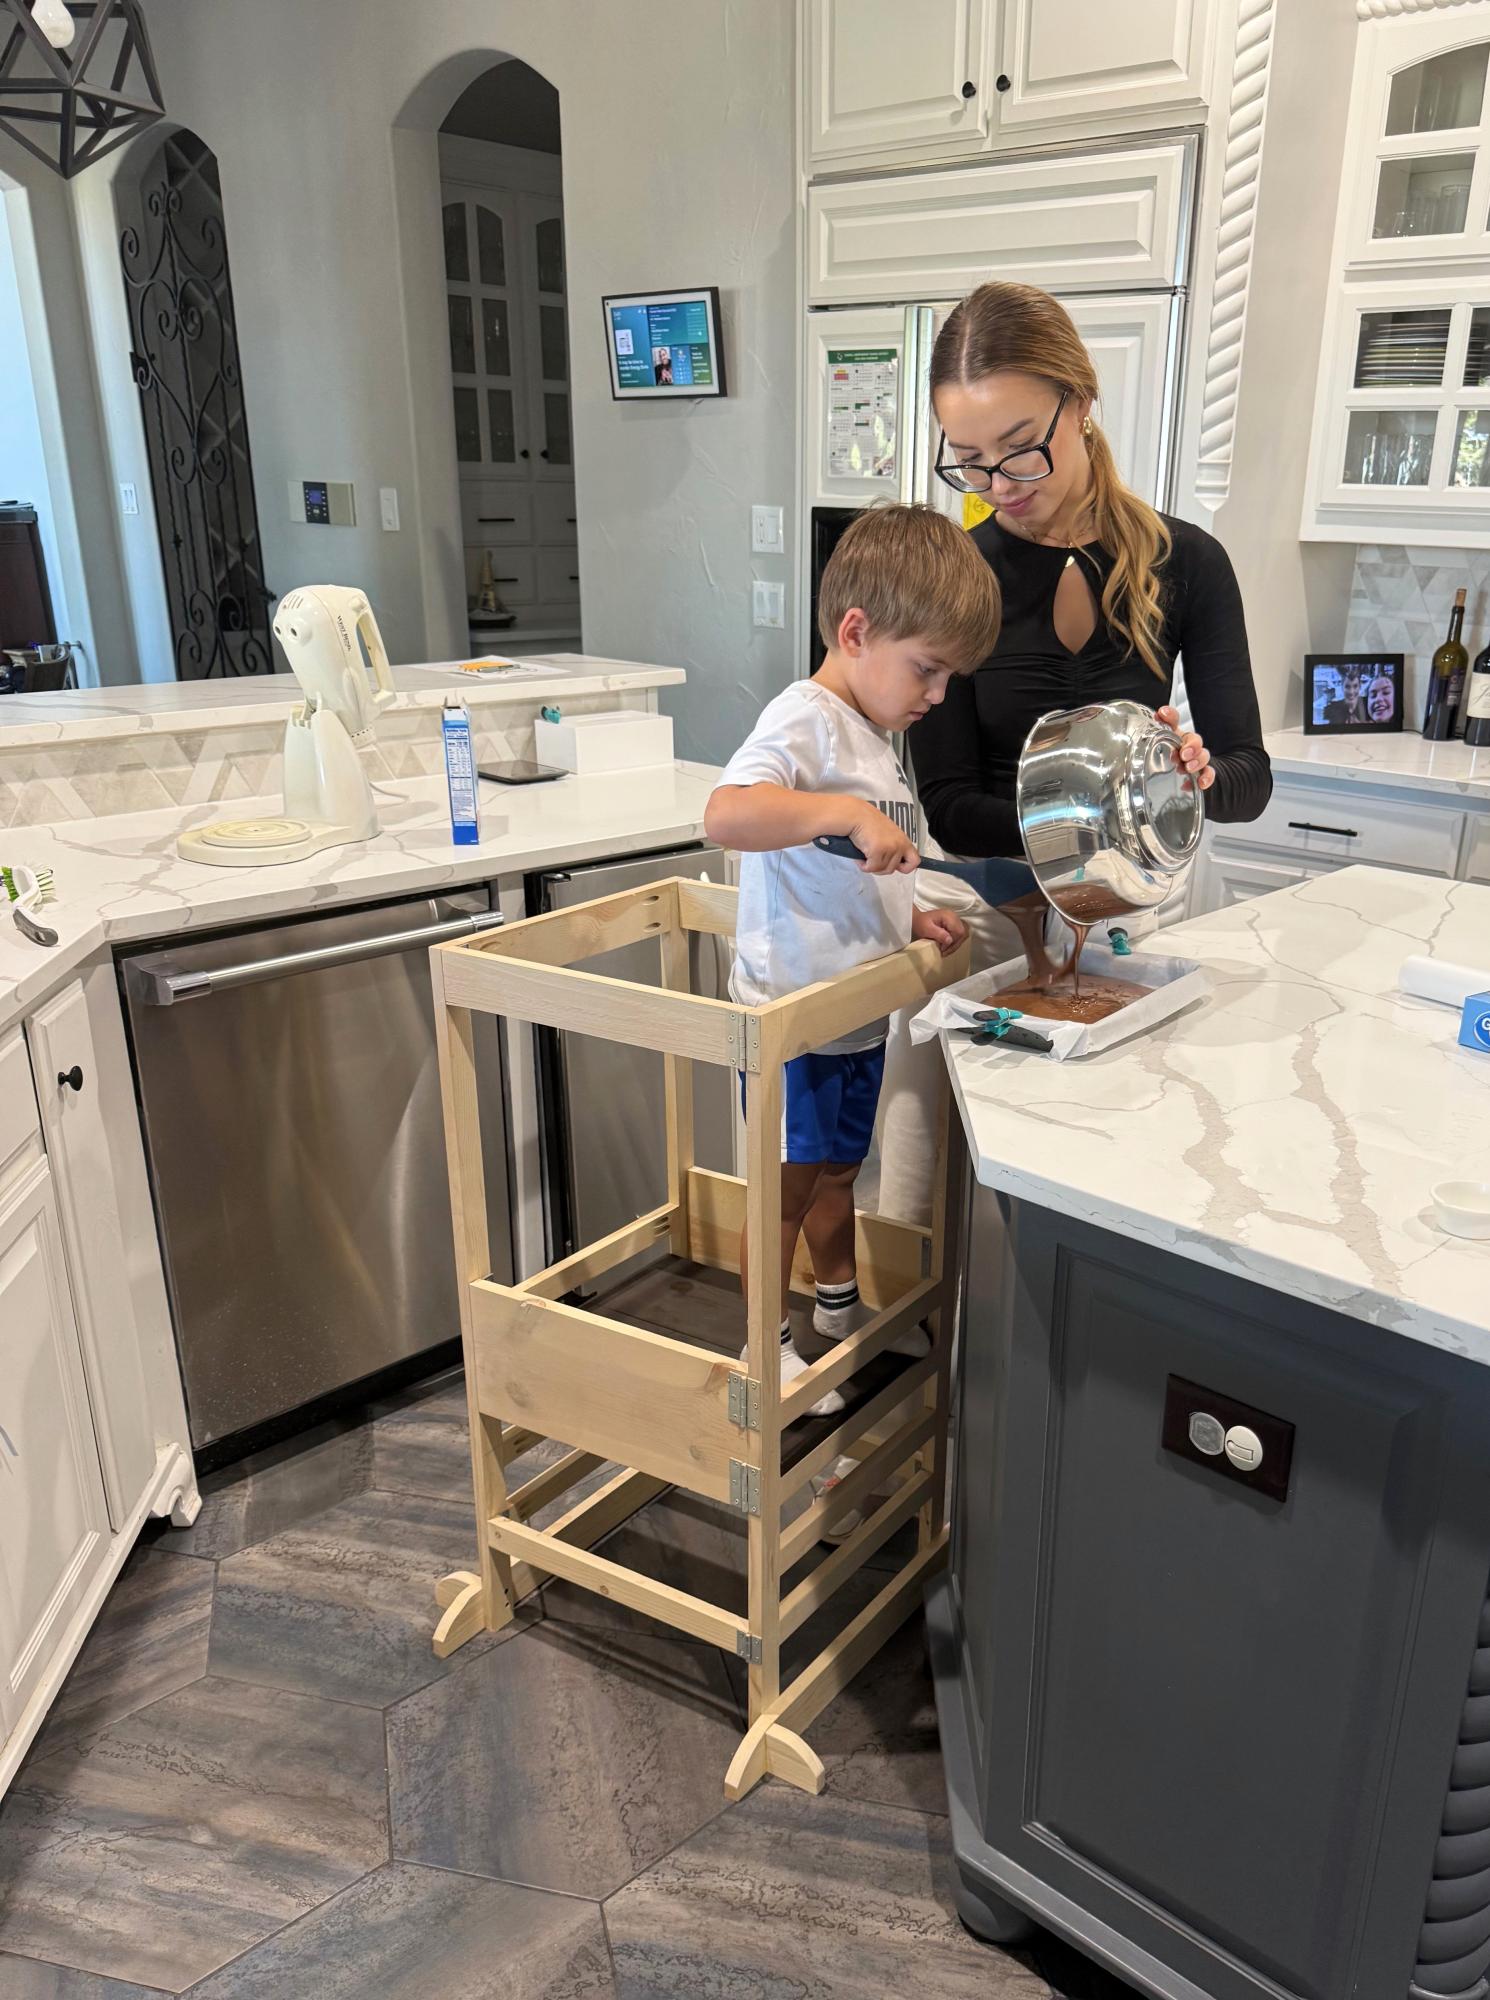
Went with the hinge option. For as little as I will probably fold it up, I would next time skip the hinges and spend the time plugging the pocket holes :-)
Built from Plan(s)
Went with the hinge option. For as little as I will probably fold it up, I would next time skip the hinges and spend the time plugging the pocket holes :-)
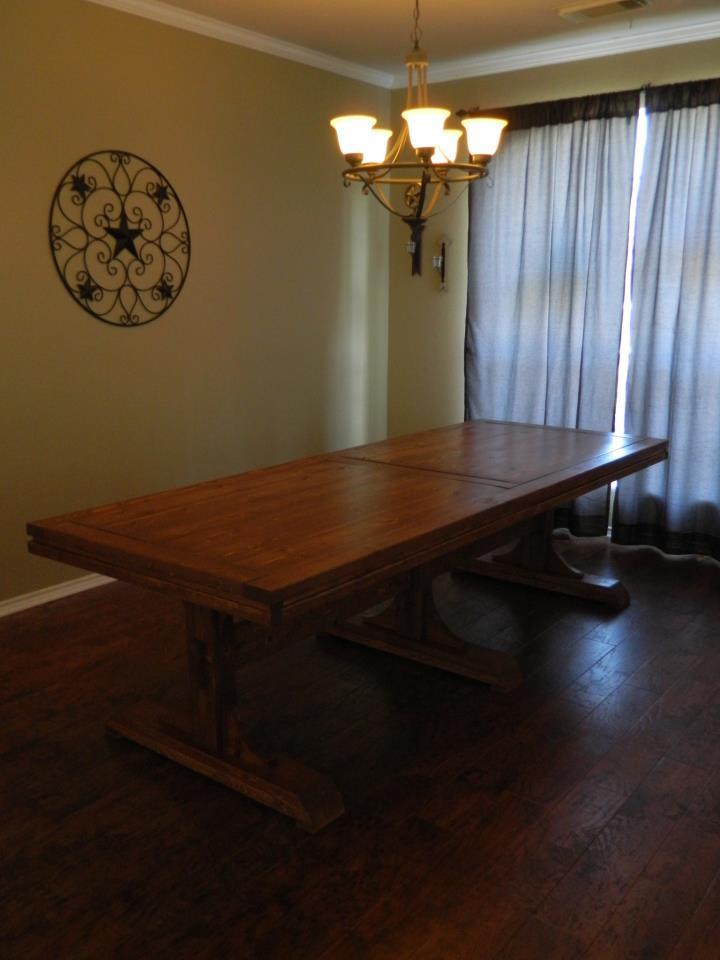
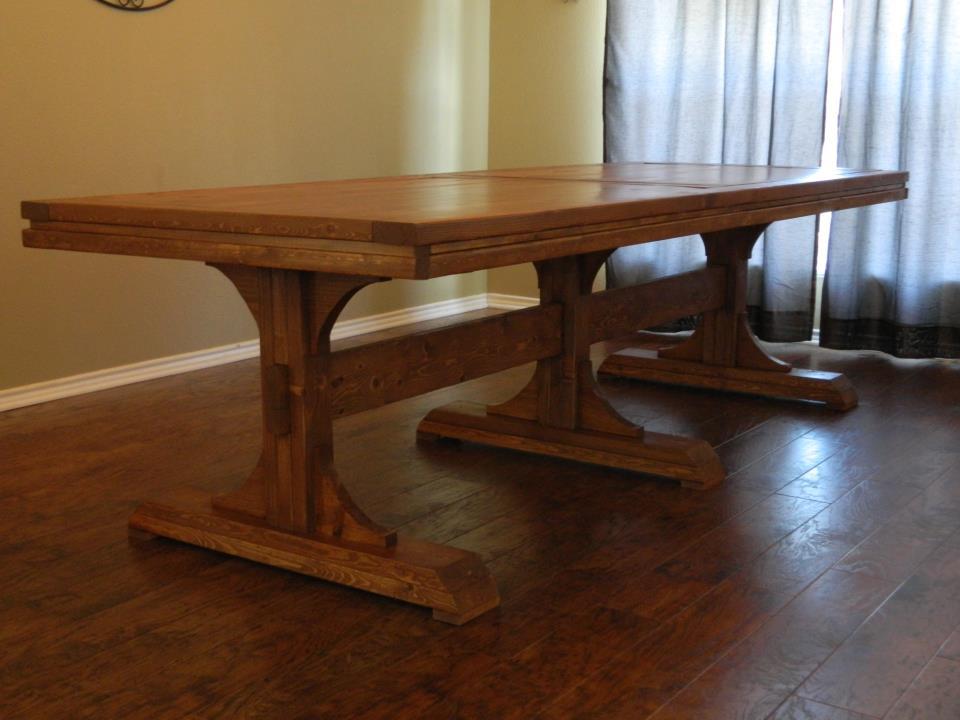
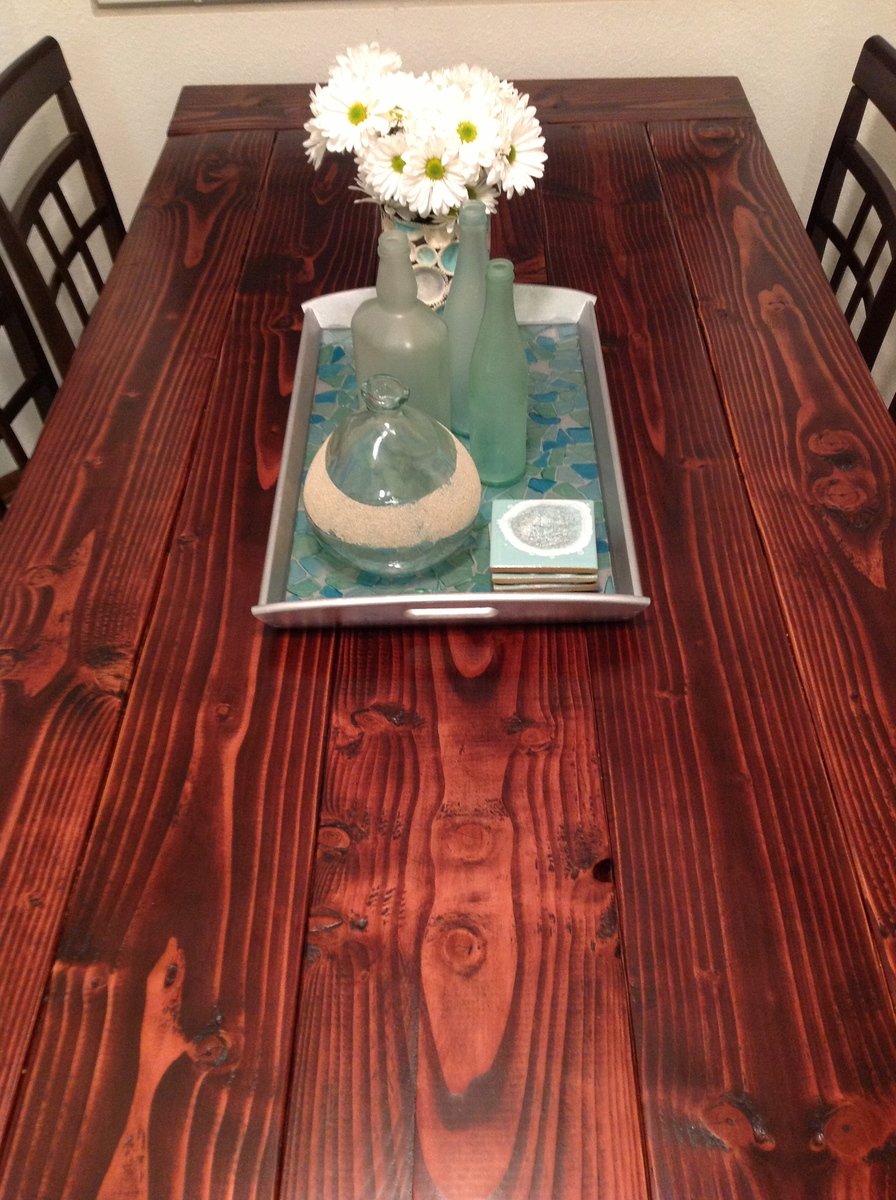
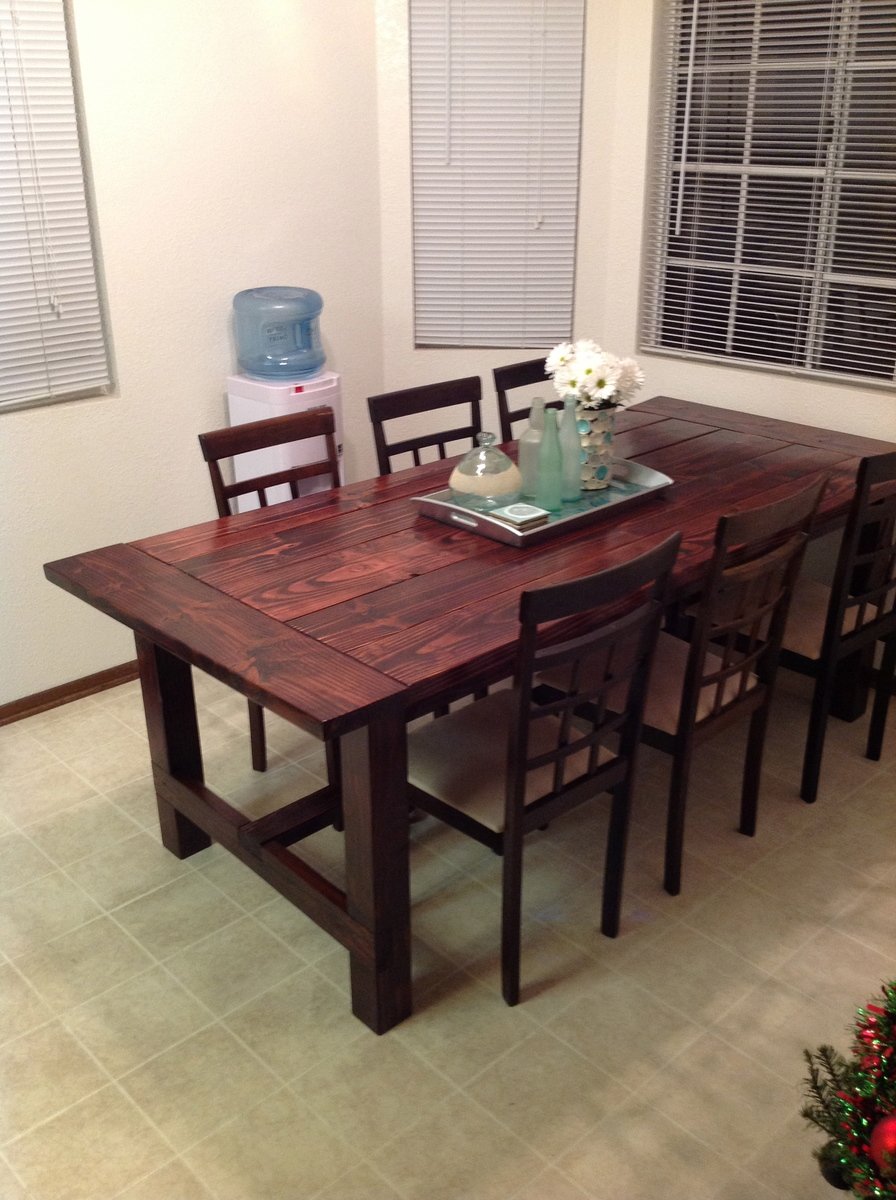
Great Plans, I had a blast making this table for my wife! It turned out great. Thank you for sharing the plans for this beautiful piece!
-Mike

Thu, 12/27/2012 - 09:21
Your table turned out fantastic! I'm glad to see that because I am considering this table for a project in the near future :)

Thu, 12/27/2012 - 12:30
Your table turned out just beautiful!! Great job and I love the finish!!
Sun, 09/14/2014 - 13:45
Love your table!! How did you attach the 1x6s to the frame? I am stuck at that step! Thank you for your help!
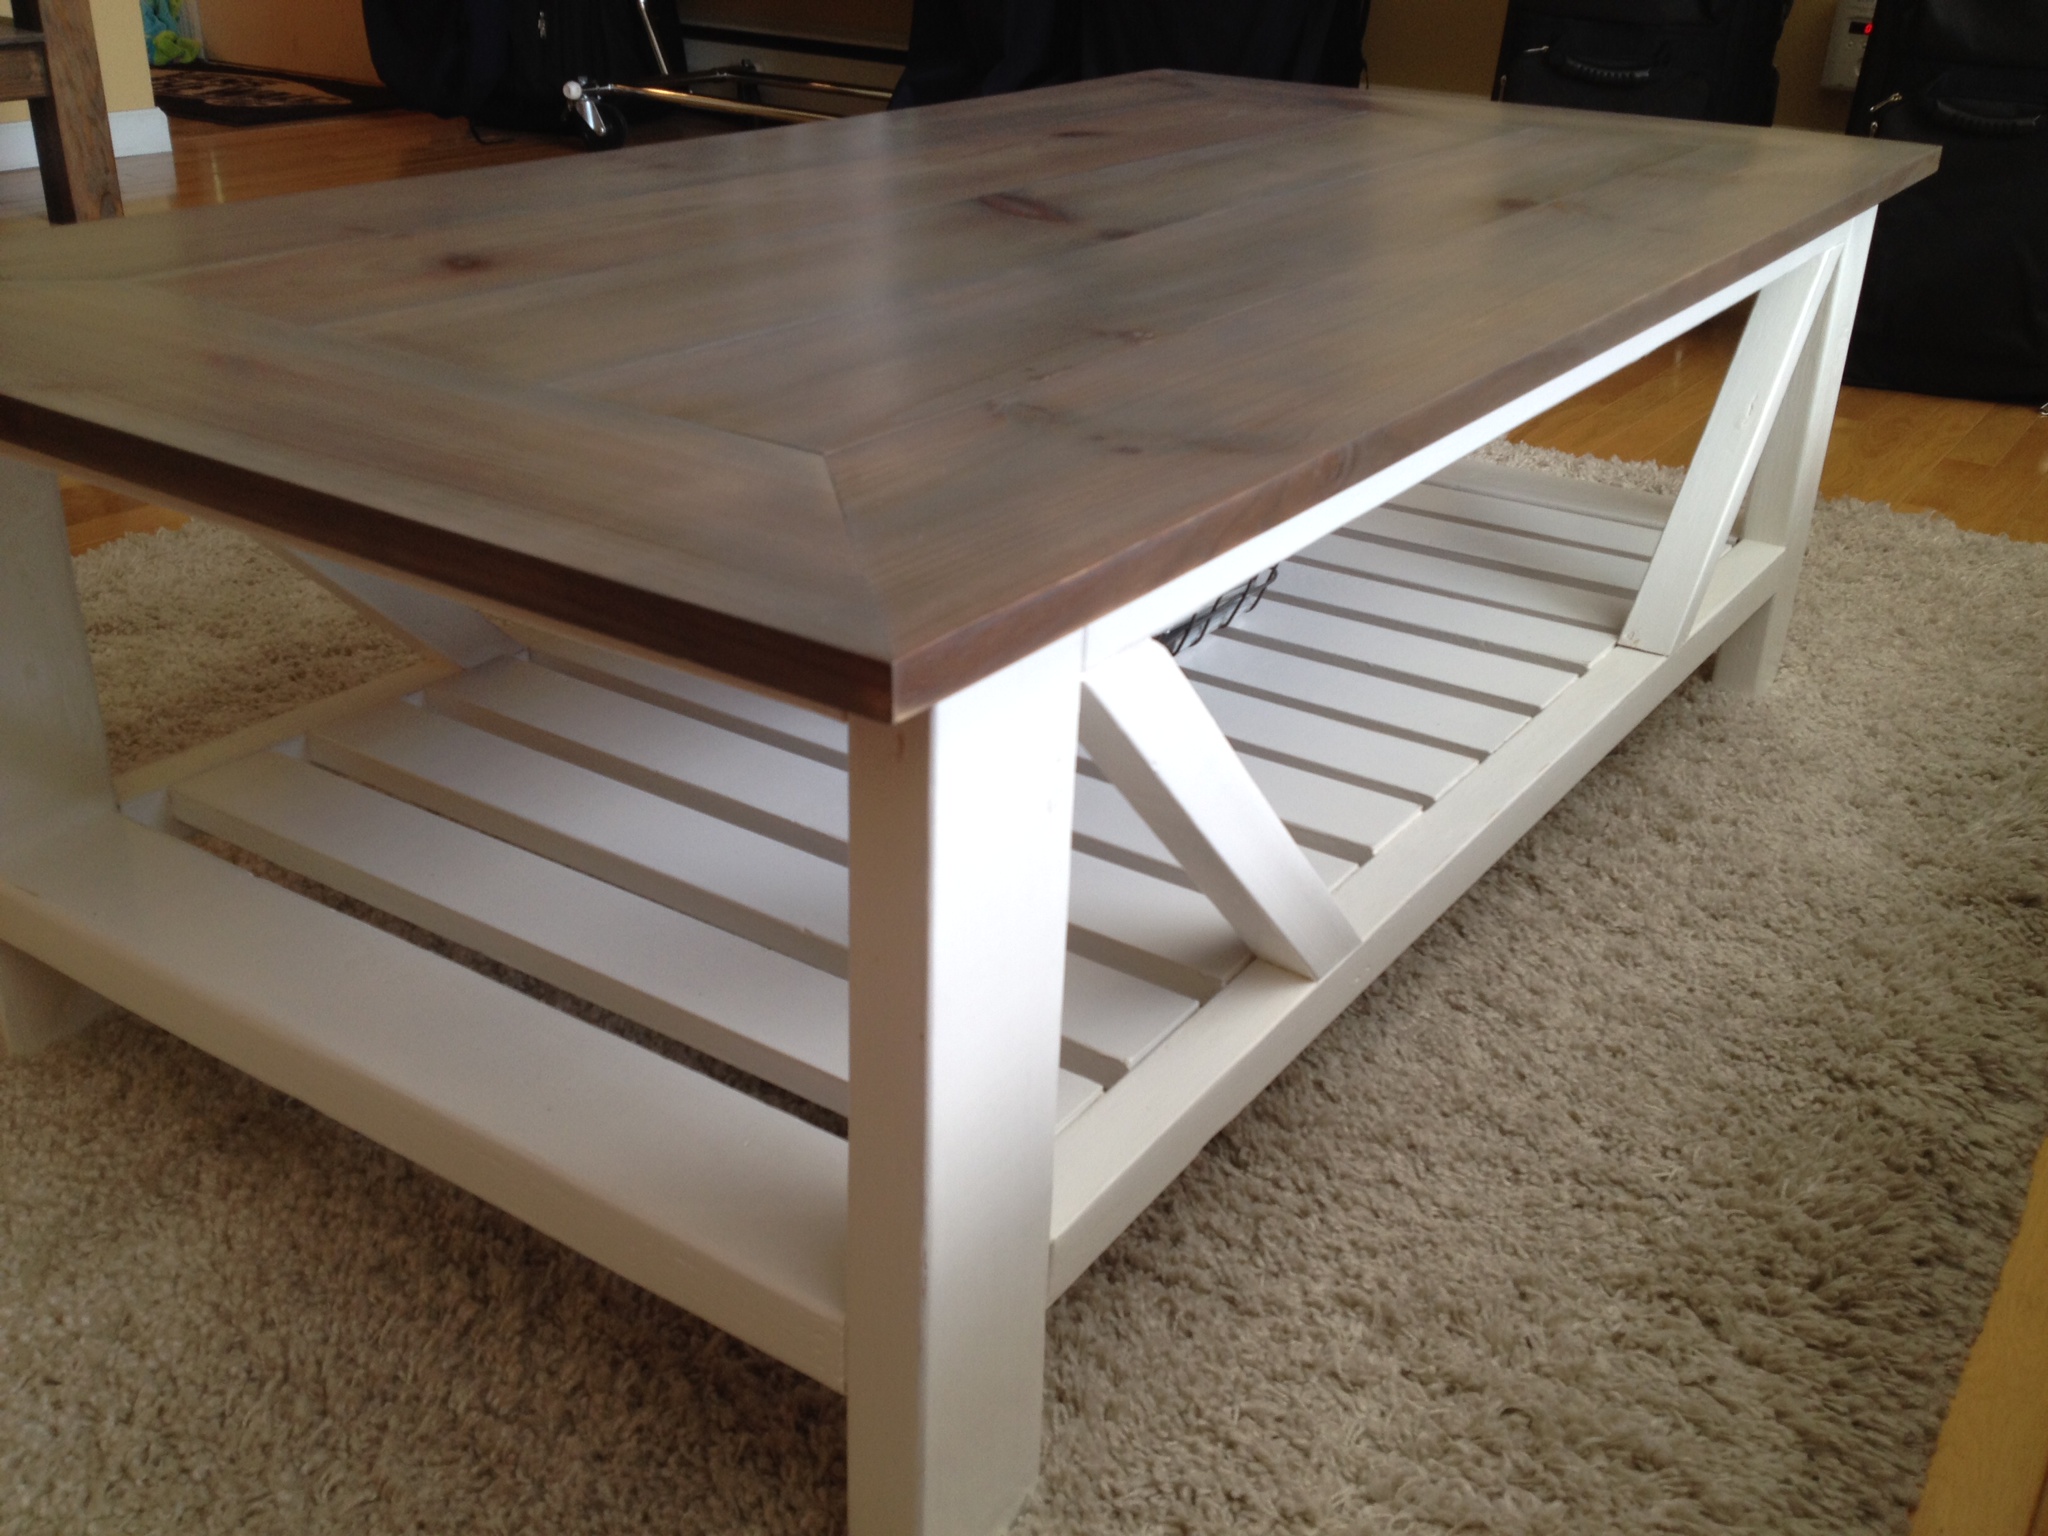
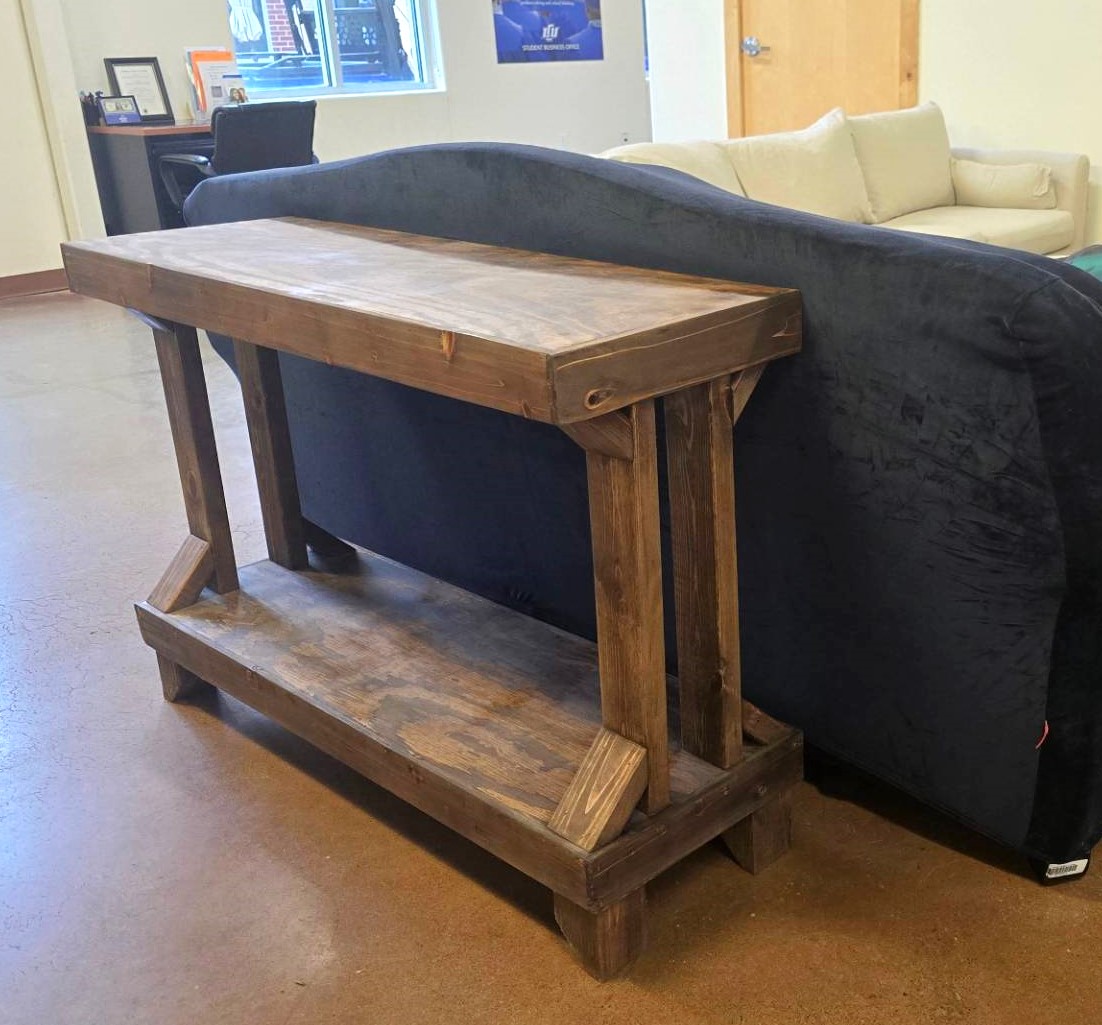
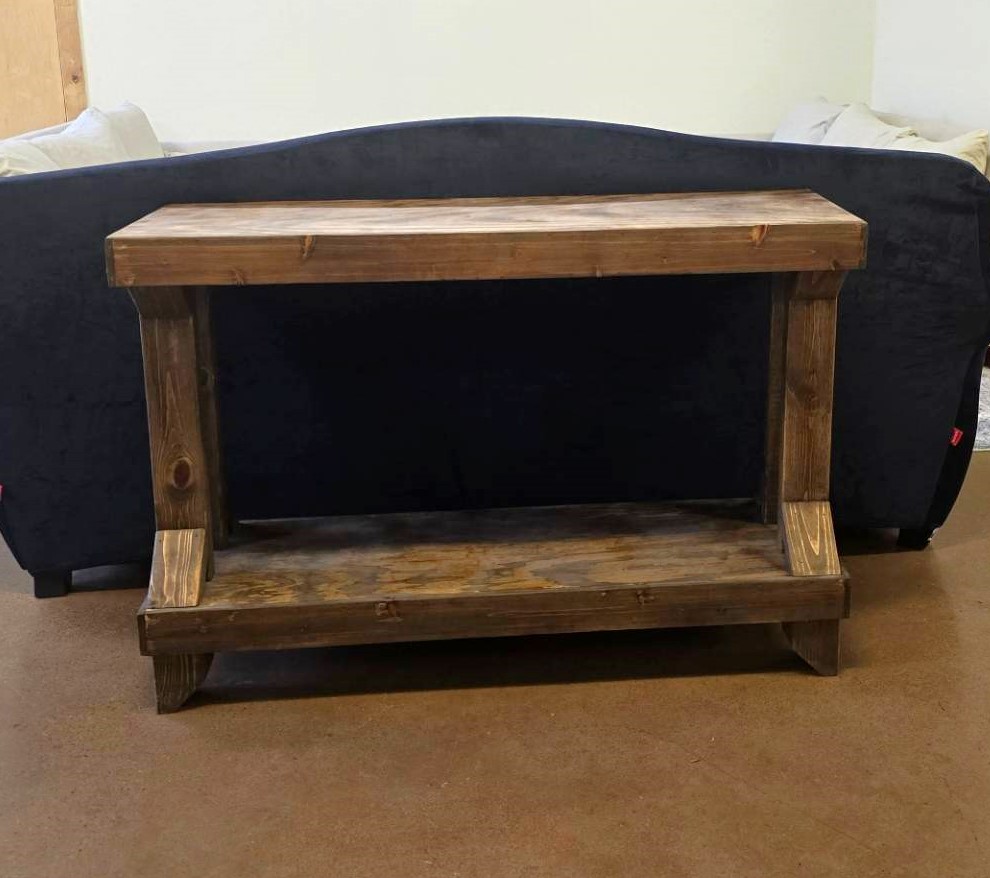
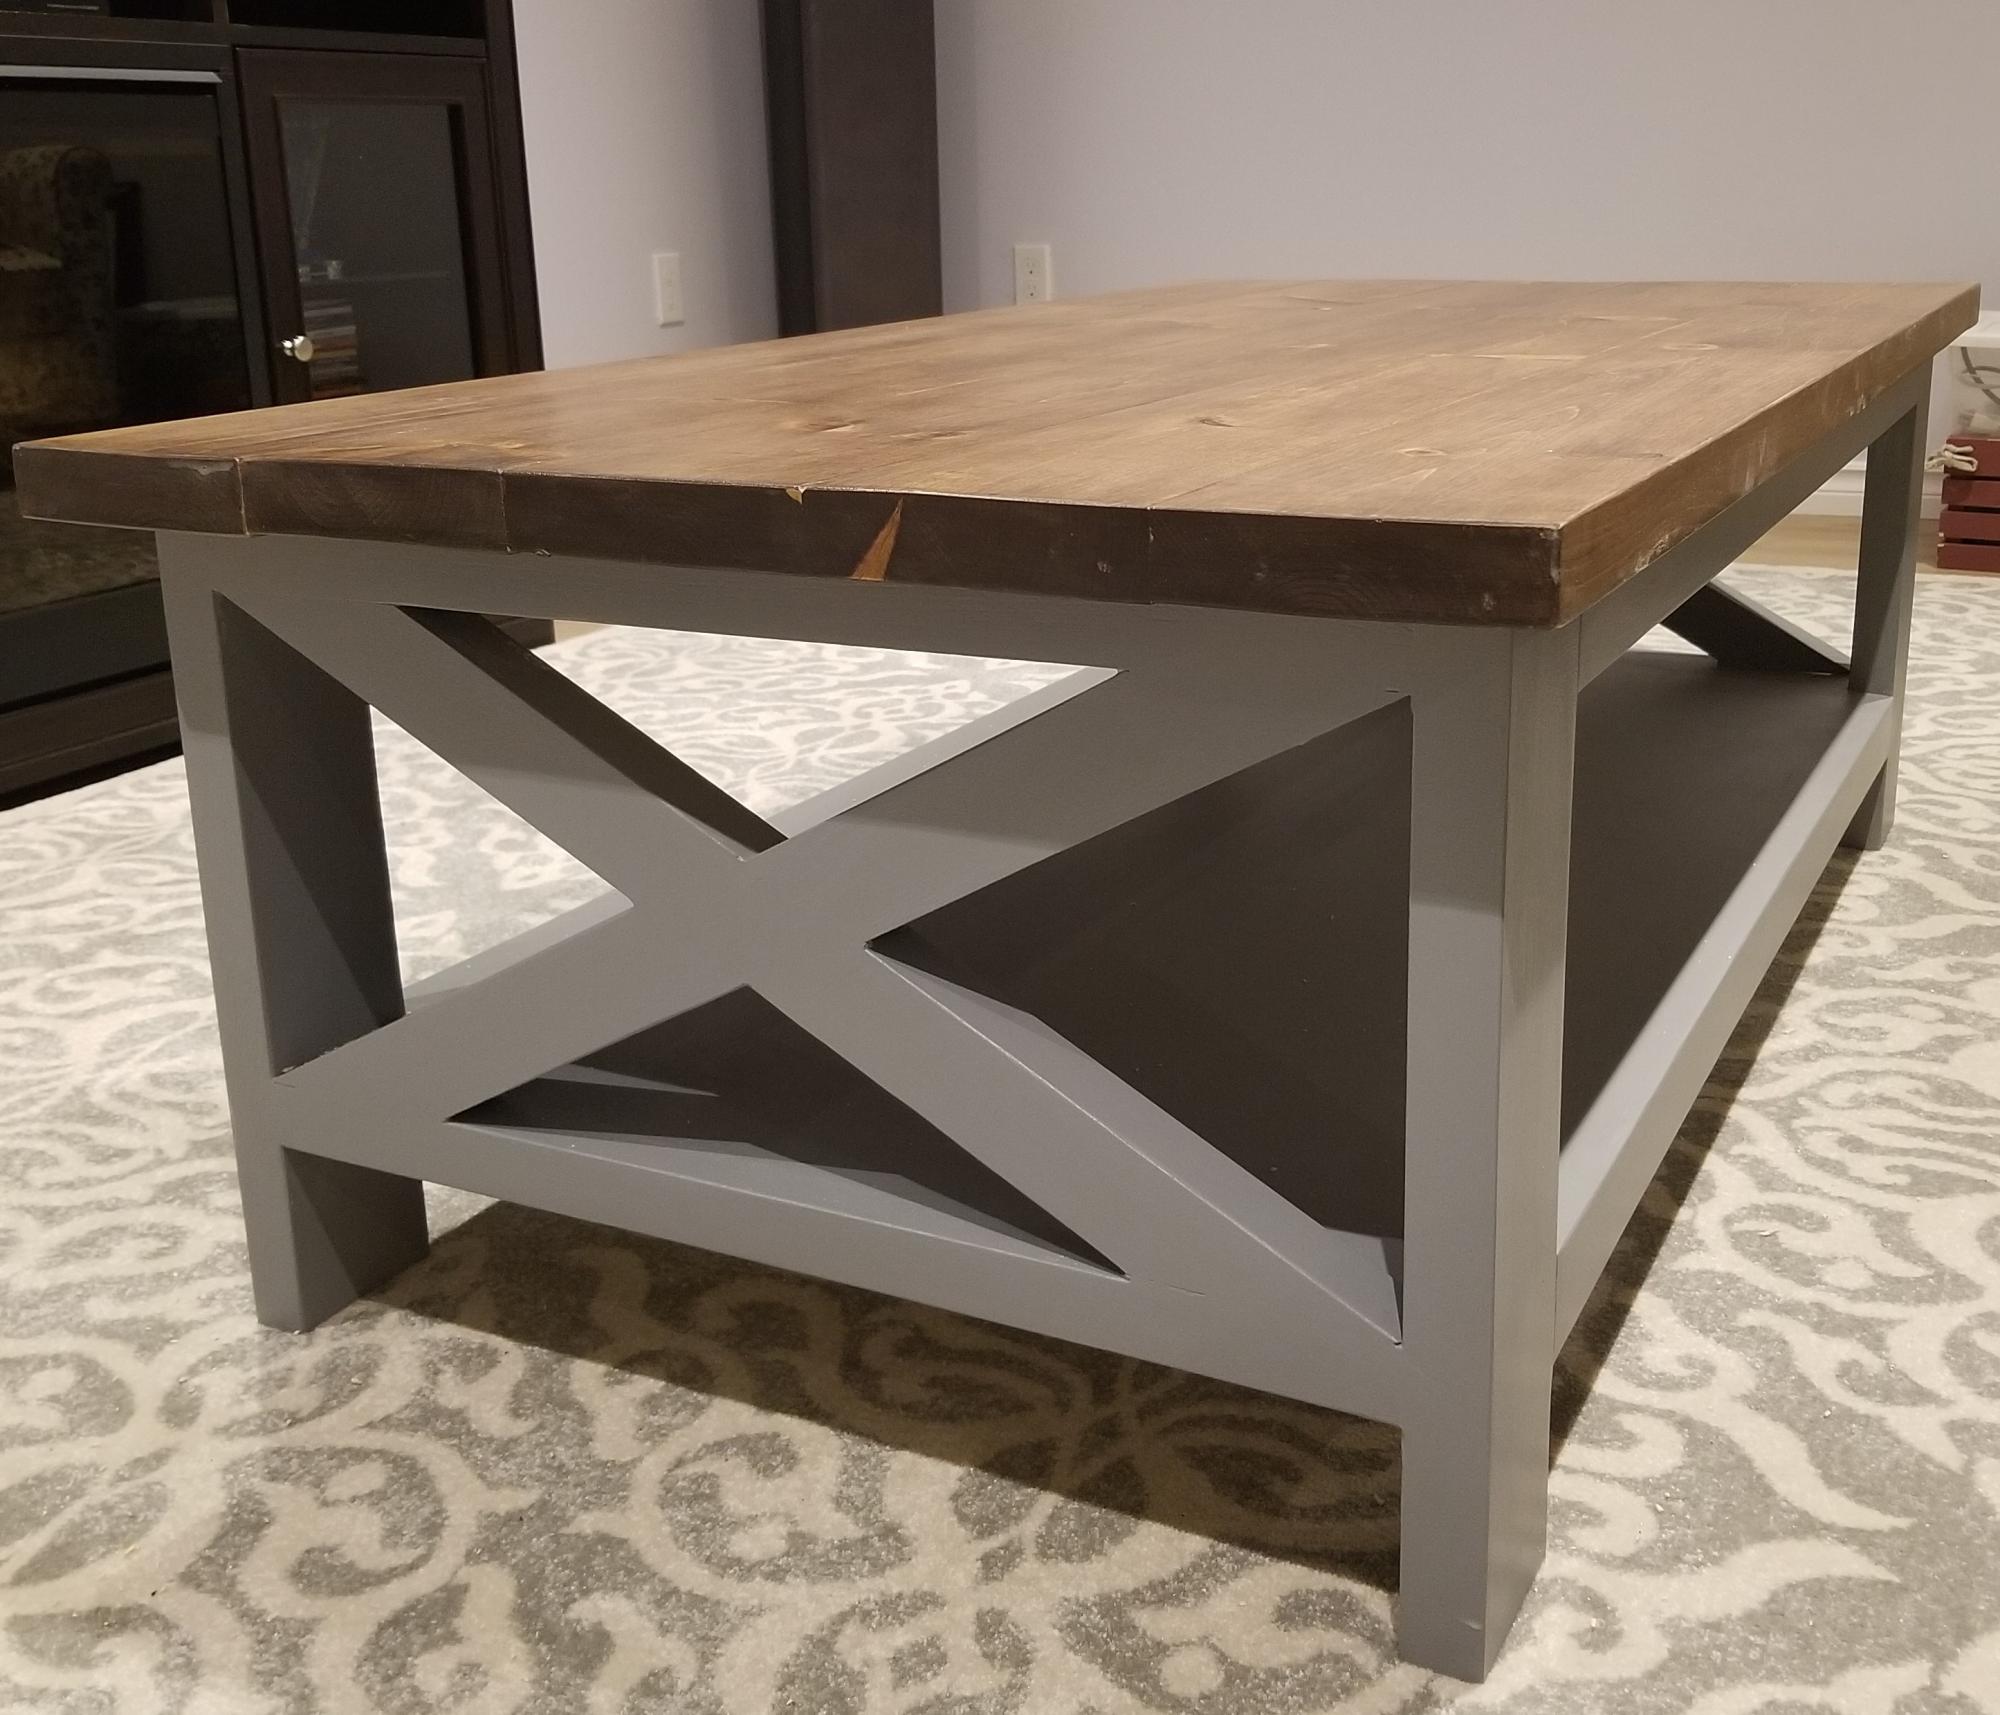
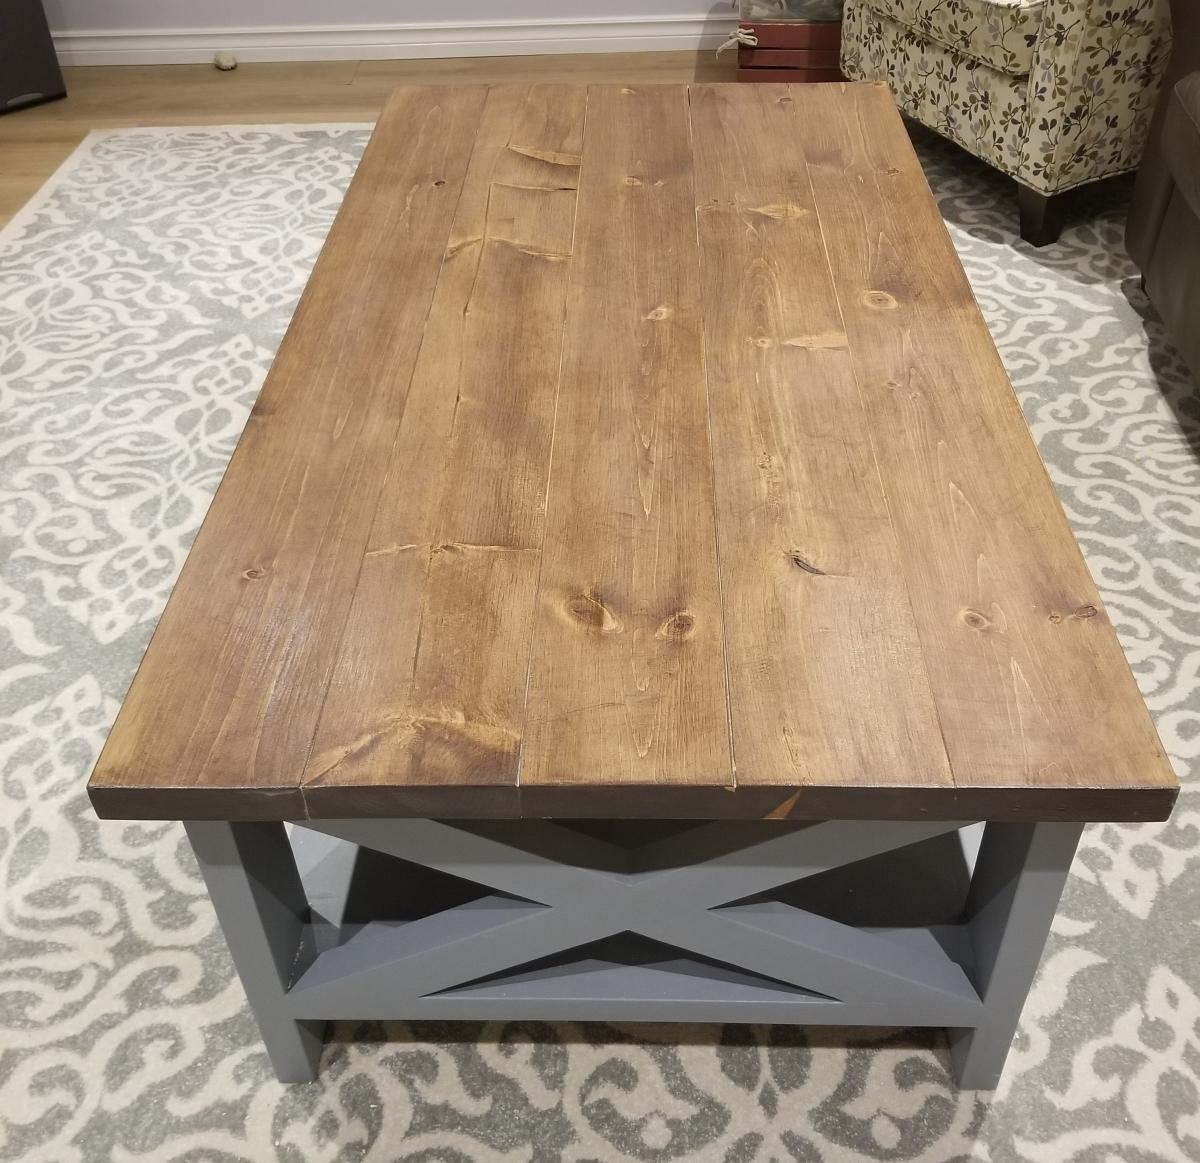
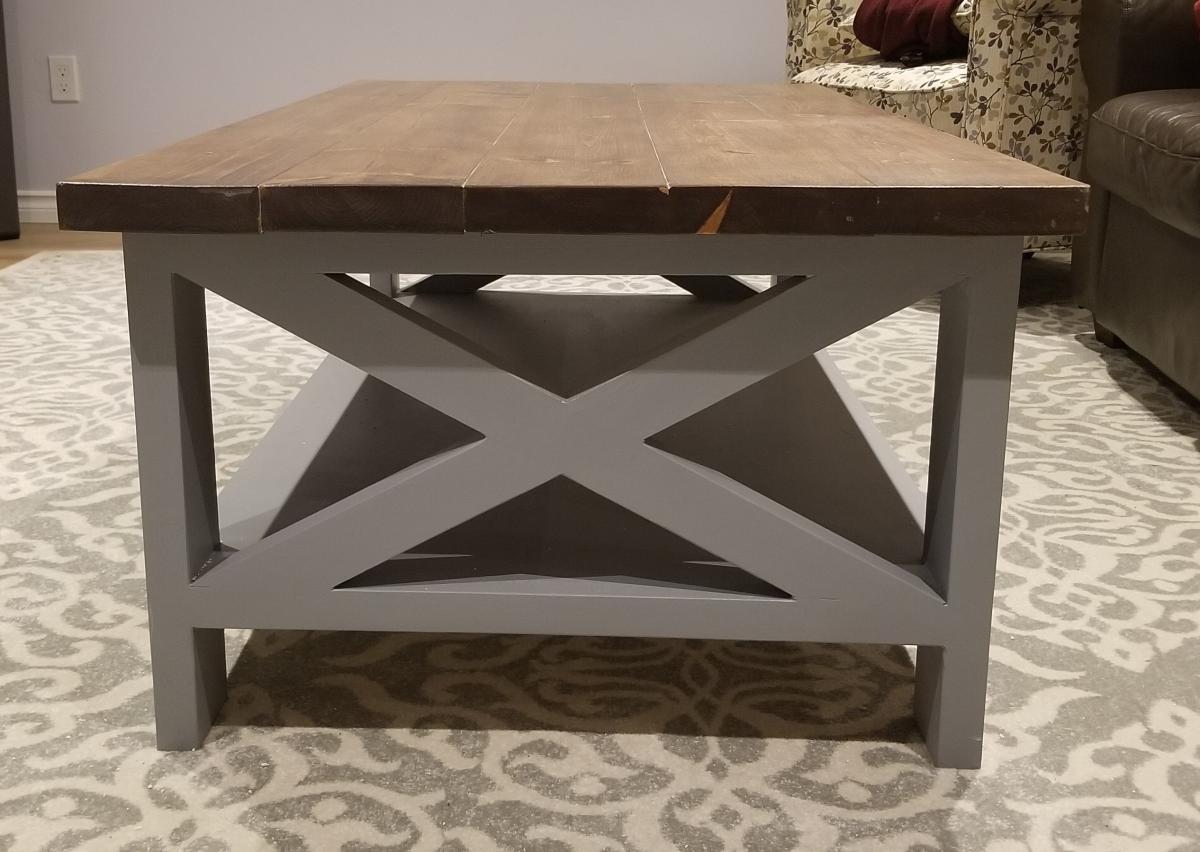
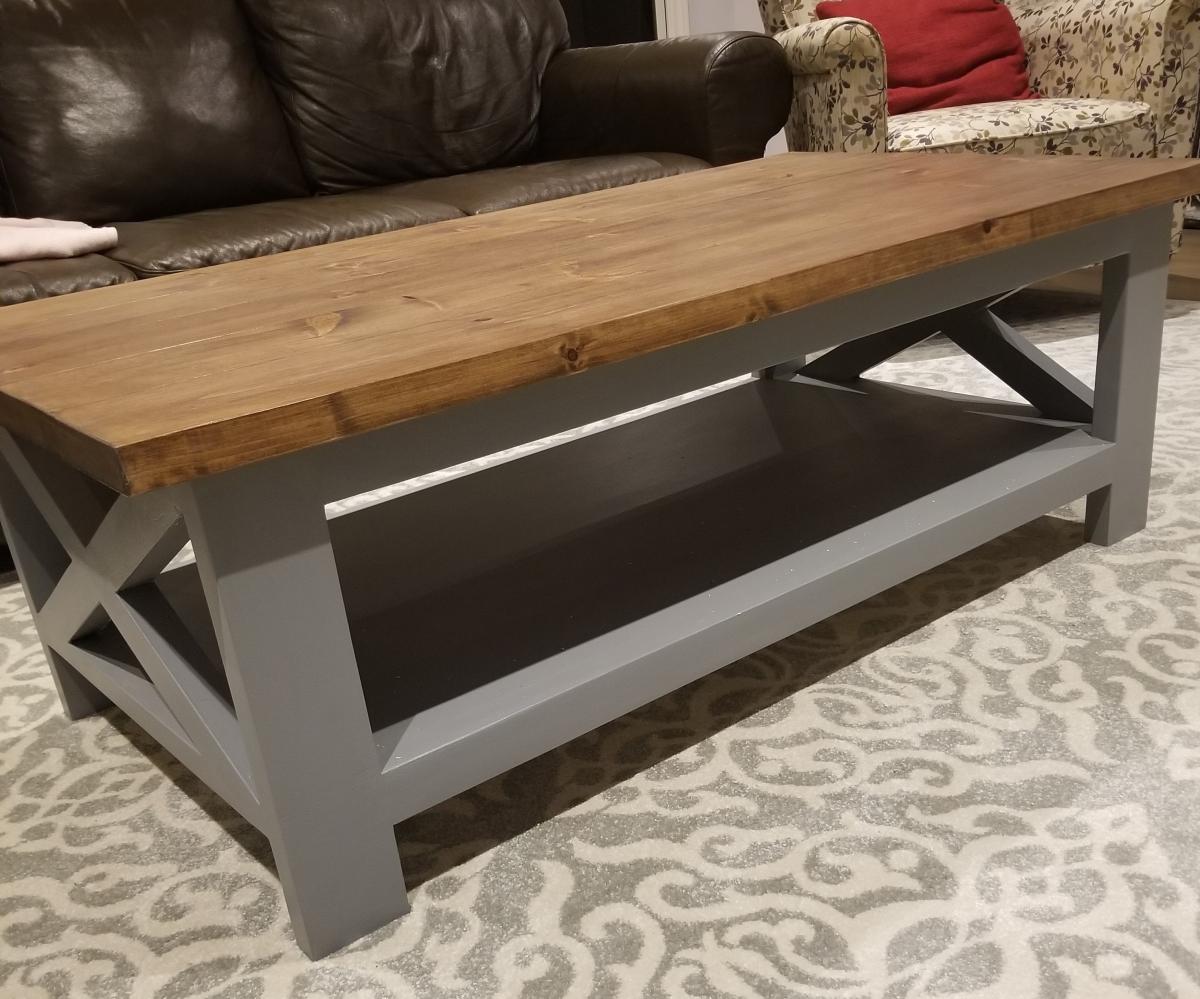
I was really looking forward to building this coffee table for a while. I followed the base plans for the Rustic X Coffee table and added my own twist. I planked 1x3's for the bottom instead of using a solid bottom shelf to give it a "beachy" feel. I also used 1x6's for the top instead of 2x's to give it a lighter feel. I framed out the top so there were no exposed edges. Instead of the X's, I took 2x2's and angled them in the front and back. I know it's very different than the original plans but I had this design in my head and I absolutely love it! Thanks for the plans!


Sun, 10/26/2014 - 14:08
Hi! Sorry it took so long to respond! I did the dimensions the same, so I kept the top 52" x 27.5". I did a 45 degree cut for the outside boards, making the longest sides 52" and 27.5". Then I calculated the distance for the middle boards. Since I used 1x6's, which are actually 5.5" wide, I did 52" minus 5.5" minus 5.5", since there are two end pieces to the frame, which gave me 41" for the inside boards. But measuring the inside boards when the outside frame is attached is a better way because then you know exactly what to cut them at. Just make sure the top's frame angle's are cut precise and you should have no problem! Hope that makes sense and if you have any other questions let me know!
Fri, 07/03/2015 - 09:24
This is my favourite take on the X table. Great idea! It looks fantastic.
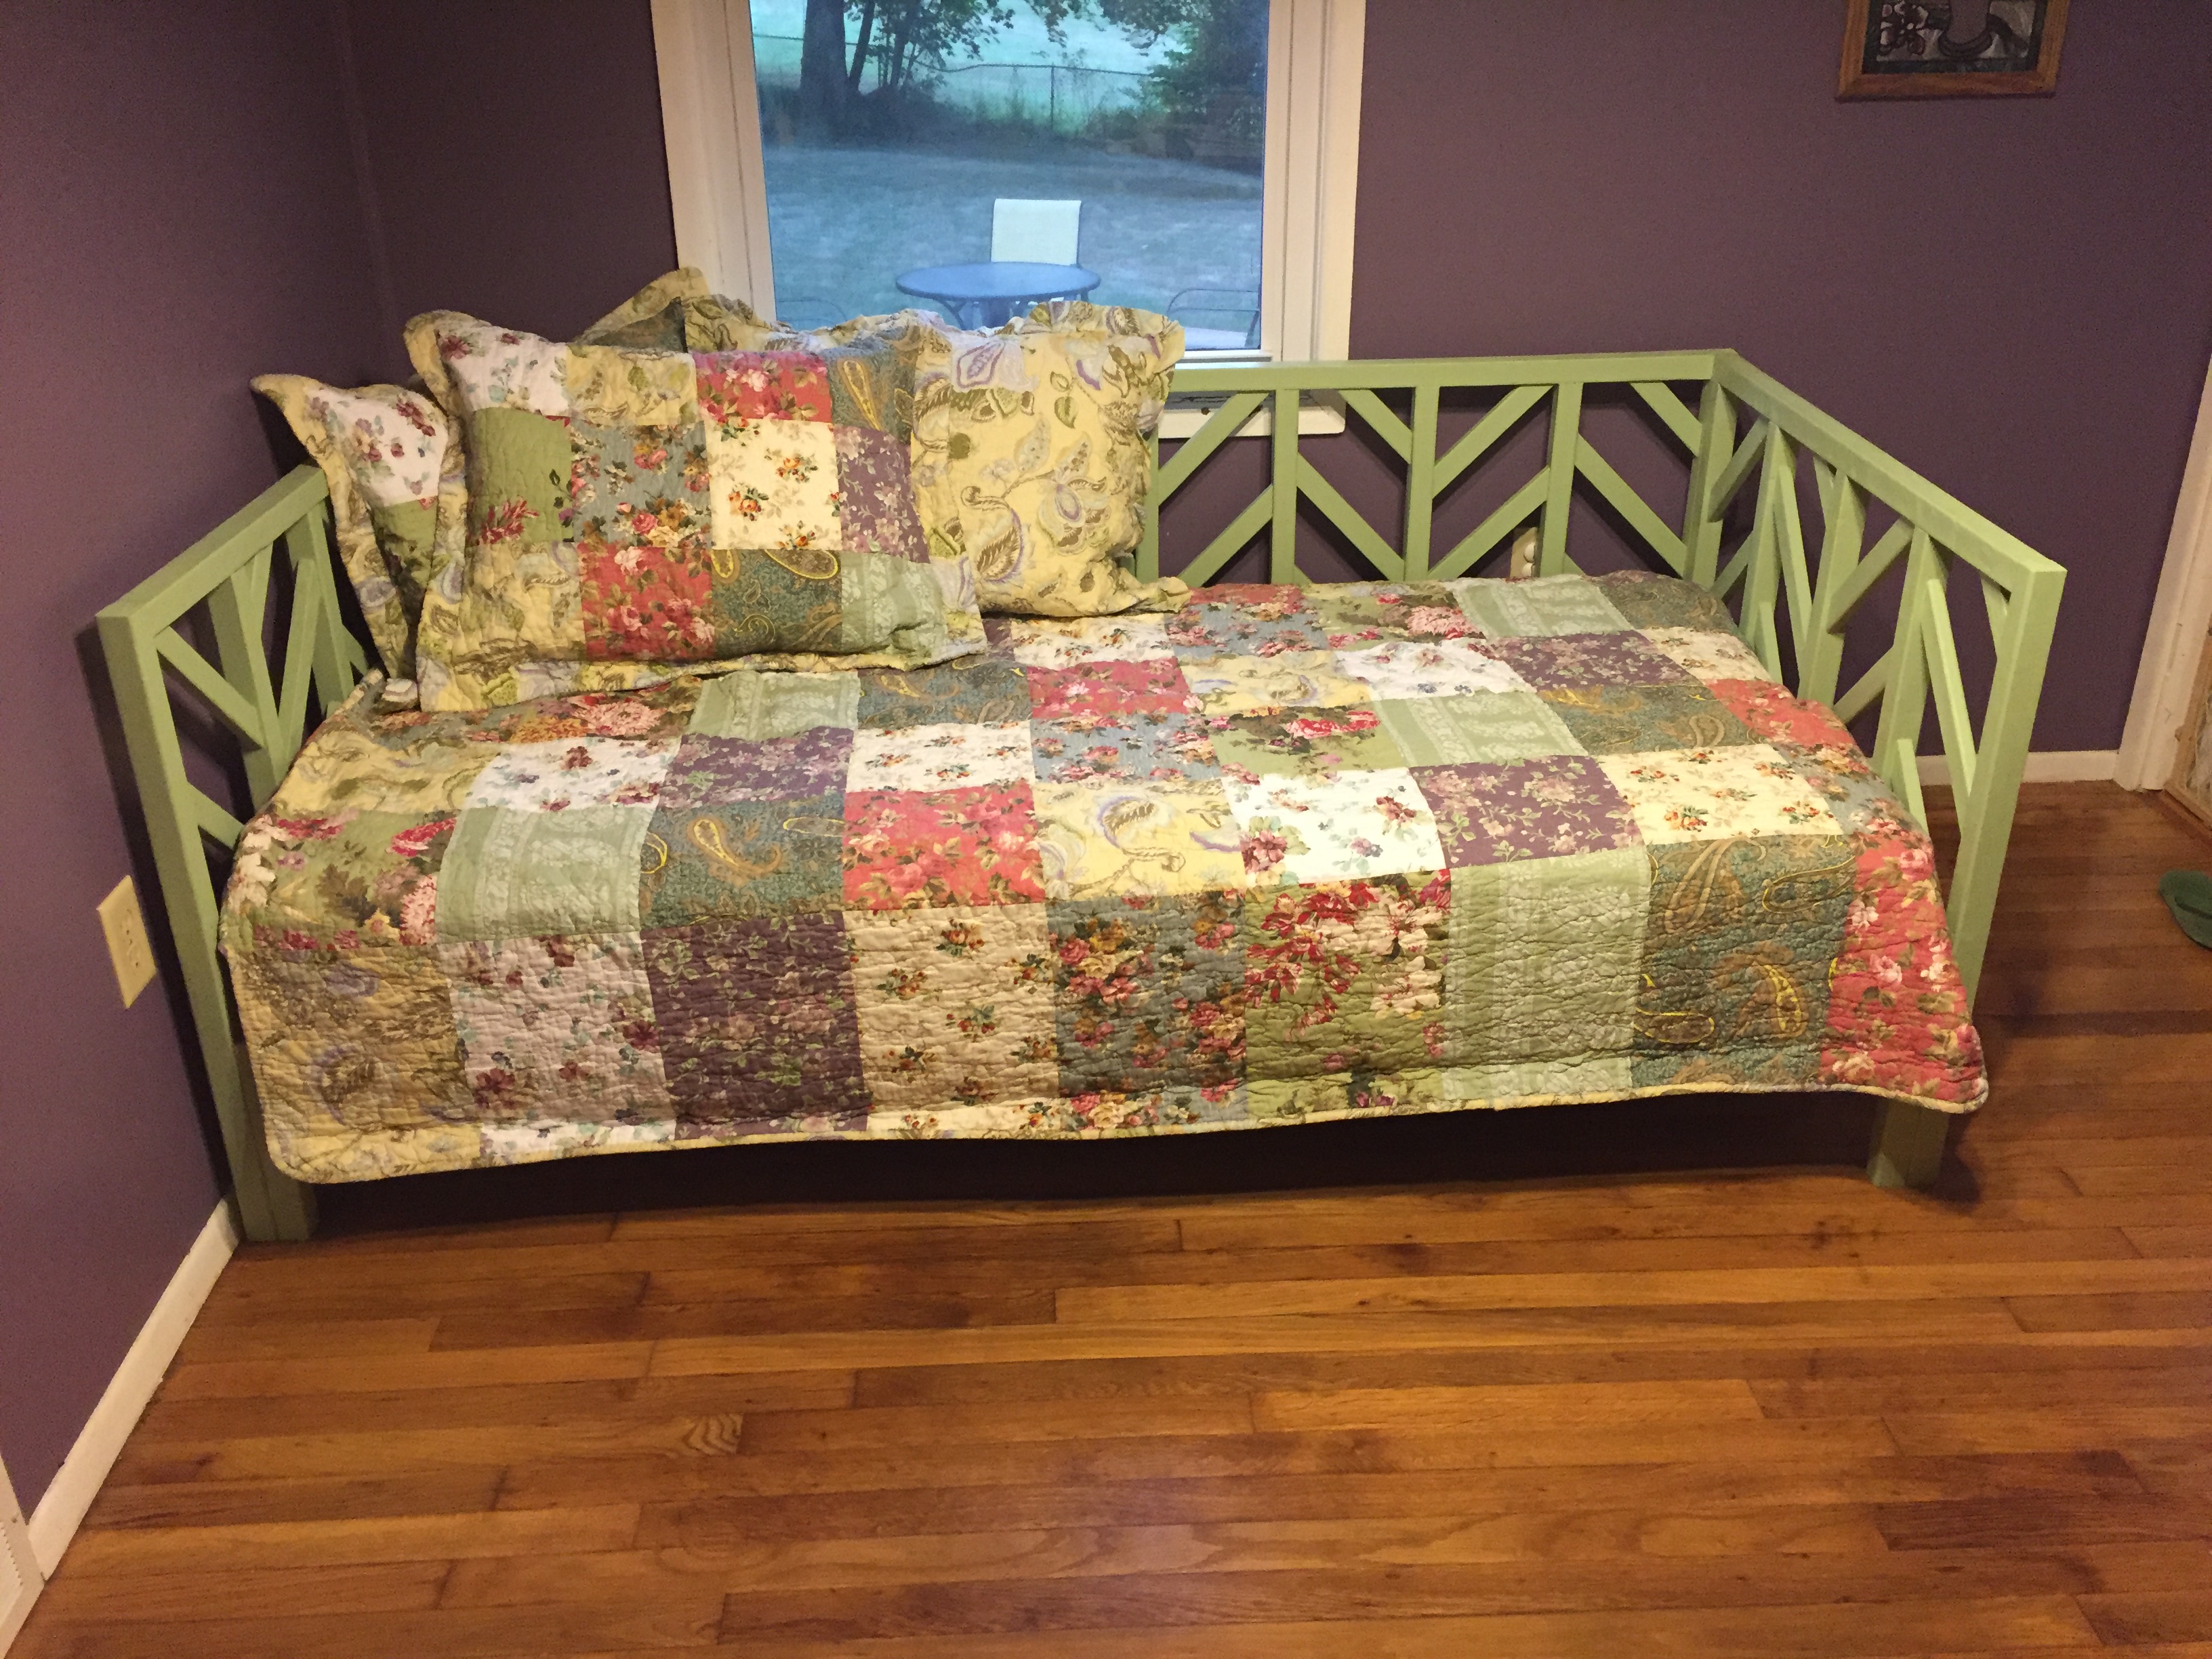
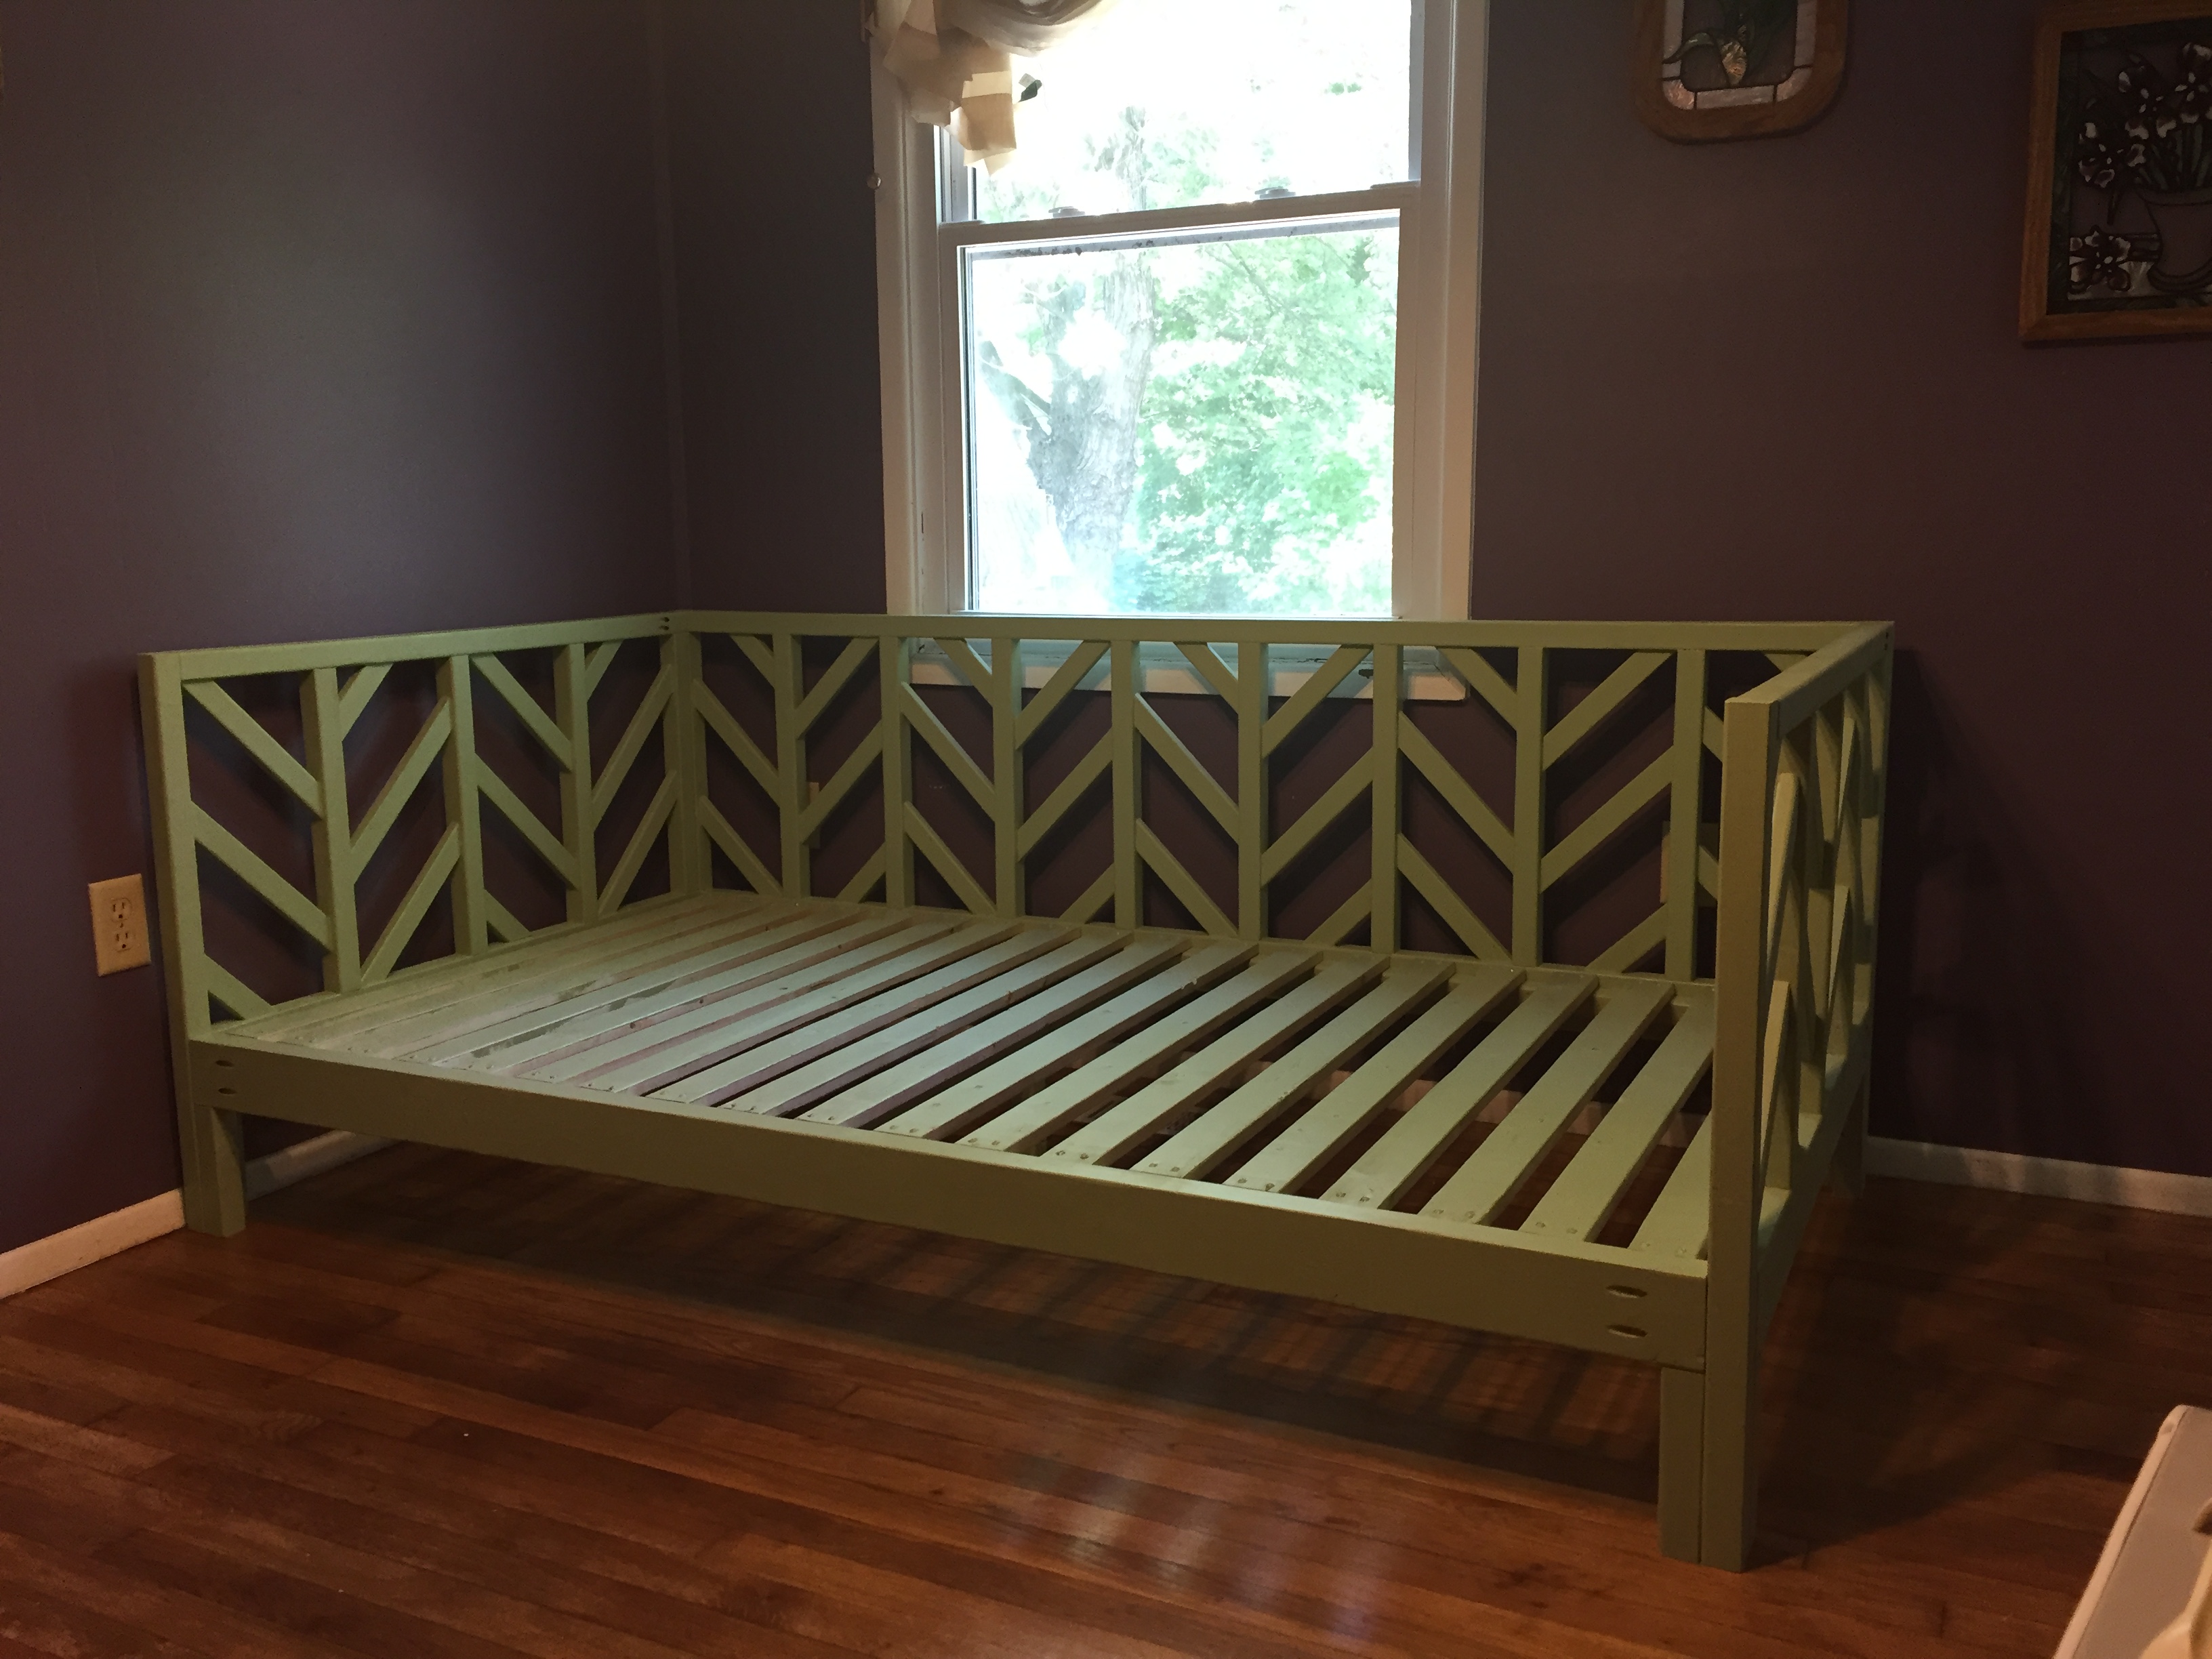
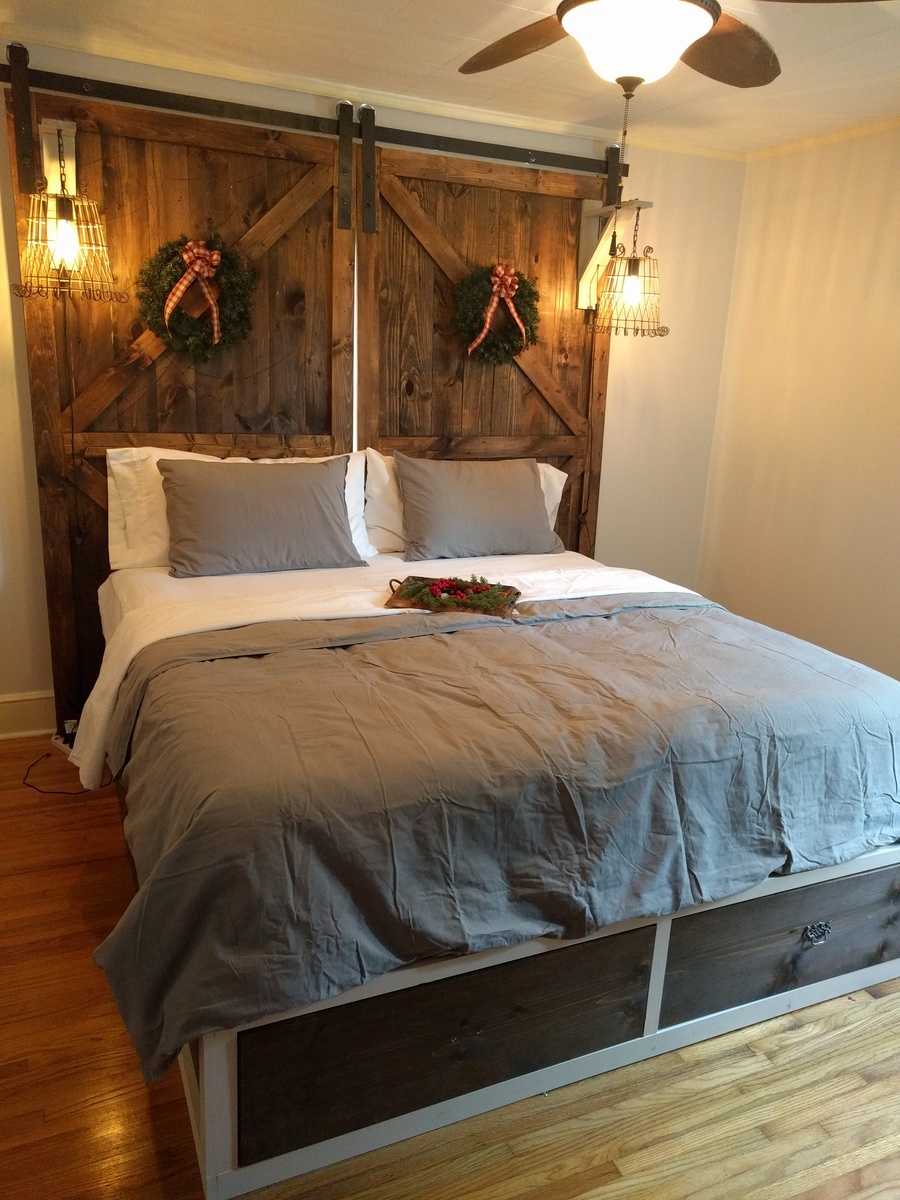
My wife wanted a daybed for our guest room and this one was perfect. Thank you Ana and Stacy for the plans. My wife loves it!
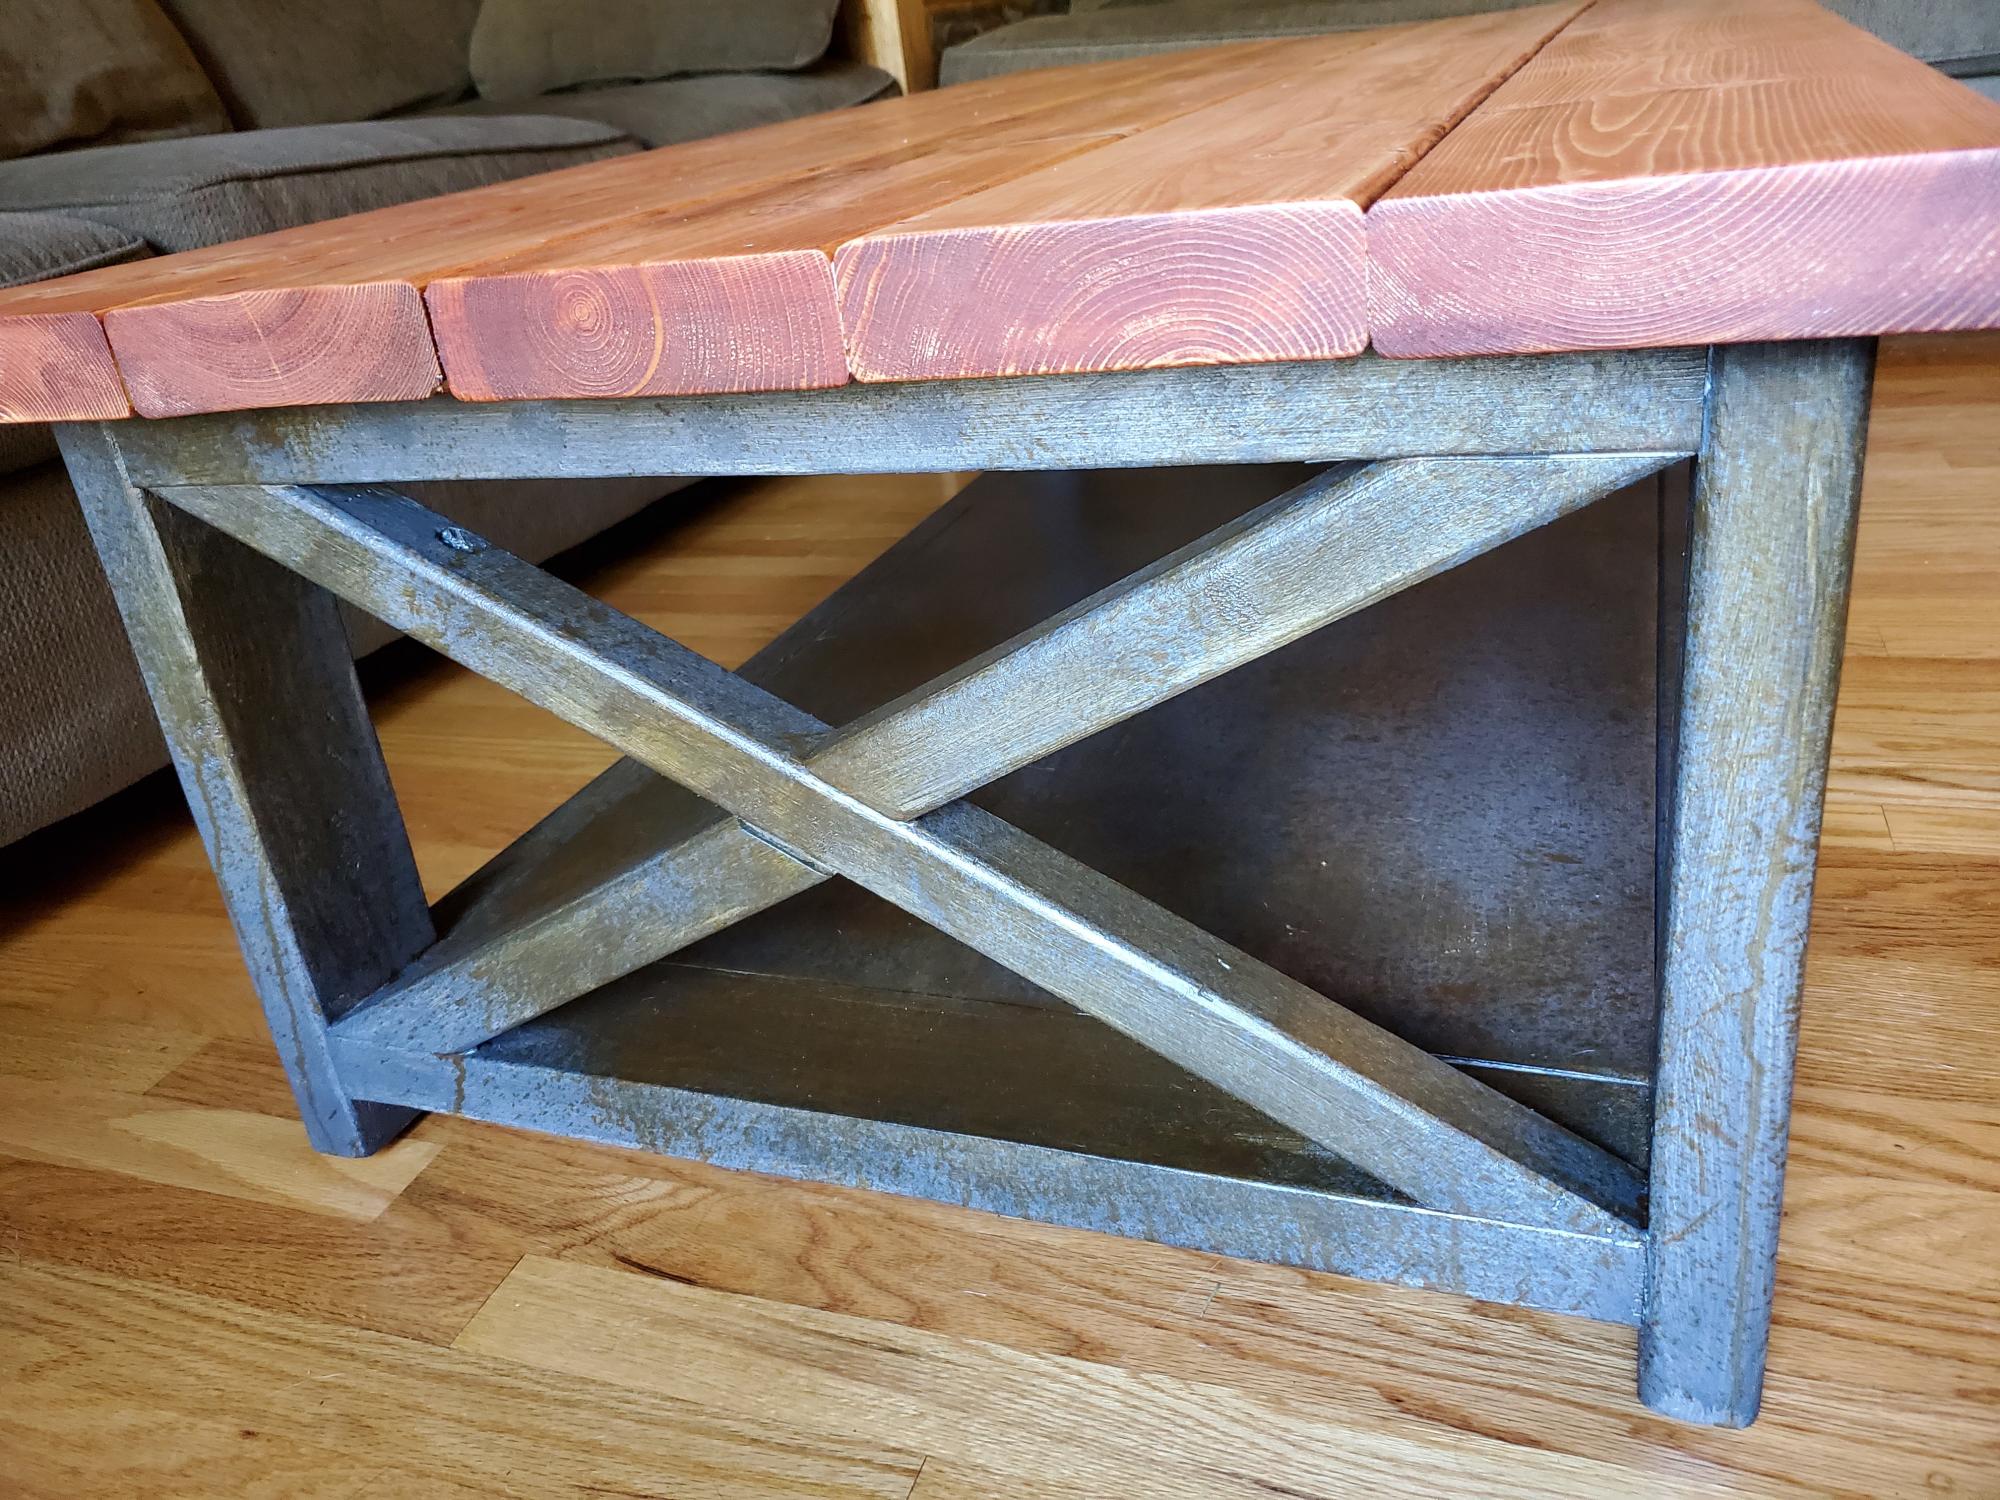
We needed a bigger coffee table for our family, especially for game day nachos! Stained the top but painted the base to resemble rusted iron.
Thank you for such an easy project to follow! I used plywood, 2x4s and fence pickets to make this.

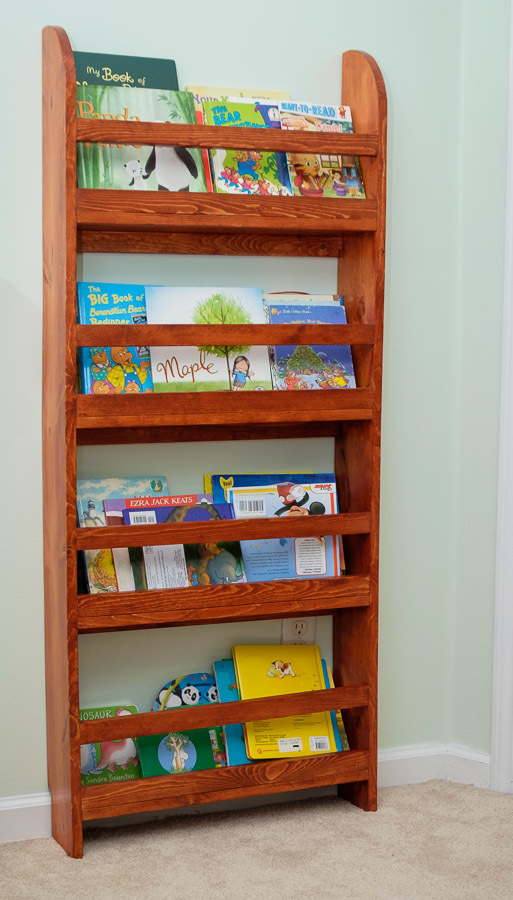
I based my shelves on the Subway Tile Bookshelf plans. The space I needed to fill was roughly 72x108. I wanted the offset shelves so I didn't need extra supports and it also had to be lifted off the floor because of a space heater. I used 12 inch melamine boards that I had the store cut for me because I have no experience. I used a drill for the first time and it came together very quickly. I used 14 inch pre-made legs that I spray painted white.

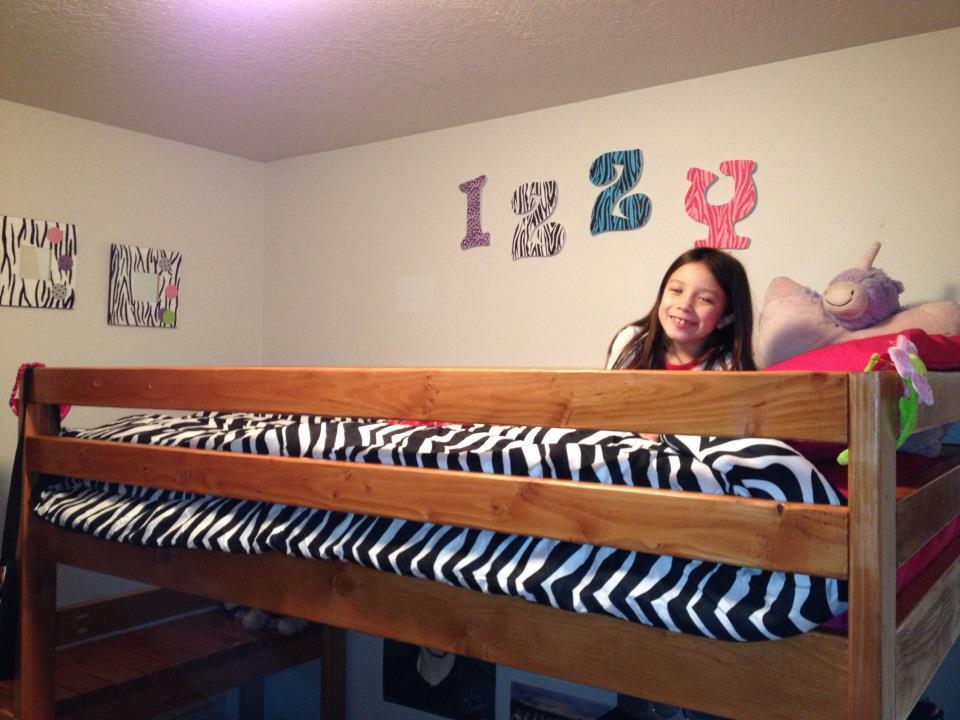
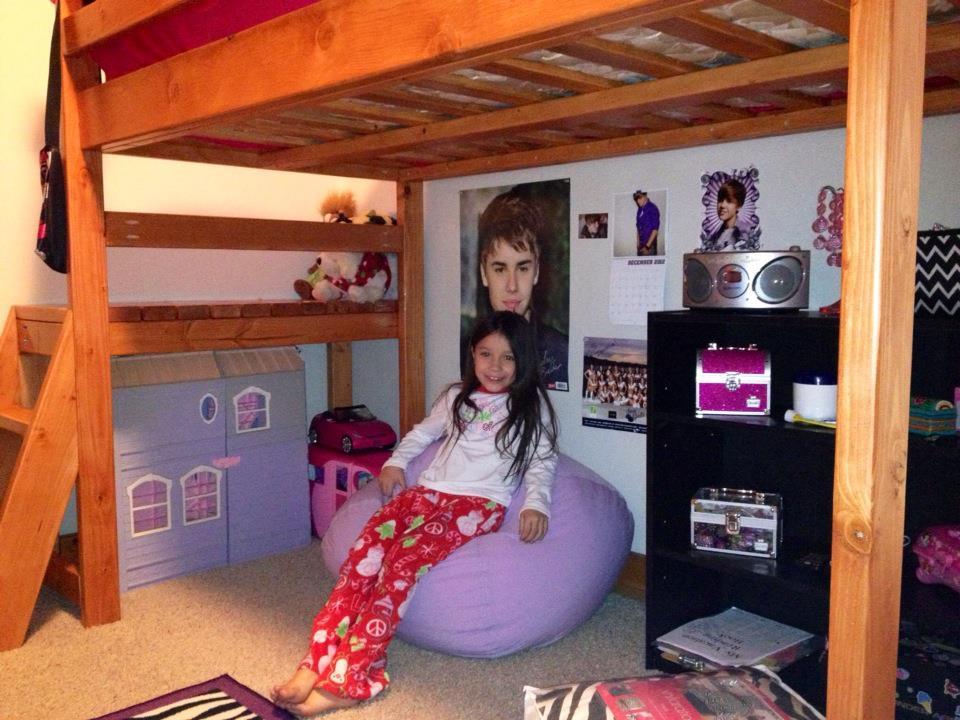
This is a variation from a brag photo I saw on the Modified Twin Farmhouse Bed. I built two for my girls and also created plans of the variation. We love these beds! They are so beautiful!

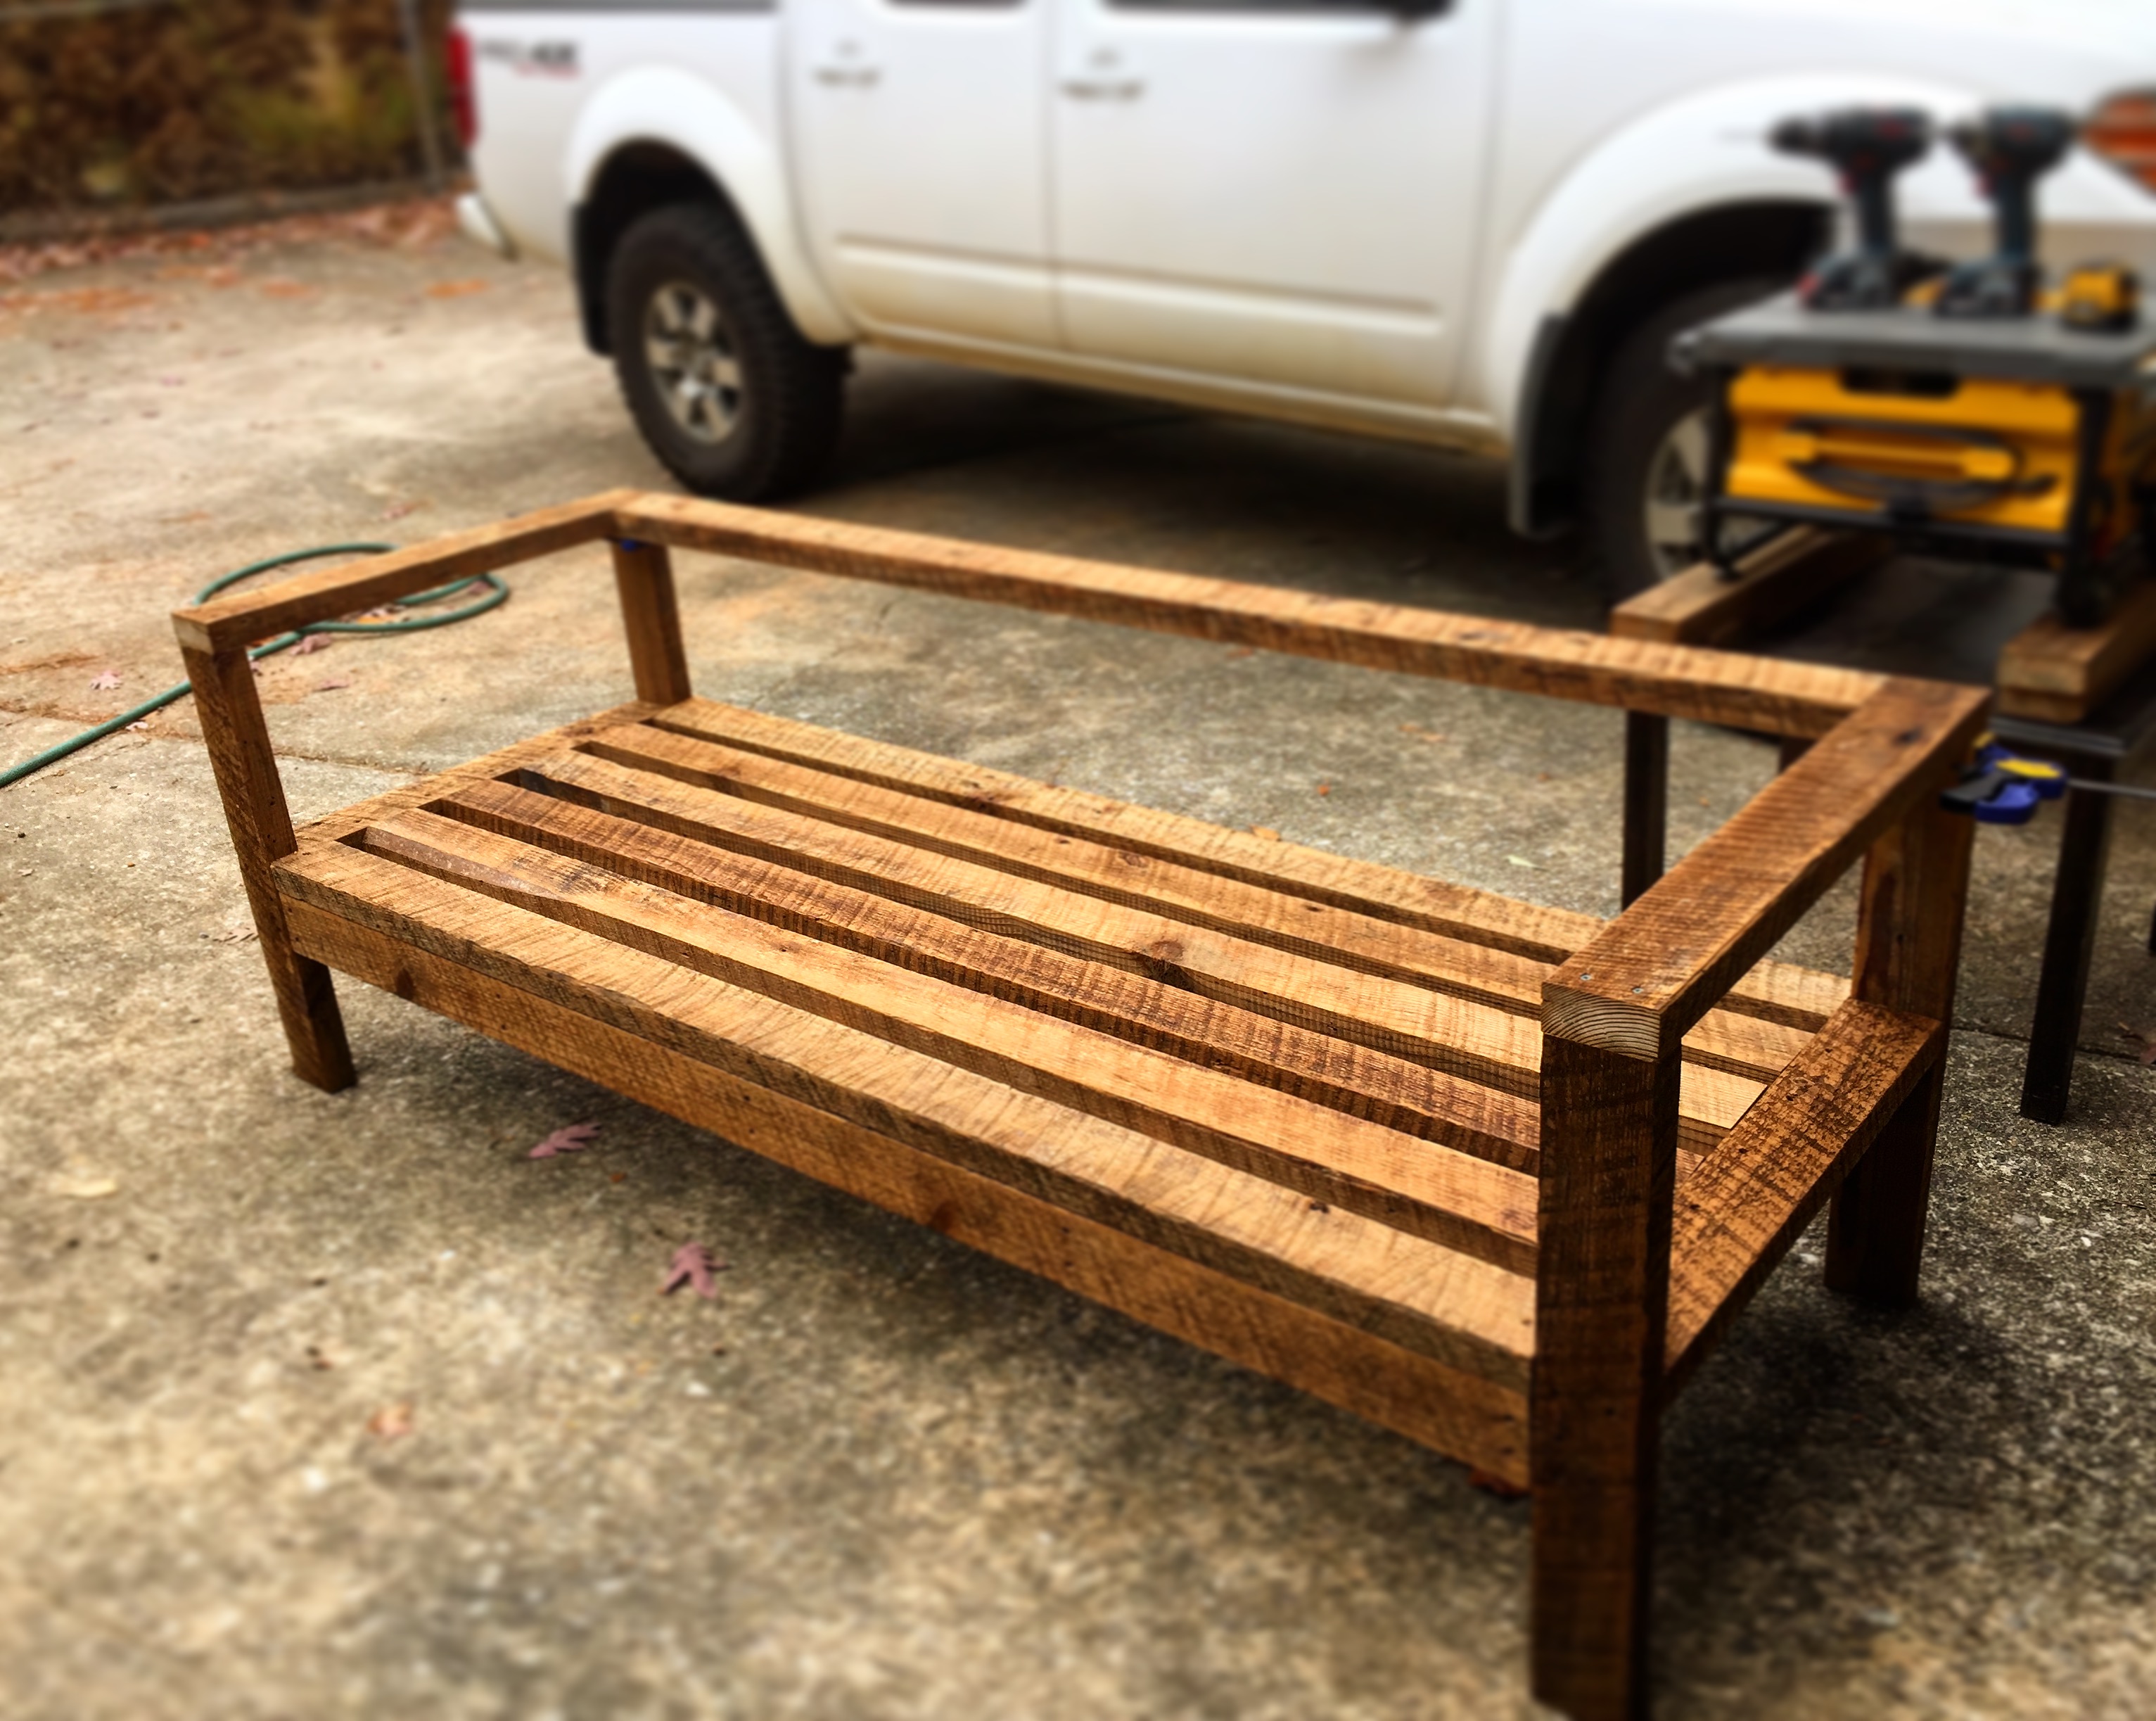
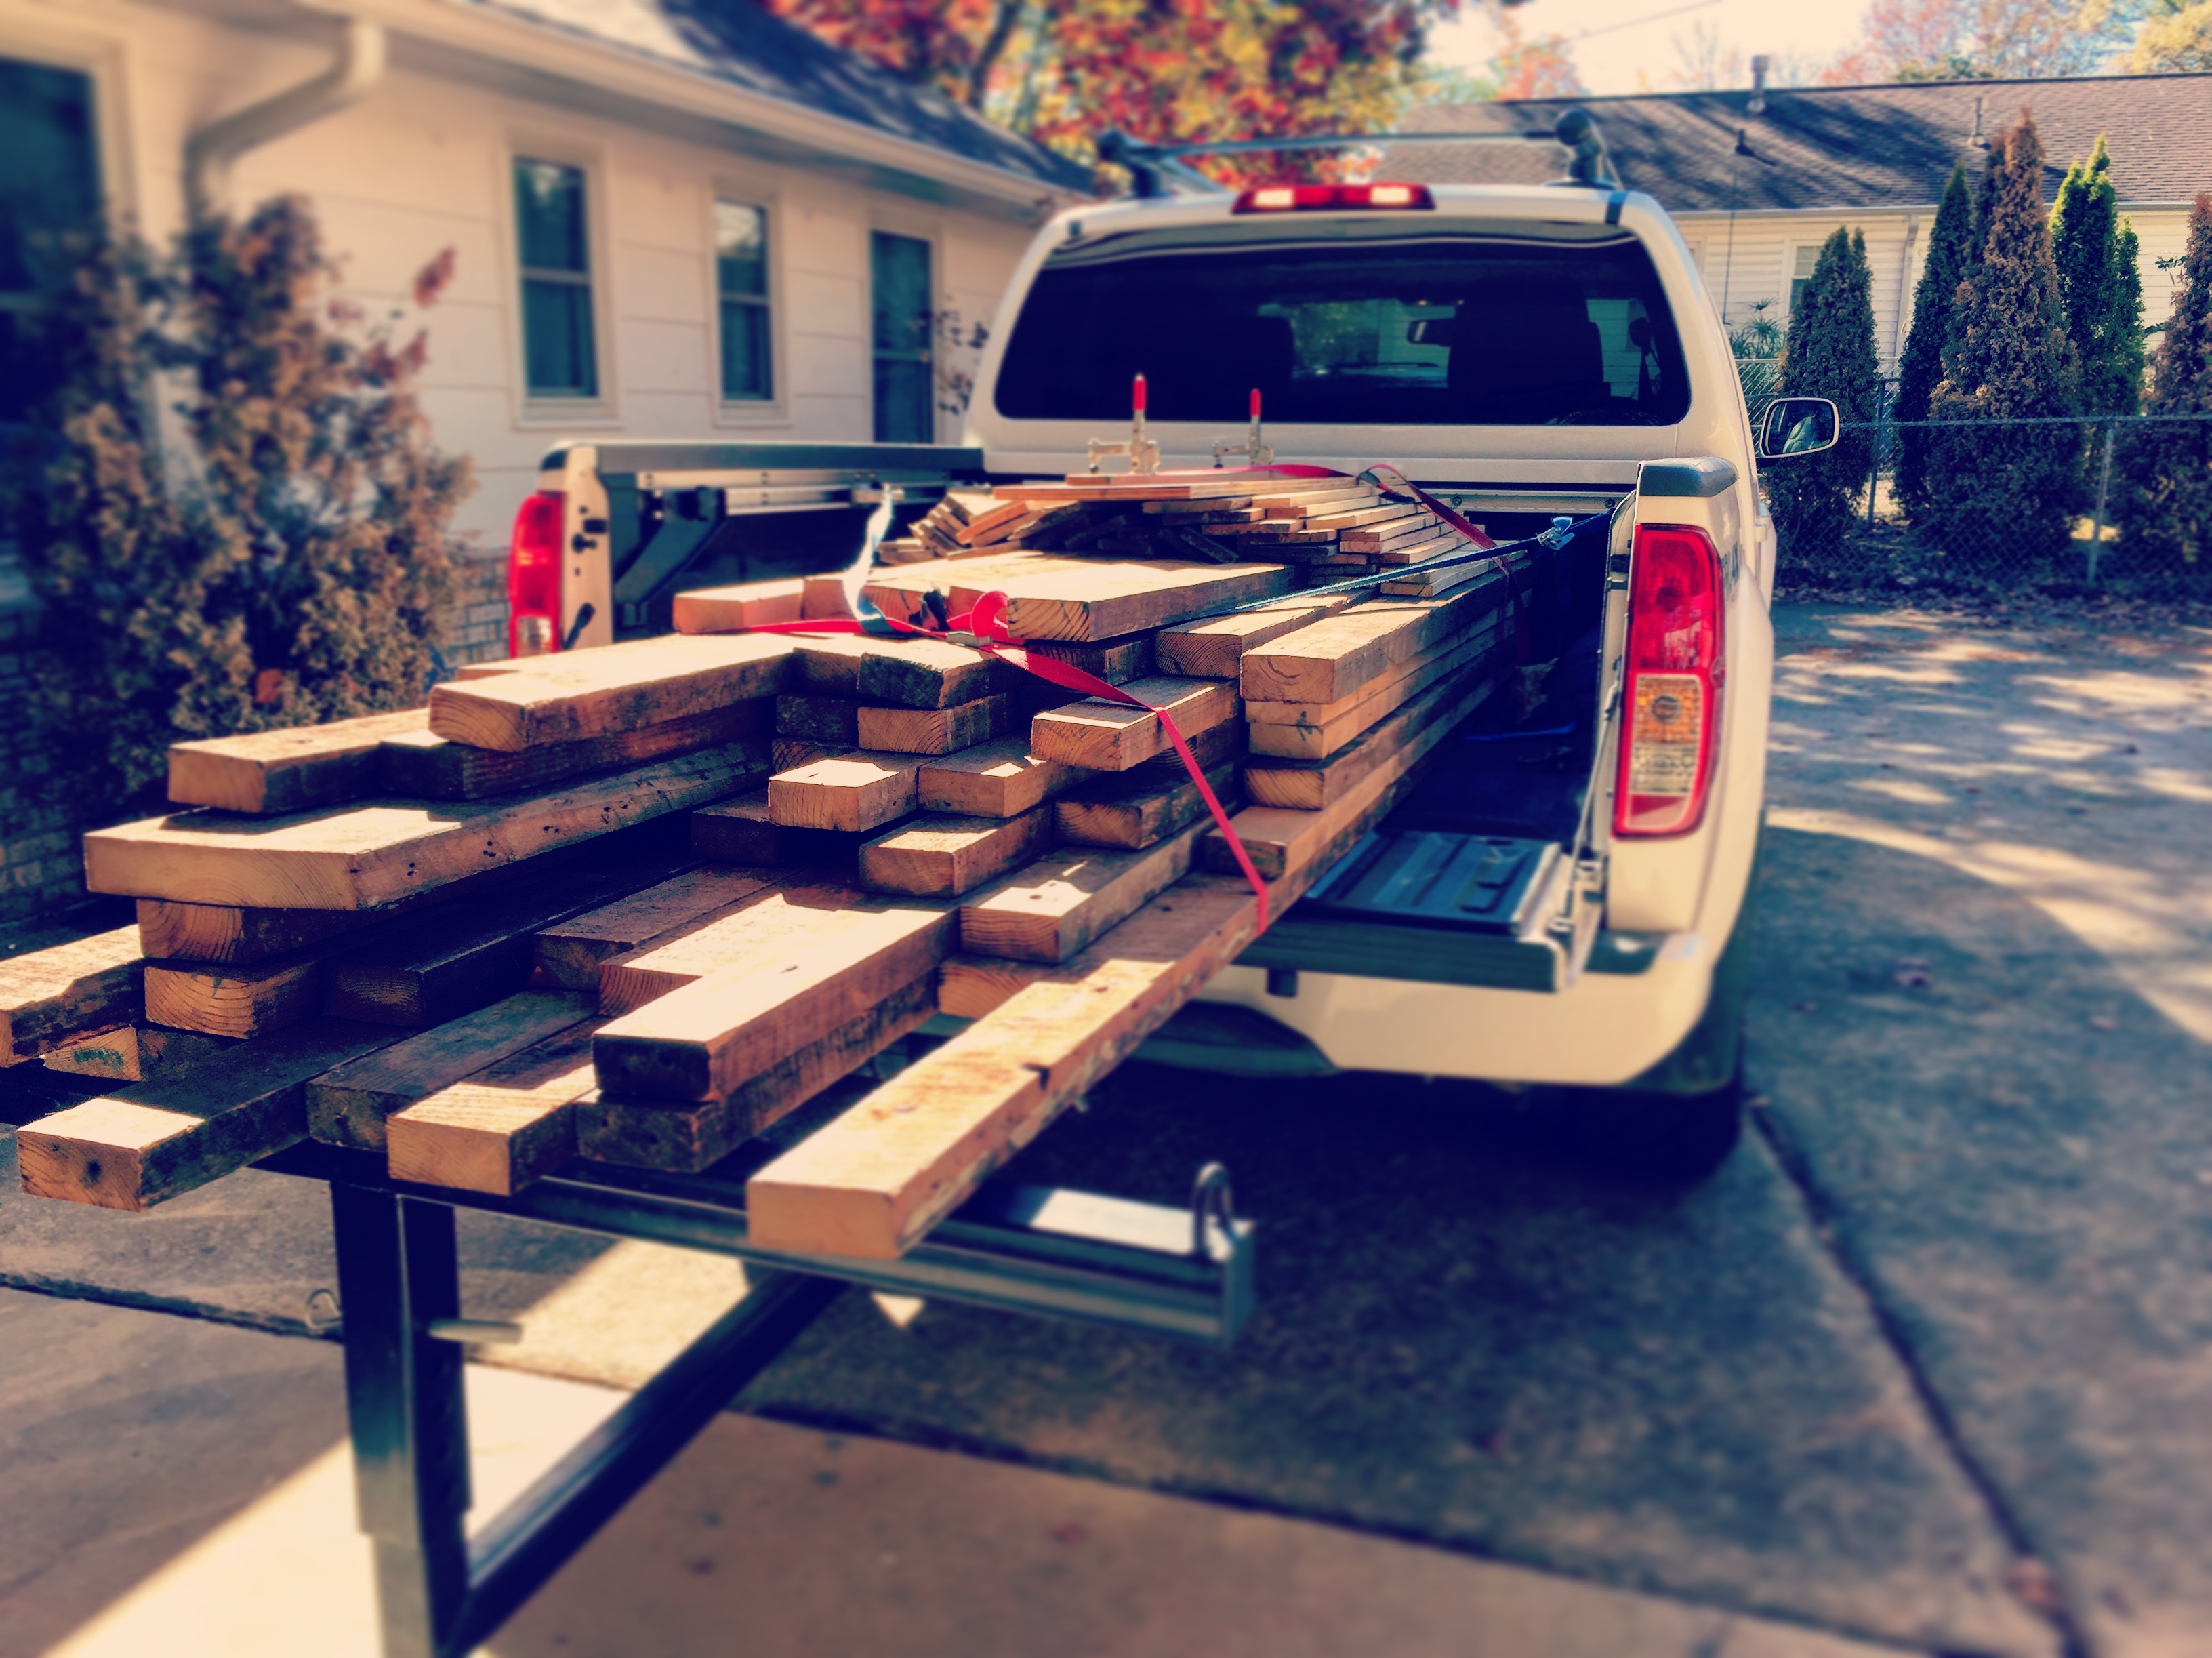
Reclaimed this wood from a >100 year old home that was being renovated. This is just the couch portion, I also built the sectional part. I really like how it came out.
What a fun build, the whole family helped!
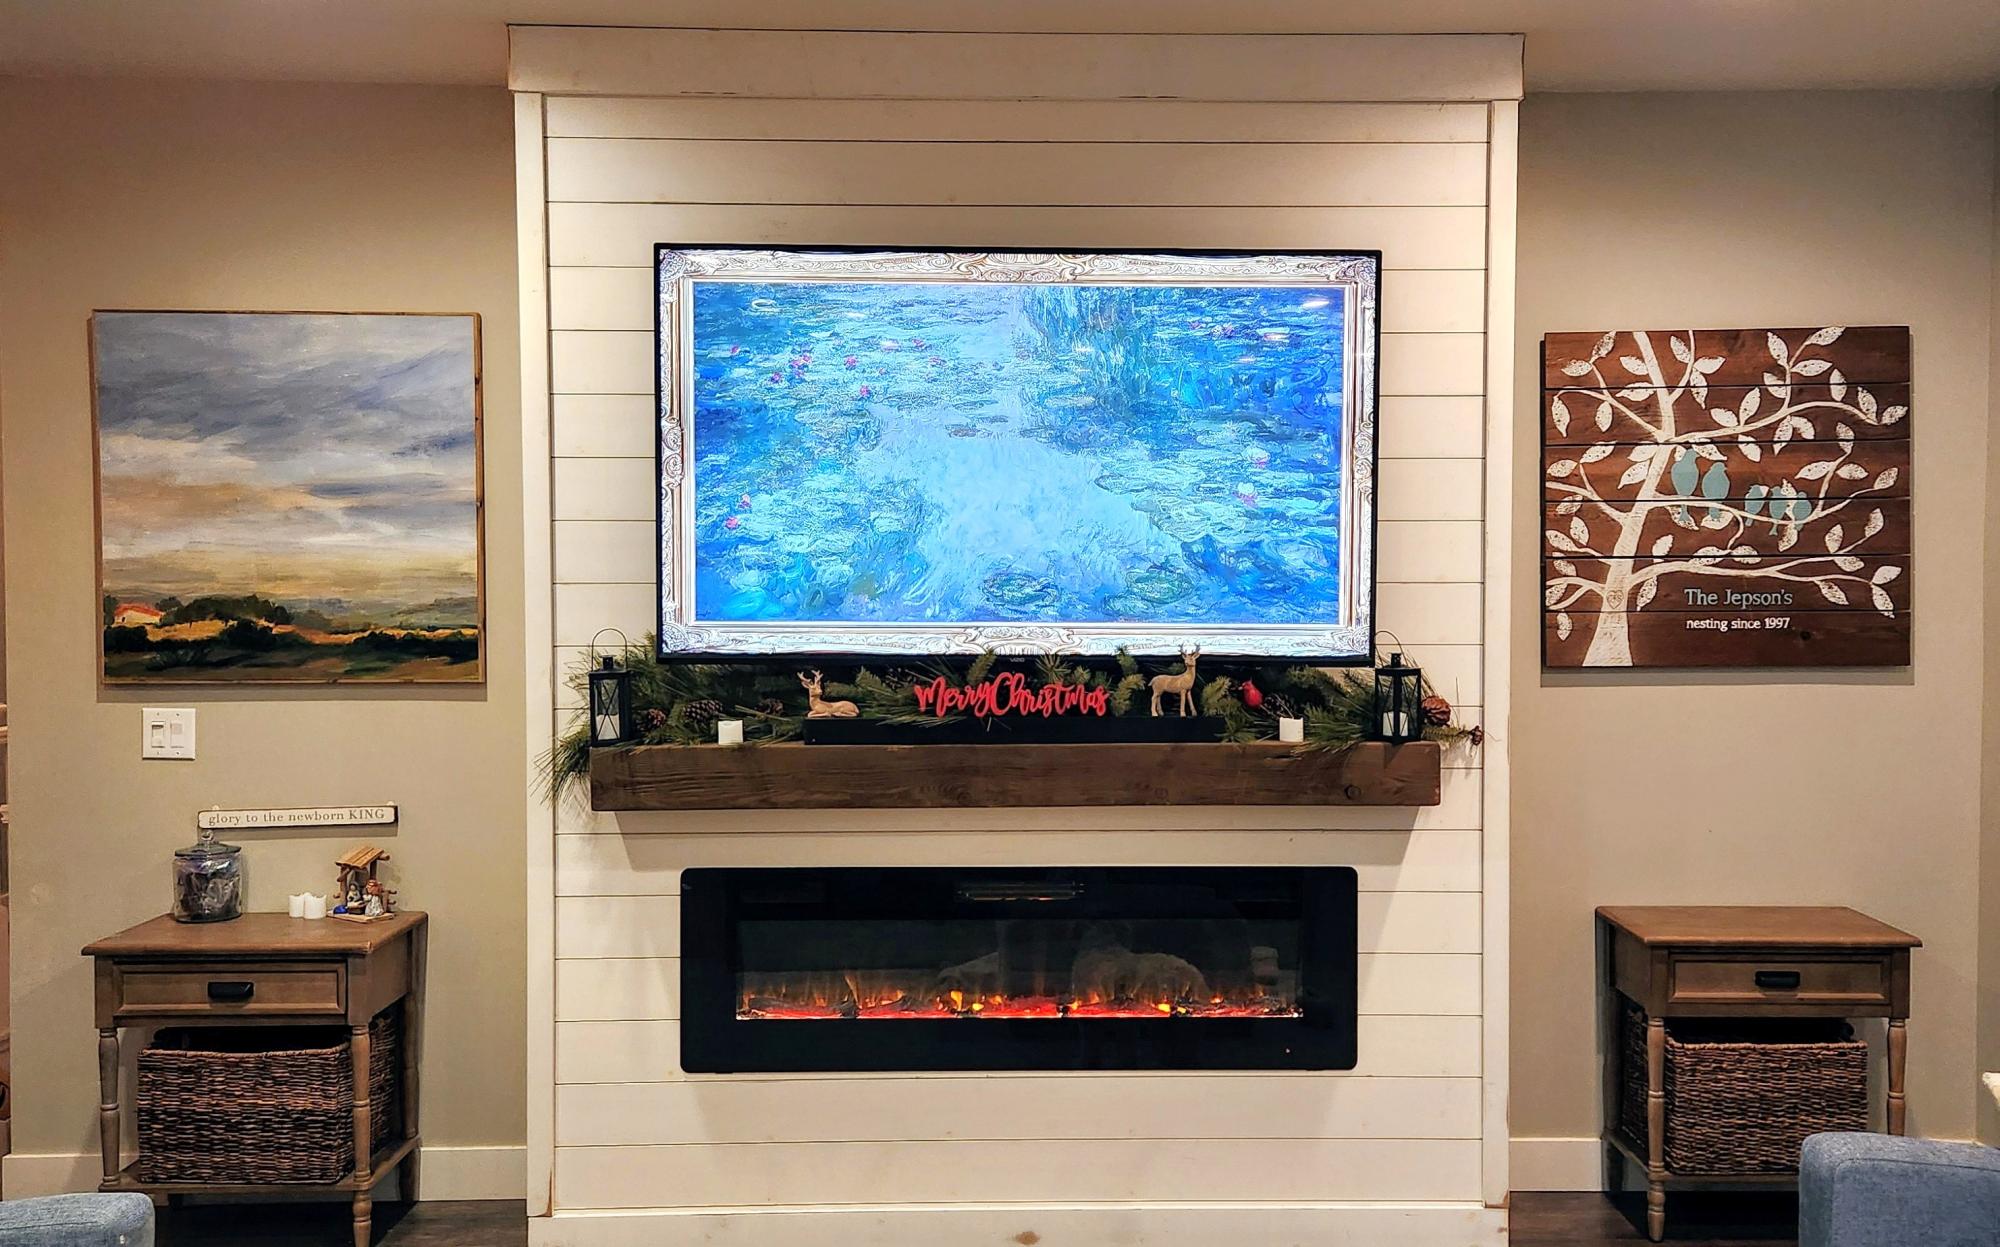
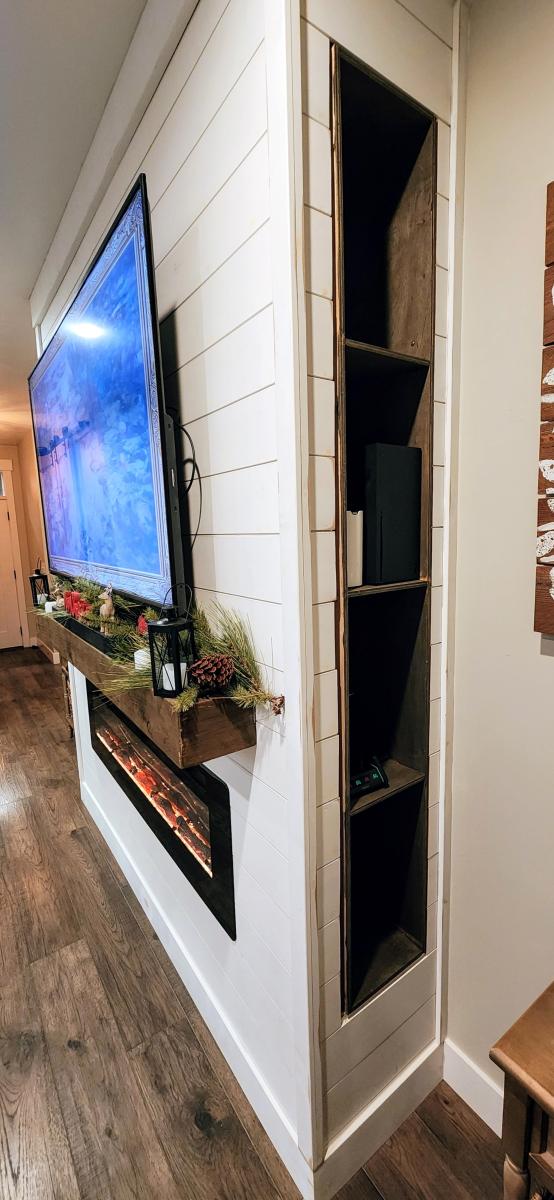
We wanted a electric fireplace with mantle and TV home above but needed storage shelves on the side for all of our electronics and blankets. Came up with this plan. Need to add trim around the shells still and can't decide what color to paint the fireplace. Other than that we are in love with it.

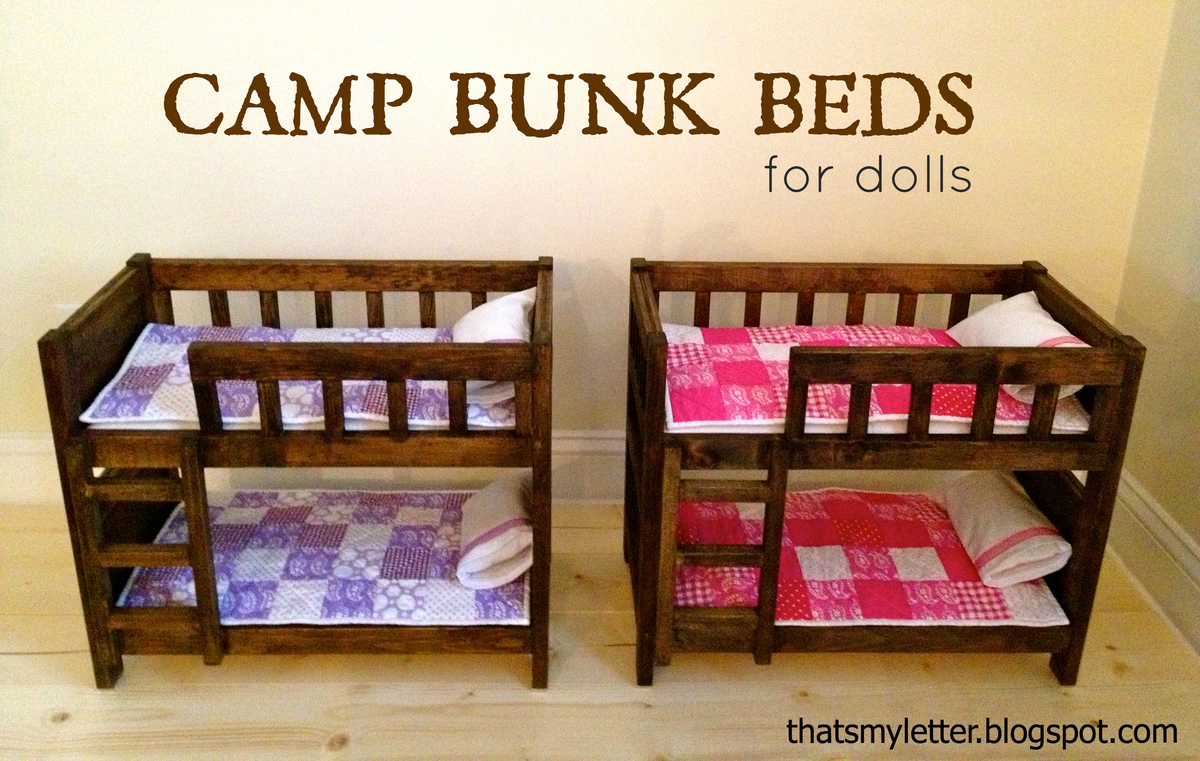
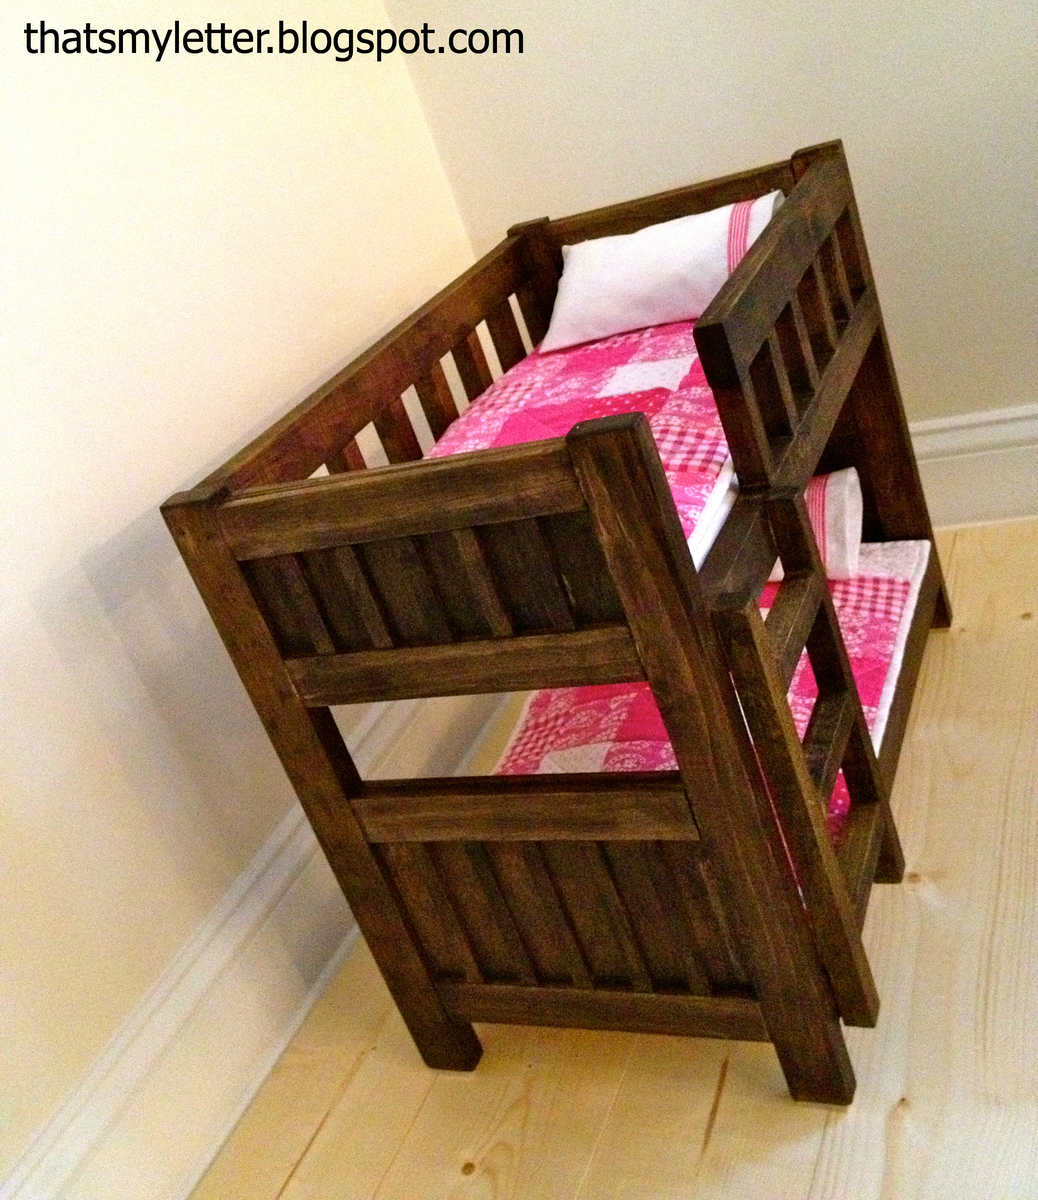
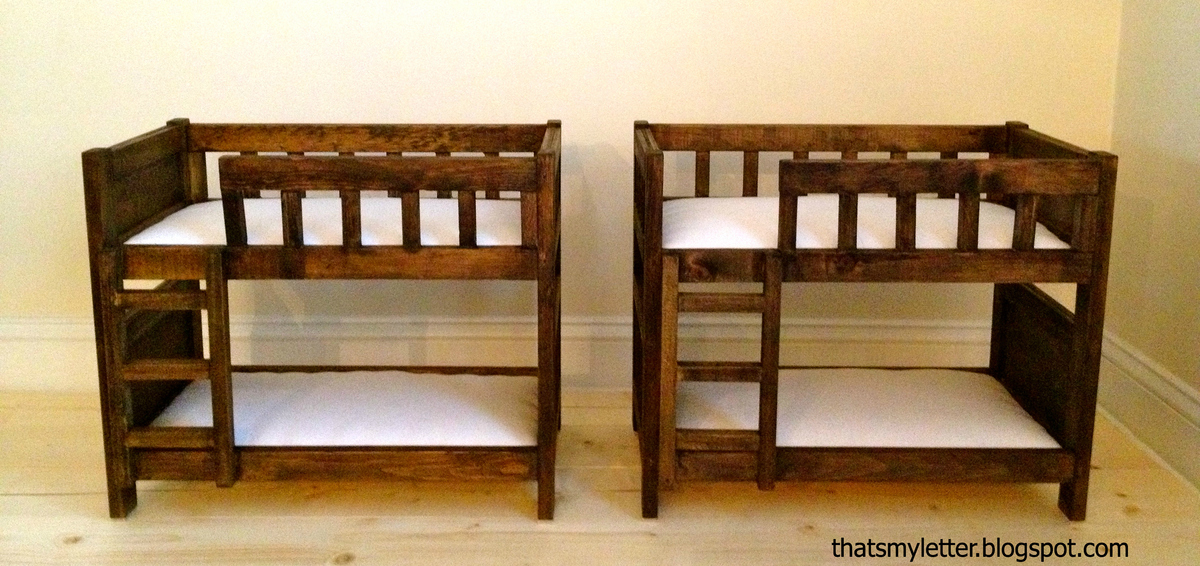
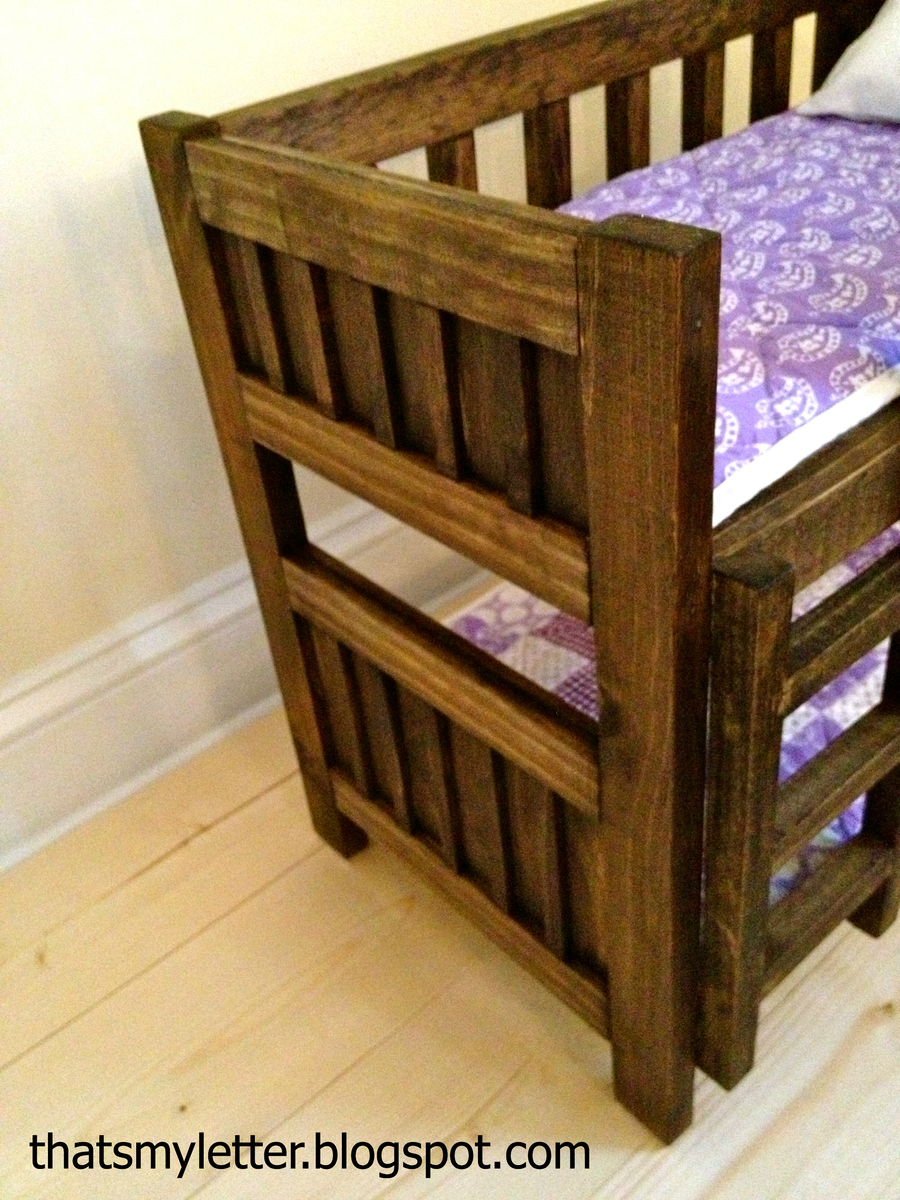
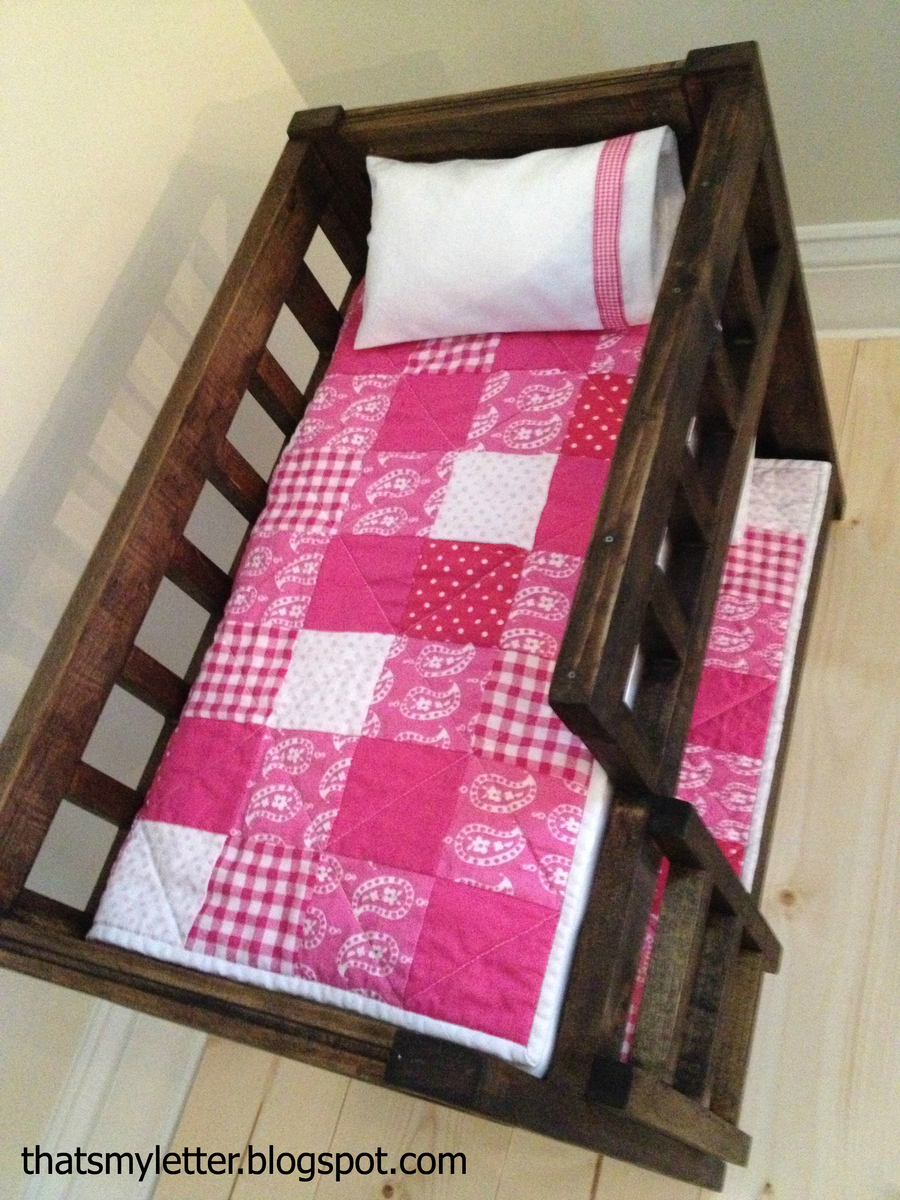
The doll size version of PB camp bunk beds with a solid head and footboard made to mimic the real life size version. I made these bunks to match the life size version which the girls have in their ski house complete with matching quilts using the same fabric from their bedding.

This was my first table, great directions from Ana White and other postings. Turned out great, the main addition I had was to add some supports for the ends as it felt like it needed it.
It was a long and brutal process, but so is child birth and I did that twice so... I was definitely a beginner at the start. I learned A LOT from this process and it paid off in the end! Couldn't be happier with the outcome!
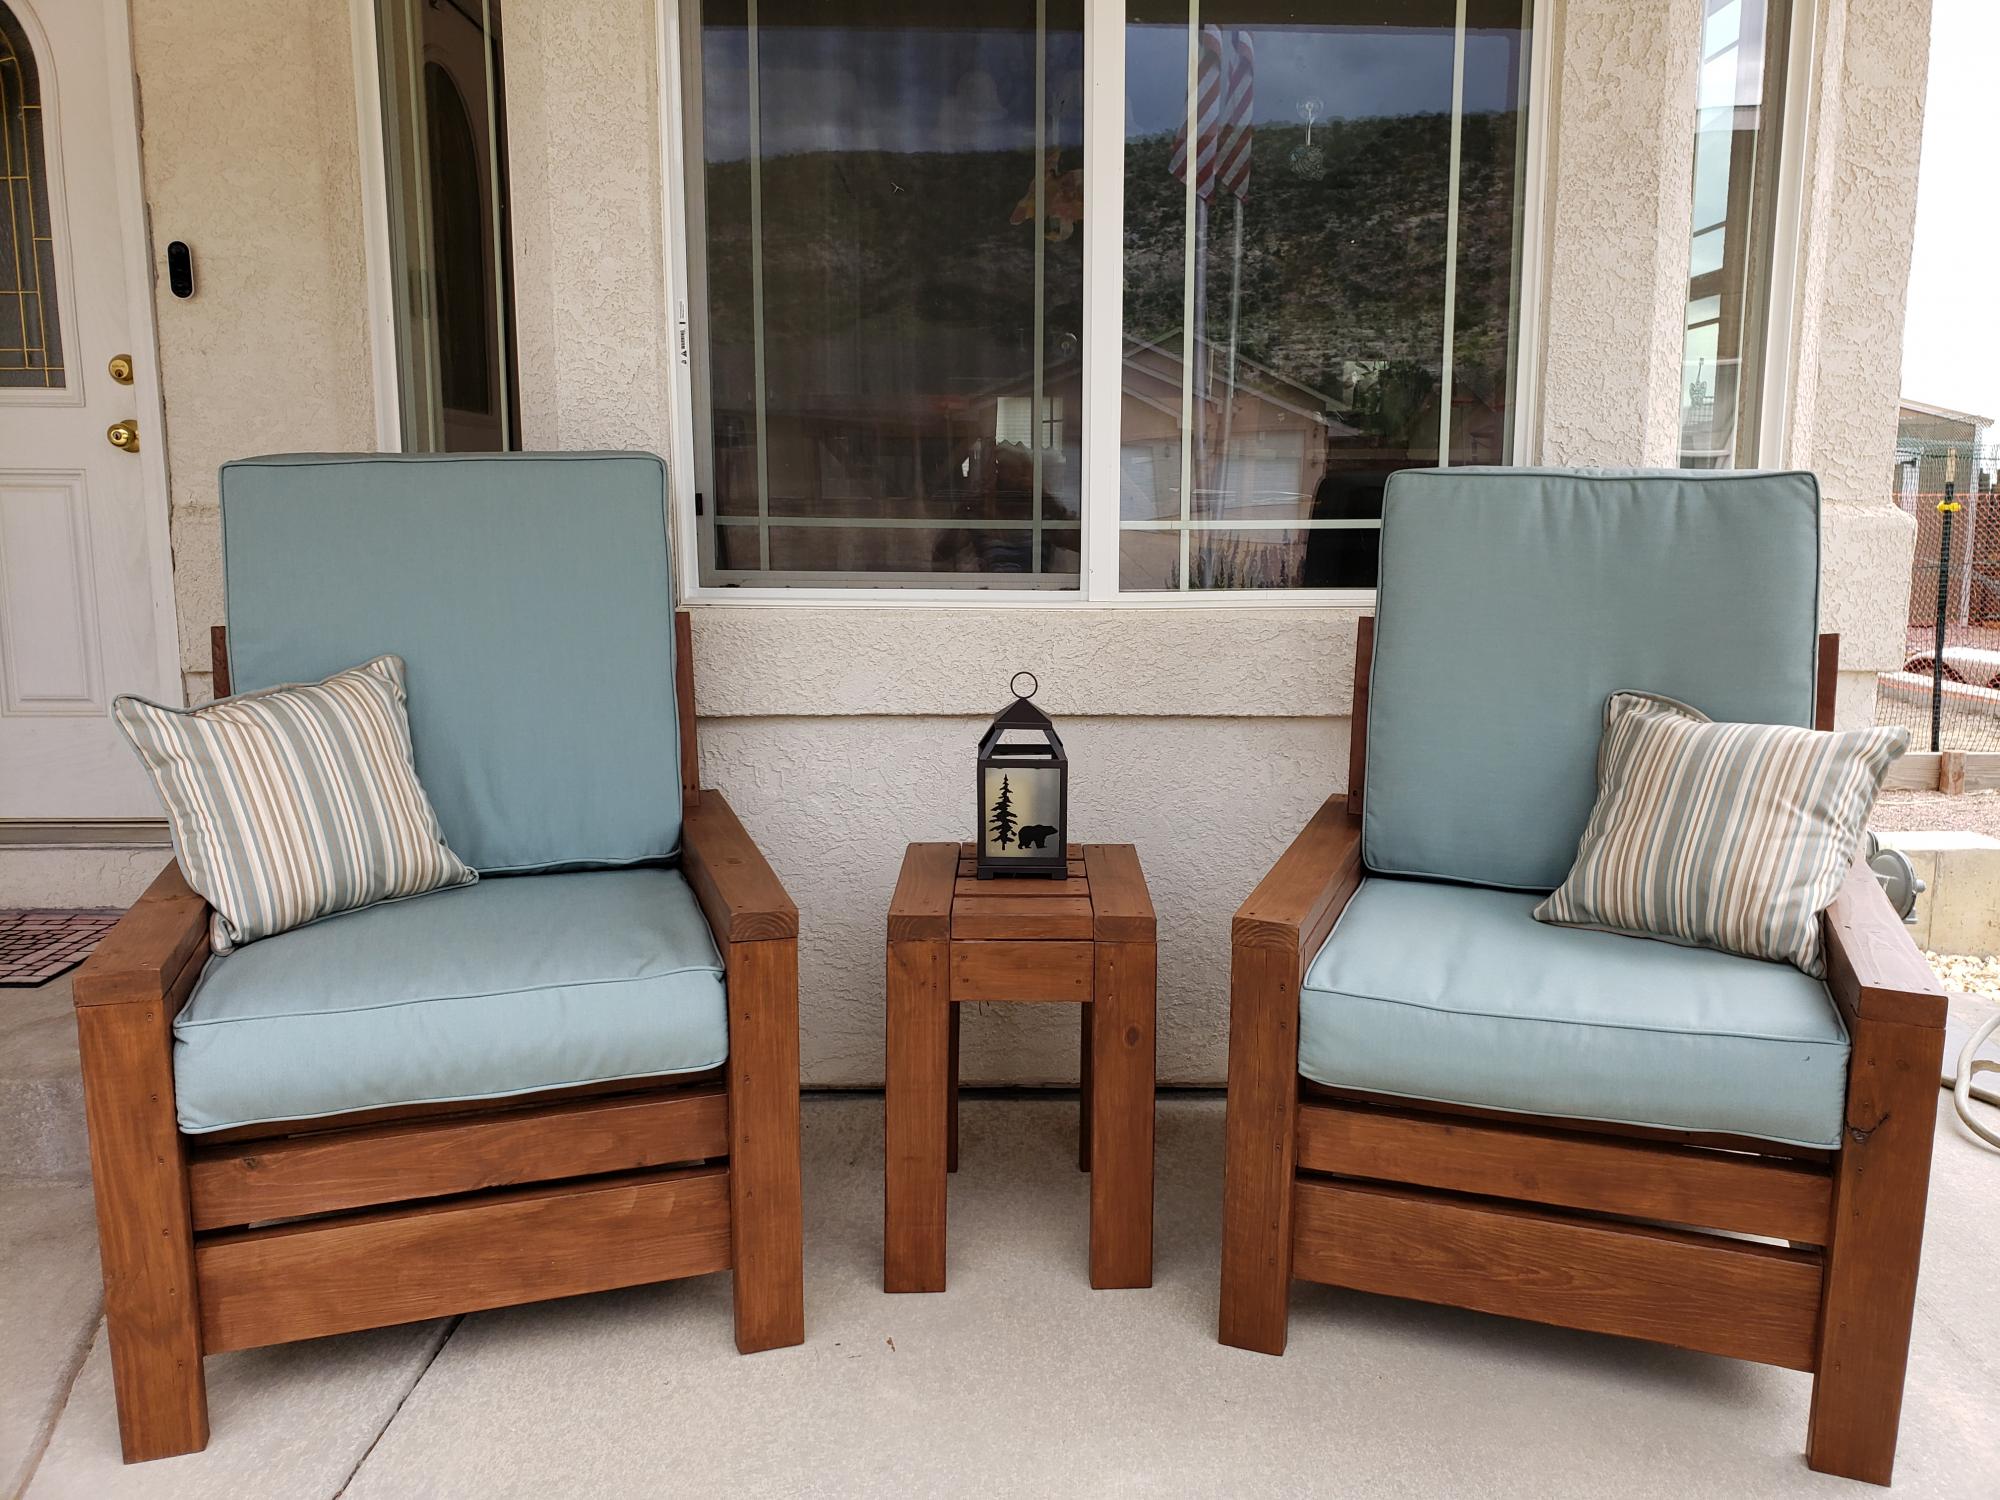
Very clear plans and directions. My husband and I built these and the table in a weekend. We added a back and made a table from the scraps. First time of not chasing furniture that has blown away! We love them!
DIY Farmhouse Bed - Jayce Thibodeaux
I built this farmhouse table for my beautiful wife for christmas using the update pocket hole plans. It was a lot of work but well worth it.
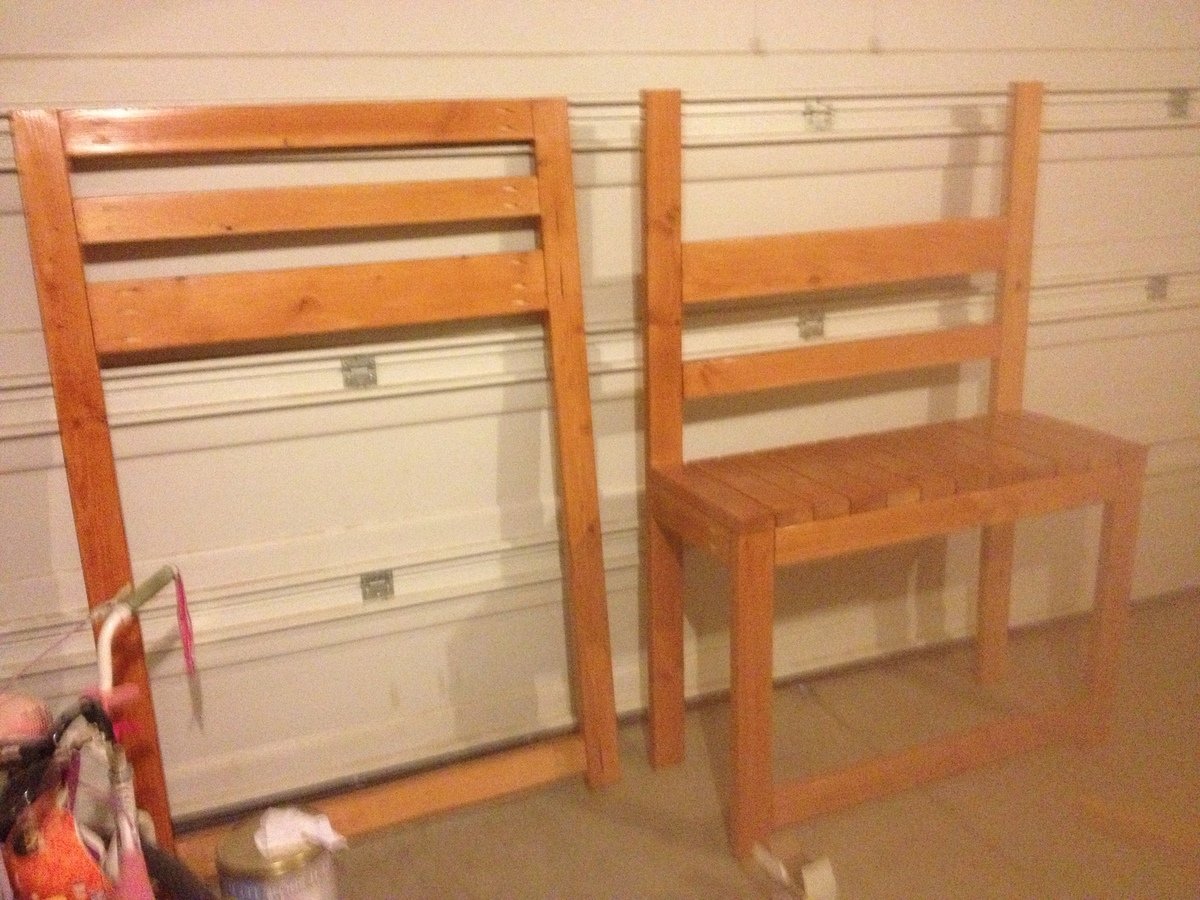
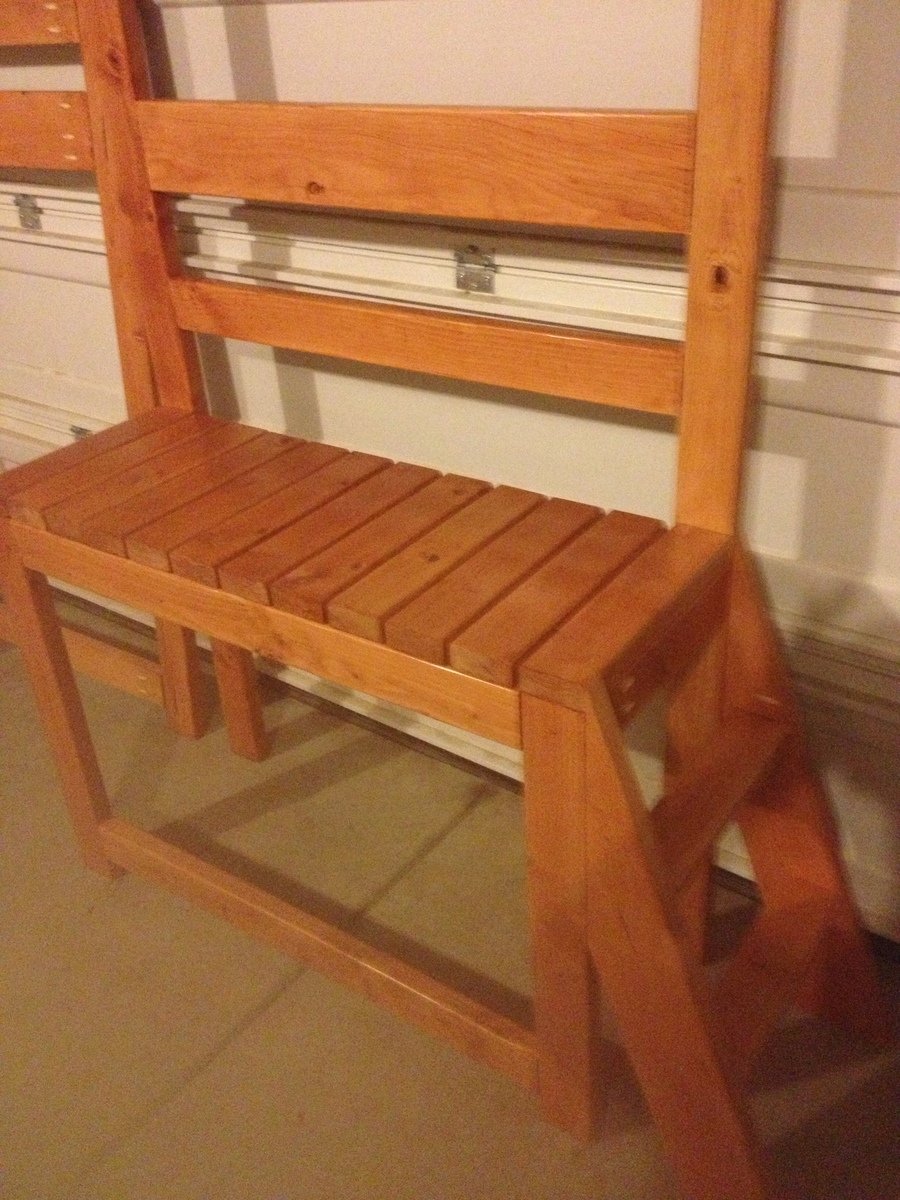
Bench in the making!
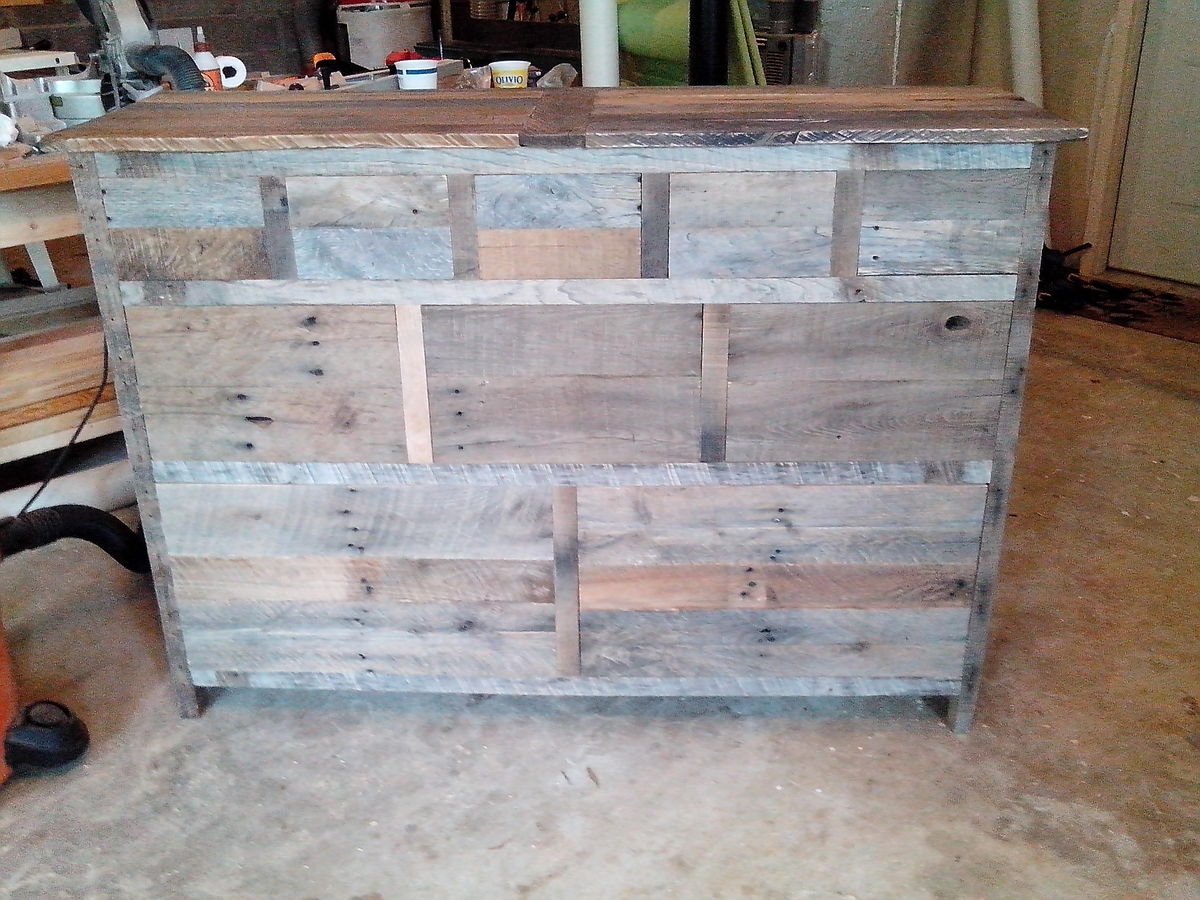
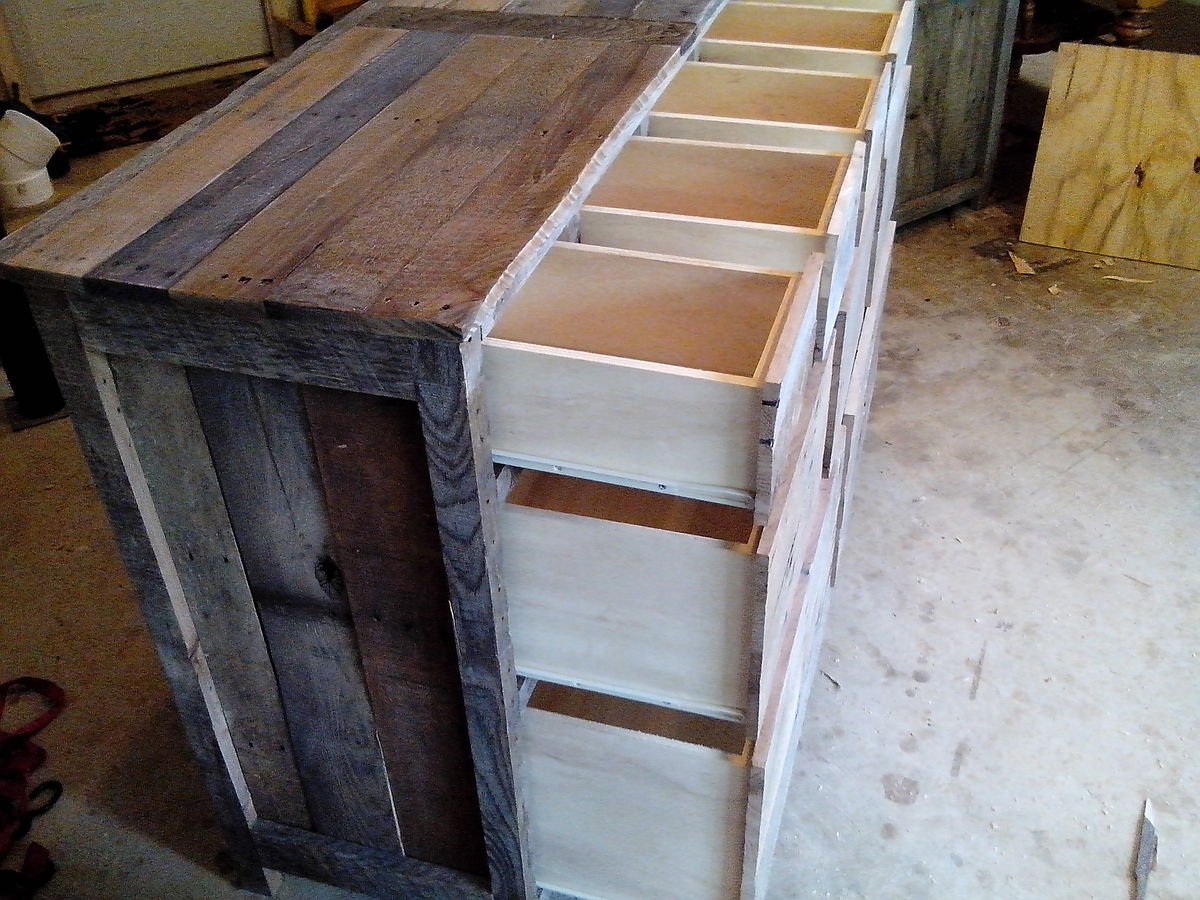
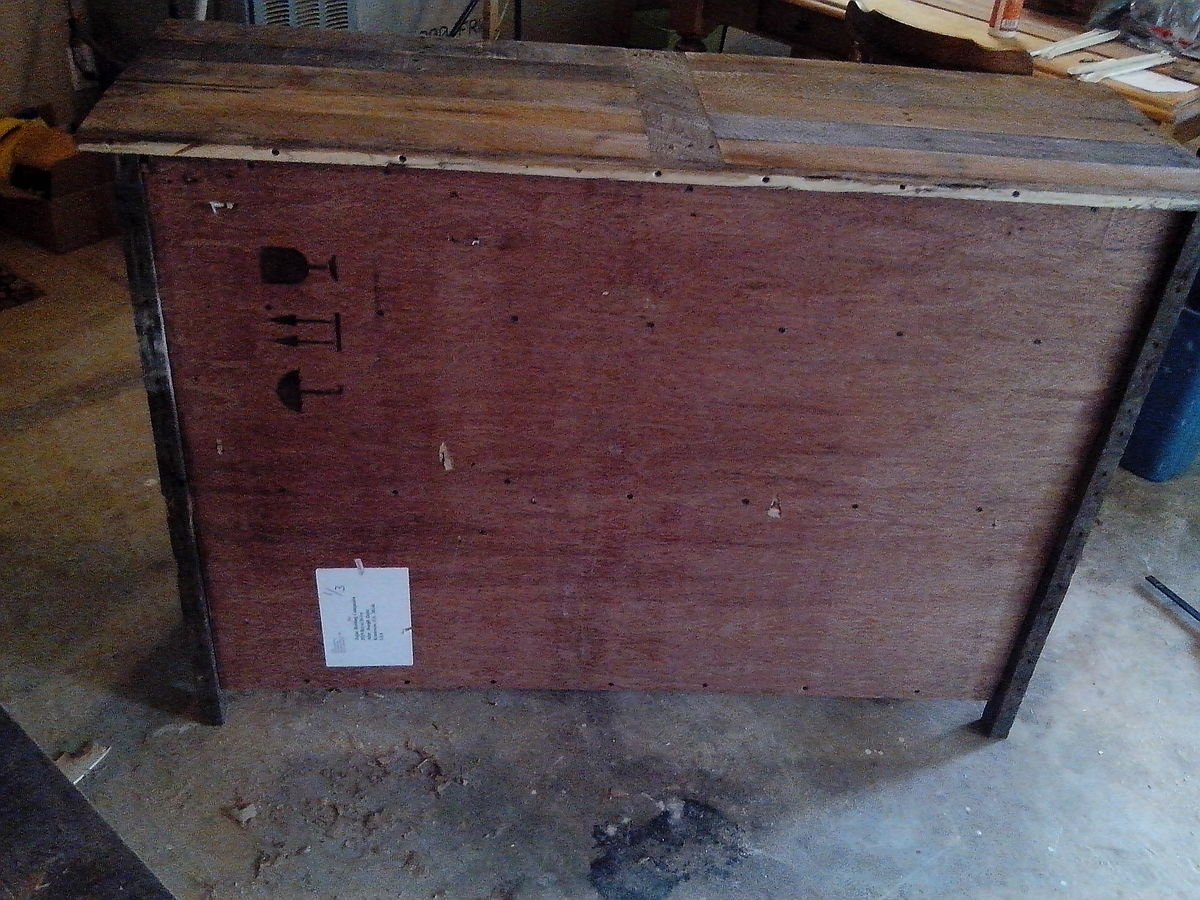
To build I used mostly all pallet wood. This made things interesting because not one drawer was the same and had to custom fit each drawer.
Turned out great! Instructions were very easy to follow. My first attempt at building a piece of "furniture".
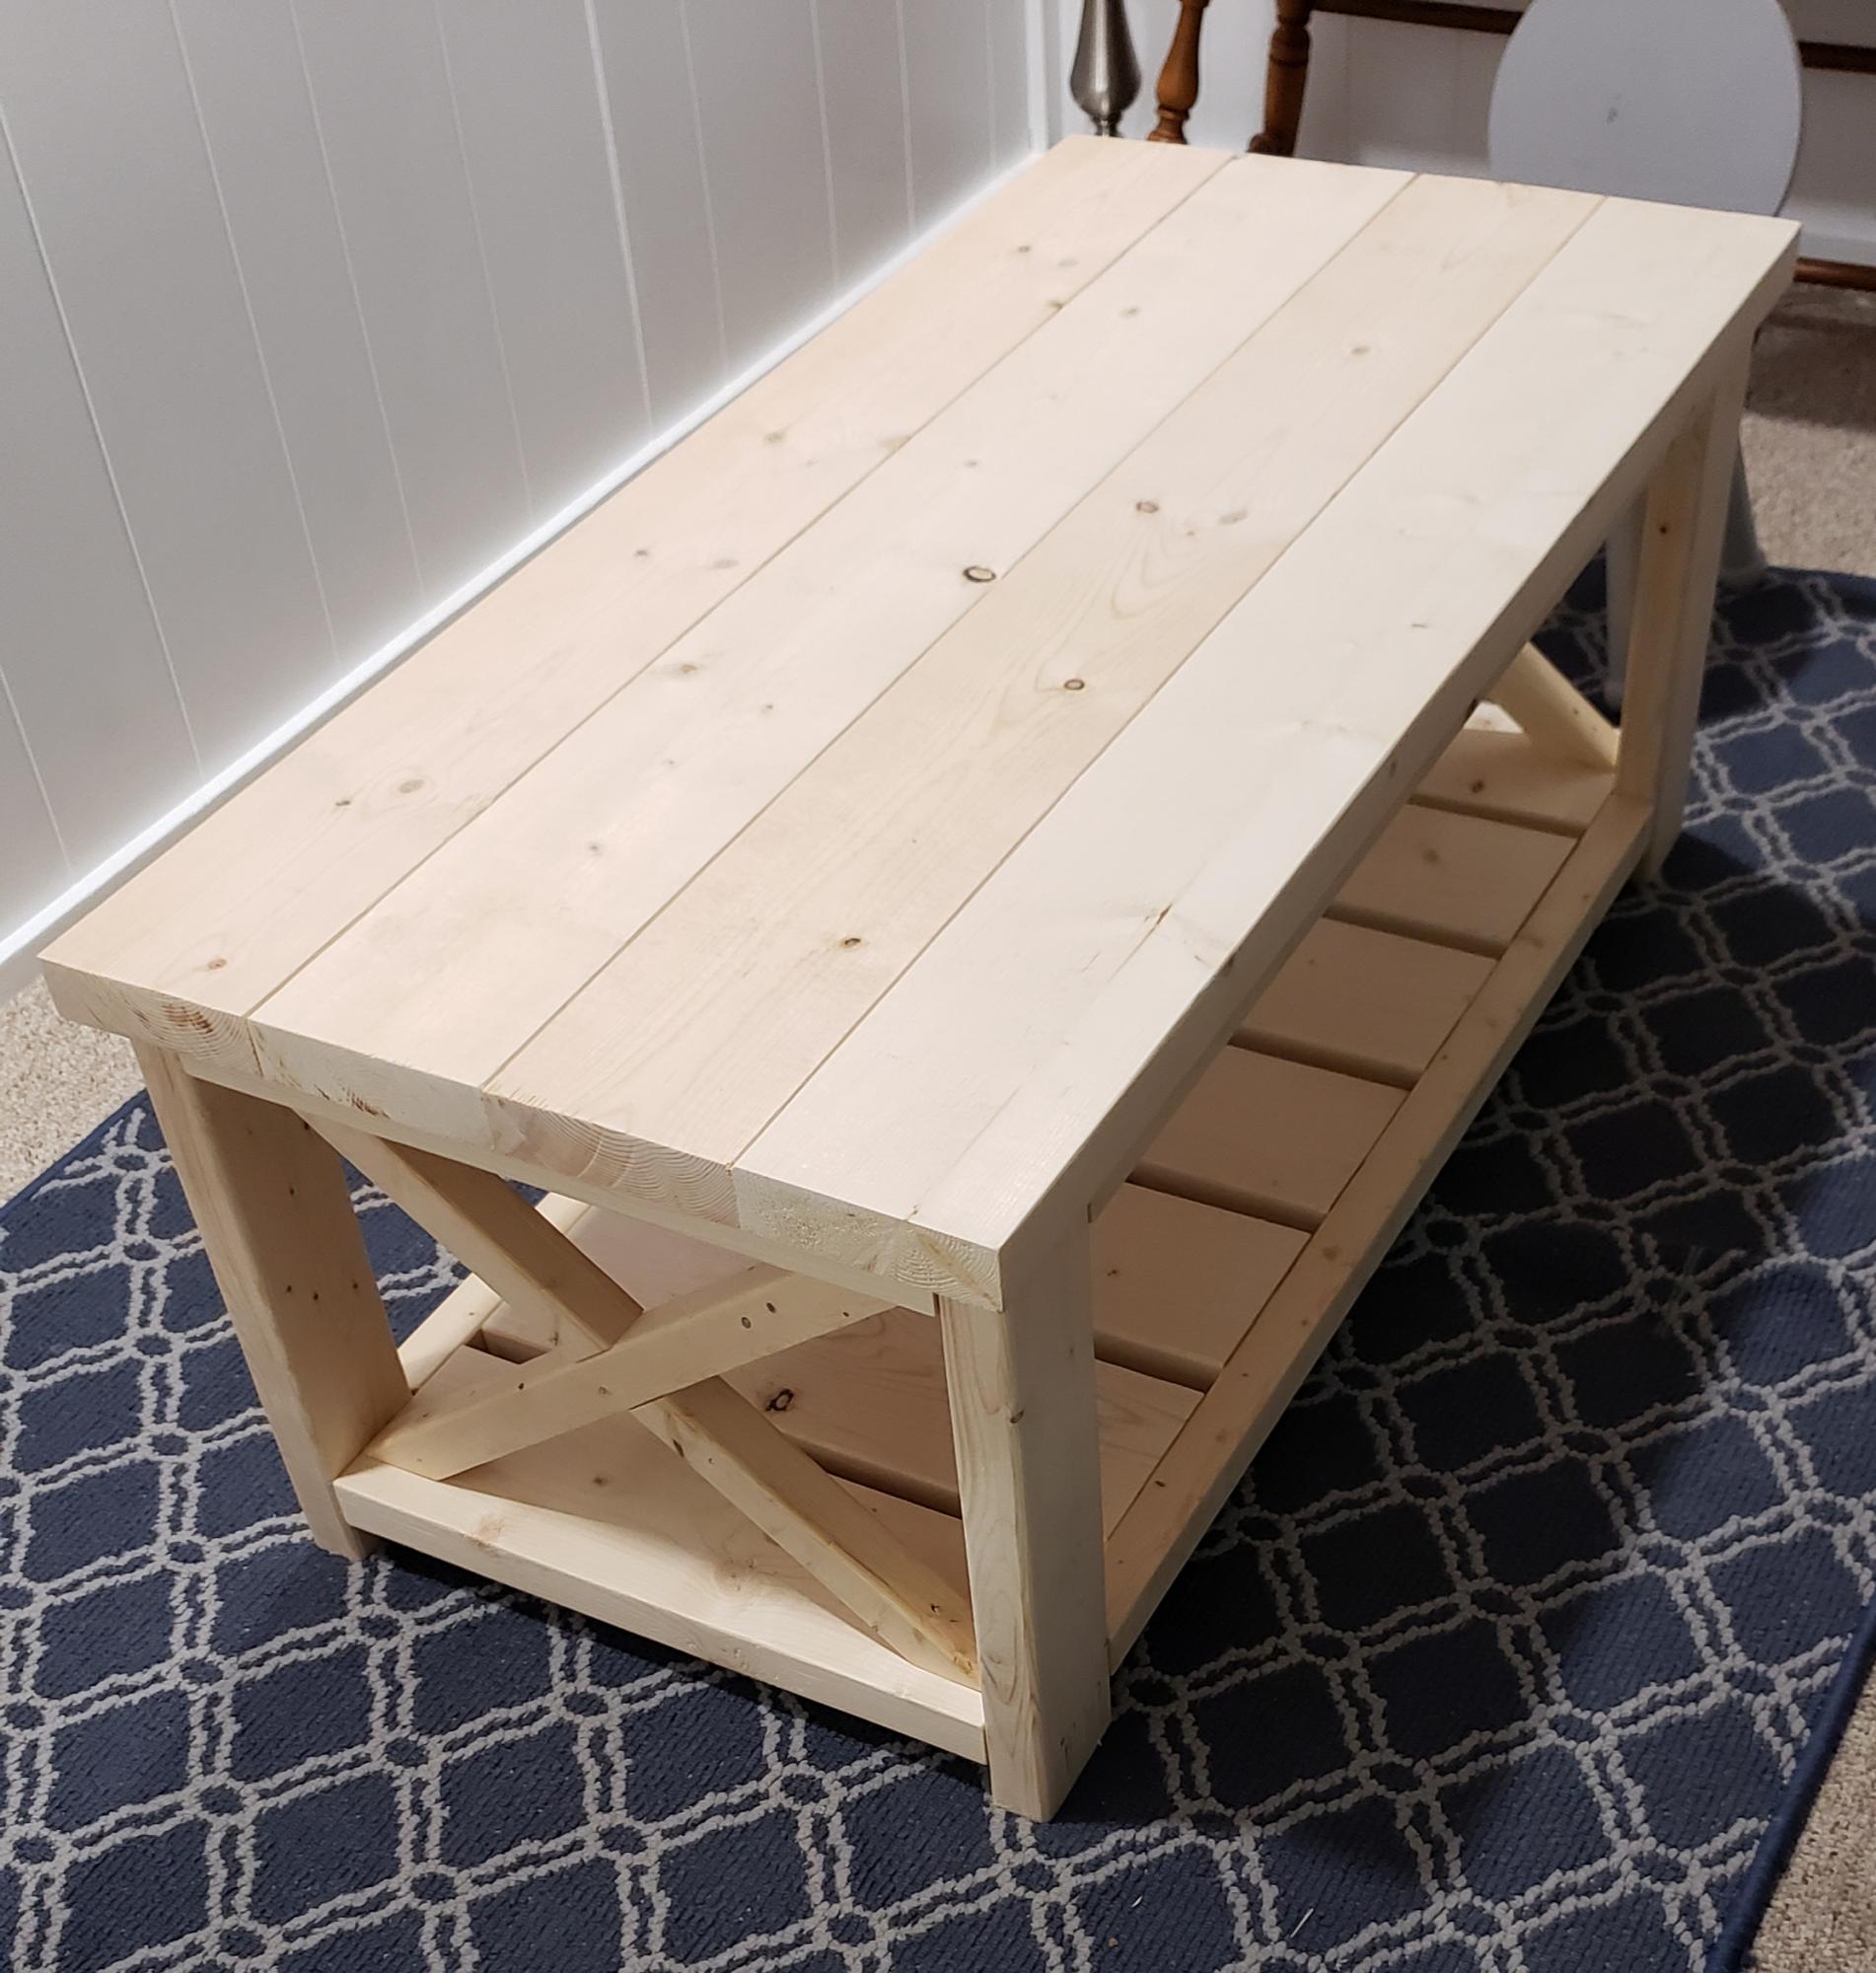
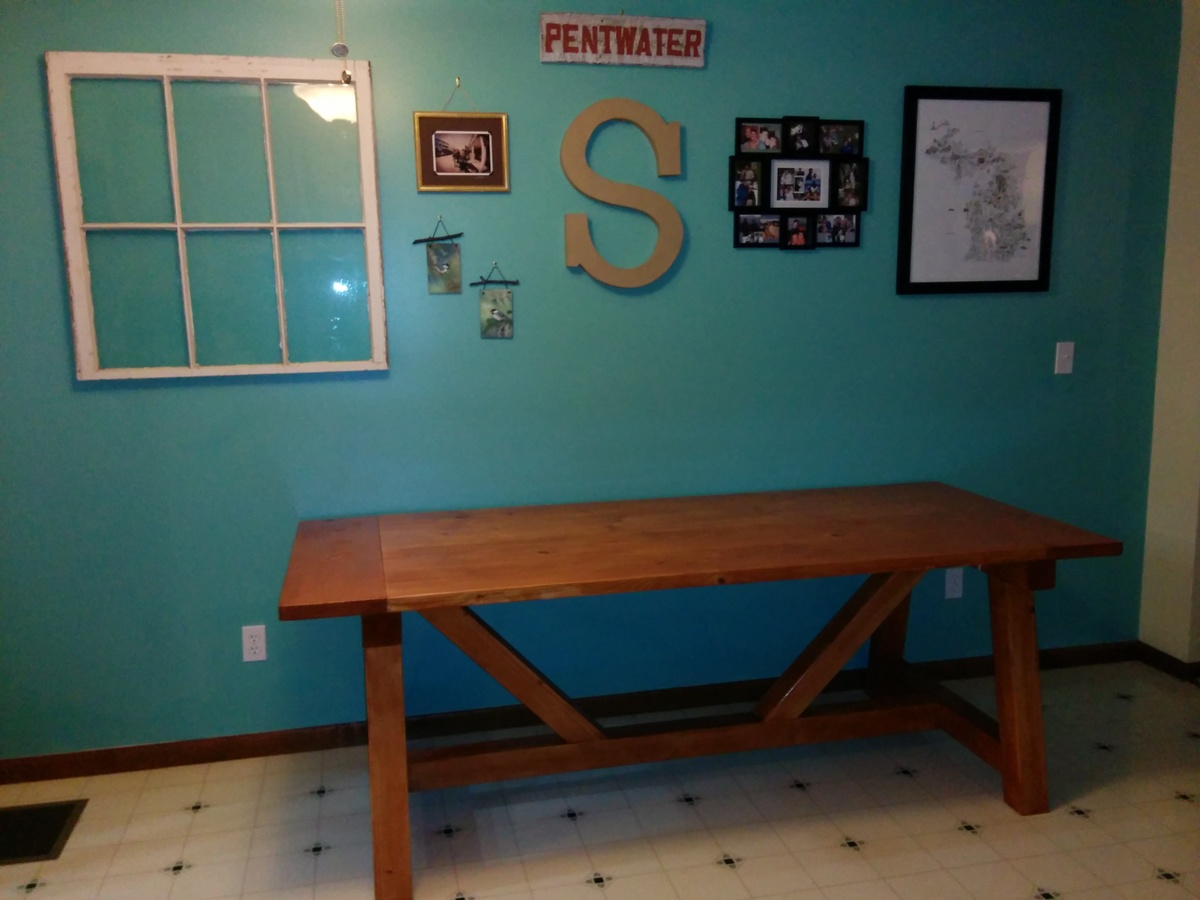
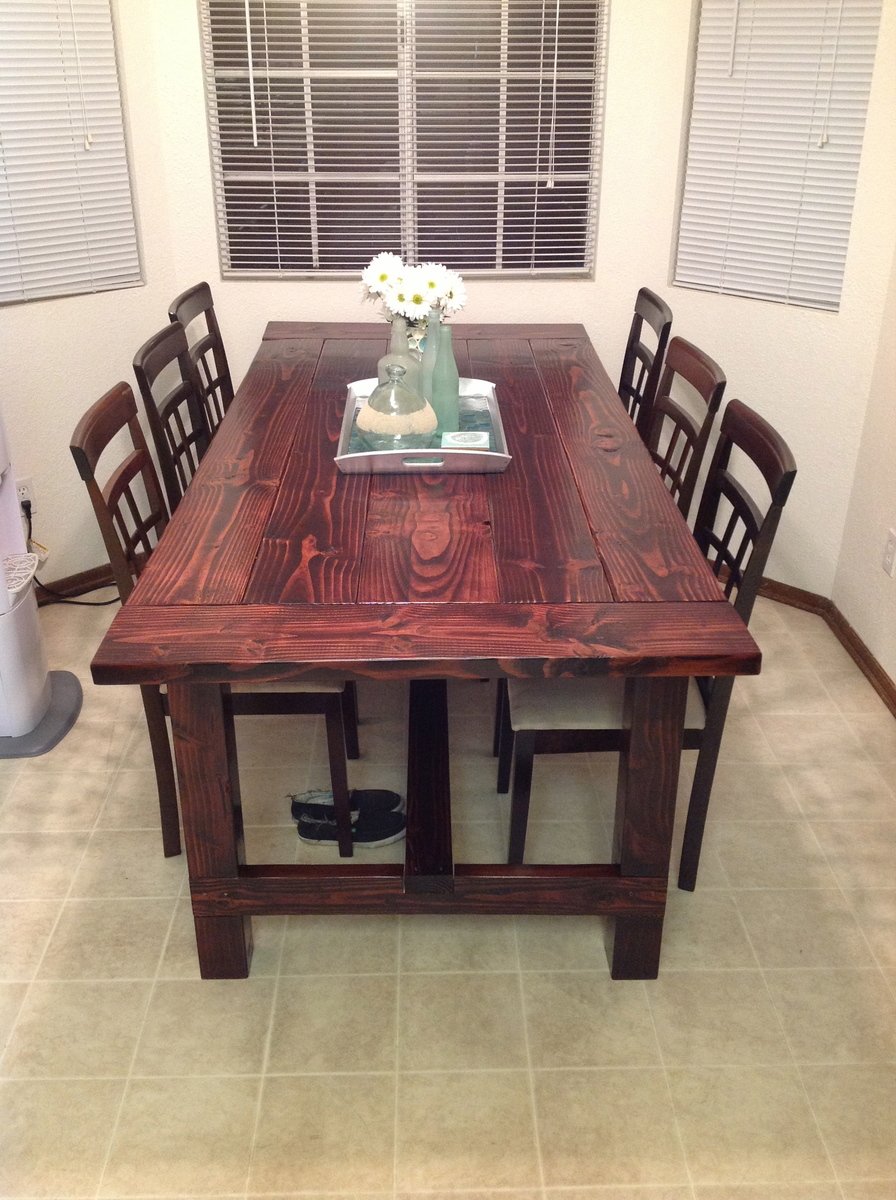
When COVID hit I quickly realized that I had absolutely no hobbies - aside from Netflix (is that considered a hobby?) One day I went down a YouTube worm hole and ended up seeing one of Ana's video's. As I watched I thought "She makes this seem easy", I think I could do this. So I went and bought a few tools and got to work. I'm now proud to say my first project ever is done!
I really enjoyed making this table and I'm looking forward to new projects. My next will be matching side tables.
I learned a ton doing this and while I'm happy with the final outcome I'm also highly aware of all the mistakes I made. The thing is I didn't know I was making mistakes at the time. (I didn't know what I didn't know) A little bit of experience now helps eliminate those same errors next time around.
I certainly discovered that finishing is where all the magic happens. It's what makes the project look either amazing or just "ok". It's also the part of the build that takes the most attention to detail, the most patience and is also (in my humble opinion) the most boring repetitive part of the build. The reality is it's also the most important, transformative part. It definitely makes the difference.
Ana, I hope it's helpful for you to know that your video's really do inspire people to get creative and make things. I'm excited to start on my next project!
Sincerely,
Brent Rodgers
Ontario, Canada
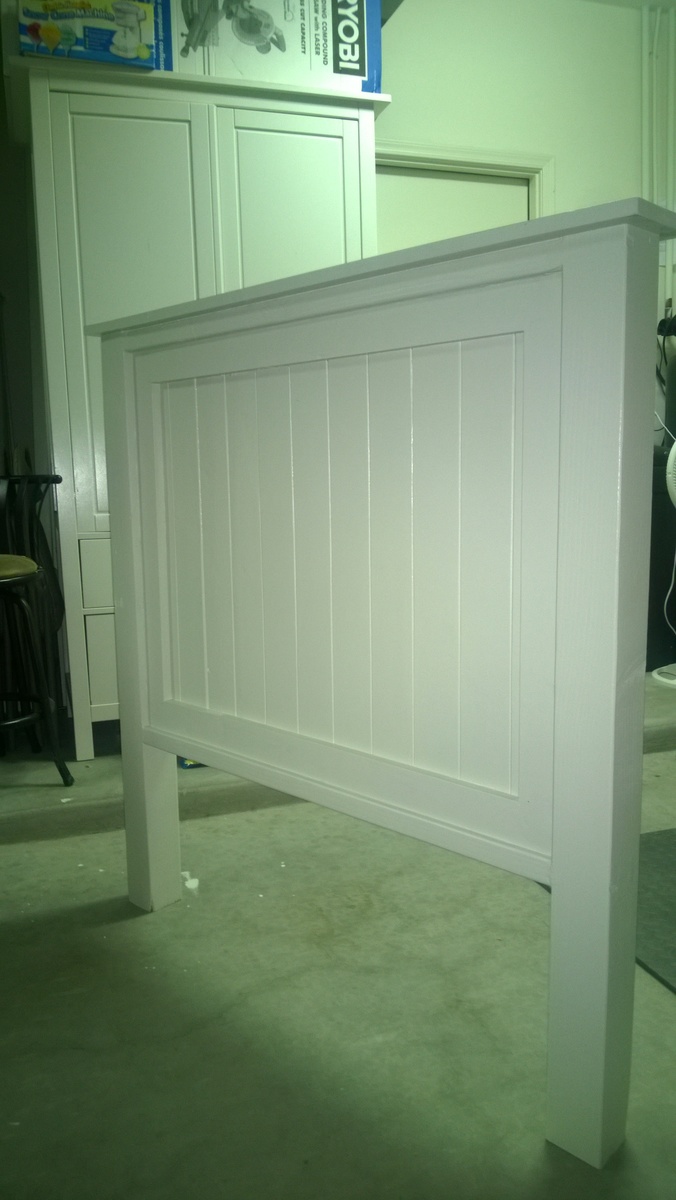
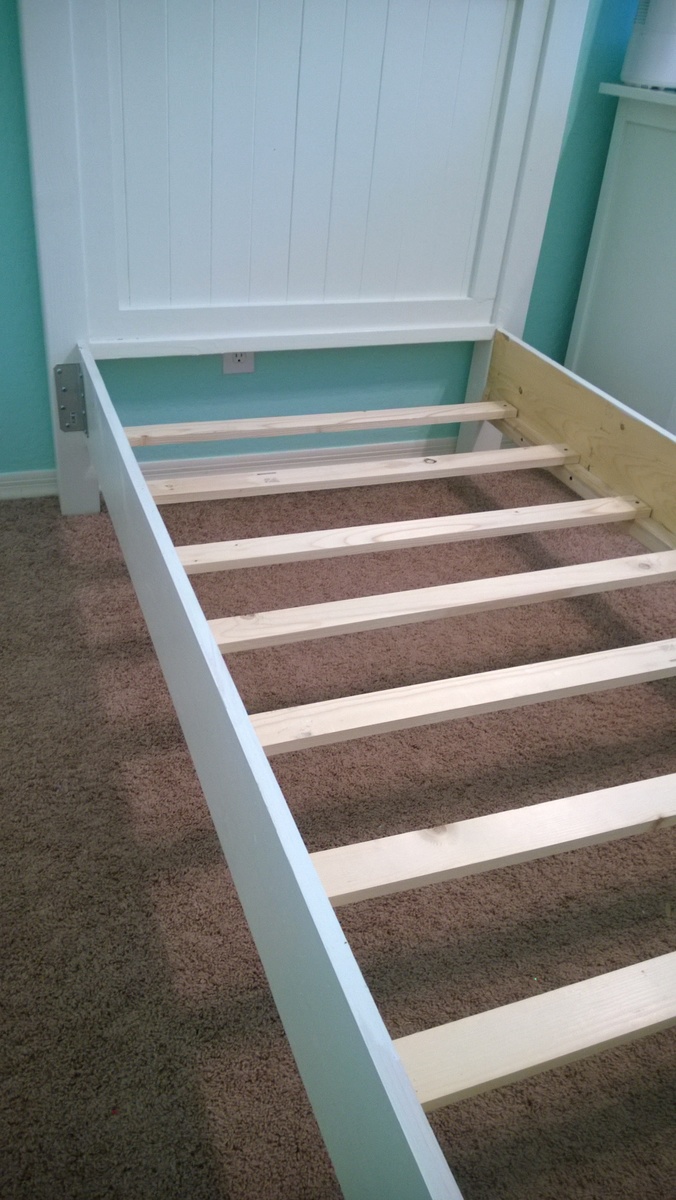
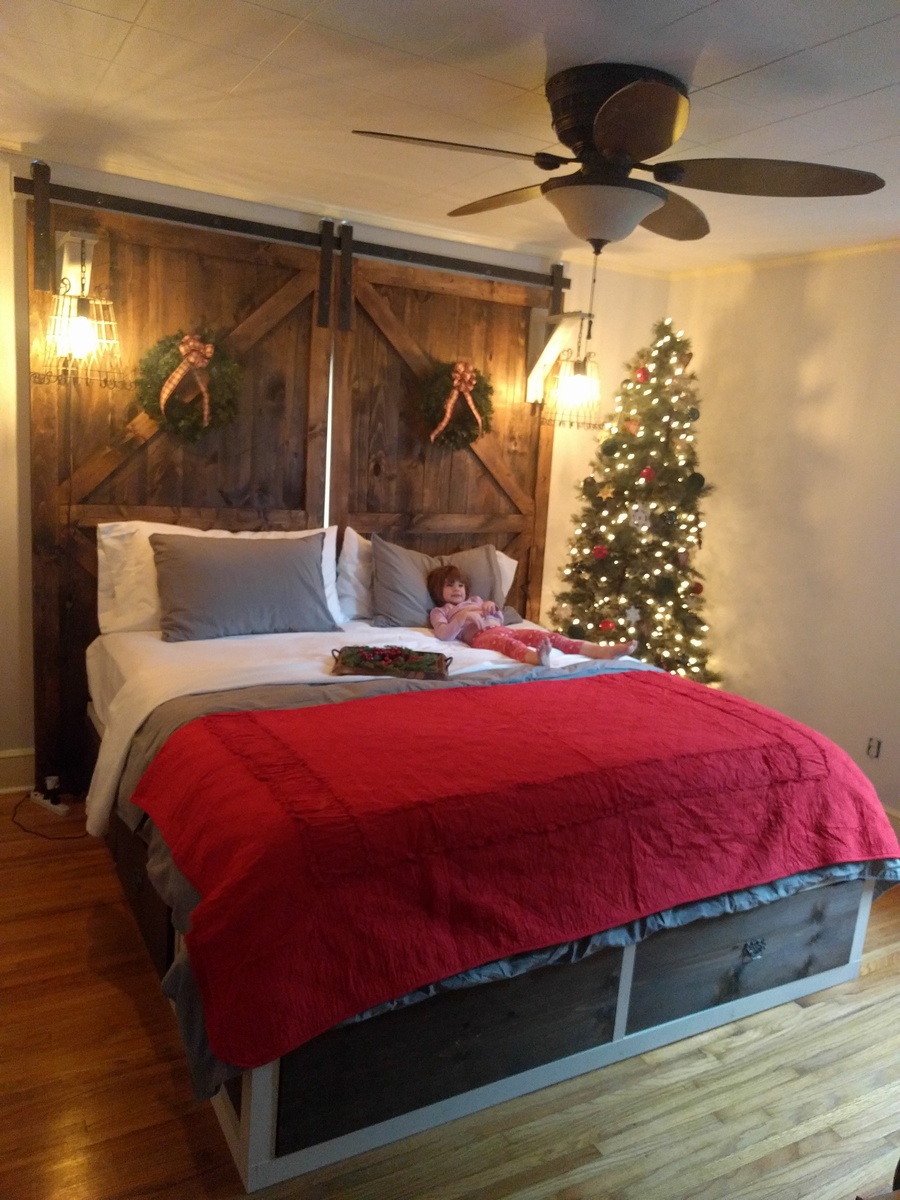
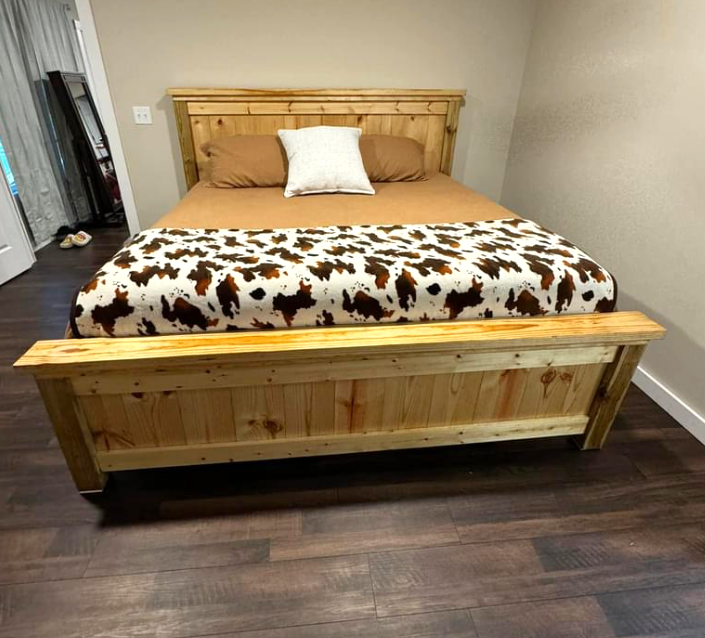
We built this bed for the lil neighbor girl as a gift for Christmas. It turned out better than I expected! The Plans were amazing and easy to follow... It is the first project that I used my Kreg Jig! I am so excited to build another one for my daughter now! We decided to pre-finish all the parts after we cut them to ensure proper sealing of all the ends, just in case of any sap or what not. Special thanks to Ana for all of these plans and Ideas! You truely rock!