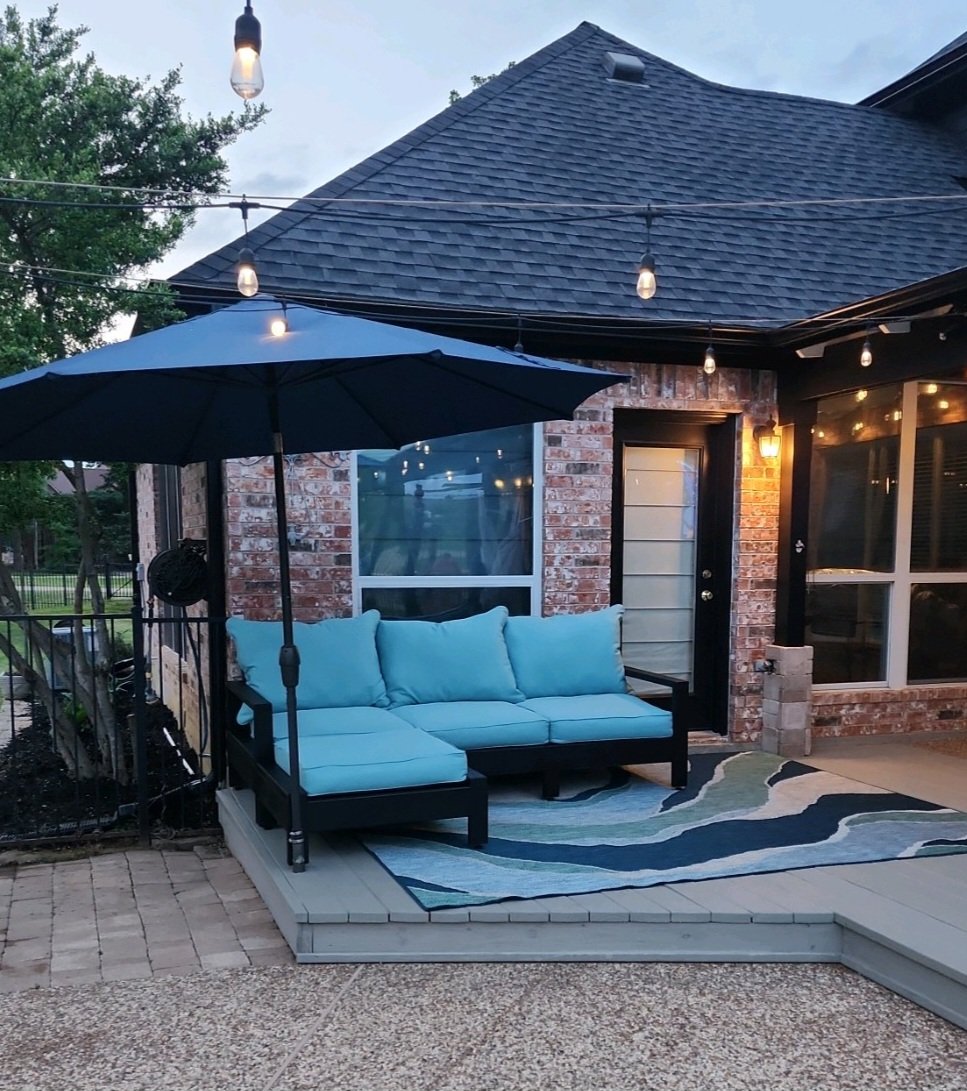
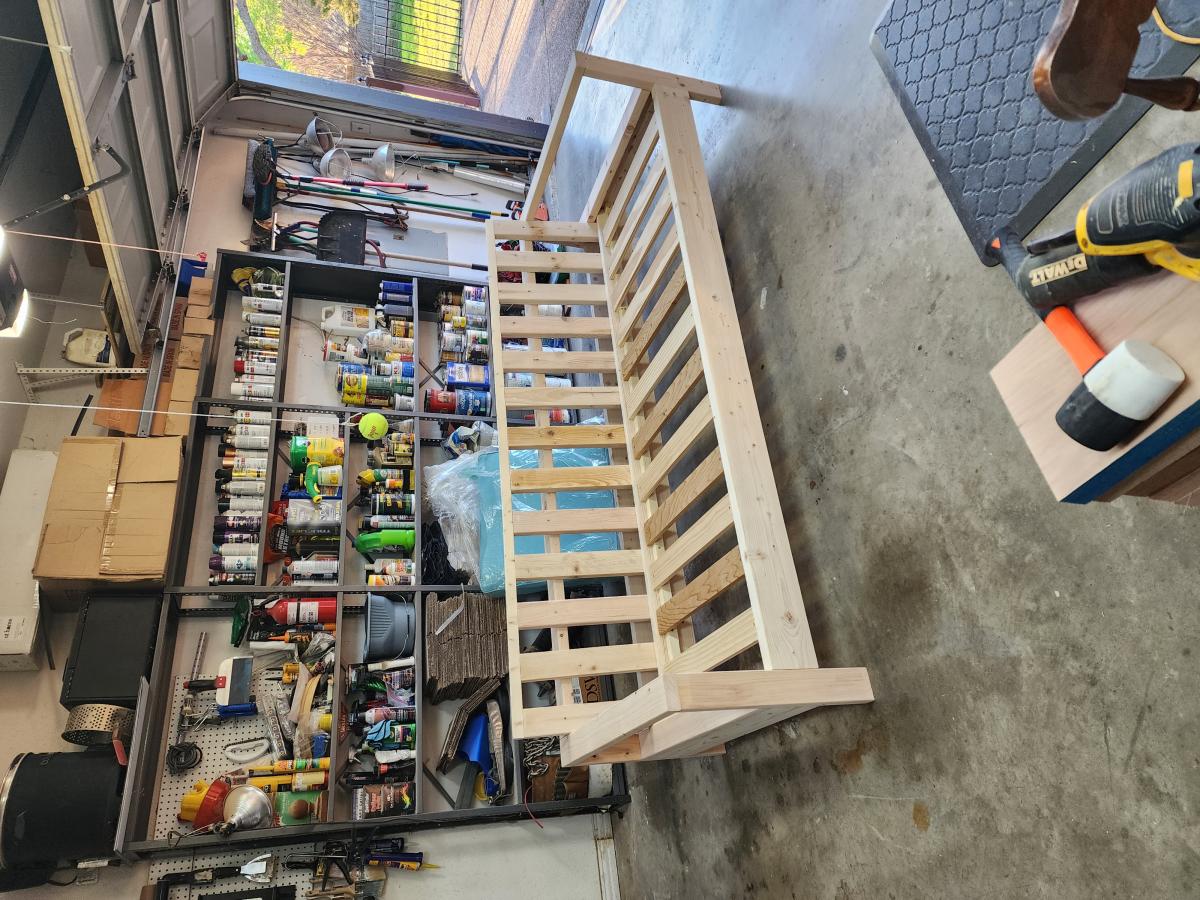
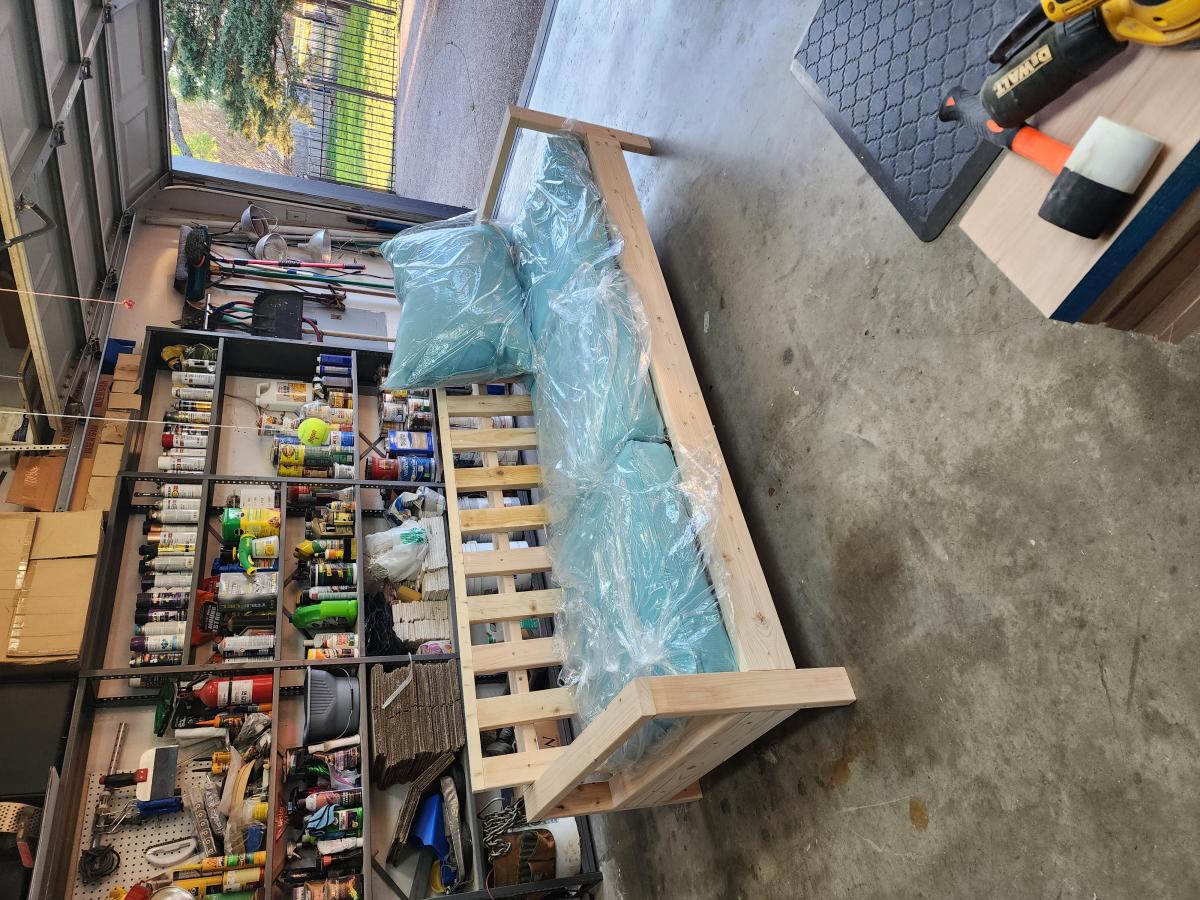
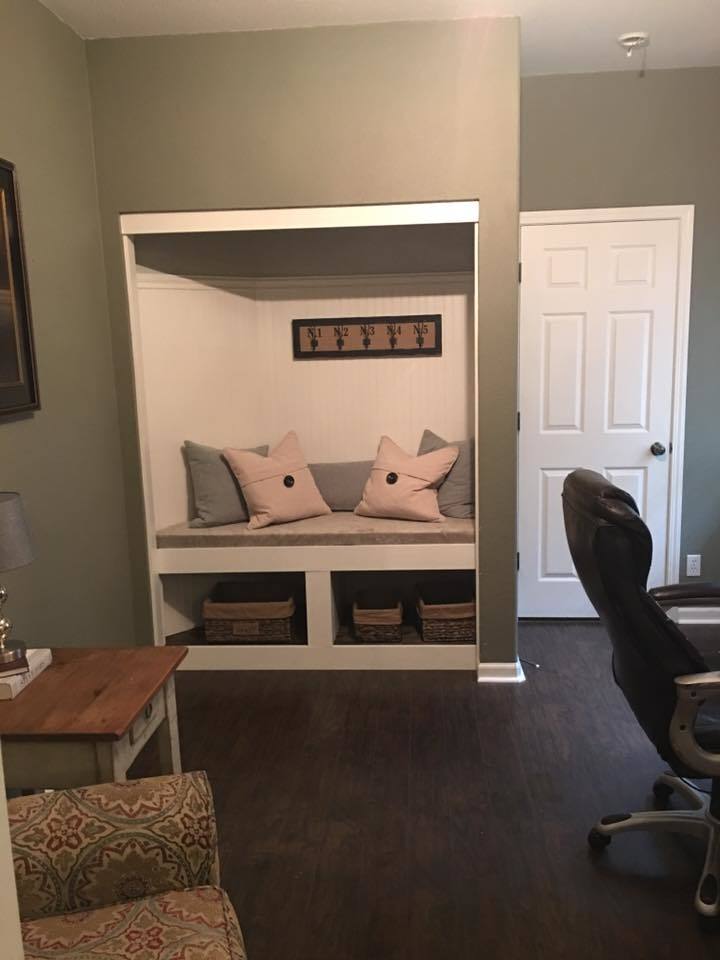
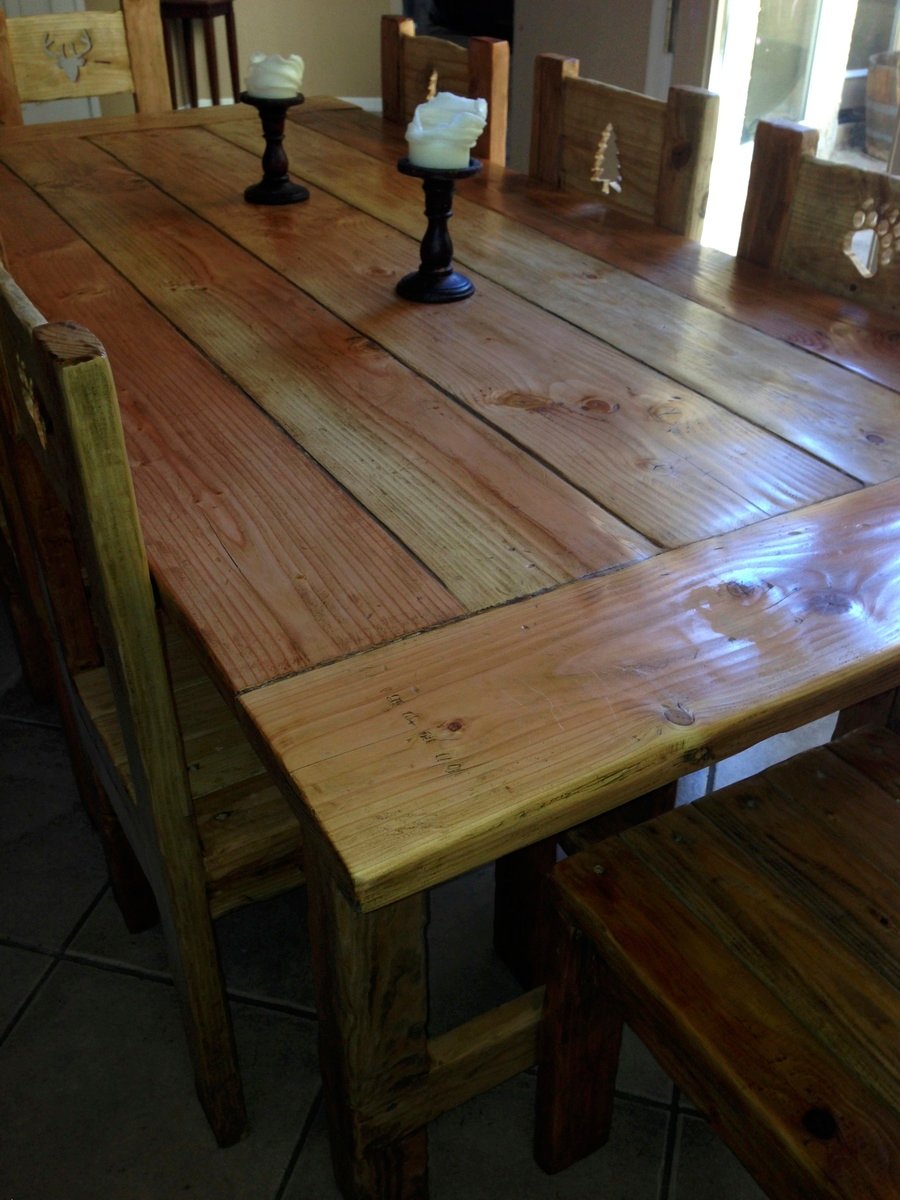
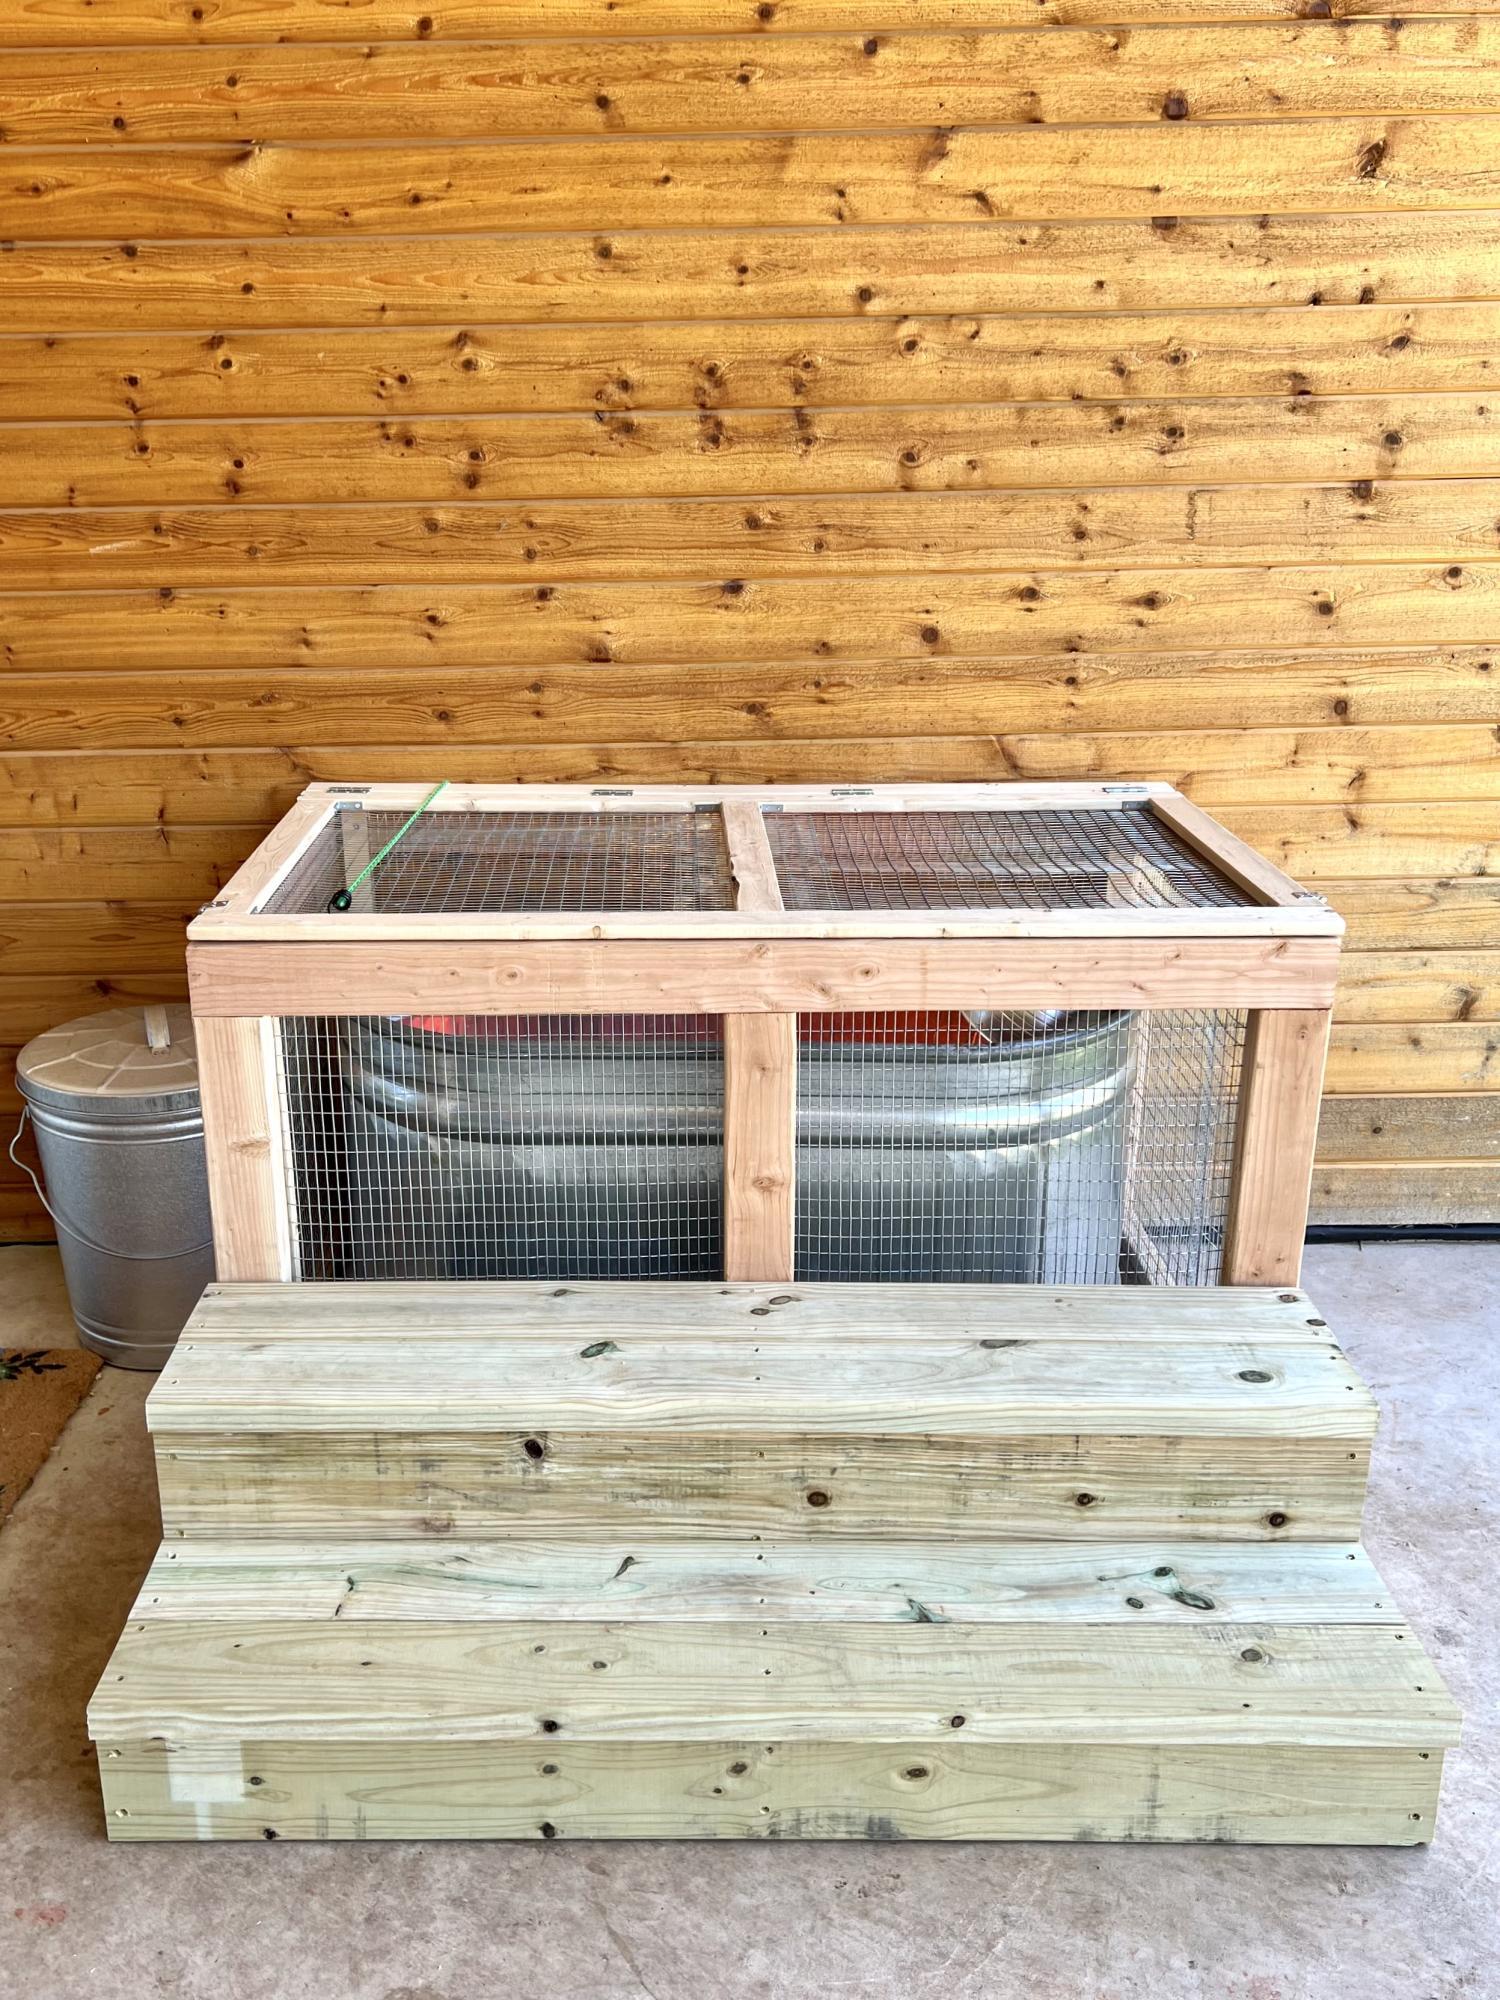
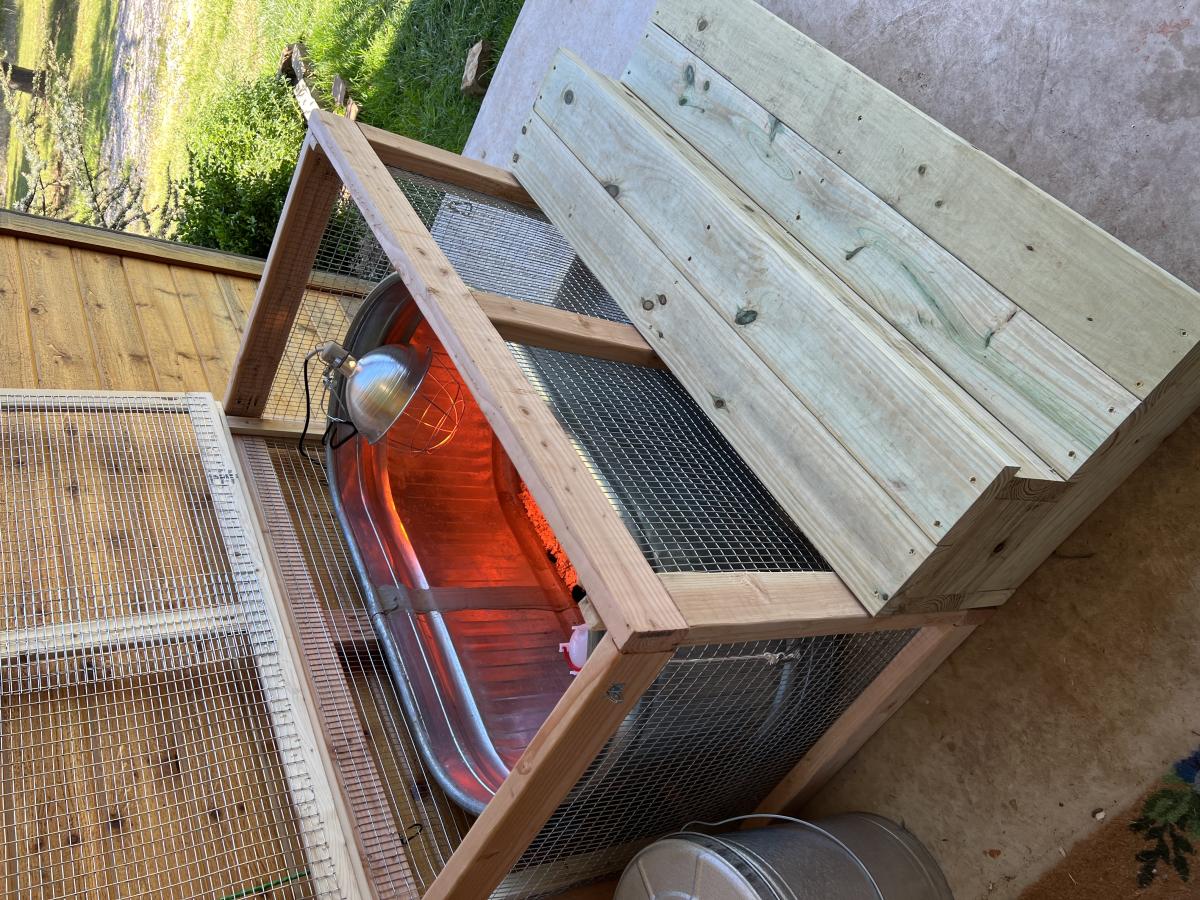
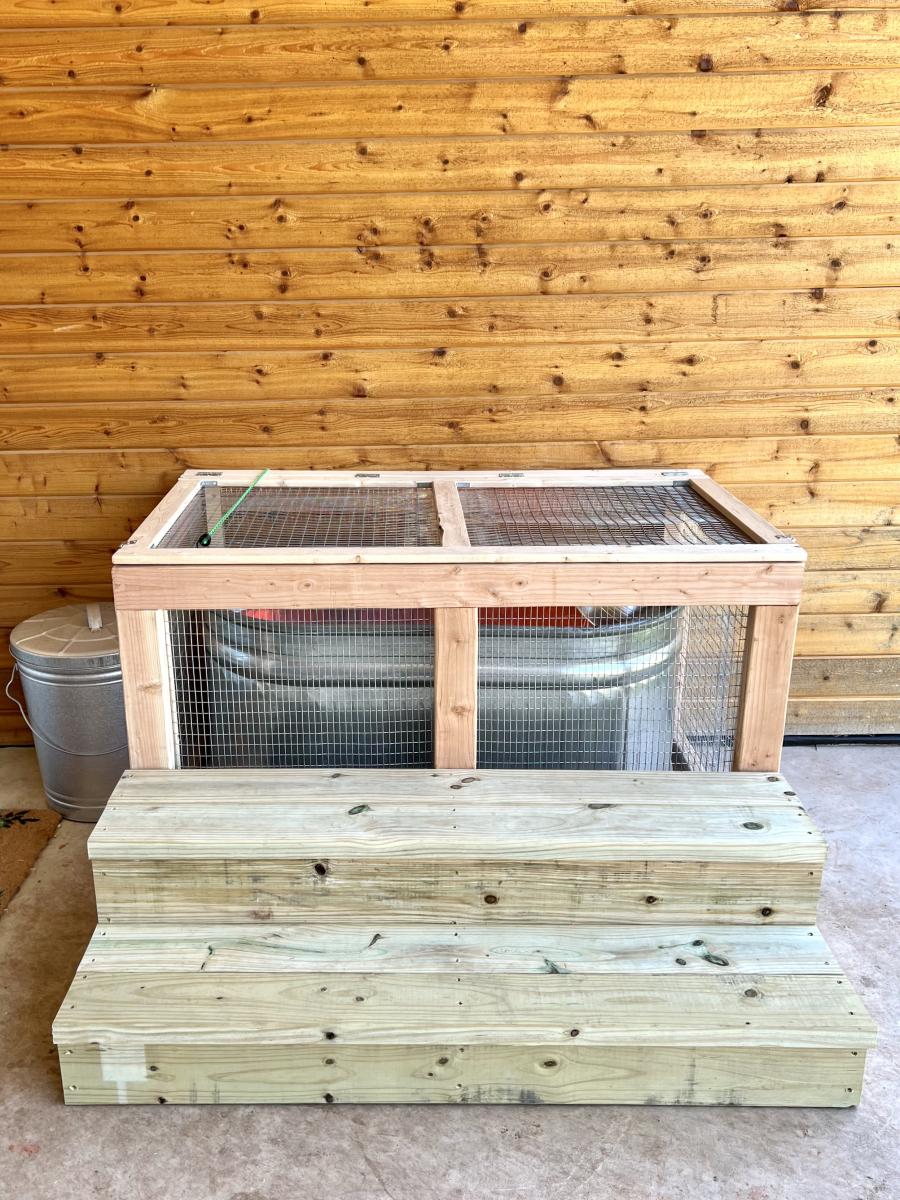
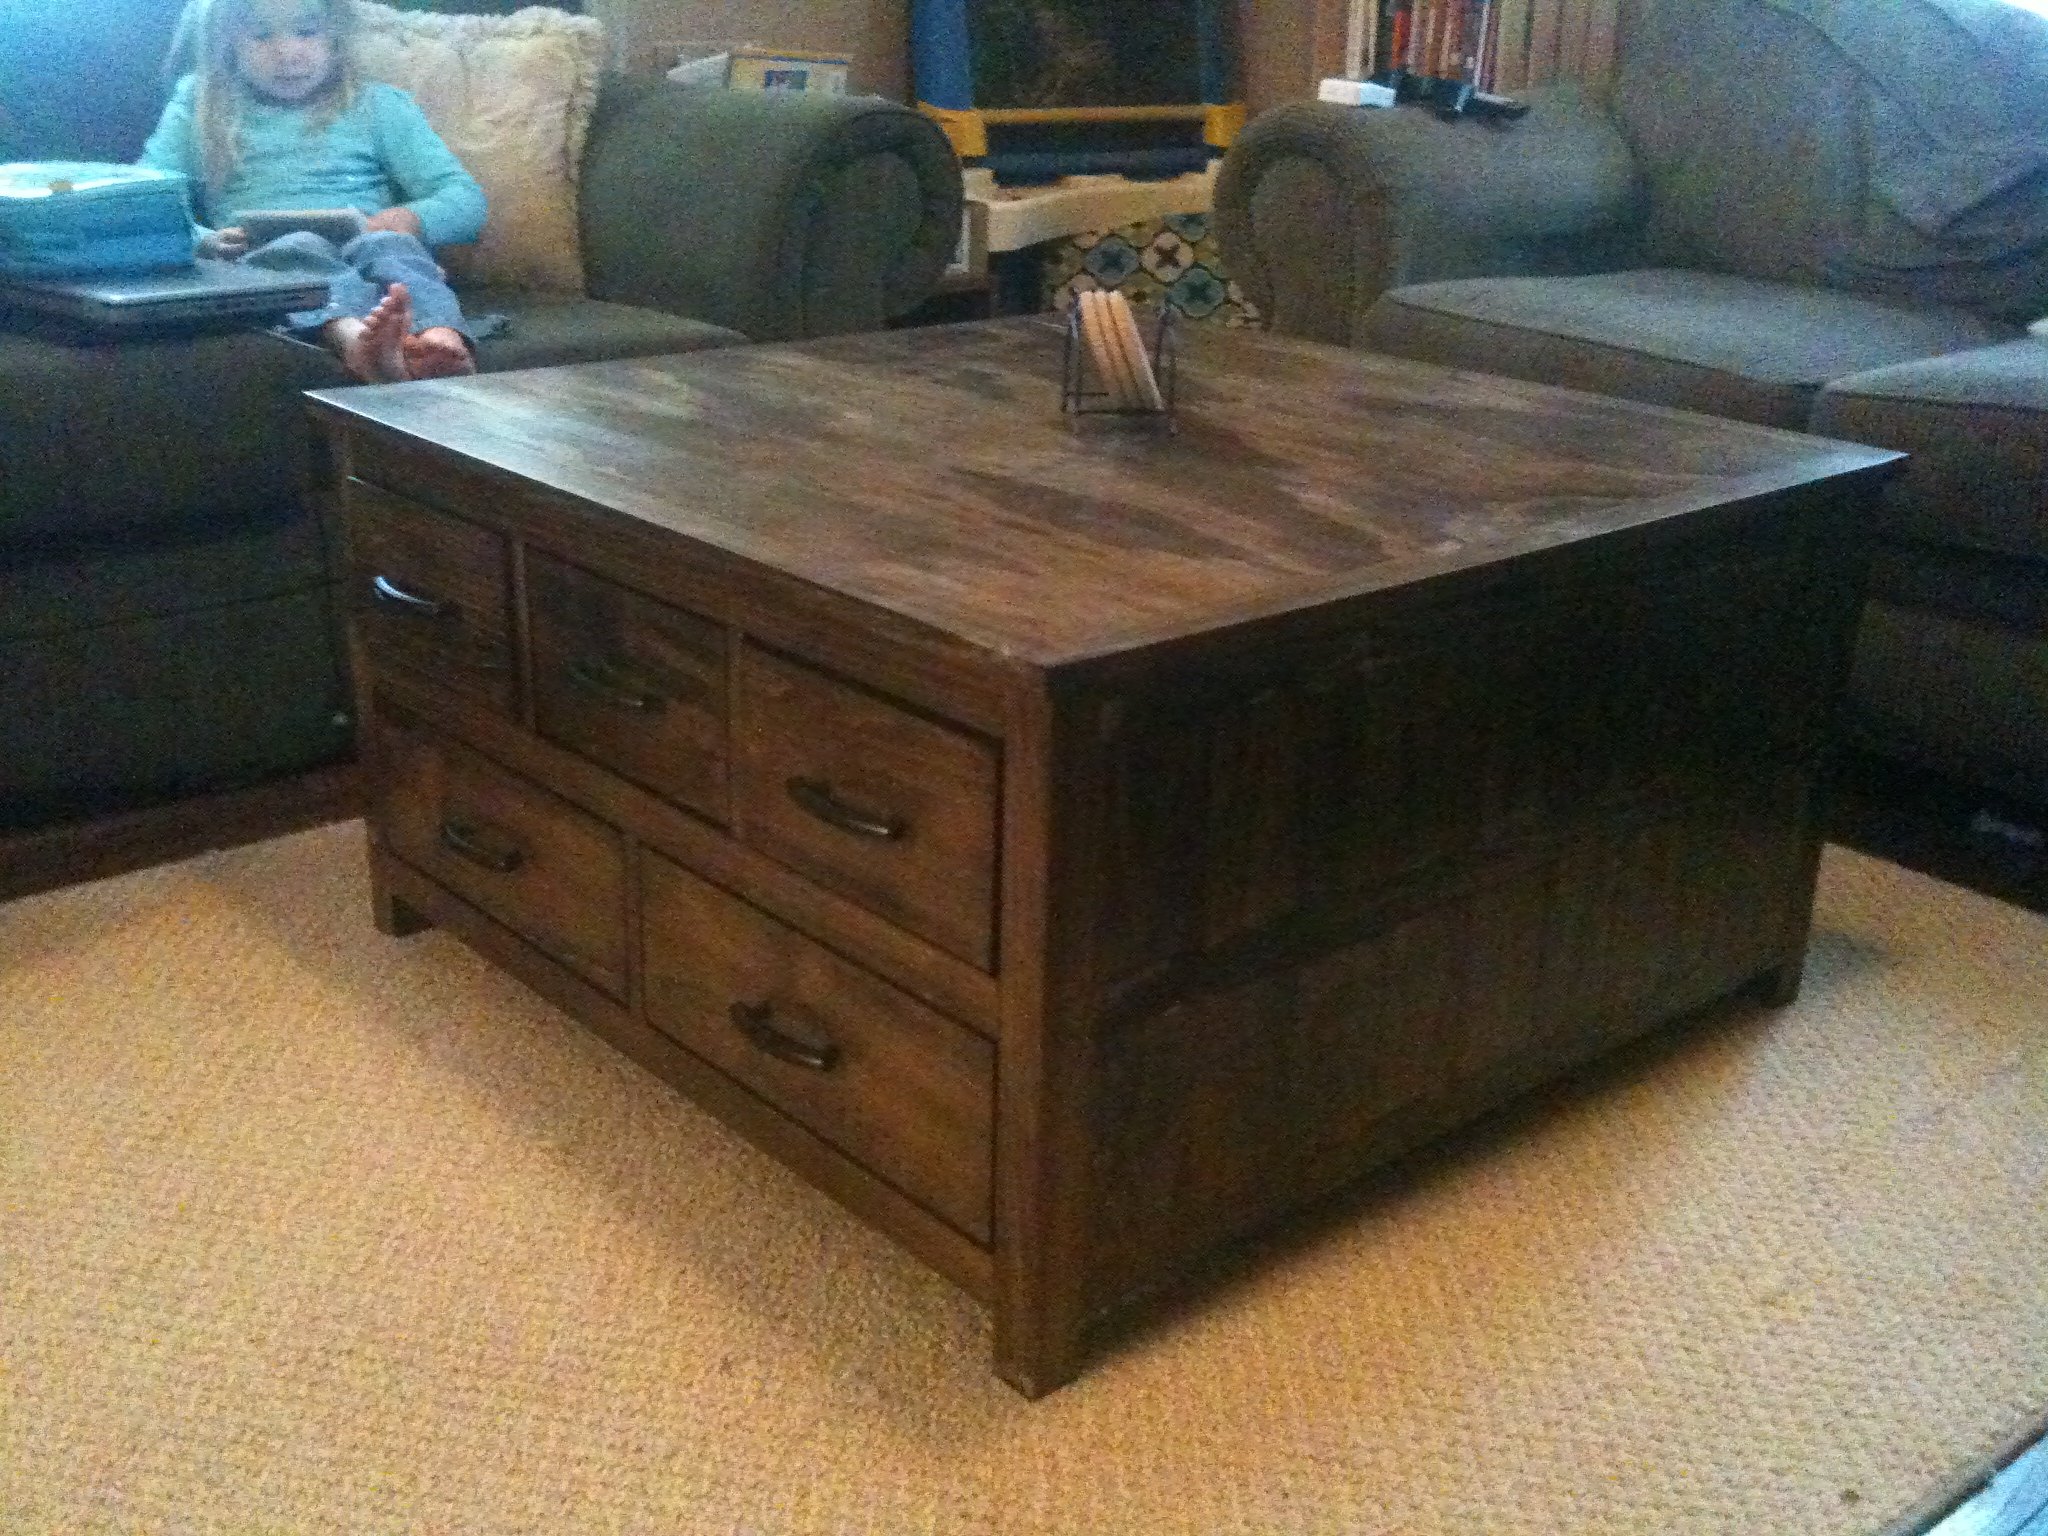
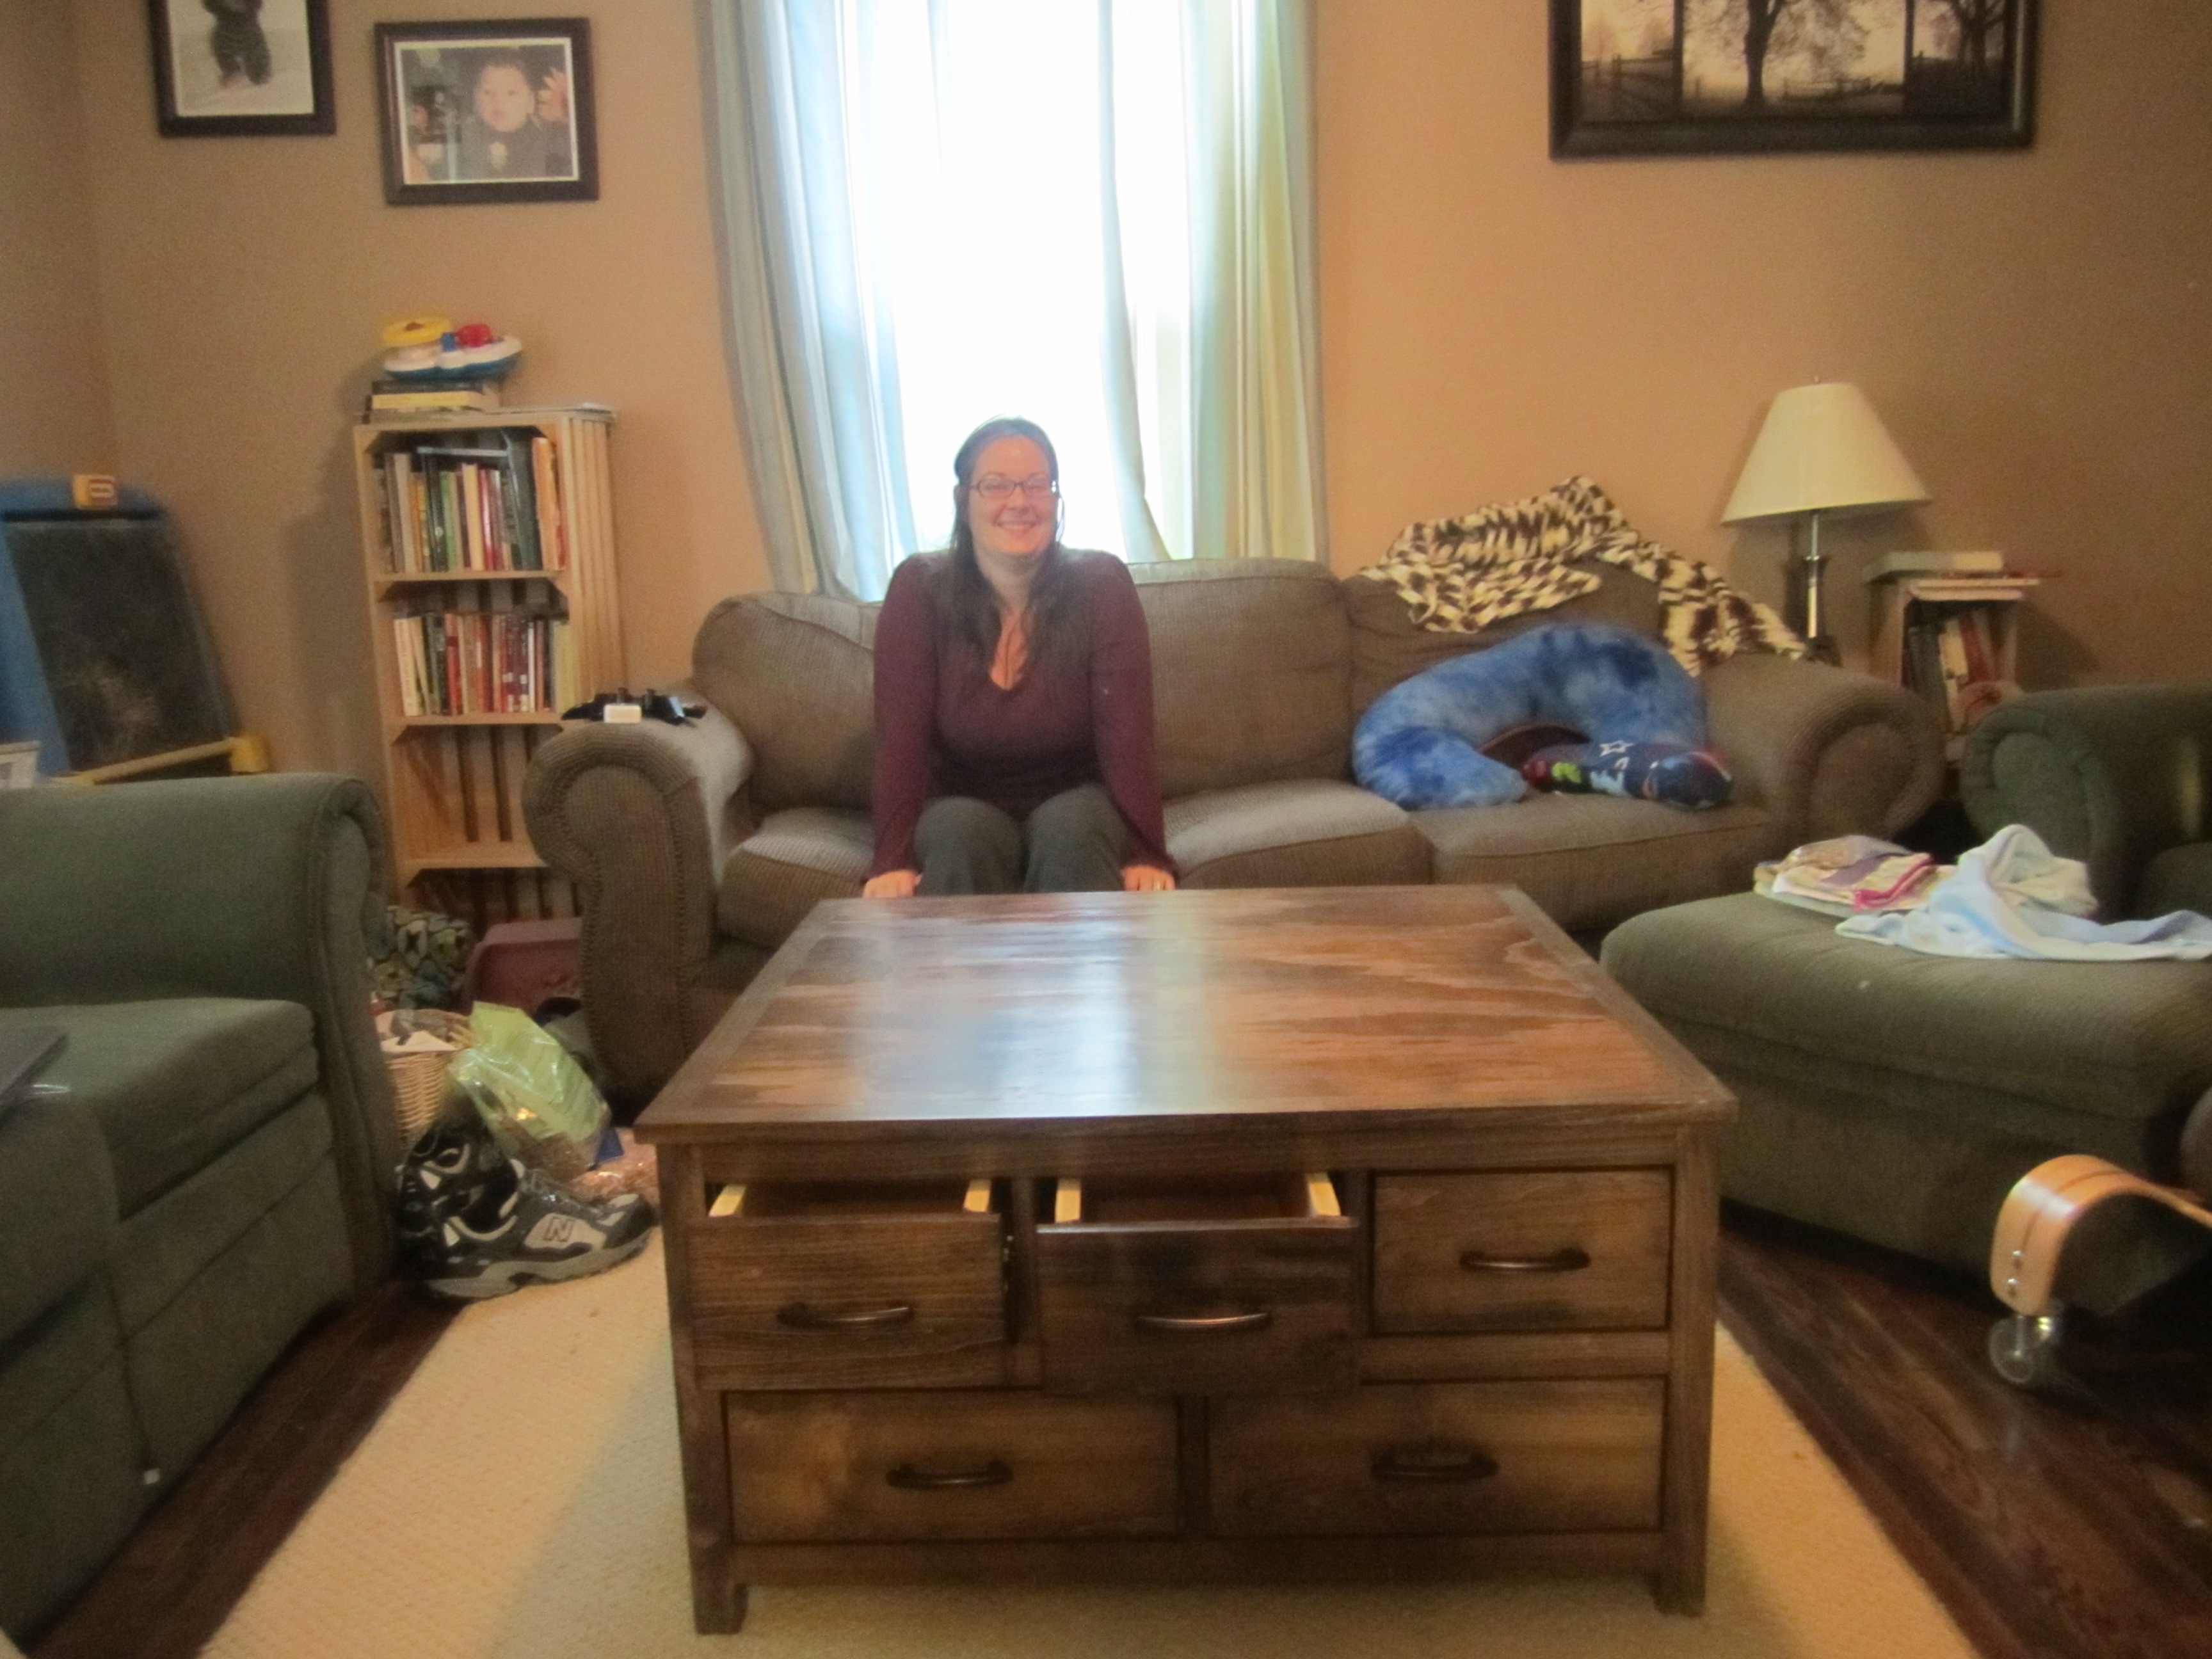
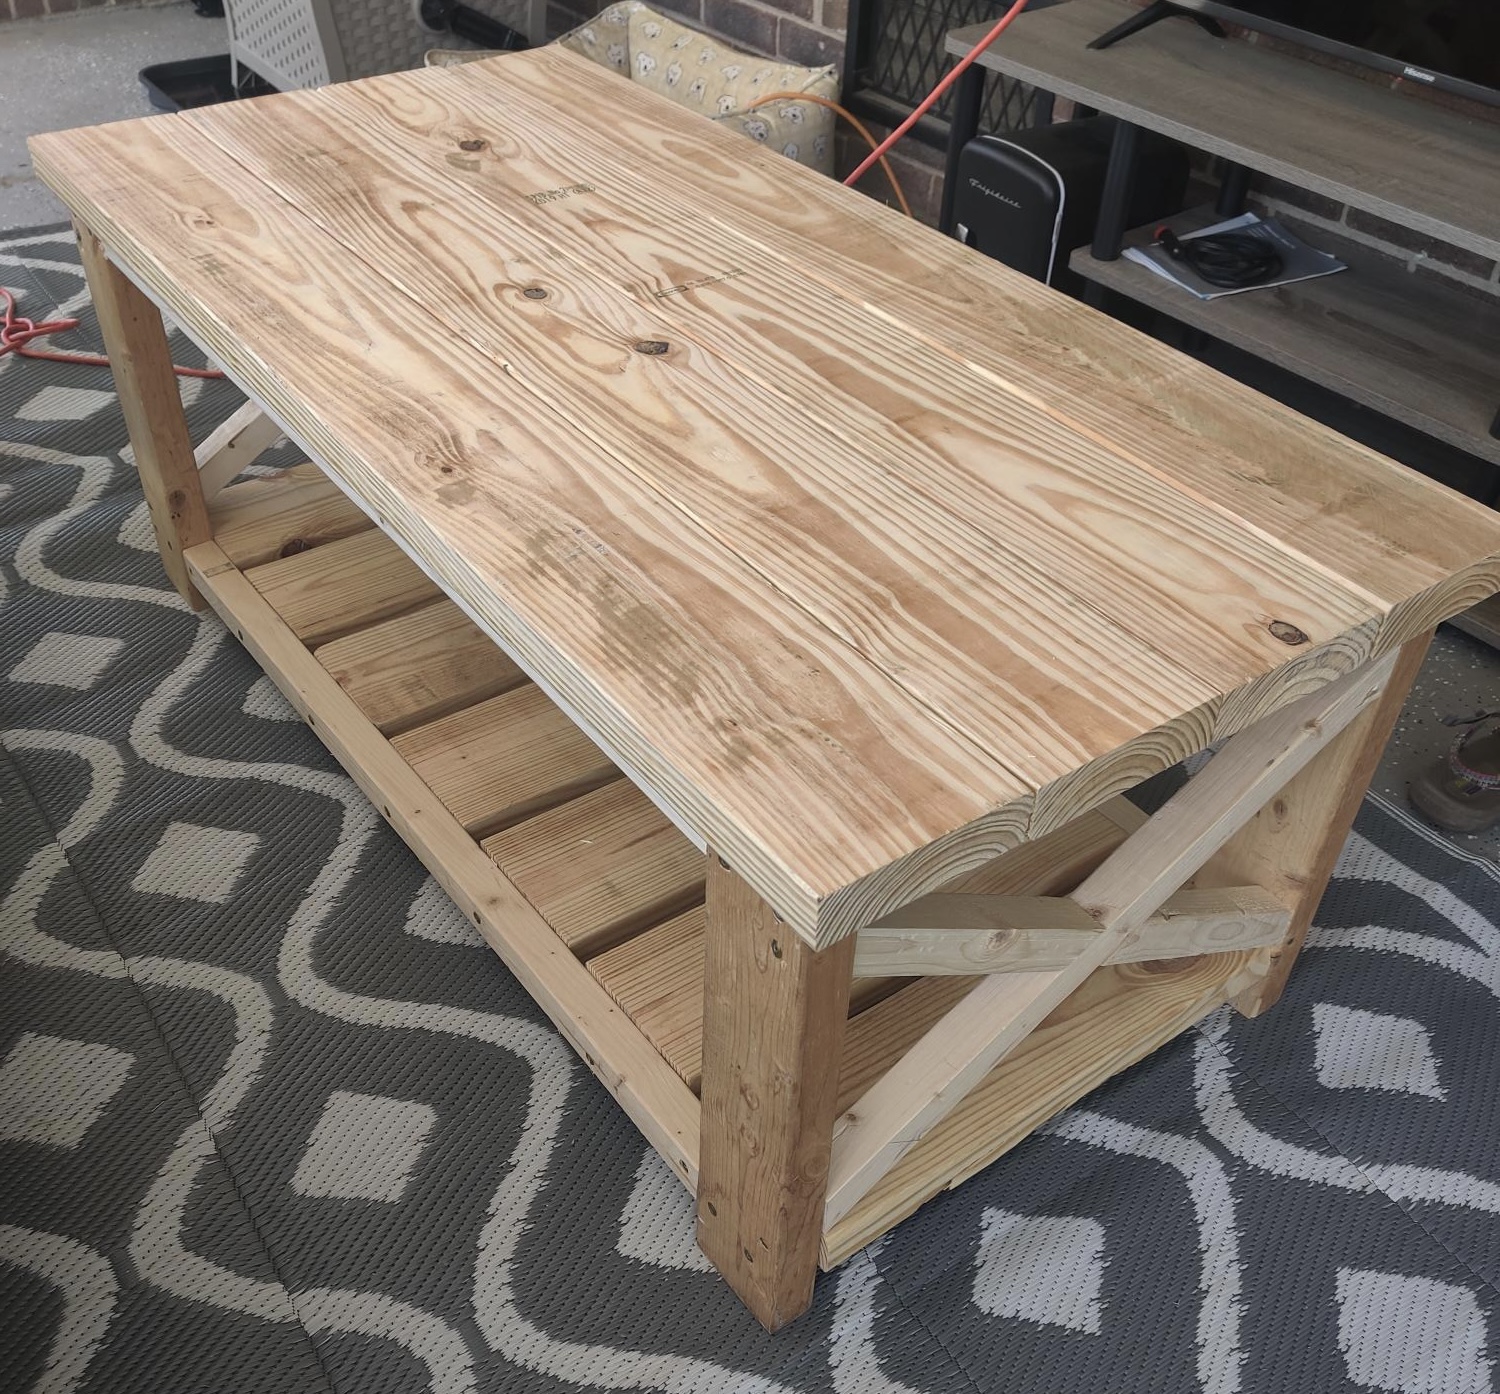
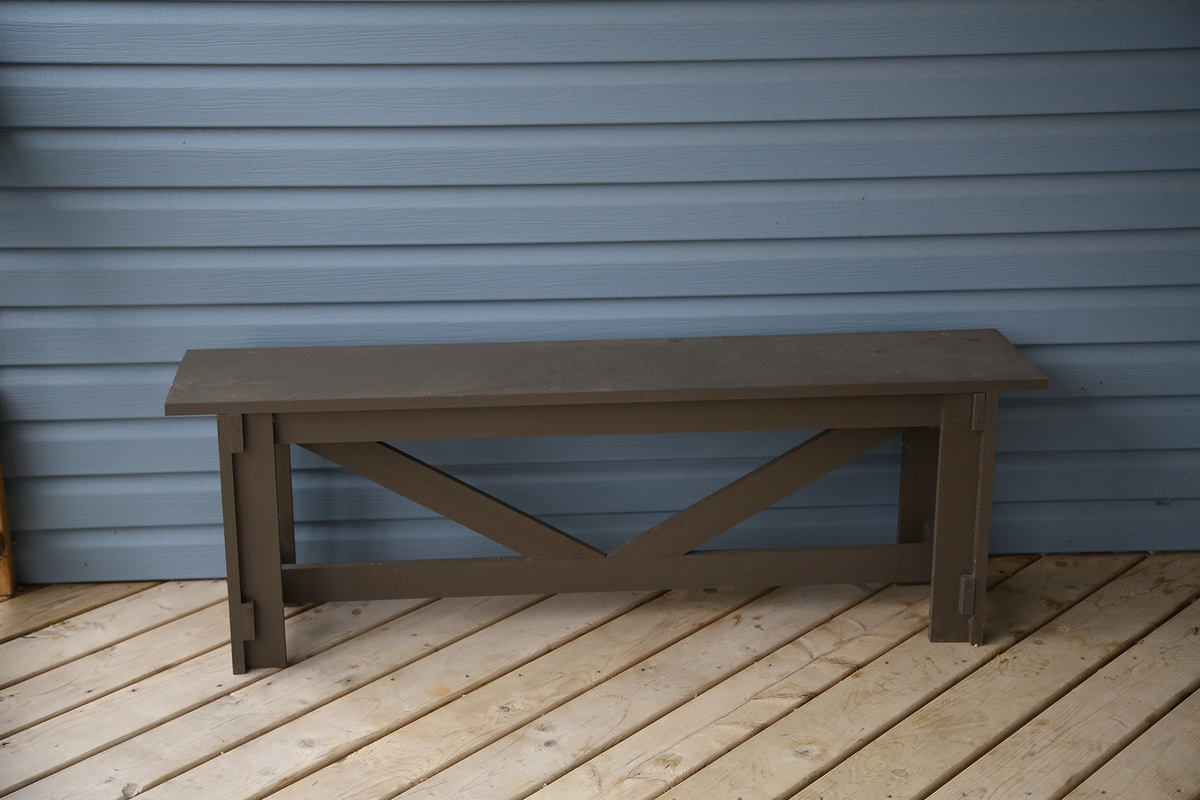
Coffee table
Love my new coffee table! I modified the plans to fit the space.
I thought I'd start building again with some decor that didn't need to be perfect. I needed something to spruce up my garage, something my son couldn't break while shooting baskets - this seemed perfect! I didn't have all of the scraps I needed so I did have to buy a few boards, but my friend wants me to make her one now and she'll supply the pallet. Since I planned to use it outside and wanted it to look weathered, I used semi-transparent deck stain, watered-down flat white paint and hit it with a sanding block, hammer, rasp, bottle caps - anything to scratch it up a bit. Then covered it with satin polycrylic (because that's what I had around the house).
A mini flat shelf for my daughter. Initially sized to fit on the landing until I realized I had just built her a ladder to climb the banisters, so relocated it to the hall.
Width increased to 630mm between uprights to allow 3x A4 books side by side. Height is 830mm to fit initial planned location.
Painted with Annie Sloan Duck-Egg Blue distressed at the edges and waxed with Annie Sloan soft wax.
Thank you for the great plans! I modified it a bit to fit our needs. I made the footboard identical with the headboard; added feet from Osbourne Wood and finials I found on Etsy. To accomodate the feet, I made the vertical corner posts flush with the siderails and head/foot boards.
Mon, 09/26/2016 - 11:28
I forgot to mention that I went to Ikea and bought slats for their toddler bed to use as the mattress support for mine. They were $9.99 discounted to $5.99 and it was a lot cheaper and easier to just use that as the support.
This is a realtively easy build. Simply follow the instructions and it will come together beautifully. I have down a couple of these so far and this one was actually narrower than the plans called for. The lady I built them for wanted the center section to match her cushion width as closely as possible so I simply used one less cedar 1x4. It turned our perfectly.
I have found most of the plans I have built from this site are pretty simple and most of my time has been spent on the finish.
We were looking for a bunk bed system with stairs instead of a ladder. We had previously used a bunk bed on our vacation and our daughter was having trouble going down, she kept missing the ladder rungs. We searched online for beds with stairs but they were all too expensive. Then my husband found this site and we both looked through all the different plans. There are so many great plans for little girls beds, but in the end we decided with this one. It was the easiest for us to alter by adding the bottom bunk. We also liked this bed because we thought it the safest for our youngest who would be trying to climb. This is our first ever project built. We had tons of fun building this together and then letting our 4 yr old help us with the painting. We basically started with nothing in building this bed. We bought all the stuff except for the saw, sander and drill, which we borrowed. To add the bottom bunk, we made the distance at the bottom 6 inches, and then followed the pattern of separation for the railings that was used for the top. But it was only the bottom 2x6 and one round of the 2x4s for the railing. Since it was the bottom it didn't need to go as high as the top, just enough so our youngest won't roll in between the mattress and wall.
Mon, 09/03/2012 - 08:29
I love your bed! I'm in the process of doing exactly the same thing with mine! I also found it was the easiest plan to alter in terms of adding a bottom bunk. Good work!
Fri, 06/21/2013 - 18:20
I love it and would like to know if you changed the overall height of the bed to add the second bed underneth? I hope to make this a bunkbed for my kiddos.
Thanks
This is my 10ft long picnic table (which is bar height) that we built for the patio. We needed better seating for parties and BBQ's. I will post the plans later! Also featured is the couch that we designed and built with the center table.
Thu, 04/02/2015 - 17:06
Table looks great exactly what I need for my patio, do you happen to have the plans?
This was my first Farmhouse bed! I am totally in love with how it turned out! These plans were very detailed and easy to follow. I added some fancy trim like in the Mom's Fancy Farmhouse bed. I also changed the way I attached the side rails. I used siderail supports from Lee Valley as I wanted to be able to dismantle the bed for easier moving if needed.
I am also thinking of adding a trundle to it.
Thank you so much Ana, for these wonderful plans.
I have made numerous items from your site and will continue to do so.
Fun to make and so pretty!
My husband and I made this completely fabulous DIY playstand for my niece's birthday. It turned out fantastic. Ana's plans were straightforward and easy to follow. The most difficult part was making the buntings, but even those turned out fine. The only recommendations that I have beyond what is in Ana's post are use a good piece of plywood since it isn't easy to sand, and to put the extra velcro for holding back the theater curtains on the back. My cost is a little higher than the one on the original plans, but I also factored in the cost of the different fabrics, velcro, etc.
You can read more about it on my blog.
My husband took care of cutting, drilling and putting together the table. I took care of sanding, staining and sealing. It was an easy project. Thank you for the plans, our kids love this table!
This was my first Ana White build and I love it! Built all by myself in 4.5 hours. Decided to paint it to match the plaster in our pool since it will be located close by. I am very pleased with how quickly it came together and how sturdy it is. I did an an additional 2x4 brace in the center of each top to help keep the 1x4's straight and hopefully prevent sagging.
This was a quick and easy project we made with all the scrap wood in the garage. It went together in a few hours, and made a great gift for one of my daughter's friends. It was so much cuter than any of the American Girl doll beds at the store, and WAY cheaper, too.
This was our first family project. My husband has built a lot of things, but I've been so inspired I wanted to start building things too! Our two older kids were involved as much as possible (hence the very orange color) and we had a lot of fun. I definitely need some practice cutting straight lines haha, but practice makes perfect! My kids love to read and it is eye-catching as it is functional!
My son loves this table . Great size and super lightweight
This is a poplar (yellow tulip) chifferobe I purchased off of Craigslist for $40. I included some before and after photos. It was in sad shape. Much of the veneer was broken or coming off. My wife wanted me to add shelves inside. I began stripping off the old finish using liquid stripped and by sanding. I removed the old veneer by using a very hot steam iron and a putty knife. I ordered up the new veneer from veneersupplies.com and new hardware from Kennedy Hardware.
I built the new shelves using 1/2" poplar. I then began putting on the new veneer. I used 22 mil. paperback veneer and contact cement. If you have never replaced veneer spend $10 and get a veneer cutter and another $10 and purchase a scraper. They make the job much easier.
I then began applying the stain which is Minwax Aged Oak gel stain. I had a challenge with trying to match the stain. The old veneer was tough to match the stain with the new veneer. Father time adds his patina so I had to darken the stain. I used Minwax Jacobean stain. I think I got it too dark but since it is completed I like the contrast. I went ahead and purchased some 1/2" rope trim (poplar) and a poplar applique to add to the door. Since the mirror was broken I decided to go ahead and fabricate new back splashes for the chifferobe. I found these on Ebay. A gentleman had bought out these from an out of business pool table company. They are poplar and once I cut them down they really seemed to match. I will use the mirror frame for a later project to make a photo frame.
My wife and I had wanted to put this into our bedroom for extra storage. We didn't realize that we couldn't get it into the bedroom due to a narrow hallway. It ended up in the kitchen/dining room as a buffet. The funny thing was that it looks like it belongs there now.
The whole project cost me around $150 and took approximately 40 hours to complete.
Our first plan from Ana White. It was really easy to follow and this was a fun project to do with the children. We used pine wood because it was cheaper than cedar, so we will try to not put them directly under the rain.
We were able to make two birdhouses in removing .25 inch in one birdhouse. We used wood we already had for the third one.
We let the children added some details to the birdhouses. Because of the birds we want to attract here, one hole is 1.25 inch and the other two are 1.5 inch.
I made several changes to the original Ana White plan. I wanted to build a bar height table for my husband's man cave. I left the length at 5ft long, but instead of dinner table height, I raised it to be a bar top. It perfectly accomodates typical bar height stools, as seen in the picture.
The only modification was I used 1x8's instead of the 1x10's on the plan and I also routered the edge of the top, first time attempting this.
I combined the Reclaimed-Wood Headboard with the Hailey Platform Bed patterns, both found here on Ana's website to make my queen-sized bed. Alterations to the general instructions include: A 1x6 was sandwiched into the lower portion of the headboard to create the head of the bed platform (same as the panel pieces of the headboard). Another 1x6 was fastened from the back, the same as the other trim pieces. 4 holes for the light wires were chiseled out of the top trim, then a 2x6 was fastened across the top of the headboard to allow more room for the mounting of the lights. (these last 2 pieces flush to the back of the headboard instead of centered.) So the project was not too top-heavy I added a 2x6 center leg to the headboard. For even more stability I added a 4 x 4 leg to the center support of the bed portion. The lights are LED (Ikea) and the wires are fastened to the back of the headboard to keep them safe from pets, etc. The corners of the platform bed are held together with screwed-in knock-down hardware (Lee-Valley). Dis-assembly was important to me, so the bed could be moved from the garage to the house! I am not an experienced wood worker by any means, nor am I particularly fast. The plans I downloaded from this site were very detailed. The project was both fun and full-filling!
Wed, 07/09/2014 - 20:35
I'd have no idea where to get hemlock! Looks great, love the grain. You must be so proud!
Wed, 07/09/2014 - 20:44
The only wood cheaper than hemlock is pine! : ) I bought the wood at Windsor Plywood in Calgary, Alberta, Canada. It took the stain very well and I am very pleased with my choice. It is a softer wood than some, sands down very easily.
72L x 18W x 36H