Numbered Cubbies
This was my first project to cut angles. I like the way it turned out! Clamps were a help to hold all the pieces together. Very easy to put together.
This was my first project to cut angles. I like the way it turned out! Clamps were a help to hold all the pieces together. Very easy to put together.
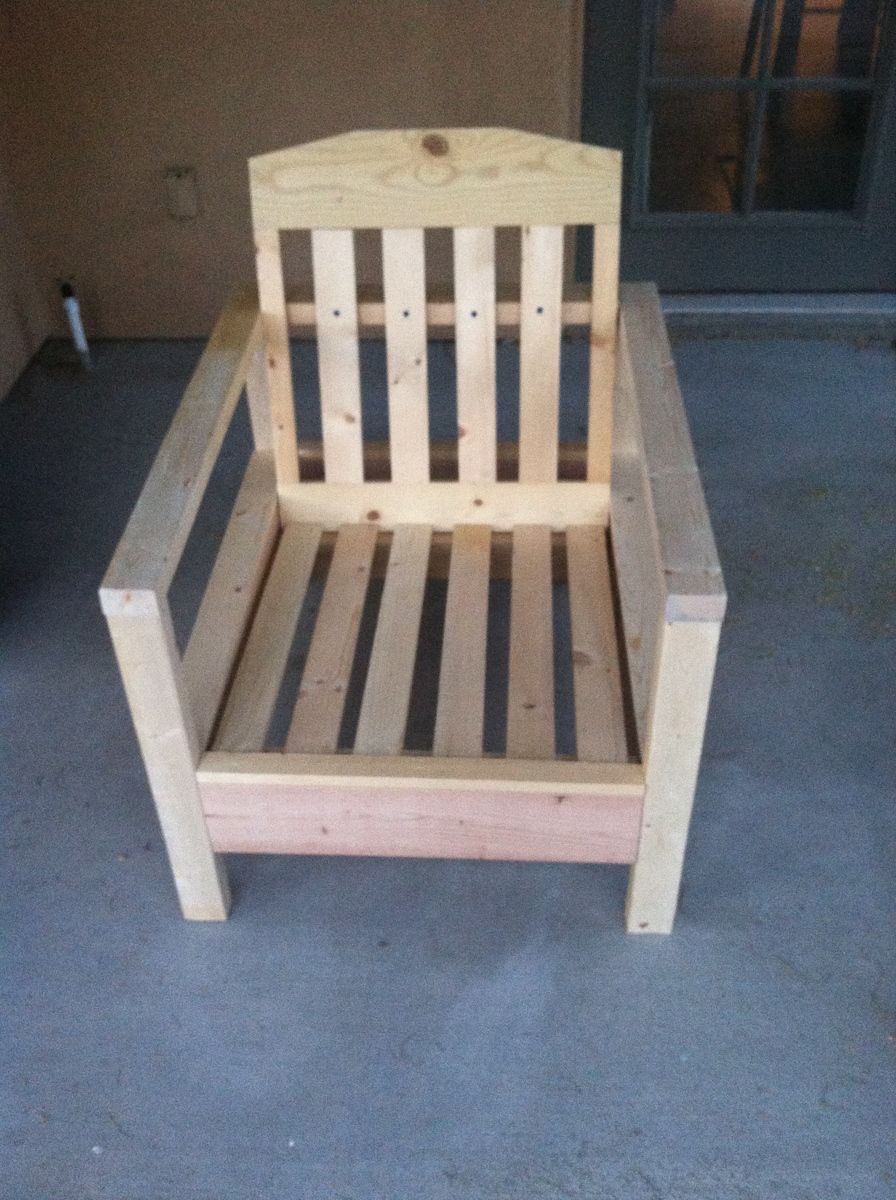
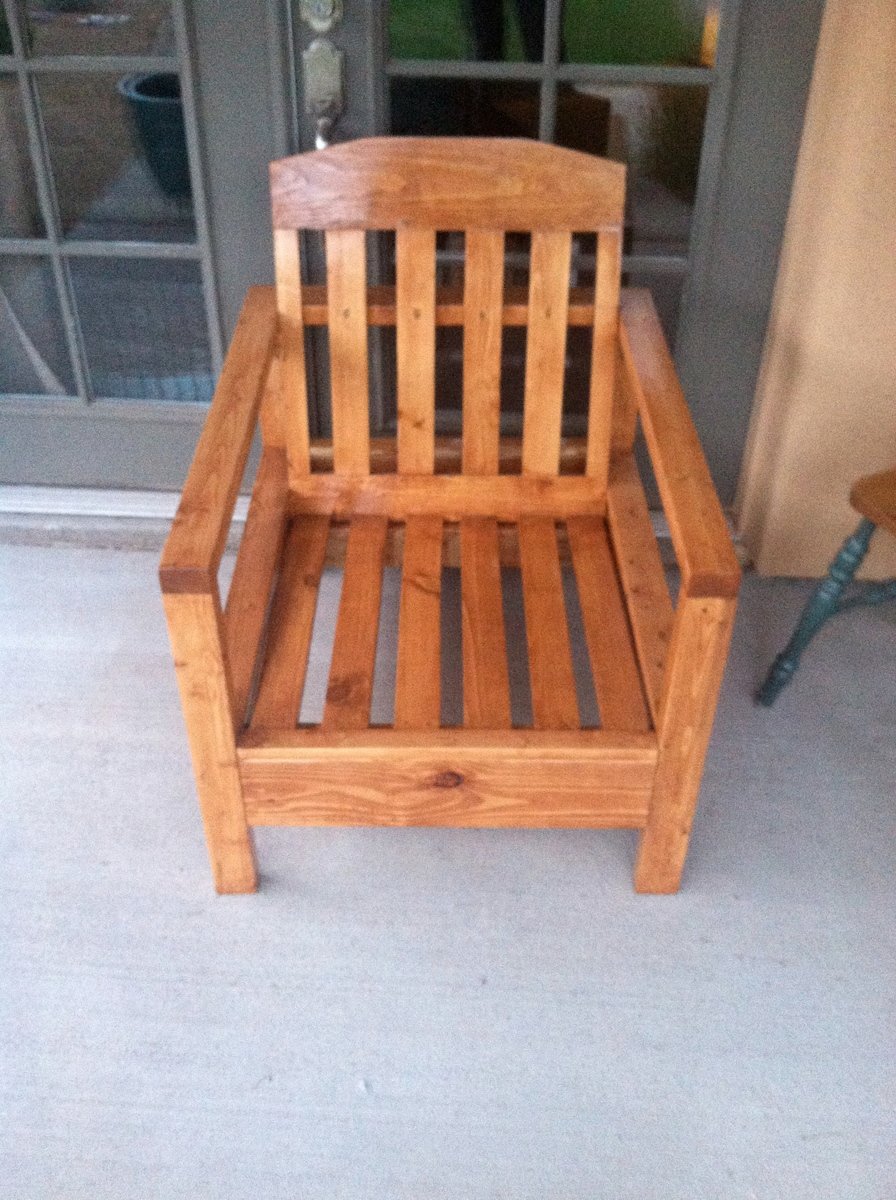
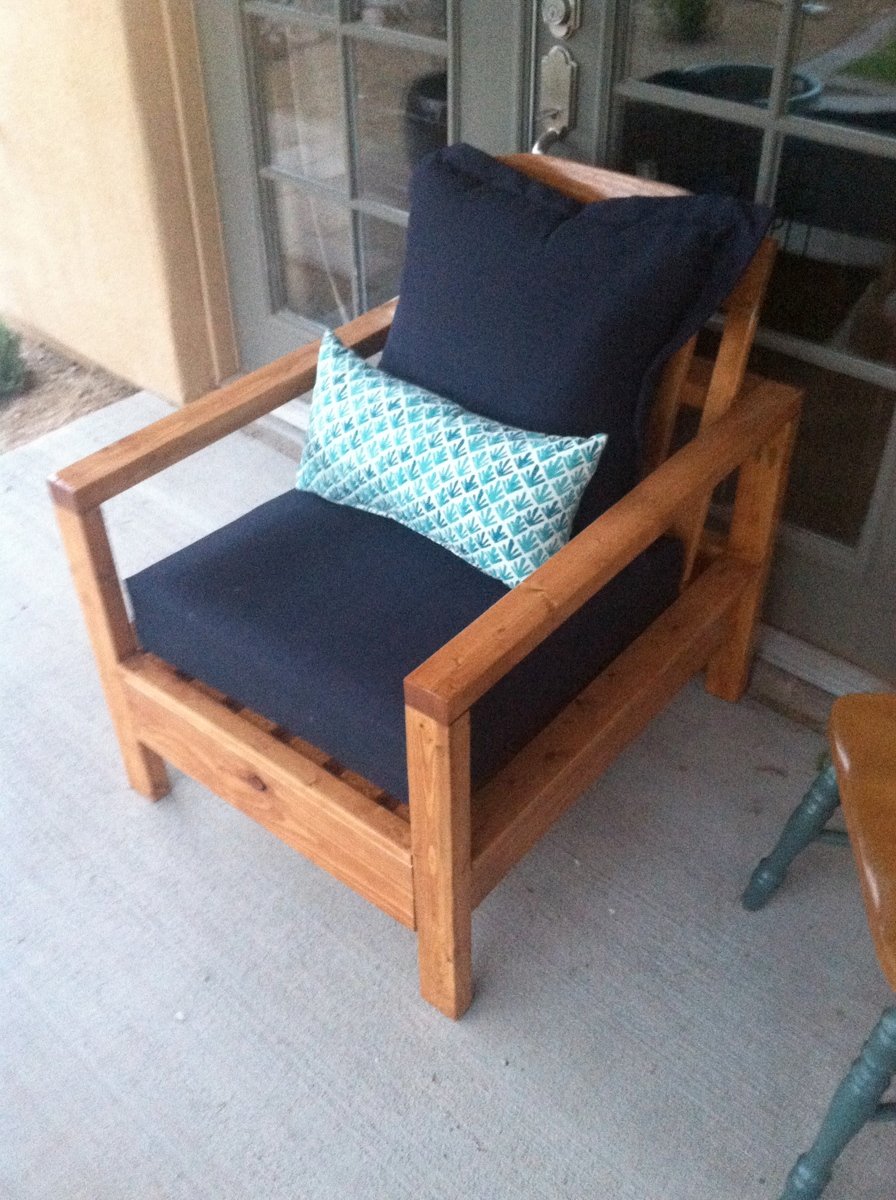
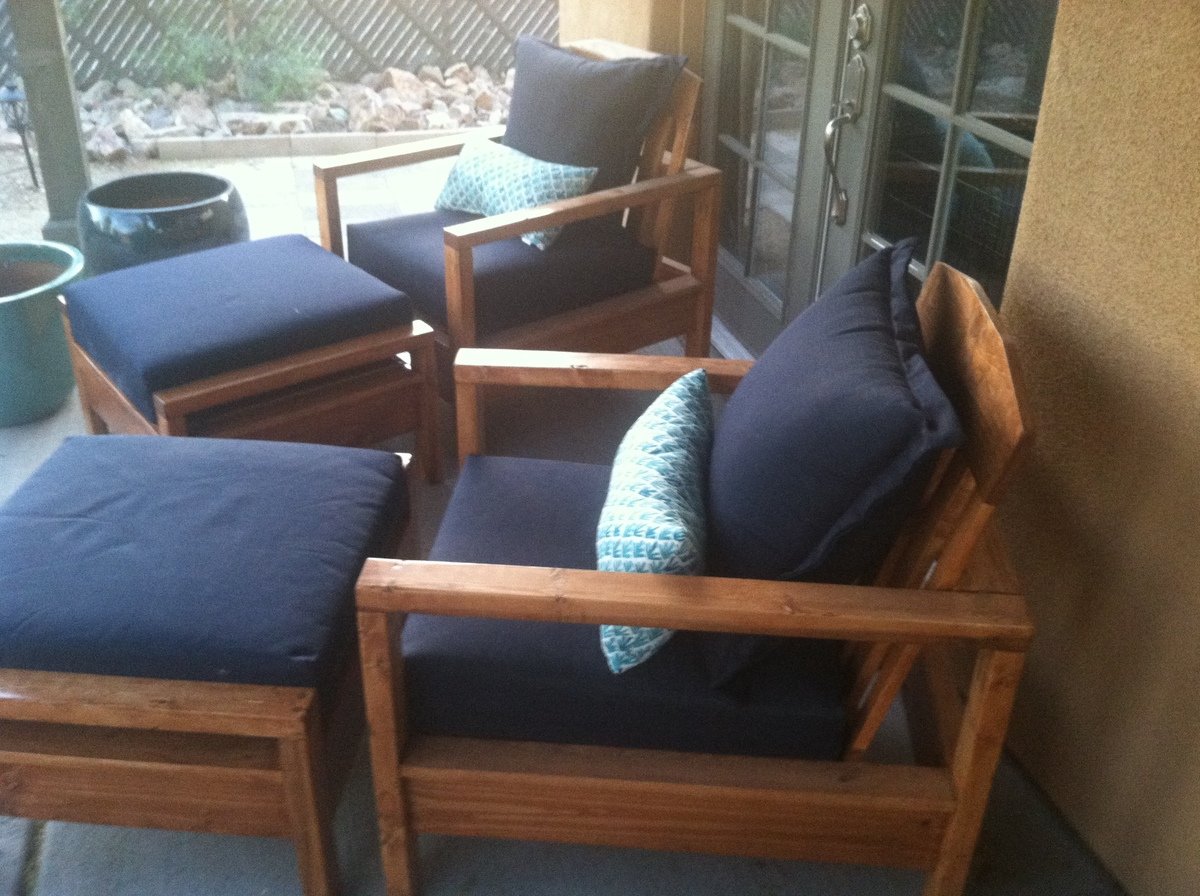
These chairs followed the simple white outdoor chair instructions. There were a few adaptations. I used 2x3s instead of 2x2s for the legs, like in the simple white outdoor loveseat instructions. I purchased my cushions from Target, and their dimensions are different than the cushions used in the instructions, so I changed some of the chair dimensions. I created the pattern for the ottomans, but it is very much based on the simple white outdoor chair instructions.
Fun project and happy with the results. Staining instead of painting probably made the project take twice as long.
Thu, 05/22/2014 - 13:37
Your chairs are gorgeous - I feel compelled to go copy your handiwork immediately. :)
Would you mind sharing a link to the Target cushions you used? They look great on your chairs.
Sat, 05/24/2014 - 10:56
Thanks!
Threshold Outdoor Deep Seating Cushion:
http://www.target.com/p/threshold-outdoor-deep-seating-cushion/-/A-1508…
Threshold Outdoor Deep Seating Back Cushion:
http://www.target.com/p/threshold-outdoor-deep-seating-back-cushion/-/A…
Just a note on the cushions, they are beautiful and highly economical, but that also means they likely aren't as supportive as cushions 2 or 3 times their price and the covers do not have a zipper, so you can't wash them. That being said, I am happy with cushions.
Fri, 05/23/2014 - 07:44
I built these chairs and love seat last summer and have sat on them wishing I had ottomans! You inspired me to build the ottomans. I have the same Theshold cushions from Target and they are great! Good job!
Sat, 05/24/2014 - 11:09
Thanks!
The only tricksy part about the ottomans for me was attaching the "armrests". There isn't enough room to use the pocket hole screws after attaching the side aprons. I tried screwing the "armrests" to the legs before the aprons, but that just caused problems. In the end I screwed the side aprons and legs together and then screwed the "armrests" down from the top. I used wood filler to fill in the holes above the screw heads. So it isn't quite as clean looking, but worked for me.
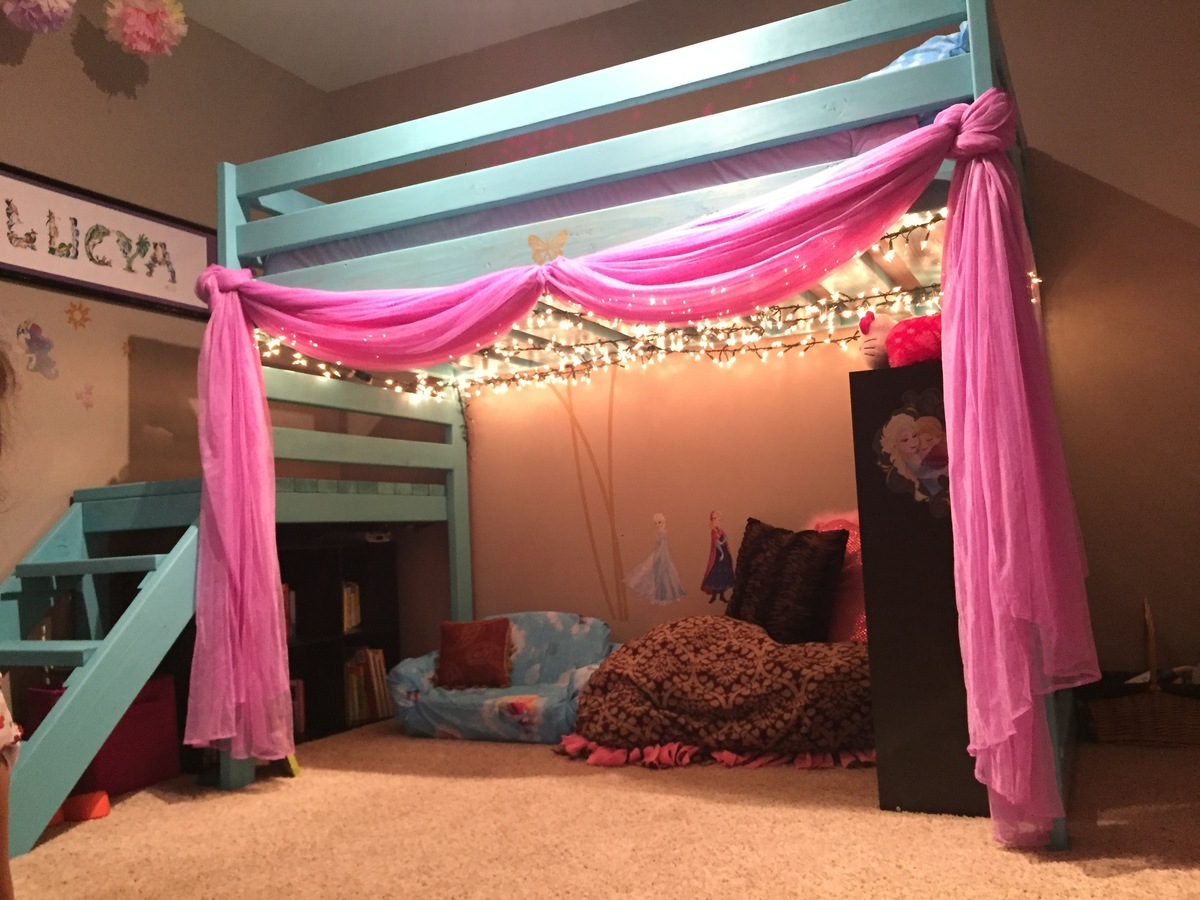
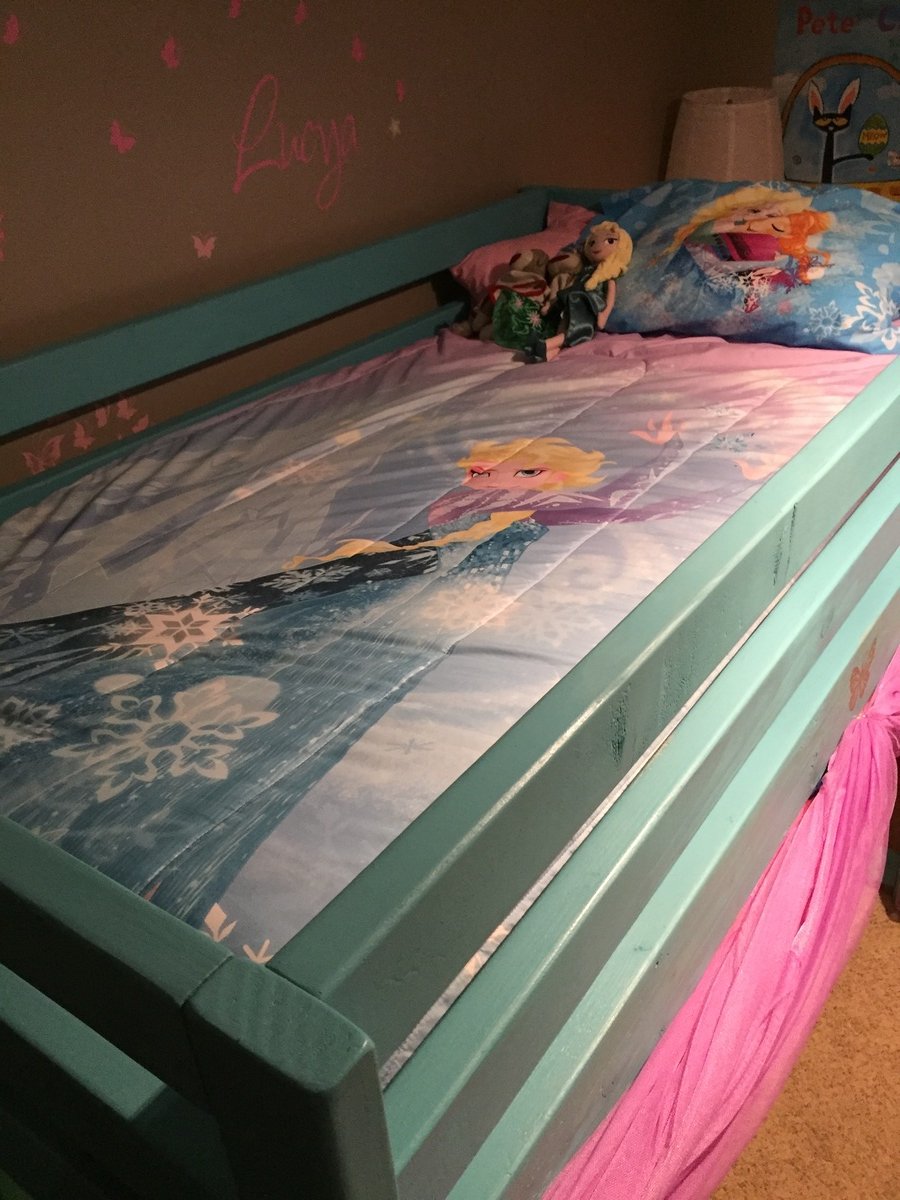
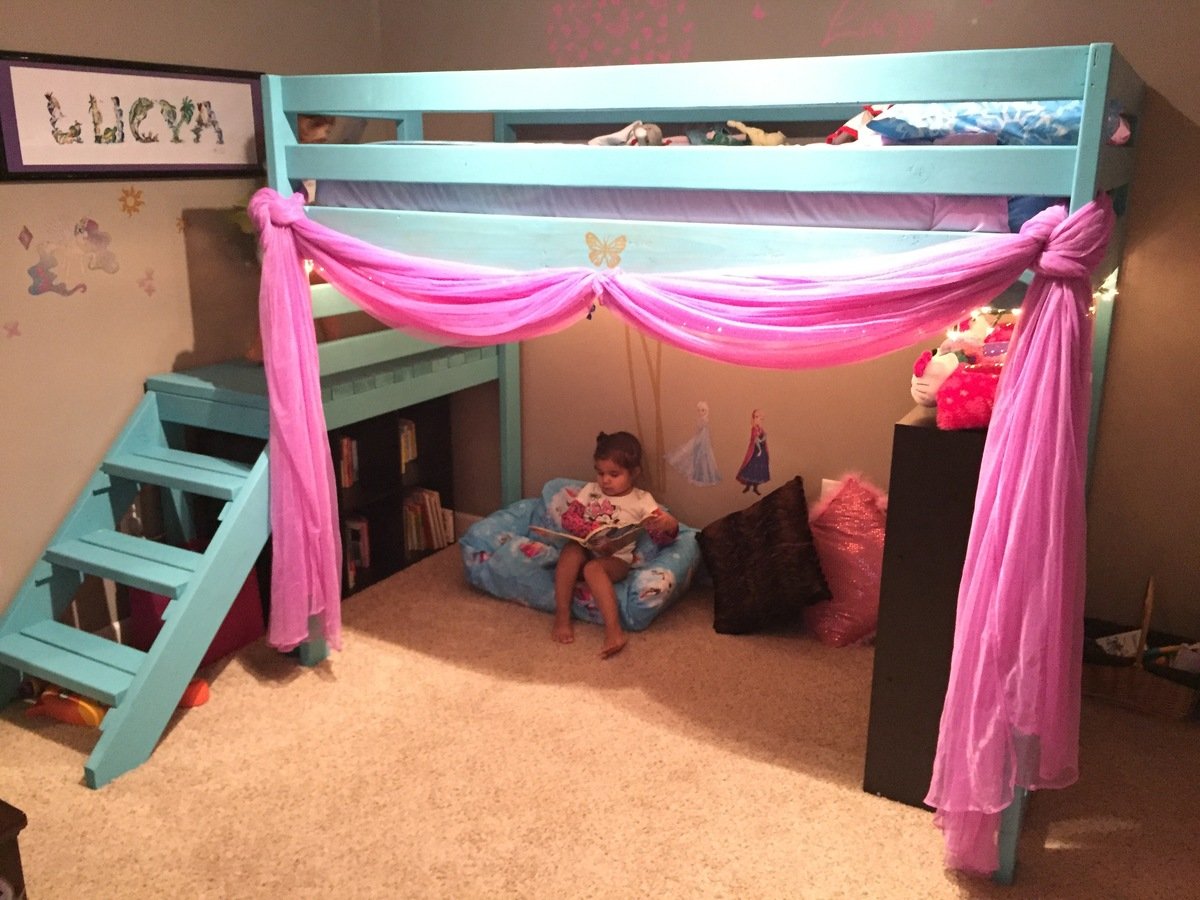
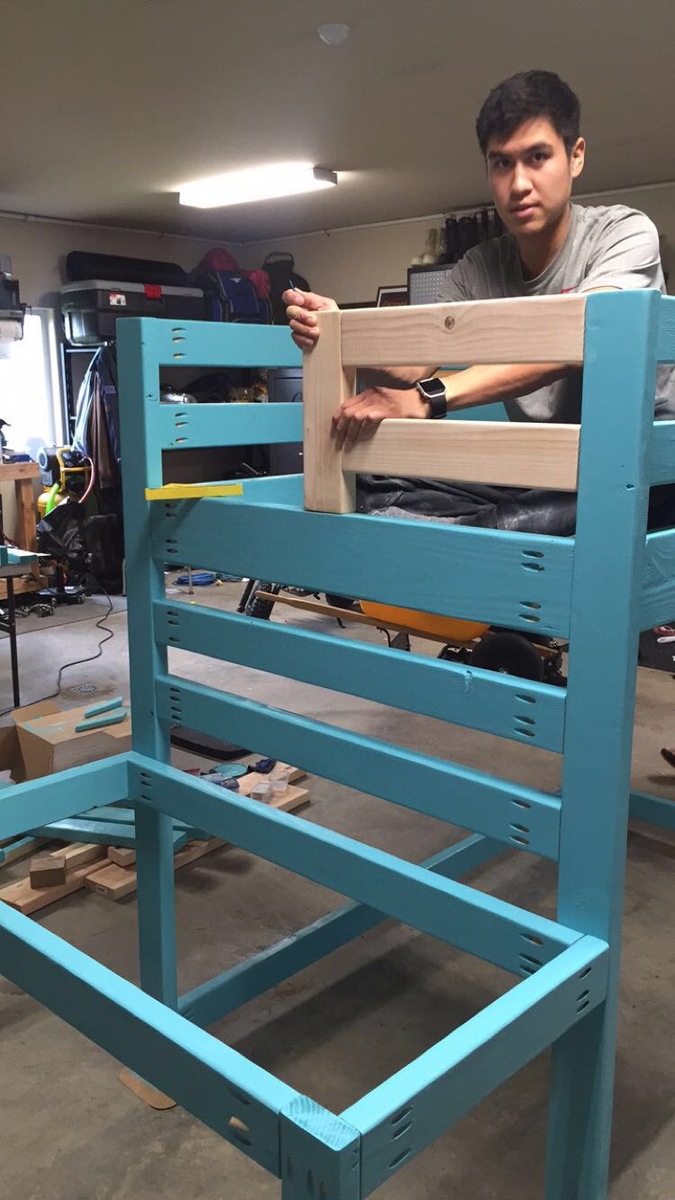
Wow! This took much longer than 2 hours and cost around 200 but it was worth it! My 3 year old LOVES it. We added a safety rail to the foot end.

During the 2020 quarantine I started working from home and had to take up an office in my grandsons room. I wanted to leave enough space for him when he comes over so I needed it to be more narrows than most but with plenty of space for multiple monitors as well as workspace. I got ideas from many plans here but ultimately designed my own with a little inspiration from multiple plans. I included a pullout for the keyboard as well as 2 additional pullout shelves for added workspace.

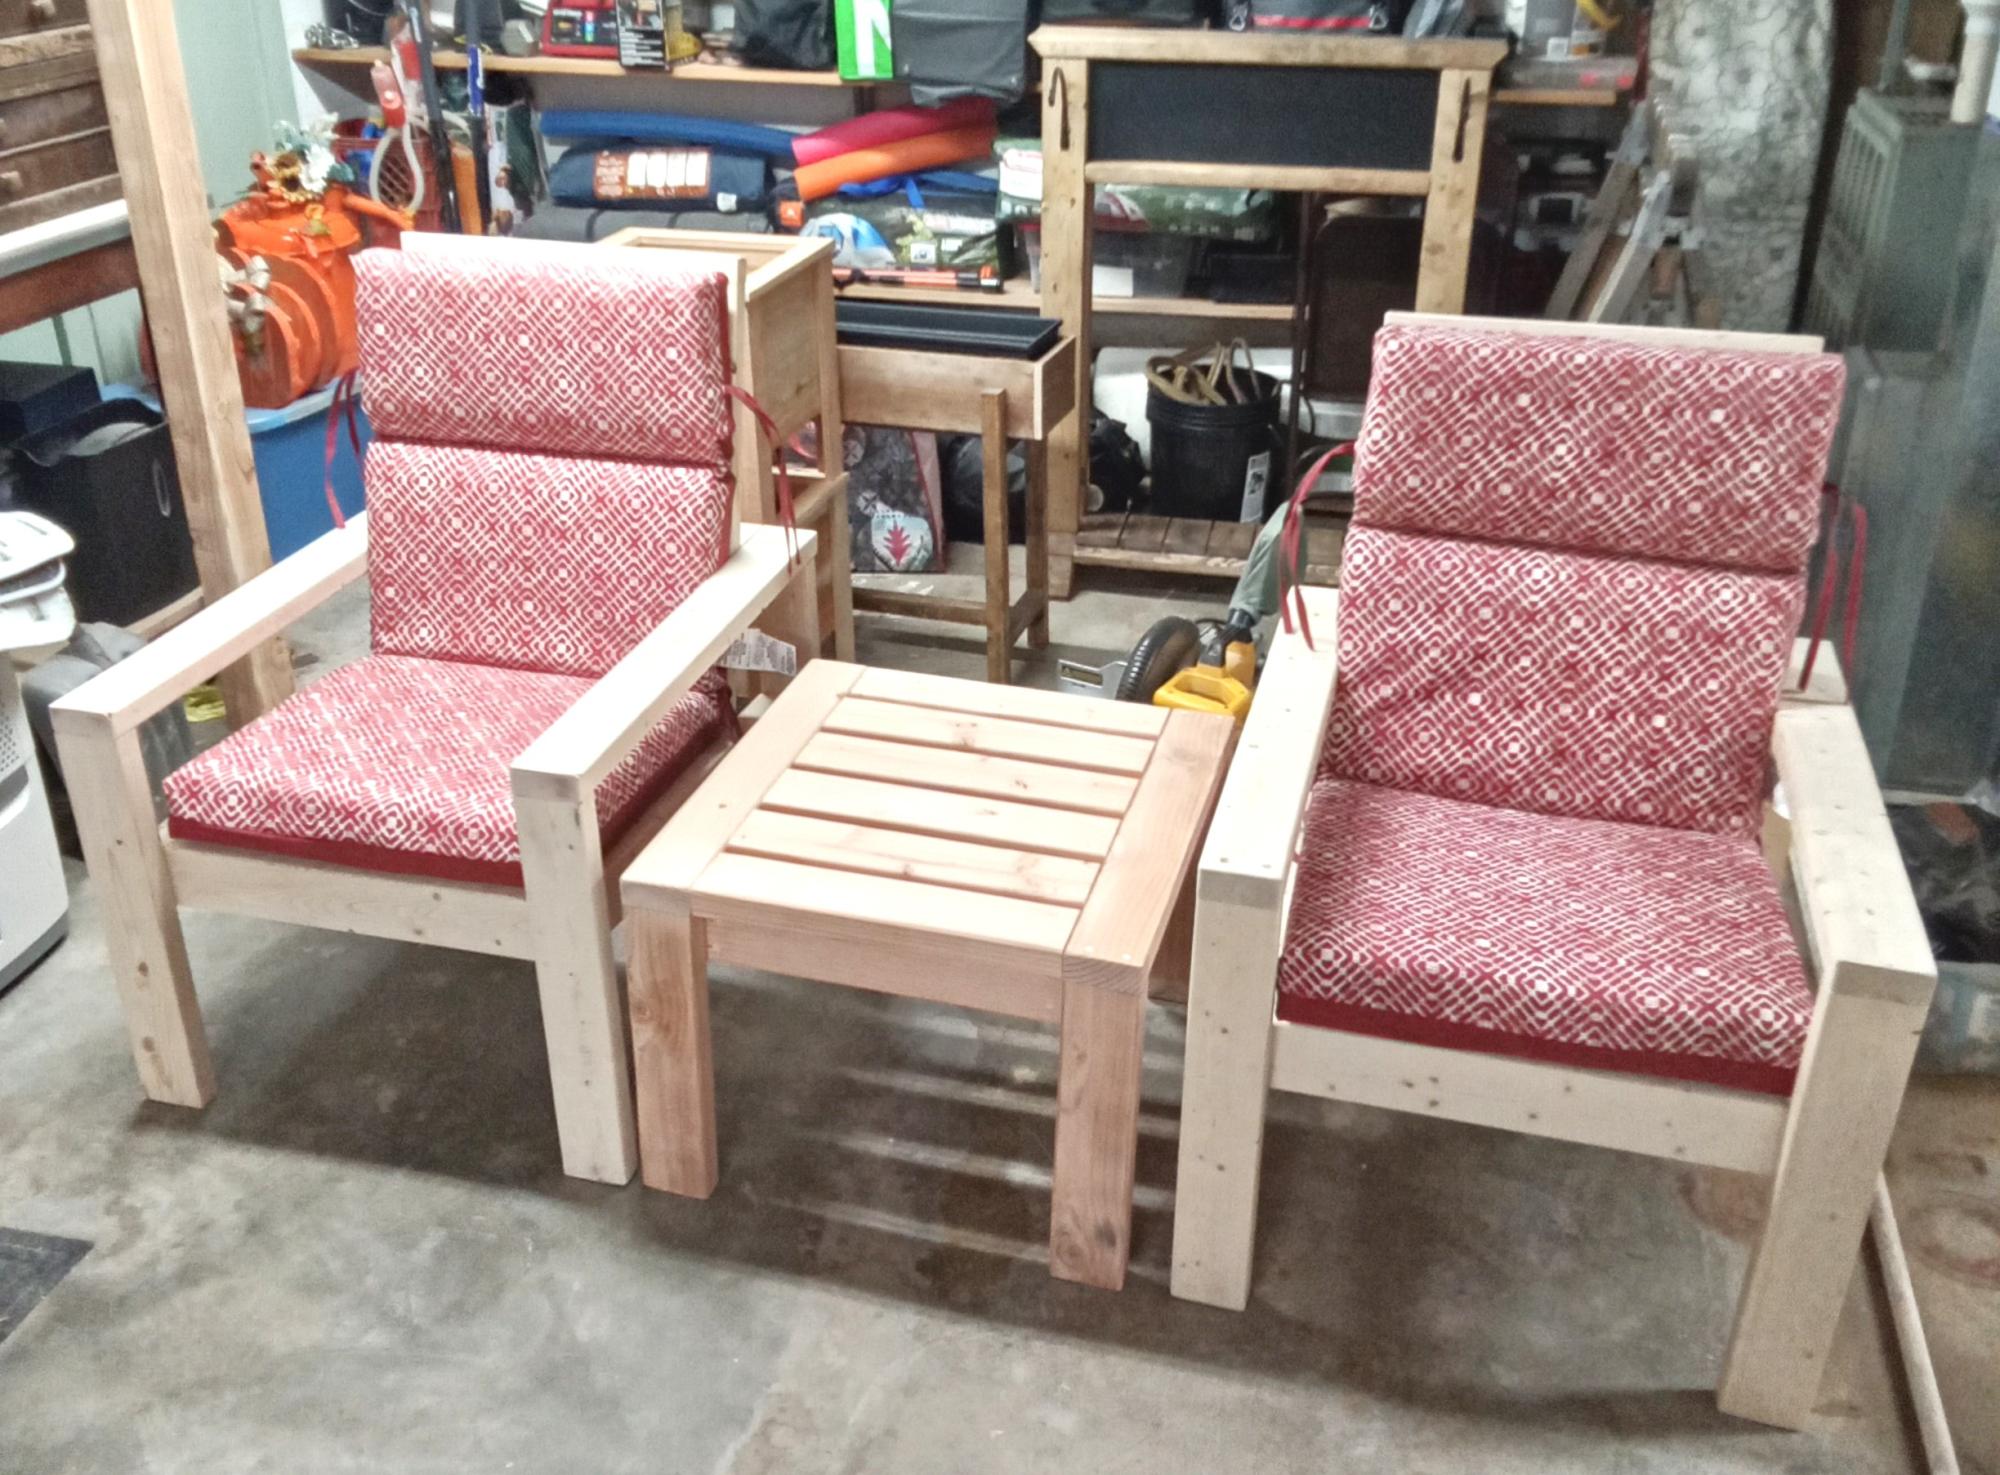
Done the 2x4 chair and table, I think it turned out well. Bought the cushions at Lowes.
Ray and Sandy
An easy to build workbench to keep my tools organized in the garage.
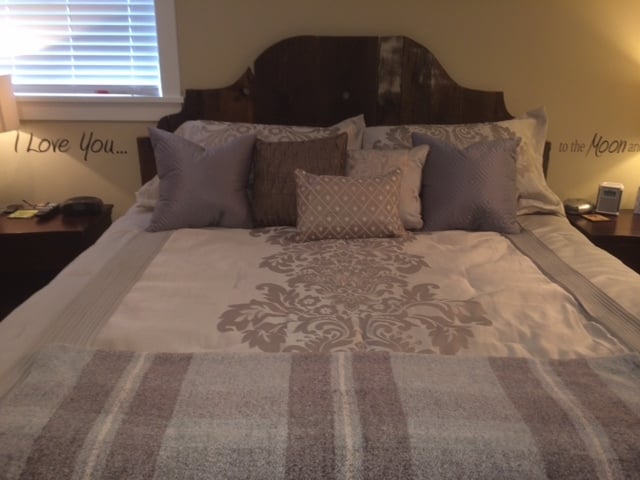
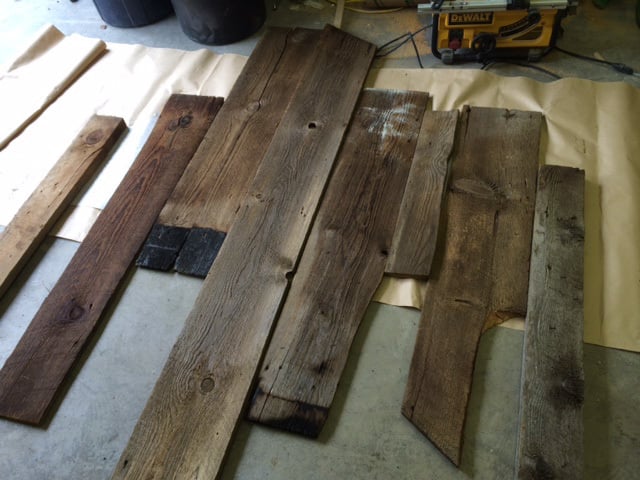
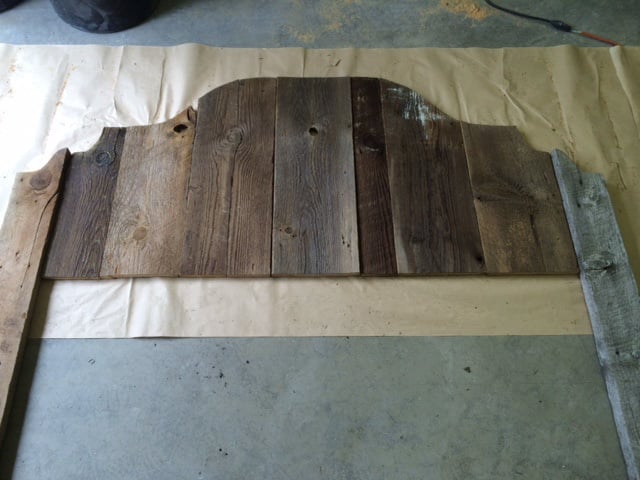
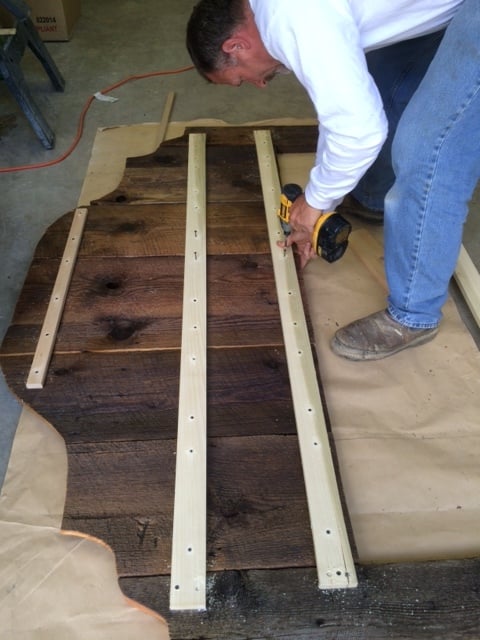
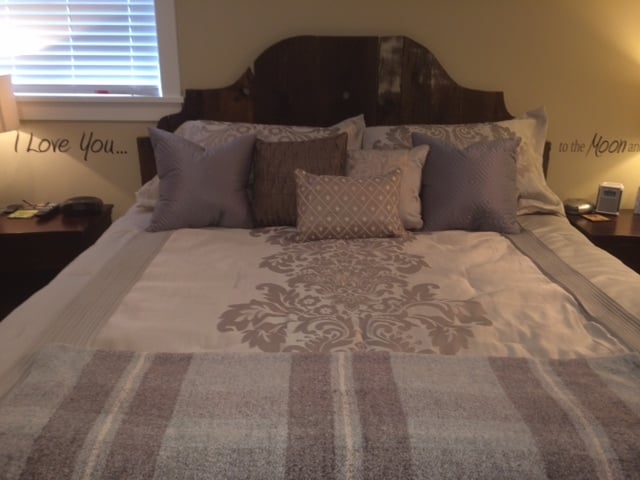
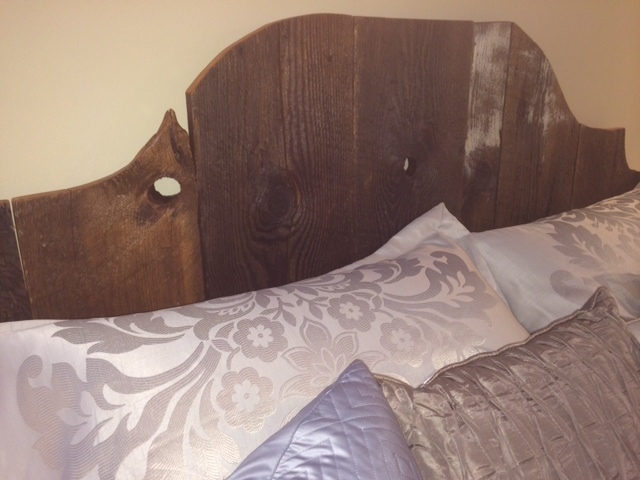
I have to admit...I'm an Ana White and Pintrest addict. I was visiting my cousins farm and saw a pile of beautiful old & weathered barn wood. She let me take a big pile home. I washed and scrubbed the wood with a soft brush to get the years of dirt off. After dried, I layed down all the wood and picked out all the neat character pieces. I freehanded a template of the headboard on butcher paper and traced it on the boards. I cut the boards and lightly sanded the edges. I brushed on two coats of clear coat. When dried my hunky hubby helped me put it all together with 1x2"s and screws. We attached it to the bed frame and there ya have it! A gorgeous traditional-rustic headboard!
I am a really beginning builder (read: this is about my fifth project ever), but it is perfect for our tiny, narrow bathroom. I finished it with Golden Oak stain I already had on hand, and I enjoyed the process. Thanks so much for sharing the plans!
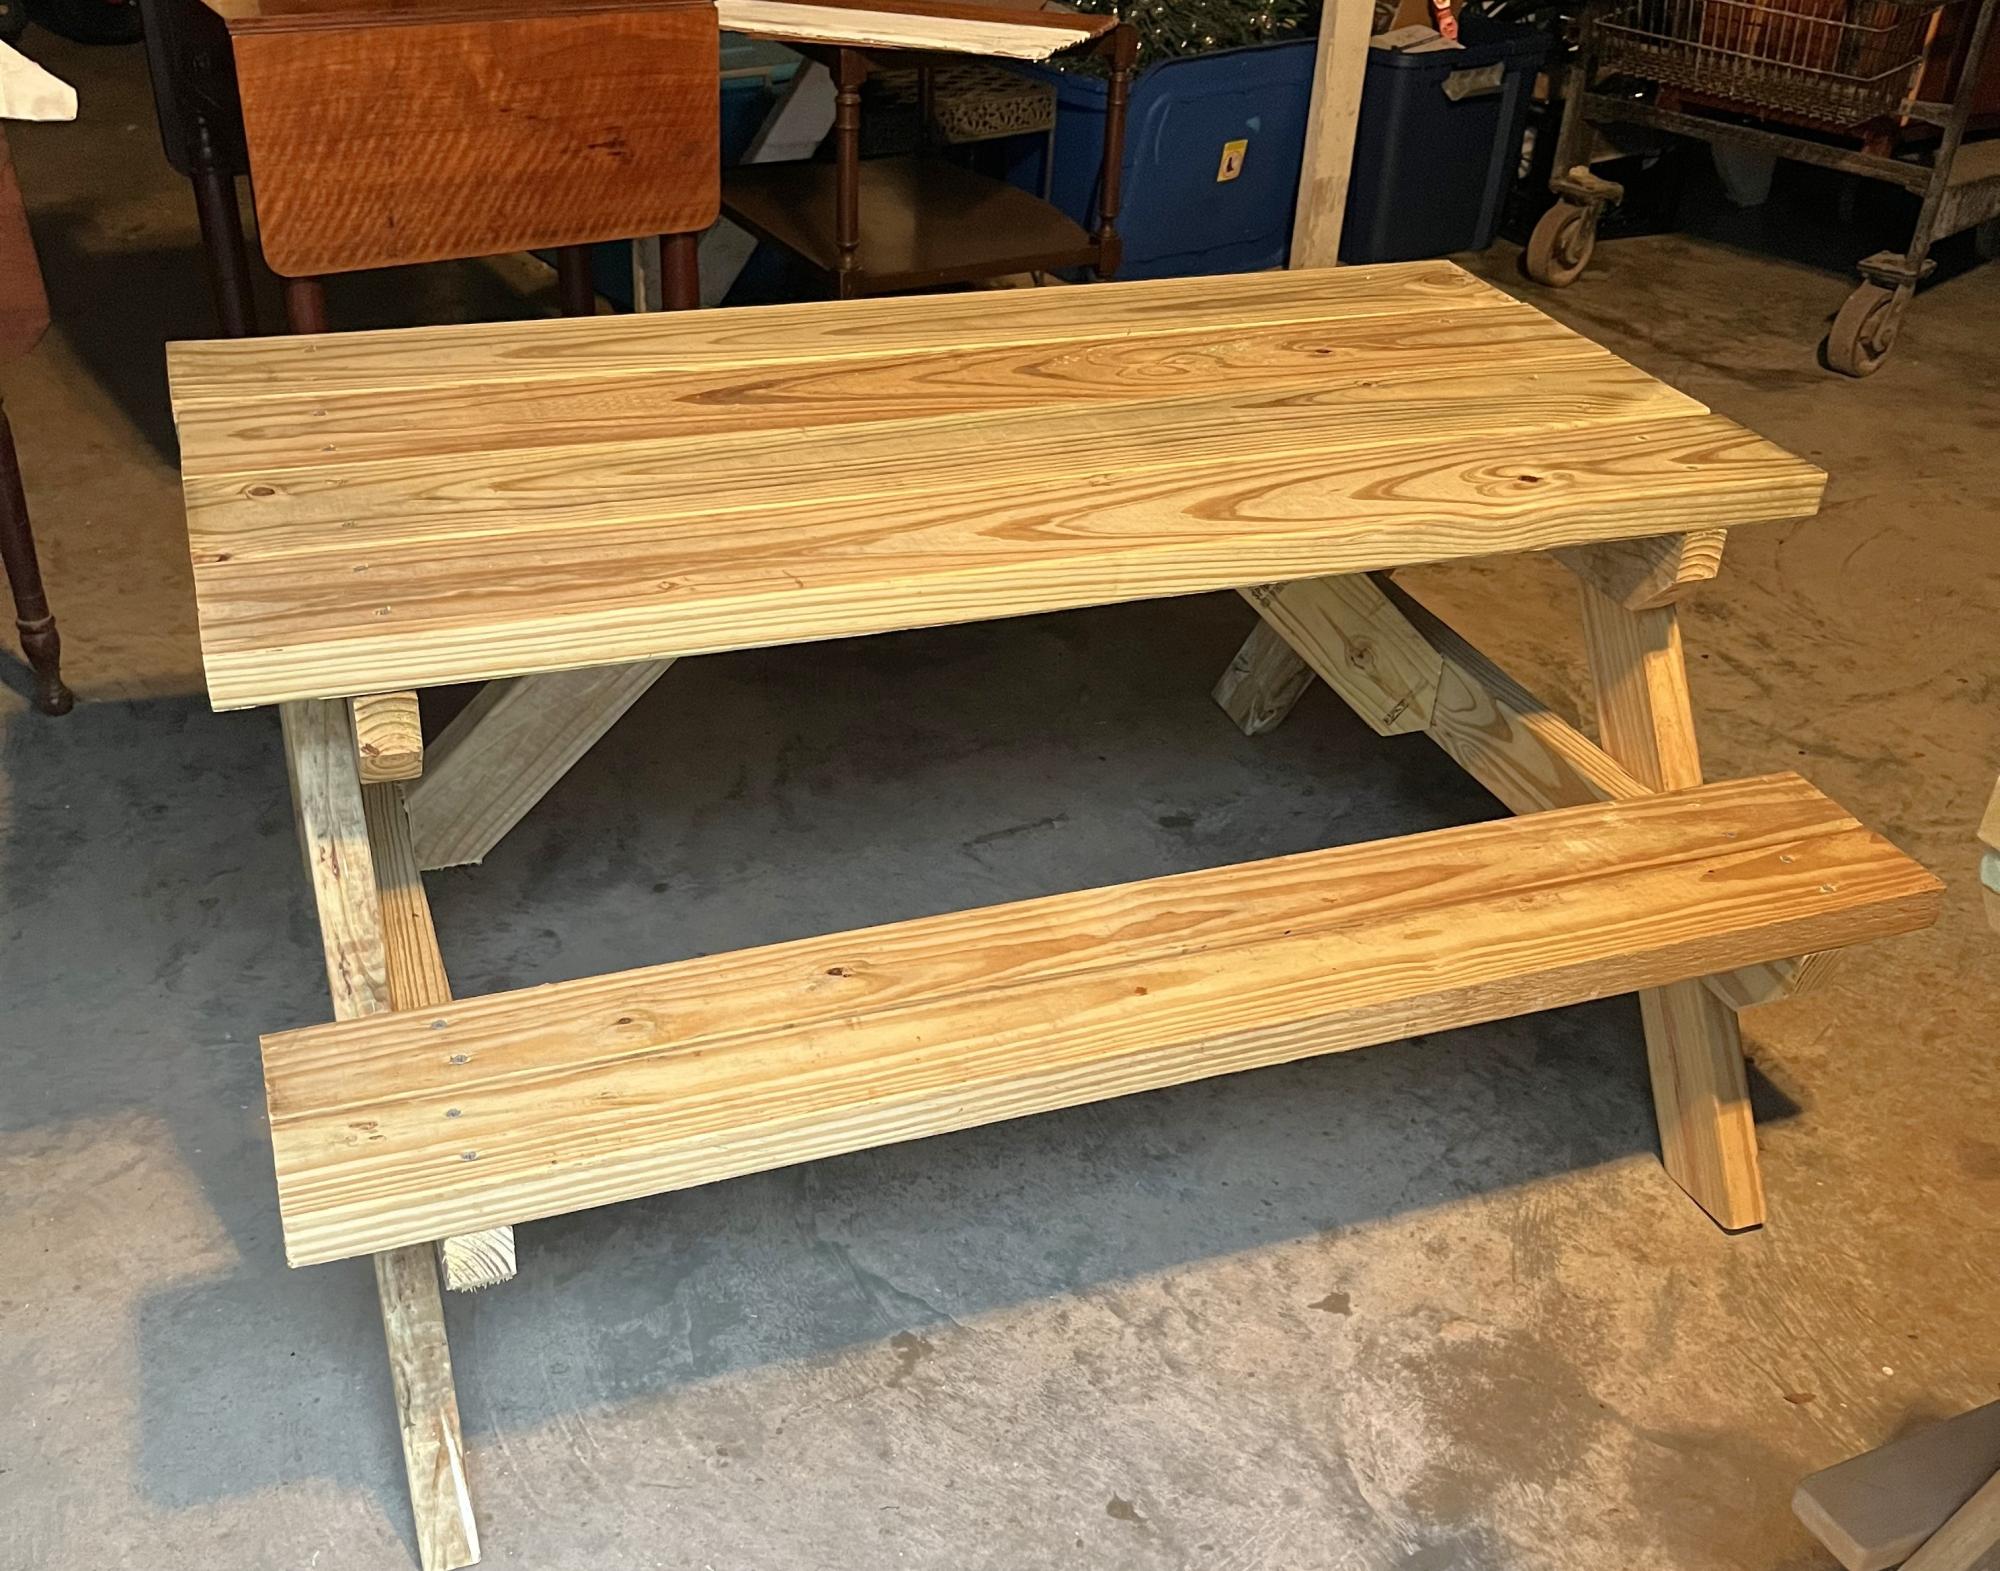
Built this to replace a cheap picnic table that I had bought. The table is solid and a great first project for me Pops. The grandkids will enjoy this one and Gammy has me already building #2 table. Thank you for the plans and your expertise.
Mark E aka Pops
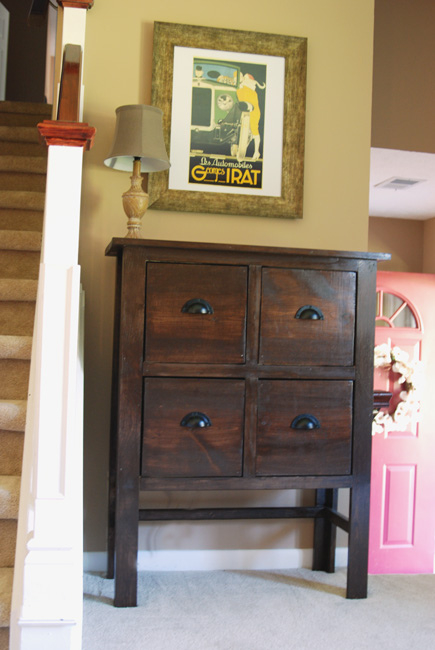
I absolutely loved this table but needed to modify it to fit into a specific area of my house, so I put two drawers on top of each other instead of having all four across. I also shortened the legs as a result. I really love the way it turned out. It is so pretty.
The only thing I dislike is the drawers. They are incredibly heavy, don't slide that well (not because of any mistake on my part, just because they are wood sliders and not metal or plastic), and the shape and size don't make them very usable. They're sort of awkward. I originally wanted it to be a place for my boys to store their Thomas train tracks and Legos, but there's really no way a kid can use drawers that heavy and deep. So that's a bummer.
But overall it's a really nice addition to that part of our living room!
Thu, 08/02/2012 - 10:40
Your console table is beautiful! I read a recent post that addressed the awkward drawer slides. This person used teflon tape on the slides and said it worked well. Here's the post...
Submitted by alexnb on Thu, 2012-08-02 00:30.
That might work for you, too, so that you could actually use the drawers for those pesky little toy train and Lego pieces! :-)
Thu, 08/02/2012 - 10:44
I've loved the Balin console since Ana first posted the plans, but haven't gotten a chance/place for it. Your modifications are amazing, and the finish is stunning. WOW!
Mon, 08/06/2012 - 09:13
Thanks guys. Your nice words made me feel so good. Linda, can you send the link again? It didn't post here.
Thanks again. :D It was a fun project and the mods make it unique.
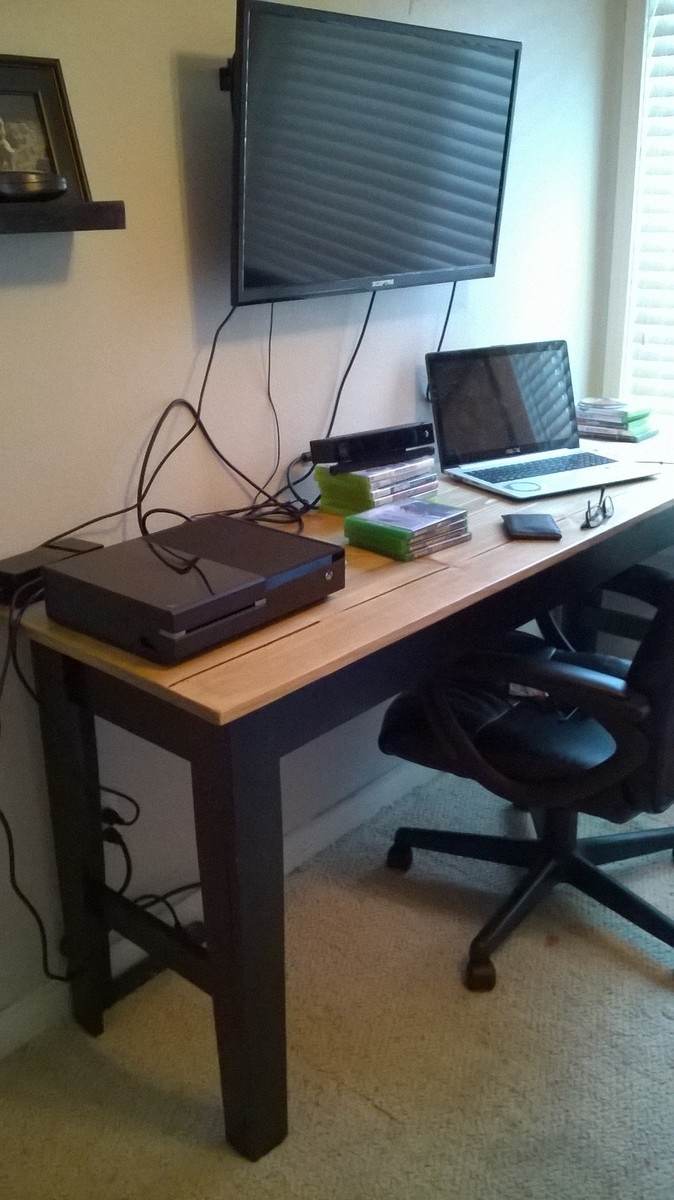
This is my third project - built the Full Farmhouse bed and Haley platform bed. Son wanted a 6 ft table to accommodate all of his computer/gaming devices.
Came together quickly - sanding/stain/finish took majority of time. Stained base with Minwax ebony (2 coats), used Minwax weathered Oak on table top (1 coat) and 3 coats of Satin Polycrylic.
I now have a long list of projects....
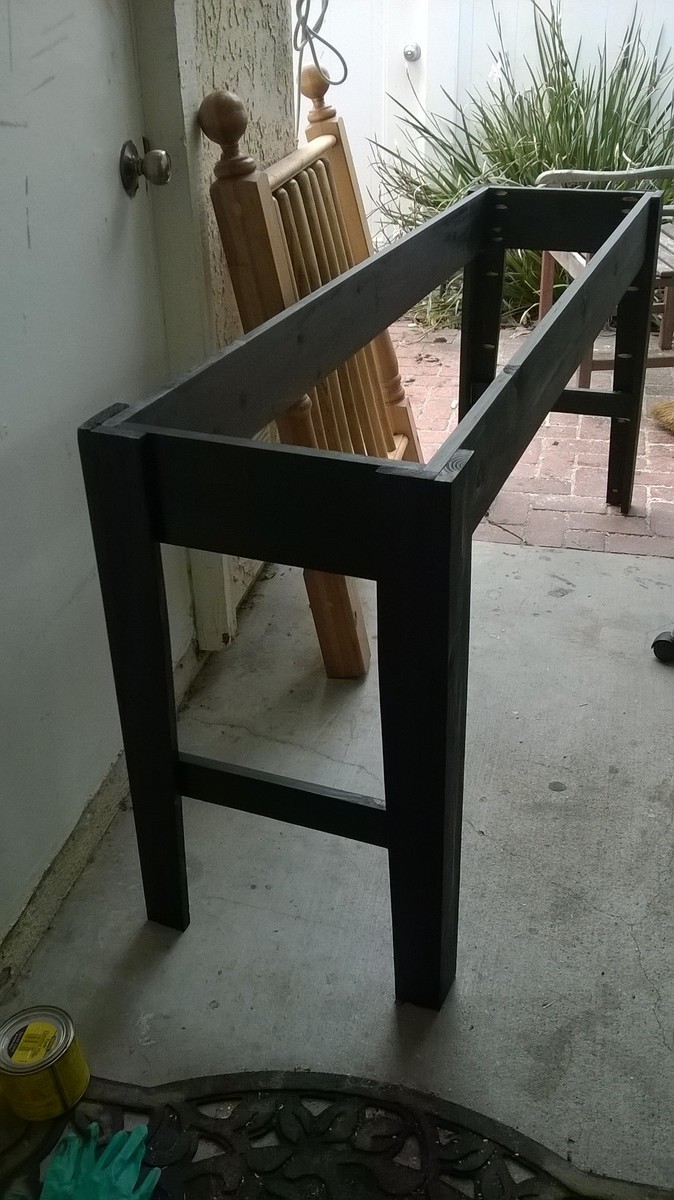
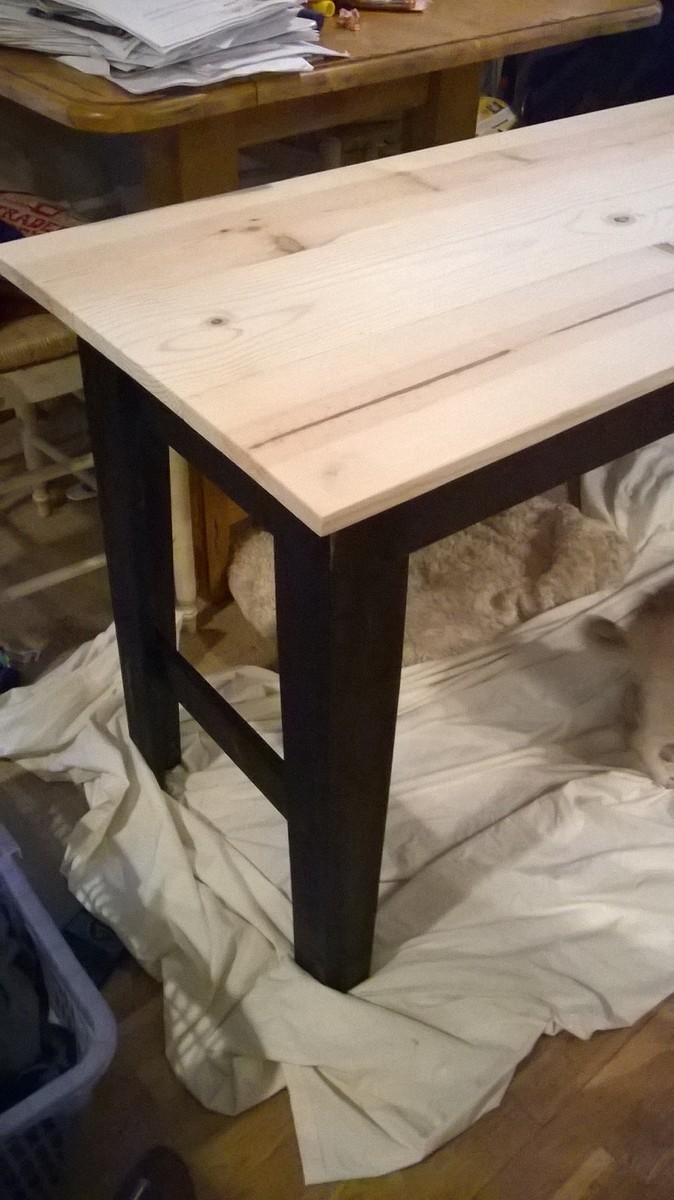
My first project.
Not pretty, but not bad for a start while working with an 11,7 and 5 yr old.
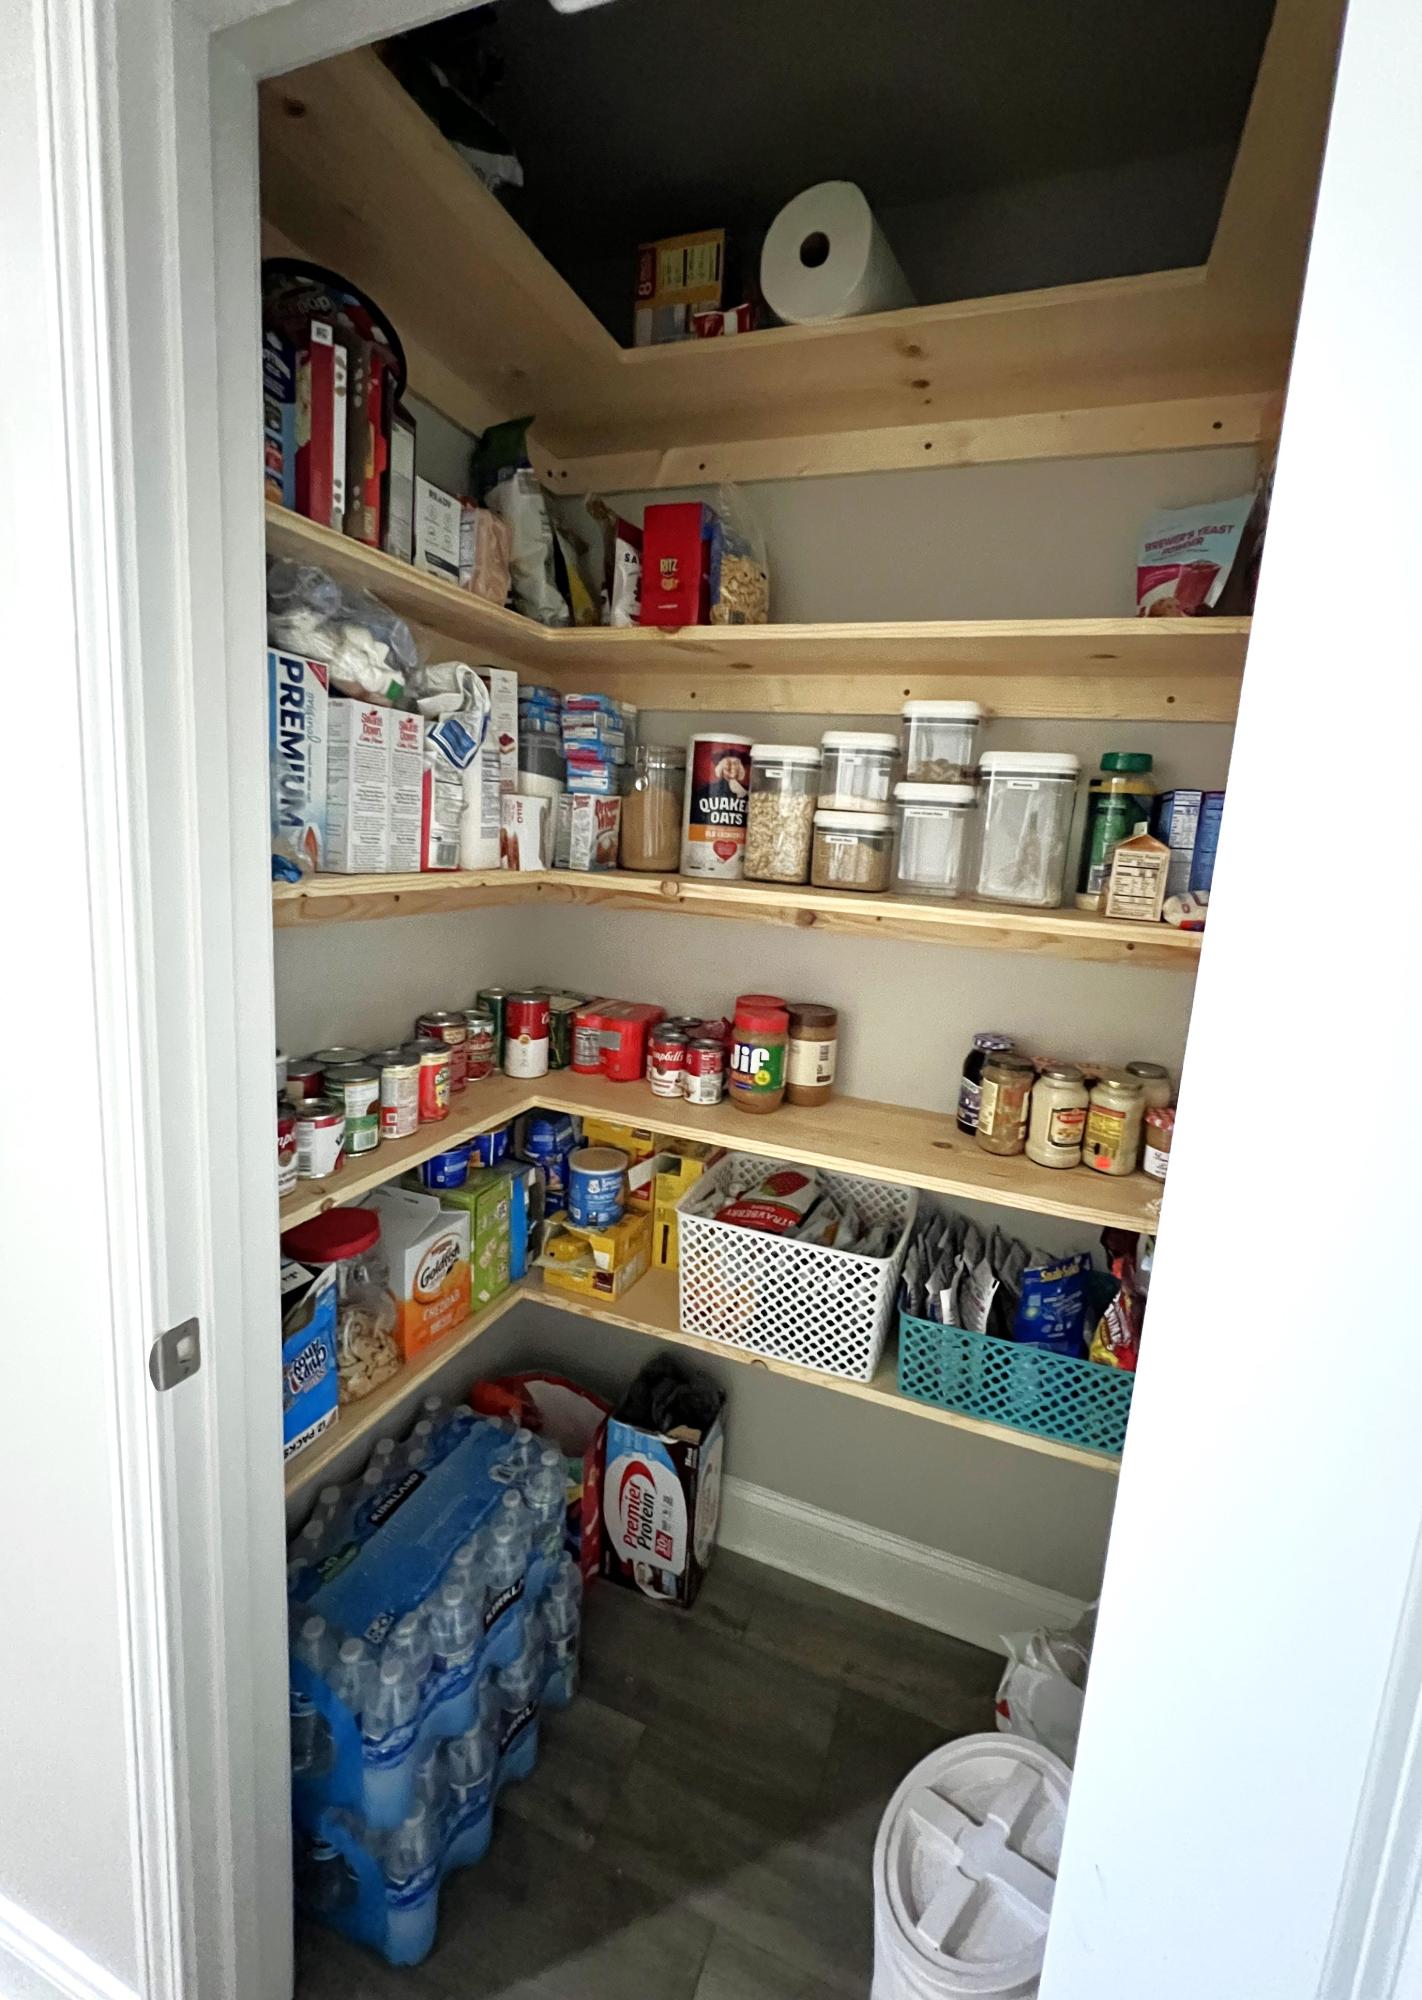
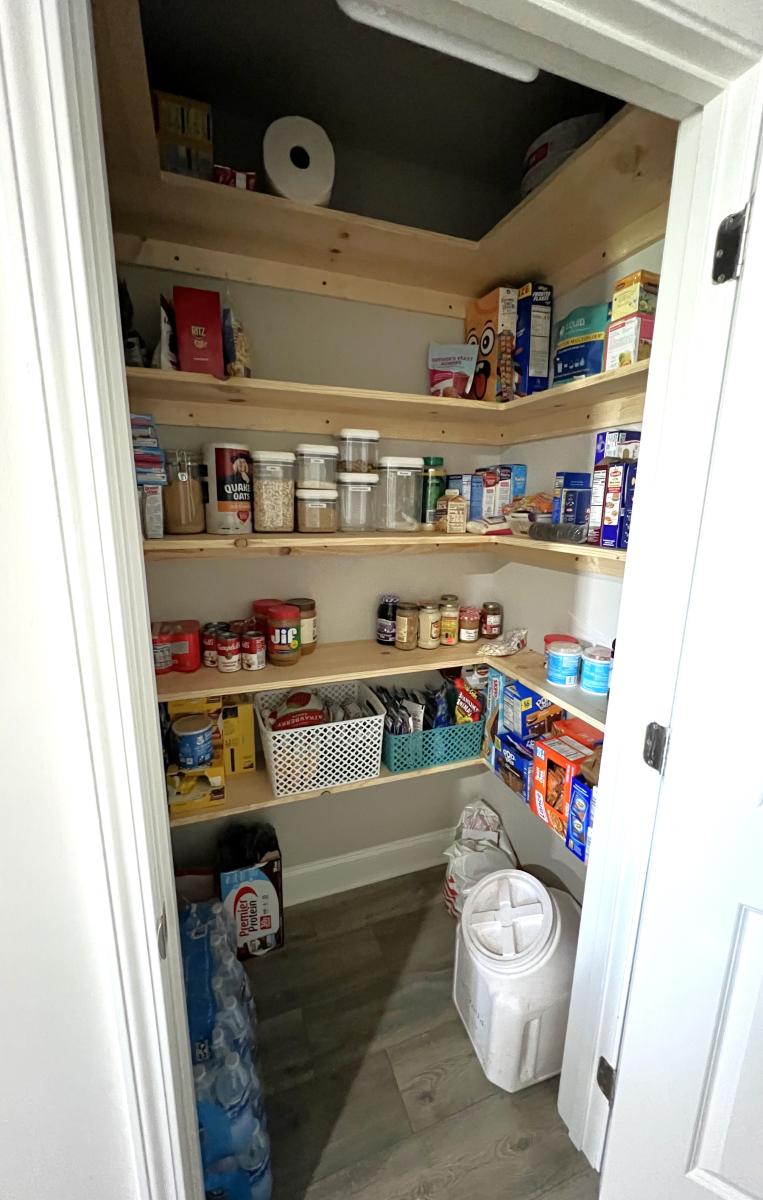
The wire shelves that the builder placed were not cutting it for storage. This setup from your plan helped garner so much more space for organizing. The pantry is roughly 54”x 35” and we were able to place five shelves instead of the four. Thank you so much for your assistance!
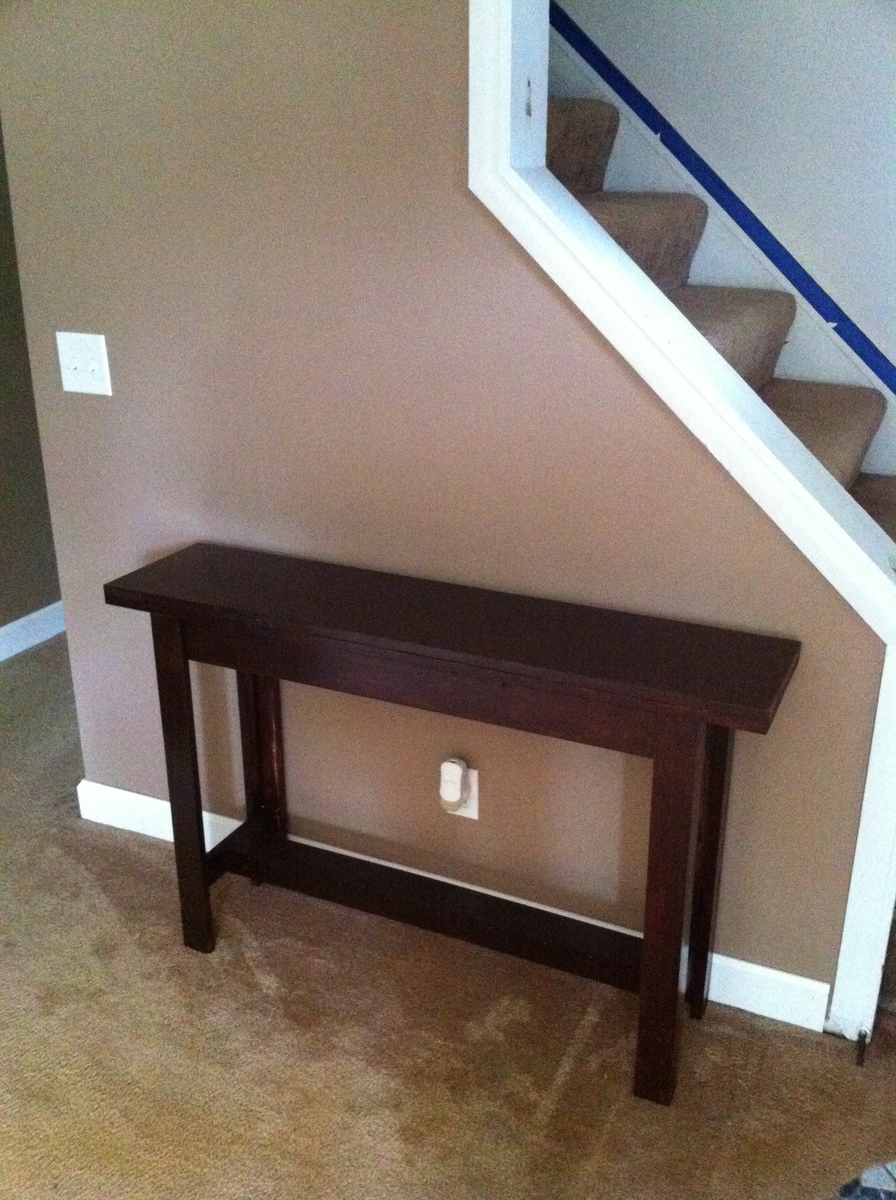
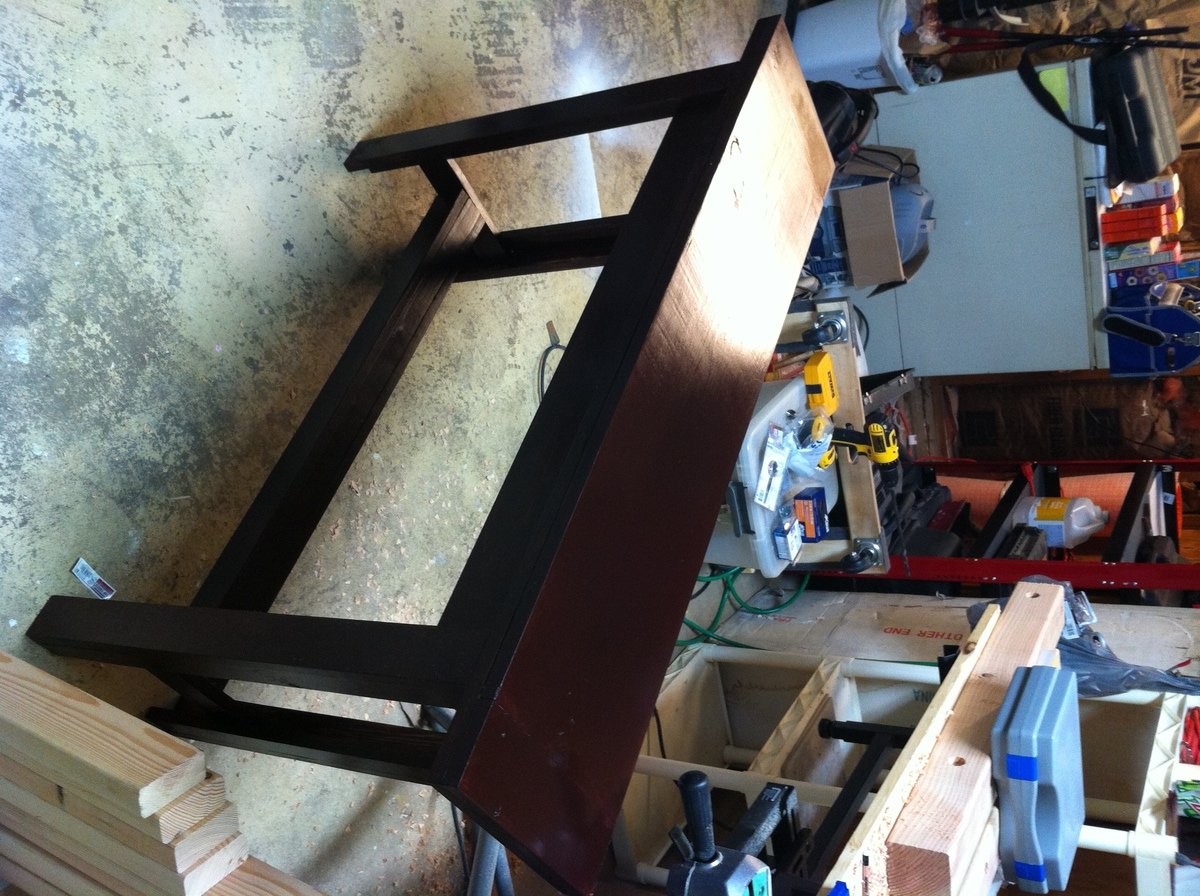
I built this in just a couple of hours. I thought it would look good in our living room. I also wanted to try the Gel stain and thought this would be a good project for that.
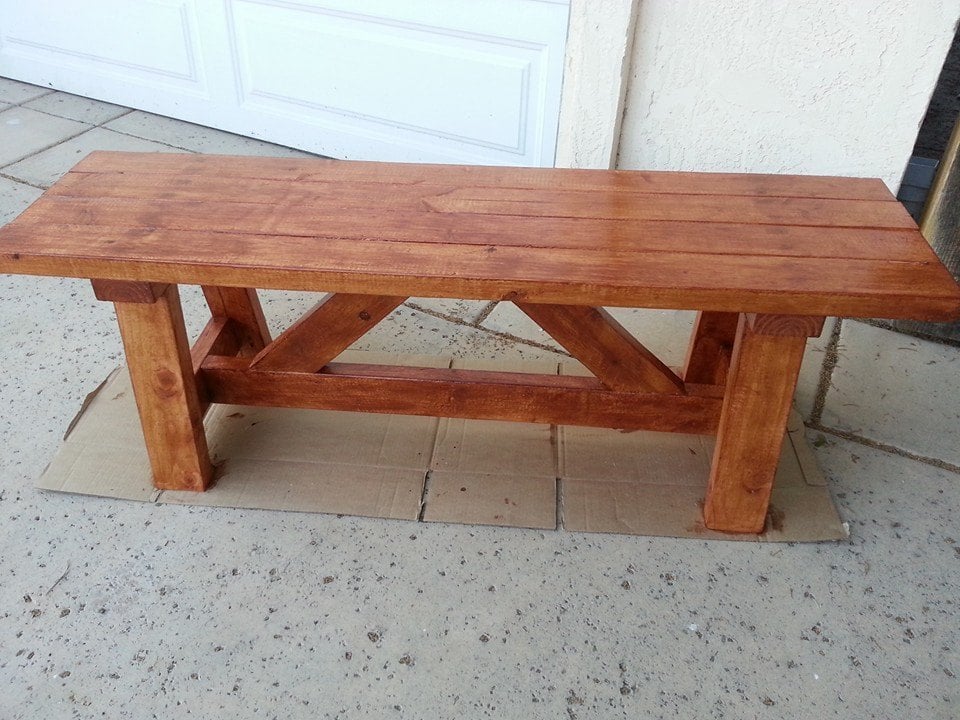
My first project from plans found on this site. Thanks!
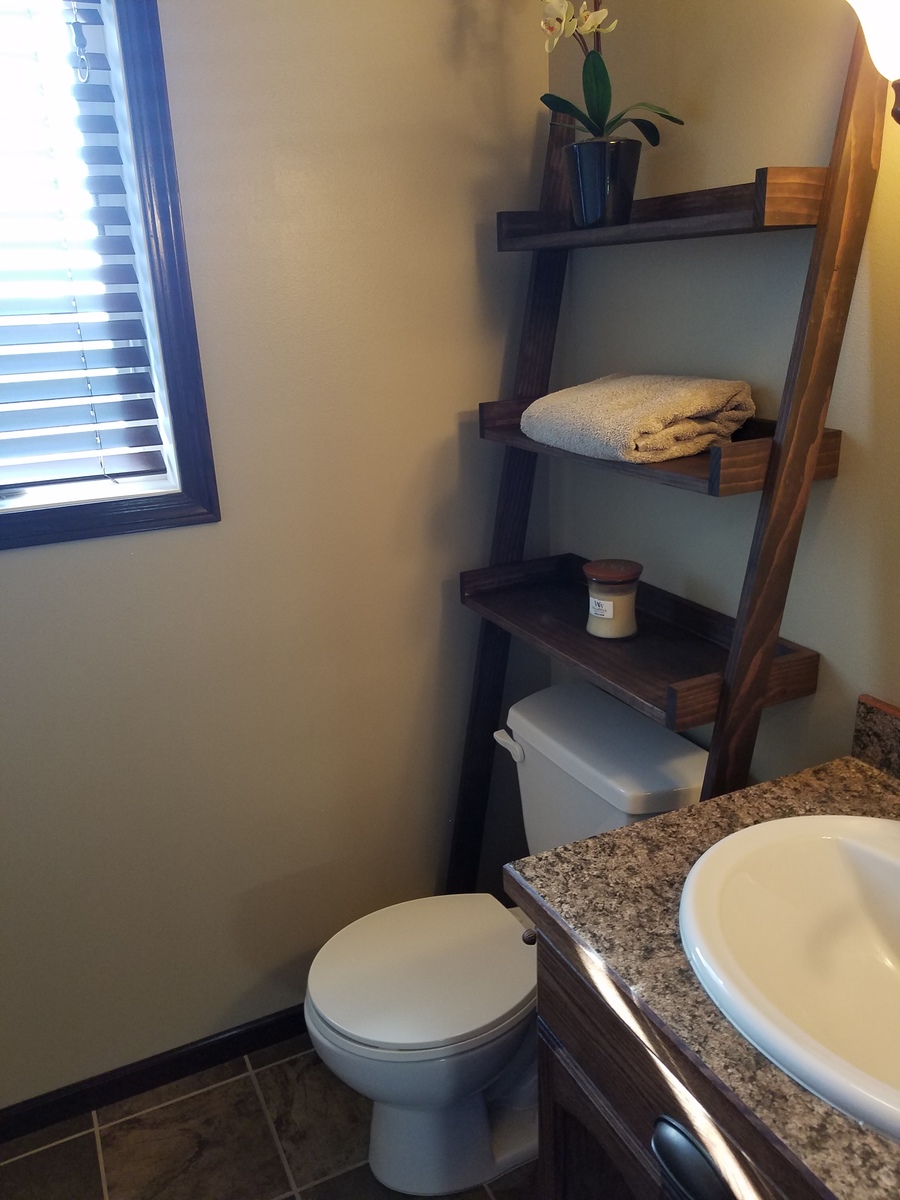
Thanks for the great plan Ana! Super cute addition to our bathroom!
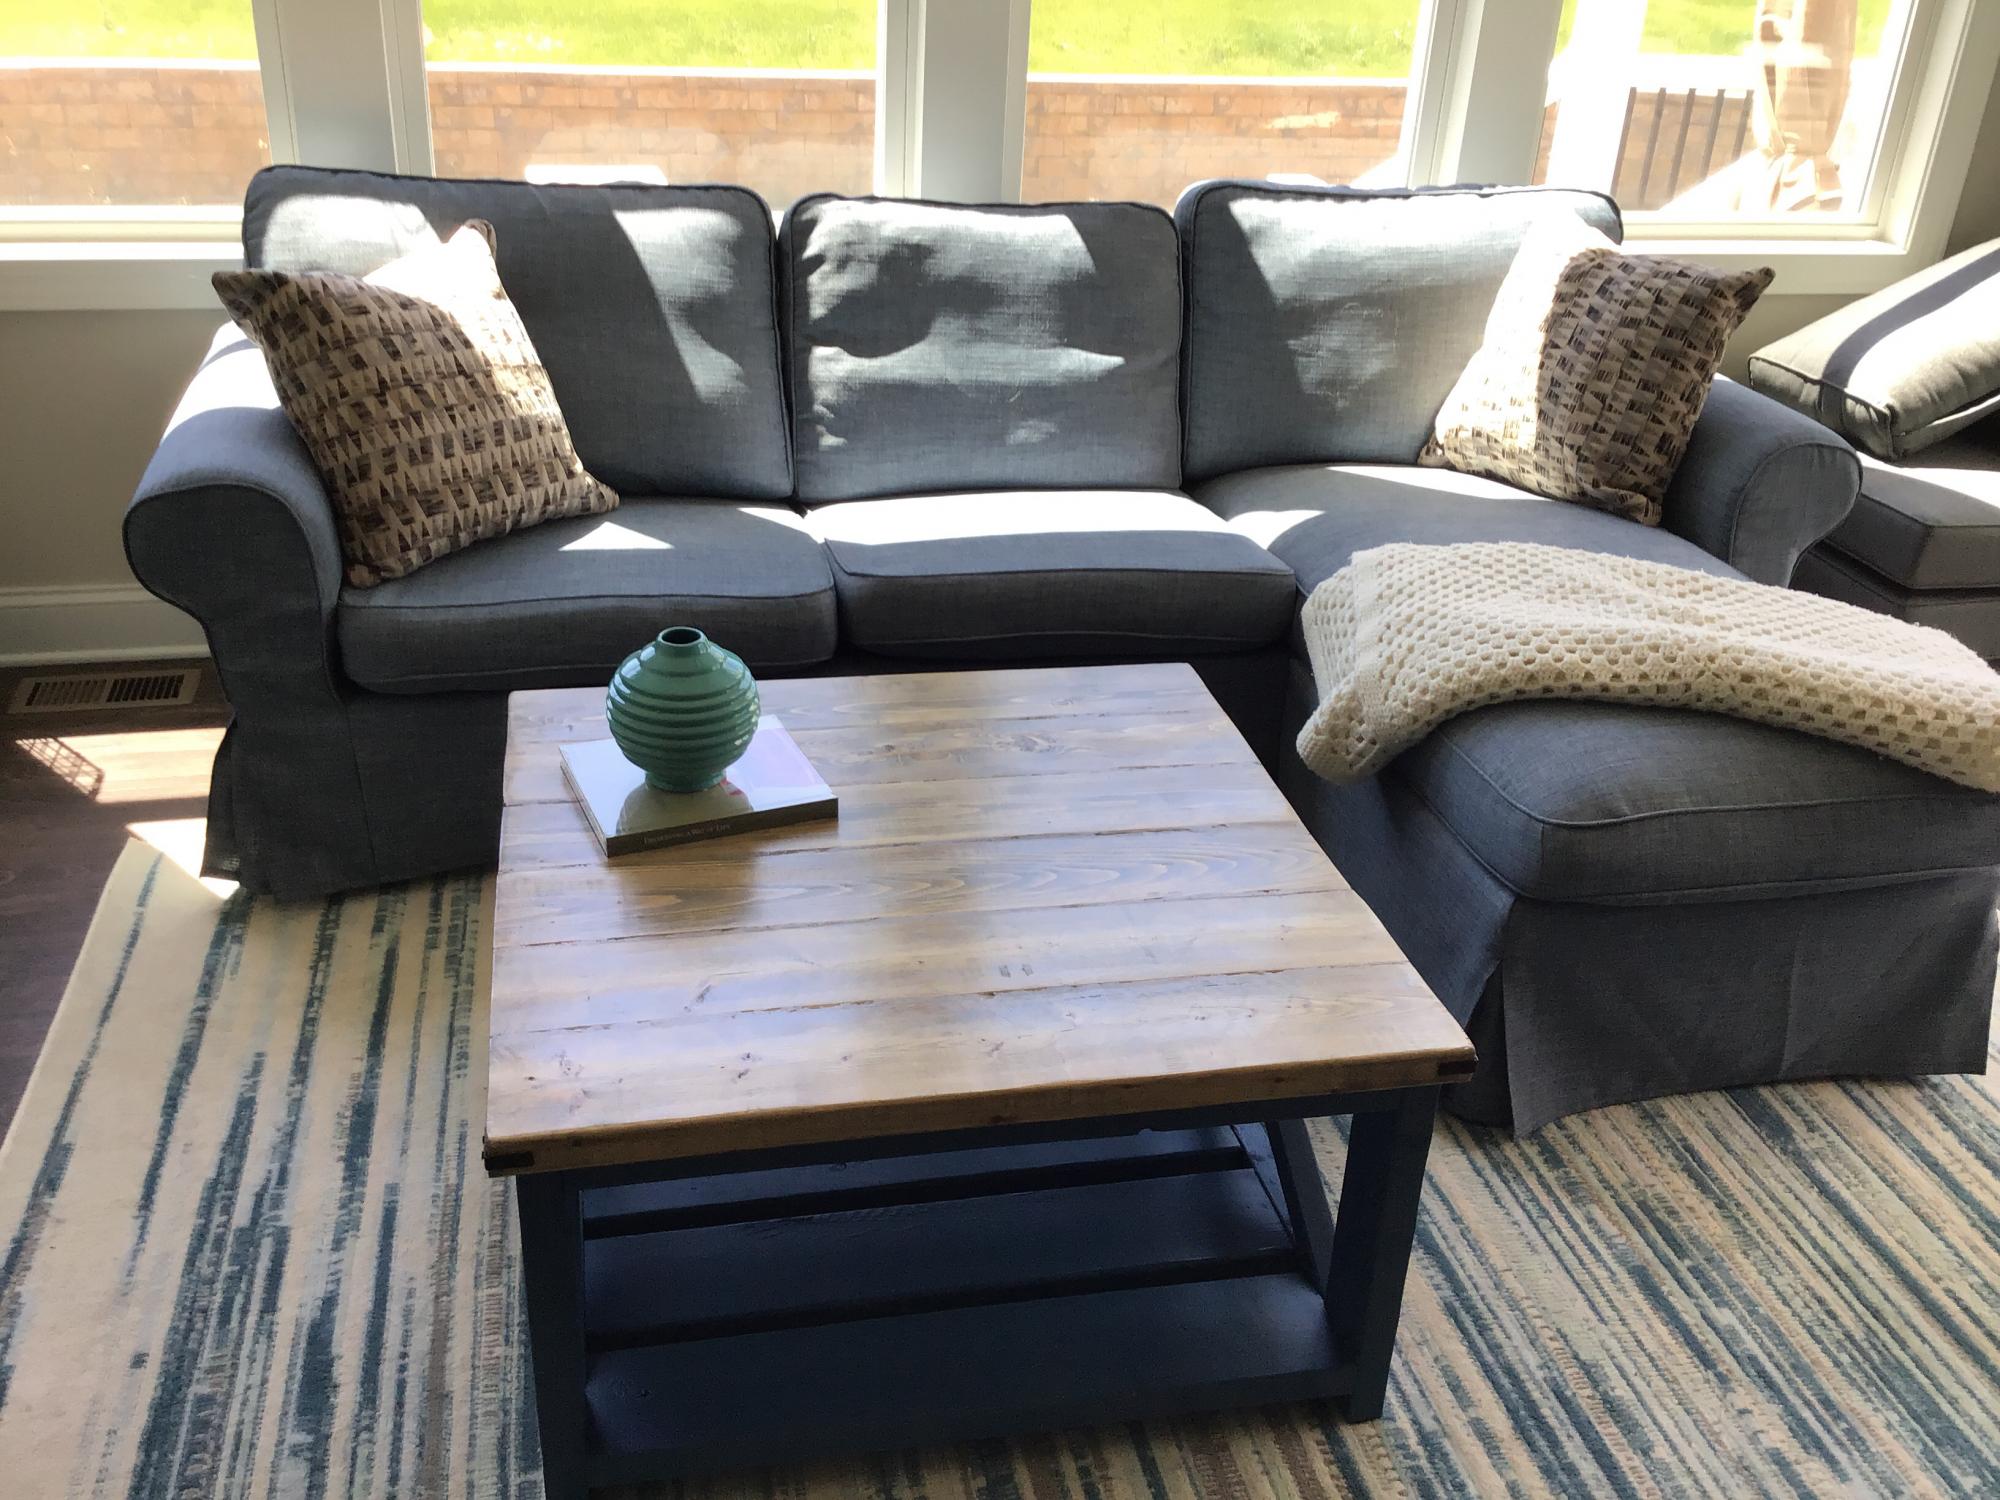
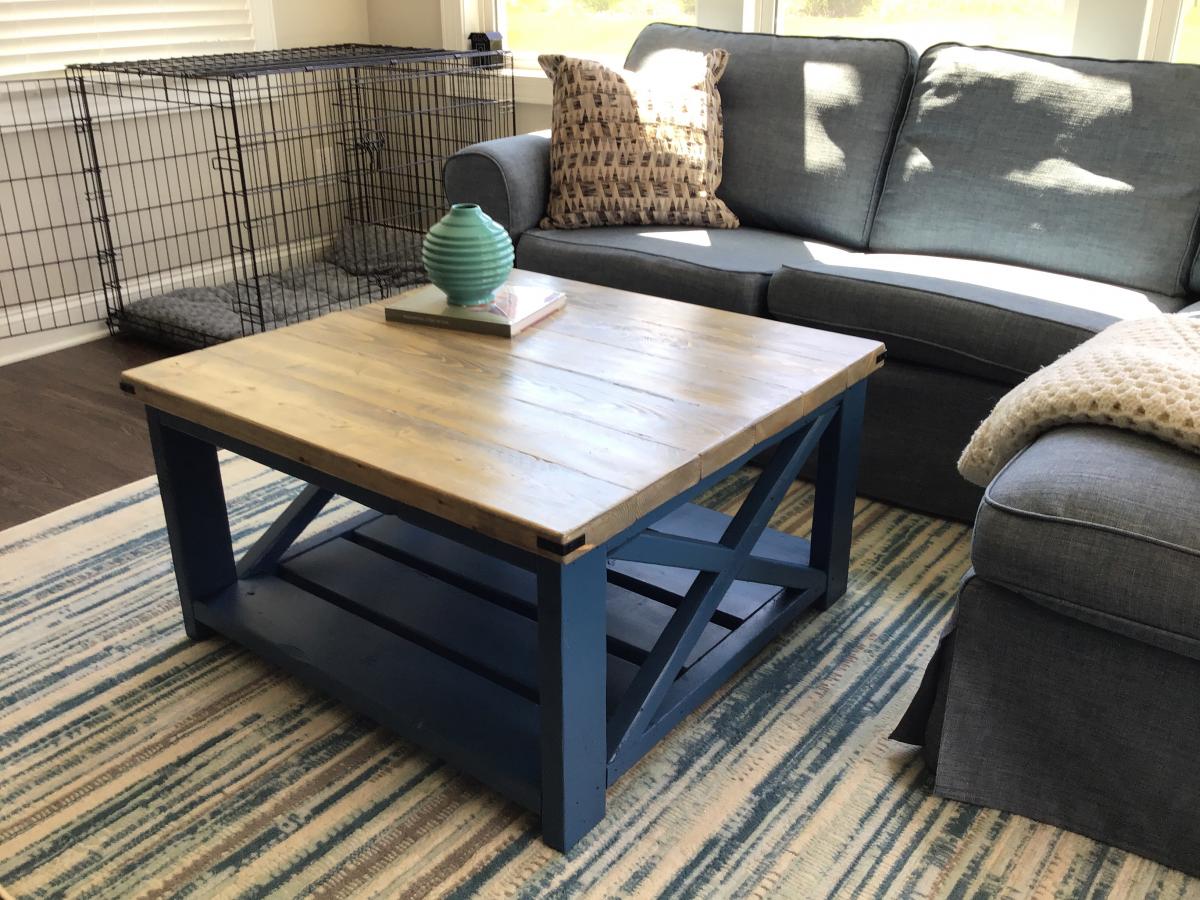
Took combination of farmhouse coffee table and side table to make a square coffee table for our sunroom
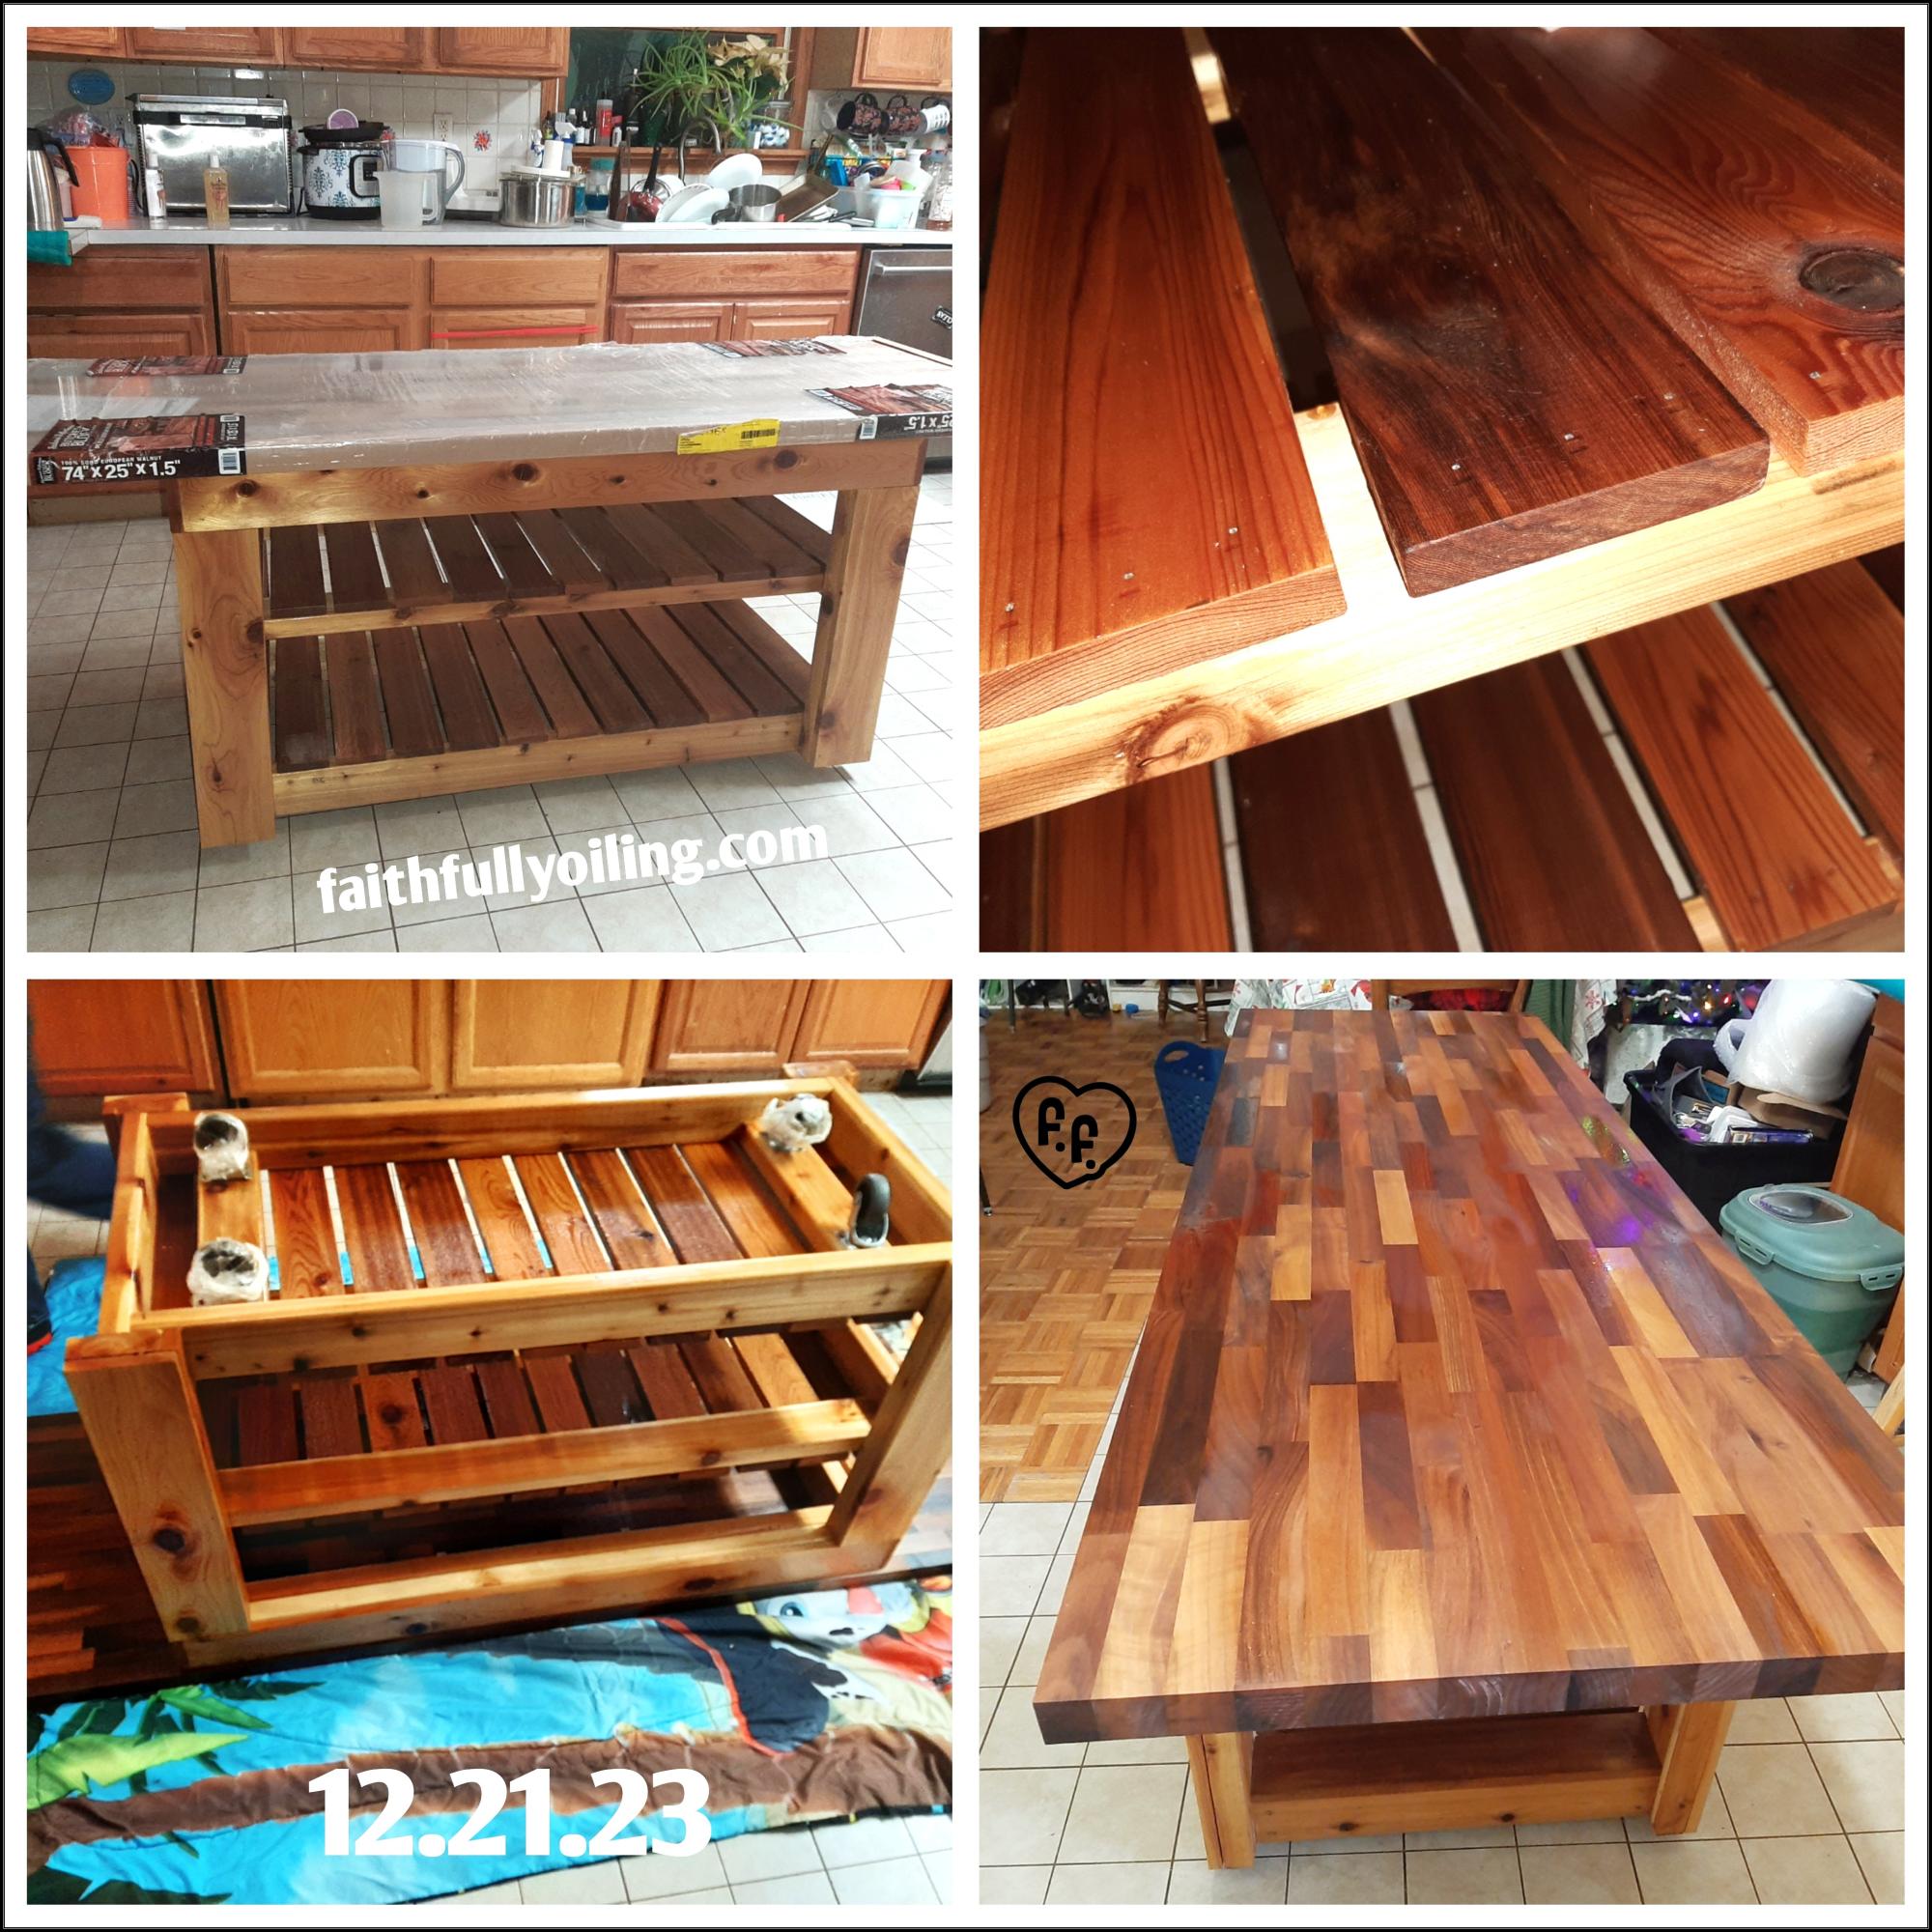
I really needed a kitchen island. That would work for me & last.
We, my husband & I, based our plan off of the Easy Kitchen Island Plans. I printed the plans. Then modified a few items. Originally I was gonna do a 4ftx25" but my butcher block we found was 6ft. So we left it with 6ft. My barstools slip under the overhang so kids can pull them out & use when needed but not be in the way.
We also made it custom to my height for mixing & kneading dough. The selves are different to work.with my tupperware containers. (Goal is to get all the same eventually).
We used cedar & a little pine for the main structure. The top is European walnut butcher block.
It's on wheels. So I can move it out of the way if needed.
We did seal the sides (kids & messy cook). The shelves & top I used butcher block oil & conditioner. Ever month I add a thin coat of conditioner to the top.
I love that I have so much room now to create.
Thank you so much for the inspiration!
Faith & Jonathan Flesher
It is almost back to school time (20 days) and I am home alone with my 4 kids while my husband is away on business for 2.5 weeks. What is a woman to do? Find a project.
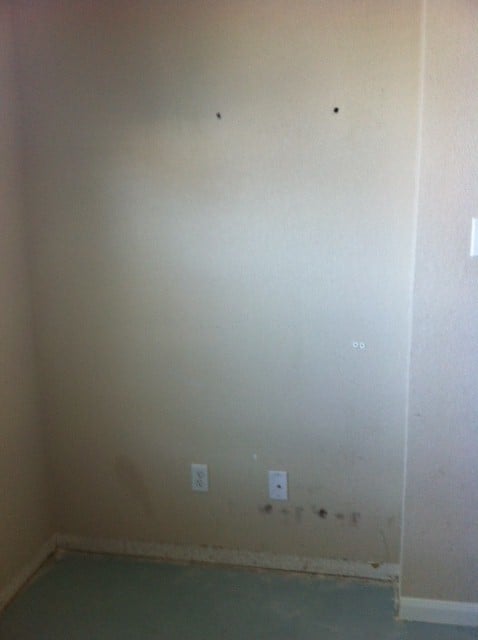
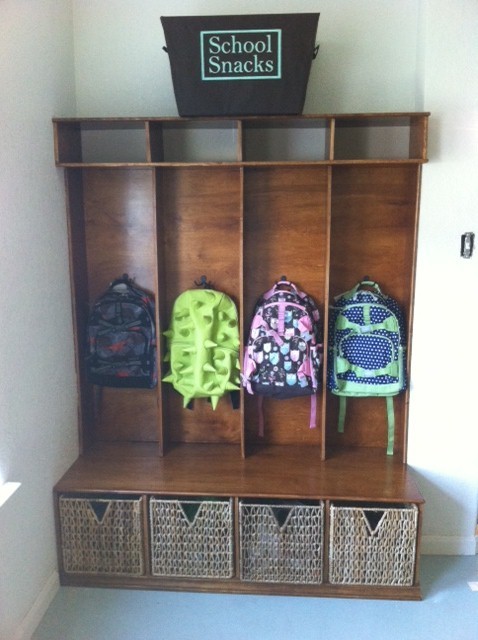
There has always been this weird little nitch in the front "formal living room" that I use as my photo studio. It is only 55 1/4 " wide and 7" deep so nothing I could find would fit there- I usually have a coat rack there- and last year I had my boys' backpacks for school hung there. But... This year my twins are going off to school- which means 4 backpacks. Enter project! I modified the Small Locker Project (http://ana-white.com/2010/08/still-not-locker.html) and built the lockers to 1.) fit the space 2.)to fit their existing shoe baskets that used to be in an Ikea Expedit shelf.
I am soooo pleased with how they turned out.
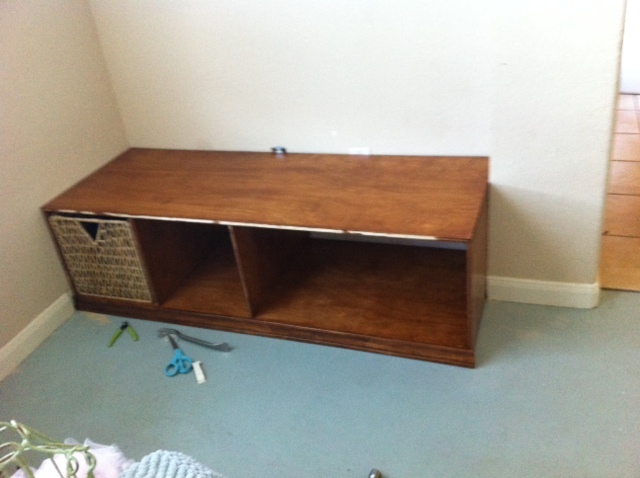
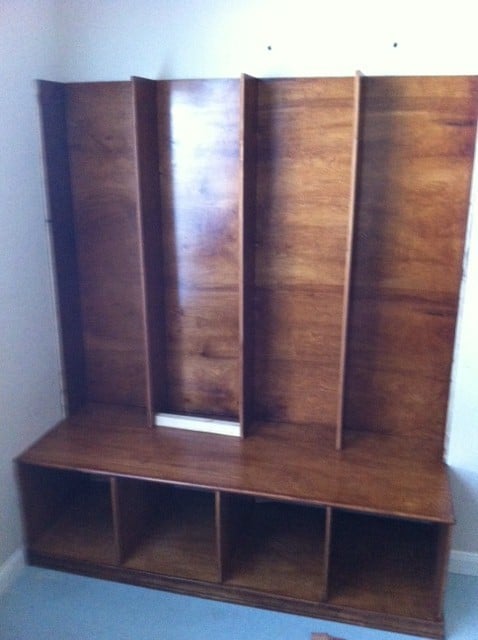
I built this in pieces- first the bench, then the dividers and backing, and then the cubbies above. I built it using 1/2 in birch veneer plywood (that happens to be Purebond) from home depot. I had Home Depot cut the wood (which I normally do for the easiness factor- but this time it was a mistake. My favorite cutting guy was on vacation and I wanted to start now so I let Moose cut it. So not a good idea. One piece was 15" wide at one end and 15 1/4 " at the other... I gave him a cutting guide, hello?
Good thing I have my own table saw so I could fix it. (from when I built my girls beds: http://ana-white.com/2010/05/plans/corner-unit-twin-storage-bed)
I sanded and stained the wood with custom stain from Sherwin Williams. I then gave it 3 coats of waterbased Poly .(sanding between each one)
Then I glued and nailed it together (for the record, 1/2 plywood is harder to shoot nails into- just sayin')
Then I had the wood cut for the dividers and back (sand, stain, poly, glue and nail, install)
Finally the cubbies at the top: (sand stain, poly glue and nail, install)
After that I put on the trim so now I have a built in lockers for my kids- their backpacks and shoe baskets fit exactly, and there is room for when they grow for the backpack hooks to move up. I plan to use chalkboard vinyl to put their names above the hooks. Thanks Ana again for inspiring me!!!!!!
