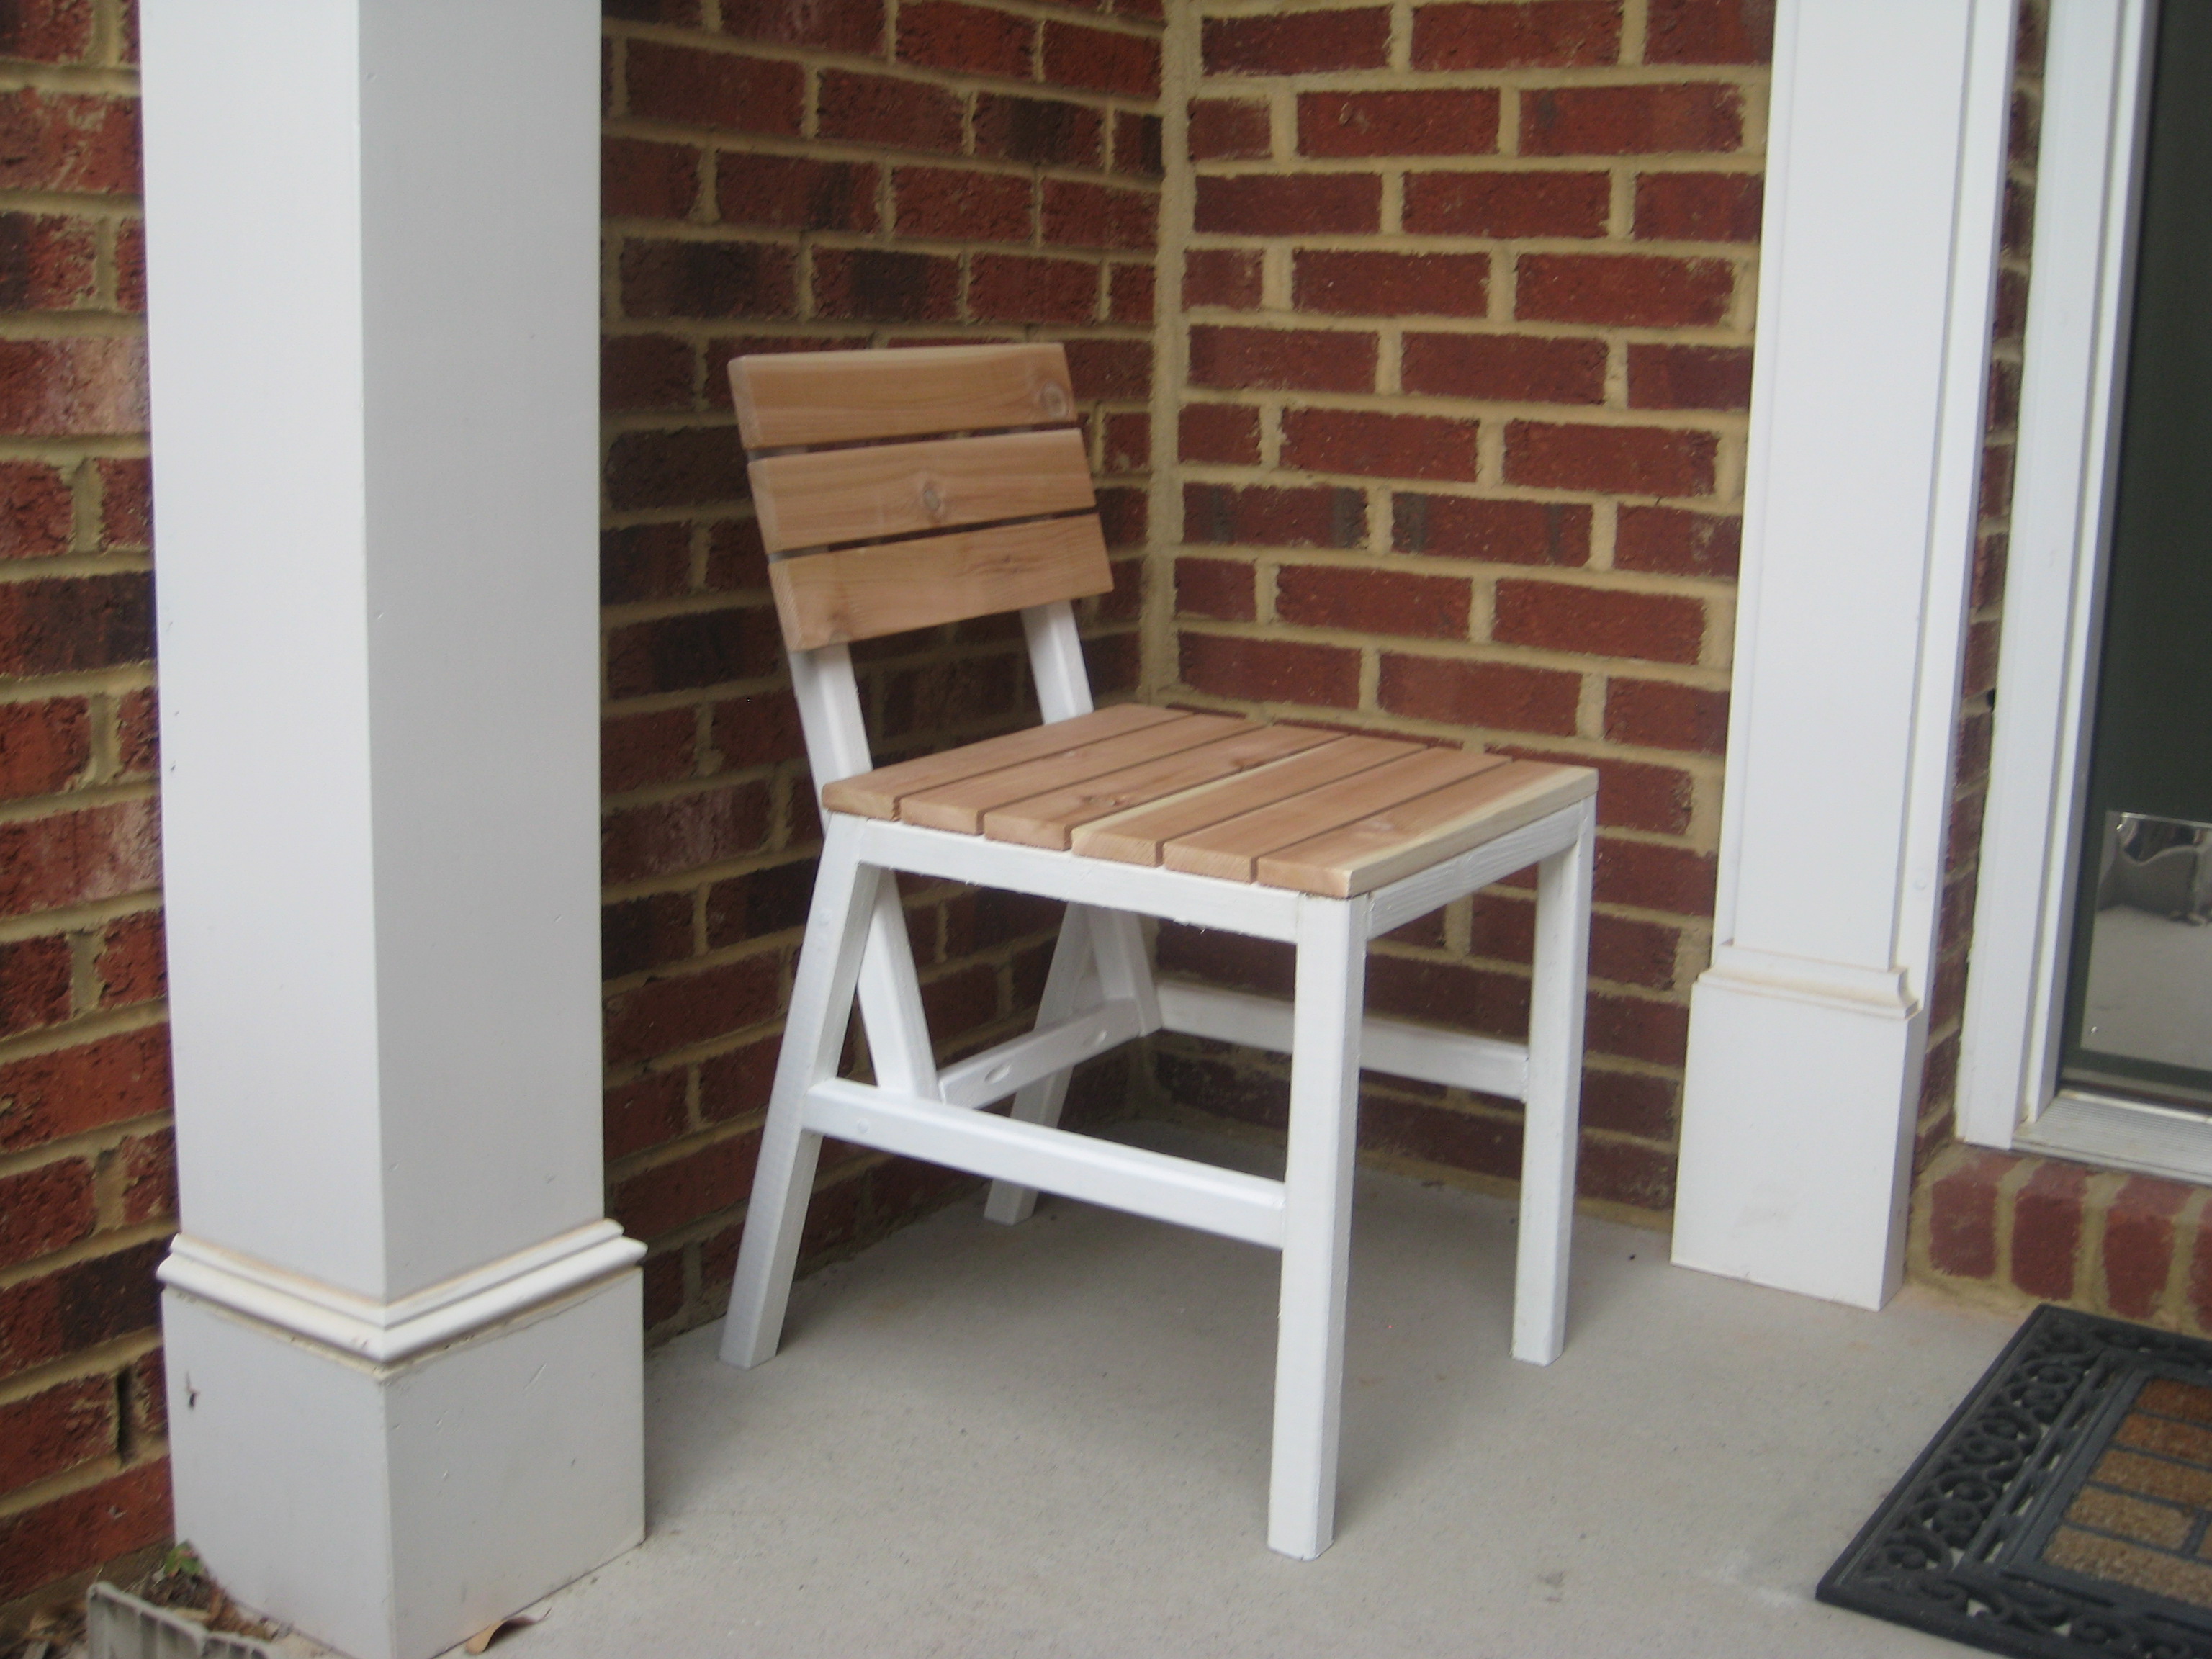
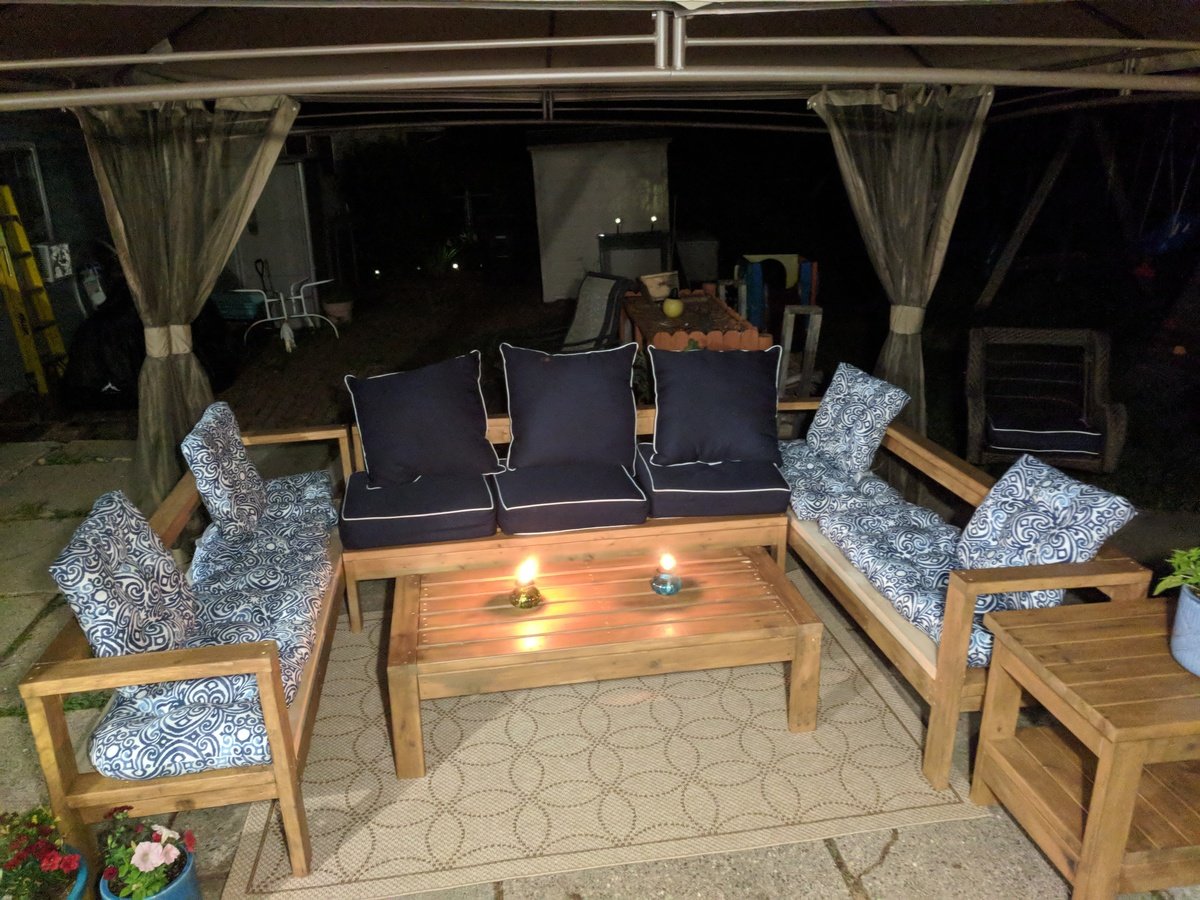
Harriet Outdoor Dining Chair with Cedar Slats
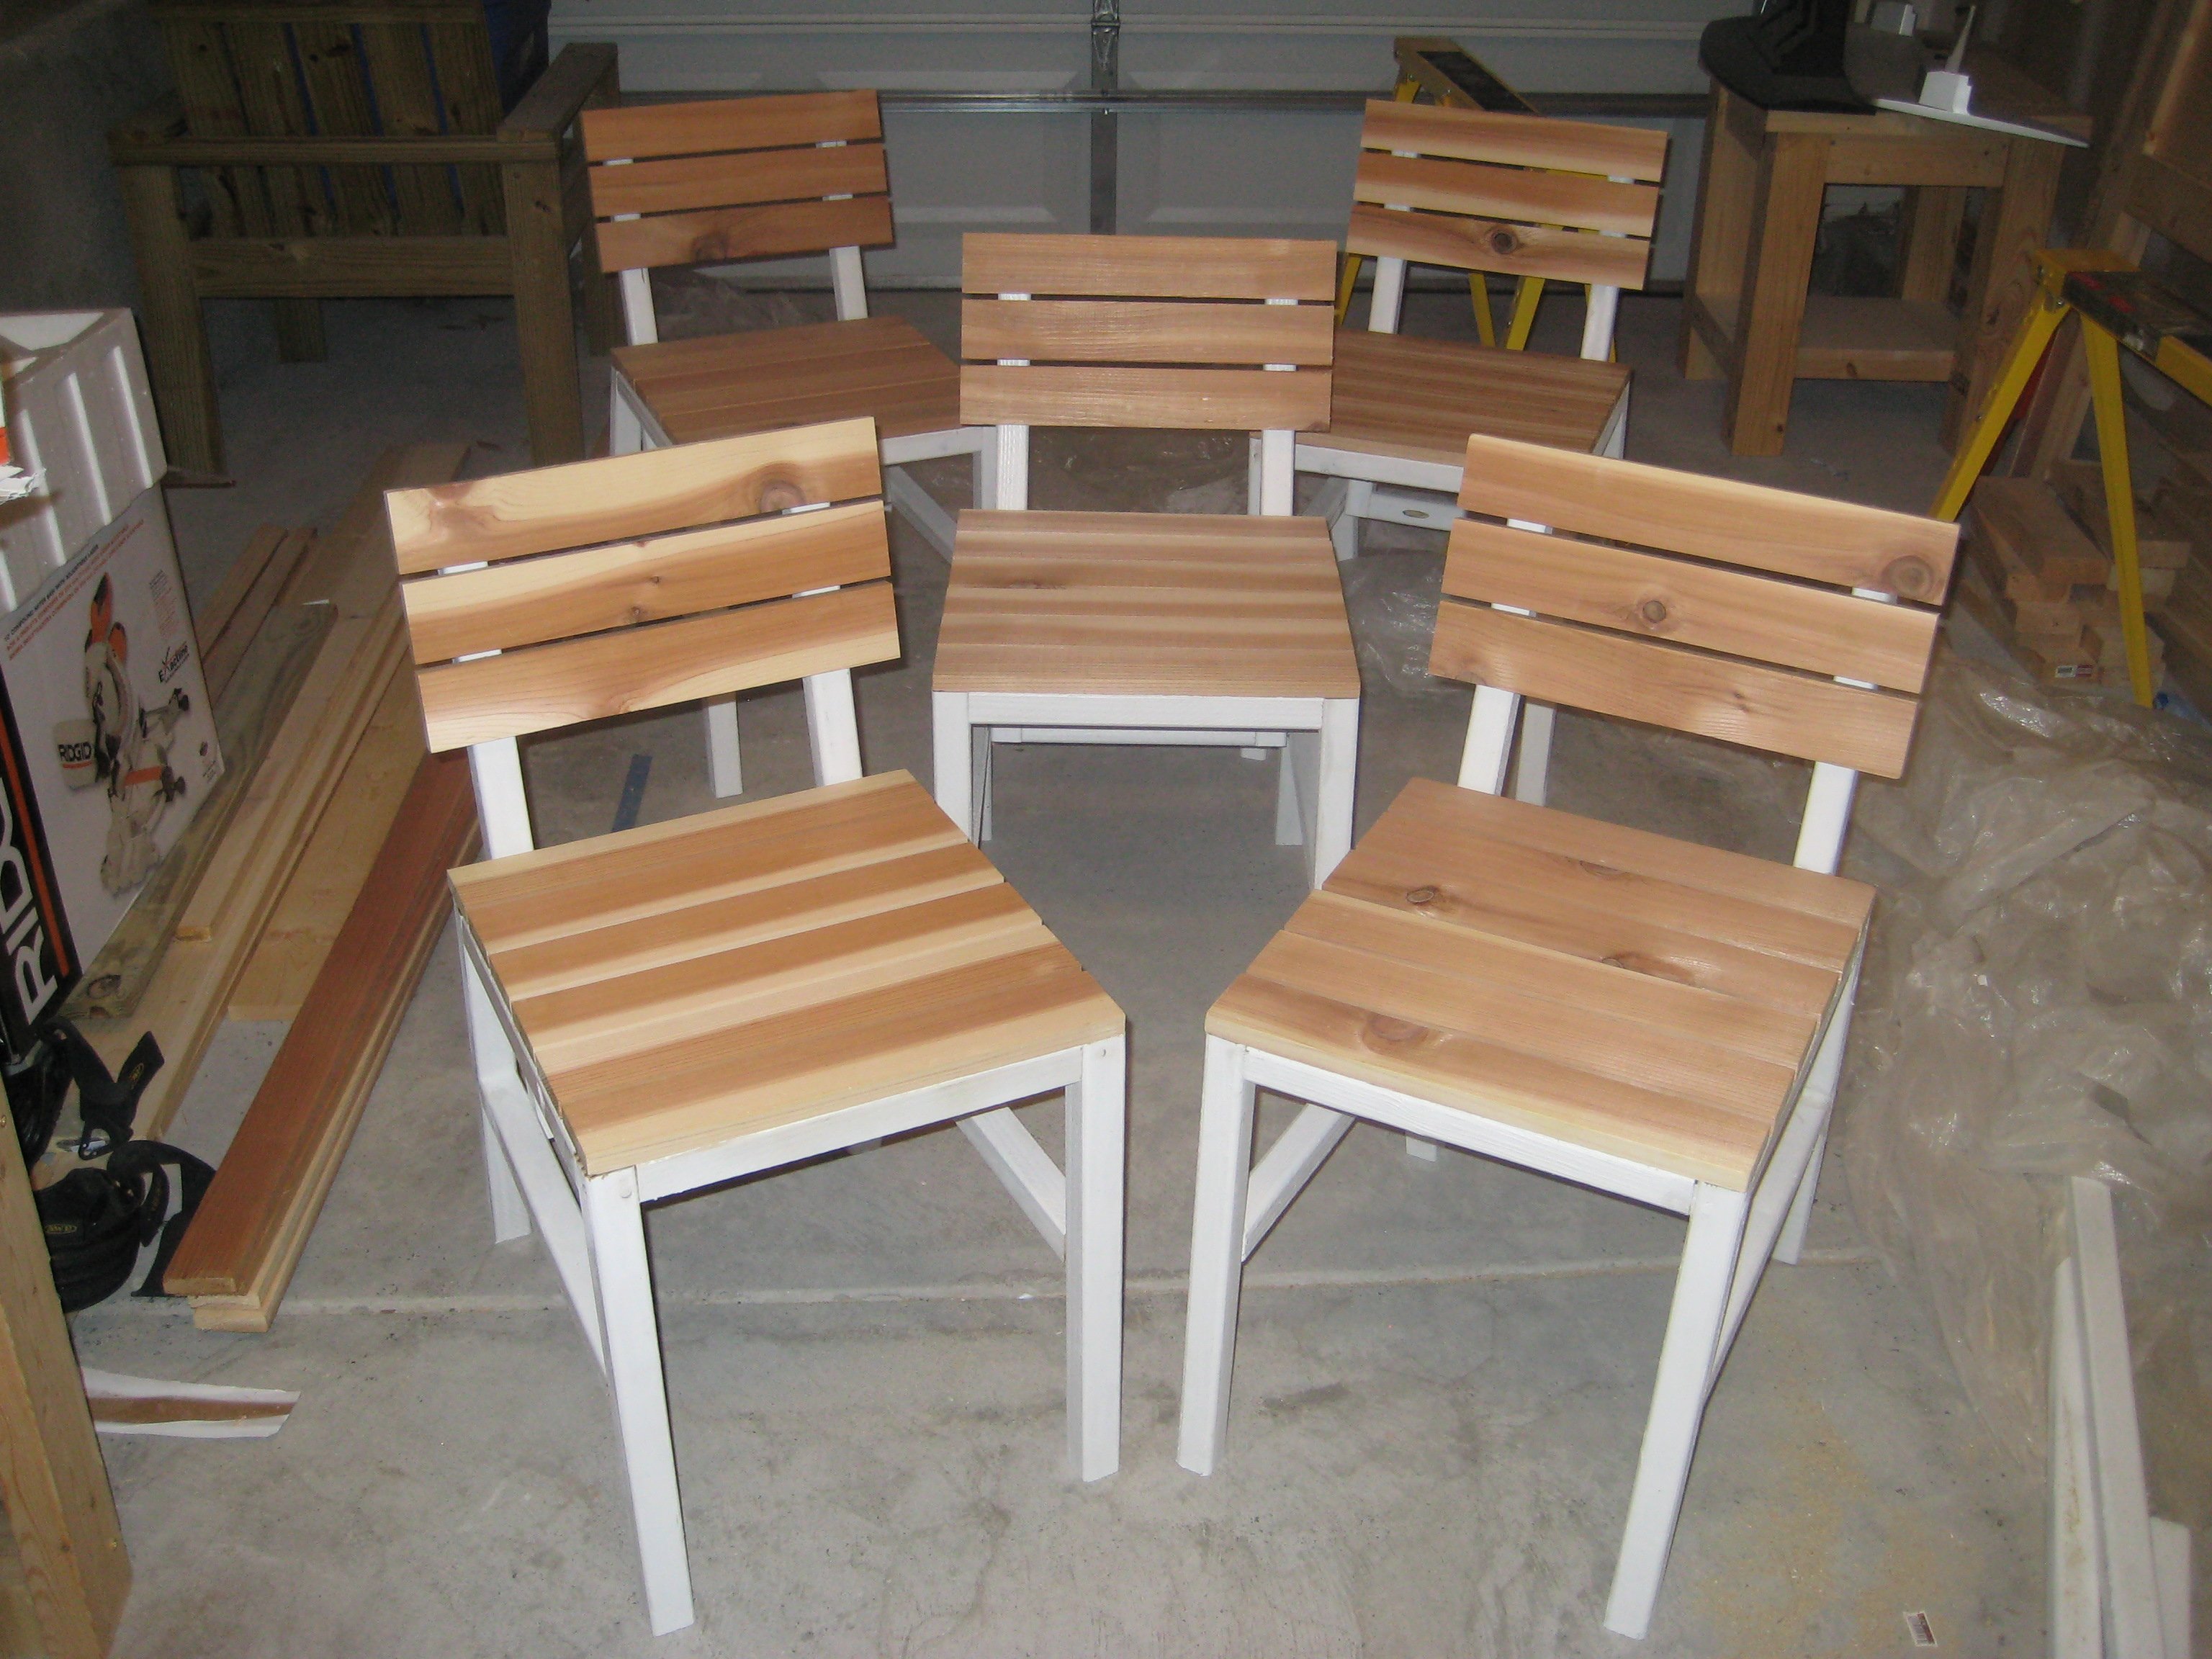
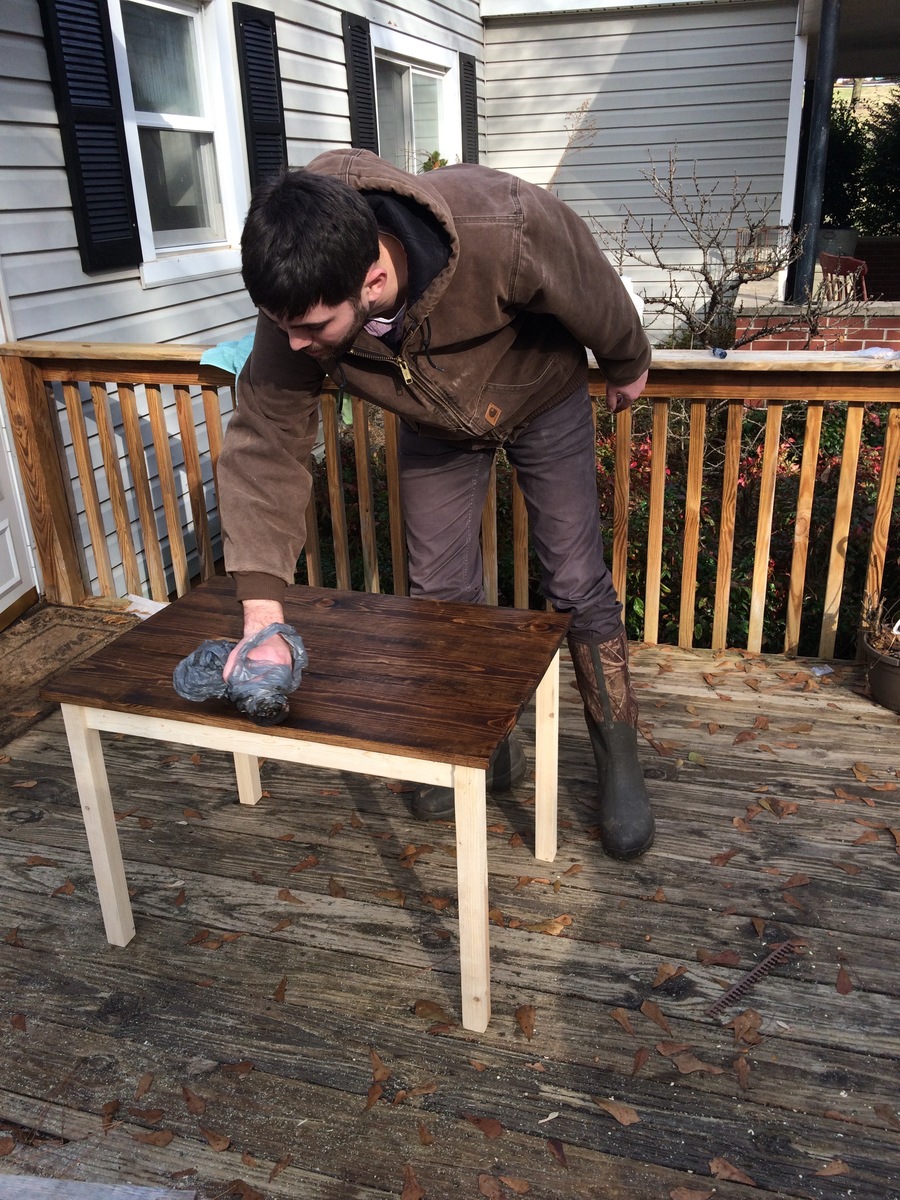
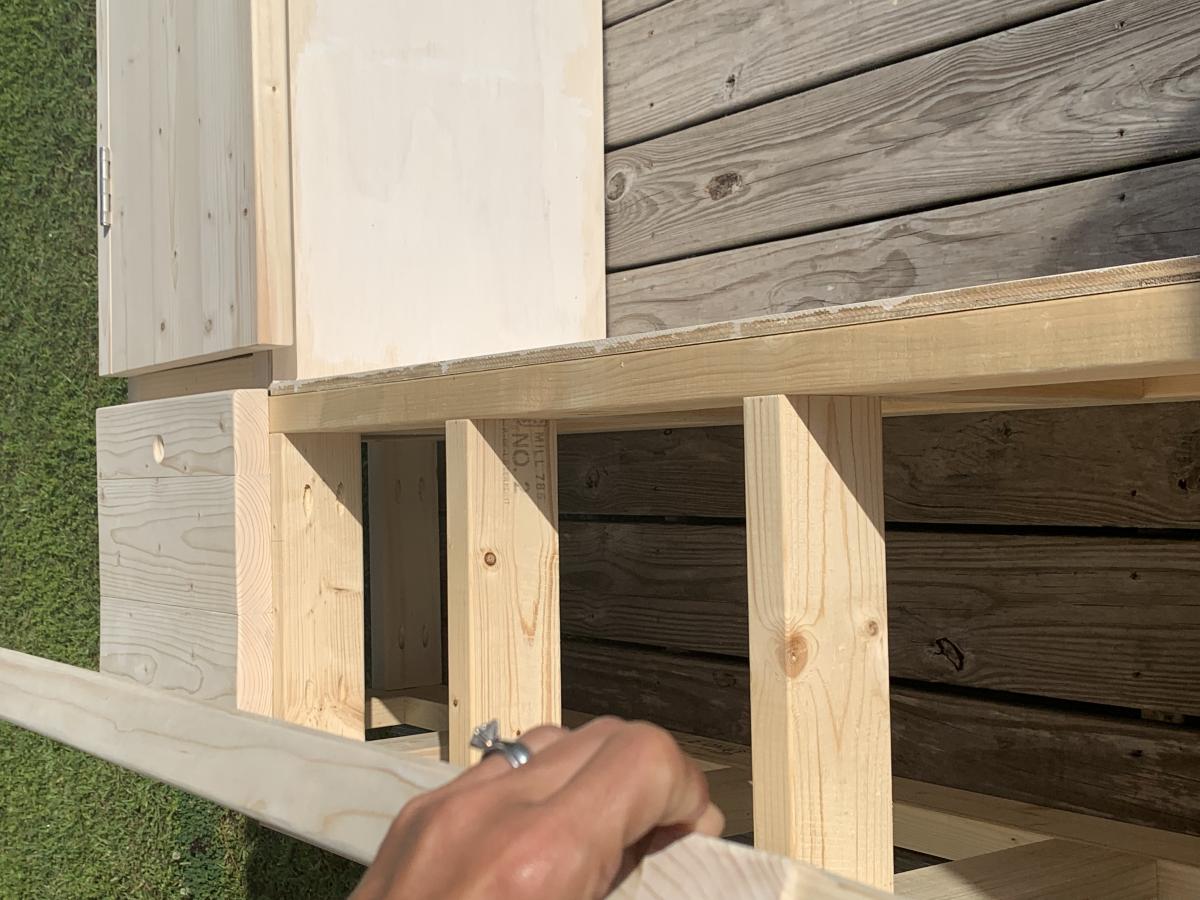
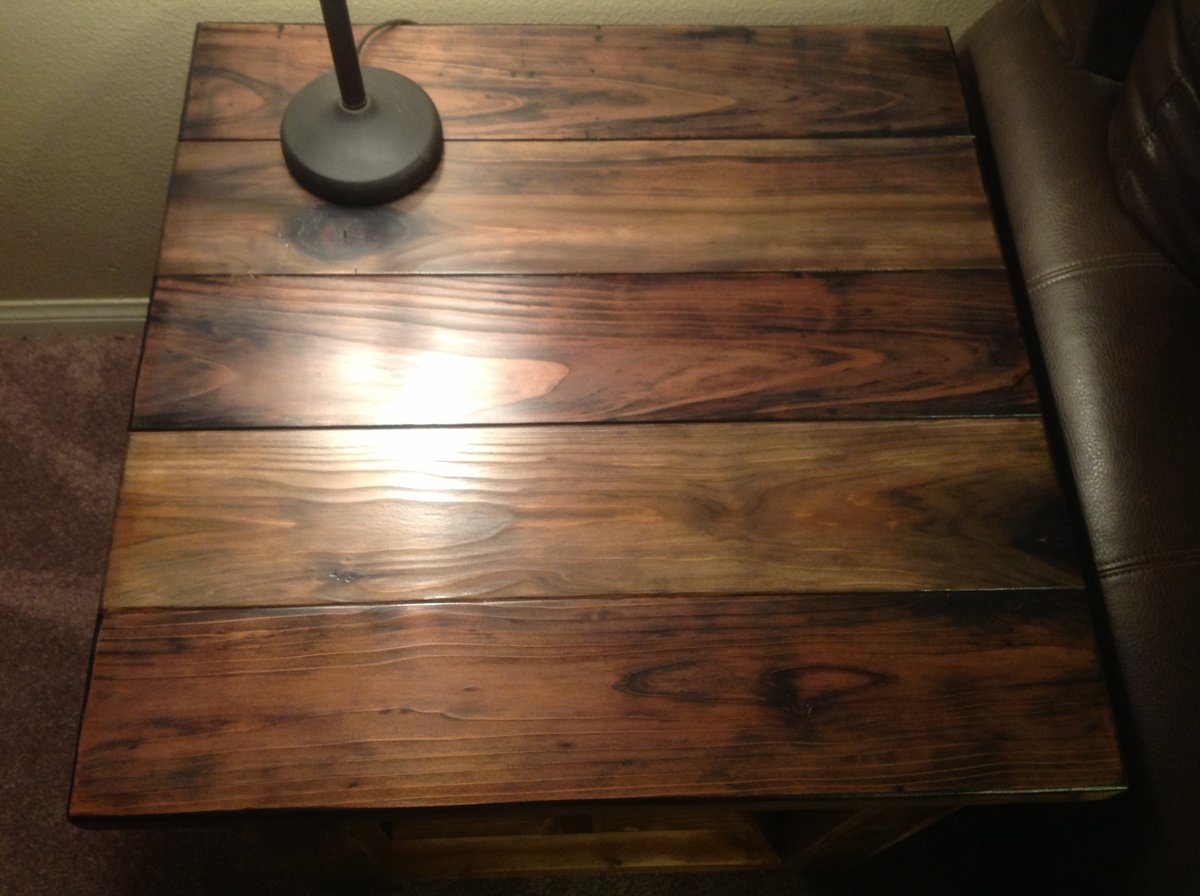
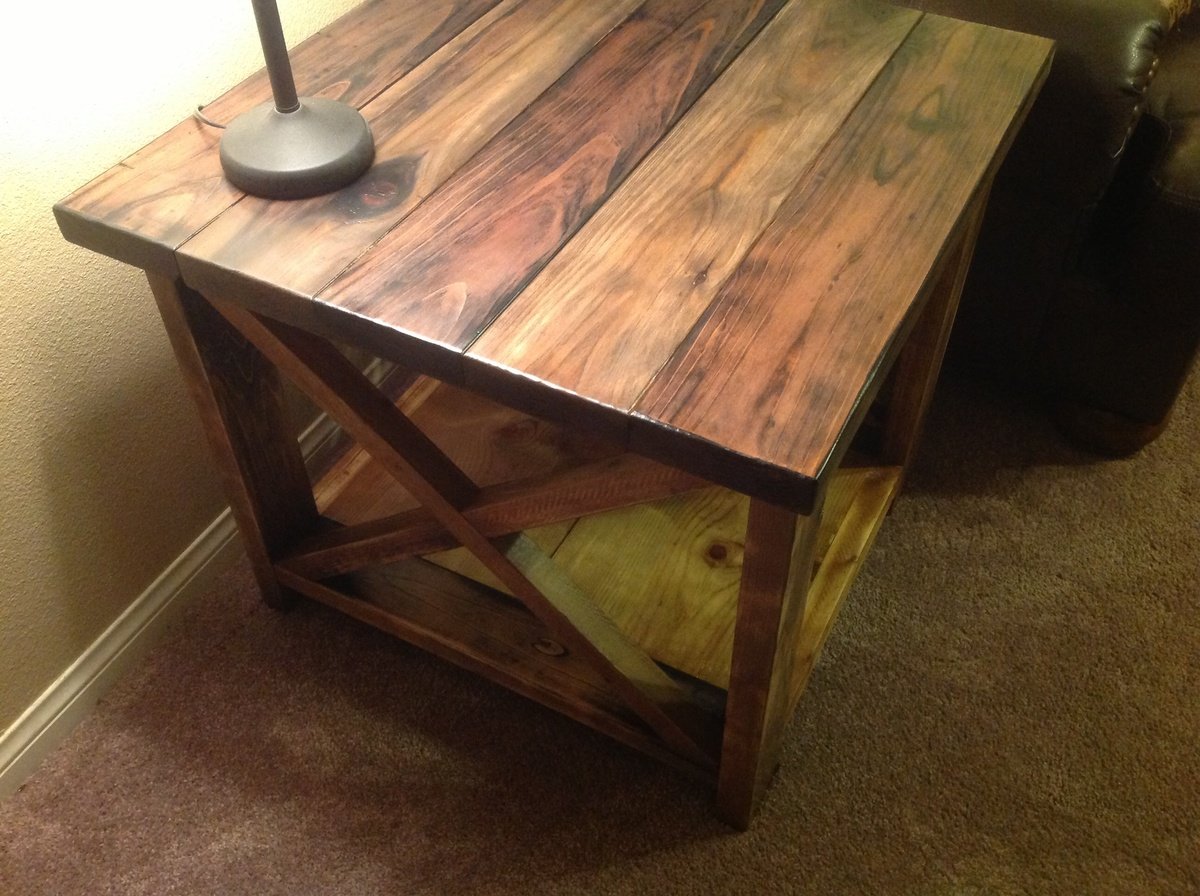
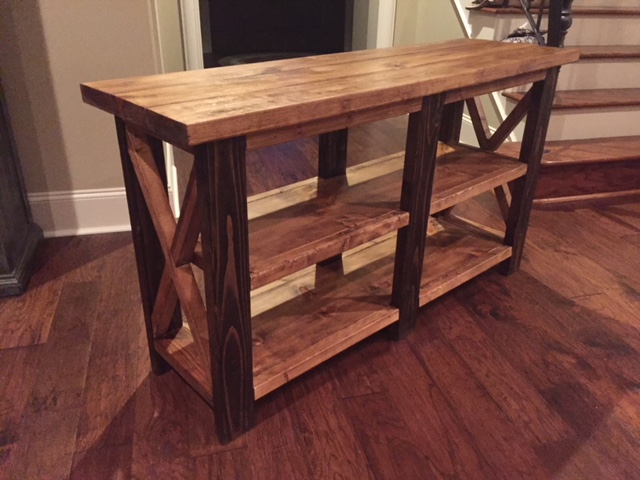
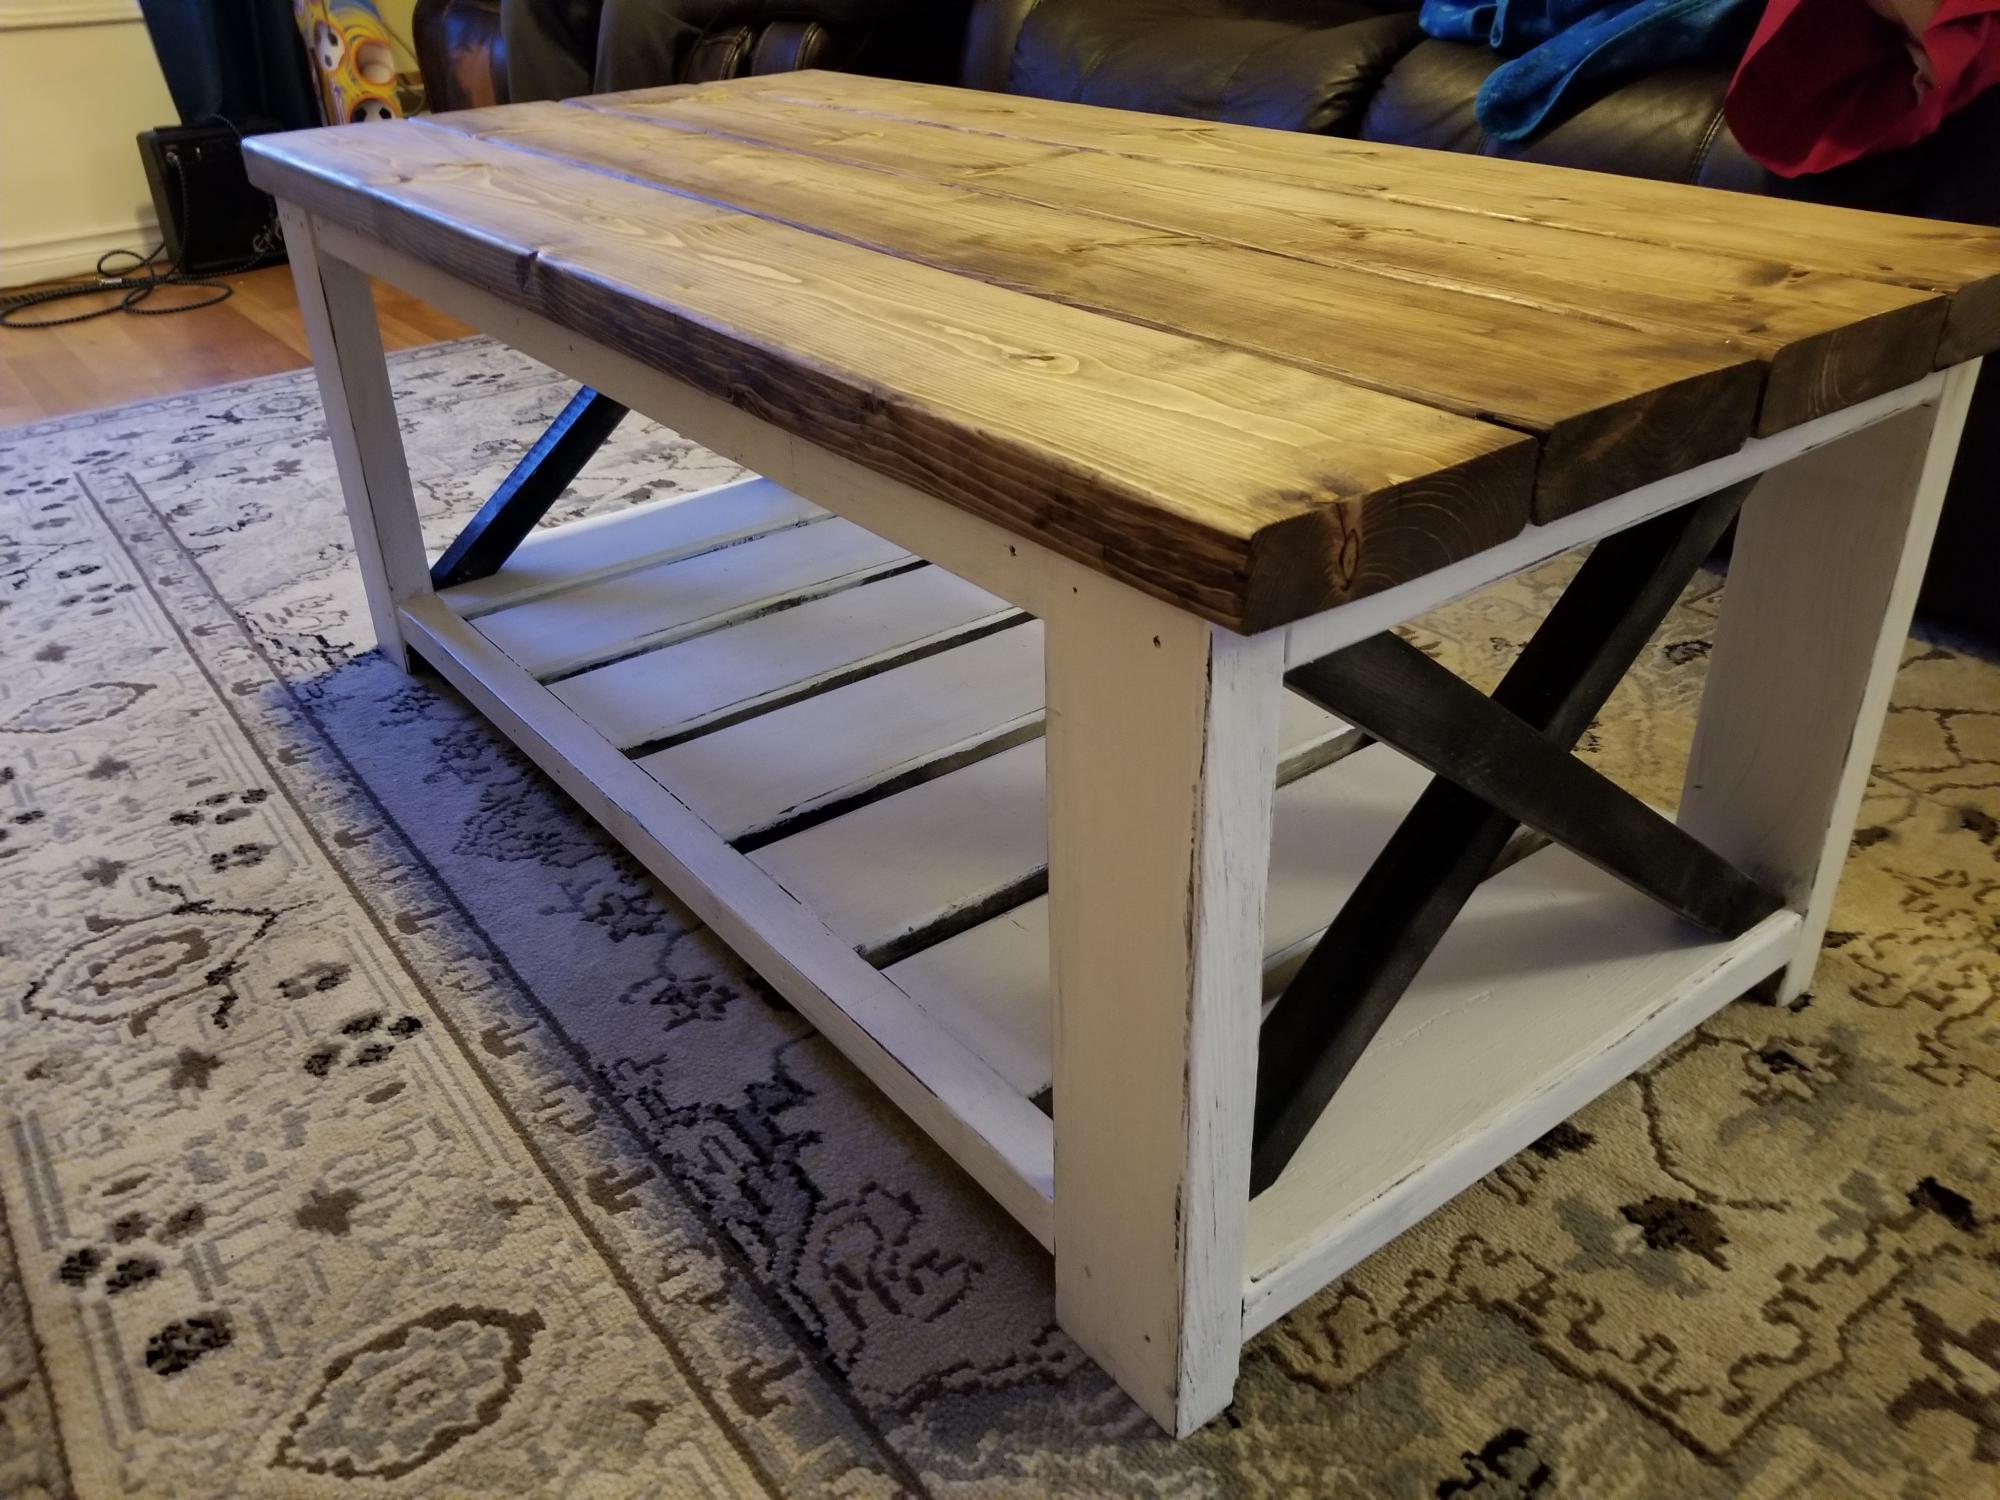
This chair was pretty easy to make with Ana's plans. I plan on making four more just like it (updated: completed). The only modification I made was adding another slat to the back of the chair. I used a miter saw for all cuts which really helped with the speed of the project. The 2x2's are treated pine and the 1x3 slats are cedar that I got from the "orange box store" for about four bucks a stick. I also primed and painted the 2x2's (legs) before I assembled. I could not imagine trying to paint the legs white and not getting at least some on that beautiful cedar. The contrast really pops in person. Thanks ana-white.com! $20 per chair.
Built from Plan(s)
Estimated Cost
$20
Estimated Time Investment
Day Project (6-9 Hours)
Finish Used
Semi-gloss exterior white, outdoor seal.
Recommended Skill Level
Intermediate


Comments
sgilly
Thu, 07/14/2011 - 10:35
Beautiful!
Love the chairs! and like the painted body with the natural pine slats.
CreativeBaggage
Wed, 08/03/2011 - 08:03
Way to go!
I love that you added the extra slat on the back. Such a simple change that made a big impact. The contrast is also very clever! They look great :)
In reply to Way to go! by CreativeBaggage
kmatt55
Wed, 08/03/2011 - 11:29
Thanks!
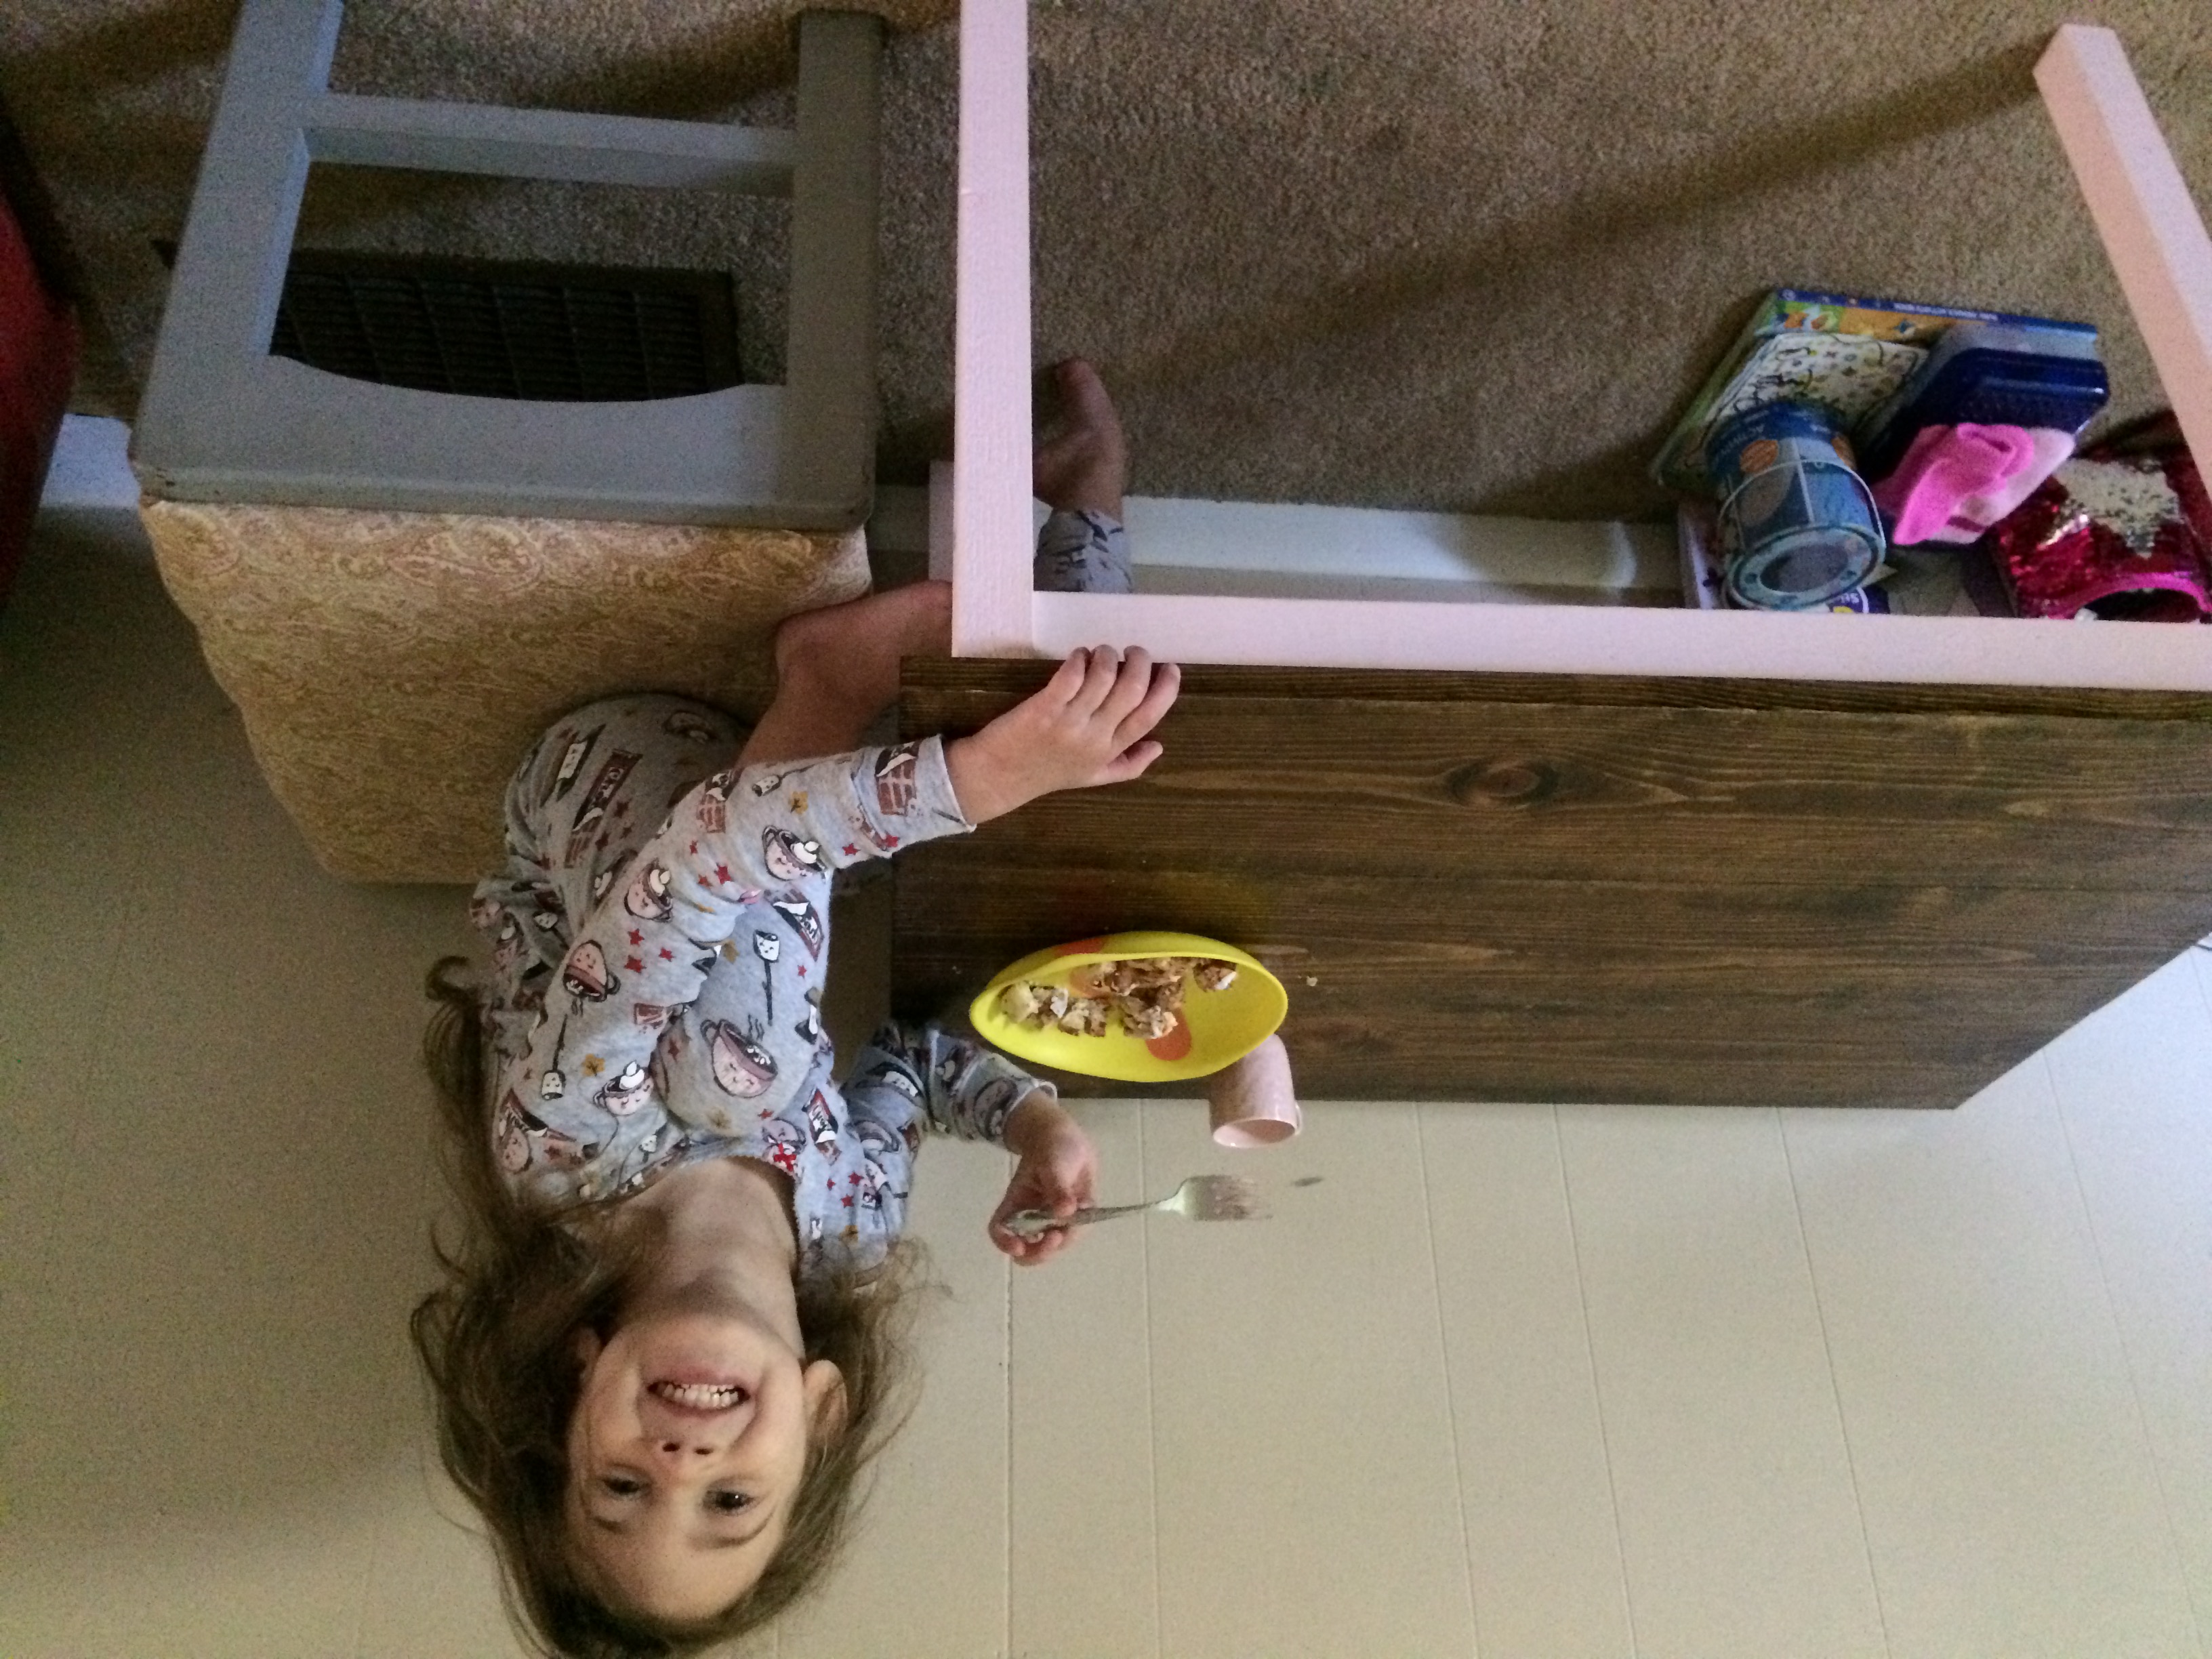
Thanks CreativeBaggage! I finished the dining table yesterday, I'll have to post that soon. As a couponer myself, I really like the standing can rack you made on your blog. Brilliant!