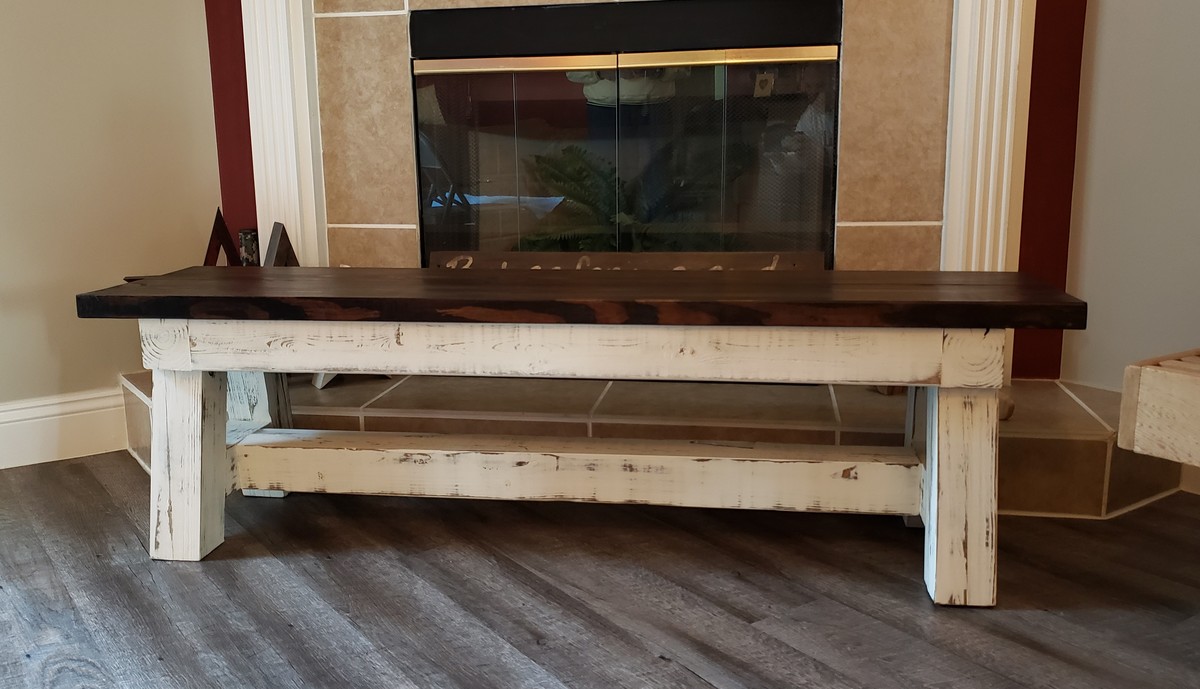
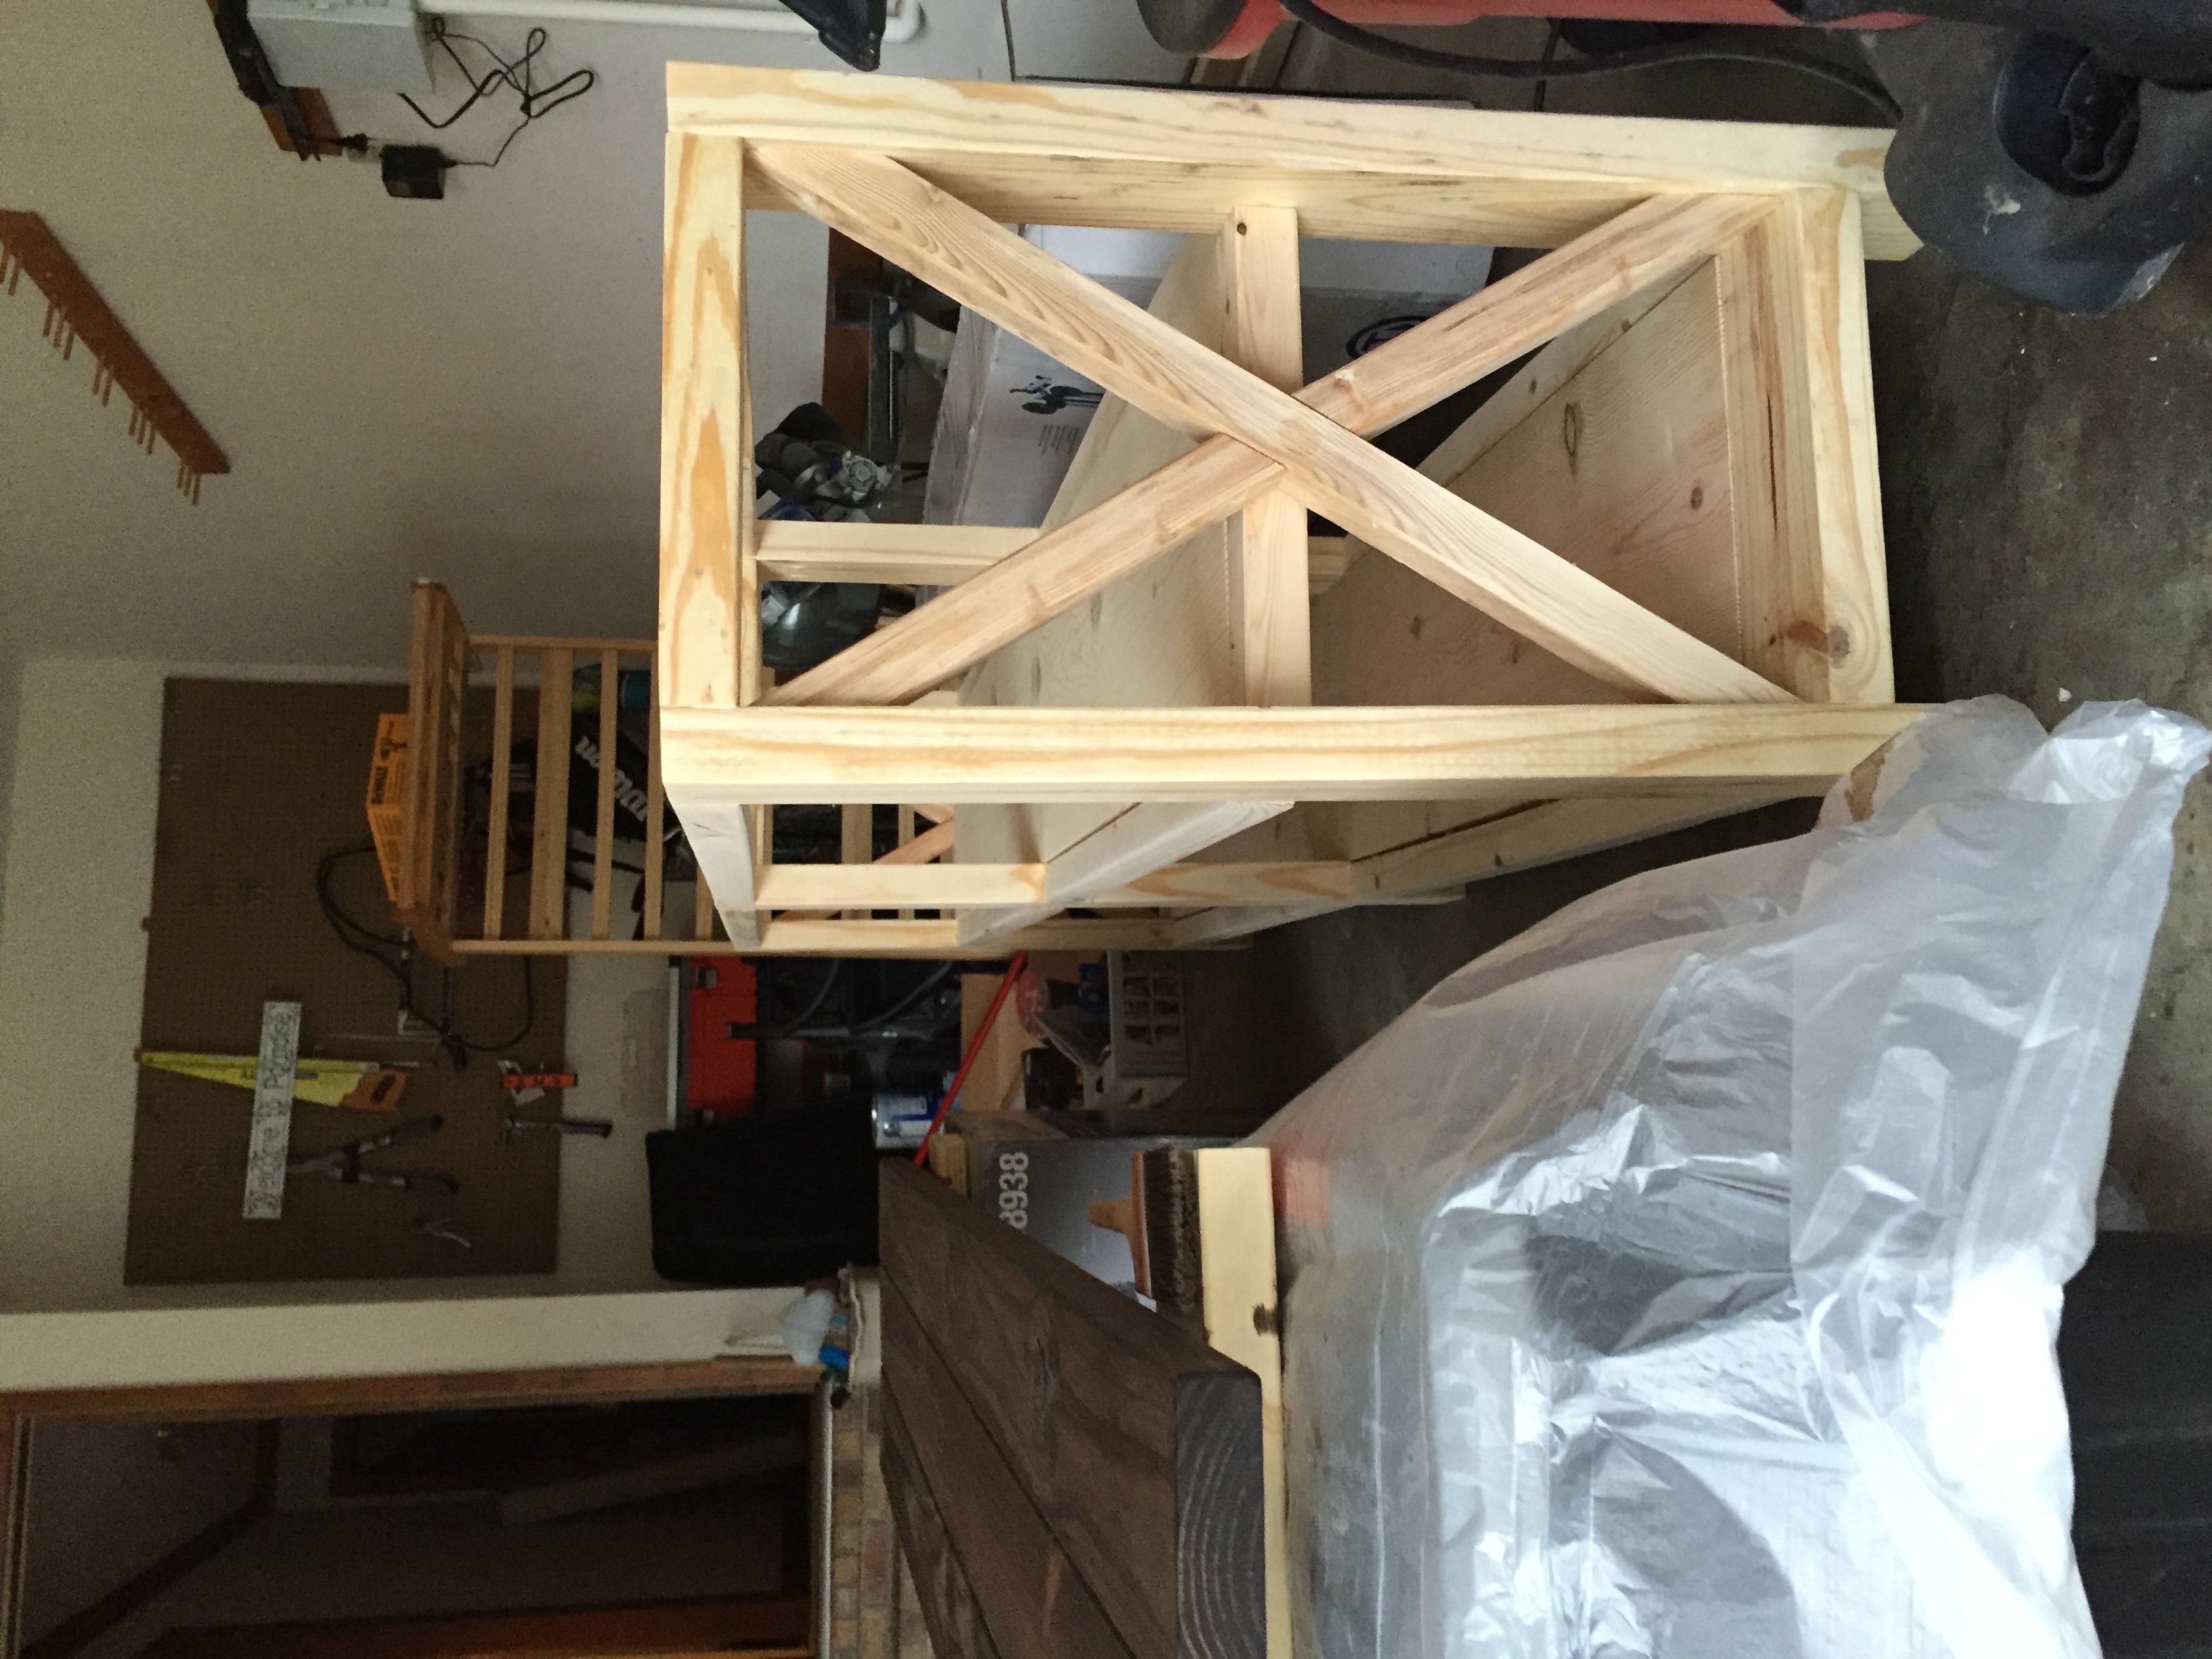
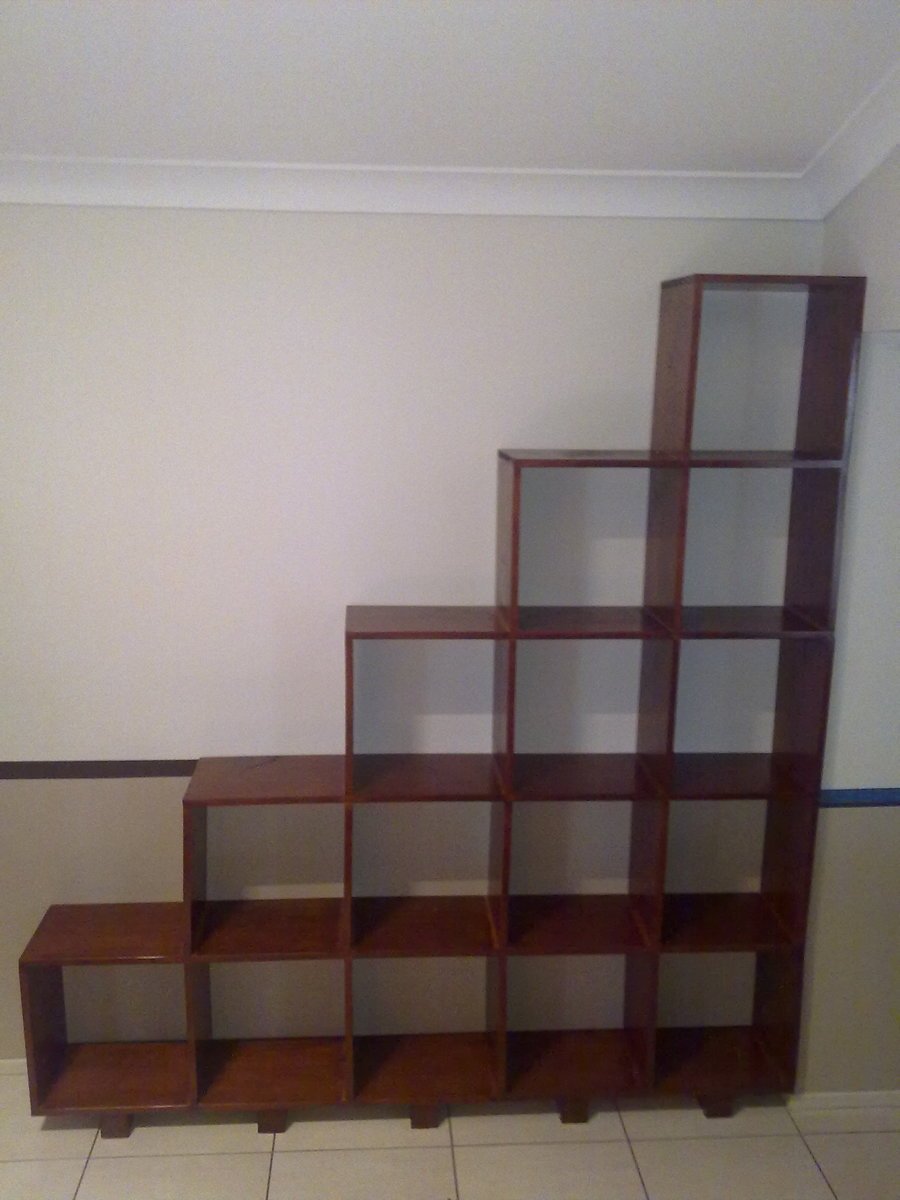
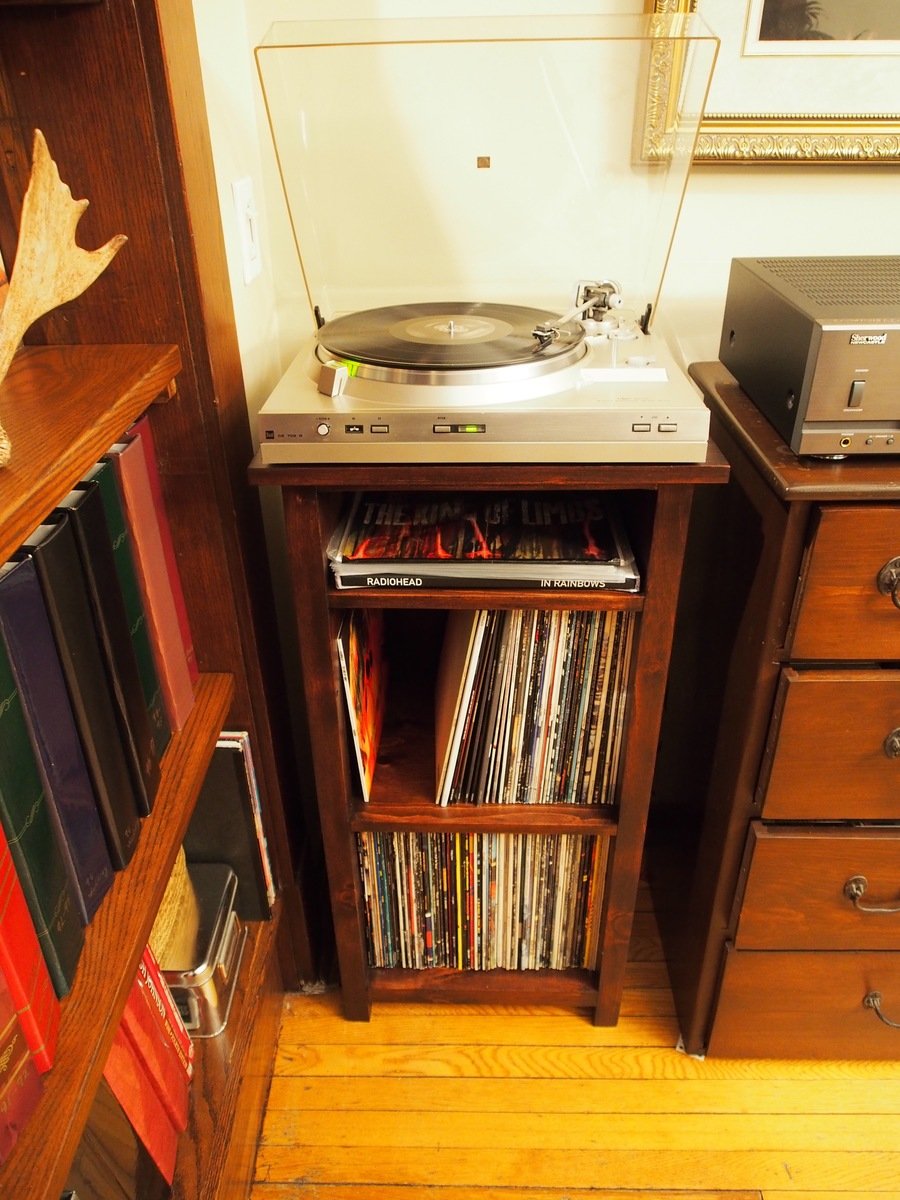
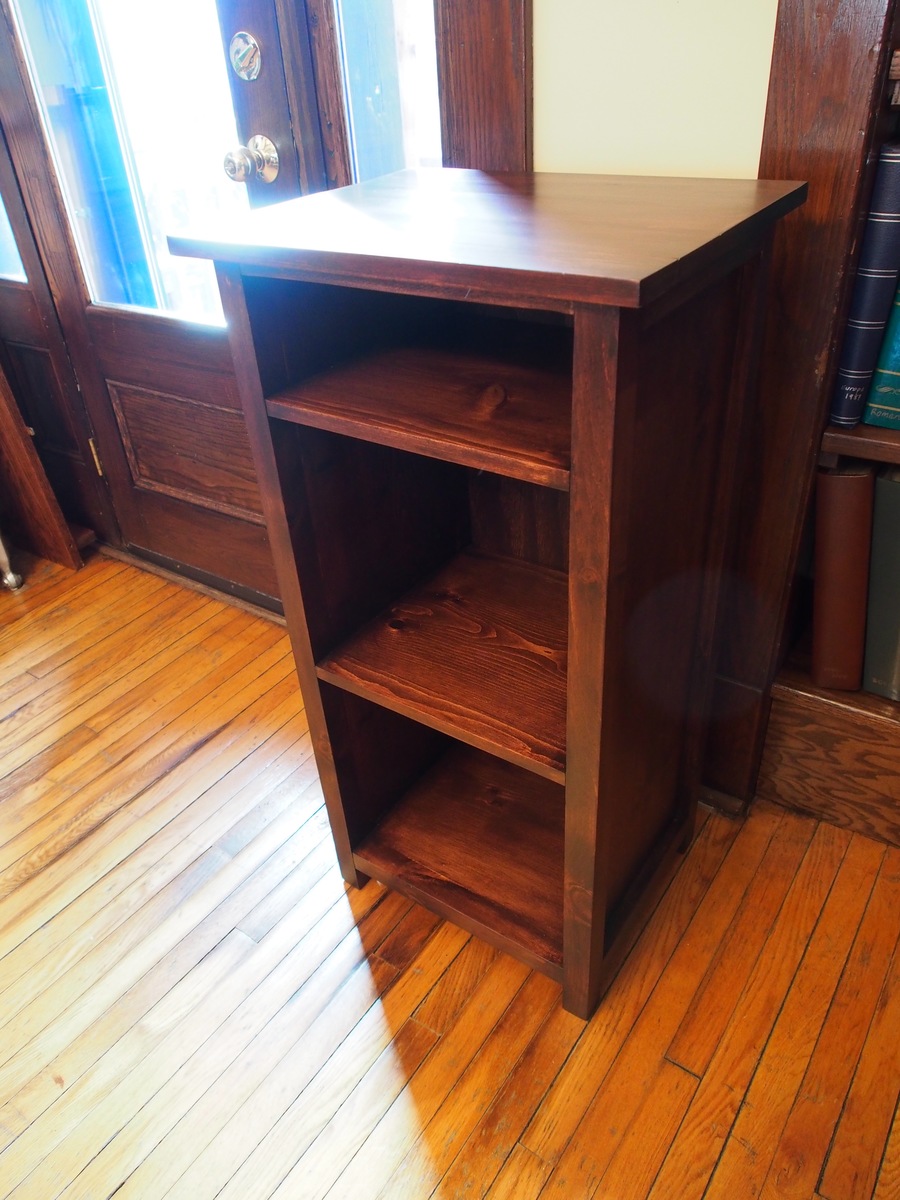
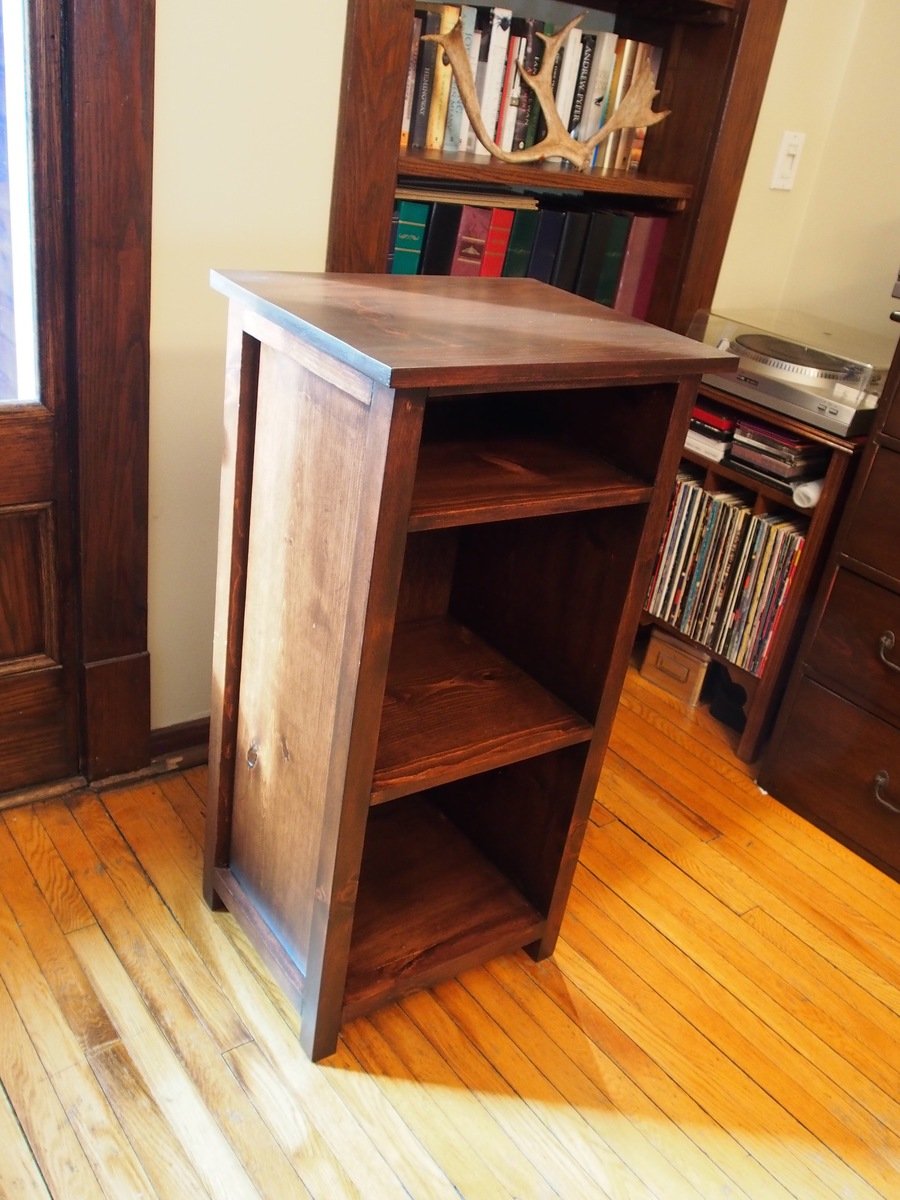
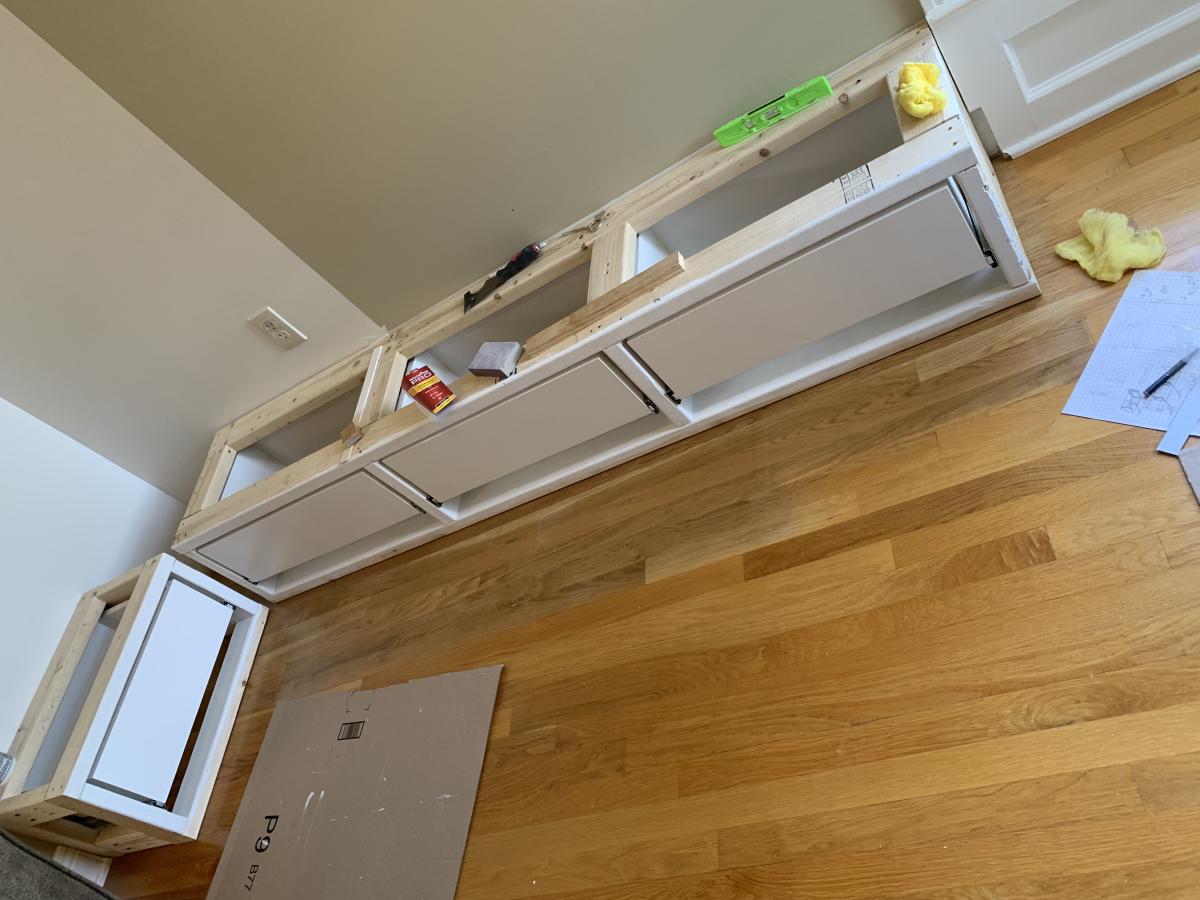
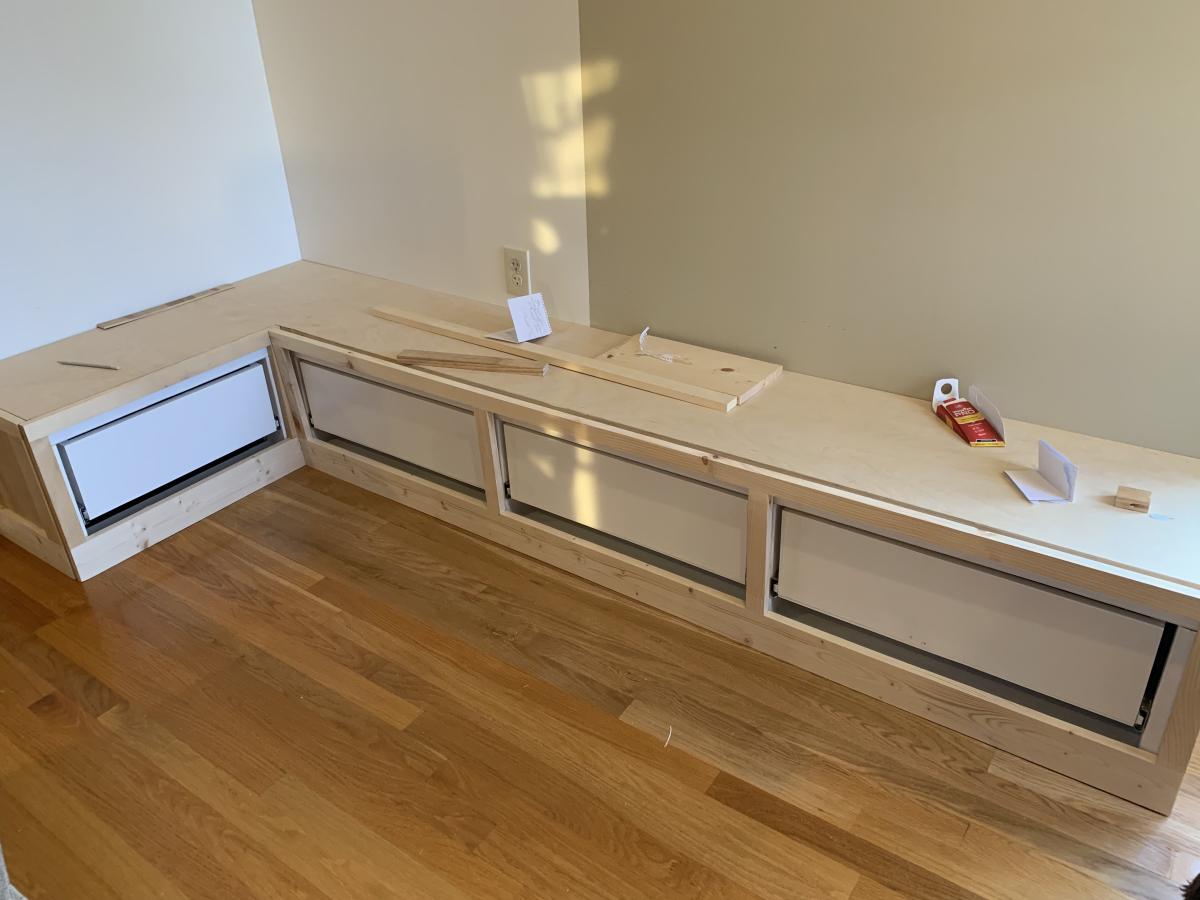
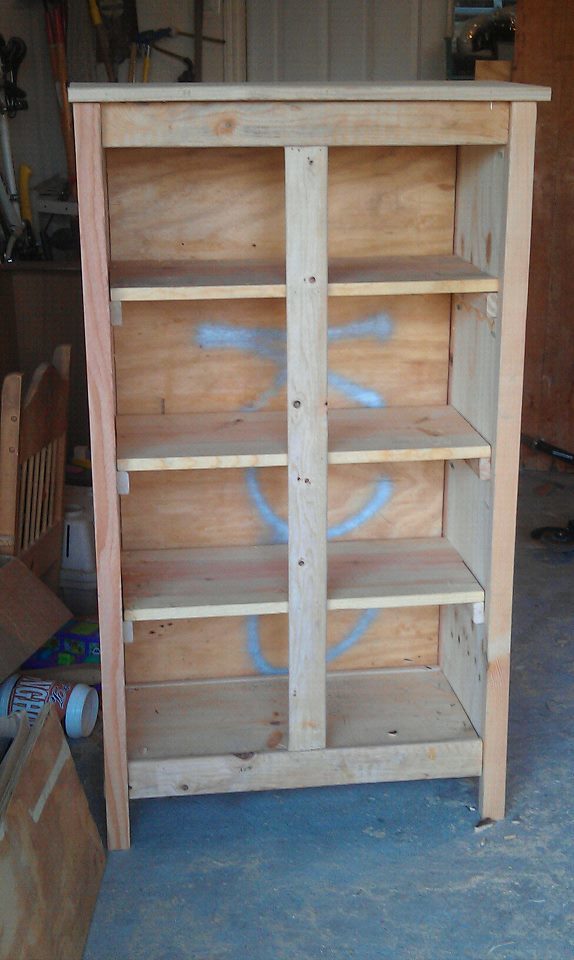
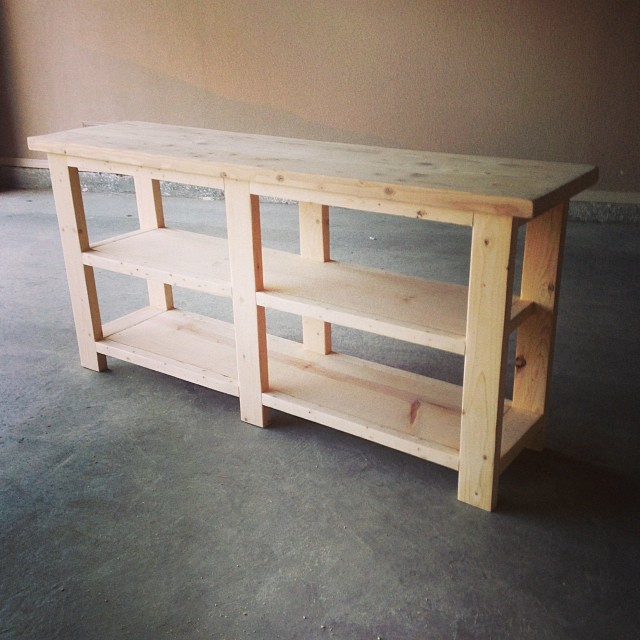
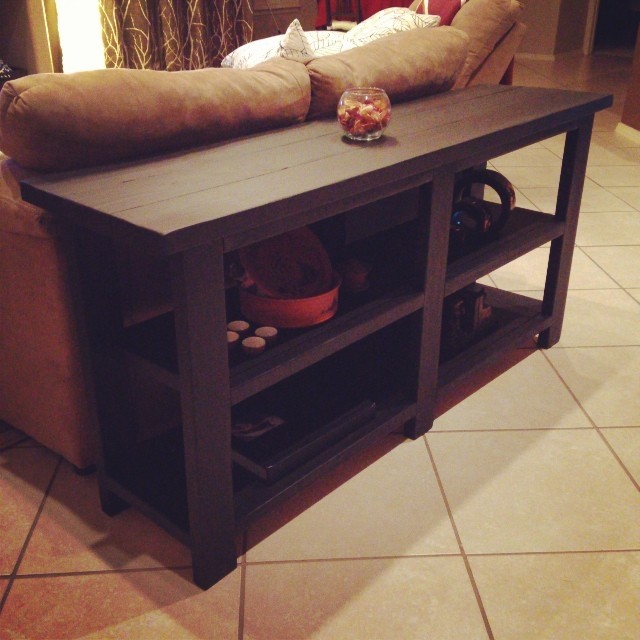
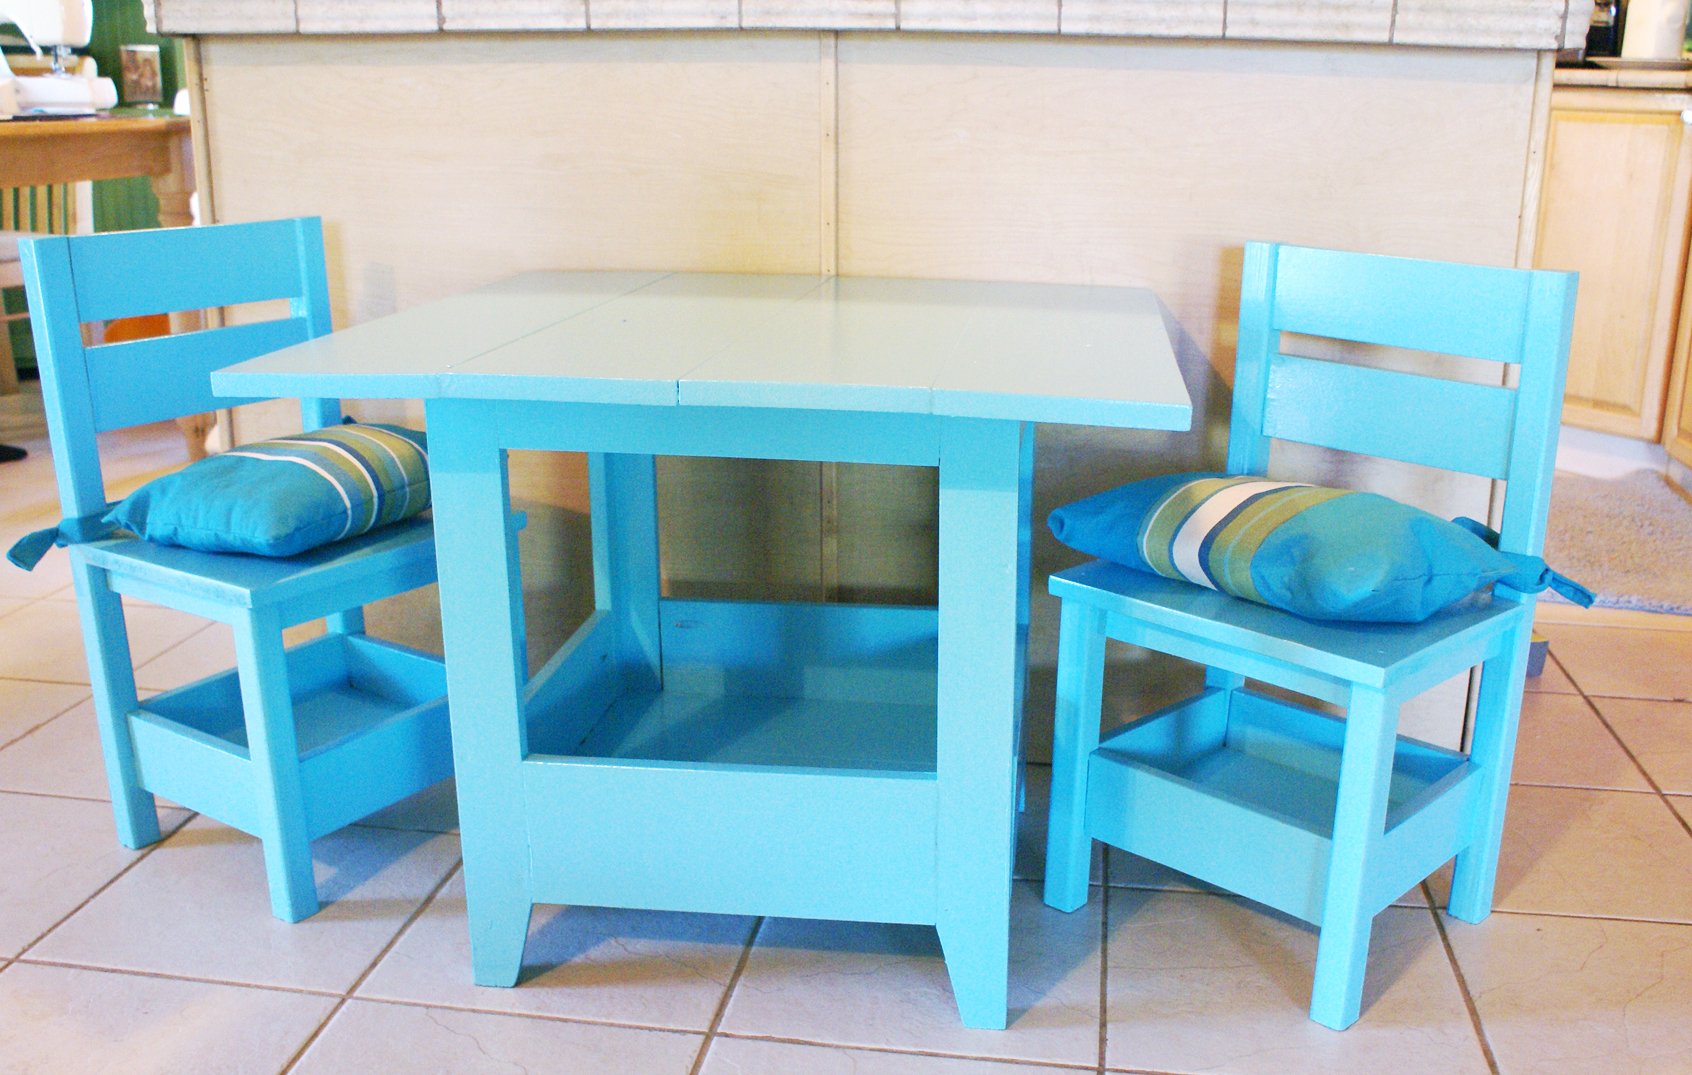
My First Project
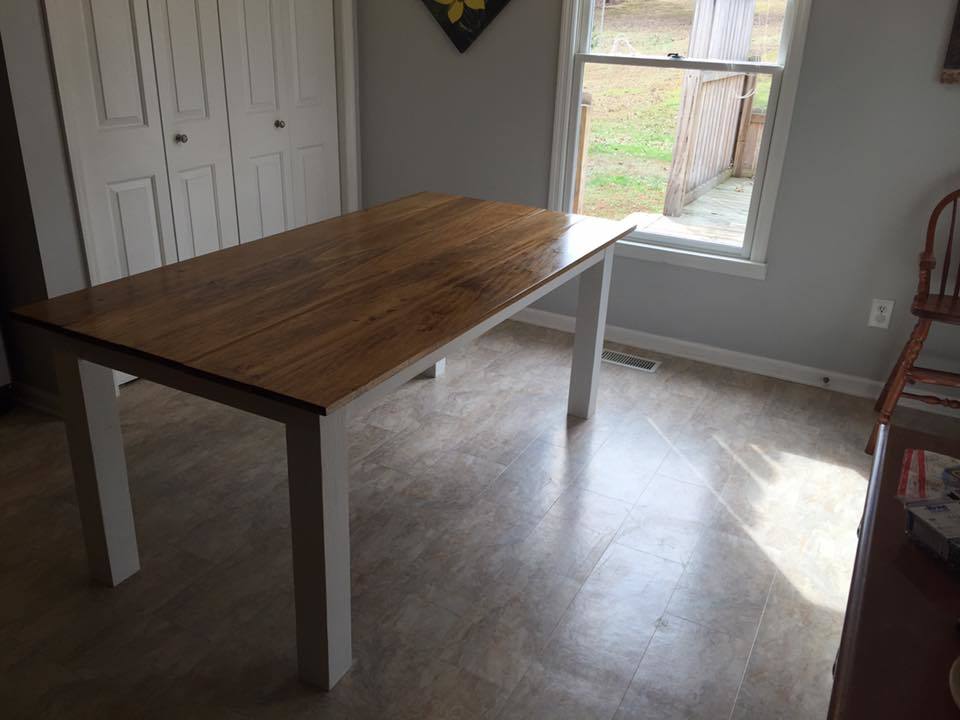
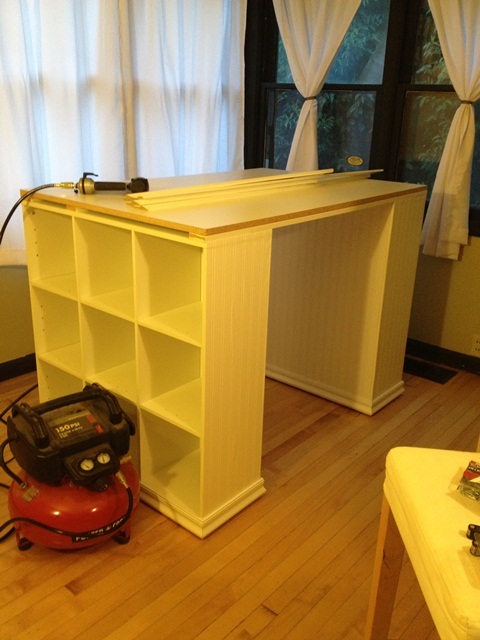
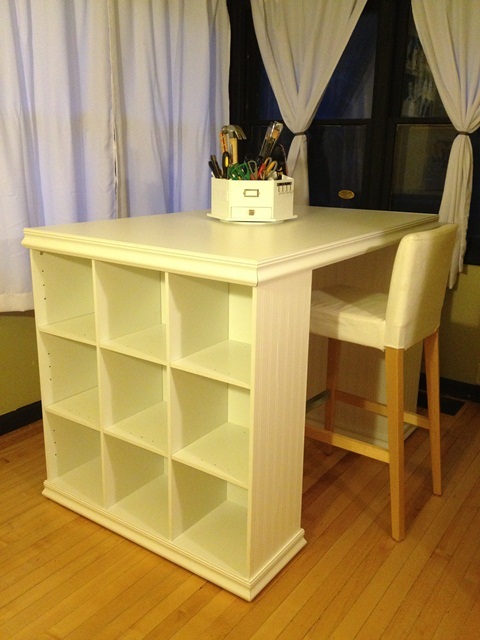
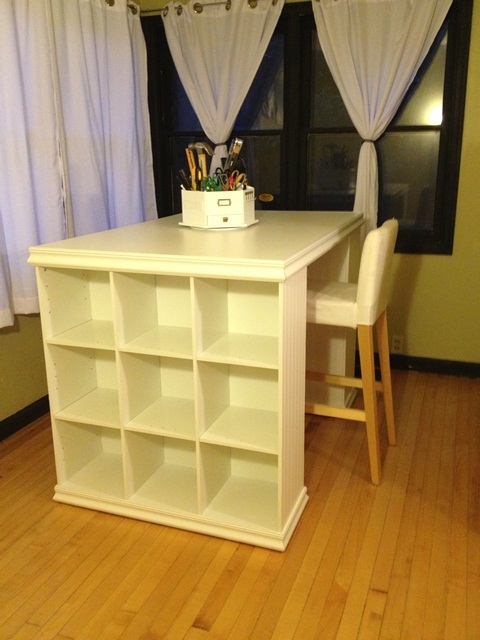
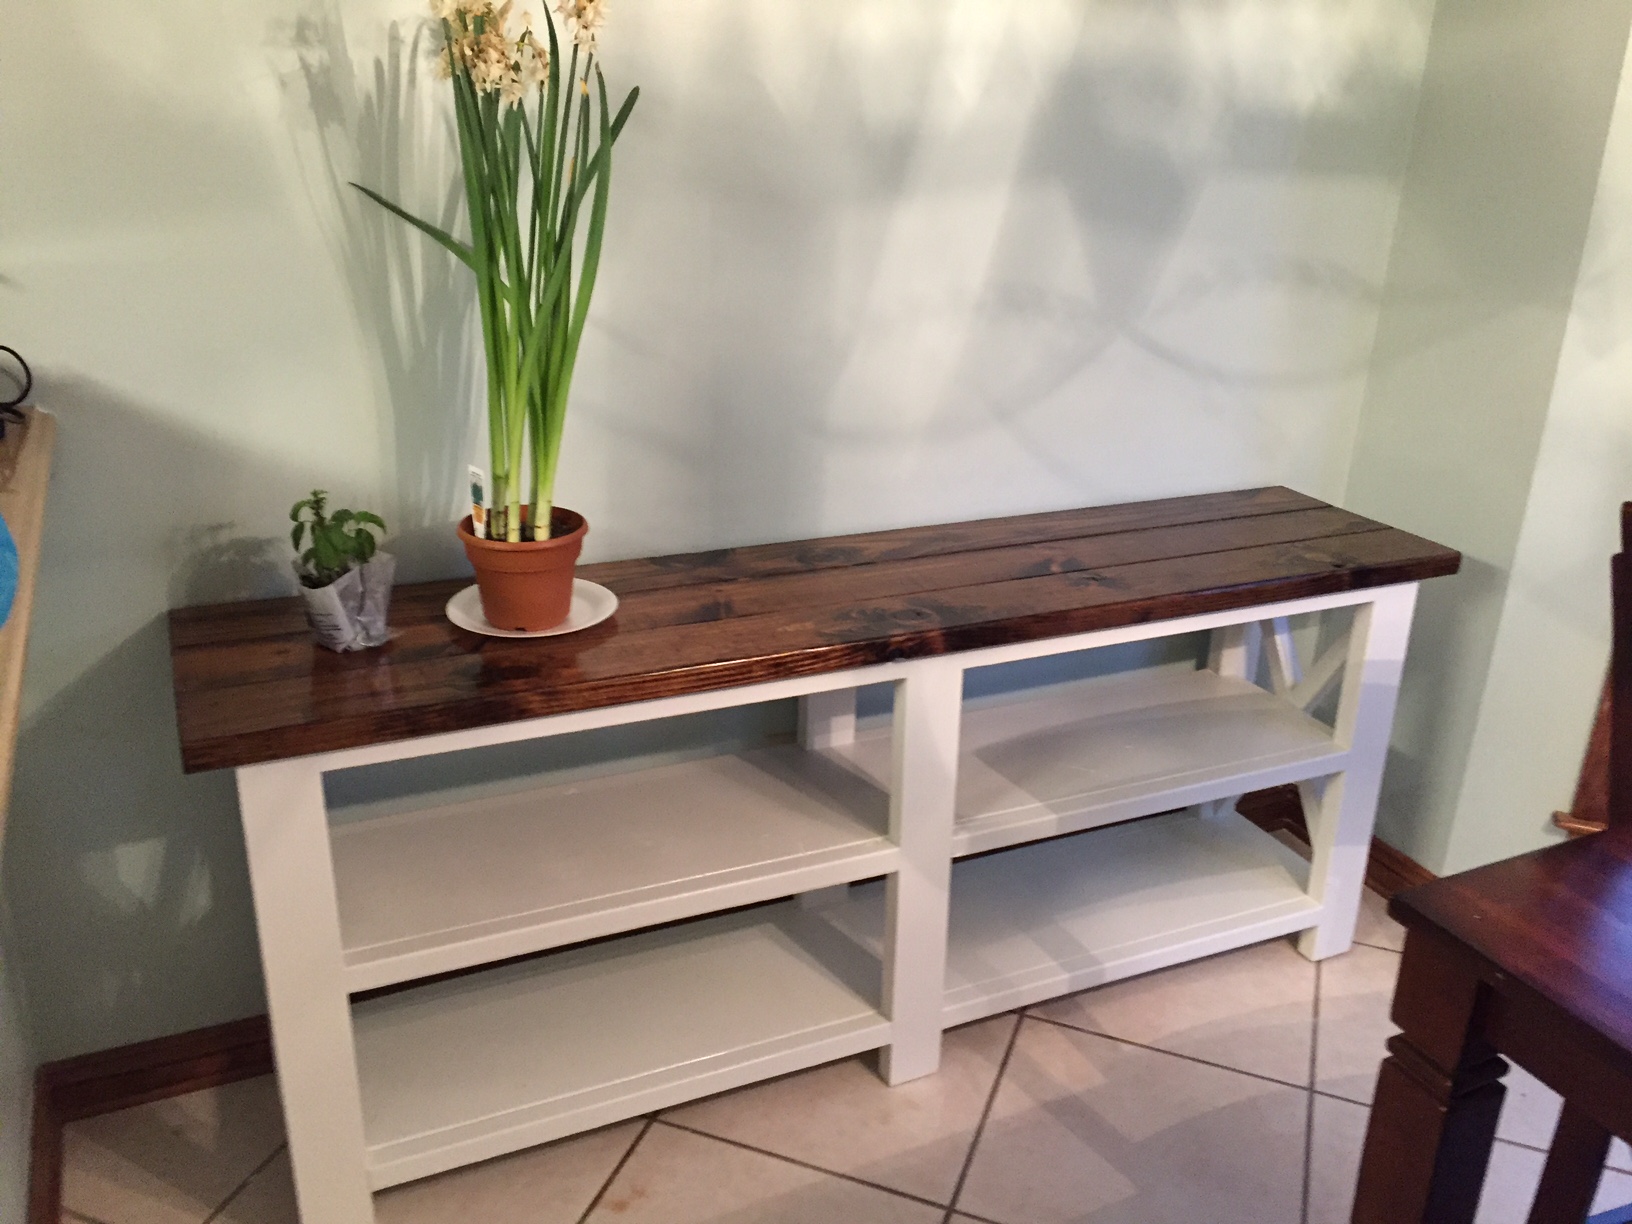
I used Poplar for the top and Pine for everyting else. Only took about two hours from start to finish. This is my first project using a Kreg Jig and now I don't know why I didn't get one of these years ago!
Estimated Cost
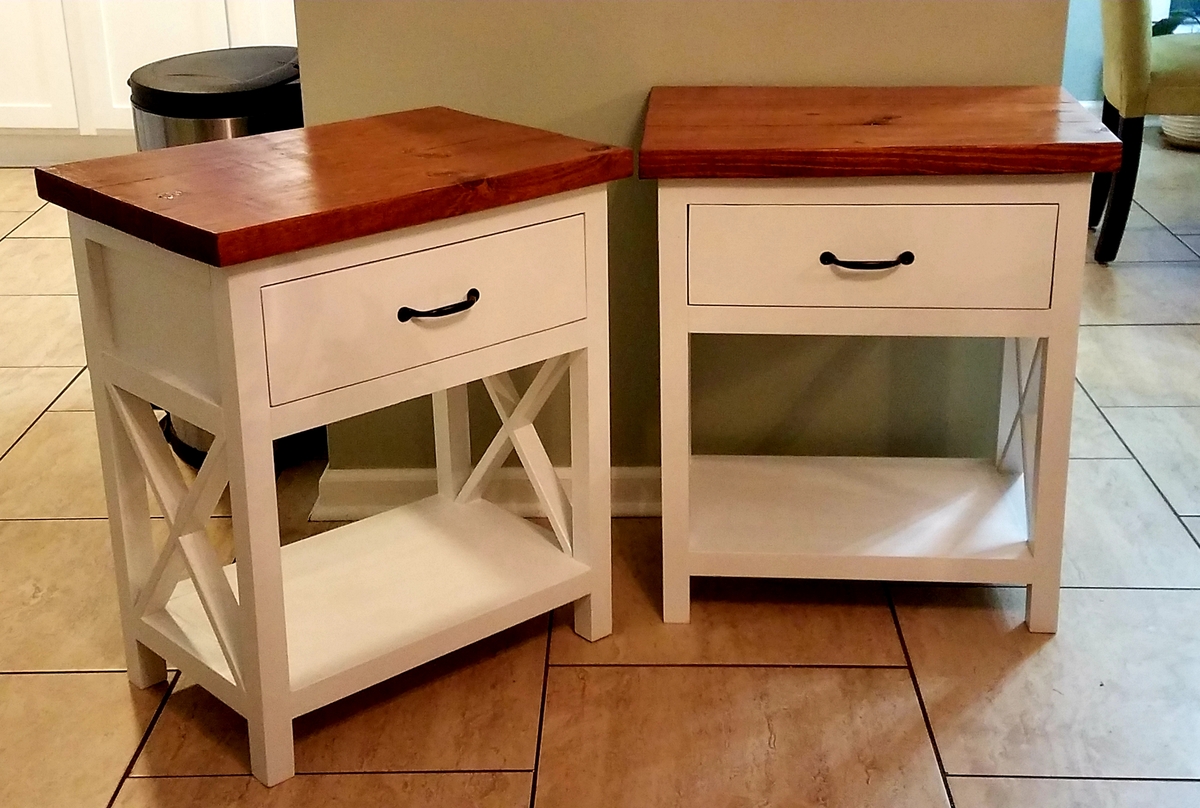
Total cost was $175. Can be done for less, but I upgraded the top to Poplar which cost more.
Estimated Time Investment
Afternoon Project (3-6 Hours)
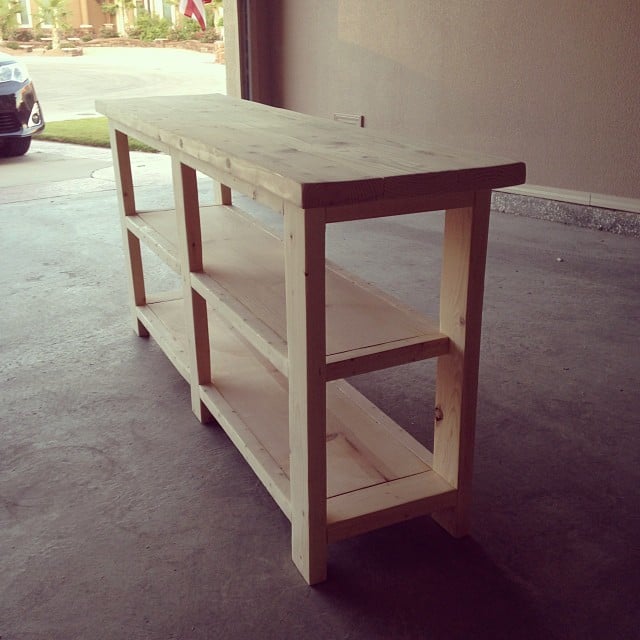
Finish Used
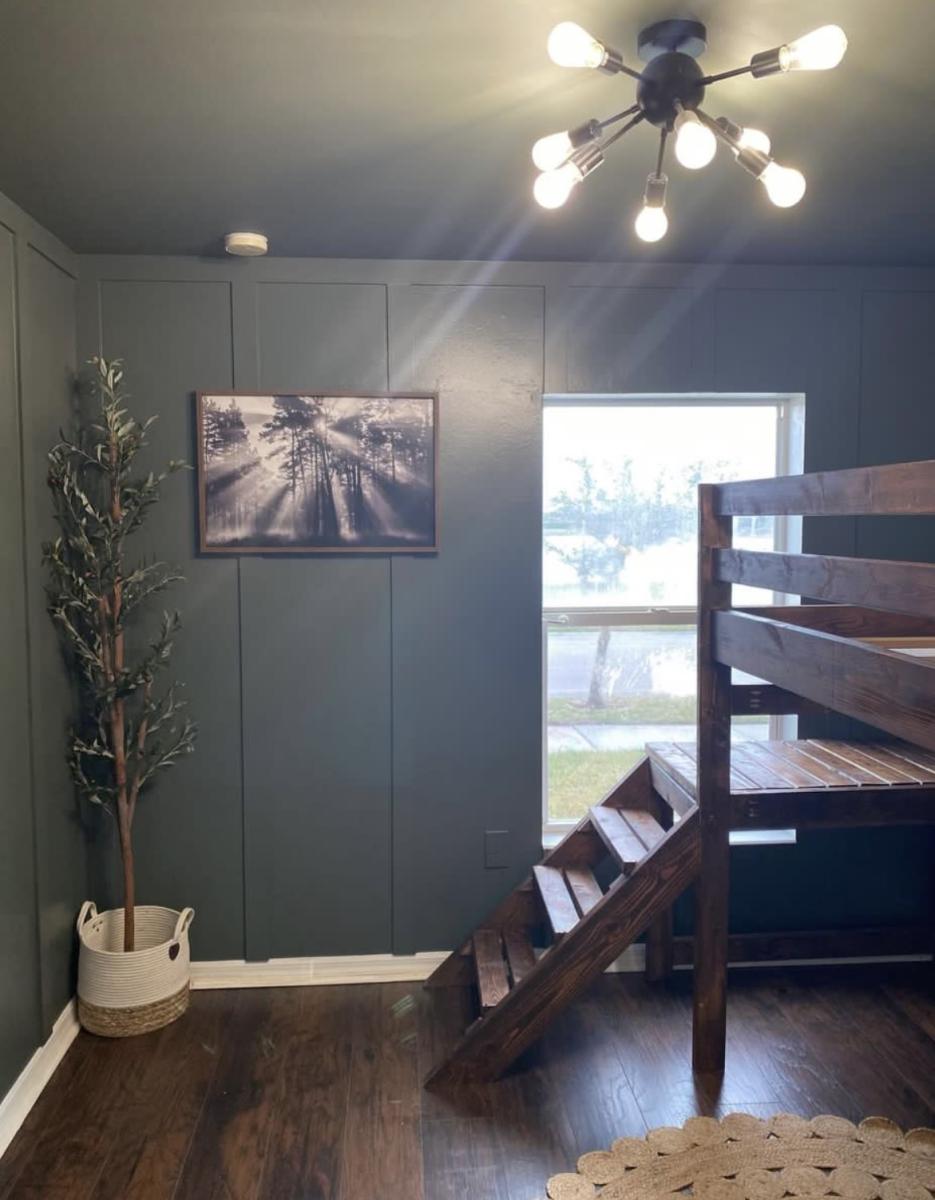
Minwax Golden Oak Stain and MInwax Gloss Poly. Satin finish interior white paint for the remainder. I applied two coats of stain and paint and three coats of Poly.
Recommended Skill Level
Beginner