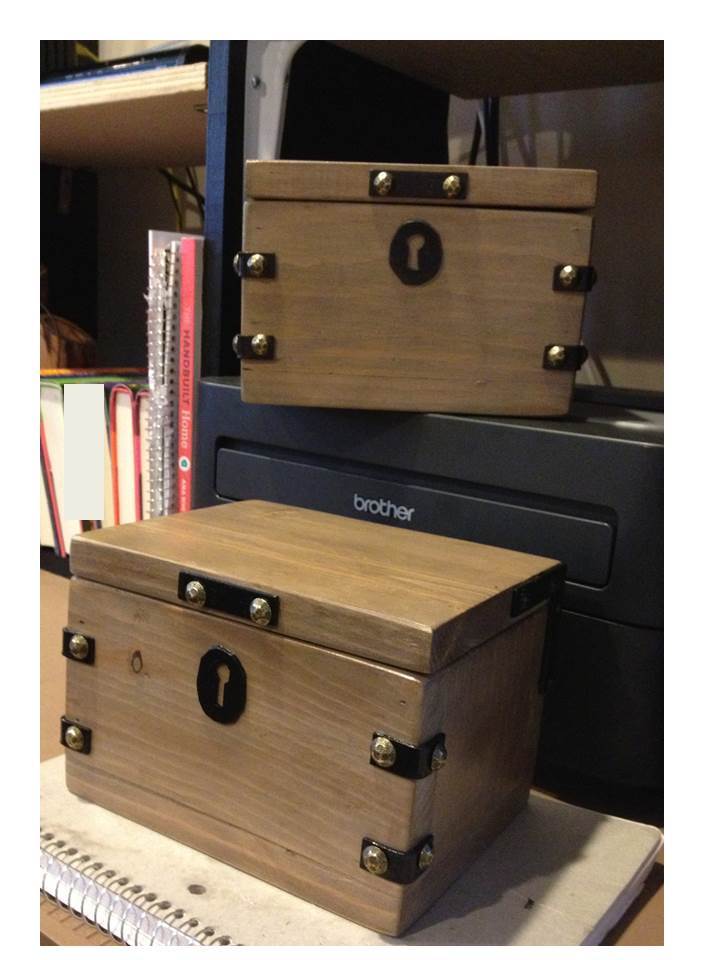
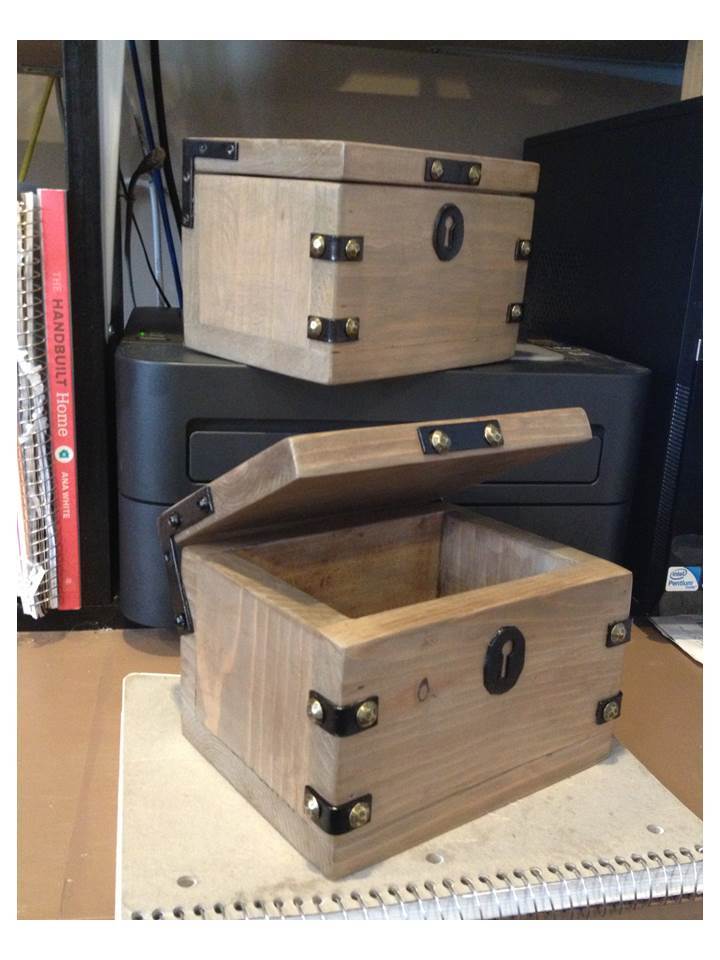
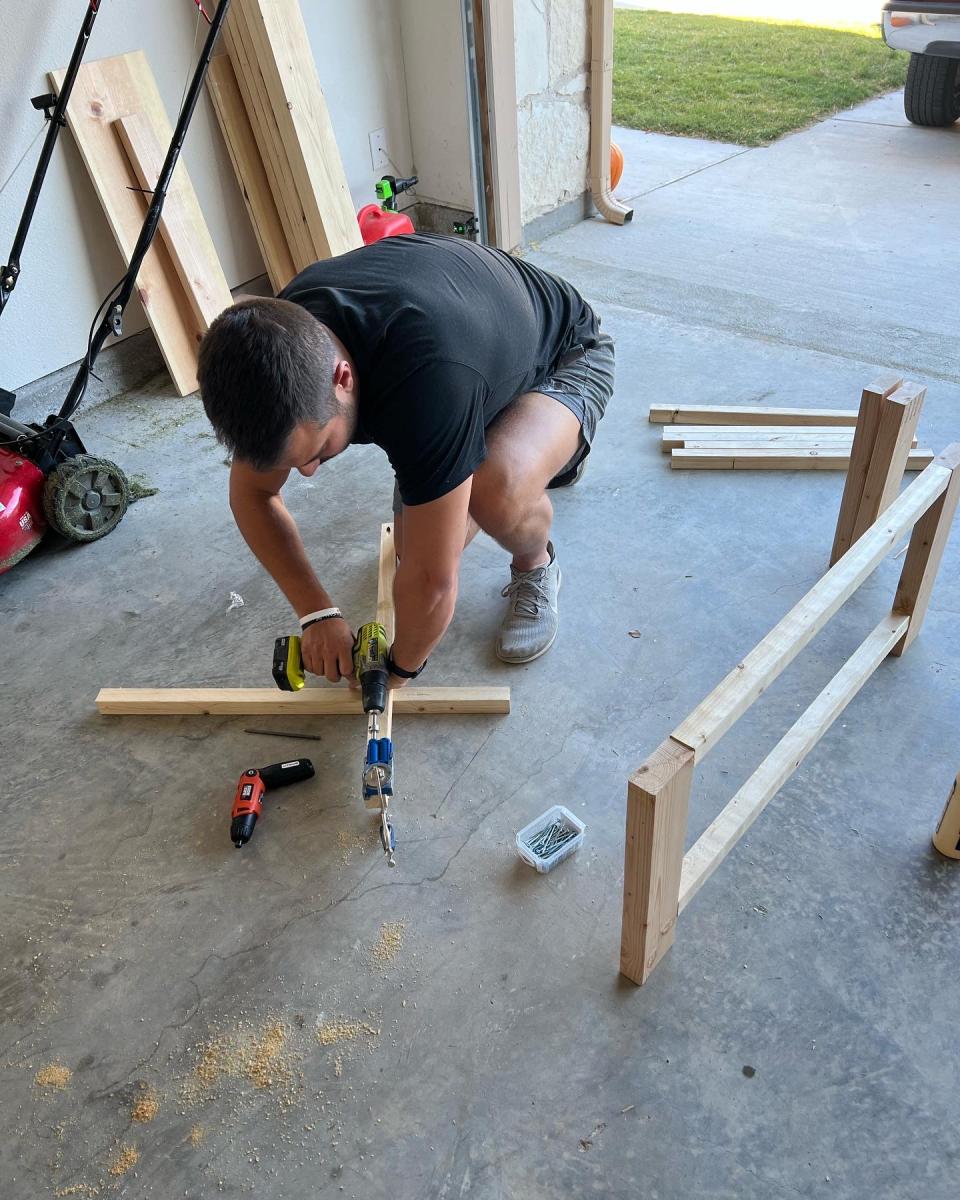
I had so much fun doing the prototype of the pirate’s treasure trunk, I built another one today! It was a super-fast build, and I did some things differently today which really speeded up the finishing process.
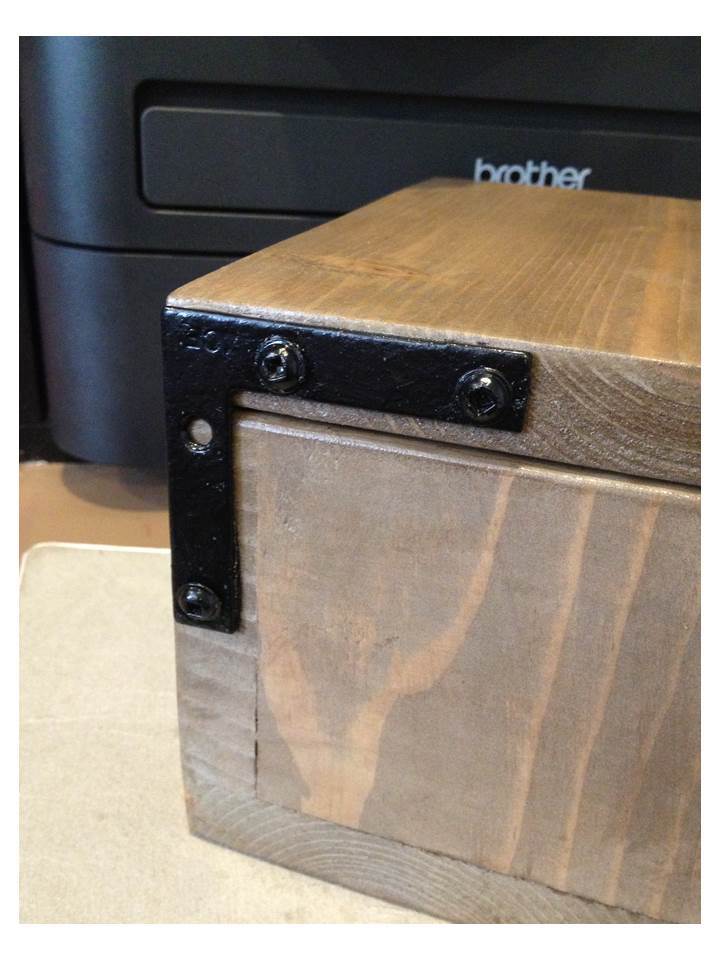
The first difference on this one is the use of the ½” x 2 ½” angle. It’s the next size larger than the one from yesterday. Instead of using the screws that came with it, I used some 1 ¼” Kreg screws. The hardware and screws are painted with some gloss black paint. I think it made for a sturdier hinge, so I’ll be doing them that way from now on. I also made a little “gasket” out of felt to go behind the bracket at the bottom where the pivot screw is attached. I’m hoping this will protect from friction over time.
For the finish, I started it with the gray wash just like the original. For the walnut glaze, instead of mixing the Minwax Express Color with mixing glaze, I just diluted it with some water. This dried much faster, but it gave the same look. I added 2 coats of Minwax oil modified water based poly before attaching the hardware. I still used the super glue before attaching with the furniture nails, but skipped the mod podge step, and just went over the hardware and keyhole with an artist’s brush and some poly.
All the wood was scrap and the finishing materials were left over from other projects. I bought the corner brackets and the larger angle brackets this morning at Ace for $7.50. These pieces cost a little more than Lowe’s, but Ace was closer so it saved me a trip.
There's another one of these in work (a lady’s trunk) which I will post later.