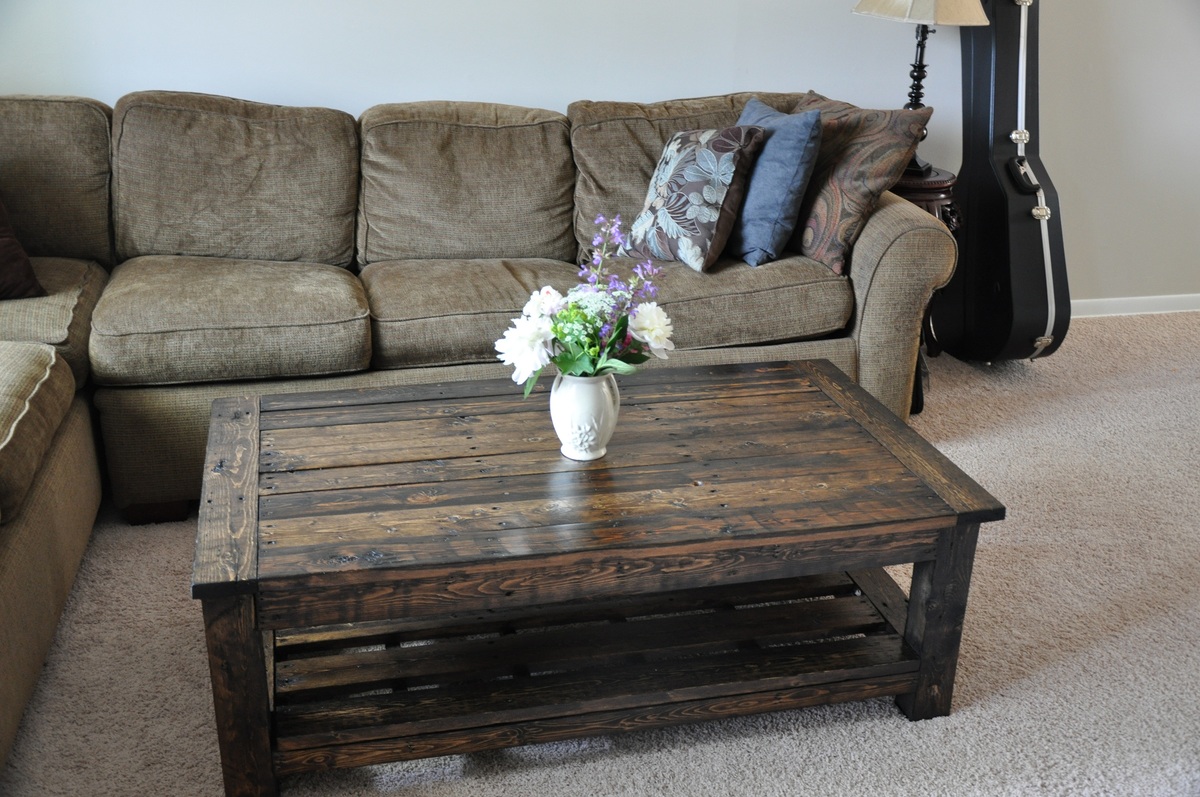
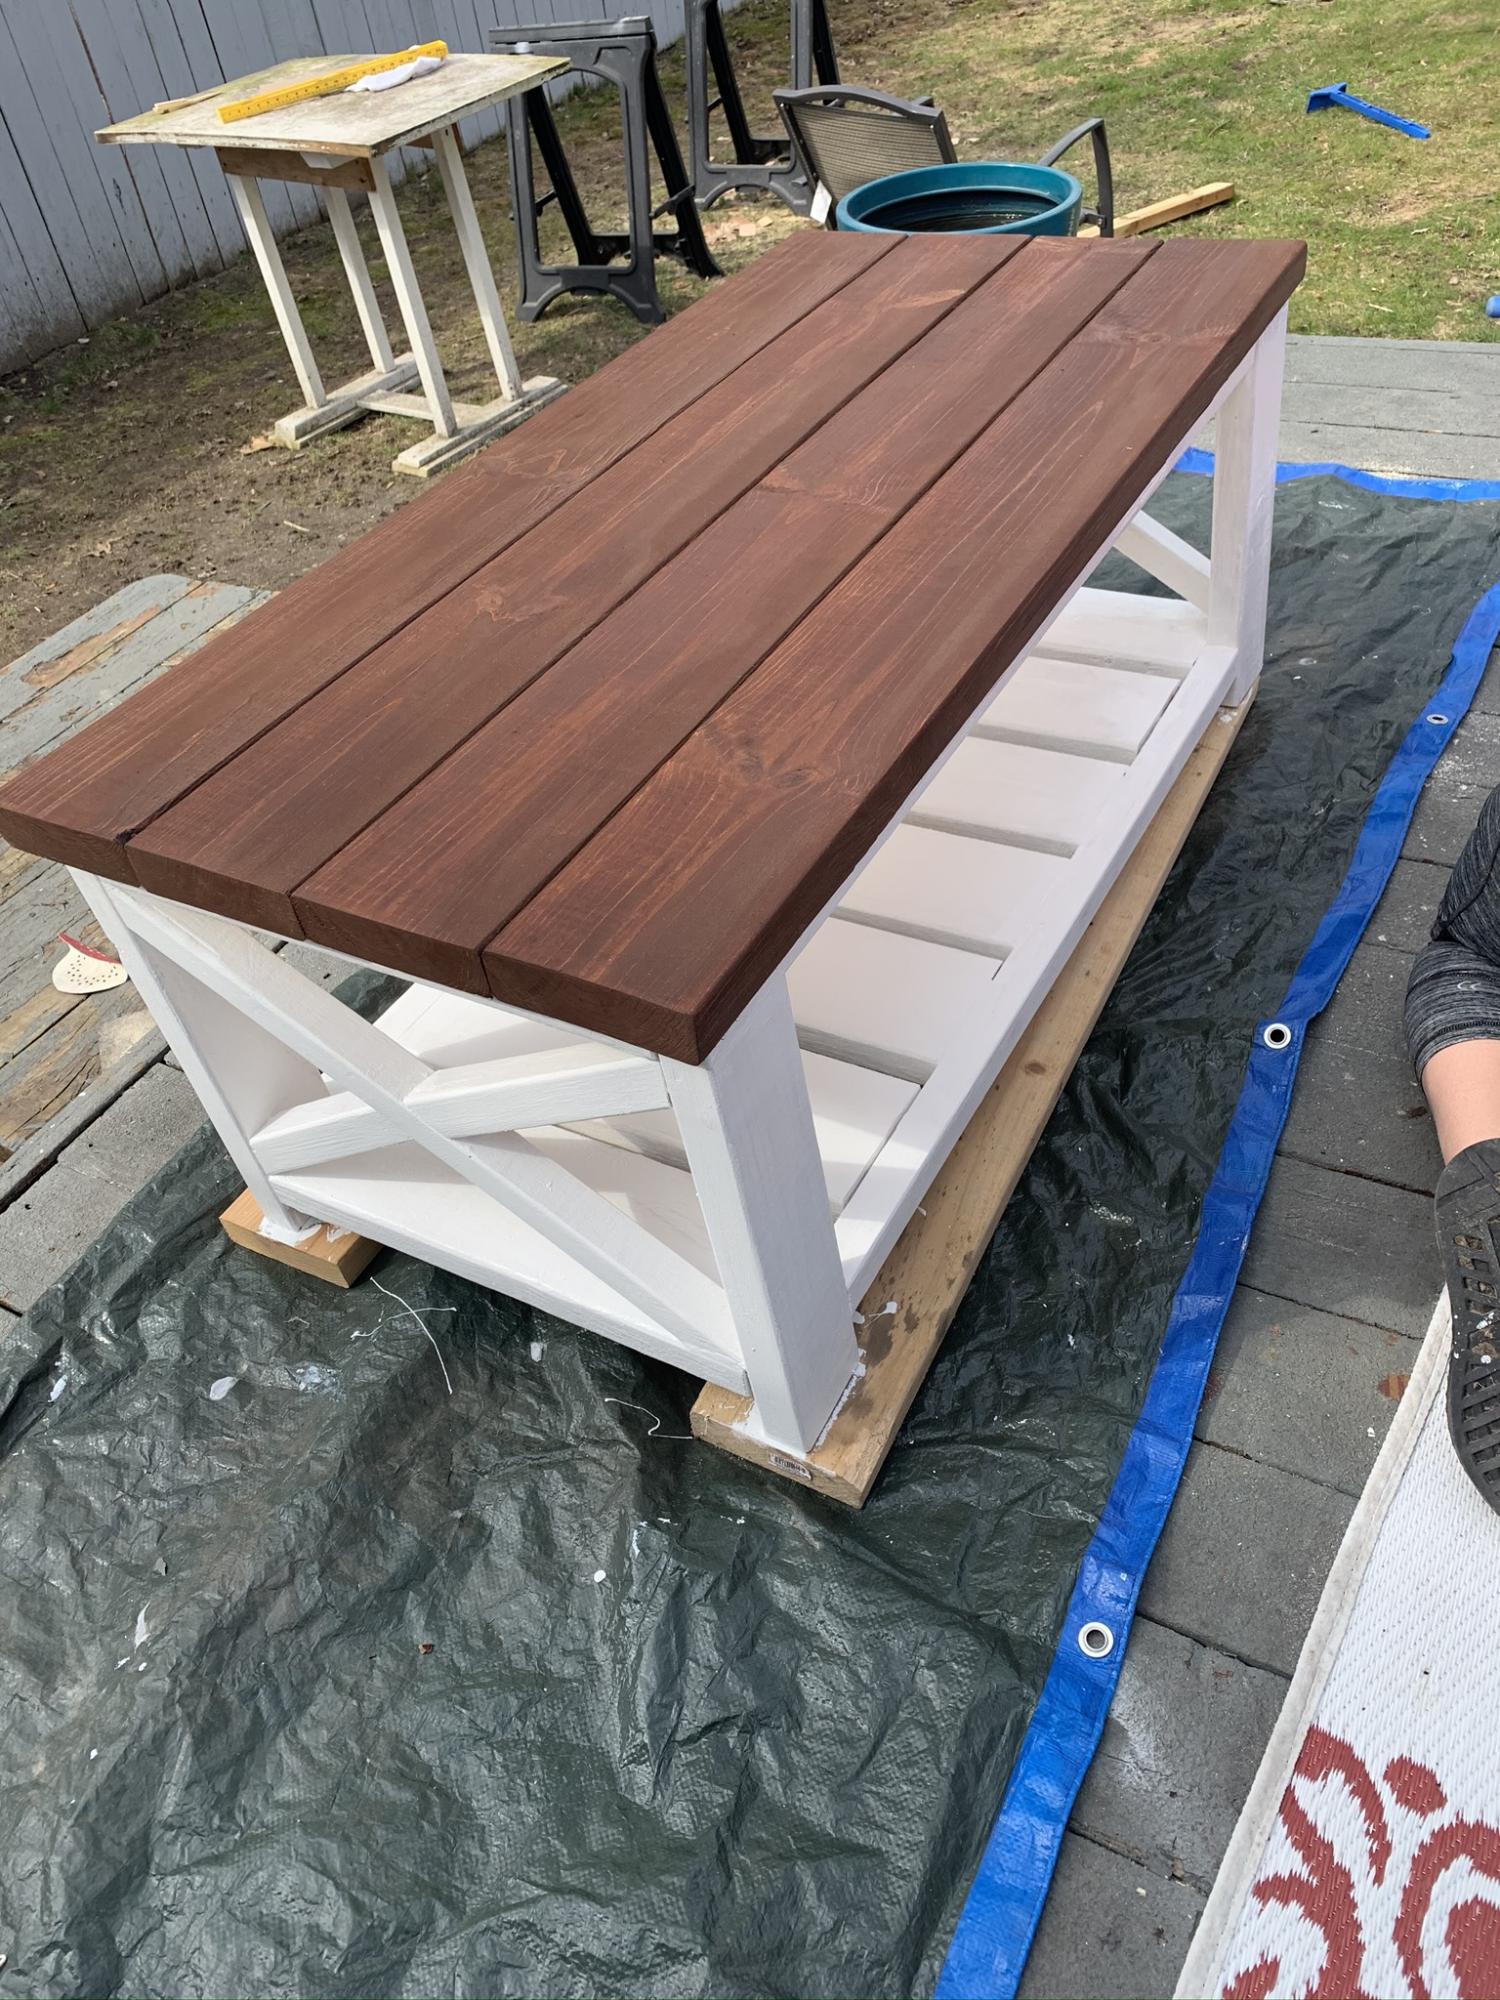
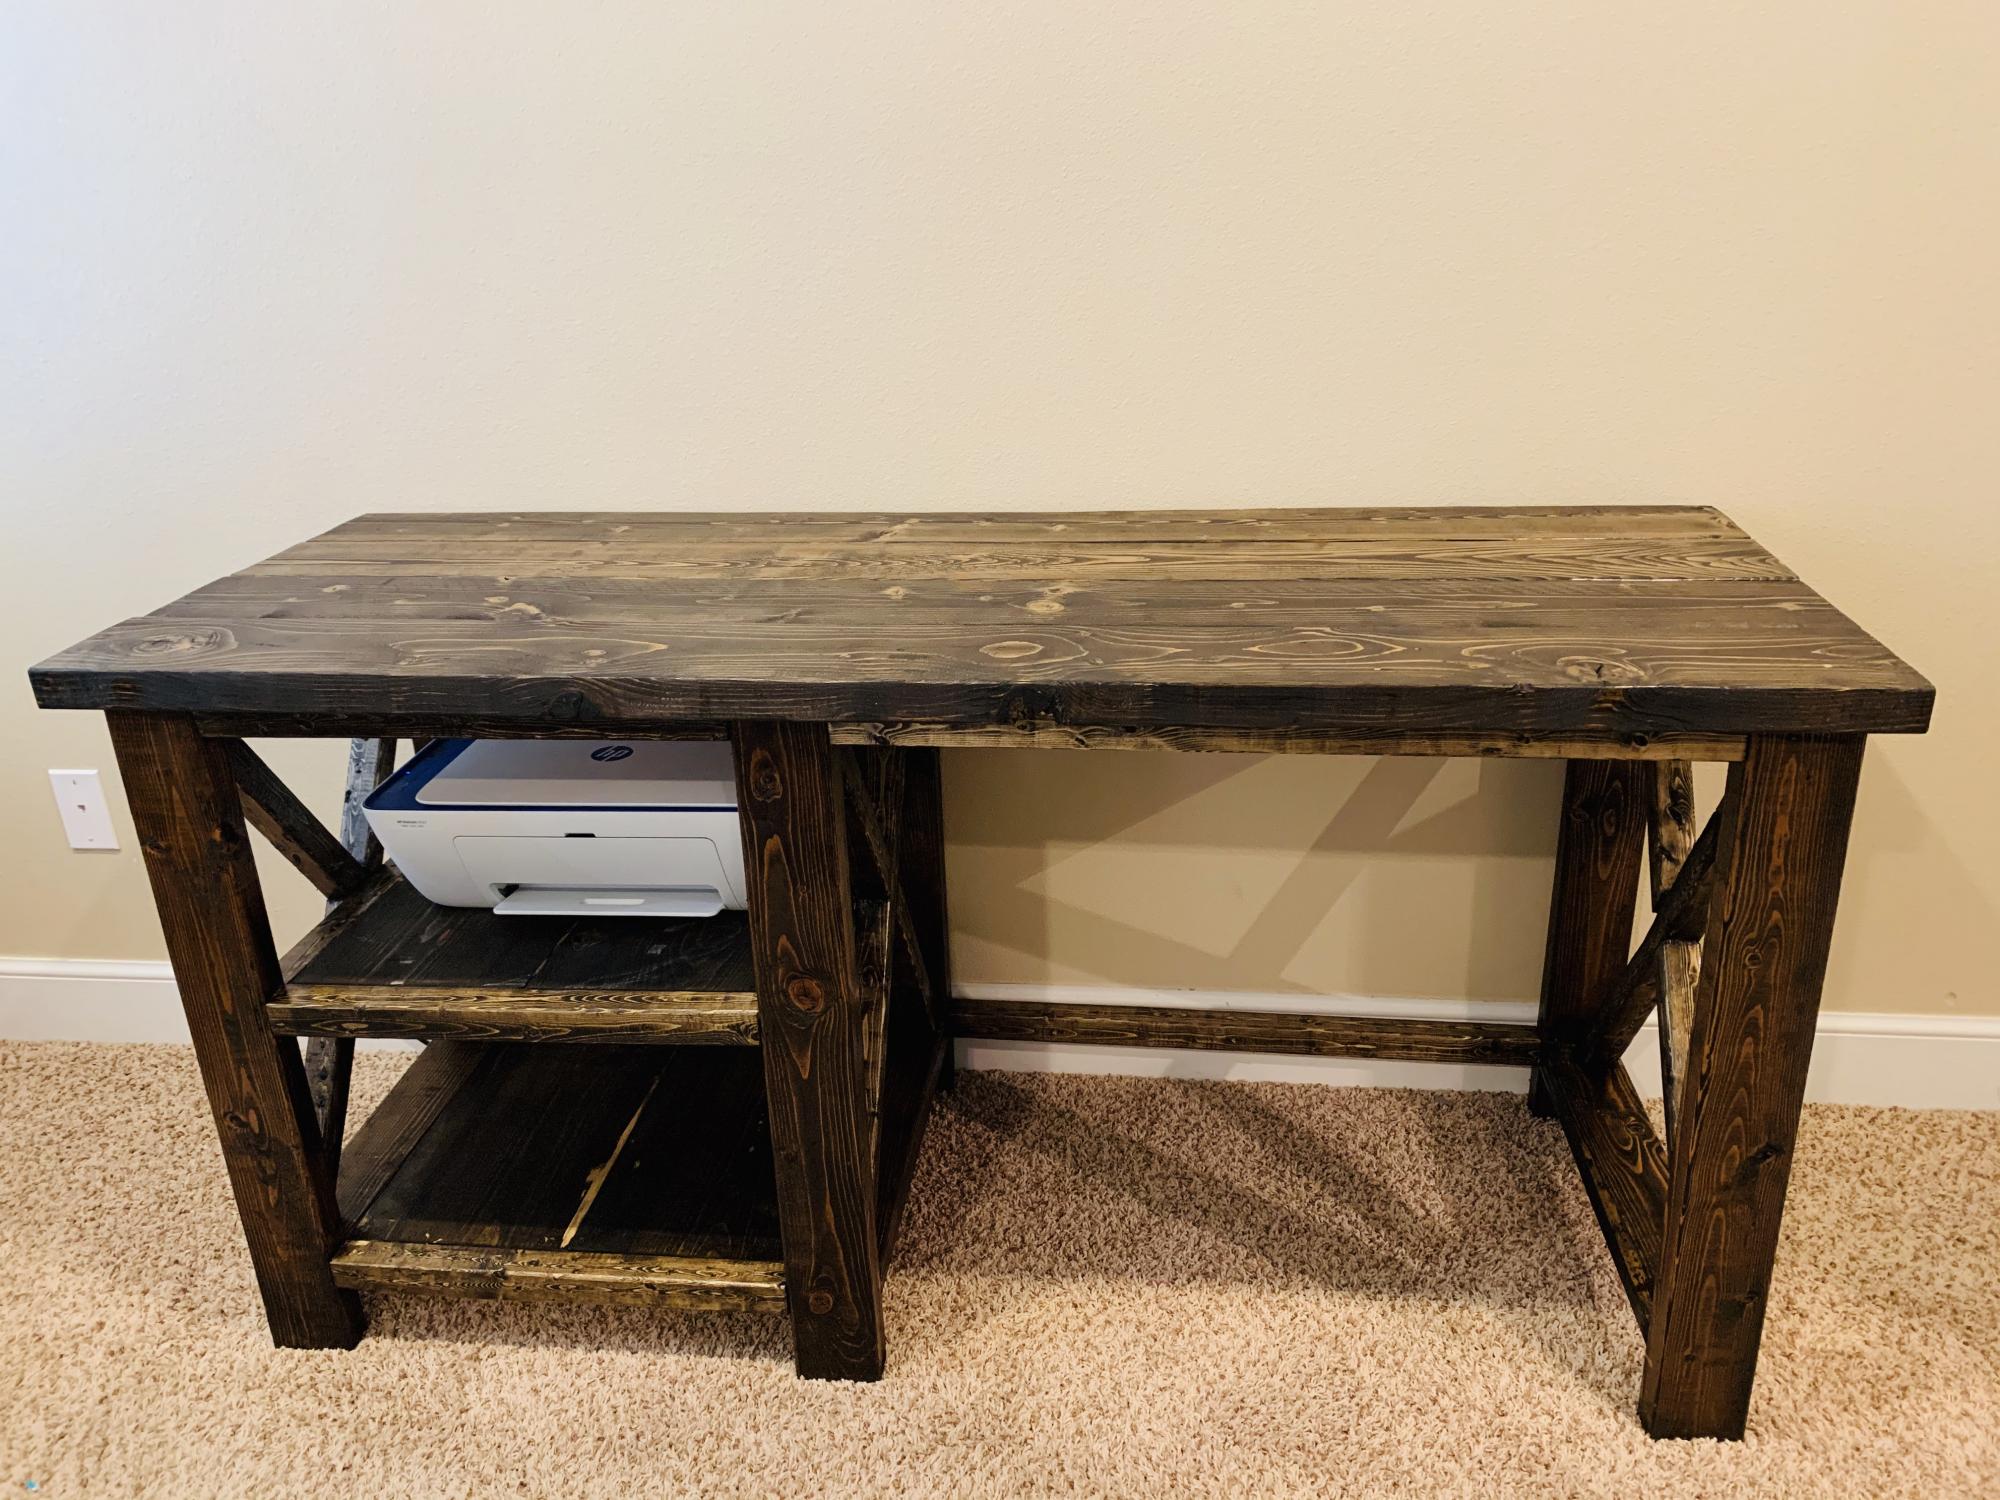
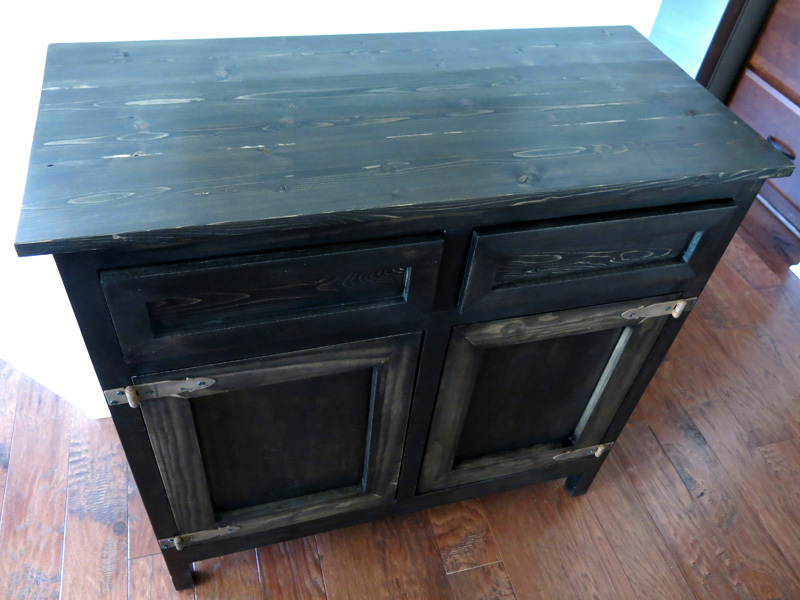
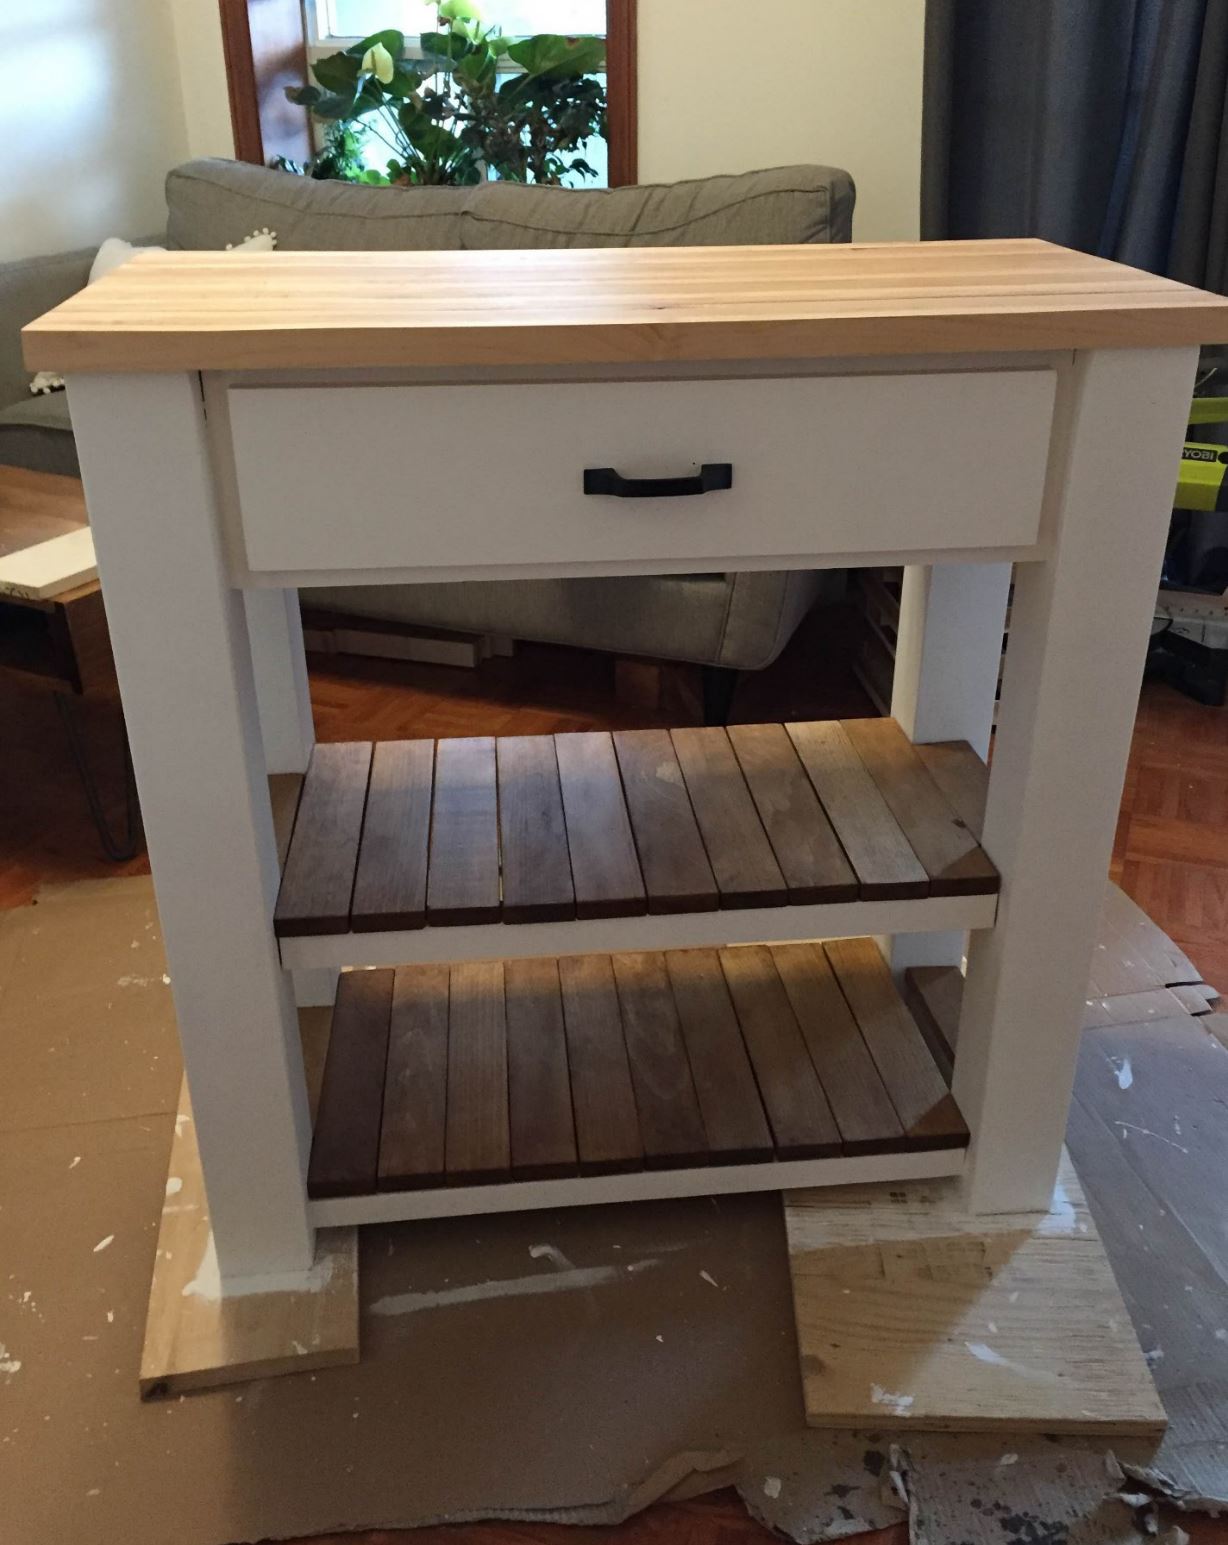
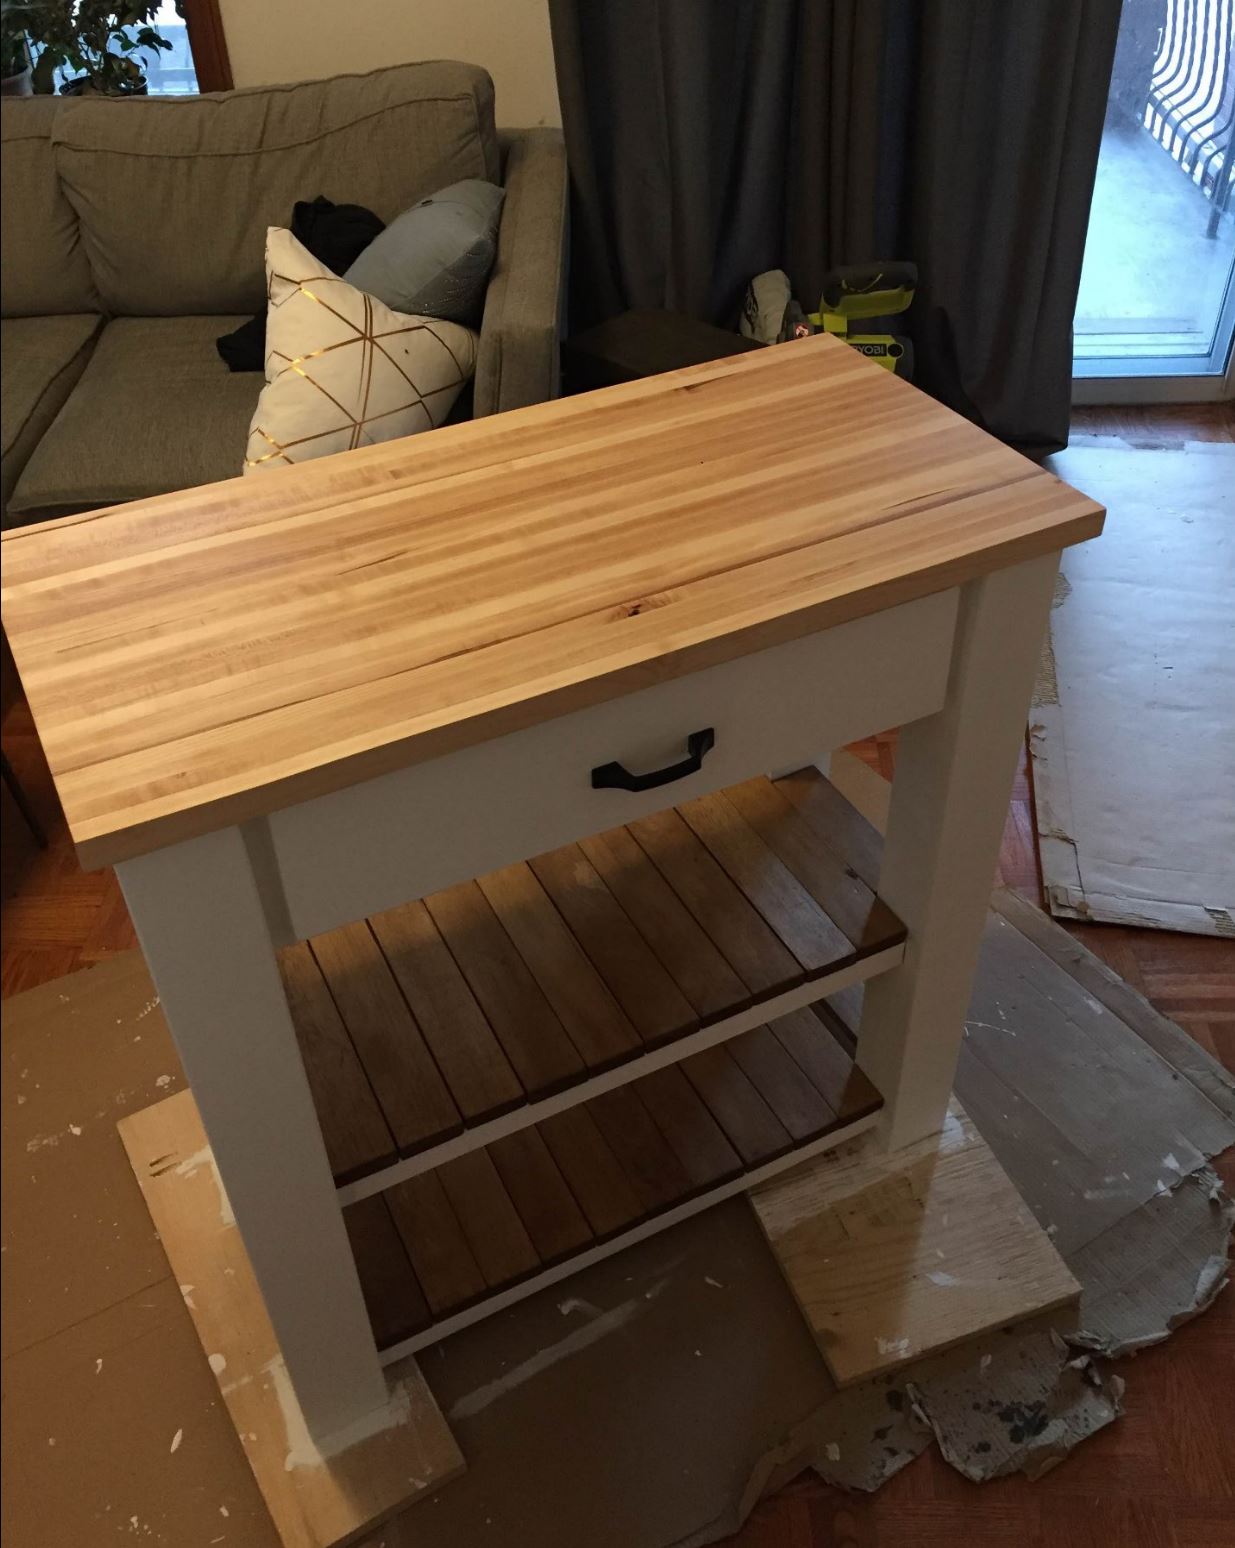
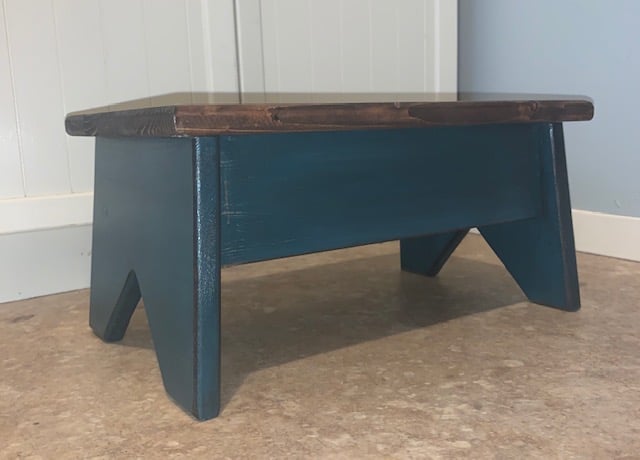
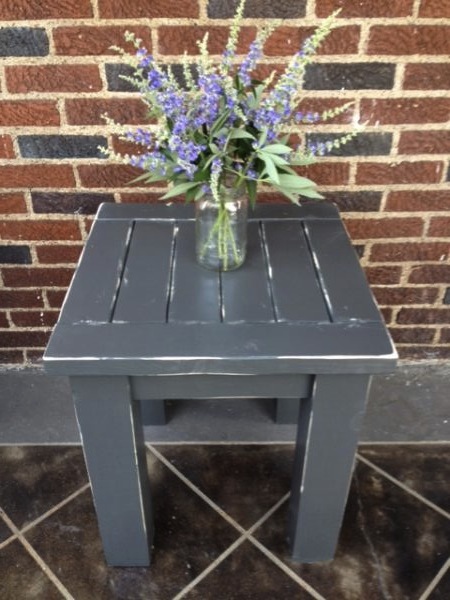
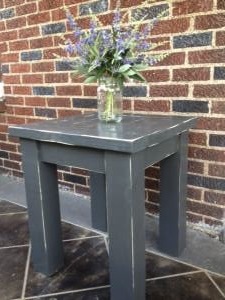
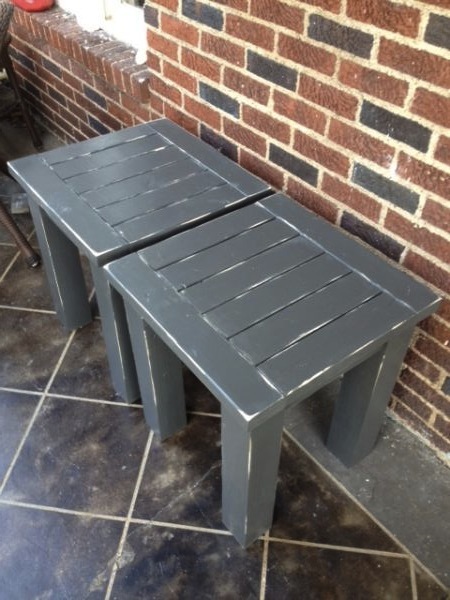
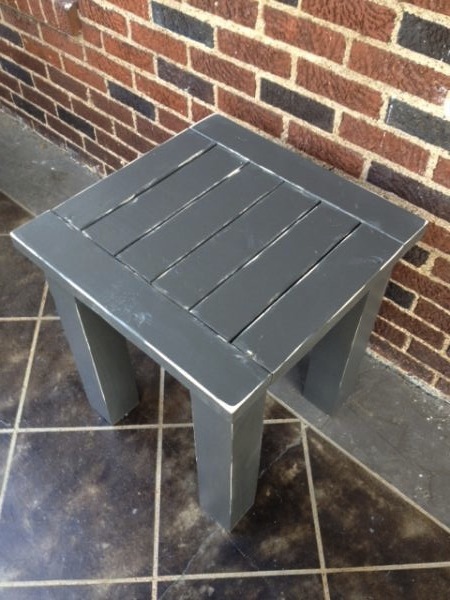
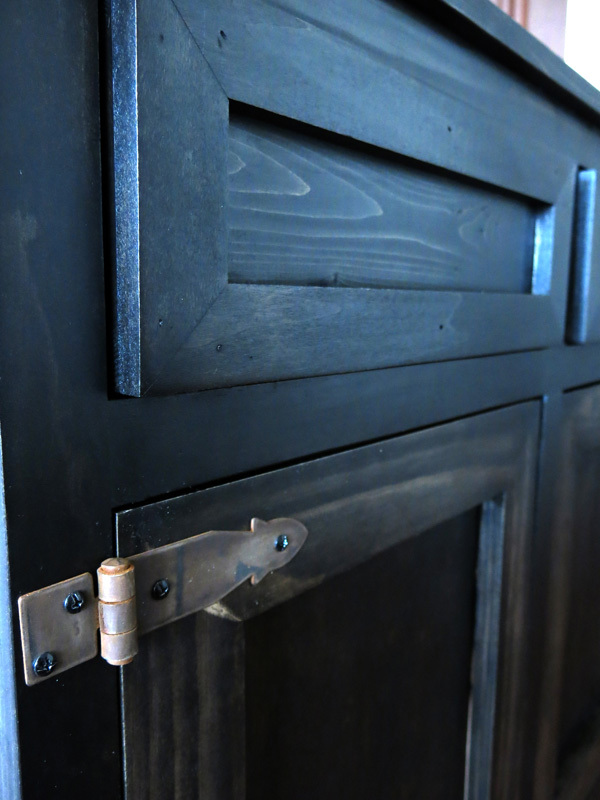
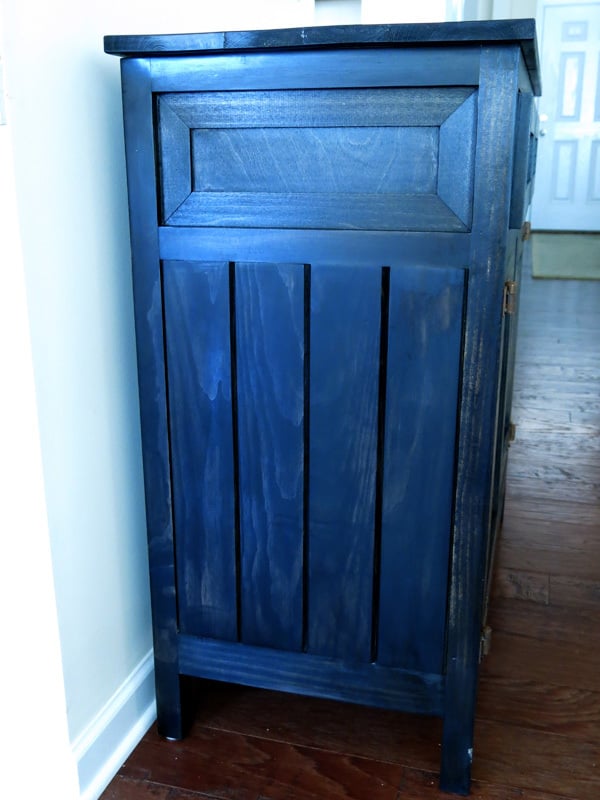
Community Brag Posts

Harriet Chair

Submitted by MarkThomas on Fri, 10/28/2011 - 12:26

After our Wal-Mart dining room chairs started falling apart (after 8 years of use) I decided it was time to replace those ugly old things with something a bit more unique. The Harriet Chair really caught my eye, so I set out to build it! My wife, Judi, chose the mustard yellow color and we thought it would be cool to add contrast with some red and white polkadot seat pads from IKEA ($9.99 ea.).

These are the first two I've built, with a goal to eventually build a total of 6-8 to fit around a table I also plan on building.

I made the addition of the front support as Judi likes to rest her feet on it. And, as you can see in the second photo, I added a small brace, cut at 15 deg., on the bottom side screwed to each backrest 2x2, and screwed to the underside of the seat (chair is upside down in photo). This gives additional rigidity and support for the backrest and also provides a nice guide to ensure the backrest has an exact 15 deg. angle on every chair. This was at no additional cost as I used scrap 2x2 pieces for it. And best of all this addition stays hidden and in no way changes the original aesthetic of the chair.

The chairs are extremely sturdy, comfortable and look great in our dining room! The only change I will make on the next set is using higher quality plywood as I had to putty this plywood a bit more than I had hoped. Otherwise, what an easy and inexpensive upgrade to our space!

Built from Plan(s)
Estimated Cost
$15
Estimated Time Investment
Afternoon Project (3-6 Hours)
Finish Used
custom mustard yellow color, poly
Recommended Skill Level
Beginner

Comments

Benjamin Uyttebroeck (not verified)

Tue, 11/01/2011 - 11:37

Looks great! How did you assembly the different parts? Simply glue and screws, kreg jig or mortise and tenon?

Mark Thomas (not verified)

Fri, 11/04/2011 - 14:59

Haven't been able to add the Kreg to my tool chest yet so I used glue and screws. Pre-drilled all the holes of course. Came out extremely sturdy. This was one of my first projects of this nature so I've learned a ton from each chair I make. These two were the first and the next ones have been a lot more precise and sharp looking.

Benjamin Uyttebroeck (not verified)

Sat, 11/05/2011 - 00:59

Thanks for your answer! I'll try it that way too then...

Bedside Table

Submitted by thurm12 on Mon, 10/21/2013 - 09:55

Had to adjust the size of the drawer to fit inside the gap. Chose to lay the shelf on the bottom and attached a 1x2 to the front of the shelf perpendicular to the ground to keep the shelf in place.

I chose not to add the plywood backing because it's not visible, but I may in the future.

Overall a great and simple project, and I'm very pleased with the results.

Built from Plan(s)
Estimated Cost
$50-60
Estimated Time Investment
Day Project (6-9 Hours)
Finish Used
Minwax PolyShade Dark Espresso (3 coats)
Recommended Skill Level
Beginner

Providence Bench

Submitted by Anonymous (not verified) on Wed, 01/06/2016 - 13:07

I LOVE this bench. It's simple and rustic, yet absolutely beautiful. I modified the plans slightly to exclude the long support board along the bottom of the bench and found that the bench is still very sturdy and stable. I love that this bench is a relatively easy and quick to complete project, with such a gorgeous end product!

Built from Plan(s)
Estimated Cost
$25
Estimated Time Investment
Afternoon Project (3-6 Hours)
Finish Used
I used Minwax brand stain in Provincial for the color and finished it with Varathane brand varnish in a matte finish.
Recommended Skill Level
Intermediate

Baby Valet for a baby on the go

Submitted by blasiansky on Sat, 04/20/2019 - 09:34

Made it for a friend who will be on the go with her new baby.  I included screw hooks to either hang bags or separate. Tray & box are removable also. Bottoms are chalkboard paint. She wanted to paint it so i will stop here.

Built from Plan(s)
Estimated Cost
$25
Estimated Time Investment
An Hour or Two (0-2 Hours)
Recommended Skill Level
Beginner

Modified Dollhouse

Submitted by Anonymous (not verified) on Fri, 02/24/2023 - 07:06

A few years ago for Christmas, I modified the dream dollhouse plans by splitting it in half, putting it on wheels, adding hinges and a hook and eye catch to lock it closed. My nieces were able to move it themselves, play side by side, or be on their own side of the house. And if they want, they can separate the two pieces and use them individually or as bookcases down the road. Also, I painted it to match their home. 5 years later the dollhouse has withstood the test of 3 rambunctious girls and they still love it.

Comments

Full Size Hailey Storage Bed

Submitted by Georgia M on Fri, 11/04/2011 - 20:26

When I saw the plans for this bed I knew it was exactly what I wanted for our guest room/office. I loved that it had storage underneath for extra blankets and office supplies and I loved the simple, clean look. I think it turned out great! We made it full size so it could sleep 2 people and we added an extra set of legs in the middle of the benches to make them extra sturdy. We want to add doors to some of the cubbies later.
This is the first piece of furniture I've painted instead of staining, and I'm so glad I did! The white looks so sharp against the gray walls. I don't think any stain would have turned out as good for the room.
The project came together really easily. We just worked on it for a couple hours on two Saturday afternoons and it was done really fast. The assembly was easy as well, and I love the concept of this bed being built of units that can be moved around or re-purposed later.
Thanks Ana for the great plans!

Estimated Cost
$150 (but we bought our wood from a small local lumber store)
Estimated Time Investment
Day Project (6-9 Hours)
Finish Used
Two coats of Olympic Premium (no voc) semigloss White.
Recommended Skill Level
Beginner

Comments

Rachel Garris (not verified)

Fri, 01/04/2013 - 12:57

I cannot find the plans to make this bed. There is only a description of the bed. Could I please get the plans for the Full Size Hailey Storage bed?

Lemonade Stand

Submitted by ckwarr on Thu, 10/24/2013 - 11:45

A 1x16 was used for the top and sides to give it a little more depth.
We cut the sides at 29" tall so that it is just under 30" high and can be used with a regular chair.
The shelves are 1x6's since we made it a little deeper.
The banner posts are 1x2's that are 6' tall.
Beadboard and some extra trim were also used.

Estimated Time Investment
Day Project (6-9 Hours)
Finish Used
White semi-glass paint
Recommended Skill Level
Beginner

Rustic Table - 4x4 legs

Submitted by Bridget327 on Tue, 11/08/2011 - 17:55

LOVED doing this! I am a total beginner so it is not truly perfect but that is what we love about it! My five year old helped me and learned how to work an electric screwdriver. We saw Pottery Barn was broadcasting a table like this and using that the screws showed as a marketing piece - so we have some screws showing and it is soooo warm and inviting. It looks 100 years old. Everyone loves it!! Thank you for the great inspiration. We made ours 6 feet long and 3 feet wide to fit our space and 4x4's for the legs.

Built from Plan(s)
Estimated Time Investment
Day Project (6-9 Hours)
Finish Used
Miniwax in jacobean
Recommended Skill Level
Starter Project

Comments

alyse (not verified)

Sun, 11/13/2011 - 17:17

I LOVE this table!!! Could you tell me which plans you followed? I need the exact same measurements...Any other pictures you have you should post, too. Great job.

Guest (not verified)

Thu, 11/24/2011 - 20:26

Can I have the step by step plan too! Pretty please! I love this table :)
Thank you so much
-erin

Hall tree

Submitted by Brad Wills on Sat, 10/26/2013 - 14:13

We had a table in the entryway that seemed to catch everything, bags, mail, etc. so when I found the Mimi hall tree I had to build it. This was my second build, so I was a little nervous. I wanted to paint it white , but my wife talked me out of it. I am so glad she did. Fun build, and now we have a place for all the stuff when we get home every evening.

Built from Plan(s)
Estimated Cost
75.00
Estimated Time Investment
Weekend Project (10-20 Hours)
Finish Used
Valspar Kona stain, Martha Stewart Baha bliss (2.49 sent small sample can) valspar polycrylic 3 coats on tops and 2 on the rest.
Recommended Skill Level
Beginner

Comments

Simple Modern Bed

Submitted by sarah0406 on Mon, 05/13/2019 - 11:04

We used repurposed wood from a previous home reno project along with new lumber to build a king-sized bed frame and wall-length headboard - based off of the "2x4 Simple Modern Bed" plans from More Like Home. We are VERY much beginners so this was an incredible learning experience, but the end result looks pretty good, in my opinion!

Built from Plan(s)
Estimated Time Investment
Day Project (6-9 Hours)
Recommended Skill Level
Beginner

Doll Bed and Wardrobe

Submitted by Robinwood on Mon, 11/21/2011 - 21:49

I love the Farmhouse Doll Bed, but because we bought a lot of doll clothes, I built a wardrobe to go with it.

The wardrobe is 21 1/2" tall X 14" wide X 7" deep. The inside shelf is 4" from the top. I'm having trouble uploading a photo of the inside, but will keep trying...

I made a mattress to look like the older striped "ticking" style. I still need to do a little more with the bedding because I'm not happy with the (muslin) pillowcase and want to do something brighter.

Cost was minimal because I'm still using up scraps from other wood projects and I used material for the mattress and bedding that I already had. That is what I love about some of the plans - they help me to use my leftover materials and still have something nice to give as gifts.

Thank you so much Anna for this plan - I also followed your suggestion and made a second one to donate. I love your site...

Estimated Time Investment
Day Project (6-9 Hours)
Recommended Skill Level
Beginner

Comments

Cherie Heltne (not verified)

Tue, 11/22/2011 - 07:25

Beautiful! I am trying to do a wardrobe right now, too! I am making my second of this bed today. Great job!

Guest (not verified)

Sat, 12/03/2011 - 11:29

Where and how do I find the plans for the doll wardrobe?? I made the Farmhouse bed and love it. Thank you

Guest (not verified)

Sun, 02/26/2012 - 15:22

I'll trade you picture and info for a great doll closet for you plans for the Farmhouse bed. Our granddaughter loves the closet, so now I need to build the bed.
Thanks,

Robinwood

Sat, 12/03/2011 - 14:12

Thanks for your interest - I'm sorry, I tend to work by the seat of my pants and develop an idea as I go; so I don't really have plans. The best I can do is give somewhat of a cut list; which is:

Sides: 2@7"X19.5"
Bottom: 1@7"X13.5"
1st Top Board:1@7"X14" (hangs over 1/4in on sides)
2nd Top Board:[email protected]"X15"(hangs over 1/2in on sides and in front- it's even at back)
Doors: [email protected]"
Inside Shelf 1@7"X12" (Top of shelf is 4" below top of inside cabinet.

I just measured enough below to allow for doll hangers and drilled for dowel, but it came out just right for the longer dresses.

The front trim overlaps the left door, so that I only had to put one door catch at the bottom.

I hope this helps - I really need to learn the Sketchup program.

I used 3/4" plywood because that is what I had, but used 1/2" playwood for doors to make them lighter.

Stephanie (not verified)

Fri, 12/09/2011 - 14:41

What size dowel rod did you use? I have a niece who I've made a bunch of clothes for, and I'd love to make her a wardrobe to house new clothes!

Robinwood

Fri, 12/09/2011 - 21:14

I believe it was 3/8 or 1/2 inch - I took one of the hangers with me and just put it on dowels until I got the right size.

sgilly02 (not verified)

Wed, 03/14/2012 - 20:25

Just a suggestion for a quick way to "brighten up" the pillow case. Just find some ribbon to coordinate with the bedding and sew (or use iron on adhesive - really easy then!) around the hem line of the opening.

The wardrobe is darling. I love the flower knobs!

Rustic X end table

I love this site. We needed new furniture in are house and didn't want to spend a bunch of money. Finding the Rustic x plans was a life saver.

Built from Plan(s)
Estimated Cost
$80
Estimated Time Investment
Weekend Project (10-20 Hours)
Finish Used
White paint and kona stain.
Recommended Skill Level
Beginner

Tweeked

Submitted by Anonymous (not verified) on Wed, 01/13/2016 - 17:51

Few tweeks such as router work, finish, and forged corner braces.  

Recommended Skill Level
Intermediate

Loft Beds

Submitted by Anonymous (not verified) on Fri, 03/17/2023 - 15:08

I found these on a Pinterest post. I made them for my girls and they absolutely love them! A place to sleep and play. All the kids that come over ask their parents for one.
A little bedroom oasis for my little ladies. ☺️

Comments

Beachy Storage Sofa

I love my new sofa! It is ten times more comfy than our old one. We live on an island and it was definitely cheaper to build my own sofa than to ship one in and pay duty on it. Thank you Ana for making this possible! Never thought I'd be building my own sofa, but we are so thankful for it. We even threw together our own little ottoman/toy box to go along with it from scraps...added bonus!


Built from Plan(s)
Estimated Cost
Total for everything probably about $500 ( a little higher costs for the wood here on the island, in addition to the other materials)
Estimated Time Investment
Weekend Project (10-20 Hours)
Finish Used
Clear Satin Poly finish on the parts of the wood that are still visible after the fabric goes on.
Recommended Skill Level
Intermediate

Comments

Jan (not verified)

Sat, 07/21/2012 - 09:56

this is so amazing! We go through so many sofas, mainly because we buy used, and you never know if they are going to last. This one looks really sturdy, and it could be recovered if the fabric got old, or you just wanted to update. Definitely considering this before we buy another one. And the storage hidden inside makes it even more desirable!! Love the fabric you chose as well.

Industrial Bookshelves

Submitted by Jodiah on Thu, 10/31/2013 - 14:20

It took a long time to compile all if the parts for these shelves. I searched the Internet for affordable cast iron castors. I ordered all of the black plumbing fixtures from a local hardware store. I bought 2, 16 foot 2x12's and cut them up, sanded them and stained them.

Estimated Cost
$250./ shelf
Estimated Time Investment
Weekend Project (10-20 Hours)
Finish Used
Min wax Early American stain, min wax Polycrylic protective finish.
Recommended Skill Level
Intermediate

Comments

Bunkbed

Submitted by Miles35 on Sun, 01/17/2016 - 12:17

I built this for my grandkids. It took me several weekends to complete to this point. I made a few changes from the original and still have the drawers to complete but overall its about finished.

Built from Plan(s)
Estimated Time Investment
Week Long Project (20 Hours or More)
Finish Used
Water based paint
Recommended Skill Level
Intermediate

Comments

CarrieLJP

Mon, 01/22/2018 - 10:41

I love how bright and vibrant you made this! It looks absolutely beautiful! I'm working on a bunk bed for my two young daughters now and I liked seeing how you tweaked the plans a bit- I'm doing something similar. Thanks for sharing!

3 Seat And Loveseat 2X4 Outdoor Couches

Submitted by jerryo on Mon, 06/03/2019 - 19:39

Used Redwood and Kona colored stain. This is my first wood project and Ana really inspired me in being able to complete this. Thank You Ana all the way from California! The Love Seat was easy to modify from the original 3 seat plan.

Estimated Time Investment
Weekend Project (10-20 Hours)
Finish Used
Rustoleum Kona
Recommended Skill Level
Beginner

Comments

jerryo

Thu, 06/06/2019 - 11:40

hard to believe, we found them on the Big Lots website...$40 a set back and cushion. We looked everywhere for an affordable option. These look great and are really comfortable..!thanks for the compliment : )

Jerry

Tryde Counter-height Kitchen Table

Submitted by ferbit on Wed, 12/07/2011 - 12:14

We badly needed a new kitchen table since ours has been completely destroyed over the years. Not a bad table, but too "smooth and perfect" for our lifestyle. I wanted something darker a lot more rustic that would not HIGHLIGHT nicks and scratches so badly.

I fell in love with a table at World Market, but it was the wrong size. It's called the Napa Gathering Collection.  It comes in either a counter-height 3' x 3' table or a standard height 3' x 5' table.  Shorter table is too long for the kitchen and the counter-height one was too small.  *sigh*  Here's a photo of the set.  LOVE this!!!!  So upset it's so small.  World Market photo below makes it appear a lot more red than it is.

World Market Napa Gathering Collection


Anyway, it's made out of Acacia wood, so it was massively heavy and strong. I loved it so much that I bought the four gathering chairs and spent over a month trying to get Acacia wood without spending a fortune. No luck. So I decided the most similar table here on Ana's site was the Tryde coffee table.

I researched different hardwoods, but was so nervous to spend that much  money that I decided my first kitchen table would be a rough draft with super cheap wood.  LOL  If I love it then I didn't spend a lot.  If I don't love it, I will learn from it and can build it again someday with more expensive hardwood like maple. 

I used the 2x8 hemlock for the tabletop, hemlock 4x4 legs and finished hemlock 1x4's everywhere else.  I used cheap 2x2 studs for the support structure underneath.  This table was almost exclusively built using Kreg joins, with only a few exceptions where necessary.  No visible screw holes to fill ANYWHERE!  Yay!  LOVE my Kreg Jig!

Lots of sanding, Benite wood conditioner, red-ish dye, dark chestnut stain and three coats of poly later... and I moved it into my kitchen this morning!  So excited!!!  I love how it turned out! 

Built from Plan(s)
Estimated Cost
$200
Estimated Time Investment
Weekend Project (10-20 Hours)
Finish Used
Benite wood conditioner, Daly's red-ish toned dye, Daly's chestnut-ish brown, Crystal-fin poly finish in satin.
Recommended Skill Level
Beginner

Comments

hiddenhalo360

Wed, 12/07/2011 - 18:24

I am in the exact same boat as you. We badly need a new kitchen table, but I have not been able to find what I want in my price range. Therefore I am prepping to build a new kitchen table this weekend!

snickersmom

Sun, 12/11/2011 - 18:25

What are your demensions on the table? I'm looking for something on the smaller side. Thanks

Guest (not verified)

Tue, 01/10/2012 - 06:48

Wow, I love the table! I very impressed. You captured that robust rustic look that I have always liked. Its one of those tables that makes you wonder what stories have played out on and around it. You did awesome and thanks so much for sharing it. I am certain that I am not the only one truly inspired by your creative and can do spirit. You go girl! Can't wait to copy this and whatever you do next. Please don't stop and please keep sharing. You are just awesome. Wonder what might happen if someone gave you a welder too? Take care and thanks again!

Guest 713 (not verified)

Wed, 06/13/2012 - 16:32

I love it! Could you add your dimensions for the table also?

TiffanyNic (not verified)

Wed, 10/31/2012 - 10:52

Tryde Counter-height Kitchen Table is exactly what I need - want - gotta have it - can anyone help me out with the how to plans? diminsions?! Something?!

Sb1212

Thu, 10/27/2016 - 12:11

I love this!! Did you build your chairs also? If so did you use plans. I would love to build those exact chairs. 

Desktop Organizer

Built this in an afternoon with scraps left from other projects! Using it at at work on my desk. Added 1/4" plywood to base to close up drawer space. Felt strips on bottom of drawer makes the drawer slide out very nicely. 

Estimated Cost
Wood scrap project. Bought drawer pull for $2 and a paint sample from Lowe's.
Estimated Time Investment
Afternoon Project (3-6 Hours)
Finish Used
Valspar paint sample in "Prickly Pear" shade. Furniture wax over paint.
Recommended Skill Level
Beginner