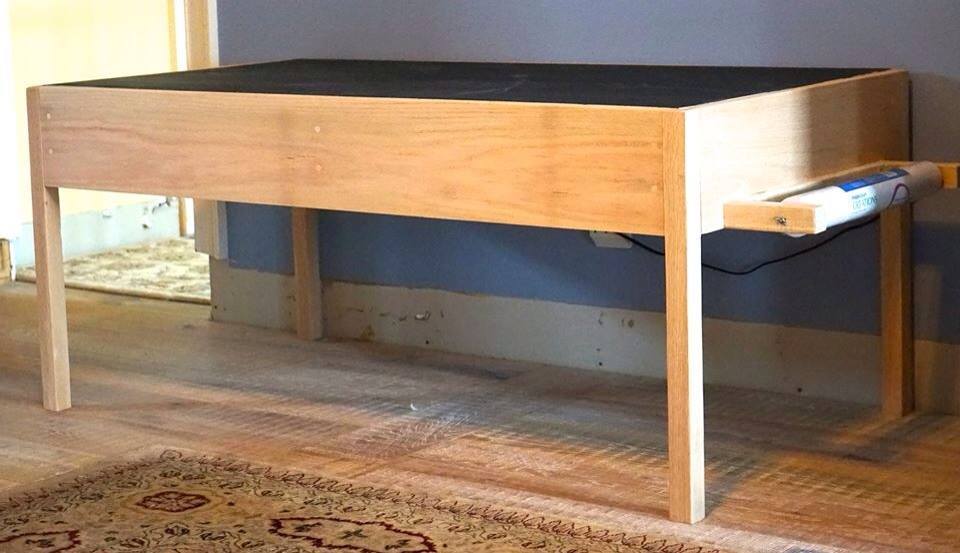
Retro Style Wall Hanging
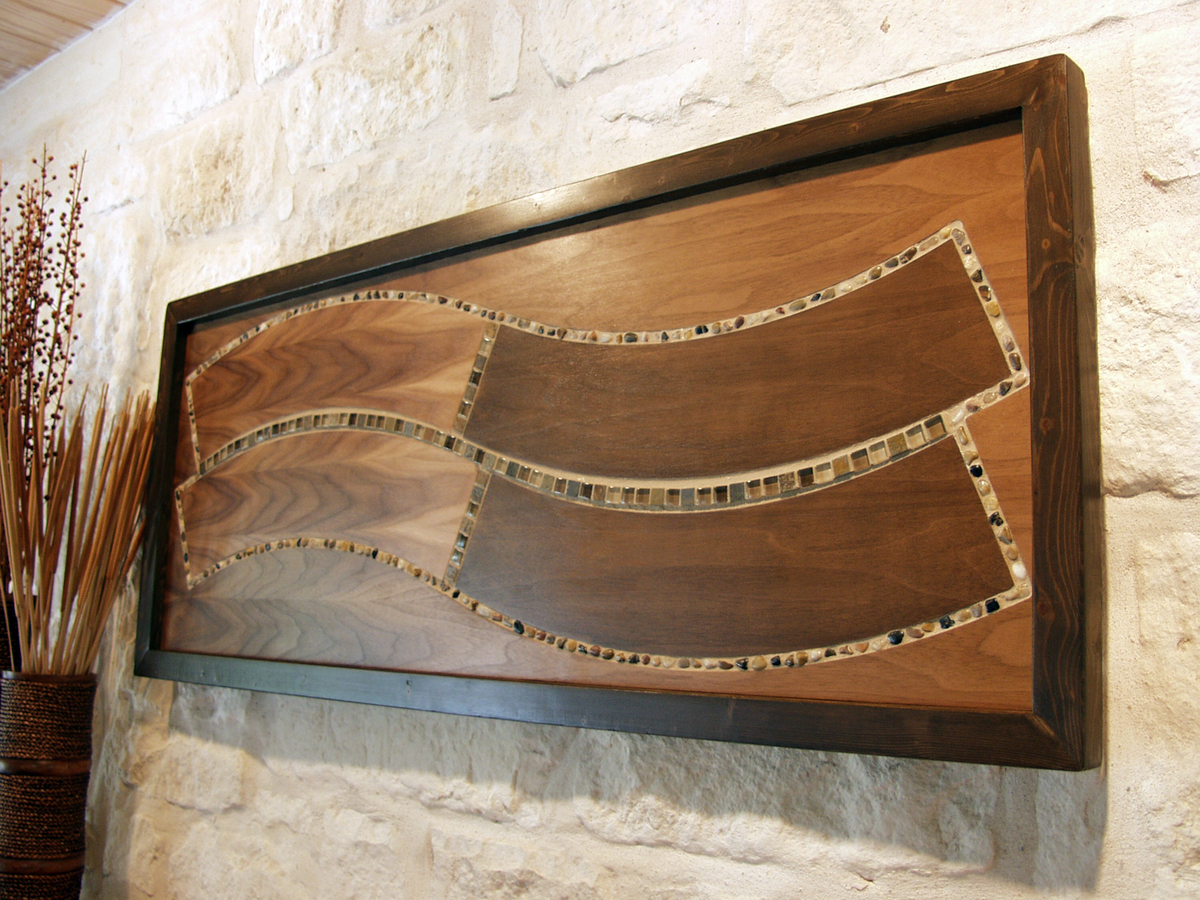
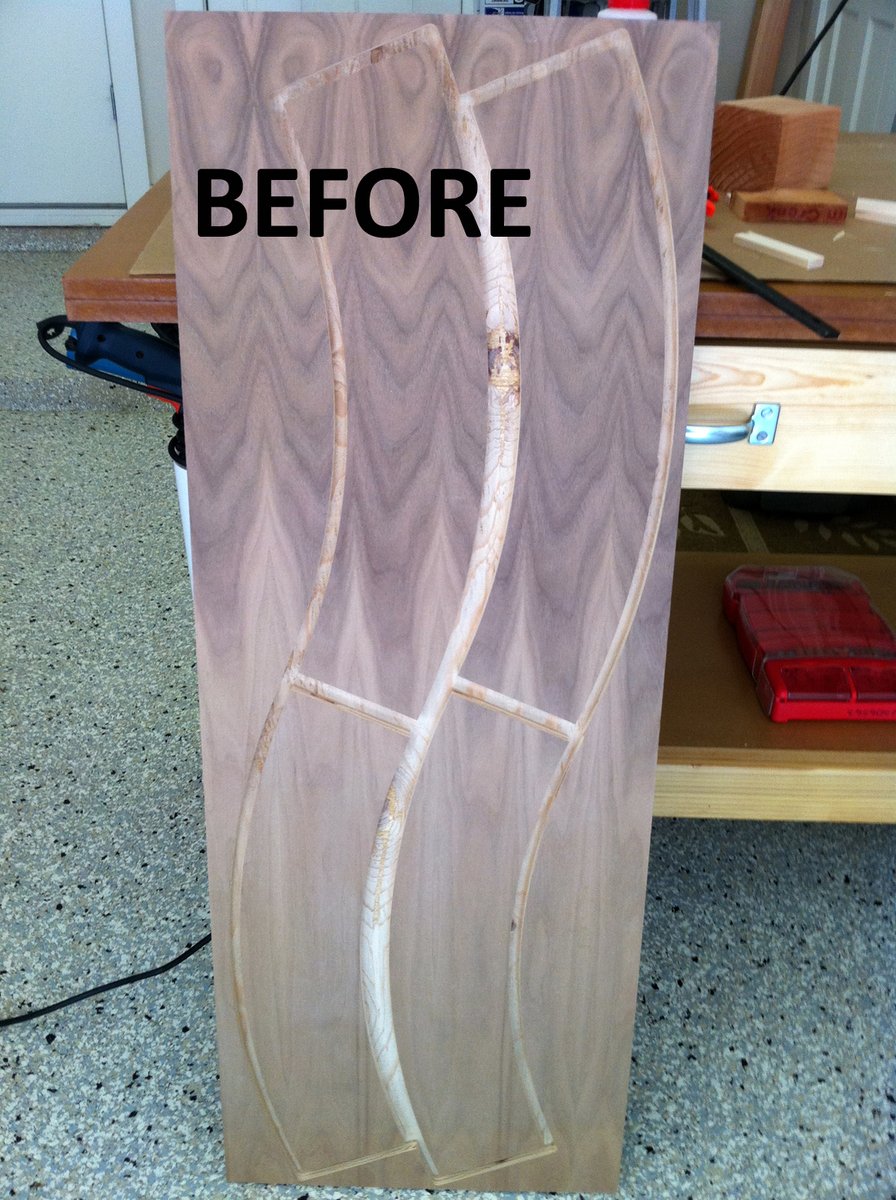
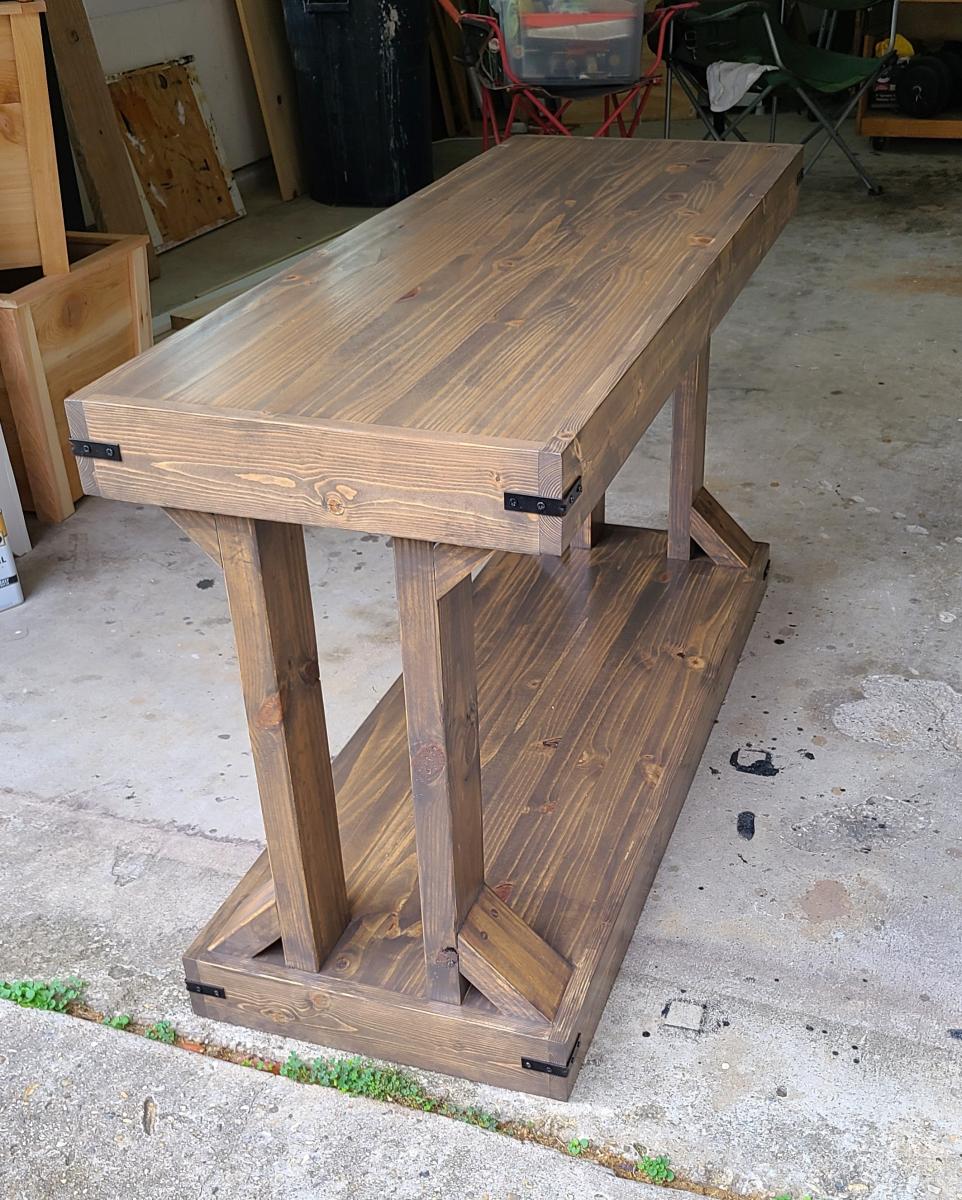
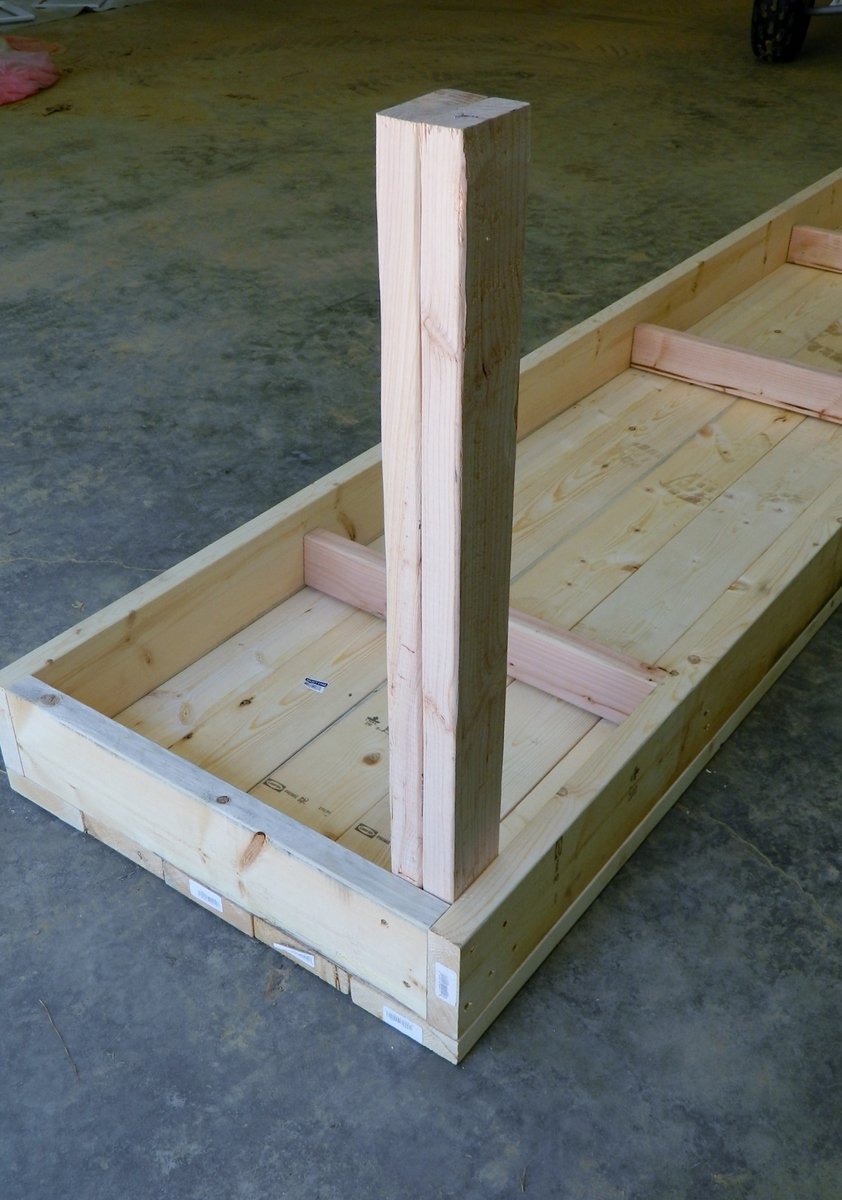
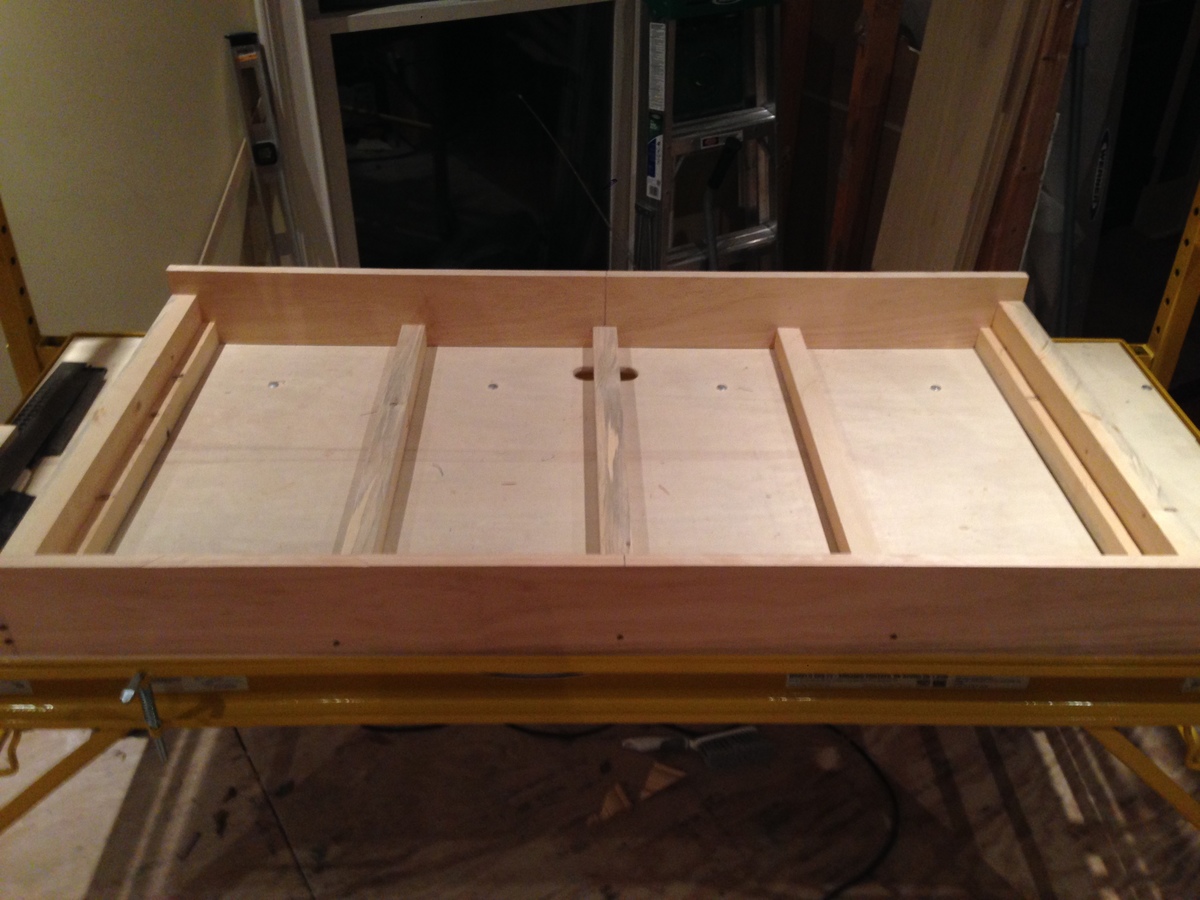
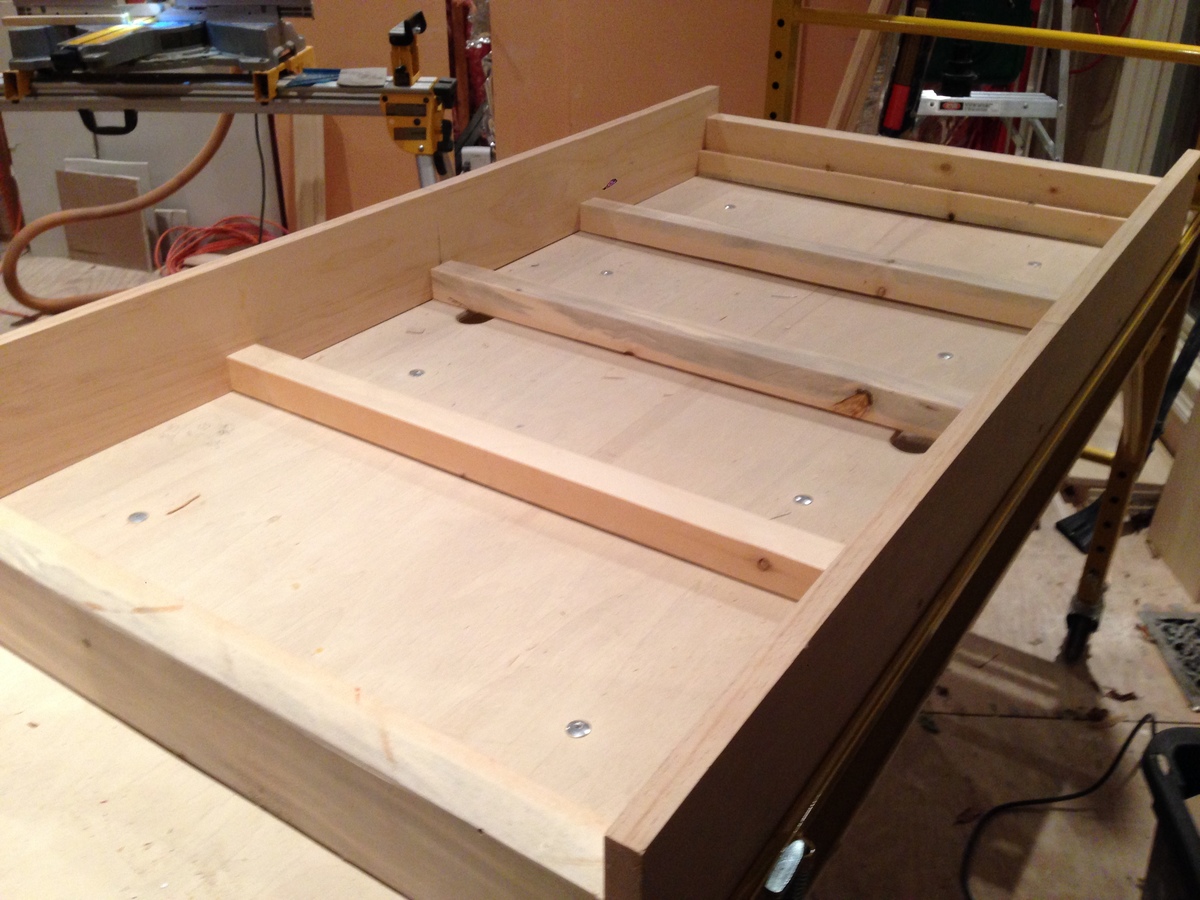
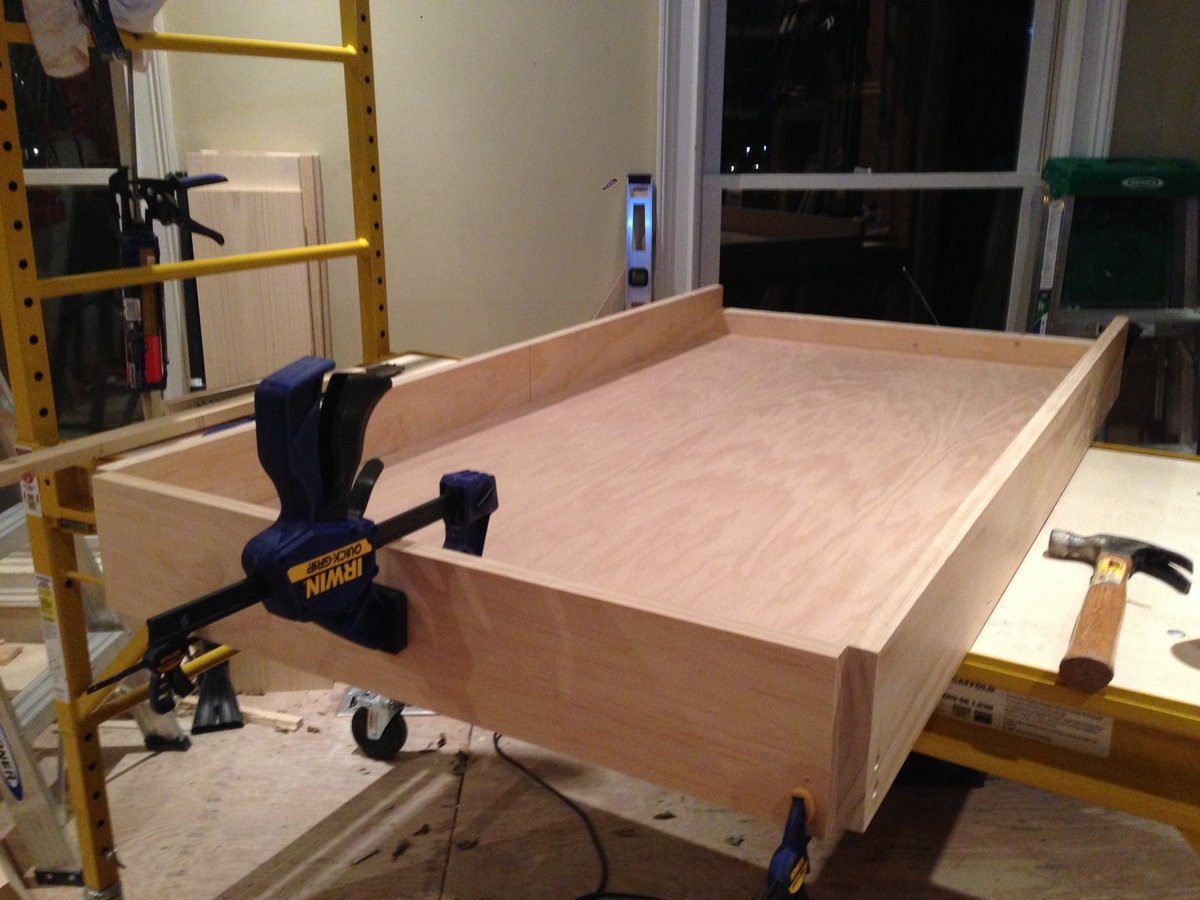
This piece began with finding a unique piece of walnut that had been discarded by a custom cabinet manufacturer. When I saw it, I thought I could make a beautiful wall hanging out of it. The walnut wood is absolutely beautiful; pictures don't do it justice. The majority of the piece is not stained; the natural color is enhanced with a clear polyurethane designed to give a hand-rubbed finish. The darker walnut section was lightly stained for contrast. The frame is made of pine 2x2s. I built a platform in the grooves with shims, and embedded earth-toned glass and stone tiles (as well as river rocks) in the grooves around the "waves".
While this didn't come from any specific plan, most any inspiration and techniques come straight from what I've learned on ana-white. Ana's site has really changed my life and given me a passion for building.


Comments
hammertime
Tue, 05/22/2012 - 10:15
Vision
Joni, I've been admiring your work all along, but this one takes the cake! You have such imagination and vision. I think this is an outstanding piece.
Joni
Tue, 05/22/2012 - 16:07
Thank you!
Hammertime -- thanks a bunch. I really appreciate the feedback.