First Build -- Farmhouse Table
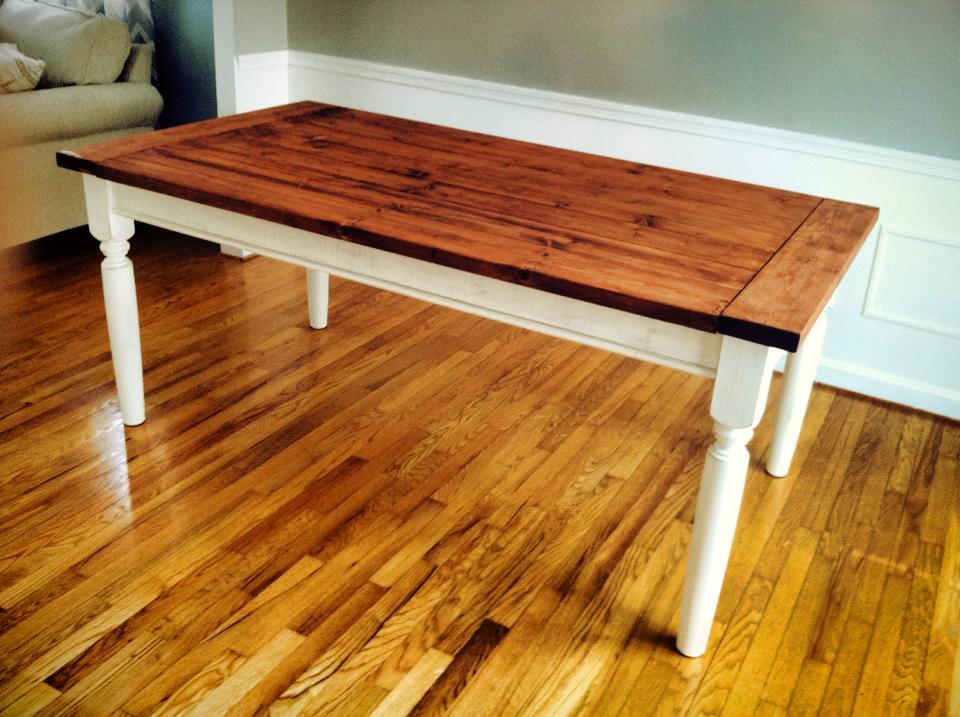
This is my first build!
Had a blast building this and turned out beautiful!
cant wait to start on my next!
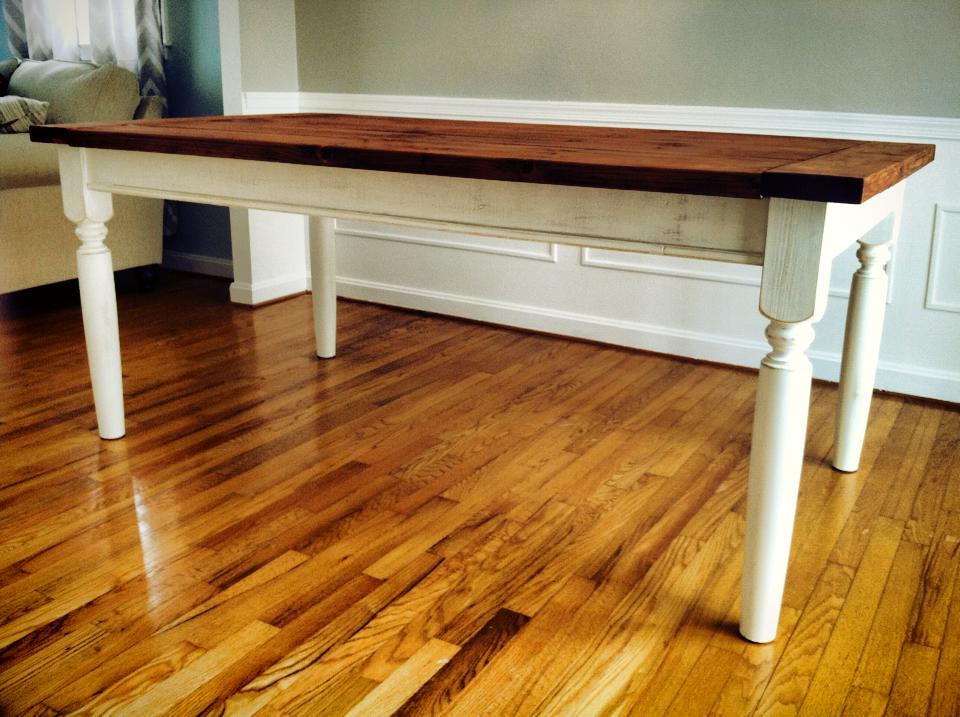

This is my first build!
Had a blast building this and turned out beautiful!
cant wait to start on my next!

I built this for my wife for Mother's Day 2016! Also built the centerpiece box. If you know how to use a miter saw, jig saw, and read a tape measure....then you can build it too!! It was a lot of fun and very rewarding!! Took around 25-28 hours to build and finish. Let me know if you have any questions. My email is [email protected]
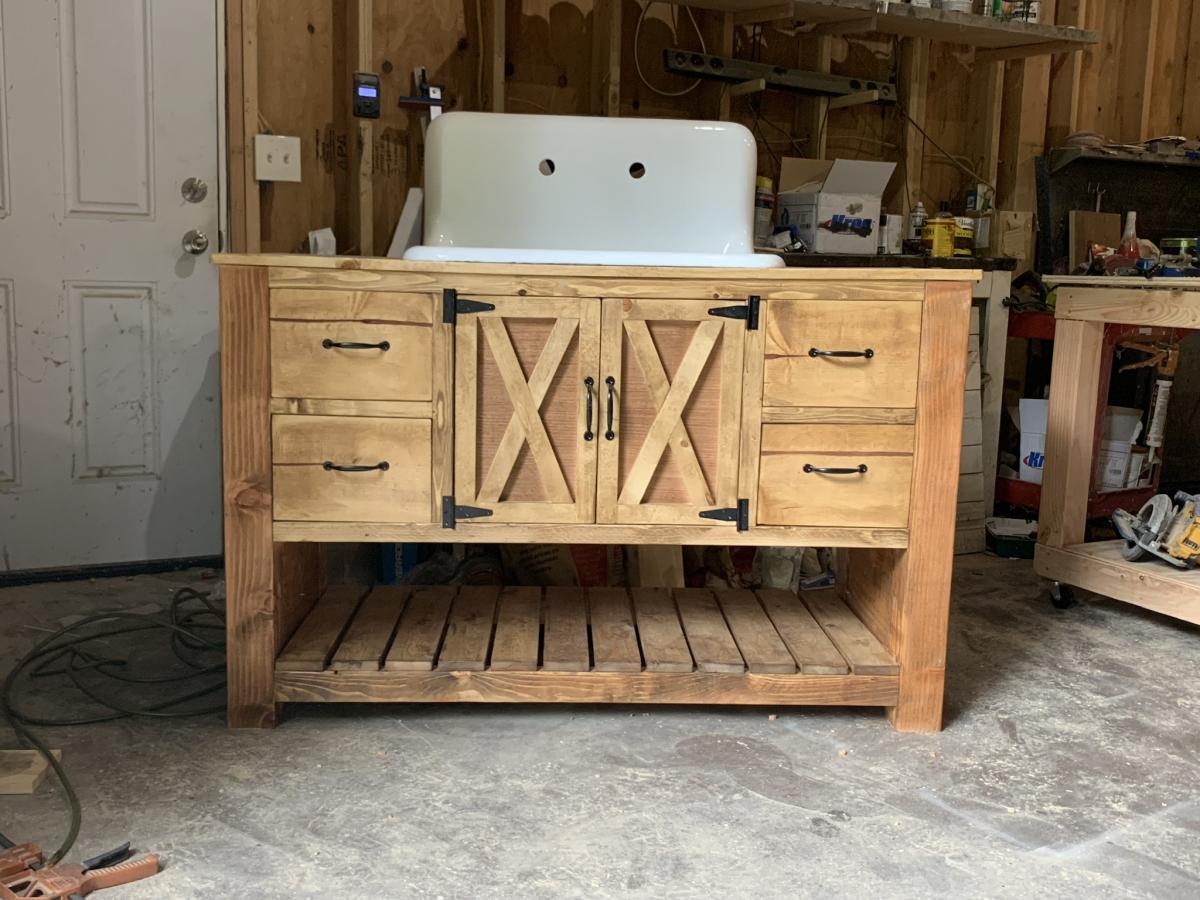
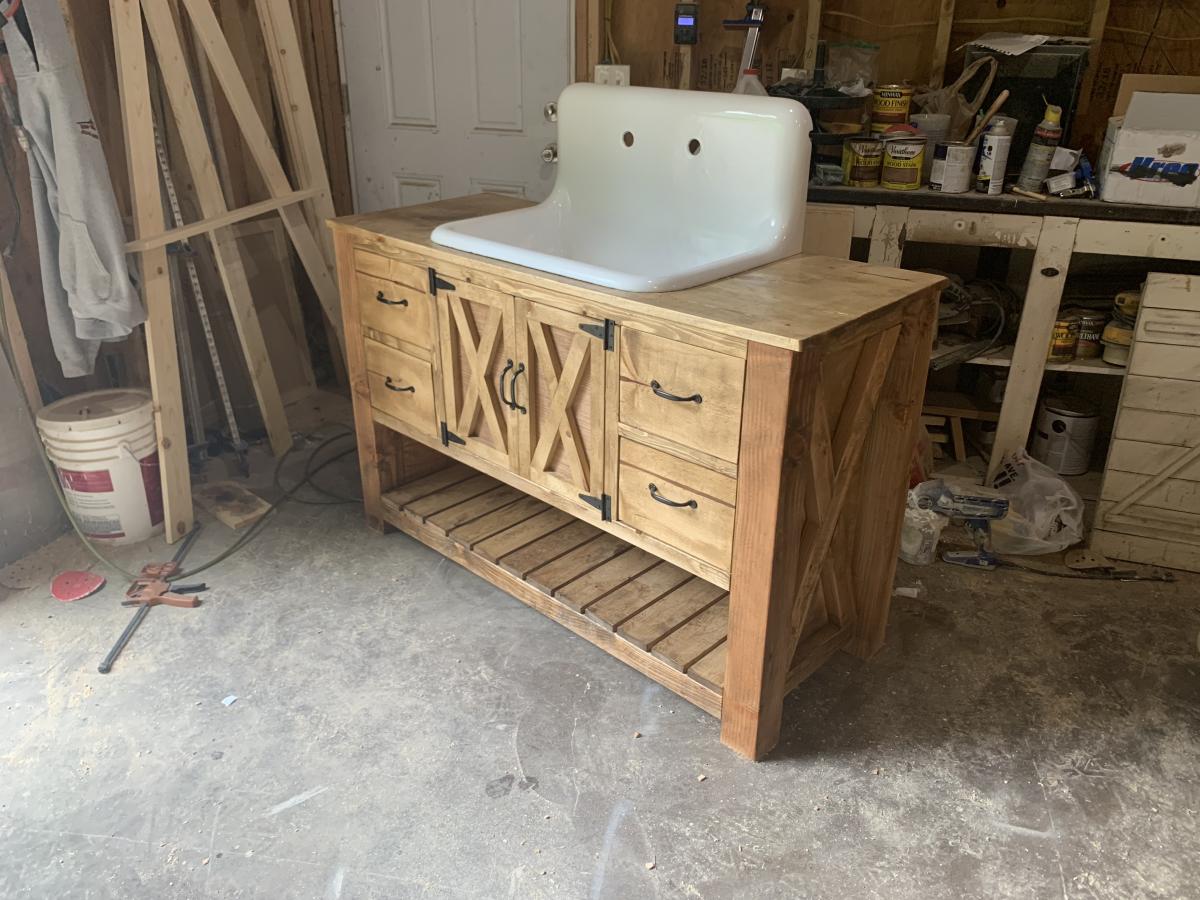
Hand made bathroom vanity
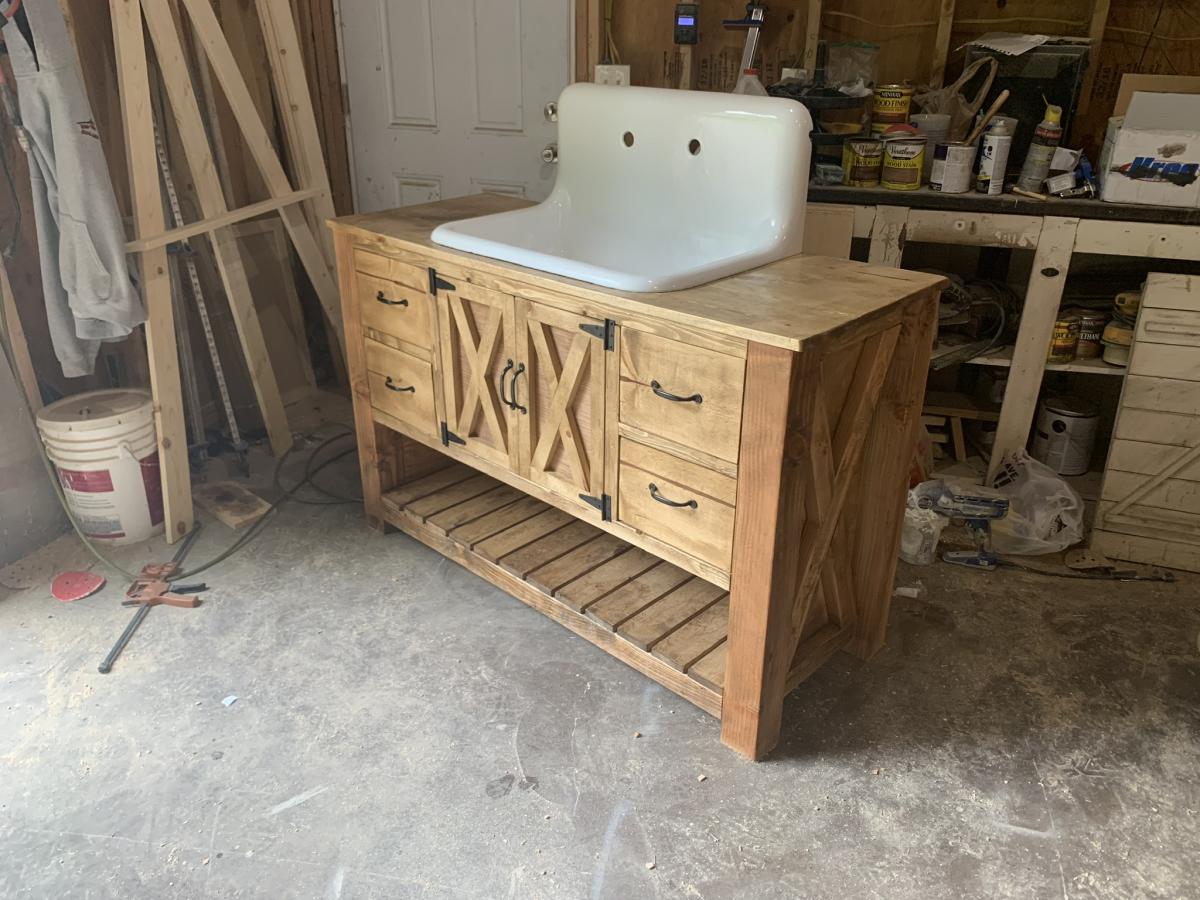
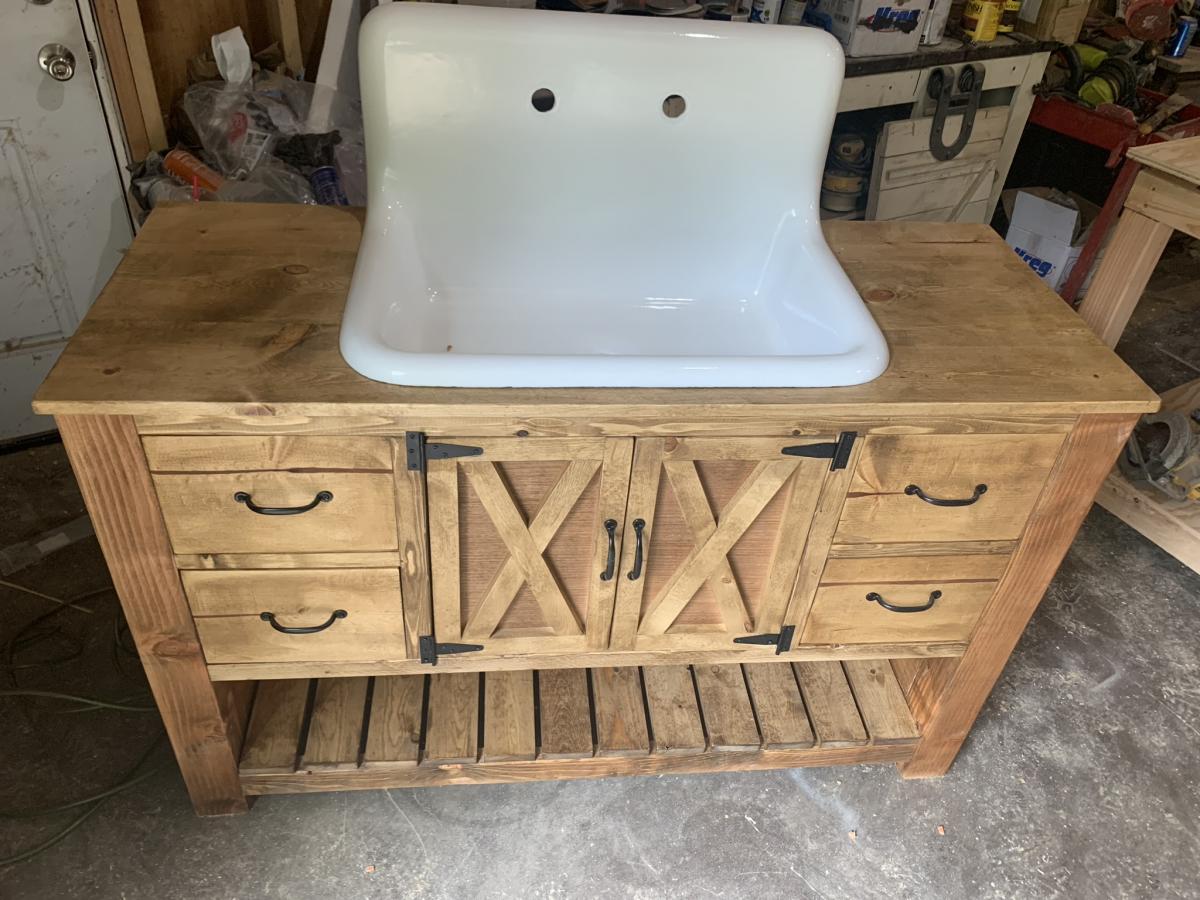
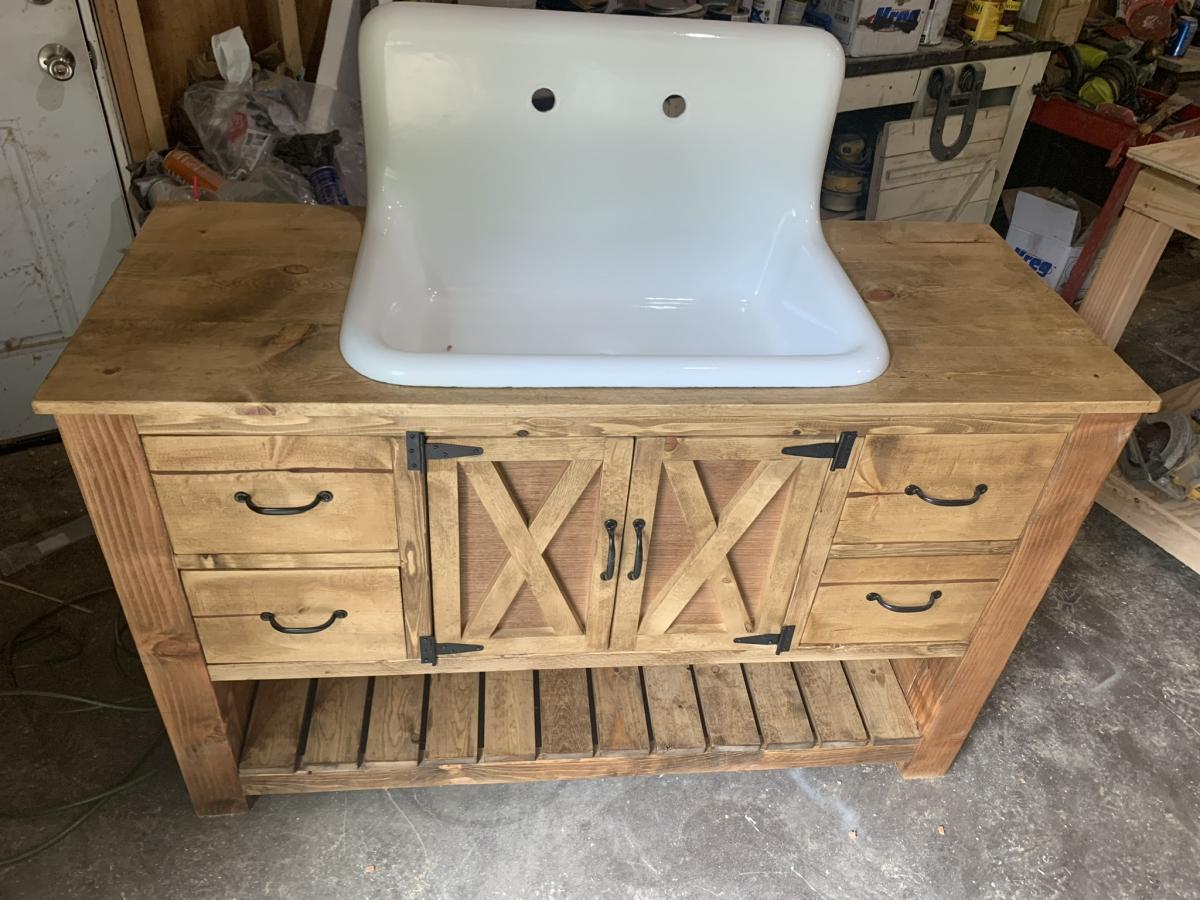
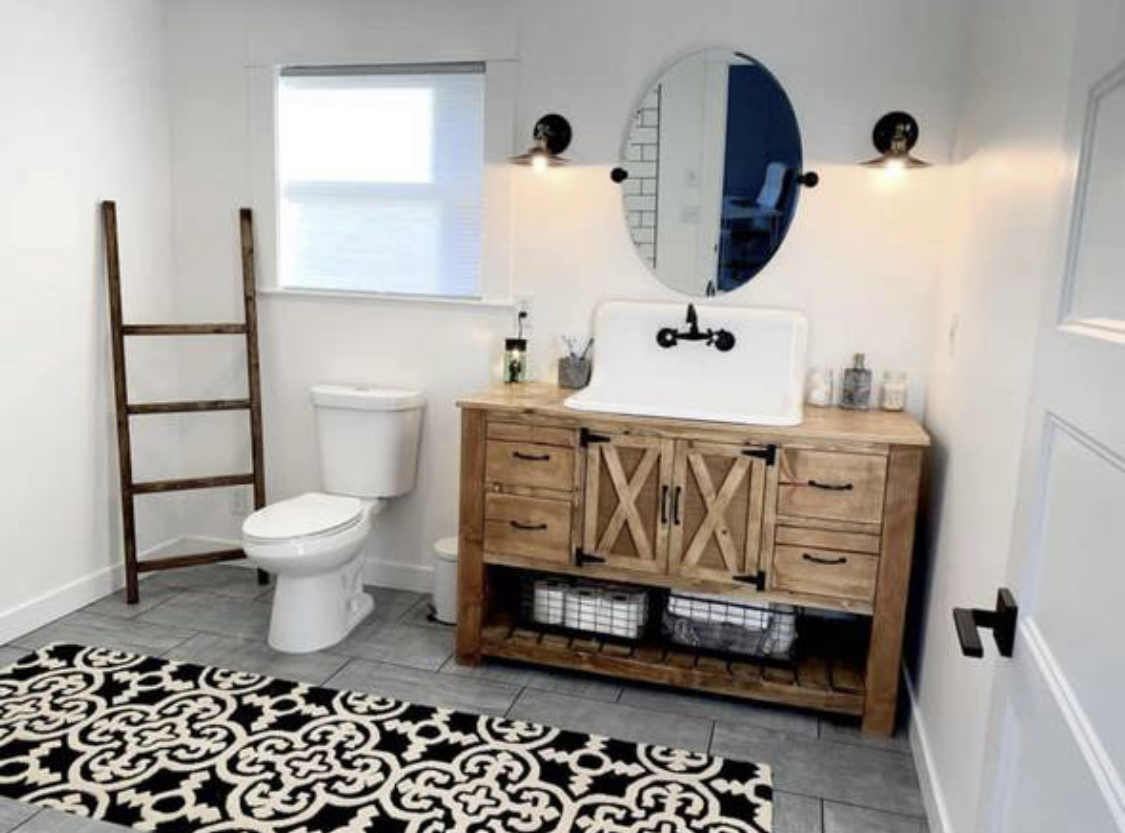
Wed, 06/30/2021 - 23:28
I've been searching for WEEKS to find this vanity. I knew it existed somewhere but didn't know where. Please, PLEASE, post the plans for this. The video posted above it is for the pantry organizer. Thank you in advance!
Wed, 06/30/2021 - 23:35
What angles did you cut the "X"s at? They're cut at the top and bottom instead of the sides like the kitchen island plans show and I want to make sure that I cut mine at the correct angle. Thank you again.
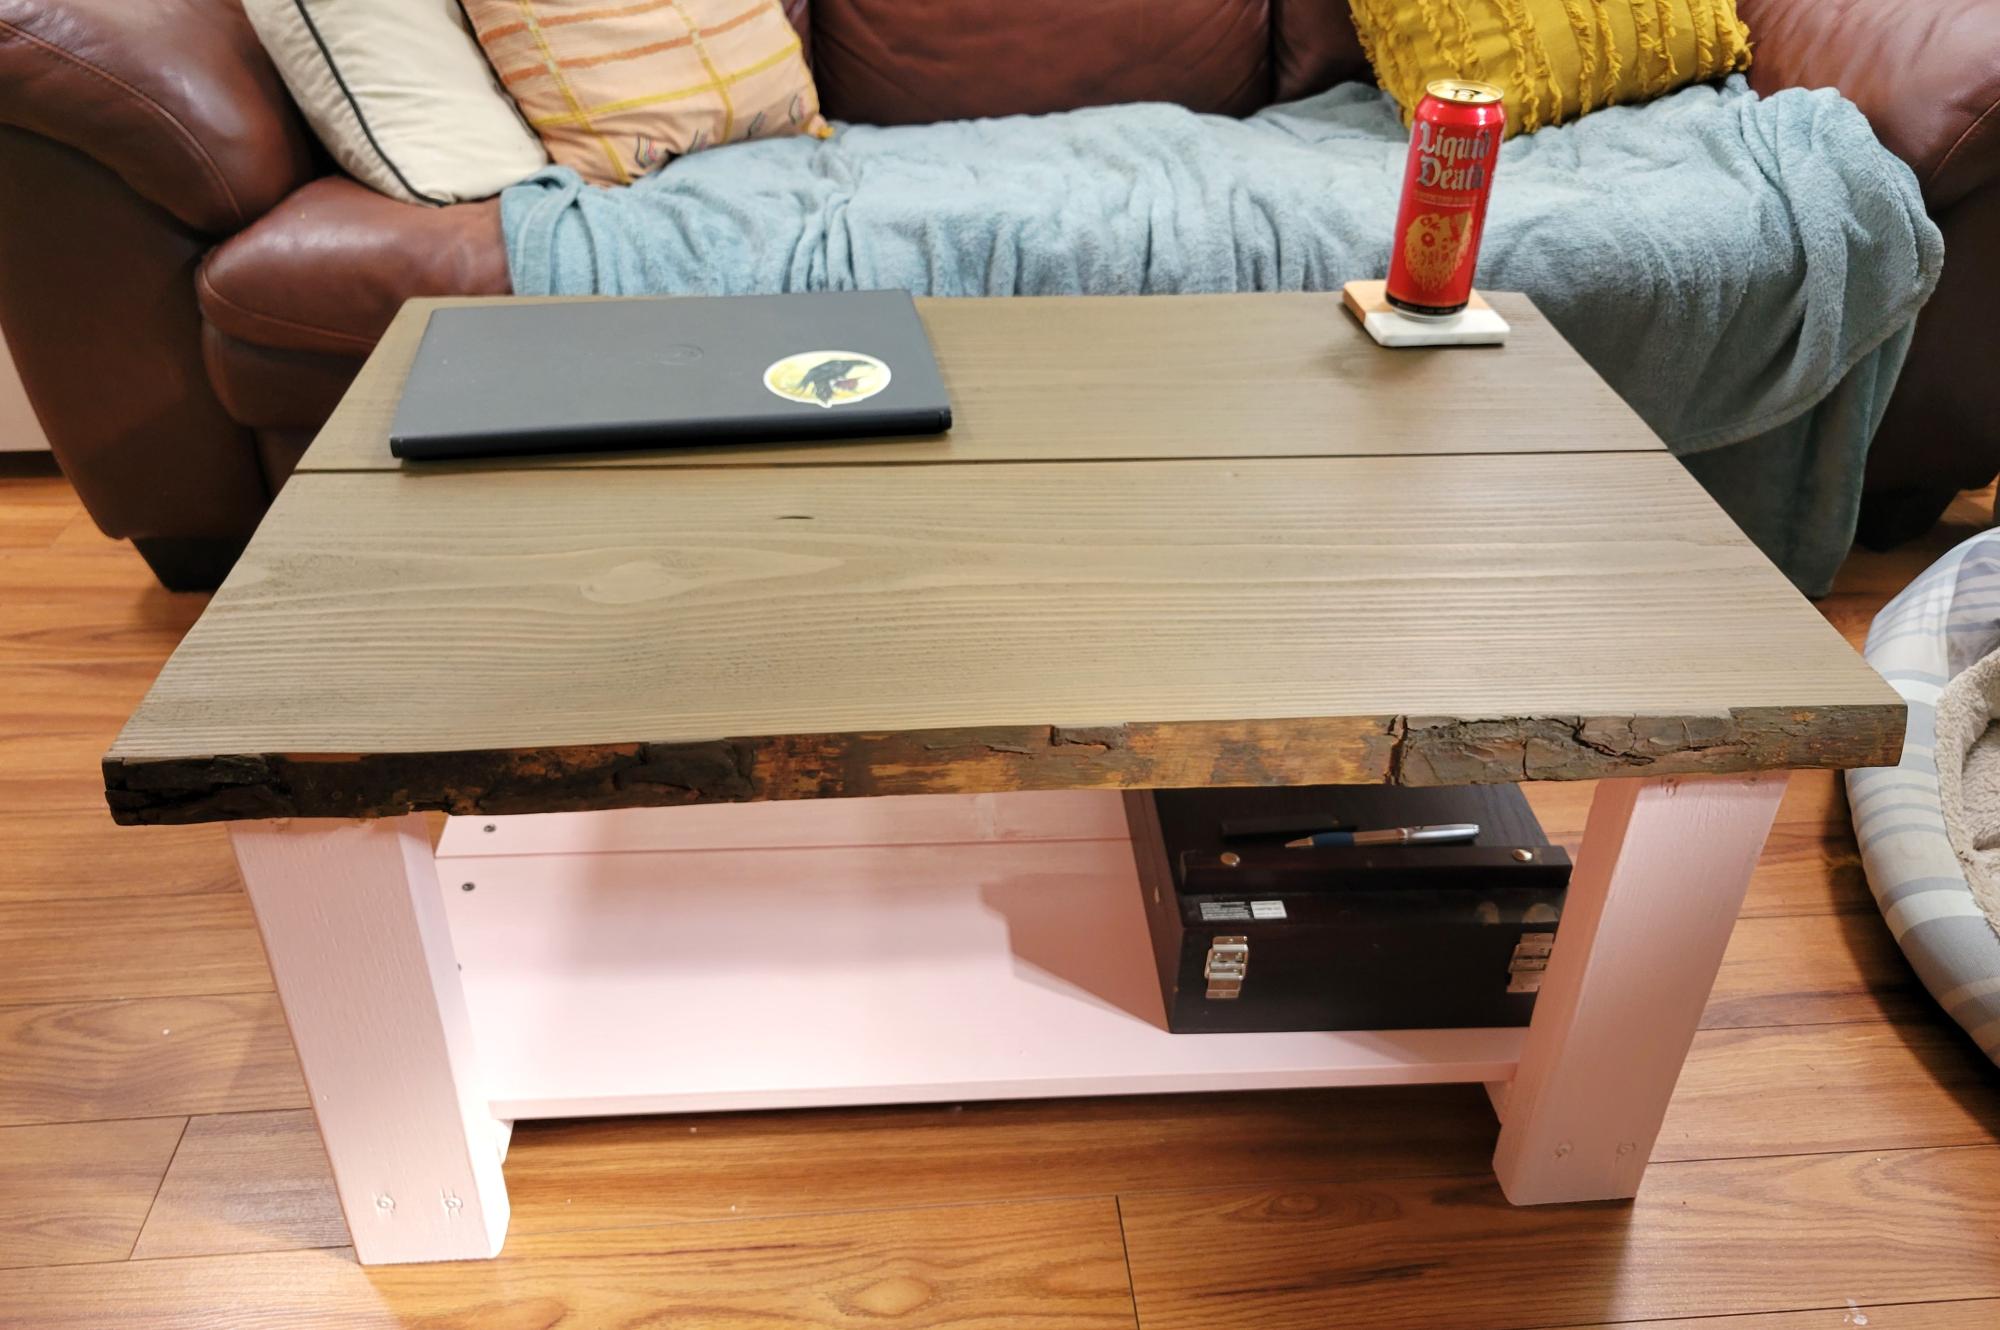
This is my first piece of furniture I've ever made that didn't come in a box ;) The instructions were so clear and easy to follow. I wish I'd had a table saw for the piece of live edge (it had live edge on both sides so I had to make a 6 foot cut with my circular saw that came out not quite perfect, but I am choosing to think of it as adding to the charm. Might go back and add some shine to the top, but for now I'm super happy with it.
emily.rhoades_
I have been planning to build the apothecary media console, but my desire for a new hall table and shoe storage won out. So...I transferred the look, and I love it! I wanted a vintage feel so I added legs, apothecary drawer fronts and knobs, a 2x10 top, and a distressed finish.
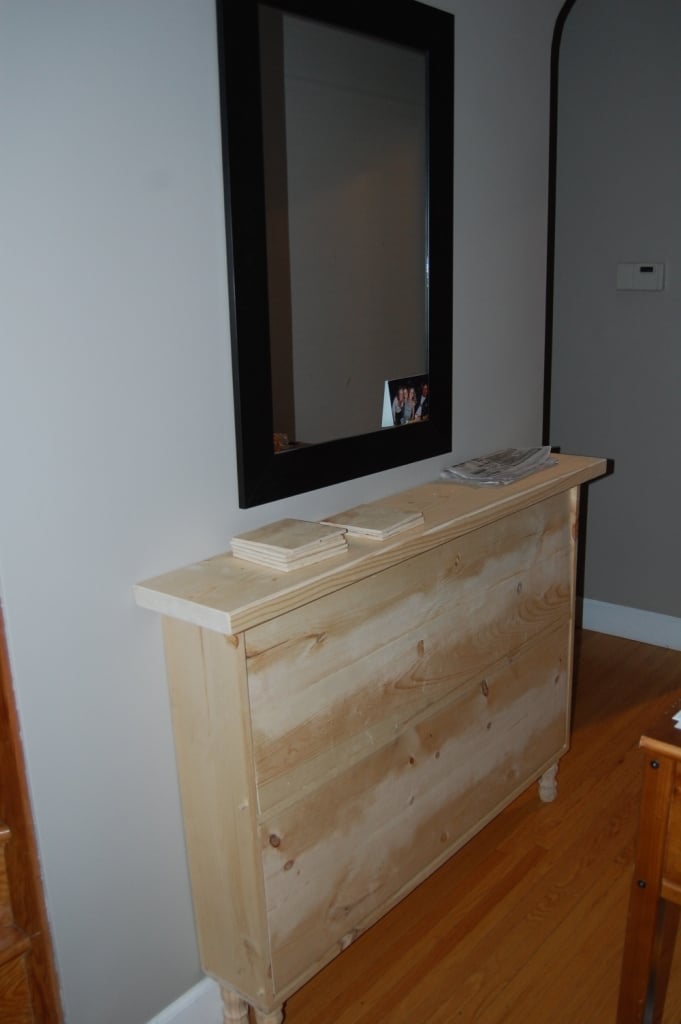
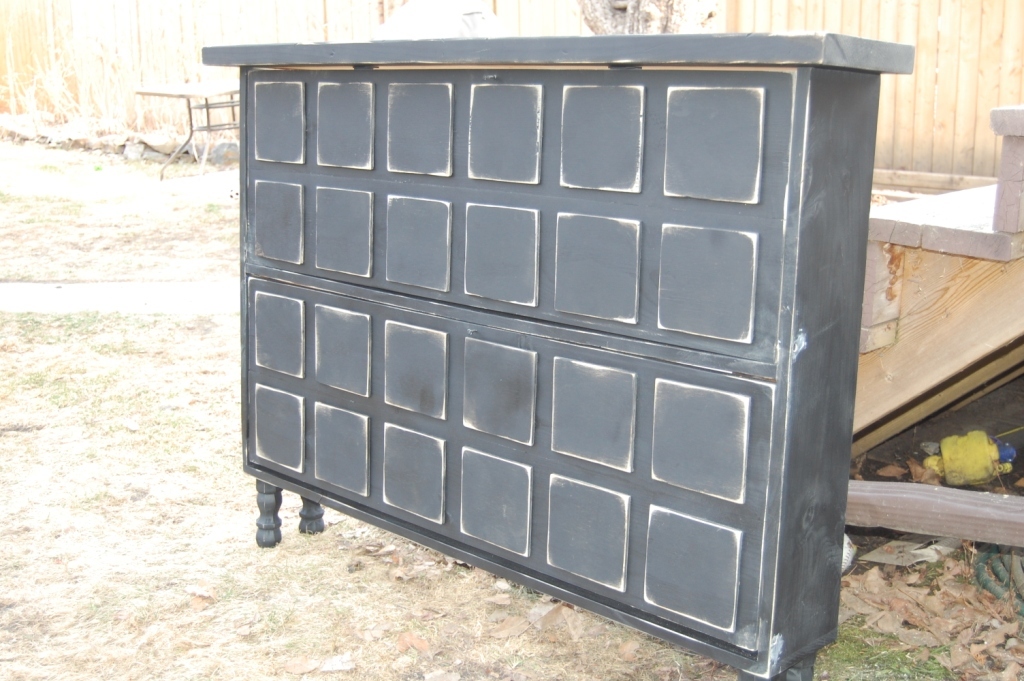
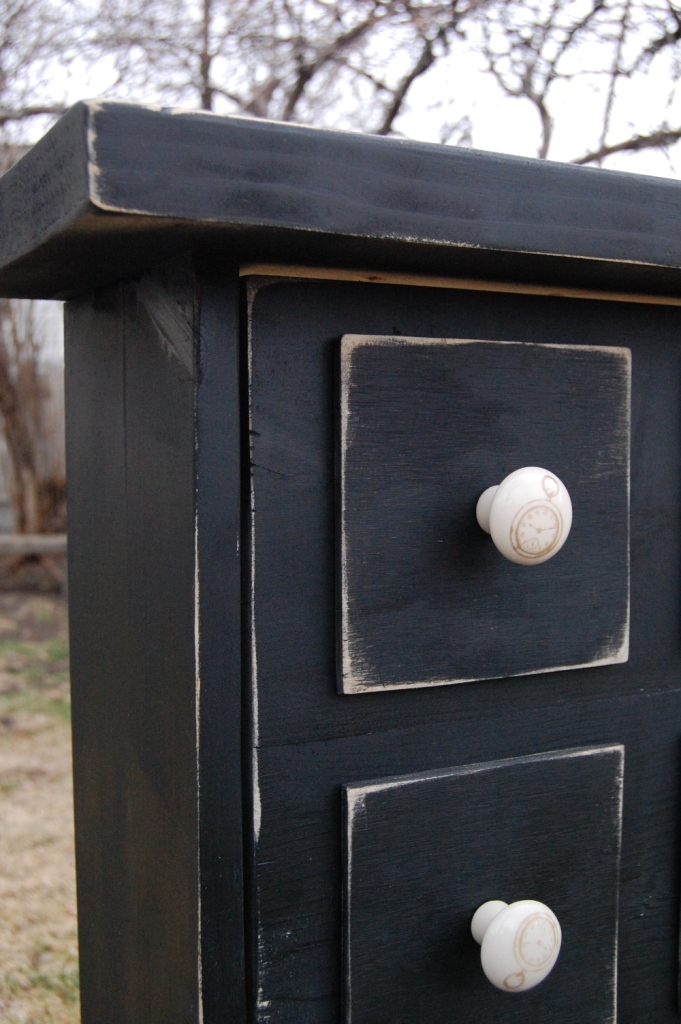
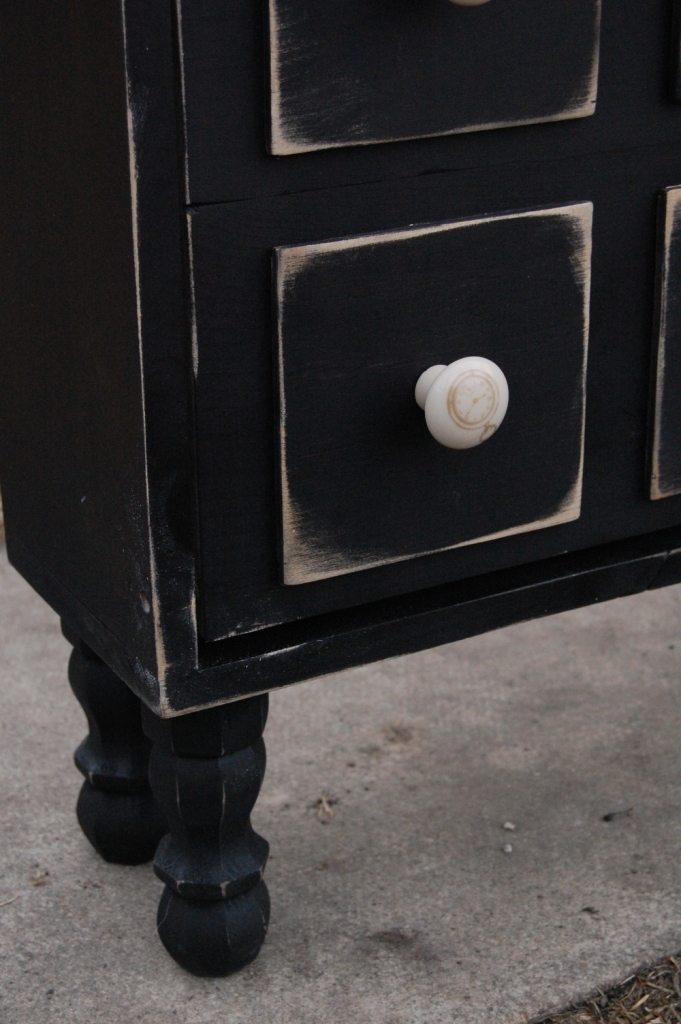
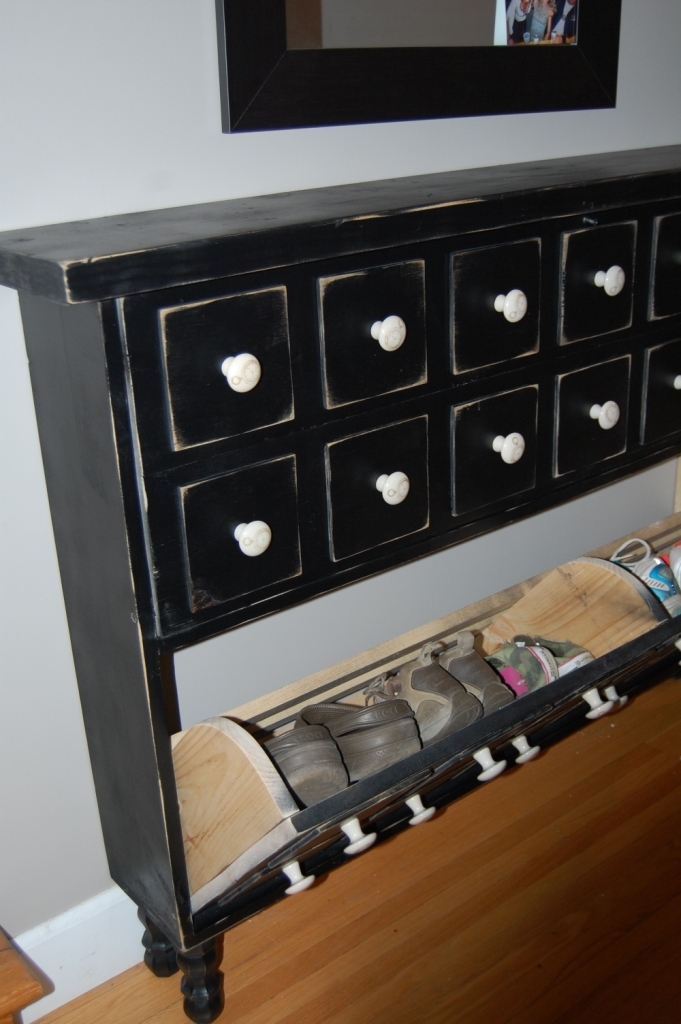
Tue, 05/01/2012 - 07:52
You are a very smart cookie - who would think that there are shoes in there! awesome~
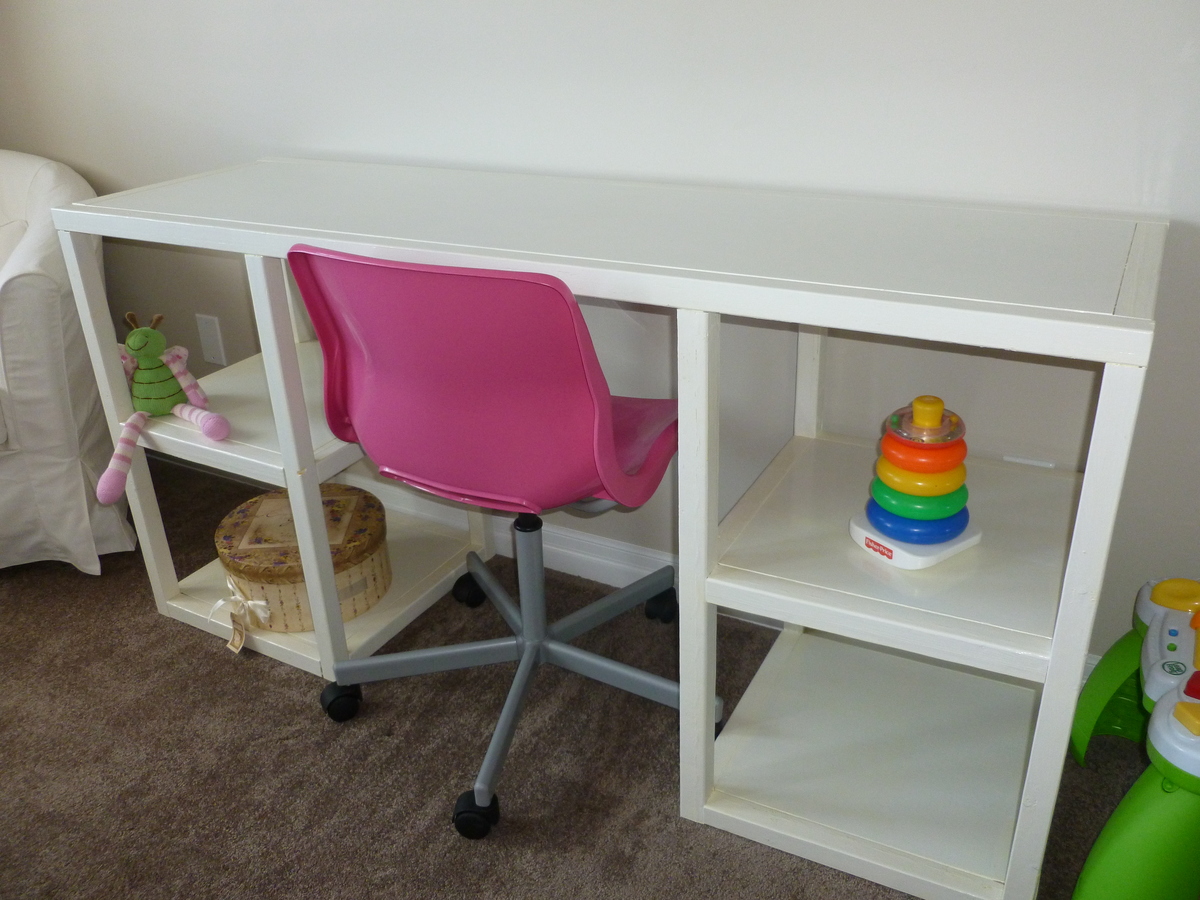
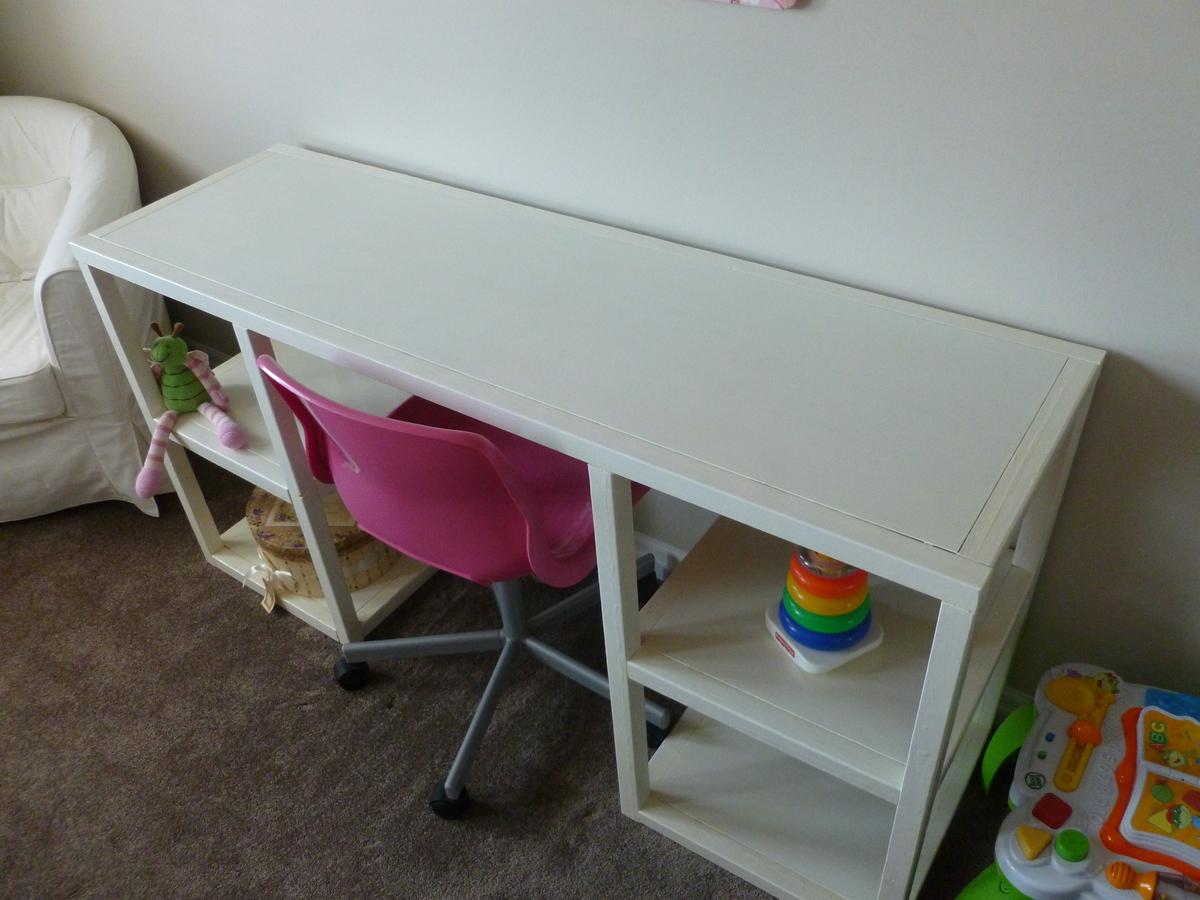
I was very excited to make this for my daughter. I made the tops and shelves from MDF. Unfortunately, I made the mistake of buying construction-grade 2 x 2s, instead of select pine, as I didn't know there was a difference at the time. DON'T do this! The select pine looks much better, with crisper edges and cleaner lines.
The assembly was a bit tricky on my own, but I managed to get it done. I really like the general looks of this desk, but I made a few mistakes along the way so I'm probably going to build another, without the mistakes.
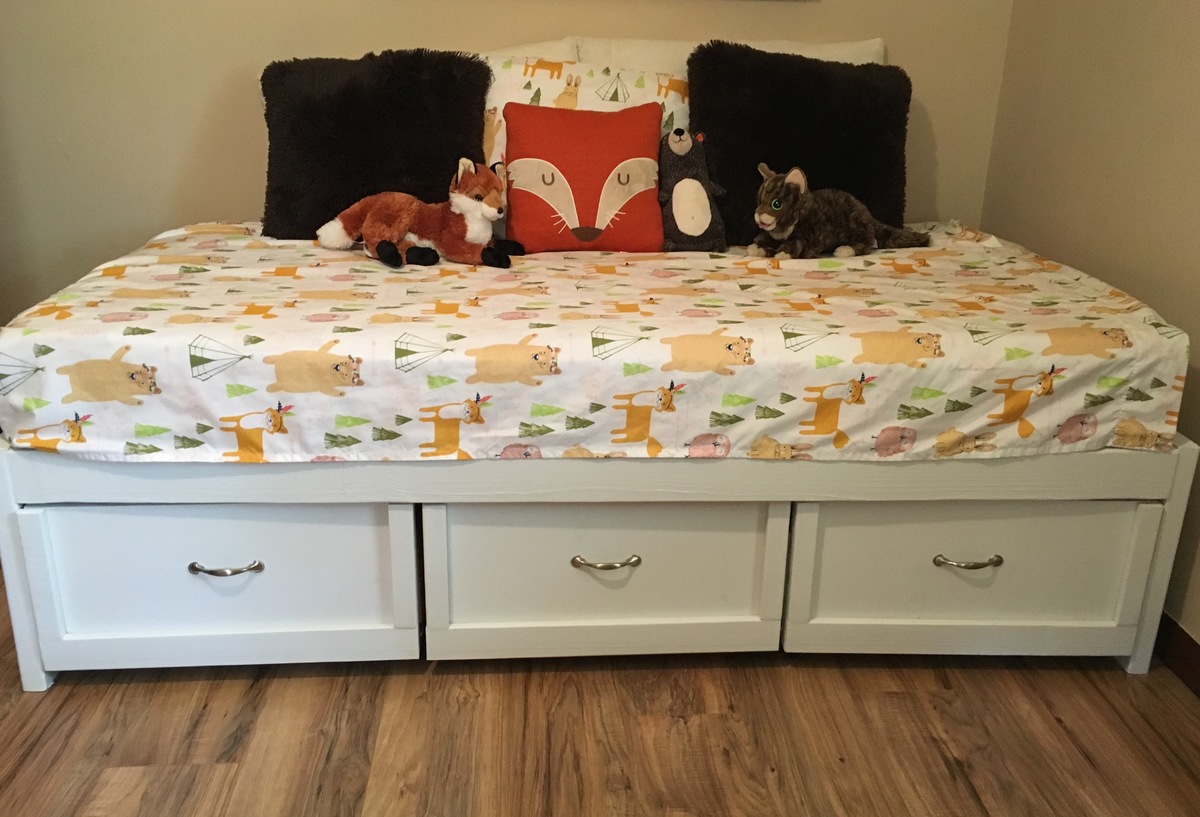
This was our first build and it turned out great! My daughter loves all of the storage under the bed!

I had some wood laying around with all the new home construction around us and needed a reading seat for my 3 & 7 year old. I took the sectional plans and whipped this together pretty quick (as you can tell as I still need to put in wood filler for the screws...). It's perfect and we all can sit on there while reading books for night time (and he can keep all his little shoes under there for easy storing). Takes a few hours to come together for s novice like me. Paining took the longest. I need to remember to paint first but tend to get so excited to build, painting comes after. Thank you for the plans!

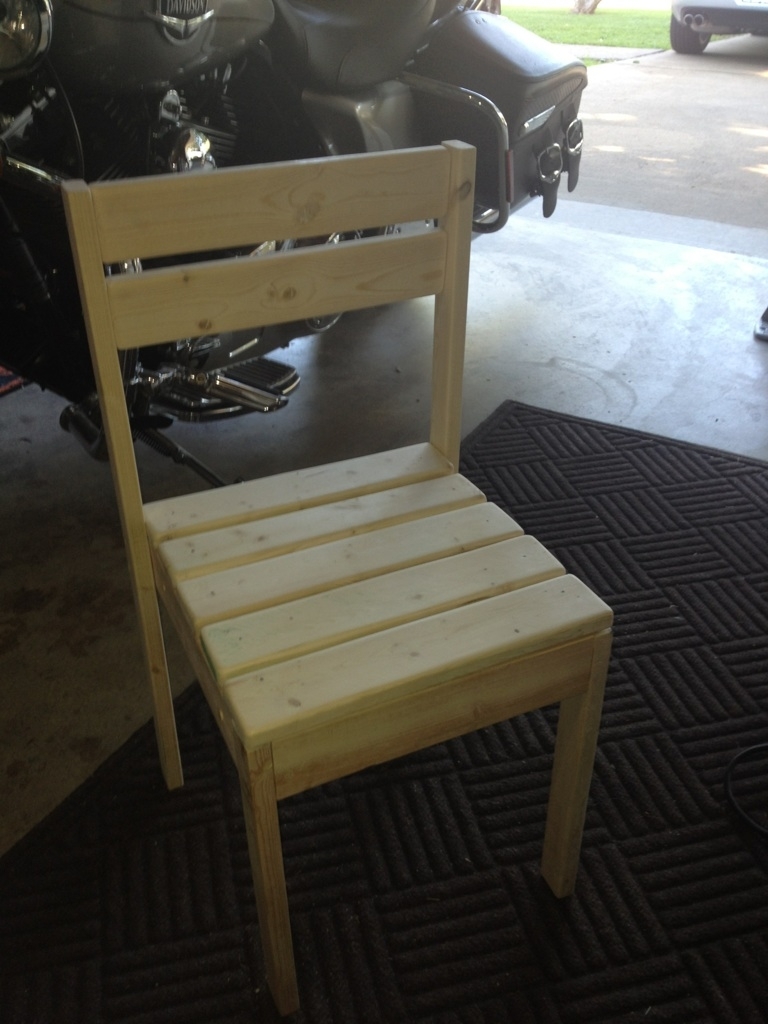
These were made for a charity auction and ended up selling for much more then I expected.
I was suprised and how strong the chairs ended up being. I'm thinking of making another table chair set only with 4 chairs and a longer table.
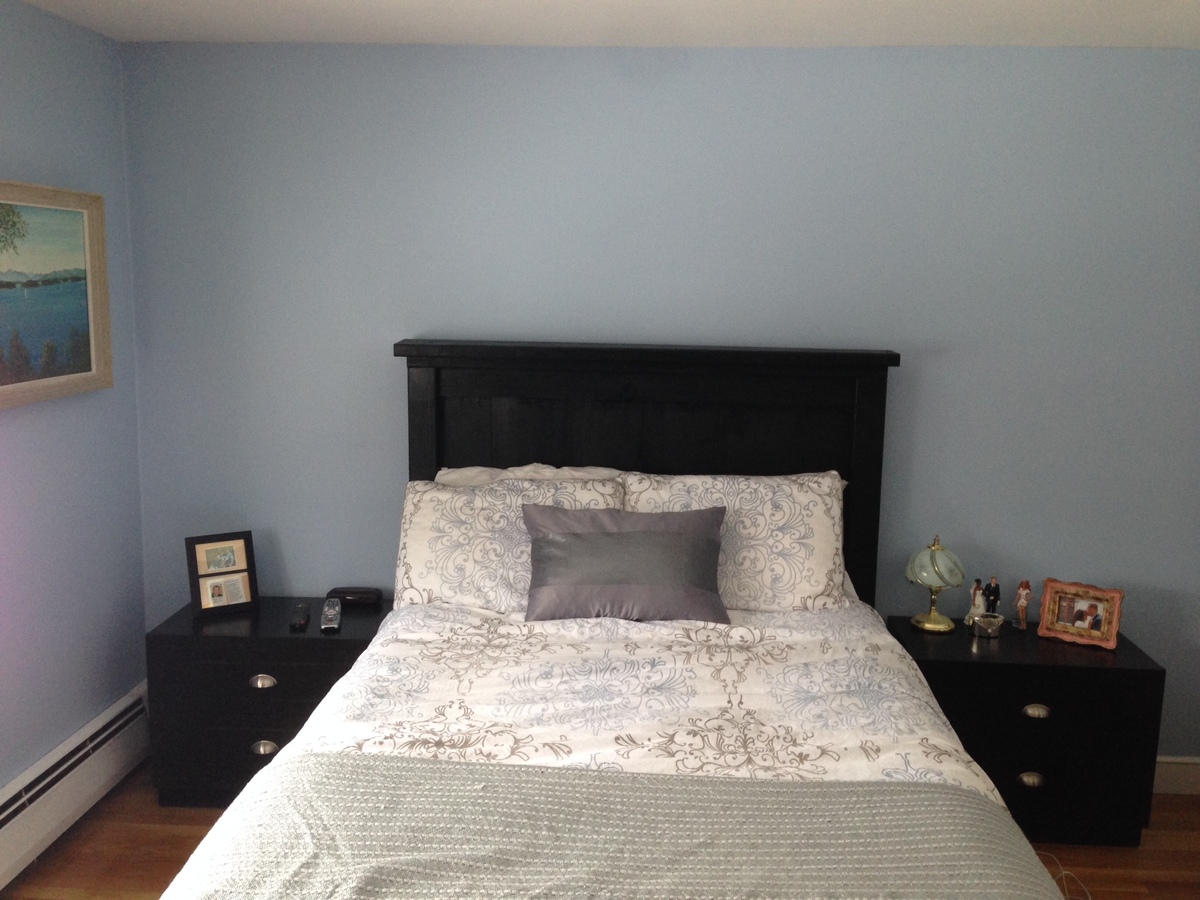
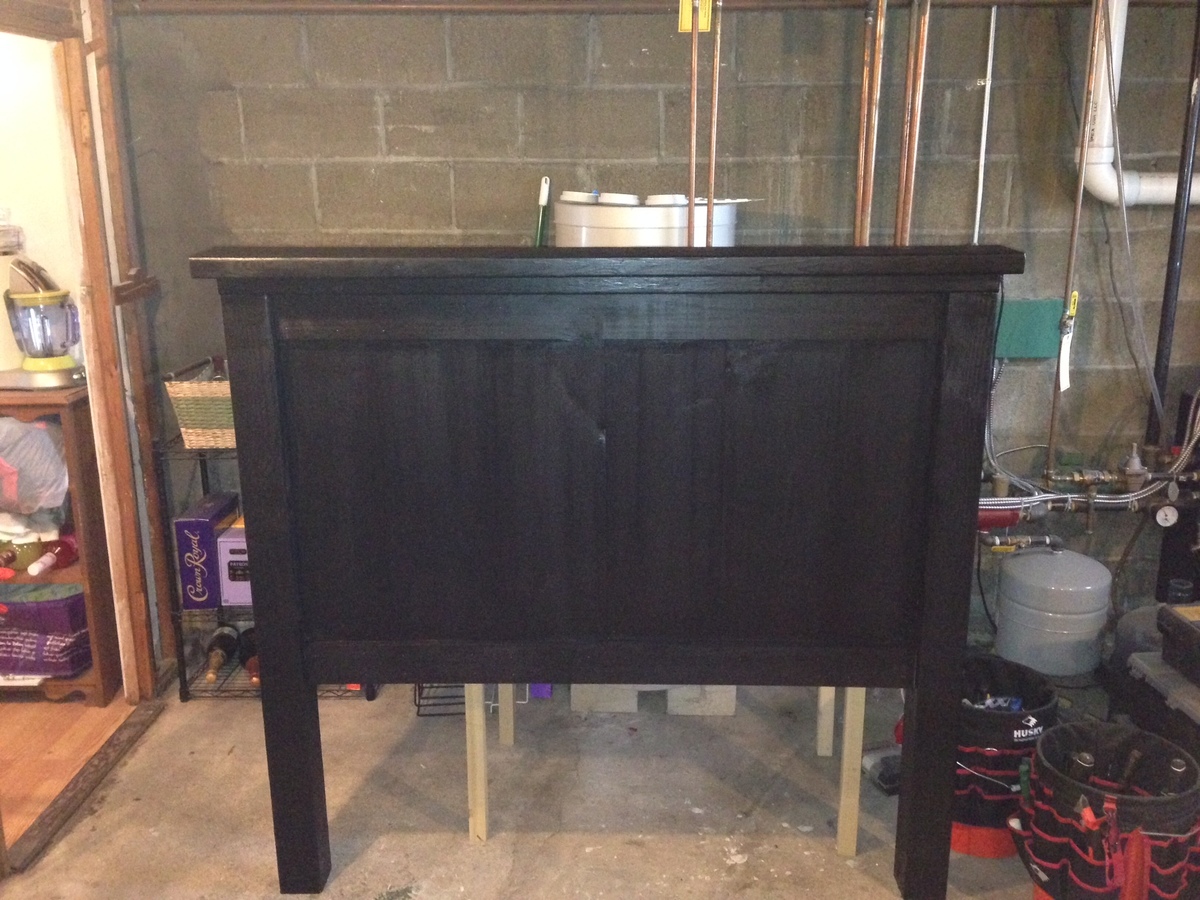
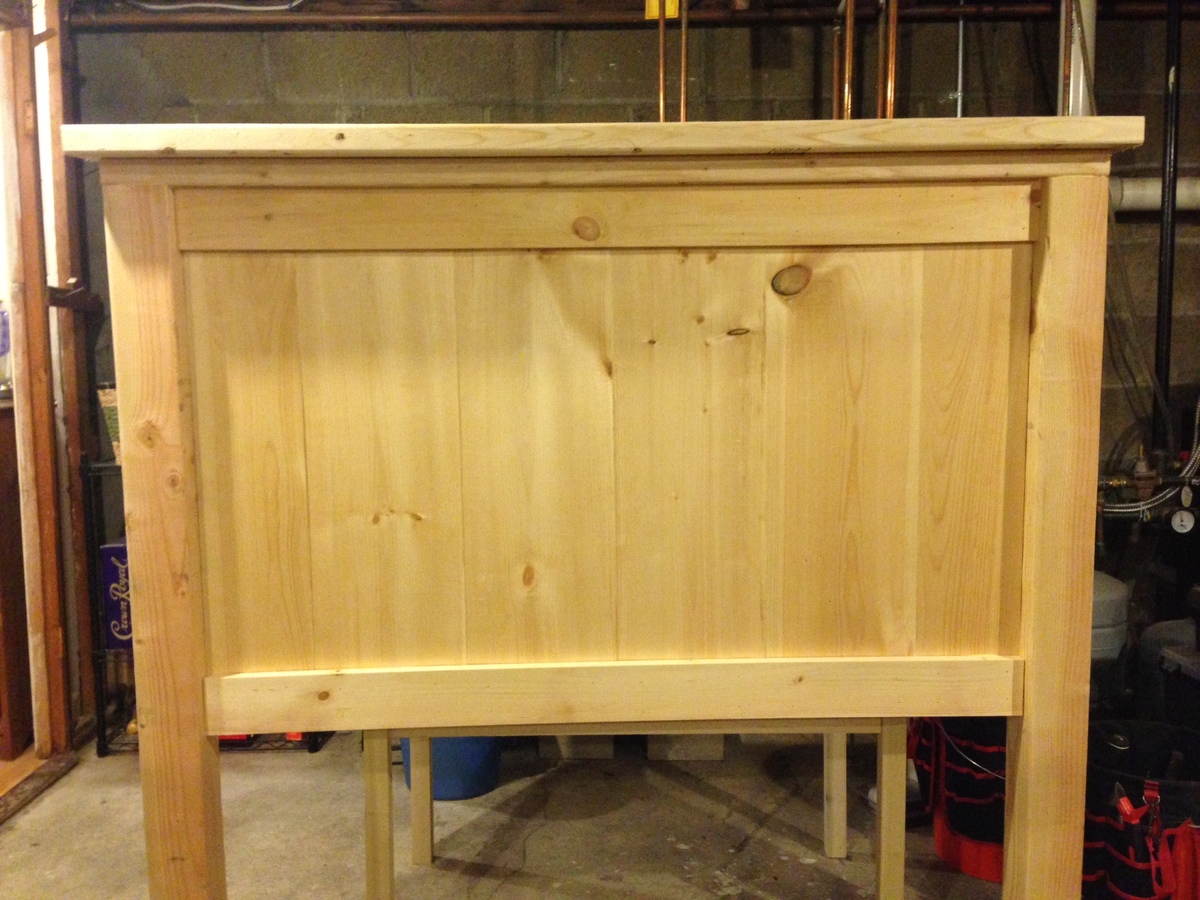
My wife wanted a black headboard to match our existing bedroom set so I built just the headboard from the farmhouse bed plans. It was simple to build, looks great, and my wife and I love sleeping under it.
Mon, 06/09/2014 - 10:03
I just built this headboard for my daughter's new full bed and she wanted the headboard with the metal frame. I was wondering if you could share how you attached your headboard to the frame? The holes in our metal frame on the the flanges for the headboard are rather large. I used kiln dried 2x4's for her legs because we don't get 4x4's here that aren't pressure treated.
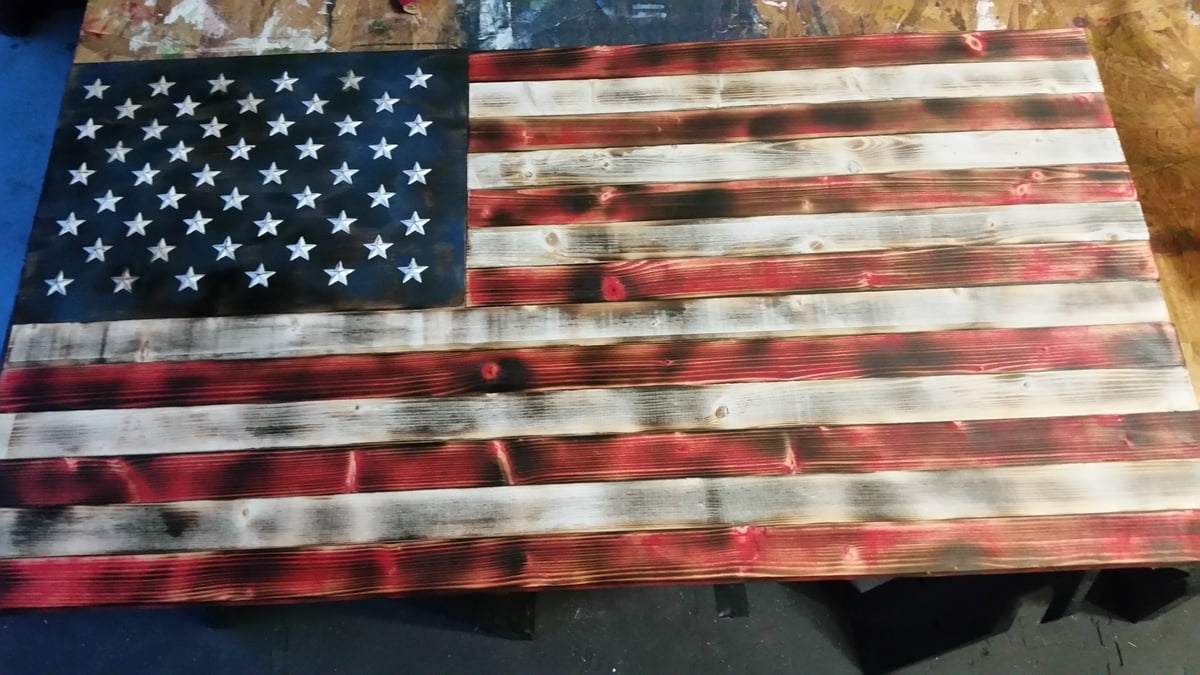
This was a fun build. I used common board for the the stripes and a left over piece of cabnet grade plywood for the union. Whole thing is 37 x 19.5. The stripes are 1.5 wide. I painted all the pieces then sanded then down to expose the grain and give it a worn look. Then I took a handheld propane torch to it. I used small 1 in tin stars which were the most challenging and expensive part of it. I painted them then distressed them with sandpaper. I attached the stars with super glue. All in all a fun project.
In reply to Excellent! by trojan24man
Fri, 05/20/2016 - 05:49
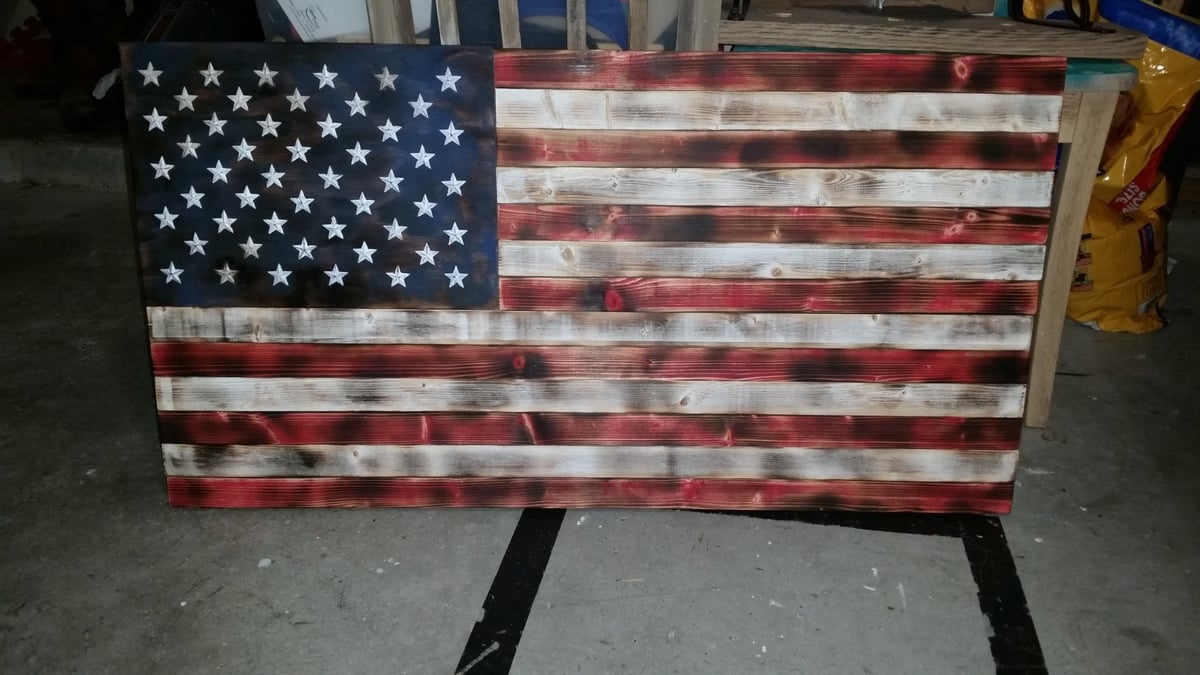
Thank you. This was a gift for my Fath in Law, I think he is going to put it on his patio. I added a lip a the top on the back so it can rest on some anchored screws. Depending on where he puts it though I might add a wire across the back so it will hold a little tighter outside with the wind.
Fri, 05/20/2016 - 05:46
It was a gift for my Father in Law. I think he is going to hang it on his patio. When I built it I added a lip rail along the top so you can rest it on an anchor. If it does go outside I might add a wire across the back so it can catch and won't blow off in high wind.
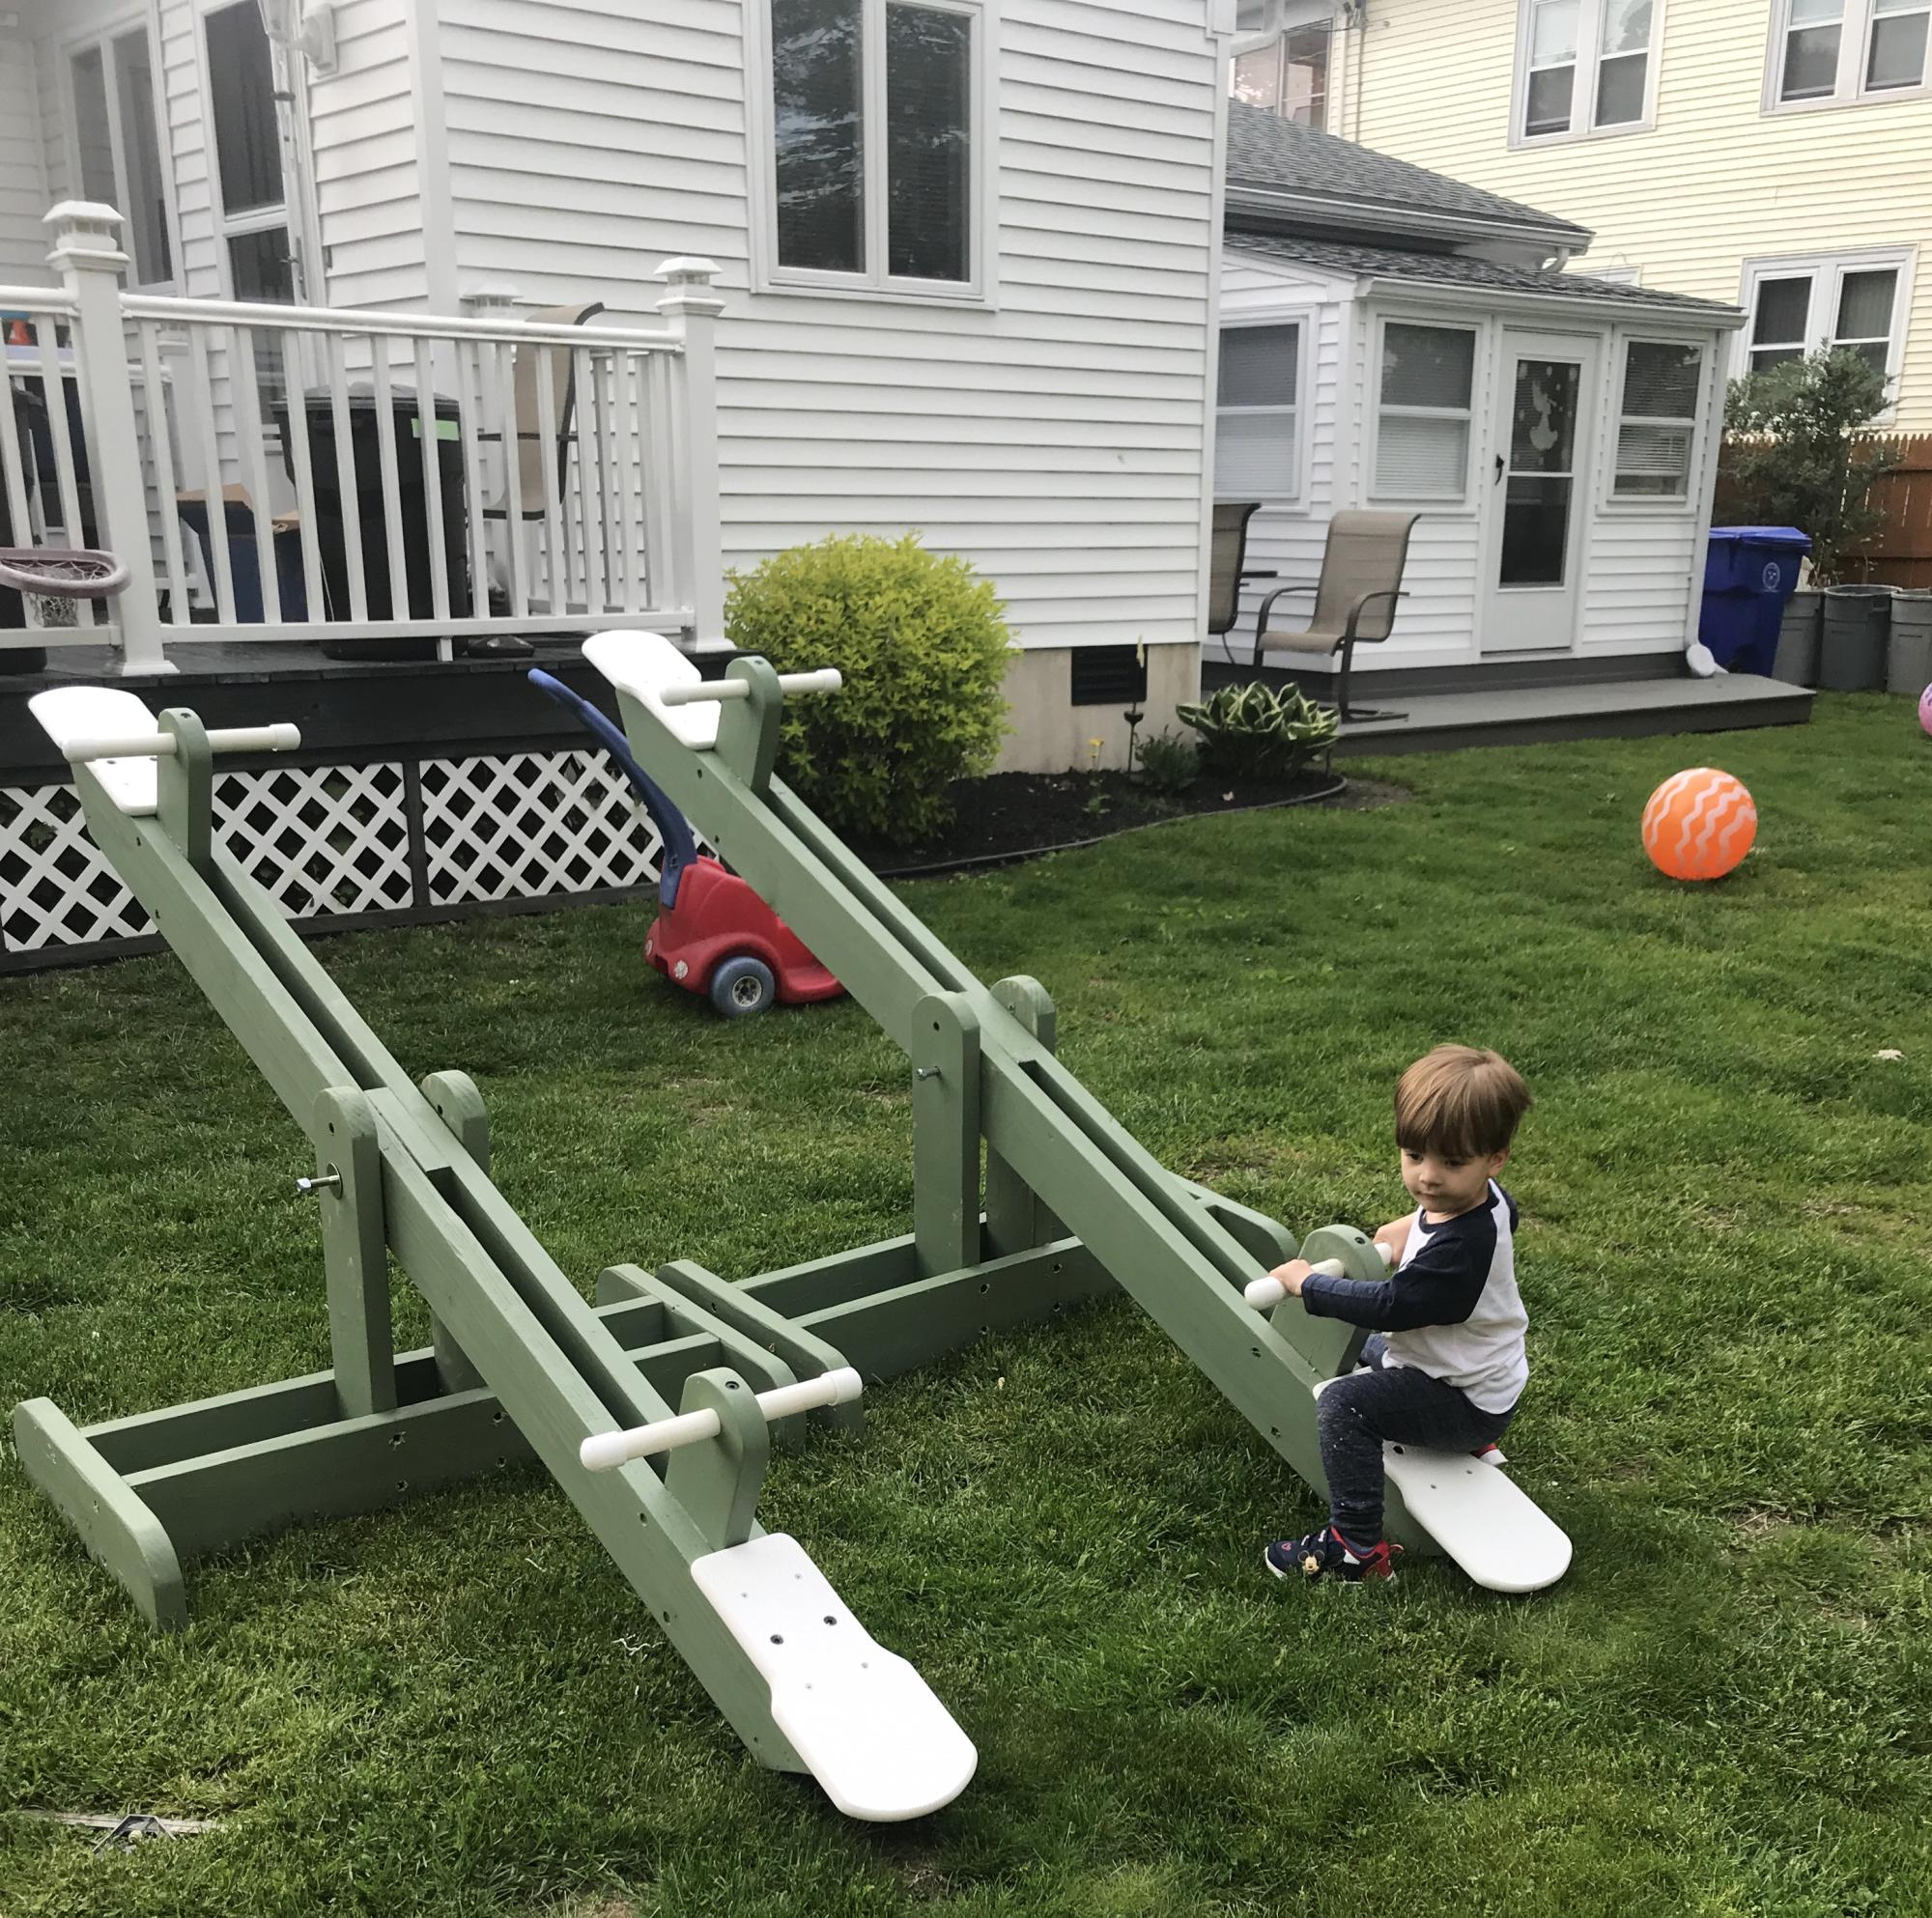
Here are a couple my Grandson and I built with pressure treated lumber with PVC handles and Azek seats. Grand kids love them!
Rocco Q.
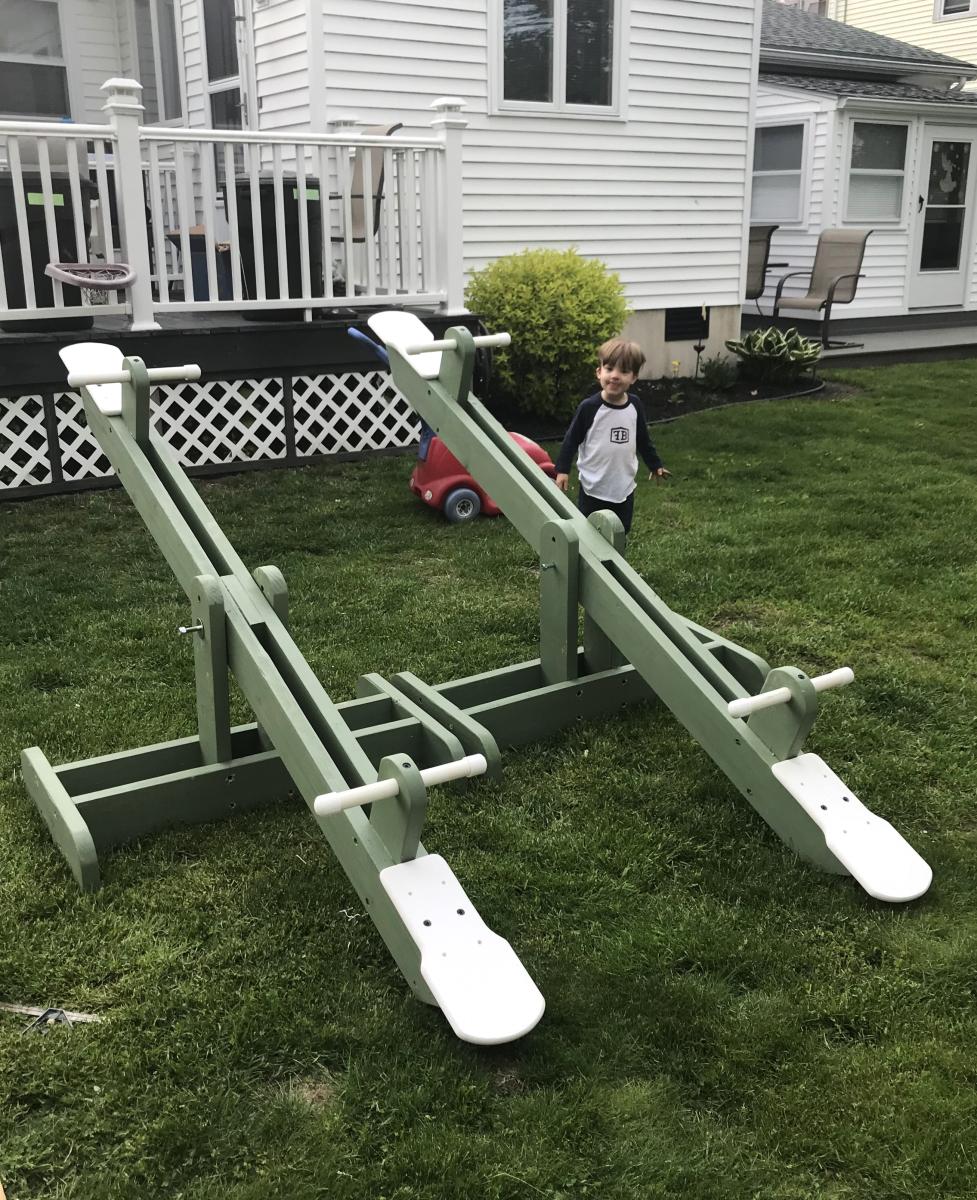
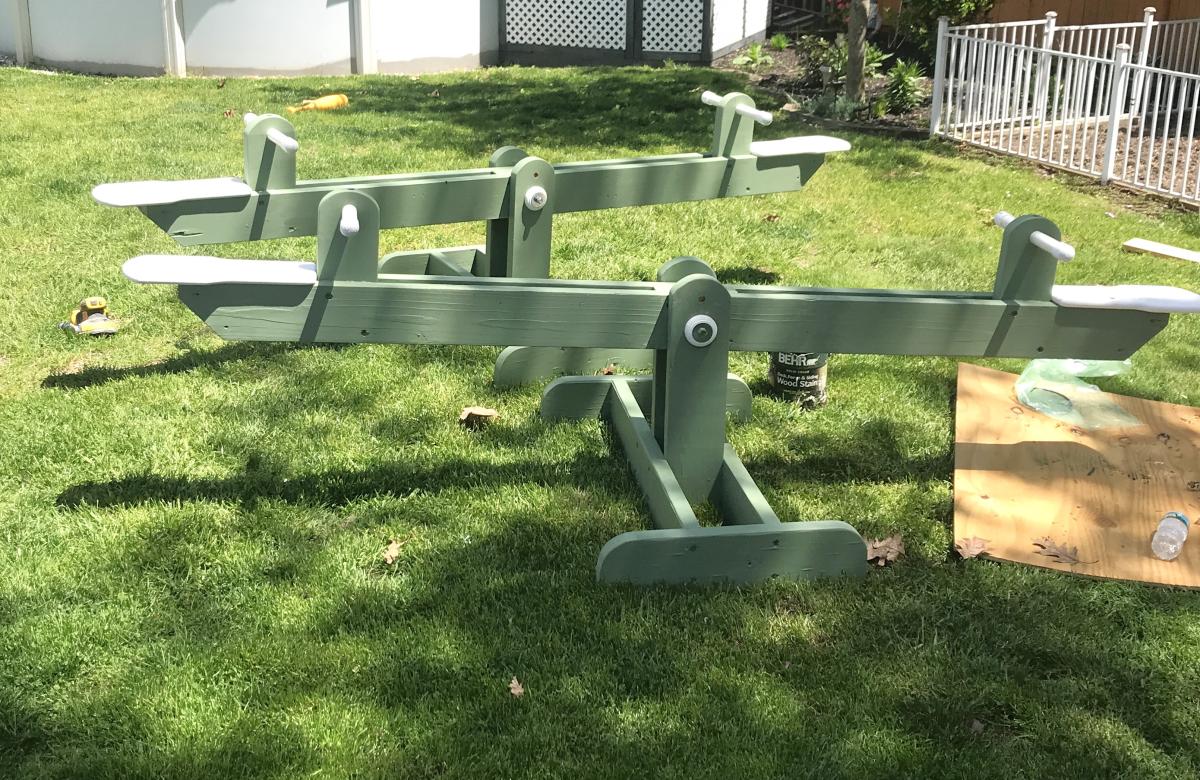
Mon, 10/16/2023 - 11:10
These look amazing, thank you for sharing! I'm sure hours of fun are happening here.:)
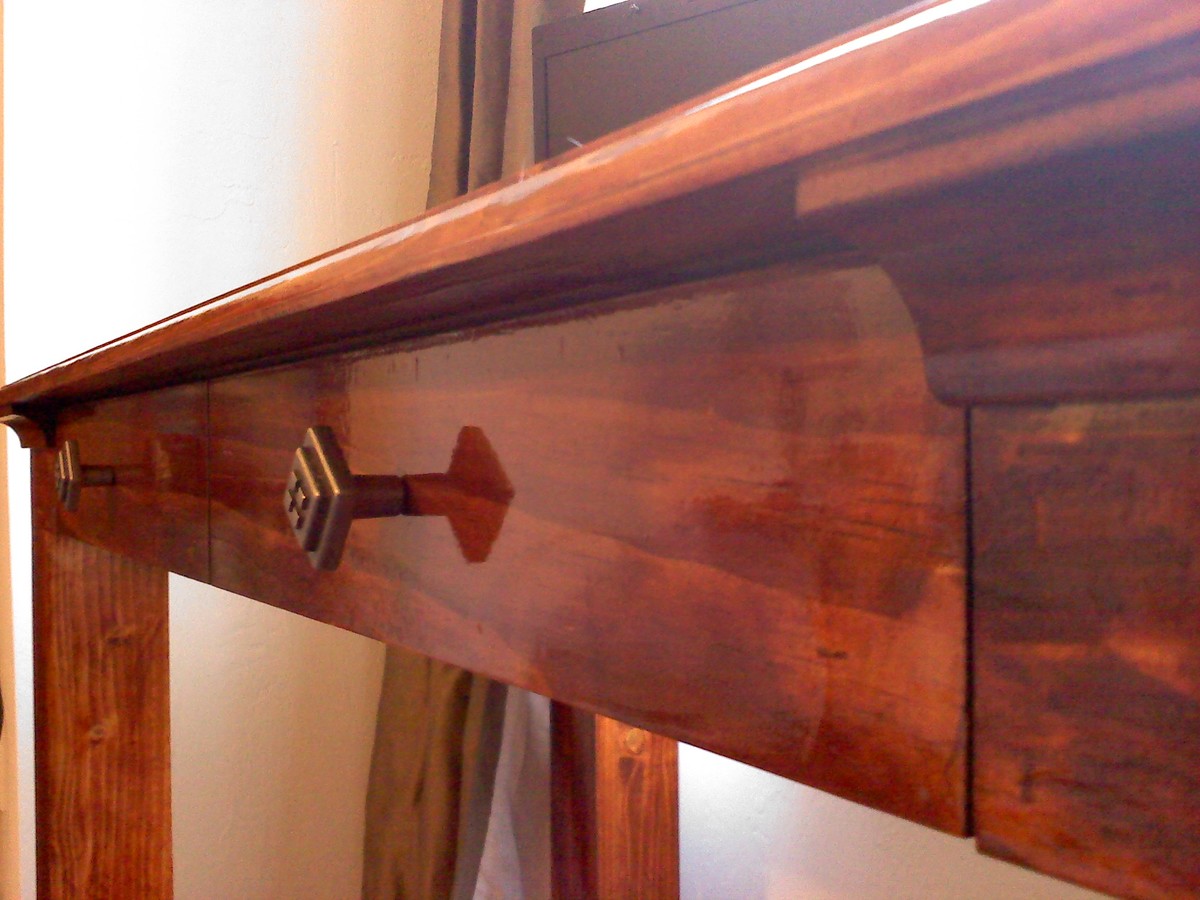
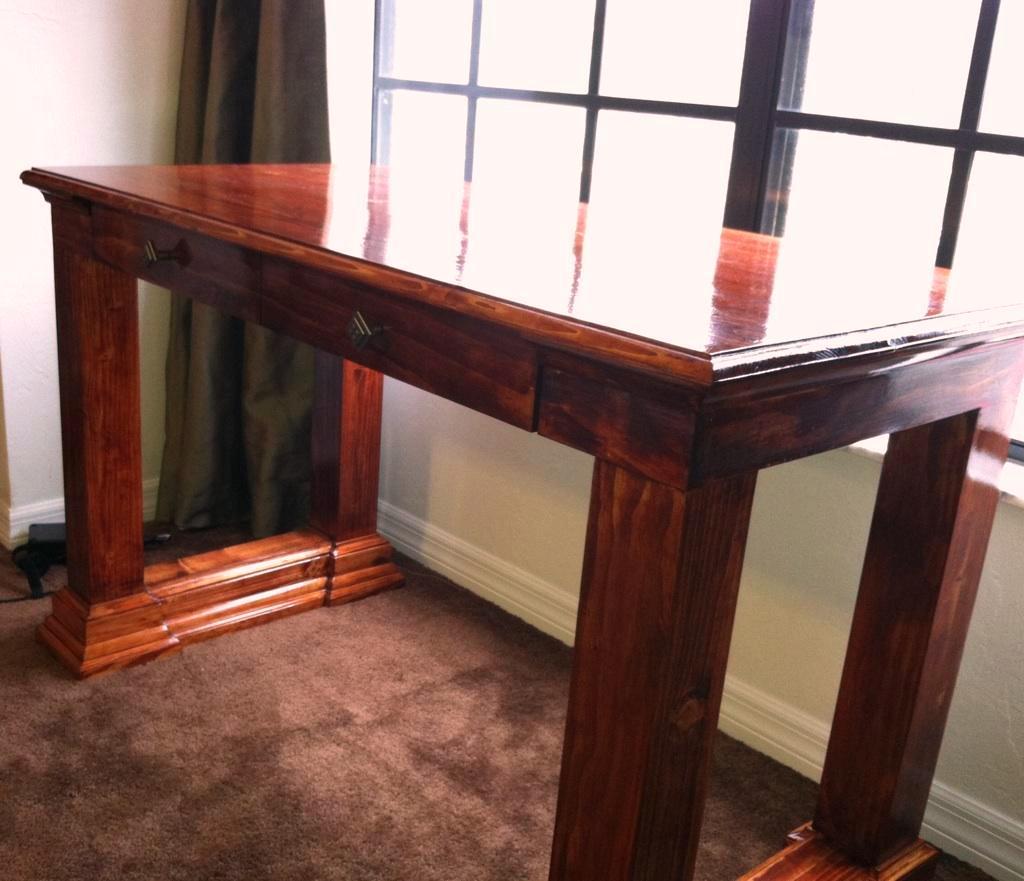
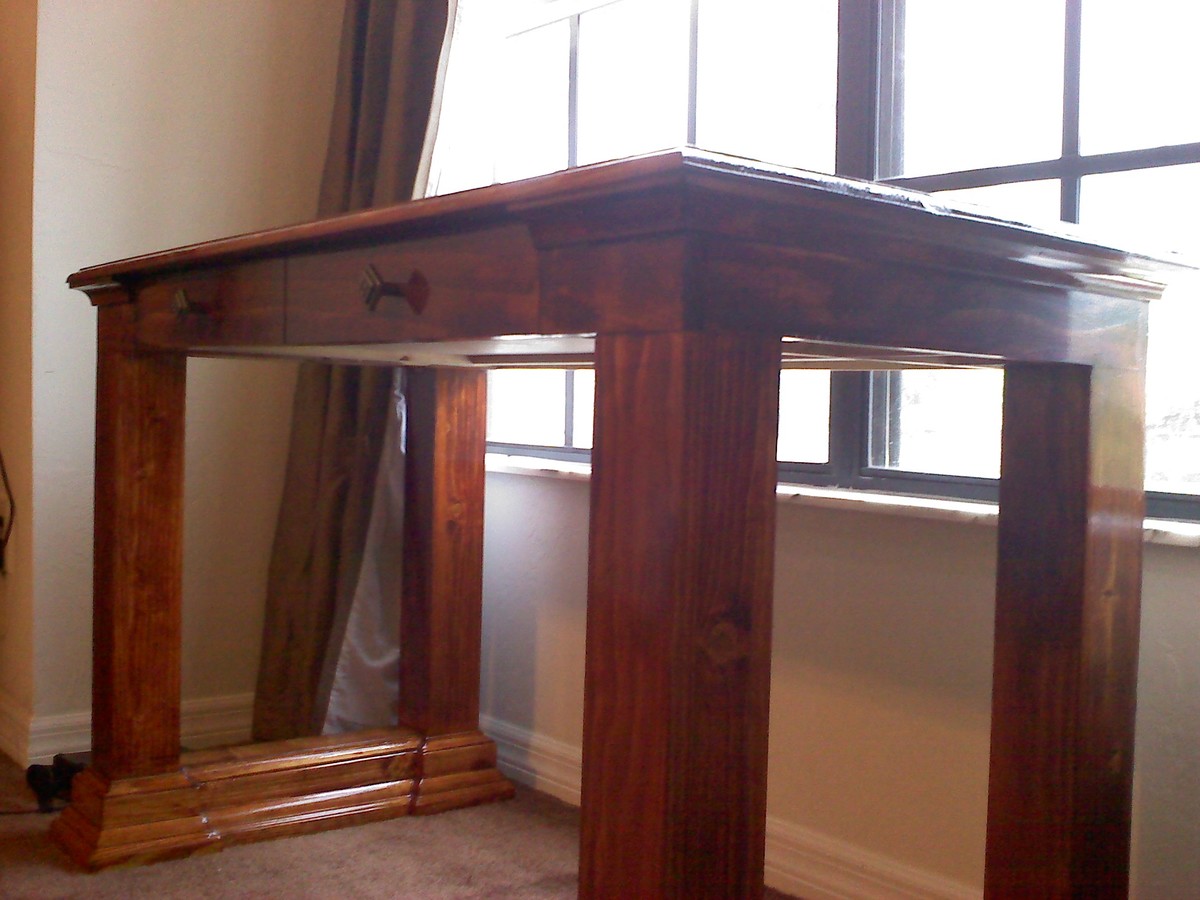
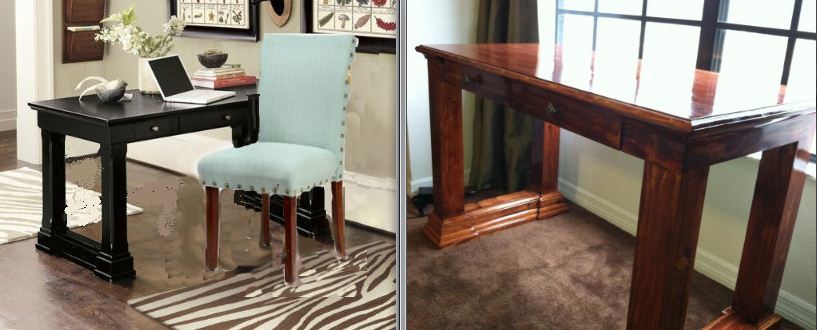
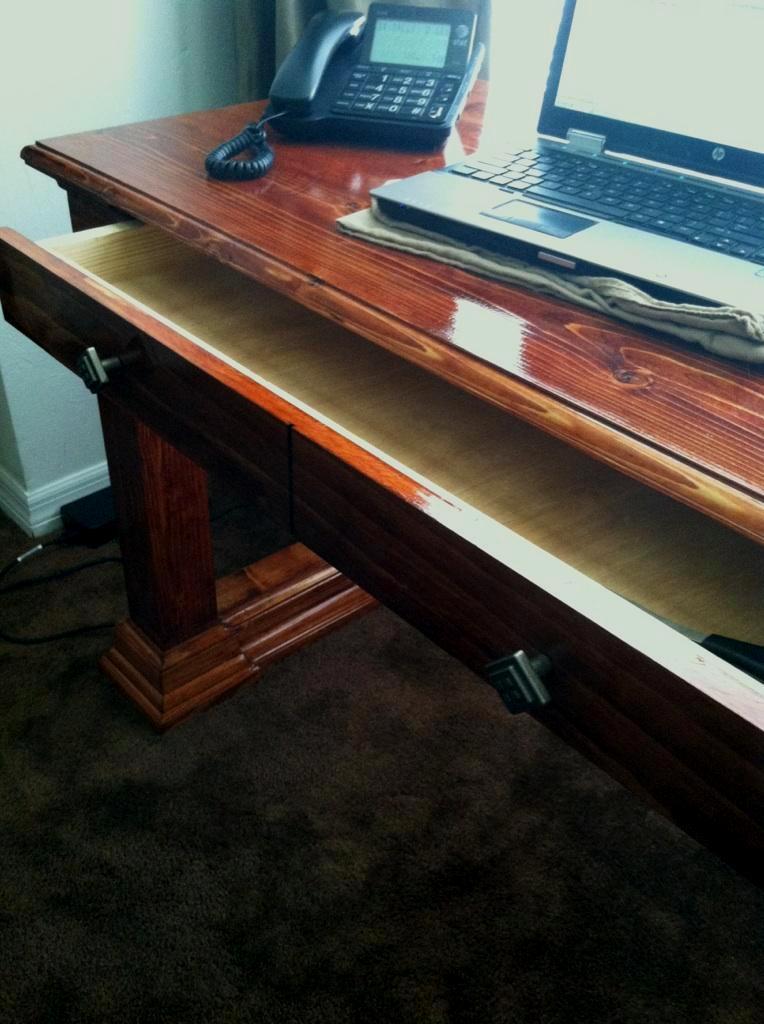
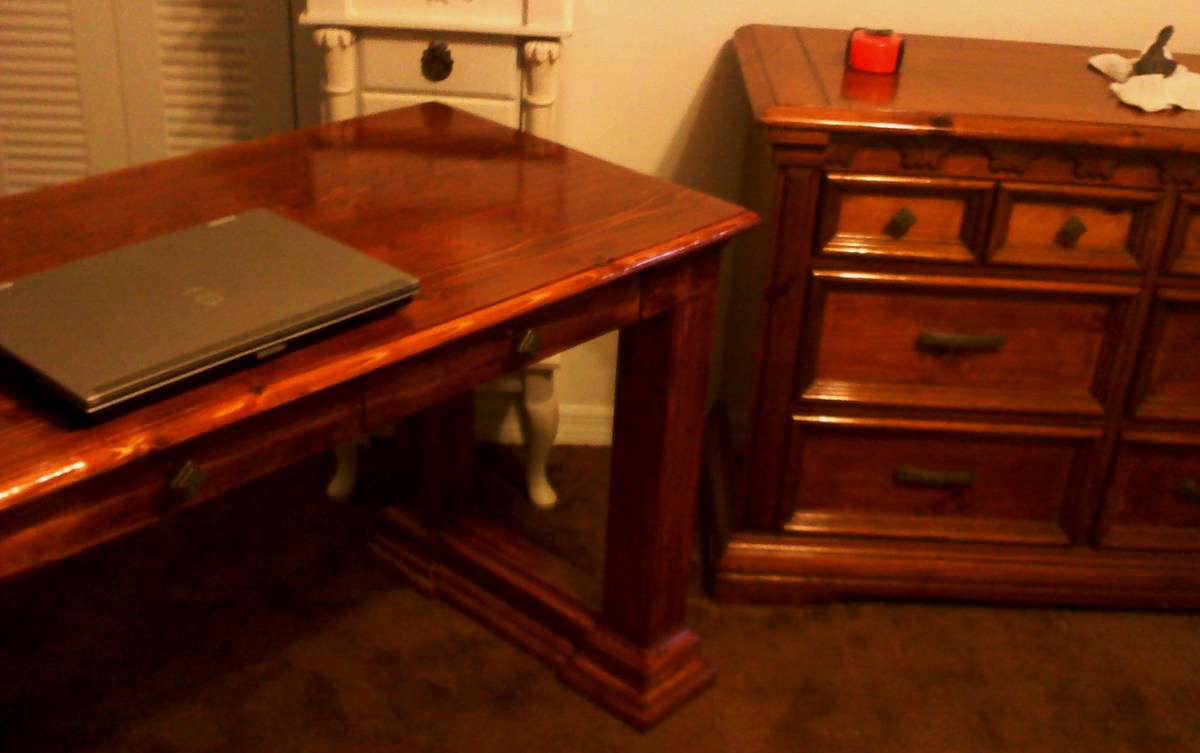
A friend contacted me about building a custom sized desk to coordinate with a set of dressers that she purchased used (I refinished them years before). We started with the Simple Modern desk (more in overall look), but made some changes away from "Modern" such as the bases, overhanging and routed top and trim on the side aprons. The legs of the desk aren't solid 4x4, but1x4s and 1x3 furring strips kreg jig'd and sanded till nearly seamless. The support under the desktop was redesigned to create a large, single drawer faced as two. The top is made from pine boards edge joined together. The two "bases" combined, have 96 pieces of trim to create this look. It was alot of work to get some tiny pieces just right, but well worth it in the end.
There are two comparison pictures uploaded. the photoshopped photo is the inspirational photo that came with the "Can you build me one of these?" and the second is the side by side with one of the dressers I was asked to compliment.
At 4 ft by 2 ft, she says its the perfect size for her home office laptop.
Overall, I was pretty surprised about how different of a turn this desk could take in style as I went from bare to adding the trim. Perhaps it can inspire others as well.
Tue, 05/08/2012 - 12:49
I have been looking at some different design ideas for a desk. I love what touches you put on the table legs. I might have to try something like this when I start building.
Tue, 05/08/2012 - 17:13
Gorgeous finish. What's your method? Pine has been killing me. I put 6 coats on my last table top or polyurethane. Time after time the wood just soaked up the finish. I could never get a smooth surface. Maybe if I would have applied 10 more coats...
Wed, 05/09/2012 - 05:22
Washington- keep in mind the size of the trim pieces if you do a base like this. Some of those trim pieces are 1/2 wide and angled... not the easiest to get to fit right. If I were to do it again, I would cut in more to make the cuts a little easier. However, I loved this result.
These legs are hollow also, a definite idea to keep in mind for anyone wanting to do a 4x4 leg project but unable to find treated 4x4's.
Patrick- everything was well sanded in advance. then a coat of wood conditioner. Then the stain (2 coats of the gunstock and 2 coats of the Golden Oak). With the Poly, In between coats, I buff with 0000 Steel Wool then wipe clean. That surface, minus the places where I left the charachter in the wood on purpose, is VERY smooth.
Wed, 05/09/2012 - 06:31
You did a really beautiful job and it does match the dresser so nicely.
Thu, 05/10/2012 - 19:15
Ahh poly in between coats. What a great method. Will try that.
Wed, 05/16/2012 - 05:40
Patrick.. you apply poly, give a very light sand with the 0000 steel wool (A little more than running over the surface with minimal pressure) until the surface feels smooth with no drag. Then wipe down with tack cloth and apply a new layers of poly.
Keep in mind that with polyacrylic.. the water based stuff, you can't use the steel wool. I'm told it will rust. This is strictly for polyurethane.
Wed, 05/16/2012 - 05:42
Washington- the middle layer of trim is on top of spacer to raise it up. It provided a great look.
Wed, 03/27/2013 - 21:25
The desk looks great. I was trying to figure out how you attached the four pieces of wood that make the legs. You indicated a Kreg jig, but it would seem that there would need to be some pocket screws on the outside. I don't see any...what am I missing here?
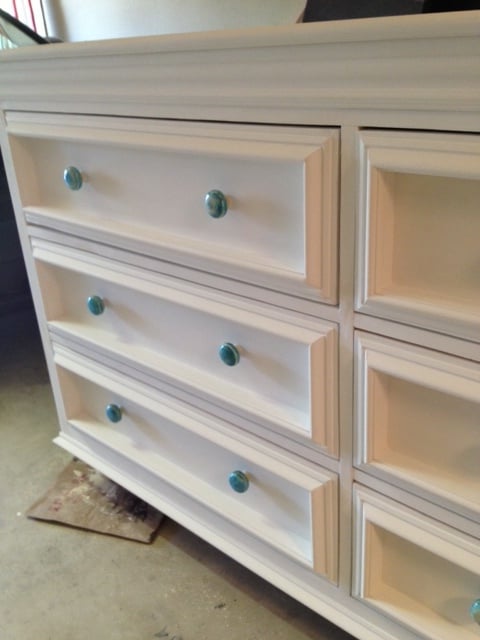
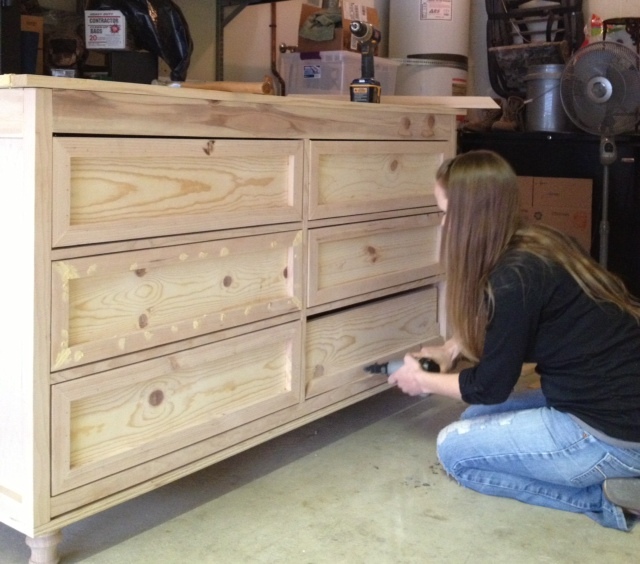
Similar to a previous poster, I was inspired to build this project to use as a combo dresser/changing table for our first child's nursery. It took quite a few days worth of work (spread out over a couple of months altogether) but I finally finished the bulk of the work a few days before entering the third trimester of pregnancy, phew! I think we'll enjoy this piece for years to come, thanks Shane and Ana for the plans! (Please excuse the poor lighting and ugly garage, we haven't set up the nursery yet so the dresser may be living in the garage until we do!)
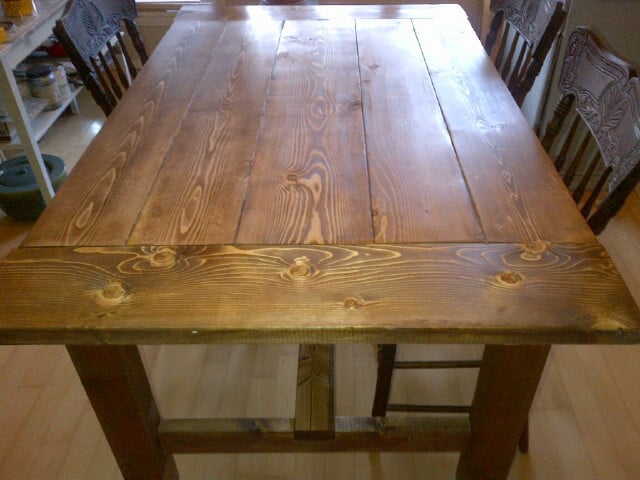
Rustic Farmhouse Table with pocketholes and Special Walnut Finish
Make sure your wood is straight withno warping!
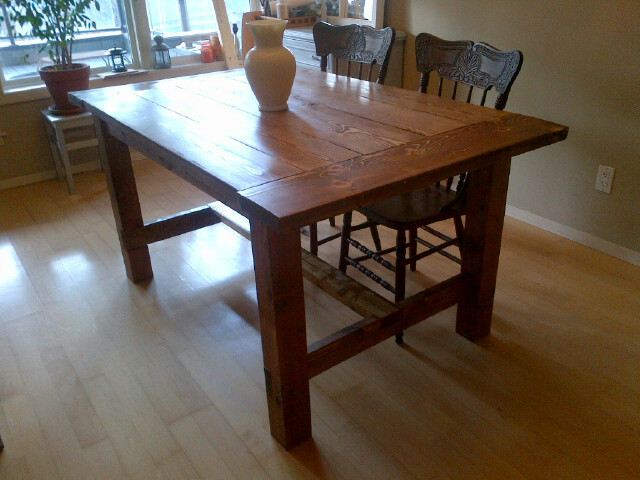
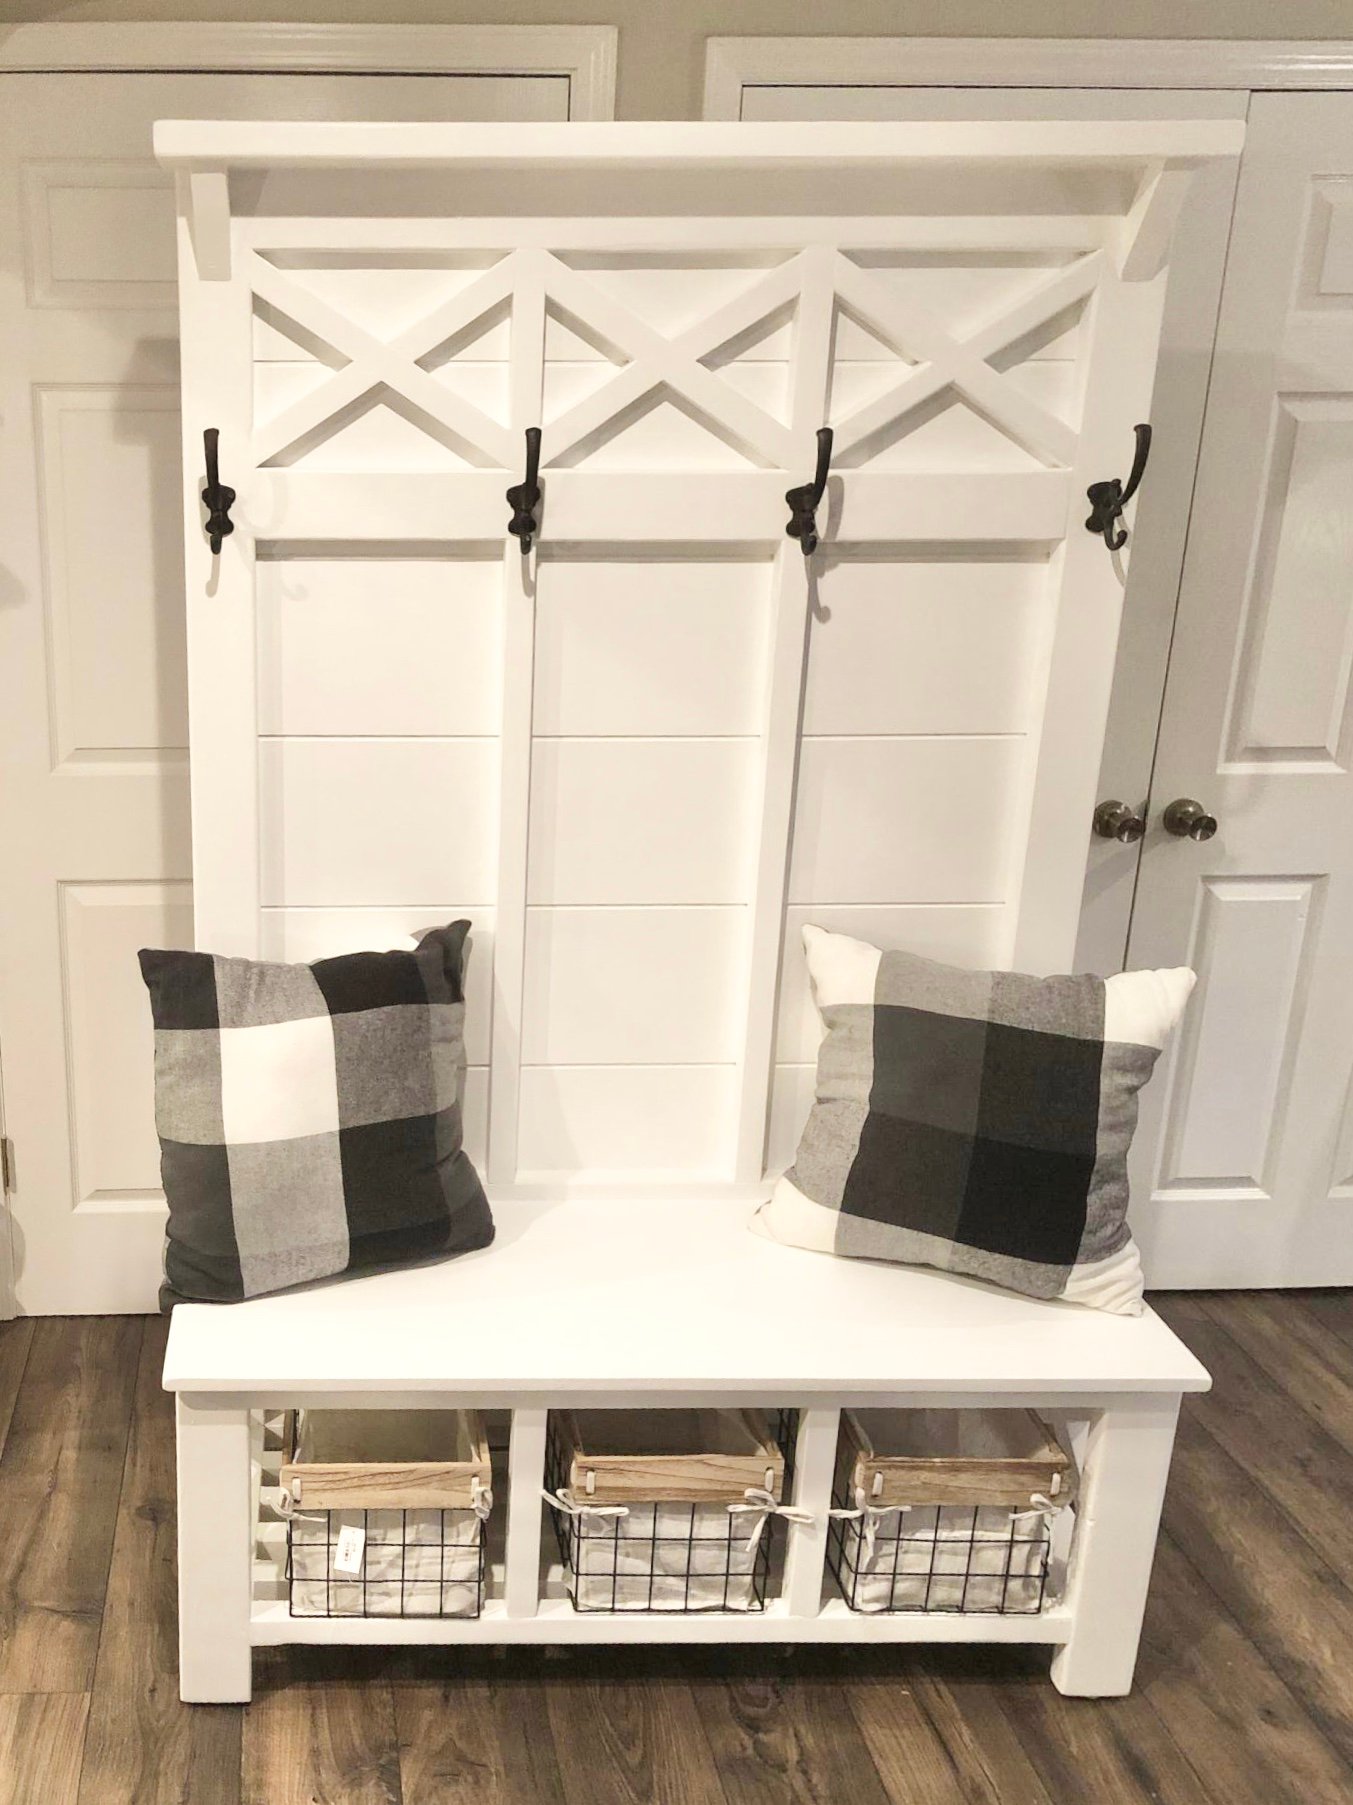
Your plans are awesome!! Your YouTube videos rock!
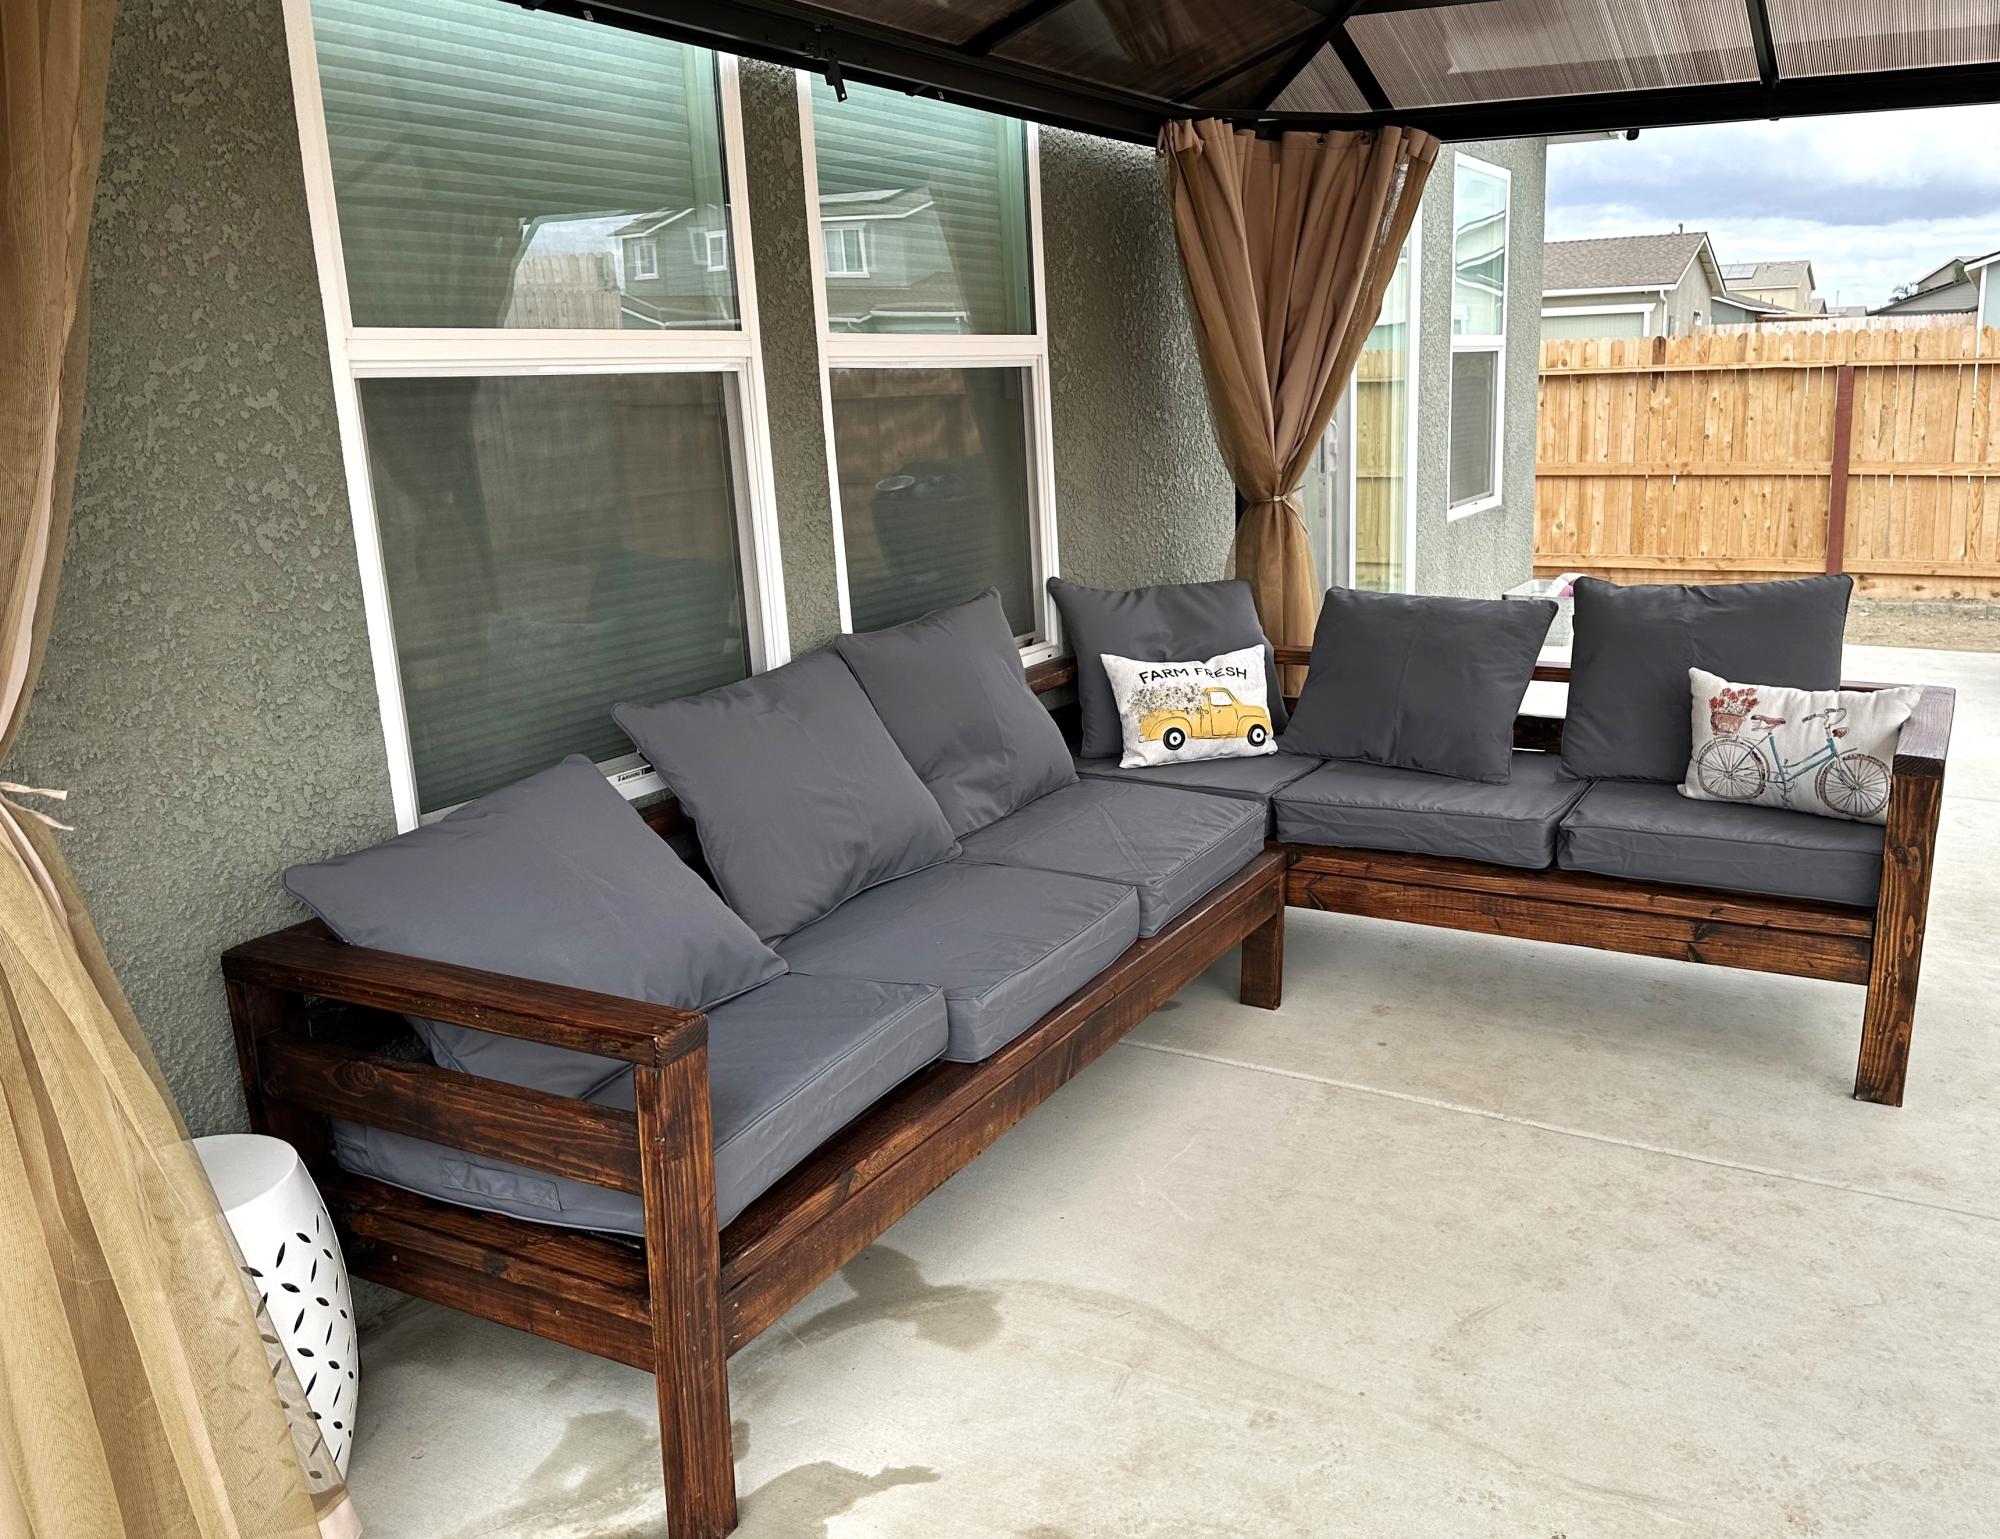
Made this for my daughters new house! Love how it turned out!!
Elaine Freitas
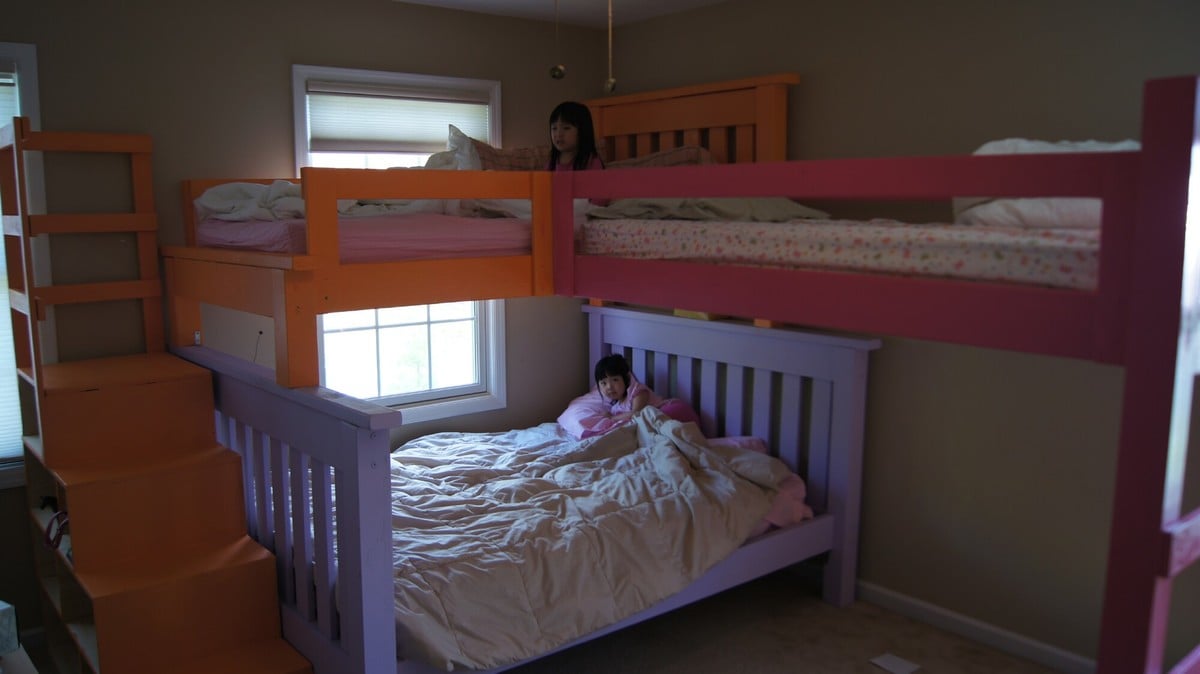
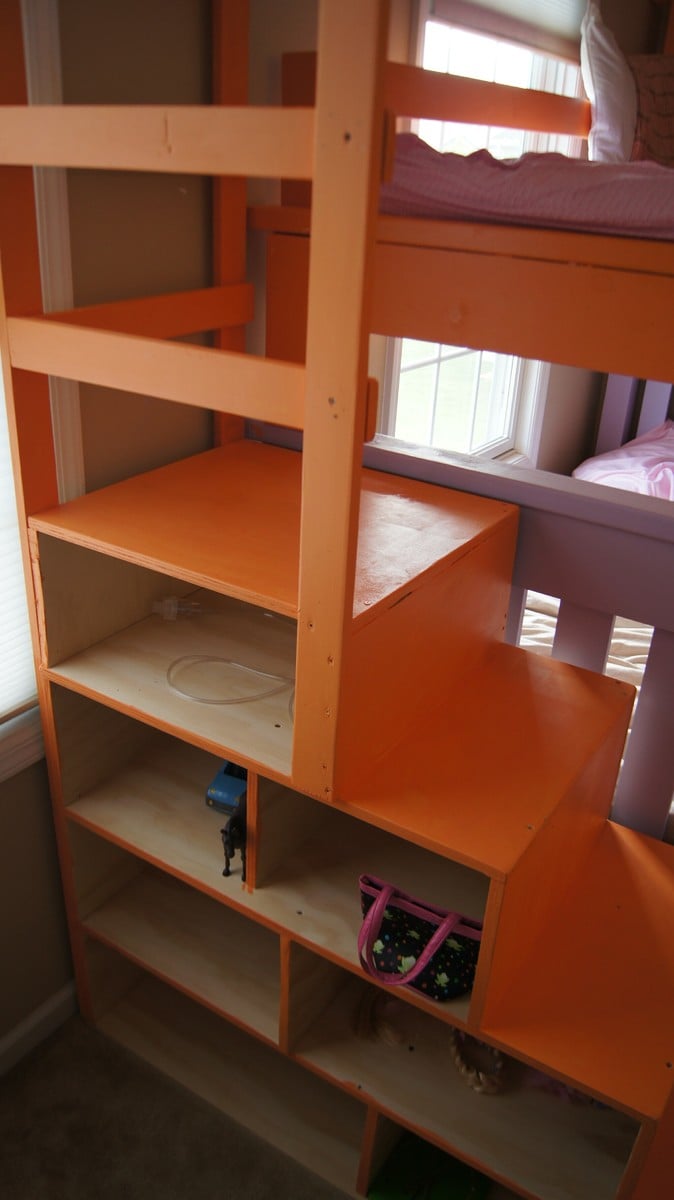
I'm a father of 4 girls ages 6,5,4, and 1. So a regular bunk wasn't enough so I decided to add the 3rd bunk. Each painted in my girls favorite colors. The paint was Martha Stewart signature paint which was on clearance on Lowes. Think it was 3 or 4 dollars a quart. The cubby steps are basically just 4 boxes stacked on top of each other and nailed together and made from 3/4" furniture grade plywood.
It didn't come out perfect but I'm pretty happy with the results. Let me know what you guys think. Thanks.
PS, Ana...my wife is a big fan of yours. She's the one who turned me onto your site.
Fri, 05/11/2012 - 17:30
That looks awesome! It's definitely one of a kind too. Nice job.
Sat, 11/24/2012 - 09:06
Hi,
We are looking to build something very similar, but are needing more information. How did you attach the loft bed to the top bunk bed? What do you have at the foot of the loft bed to keep it up? Thanks so much for any information.
Thu, 07/31/2014 - 14:17
This is BEAUTIFUL. I bet your girls have loved it and worn it well. :) I would love to see 2-years-later pics to see how it has held up over the years. :)
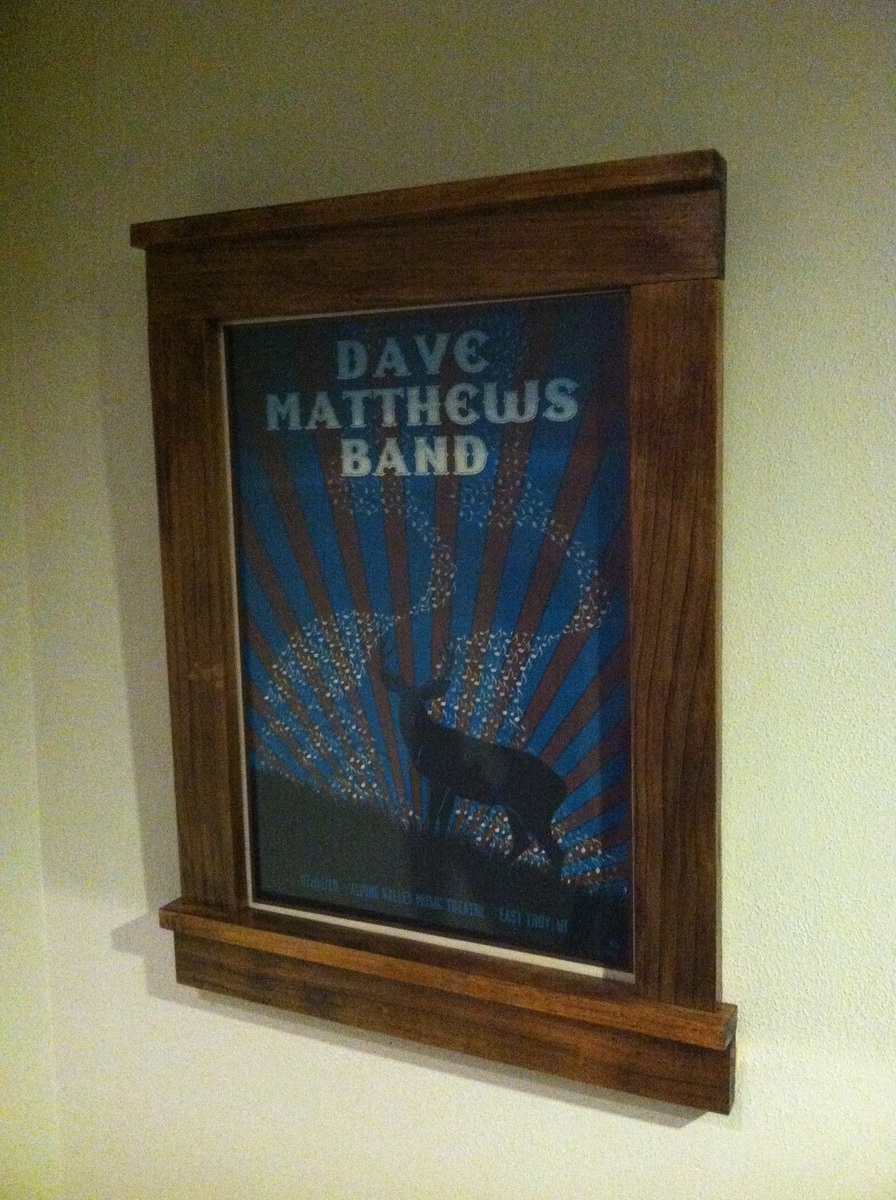
Had an old concert poster that I had been looking to frame. Glad I found these plans.
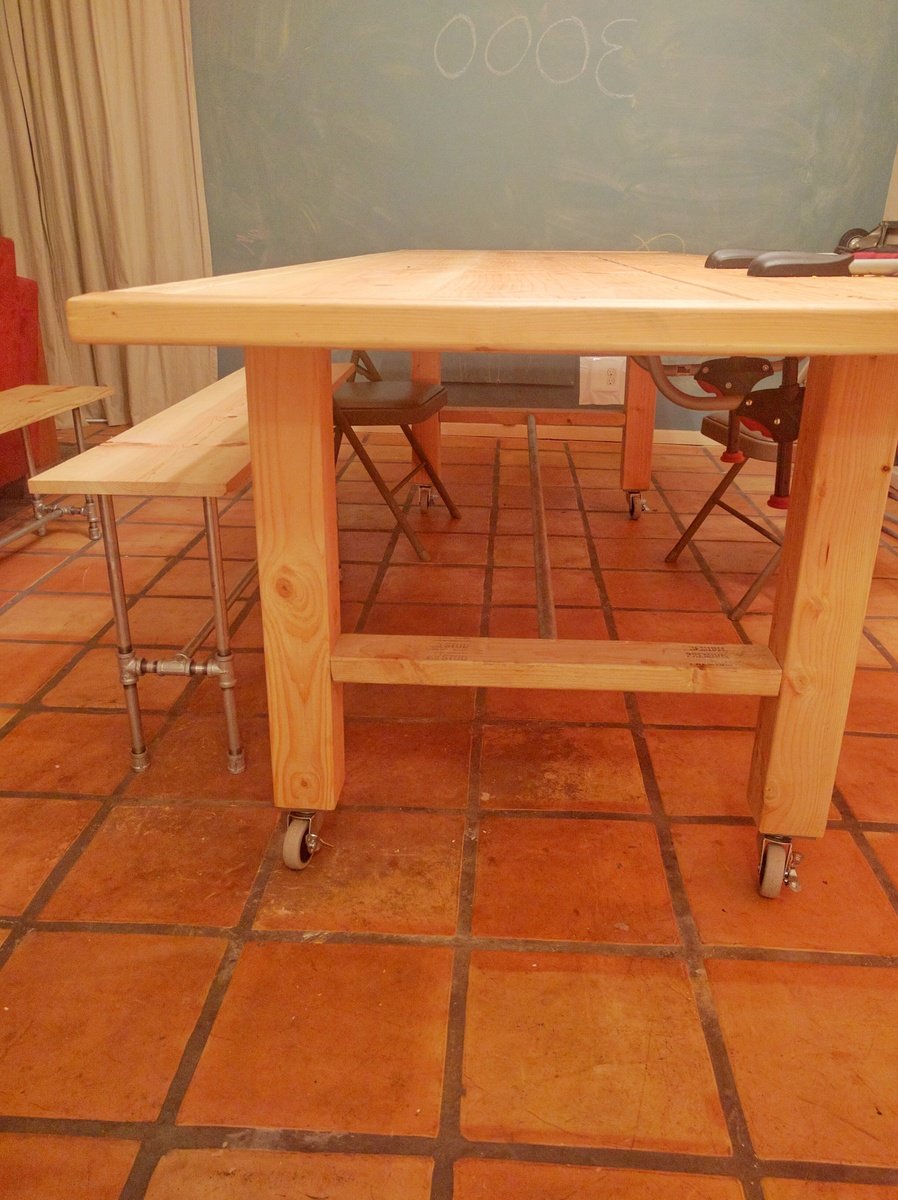
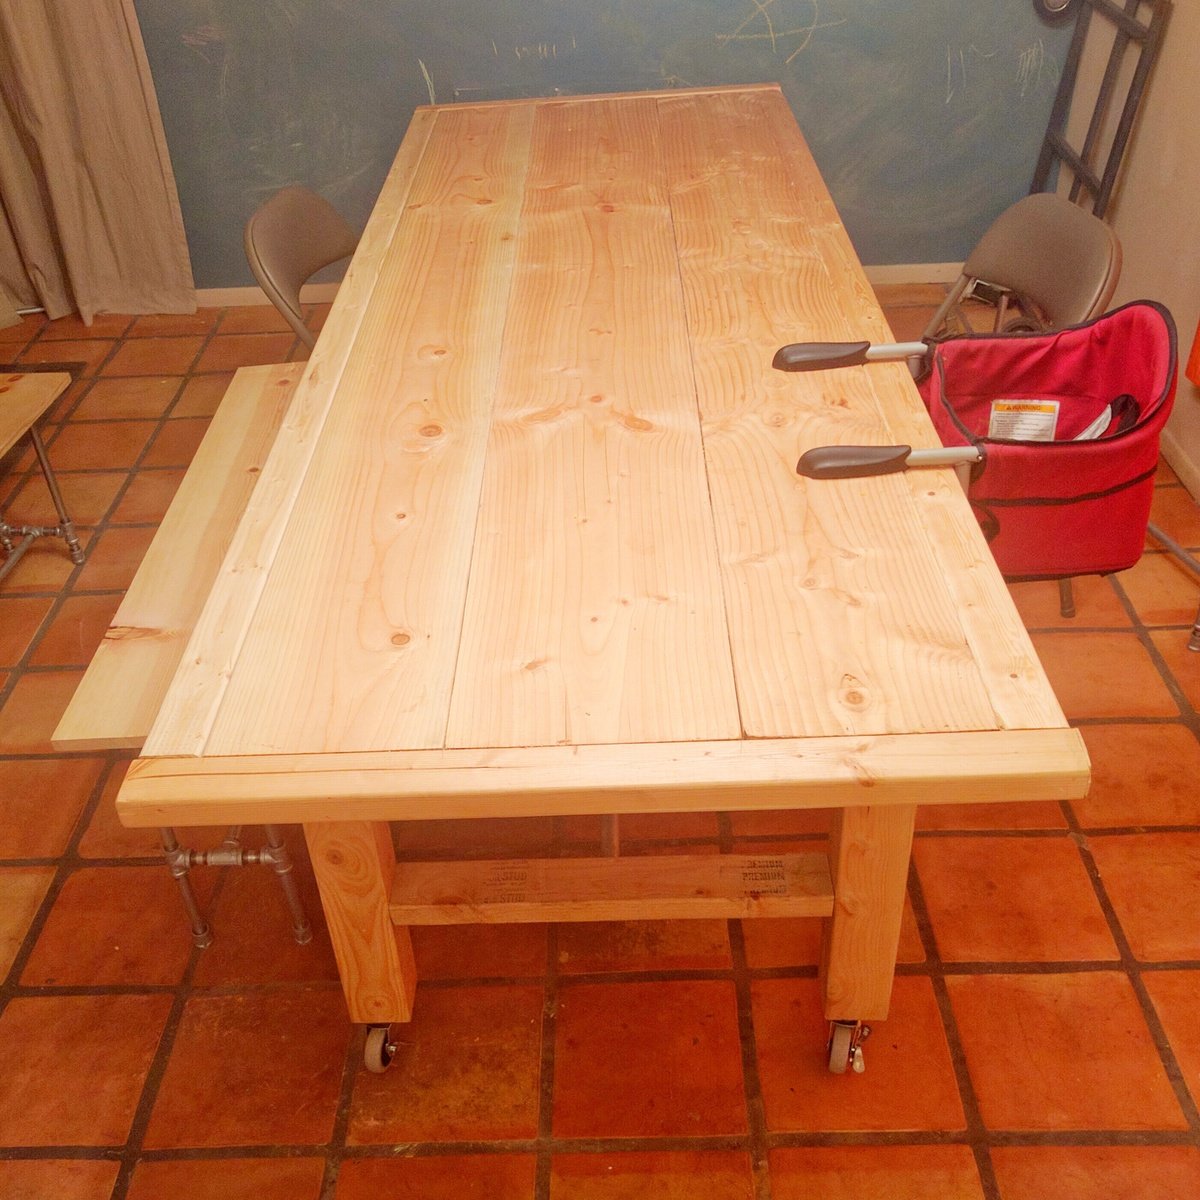
Modified top boards, 3/4 inch galvanized pipe as center support to reduce cuts needed, and casters so the massive thing can be moved.
Comments
Ana White
Fri, 02/14/2014 - 11:17
Stunning!
Great first build, can't wait to see what you do next!
strotter13
Sun, 02/16/2014 - 22:21
Looks AWESOME! I did
Looks AWESOME! I did something similar with the wood on white, I just posted the build :) I am going to have to copy this though!!!