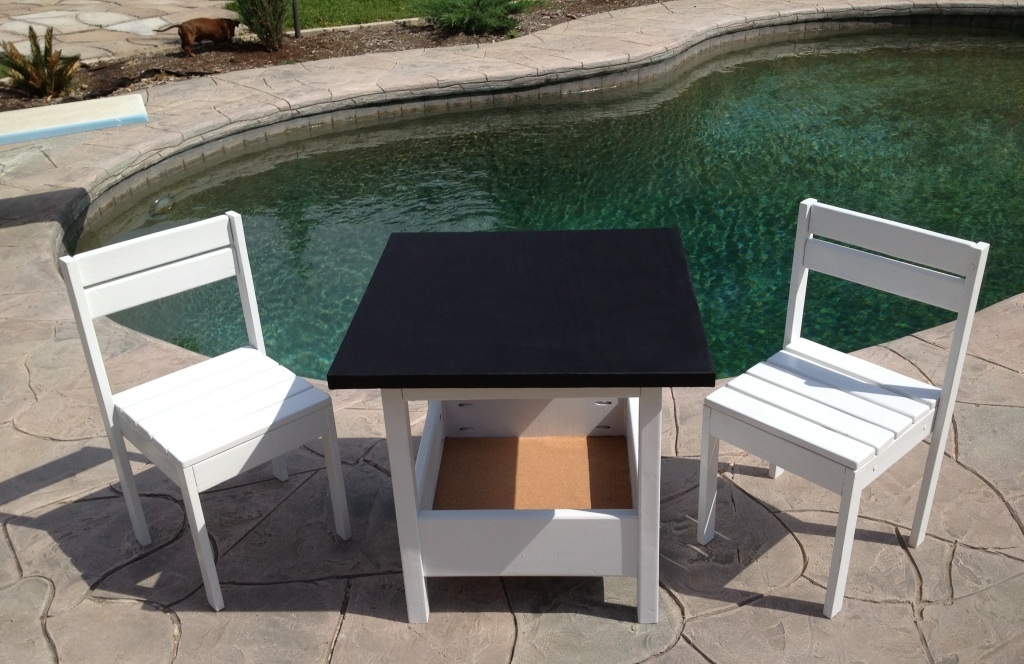
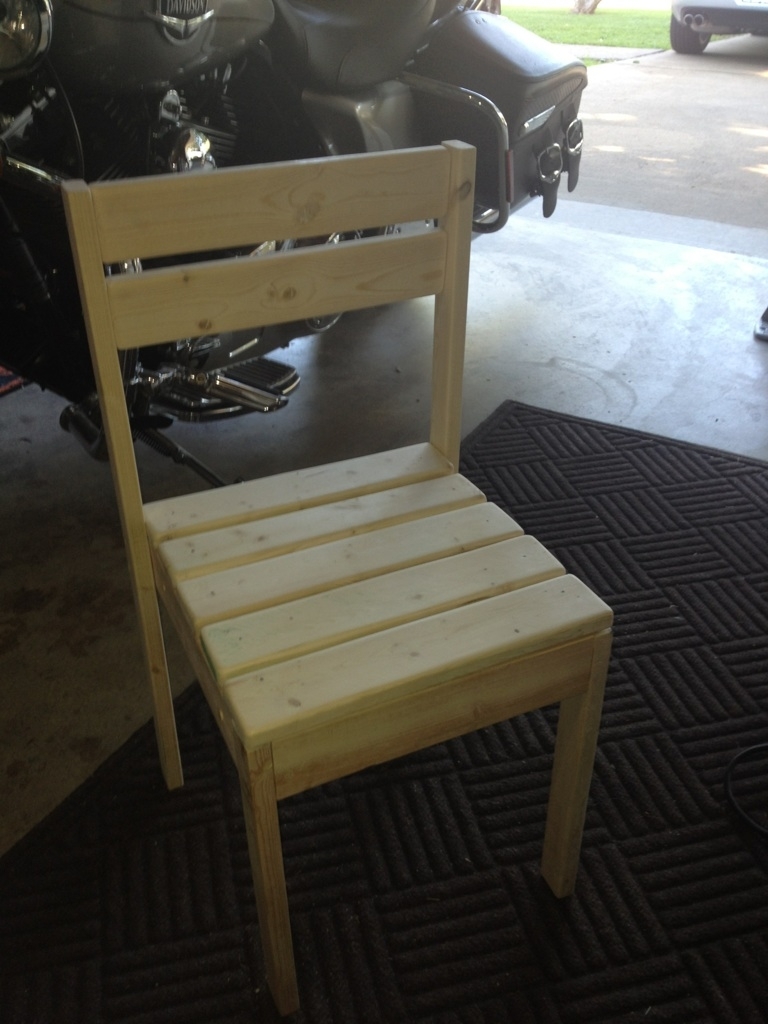
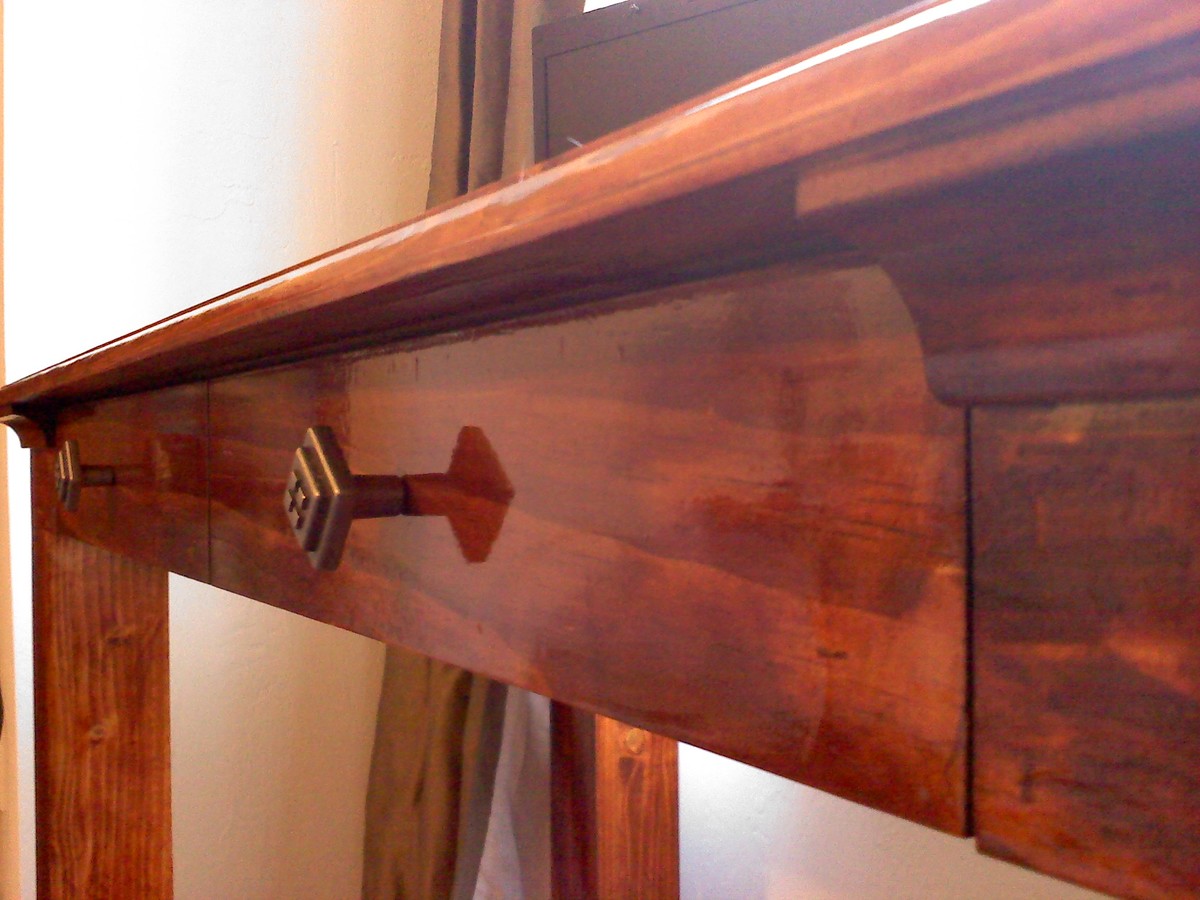
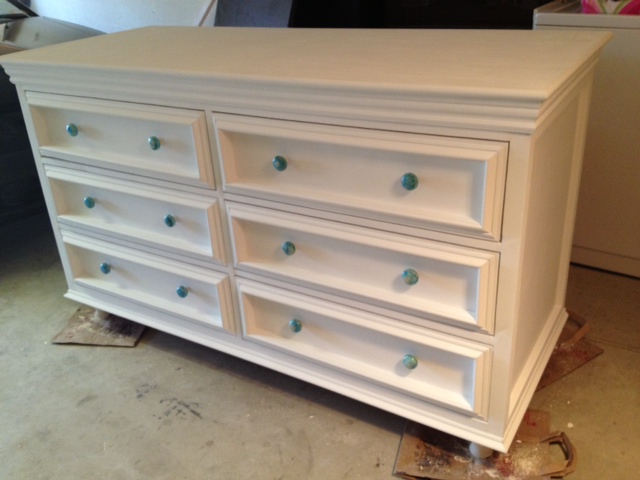
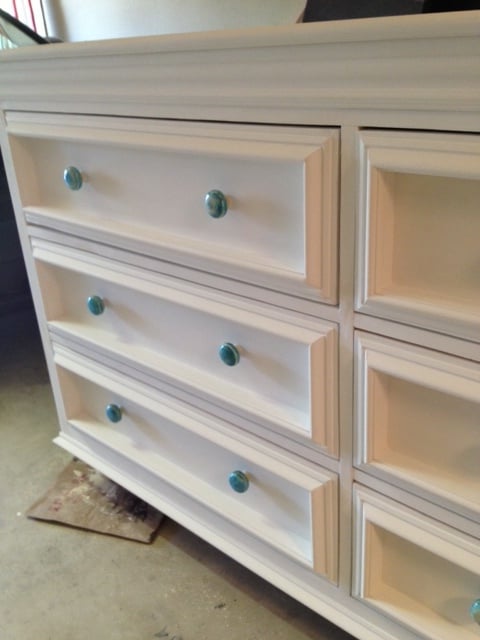
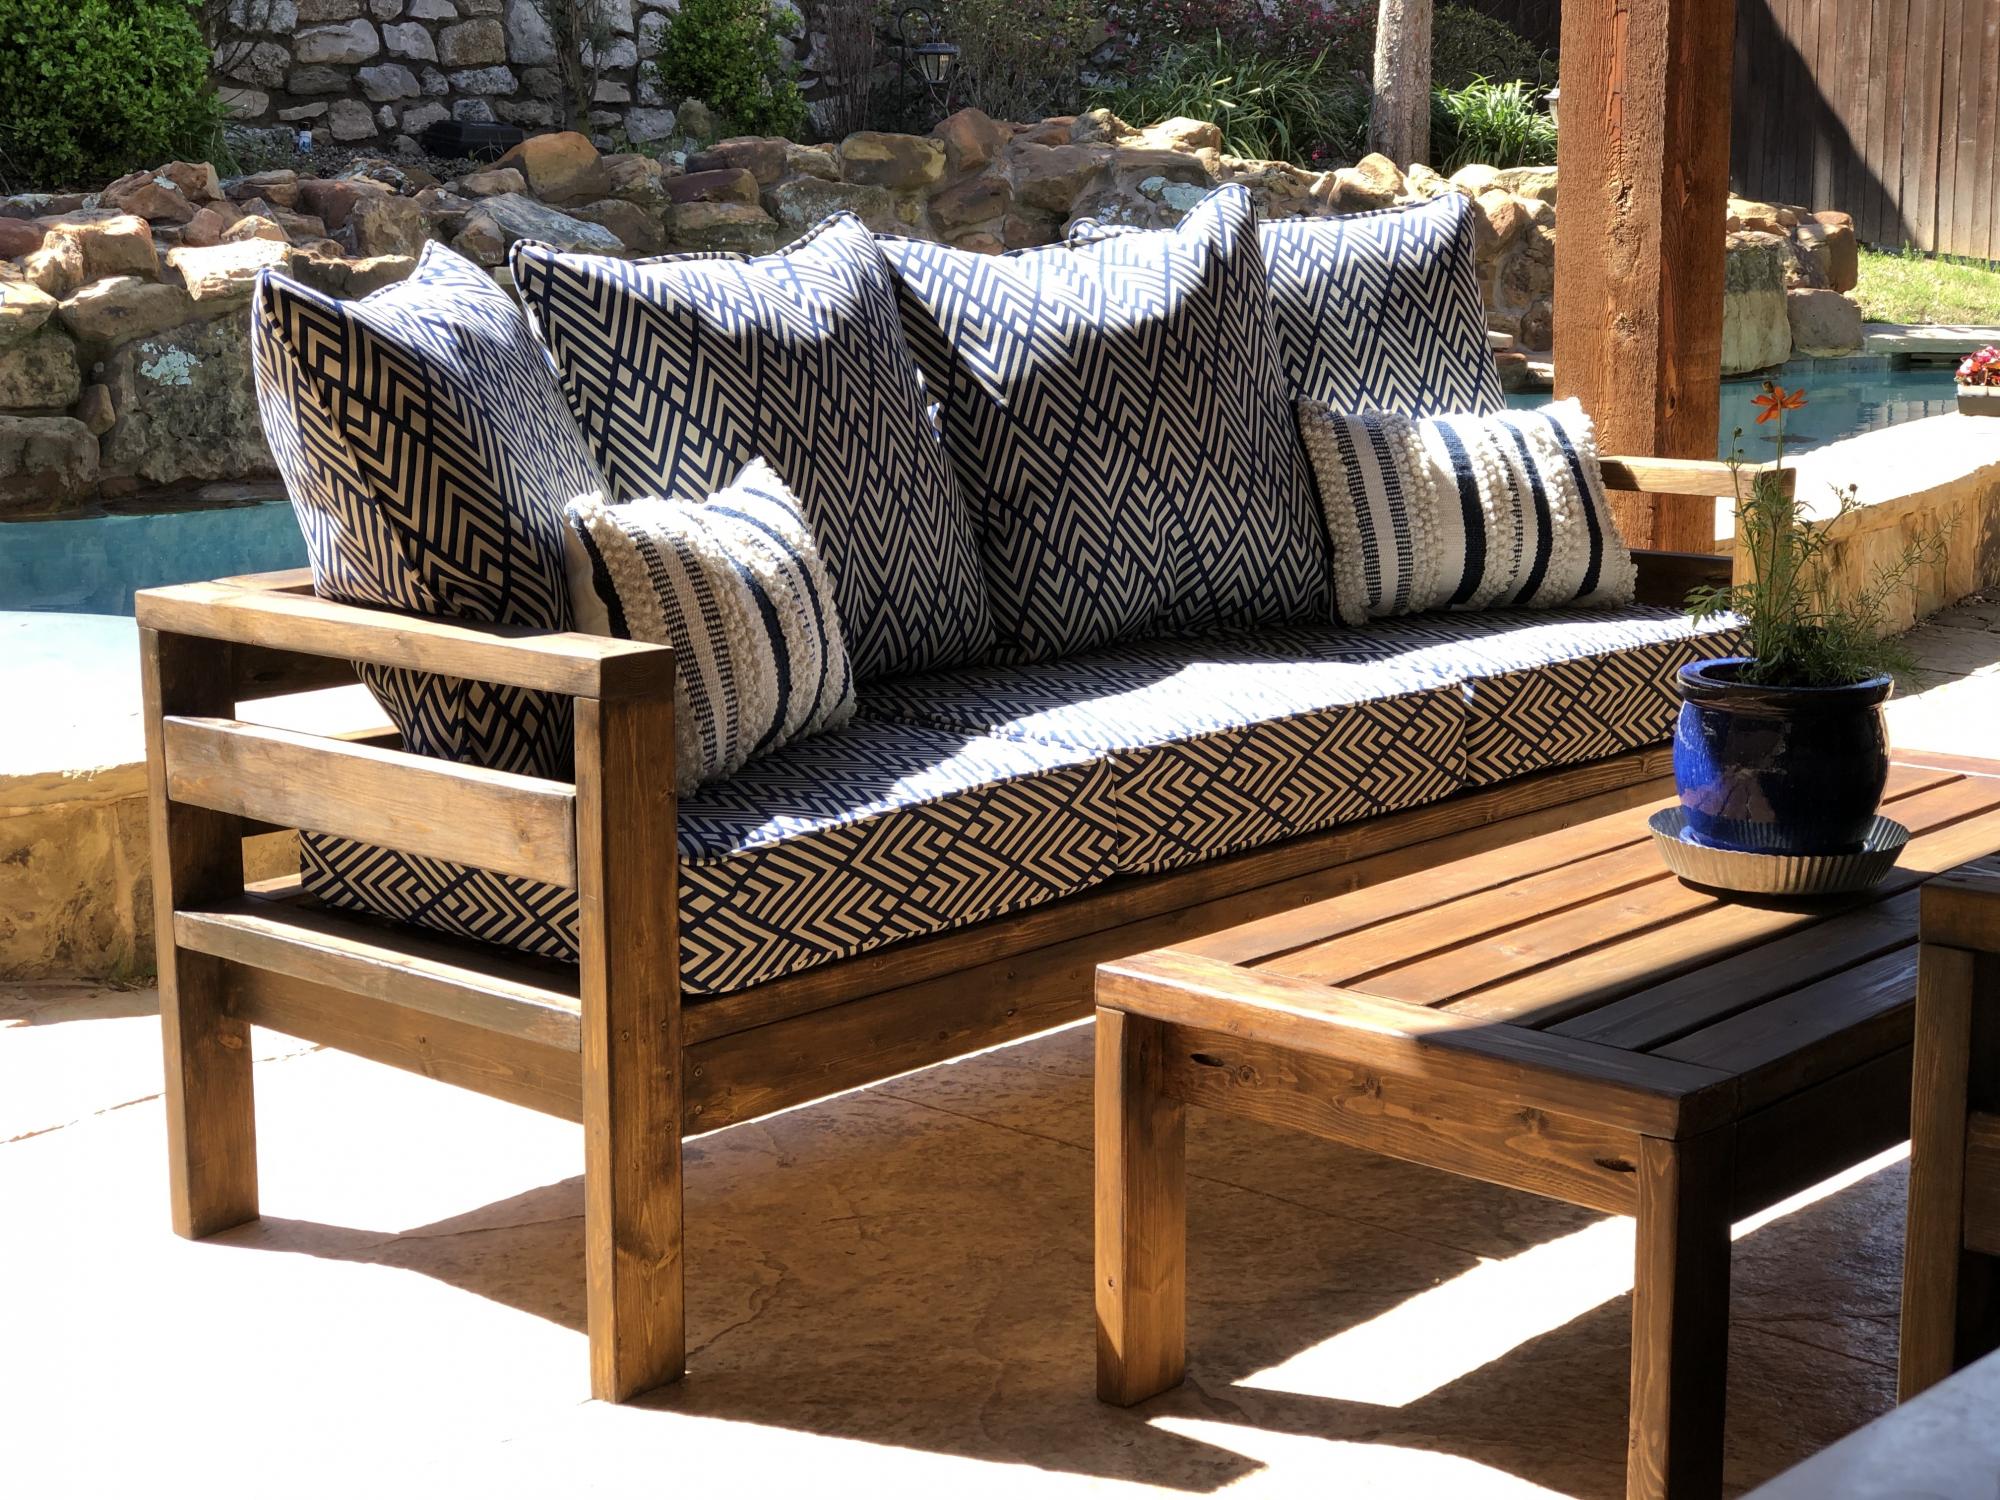
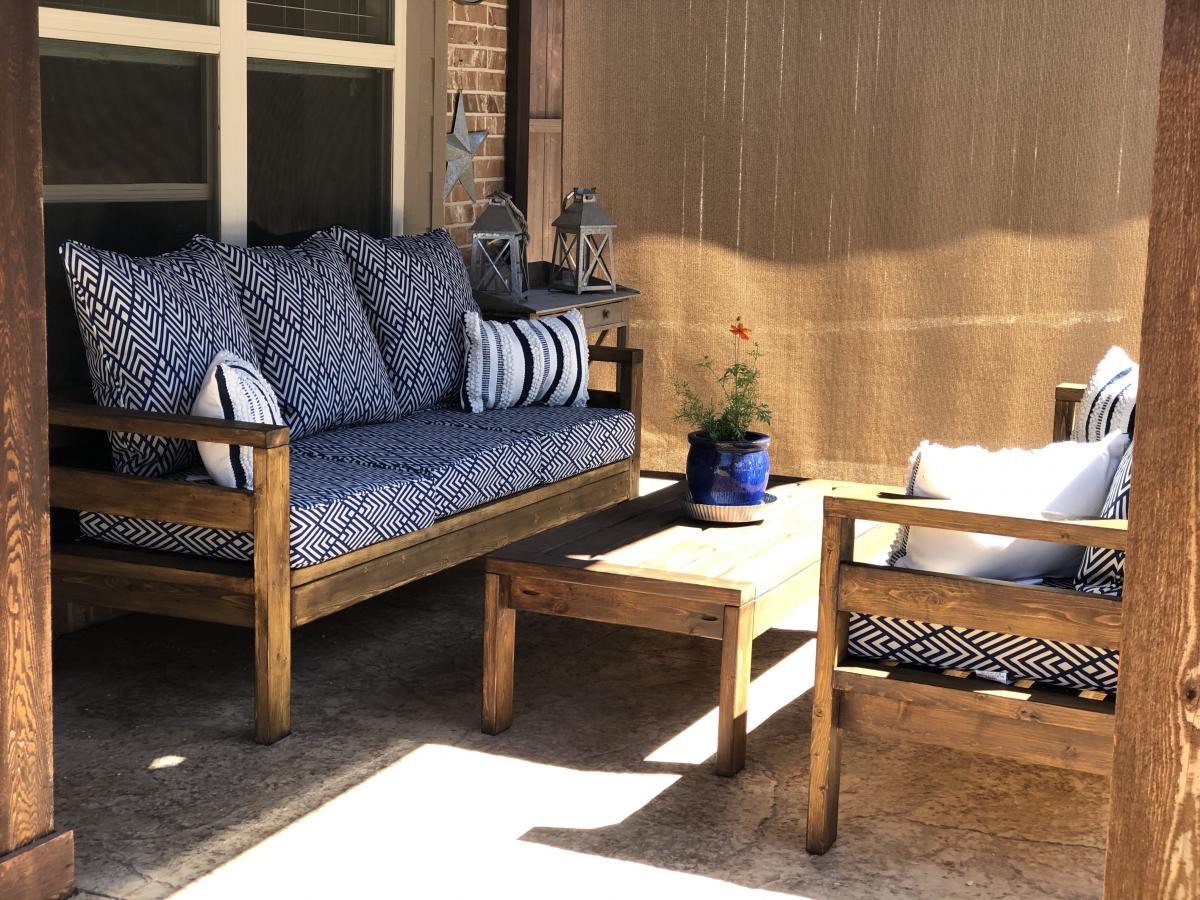
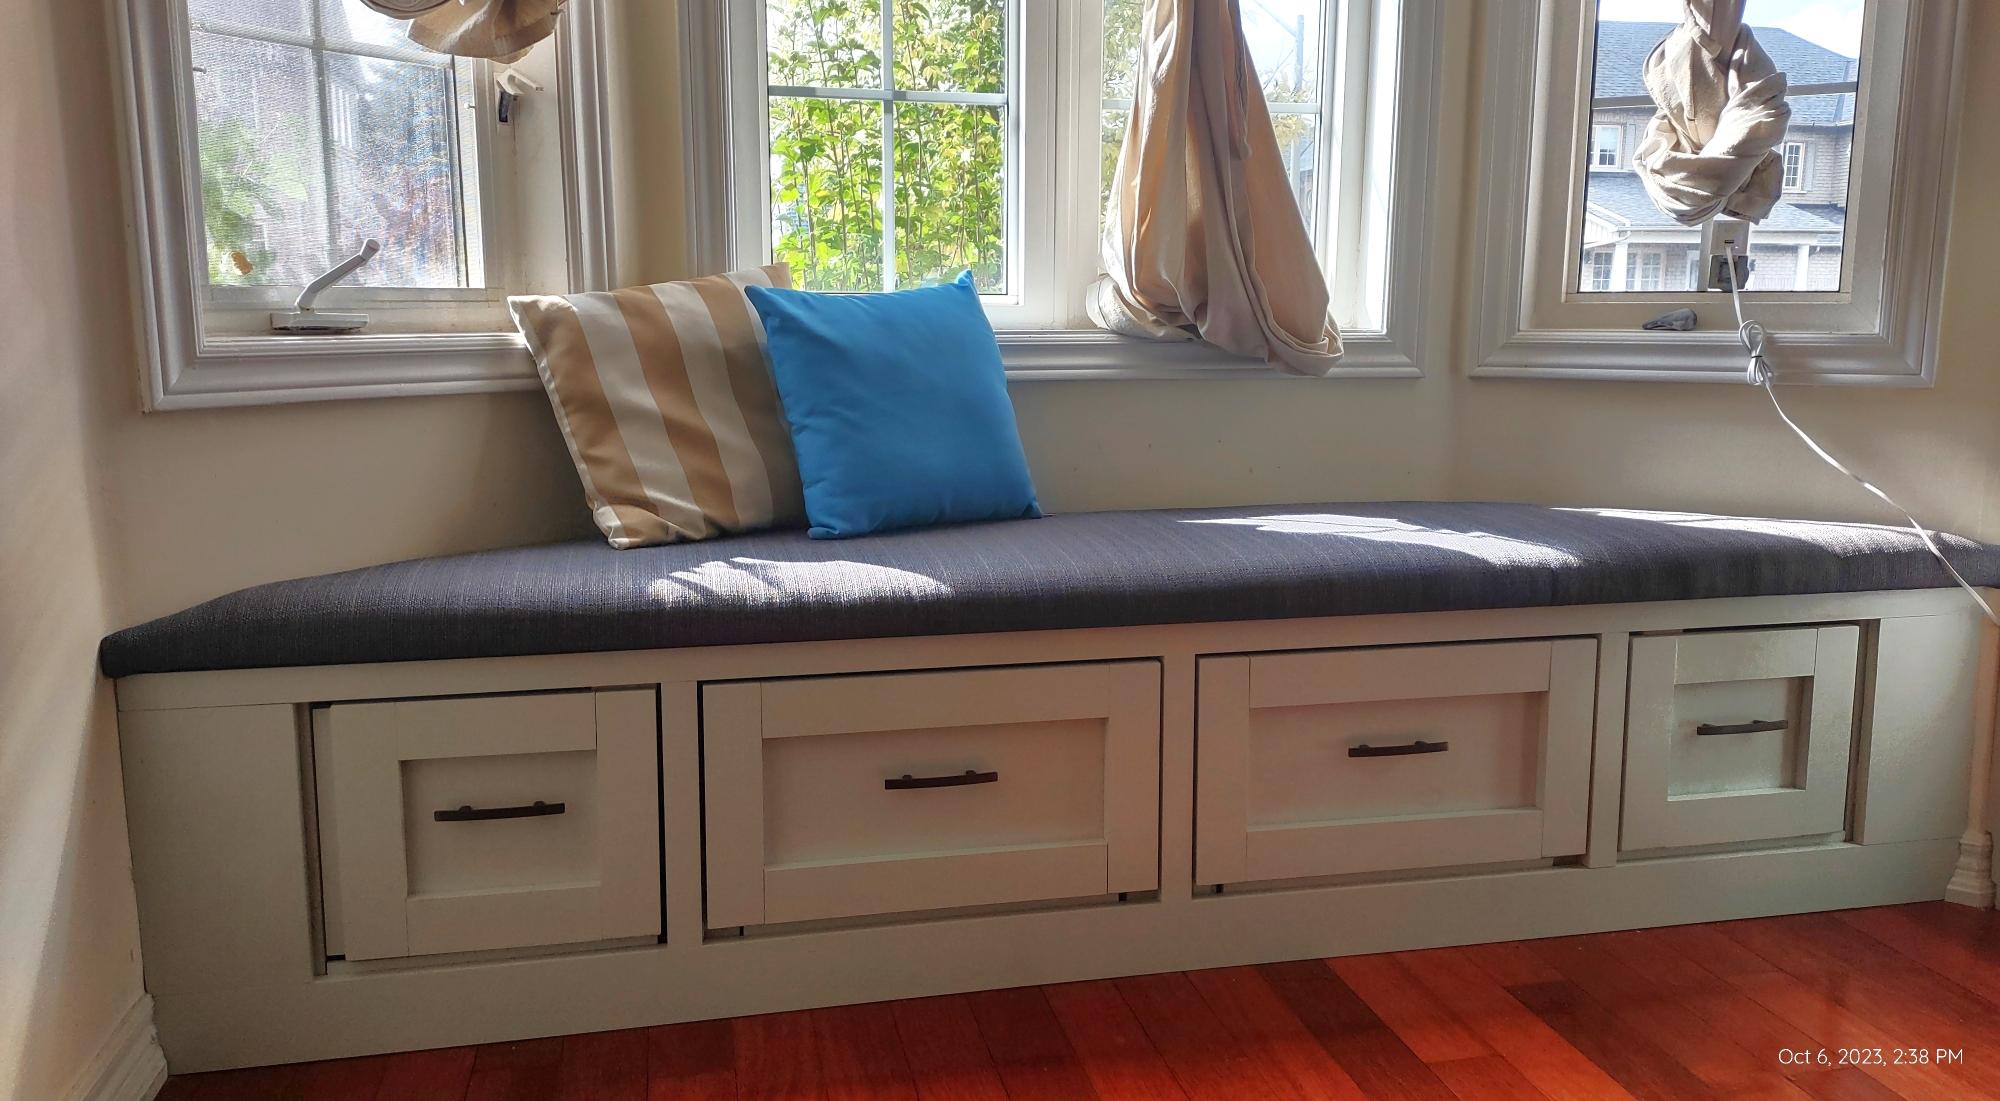
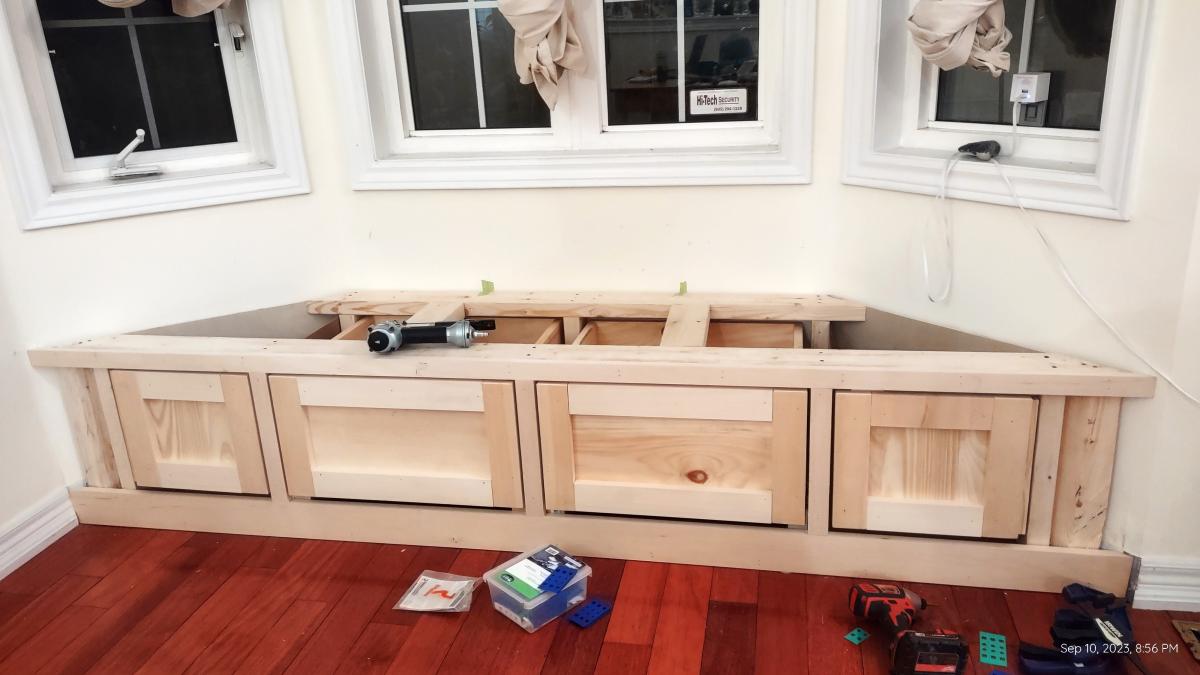
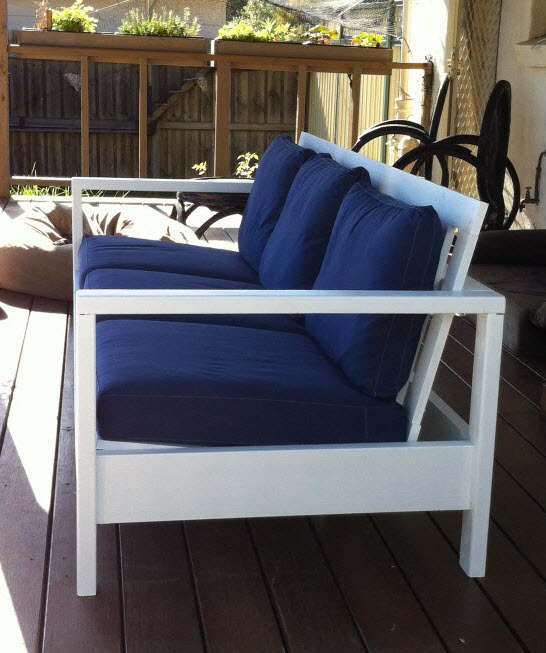
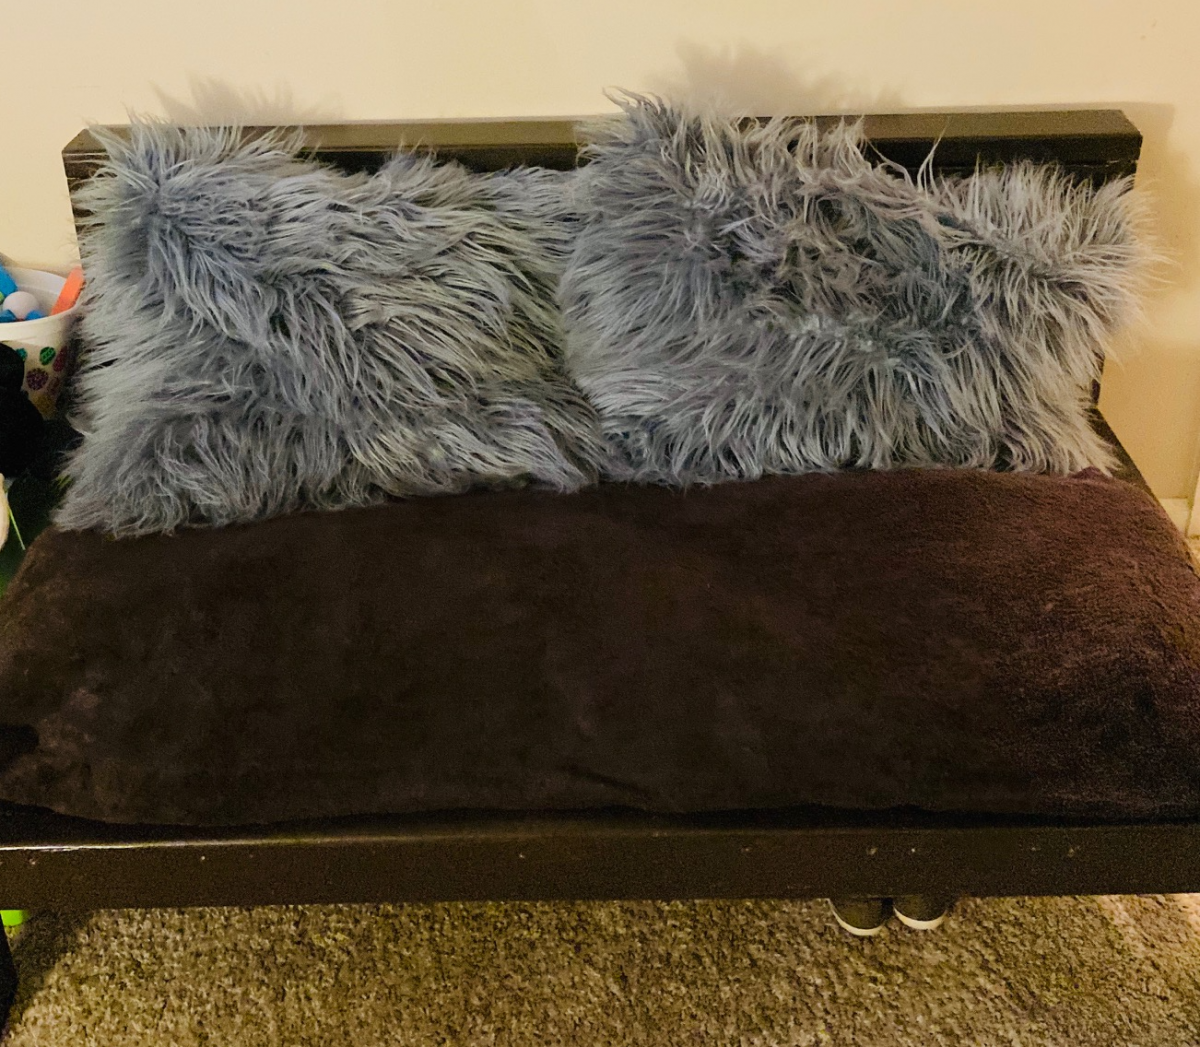
Kids Sofa (half of the sectional plan)
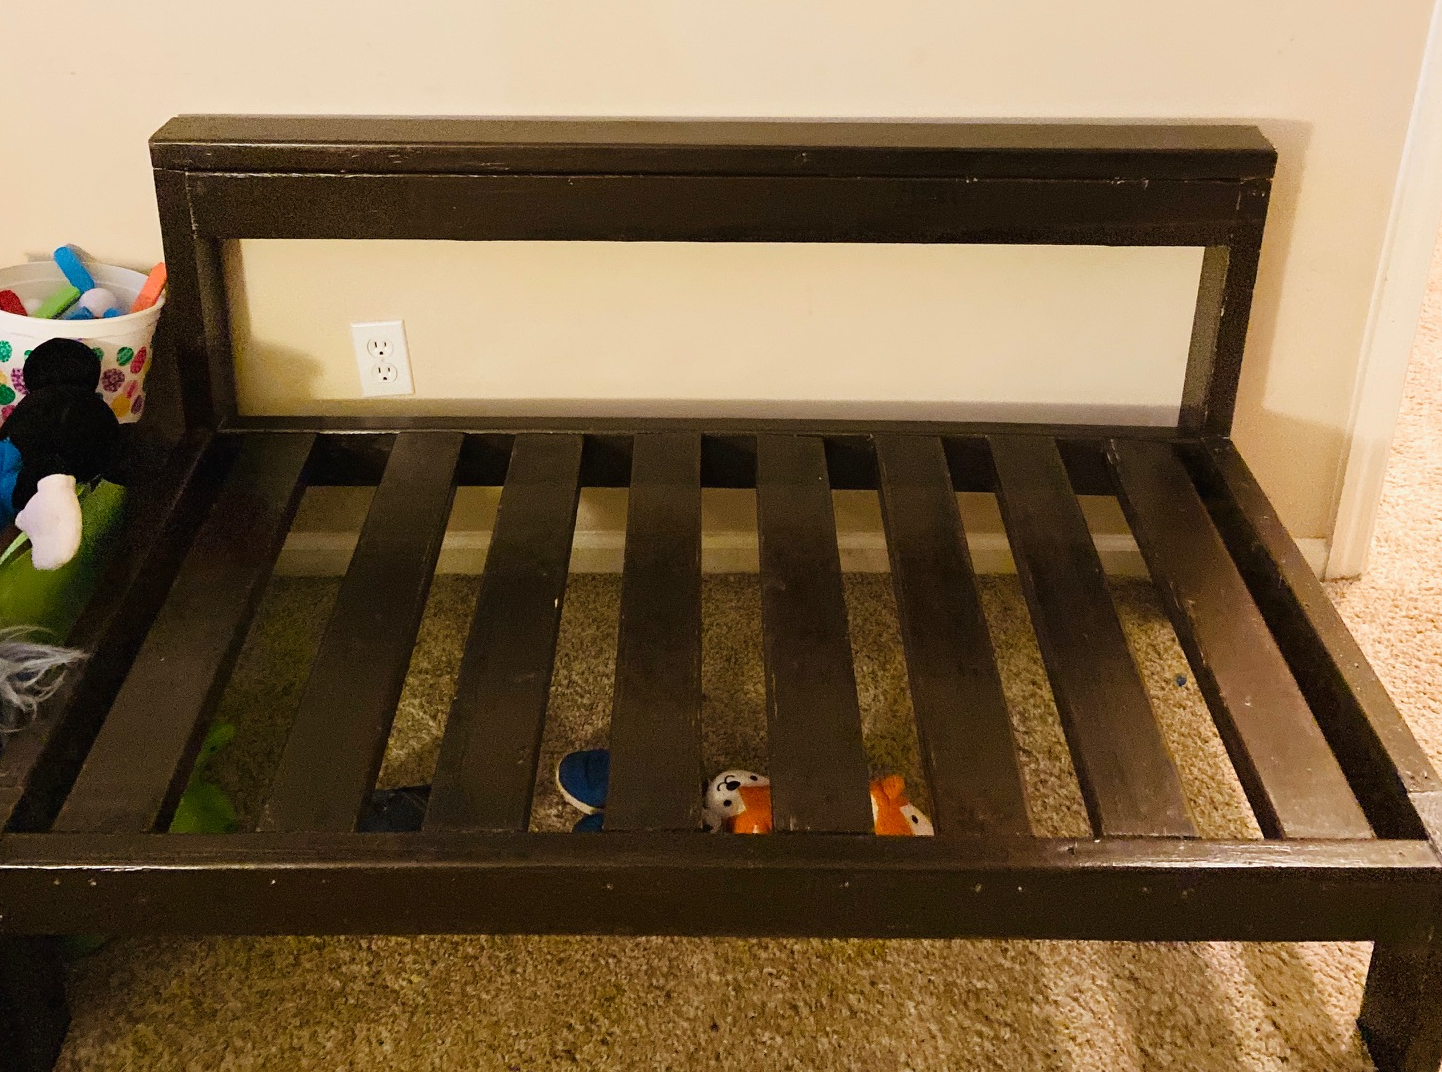
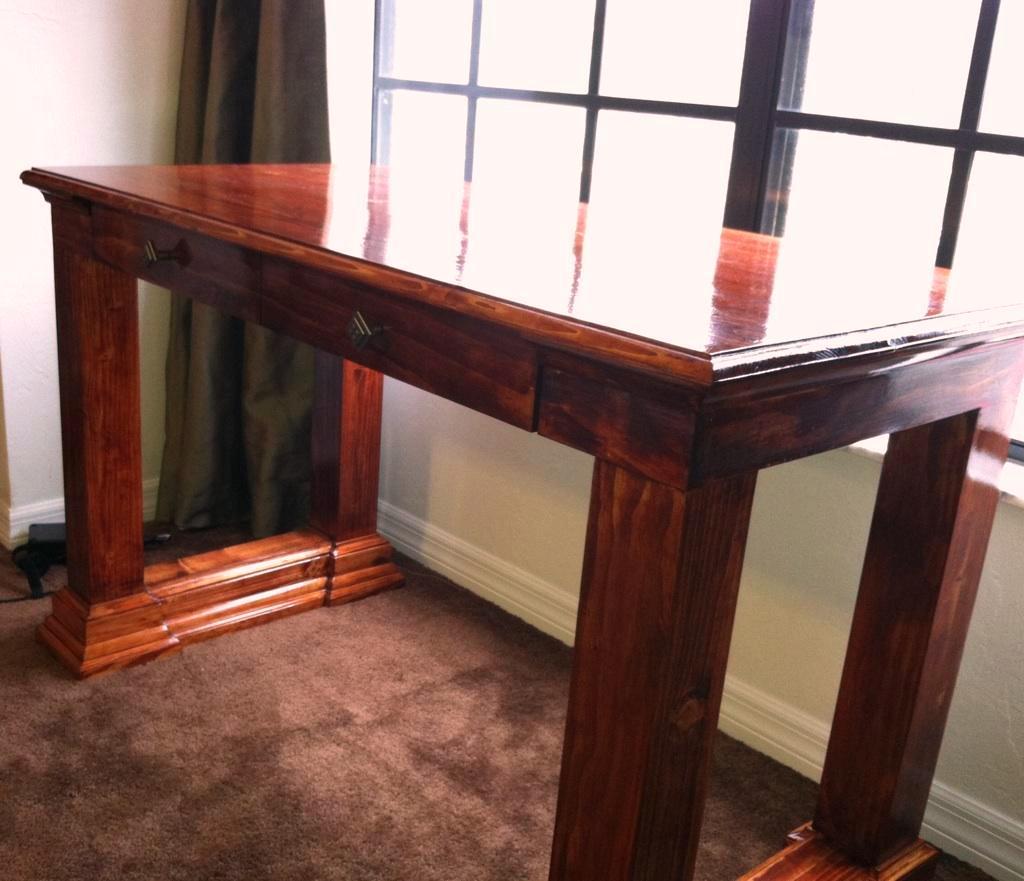
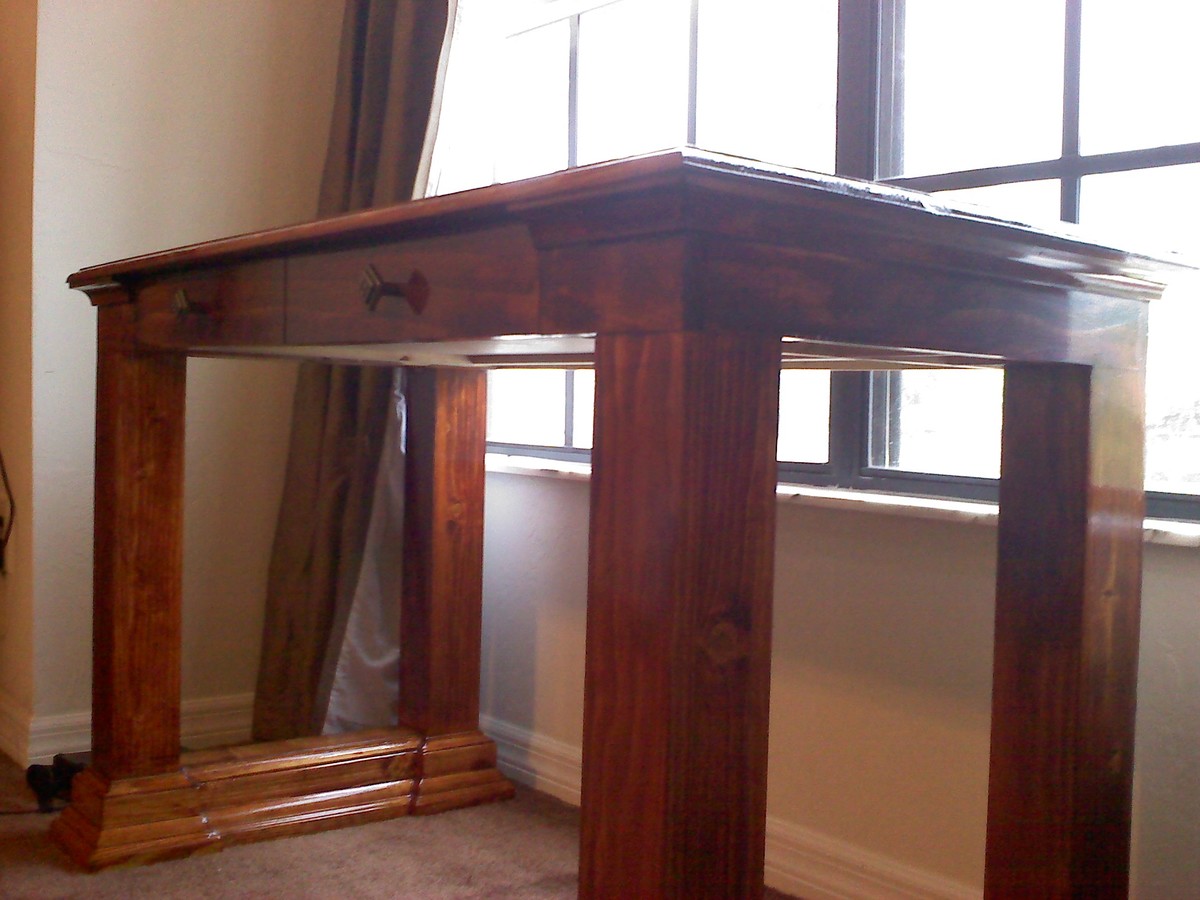
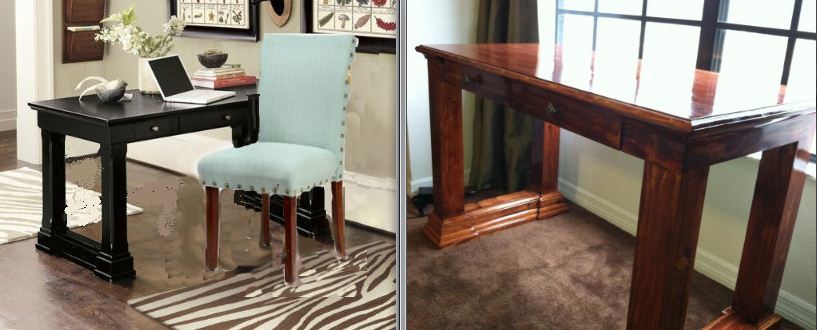
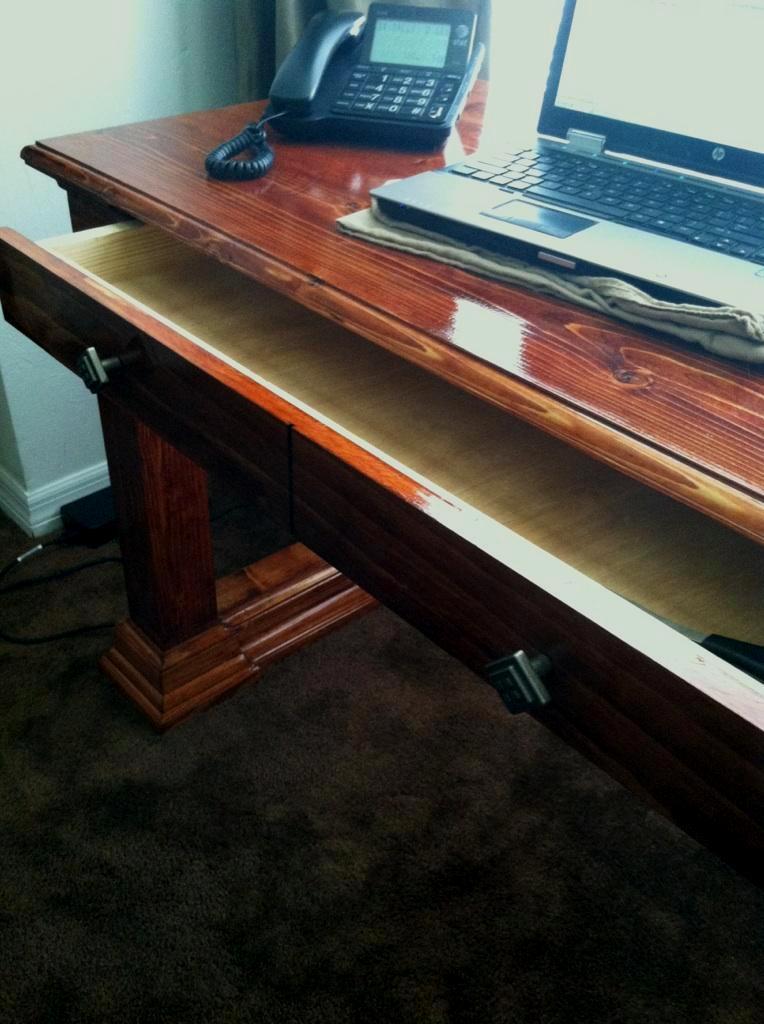
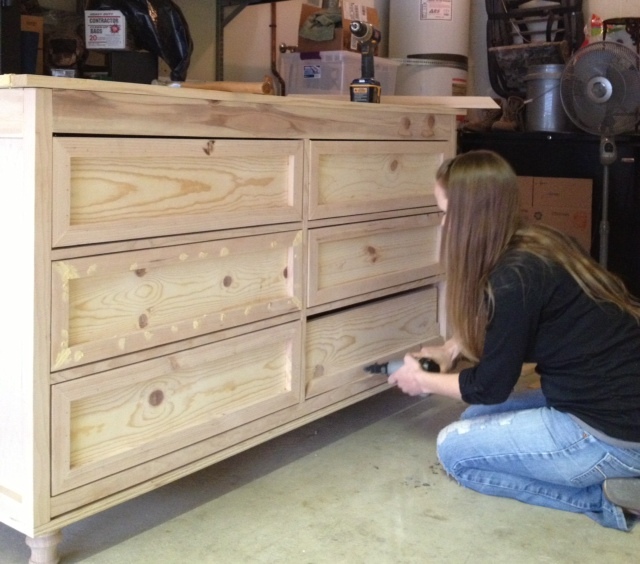
I had some wood laying around with all the new home construction around us and needed a reading seat for my 3 & 7 year old. I took the sectional plans and whipped this together pretty quick (as you can tell as I still need to put in wood filler for the screws...). It's perfect and we all can sit on there while reading books for night time (and he can keep all his little shoes under there for easy storing). Takes a few hours to come together for s novice like me. Paining took the longest. I need to remember to paint first but tend to get so excited to build, painting comes after. Thank you for the plans!
Built from Plan(s)
Estimated Cost
20
Estimated Time Investment
Afternoon Project (3-6 Hours)
Recommended Skill Level
Beginner