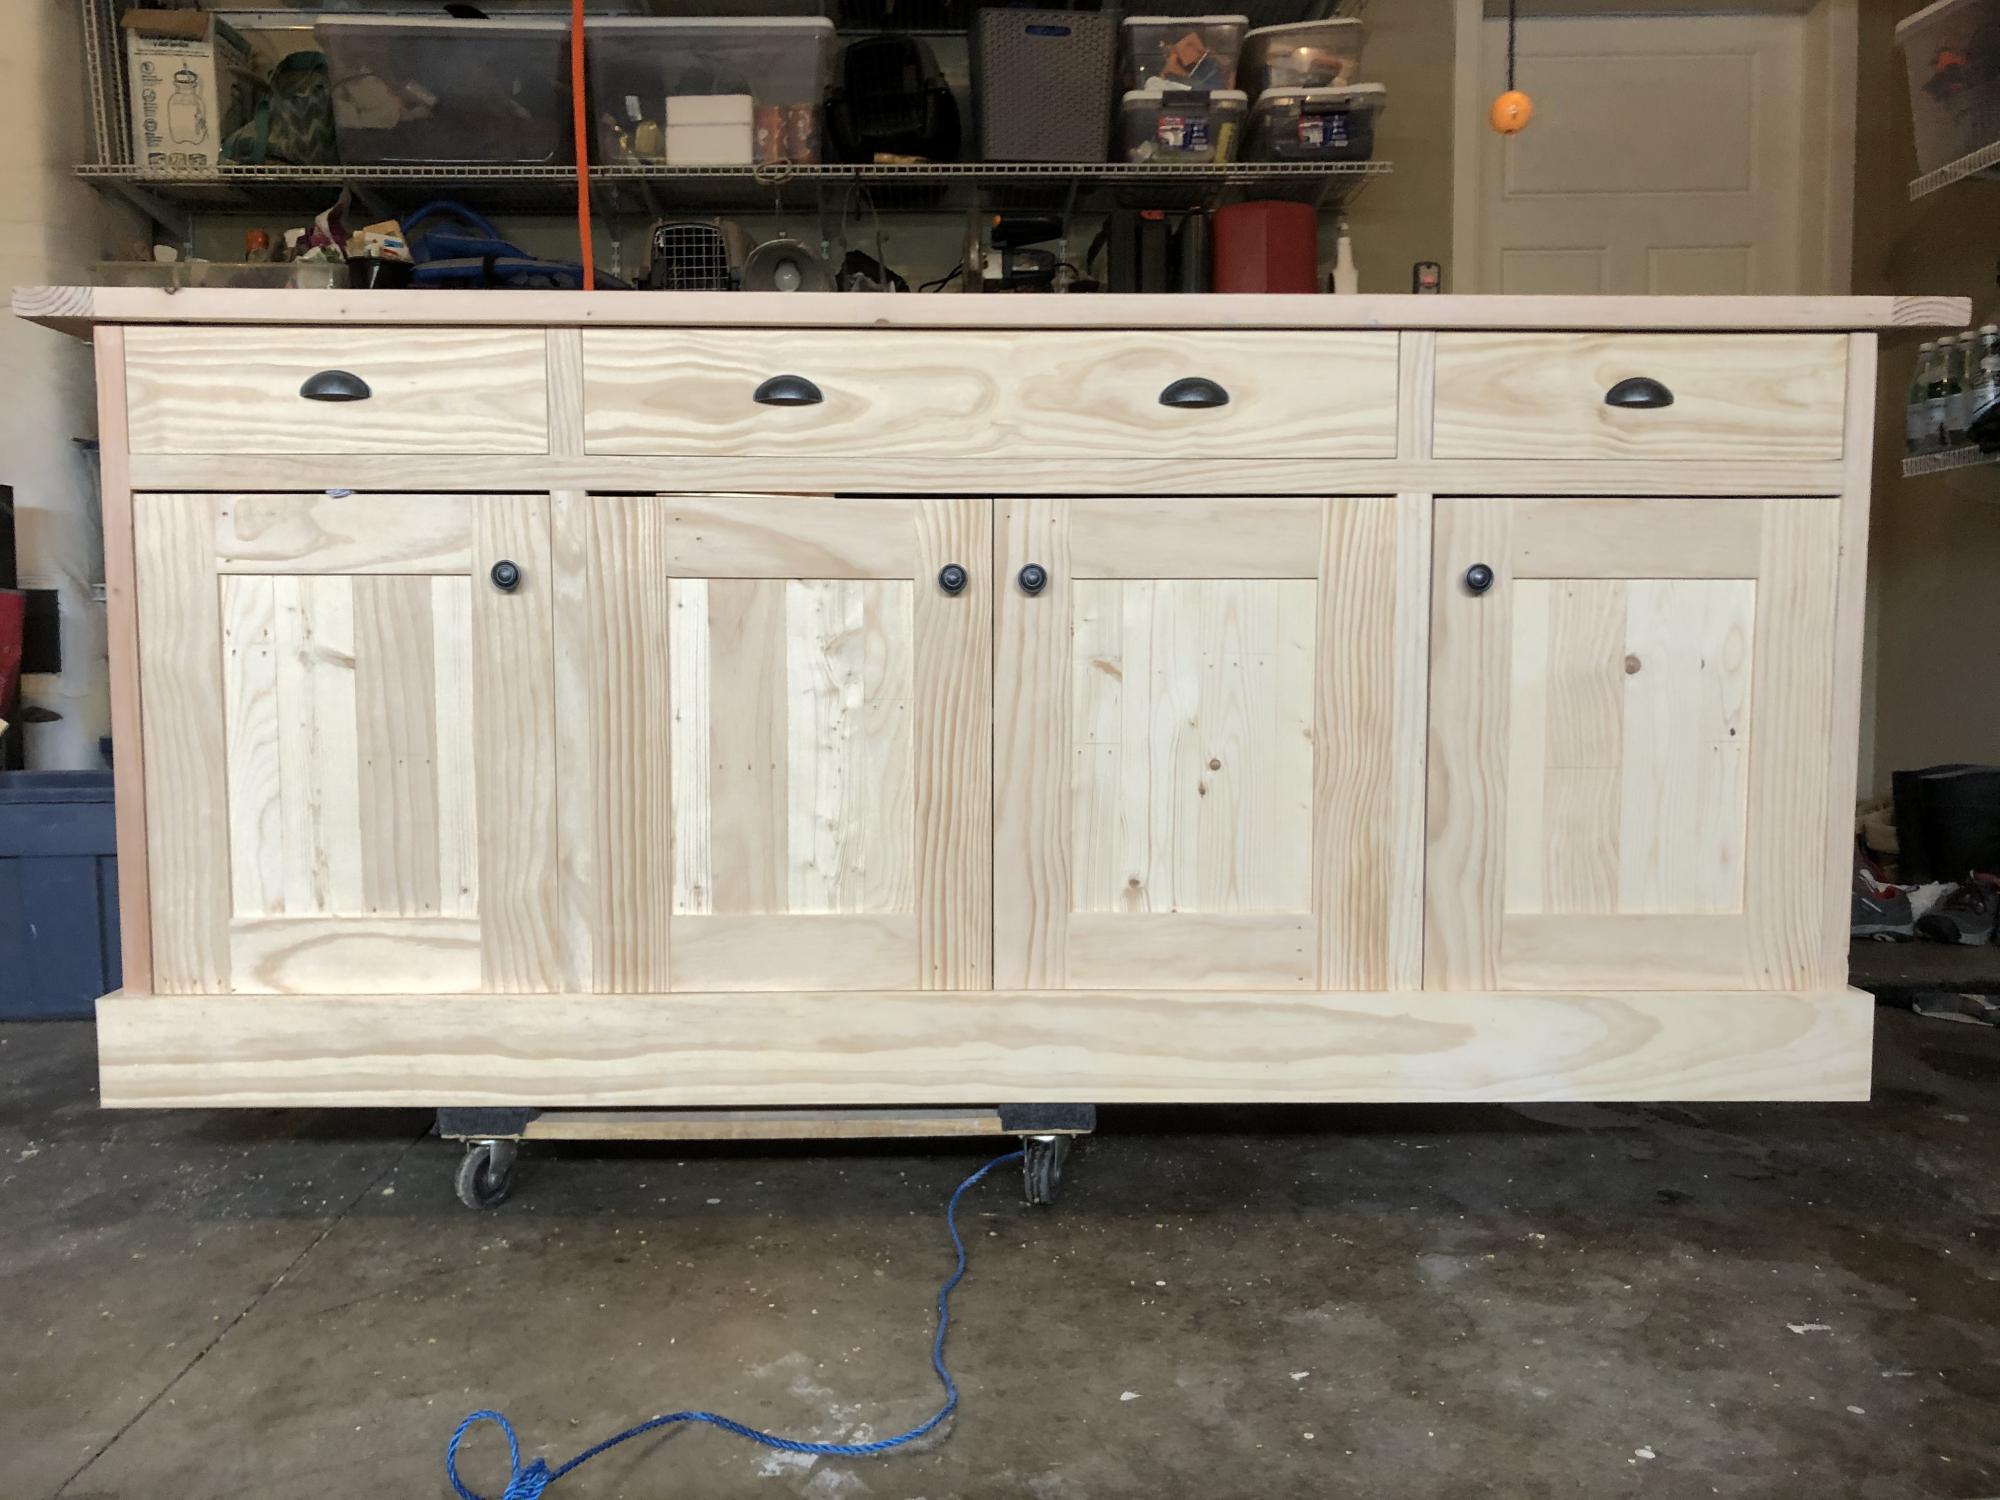
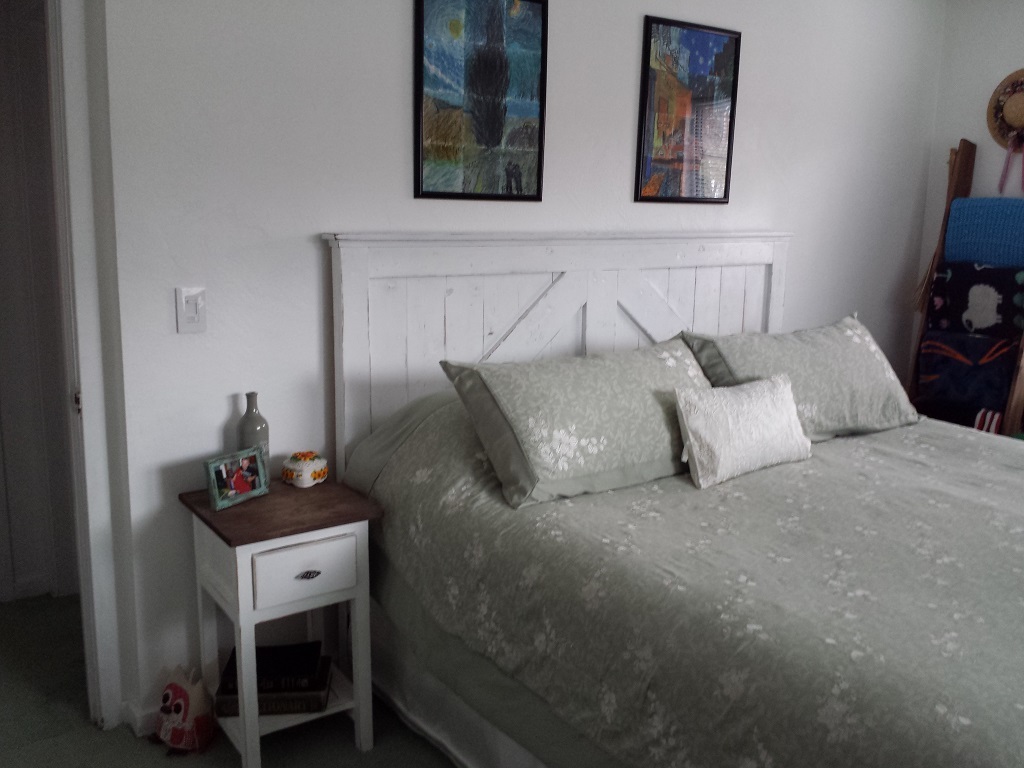
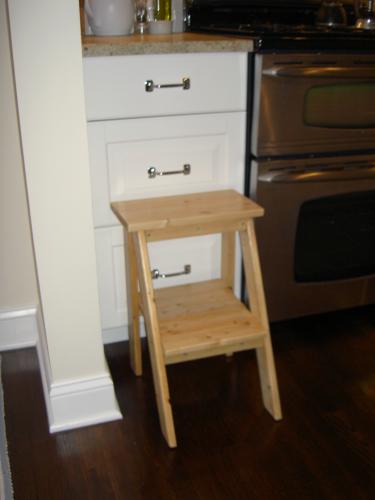
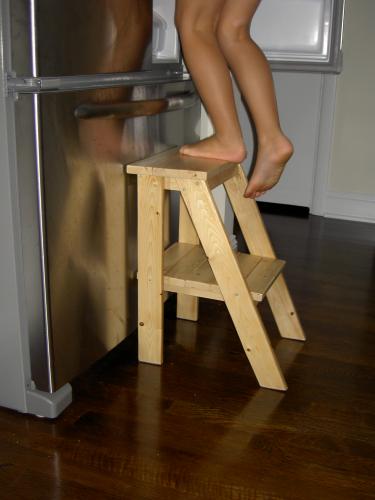
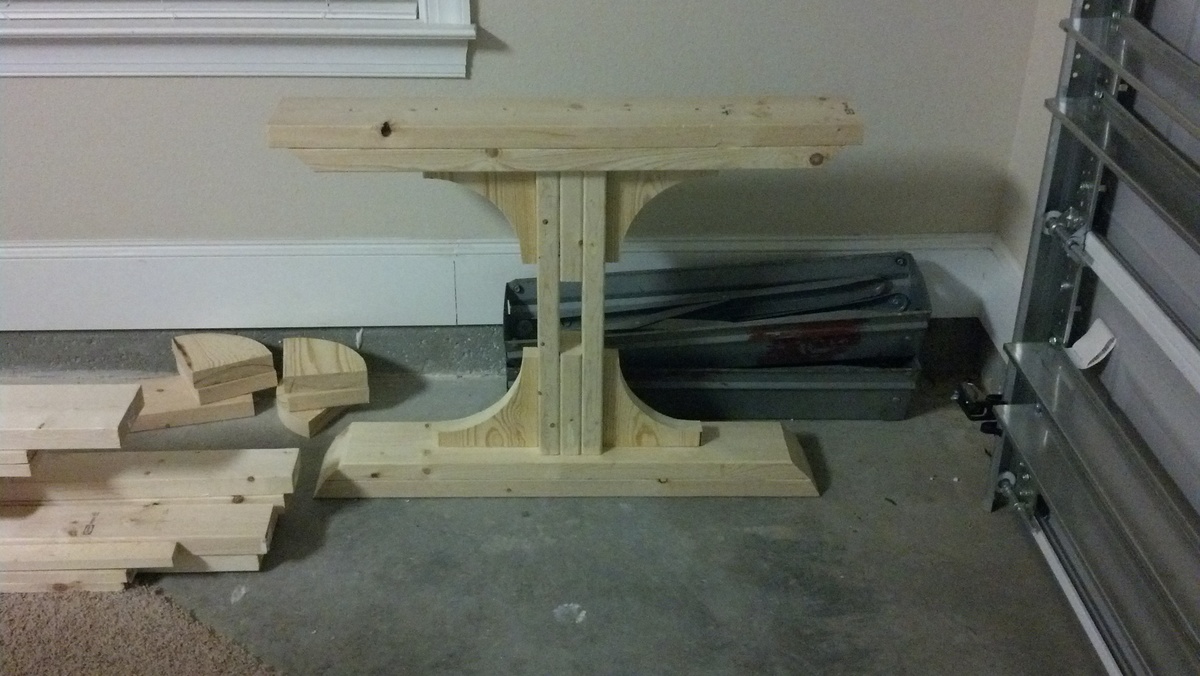
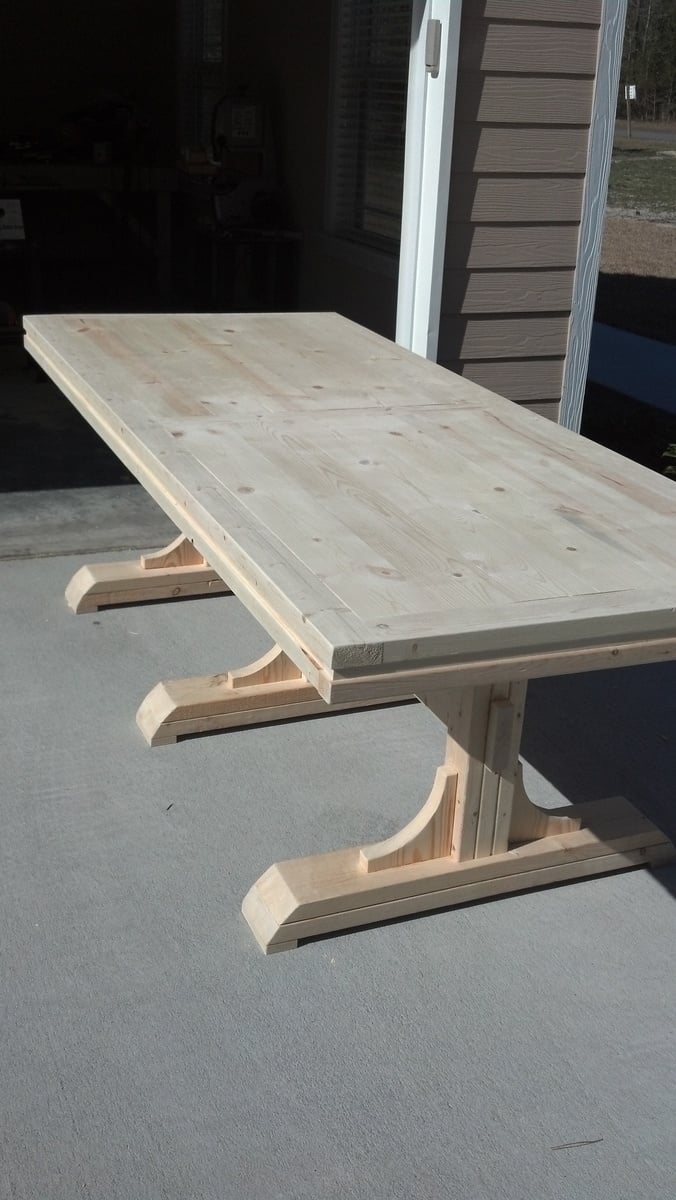
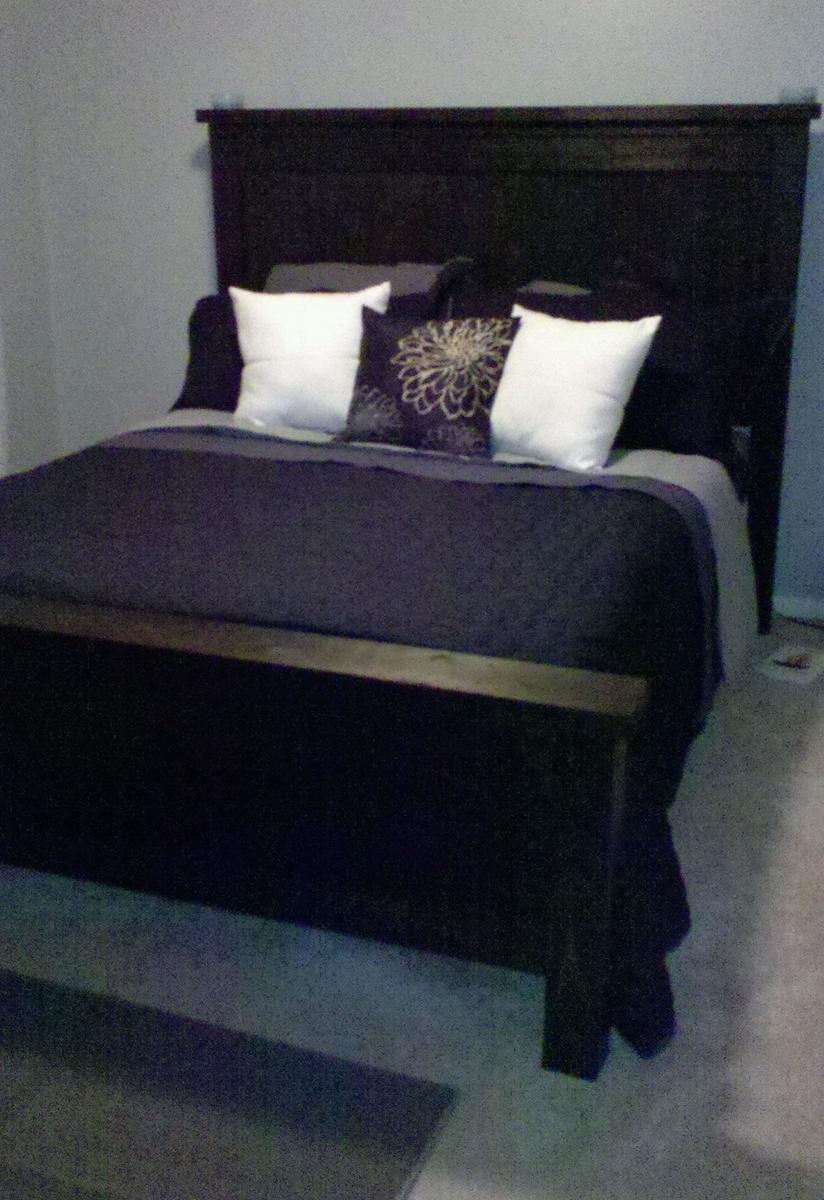
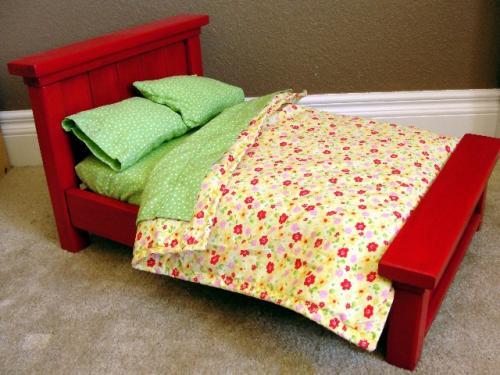
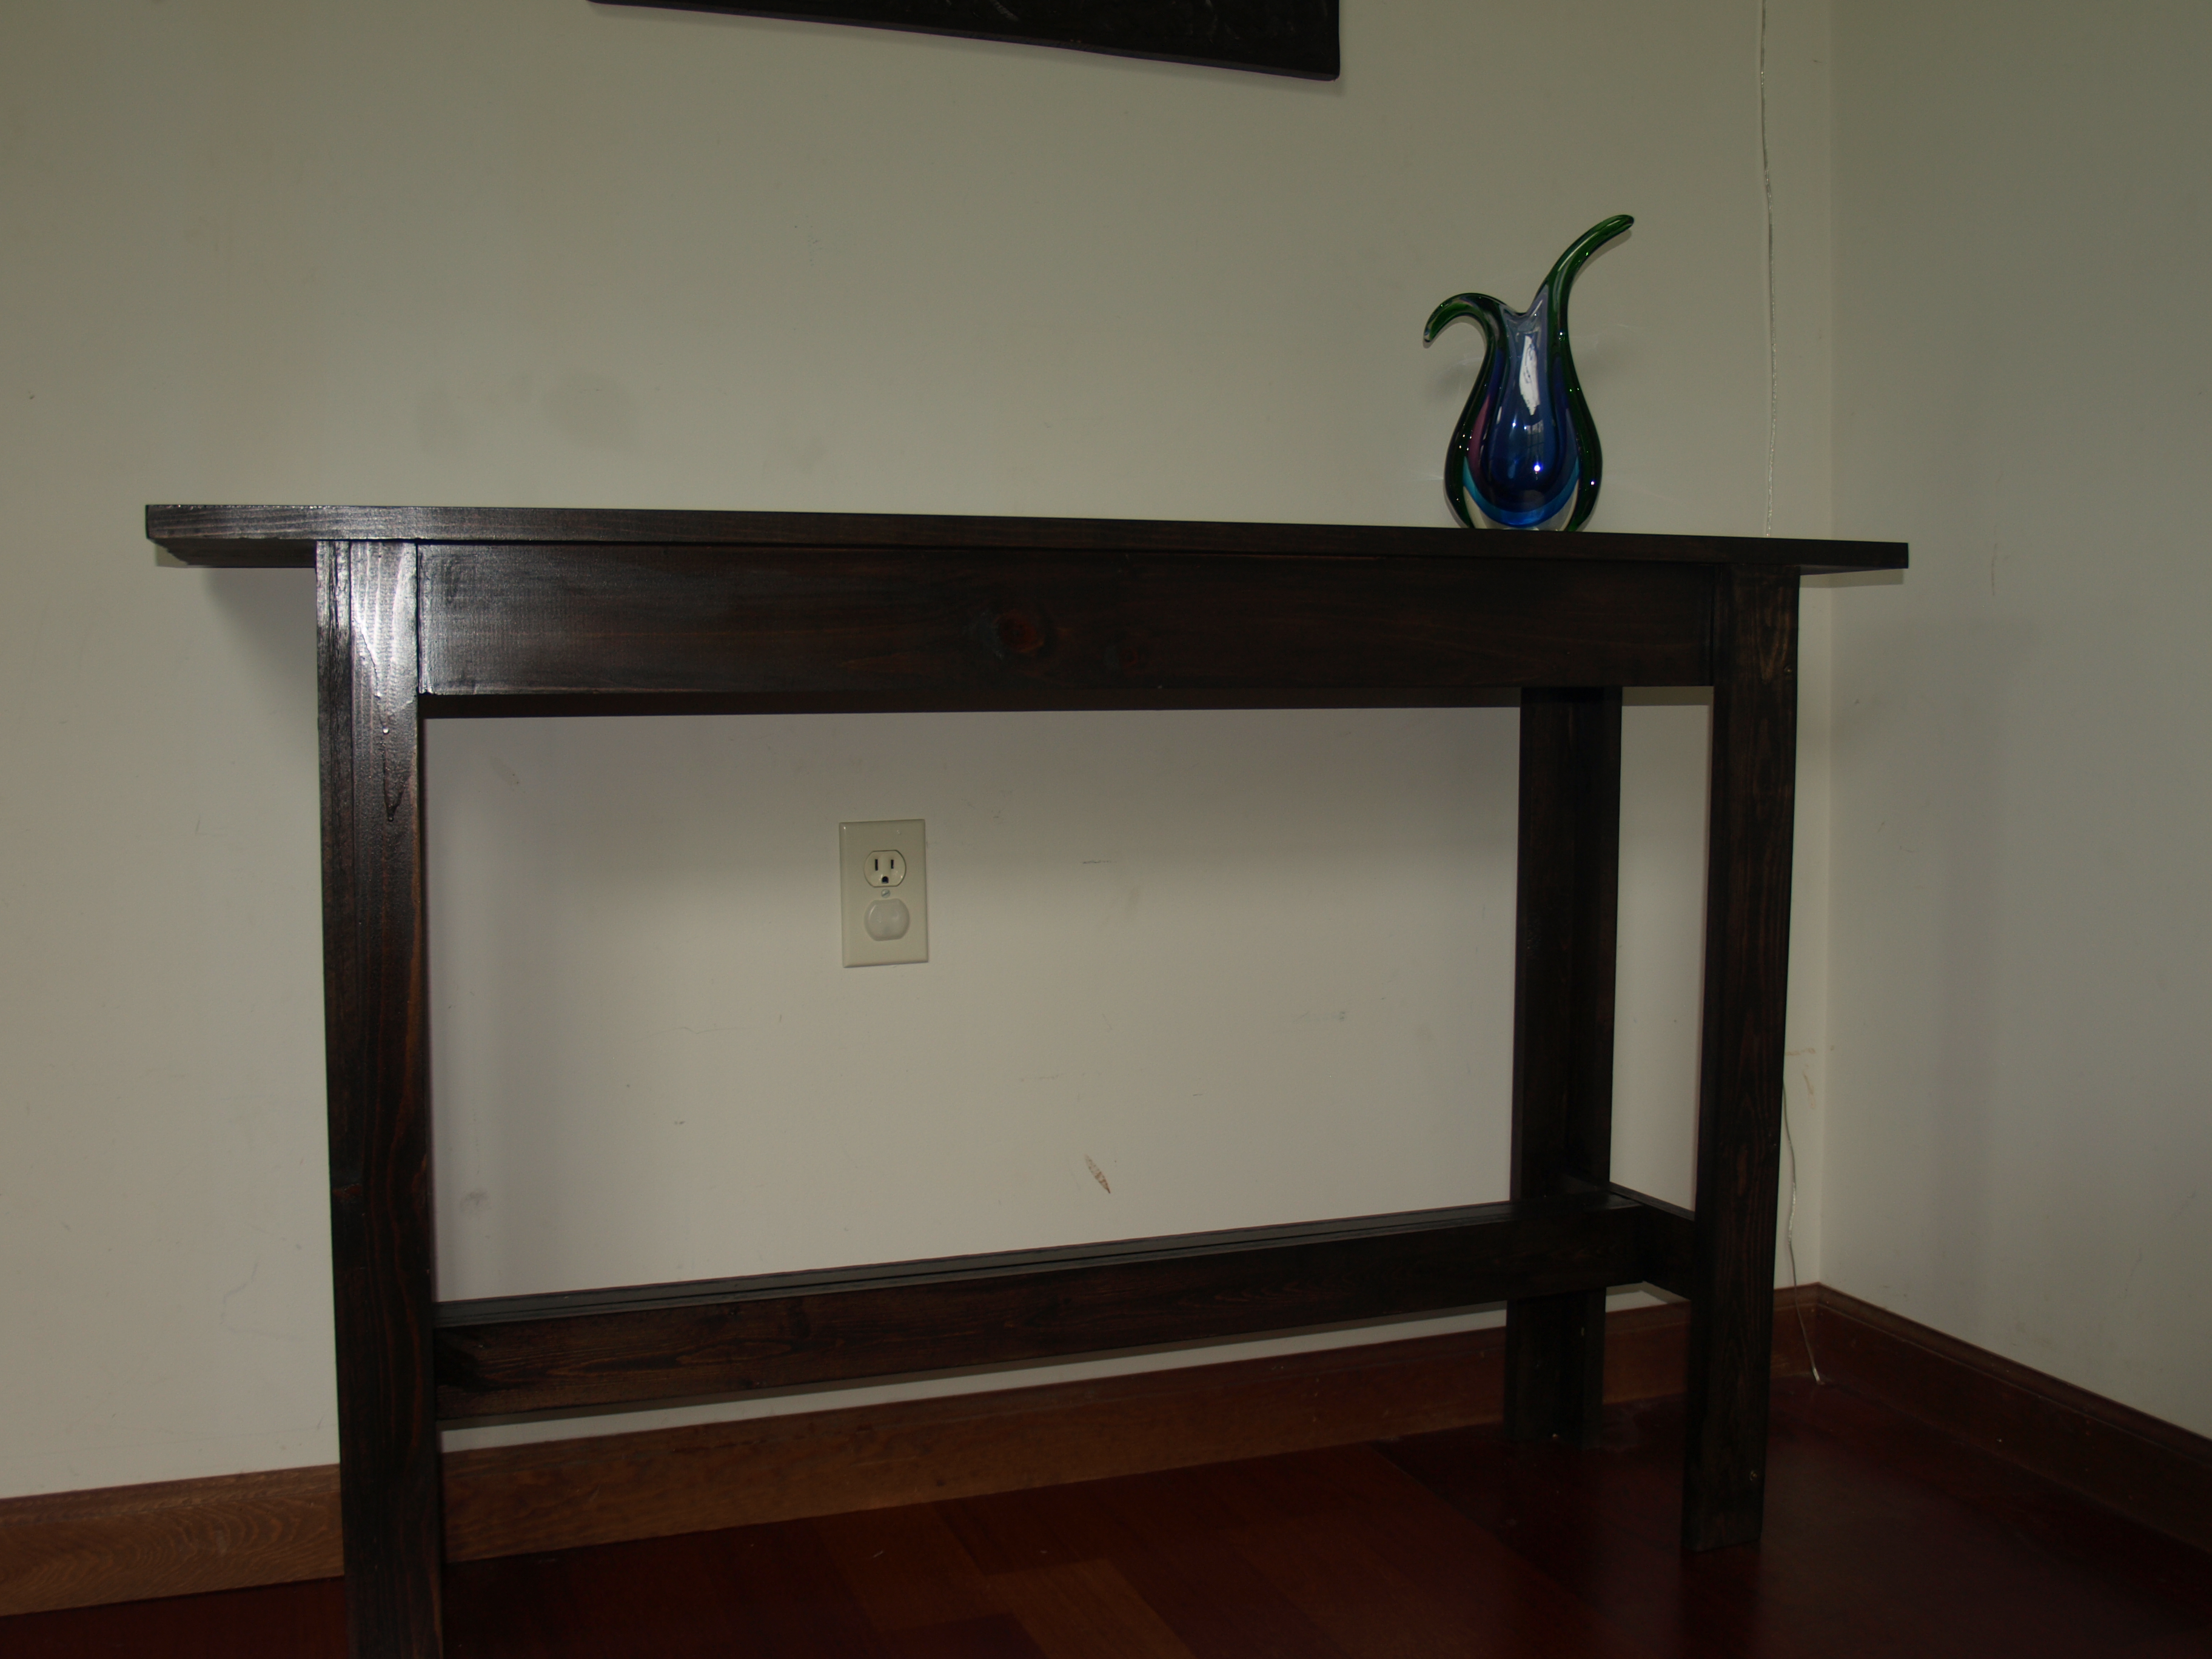
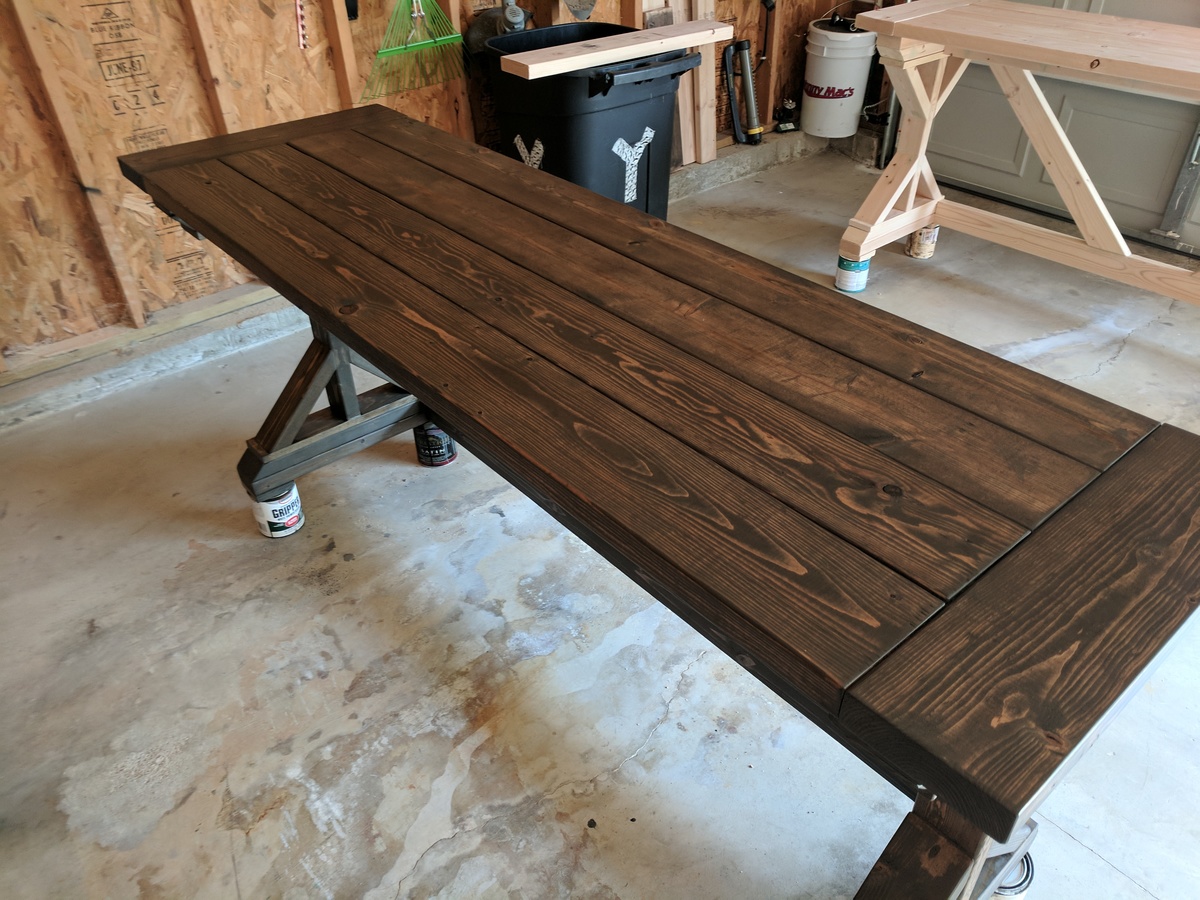
Our fifth build.
Built from rough pine.
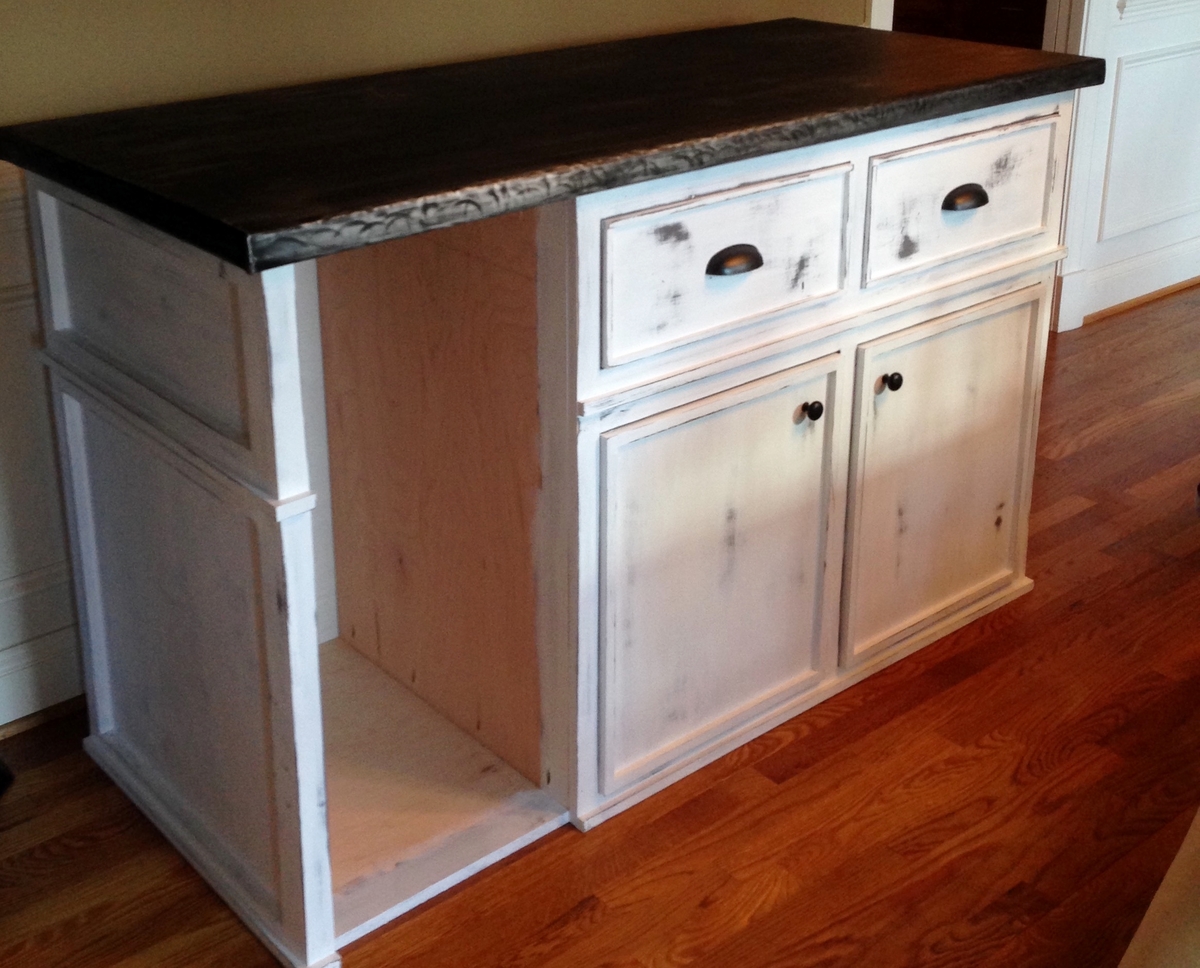
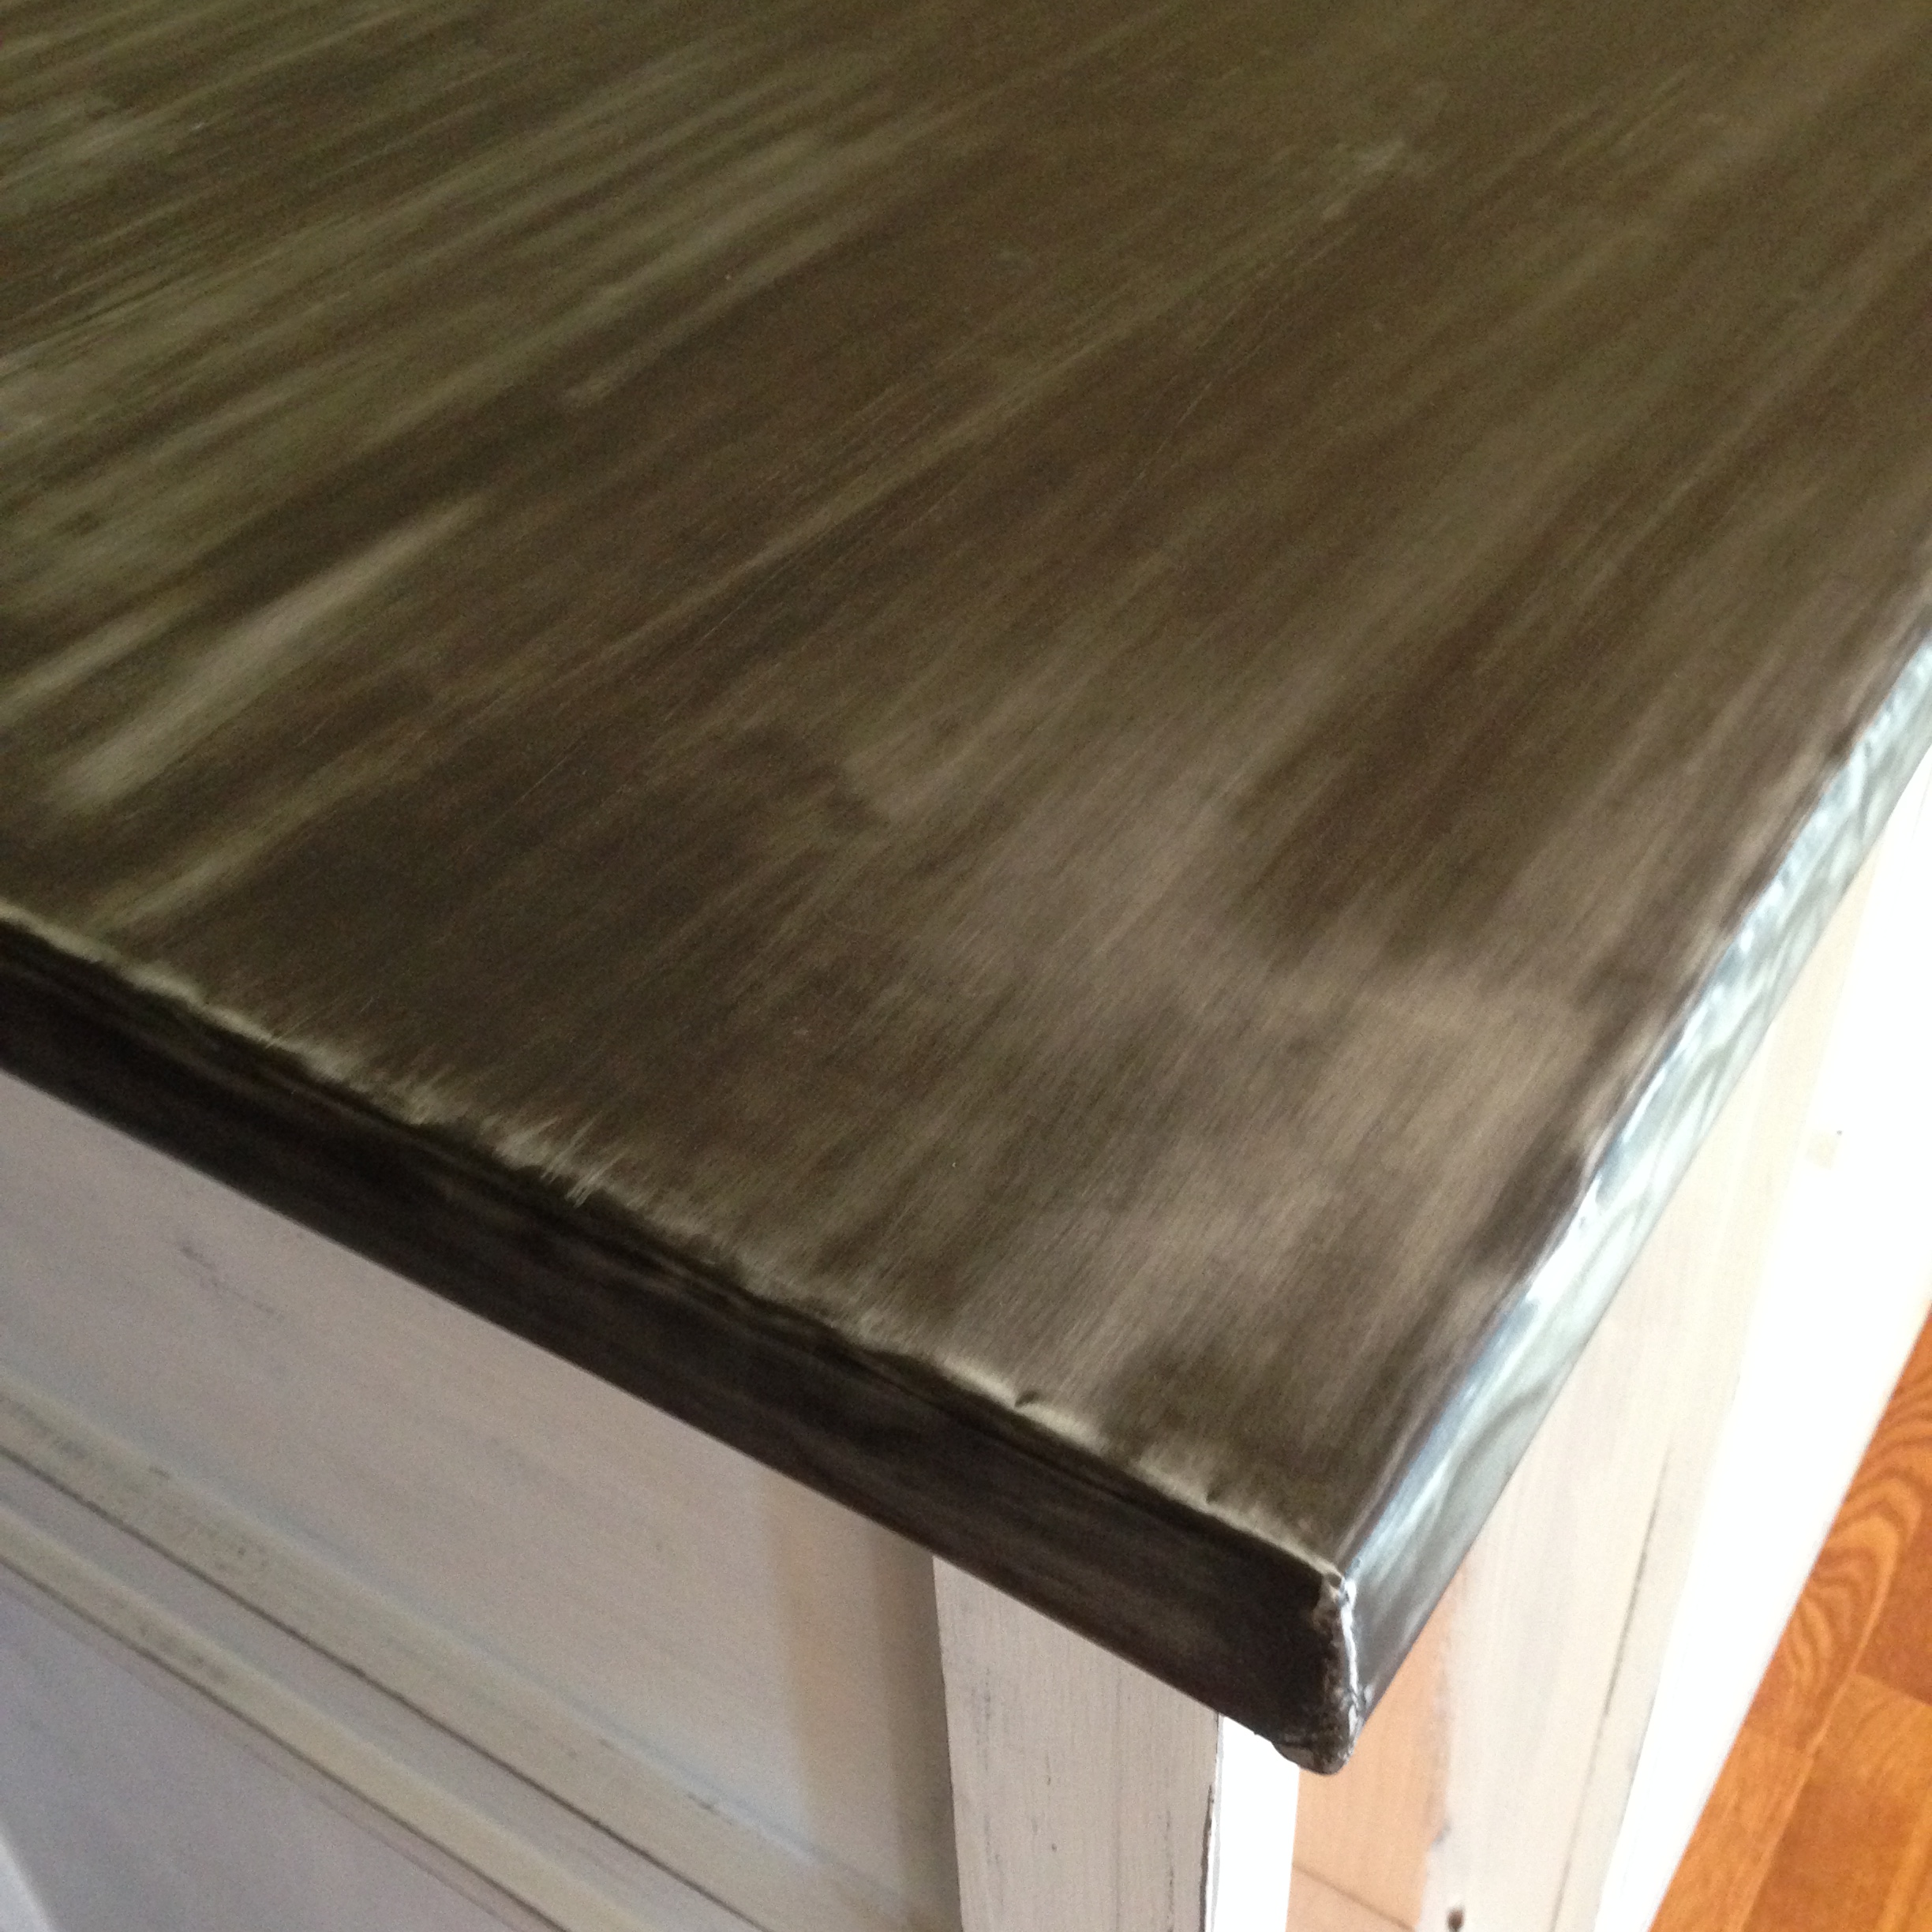
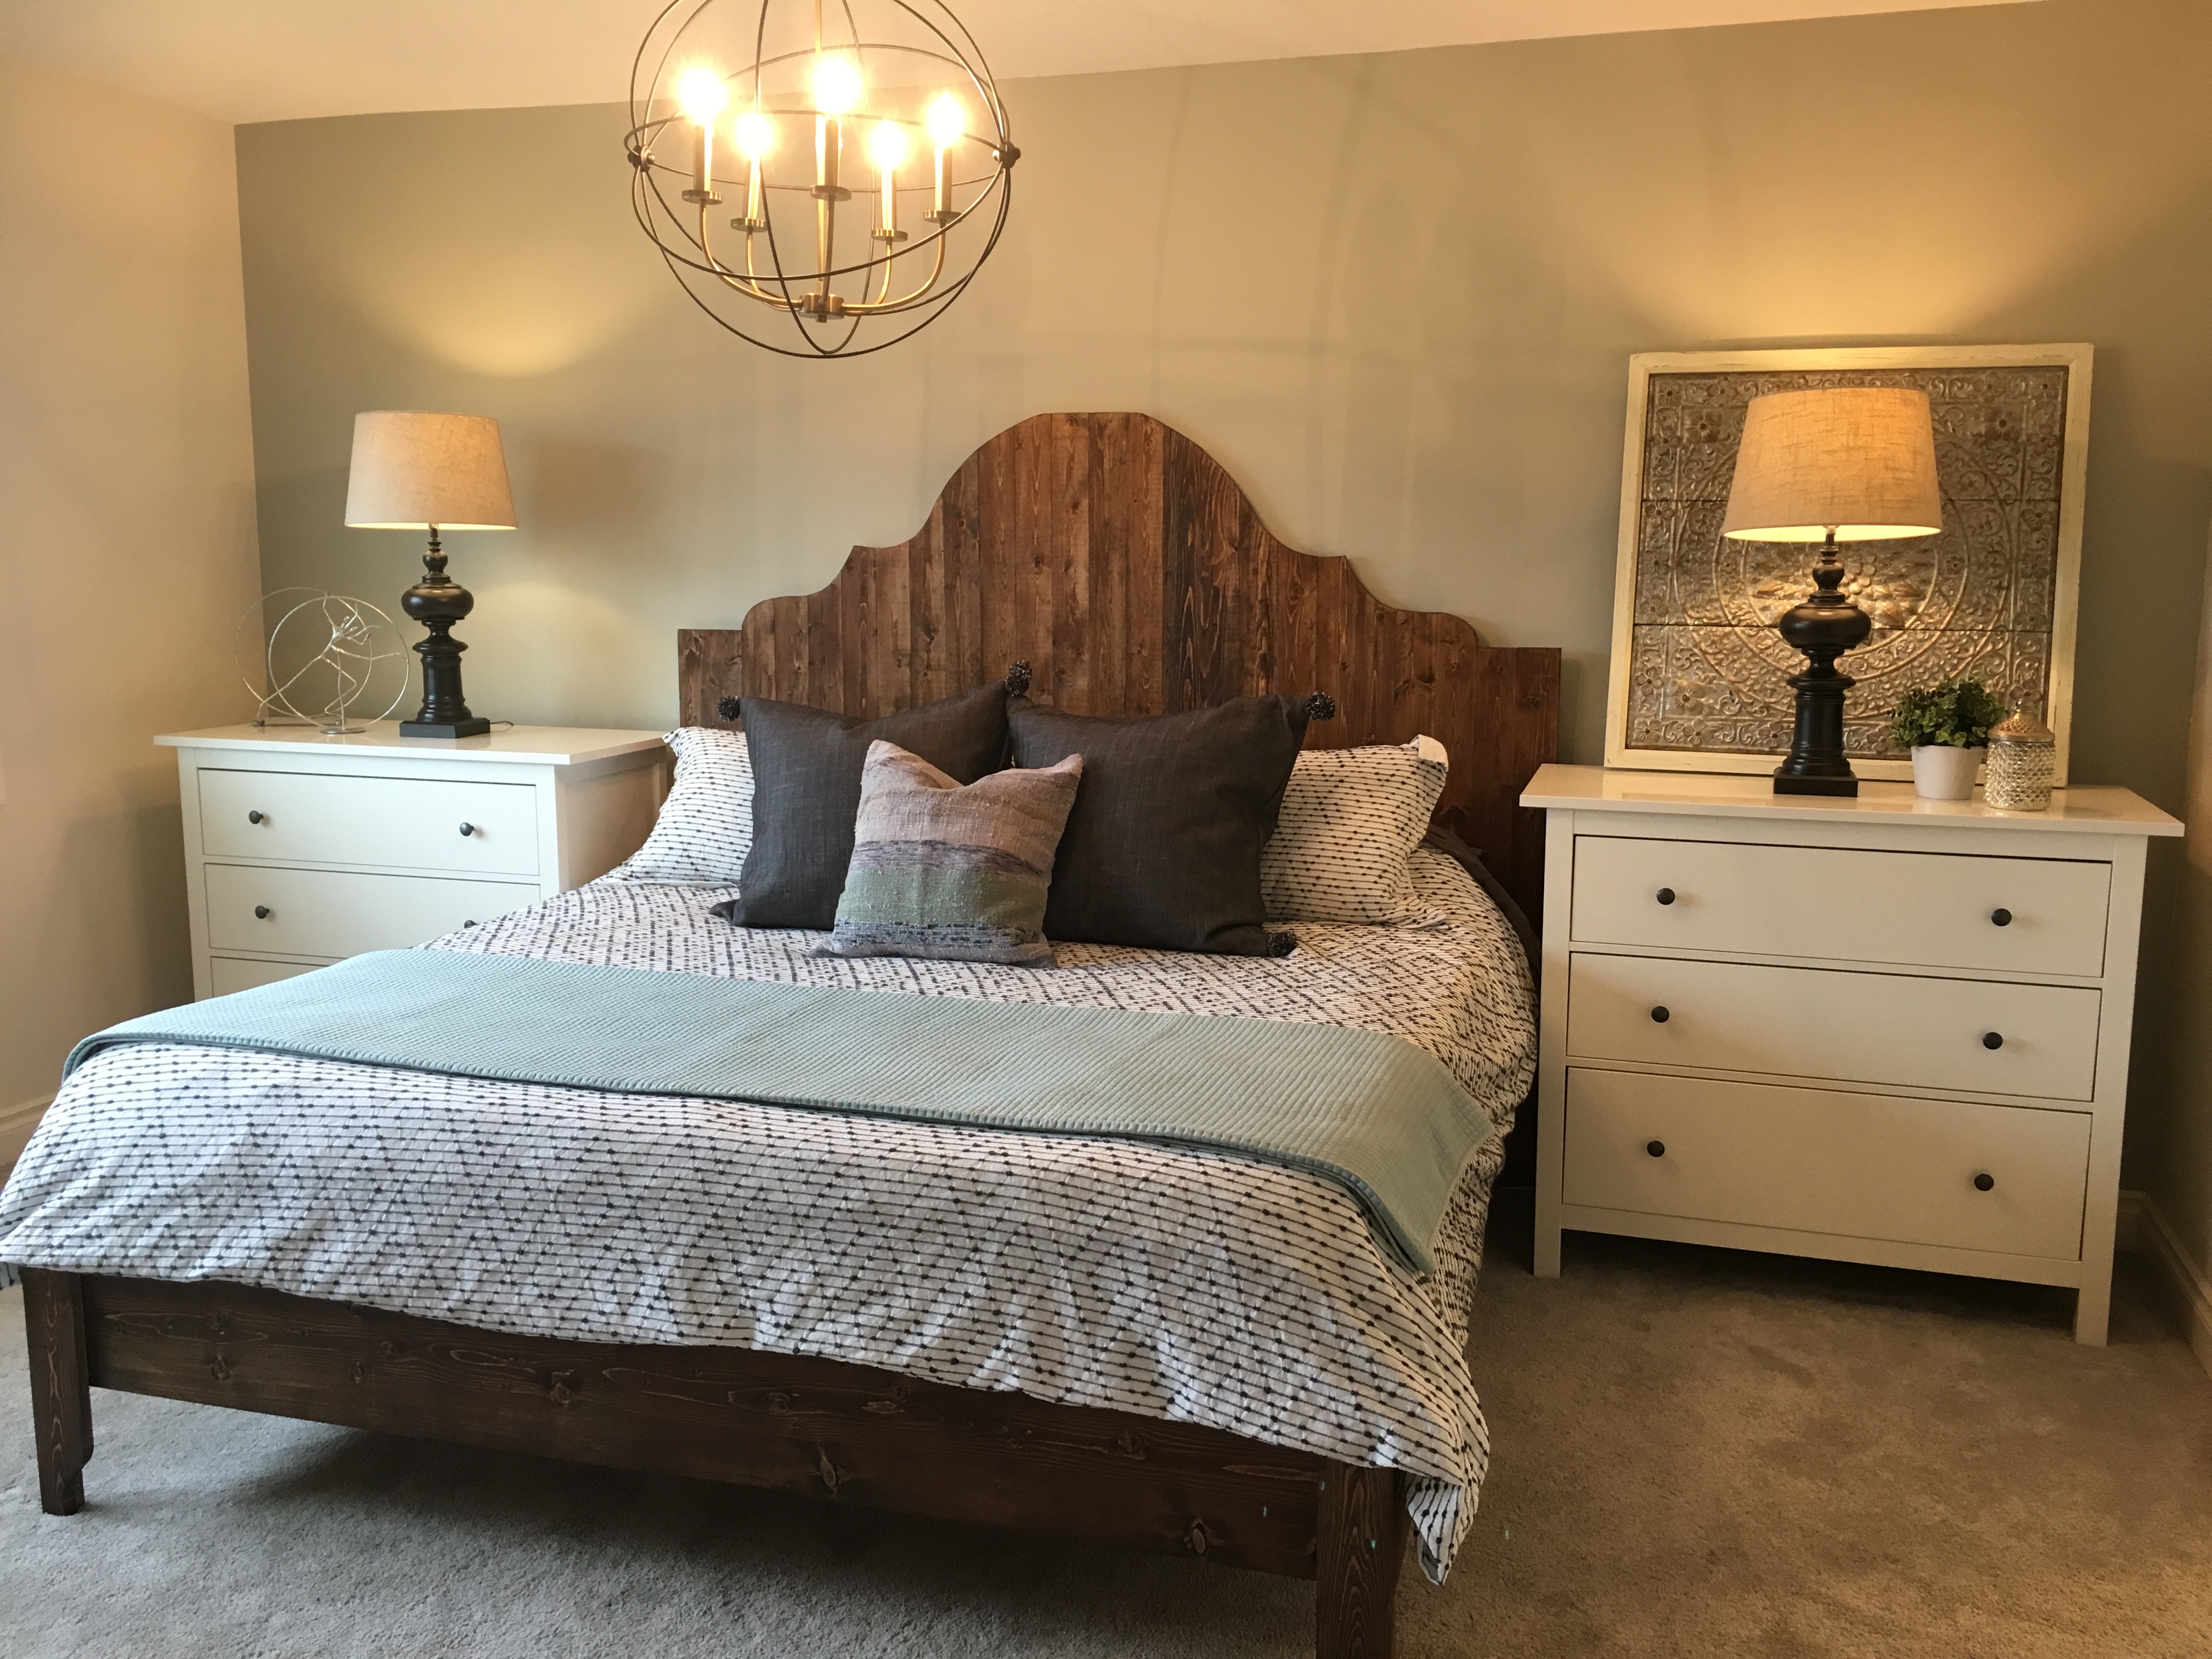
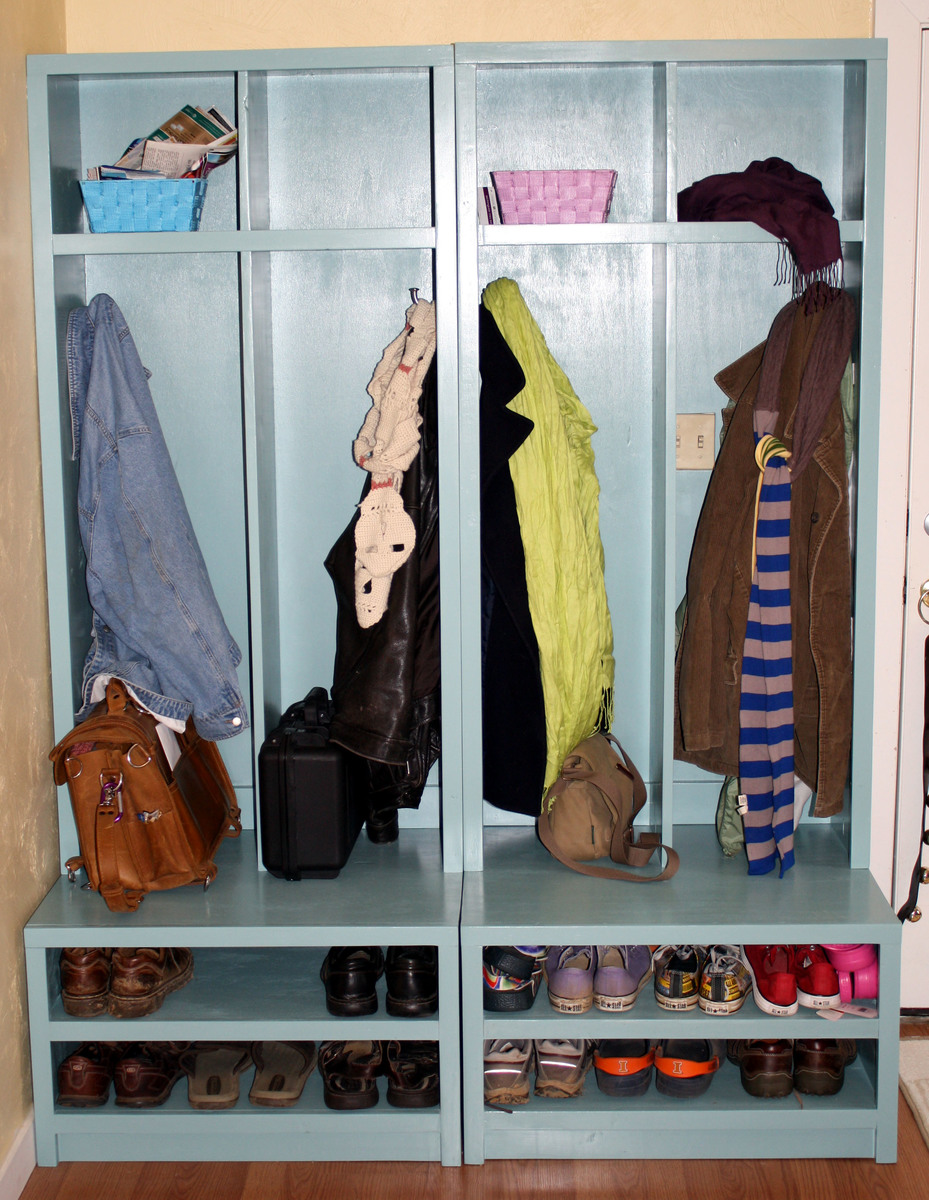
Modified for 1x2s in both panels.
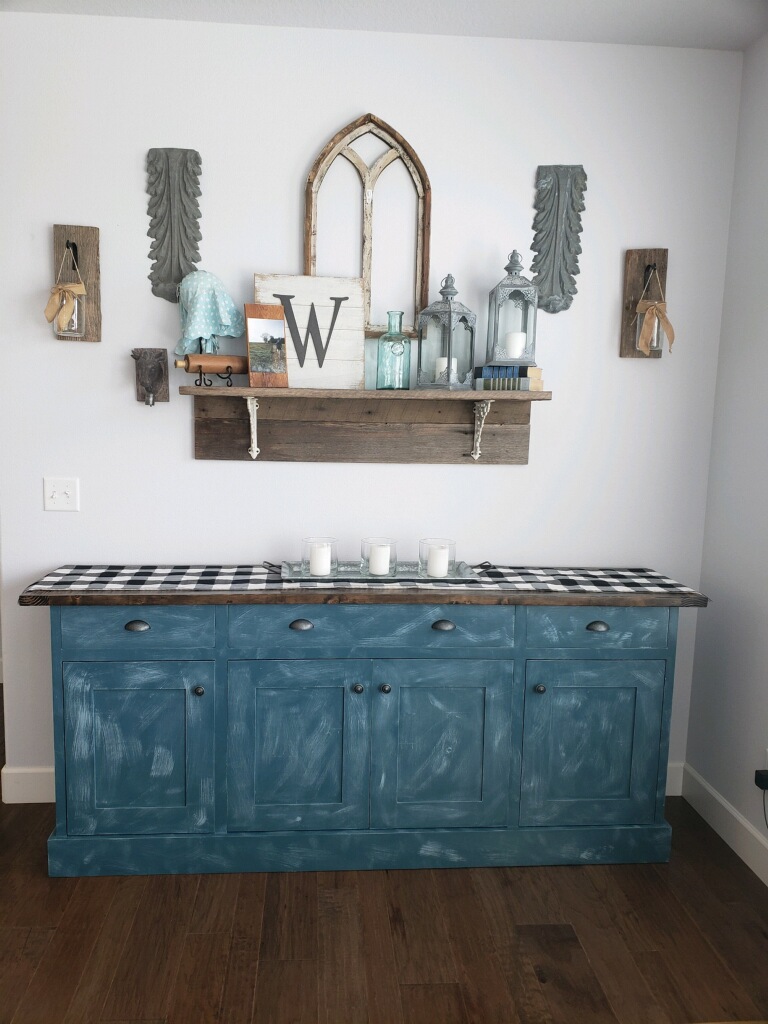
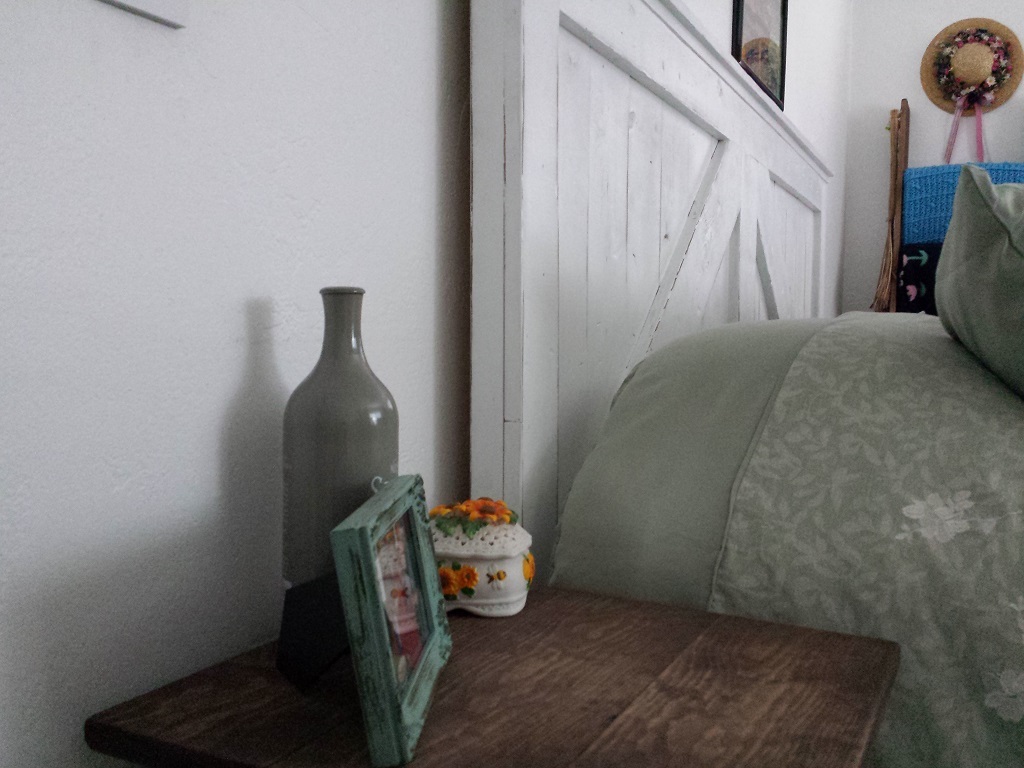
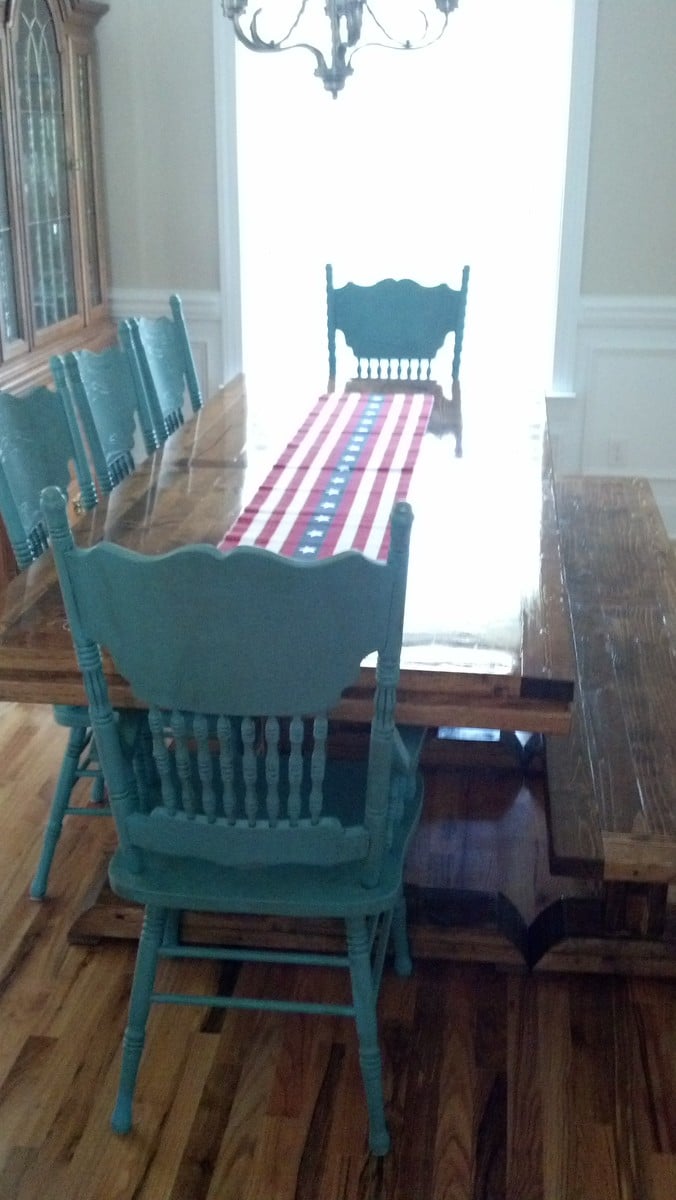
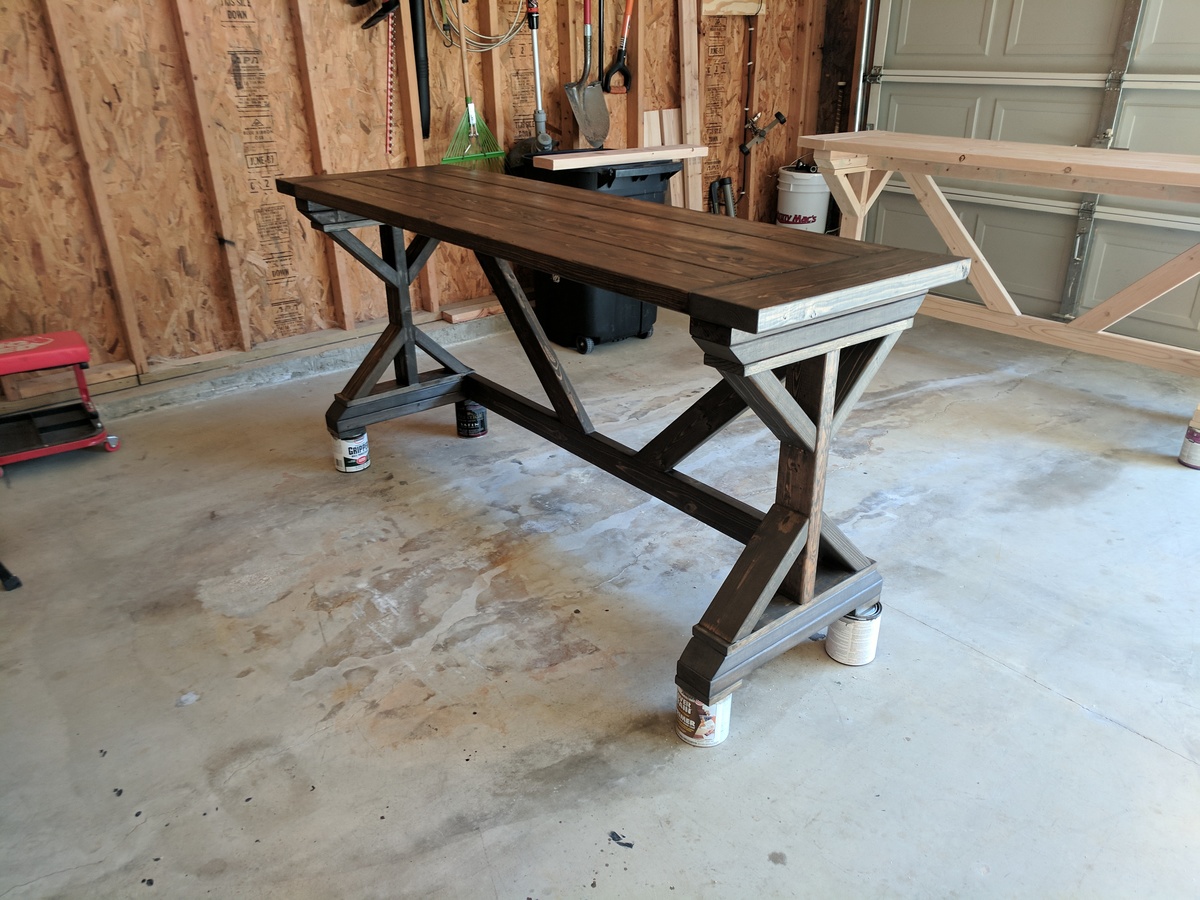
Footboard is stacked a little different because silly me got carried away and cut a board, before it was time to cut, and cut it too short. Oooops. Still works though. And looks superb I think.
We did not screw the joists vertical, and through the sideboards. I cut 1 inch pieces off the scraps from the joists, and mounted them from the inside, then laid the joists thick side up, and screwed them down into the mounted pieces.
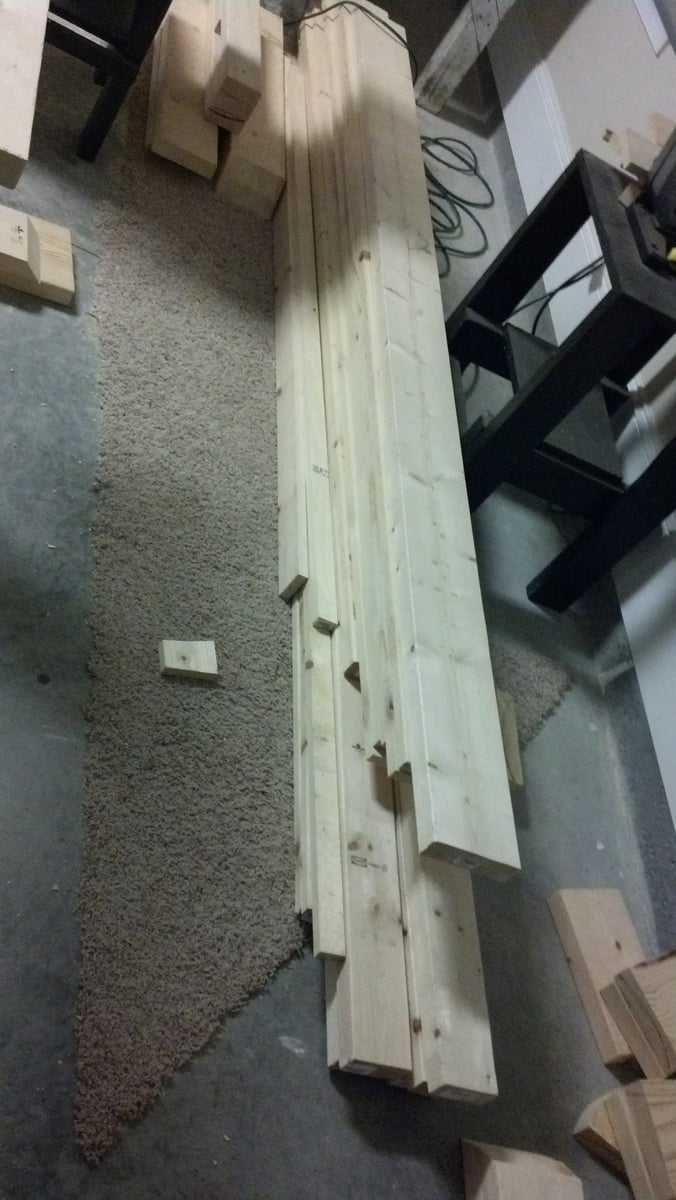
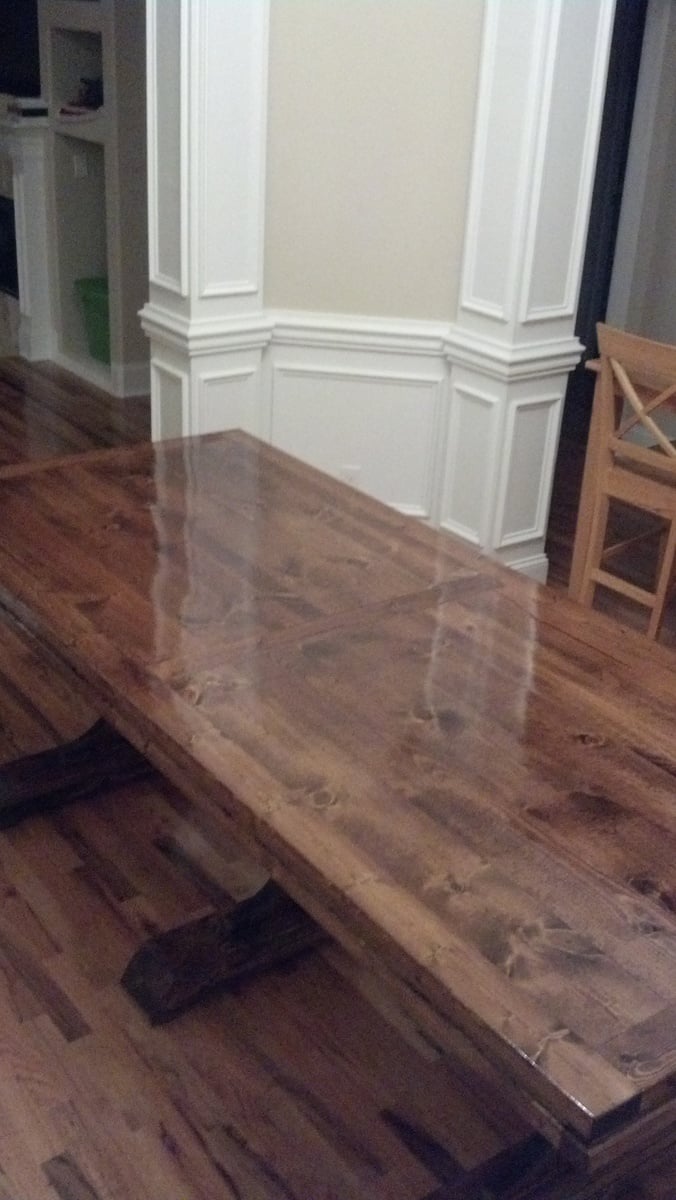
For step by step instructions, and details on where to buy everything, see my blog. I blogged each step of the way. It took us a month to build this due to life obstacles and bad timing on baby naps, but you should be able to do it in one good afternoon.


Comments
Ana White Admin
Mon, 10/04/2021 - 16:49
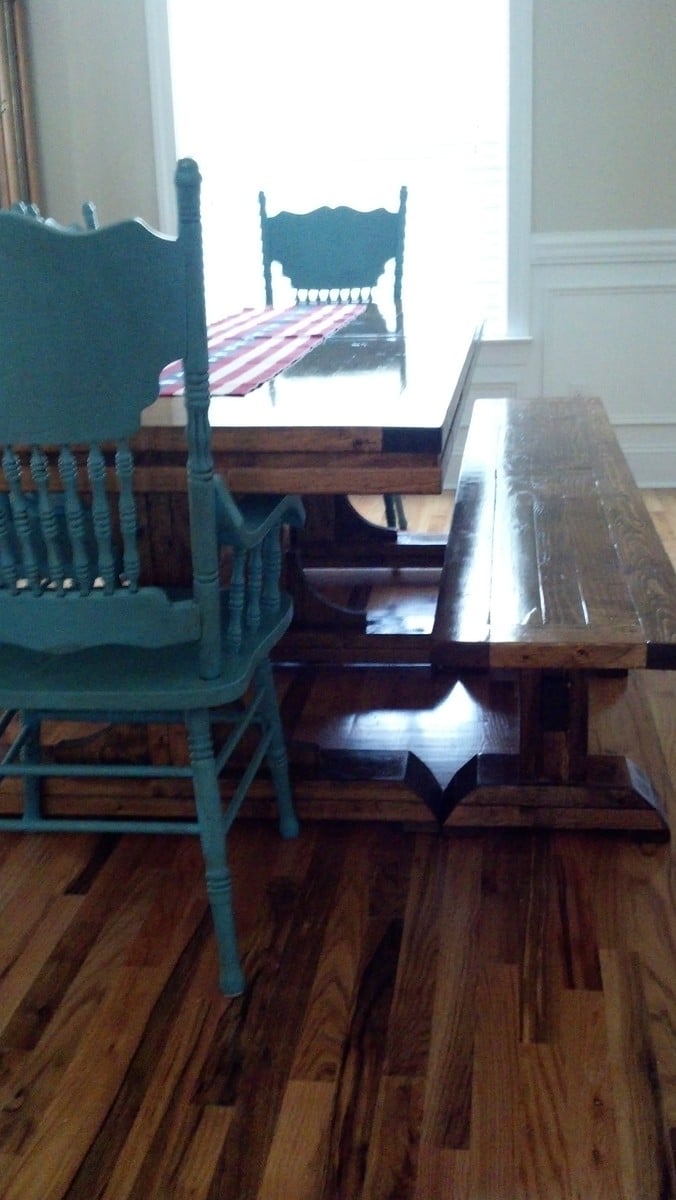
Great teamwork!
Beautiful build and wonderful finish, thank you for sharing!