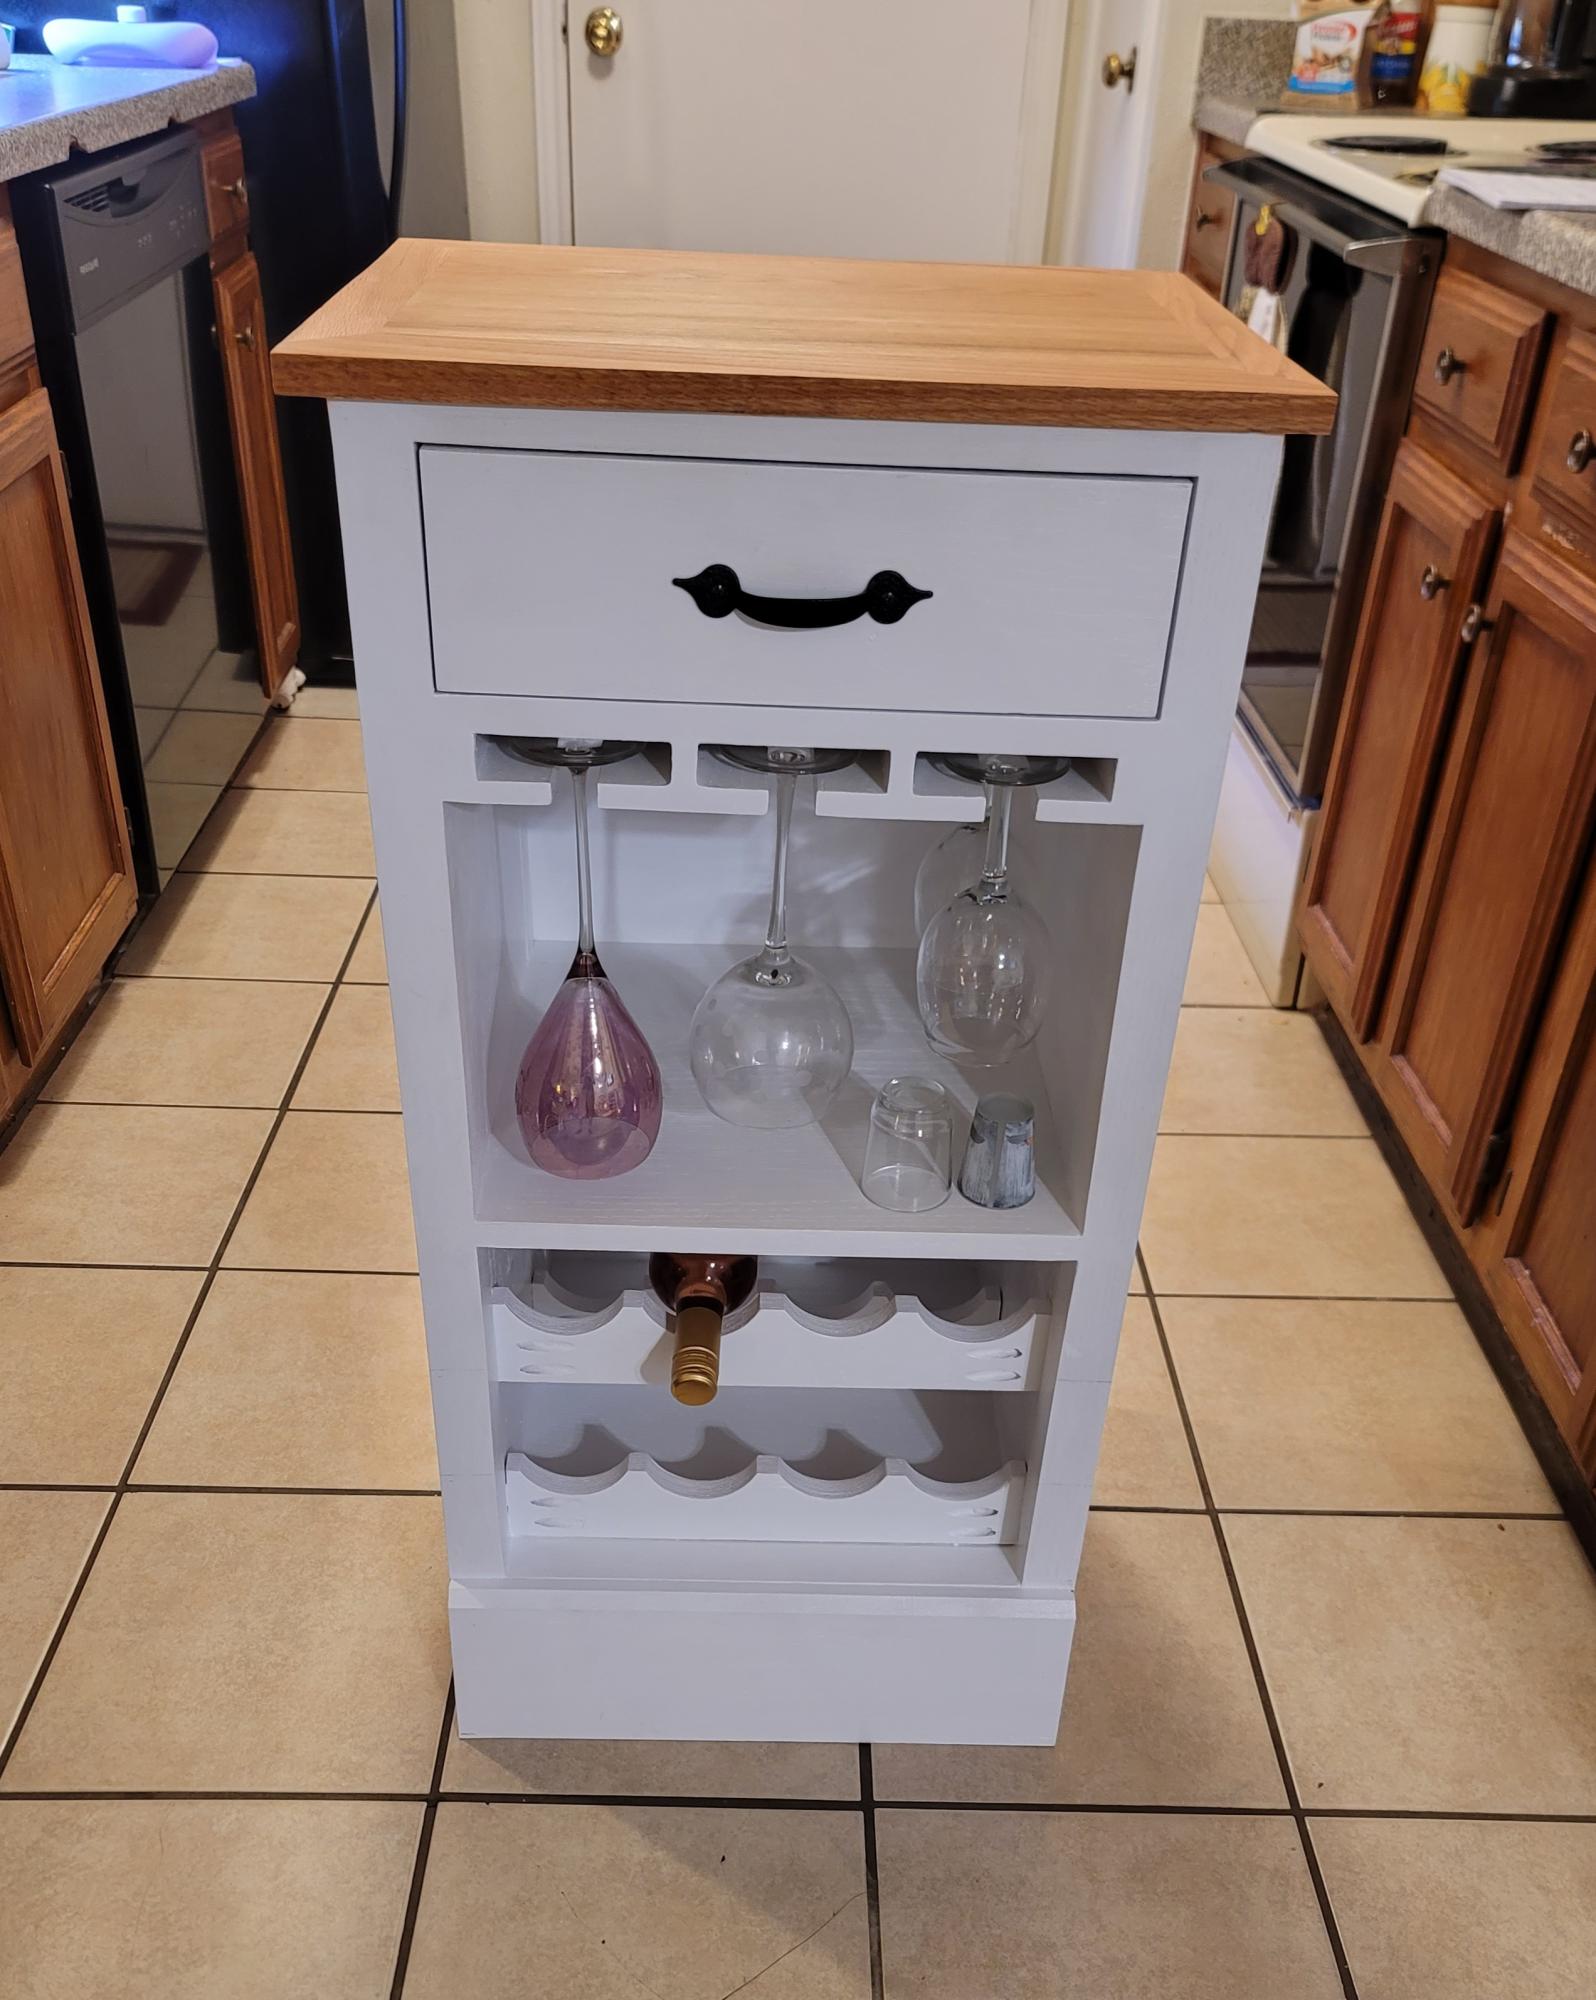
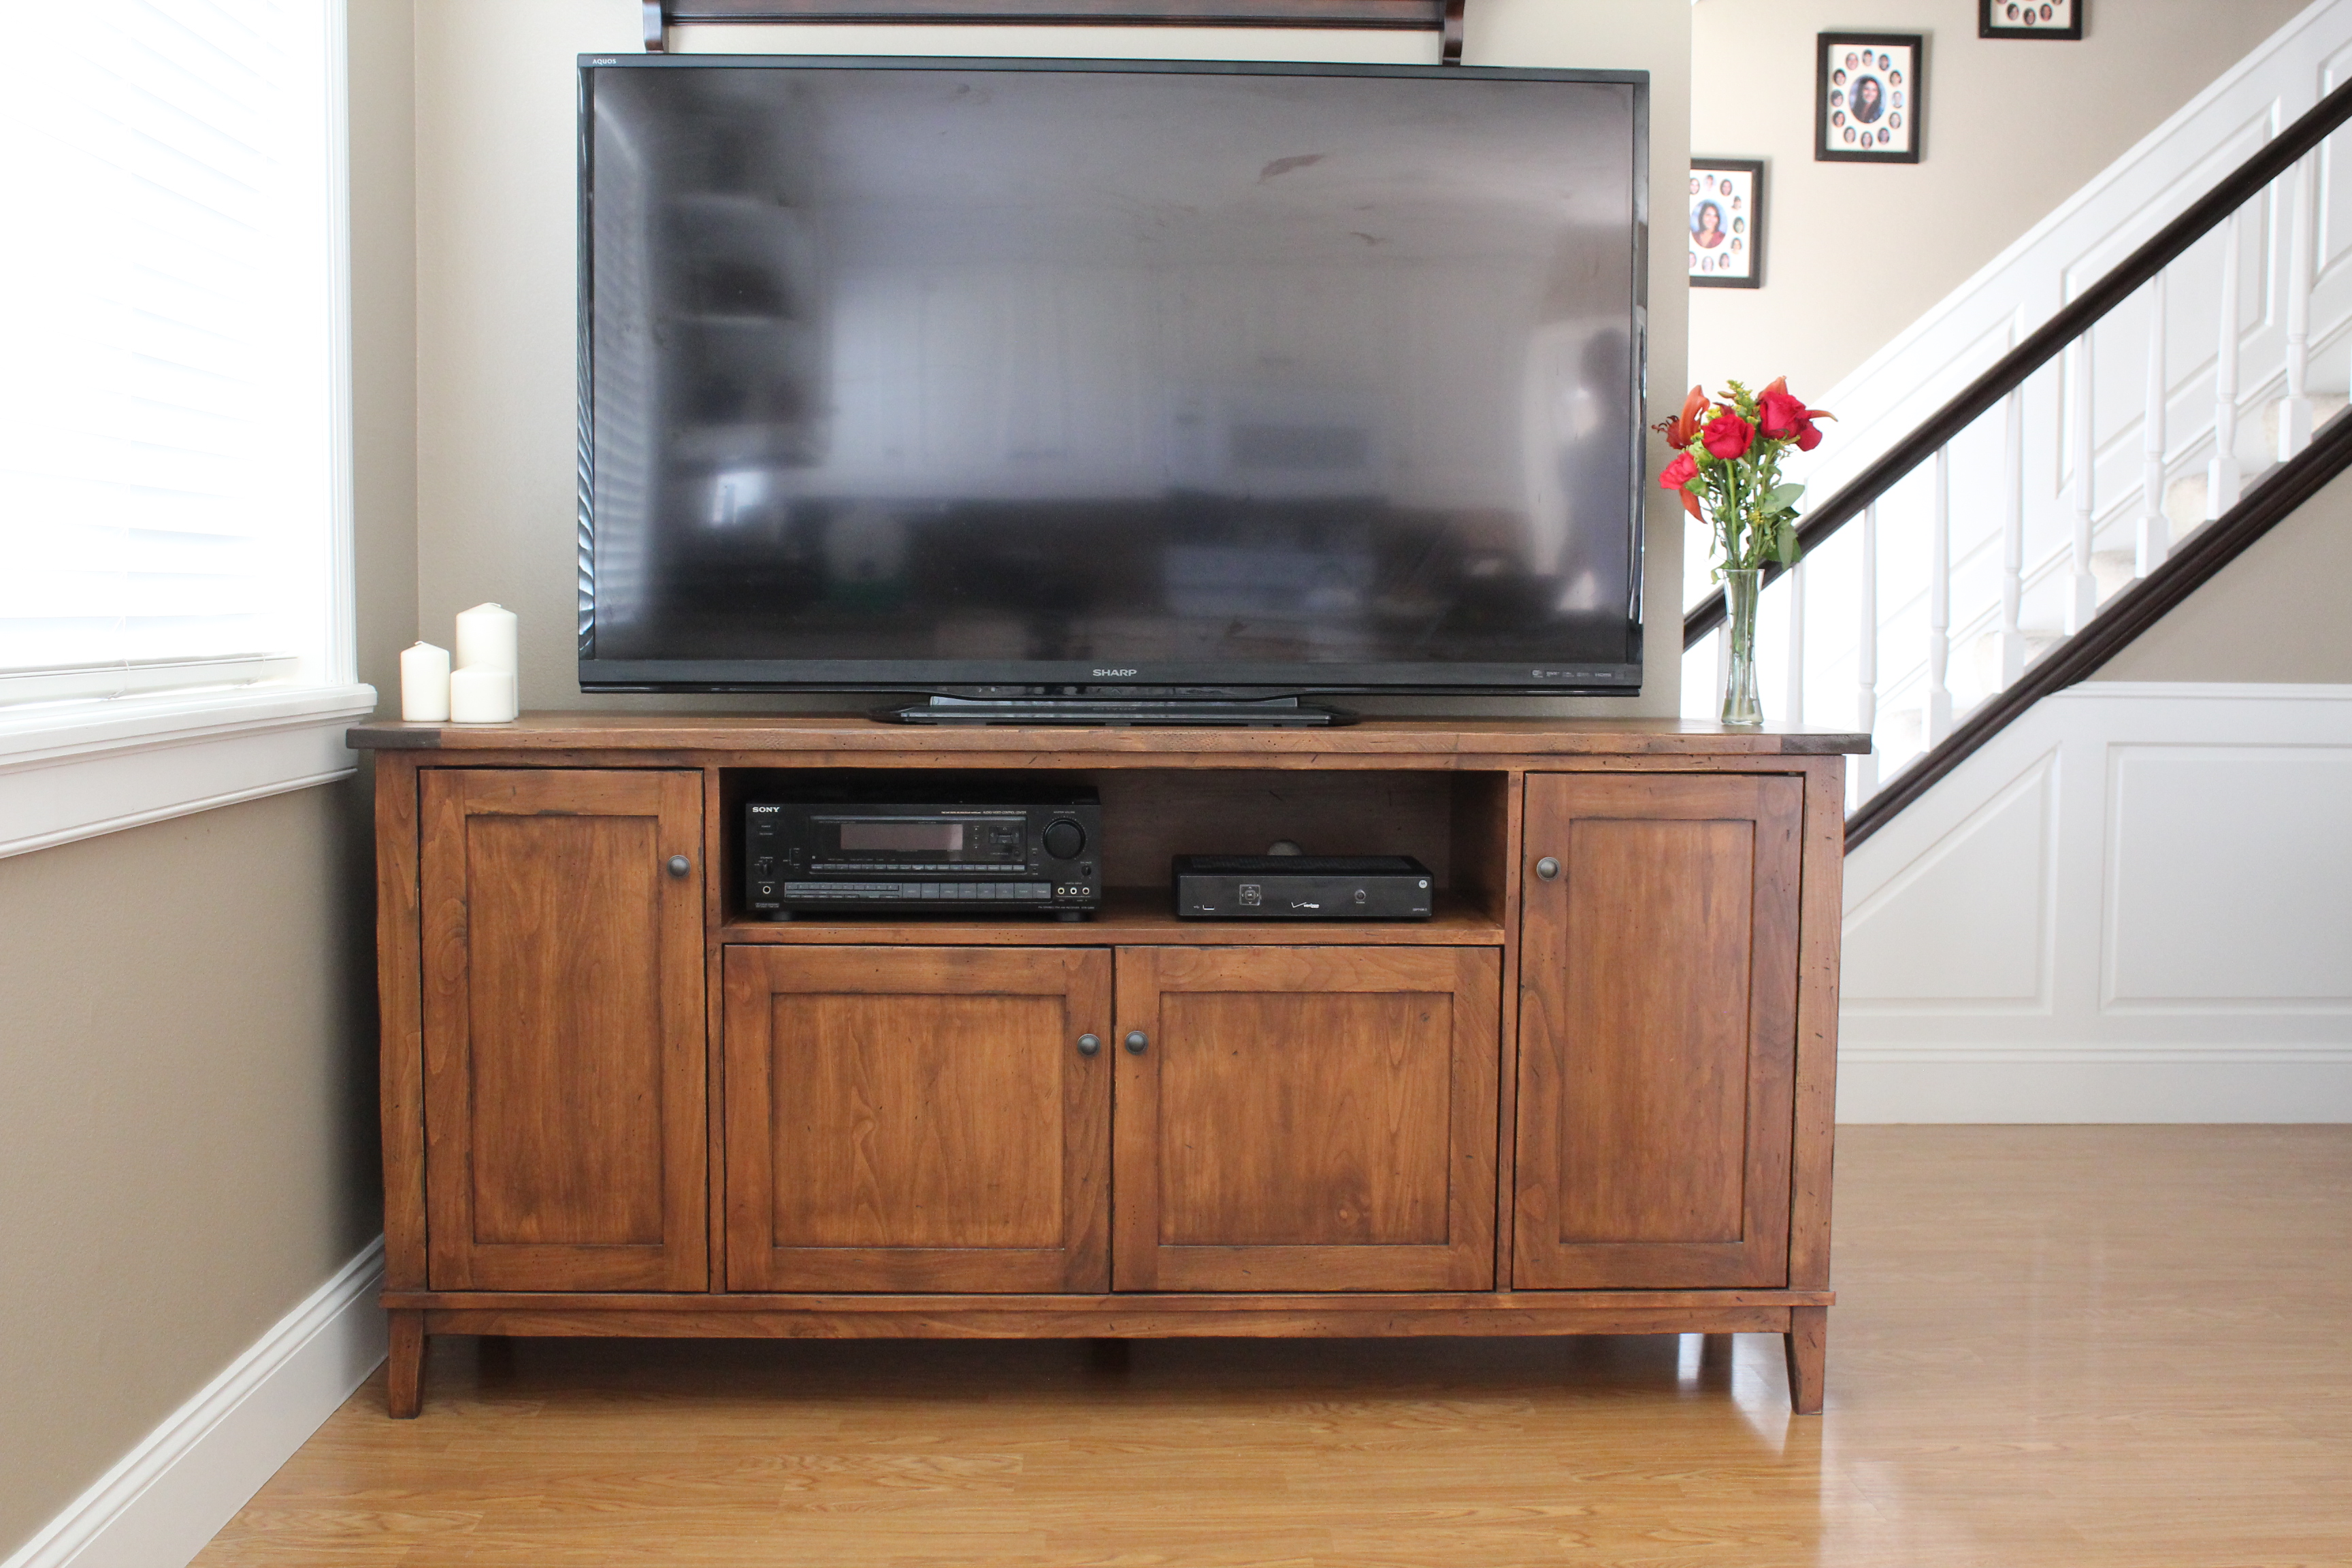
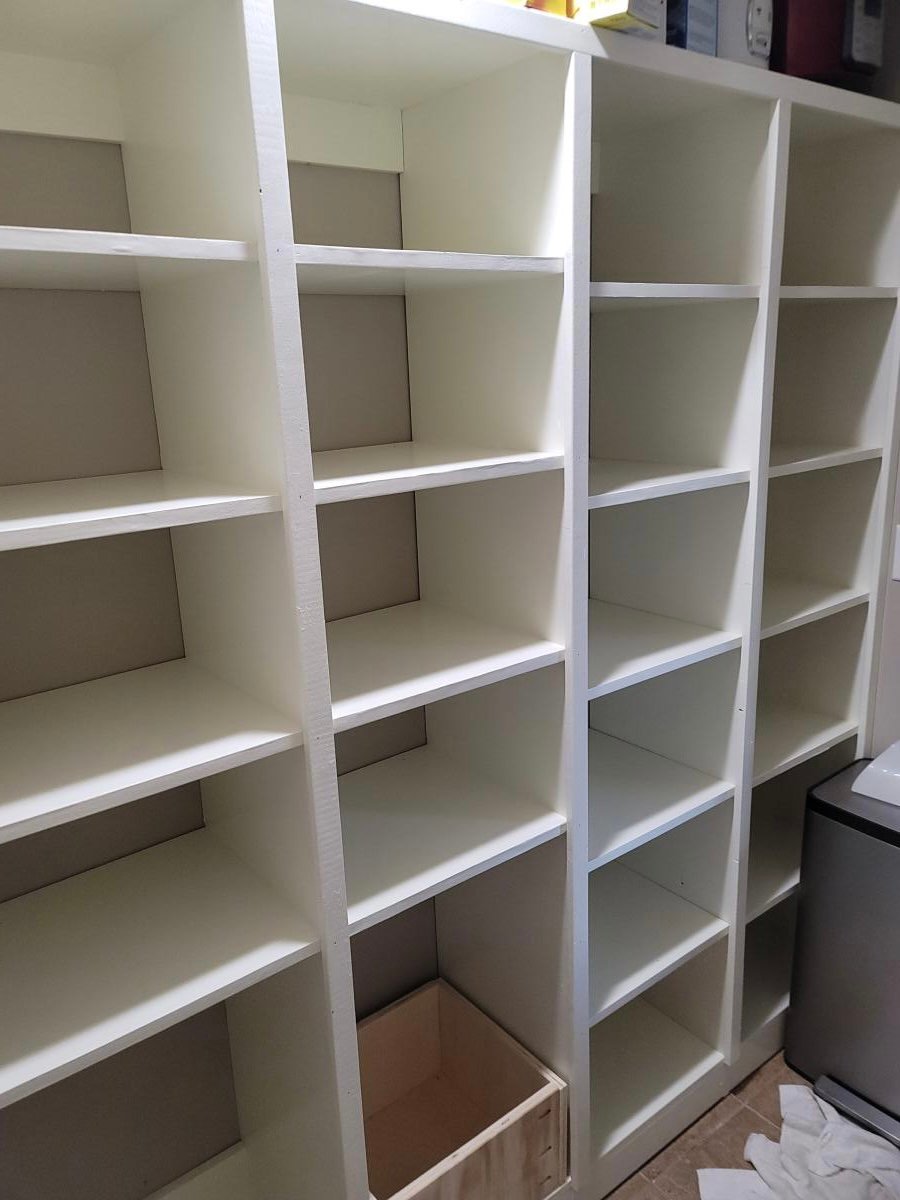
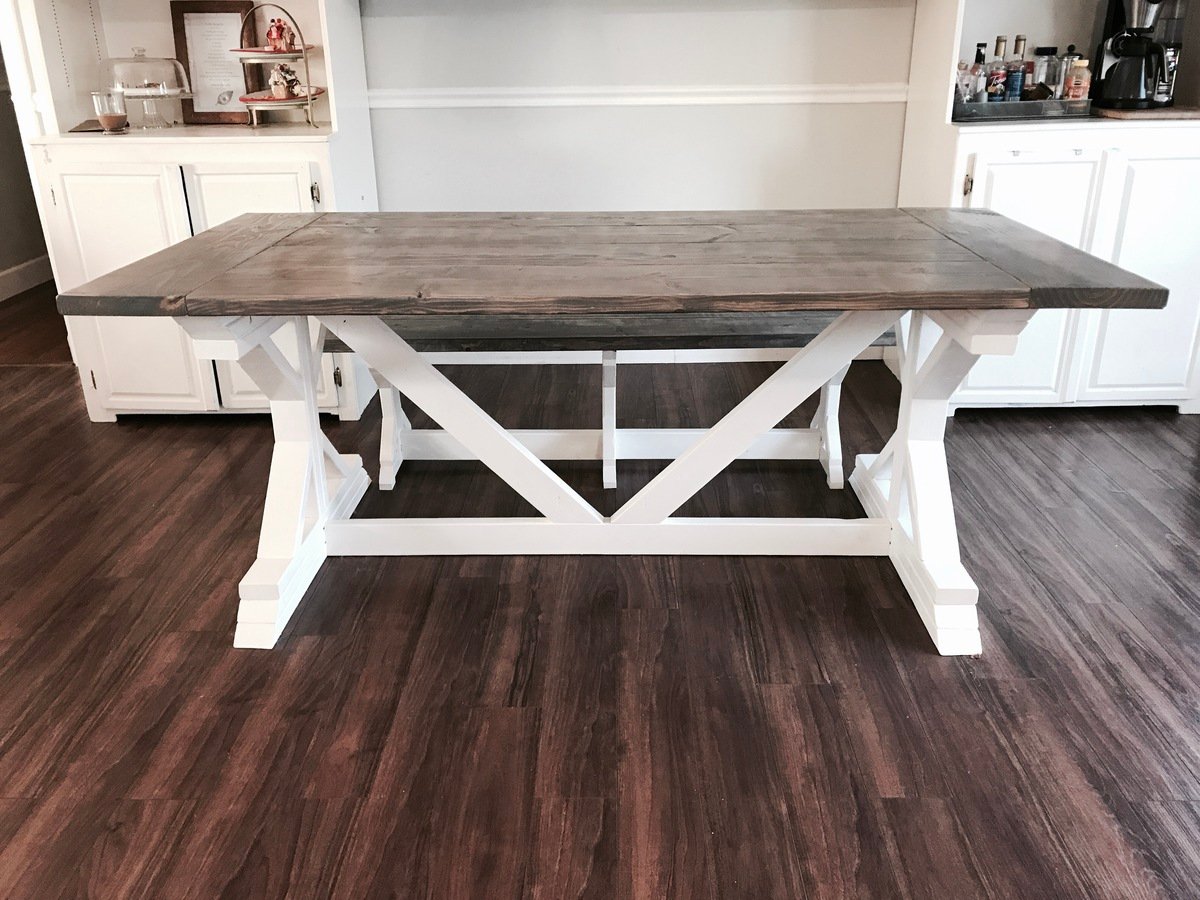
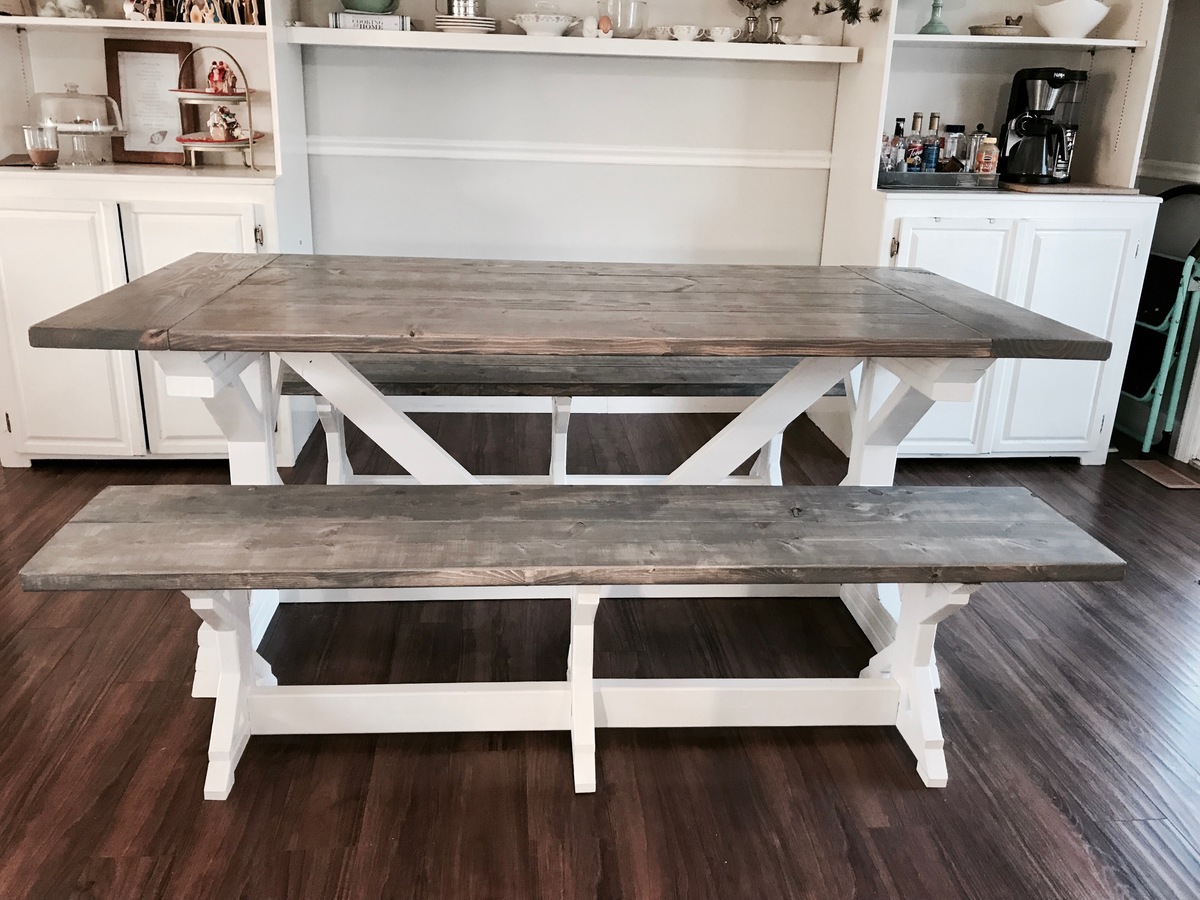
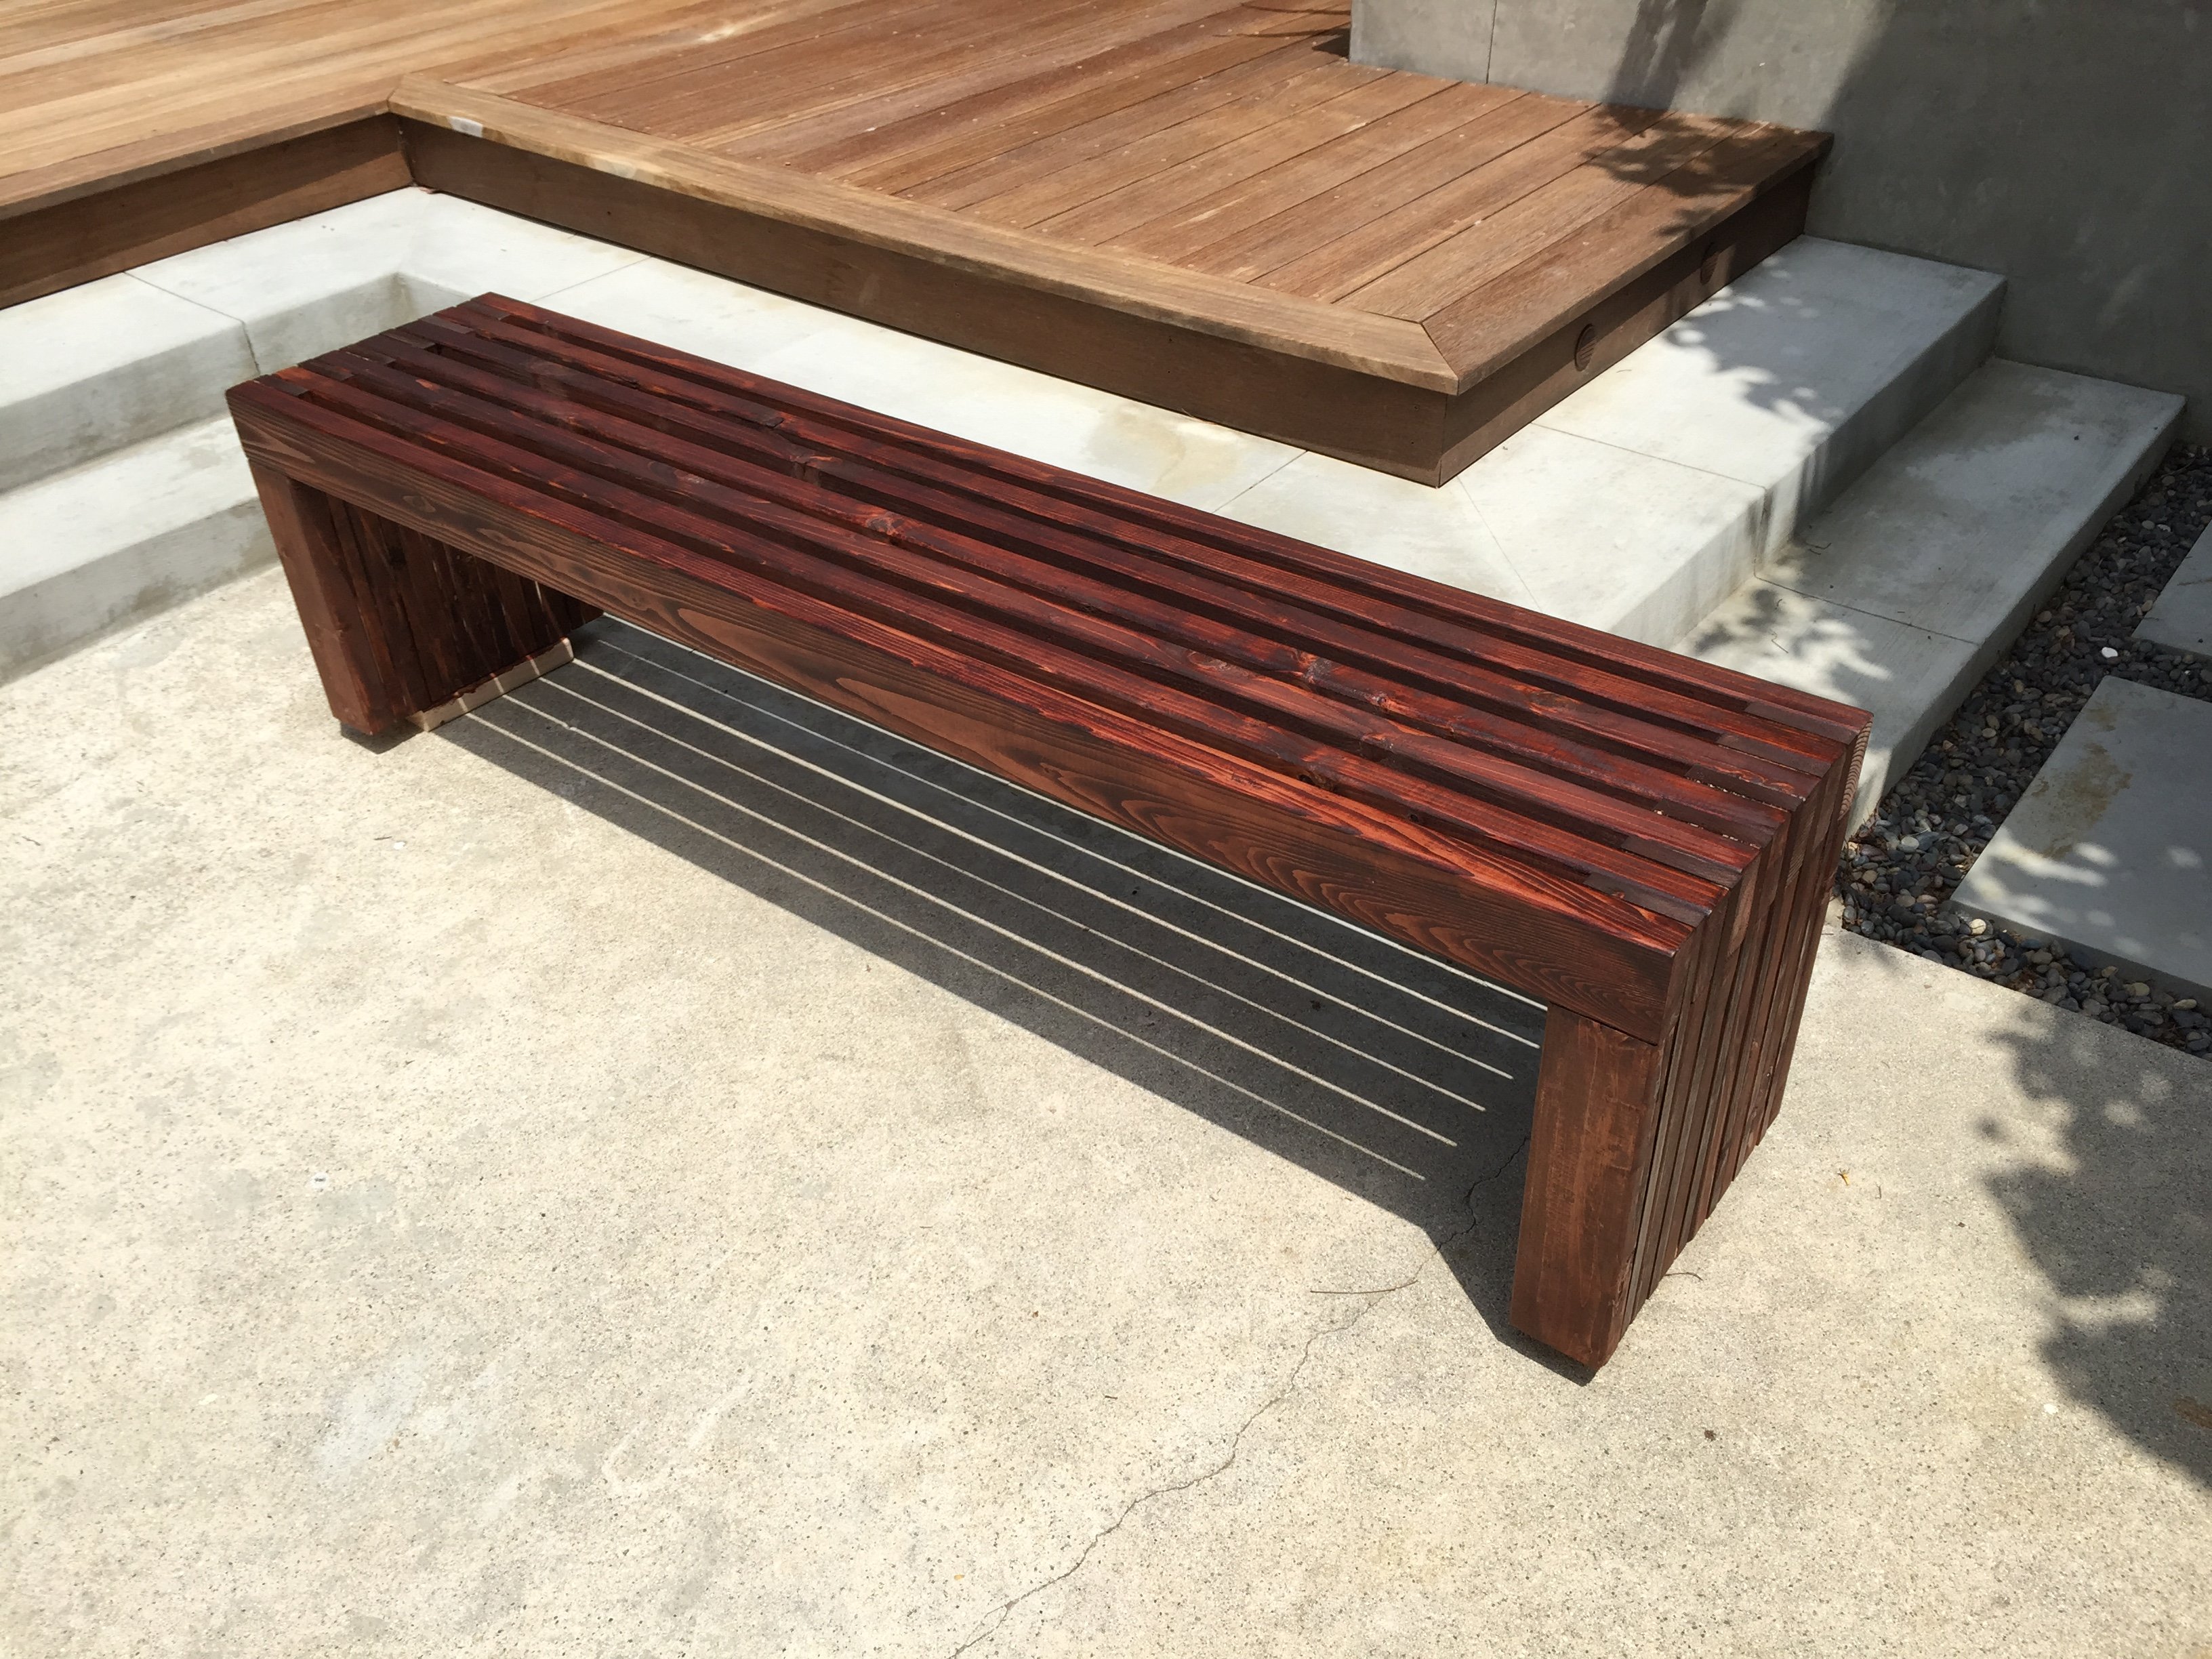
I loved the original design but wanted to learn new skills and use hardwood.
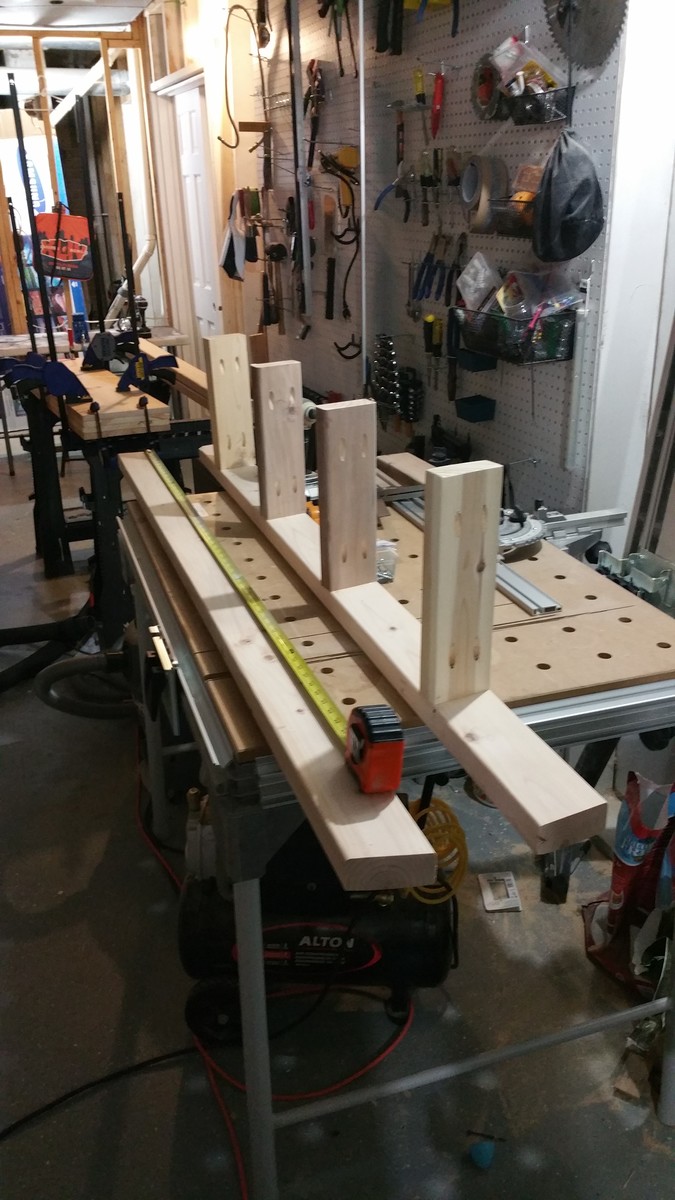
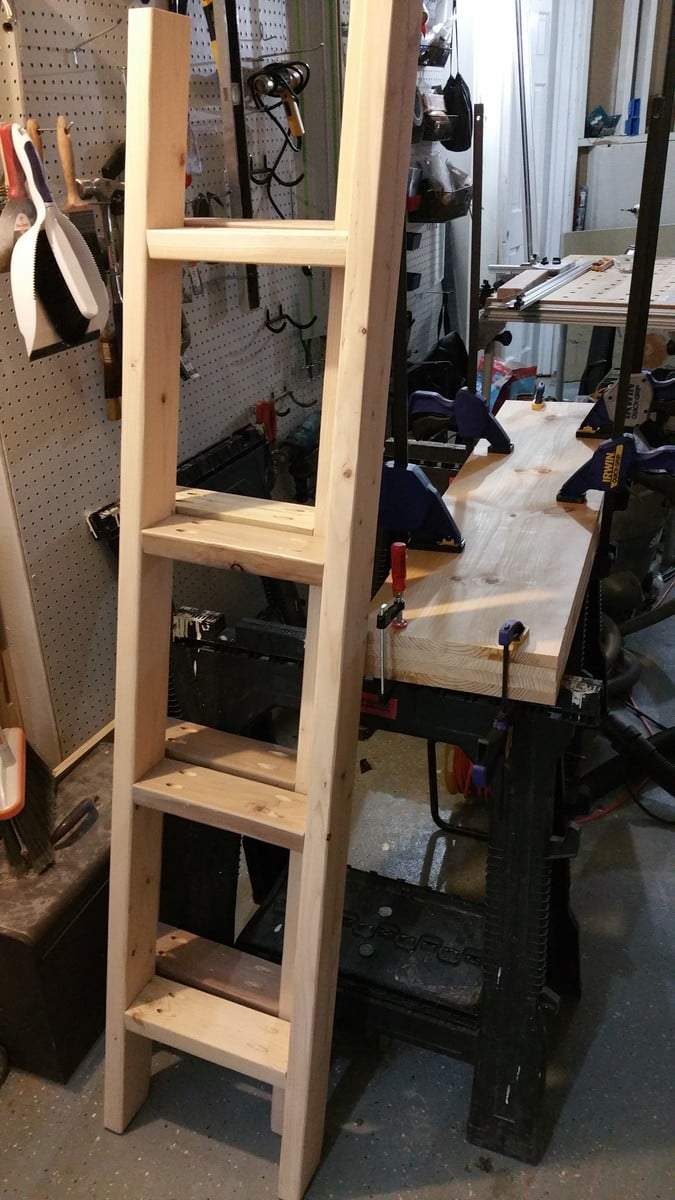
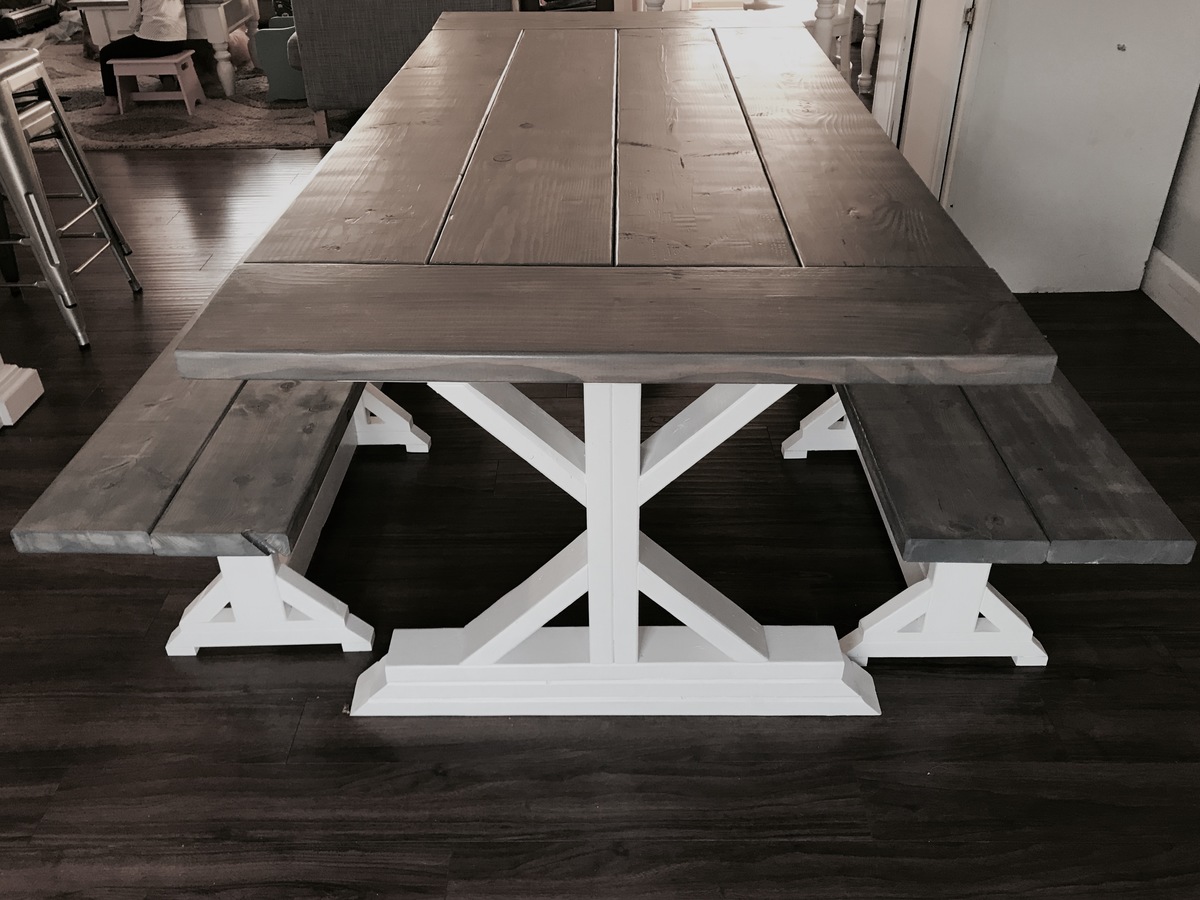
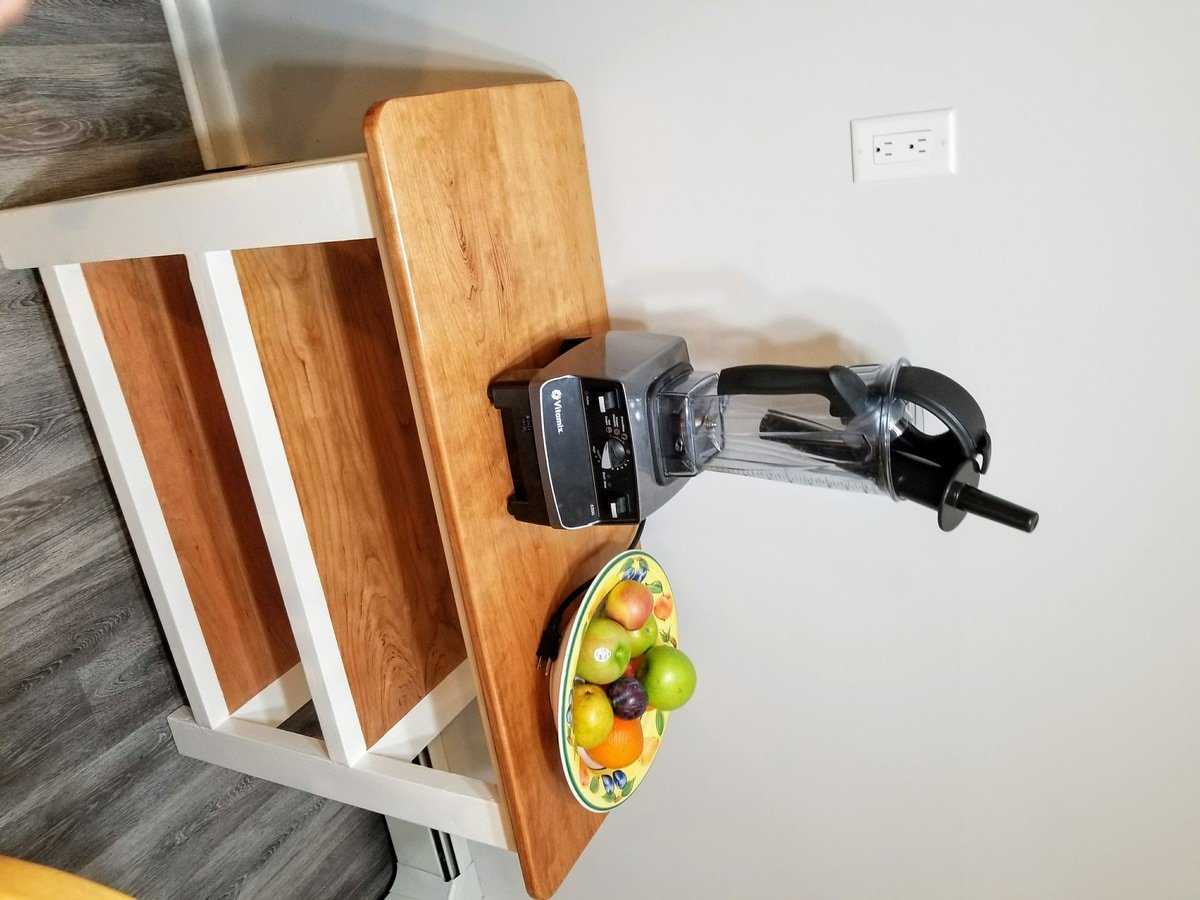
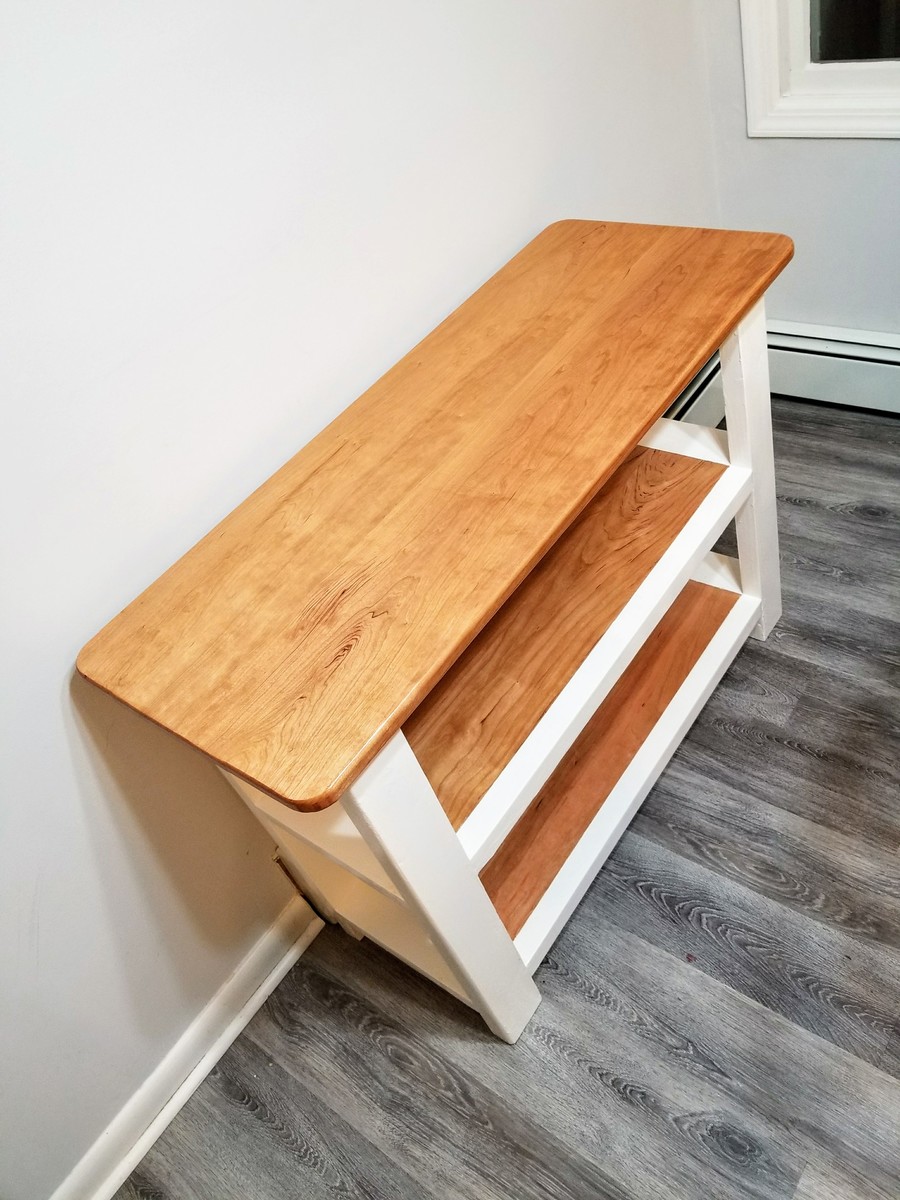
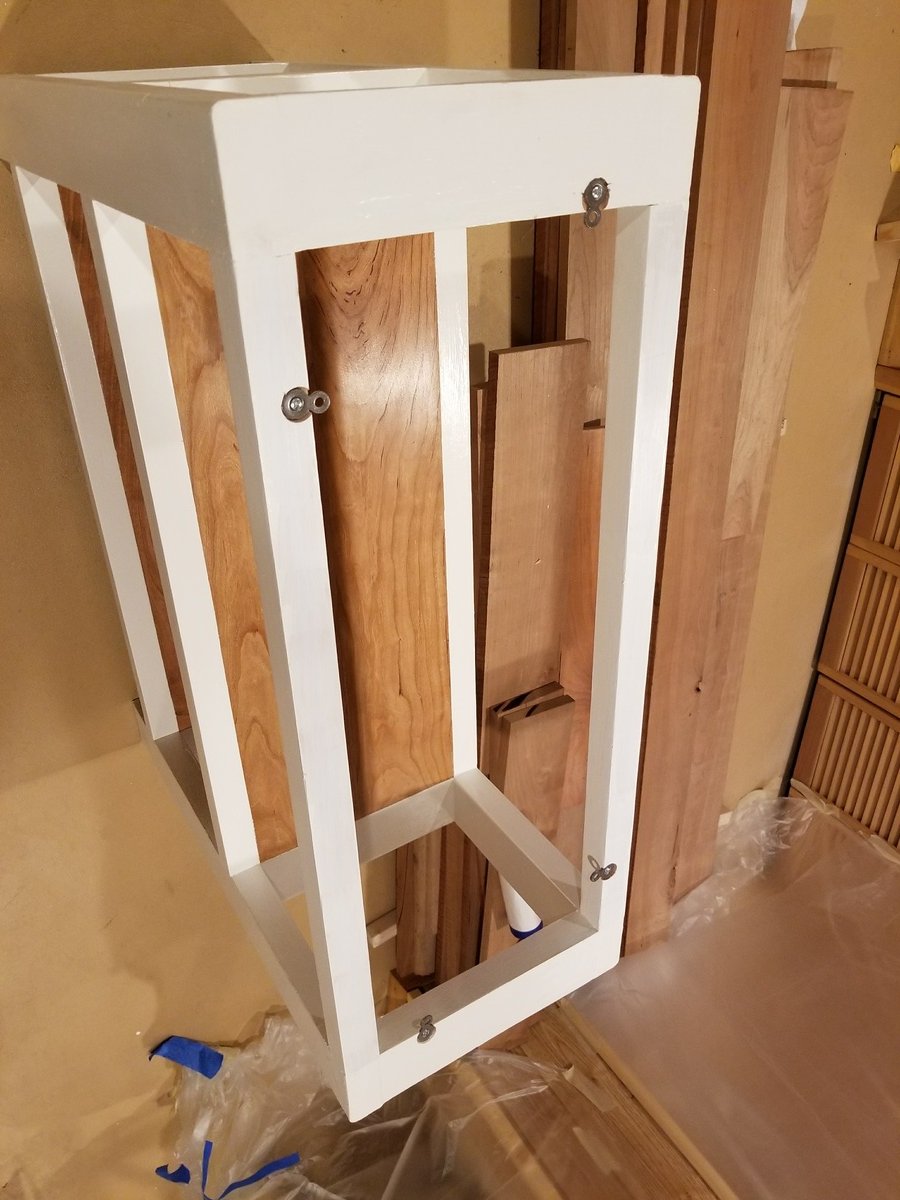
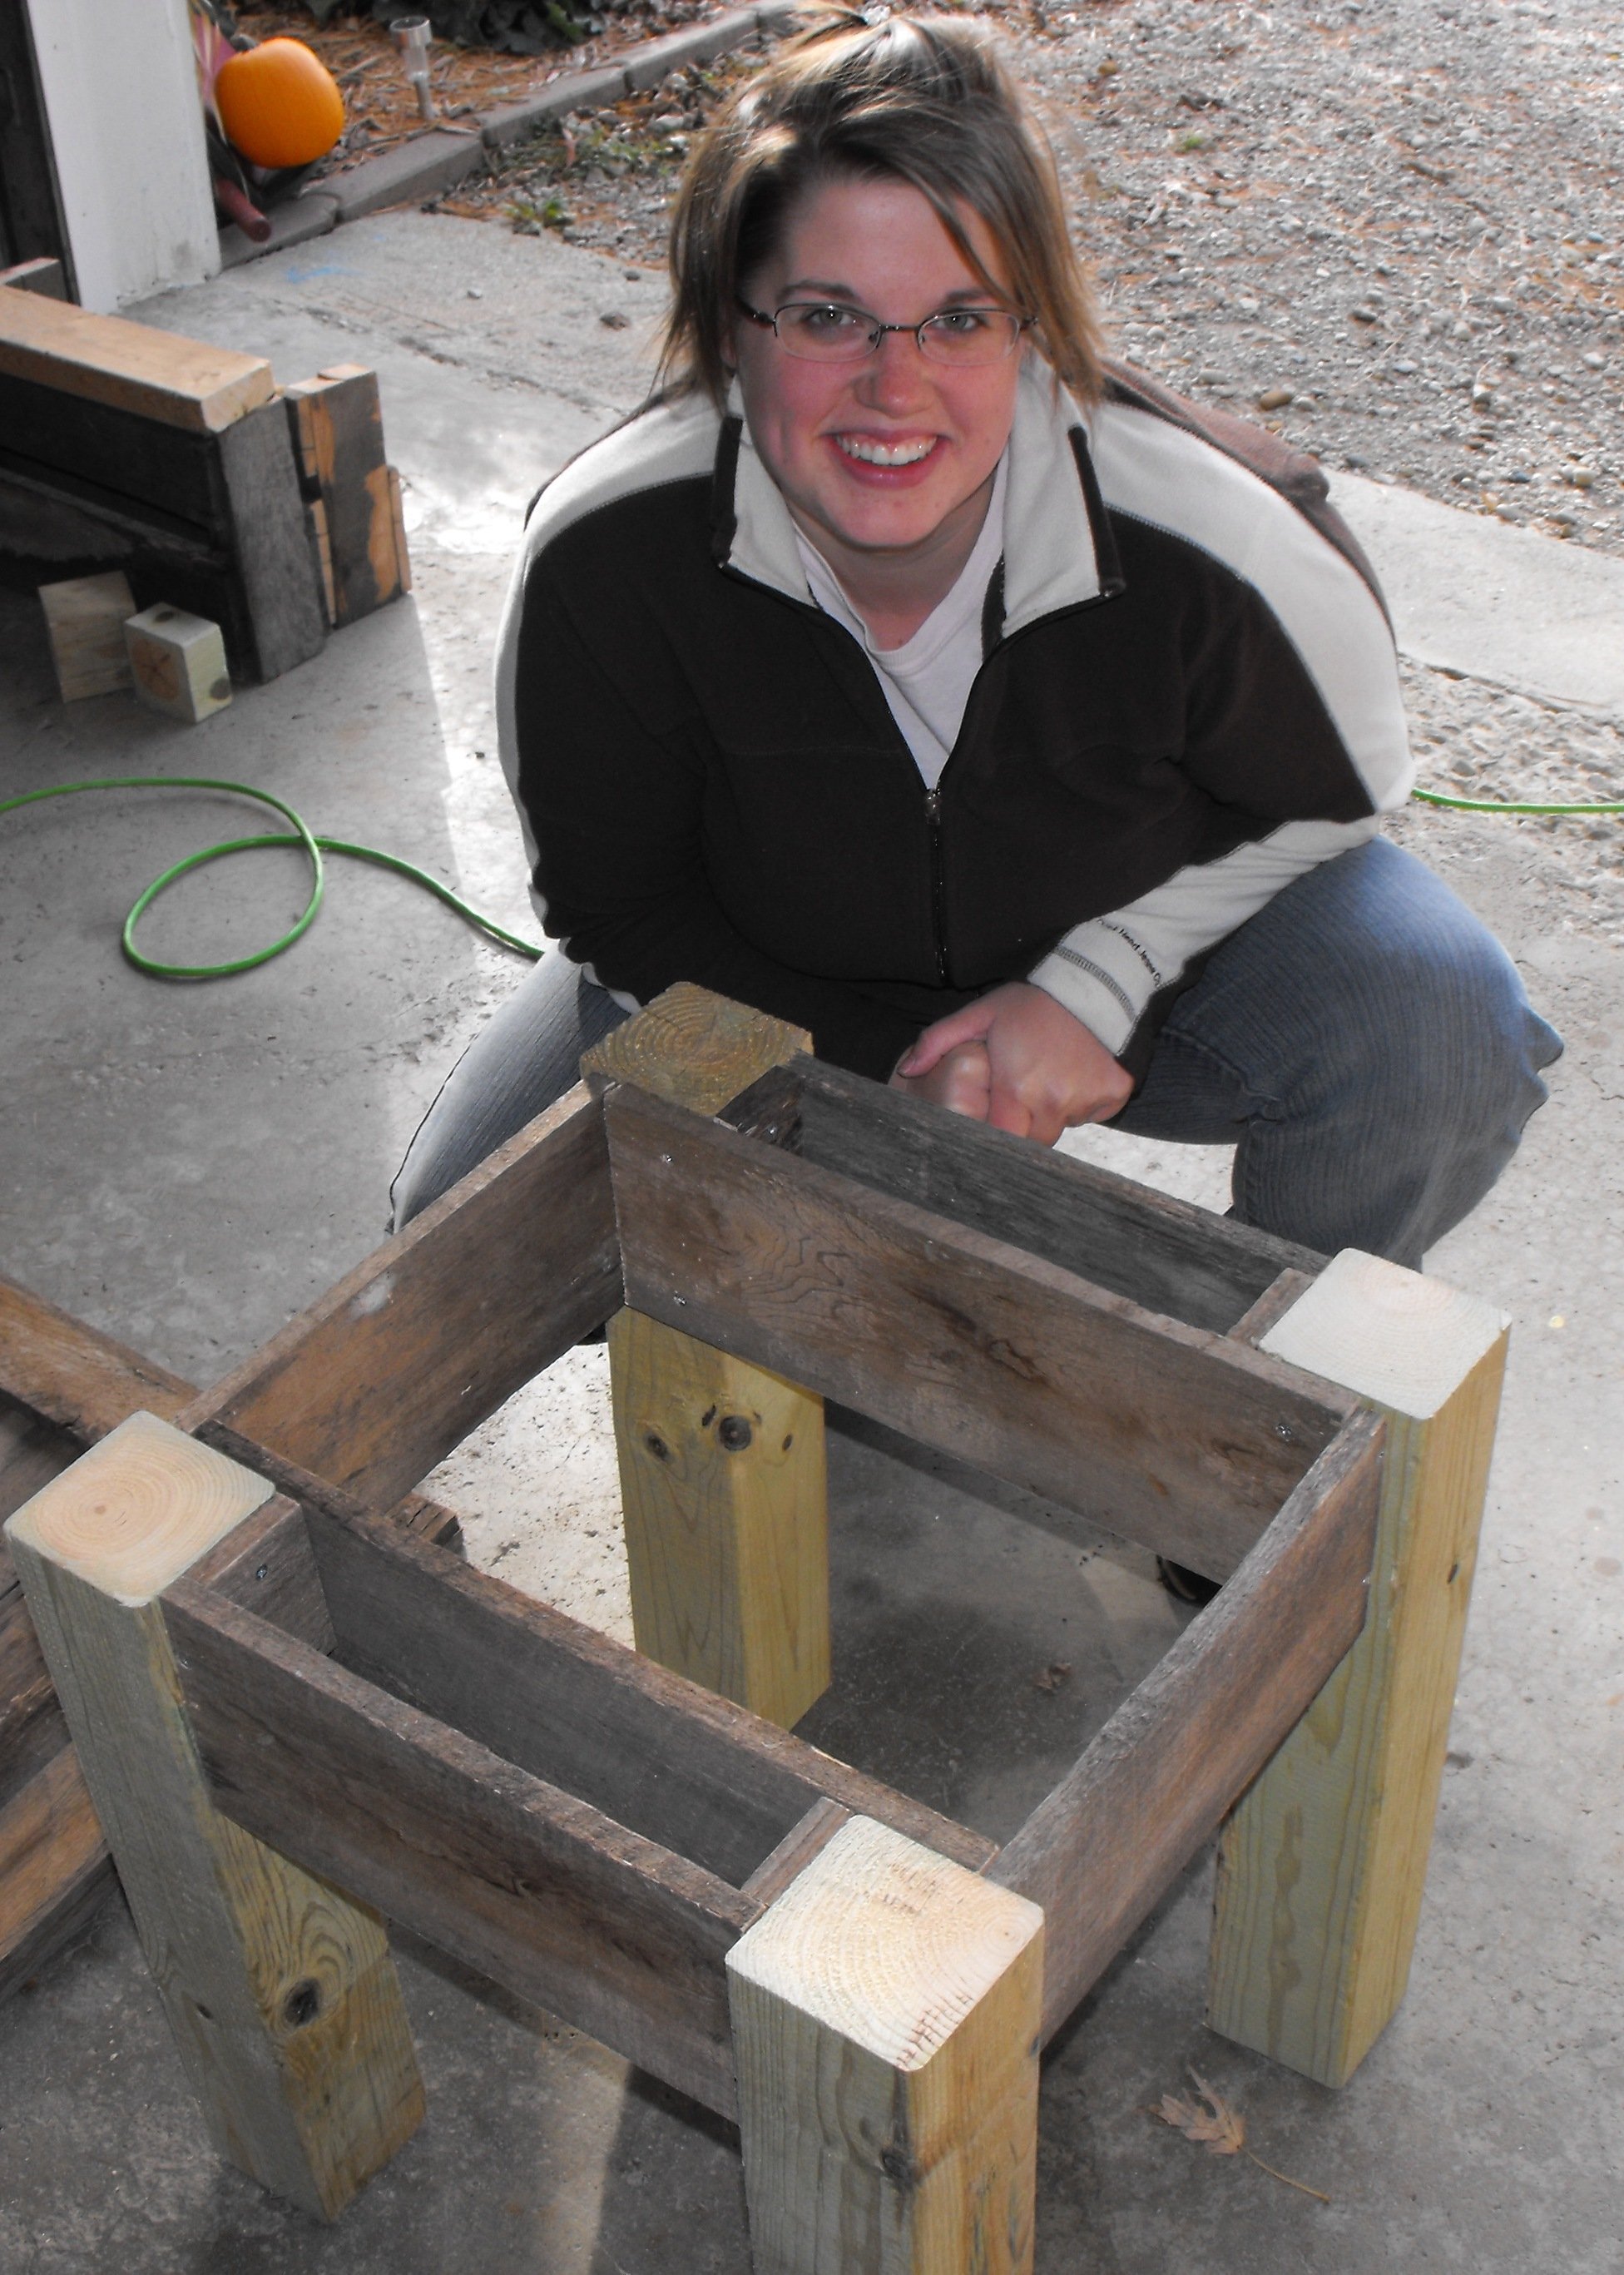
I used a combination of pocket holes, biscuits to align the plates and the frames, and figure 8 fasteners to attach the top.
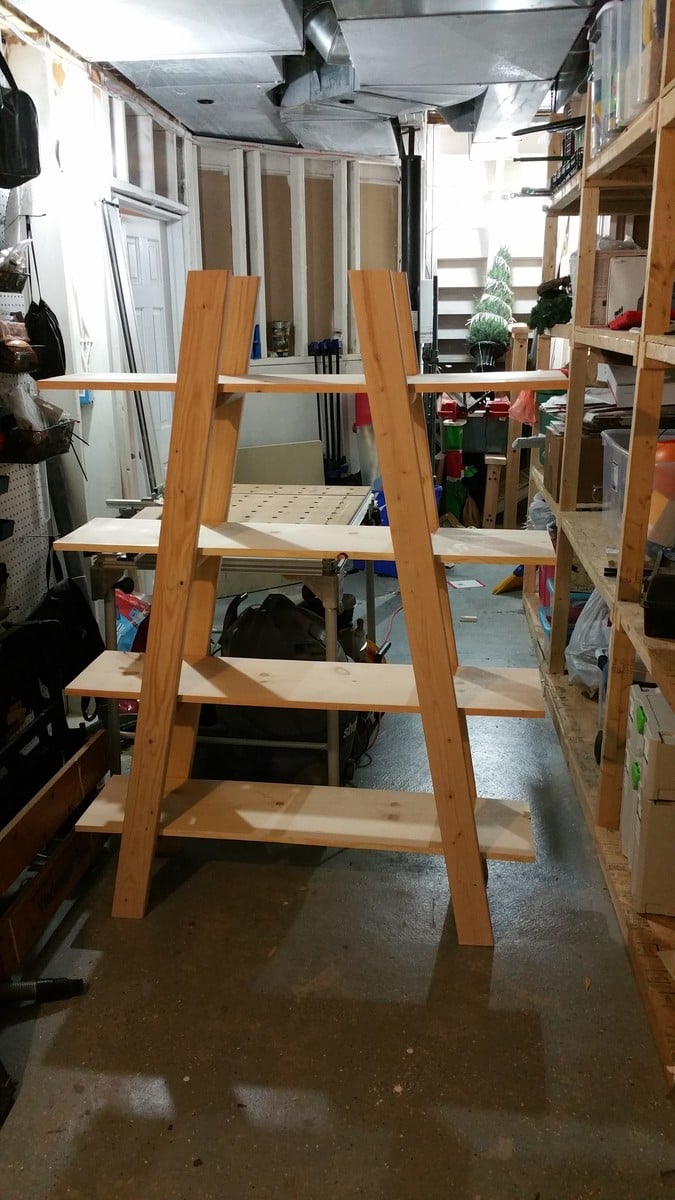
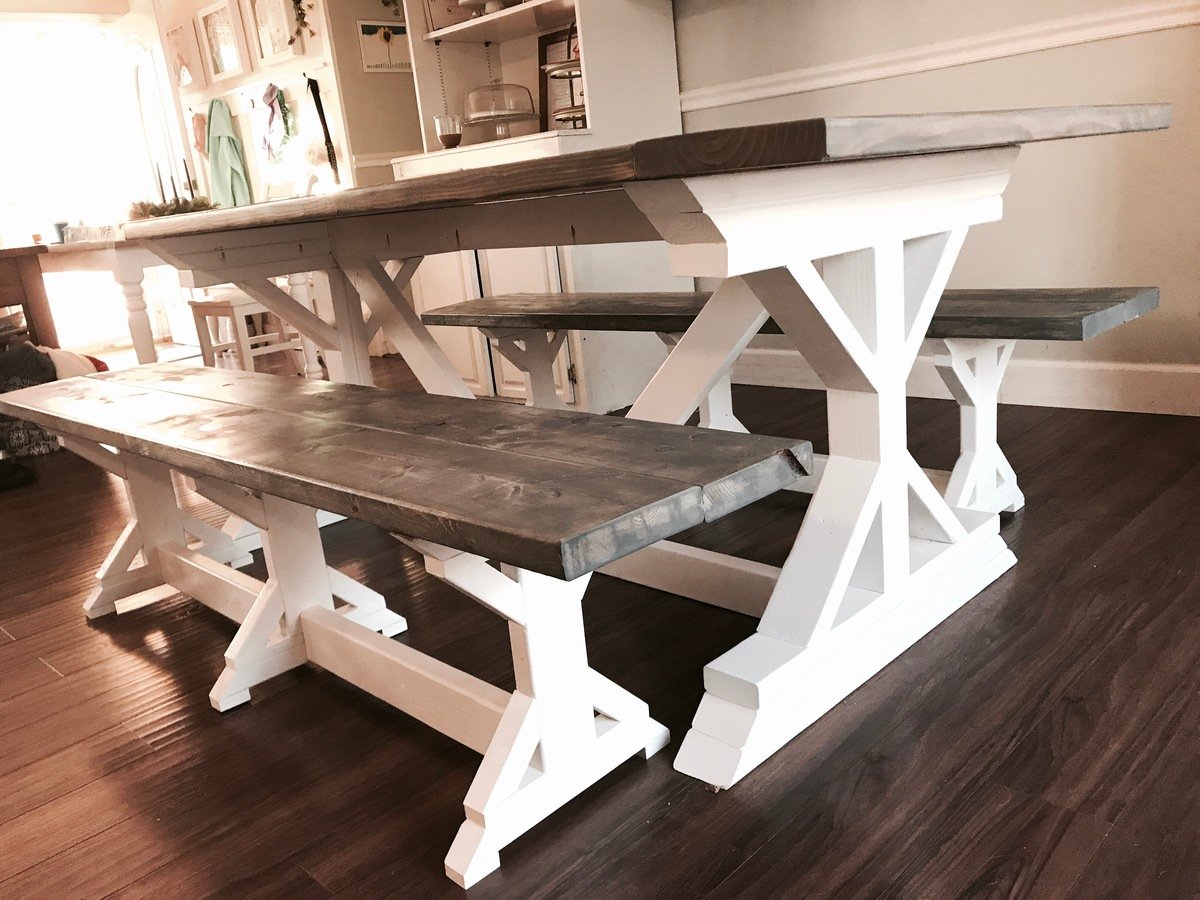
At a VERY low pace (~1-2 hours every day), and many mistakes, it took me about two months to complete this project. If I had to do it again, it would probably take me two-three weeks at the same pace.
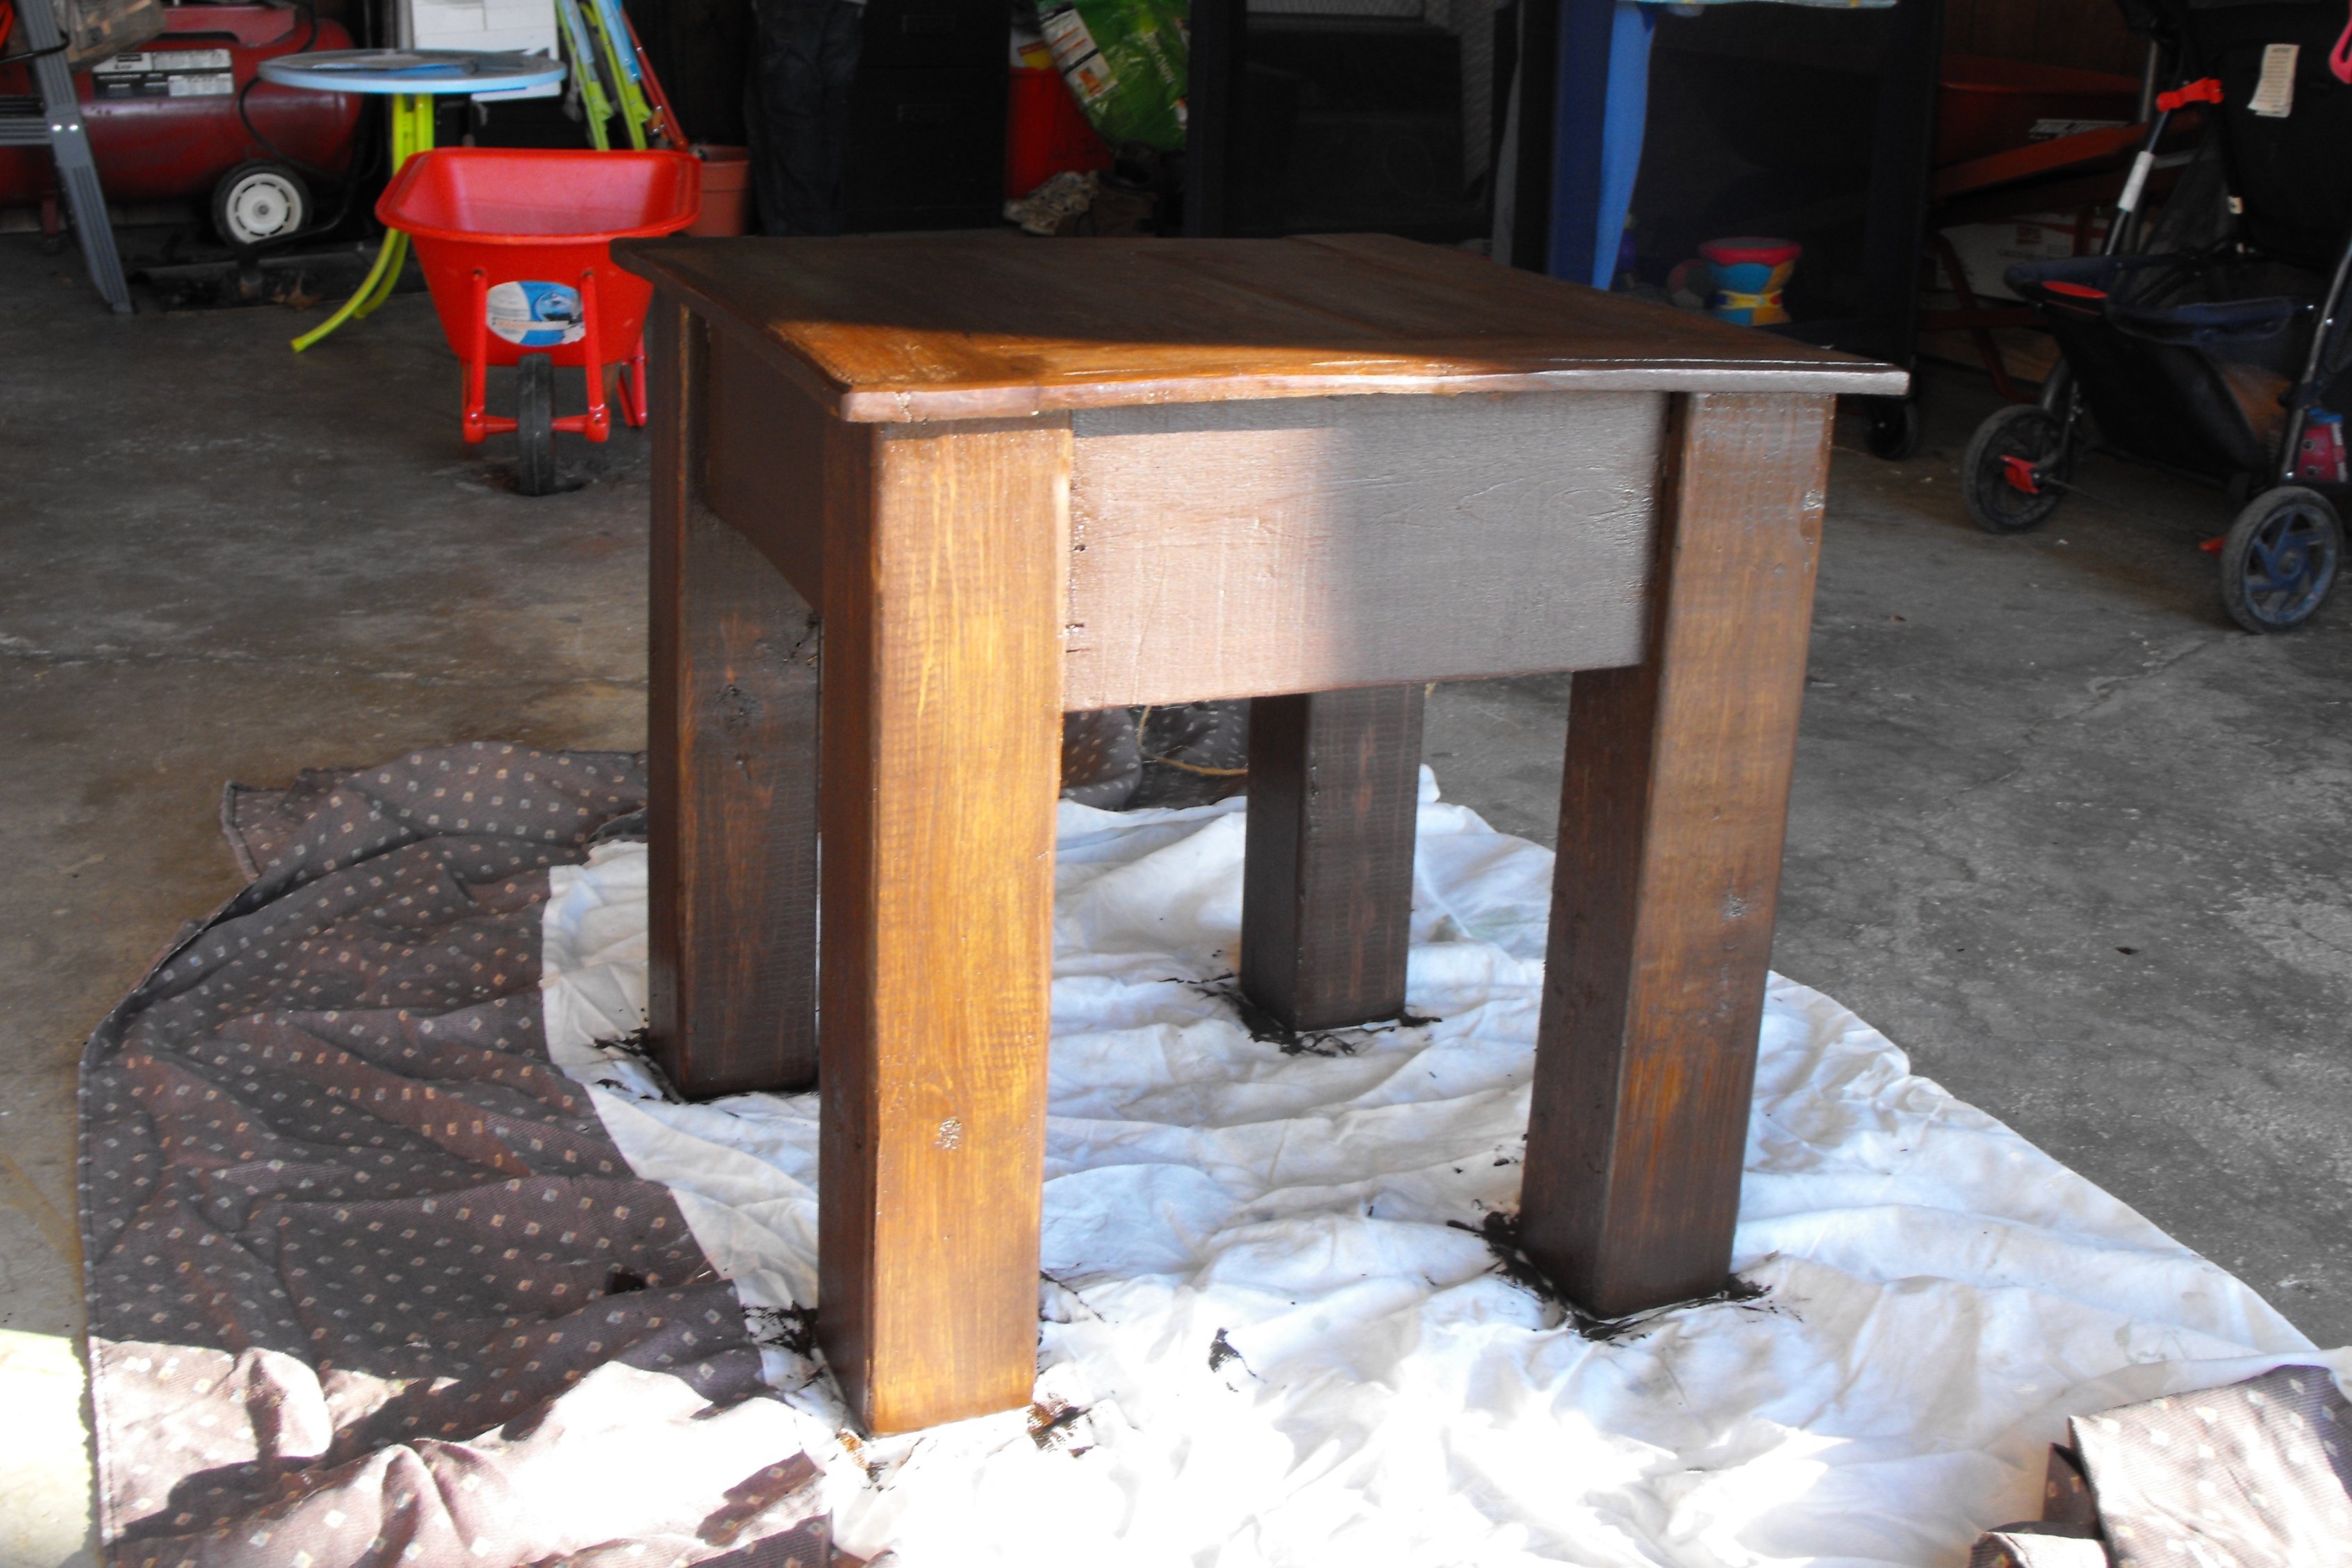
Overall, I learned a lot and am very pleased with the final results.
Estimated Time Investment
Week Long Project (20 Hours or More)
Finish Used
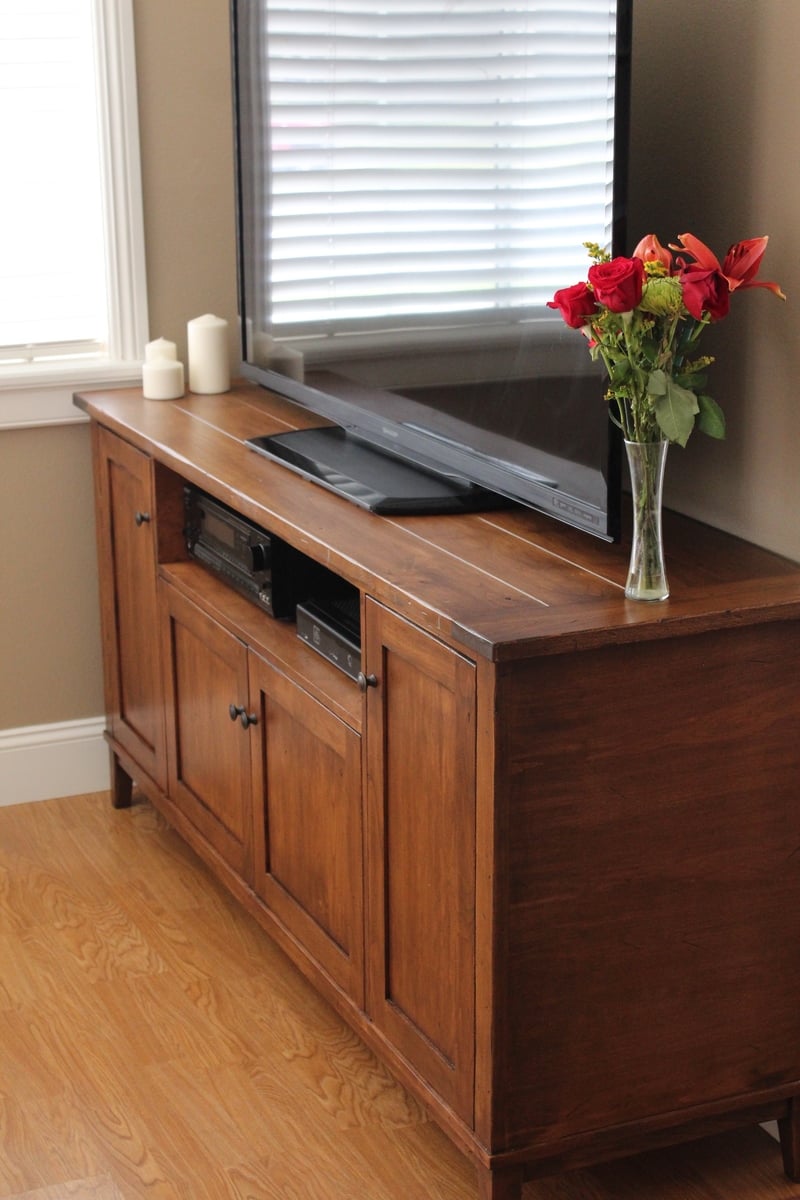
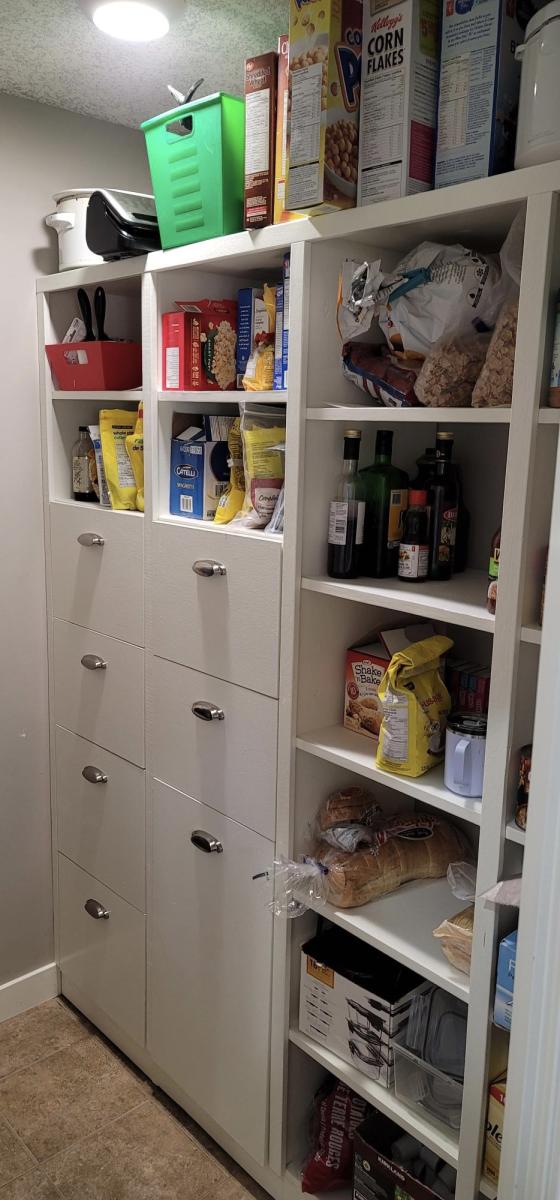
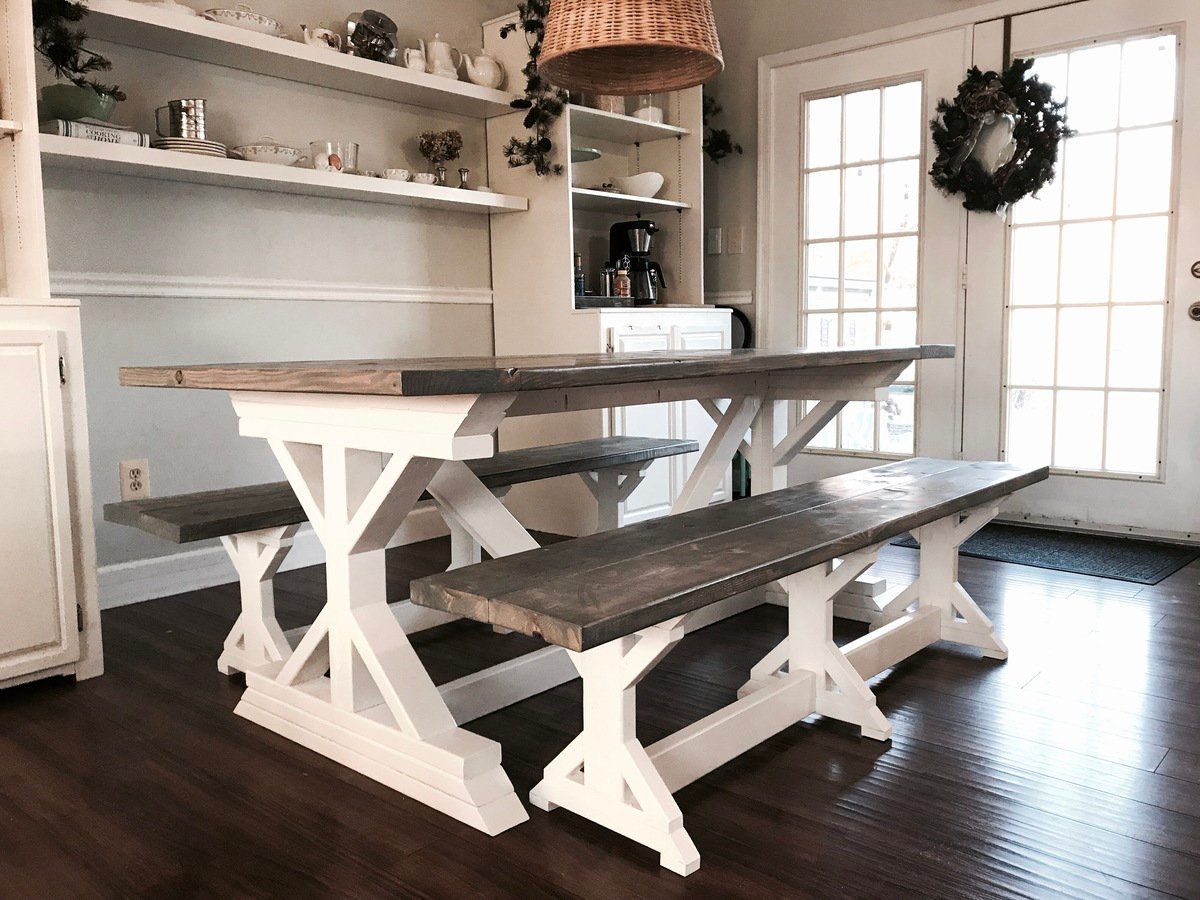
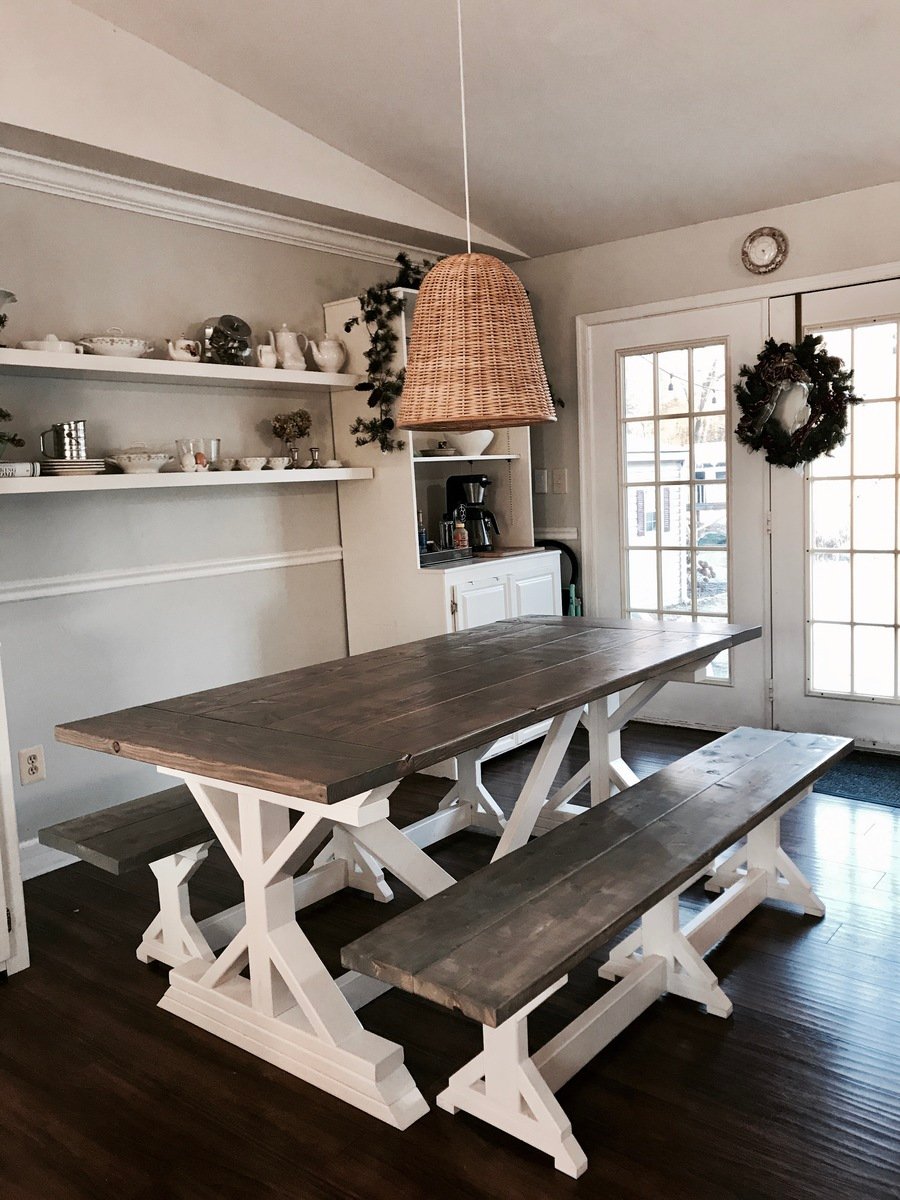
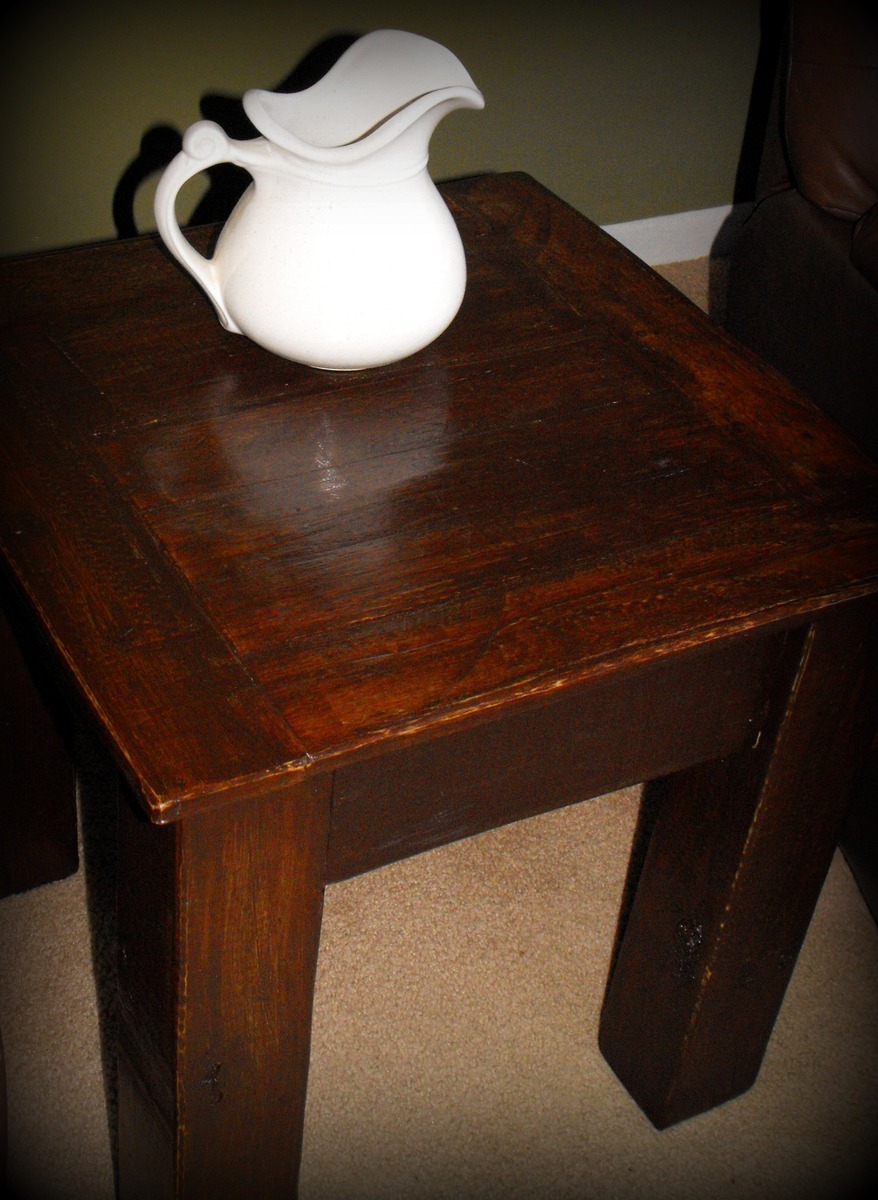
Frame - white acrylic paint, coated with wipe-on water based Minwax poly (to protect the paint)
Shelves- 3 layers of oil based wipe-on Minwax poly
Top- 3 layers of oil based wipe-on Minwax poly, then 3 layers of oil based brushed (fast drying) Minwax poly
Recommended Skill Level
Intermediate


Comments
Ana White Admin
Sun, 11/07/2021 - 09:14
Wonderful little wine cabinet!
Super cute, love your finish and hardware choices!
bartolottav@gm…
Tue, 11/09/2021 - 07:06
Thank you! The plans are…
Thank you! The plans are very easy to follow.