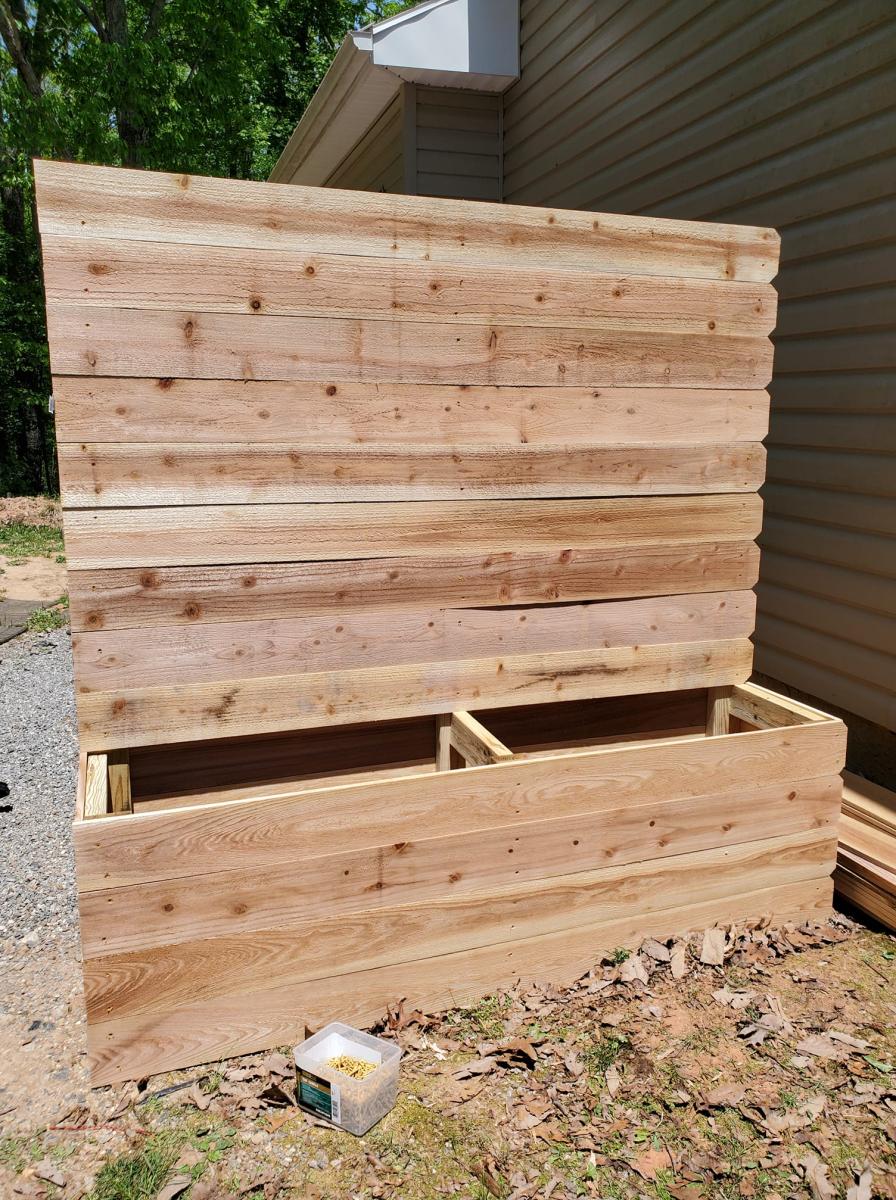
Leaning Desk and Shelf
This was a lot of fun, and wasnt to difficult. I modified the existing design, and increased the size. It will be painted once my son decides on the color.....
This was a lot of fun, and wasnt to difficult. I modified the existing design, and increased the size. It will be painted once my son decides on the color.....
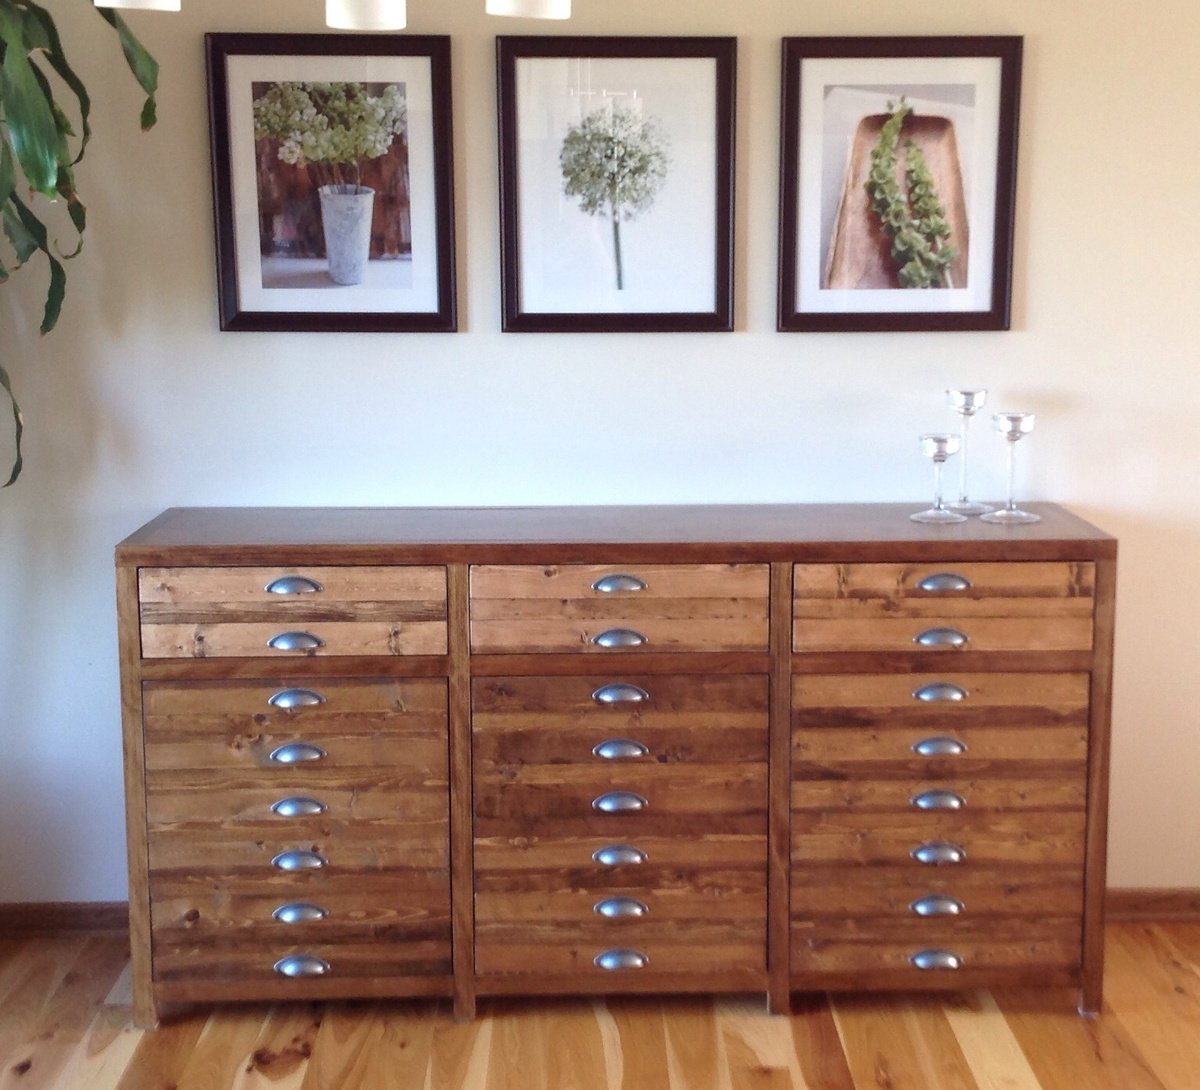
This was such a fun build! First time working with plywood - definitely won't be the last. Really love how it came out.
Wed, 08/26/2015 - 20:56
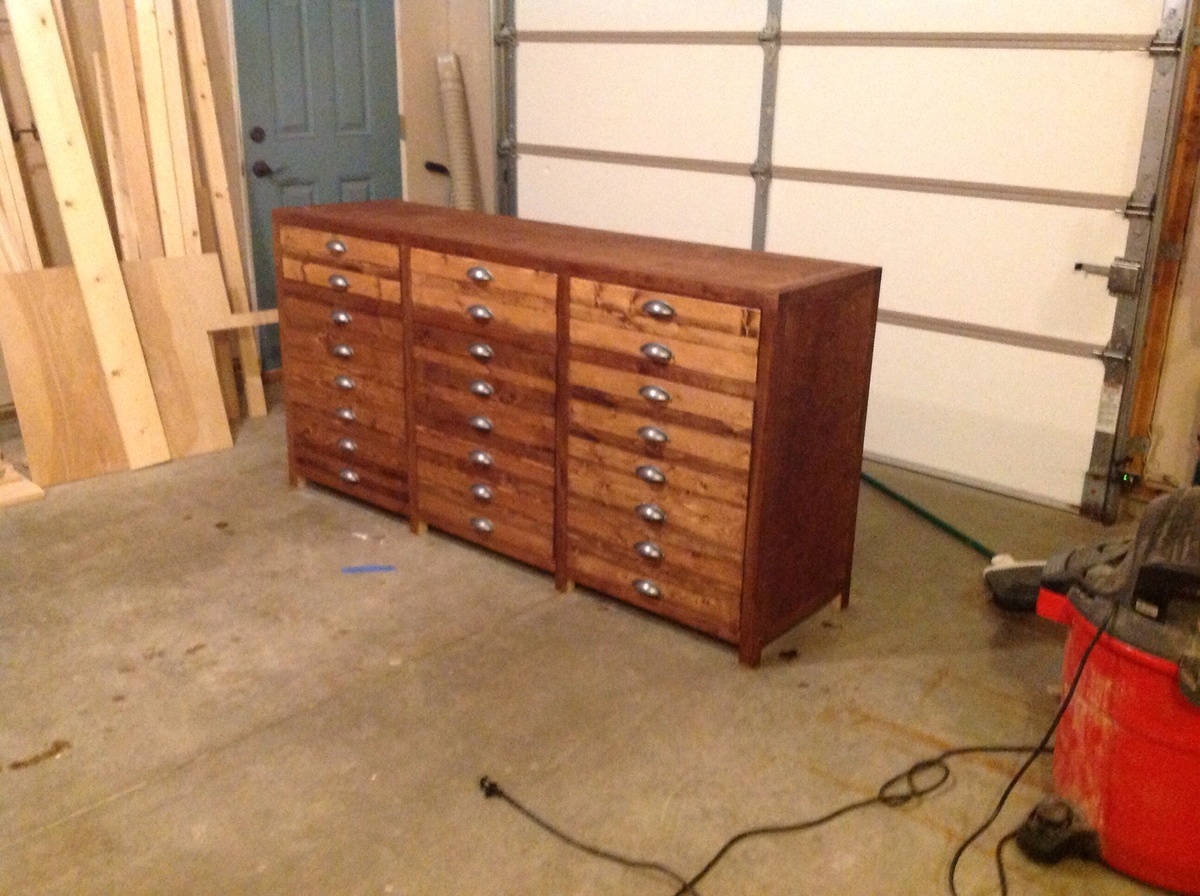
this looks gorgeous! Where did you purchase your drawer pulls? I started this project in November and I hope to finish it before the summer is up! (heh I'm such a procrastinator!)
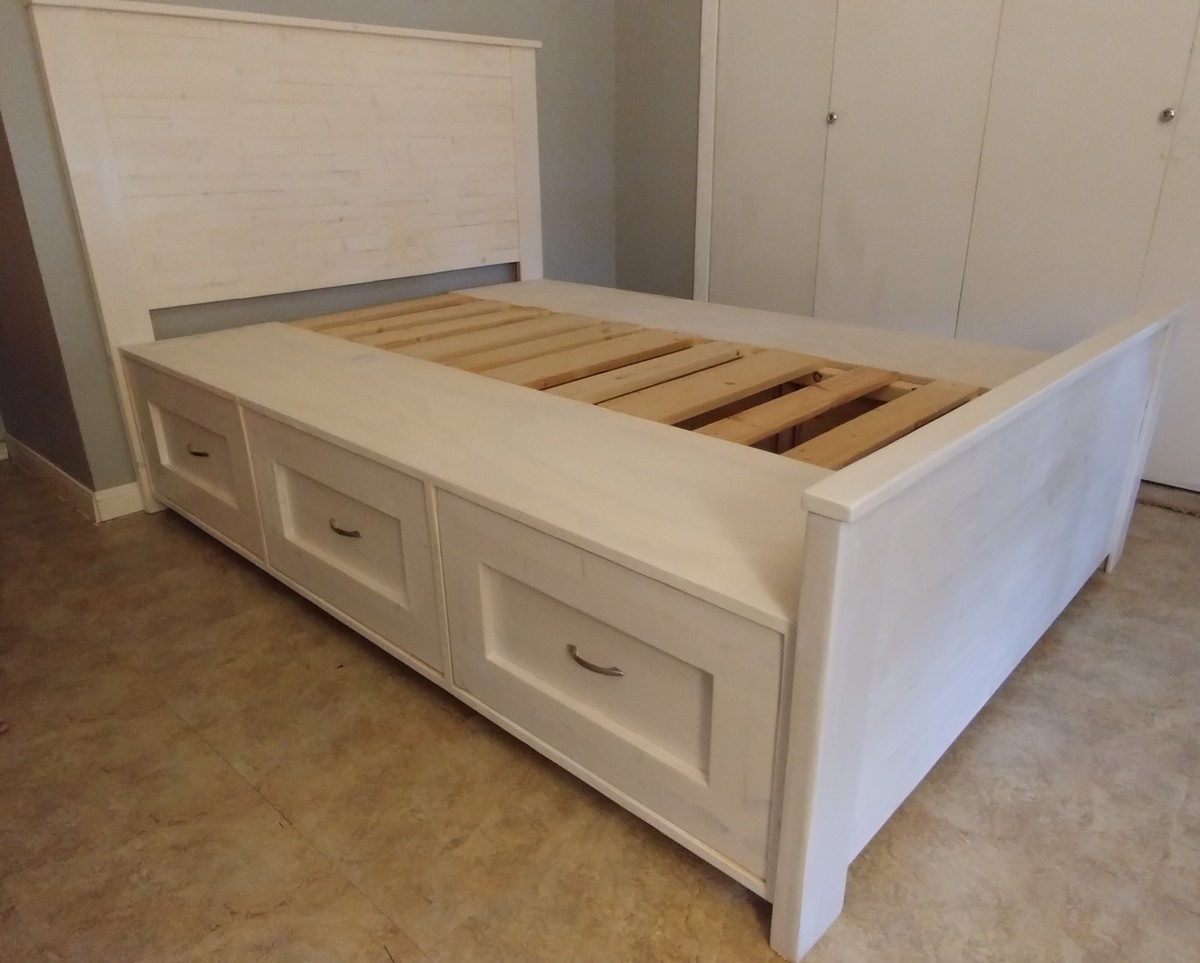
Built this for my teen daughter's room. I changed the legs to 2x6 in order to fit in a tighter space as she has a small room and we needed to spare as much of the space moving around the foot of her bed as possible. It saved a few inches total in length by not using 4x4 legs. I also changed the style of the headboard and footboard to a slat design. She loves it and even says she hopes to hold onto it for her kids to have someday. Makes my heart smile! This is just part of why I love to build. It's quality, sturdy furniture that will last for years to come.
Wed, 04/18/2018 - 22:35
Nice job! I built the same bed and made some modifications myself. I like the whitewash finish. Hopefully that piece stays in the family for many years to come.
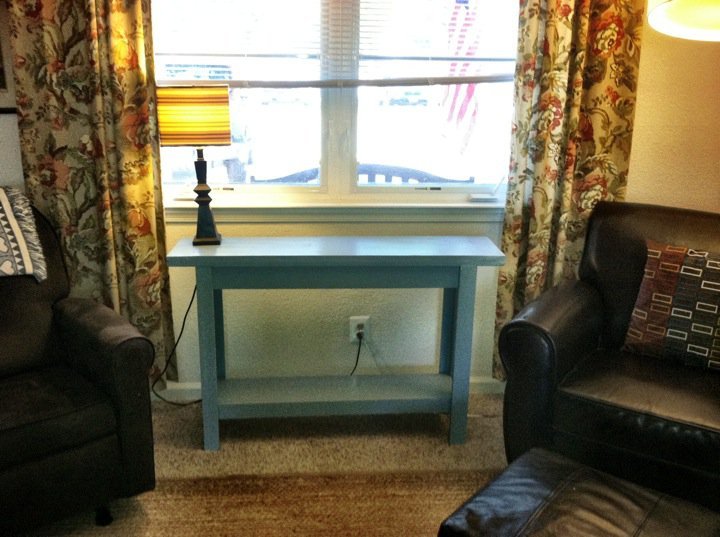
This was my first build and I'm not going to mention how many times I built the legs (which is why it took so long). I added a full shelf so I could learn to use the kreg jig. While not perfect, it feels perfect to e!
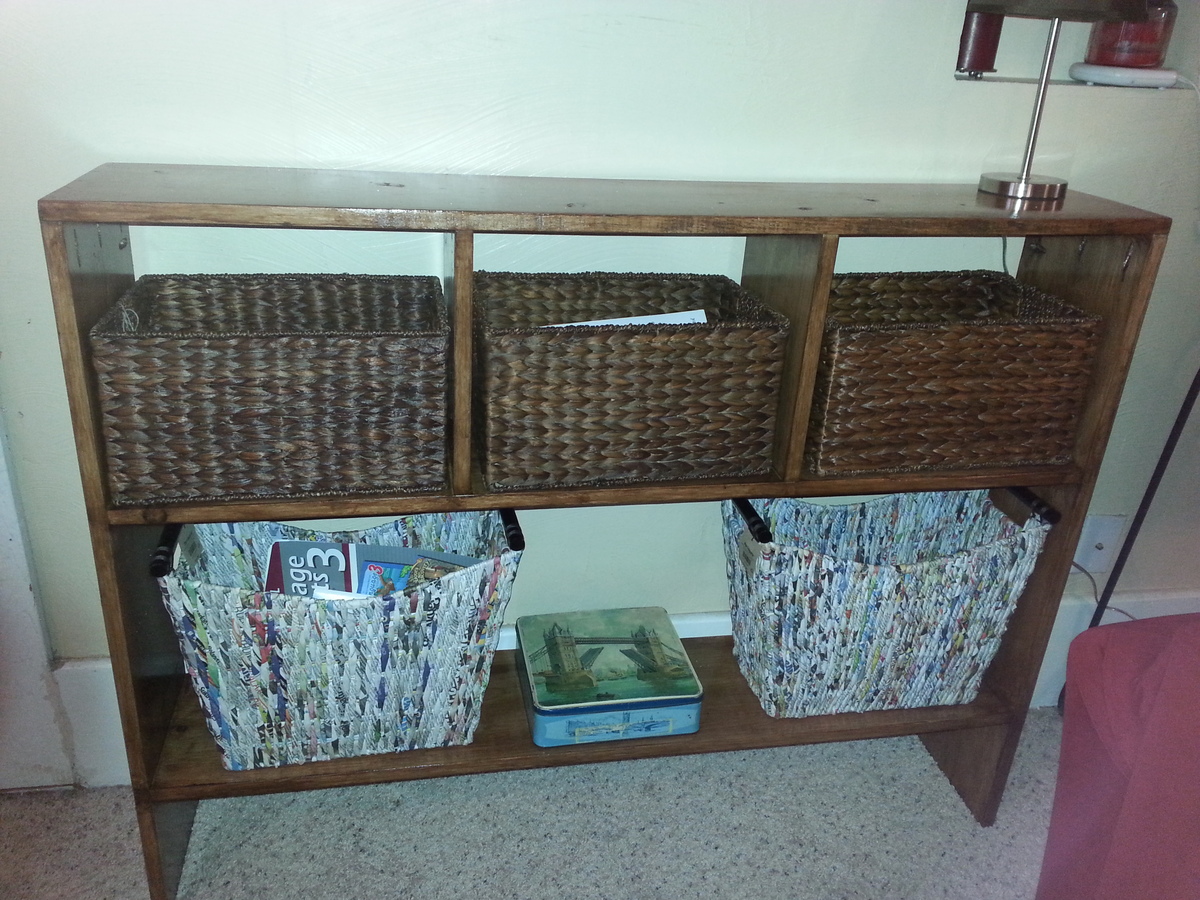
I gave away our piano and needed something to fill it's spot. I also needed some storage. I knew right where to look and eureka!! there it was, the Simple Rustic Modern Console plans.
It was inexpensive, easy, quick and perfect!! I modified it to the height I wanted and added some dividers for baskets and a bottom shelf as well.
Loving it!!!
If you are wondering if you can do this, I just learned to use a saw a week ago! So... YES, you can! =)
Took me all weekend to do the cutting and building. Was able to do everything alone except final assembly. I just didn't have enough hands.
Feel free to ask any questions. Also, take a look at my site for custom signs!! =)
www.heathersvinylcreations.com
Sun, 08/30/2015 - 12:42
This looks great!! I want to build this bed for my little guy but I am worried my ceiling may be too short for it

Our daughter said she wanted a desk like Daddy. When I found these plans I was so excited! My husband doesn't know it yet but it was his practice for a large farmhouse table that I want for our dining room. The Clara's table plans were easy to follow, I can not remember the exact prices for our materials since we built this back in the fall (over 6 months ago). We will eventually make the chairs. I was pleased with the way it turned out with the stained top and the legs were painted a ballet pink. I believe the stain is Dark Walnut, it was something we had leftover from another project and the paint for the legs was leftover from painting her room. It has held up well the past 6 months, it has a few dings from markers and other toys but I love the character it adds to the table. We plan on making the chairs soon.
Tue, 06/05/2018 - 14:50
Such a cute little desk/table! Love the two tone paint finish!
Thanks so much for adding a brag post, much appreciated!
I modified the bench to make it longer and for four cubbies (for four kids and their shoes) instead of three.
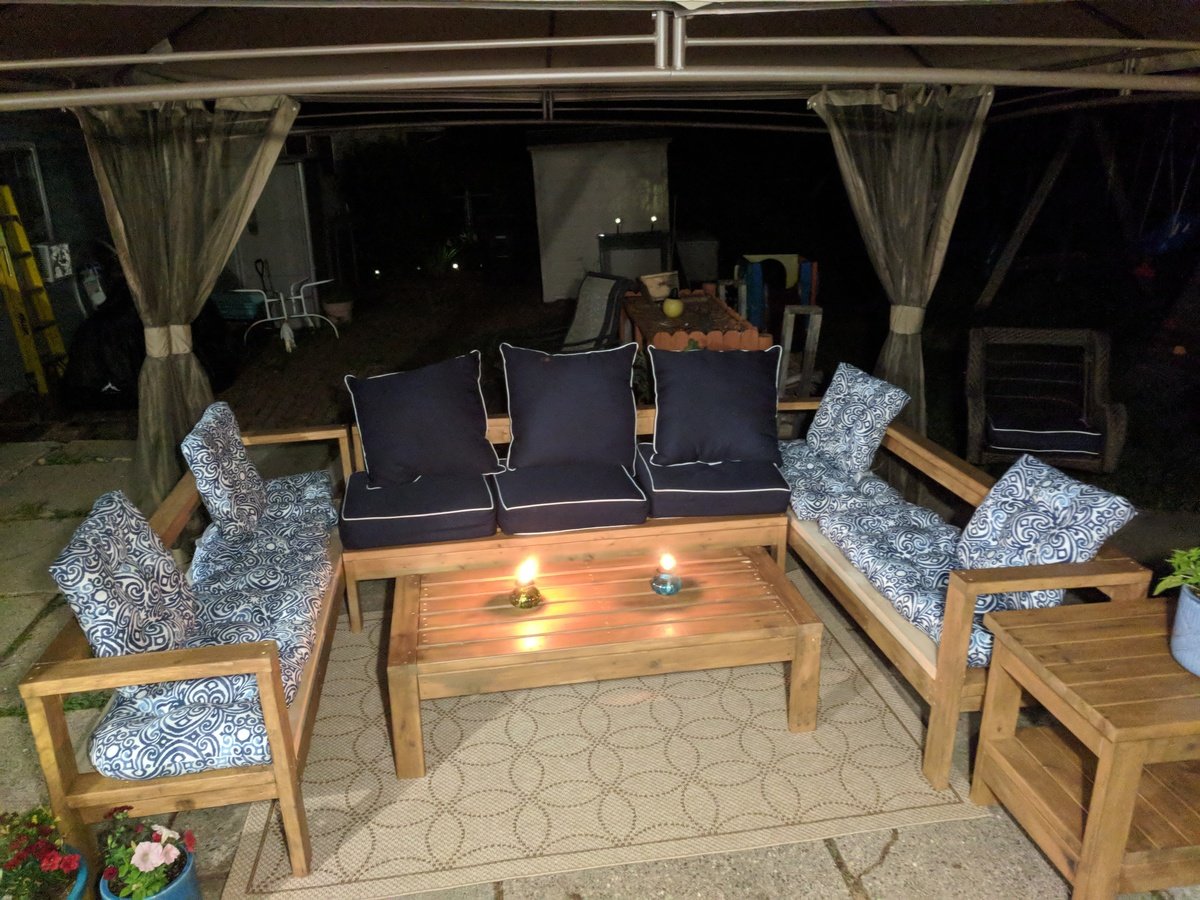
Built a new outdoor furniture set using the following plans:
Ryobi Outdoor Couch (linked to in the One Arm Outdoor Sectional plans)
I also built the Tryde End Table with Shelf & 2 of the Modern Outdoor Chair from 2x4s and 2x6s, but they will be in a seperate brag post since I can only link 3 sets of plans per post.
I built the armless middle sectional piece exactly to plan, to fit 25x25 outdoor cushions. The bench is a little deep for sitting, but great for laying out. The 2 side pieces I shallowed to fit 19" cushions, since they are cheaper and easier to find and are more naturally sized for sitting. I also added a support board under the back rail, which is missing from the Outdoor Couch plans but is present in the Armless sectional plans and I wanted everything to match. I stained everything with Thompson's water sealing stain, since it was going to be exposed to the elements at all times (though this picture was taken before the staining was completely finished, hence the untouched lumber visible under some of the cushions).
Project took a 3-day weekend. Day 1: measuring and cutting. Day 2: assembly. Day 3: sanding and staining.
Wed, 07/11/2018 - 08:13
Great job on the whole set! I like how you altered the plans to fit your needs - well done!
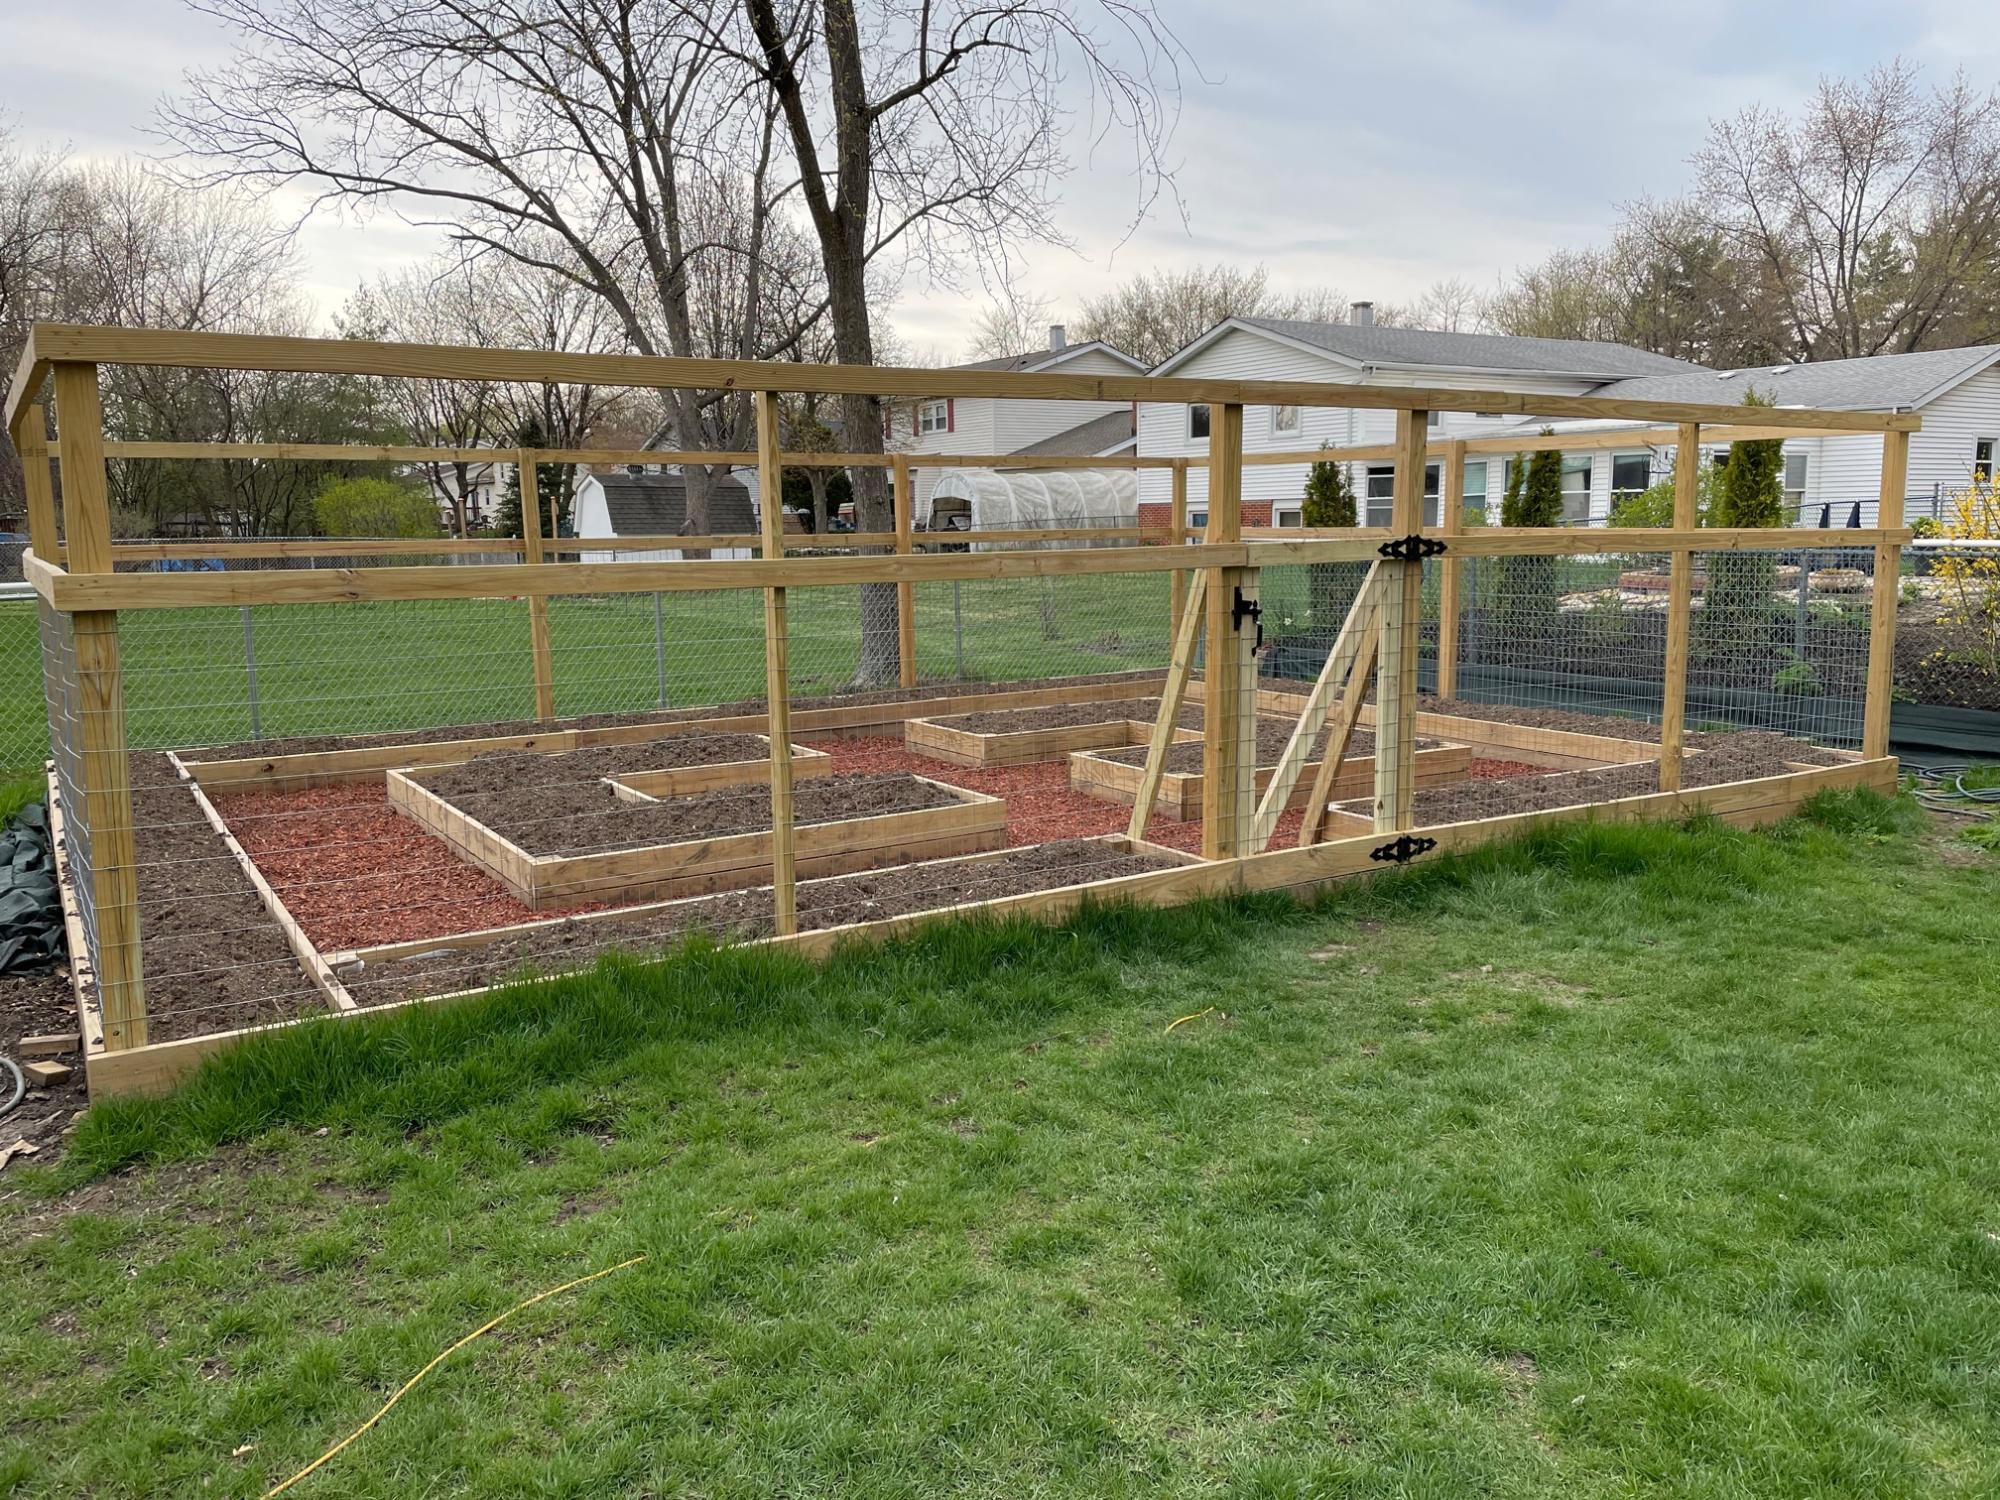
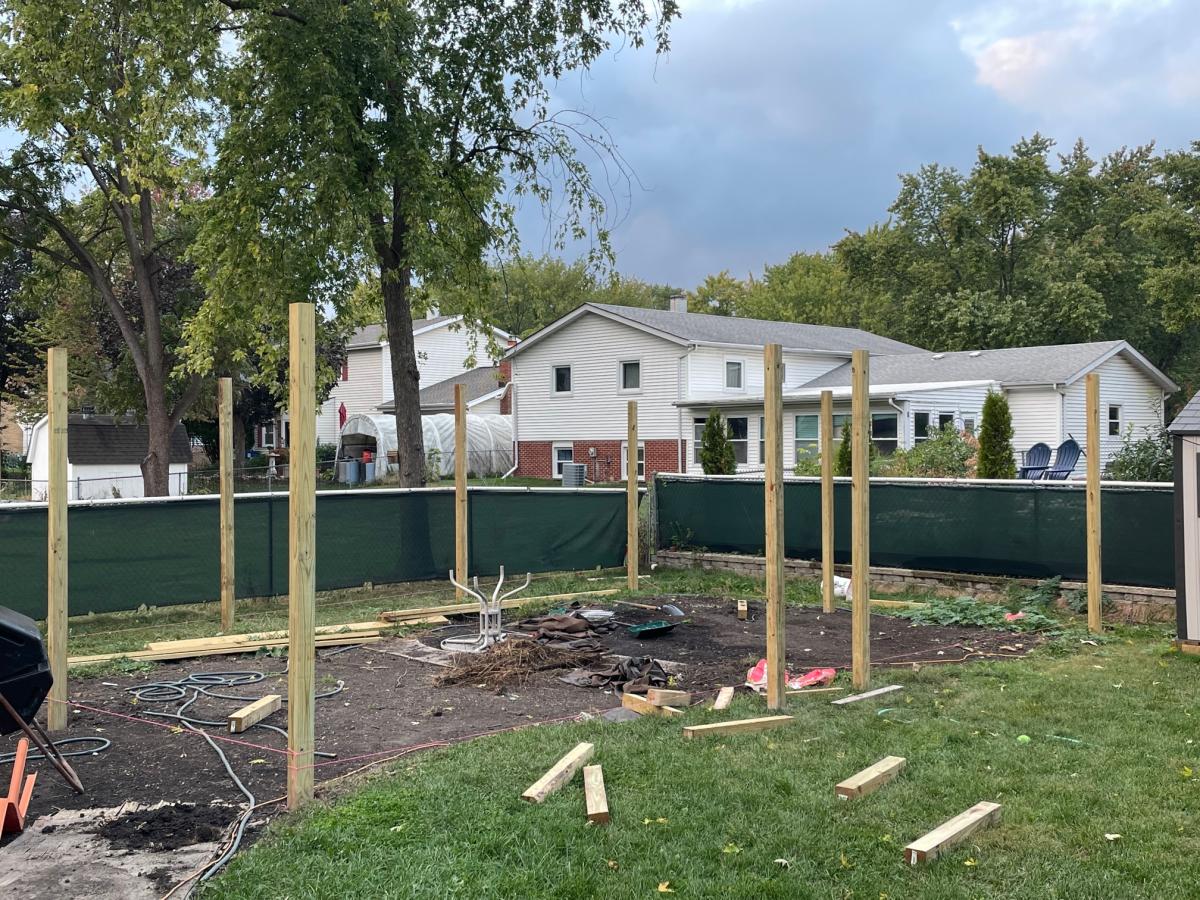
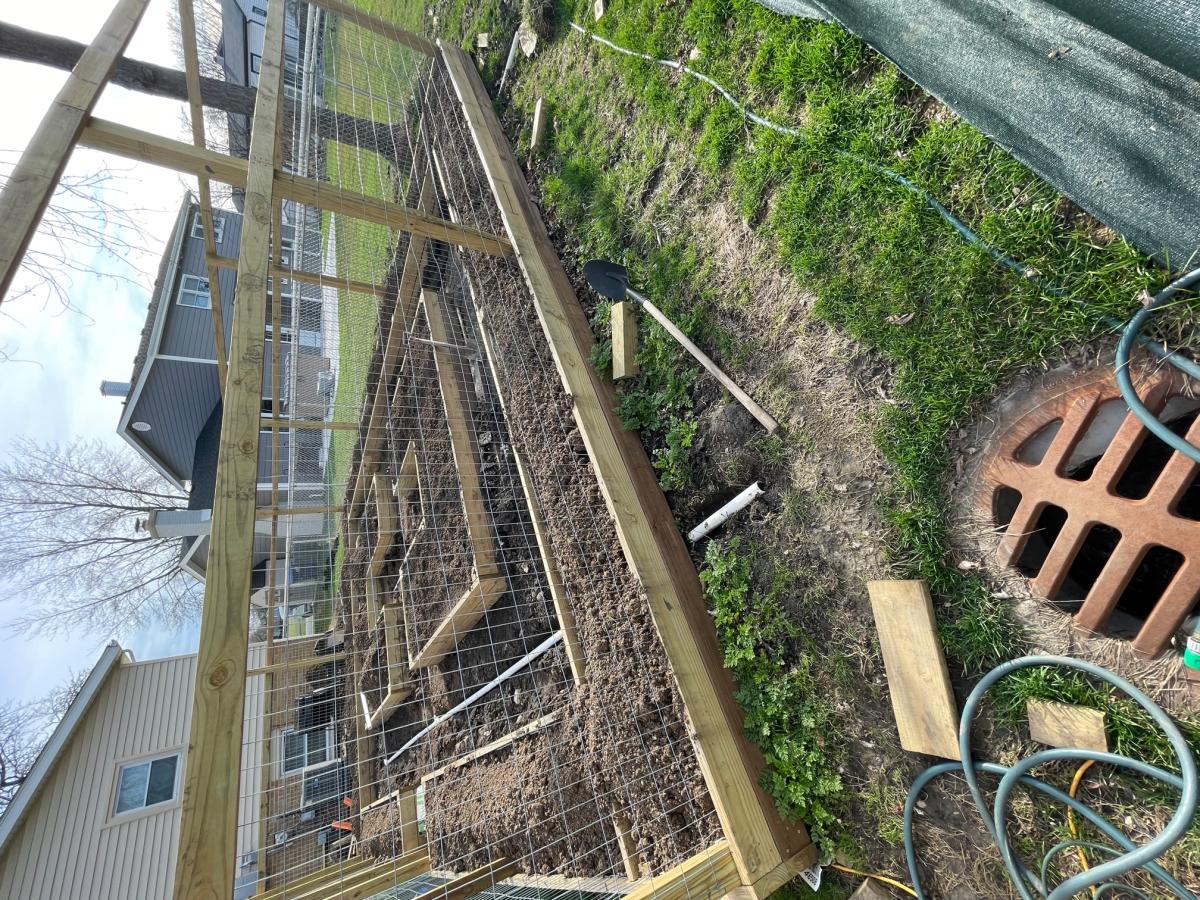
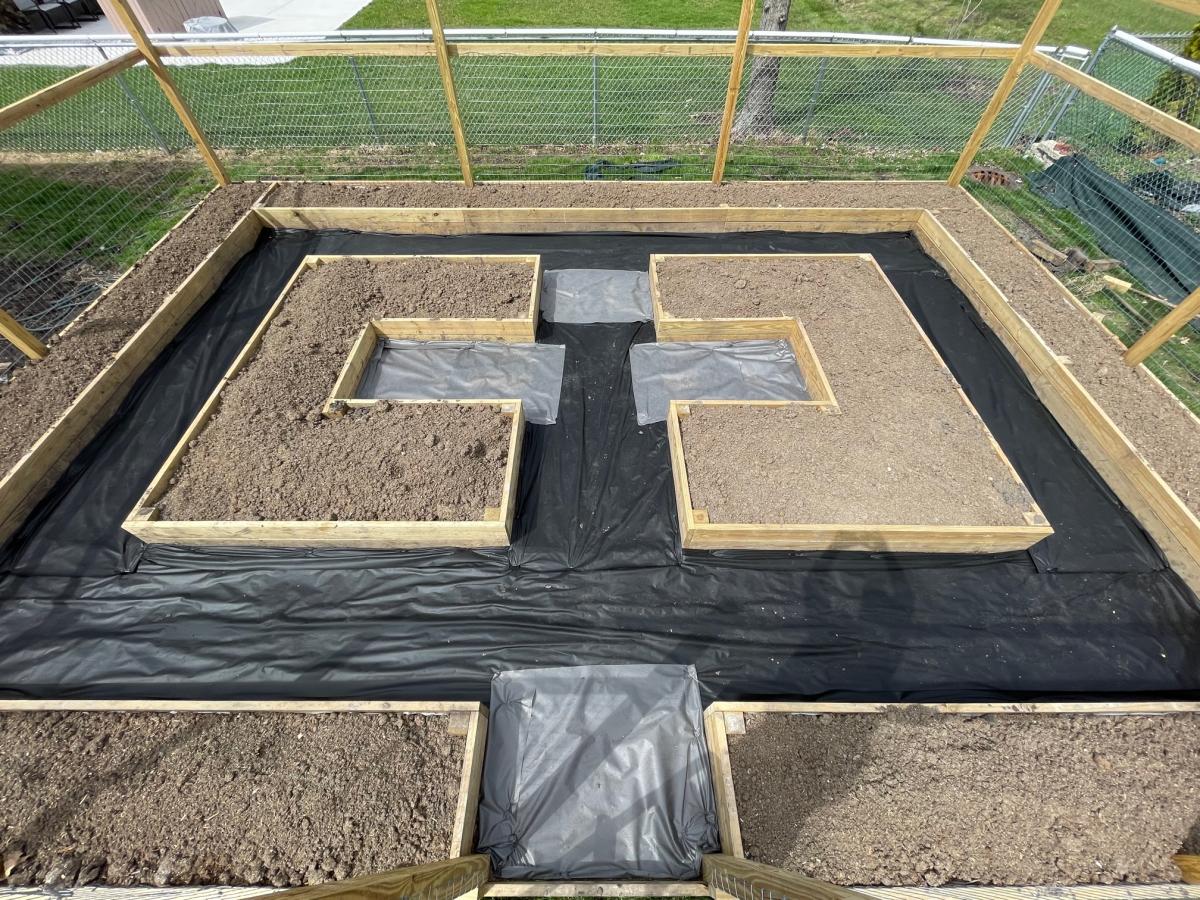
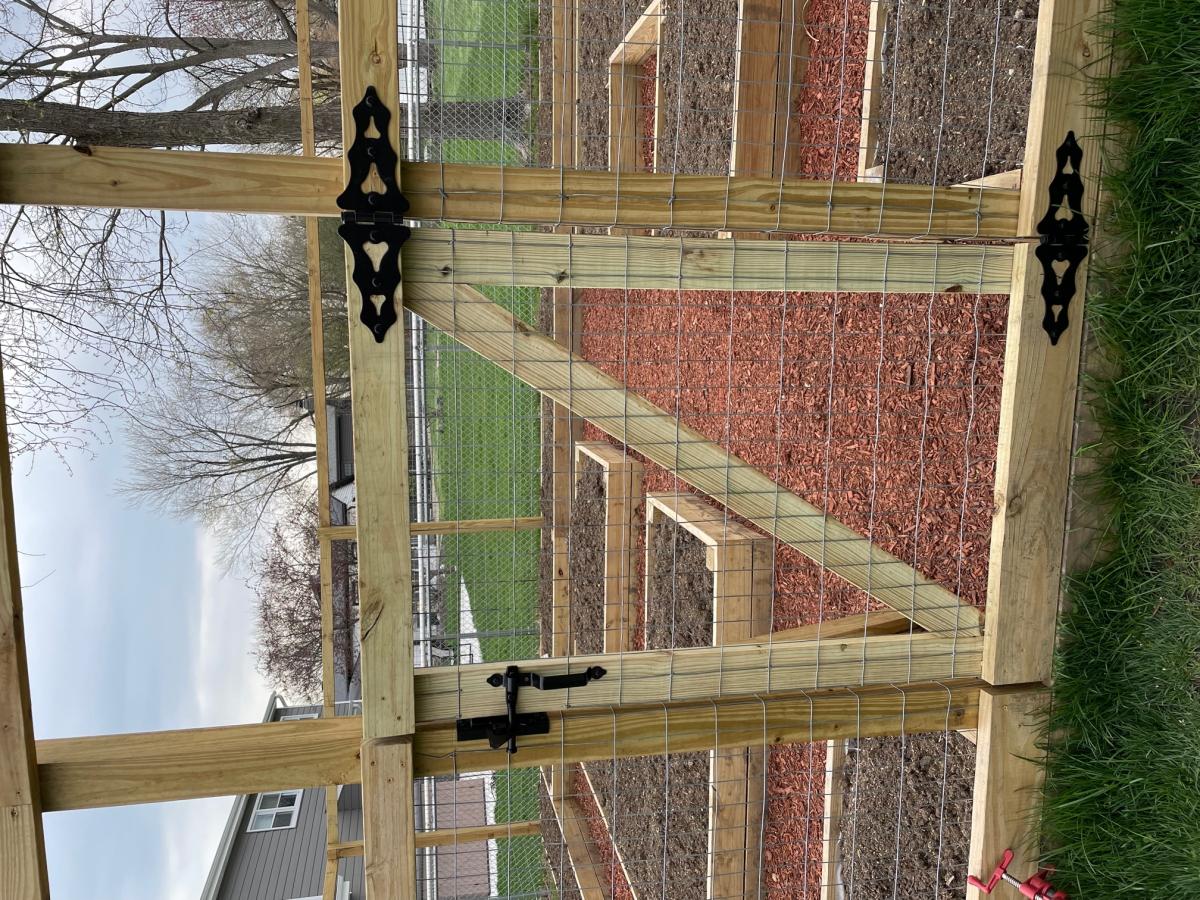
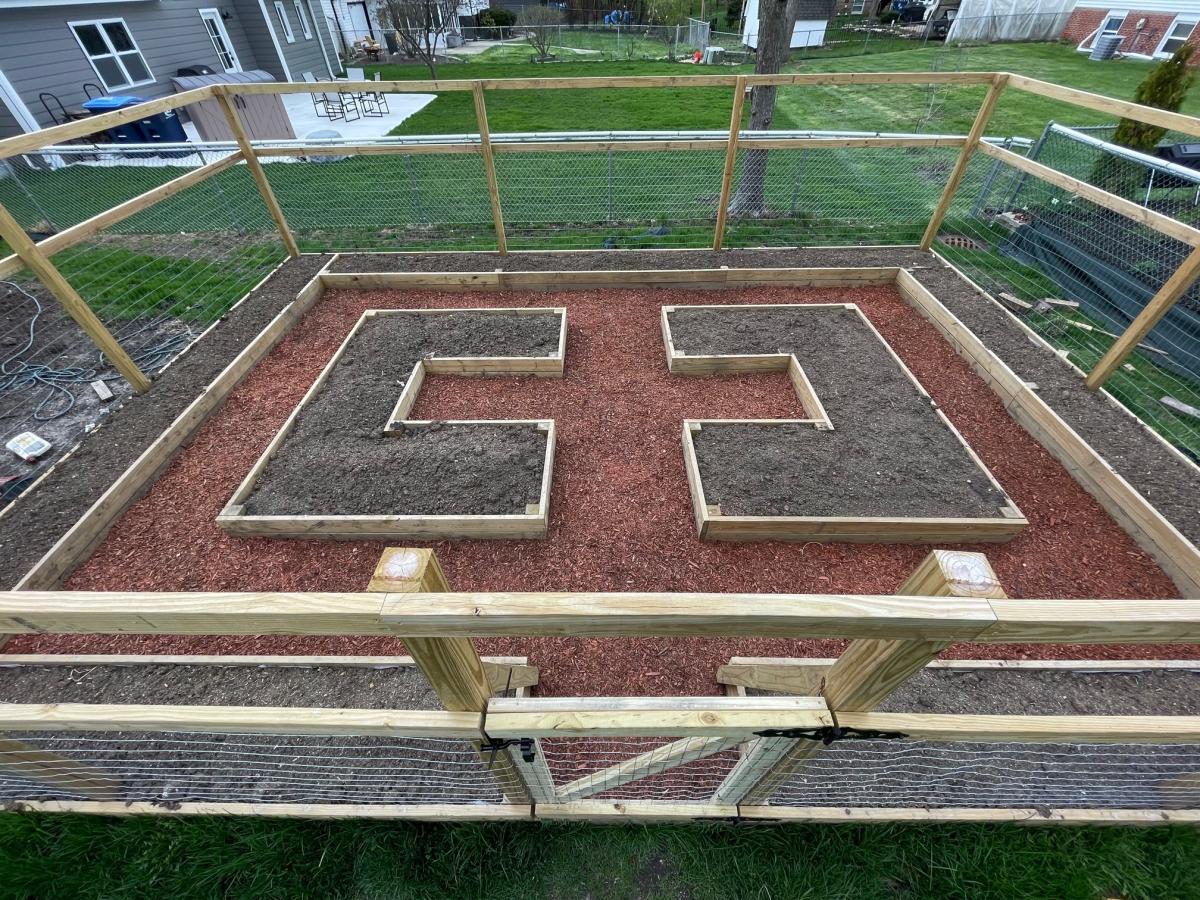
Used the Garden Enclosure plan as a reference, but wanted a much bigger area to walk through and relax in. Dimensions are about 30'x20'. Took a few months with a break for winter because it was just me working in spare time on weekends, would have gone a lot faster with an extra set of hands. Towards the end realized that drainage in the walk path was going to be an issue so I put in a very basic french drain before I weed fabric and mulched.
Really happy with how it turned out. Cost was pretty high, probably about $1500 all told, between wood, garden soil, etc. But we'll be able to enjoy it for many years.
I have arranged a giveaway for $50 on my blog at www.RustiChic.com. I have learned so much from Ana and other builders on here, I couldn't NOT let you know!
On a side note....any advice on the button??? I've tried all three links and can't get it on there for whatever reason and NEED to!!!
Also, any web/blog/wordpress designers with advice or services? I am interested!
Best of Luck!
~Anneke
Thu, 07/07/2011 - 16:49
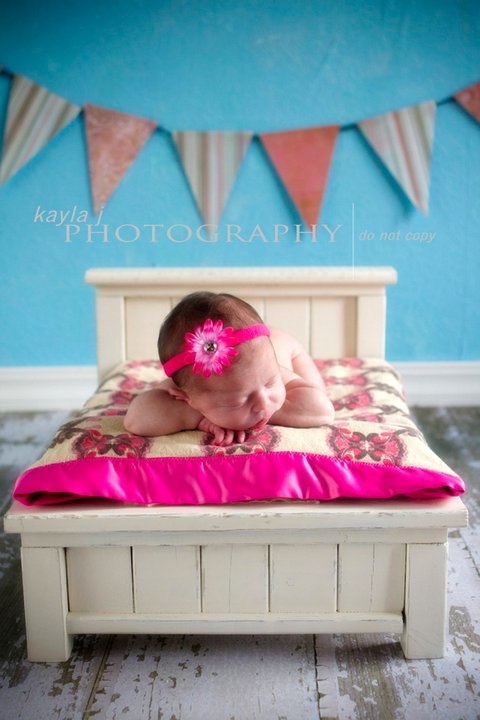
I made the baby bed in the picture for my sister who is an amazing photographer...5 day old babies = super cute! :-)
To check out more of her amazing work, go to KaylaJPhoto.com or her Facebook page at: http://www.facebook.com/home.php#!/pages/Kayla-J-Photography/3891579412…
Sat, 07/09/2011 - 18:36
Such a cute thing for taking baby pictures! Love it! You did a wonderful job. :) J
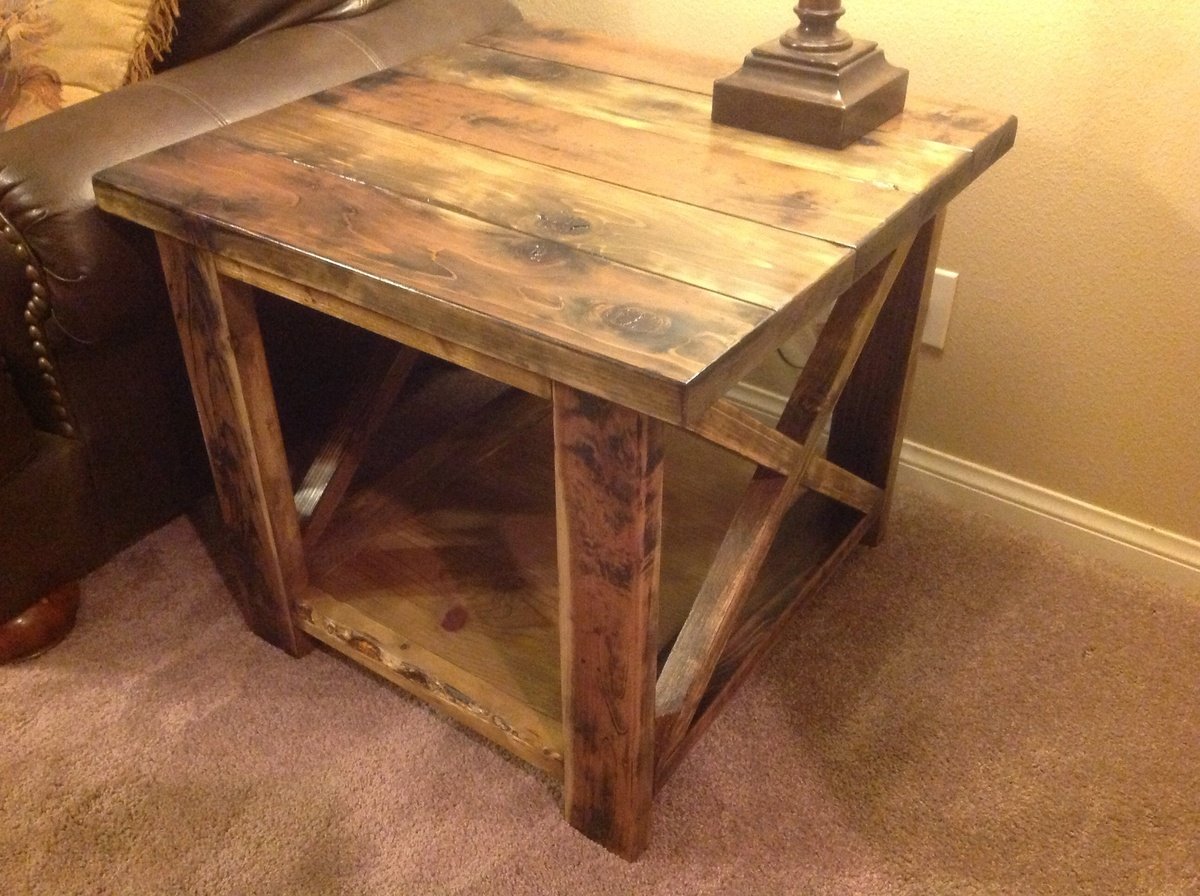
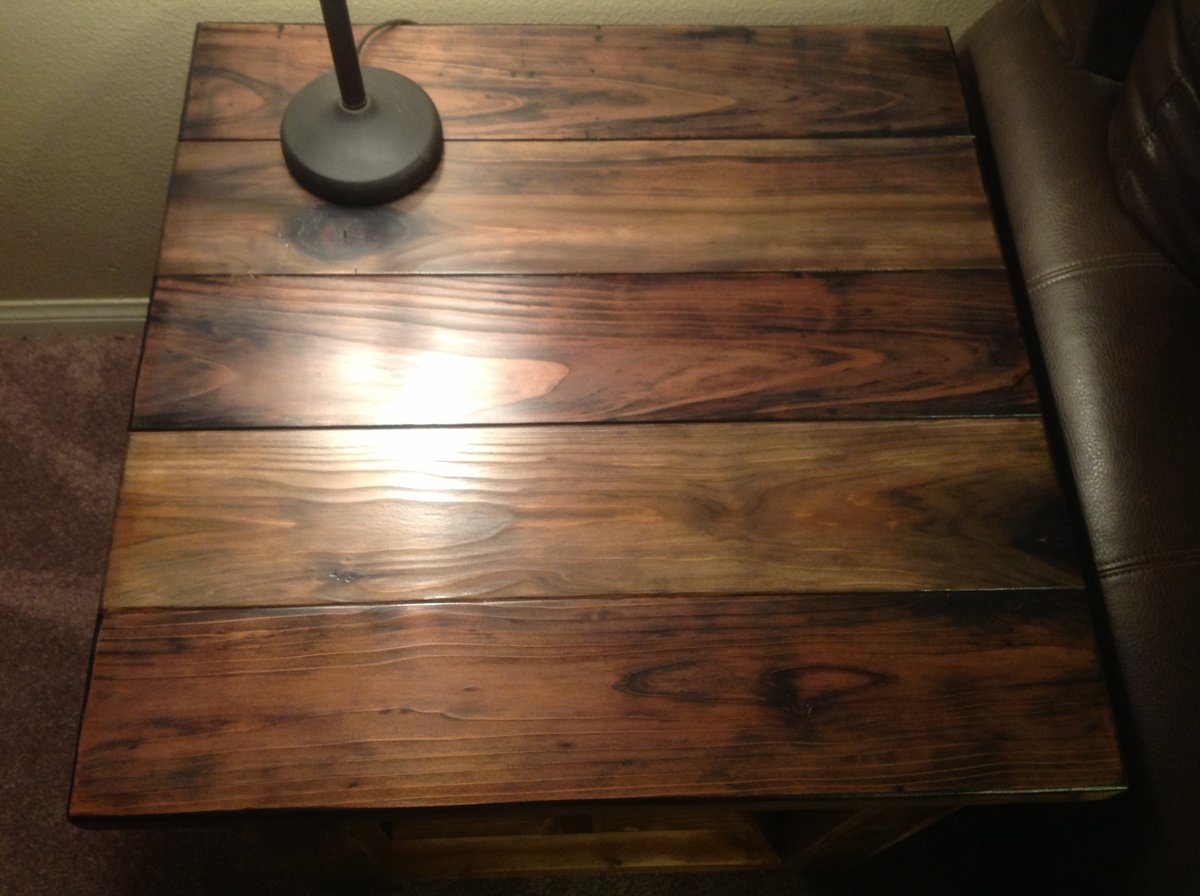
We decided to use redwood because it is sturdy and looks nice. We used the steel wool in vinegar to stain the wood, which FYI, redwood turns black. We were a little worried they were ruined and we weren't going to get that rustic look. After a lot of sanding and 3 coats of clear poly they look great! Thank you so much for the plans!
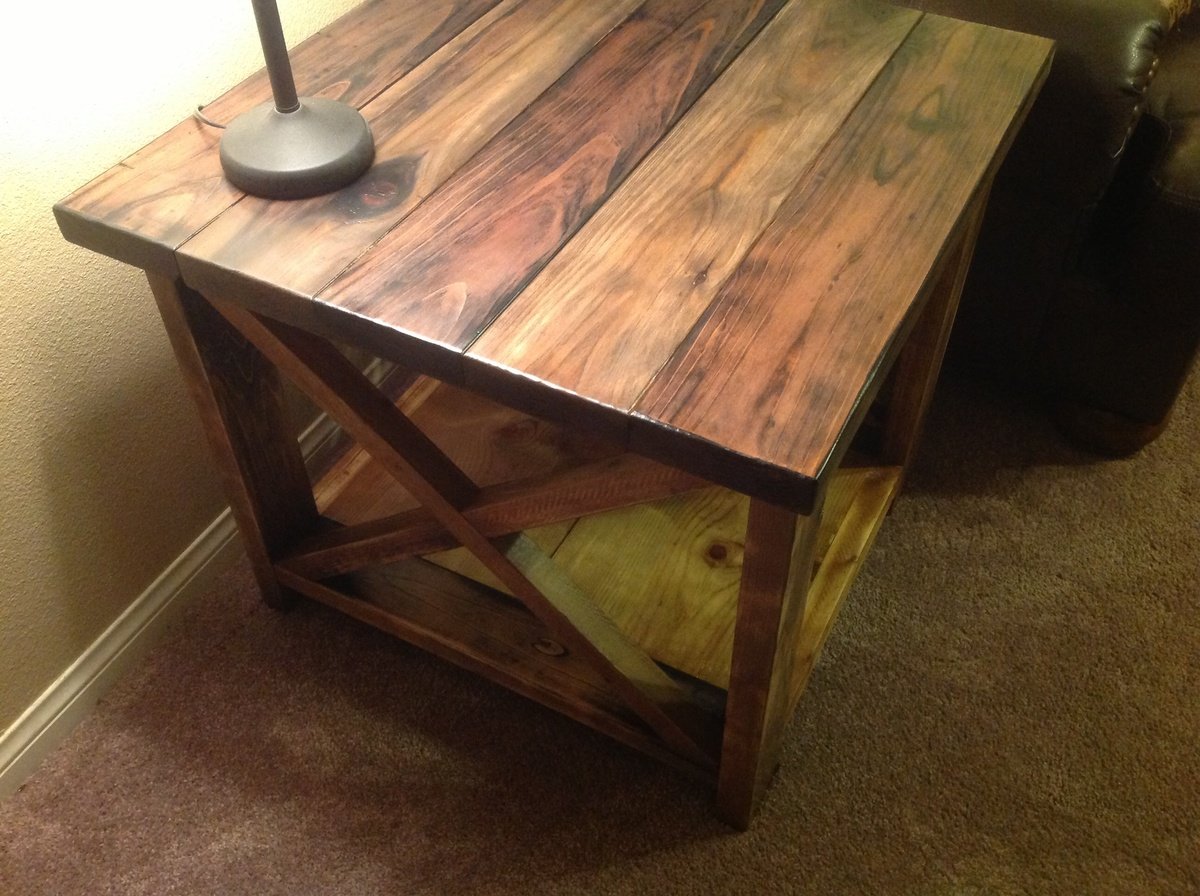
Sun, 08/11/2013 - 20:47
It looks great, and the redwood used is such a boon. You'd be able to use it outdoors on a patio or on a deck outside, too.
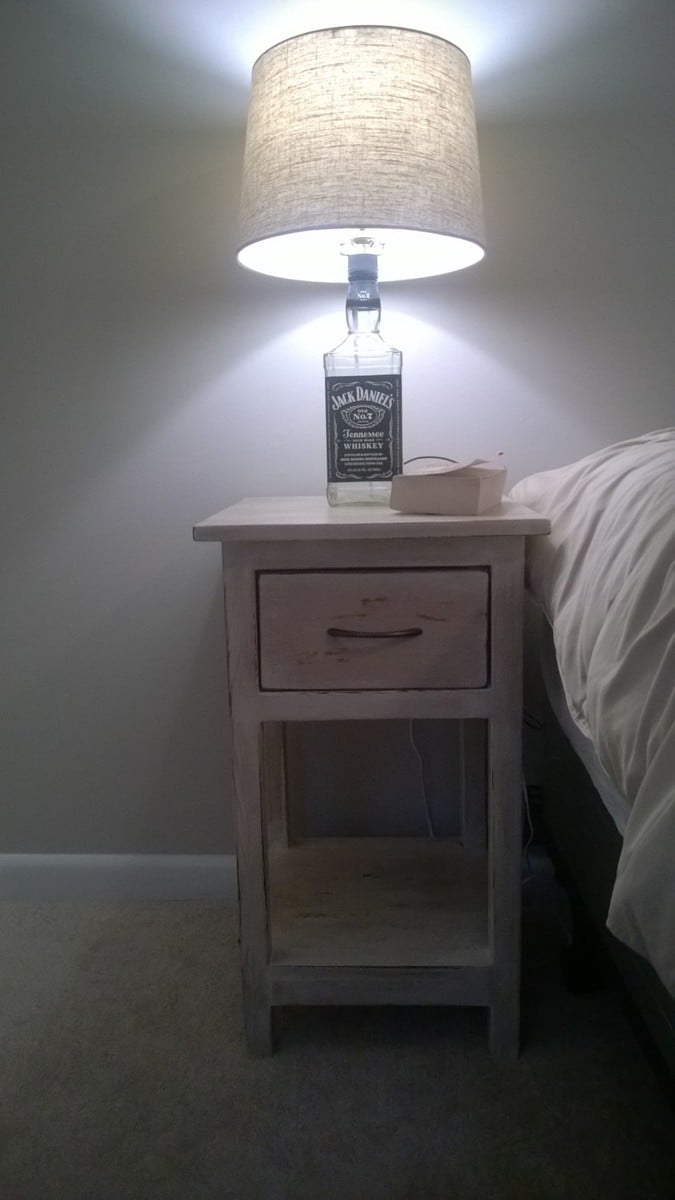
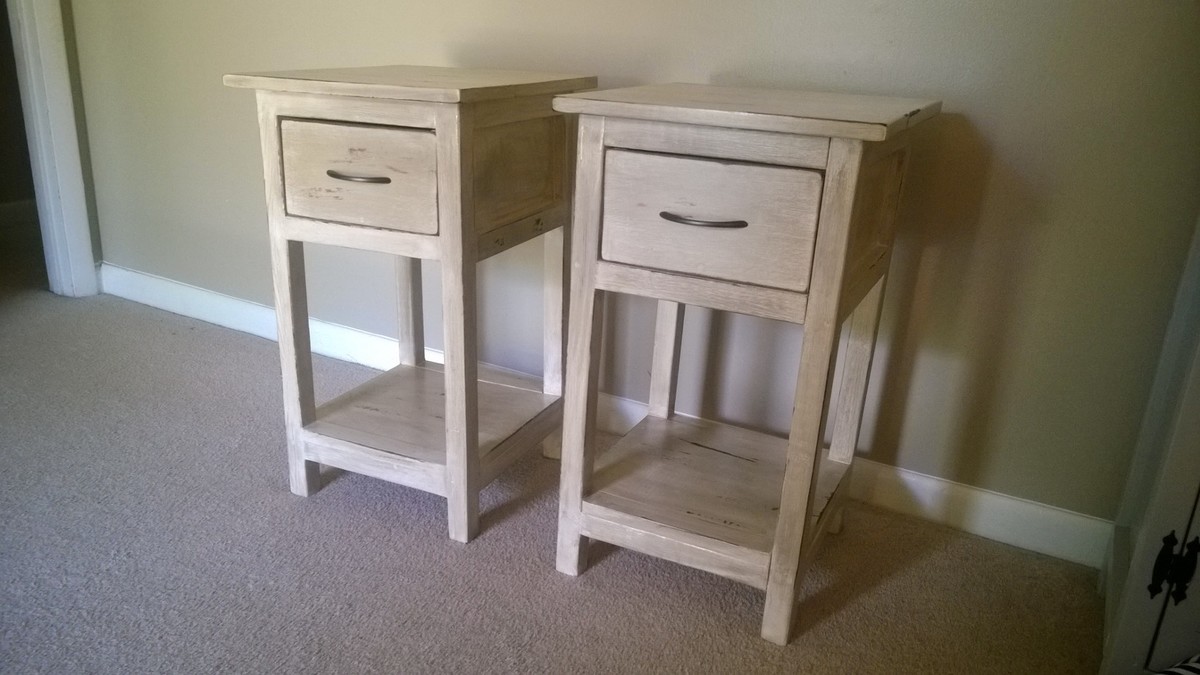
These tables were easy to build. We ended up using paint and stain to give the tables a distressed look. They will make a great addition to our guest bedroom.
My 14 year old son wanted a piece of furniture to put under his TV. We made it 20 inches less in length but kept the other dimensions the same as the plans. I made the cuts for him, but he did all of the work putting it together, sanding and staining. He loves the outcome and it only took us about 6-8 hours over the course of two days.
Thanks for the plans!
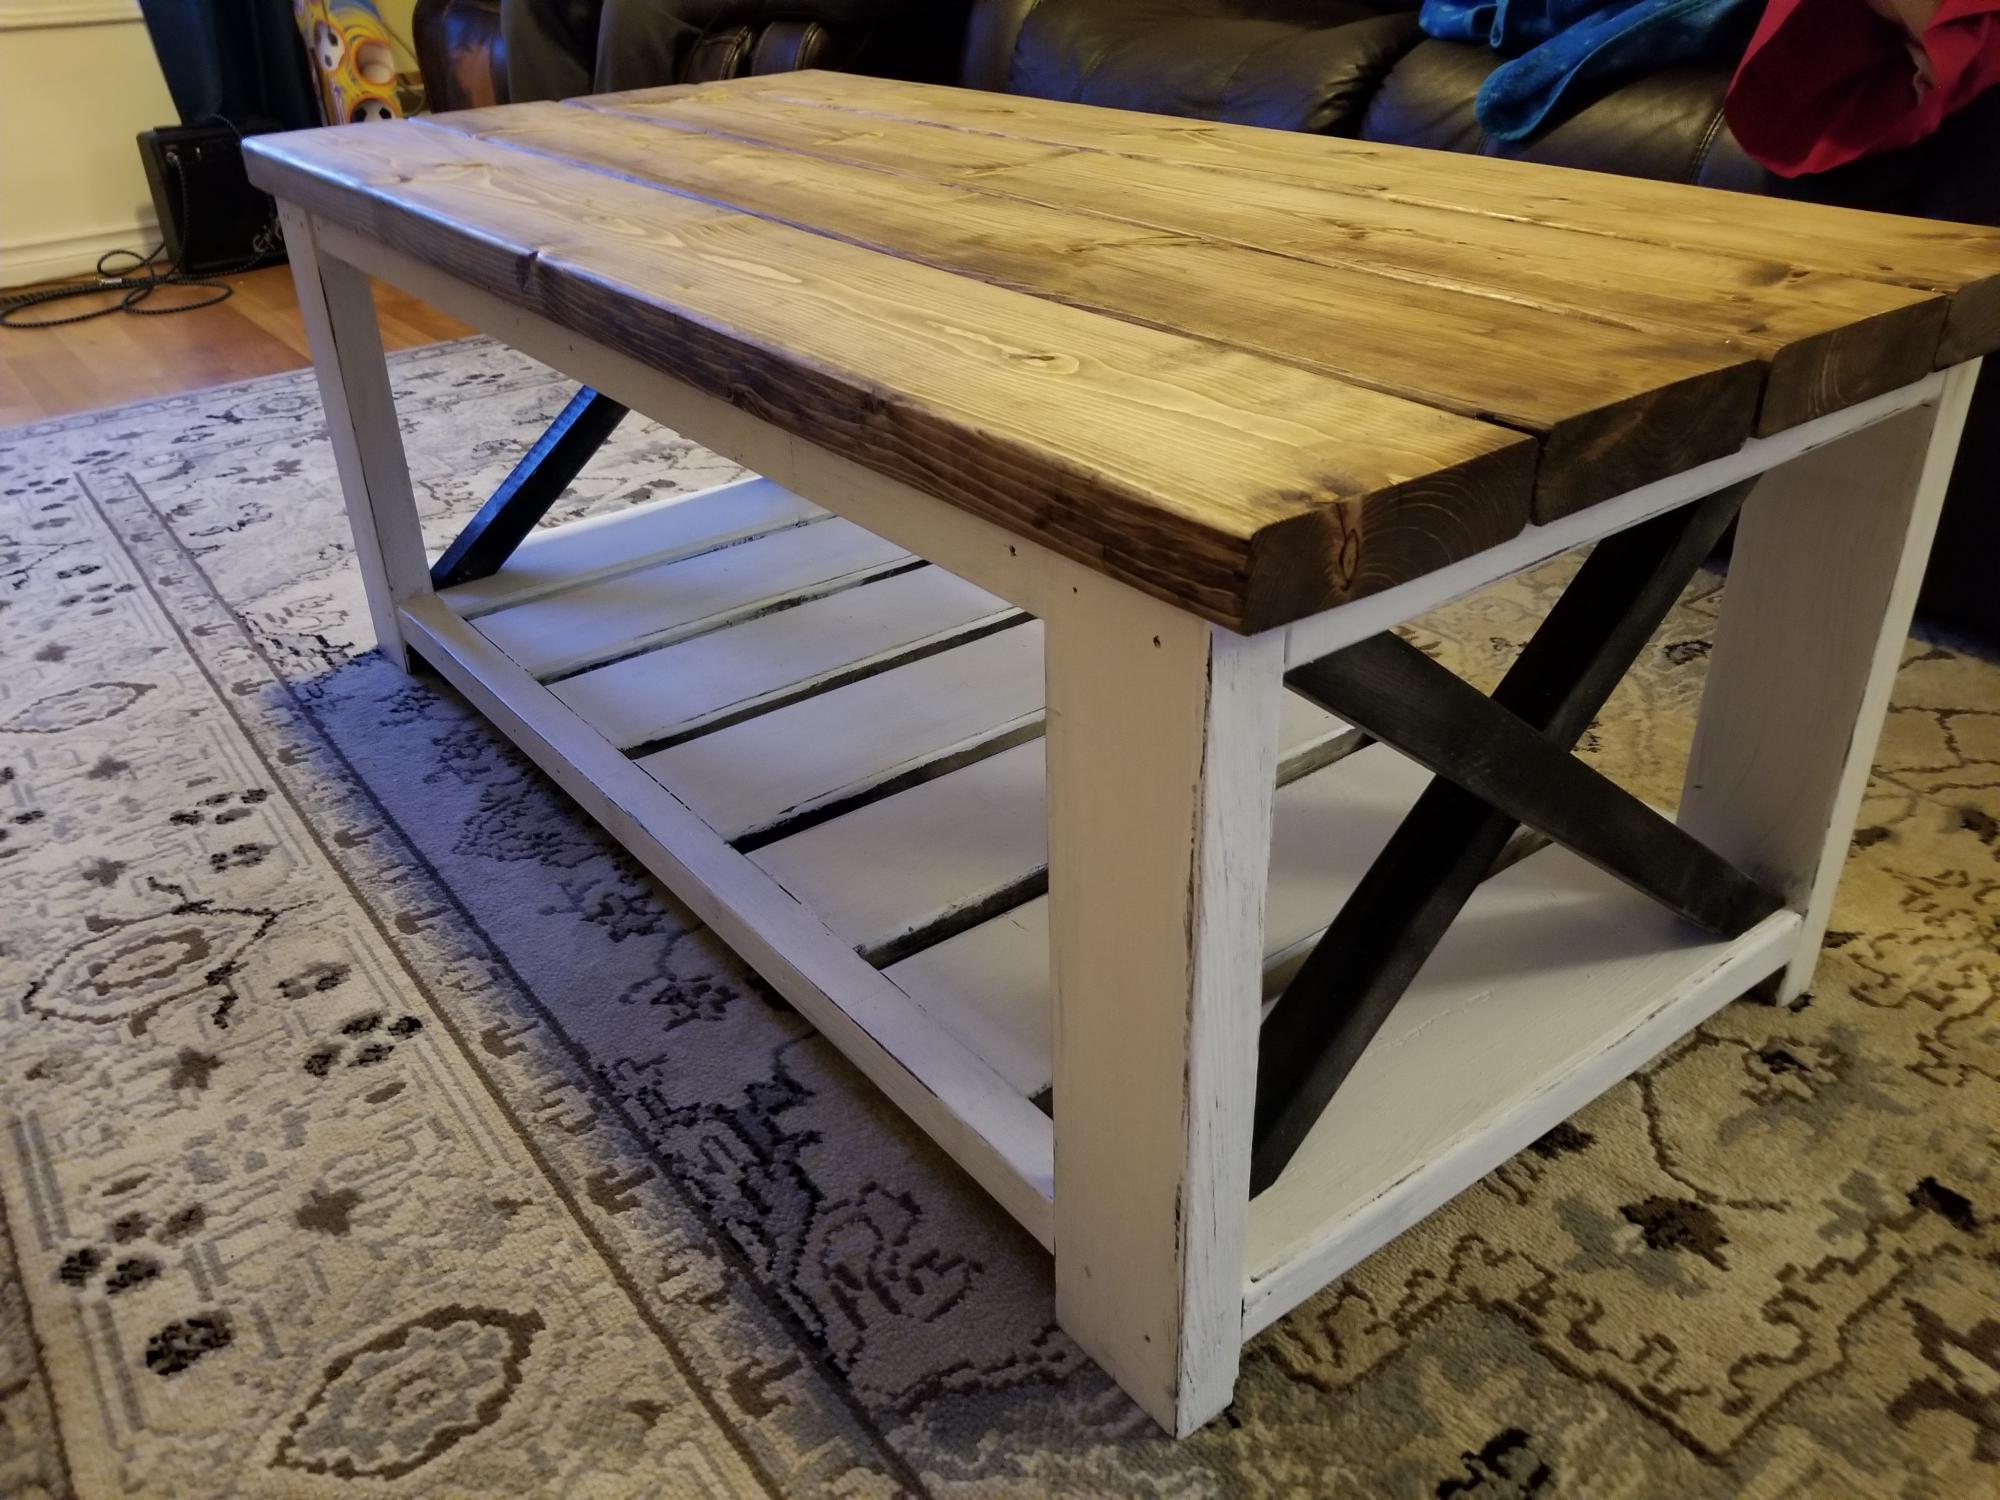
My sons and I decided to tackle a project for mom this year, and the farmhouse coffee table was a great project. Tweaked the design slightly with offset full length cross pieces and a distressed paint finish on the base. Great plans, fun project with the kids, and mom loved it!
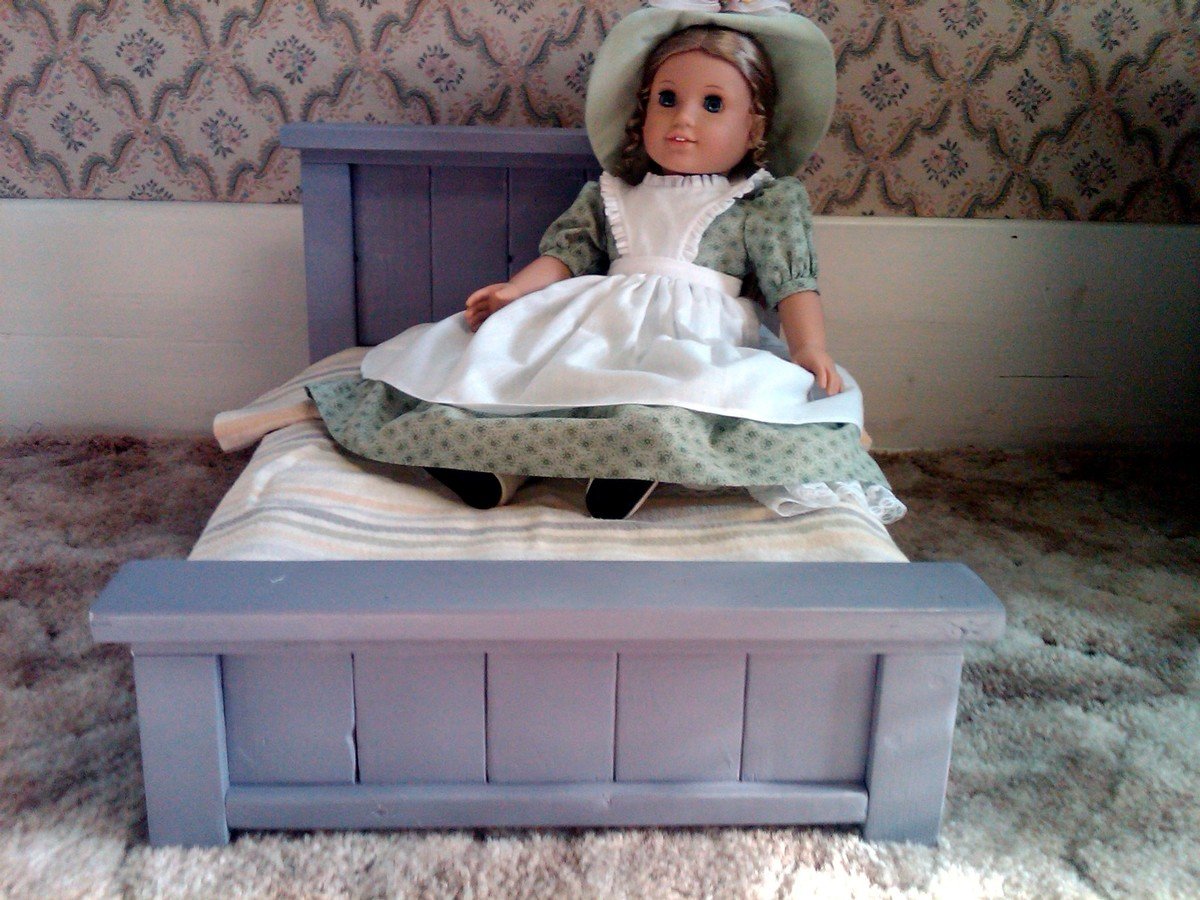
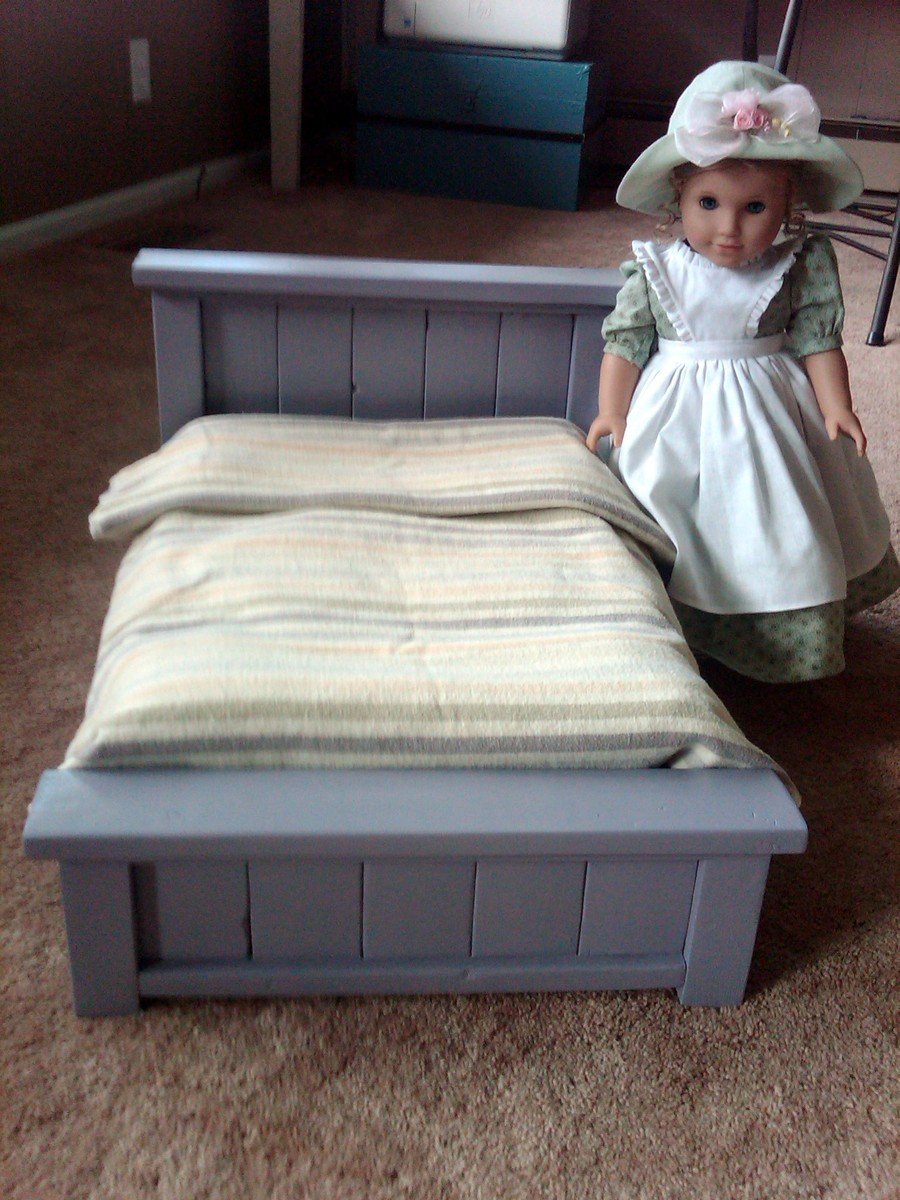
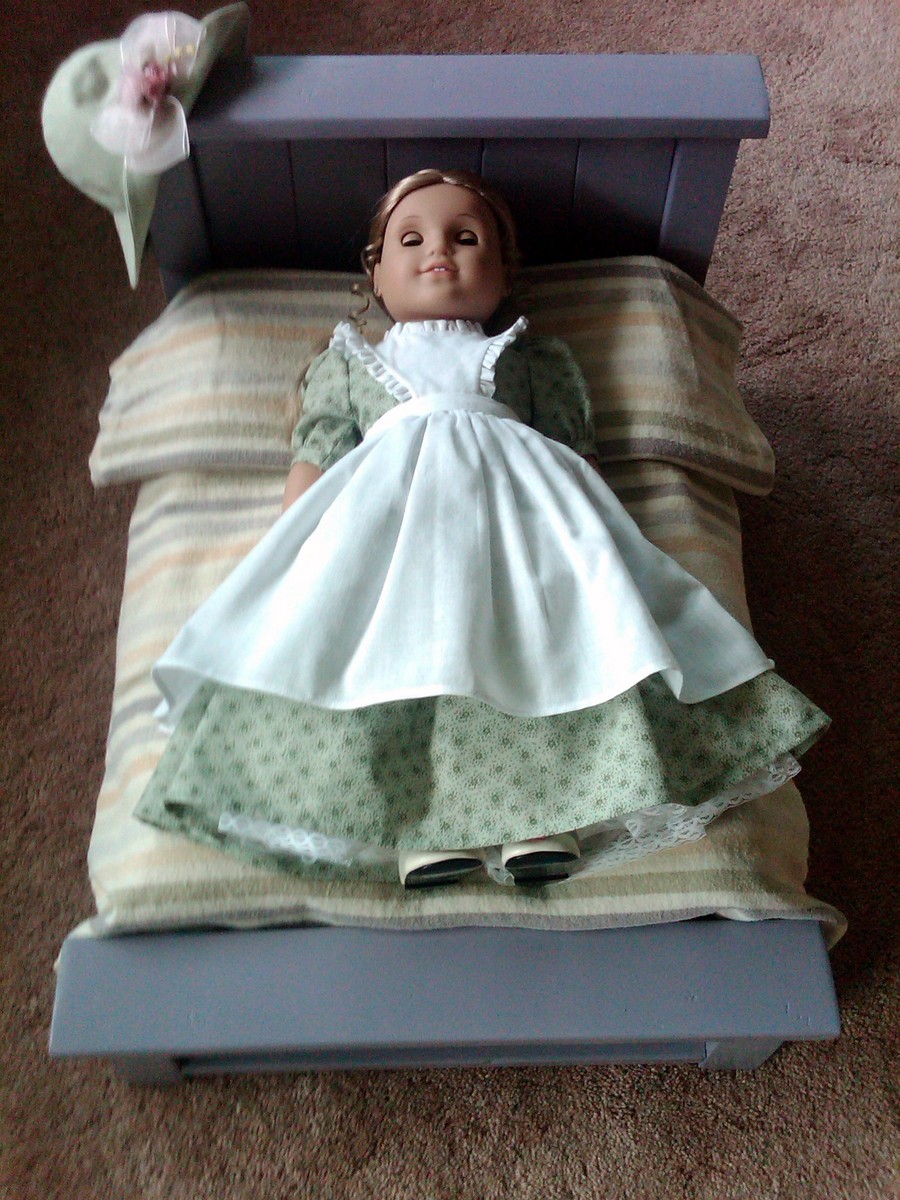
I built this bed for my new doll I got from my mother-in-law. All the girls in her family got one as a child, so she got me one, too. This is such a cute bed! Matches my own Farmhouse bed:)
I'm sure this would have been easier with a nail gun, but it is was pretty simple with the drill too.
LOVE IT!
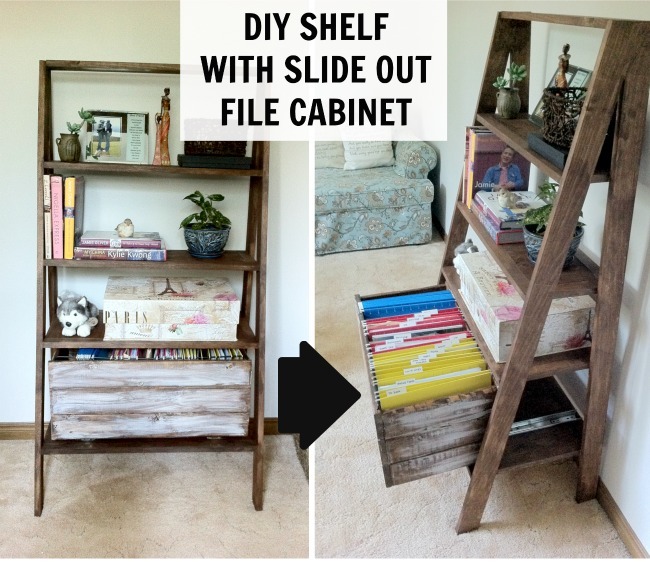
I needed a filing cabinet but wanted something stylish and unique. At the same time, I was also looking for an excuse to build this beautiful ladder shelf. So I decided to combine the two and create a "ladder filing cabinet!" I adjusted the plans so that the legs were made of 1x3's for extra support and I used 1x2's for shelf trims. I also converted side-mount drawer slides into a bottom track for the drawer.
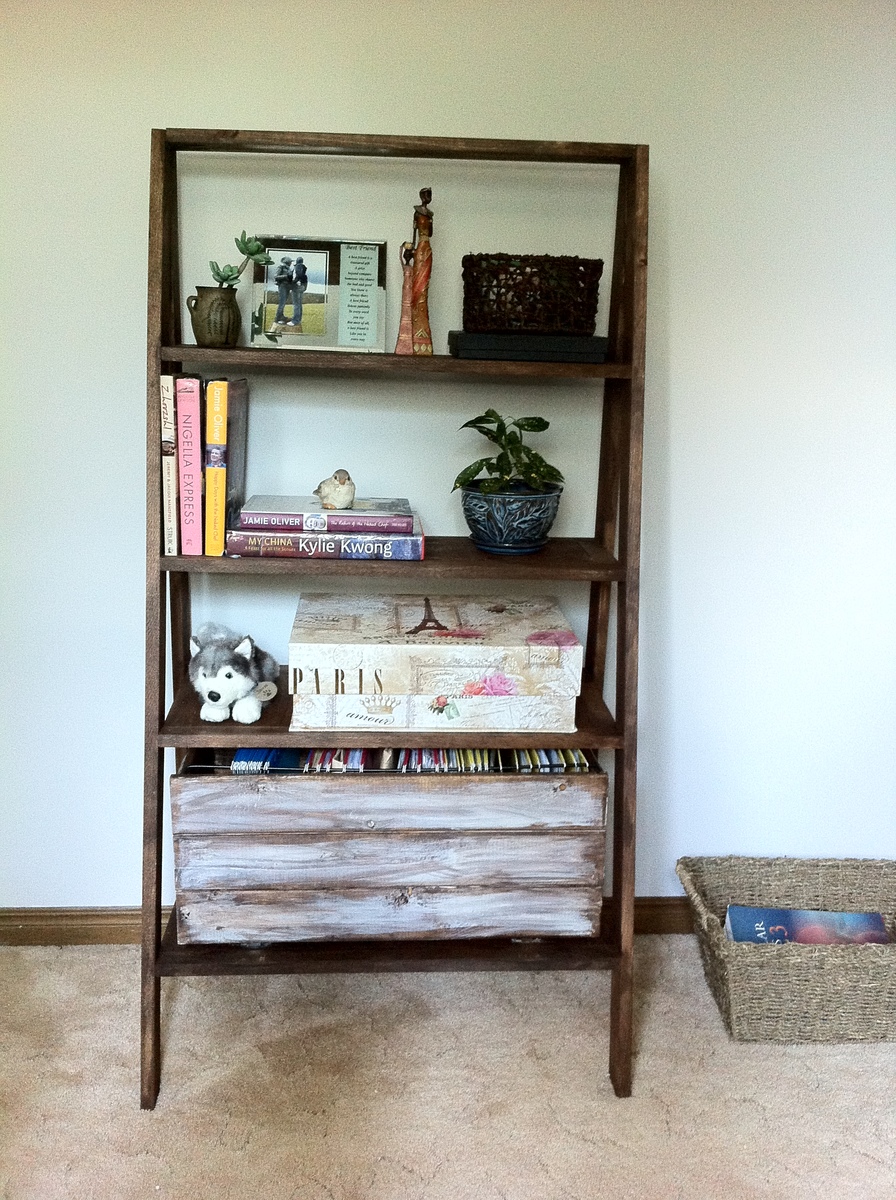
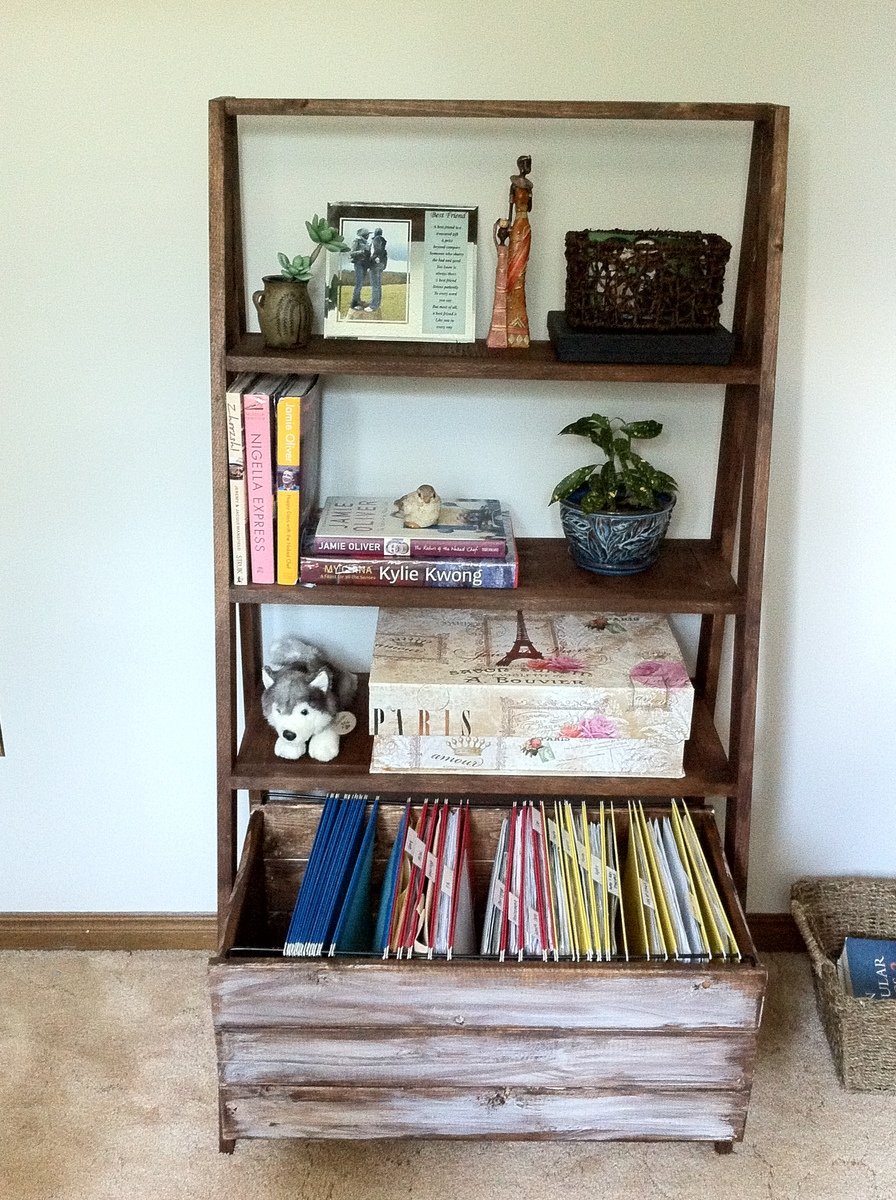
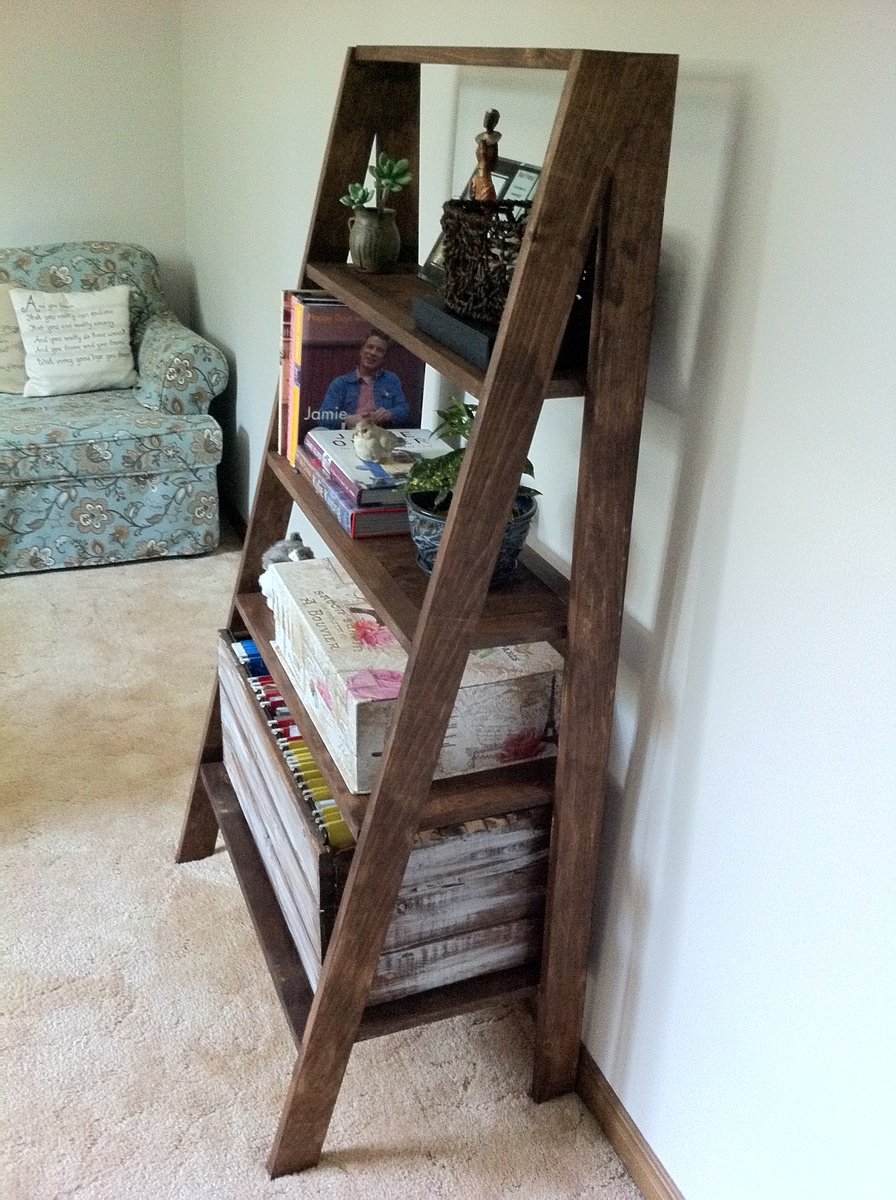
Wed, 08/14/2013 - 18:52
Thanks, KF. I used two metal rails that I had laying around from an old DVD rack. Not sure what you call them, but they basically hooked into the front of each shelf to prevent the DVDs from tipping out.
However, for anyone who's considering building a filing cabinet, I would suggest using metal bars like the ones used in this link: http://sawdustgirl.com/2013/07/18/how-to-build-a-hanging-file-drawer/
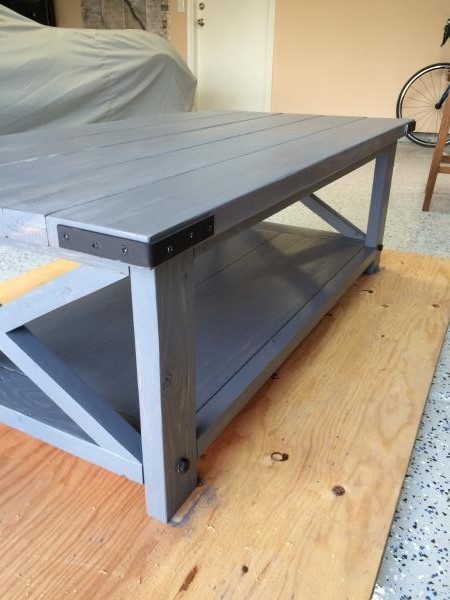
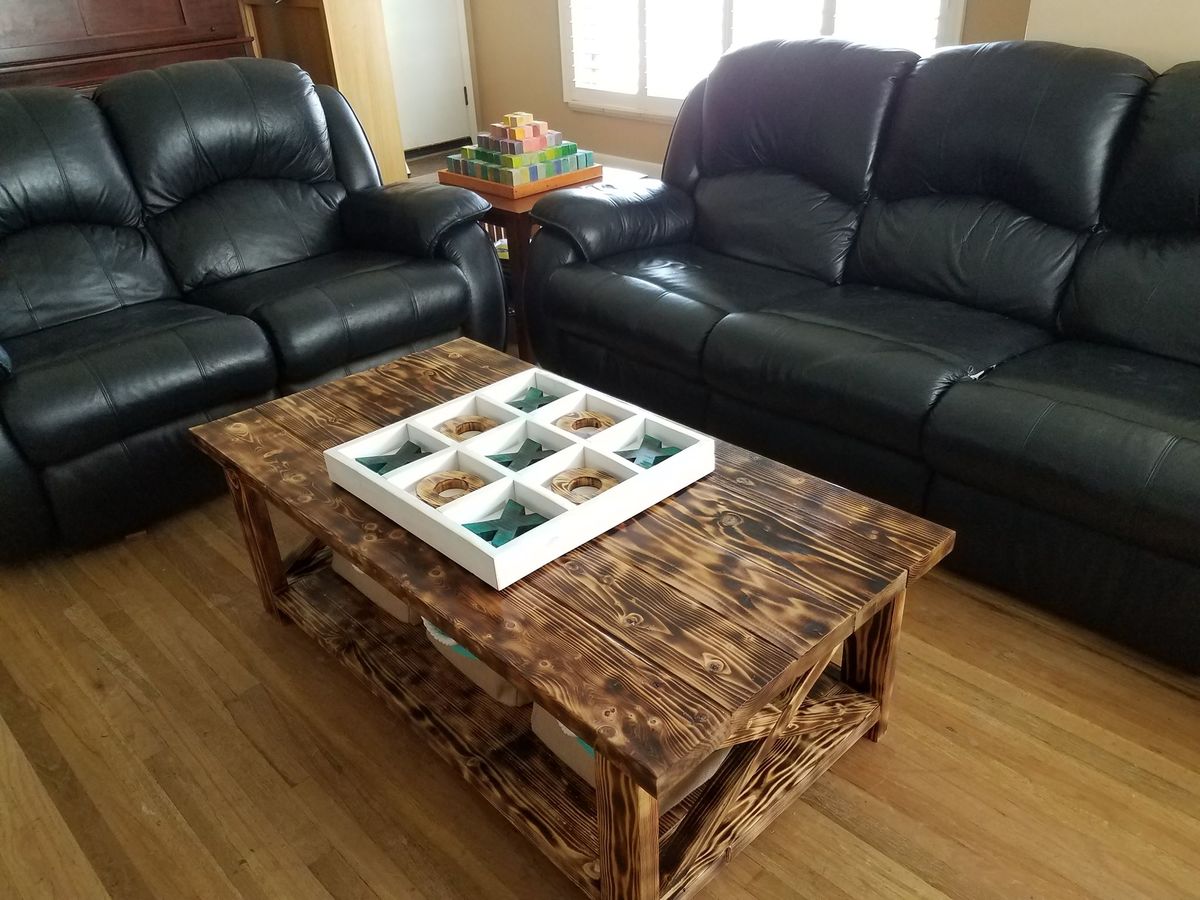
My first build from your site. The plans are great! I changed it and used half lap joints for the Xs to keep them as solid pieces. Only cheap lumber is available at the big box stores, so LOTS of sanding.
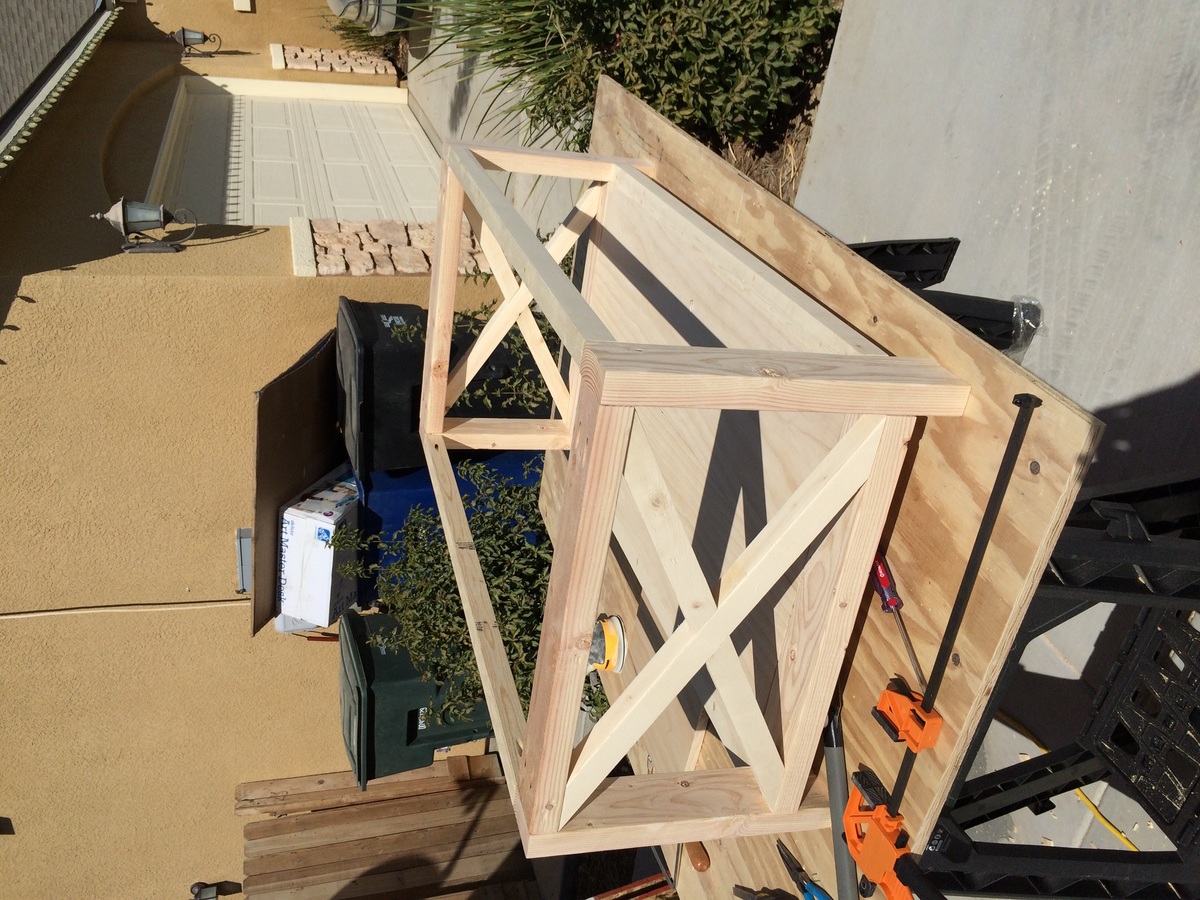
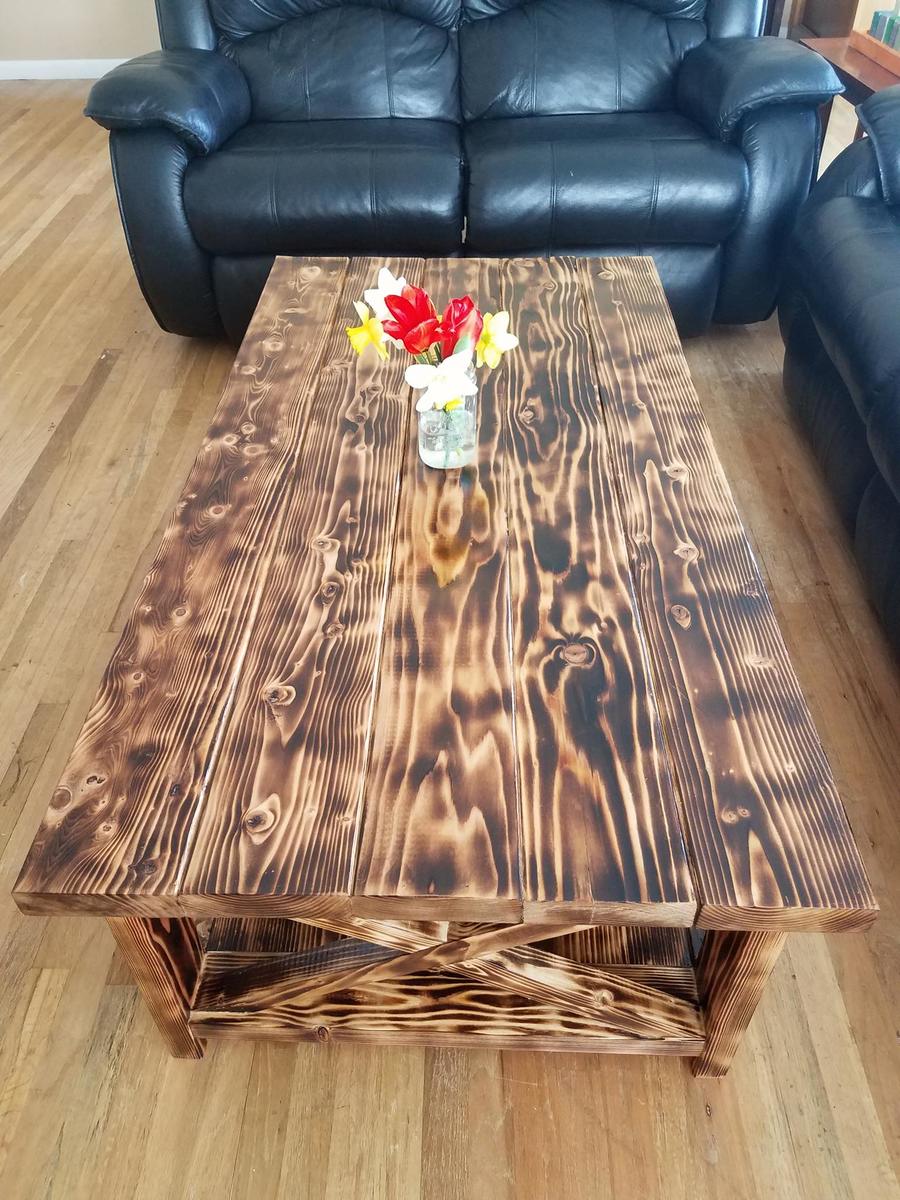
Burned wood finish with stain and lots of coats of poly for protection and shine
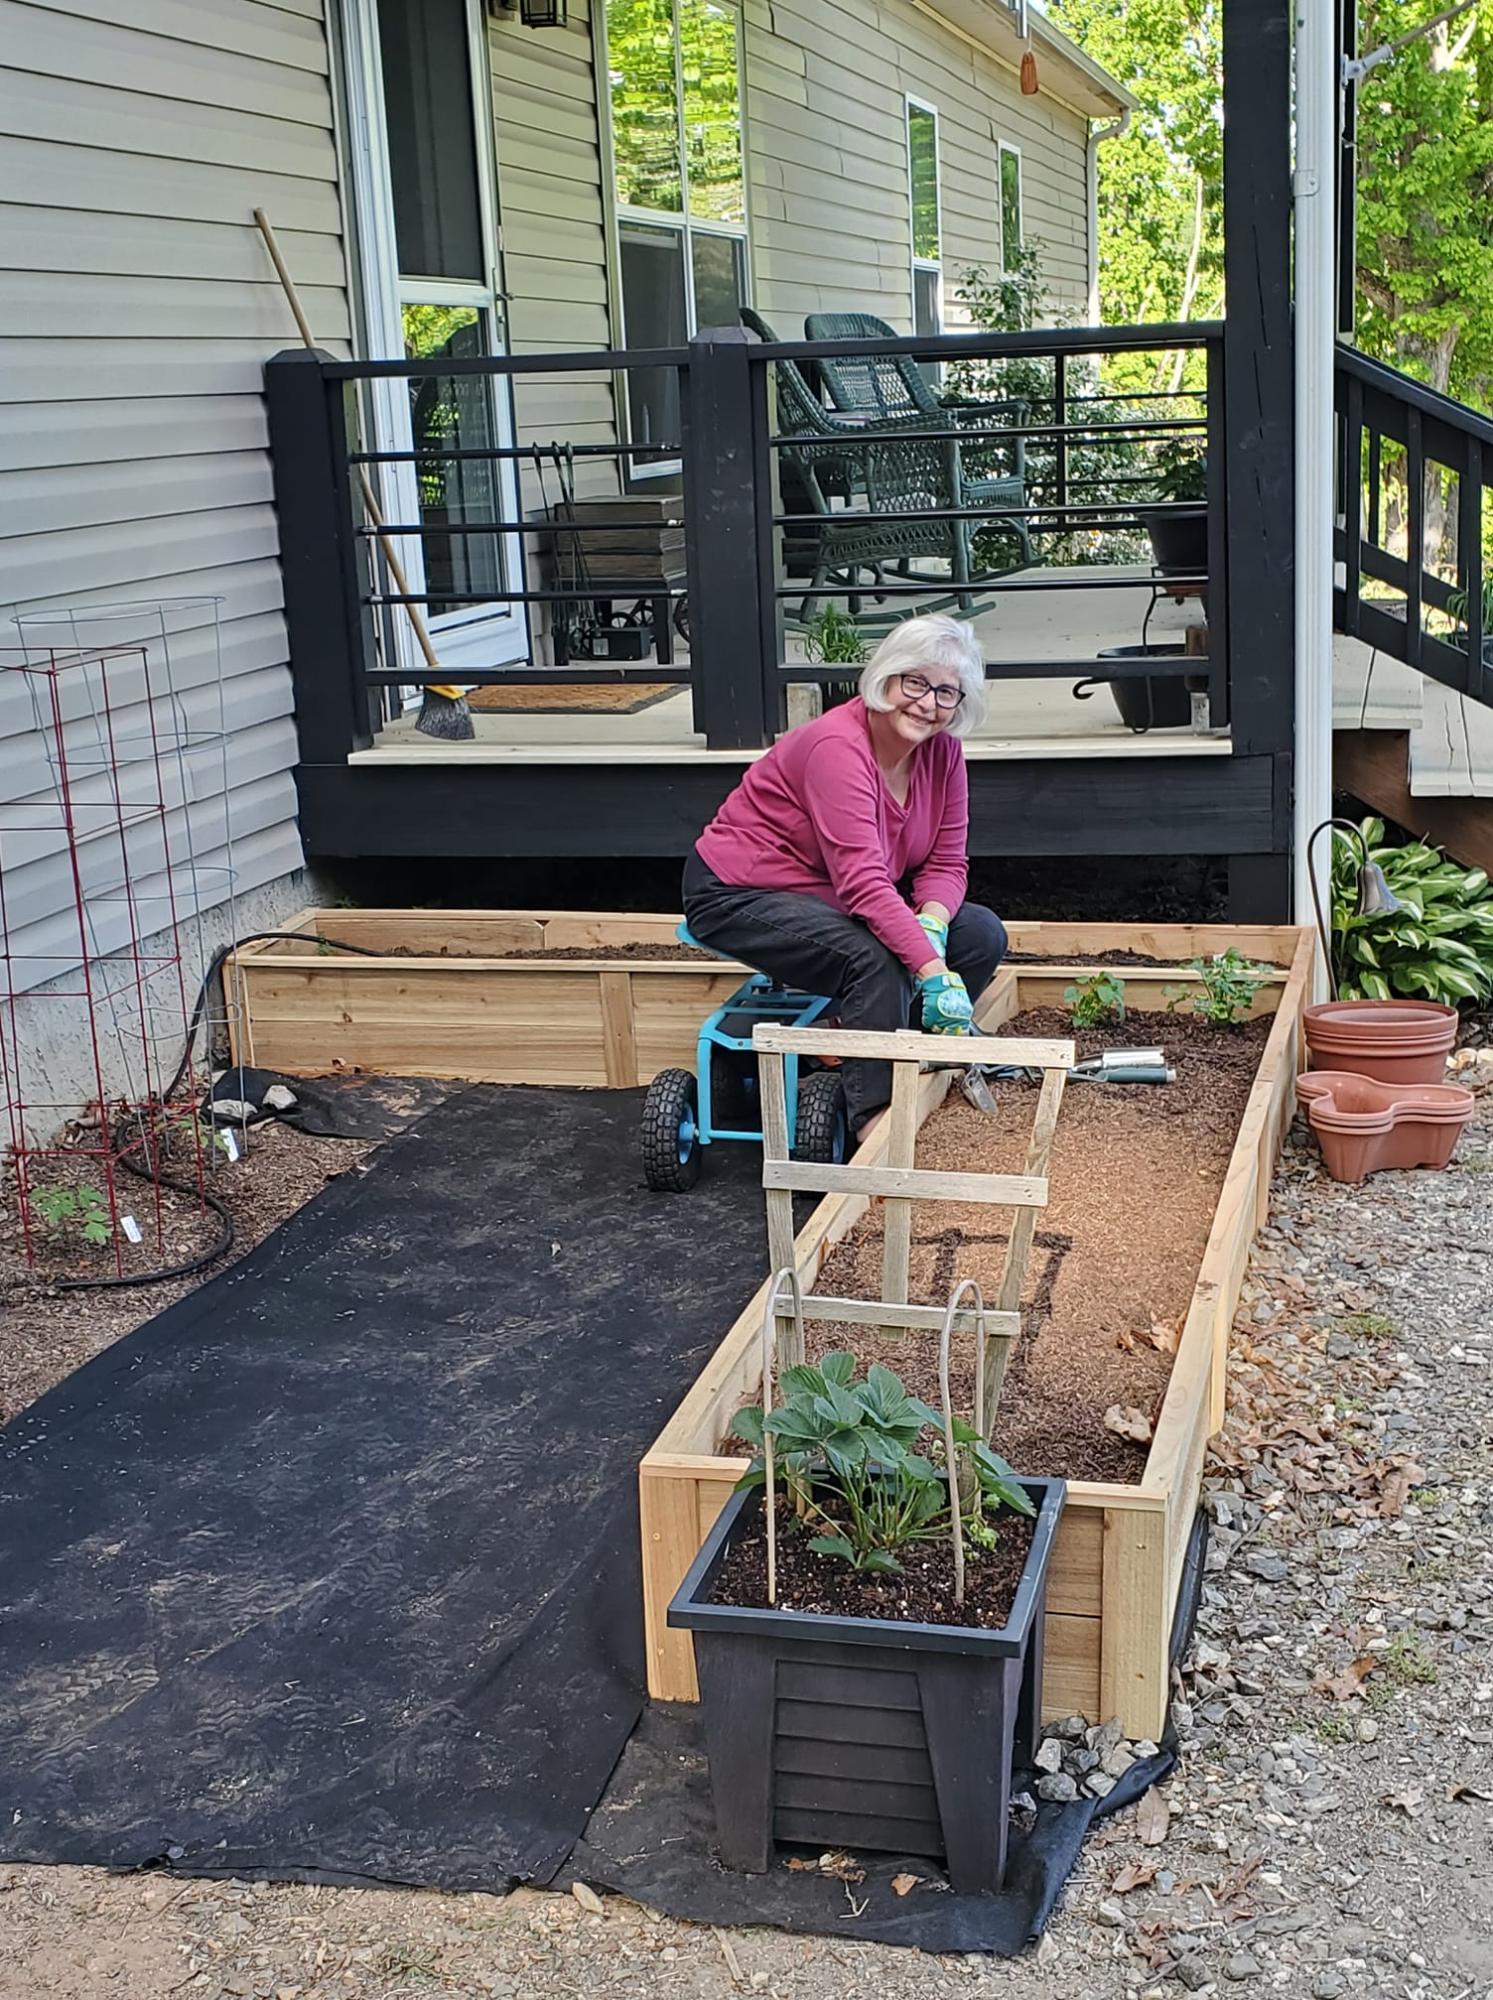
We bought 40 pickets and built the privacy planter and these 2 beds with 2 pickets left over. Might need a planter box on the front porch ![]()
By Terri!
