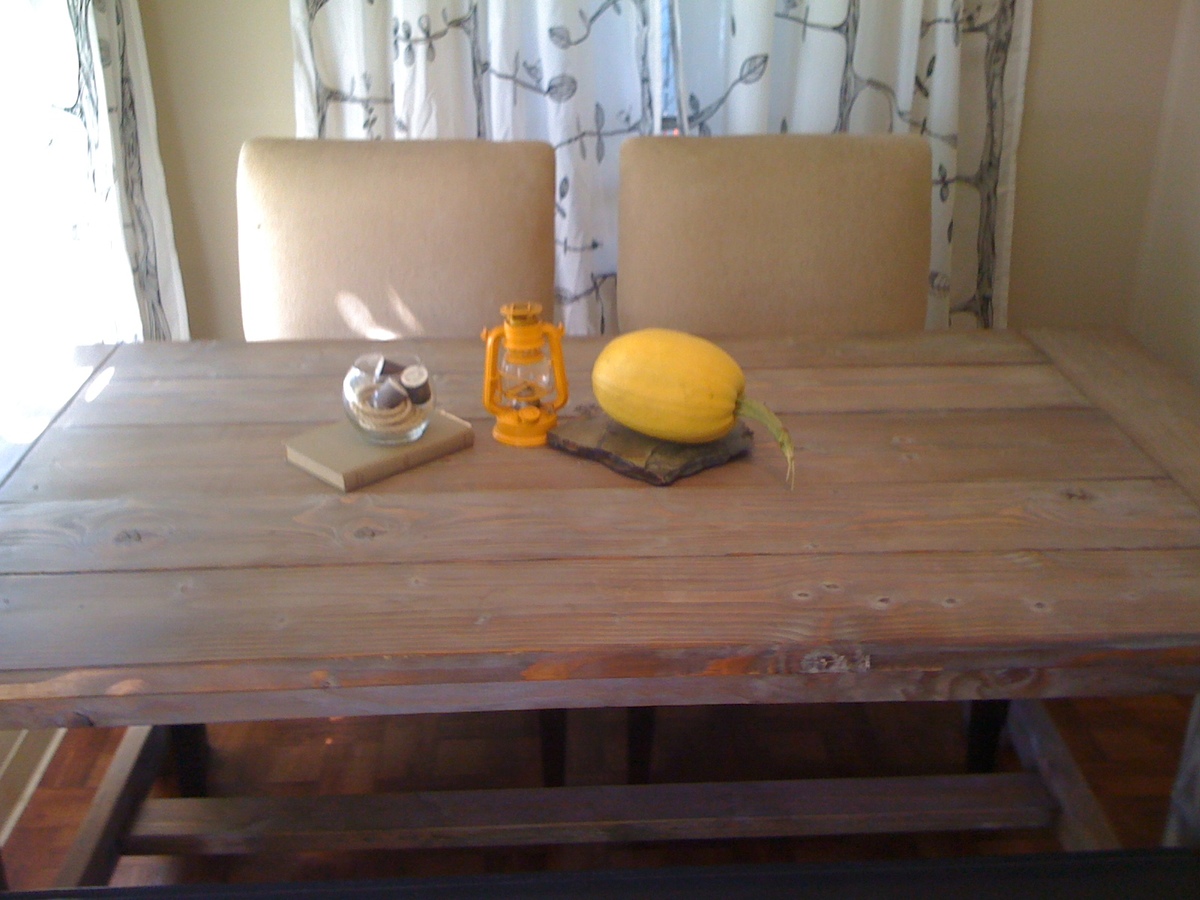
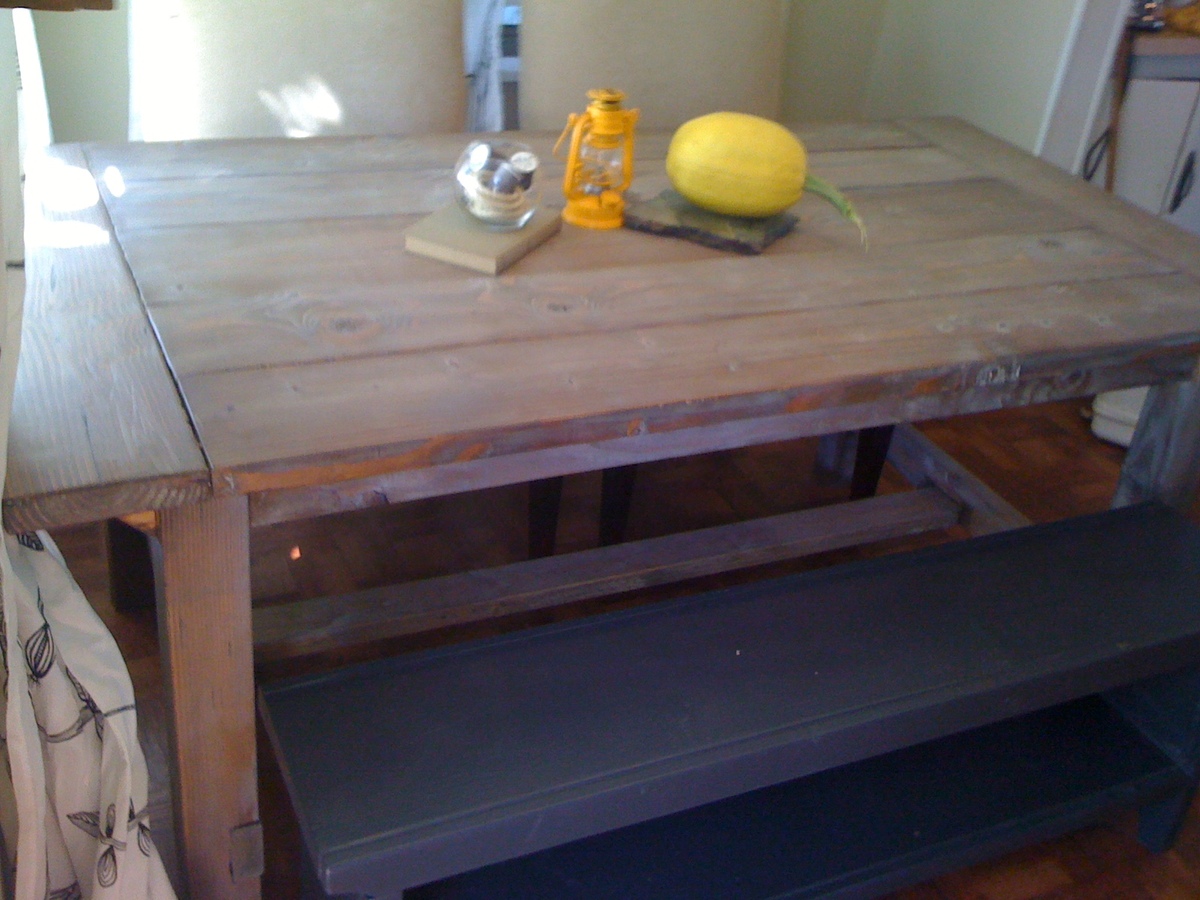
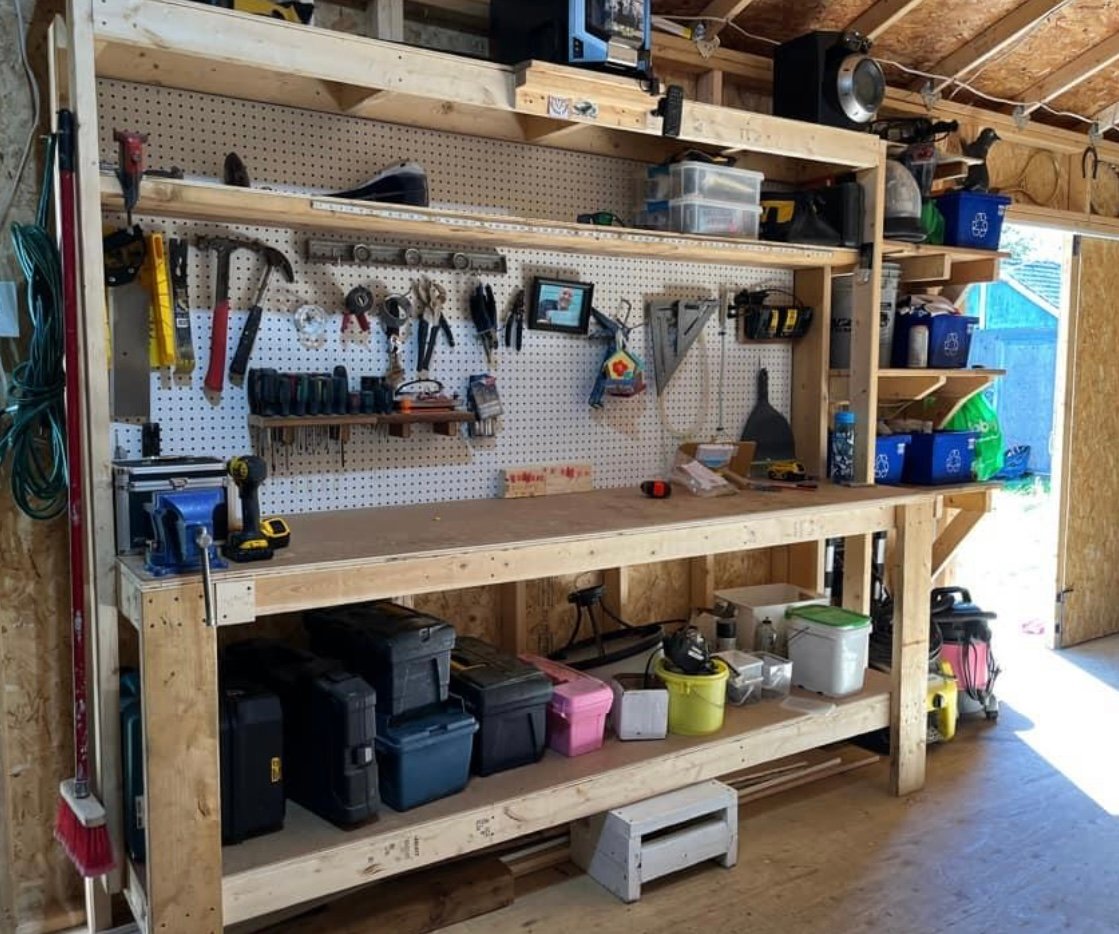
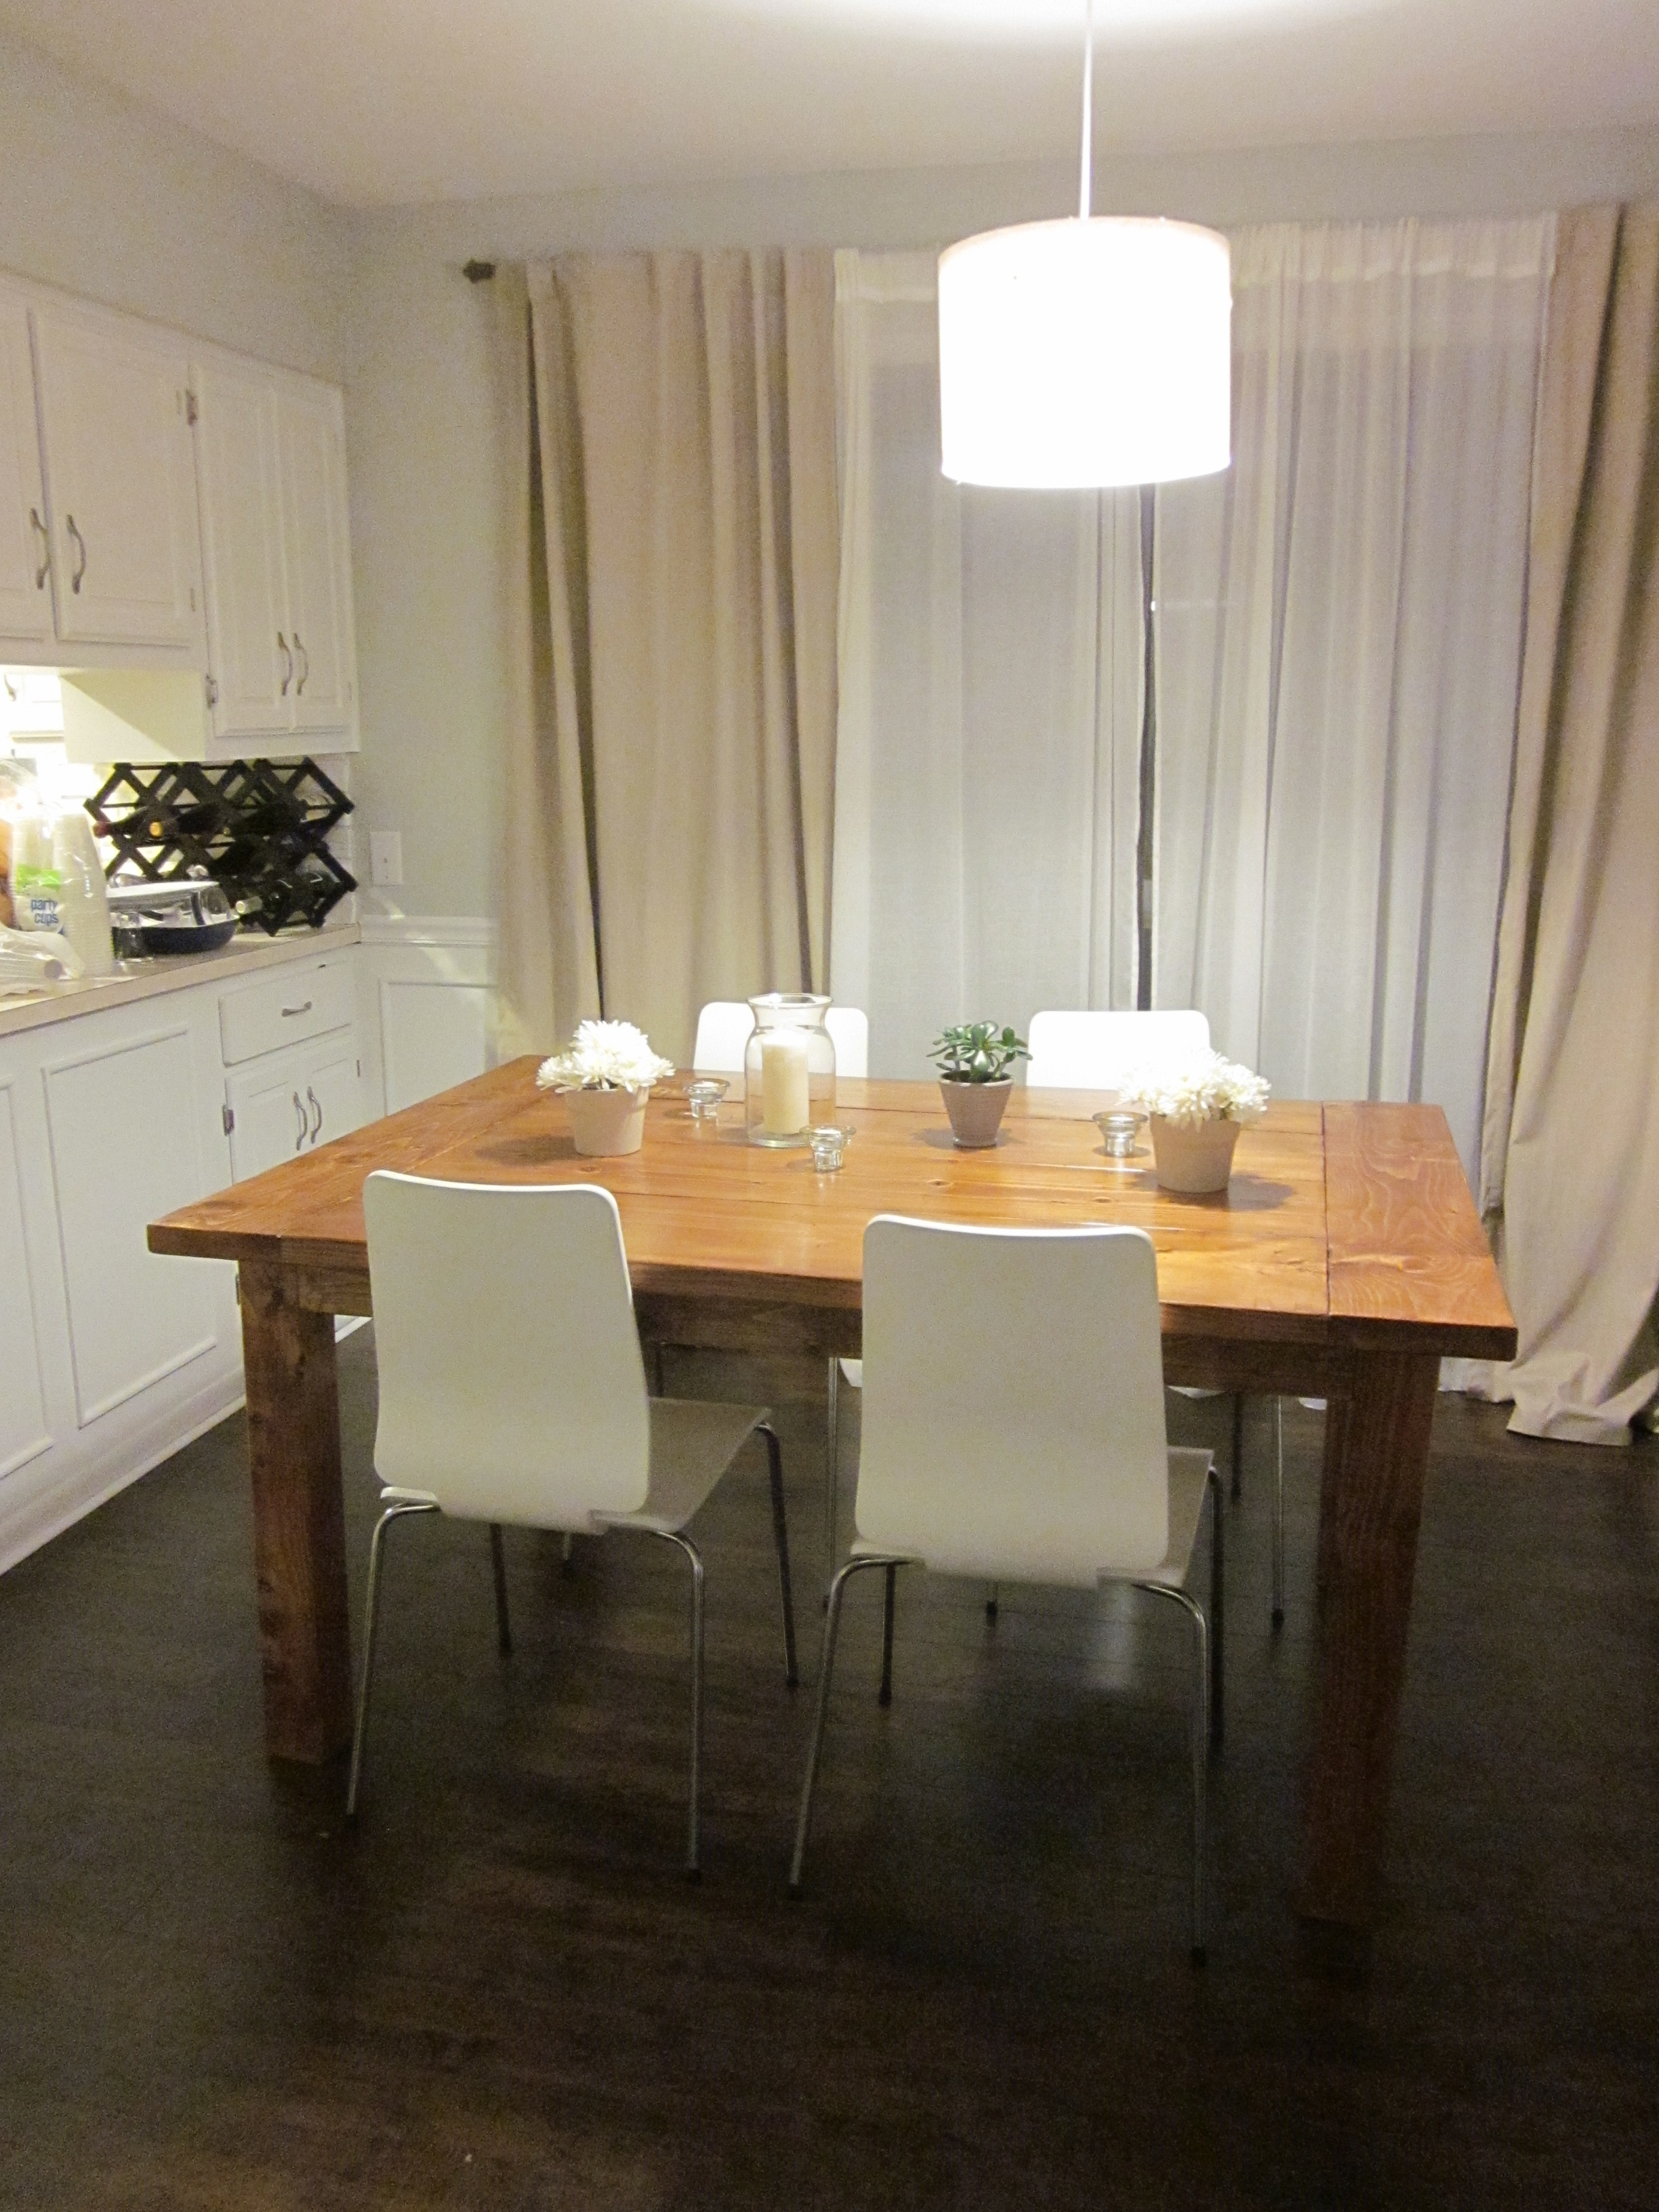
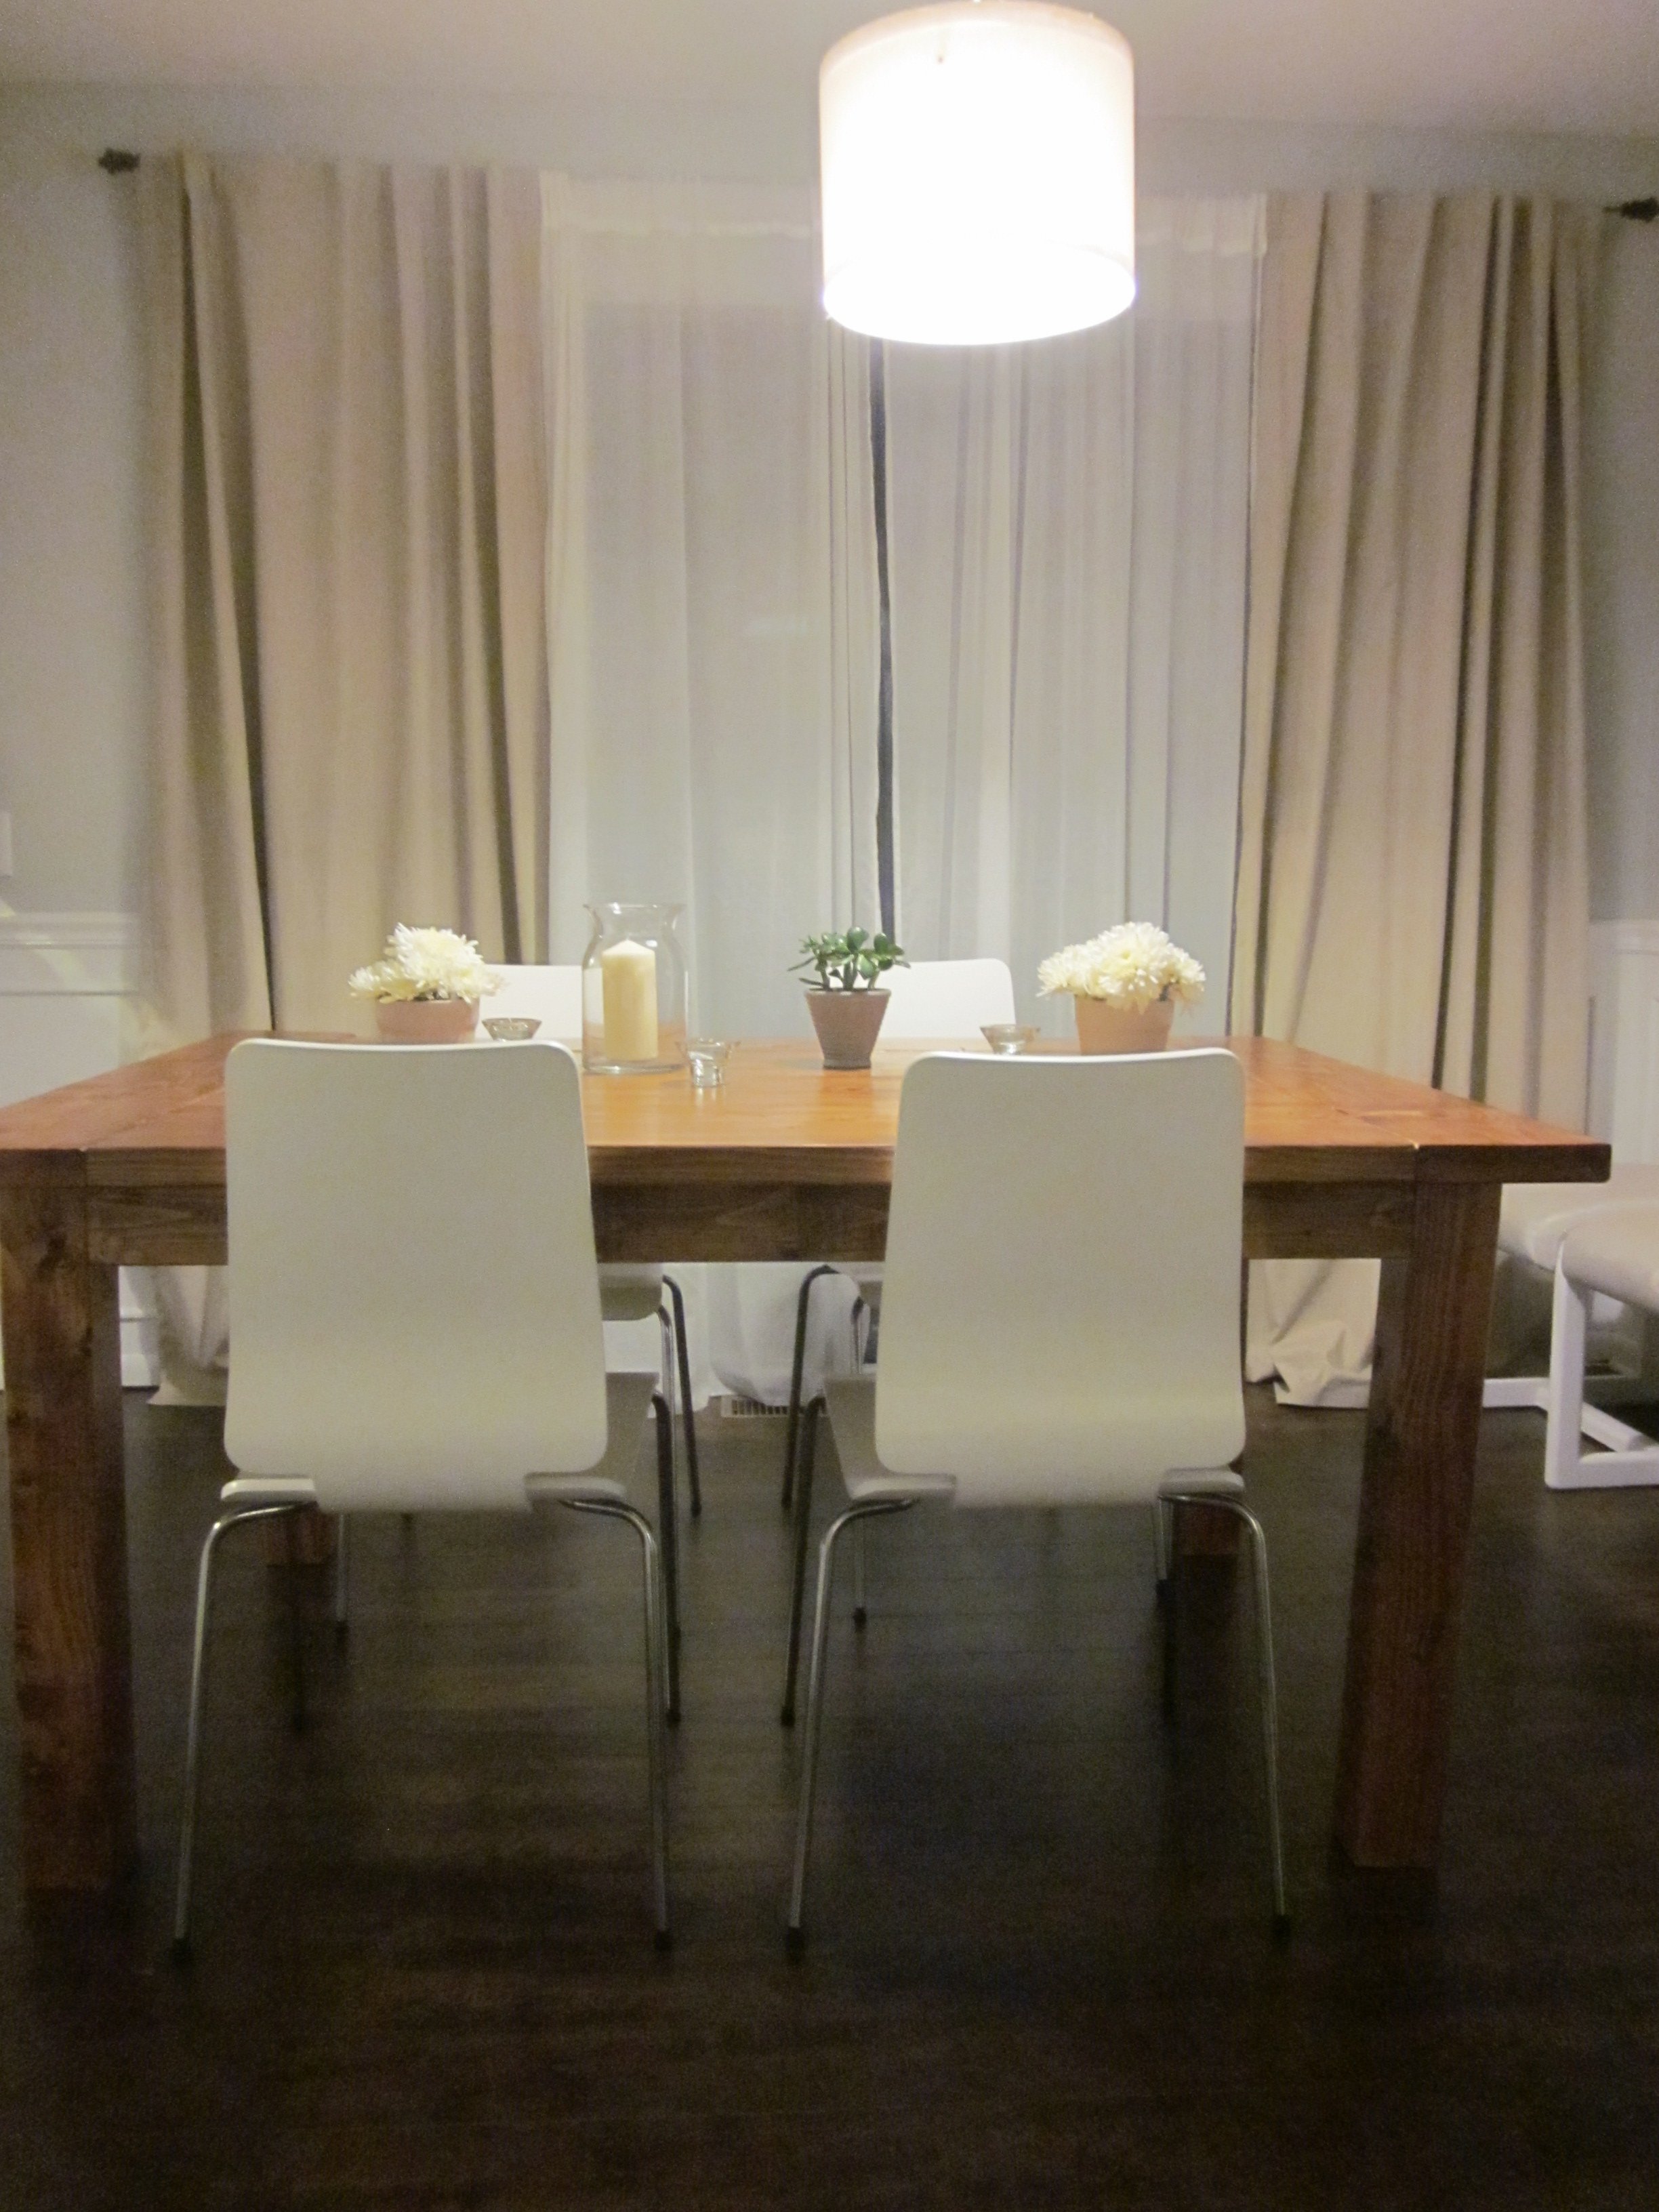
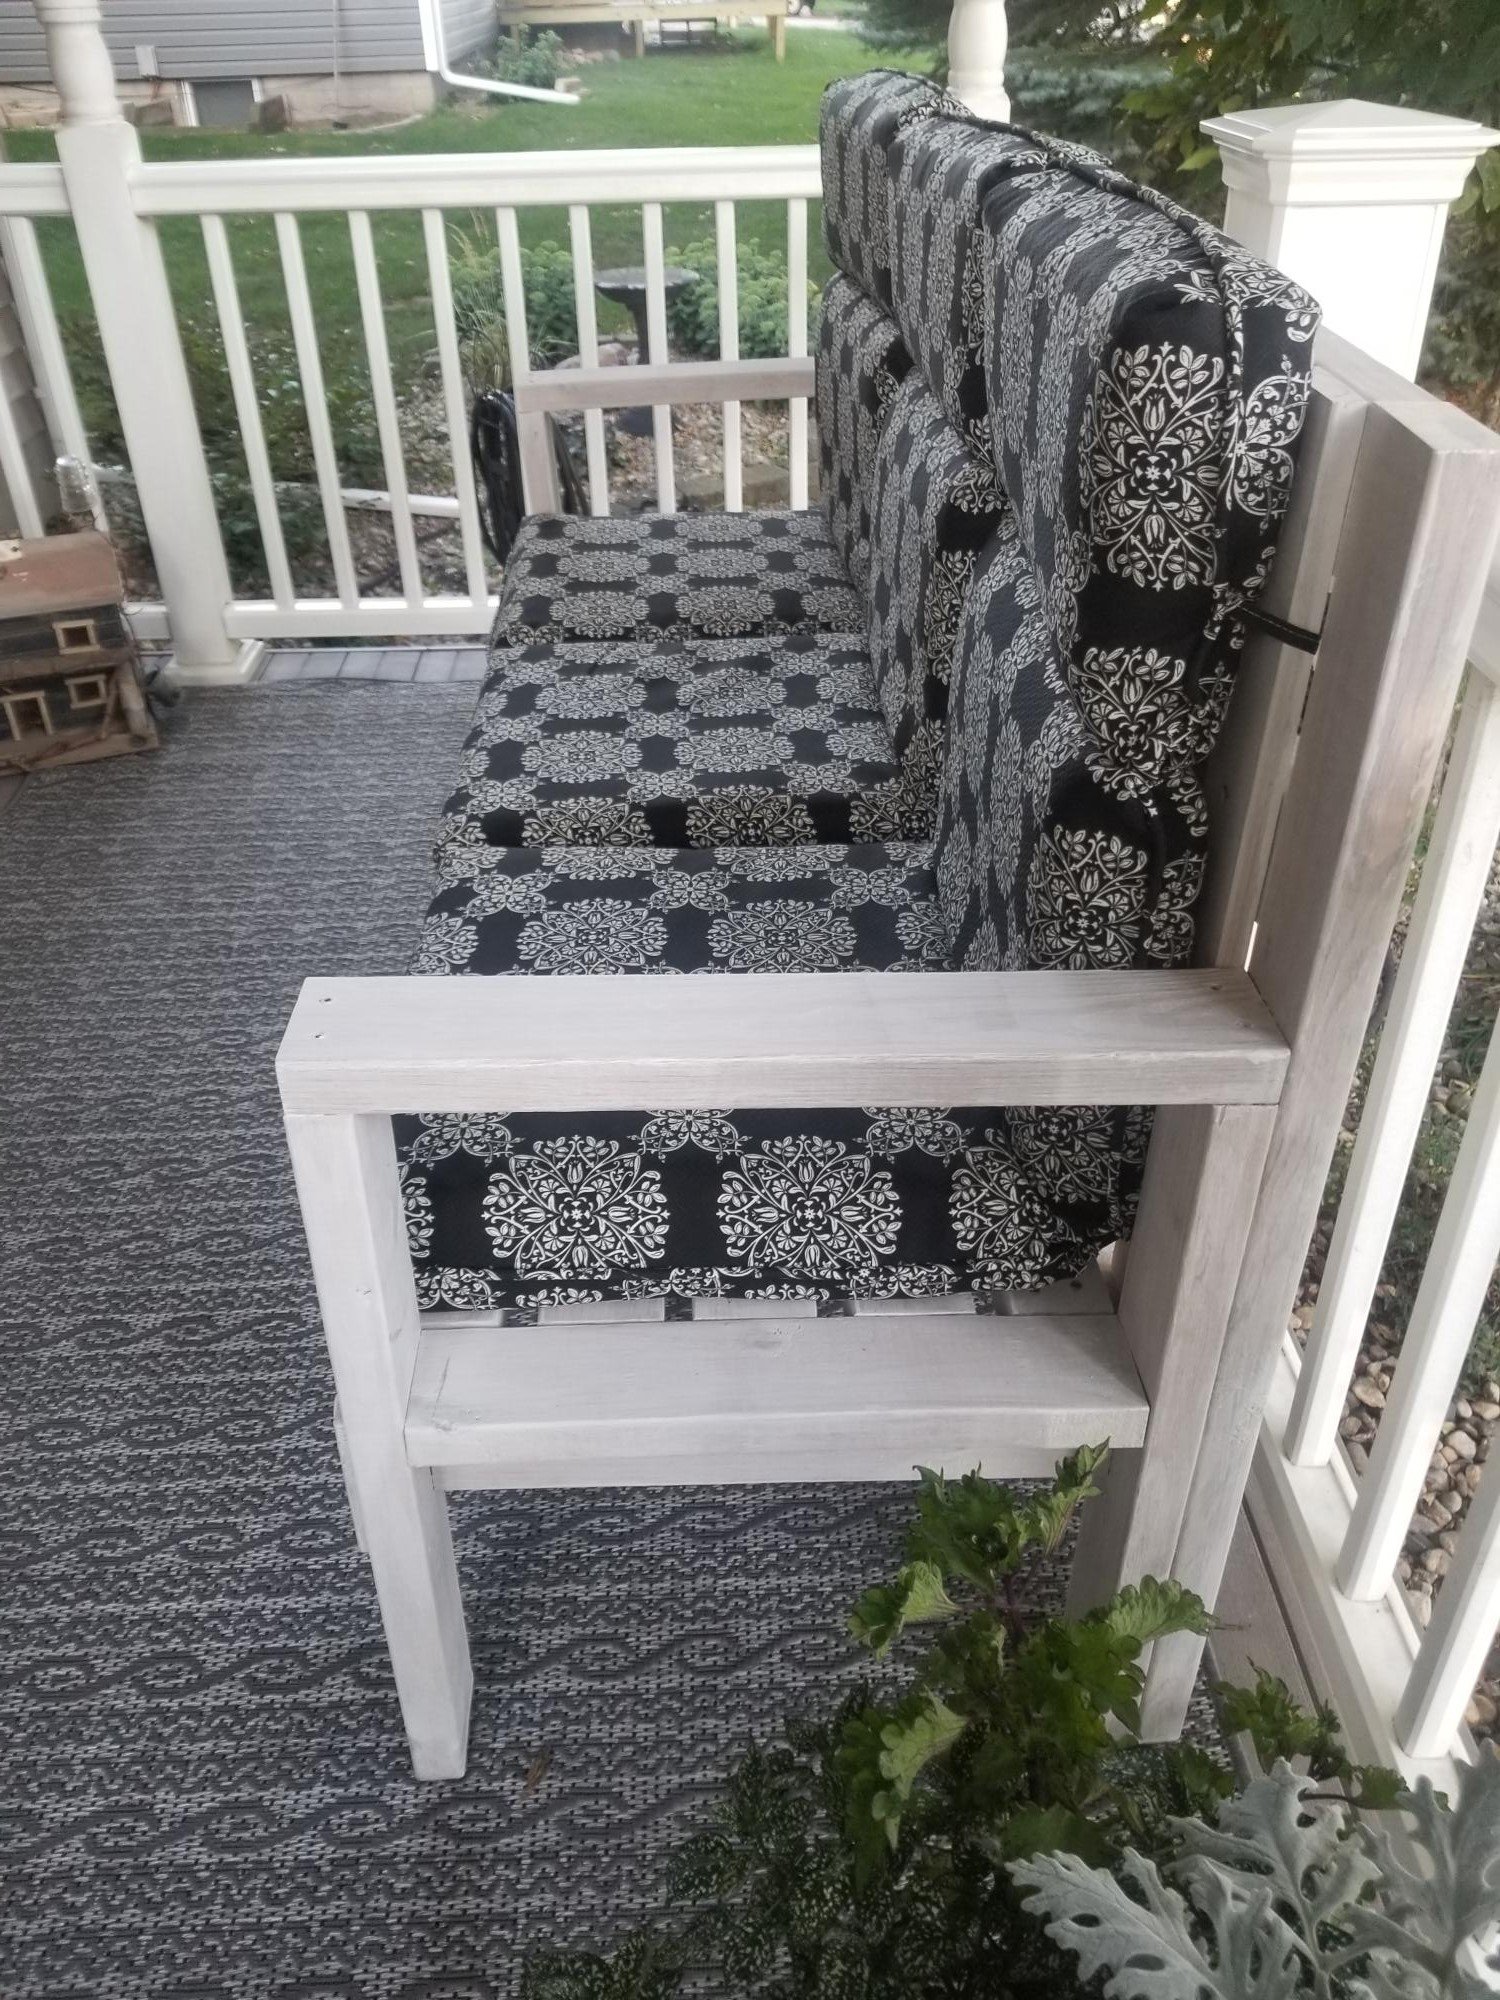
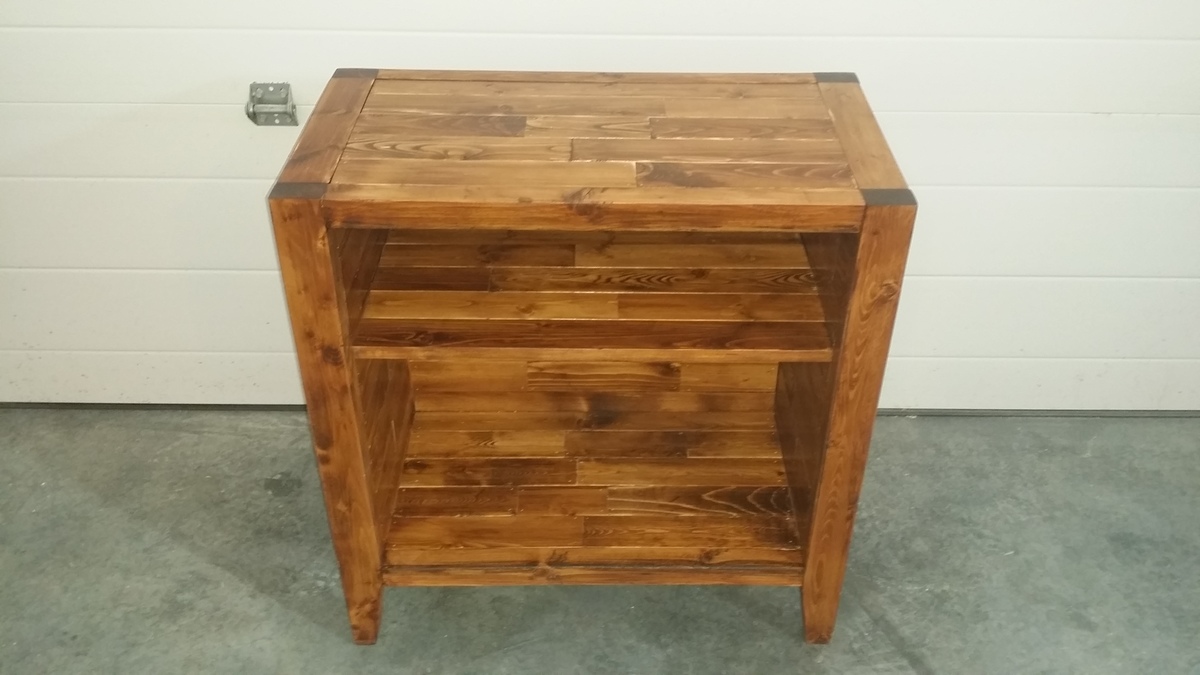
Markham Workbench Console and Rustic Hutch
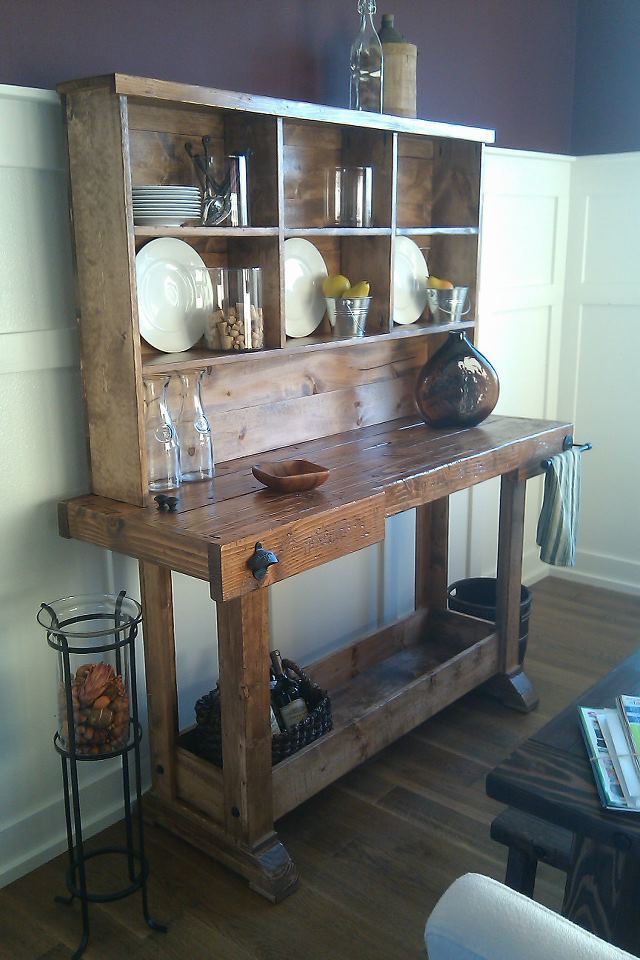
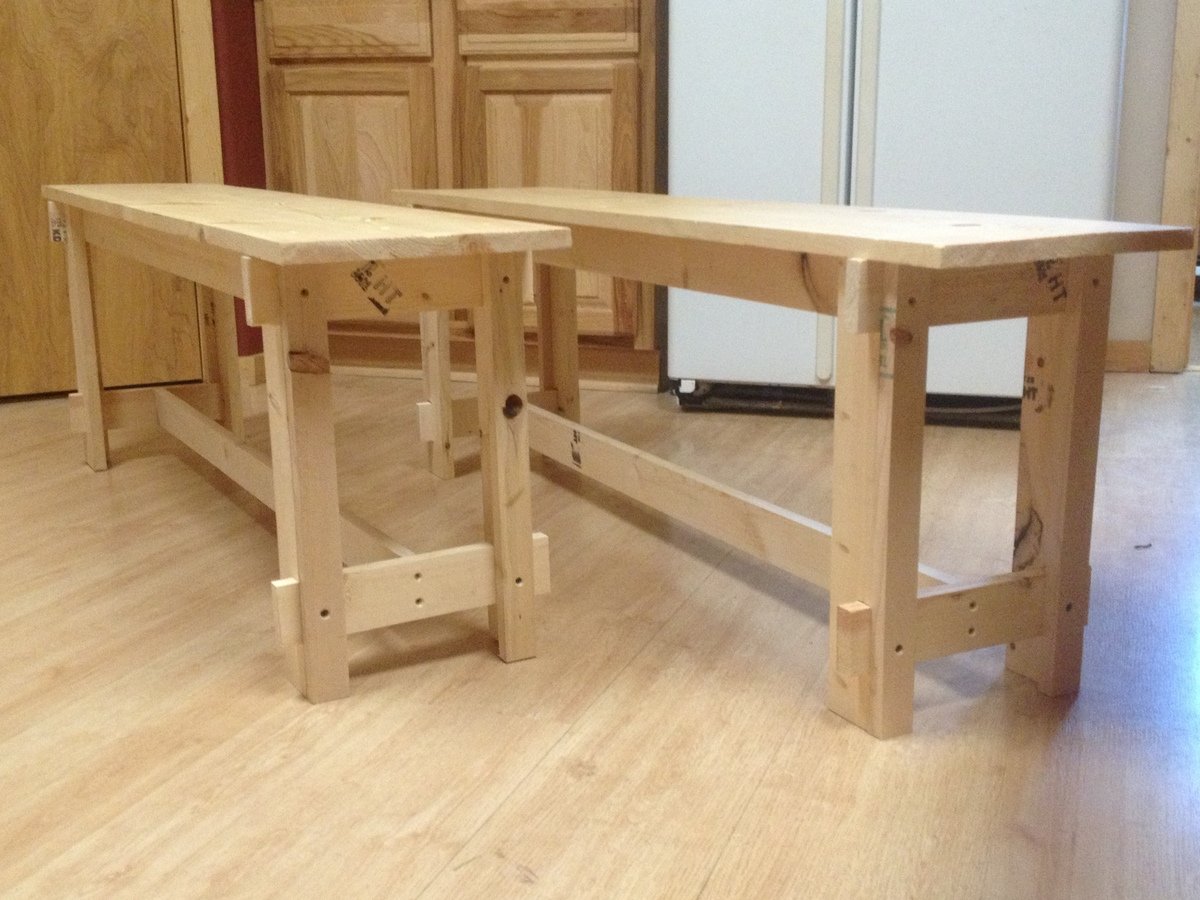
I first saw this workbench and hutch on Ana's website, but didn't commit to the project until I saw them in person, as part of a model home that had been decorated by local Pottery Barn design services. I was sold. I built this for roughly $1900.00 less than PB charges. It was an easy weekend build for a guy with less than one years' experience in this arena.

Built from Plan(s)
Estimated Cost
150.00
Estimated Time Investment
Weekend Project (10-20 Hours)
Finish Used
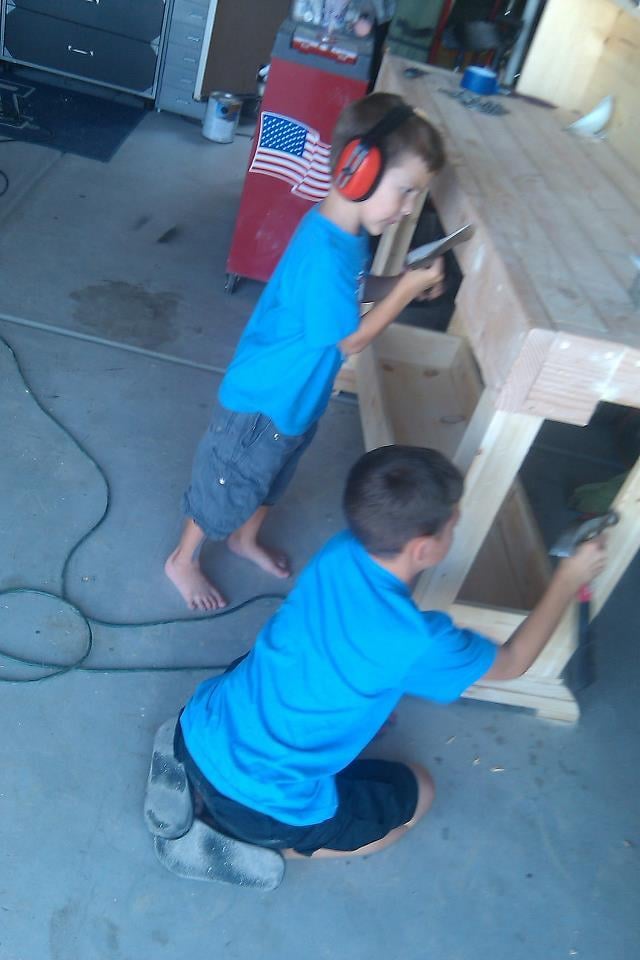
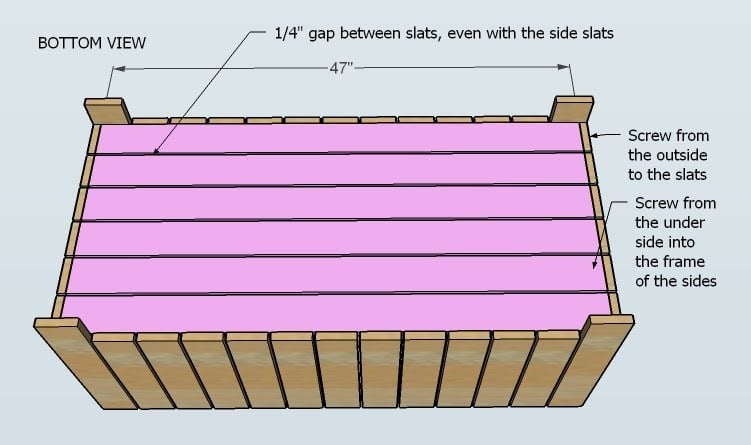
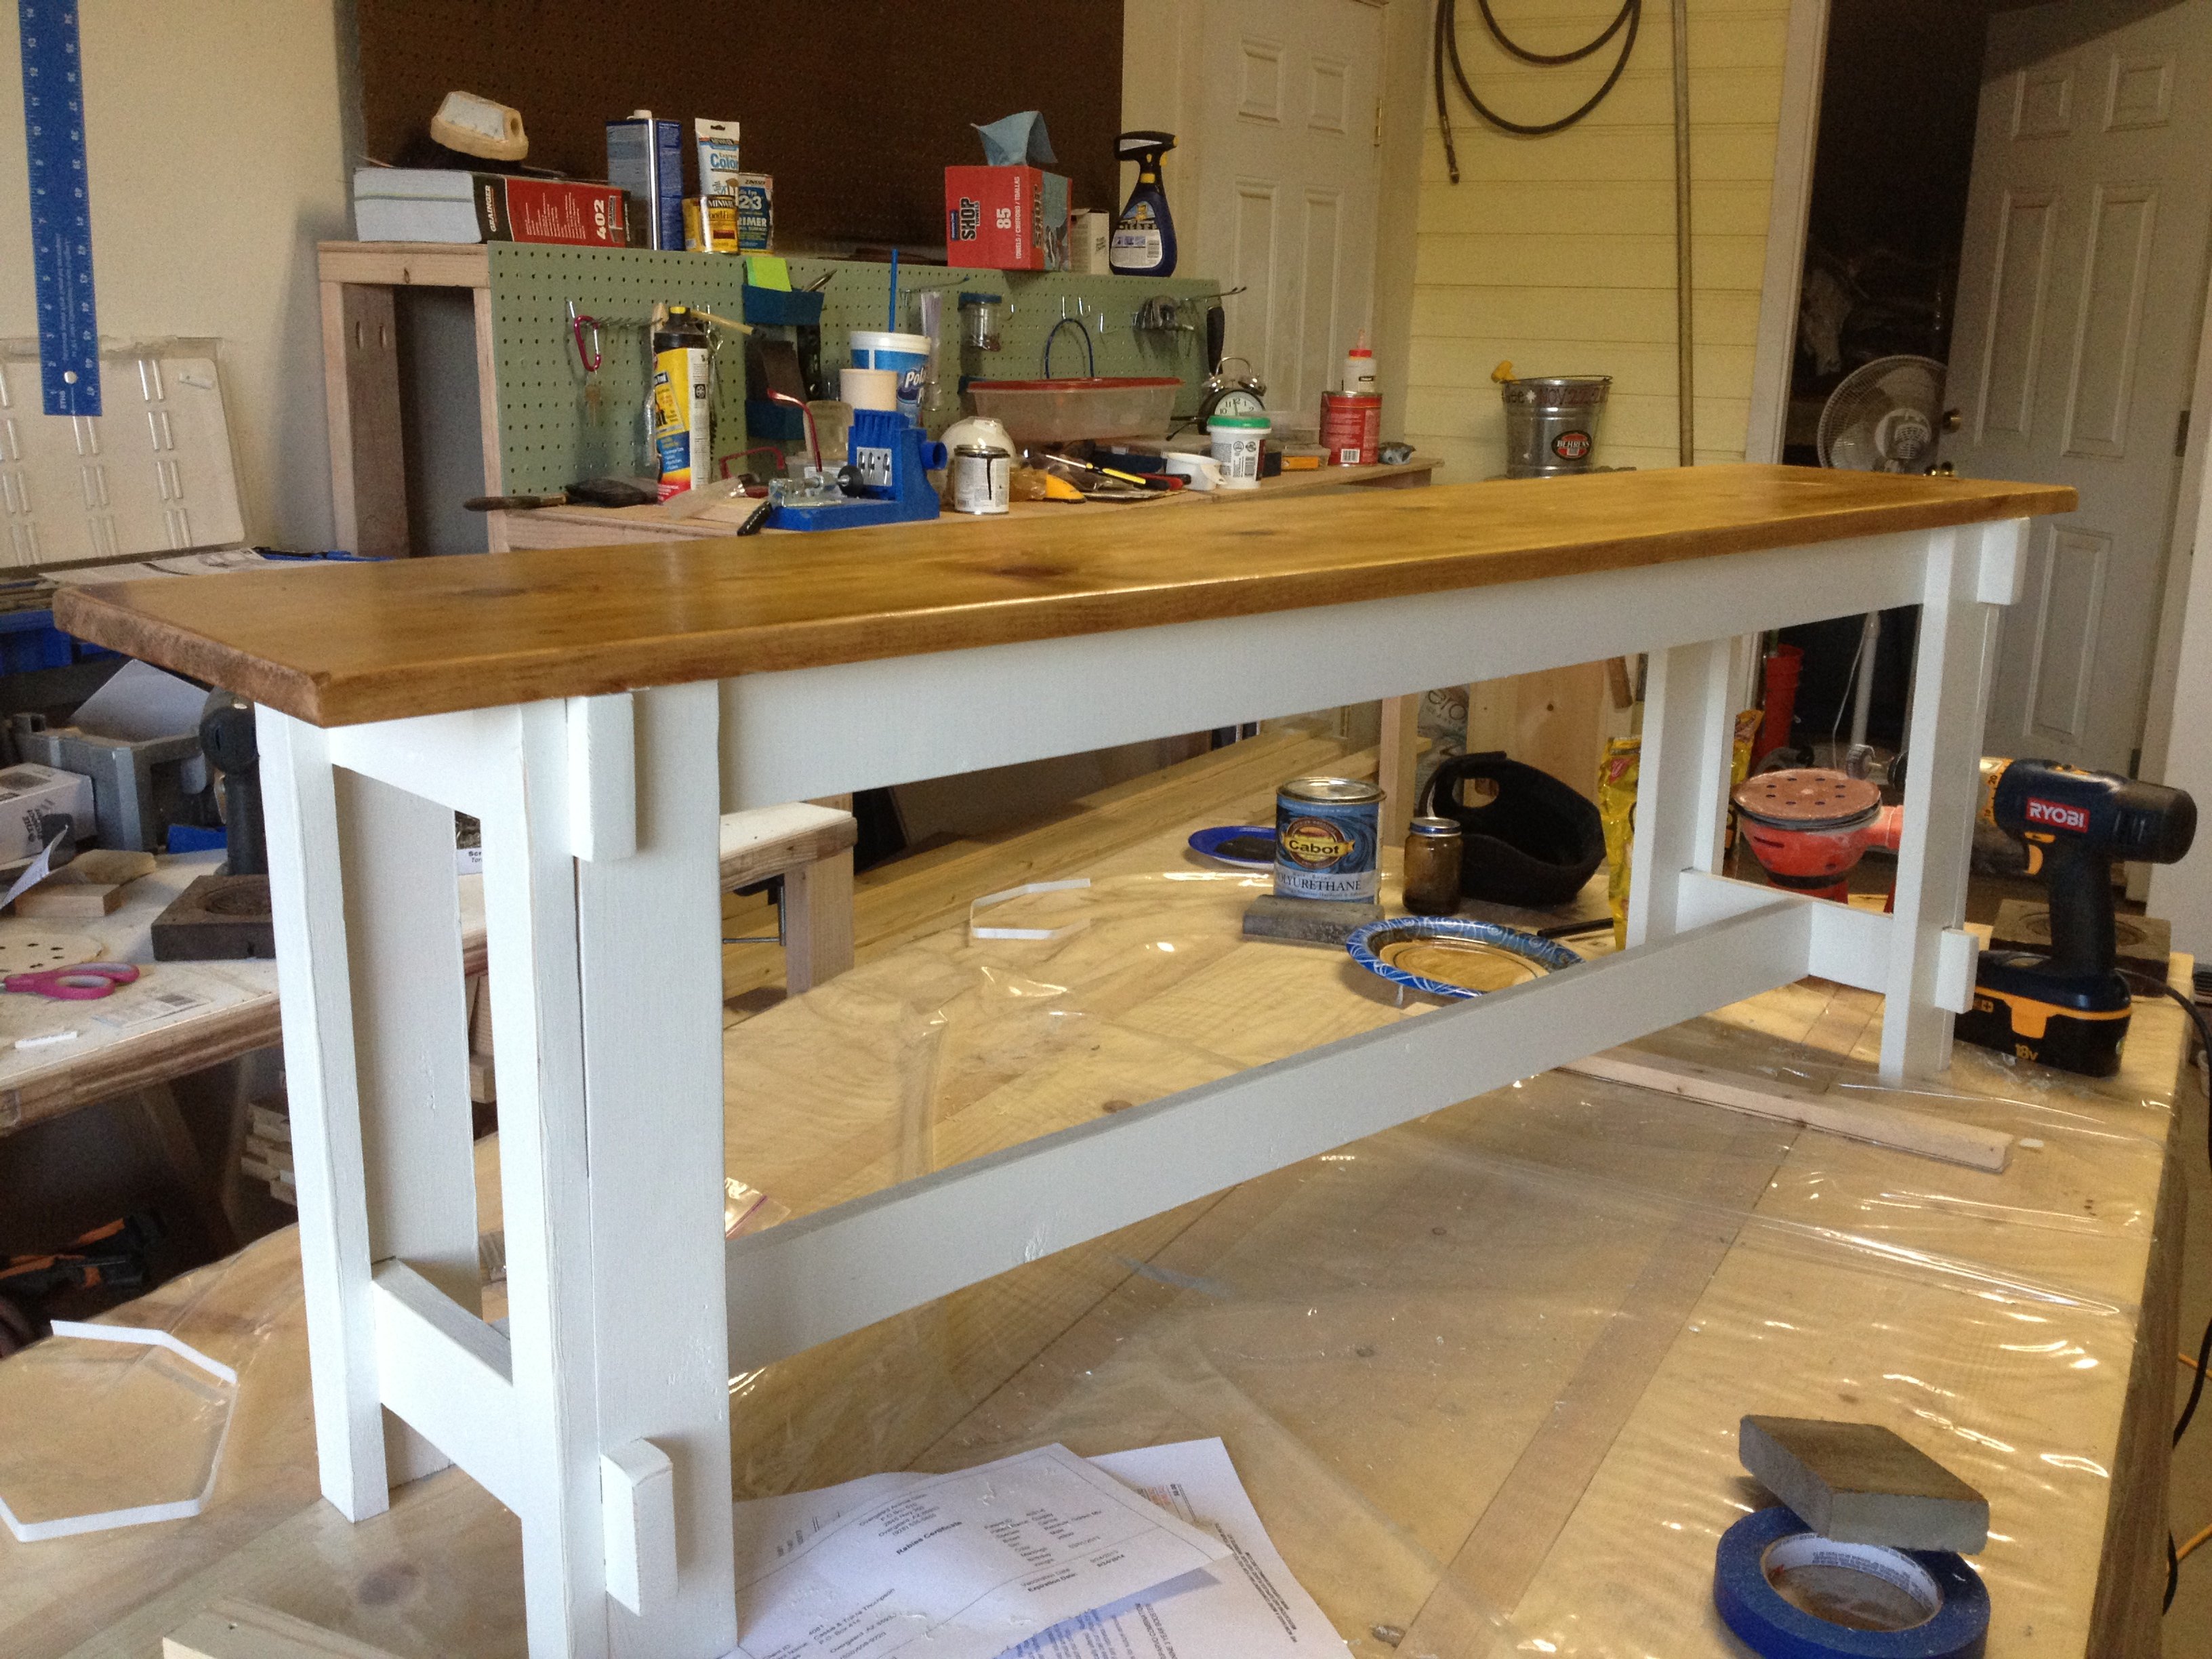
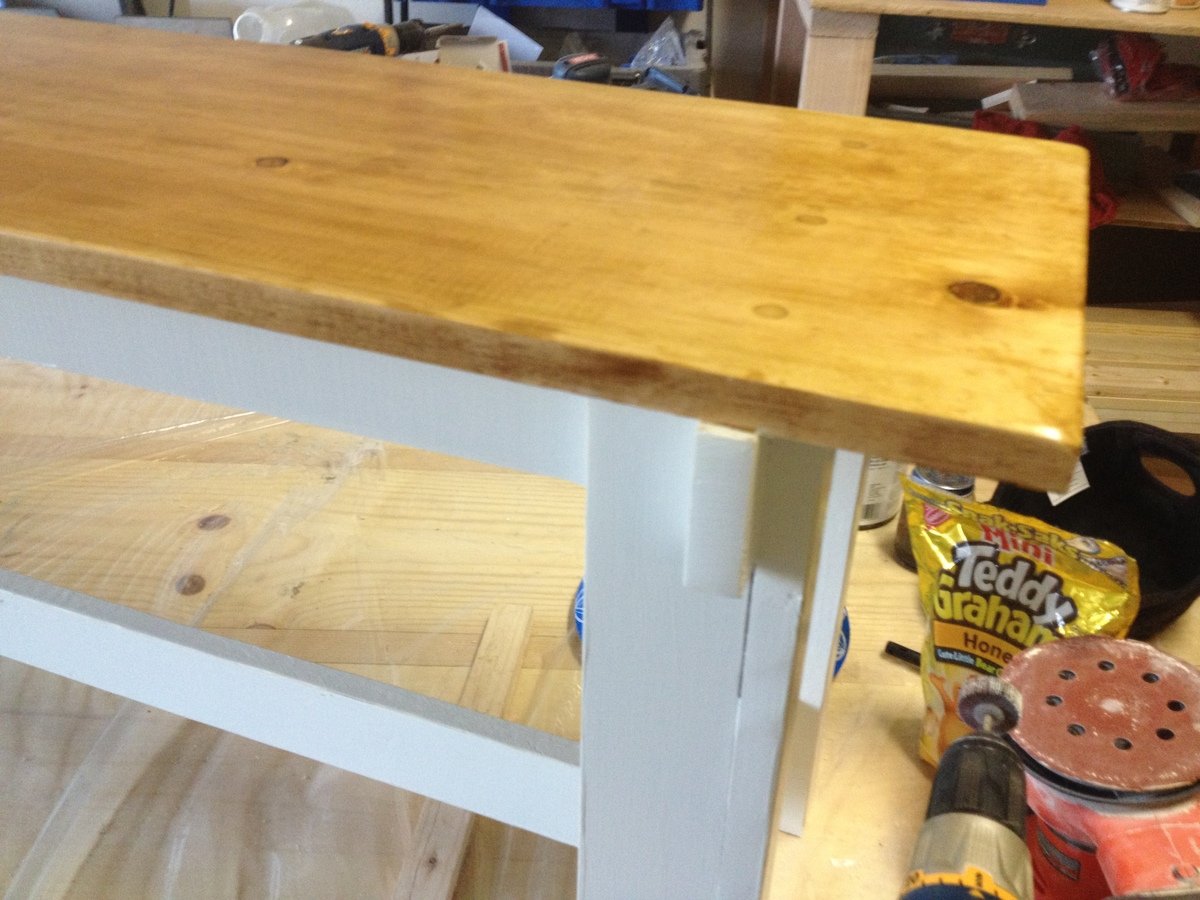
Before I applied stain, I had my two youngest sons whack away (under my supervision, of course) at the piece with a hammer, hatchet, and chain to give it a distressed look. I took a page from Ana's playbook and used Minwax Early American with a Minwax oil-modifed water-based gloss polyeurethane topcoat. I moved the towel bar to the other end of the facade in order to reduce the depth of the piece and added a stationary bottle opener to the other side. Also, I added four lag screws toward the juncture of the legs and feet (a la PB's version), but these were purely cosmetic. All visible hardware was spray-painted with Rustoleum's textured black spray paint. Finally, I carved a heart with "A+A" inside one of the hutch cubbies to add a truly personalized element to the piece. I plan to build another for my father to use as a functional workbench. By far my favorite build (my wife kind of loves it, too). One last thing - if you don't have a Kreg jig, get one. Now. This was my first build using one and I cannot overstate its worth. Trust me.
Recommended Skill Level
Beginner


Comments
kmatt55
Thu, 09/15/2011 - 16:20
Nice dude! I just finished
Nice dude! I just finished my console last weekend. Was it worth it making the matching hutch? I haven't decided if I'll do it yet.....Great job though.
anthony alejandre (not verified)
Thu, 09/22/2011 - 11:23
Absolutely. It's minimal time
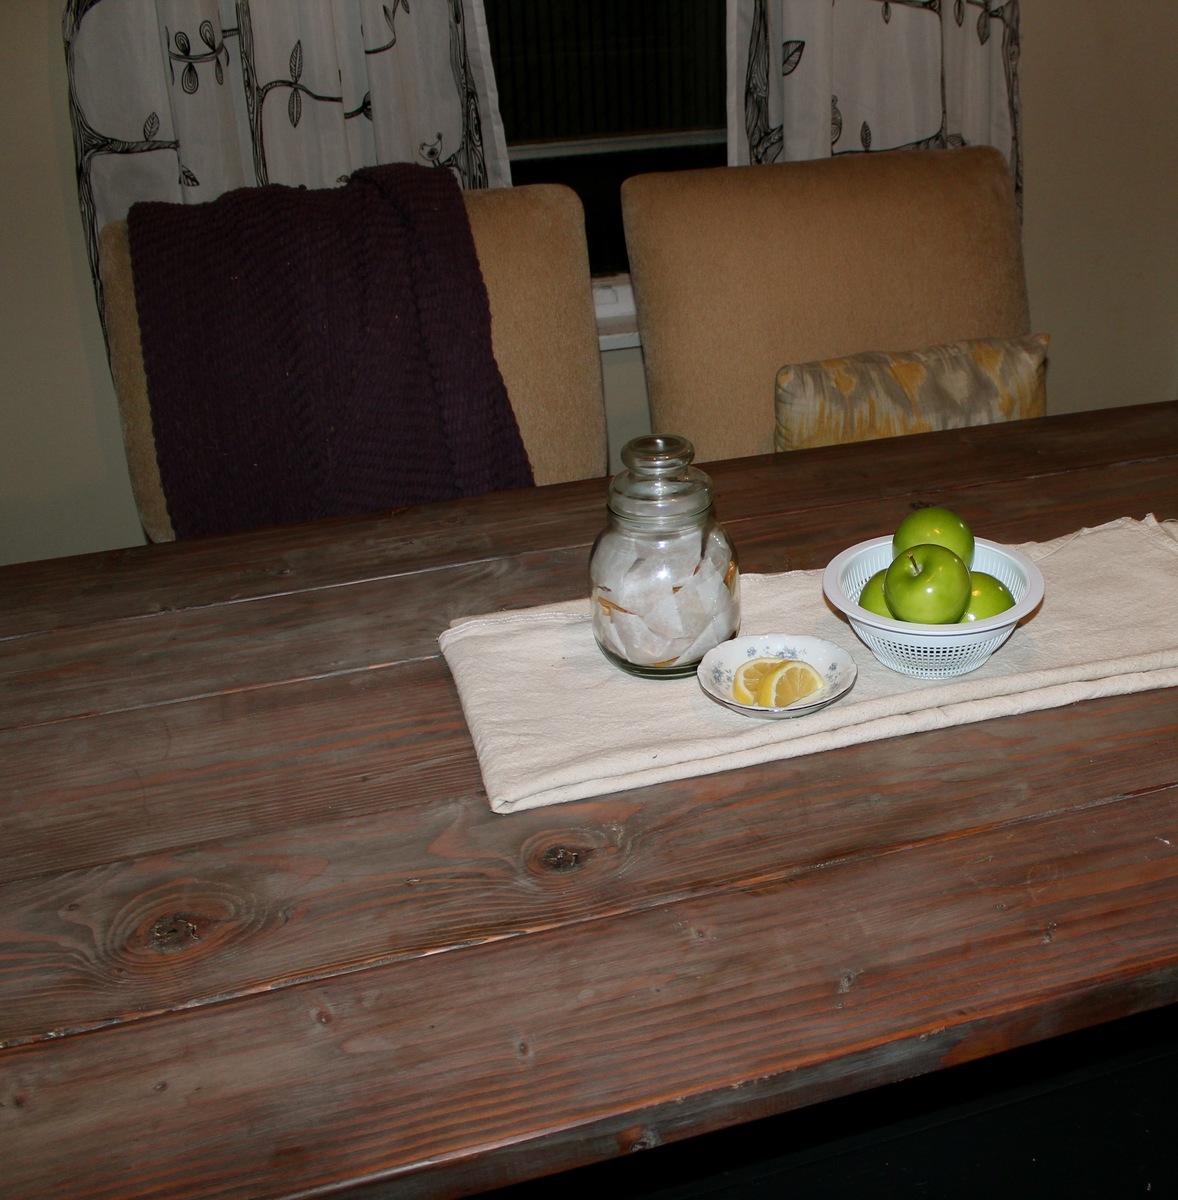
Absolutely. It's minimal time investment, and it really seems to finish the piece off. I went with seven 1x6's (instead of a plywood backing) to give the hutch a planked look.
Jennifer Babjak (not verified)
Sat, 09/17/2011 - 15:19
Very very nice. This has
Very very nice. This has been on my build list for way toooo long. It is beautiful and inspiring! Thanks!!!
gsumarcinko
Fri, 02/24/2012 - 05:43
legs and the kreg jig
Great job! I'm starting this same project and just purchased the kreg jig system but I'm stuck on assembling the table legs using pocket holes. I don't want to have visible pocket holes, could you give a quick description on how you assembled the legs and attached them to the feet using pocket holes? Thanks!
Guest (not verified)
Wed, 02/29/2012 - 10:34
Towel Bar
Where did you find the cool towel bar?! I am trying to get my boyfriend to make me one of these, but i am having the hardest time finding a towel bar like that online? I appreciate your help!!!
Jenna