Chalkboard Produce Crate
This was my first woodworking project.
This was my first woodworking project.
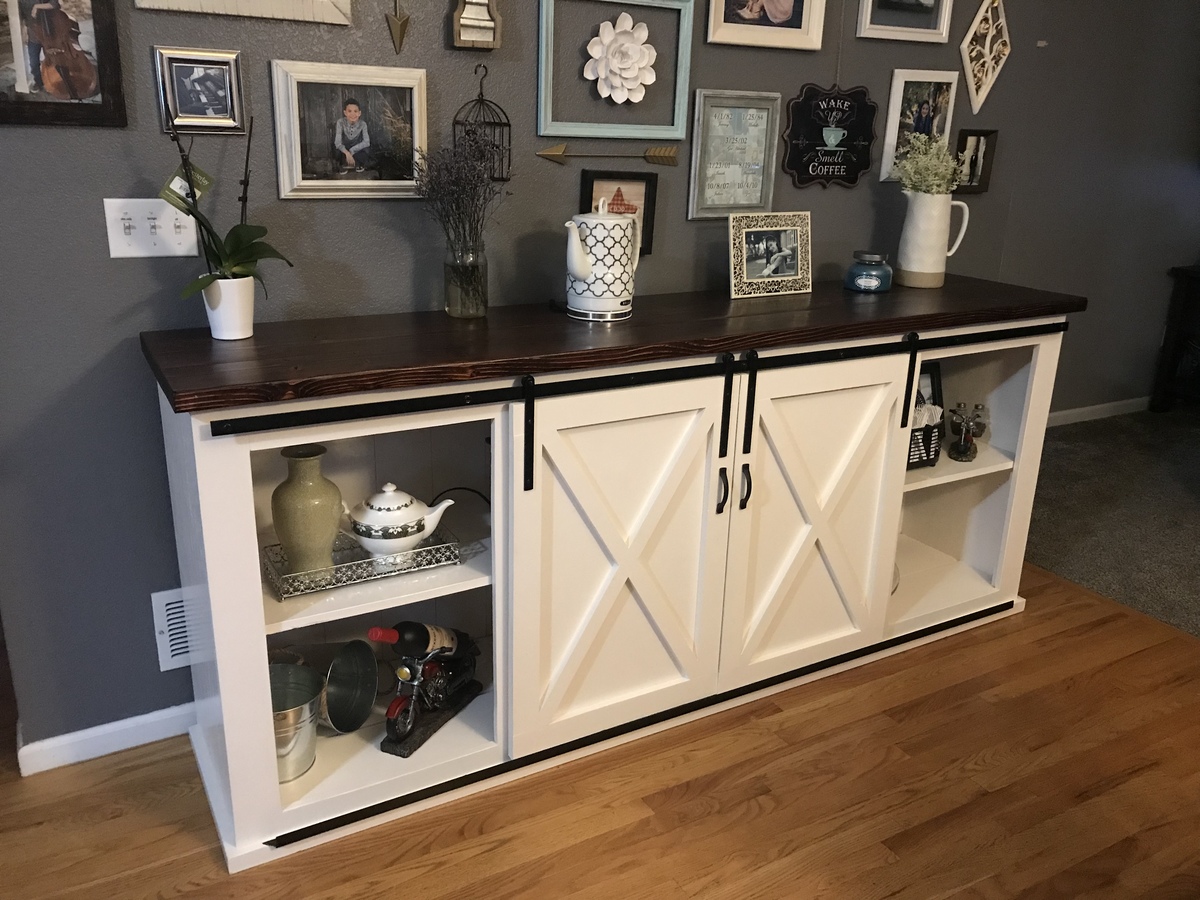
Followed Ana’s plans except added custom bottom rail for door stability and handles to guide the doors. Top rail was made rather than purchased.
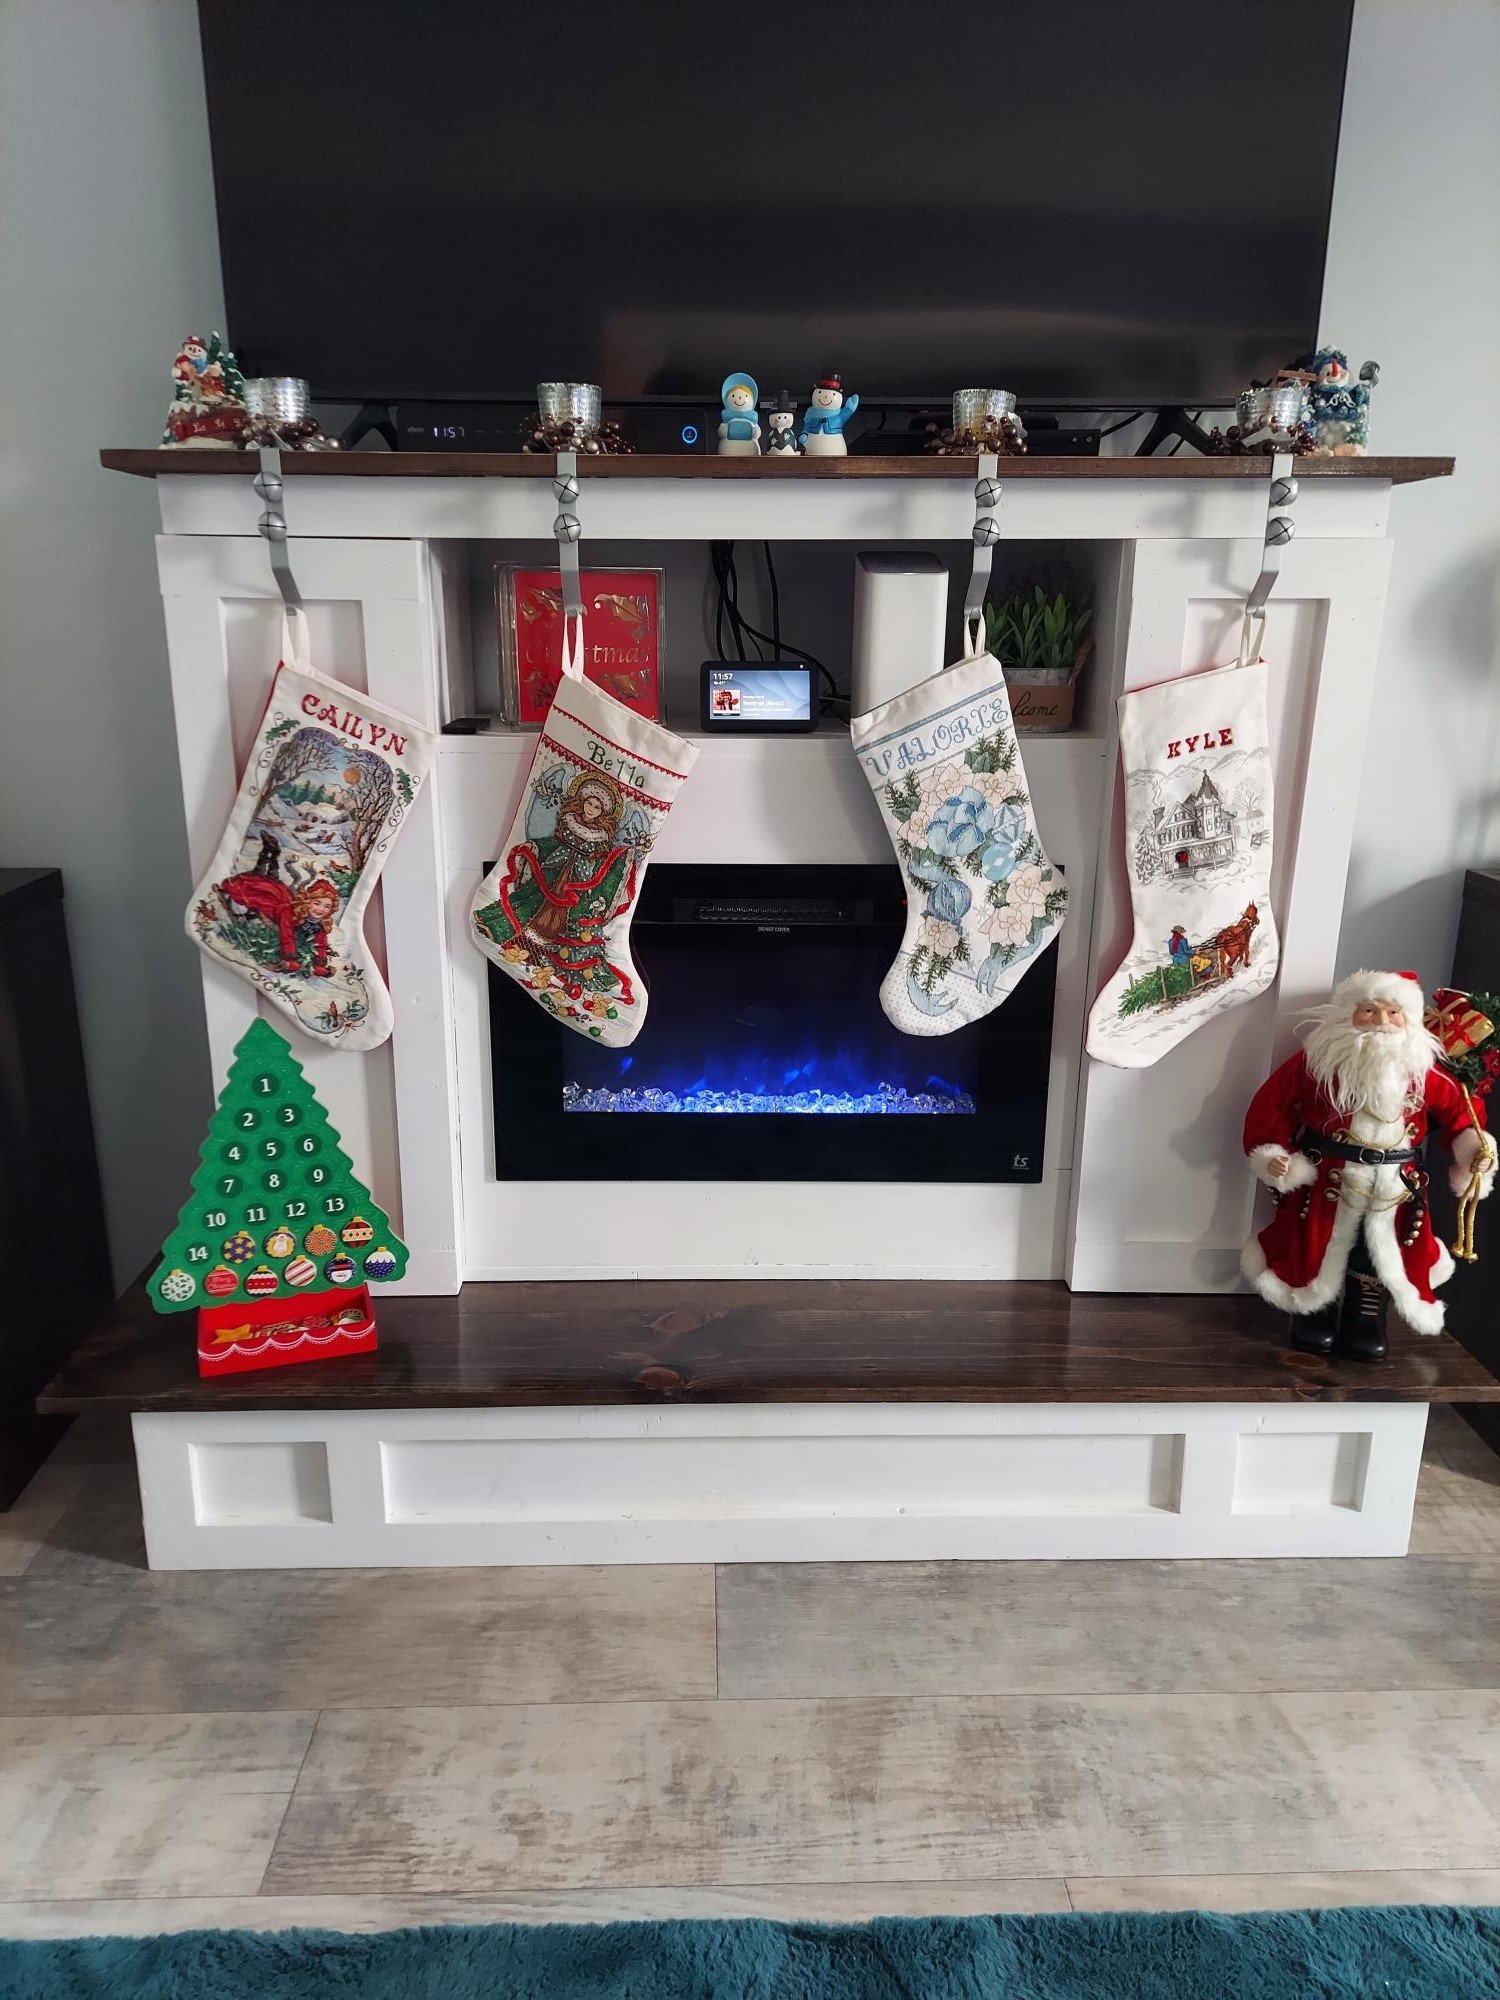
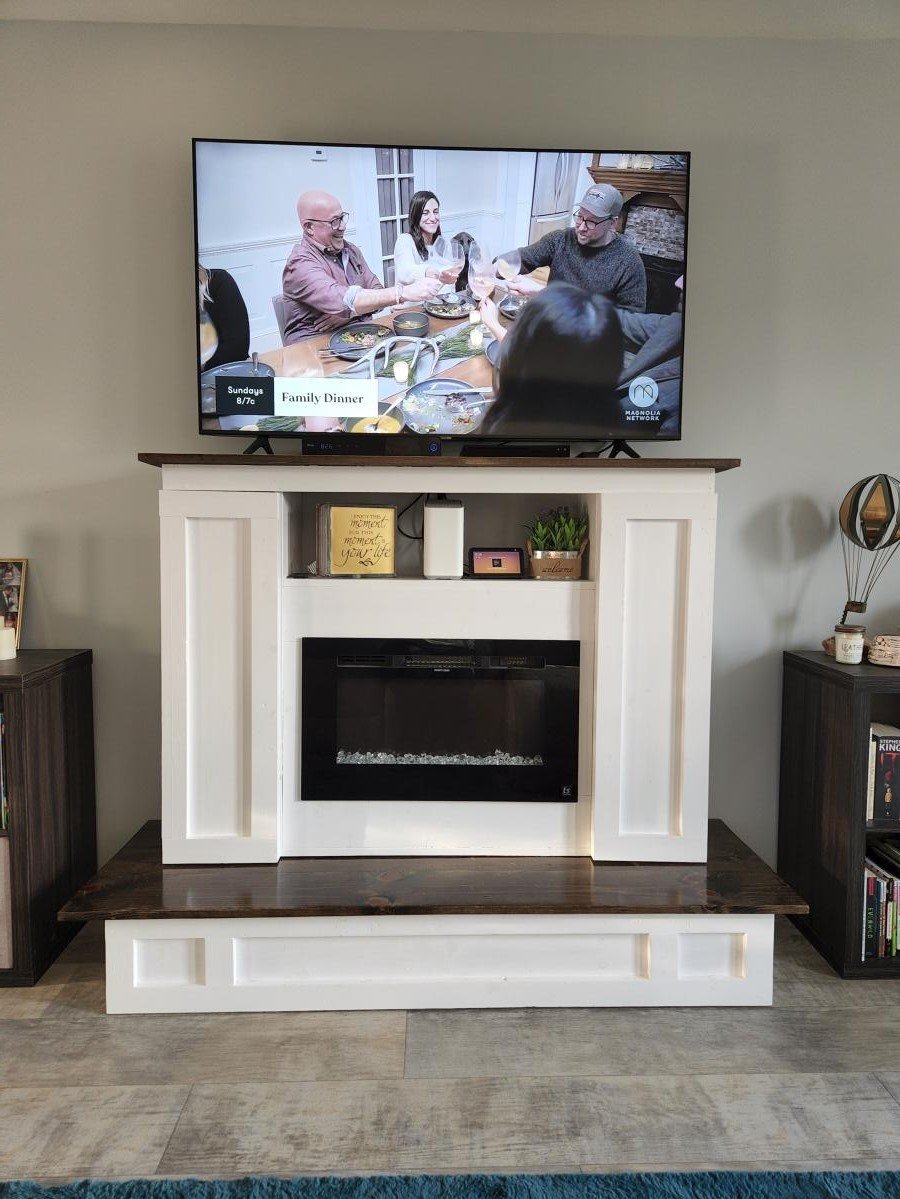
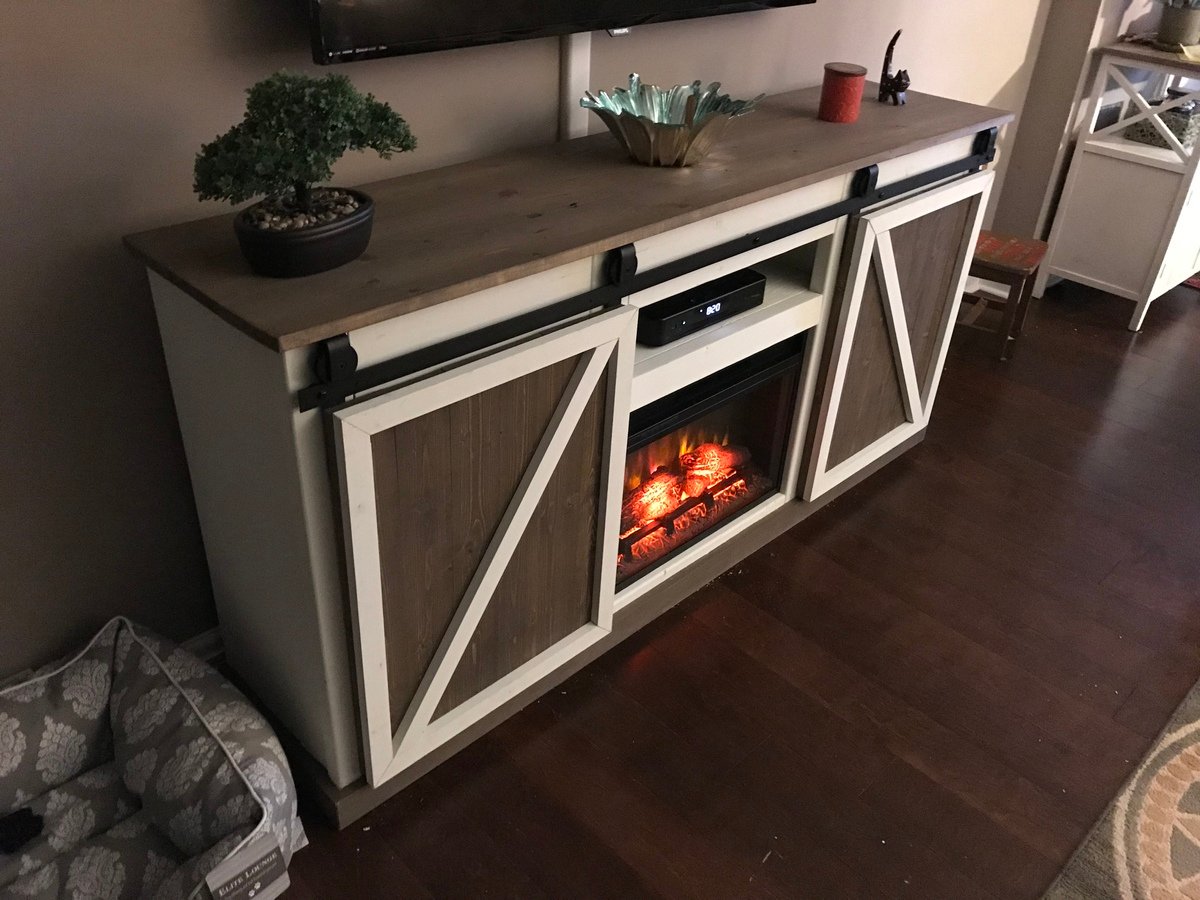
We bought a new house that didn't have a Fireplace and we didn't want an entertainment center, so I built this for the best of both worlds. Electric fireplace insert, side panels open for additional storage, and left the nook above the fireplace open for the wifi router and other decorations.
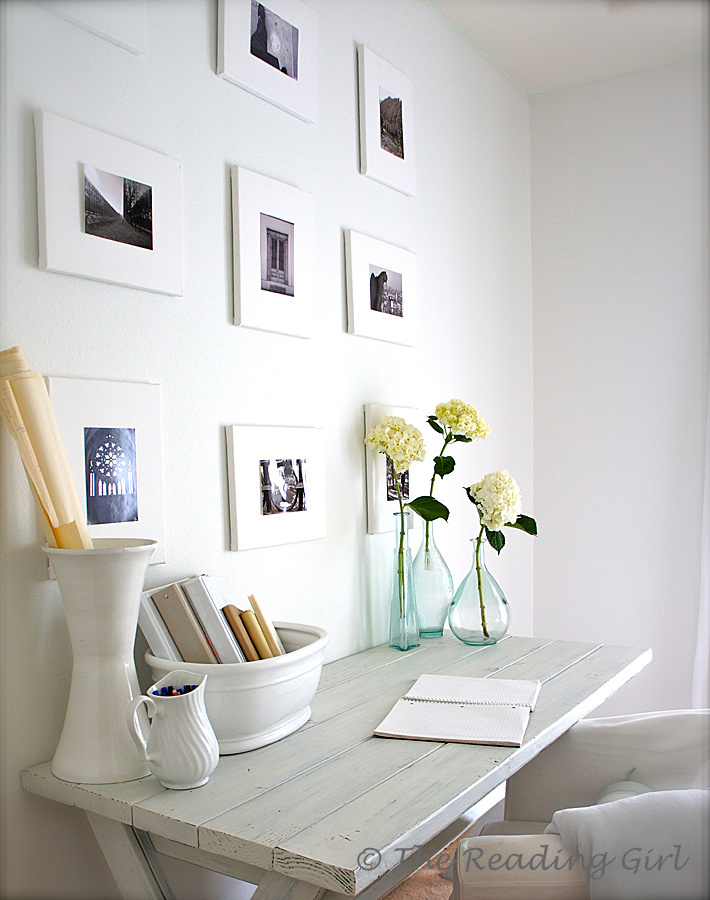
My husband and I built this custom desk adapted from the "X-Table," in celebration of his PhD program acceptance!
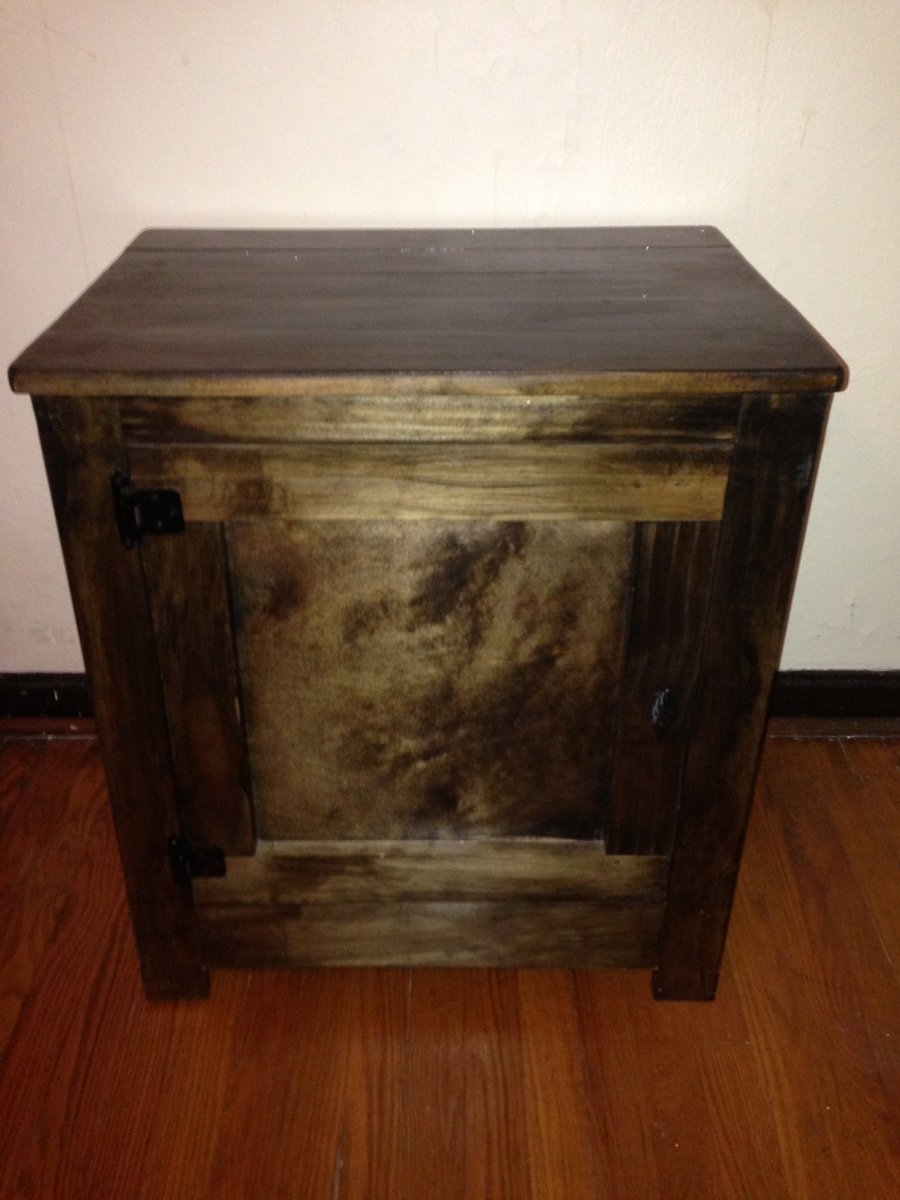
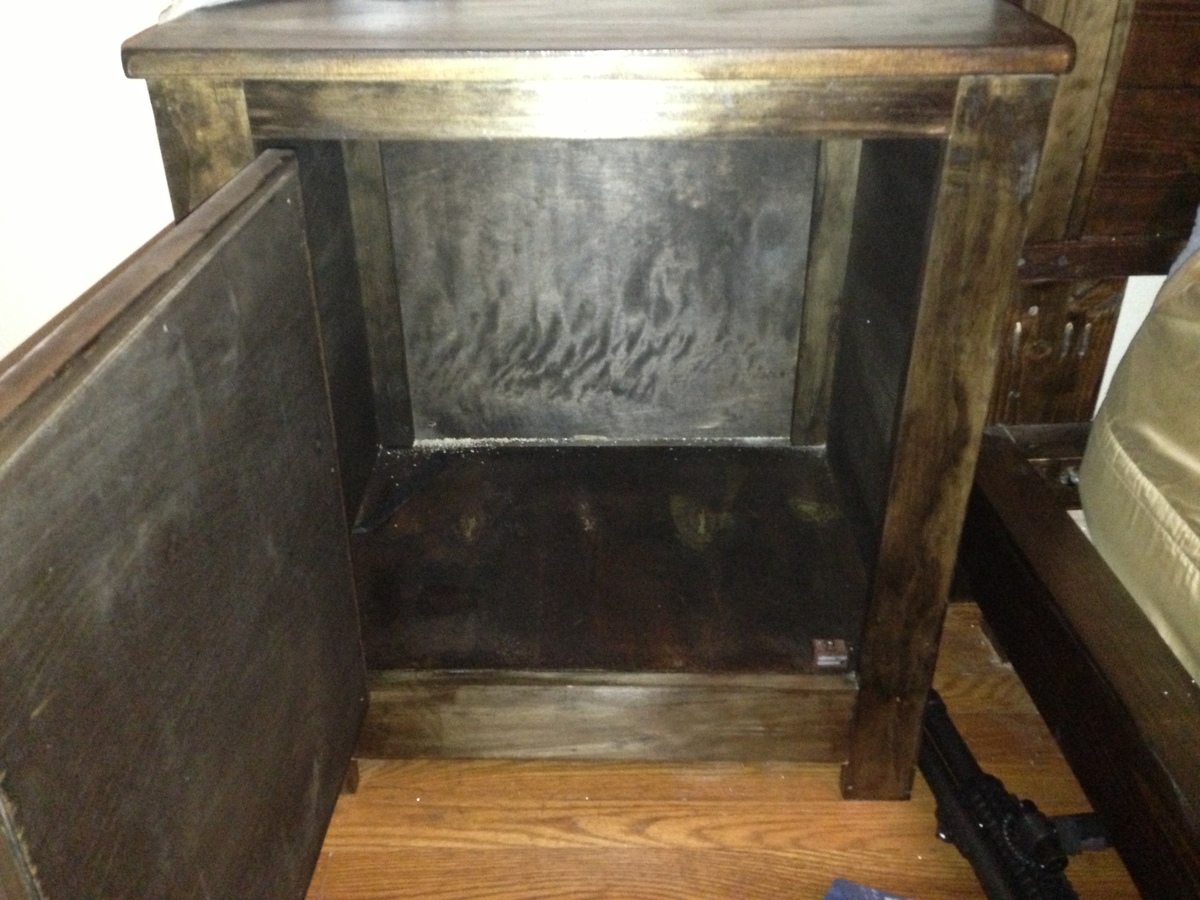
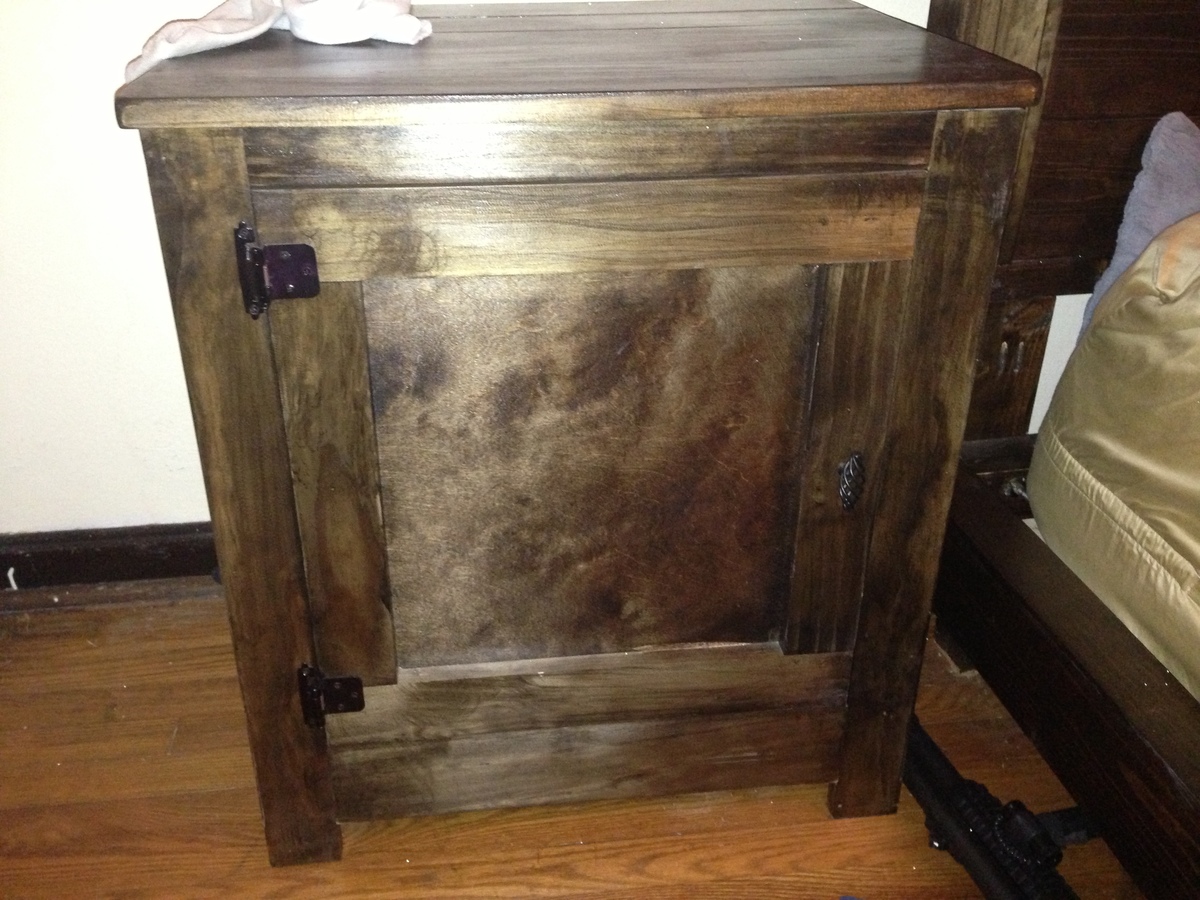
This was my first project I did this many months back and I have just now started to put up brags after getting into building furniture for about 8 months now. This project was much easier than I expected and I did the build out in about two hours. When I did this project all that I had tool wise was a mitre saw, a drill, and a tape measure so if you want a project that uses minimal tools this one would be a great one to start with! I think that I spent around $125 on this bedside table and that number is a little bit higher because I used all premium wood because it was my first project. I stained it with Jacobean oil based stain and then I used the polycrylic finish (both by minwax) which turned out great I think!
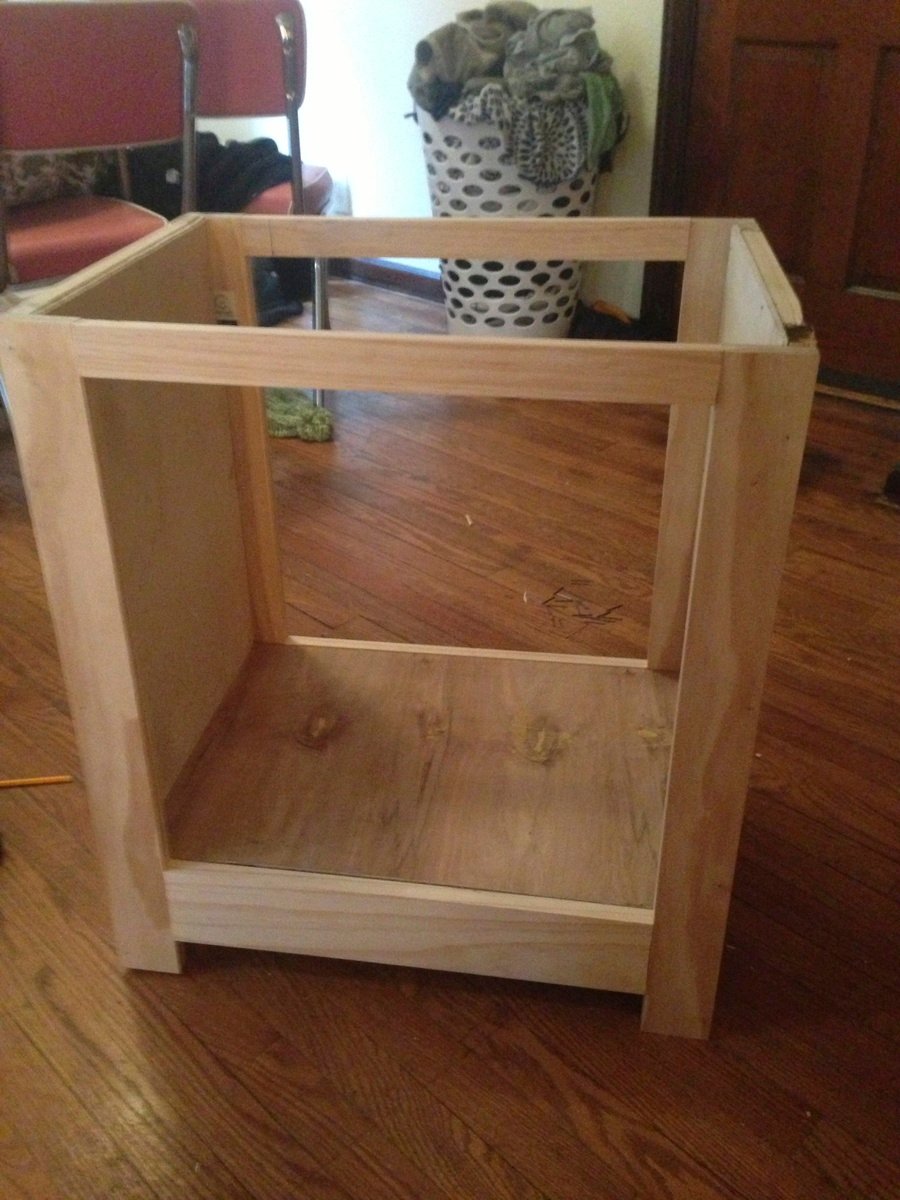
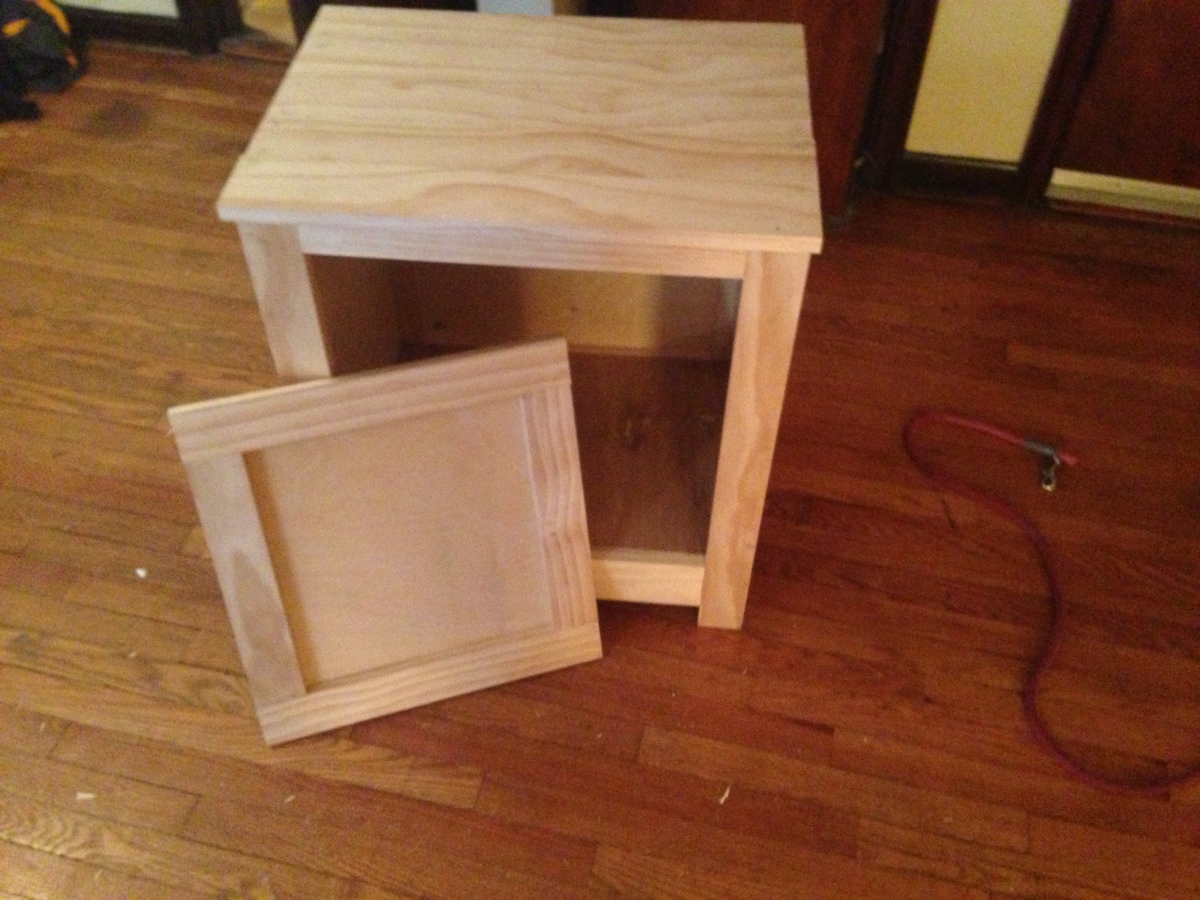
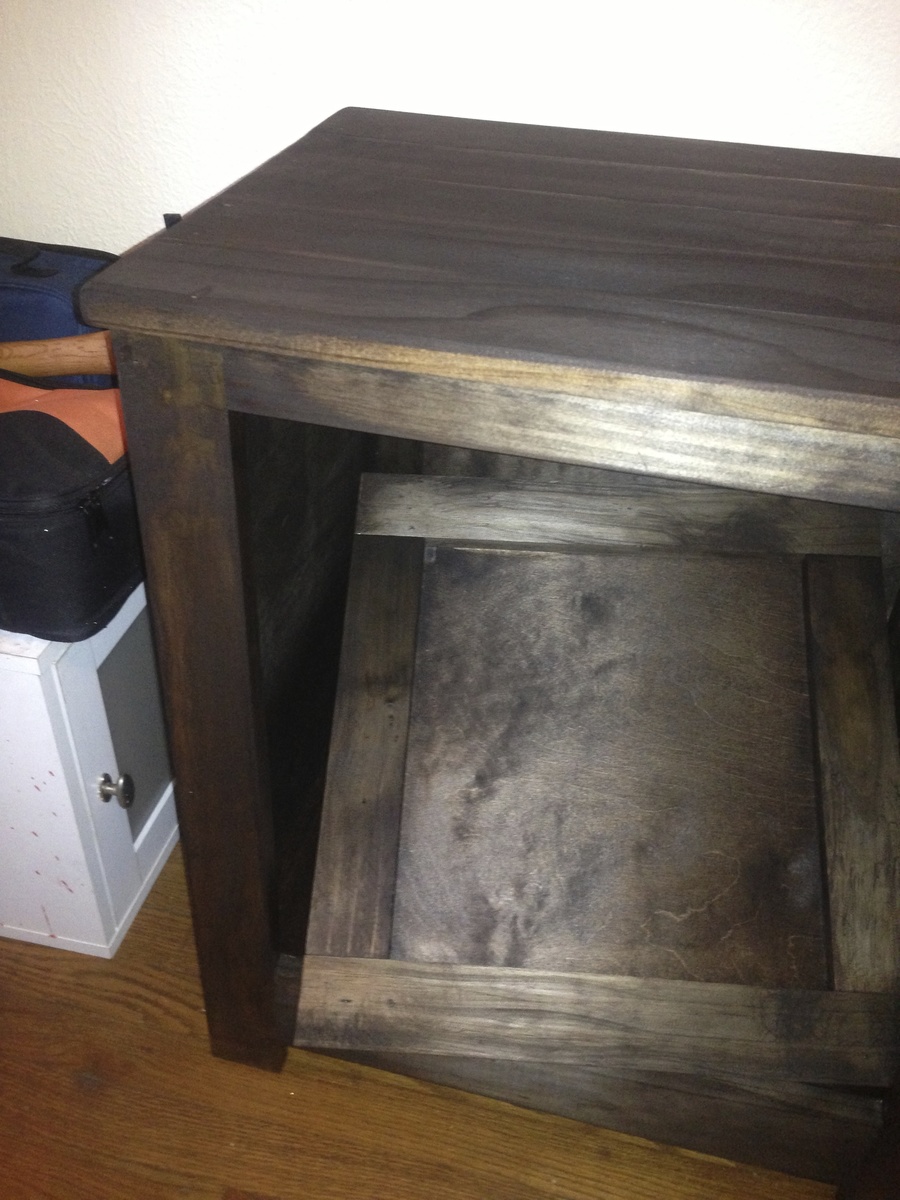
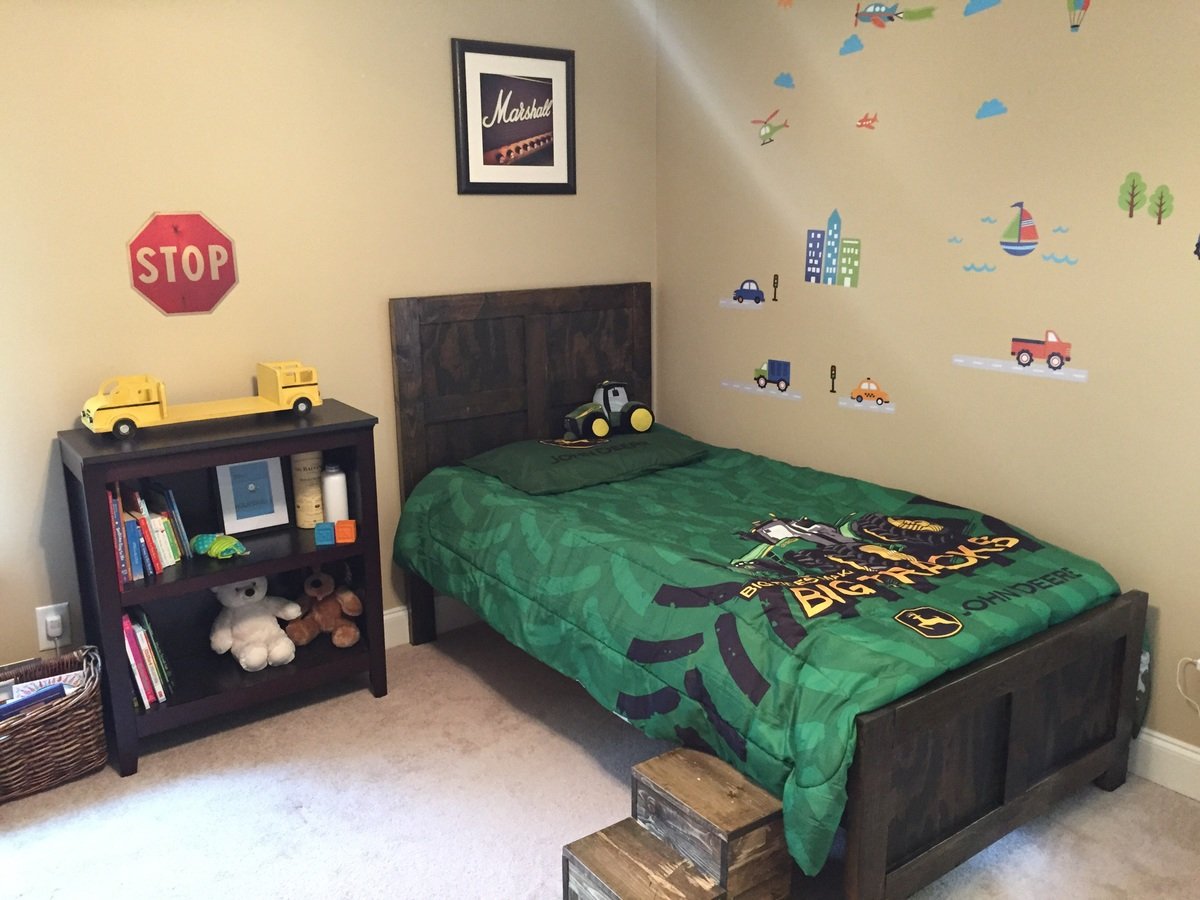
We wanted to transition our two year old out of the crib and skip the toddler bed and this worked perfectly.
I made the cuts over a lunch hour and assembled in one night.
If you have never used a pocket jig, just practice on a piece of scrap. Also make sure you consider how you will attach the rails before beginning. Depending on what you use you may want to make the headboard more narrow to accommodate for the rails not being flush with the insides of the posts.
I made steps out of the scraps from the outer rails and the slats. Our little guy loves it!
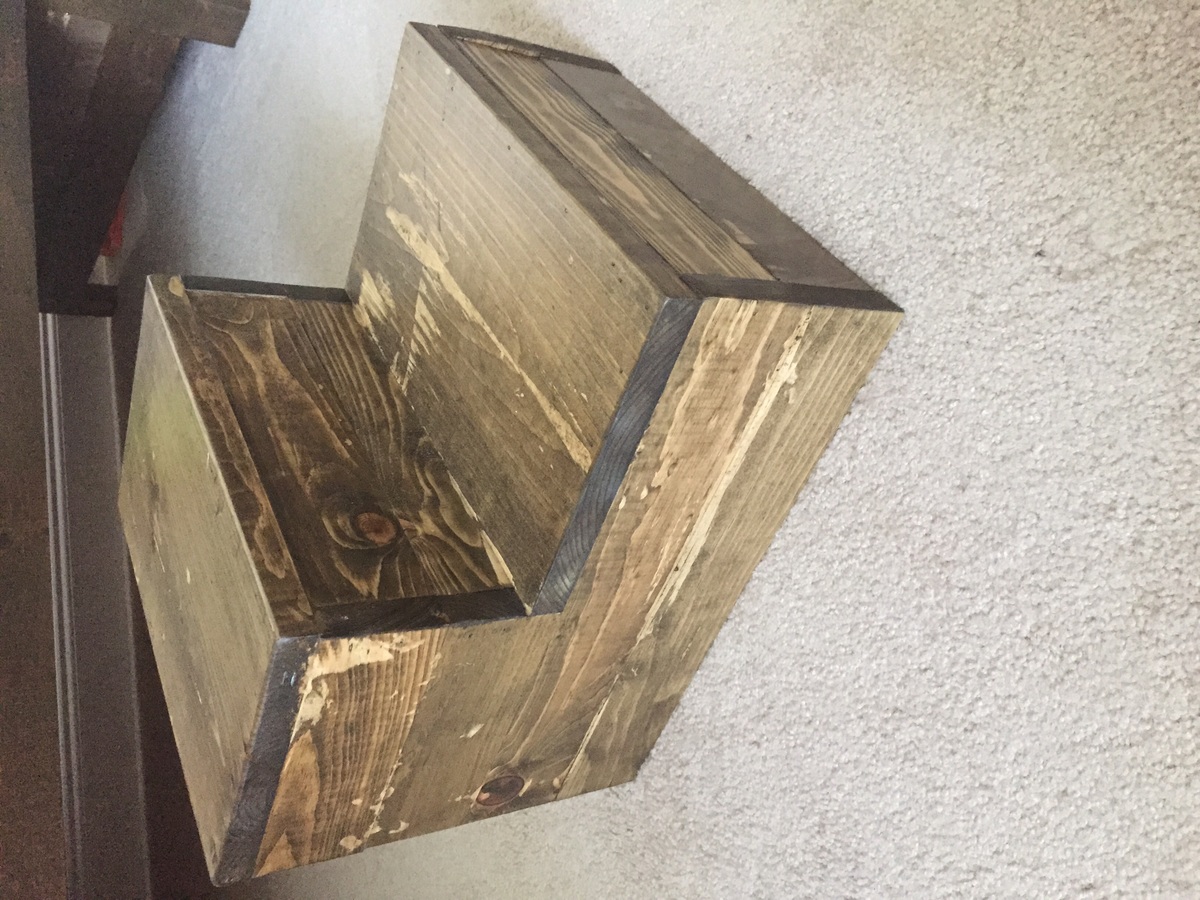
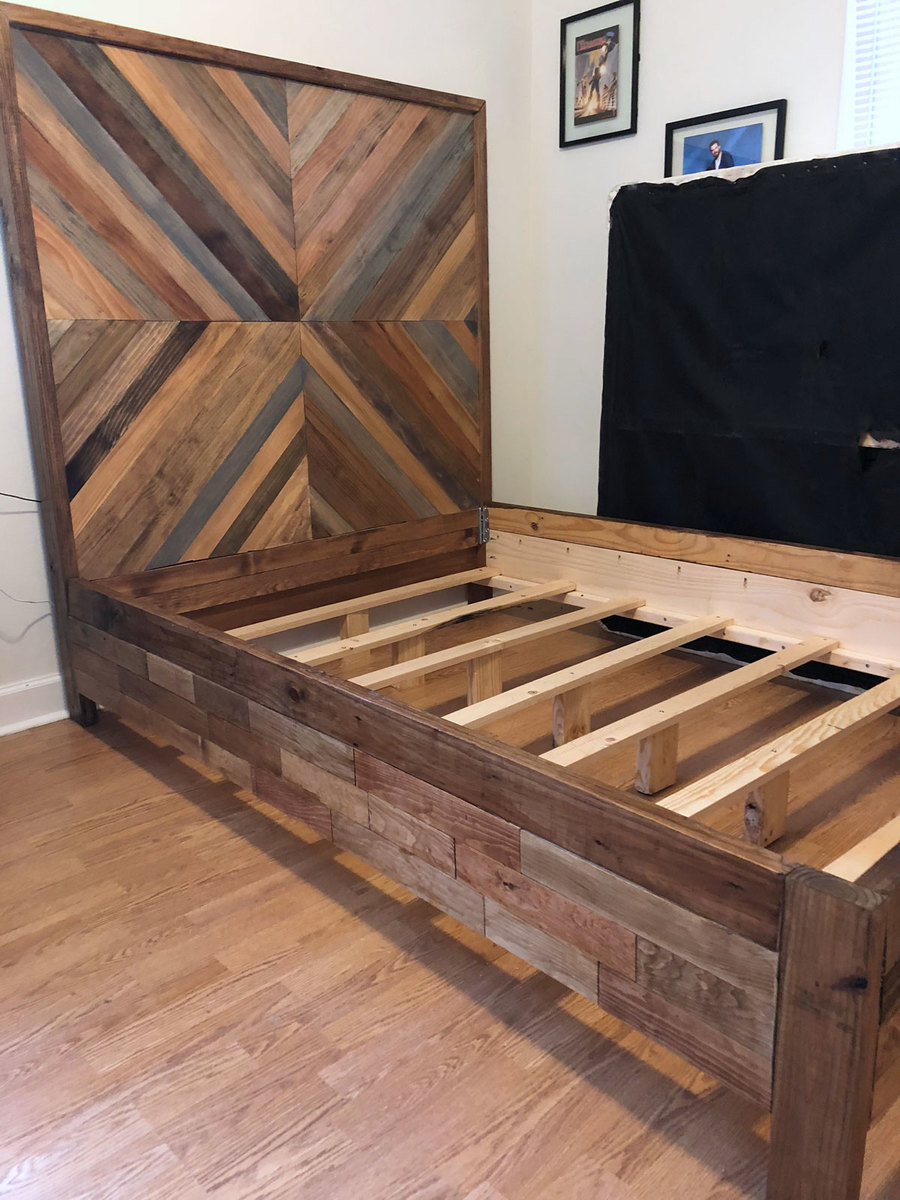
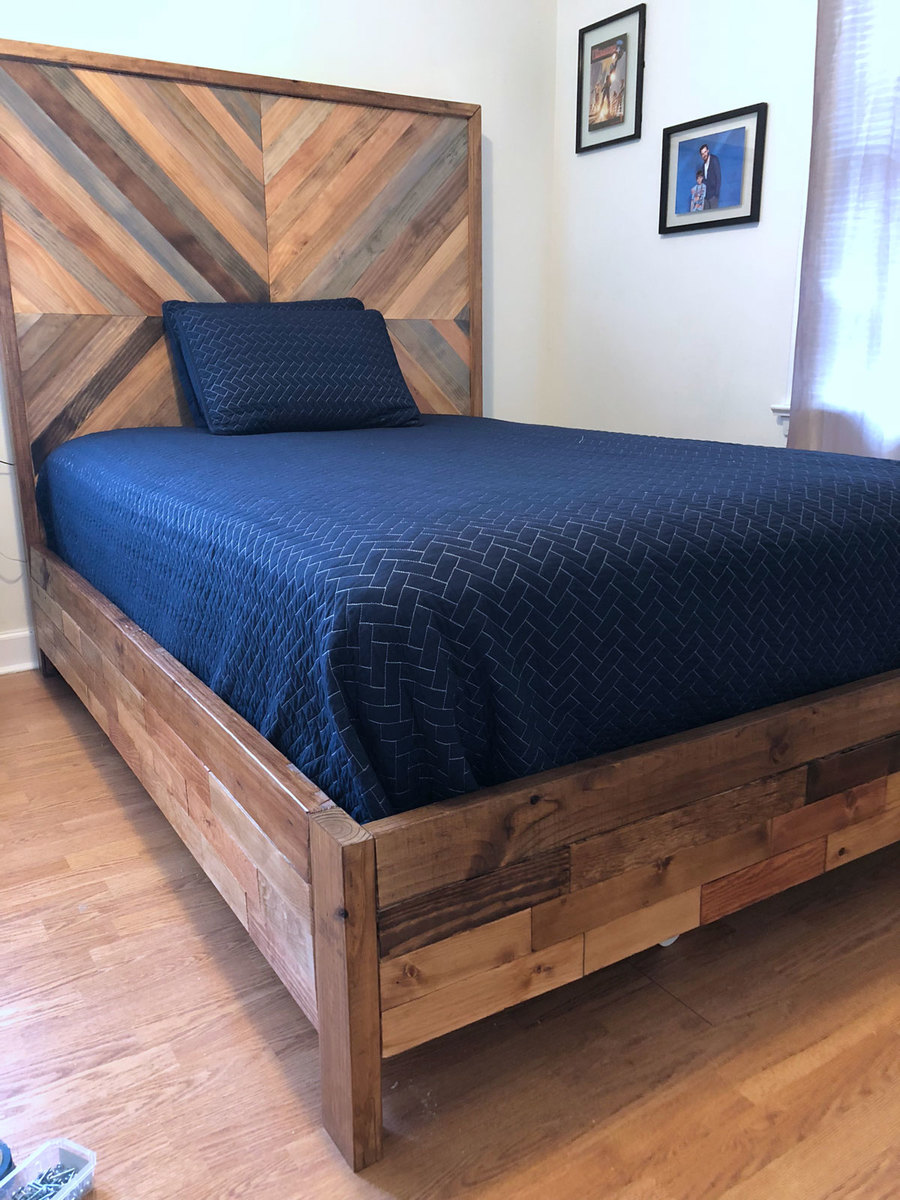
Built from full size bed plans from Jen Woodhouse. Very happy how this turned out.
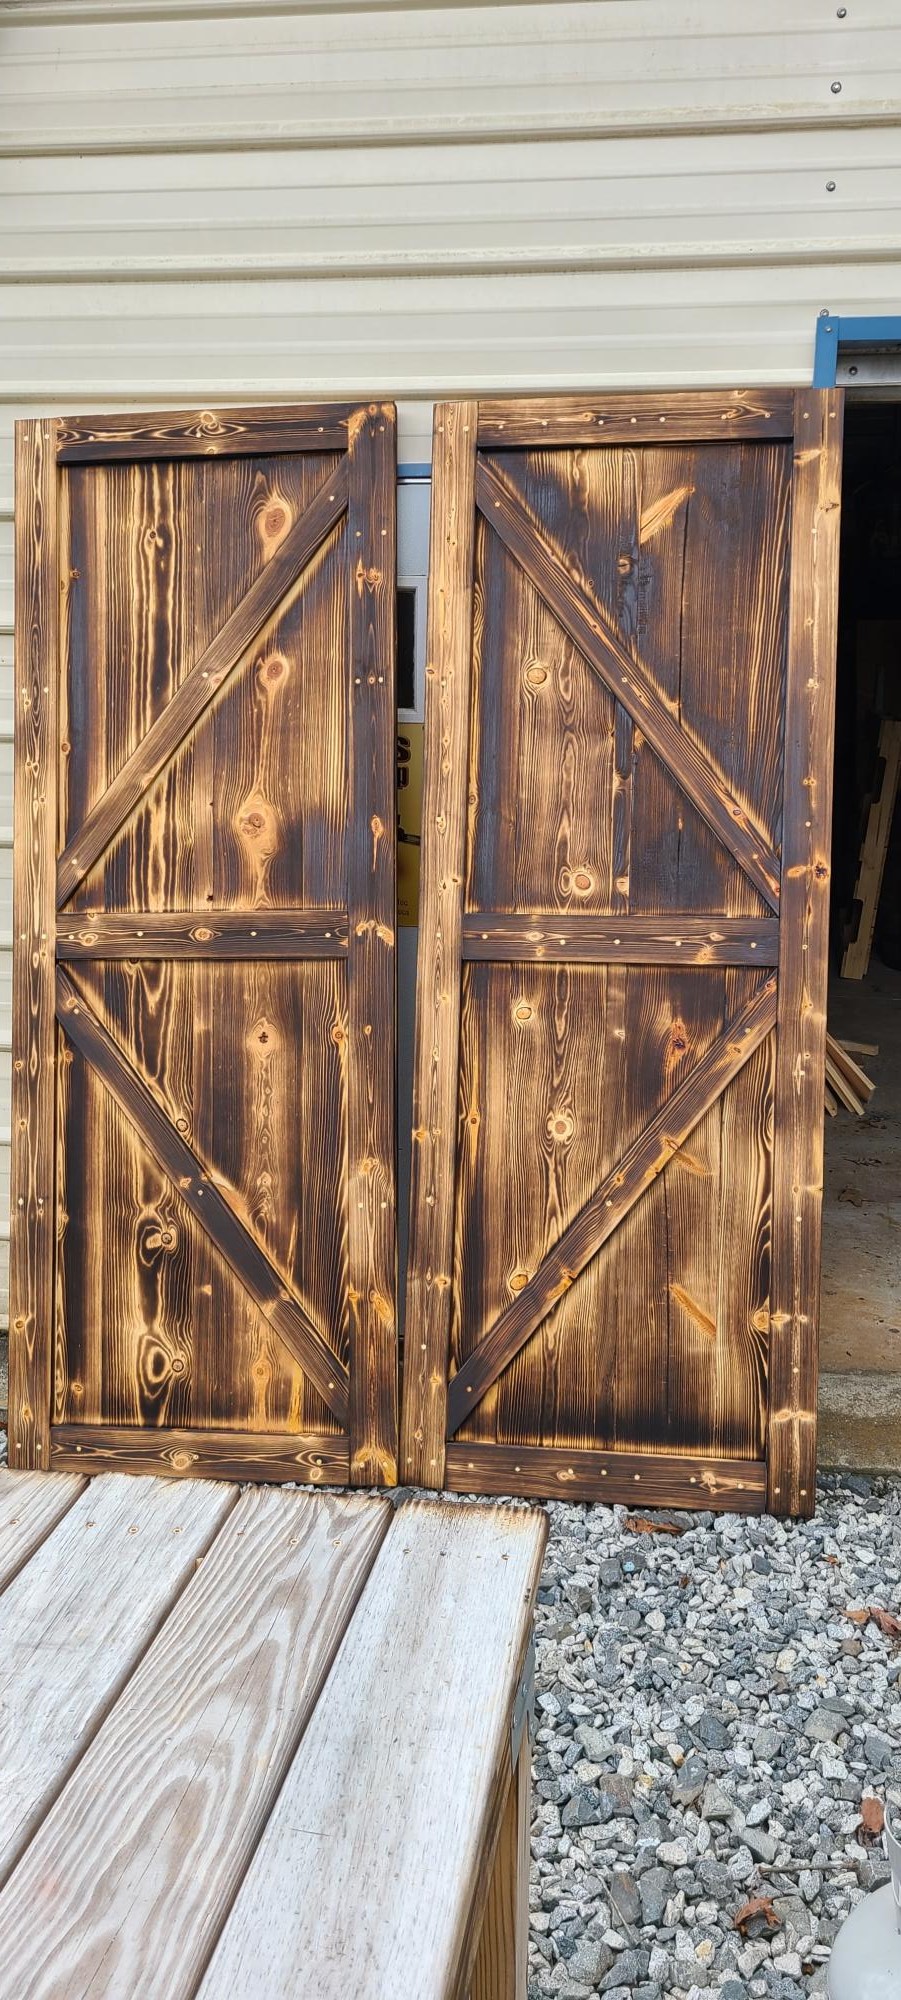
I rnjoy your post and the things you create. Very practical furniture to be used. Hung these barn doors over a closet I built in a bonus room. They worked out great. Thanks Anna.
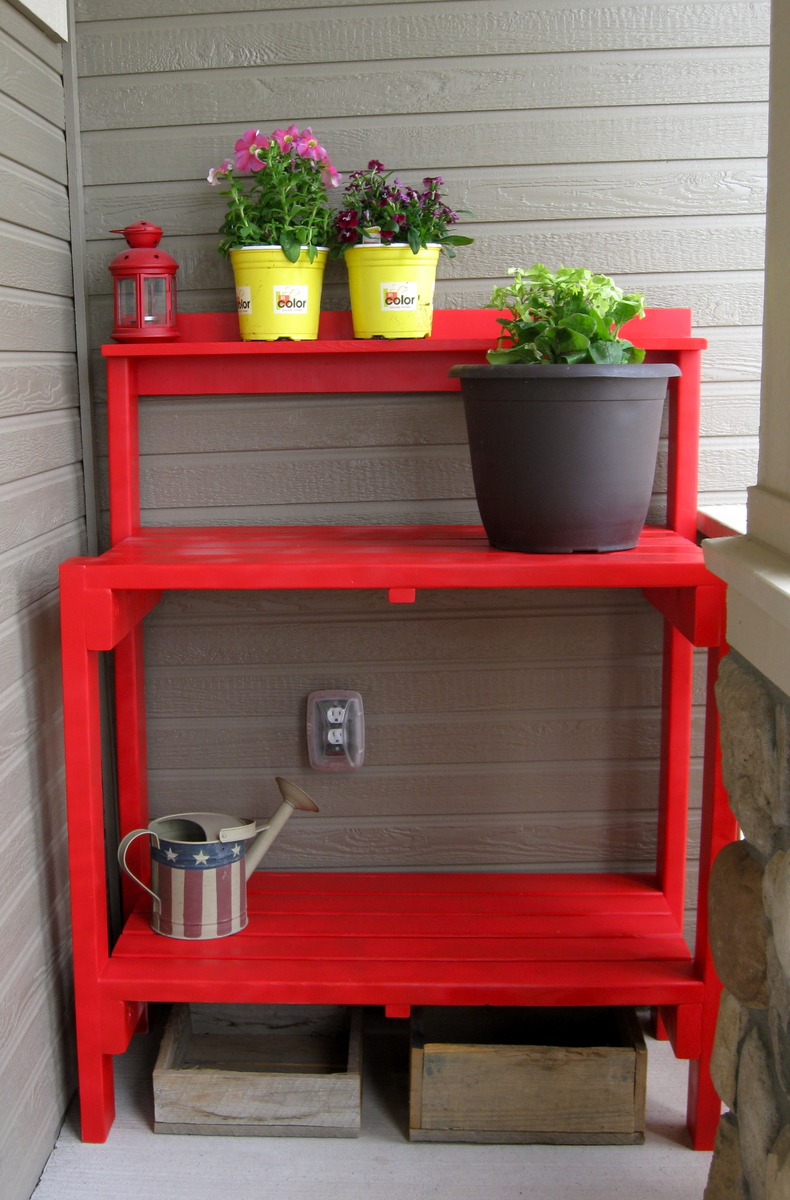
This has to be one of our favorite Ana projects so far! And our first using the Kreg Jig - which I now love!
Much to the dismay of the neighbor kids next door - it's not a candy stand. Nope, for now it's destined to be my little red potting bench.
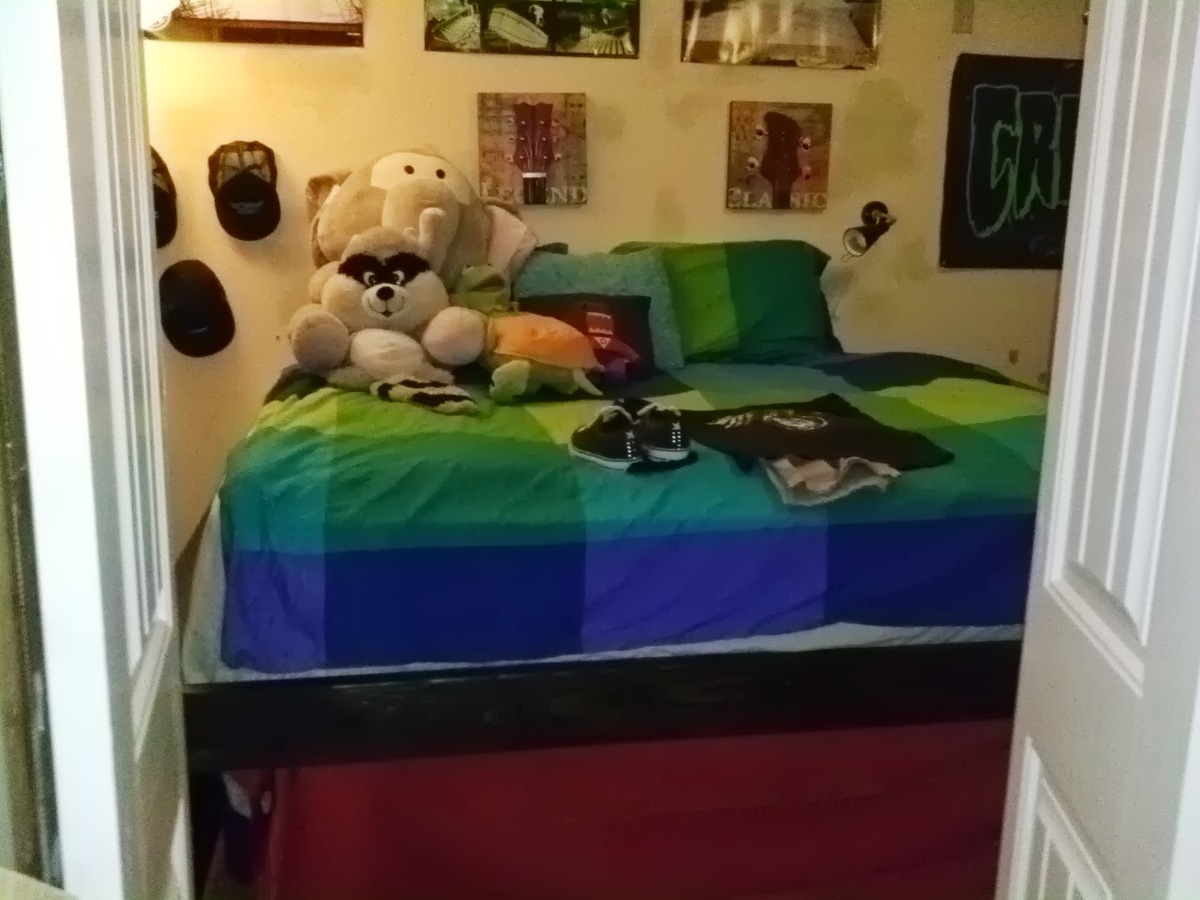
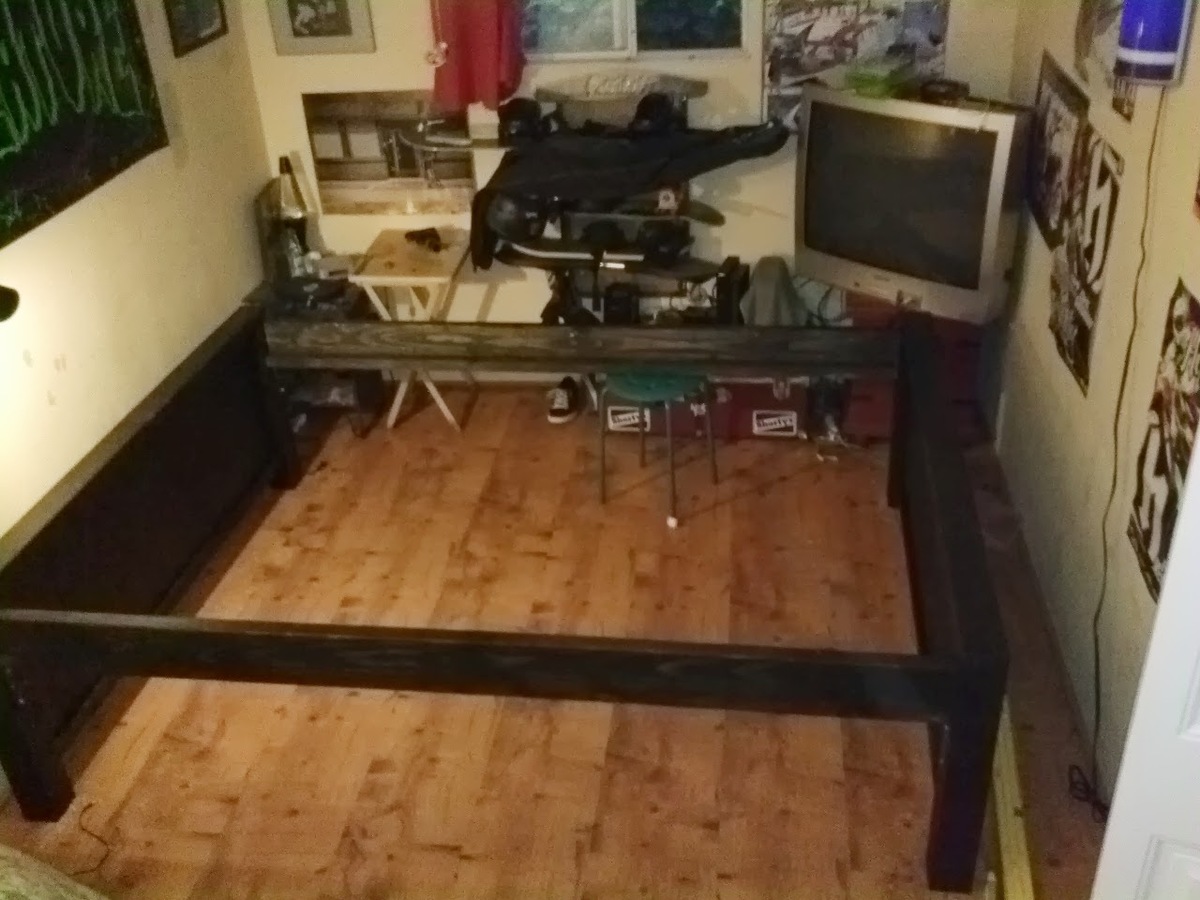
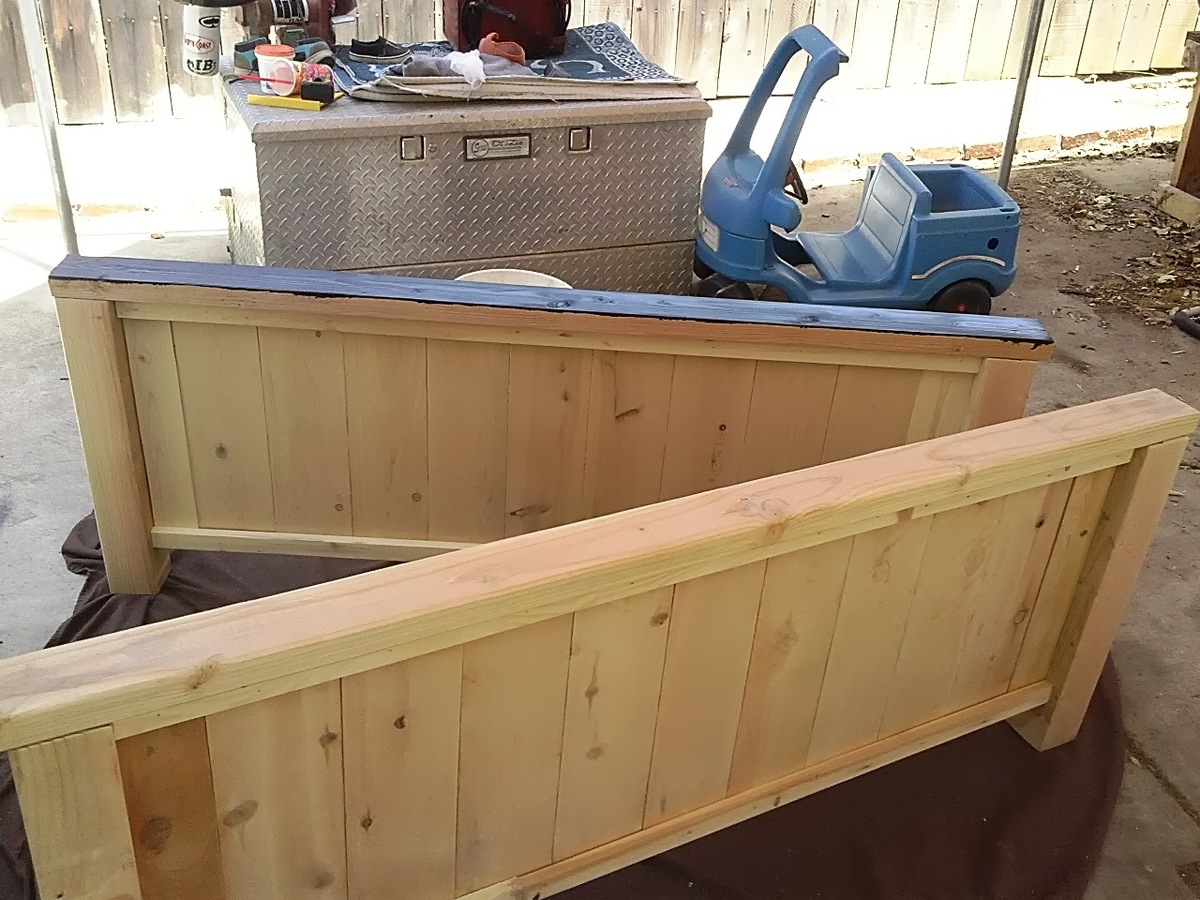
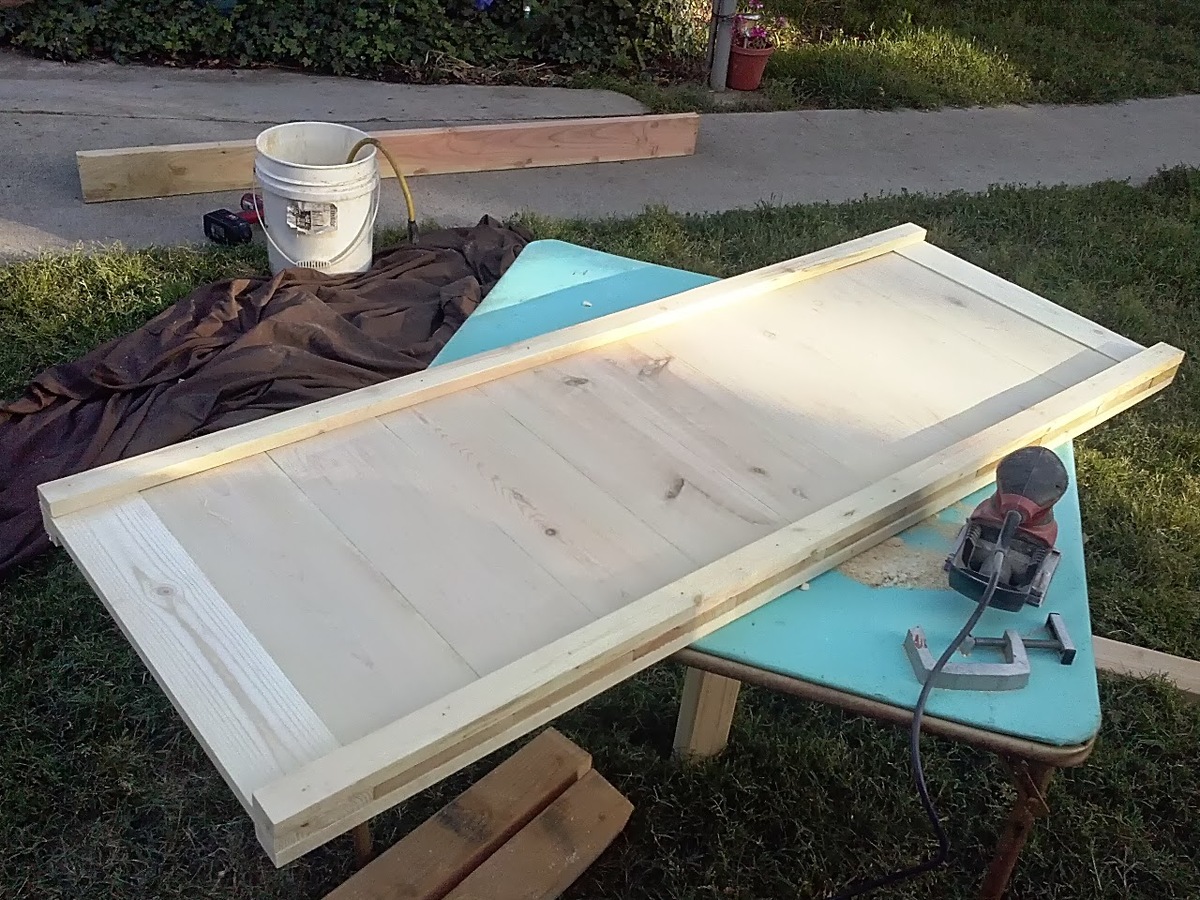
My son wanted a bigger bed so when his friends and cousins sleep over they dont have to squeeze into his twin. My son is 12 by the way, so when I got a king I gave him my queen. I needed to raise it up because I knew I wanted to build a trundle to put under it. This bed is pretty heavy, very sturdy (even with 5 kids sleeping on it or jumping on it) I took the idea from my Malm bed from ikea but its a lot heavier and stronger

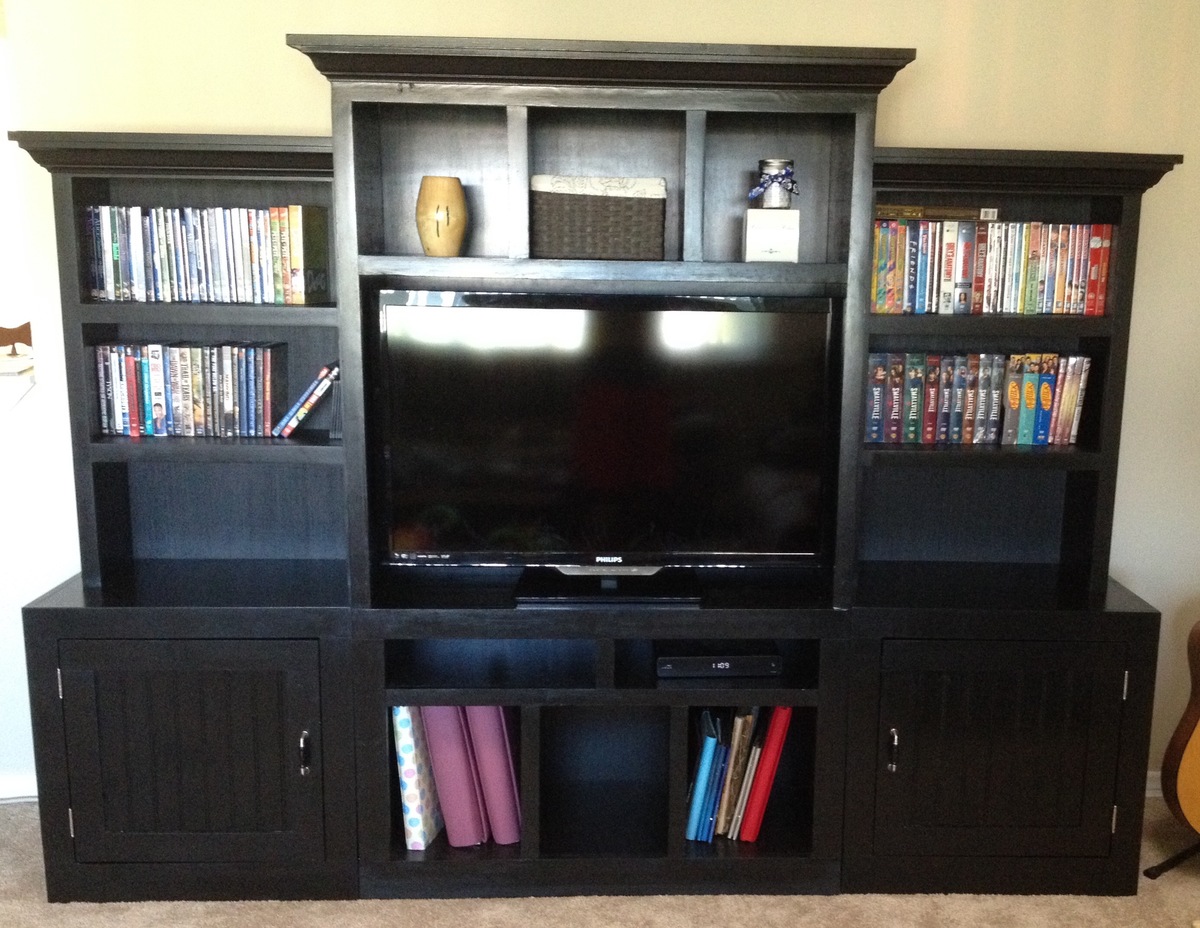
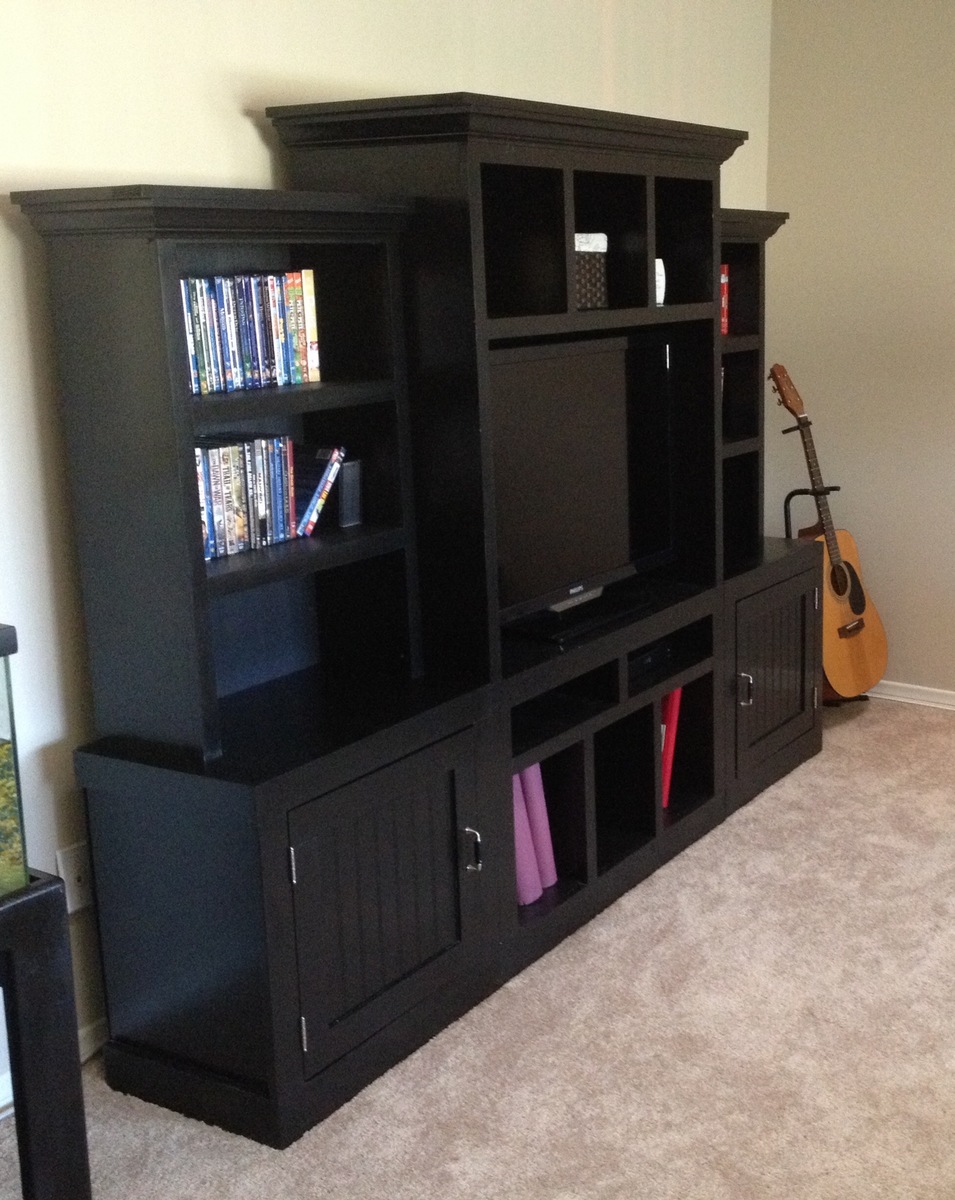
After moving to our new home, we needed an entertainment center to house our TV. I had build a DVD/Bookcase several years ago and I wanted the entertainment center to match design-wise. I was amazed how similar the Smith Media Wall is to the bookcase I built years ago--simple, clean lines with the moulding along the top.
I adjusted the plan to fit our TV and went with one cabinet door on each side instead of two. I also used some leftover beadboard for the cabinet panel inserts. I broke the first rule of carpentry and in a rush to finish, mismeasured the side hutch in comparison to the side base cabinet. (I actually had the correct measurements, I just made a calculation error when reading the plans I quickly drew up. Usually, I'm meticulous with plans, but with so many projects to do, I rushed these plans and hopefully learned from my mistake)
Tue, 07/28/2015 - 16:43
This is a beautiful build, and if you hadn't mentioned the measuring error, I doubt if I would have noticed it. Good job!
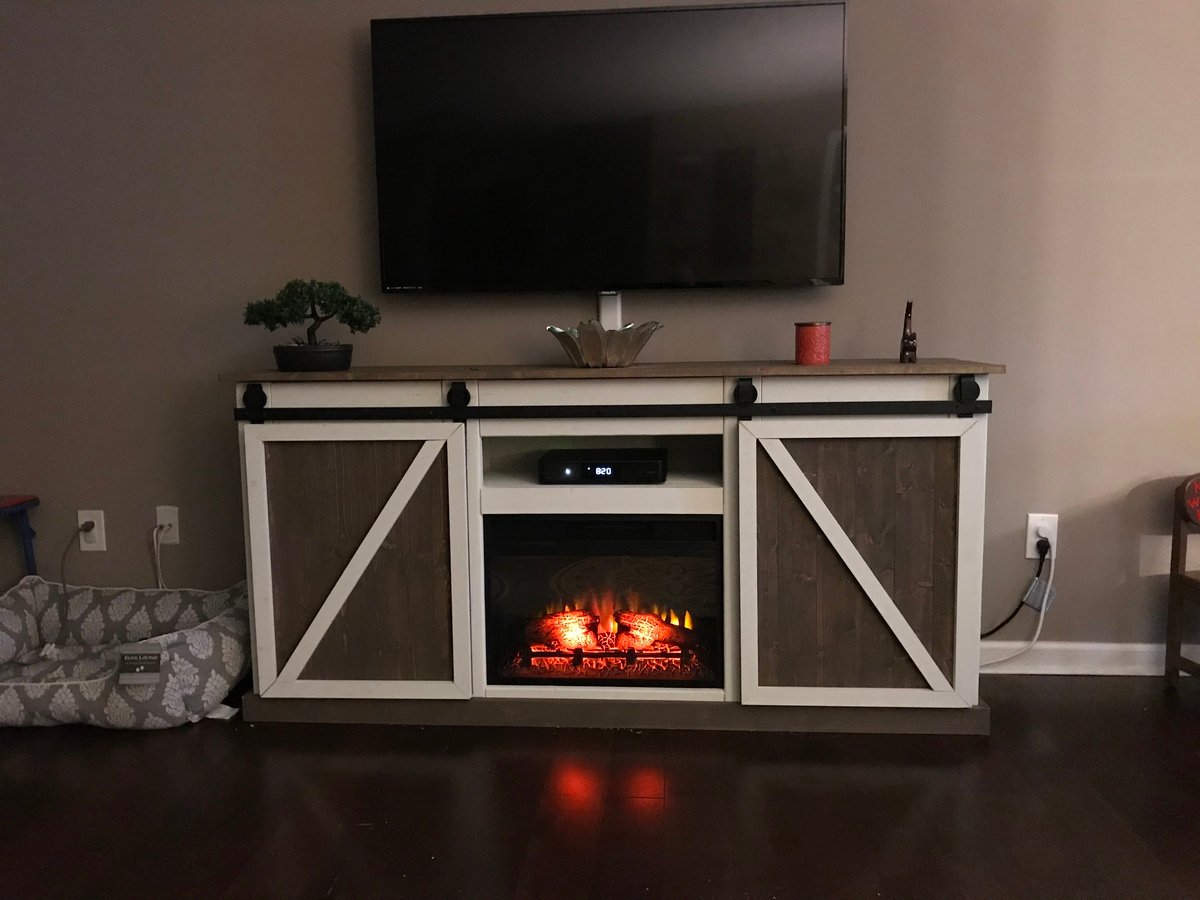
I changed the dimensions and design slightly but used the grandy plans as a starting point. Some changes had to be made due to wood choices. I had to flip the rollers behind the doors as they came out too thick, but I like the look of seeing the whole door. Overall, I’m very pleased with how this turned out.
72”x34”x16.5”

Surprisingly sturdy table and easy to do in a couple hours. I took the added steps to cut the corners at 45 degree angles and took a router to the outside edge of the table top and seats (rounded edges not shown in photo). The kids love it.
I worked on this by myself for 1 month...i am exhausted, still need to glue the flase drawer fronts, but am overall happy with it, still functional.
Mon, 01/20/2014 - 20:51
This is beautiful. Imperfections (I can't see any) definately add to the character. It looks perfect to me, way to go!
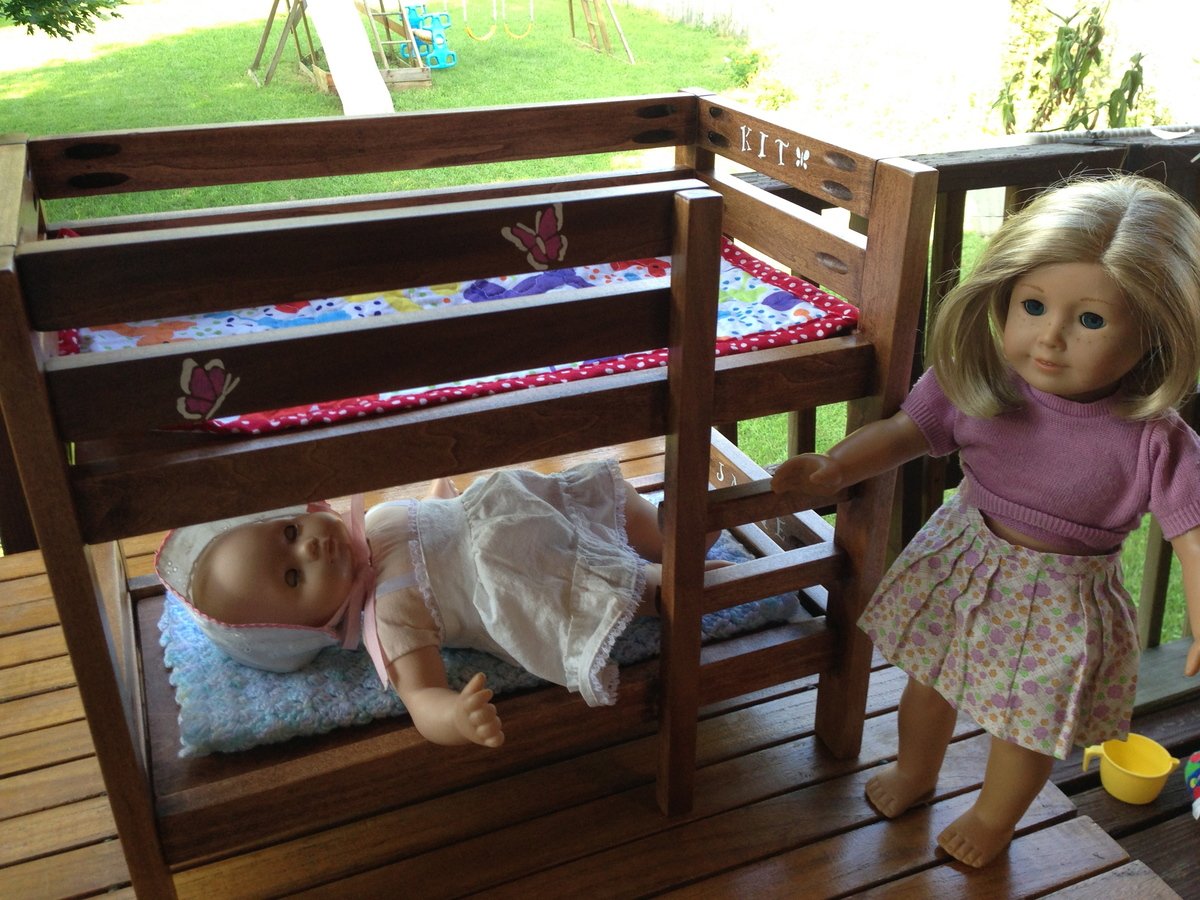
I made this bed for my daughter's birthday using poplar wood. Since I can only work at night after the kids are in bed I think it took me about 3 nights working an hour or two each night to build it and then a Saturday afternoon to finish it. I finished it using a Miniwax pre-stain, Miniwax English Chestnut stain, and then completed it with a couple coats of polyurethane.
She actually helped me at the end to stencil on the names of her dolls, a couple butterflies and a flower on the bottom of the top bunk so her baby had a pretty picture to look at while she slept :). She loves the bed.
We also worked together to make her cousin a single bed that I will share photos of also. Thank you so much for sharing the plans with us!
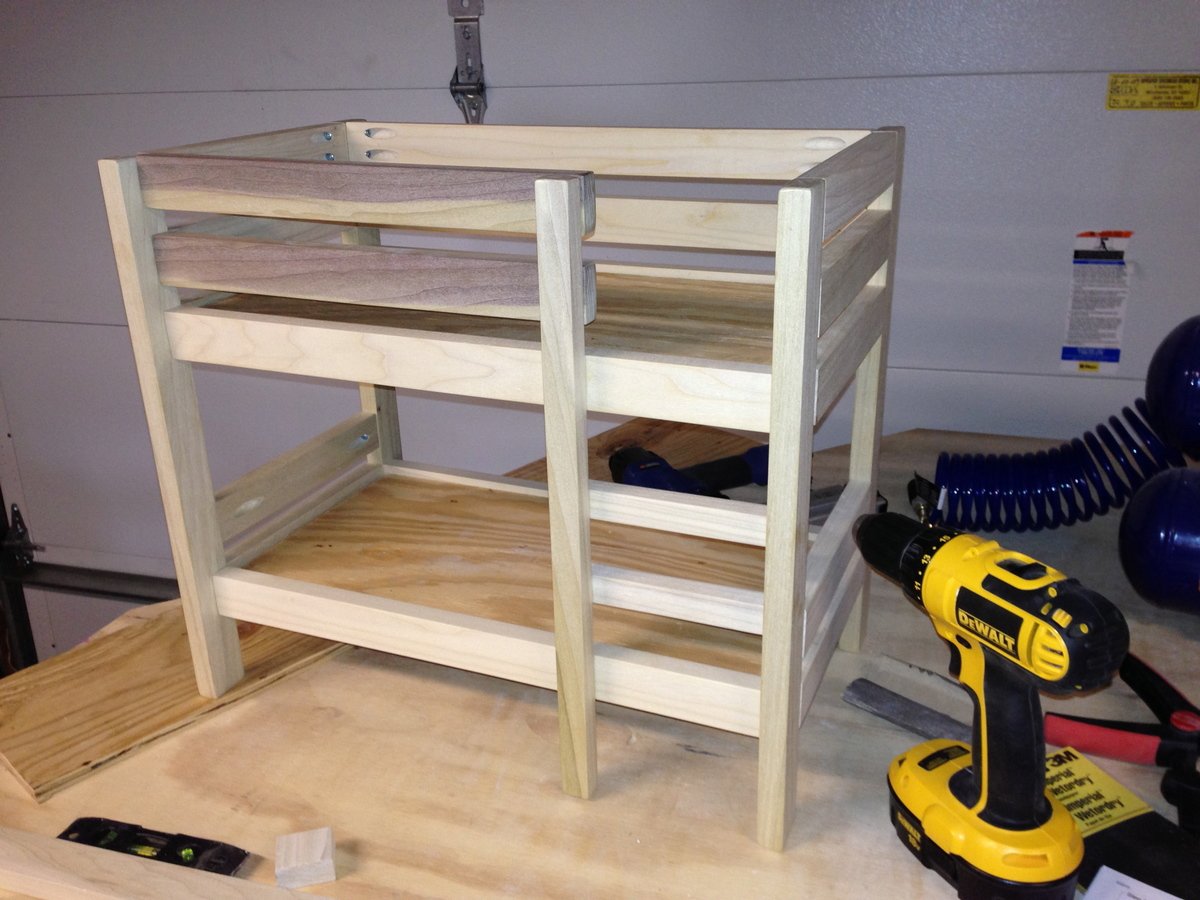
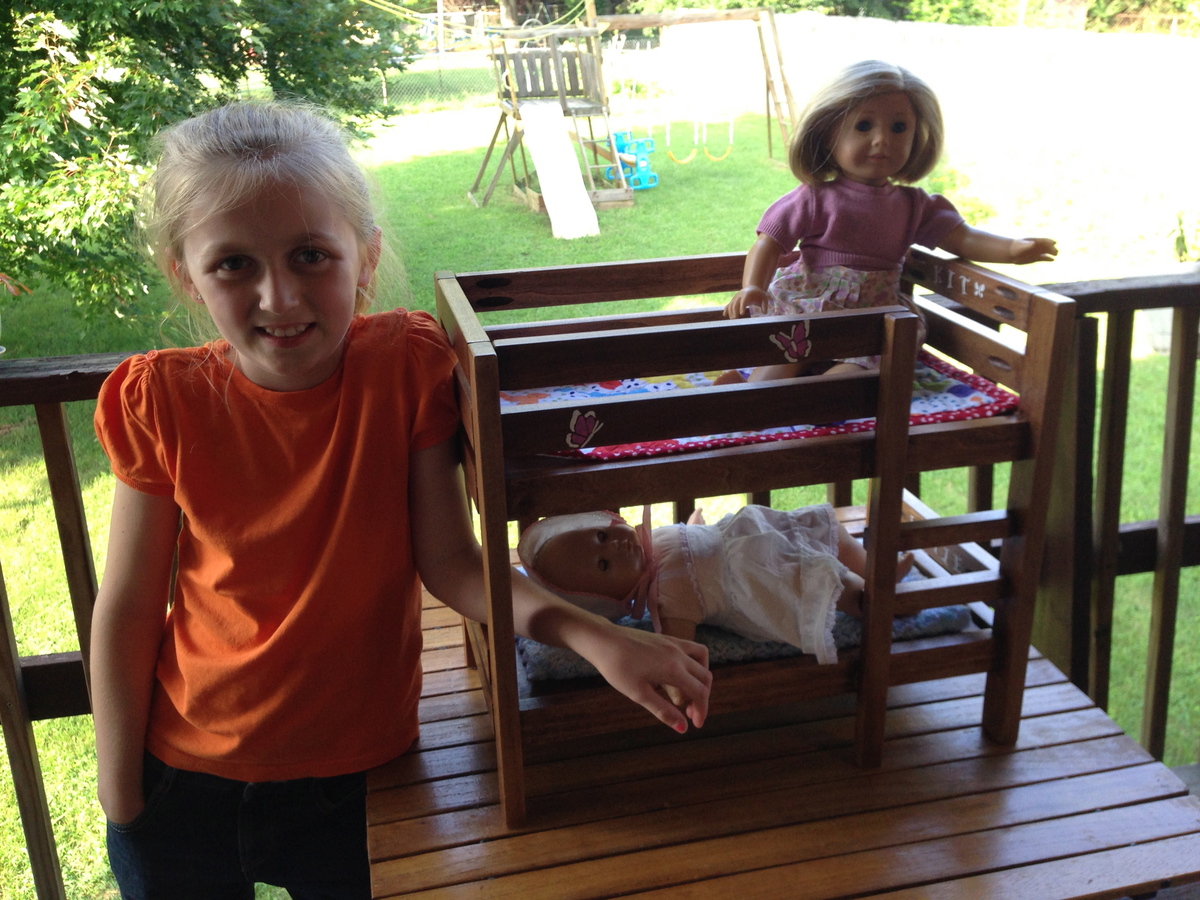
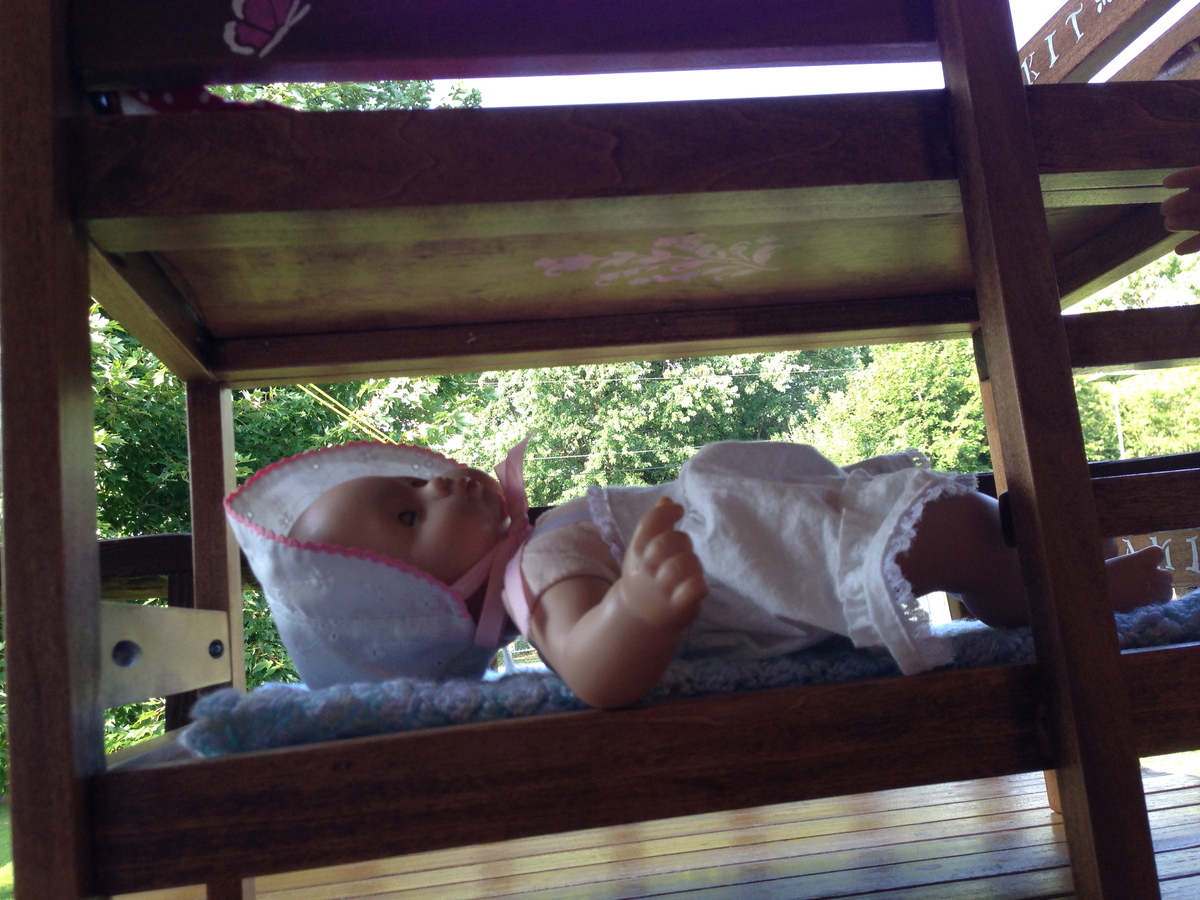
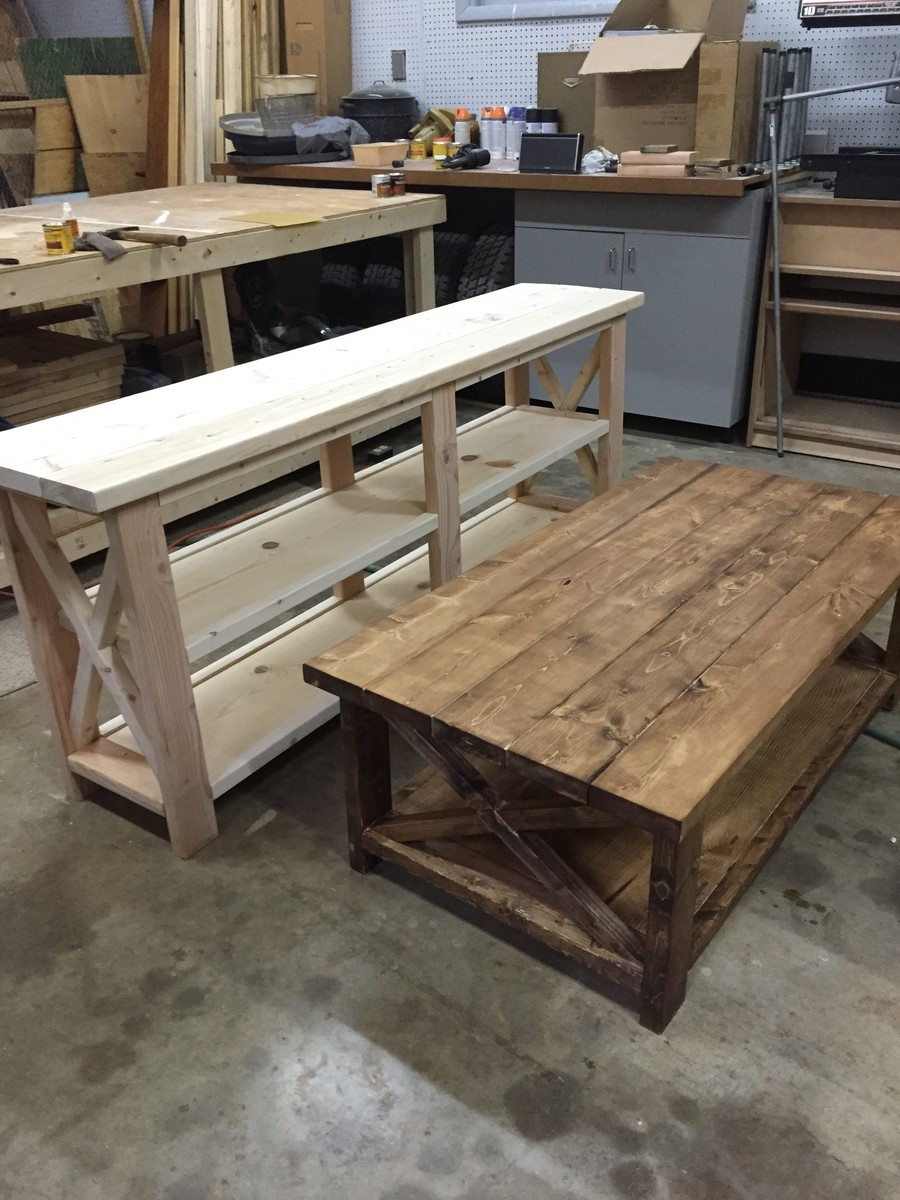
The plans were easy to follow and the results were great. These pieces are Christmas gifts for my sister
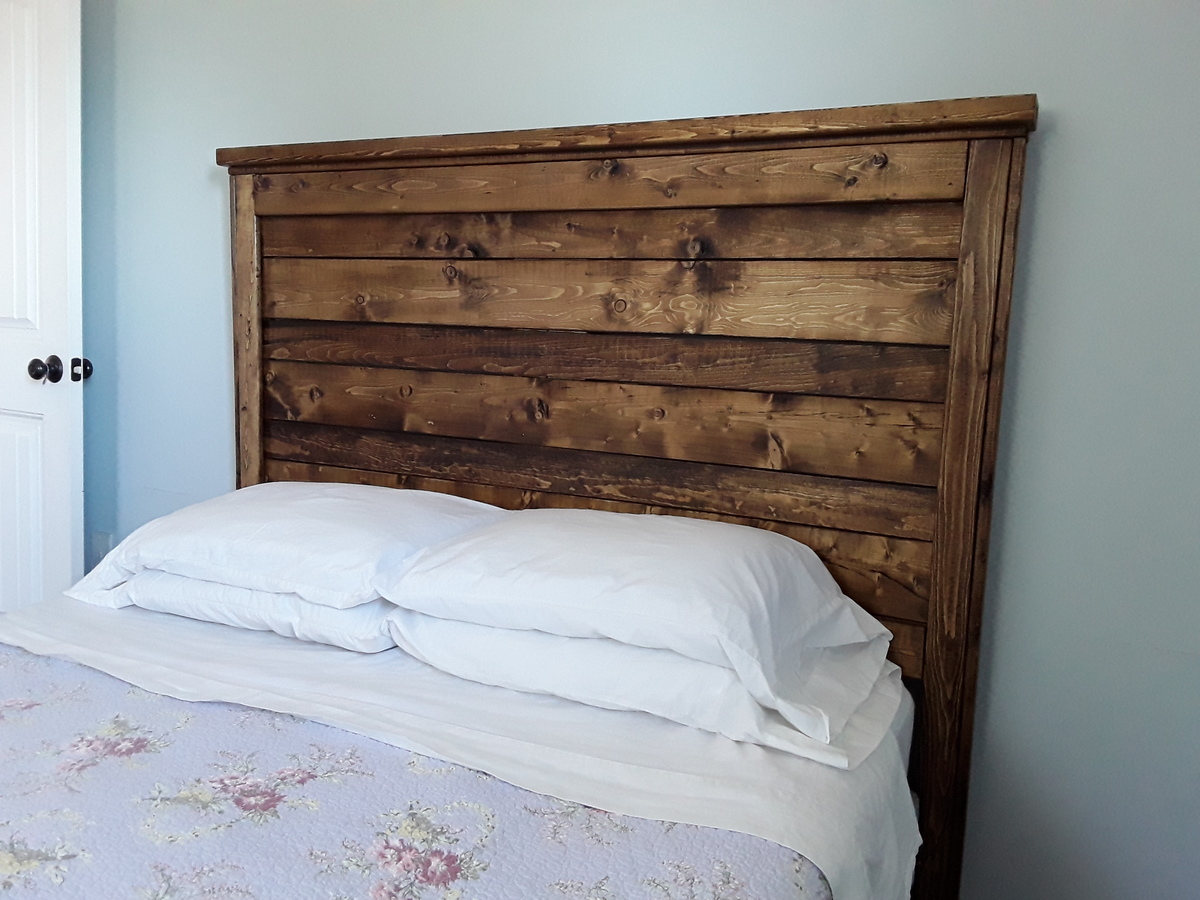
Made out of spruce to keep the cost under fifty dollars.
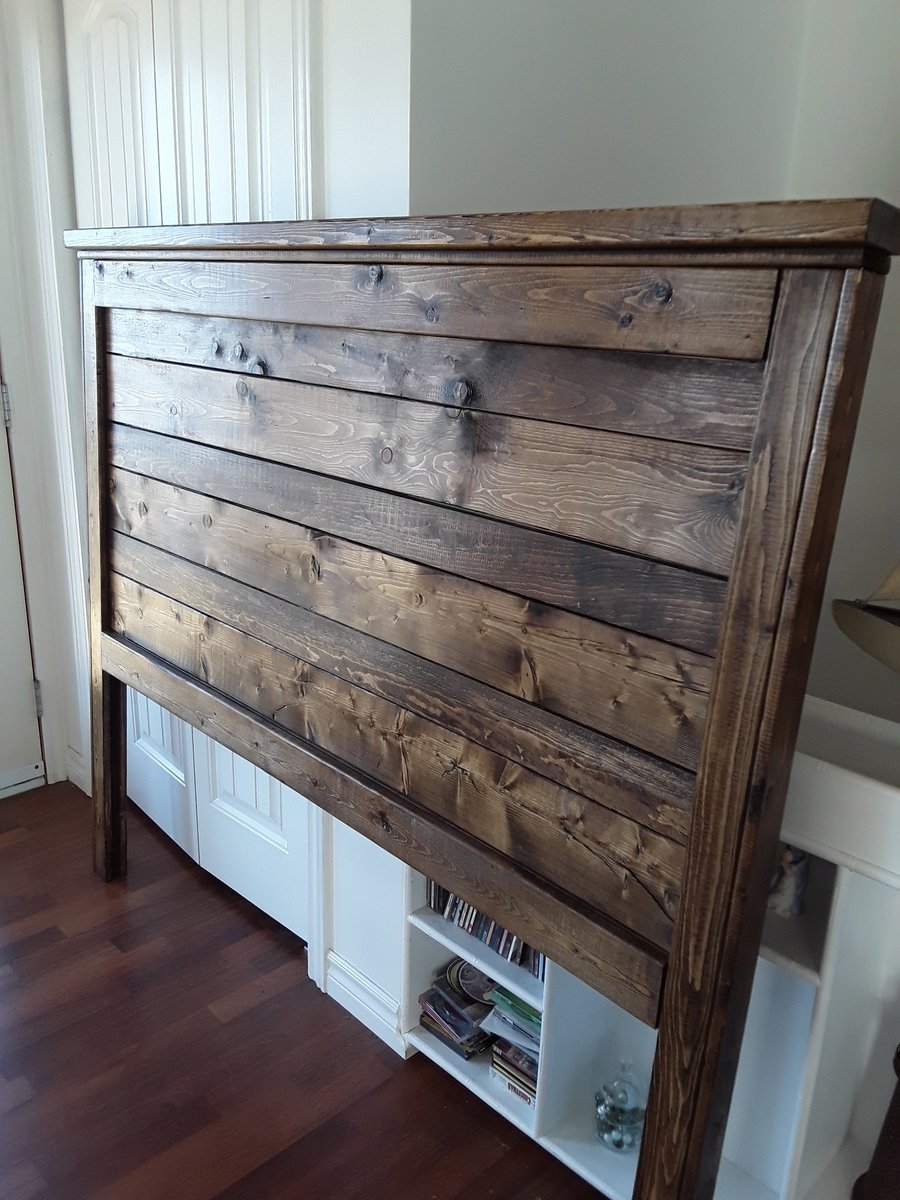
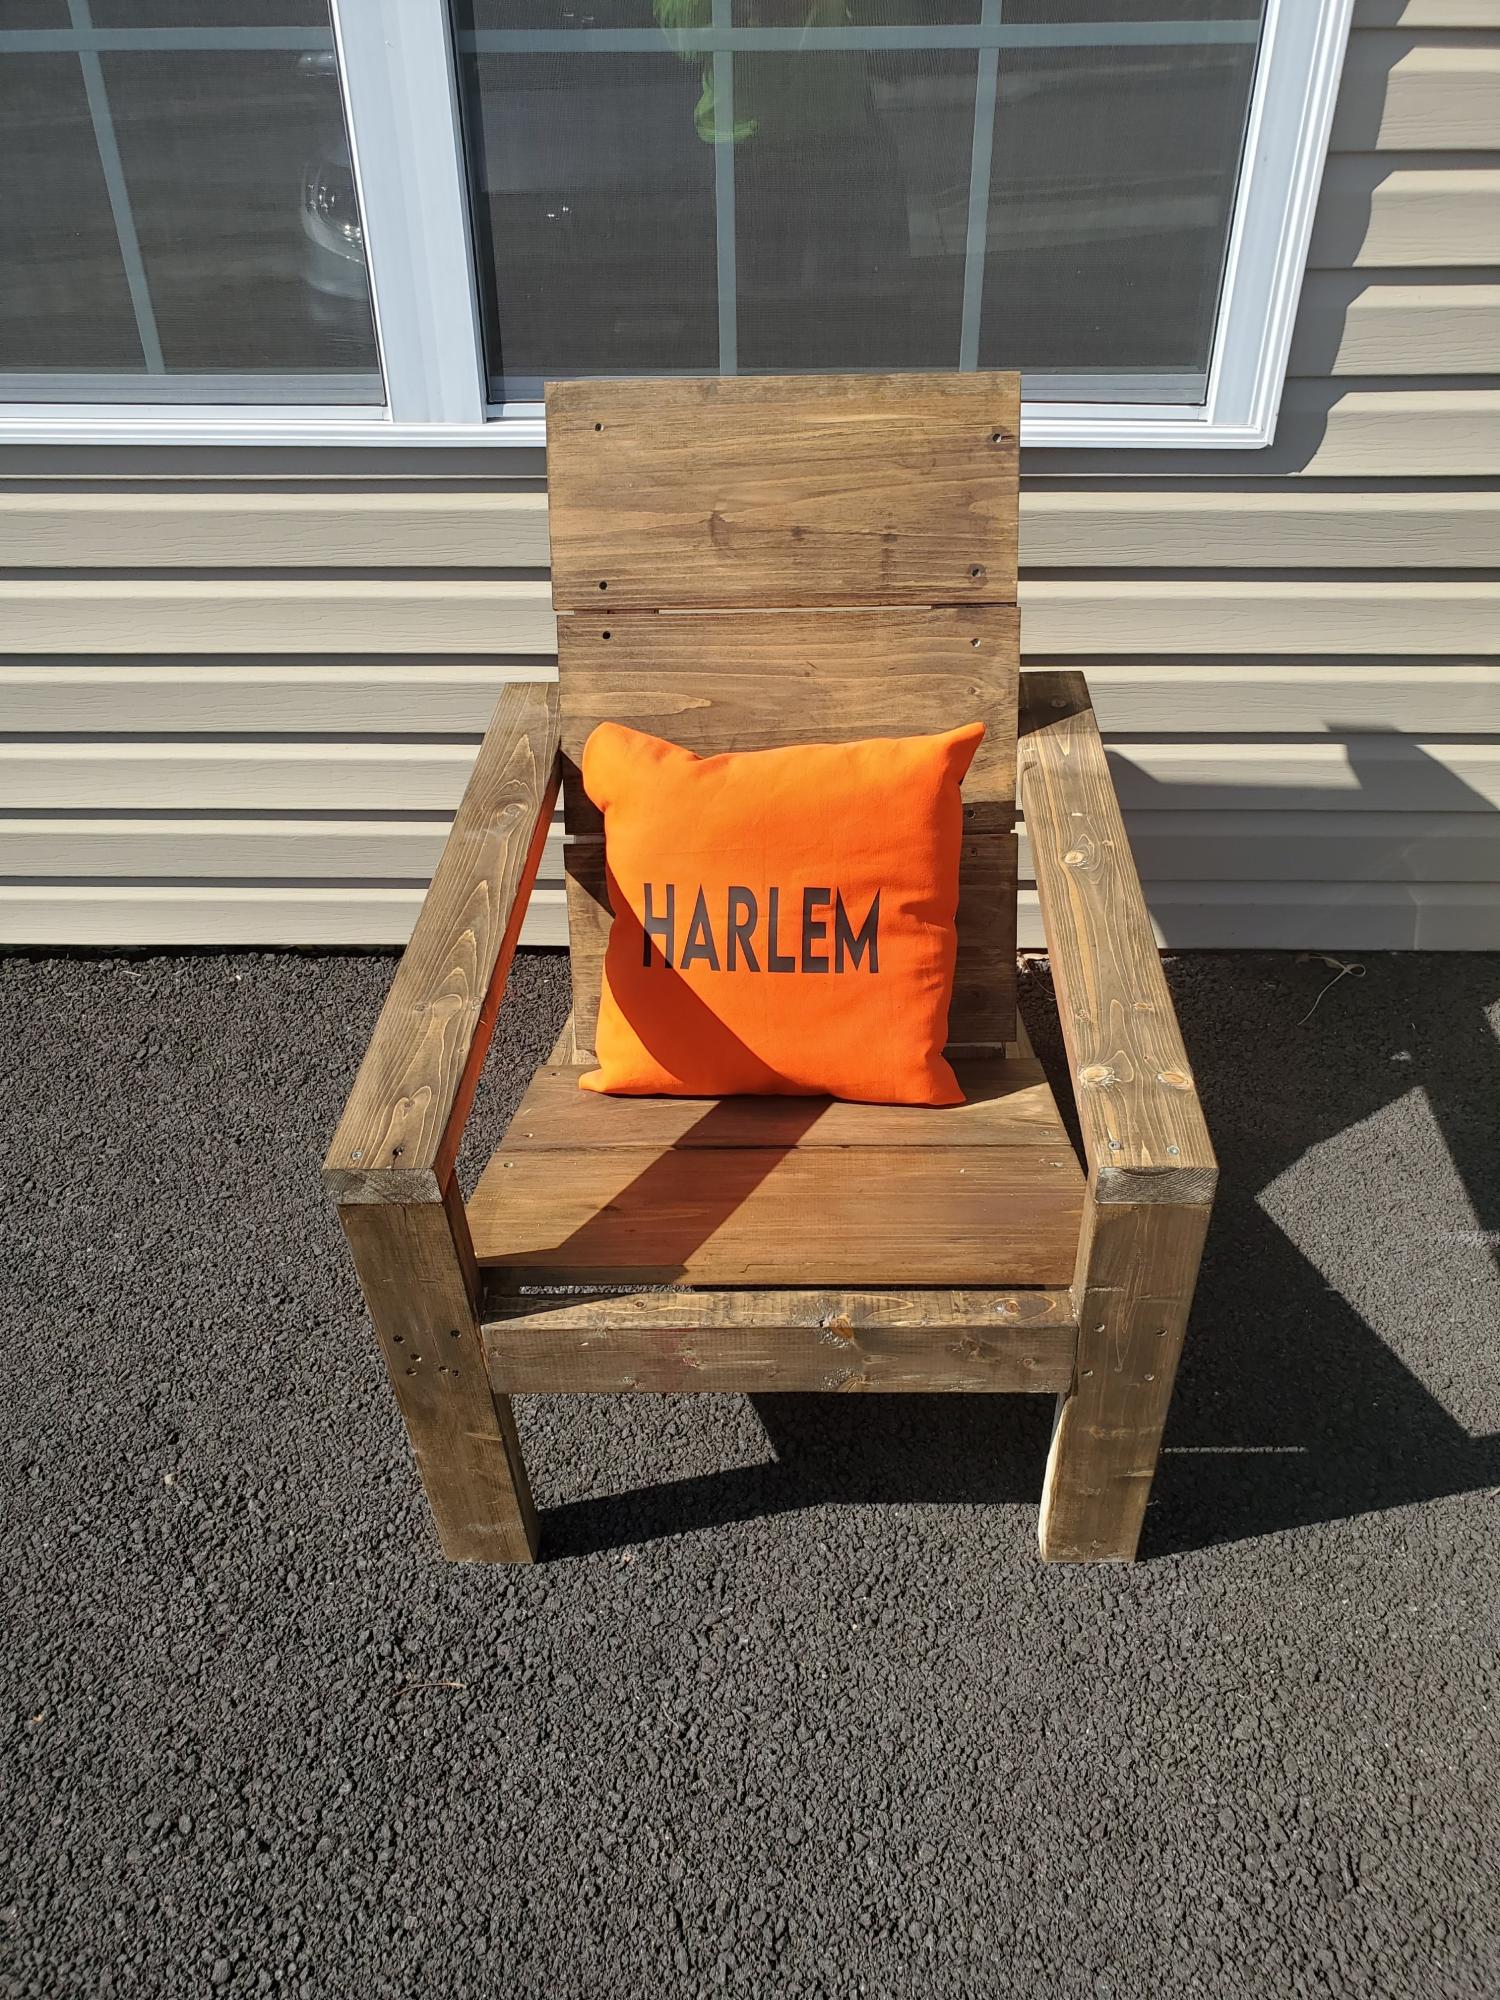
This was my first AW Buid and I loved it! I am a beginner and the video was so easy to follow. The only thing I needed (and still need) is how to do the off cut angles. I've made several since this one. Love the modern design too. Thank you Ana!
Mik da Builder
@harlemcrafted
Thu, 04/21/2022 - 12:01
Thank you so much for sending in a photo! I'm so glad to hear the chair plans worked out well for you. This is one of our most favorite chairs too!
First Project. Finished it all except the hardware just in time for my Mother-in-laws birthday party. Pictures are from my phone decorated for the party w/o the hardware, and then after, finally complete with the hardware.
Thu, 06/23/2011 - 11:34
Your workbench looks amazing! Can I ask where you got the towel bar and bottle opener? I just love them!
Sat, 01/14/2012 - 11:48
My guess is it's attached to the piece using something like this
http://www.homedepot.com/h_d1/N-5yc1v/R-100129872/h_d2/ProductDisplay?l…
then an right angle piece, length of pipe and an end cap, painted to match.
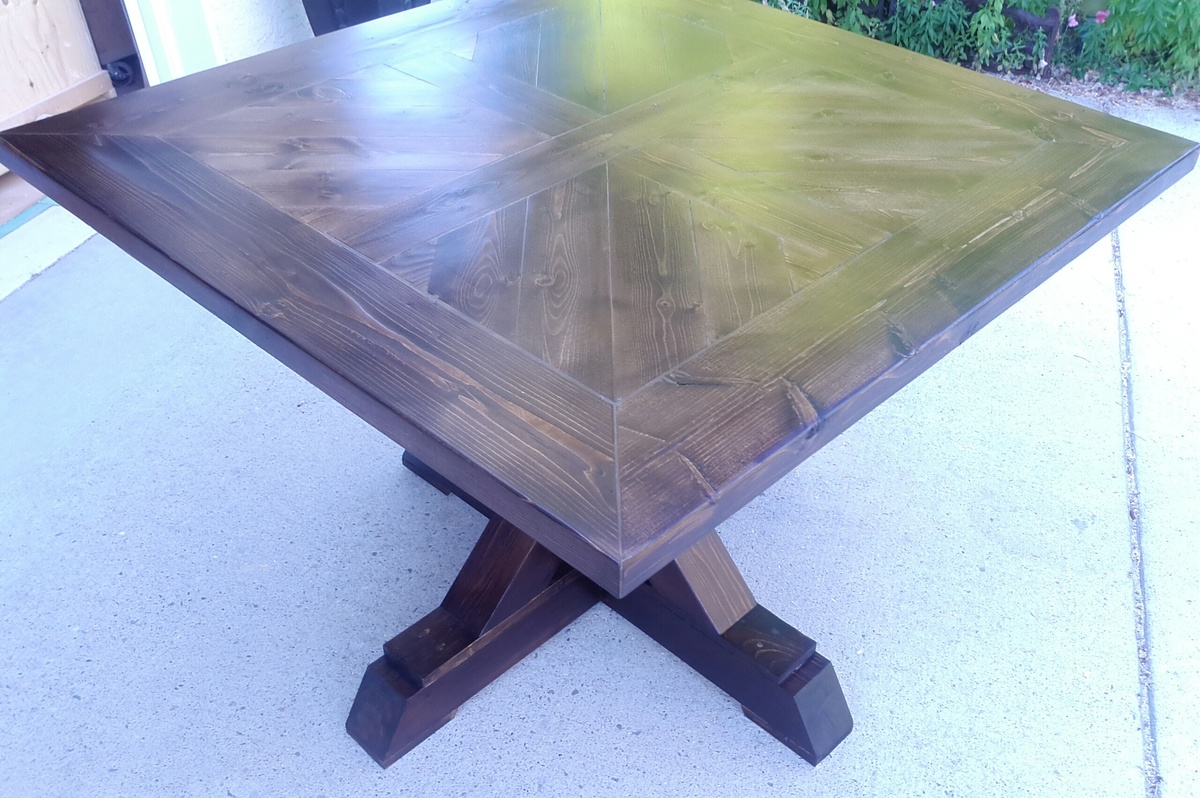
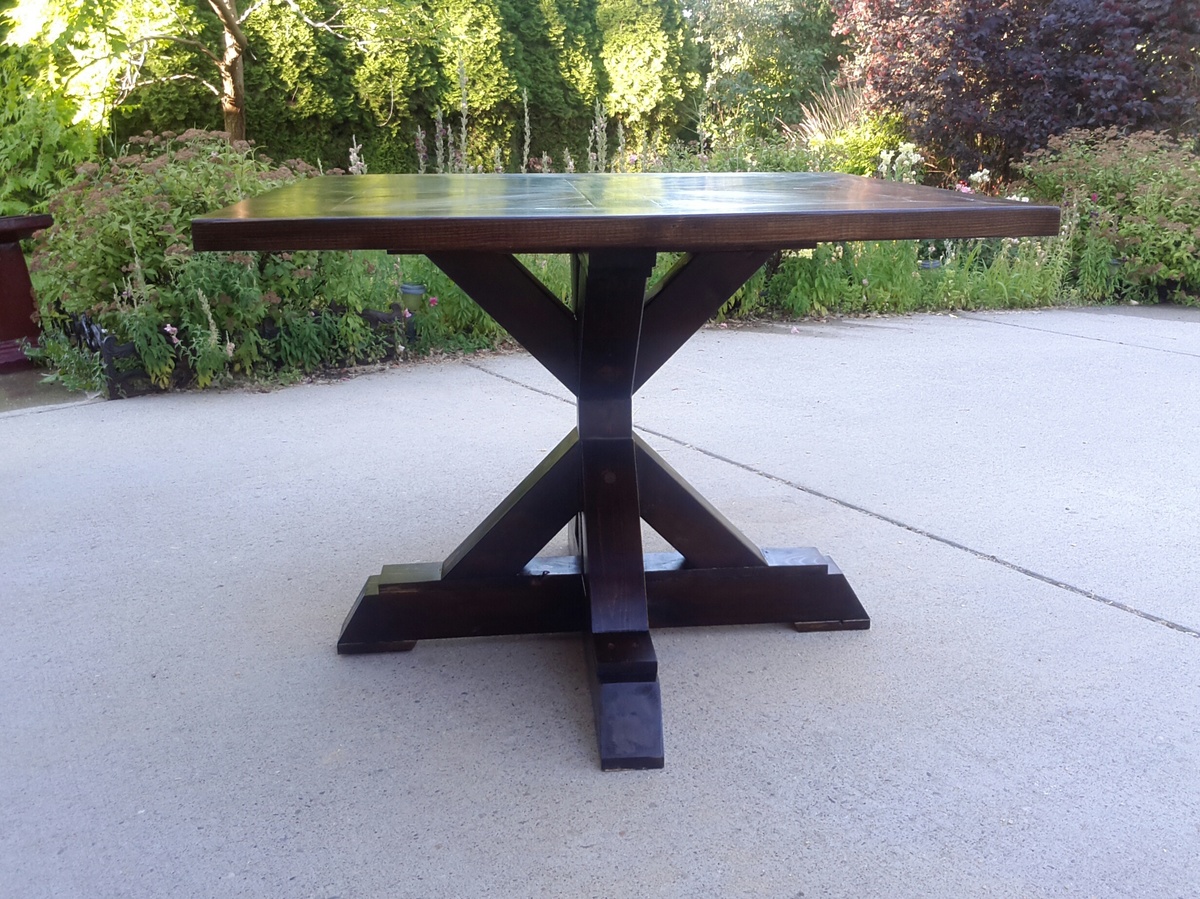
Needed a small table for our new house so I decided to build one, I followed the design fairly close. The only creative difference and I'm going to pretend I meant to do it was that I rotated the squares 90 degrees.
A few tips / things to look out for:
- The angled legs are tricky to line up/attach but you can use alot of woodfiller there to fill in the gaps and you can barely notice it once it is all together.
- When attaching the slats to create the squares for the top, add 5 pocket hole screws to each side, when you go to attach them you will thank me, 3 on each side of them doesn't hold as tight as you need it too.
- on the underside of the top I also added some scrap squares of 1x4 under the small triangles to stop them flexing, attached to the 2x6 with pockethole screws.
- Palm Sander - should be listed as required tool, to level out the top after assembly I went through a pack of 120 grit discs.
- There is not much room for error if you only have 2 8 foot 2x6's so cut them a couple blade widths bigger than you measure and sand them down to exact size.
as I used SPF for the table top I think I am going to get a piece of tempered glass cut for the top to protect the soft wood and give me an easy surface to clean.
Thu, 07/25/2013 - 11:15
I am definitely bookmarking this! Very nice job. It's beautiful.
Thu, 07/25/2013 - 16:04
I have a hard time getting a finish that is that dark and rich looking. Good job!
Wed, 10/09/2013 - 08:25
NICKFMC
On the table top did you fill in the seems where the boards meet with wood filler? It looks like there may be something between them and it has a very smooth appearance. I don't really want the gaps to show on mine and was wondering how you got yours to look so smooth.
Great job on the table! and thanks for any help you can give me!
Paul
Wed, 01/29/2014 - 11:57
I really liked how the inner squares are turned 90 degrees. The table looks less rustic, a bit more polished. I believe your extensive sanding contributed to the finished look.
One bit of advice. You may want to start with a more aggressive sandpaper to make edges flush. You can start with a 60 or 80 grit and then work your way up to 120 or 150.
Sun, 11/20/2016 - 16:42
Hi all,
I made a table almost identical to this with the top being more farmhouse style. My problem is that a friend of mine offered to buy one of these if I make one for him. I never know what to price things at when asked to make for friends. I always let my feelings of friendship cheapen the cost. I would greatly appreciate some help in what price point to set a table like this at. Thank you in advance for any help.
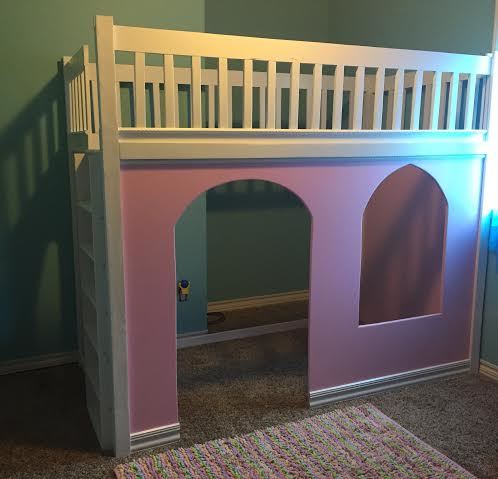
This project was well worth the time and money invested. It is very sturdy. I expect that it will last for many years.