Tools:
Miter Saw
Table Saw
Jig Saw (b/c my bandsaw is down)
Oscillating Spindle Sander
Orbital Sander
Router
1/8" roundover bit
1/4" roundover bit
Kreg Jig
Tape Measure
Tri Square
Materials:
S4S Poplar
Kreg Screws
Kreg Stain Grade wood plugs
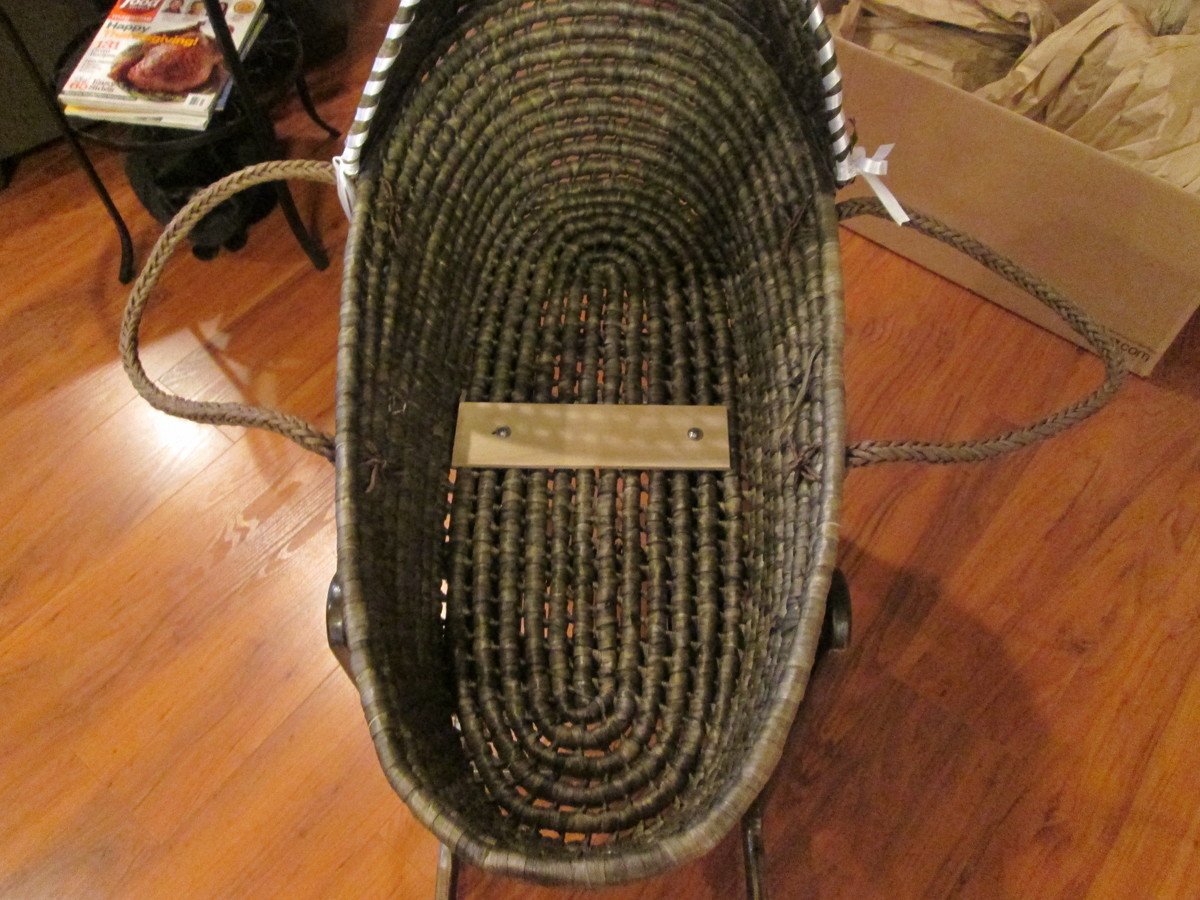
3" panhead screws with matching washers and wingnuts to attach basket to rocker.
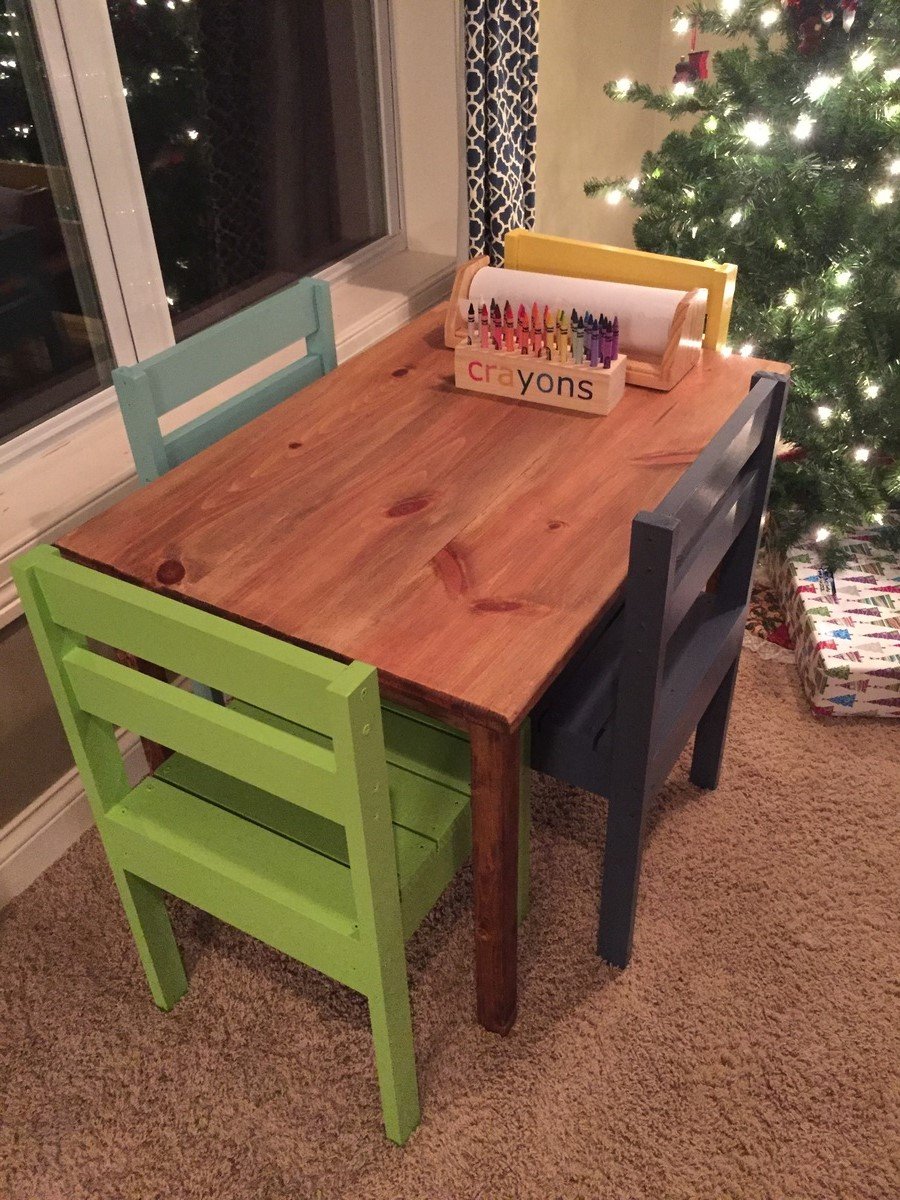
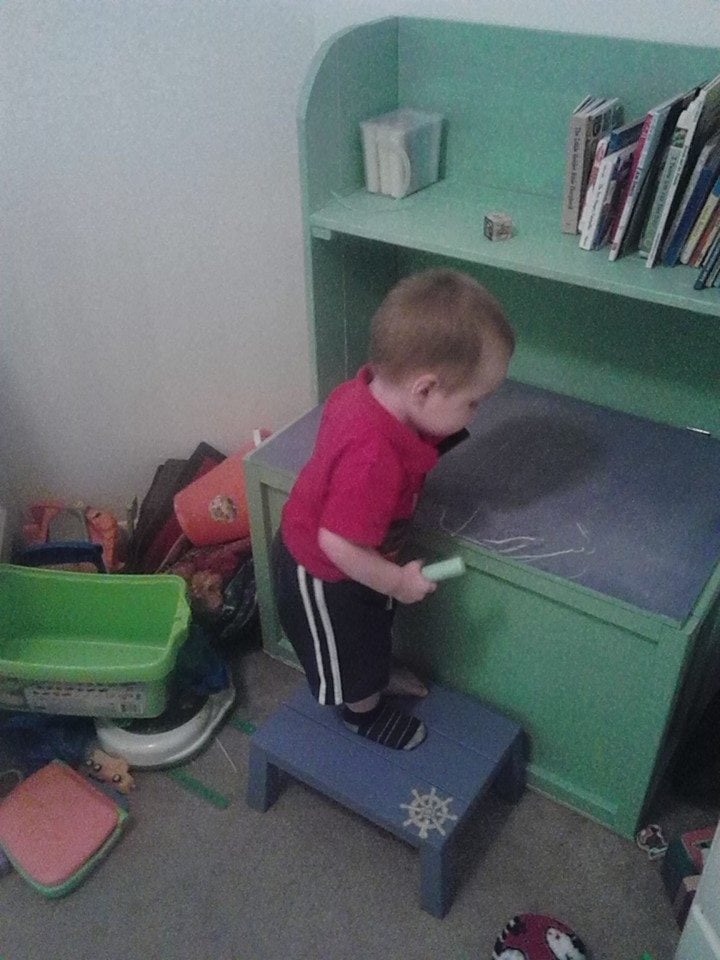
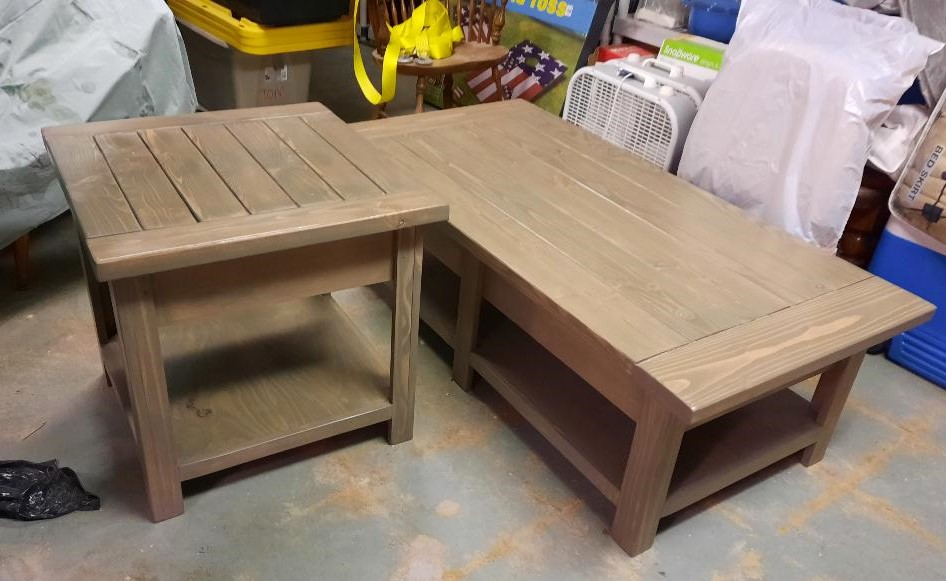
This is my third "Ana" project. I've built her baby changing table and the child tower thing for toddlers to stand at a counter.
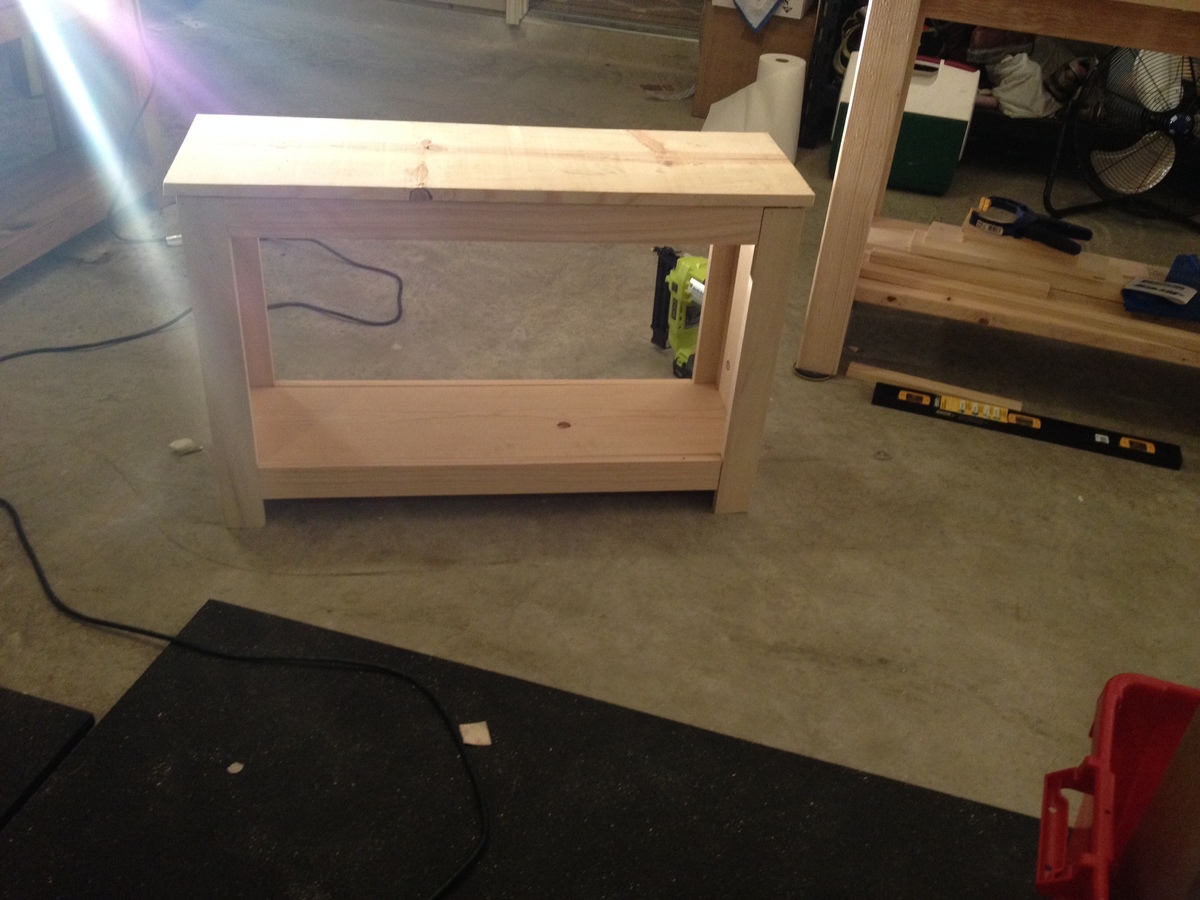
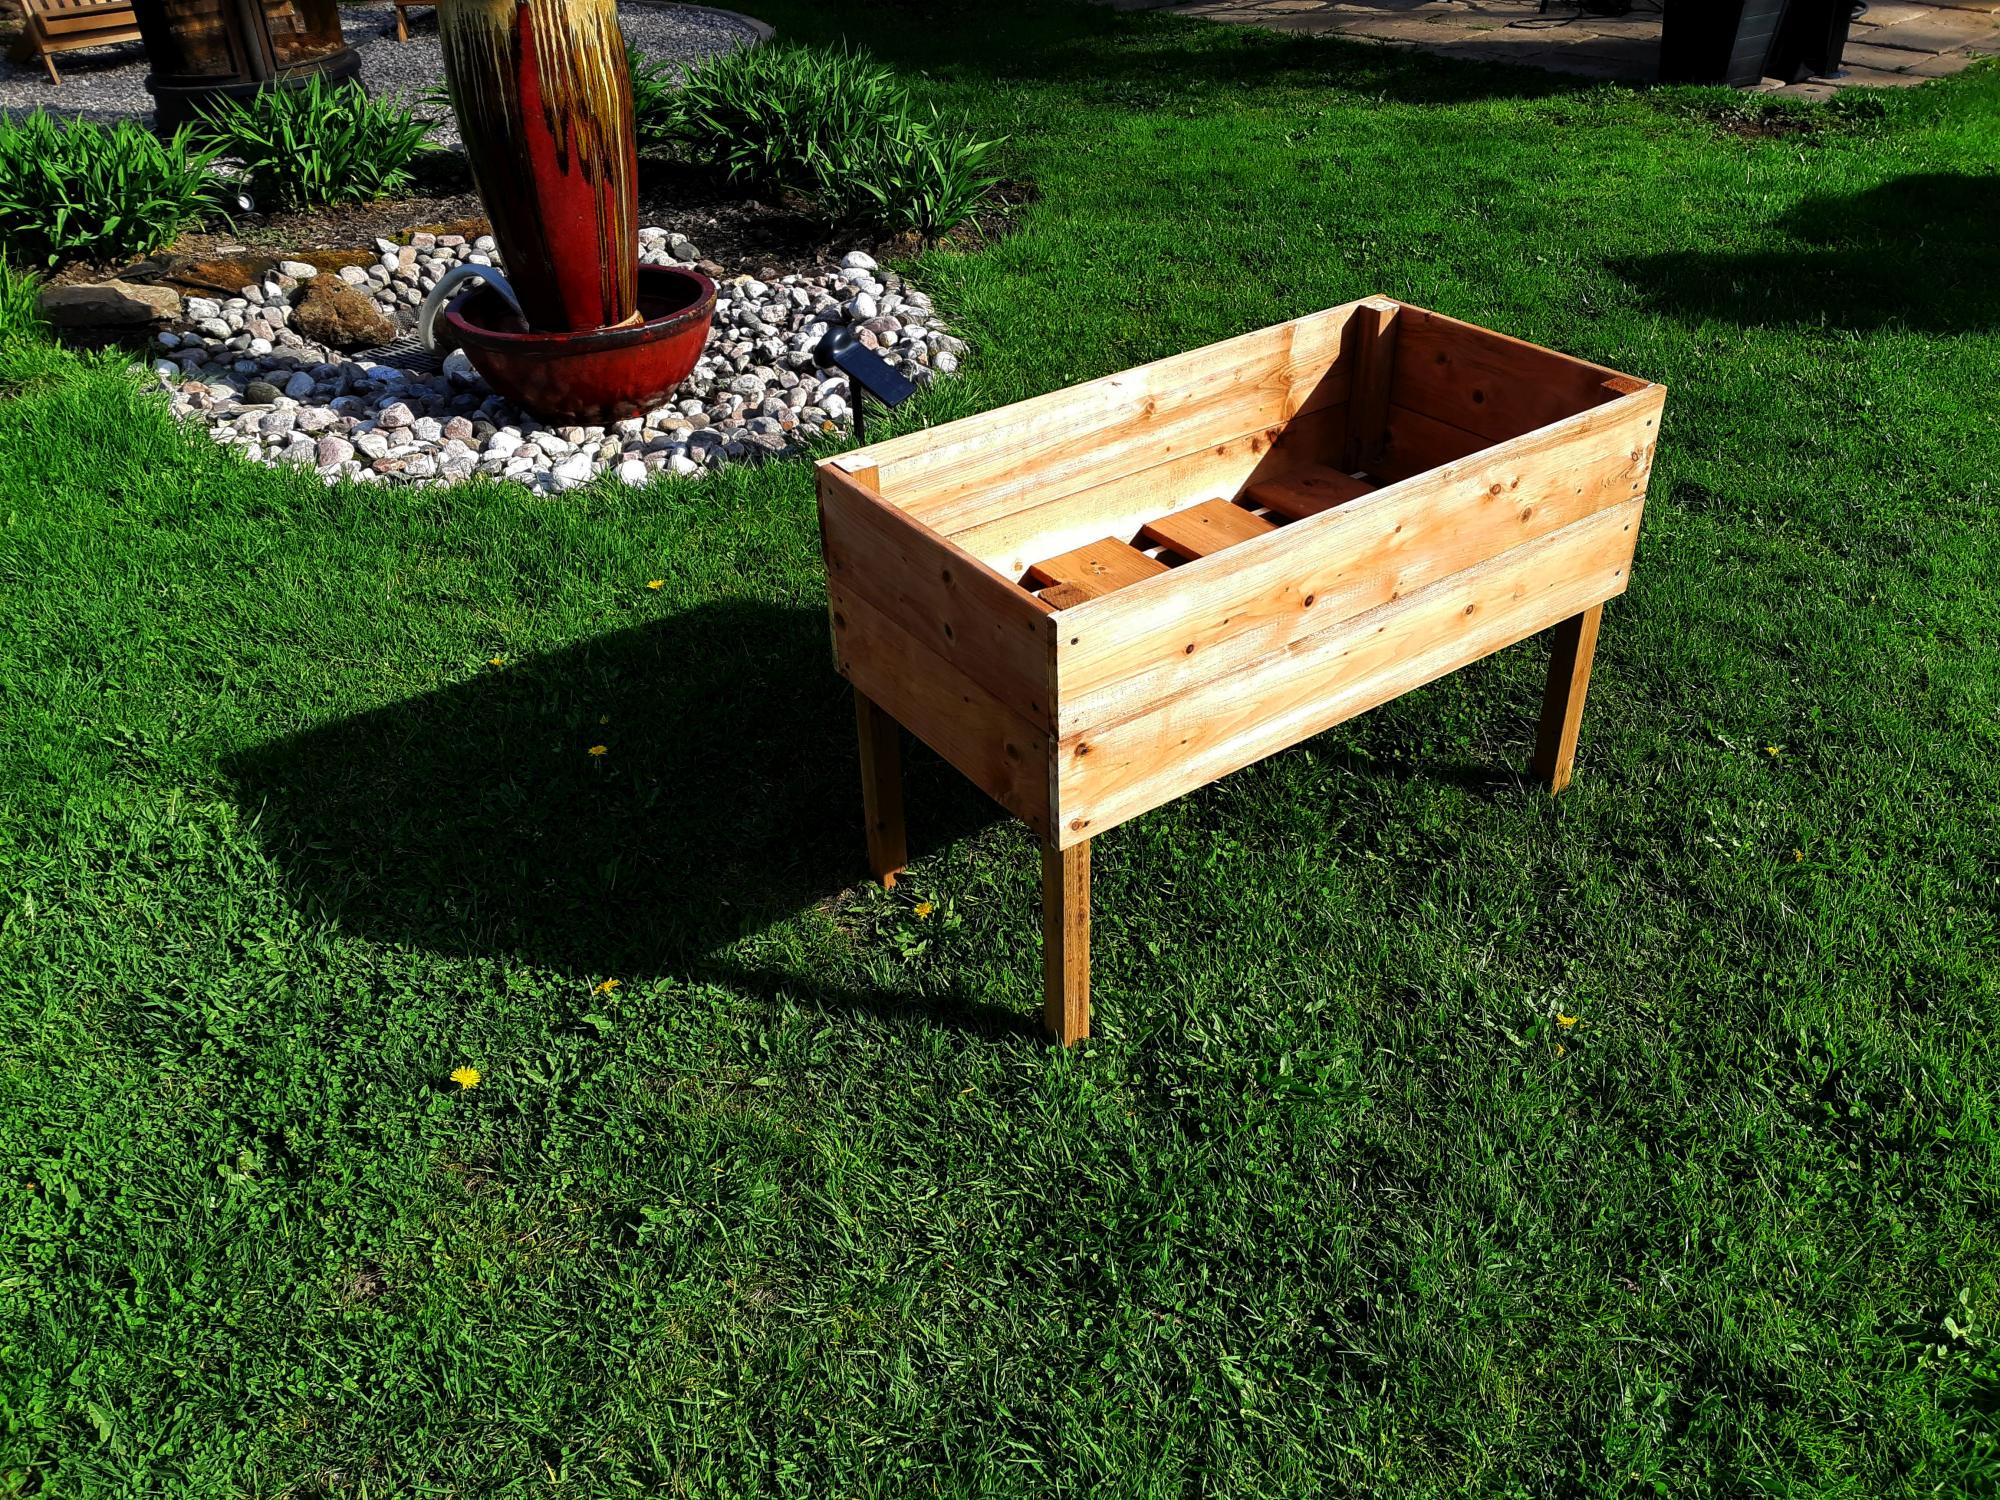
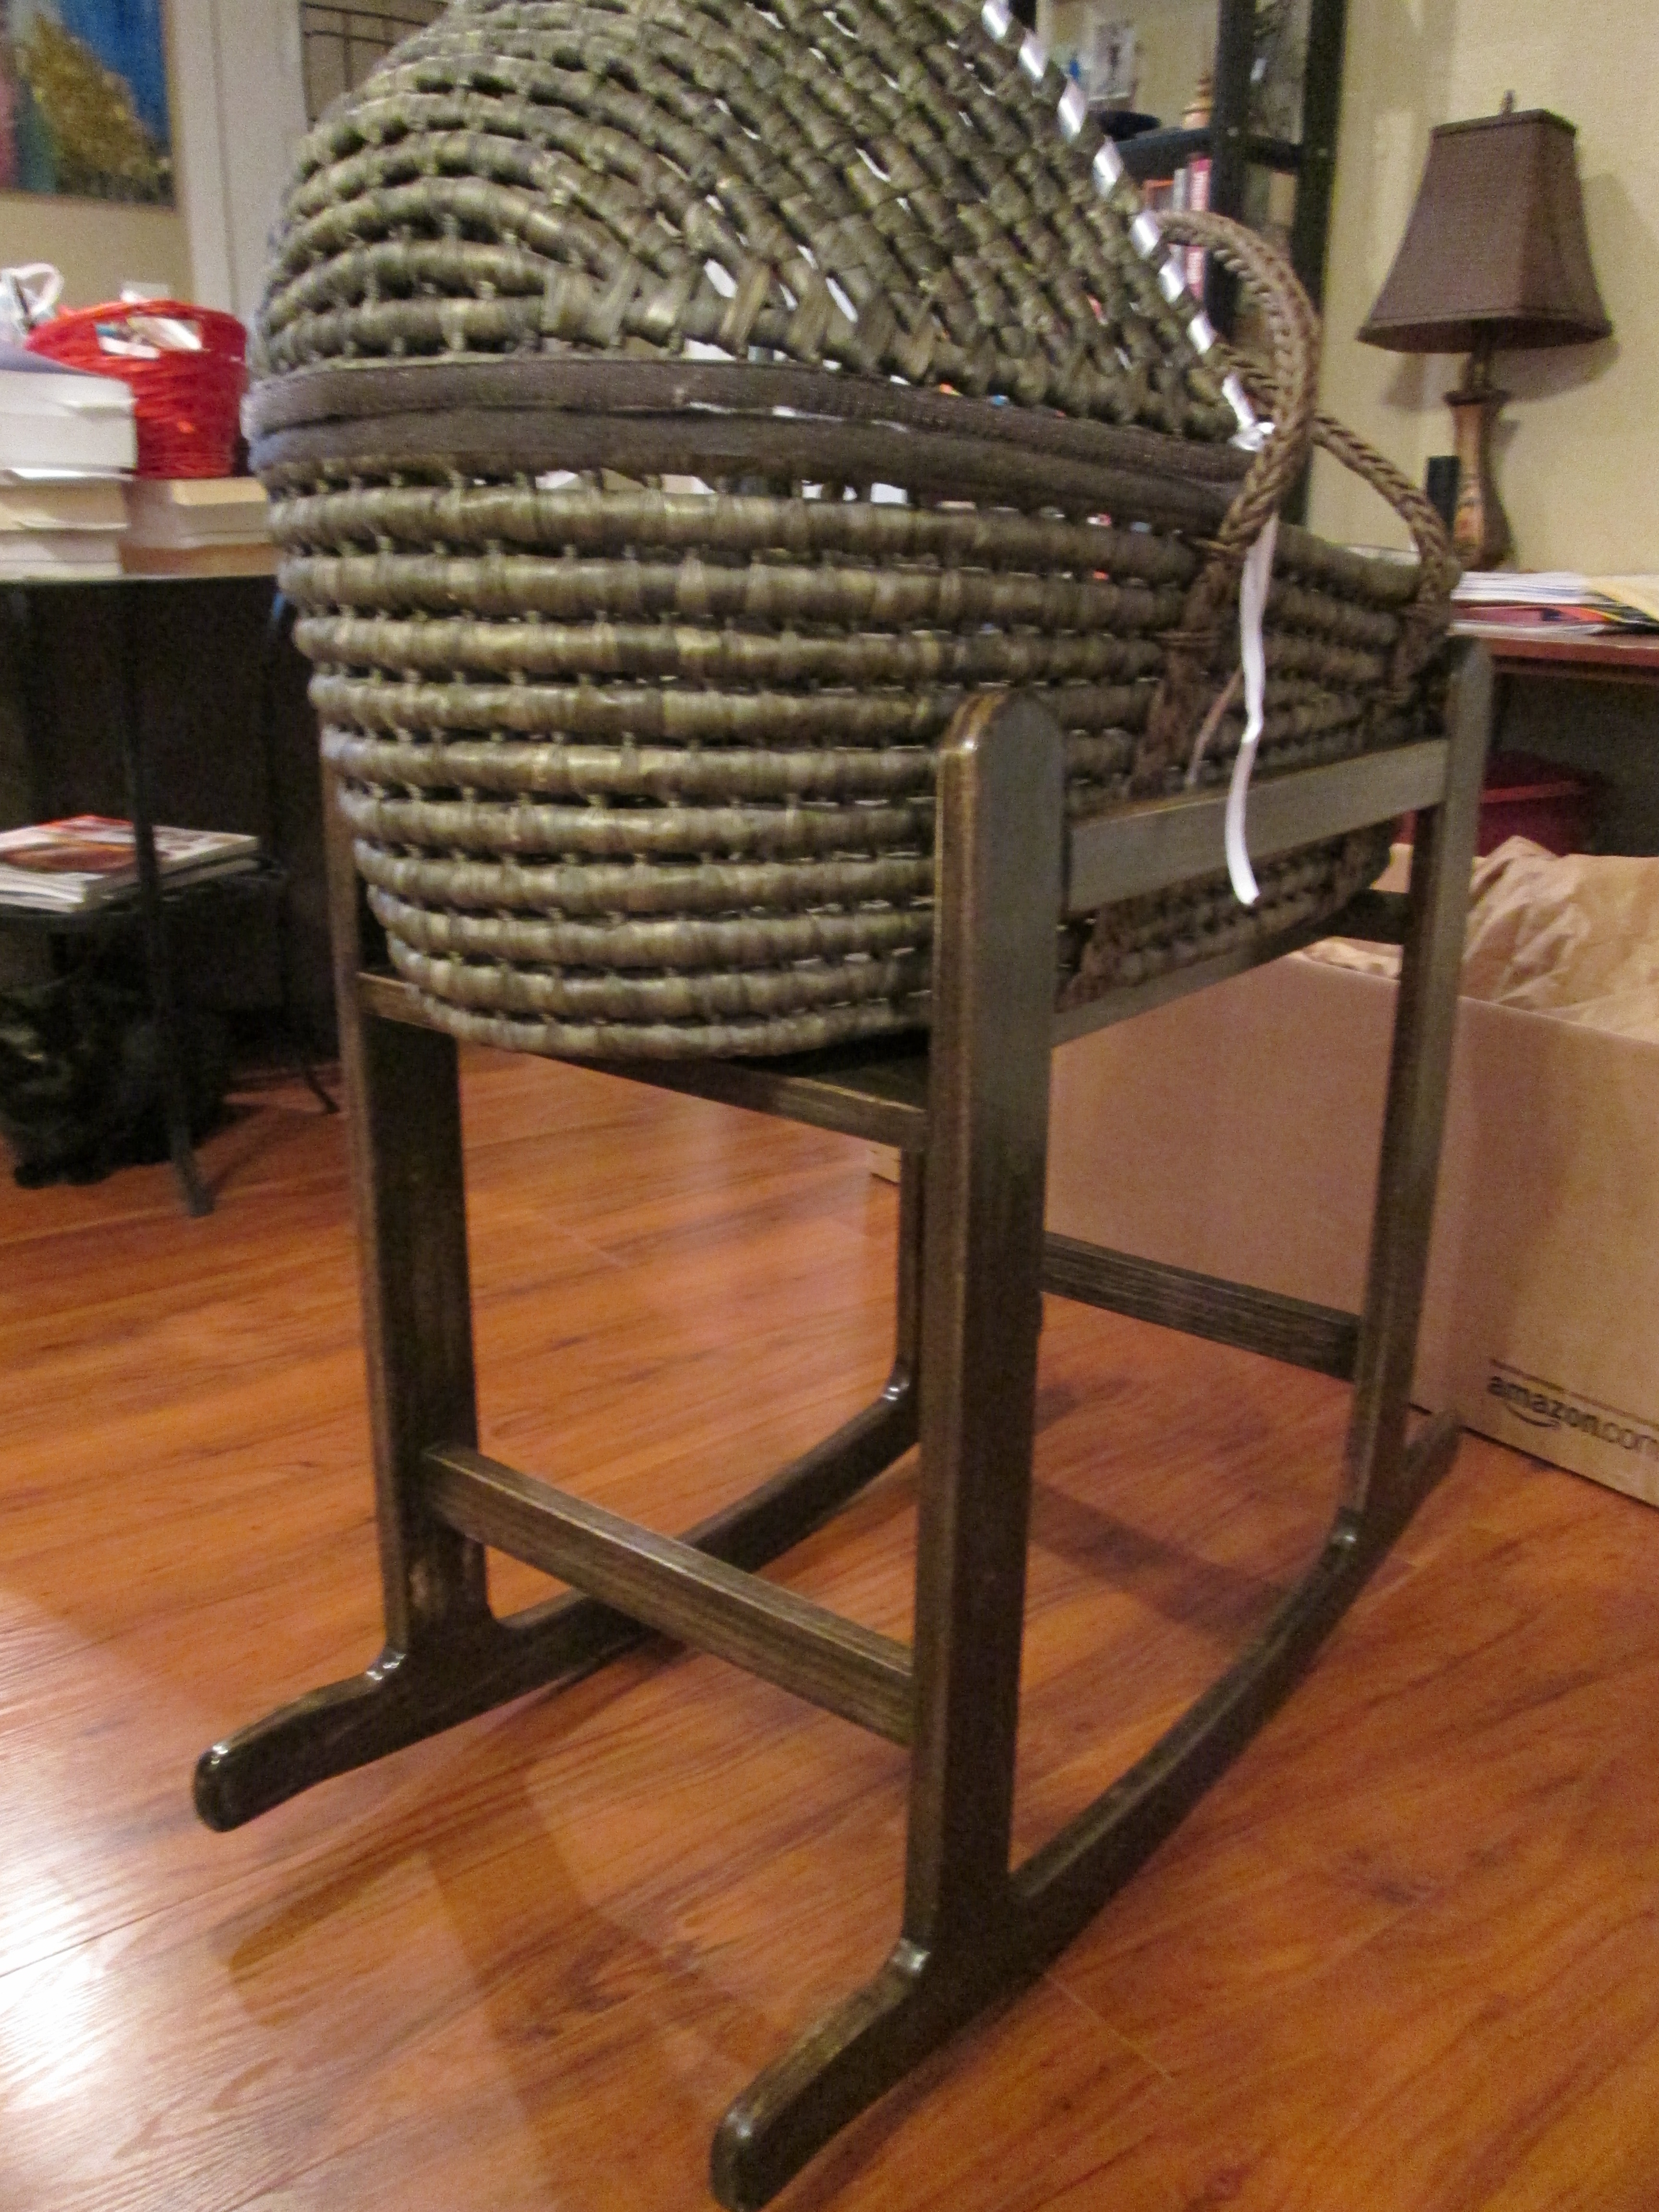
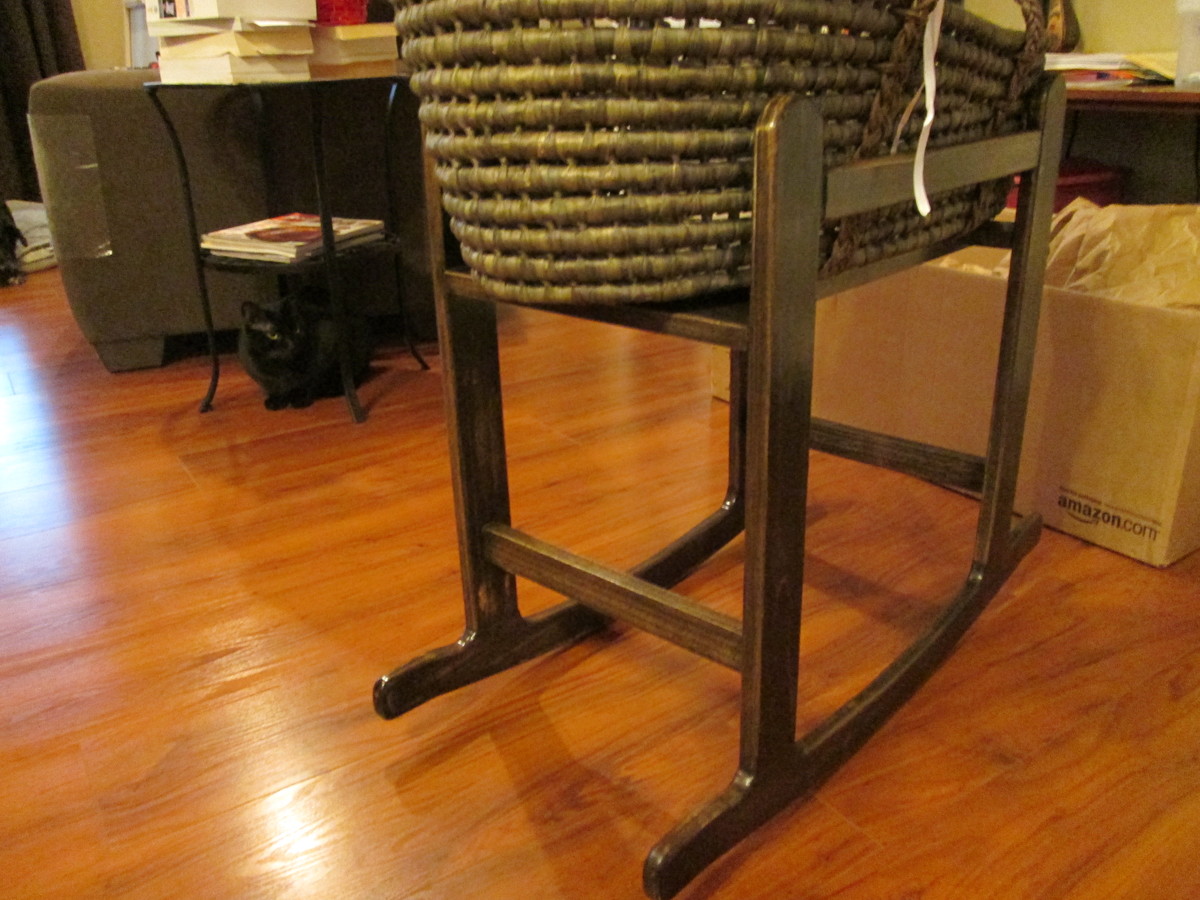
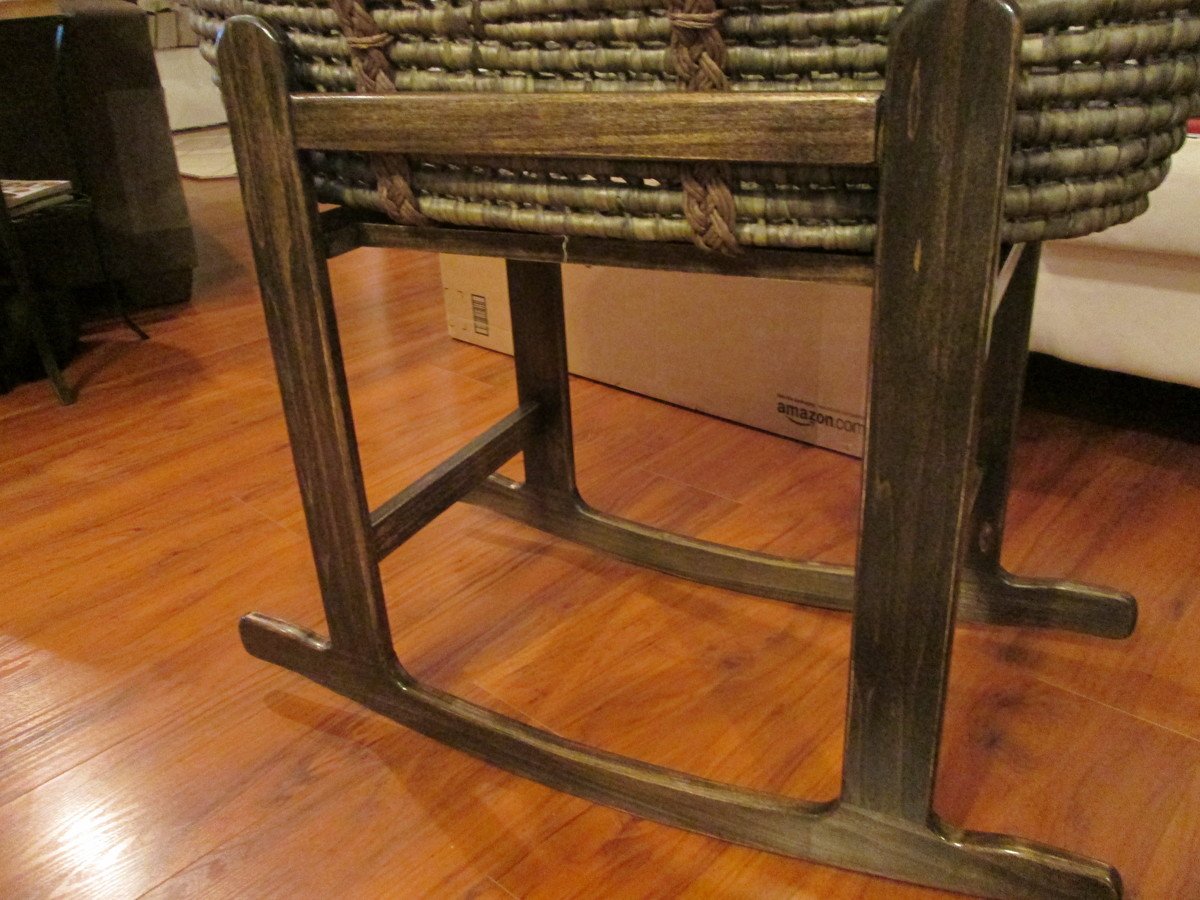
I built two of these rocking stands for the Moses Bassinet (found on Amazon). The first was a prototype and joints at the rockers were just straight pieces of wood cut at the angle of the rocker. I built it out of pine from the big box store and used my Kreg jig for the pocket holes.
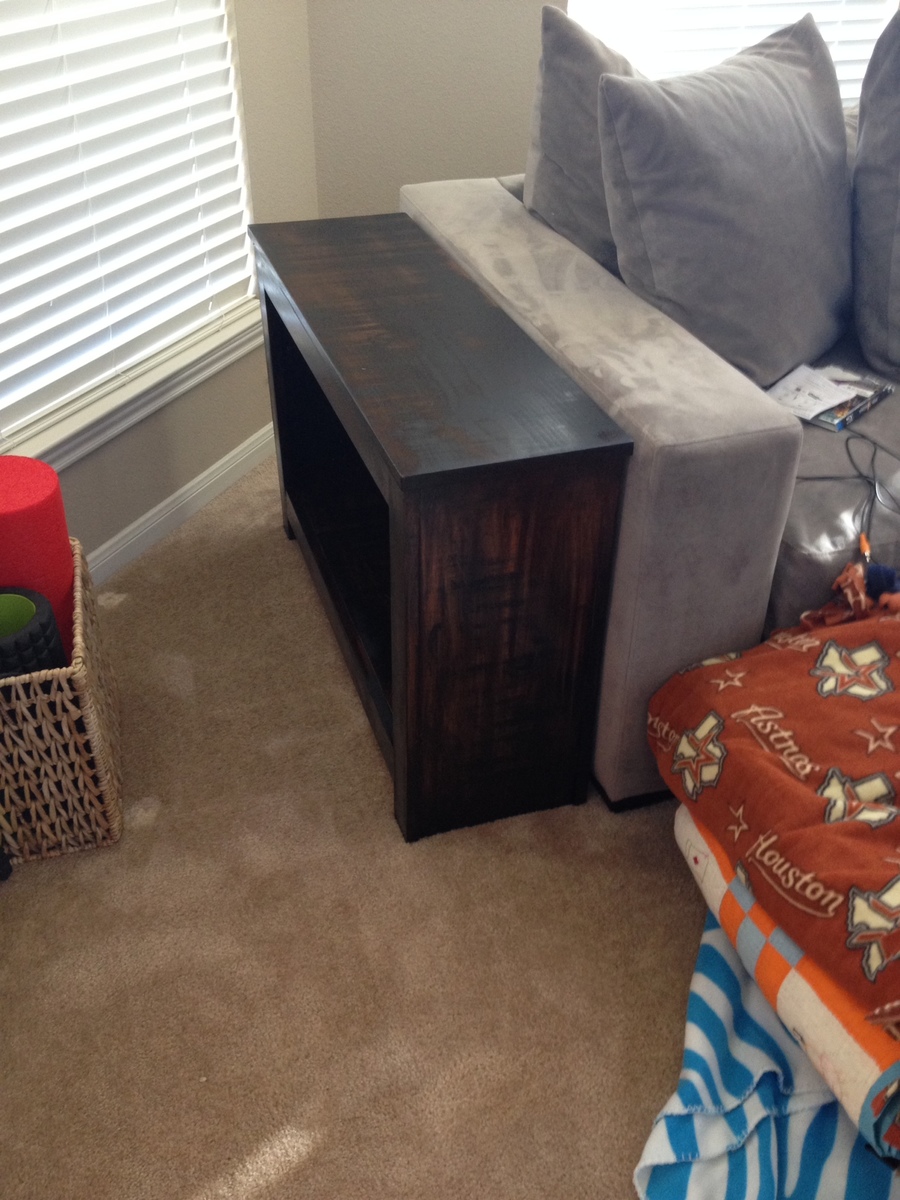
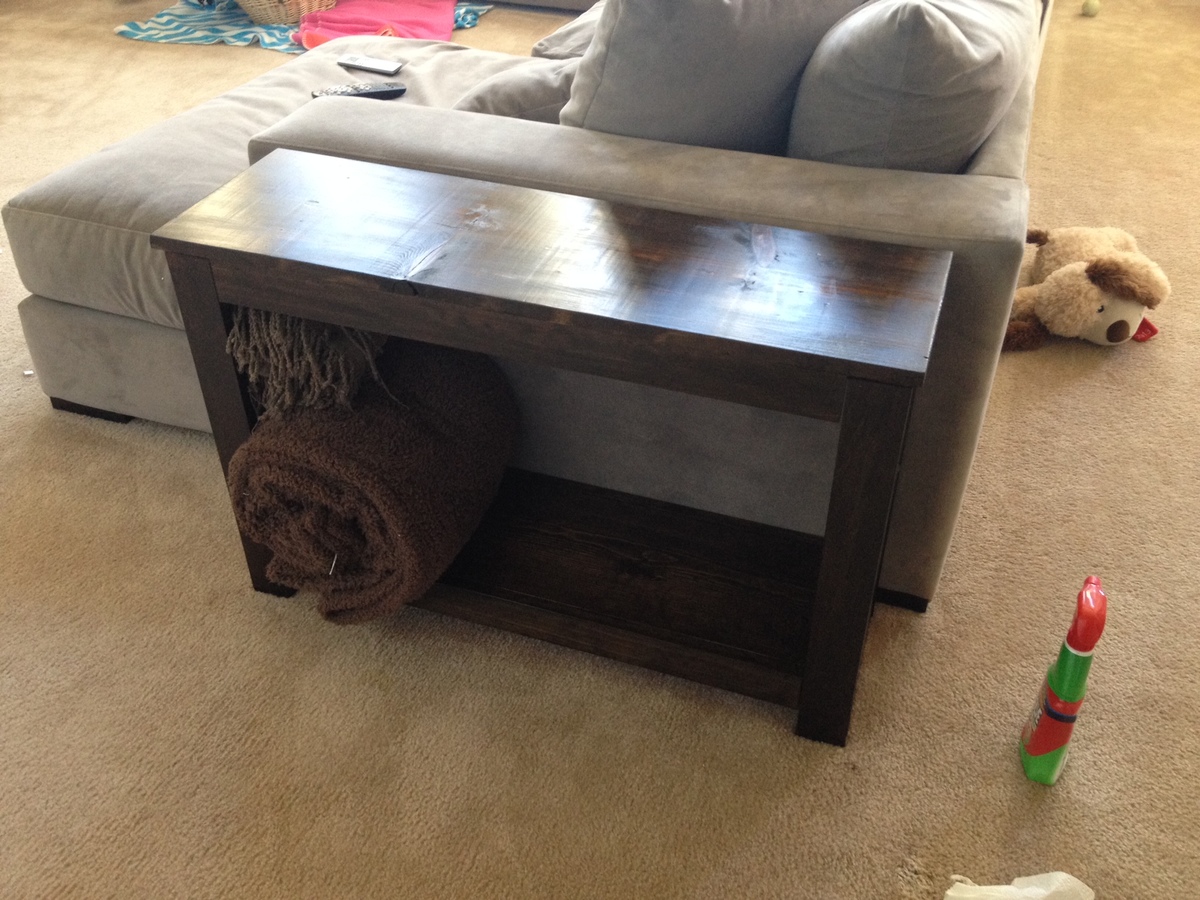
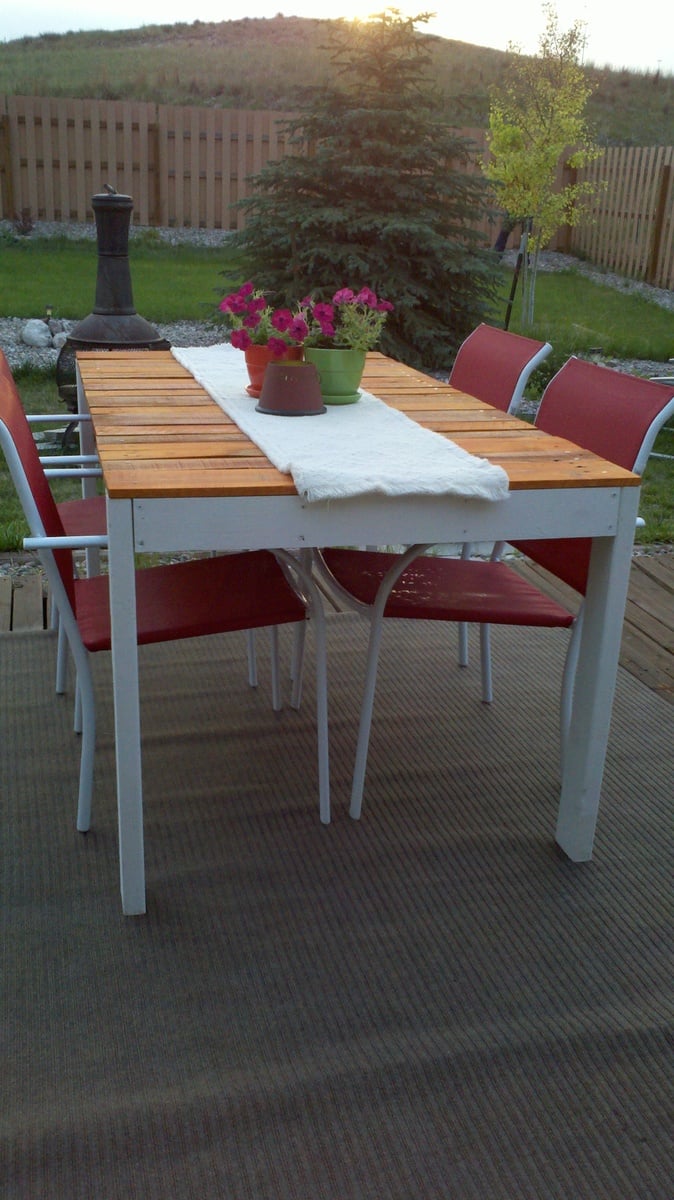
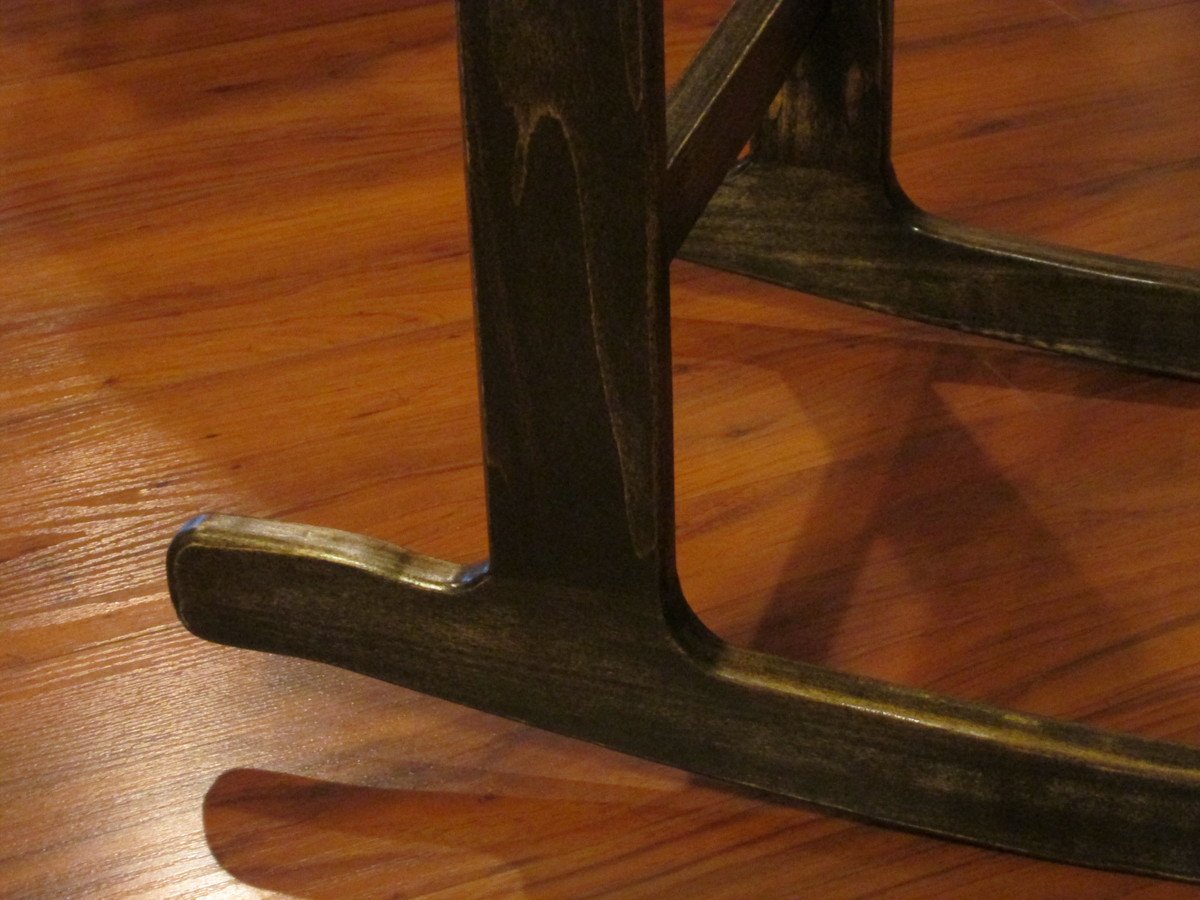
The second one (featured) I used S4S poplar which cost more but came pretty well uniform. I still had to find boards that were free of twist and bows, but that just took time and was easy to do. I use a "lay it on the floor" method and flip it to see if it rocks, twists, etc.. It works for now. I still find myself cutting around imperfections though. With this second rocker, I molded the sides into the rocker-bottoms./
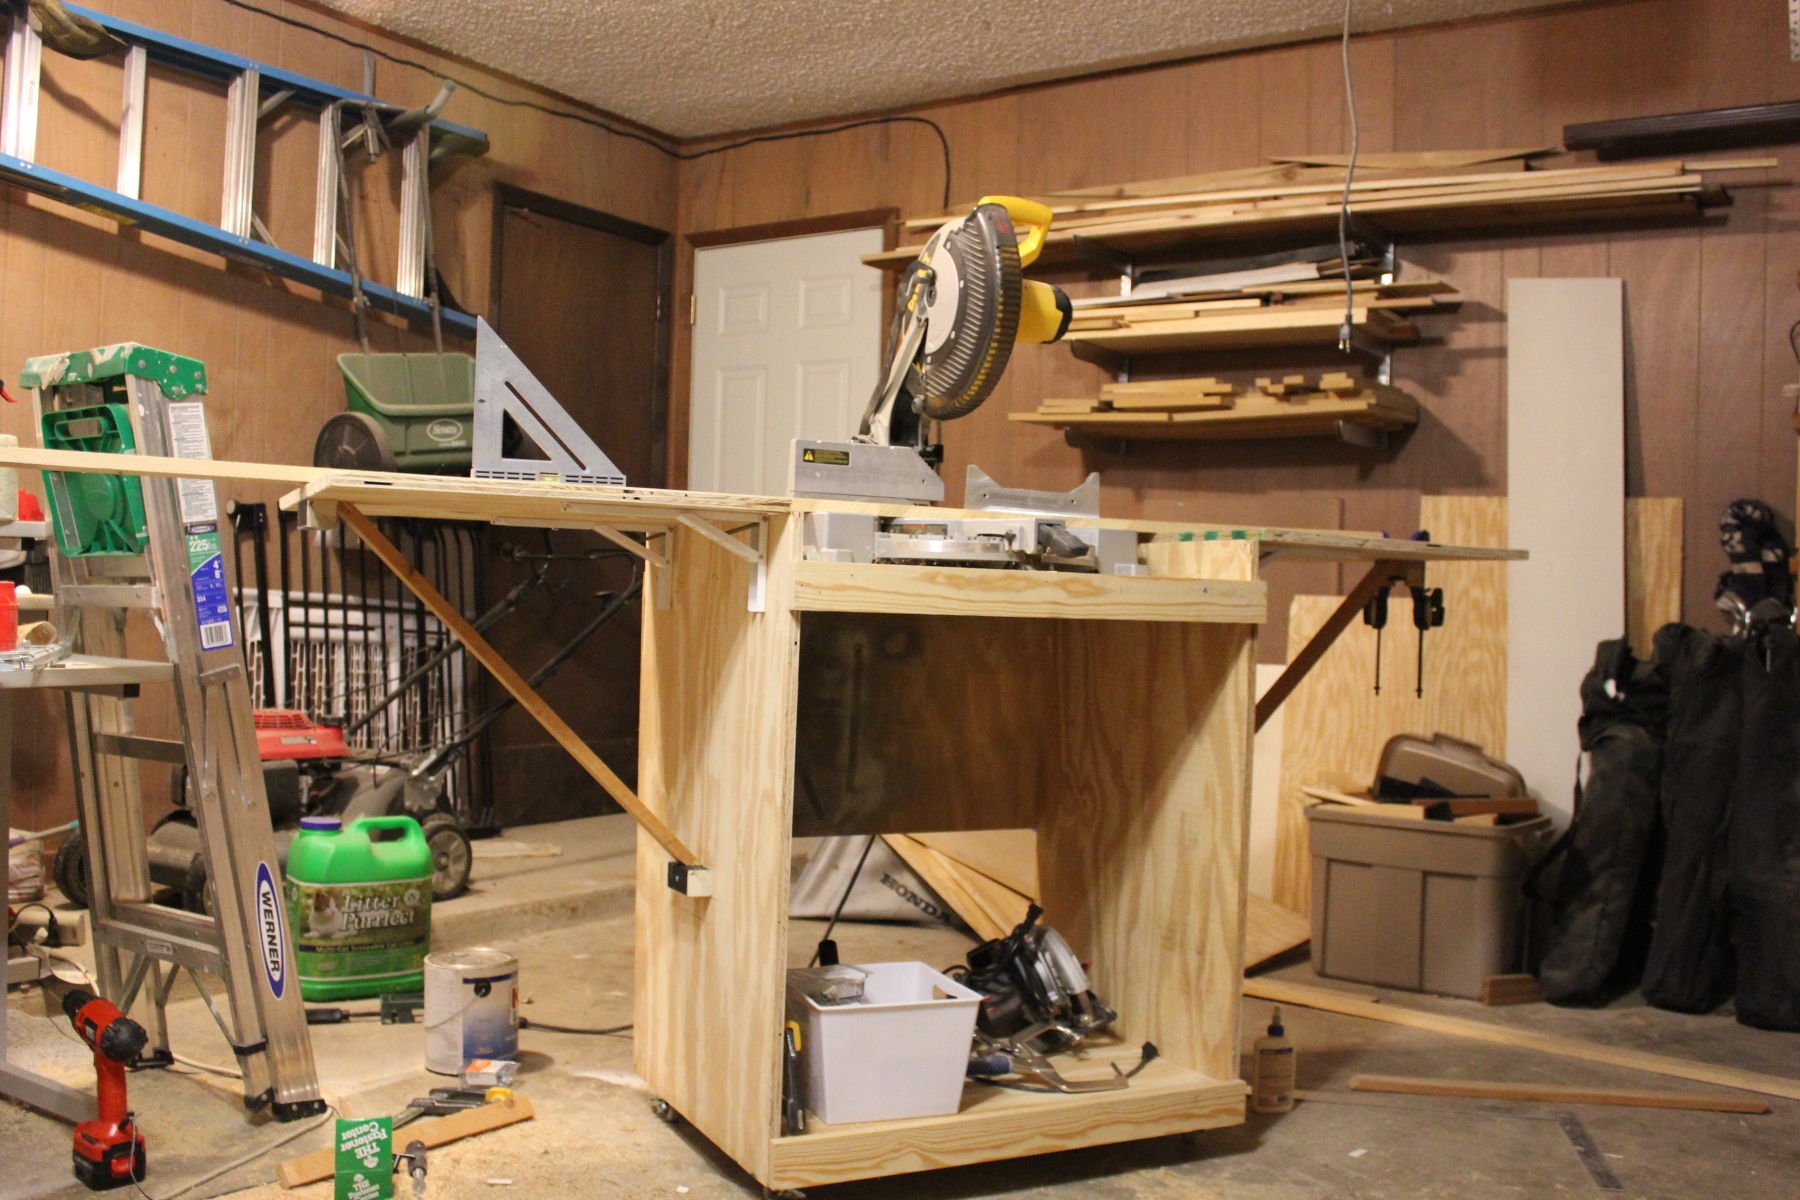
I'm saving to buy a planer, which will be the last major tool for the wood shop (garage), so then I can mill my own lumber and be done with HD and L's.
Just some observations and steps I took:
To make the rockers and other parts of the project uniform that had curves which needed to be parallel to each other, etc., I used double-sided tape and put the pieces together when cutting and sanding. I recommend using the least amount of tape as possible. I learned the hard way and on the prototype rockers, I covered the entire surface of the pieces with the tape. It took an act of God to get the pieces to release after I had spent an hour or so cutting and sanding the edges. It nearly failed to come apart and I would've had to start over because it was the 3 major components that were taped together like this. On the second run with the featured rocker, I used a couple small pieces of double-sided tape. This held together through cutting and sanding without any issue.
I rounded some of the edges w/ a 1/8th or a 1/4" roundover bit on my router. On the pieces that weren't hit by the router, I just broke the edges with sandpaper, to keep hands from getting splinters, etc.
For finish I used Minwax wood conditioner, oil based stain and polyurethane. I first sanded the entire piece to 320 by hand. I applied the conditioner as instructed. It's a must on softer wood such as pine, poplar, whitewood, etc. Otherwise, you will have blotches. After that I applied one coat of stain. I applied a coat of poly with a foam brush. I didn't like the results. I sanded it down w/ 320. I then went and bought a "nice" brush for polyurethane at the big box store for like $8.00 and applied another coat. This one came out better. I sanded it with 400 grit and applied one final coat with a fine cotton cloth.
I followed the plans on here for the most part. They are complete and were easy to follow. Thanks Ana!