Fancy X Desk
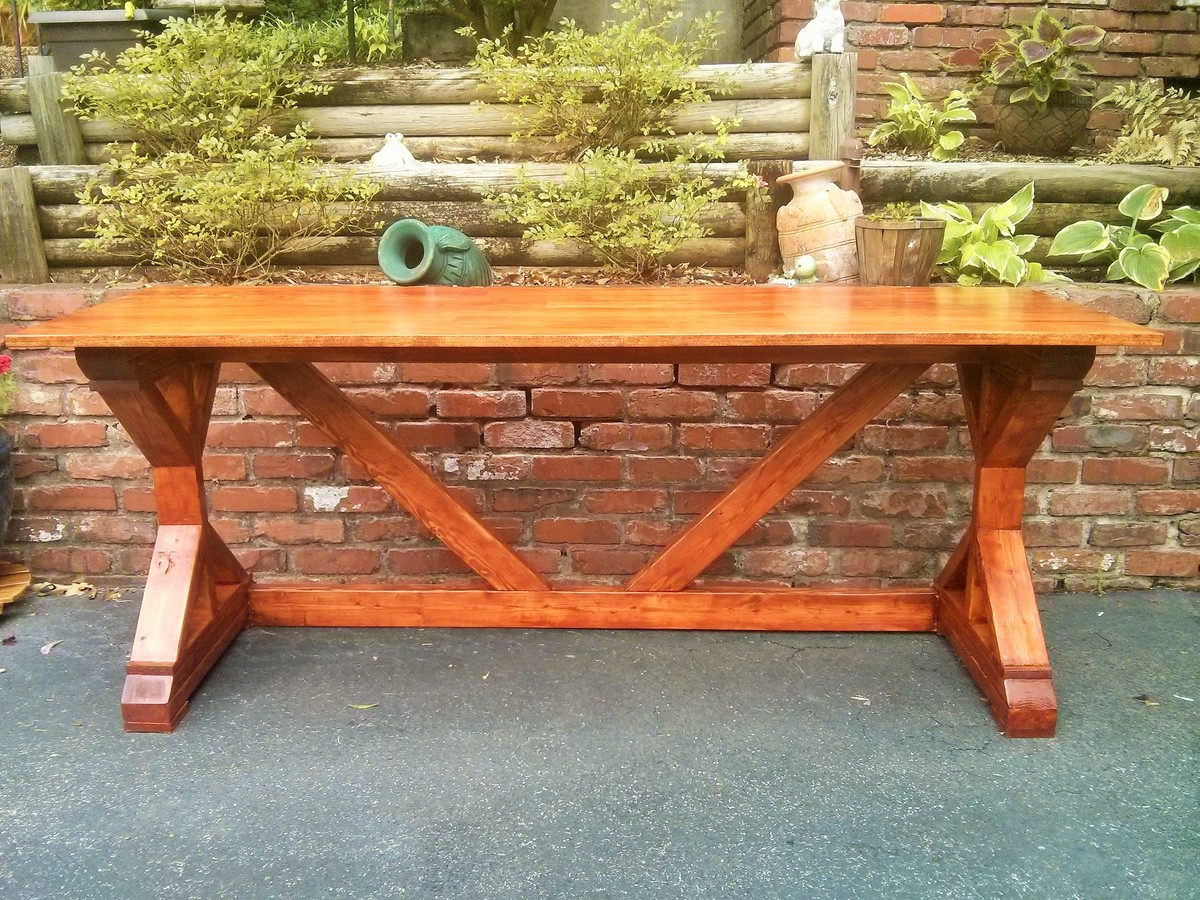
This is the second X desk I have built. For this one I used a pre-done aspen piece for the top that I got from Lowes for $40.00. That was the only modification.
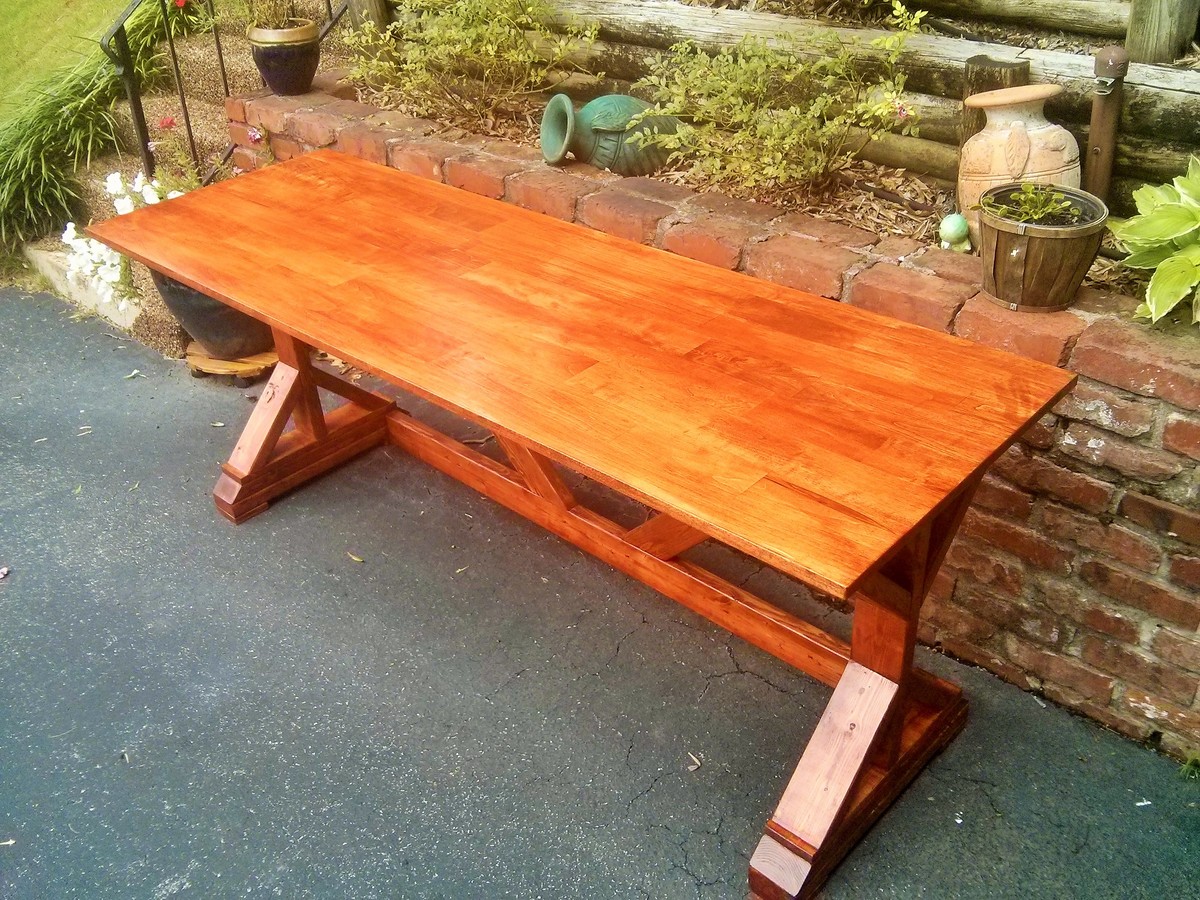
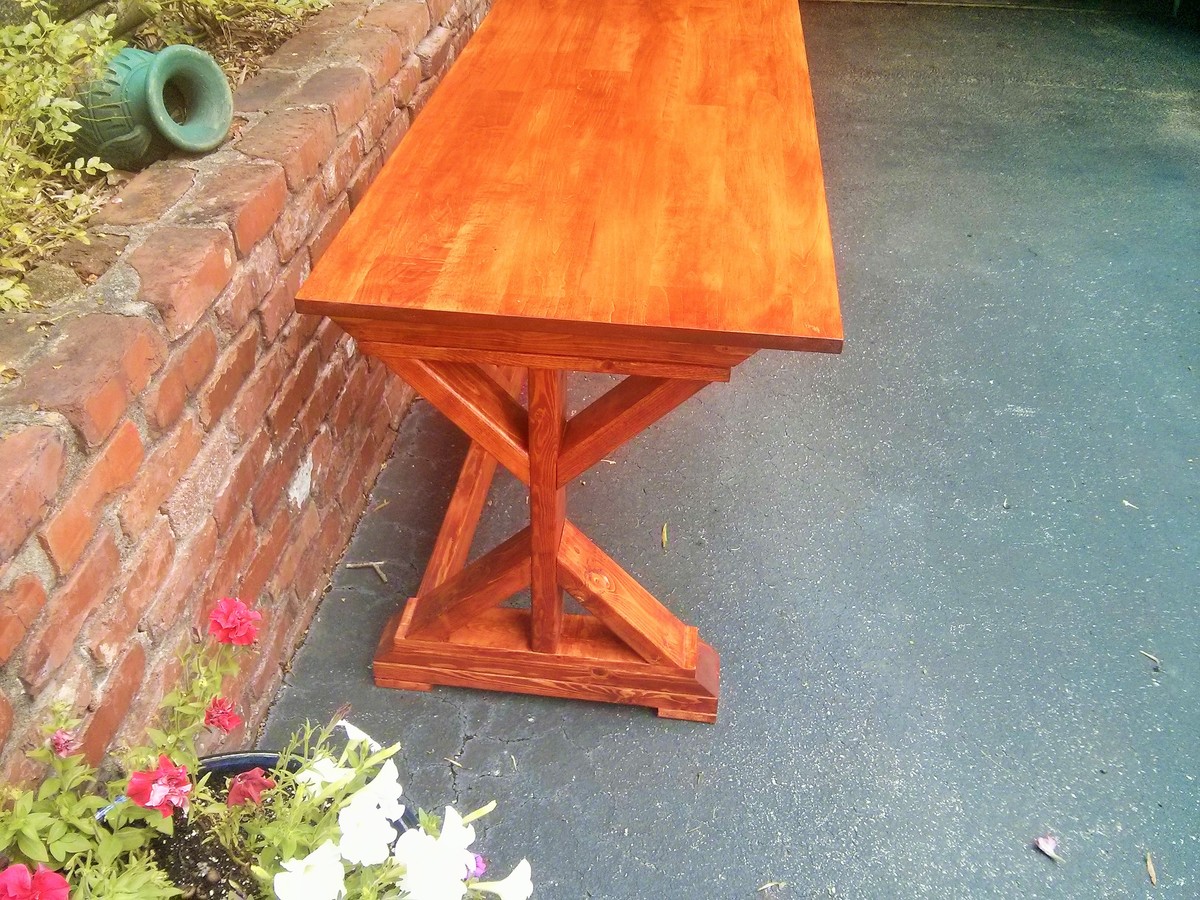
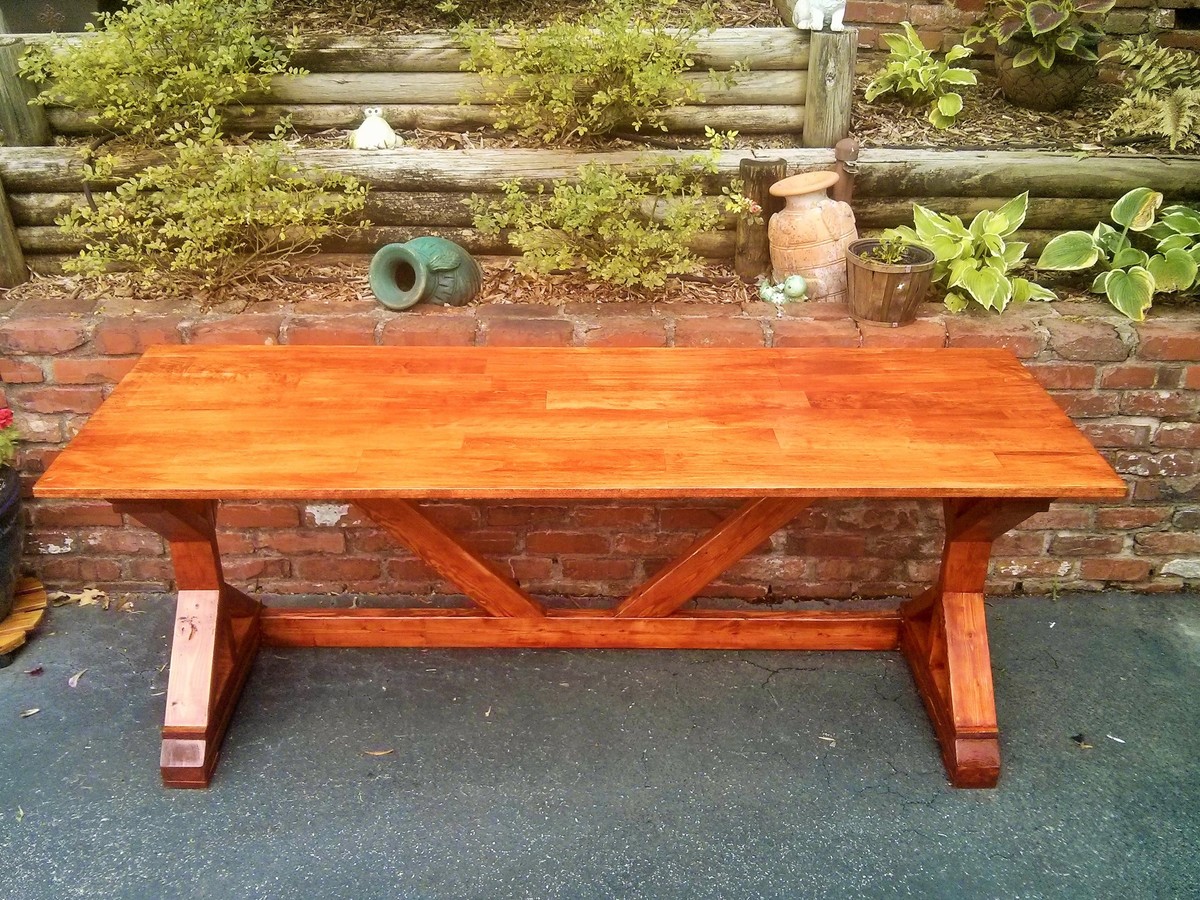

This is the second X desk I have built. For this one I used a pre-done aspen piece for the top that I got from Lowes for $40.00. That was the only modification.


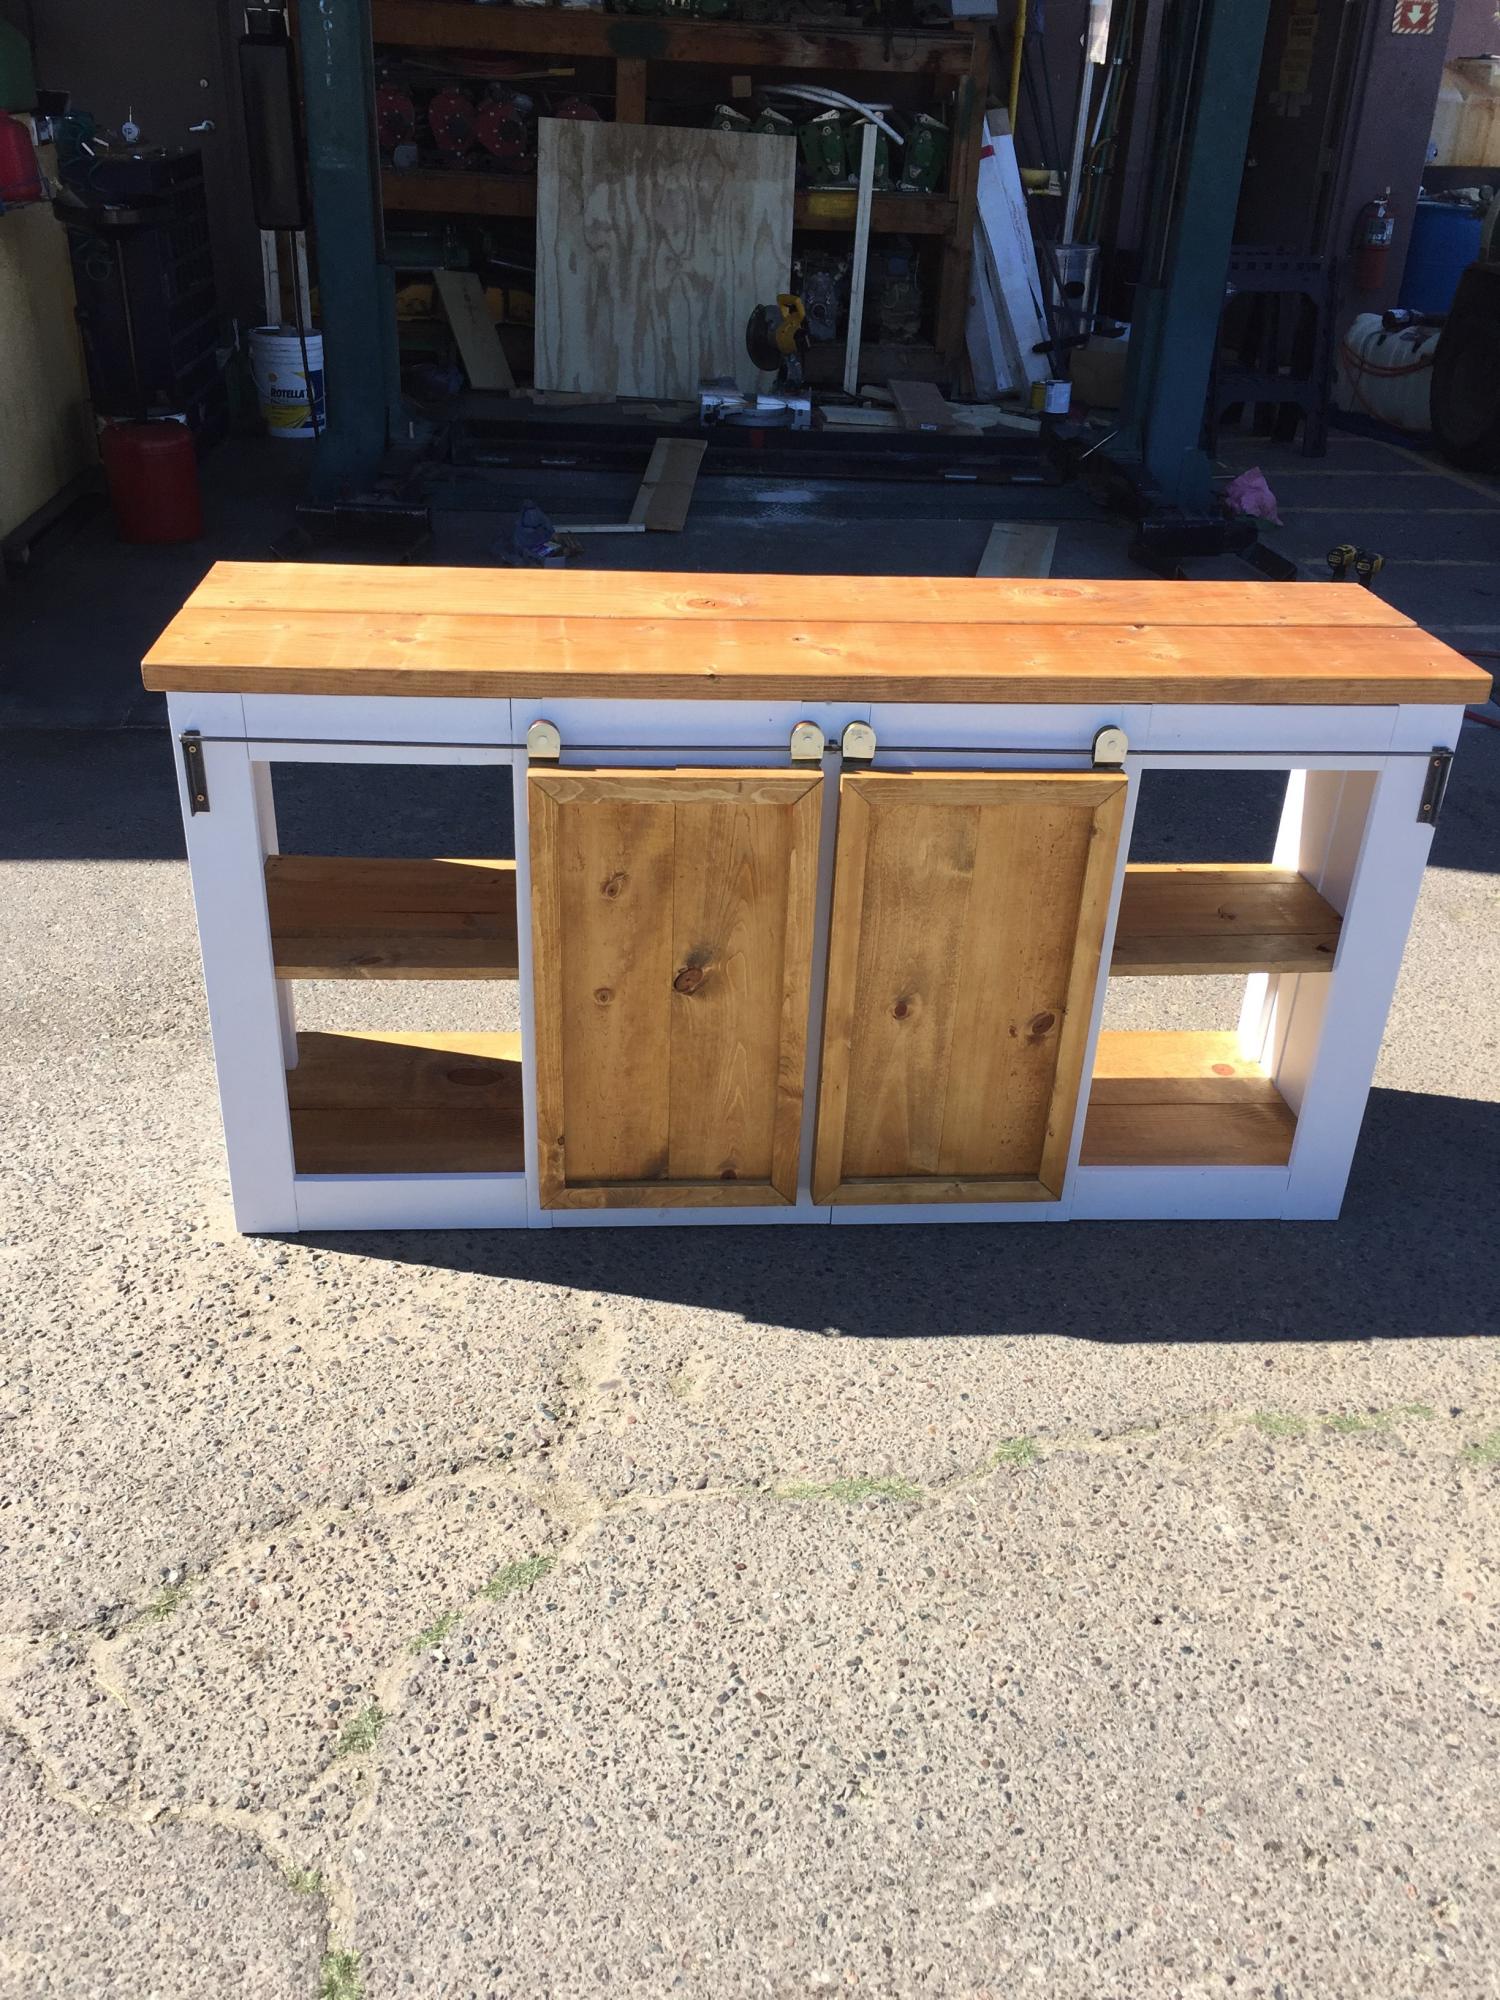
overall pretty easy porject took me about 8 hours to build/paint I sized it down a little made it only 32" tall and about 64" wide but keeping the depth to the plans. The barn door hardware I ended up building myself. I took 4 1" pulleys bolted those to the doors and the track I built using some angle iron and 3/8" metal dowel. The stain is 'golden oak' from min wax and I just used a simple white paint two coats.
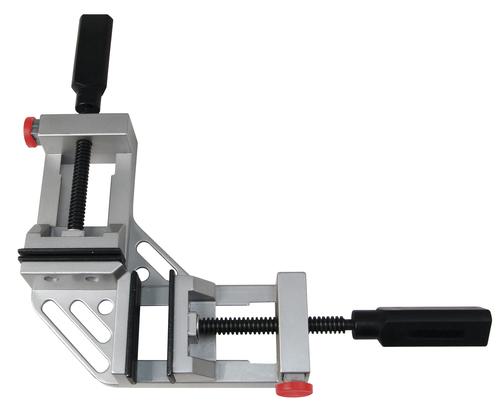
We have built this plan twice for our two daughters (Full size mattresses). A similar bed frame at Pottery Barn Teen would have easily set us back about $1500 so these bed plans are truly a blessing! After no luck with a Wayfair wrought iron knockoff bed frame (loud and squeaky!!) we decided to give an Ana White plan a go. So glad we did! We did modify the plans slightly. We mitered all corners and stained all components with a Varathane Golden Oak before final assembly. Although I own and use a Kreg Jig, we wanted the frame to be easily disassembled. We opted for corner braces secured with 6, 1" cap head wood screws per corner (3 per side). Keep in mind miter corners can be a bit tricky but definitely possible with a little patience. PLEASE NOTE: when cutting miters, you will need to account for an additional 4" OD from Ana's written plans. Each 90 degree angle is approximately 2" long. So, if cutting the 75" length( for the mattress length) the miters will be 2" long on each end making the OD length 79". Whether you are going with Miters or butt joints, I would also highly recommend a right angle clamp (Top/Bottom) used during assembly. It is extra expense but so worth the investment!
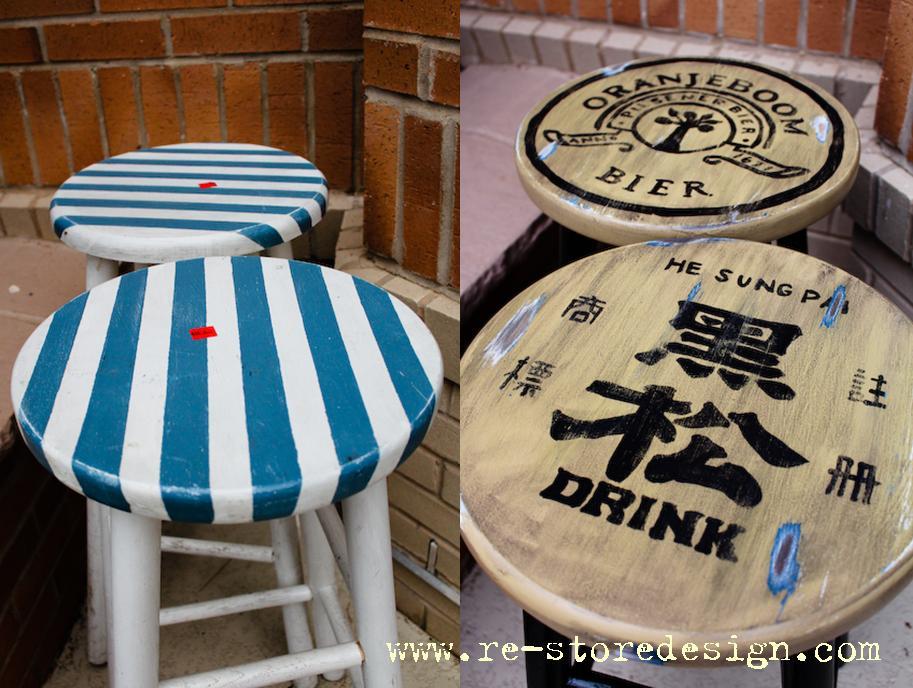
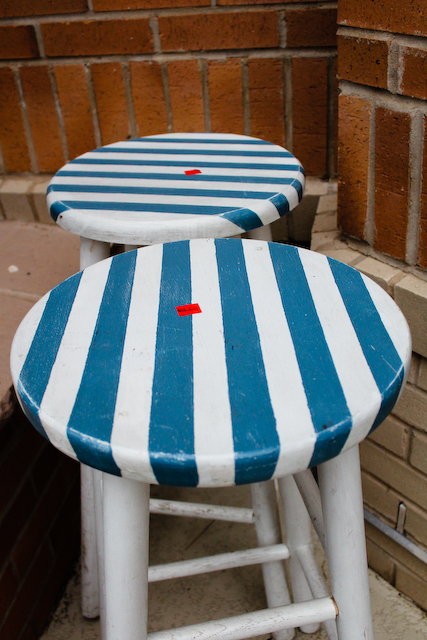
Our new place has a kitchen island, so we needed stools. We had been searching the internet for vintage drafting stools, but could not justify spending over $200 a stool. We stopped at the local Goodwill and found two stools for $7 a piece. To make it even better they were on sale. We spent under $10 for the two.
Check out my blog for more photos of the process.
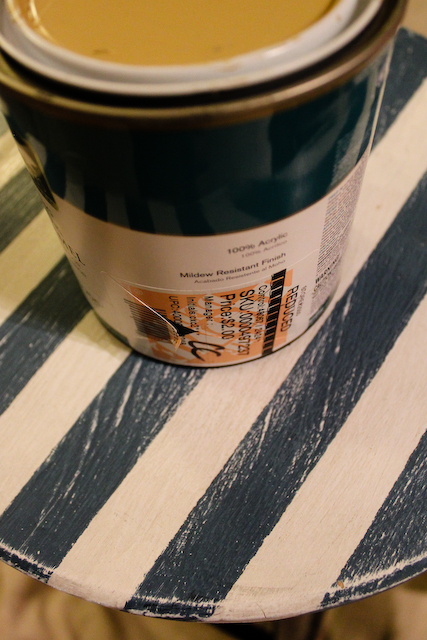
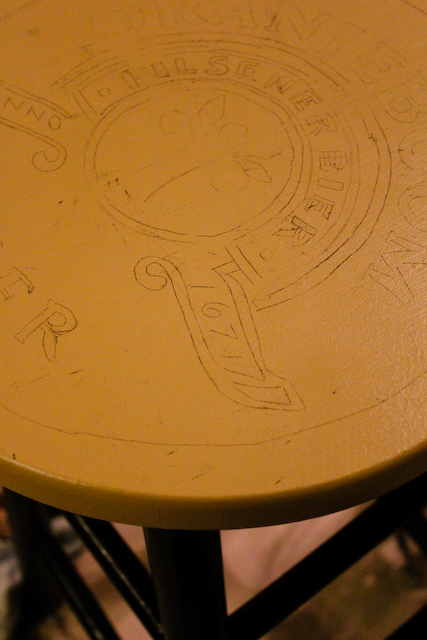

A company wanted to charge us $5800 for this! All told I think I spent about $500.
Ana,
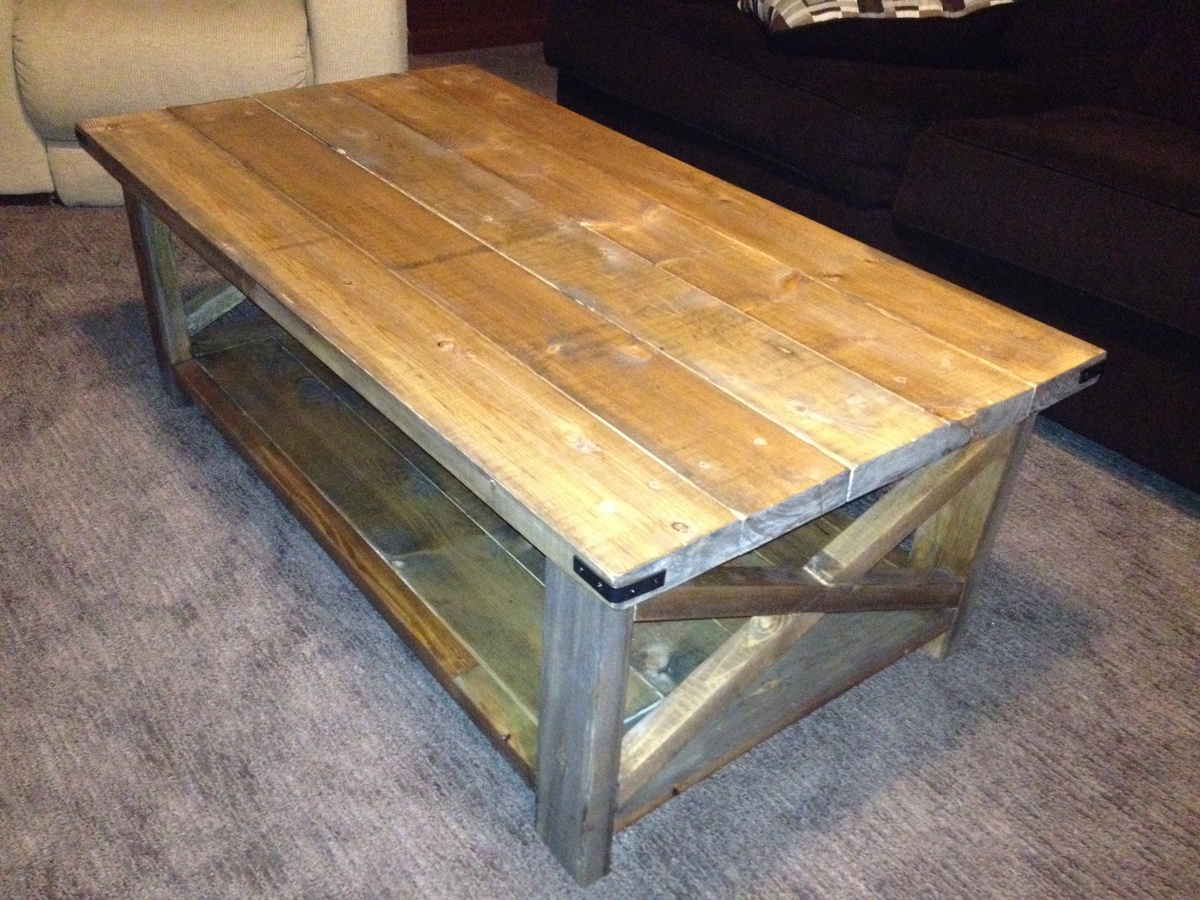
My wife saw this and wanted one to match her benchwright coffee table. I decided to make her one and used rough cut pine to get that look. Just used 80 grit to knock off the roughness but not enough to sand into the saw marks and was pleased with how good the results came out. I don't like exposed fasteners so all the joints are pocket hole screwed and glued and the table top is biscuit jointed and the end piece is doweled into the long runners. Love your website and the other projects that you have shown here. Keep up the great work!
Josie
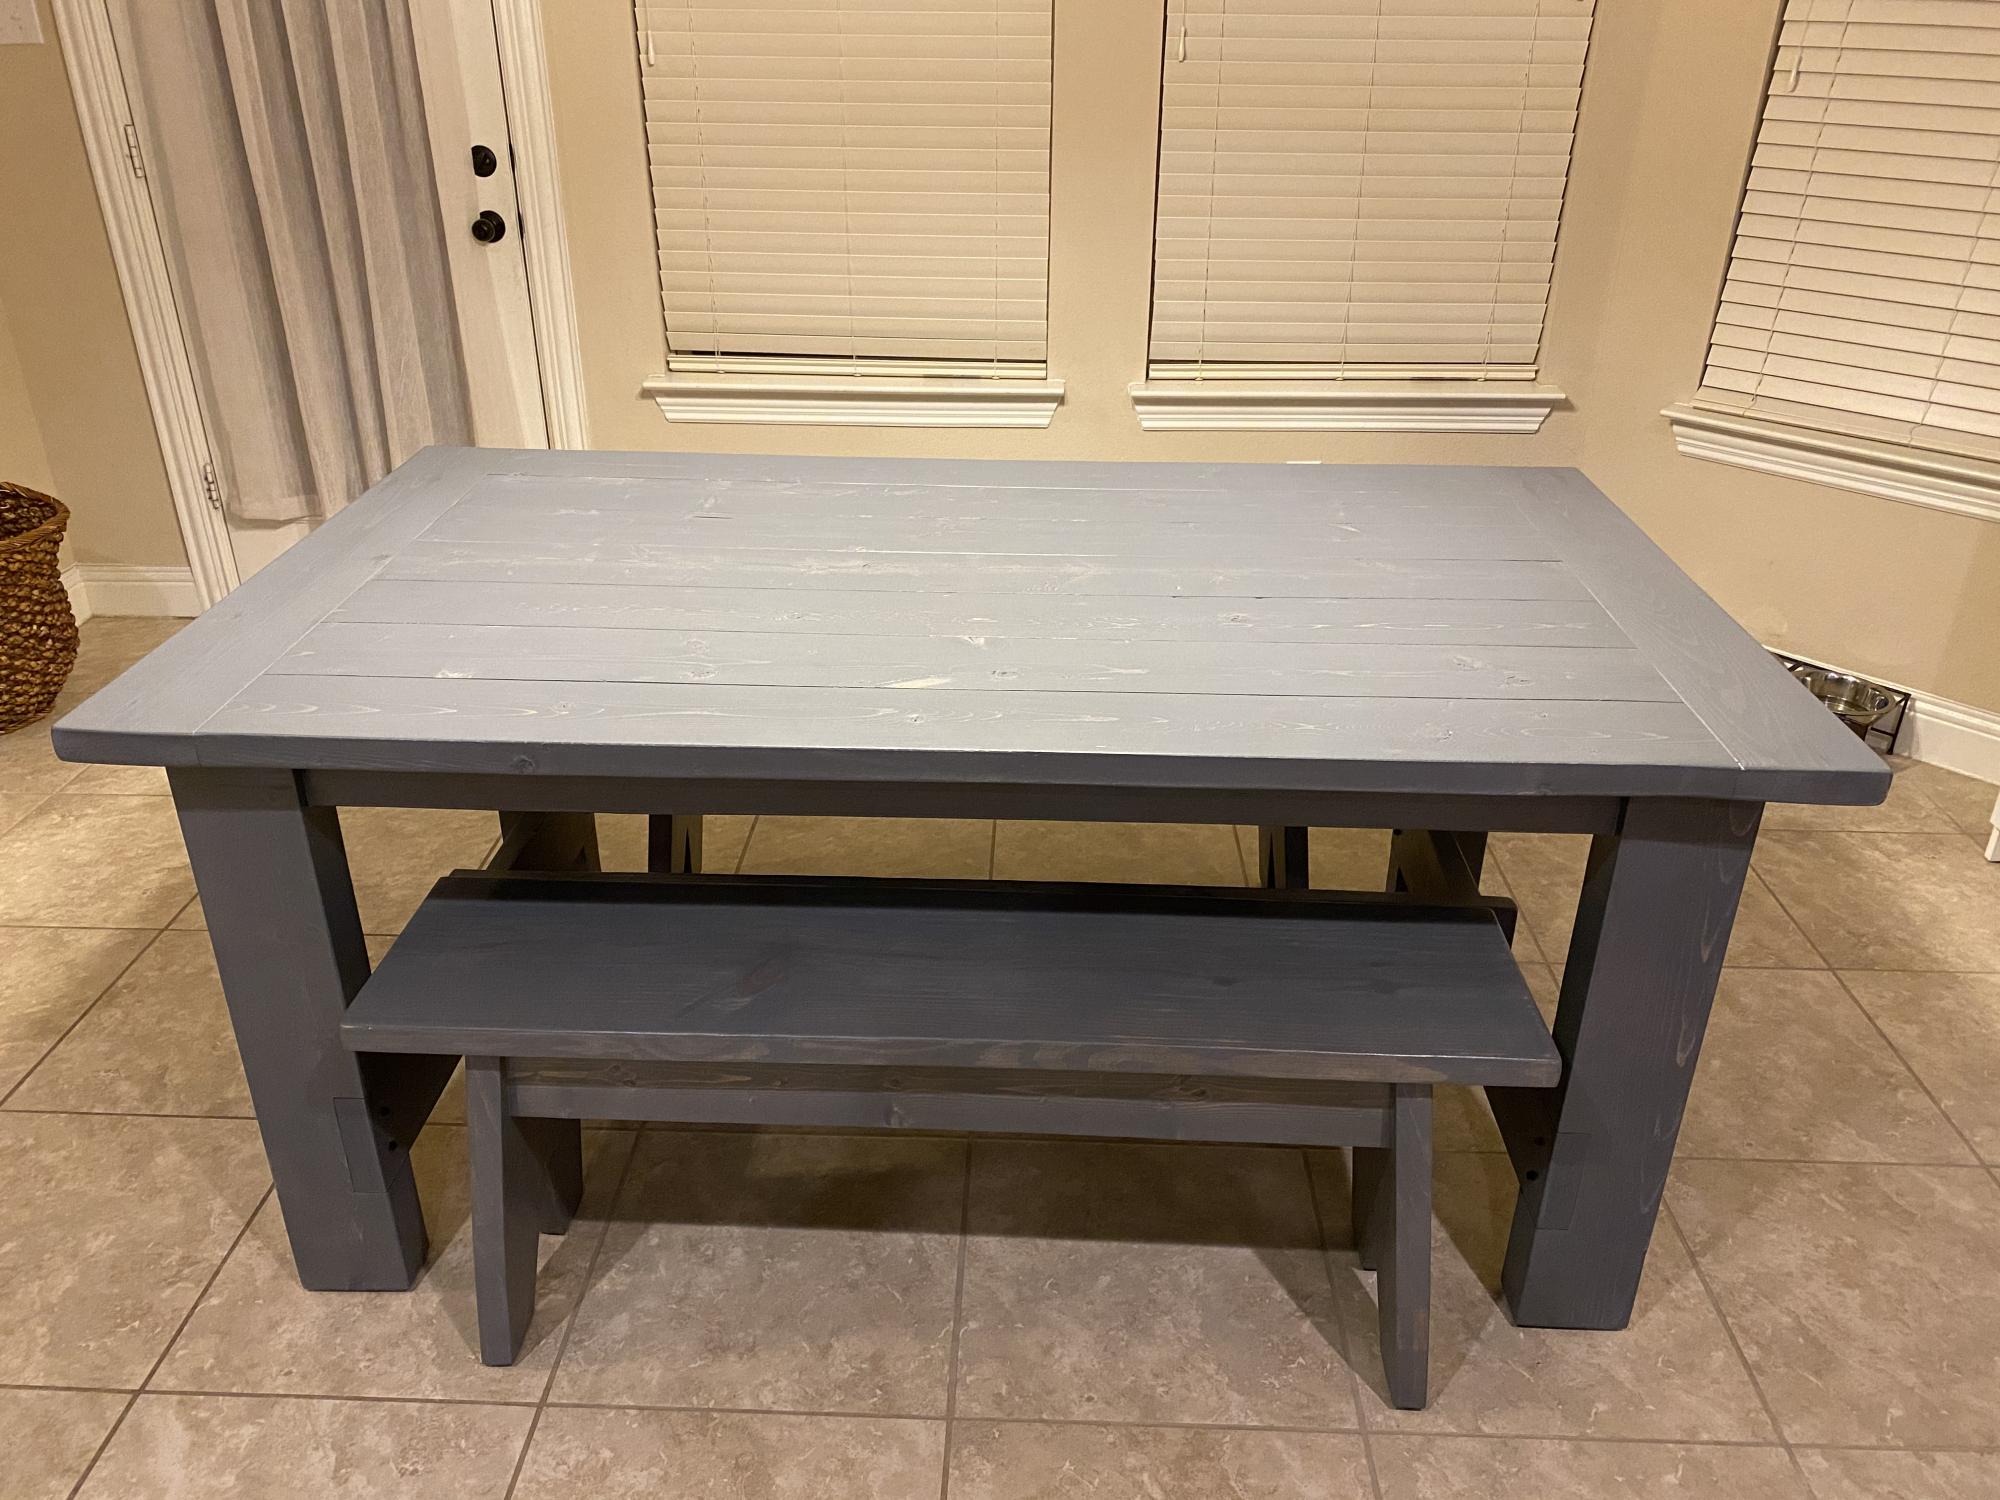
I couldn’t find 4x4s so I planed 2x6s flat and glued them together. Used it for the first time yesterday for our Thanksgiving dinner.
I made these for my new niece- Here's my story with recipe for a homemade sealer as the dye runs on drooly faces.
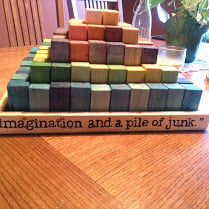
I loved Ana's 4x4 Truss Beam Table which was my inspiration for building this outdoor patio table Yesterday, I had a lot of fun. I used brown pressure treate wood because I wanted a table for my patio which would be weather resitant, a strong, great looking table that goes well with the rest of my patio anf I bet it wil last for a long time... Ready to entertain family and friends as soos as Spring comes!
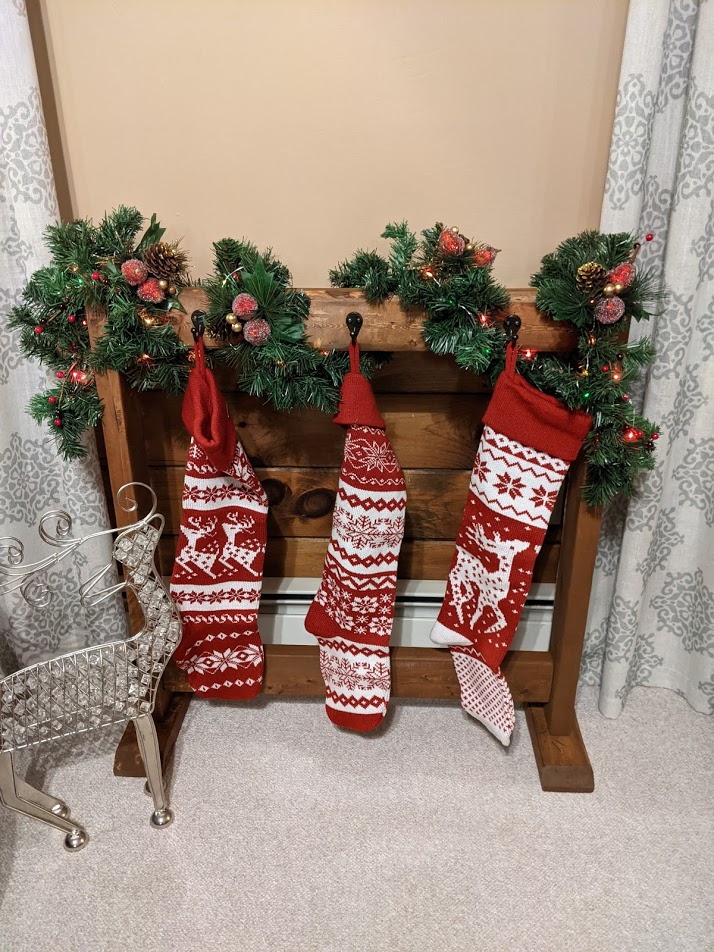
Thanks for the plans! Modified the scale, really happy with the results.
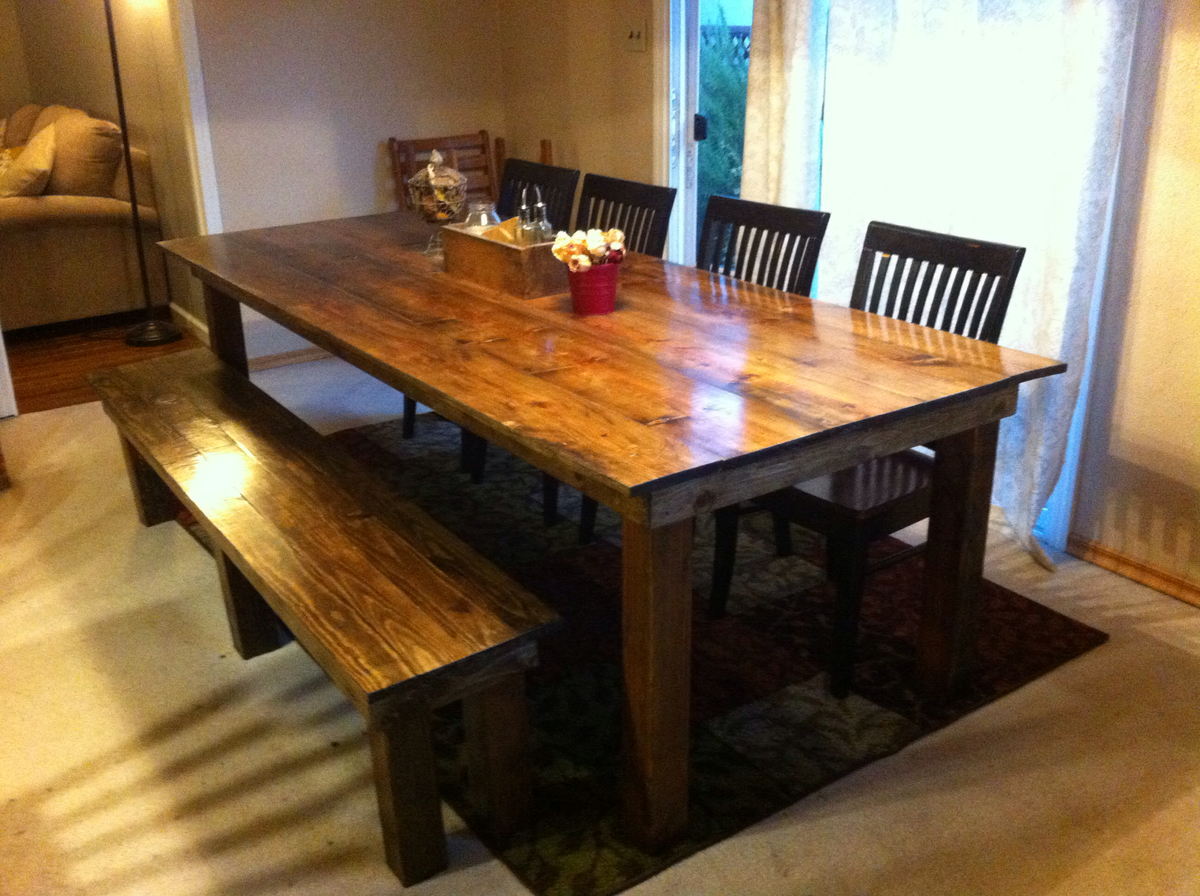
Built this table for our dining room and made it larger than the plans to fit 10 people around it.
Fri, 11/21/2014 - 09:13
Wow that looks really awesome! Great choice of stain!
Tue, 03/31/2015 - 12:42
Thank you and thanks for the plans! We are really happy how it turned out.
In reply to length by stephaniadawnia
Thu, 01/19/2017 - 10:34
Dimmensions of the table are 96 x 42 for the top. For the bench I measured the inside of the legs and made it 4 inches shorter than that dimmension to make sure I have a couple of inches on each side to slide the bench in and out easily.
I found this on the Pottery Barn site for $ 3,000. We wanted to make it for my grandson who had a lot of health issues. We thought he would really enjoy it. We made it around a full size bed & I really think it looks just like P.B's. !!!
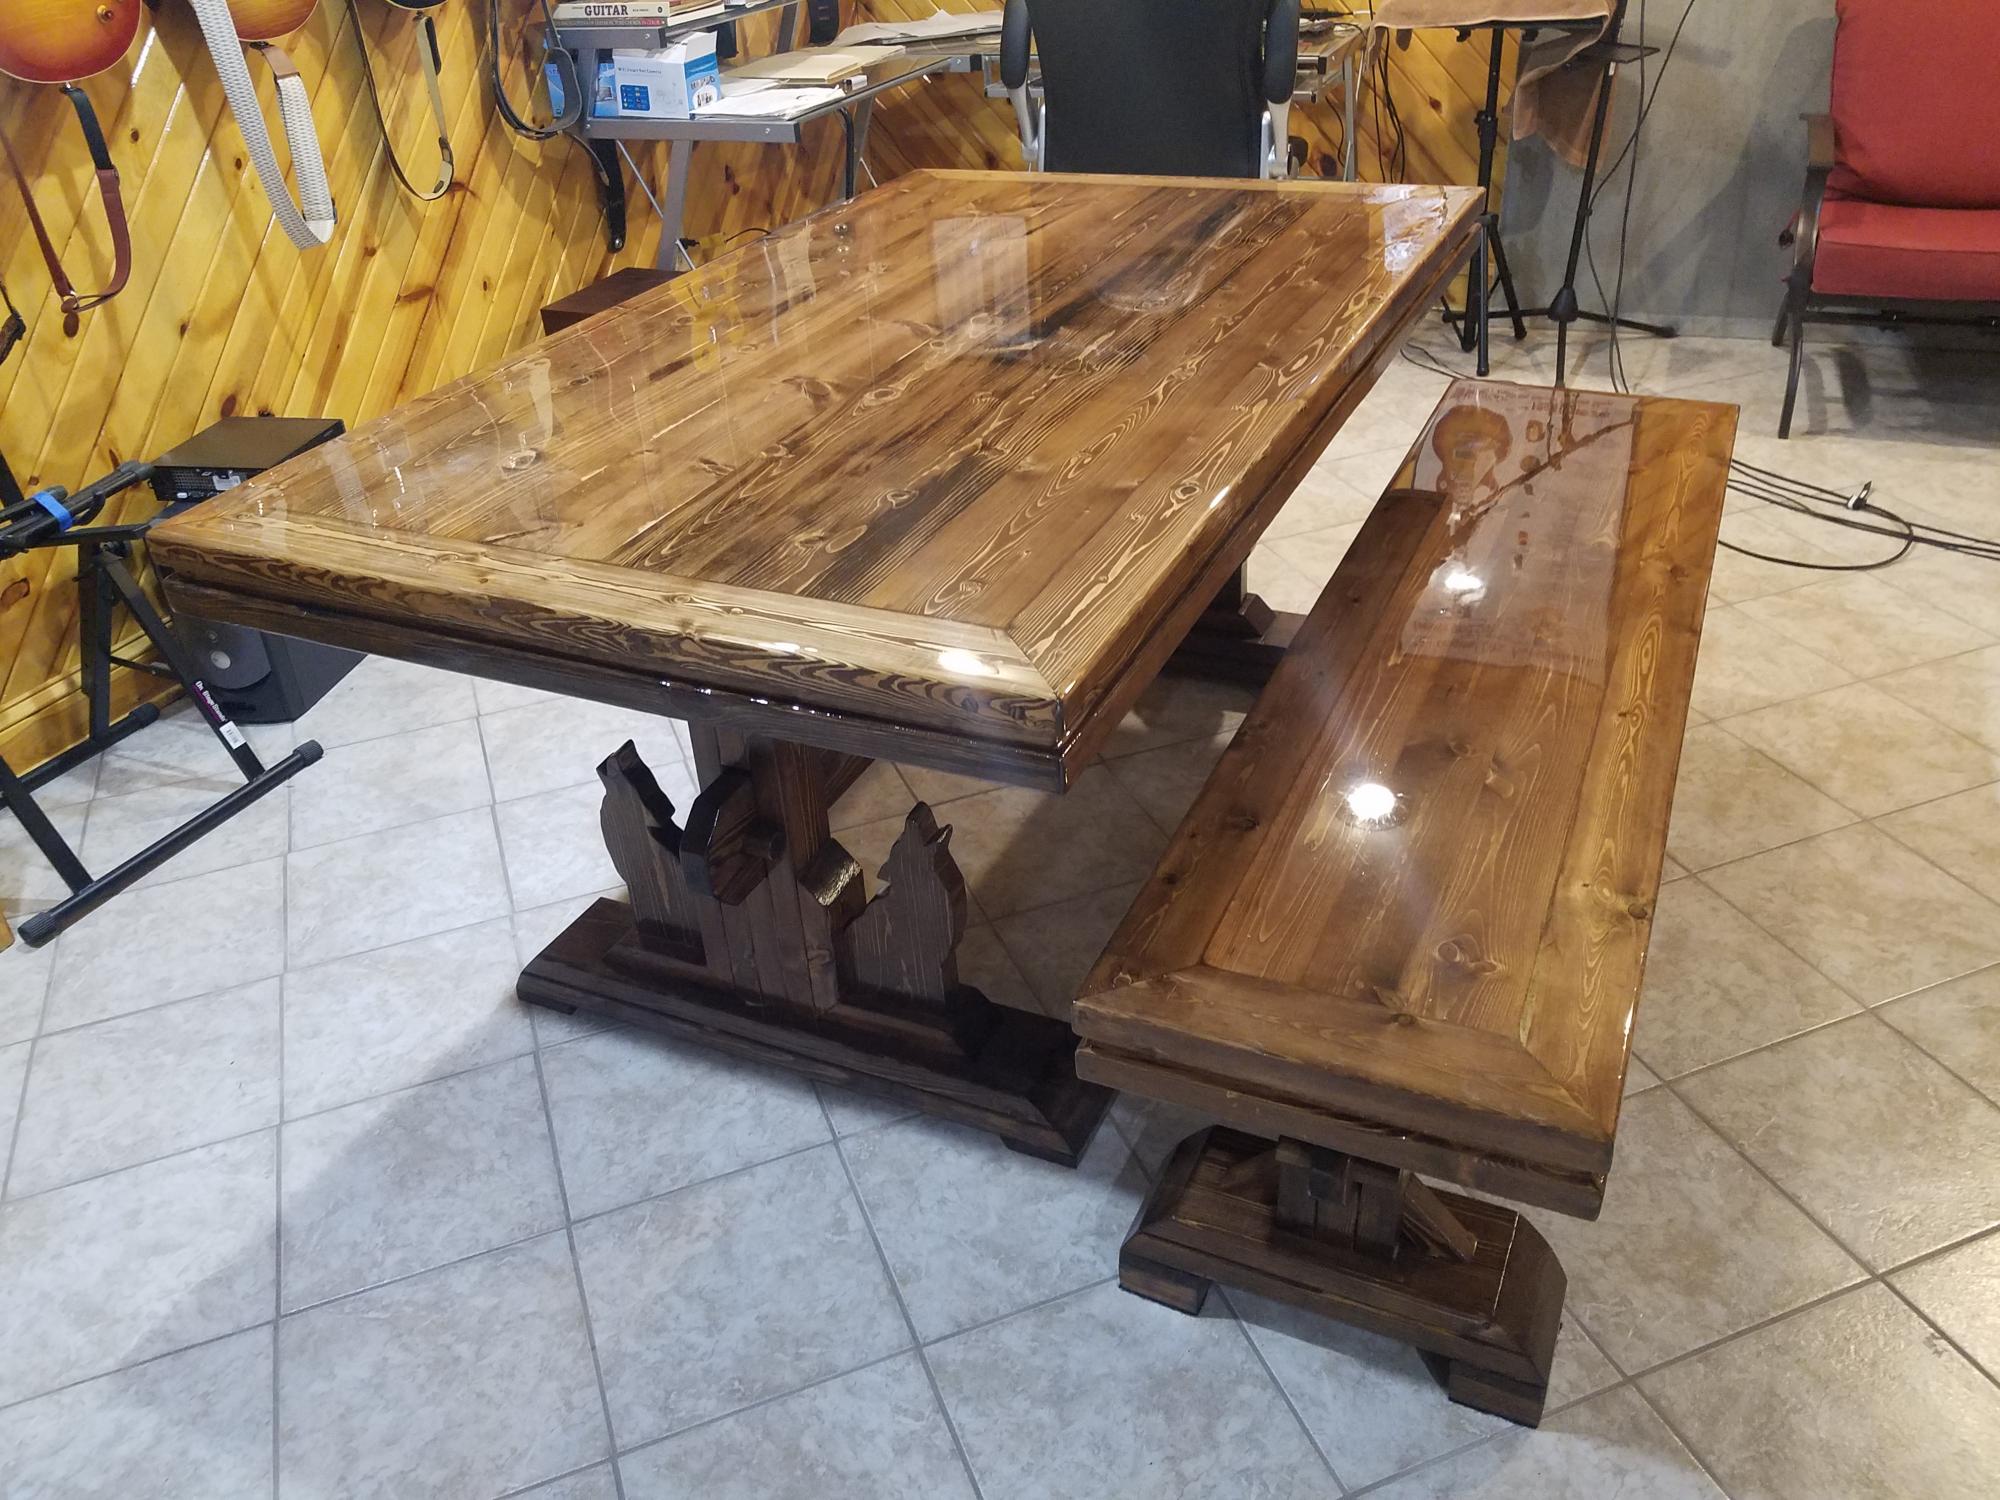
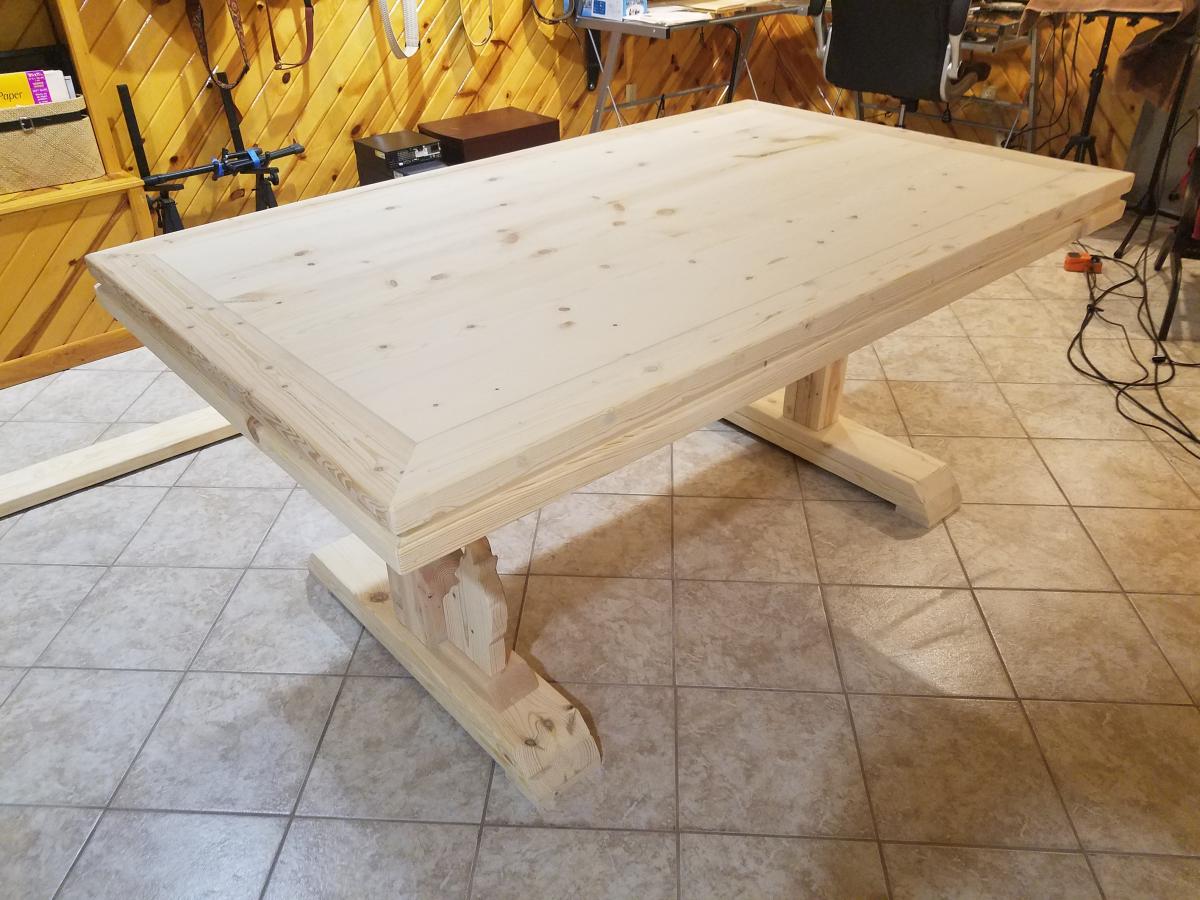
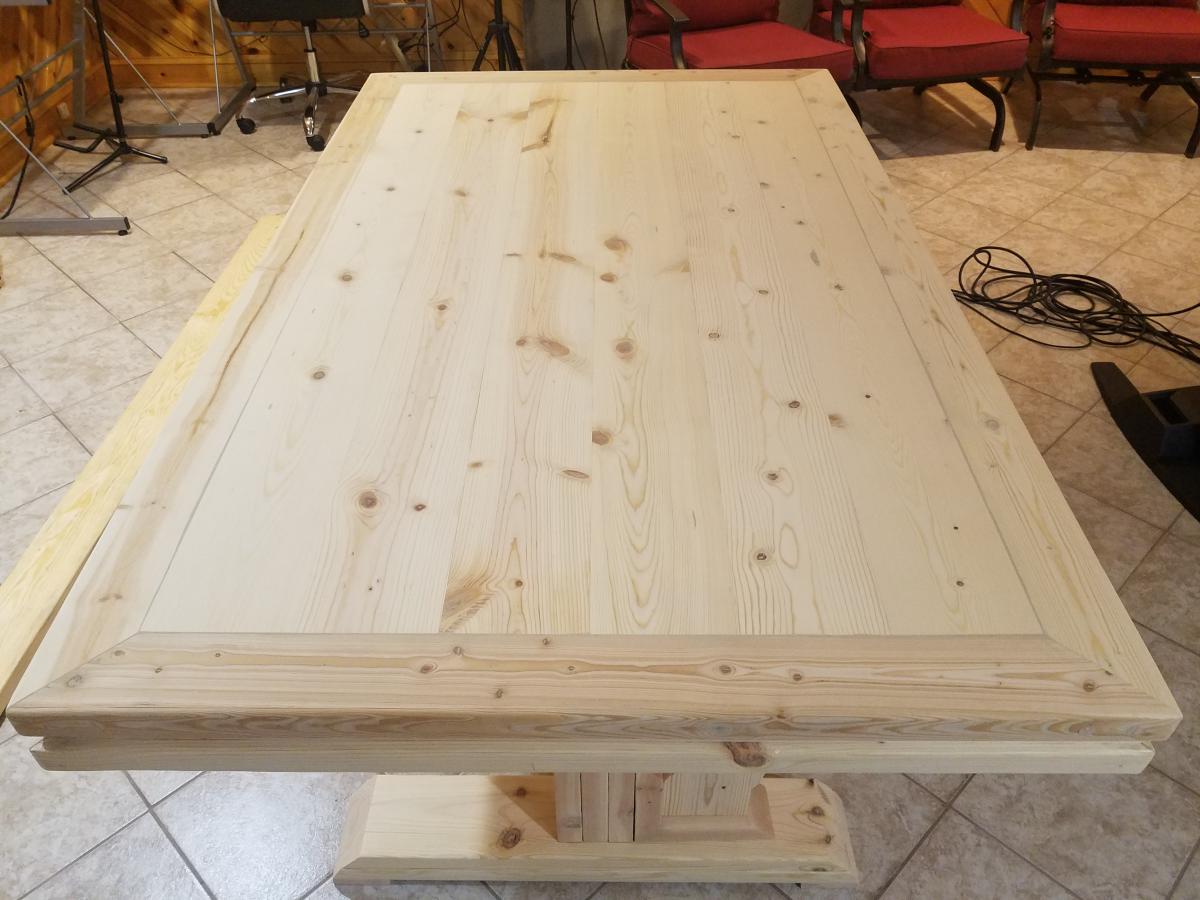
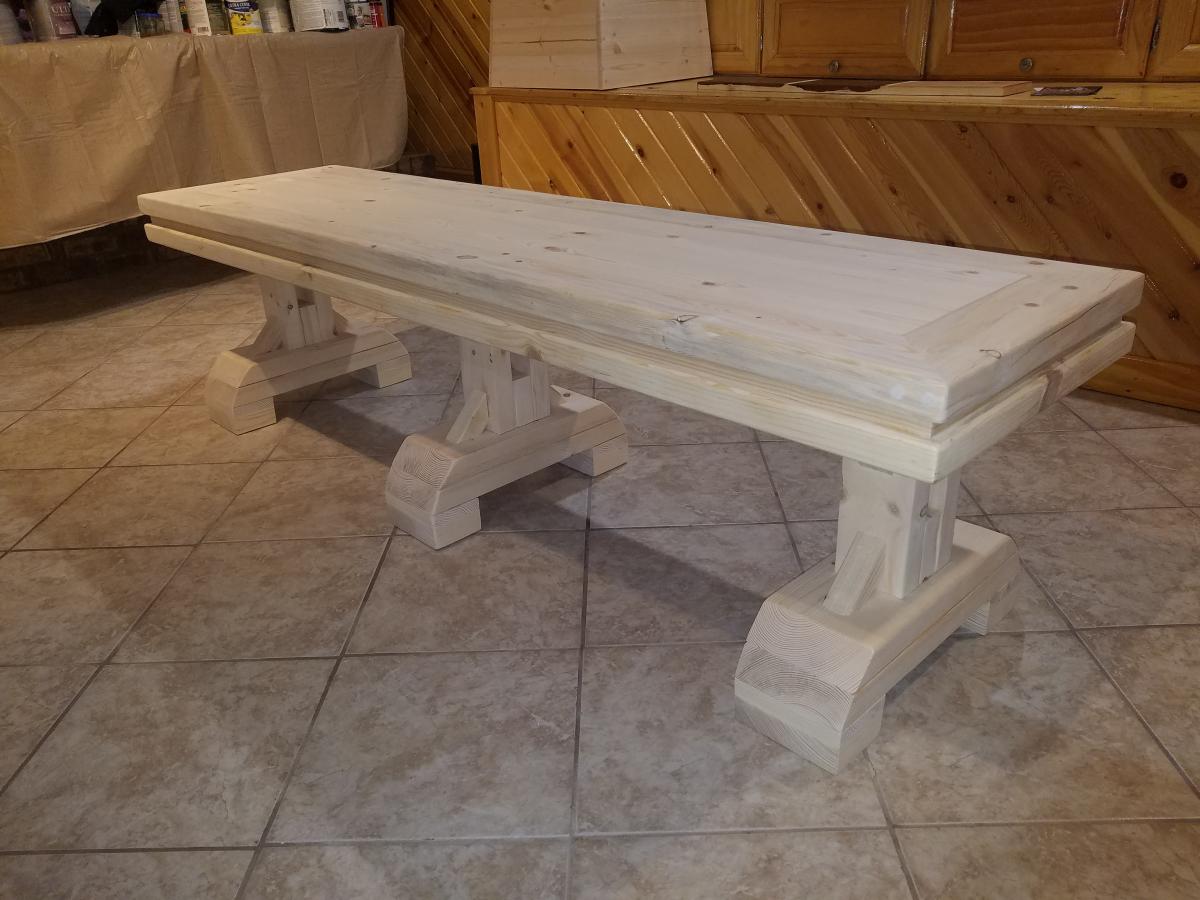
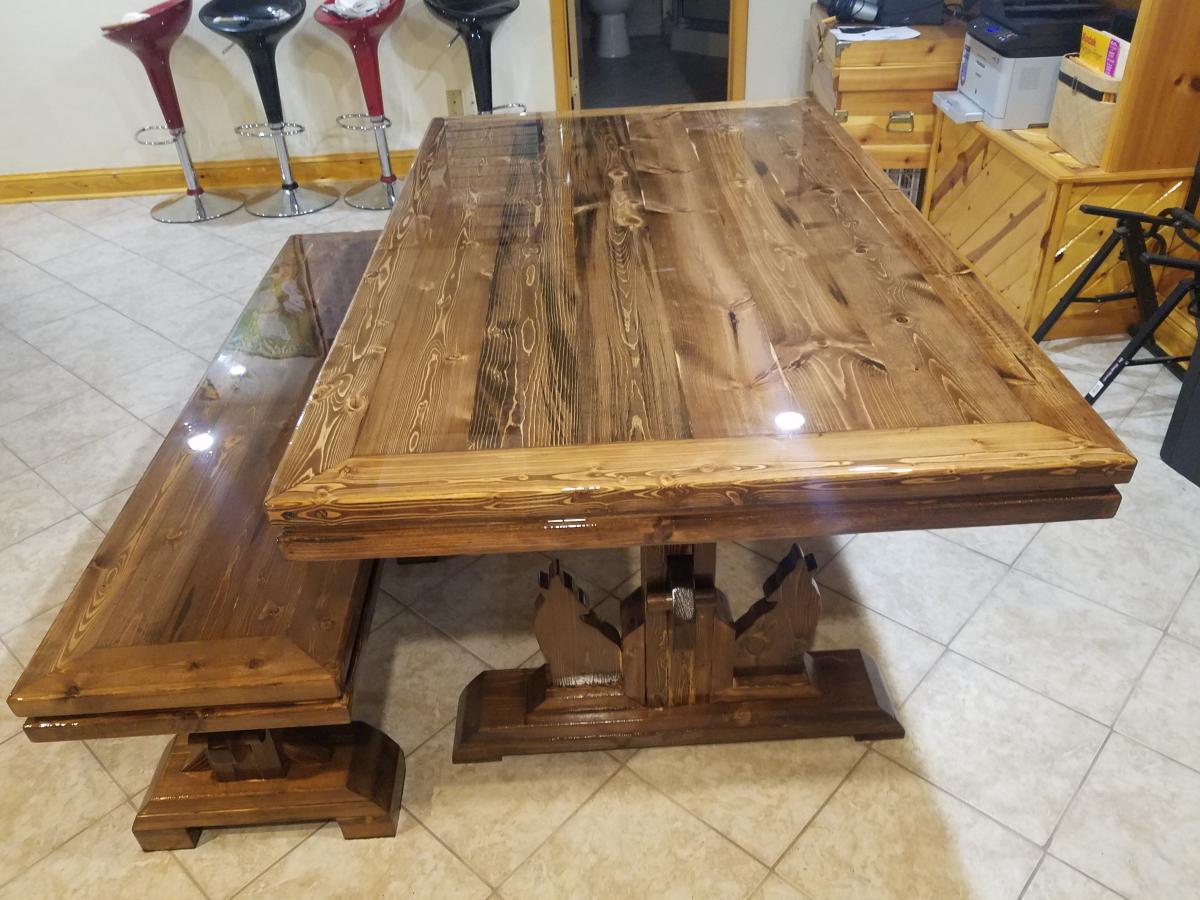
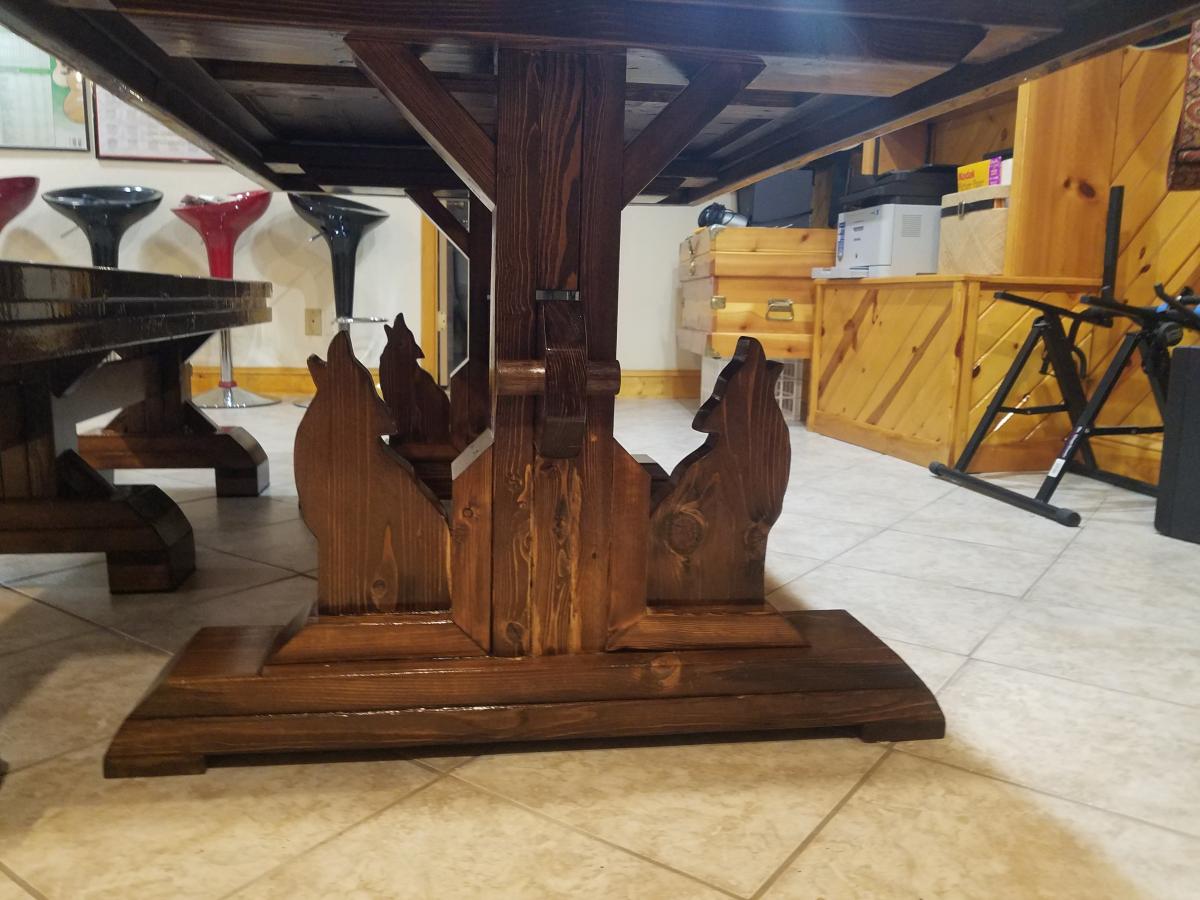
I used Anna's plan as a guide nut put my own spin on it. All mitered corners and added Coyote shilloute's. This for our southwest home.
Tue, 12/08/2020 - 11:31
Love your one of a kind table! Thank you for sharing your work:)
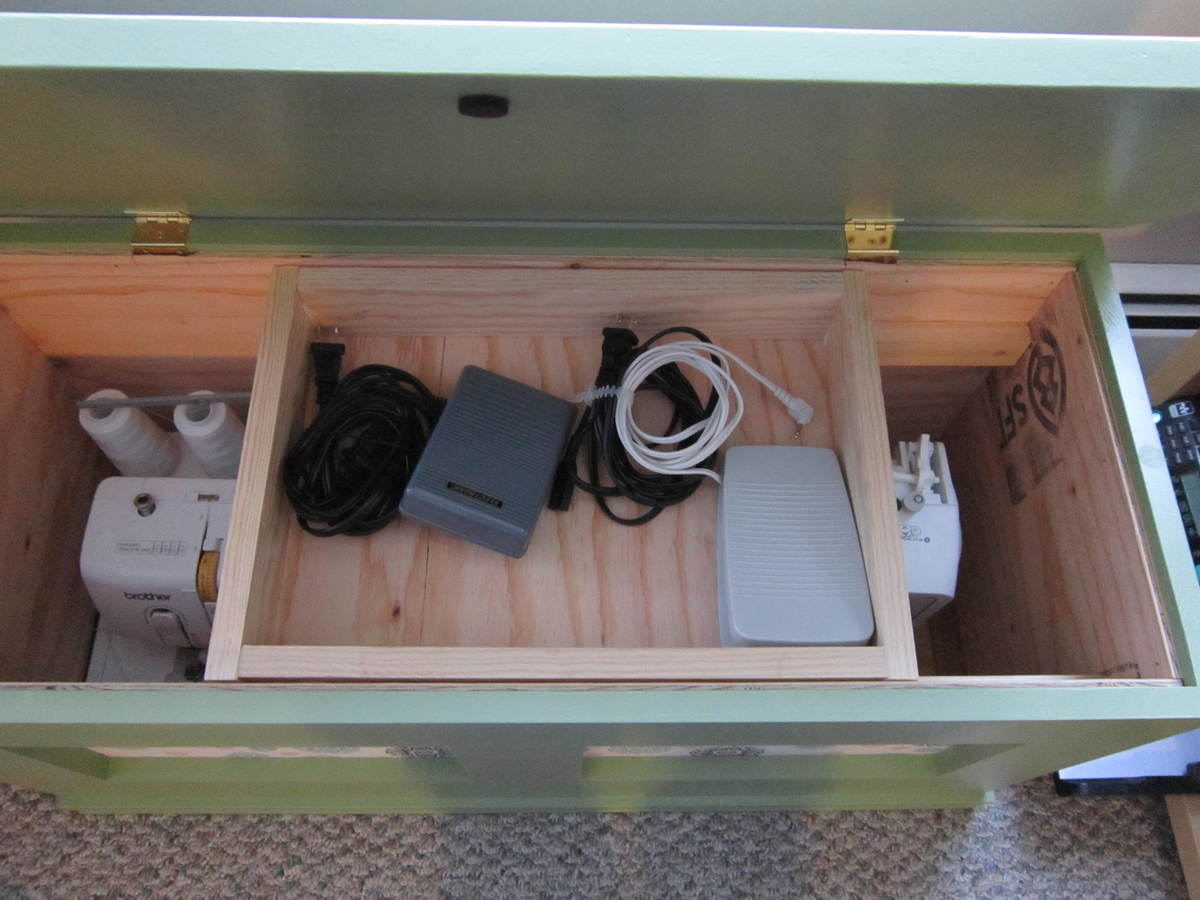
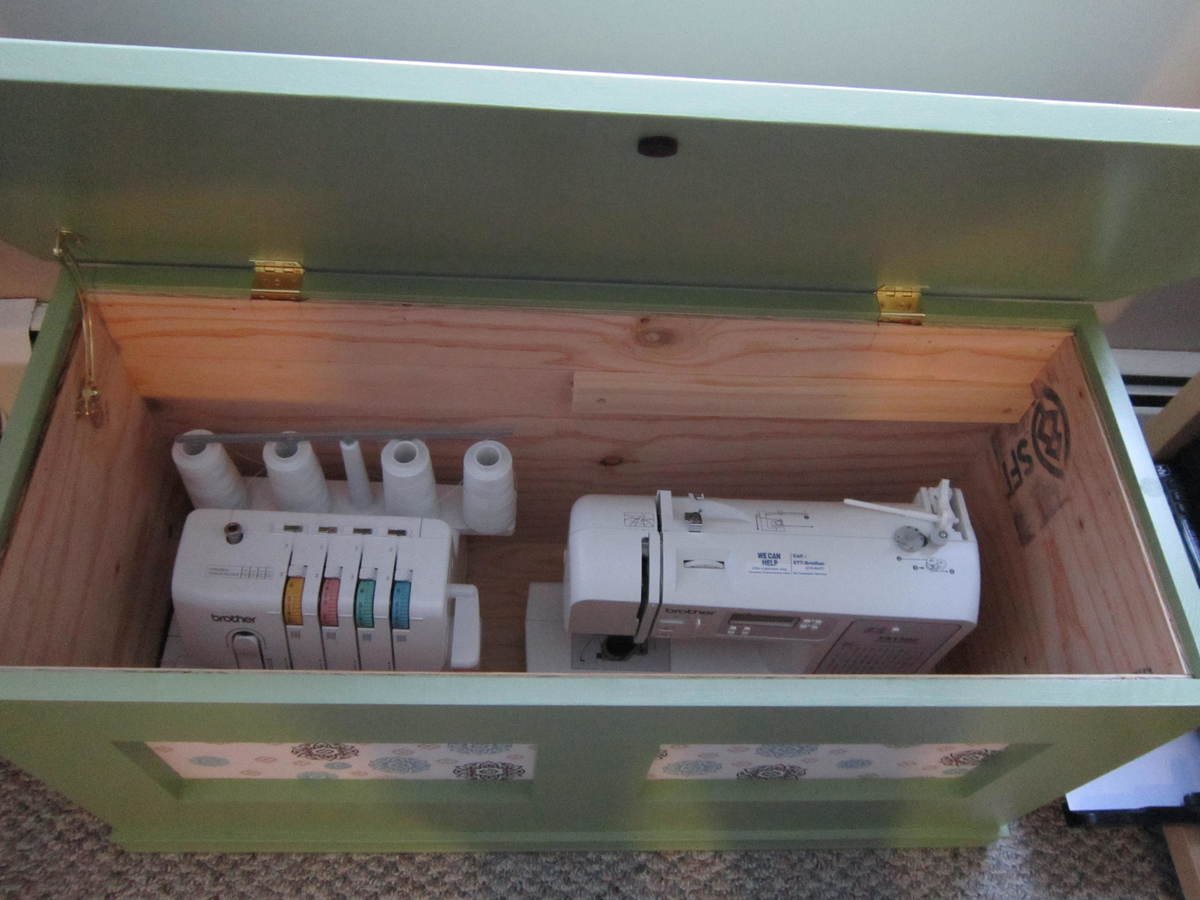
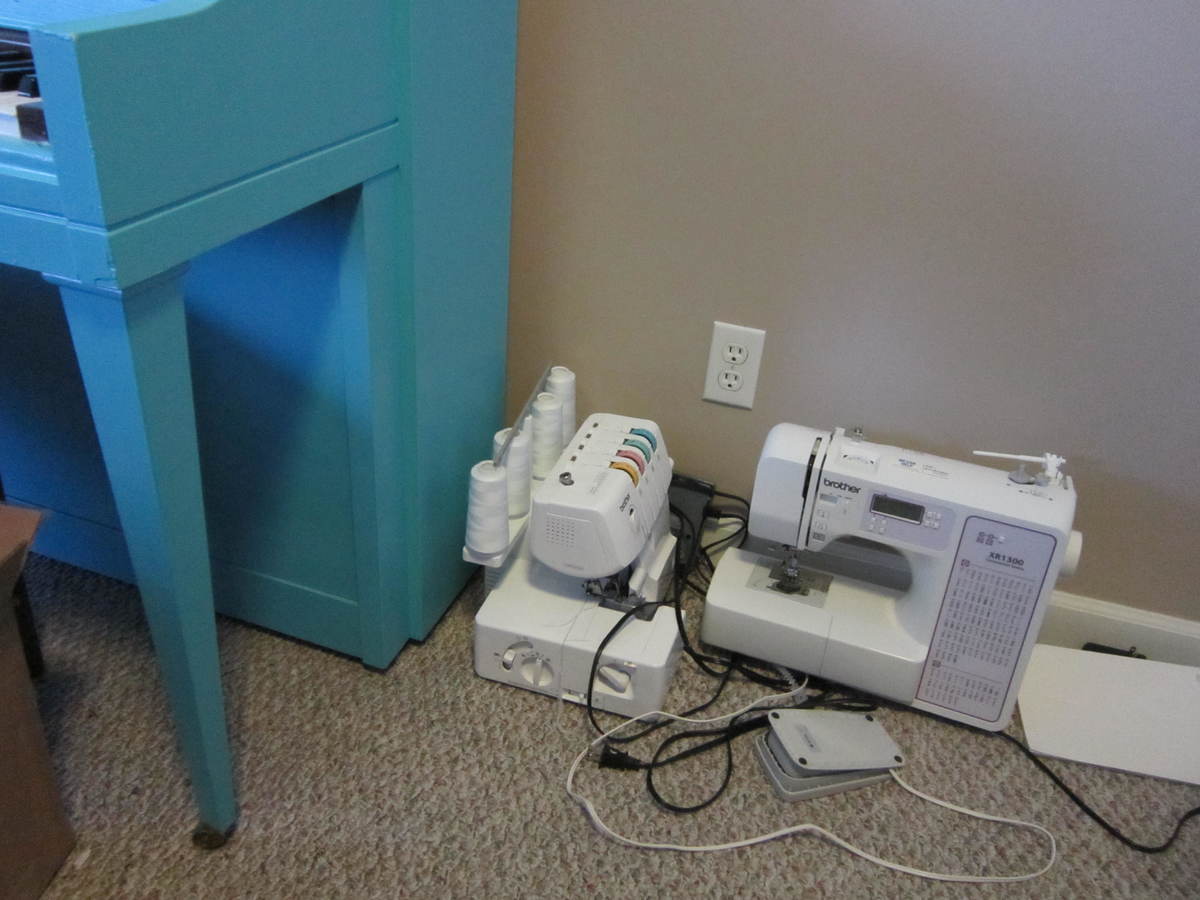
We have a pretty small place and not a lot of room for our sewing/crafting stuff. We would leave our machines by our piano, on the floor, every time we brought them down stairs. We needed a better way to store them and this was the perfect solution, and it added a few more seats in our little family room. I build the bench with a one-piece top and added a removable tray for the cords.
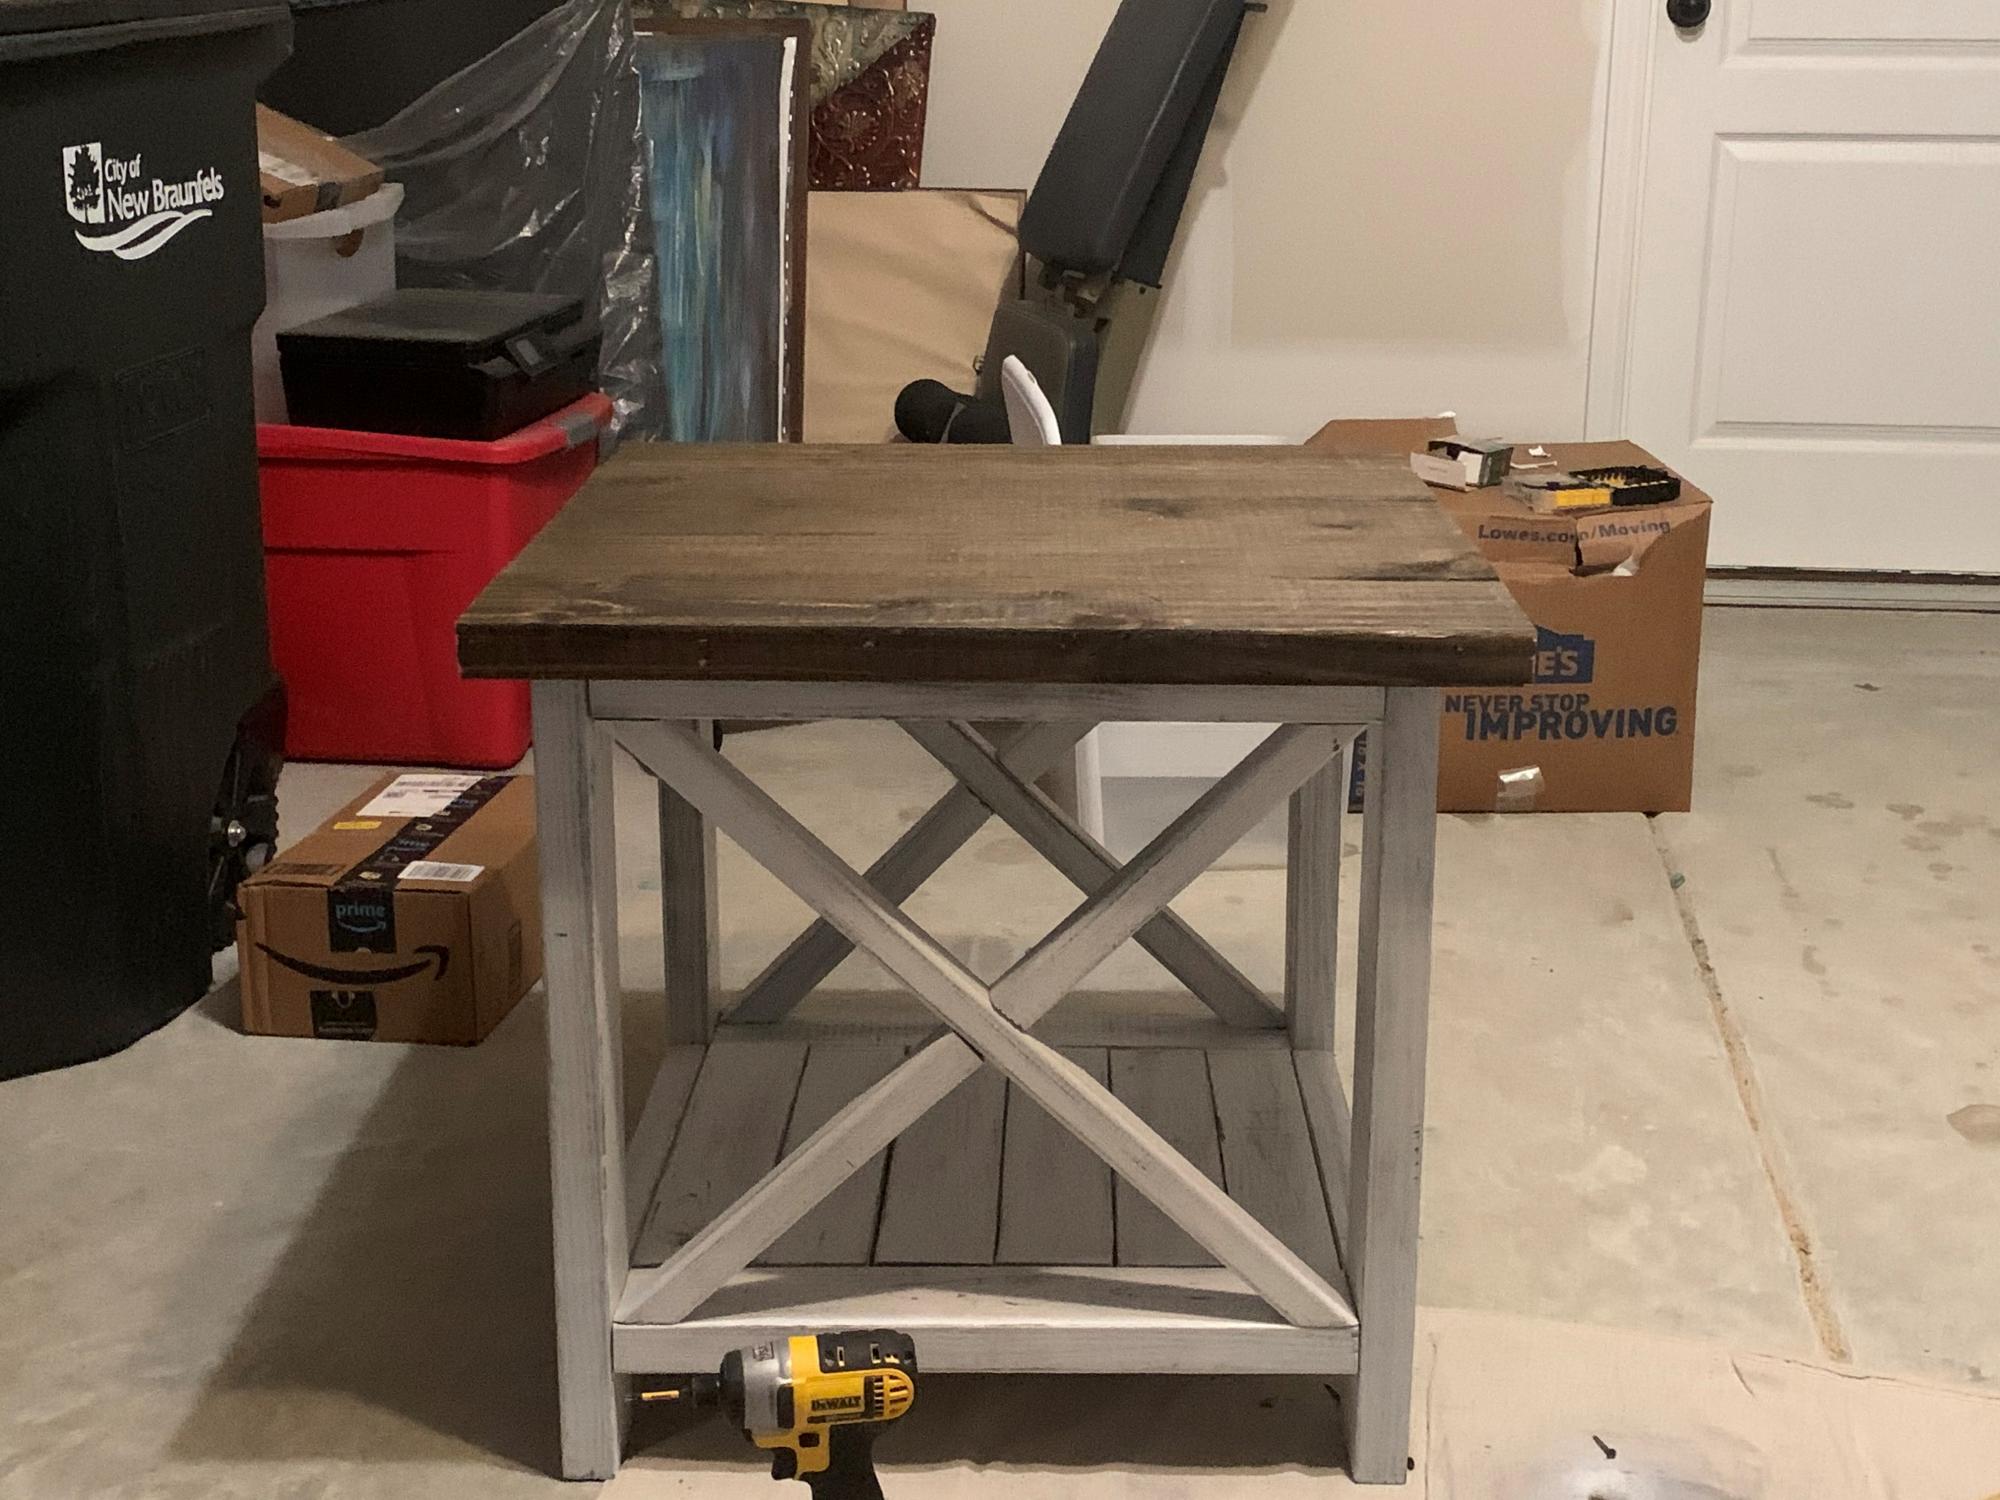
First atttempt at distressed farmhouse end table.
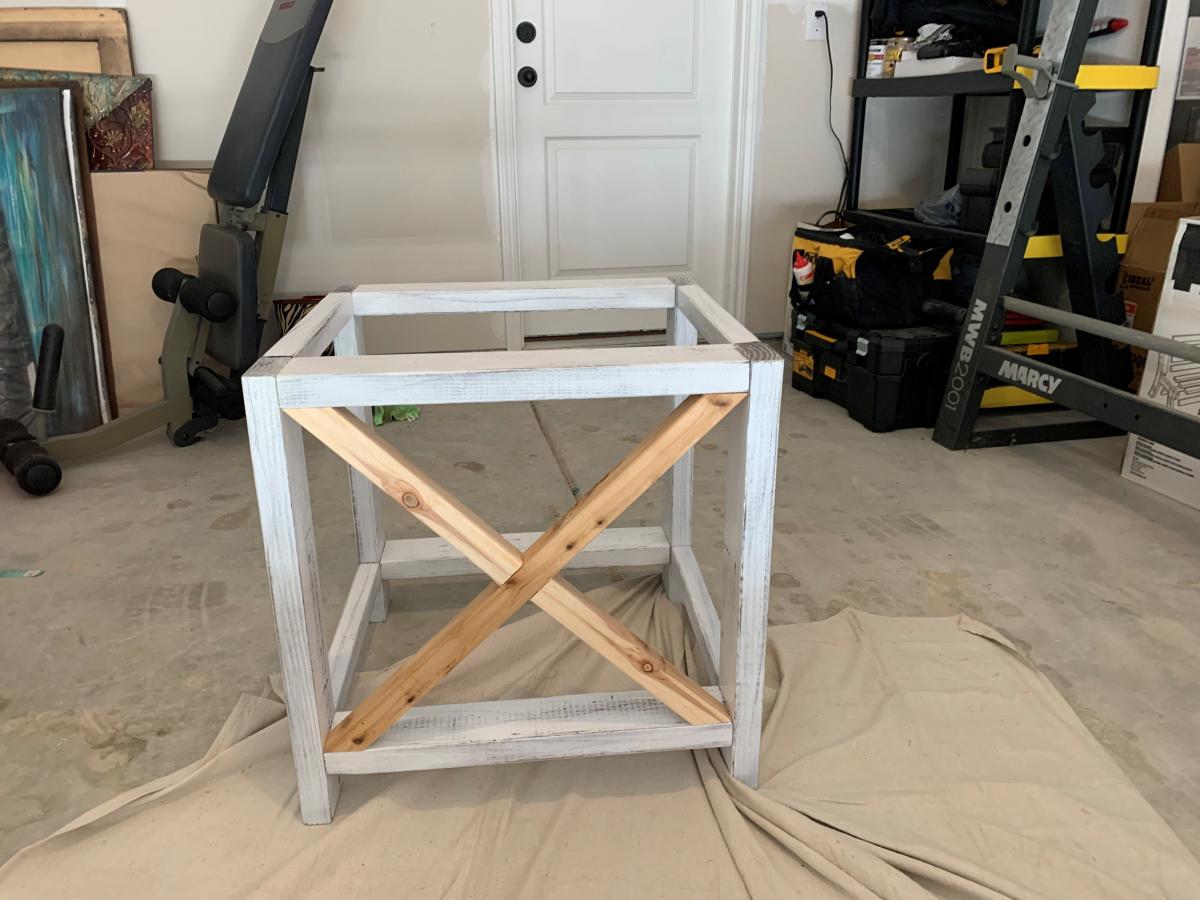
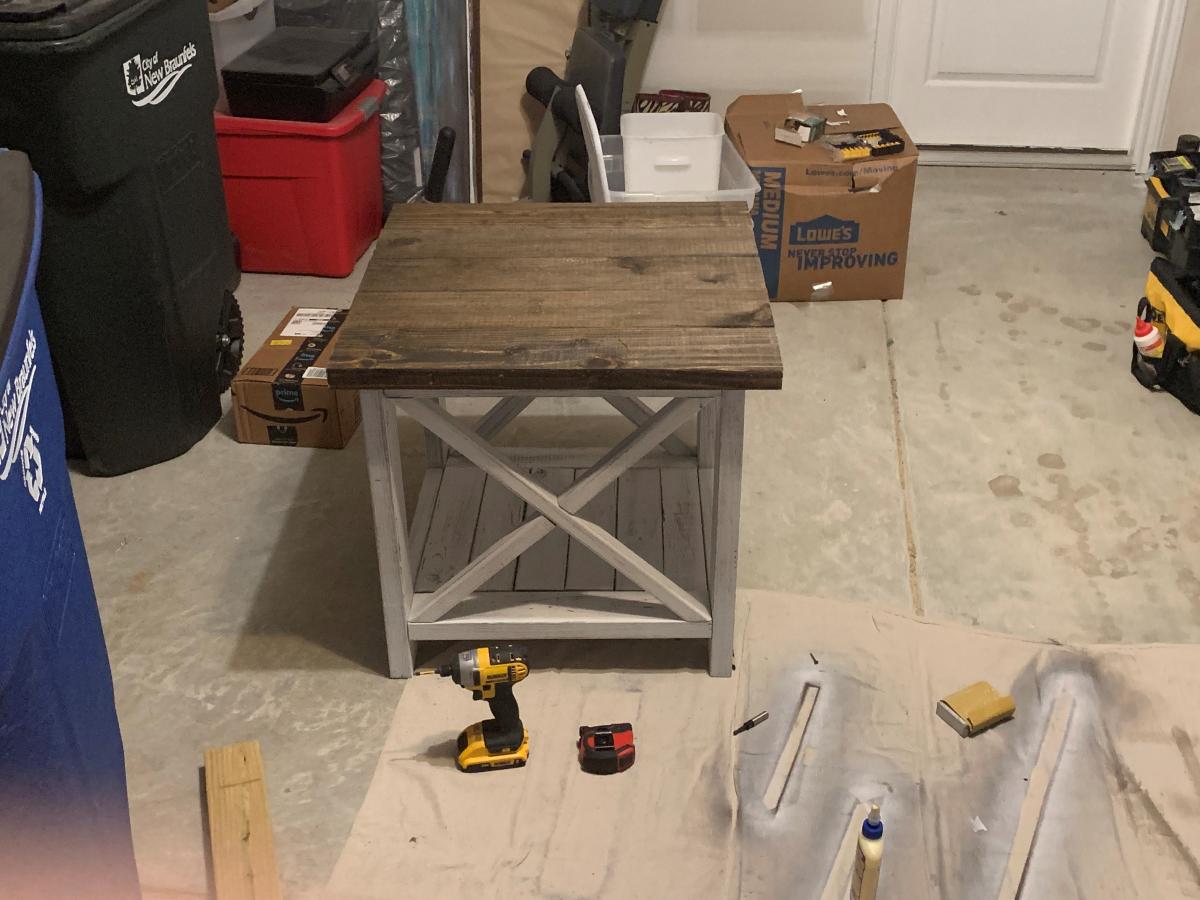
This was a fun weekend project!
In reply to bottom? by nkfuller09
Thu, 12/31/2015 - 07:16
I used 1x6's, i think 2x6's would've made the table much too heavy... it is already extremely heavy, but super sturdy as well!
Tue, 01/16/2018 - 16:26
Just wondering where you got them from? We've been looking all over the internet and have yet to find them...
In reply to Corner Brackets? by sergiontami
Sat, 06/23/2018 - 12:15
I fashioned them myself out of some flat steel brackets. I bent them to 90 degree angles in a vice, then spray painted them black.
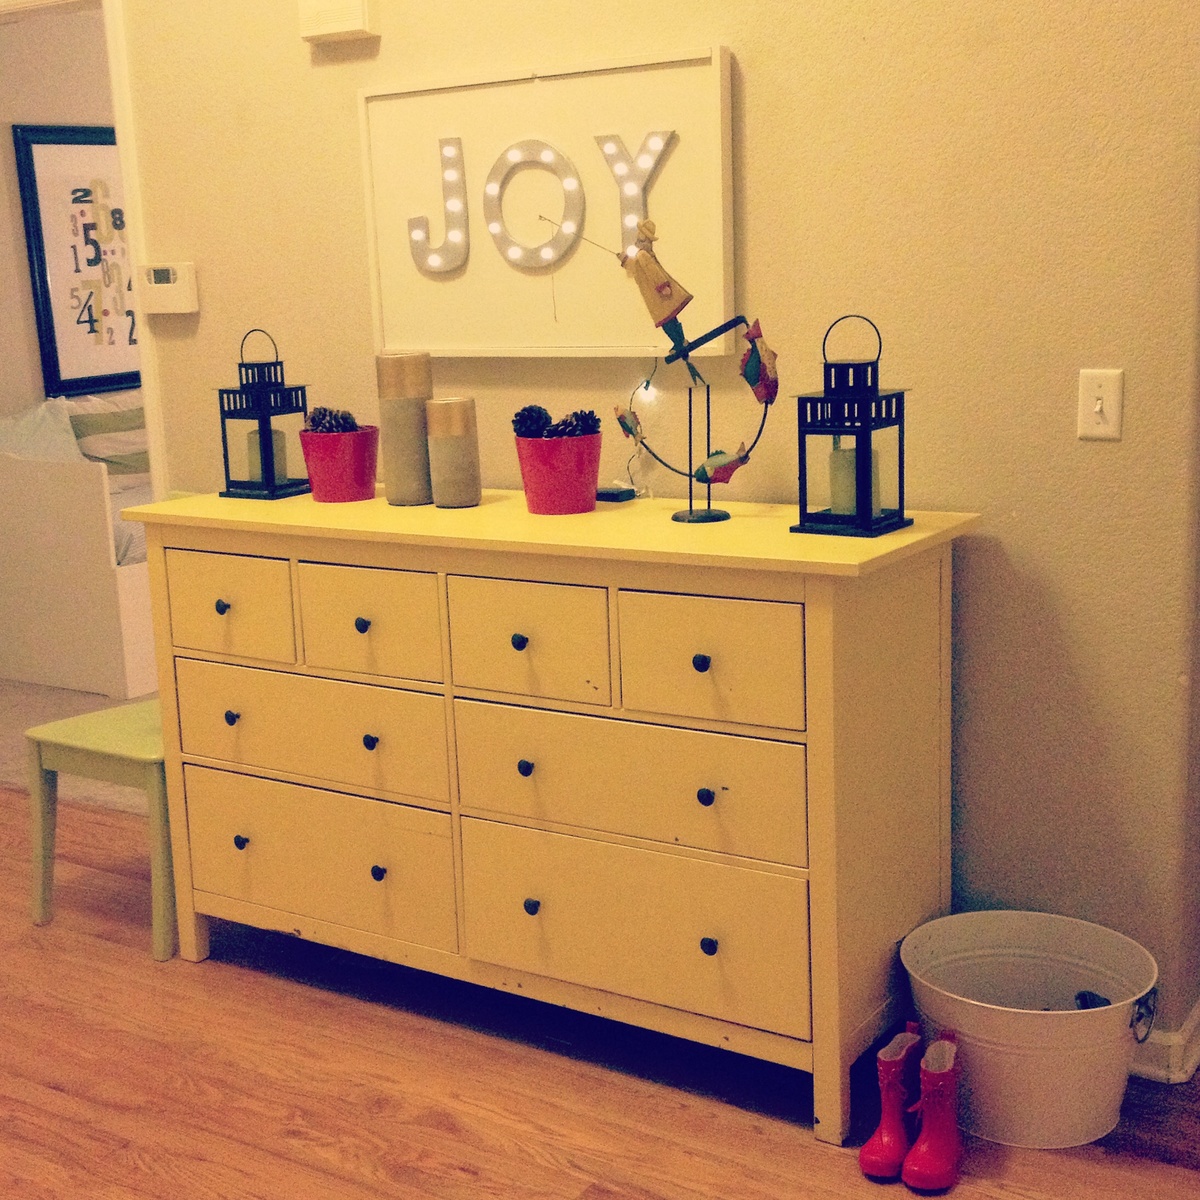
Joy Marquee from Home Depot builders' workshop.
Wed, 11/26/2014 - 12:17
Yay!! I had so much fun making this sign at the woorkshop! Thanks for coming! Yours looks great!

This was based of Ana’s barn door bookcase and was exactly what my mom needed to hide her grandkid’s toys while she’s not watching them. Thanks for the idea!
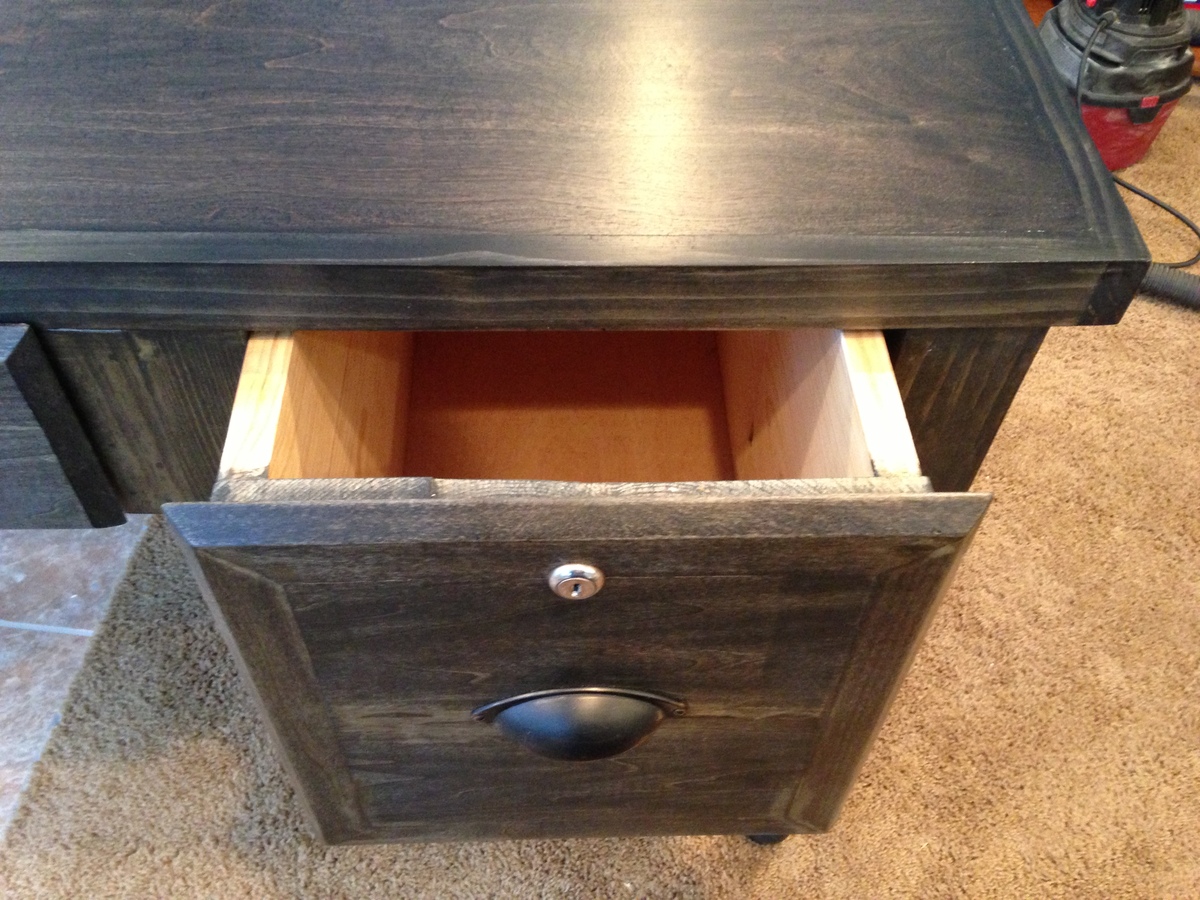
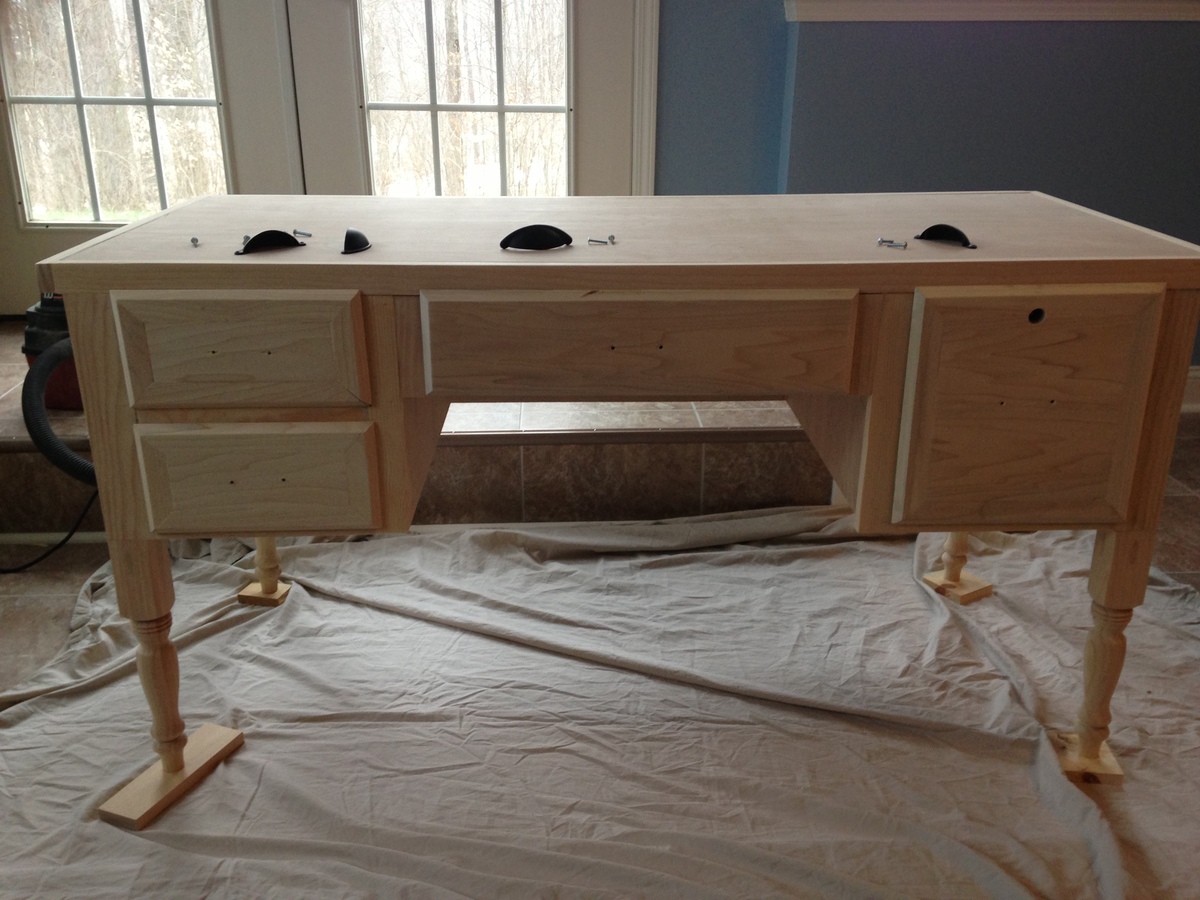
I wanted to build a desk for each of my 3 kids. We have an unused loft space in our home that I wanted to convert to a kid's homework area. Initially, I was going to build cabinets and create two walls of built in bookshelves and desk space. But decided I wanted free standing desks in a style that would last them into adulthood. (And possibly move with them into their own homes:) I really liked Pottery Barn's Printer's Keyhole Desk for the first desk but couldn't find a plan to build something like that. I ended up modifying the Turned Leg media console plan instead. It was a lot of work trying to figure out the correct changes to the plan. It totally made me appreciate how easy Ana's plans are to follow. I changed the depth to 24 inches and also changed the basic box from the plan into 3 boxes (left side drawers, middle drawer, right side drawer) then attached the boxes to each other then to the top. It was a heck of lot easier to say that in a couple of sentances then to actually do it. I also found it easier to put face frames on my drawers to hide my not perfect drawer boxes.
This project took me about a month to complete. I am a SAHM, and was not able to work on it every day.
The finish is Minwax Ebony oil based stain. I've had success using Annie Sloan waxes on other projects but was not happy with how the top looked after using it on the desk. Eventually I sanded the finish off and re-stained it 2x then topped it with 3 coats of Polycrylic. I left the rest of the desk with the original stain/Dark Wax finish.
I am too lazy to attempt sanding off the rest of the desk and restaining and sealing it. Kid #2 is already asking when I'm going to start on his desk (I'm thinking RH St. James style) and Kid #1 came home from school today and wanted to do his homework in the basement (where his desk is currently drying) so I think I should just say it's done and move on!
My experience comes just from reading this site and a few others. I've made AG doll furniture, picture frames, a console table, 2 benches, built-in bookshelves and a dollhouse bookcase. I used pocket hole joinery, glue and nails in this project. I don't have a table saw, so I made my long cuts with a circular saw fitted with a Kreg Rip Cut and occasionally a jig saw.
I would like to add some sort of hutch to it and am considering the Channing Hutch from this site. Thanks for reading!
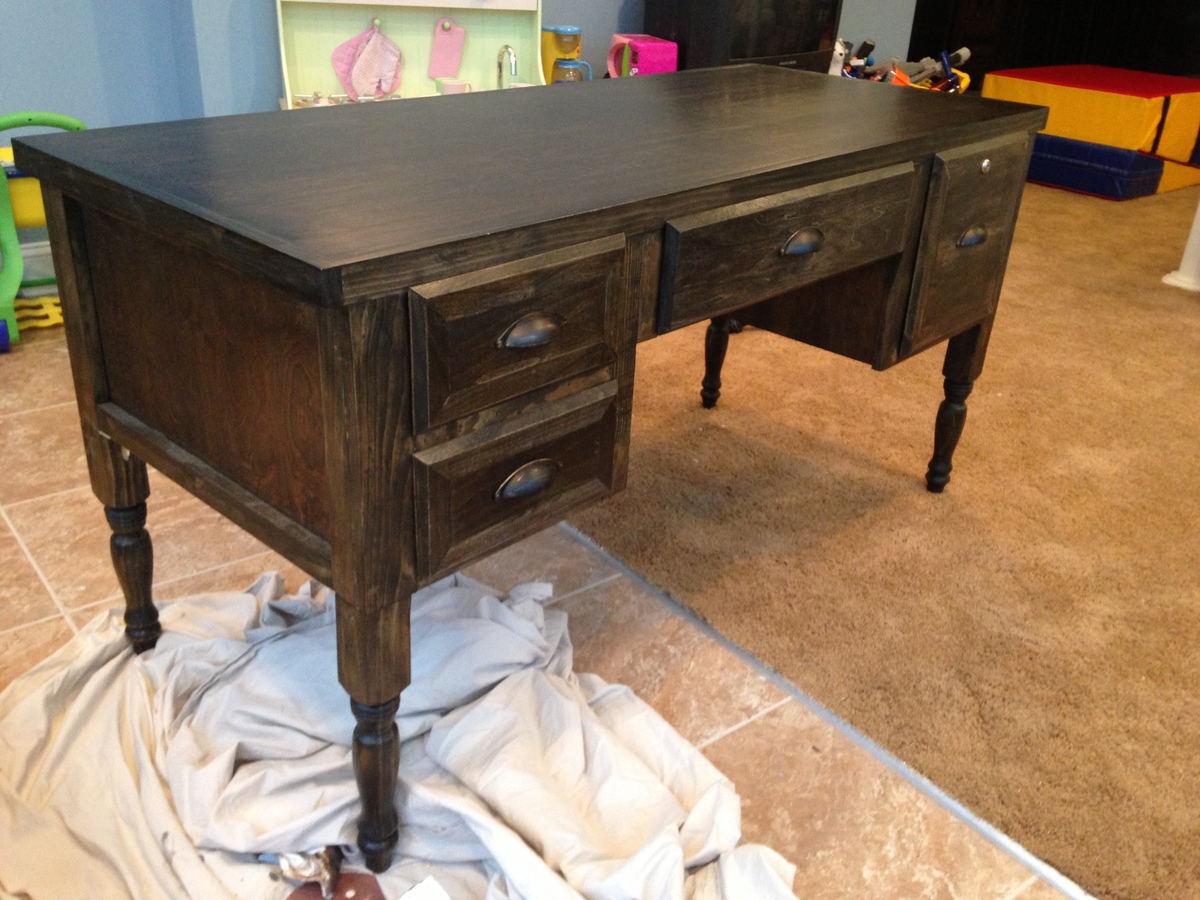
Mon, 01/28/2013 - 21:28
Very pretty! What a beautiful labor of love. You are super ambitious to do this x 3!
Tue, 02/05/2013 - 05:57
I've been looking for a desk plan to replace the antique desk my mom recently took back to her house and this just might be my saving grace! Where did you get the legs for this? Thanks in advance and what a great job you did!!! Looks awesome! :-)
Thu, 02/07/2013 - 14:58
Thank you tracy! The legs came from lowes. Nothing special, pine, 15" table legs.
In reply to Thank you tracy! The legs by cathygehrke
Sun, 02/24/2013 - 23:18
So you must have joined them to another piece of wood to make it tall enough... like a 2x2? I'll go over and check at lowes to see what they have. THanks for the input!!!!
Comments
MikeMc100
Tue, 11/11/2014 - 14:37
Nice work. Beautiful.
Nice work. Beautiful.
Ana White
Tue, 11/11/2014 - 15:53
Gorgeous! Love the finish on
Gorgeous! Love the finish on this one!