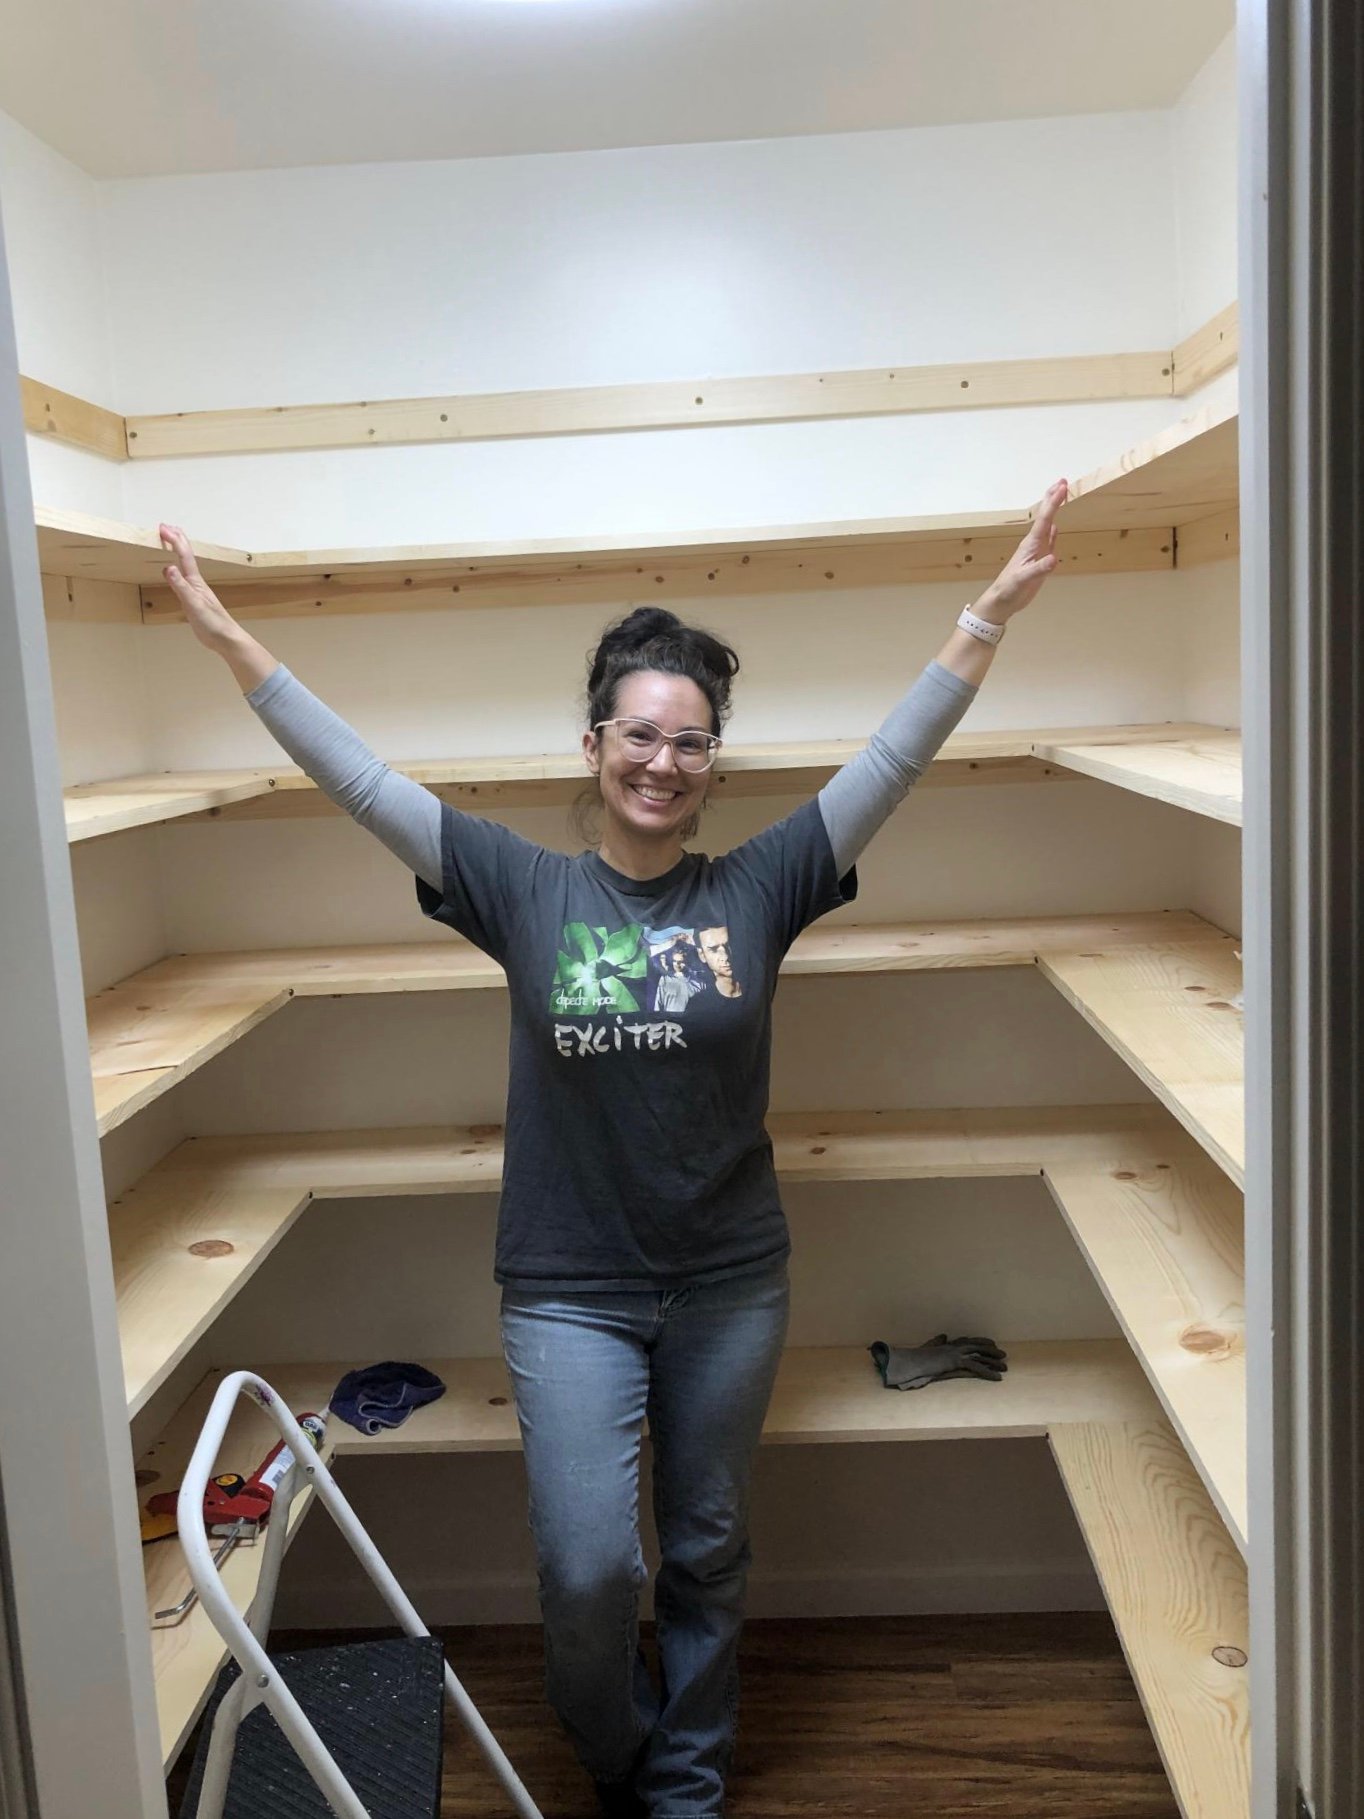
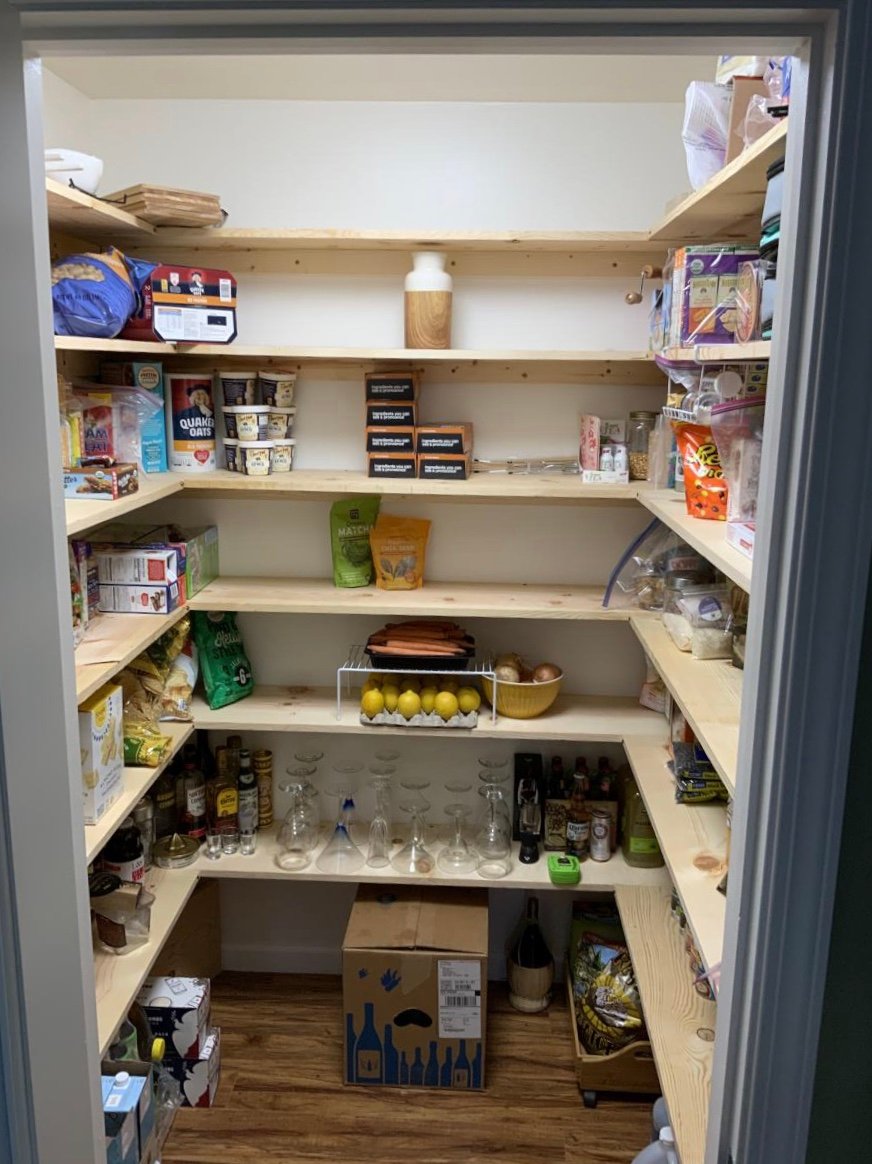
Ladder shelf
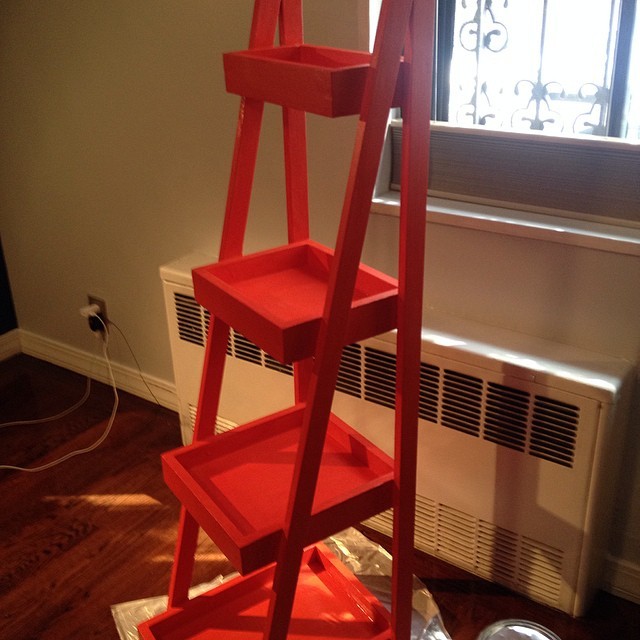
First project, so fun!
Built from Plan(s)
Estimated Time Investment
Afternoon Project (3-6 Hours)
Recommended Skill Level
Beginner
First project, so fun!
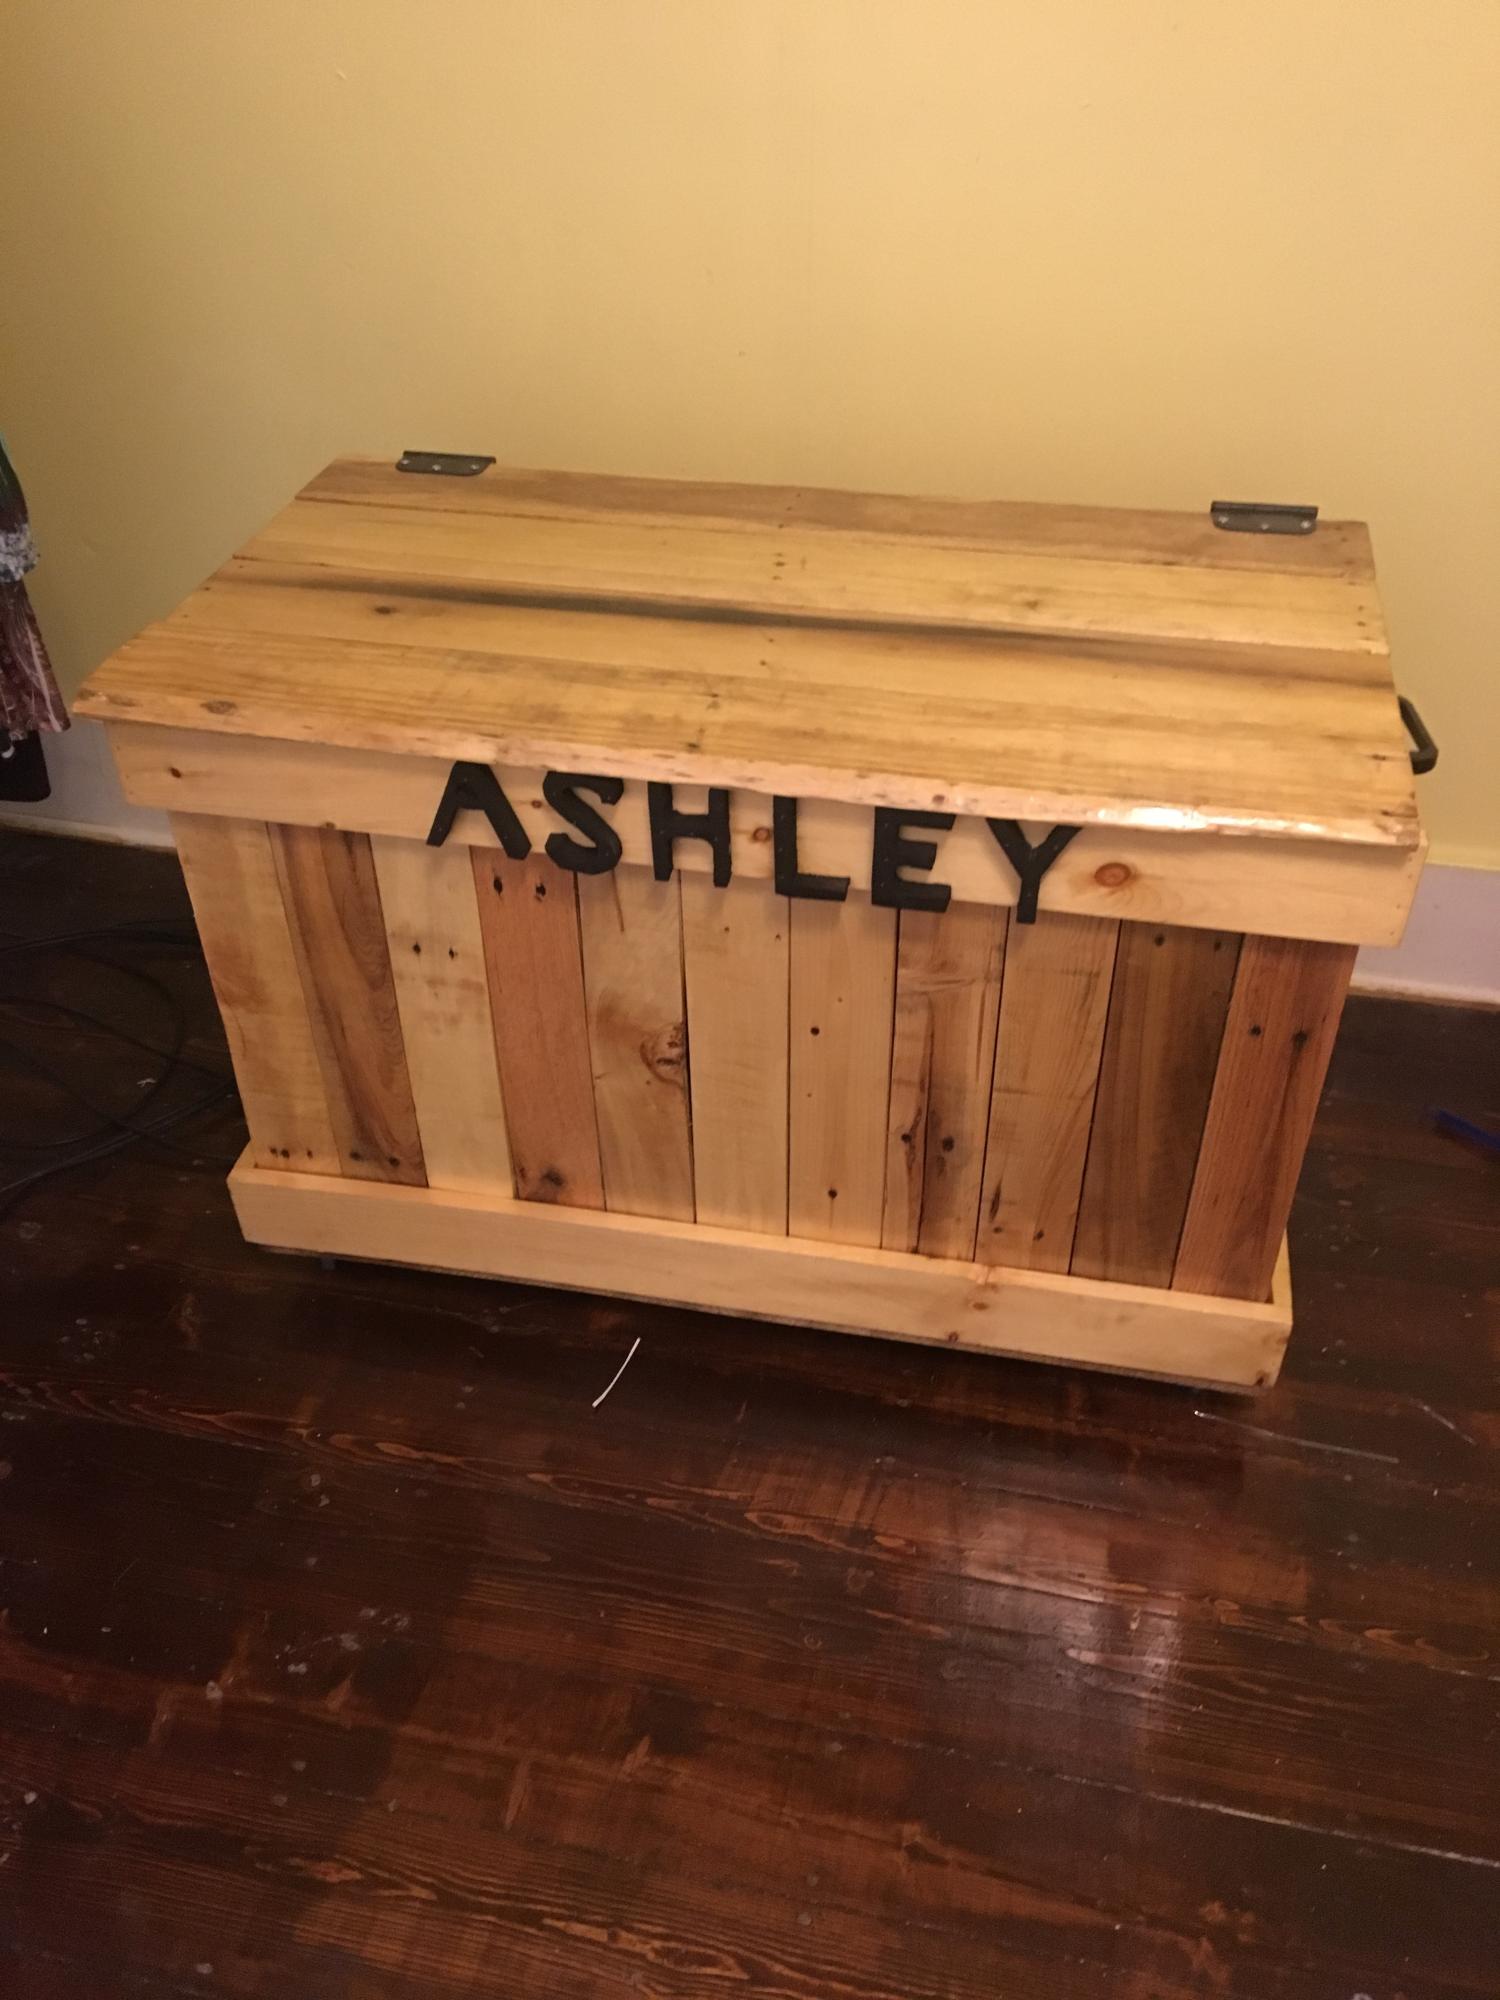
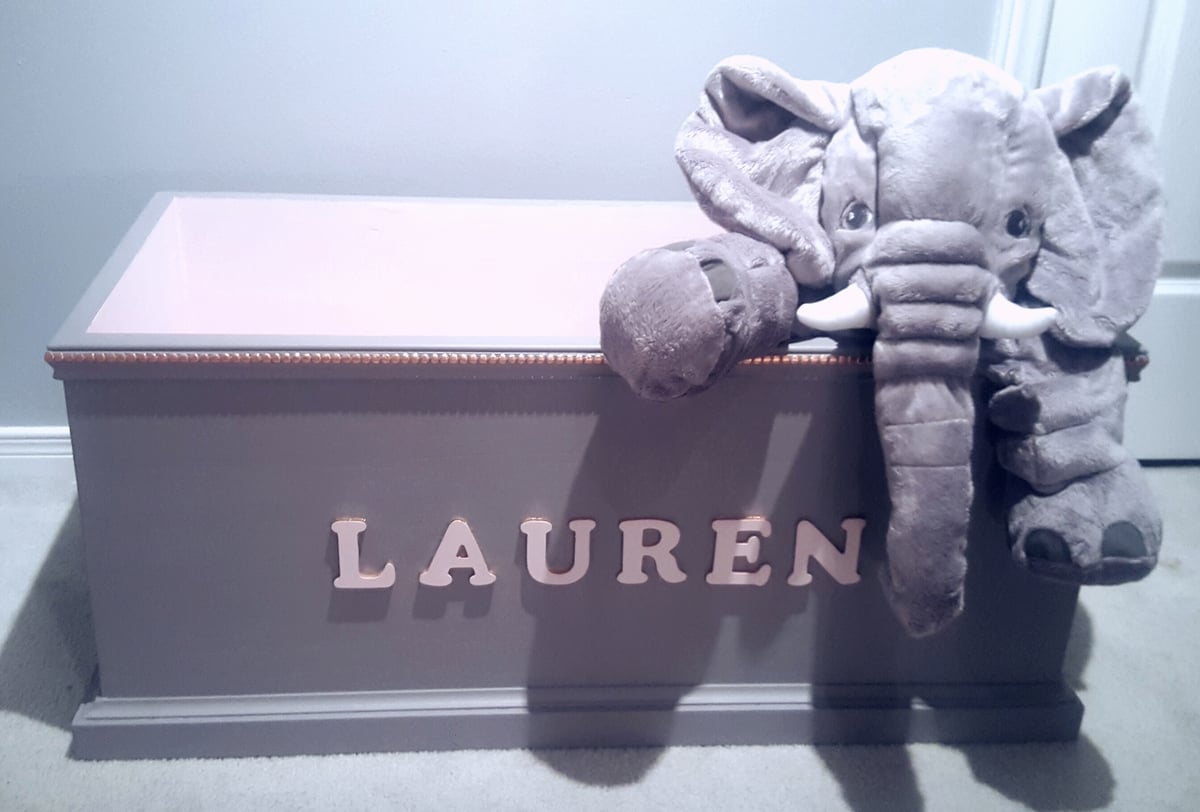
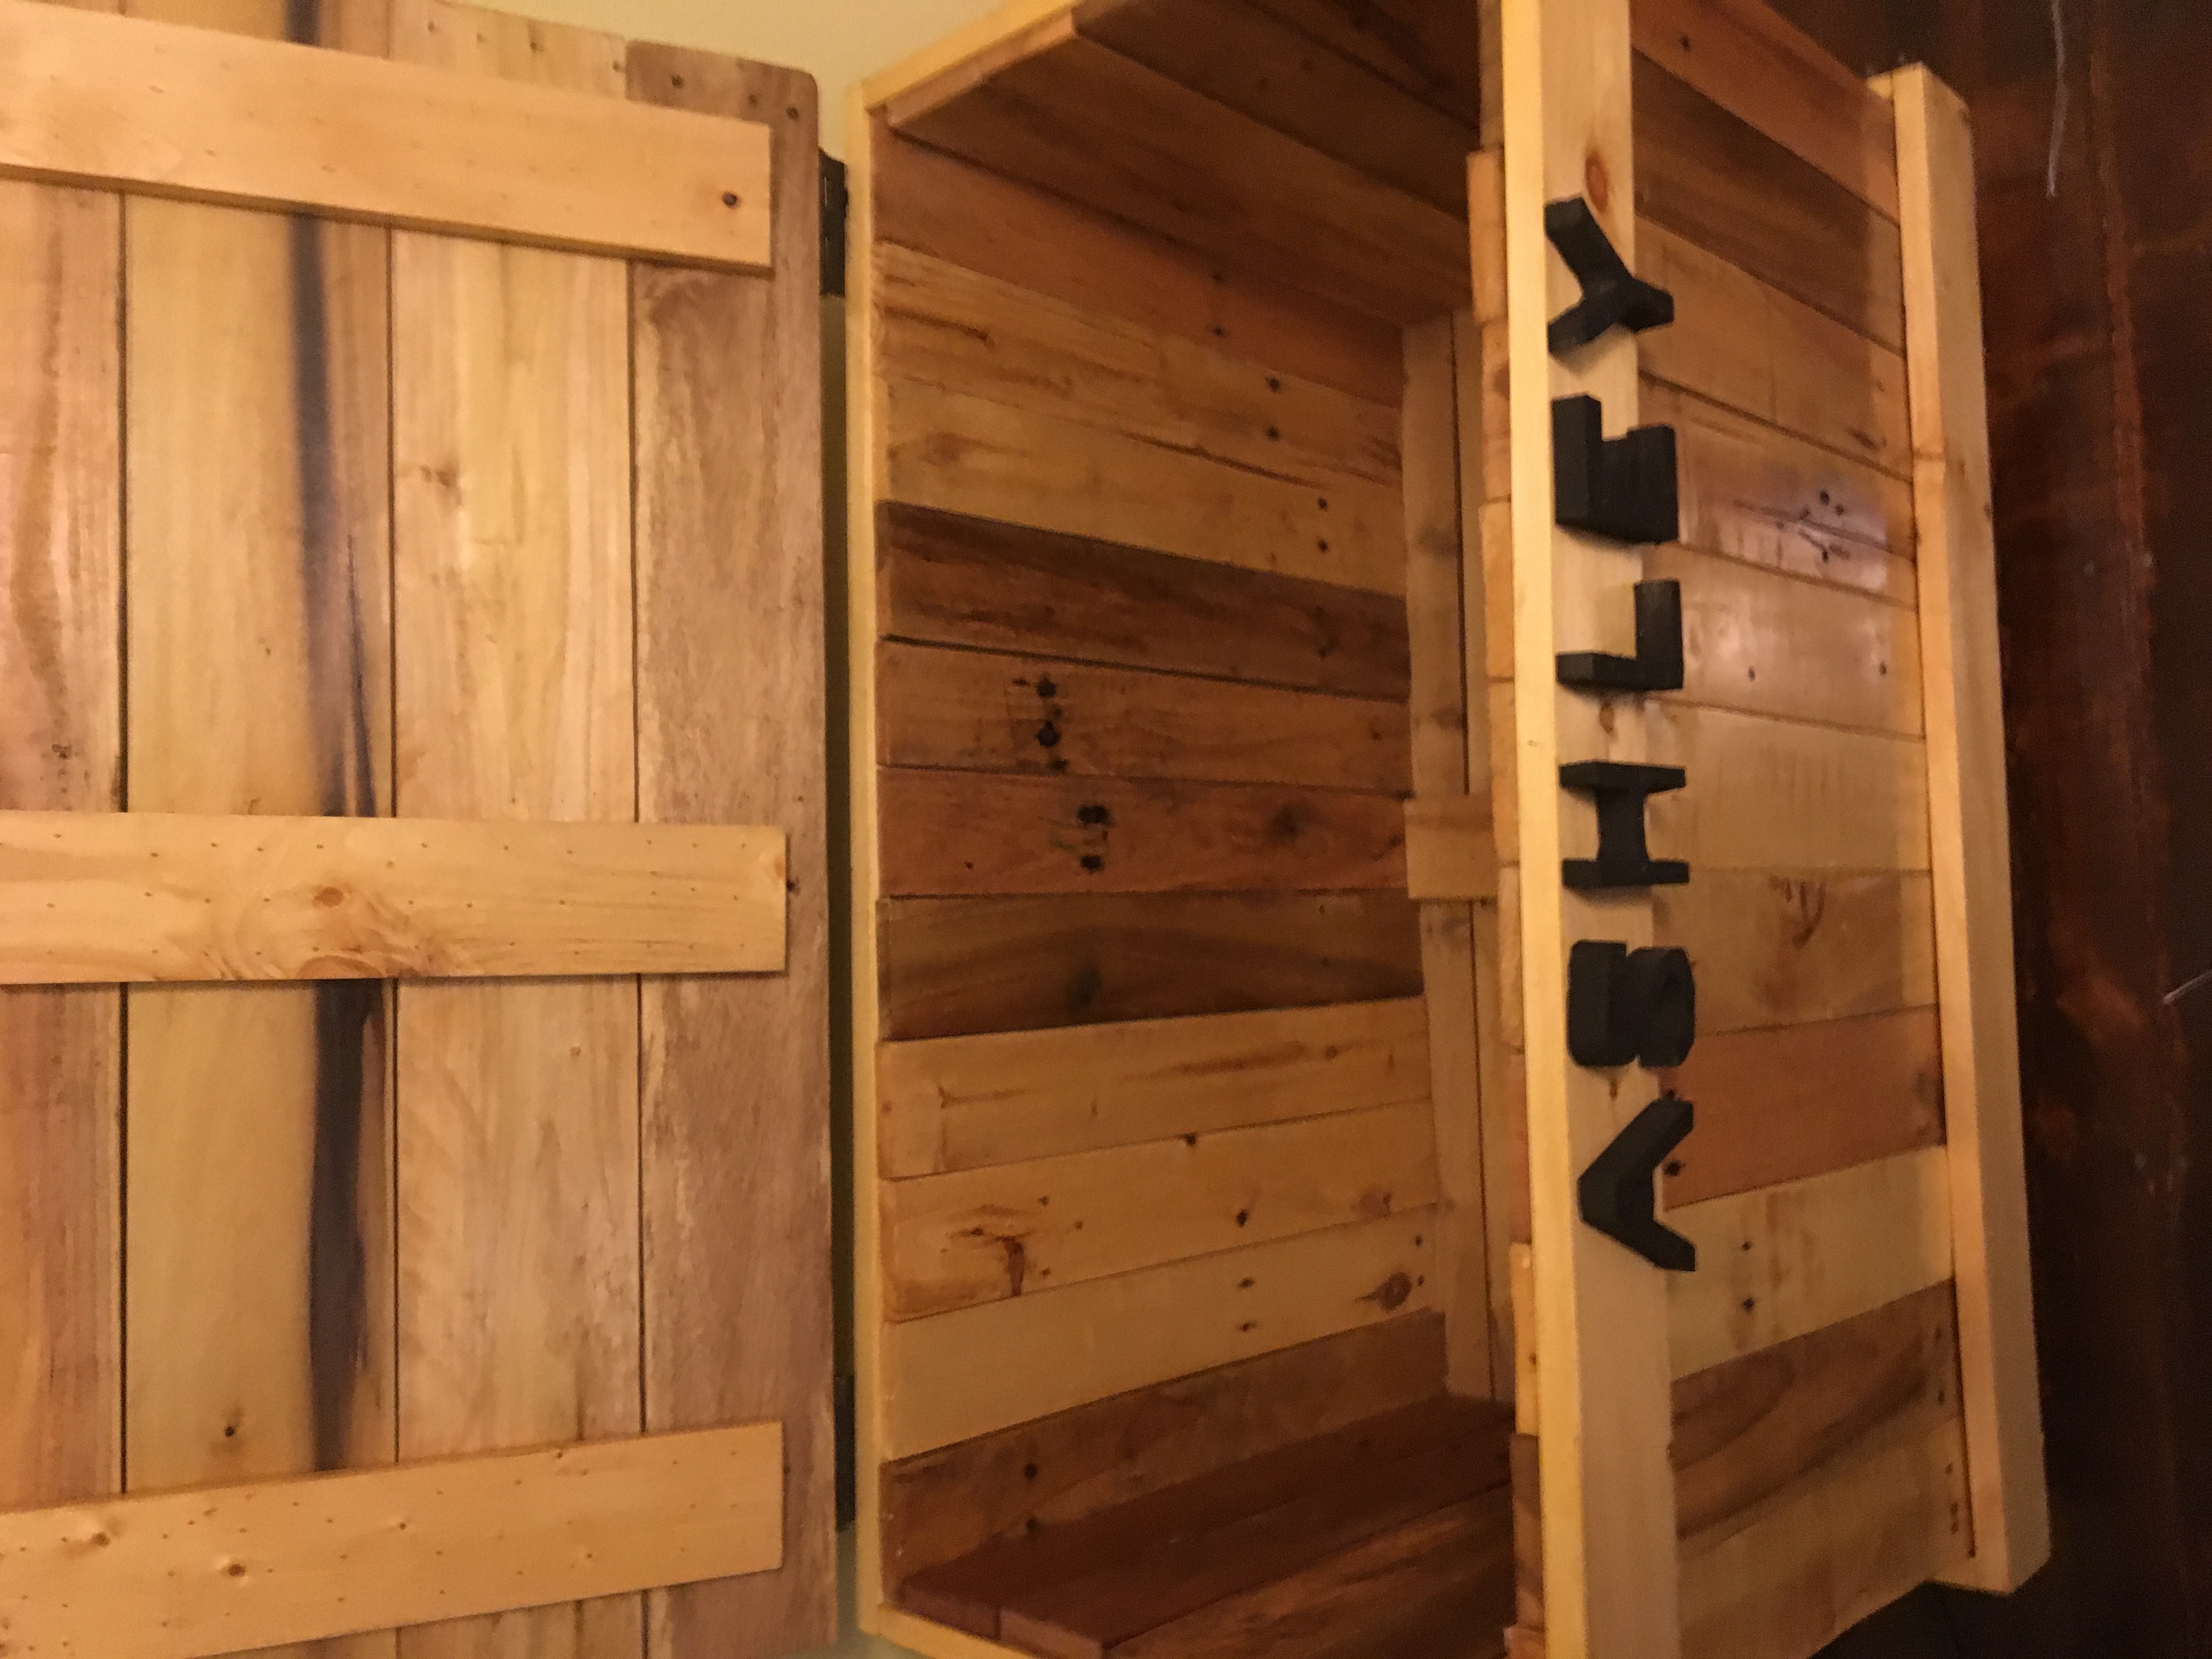
This is a hope chest I made for my step daughter this Christmas it is made intirely out of pallet wood except for the frame which I used 1by4 by 8 pine board
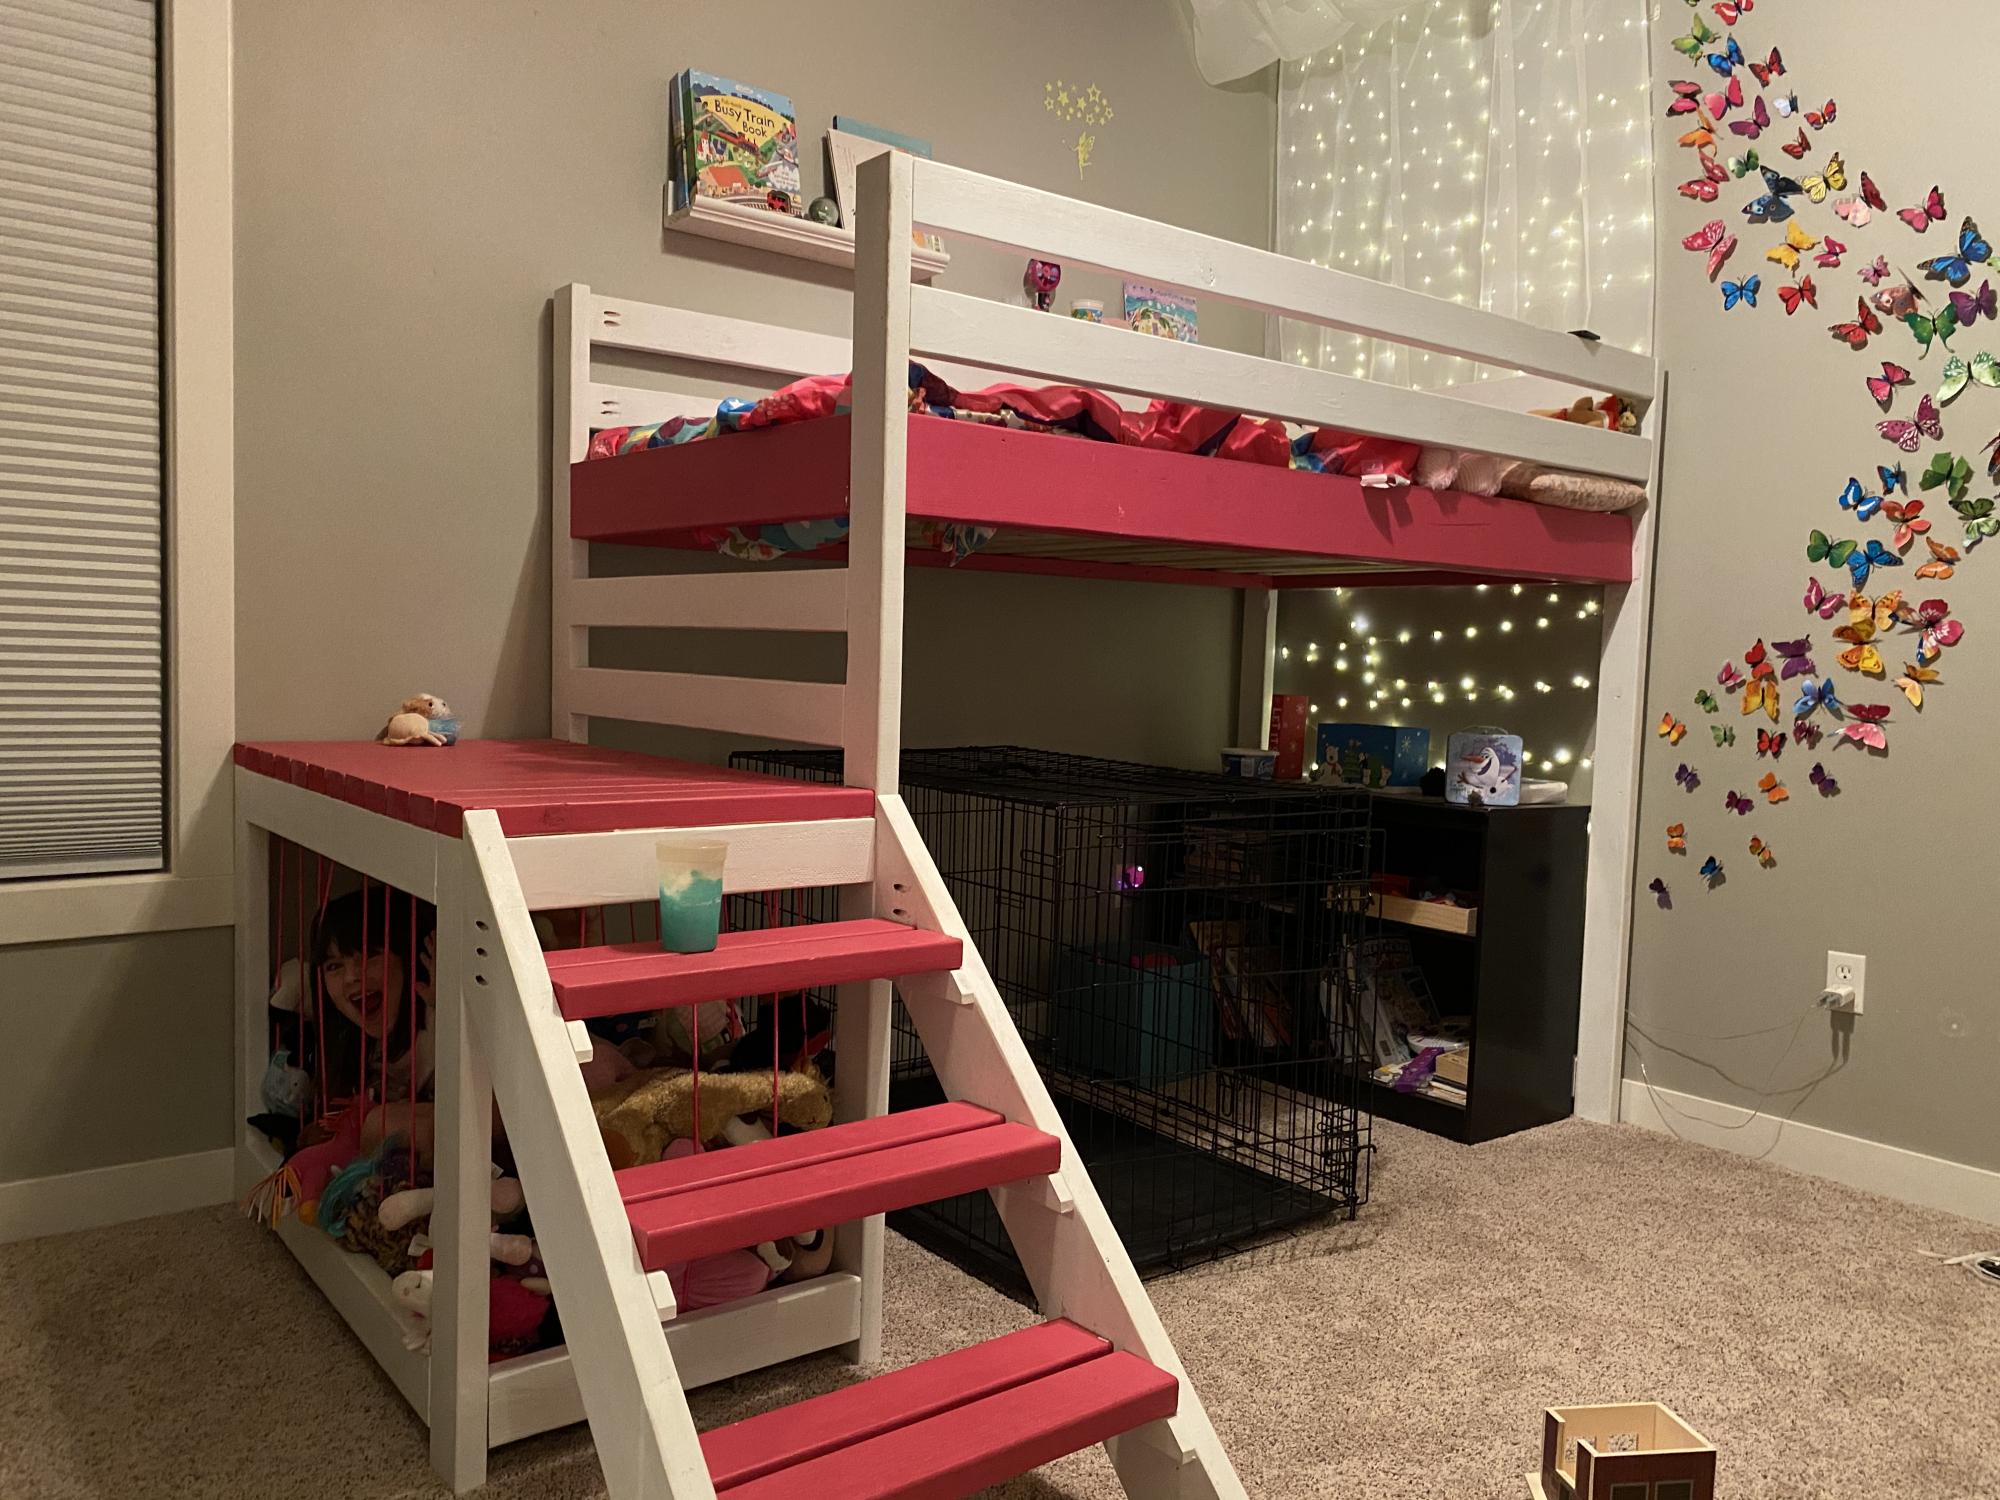
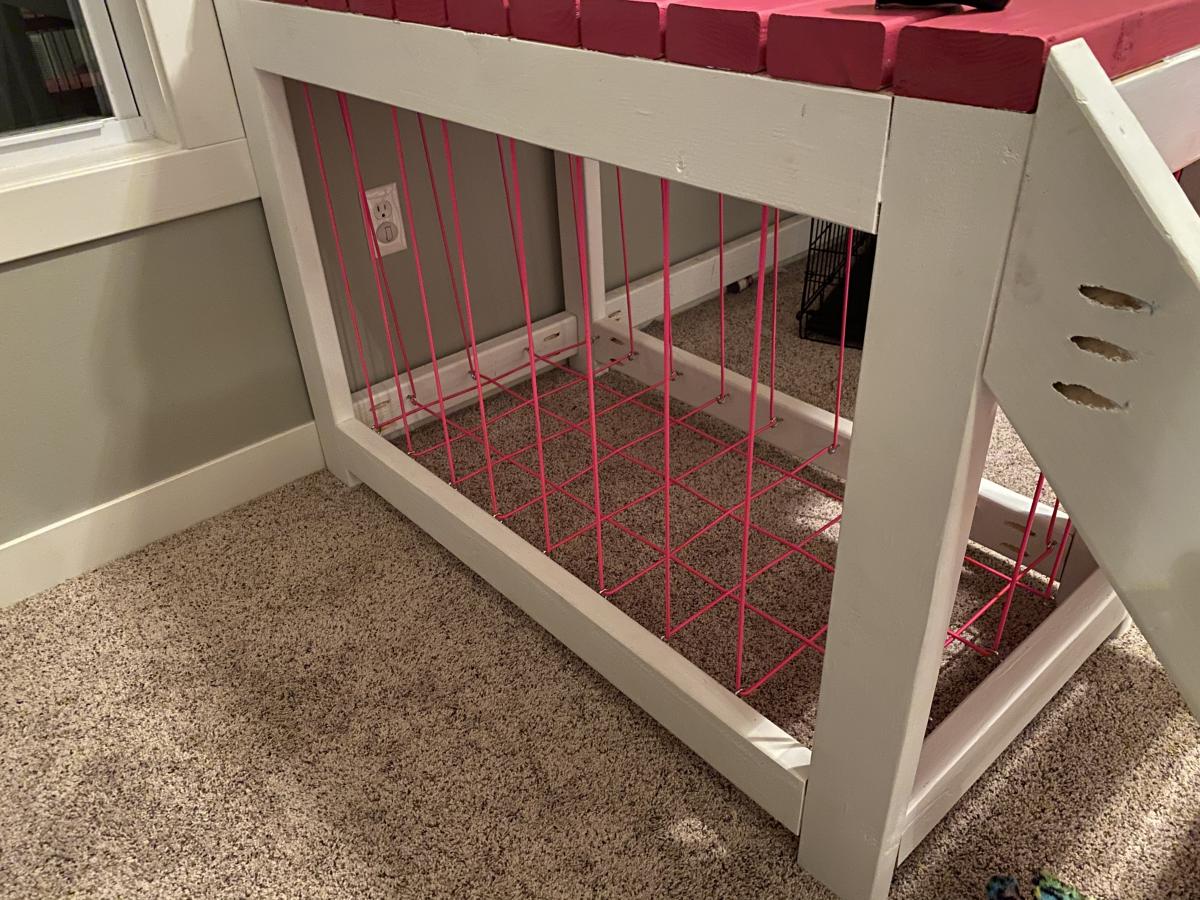
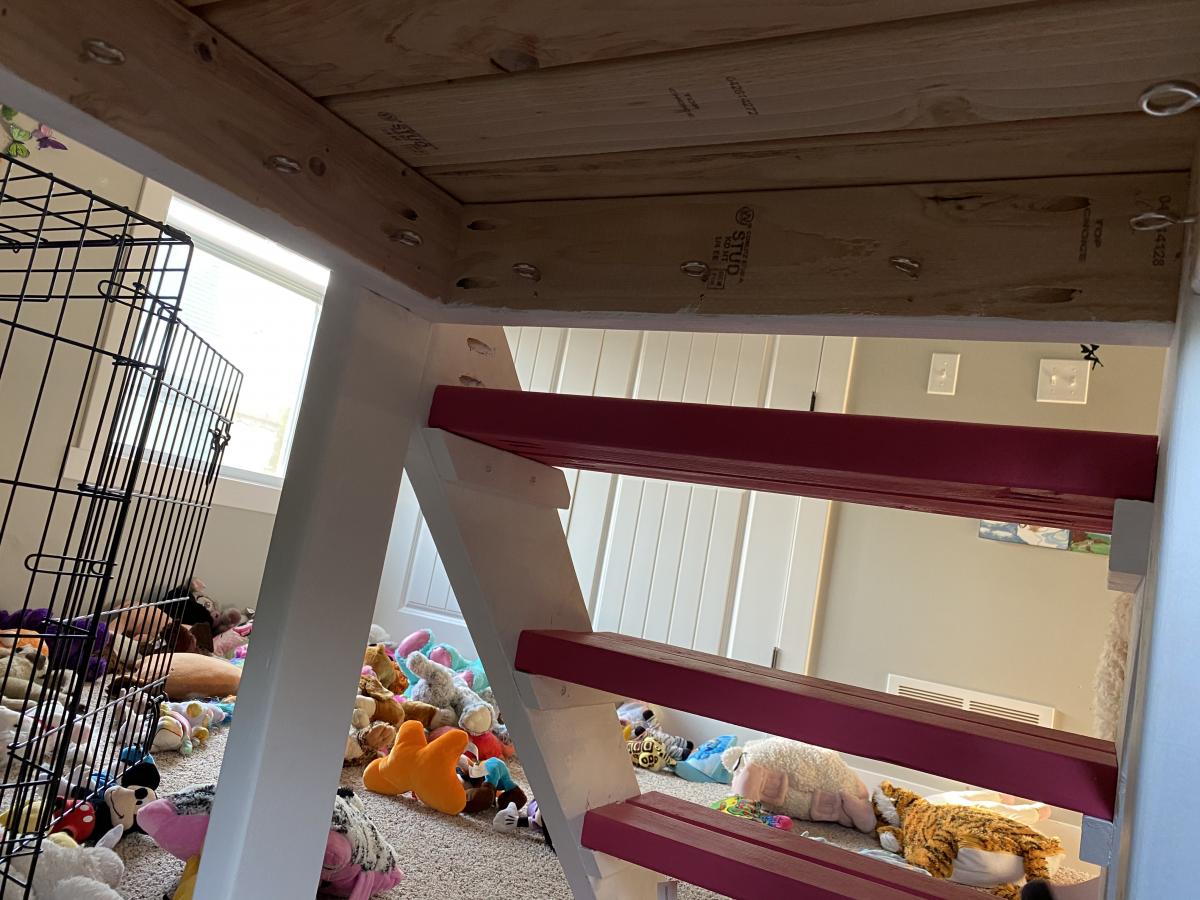
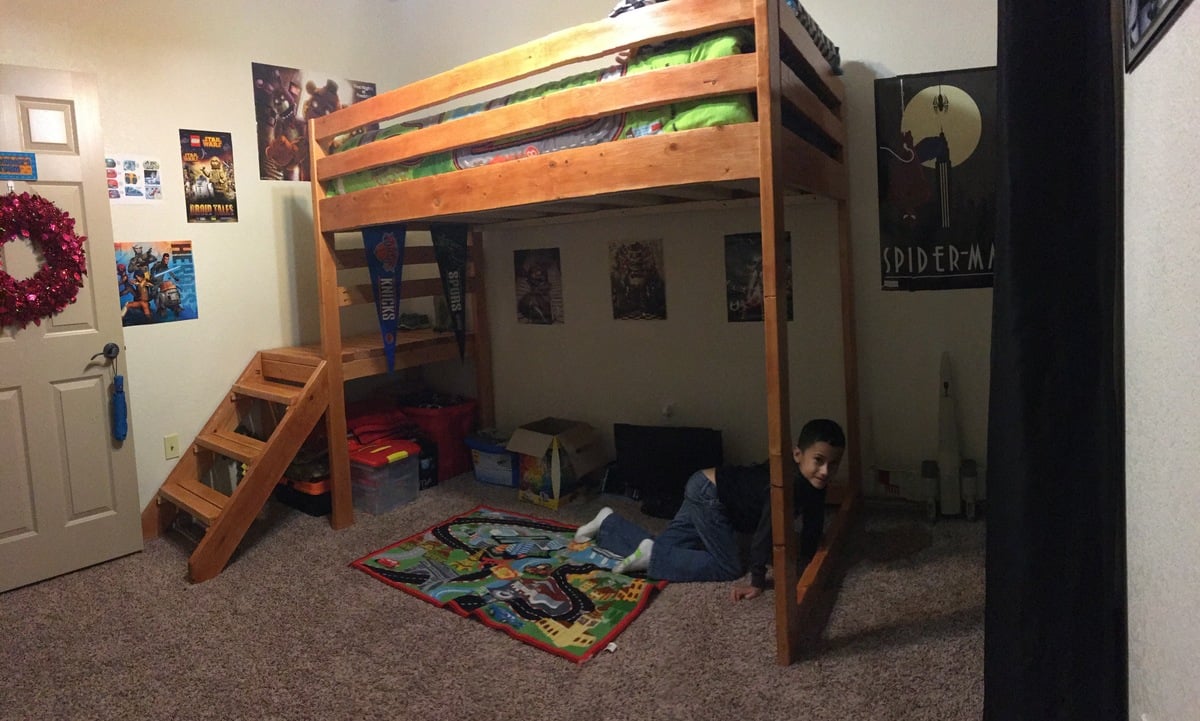
I made the loft bed for my 6yr old back in March. This weekend we took care of another issue, stuffed animal storage. So I added 3/16 bungee cord I found on Amazon. I bought 100 foot spool and it was plenty. Also found on Amazon 50 count of the 1.6 inch eye screws and had 2 leftover. I had to add 3 boards to the existing bed to complete this project.
It took some practice to get the cord threaded the way I liked it. I wasn’t overly concerned with the cord going straight up and down but I knew I didn’t like the diagonal look. I also wanted the stuffed animals off the ground to prevent a spider haven.
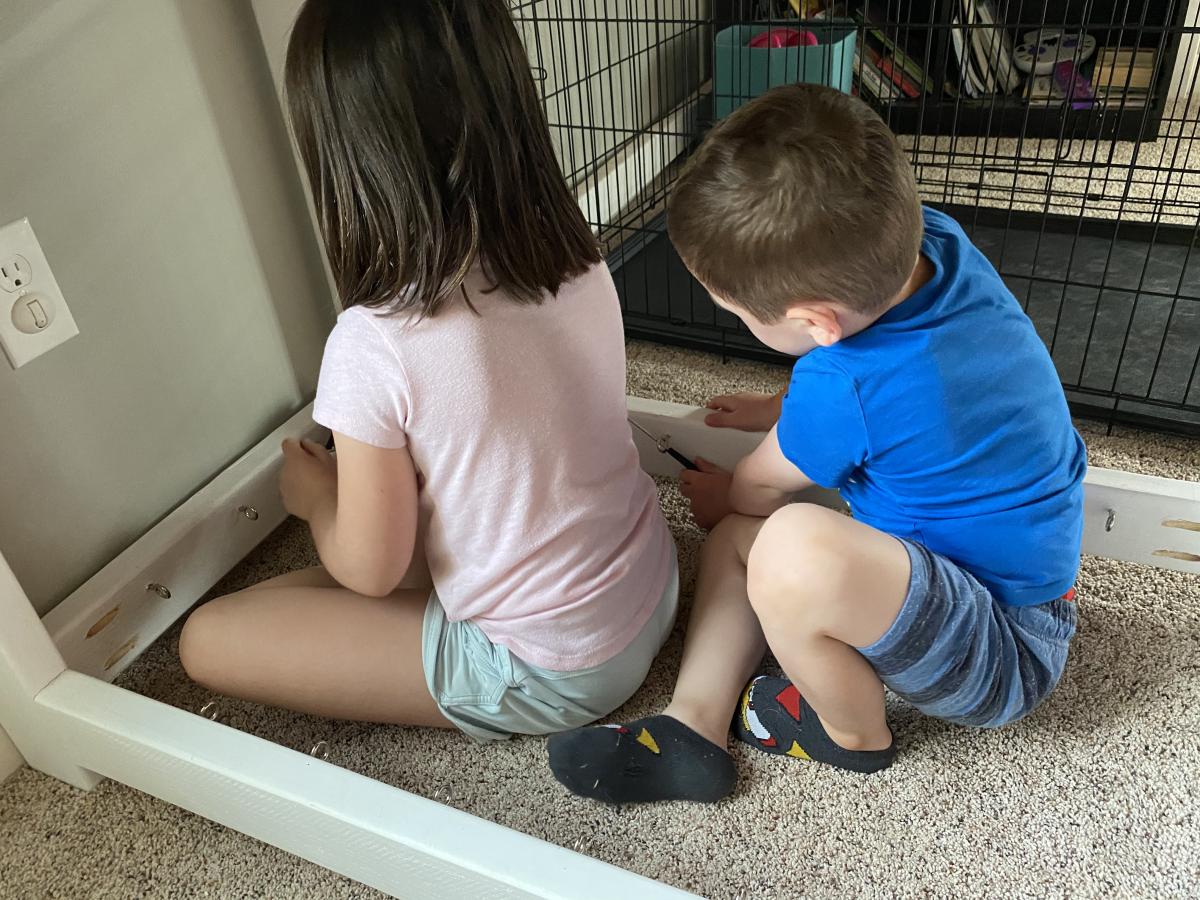
We used a drill to start pilot holes for the eyelet screws 1 inch from the edge of the board at 4.5 inches apart. Then the kids used small screwdrivers to twist the screws in. It was a real hand saver.
I hope this motivated someone to take care of that stuffed animal storage for good!
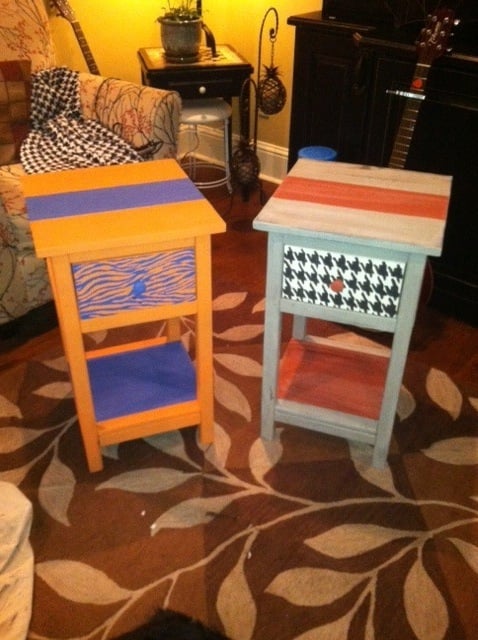
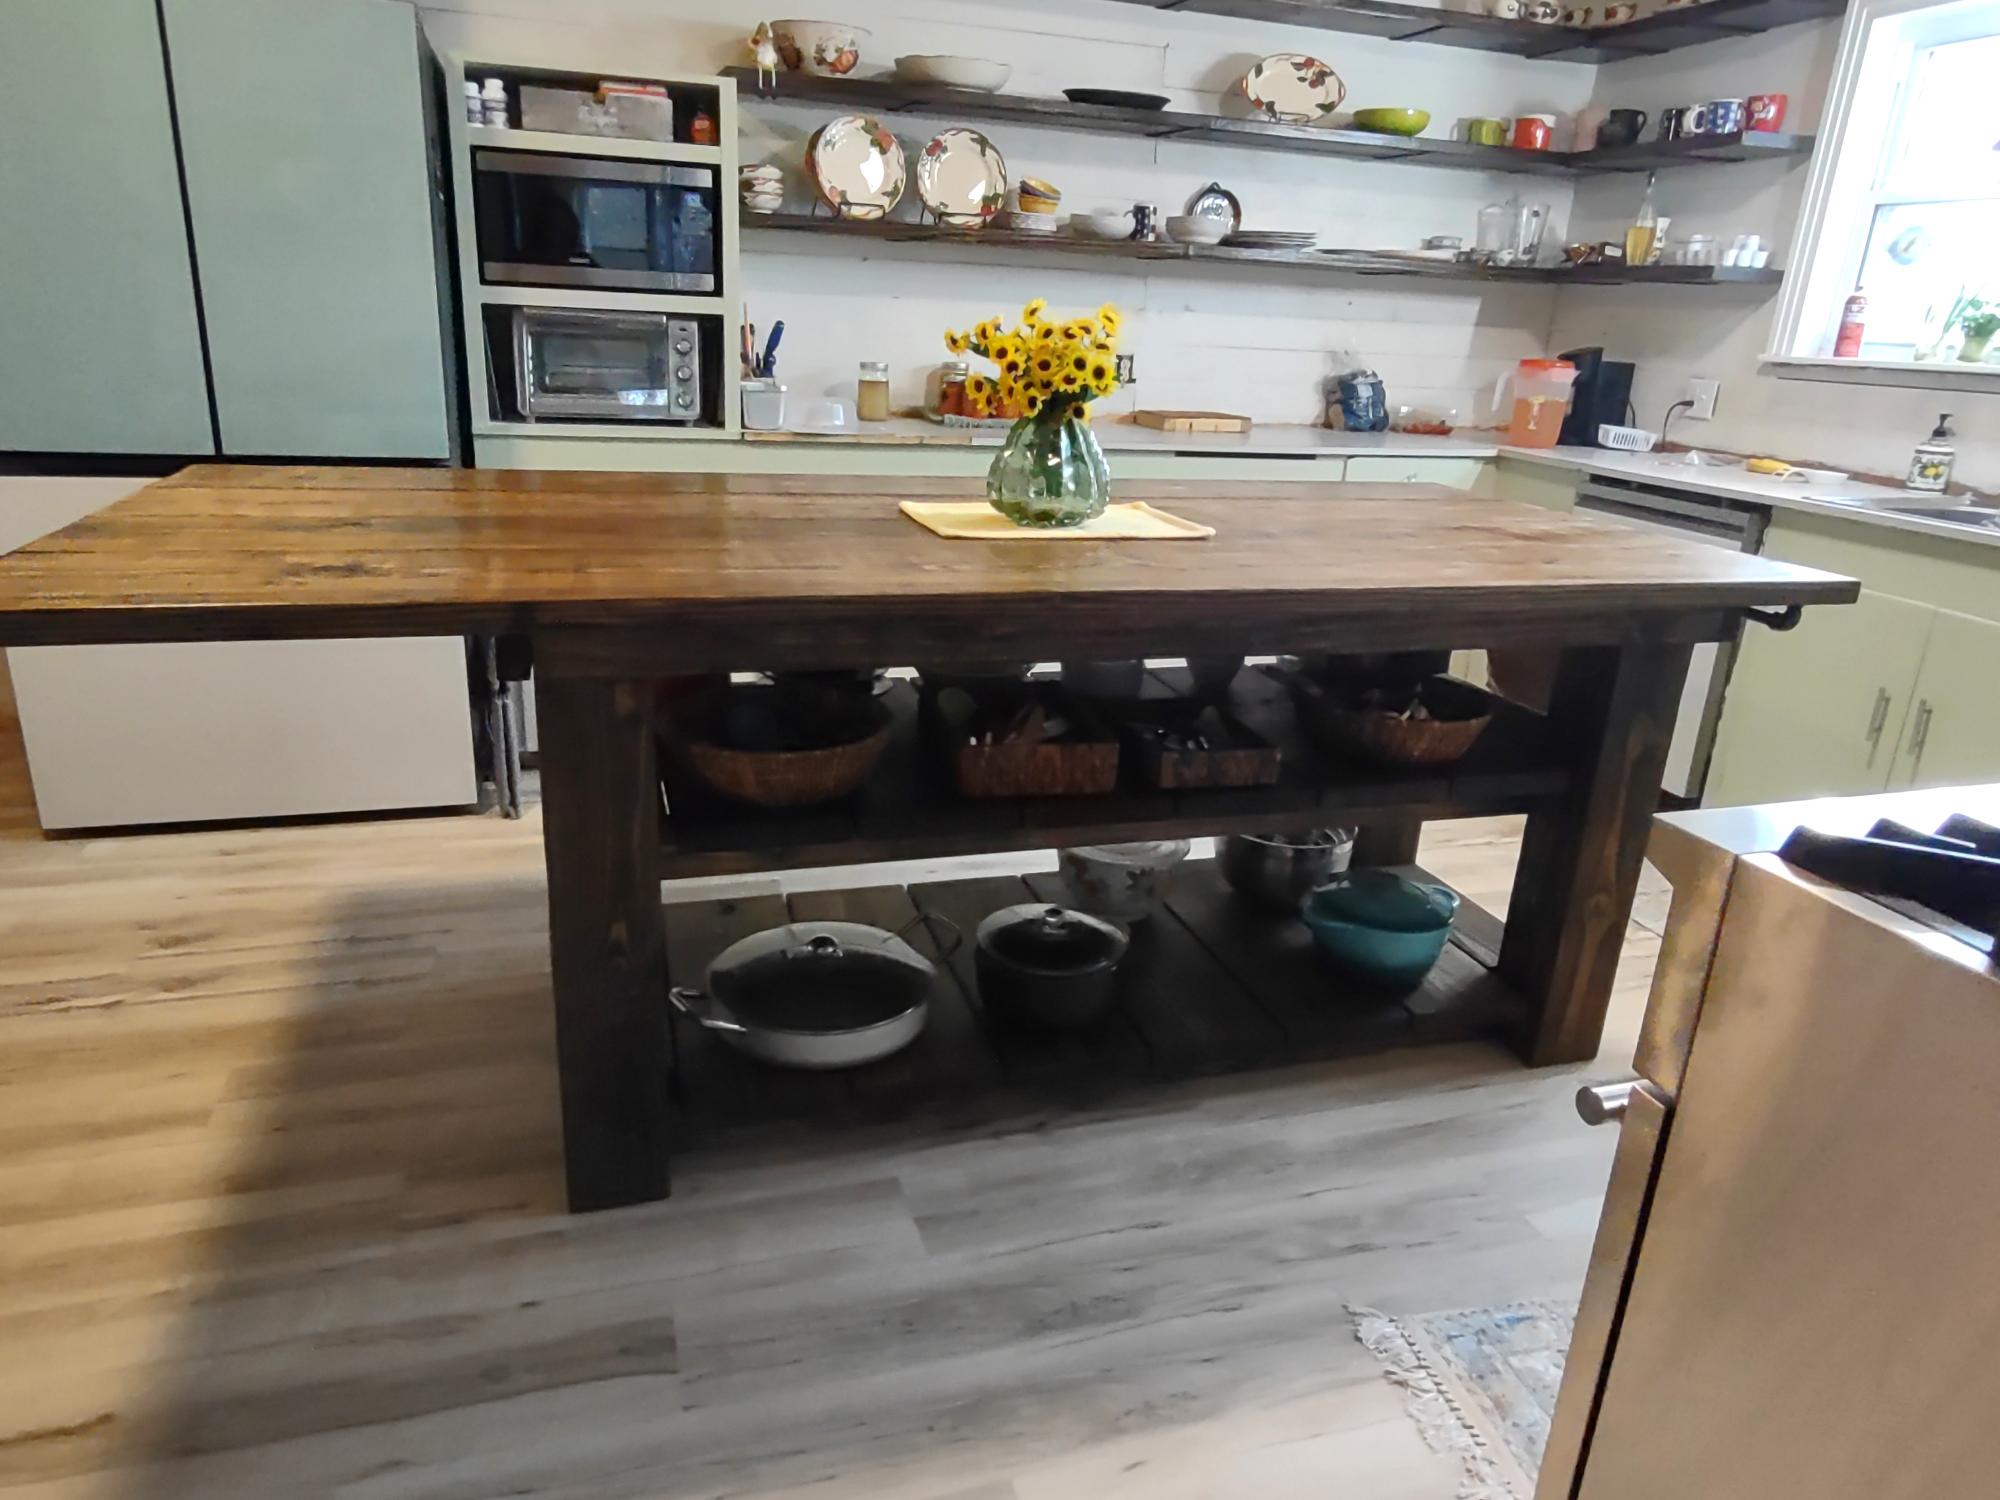
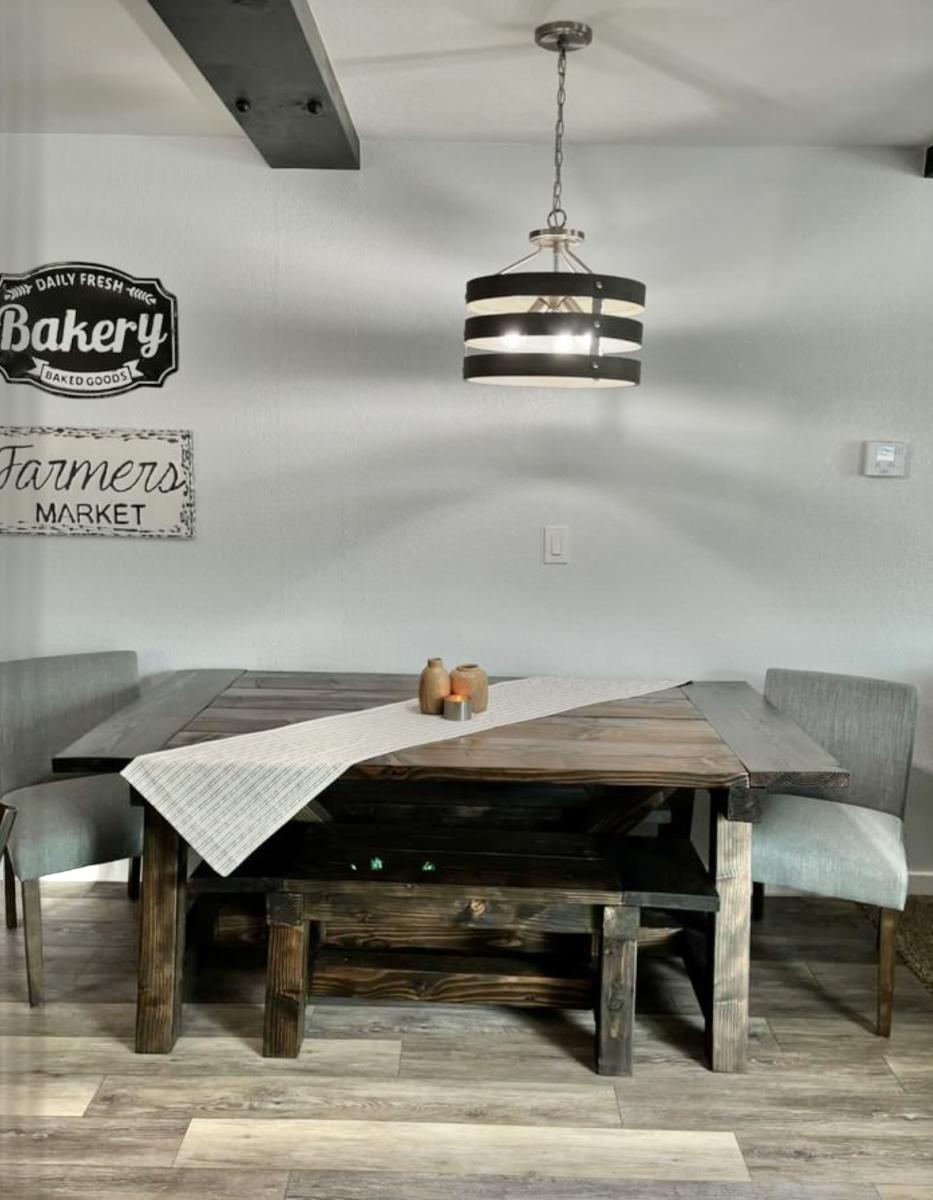
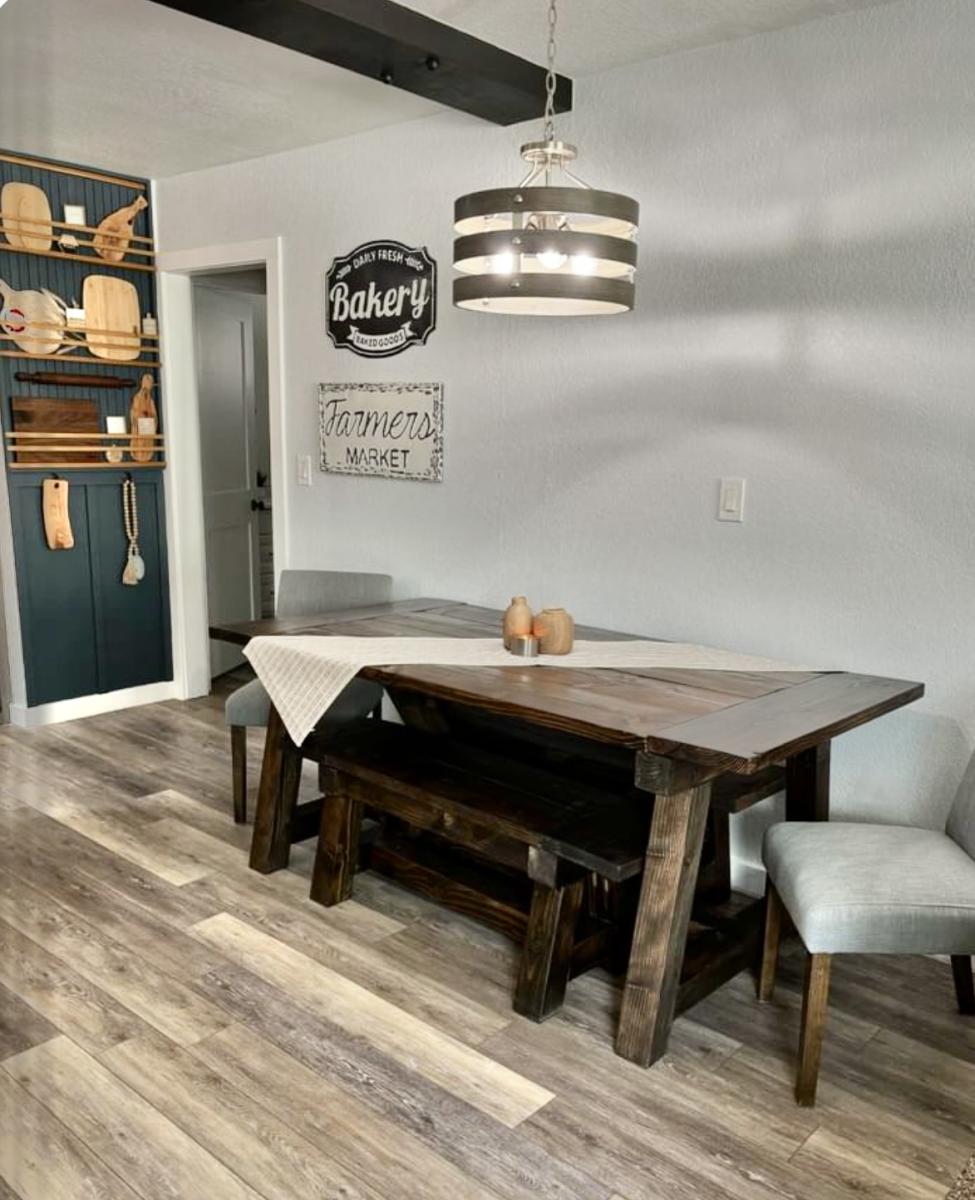
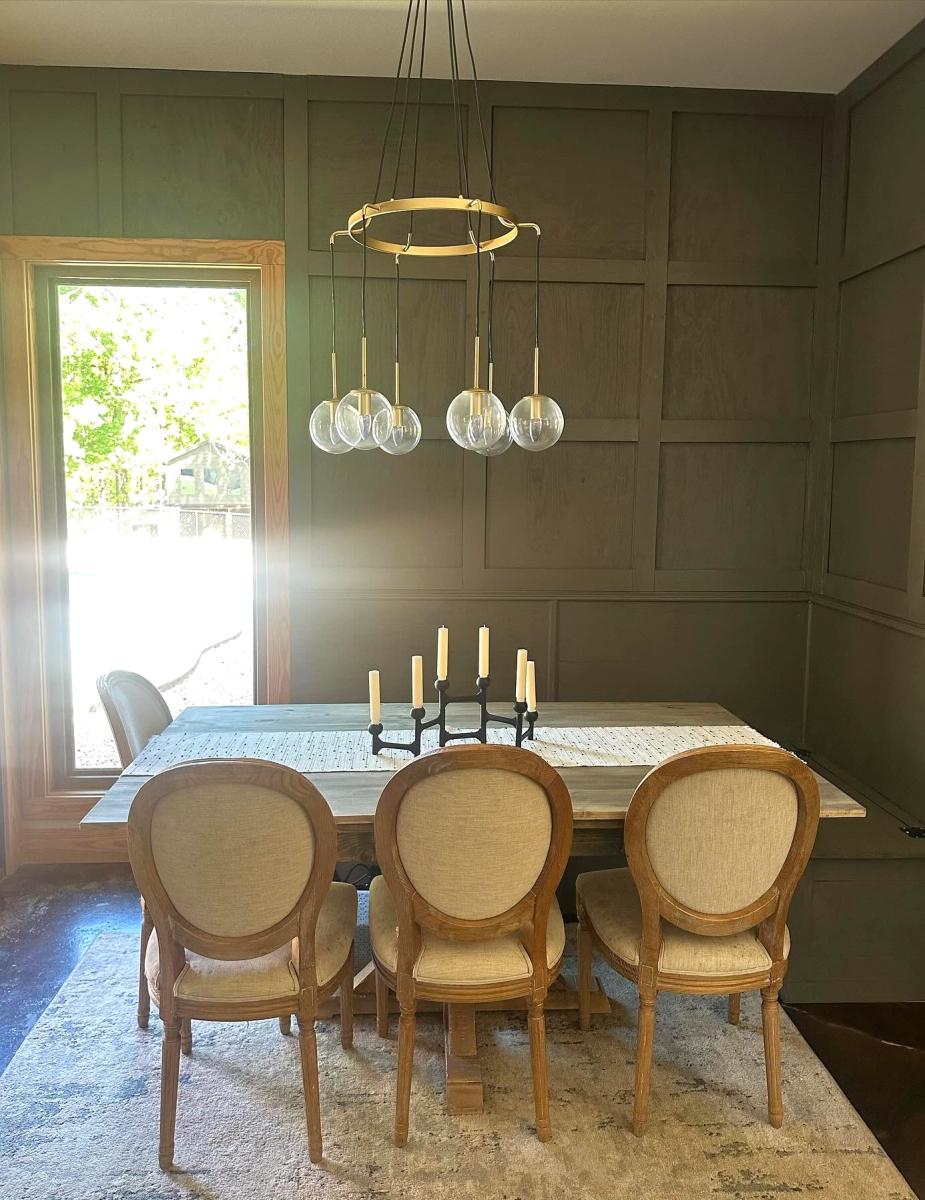
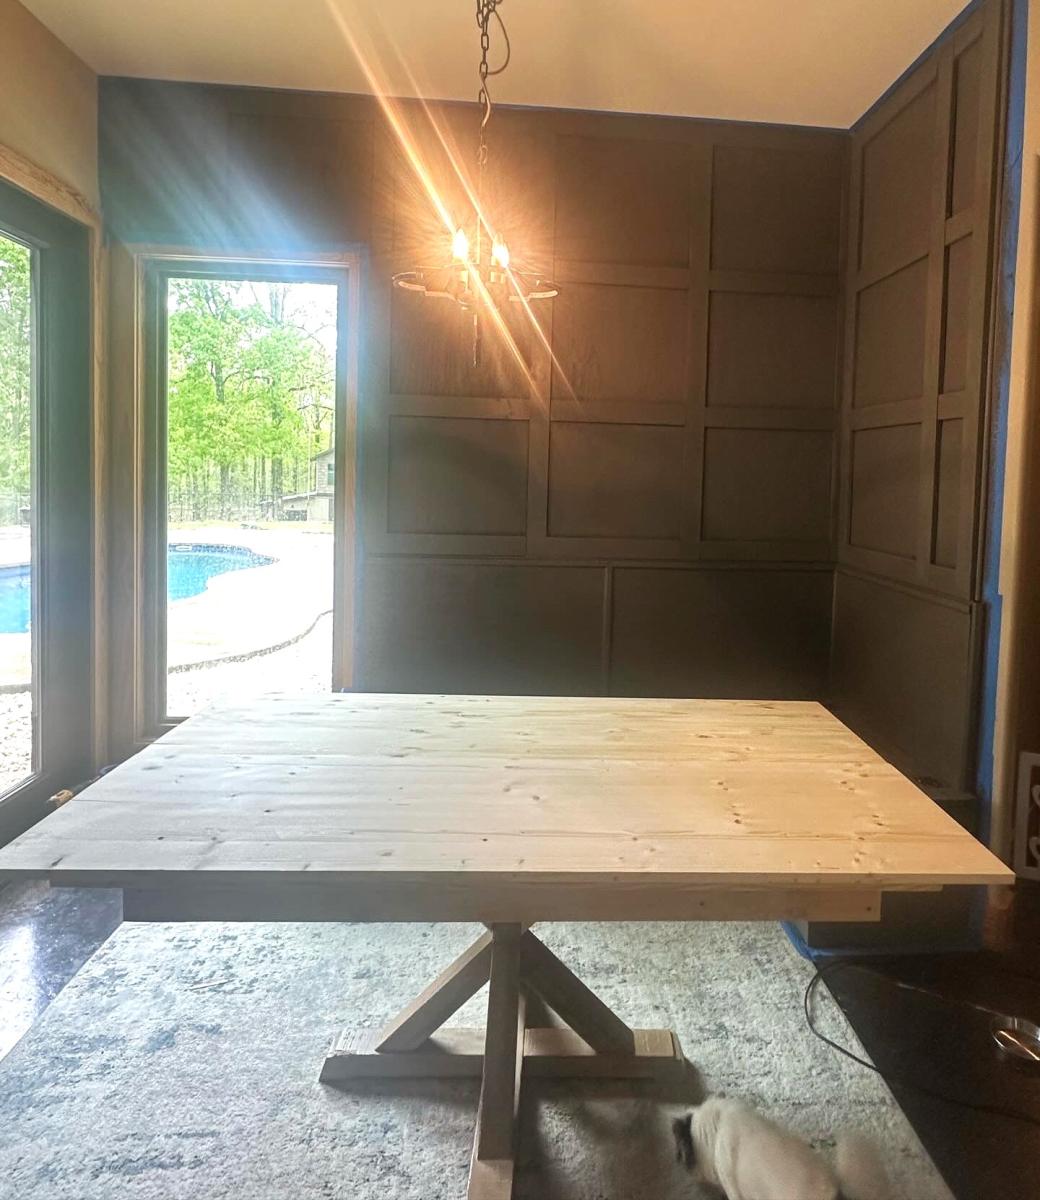
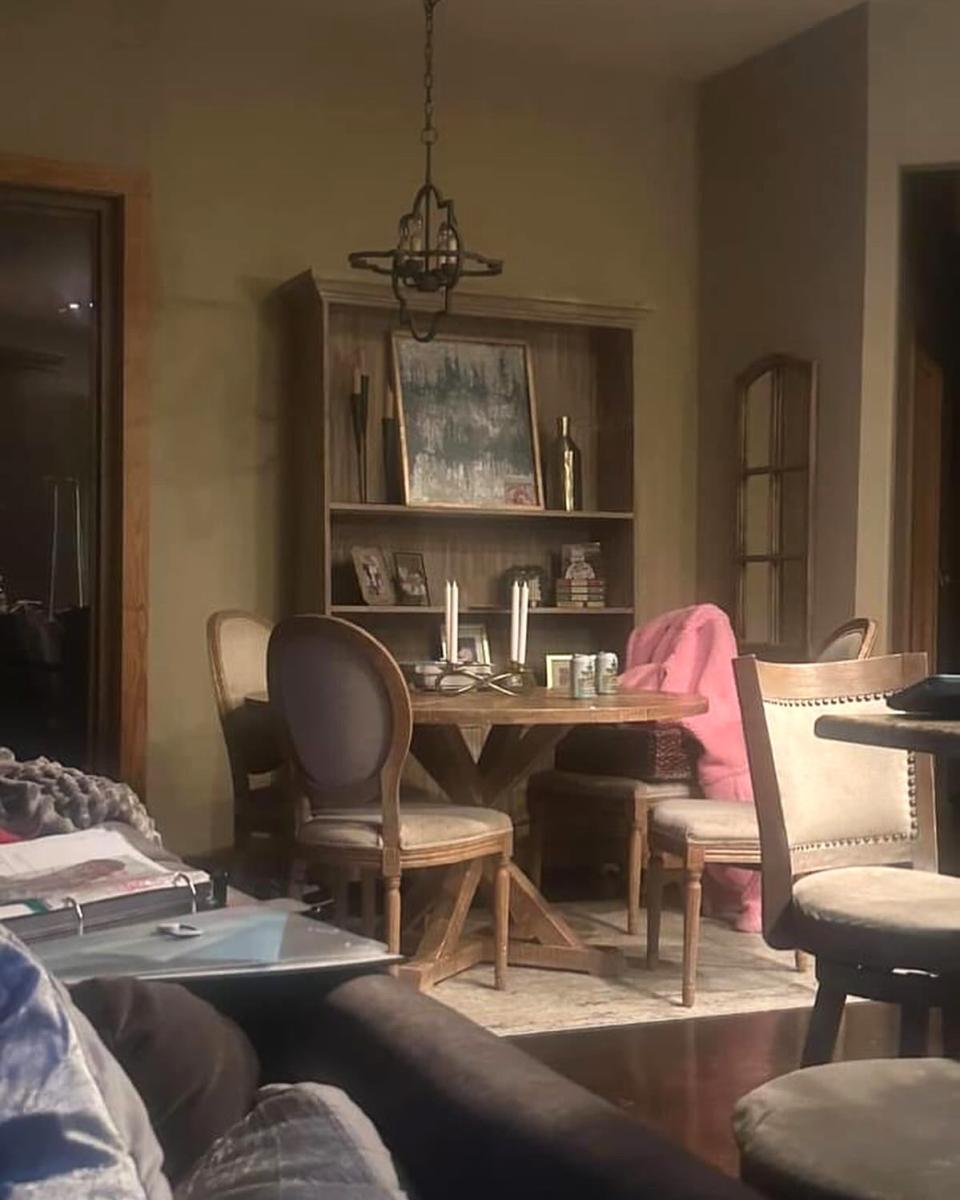
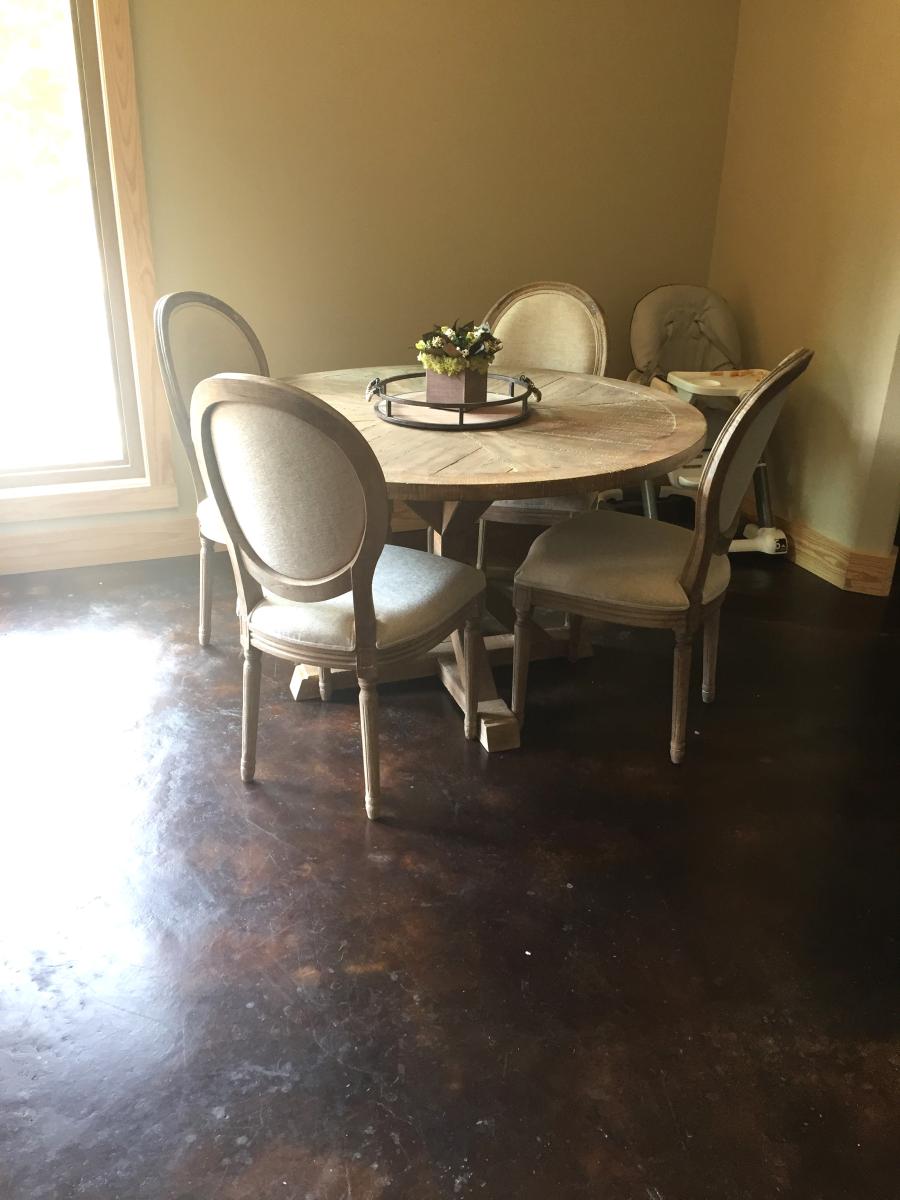
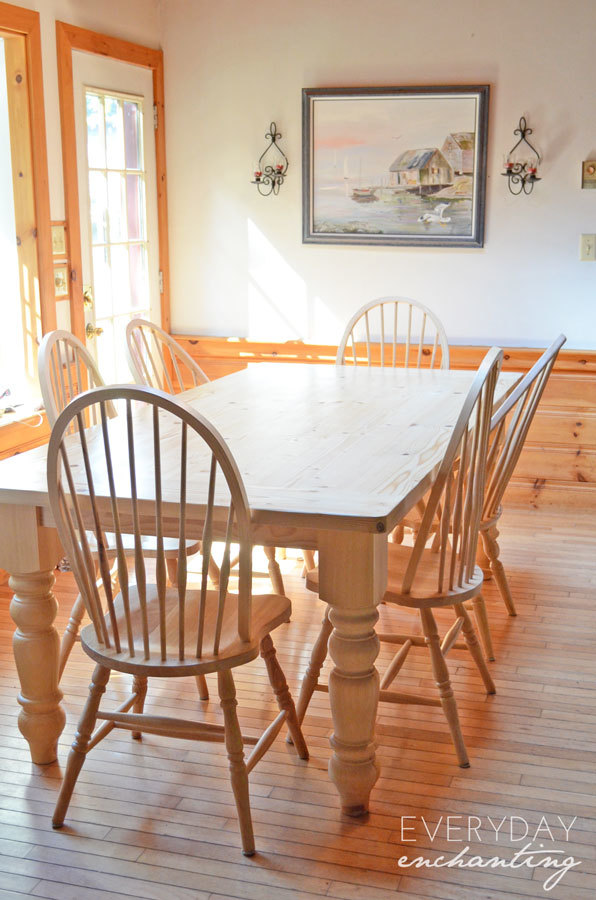
These mini farmhouse tables are great examples of a creative way to personalize plans. They both cheer for thier college team! And as fall in the south is here, college football is king. Please go to www.ourhomemadefamily.com for my thoughts on how the finish is the personality of all my custom builds.
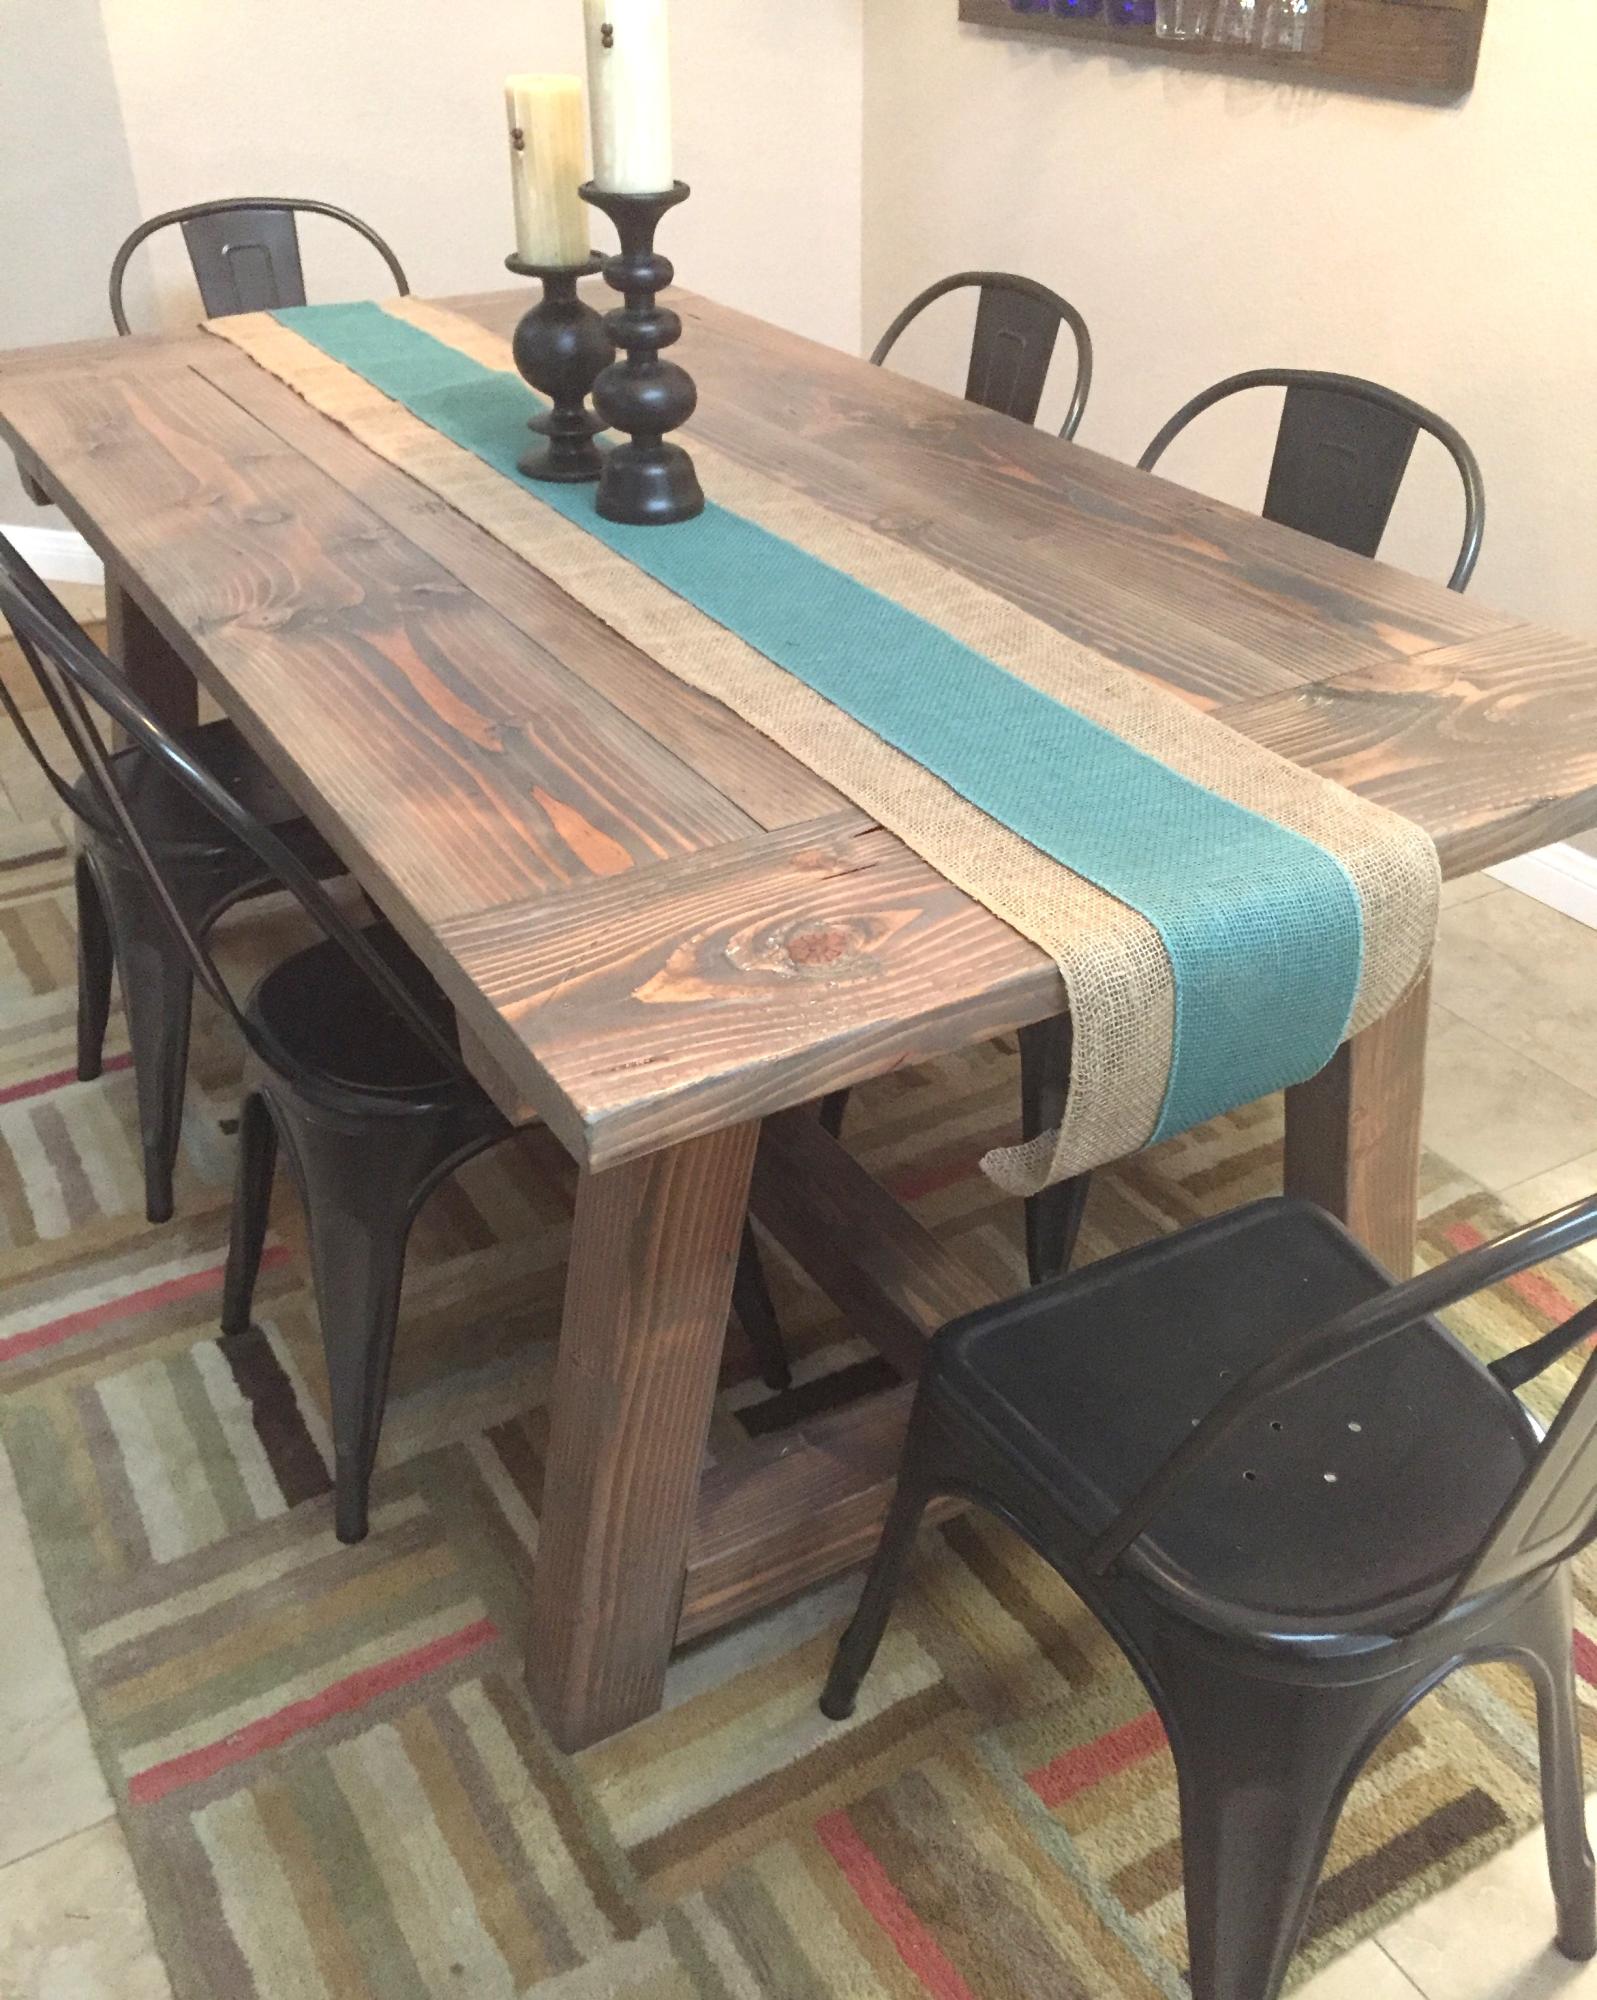
I reduced the length by 12 inches to accomodate my space, and I ripped the boards on the table saw so they would be more flush when I assembled the tabletop. Otherwise, I followed the plan exactly. Distressed tabletop before staining.
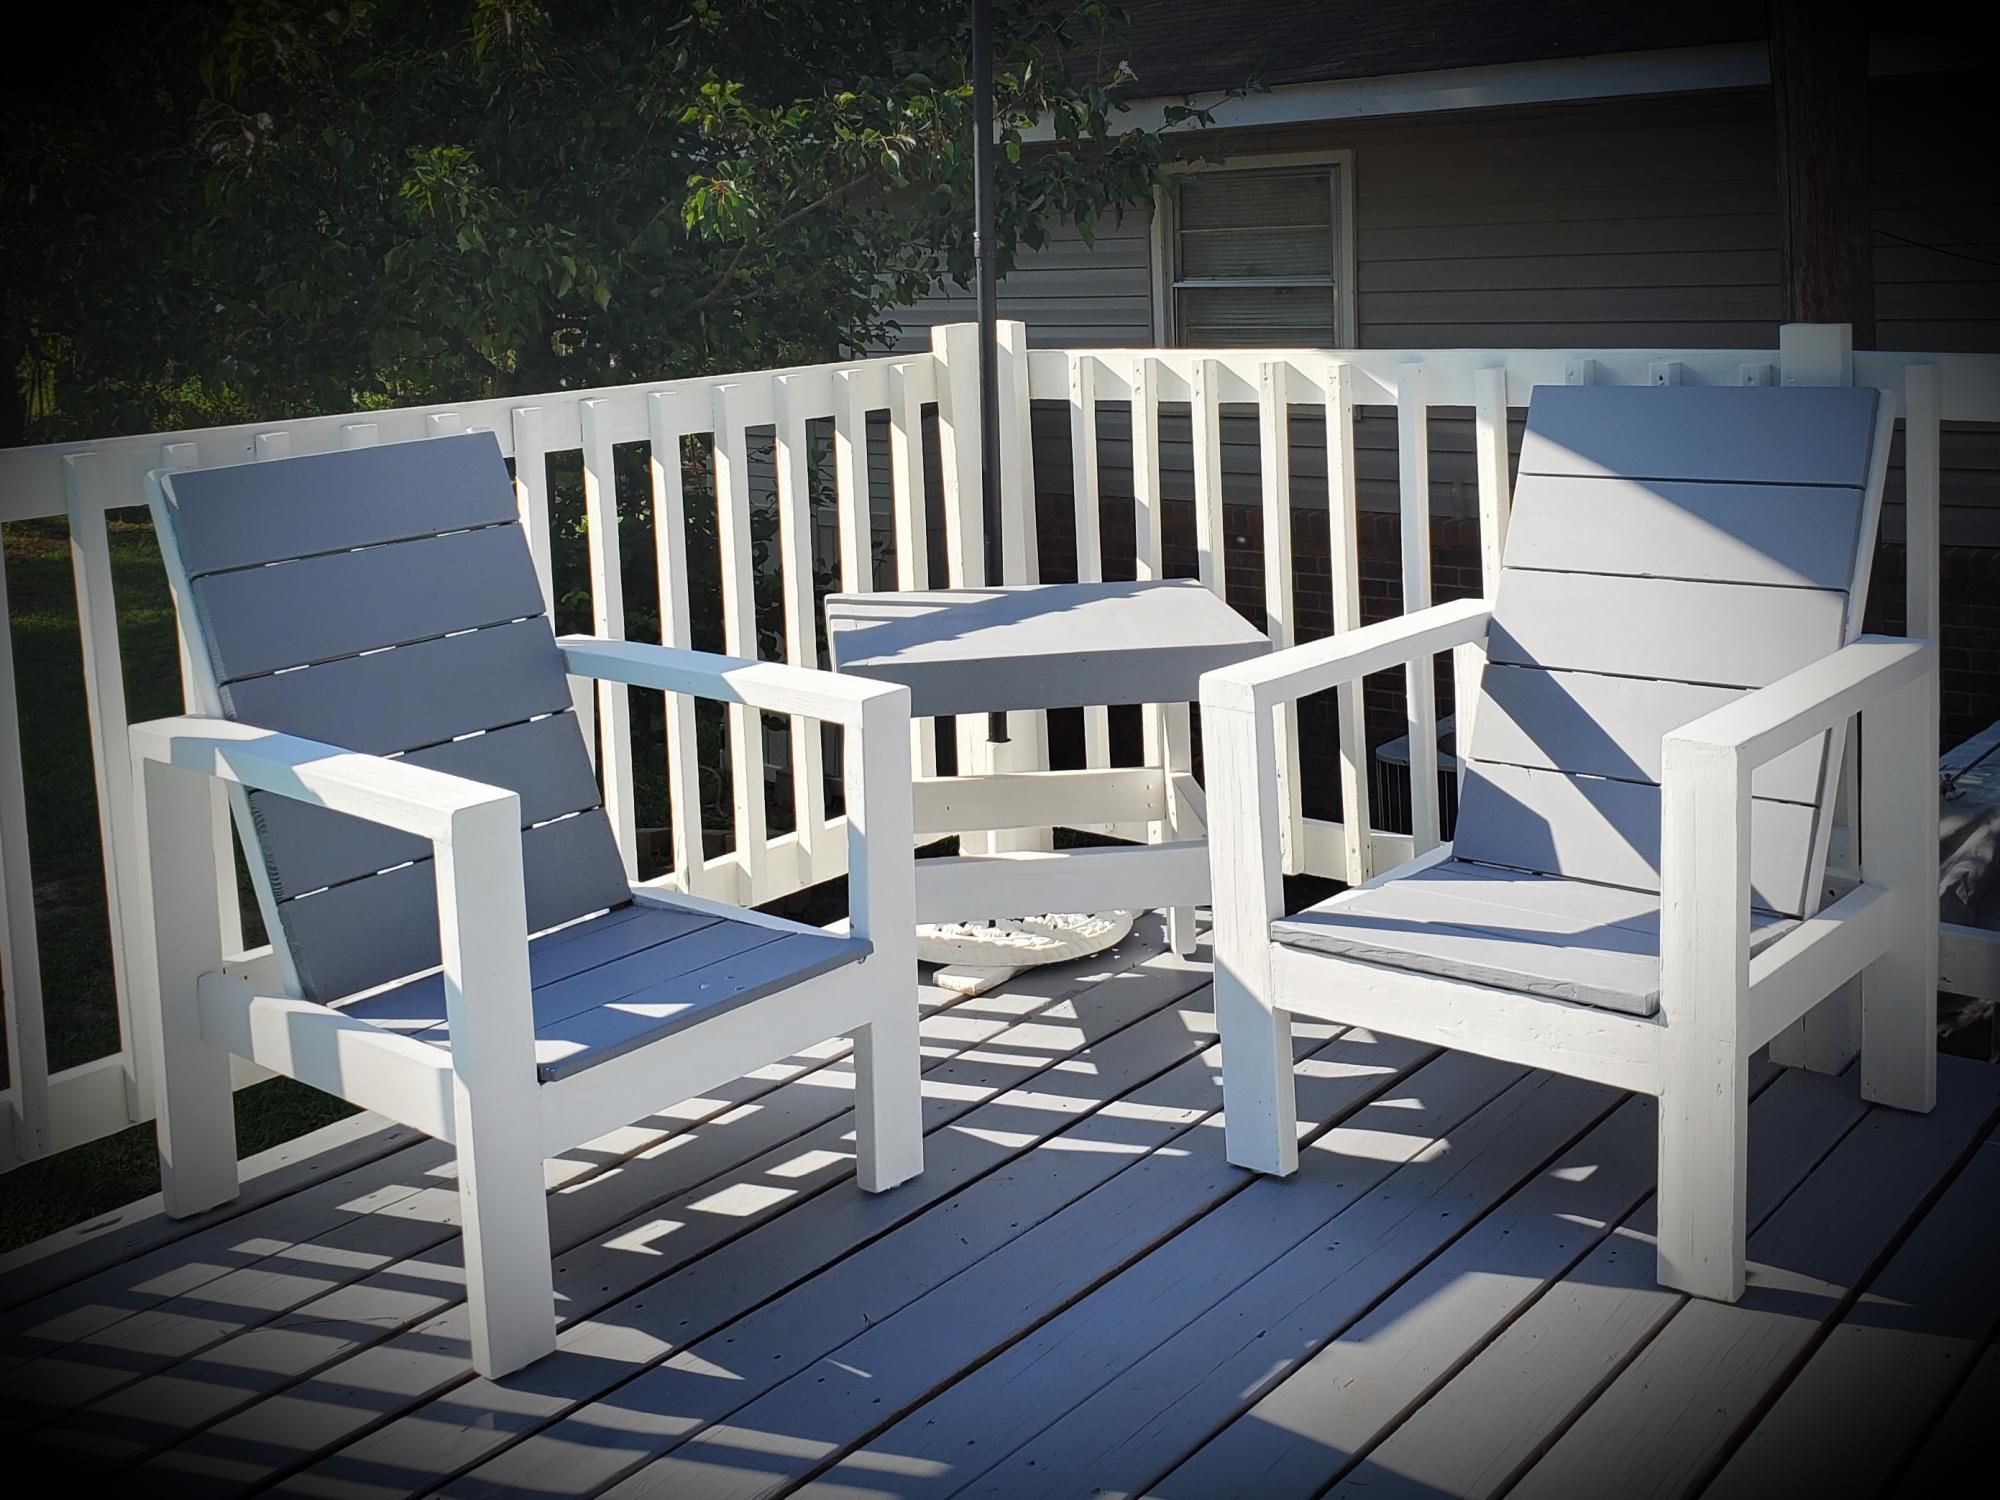
With a mix of the 2 attached plans, I found the perfect design! Plus, I was able to build them both, including the table, out of the scrap from the deck I built!! Thank you so much!!!
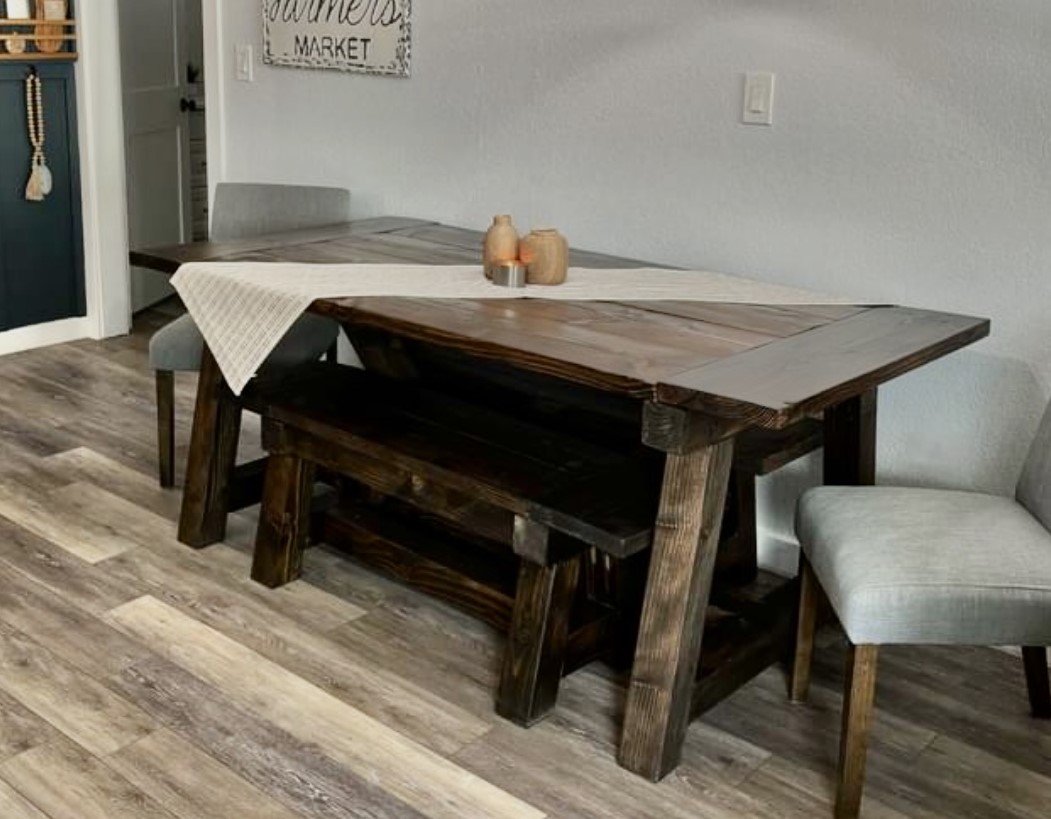
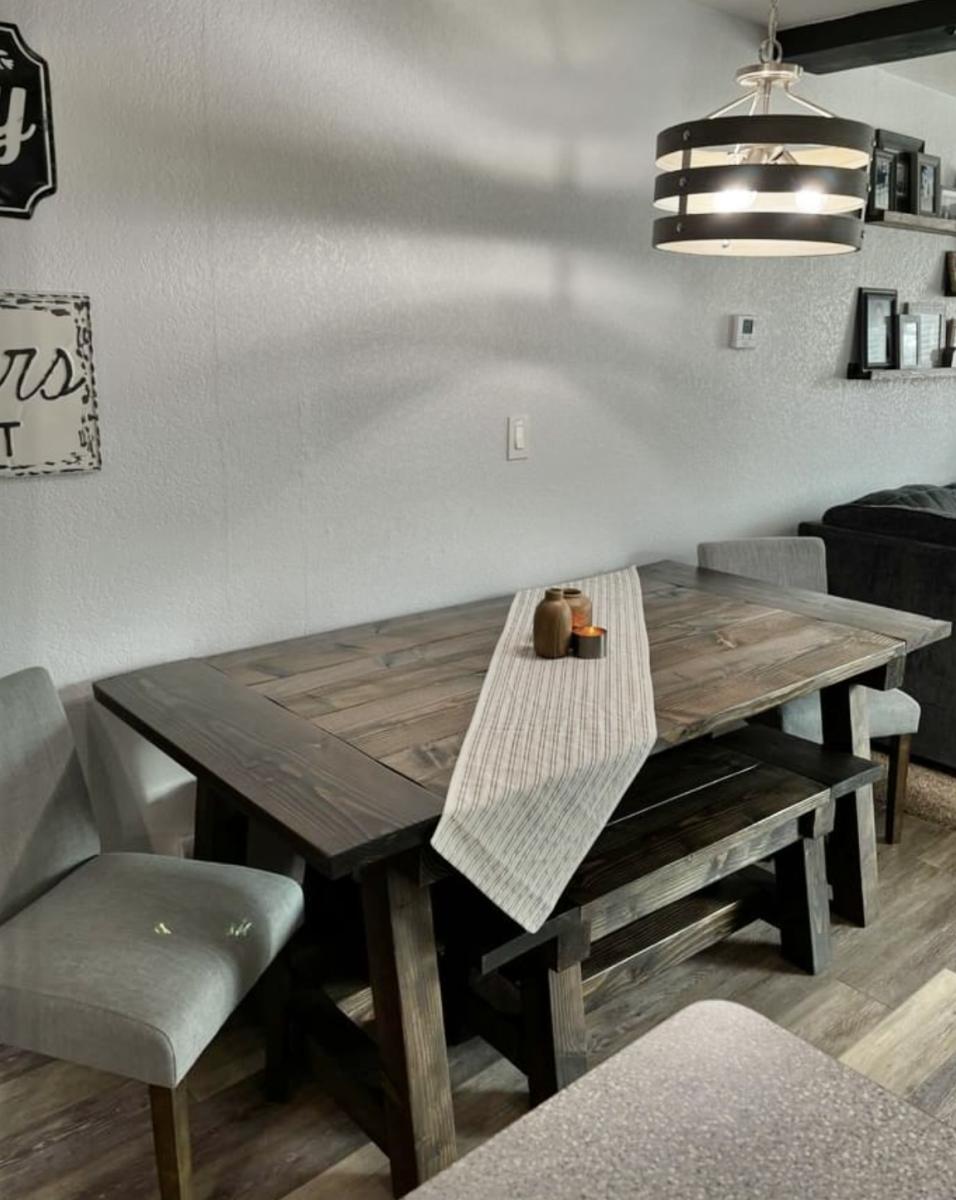
My latest project. I made adjustments in the length and I made the benches smaller to slide under the table. - Debbi Hernandez on Facebook
This was basically half of the entry way palns (I didn't make the top piece). I am yet to have a cushion made for the top but it looks great at the foot of our bed.
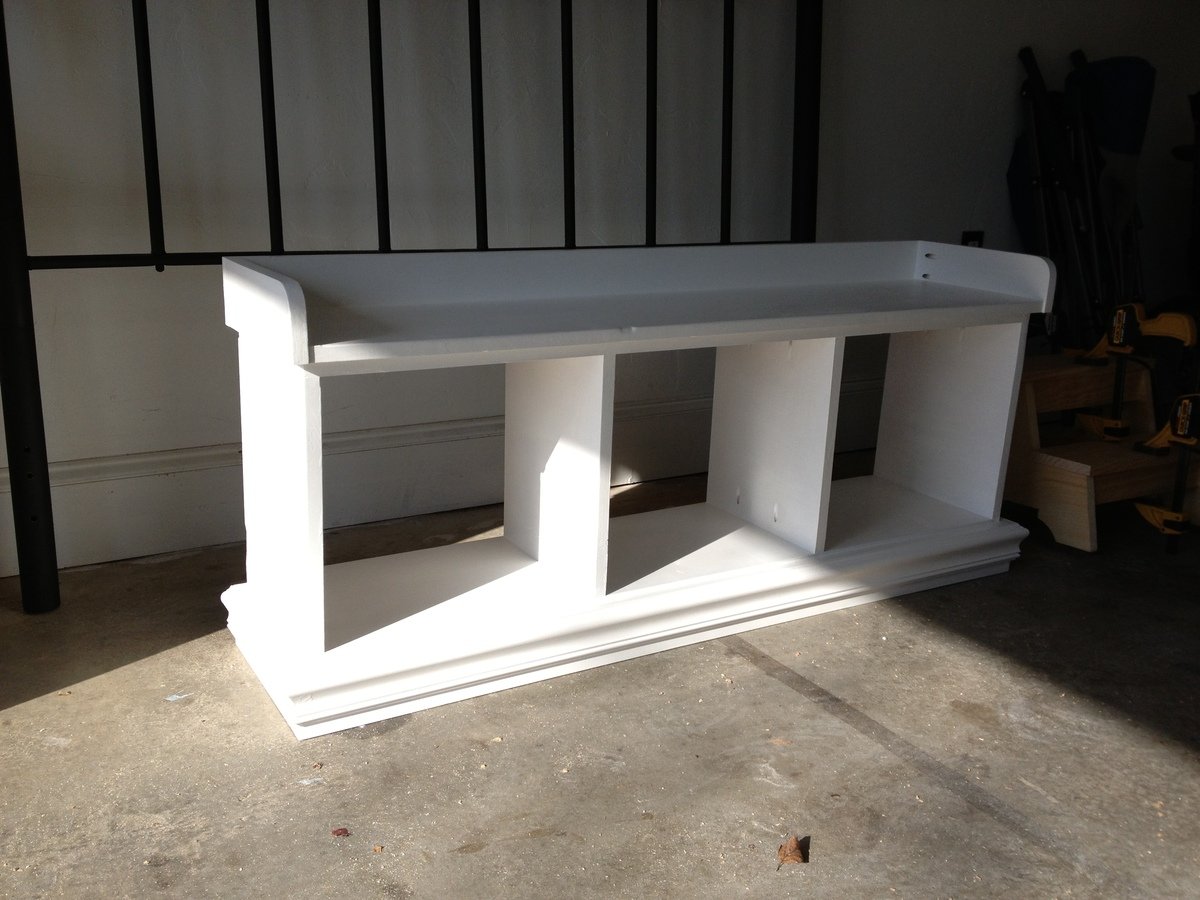
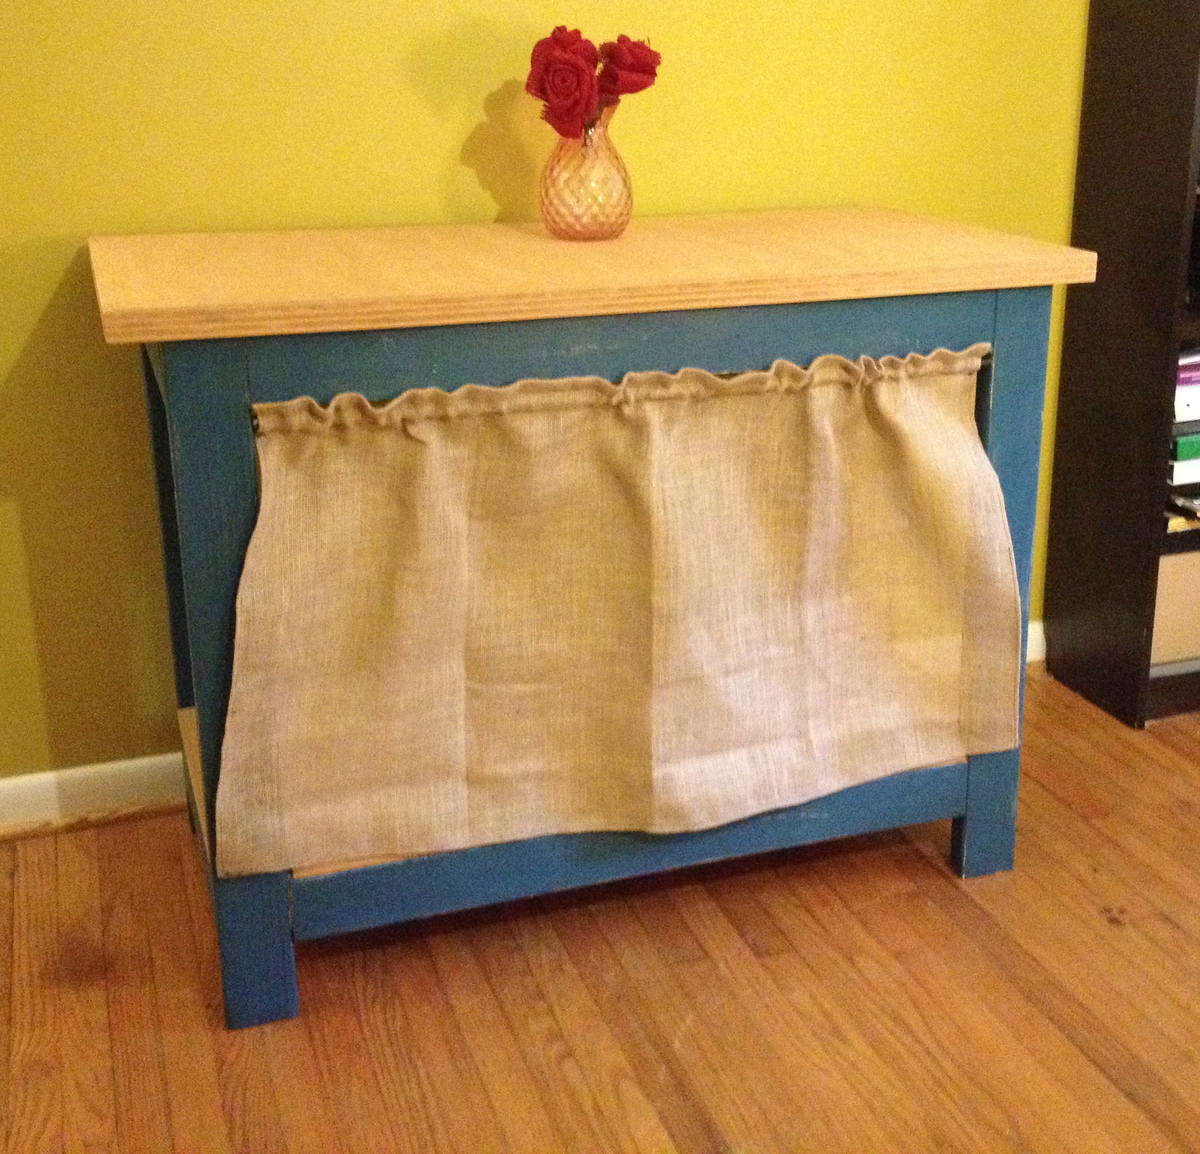
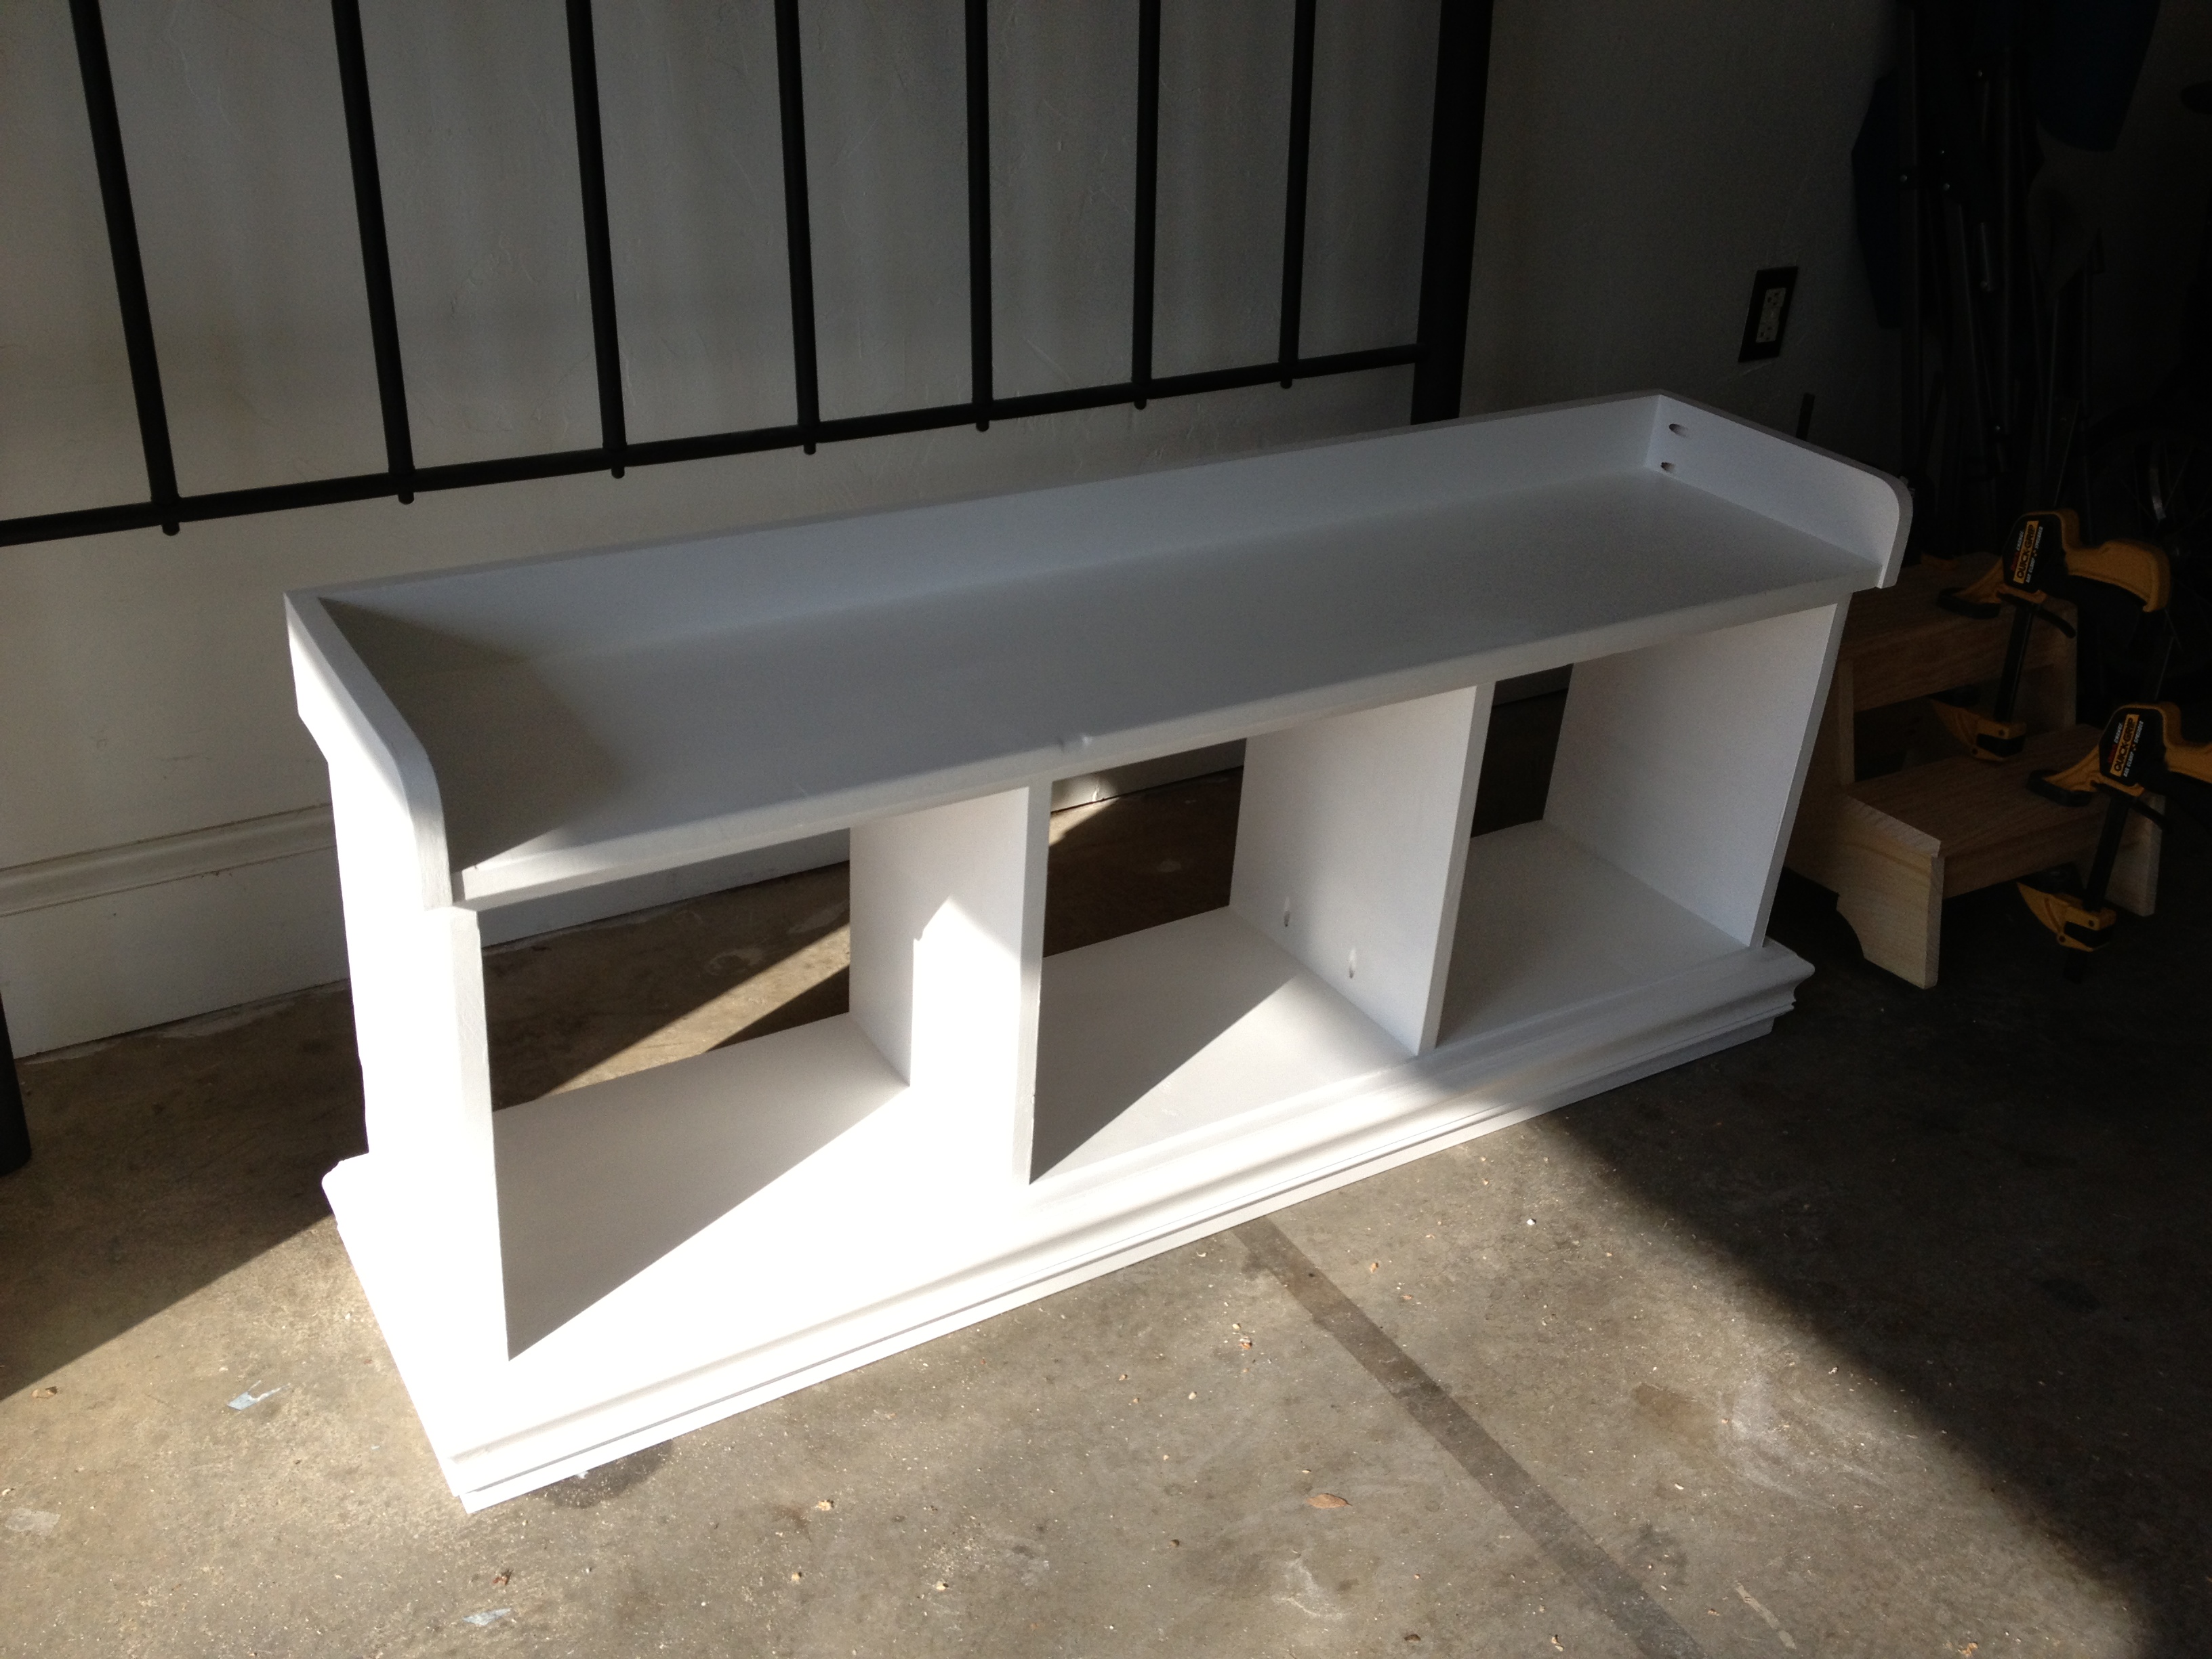
Ana's simplest console inspired my first build. I decided to make it a bit wider like one I saw on Shanty 2 Chic's website, and this is what I came up with. So excited about my first build - can't wait for the next!
This project took us four days. The biggest job that took us awhile was sanding and painting.
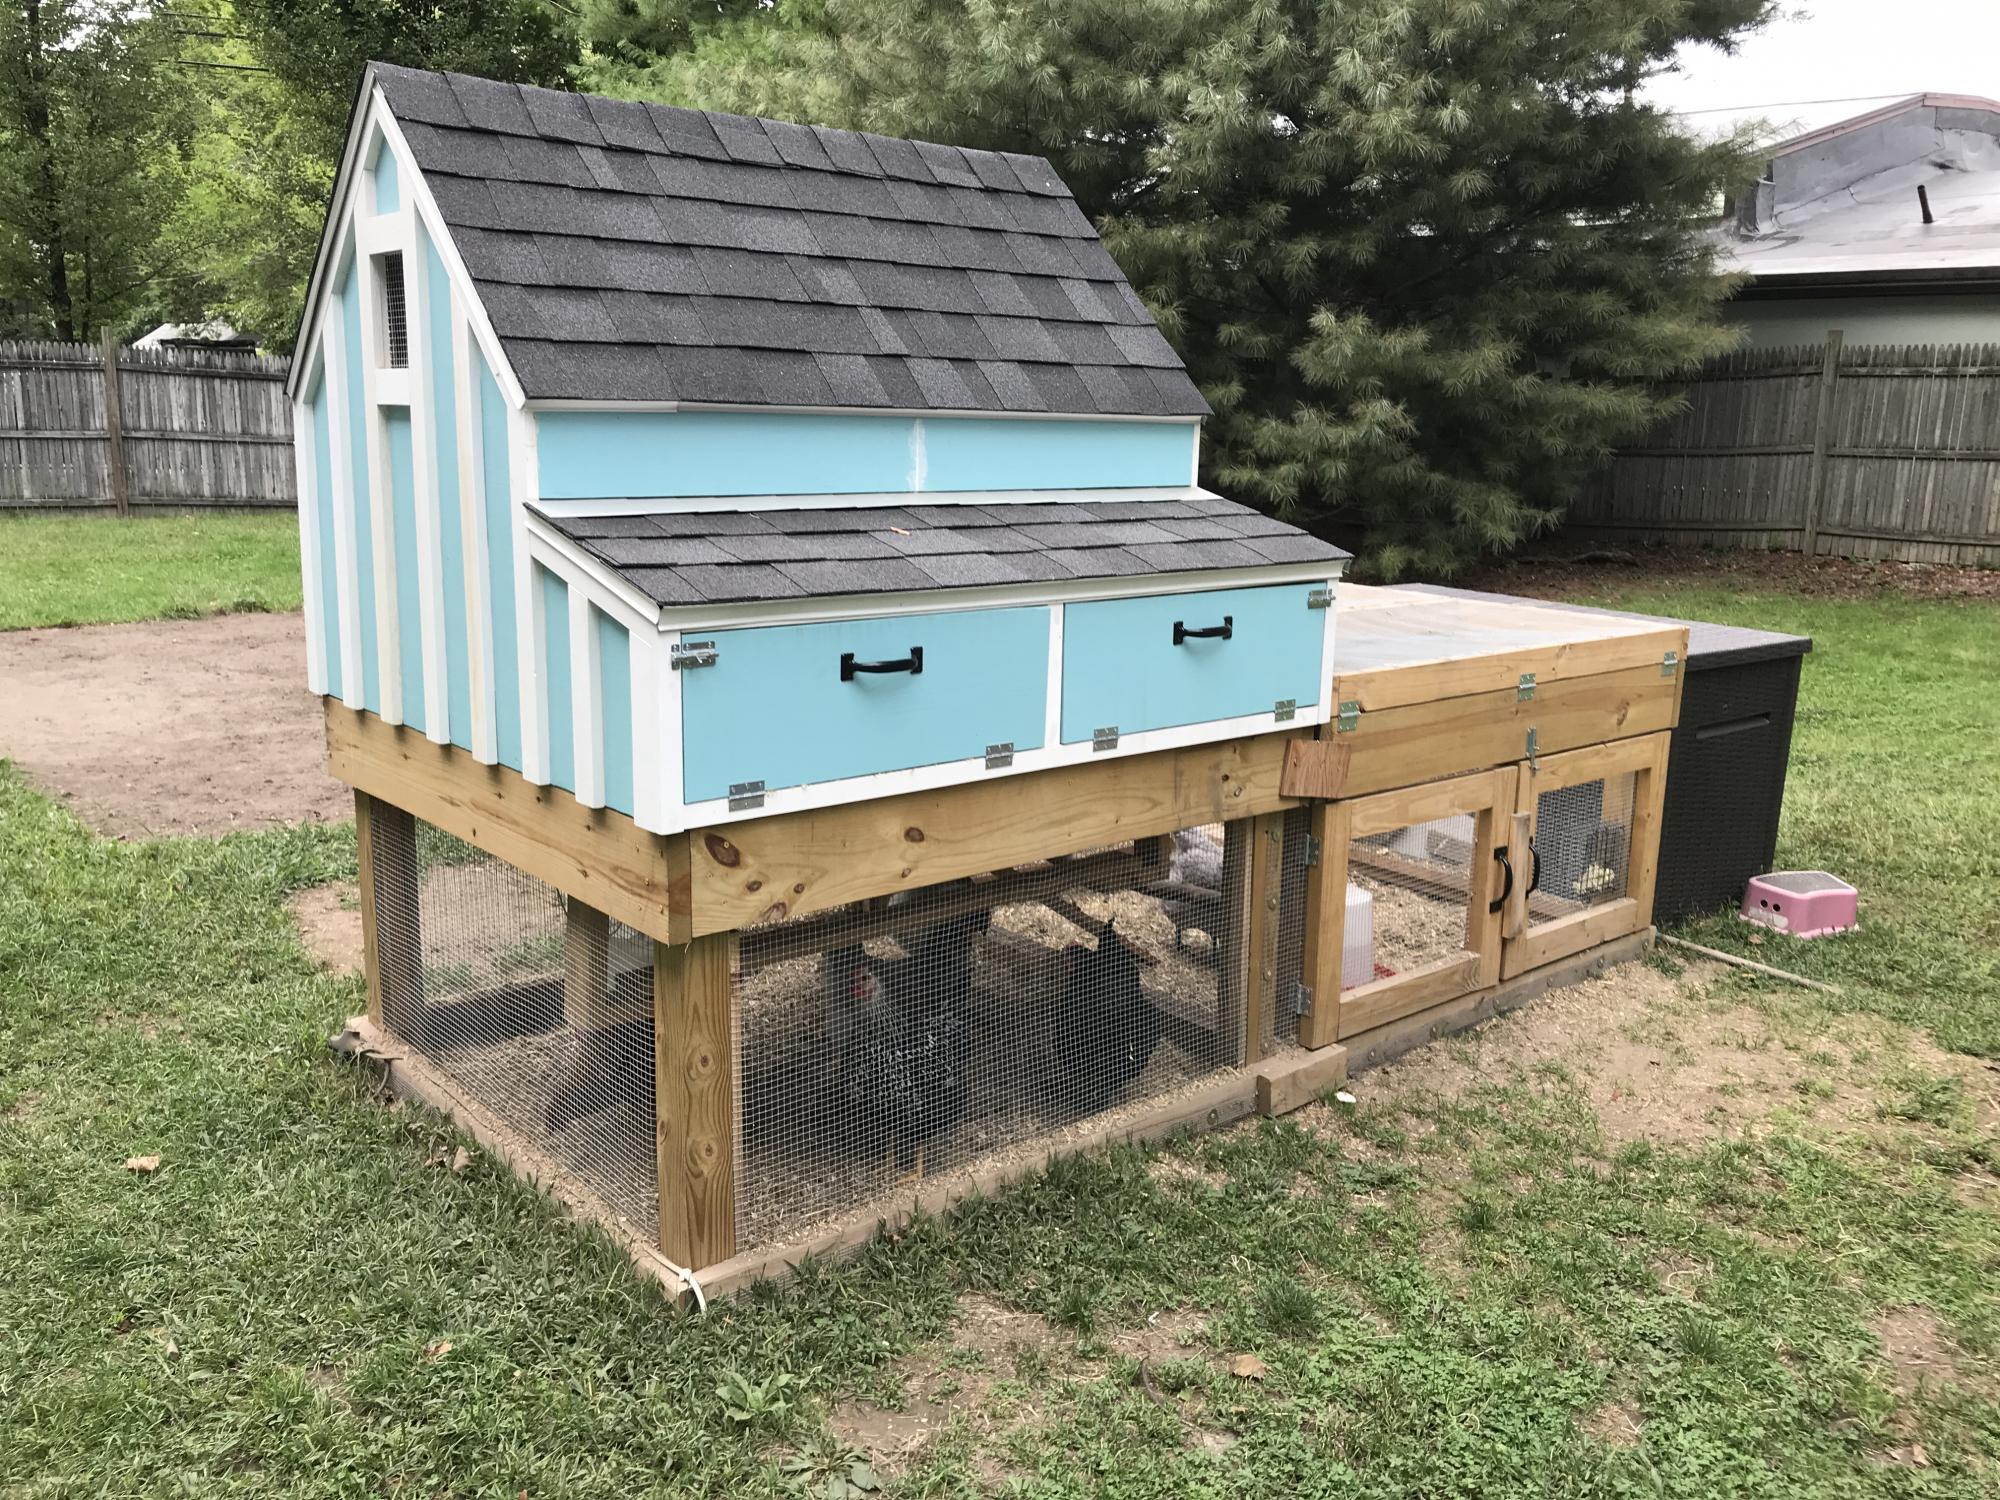
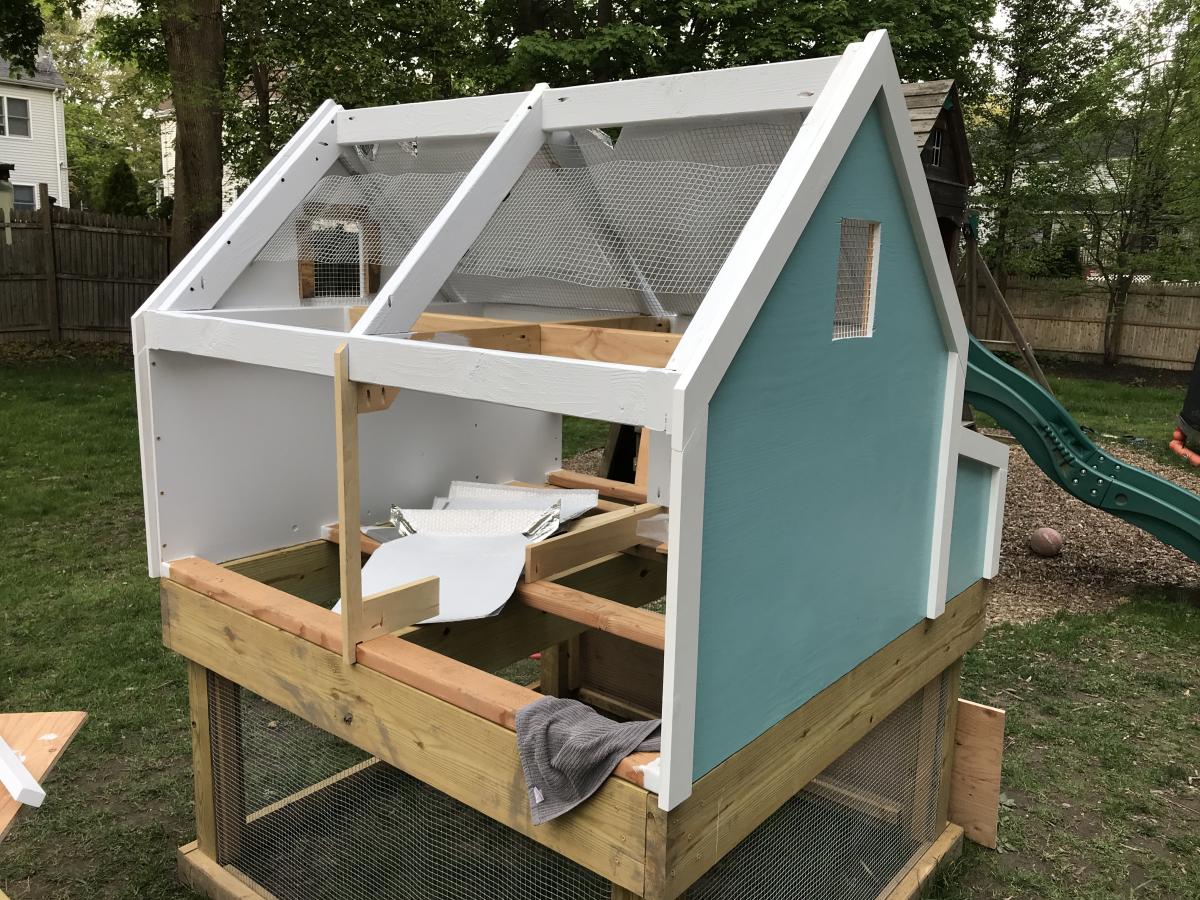
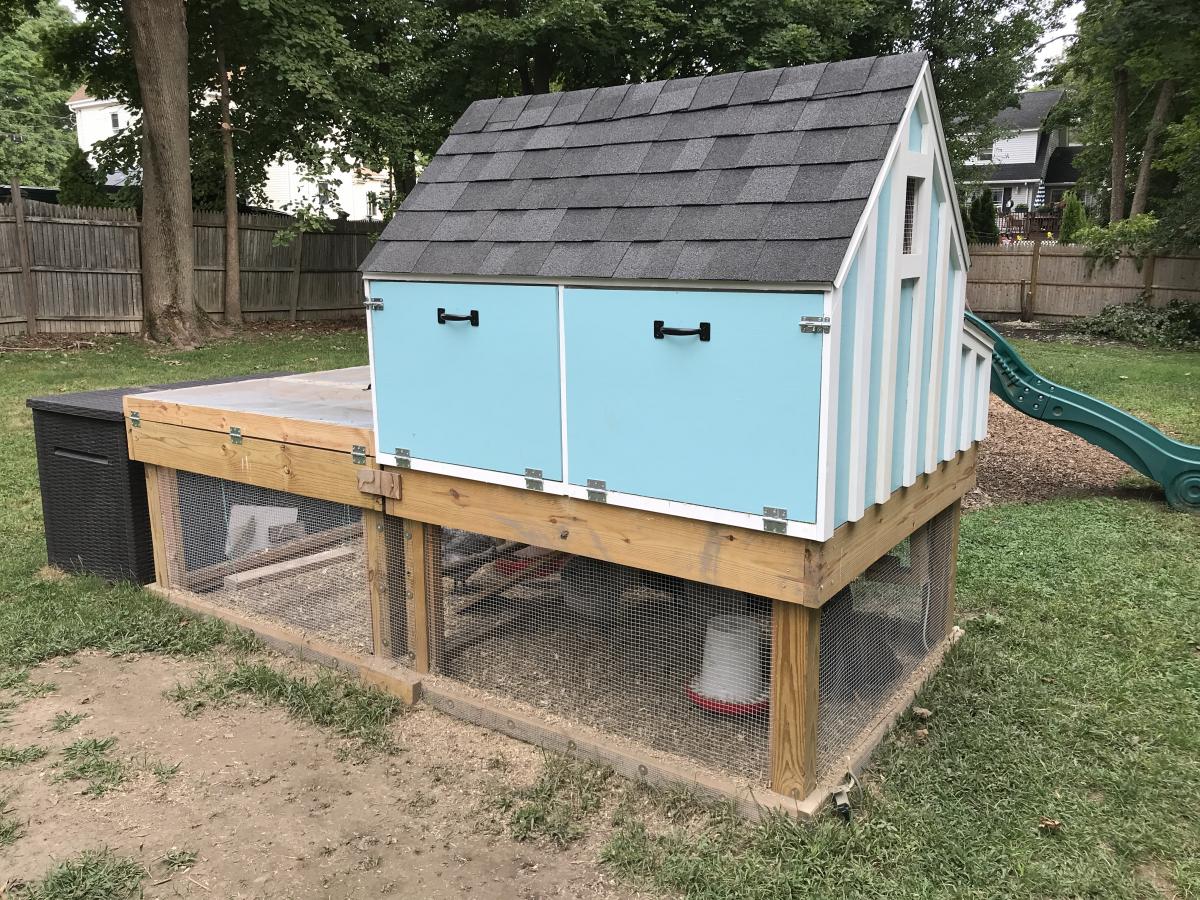
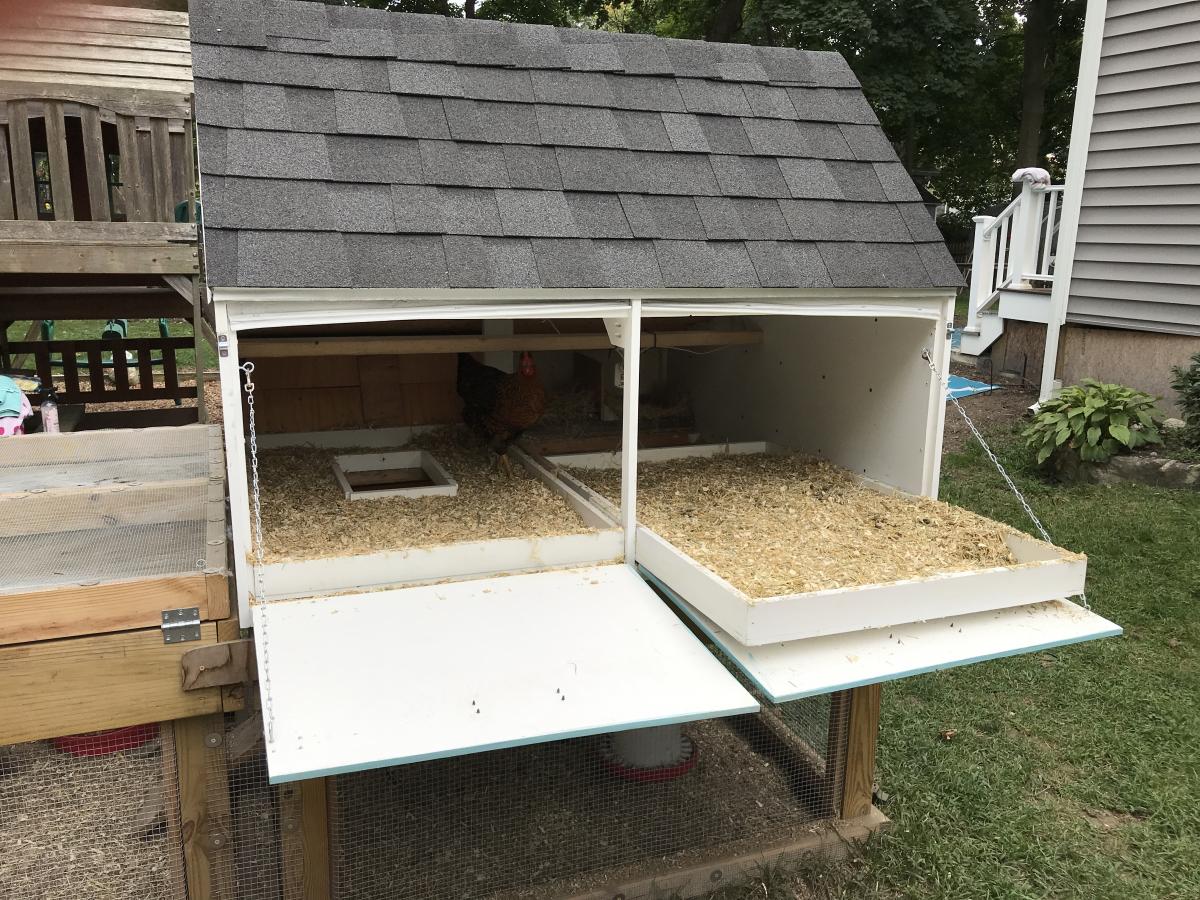
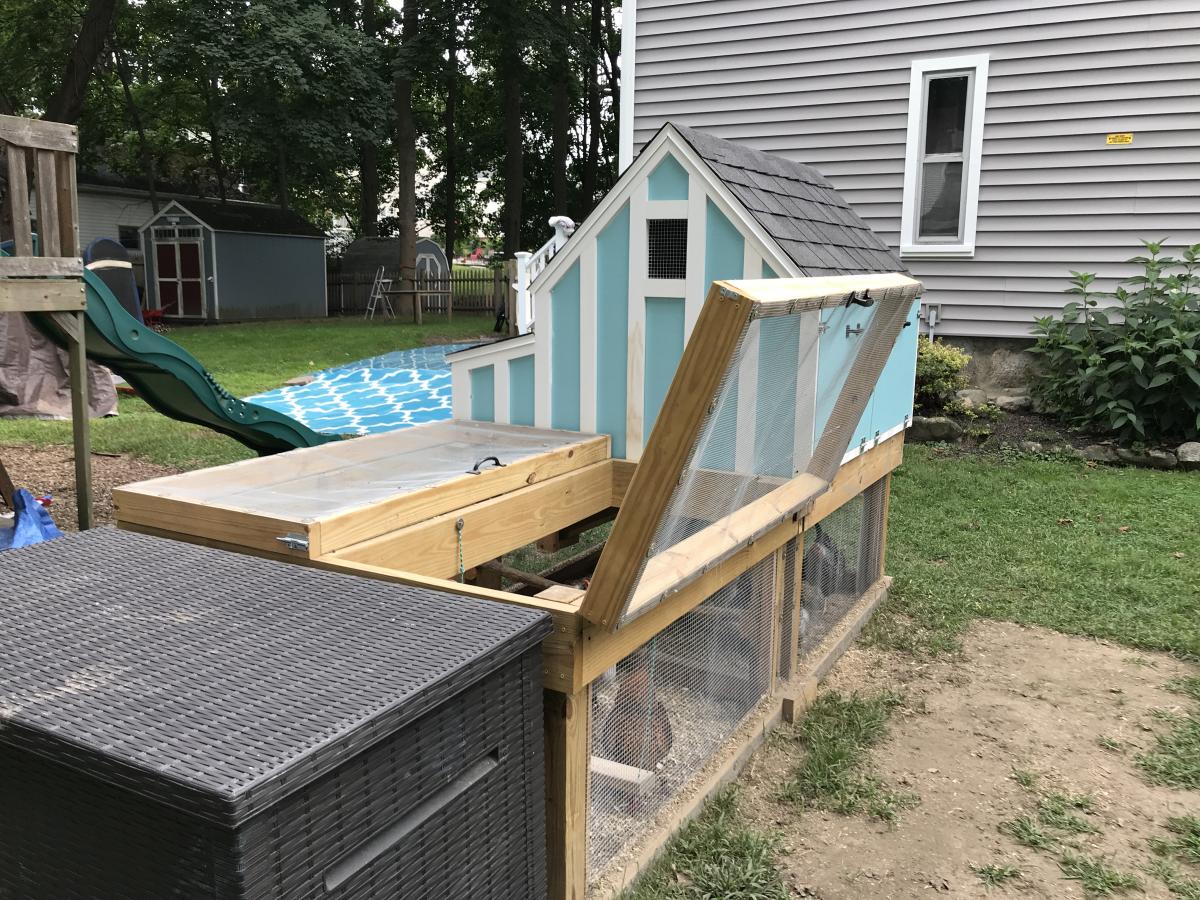
This was a fun build, though it took me quite a while because I decided to paint the interior. I ended up making it twice as wide to accommodate our six chickens. It took some planning but in the end I had essentially two coops side by side with no dividing wall between them. I also doubled the size of the run.
I cheaped out on the plywood and went with 1/2" - there was a big difference in cost as plywood was hard to find at the start of the pandemic. Using 1/2" turned out to be a big mistake. The 1/2" plywood warped quite a bit after I had painted it making it difficult to use the doors. I may have to replace the doors eventually with 3/4".
Overall I'm very happy with the end result. It's been easy to clean and maintain and the girls seems quite happy in it. This is one of the best looking coops I've come across. Thank you for these fantastic plans!

Sun, 09/13/2020 - 11:25
Love the double wide modification plus the extra work on finishing it, is the cherry on top! Thanks for sharing!
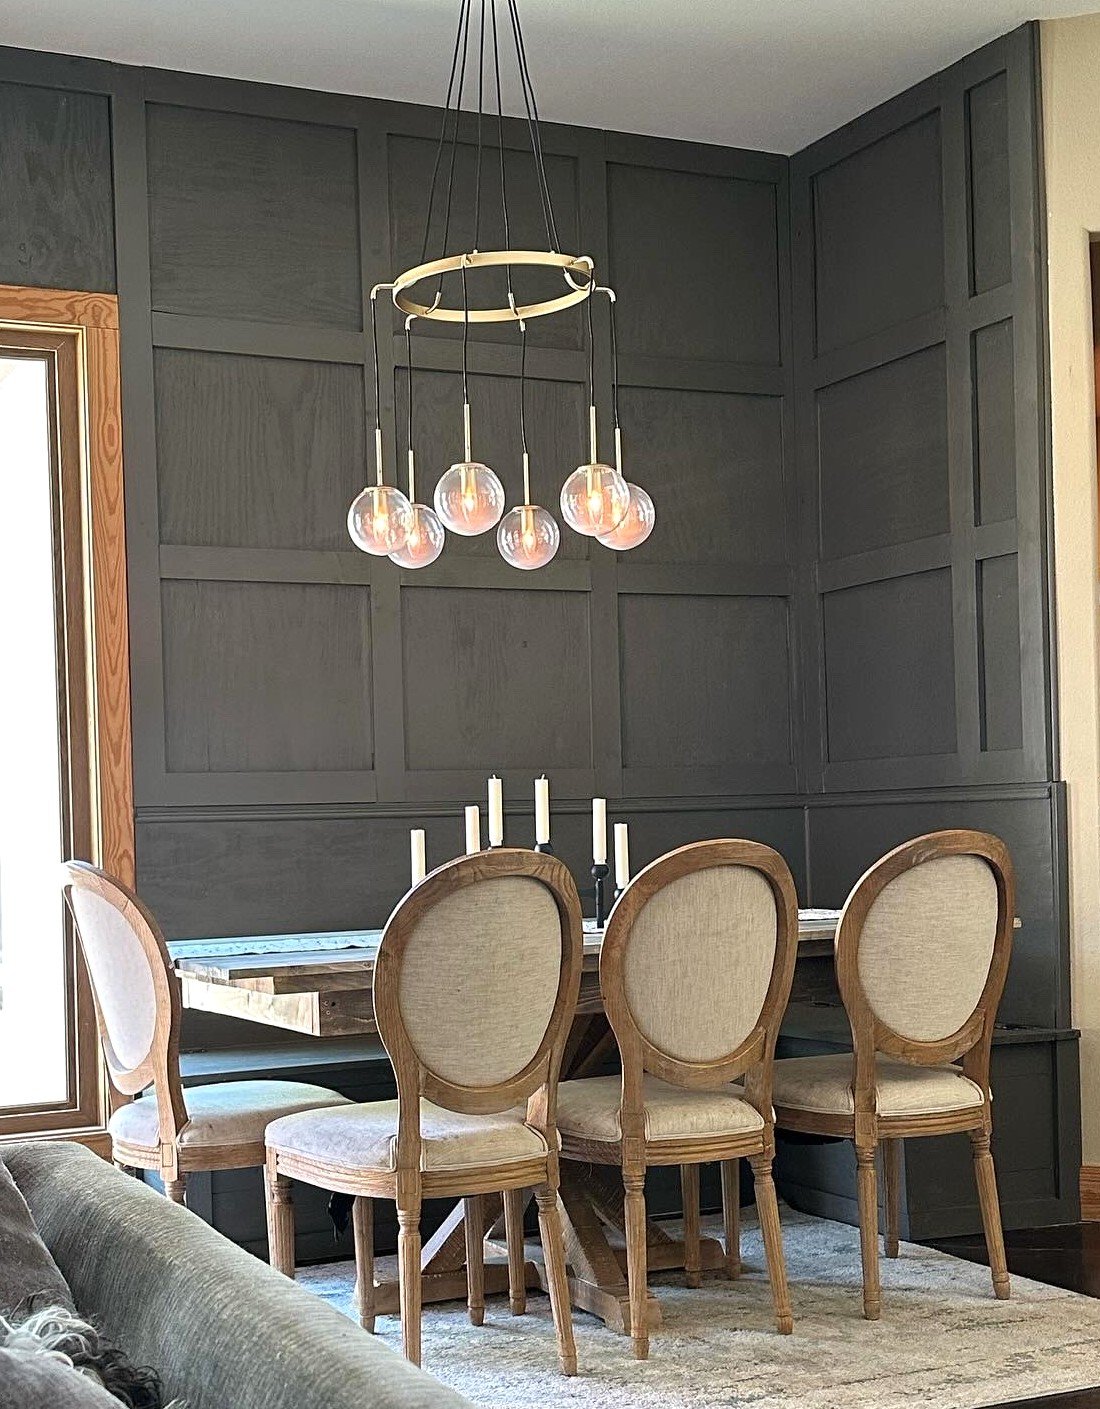
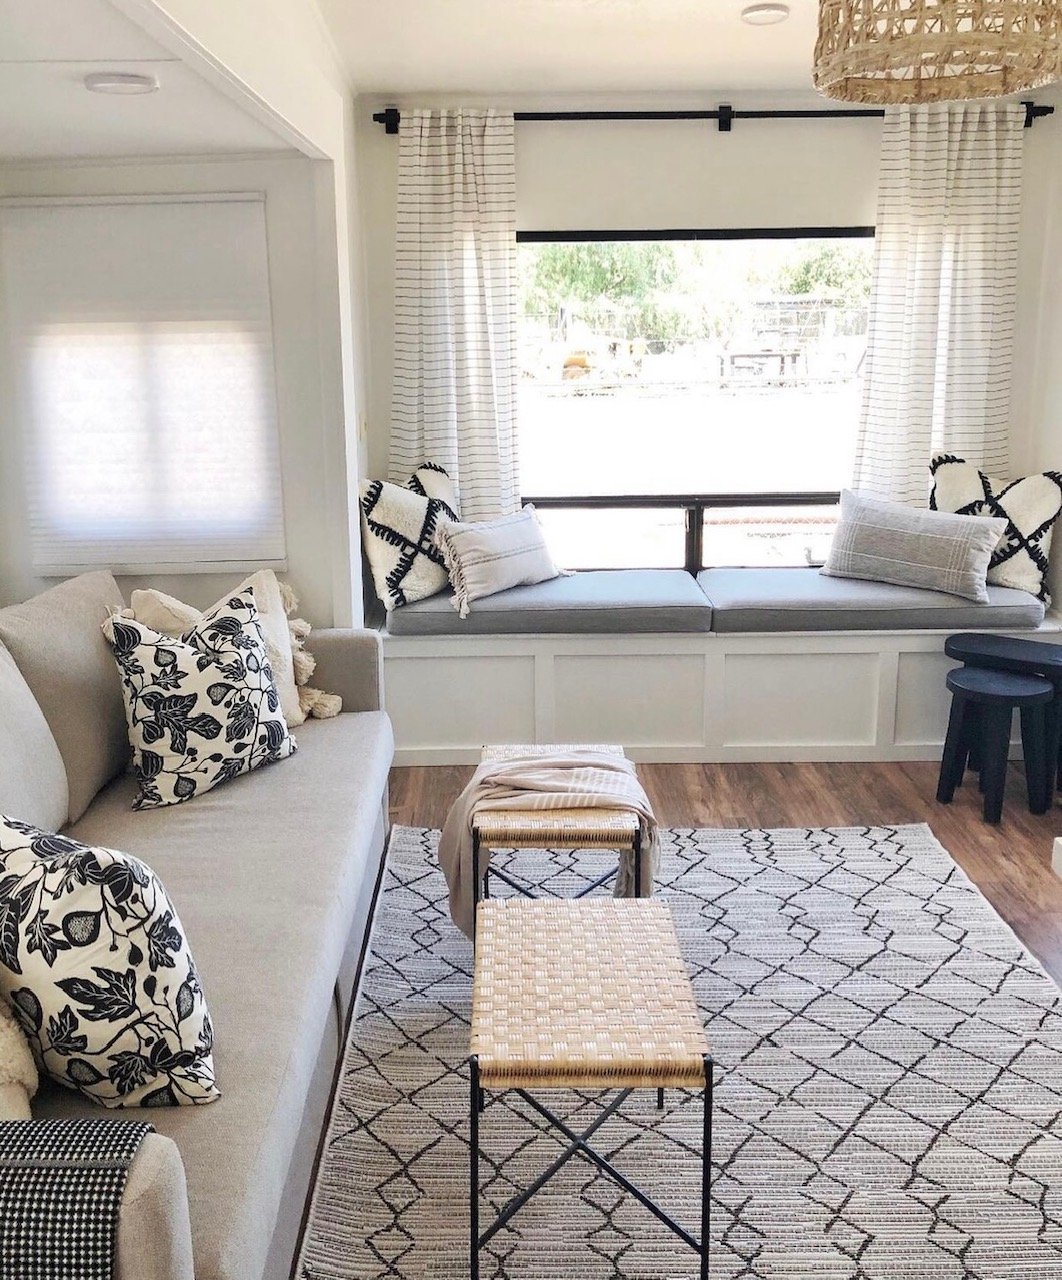
I started with the banquette….then thought, 🤔 hmmm. Let’s do an accent wall too. I included before and after’s of the space. Thank you!!
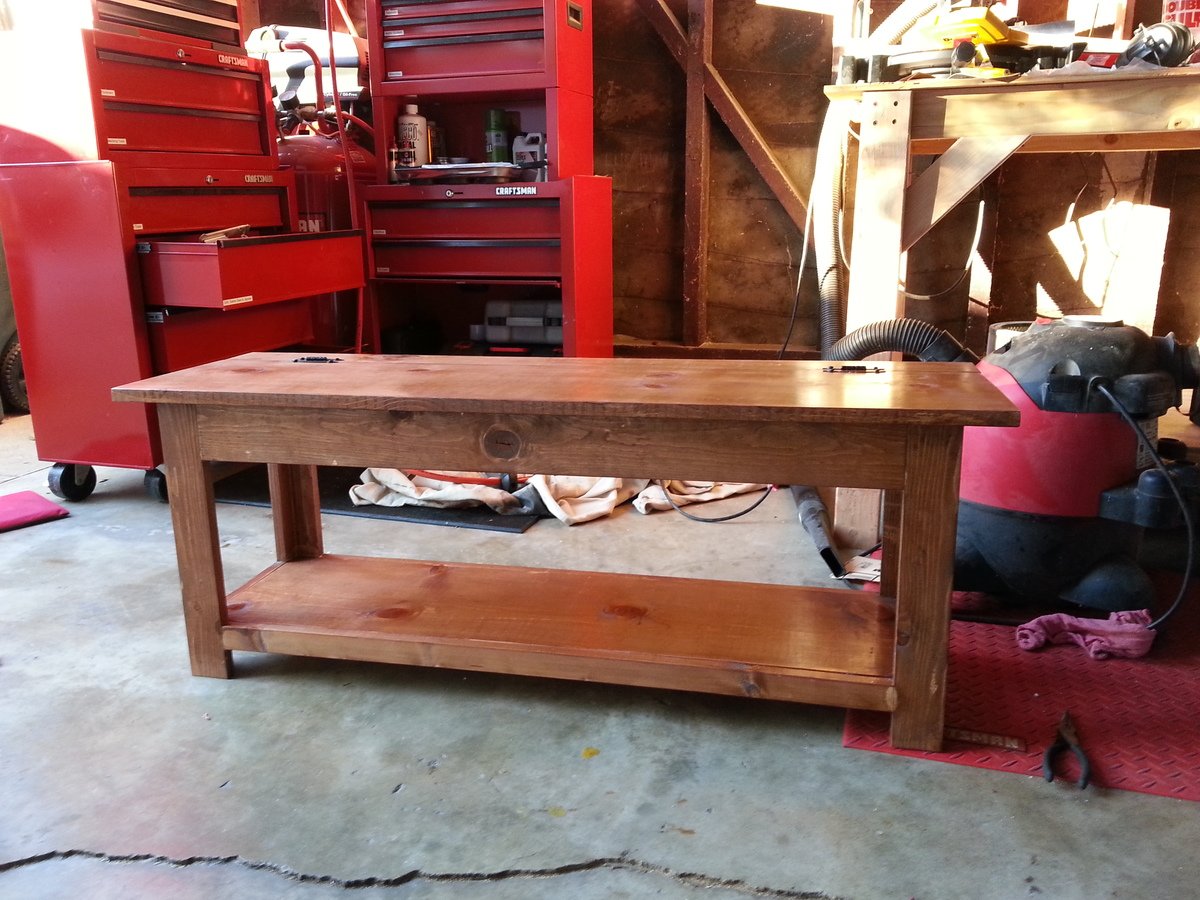
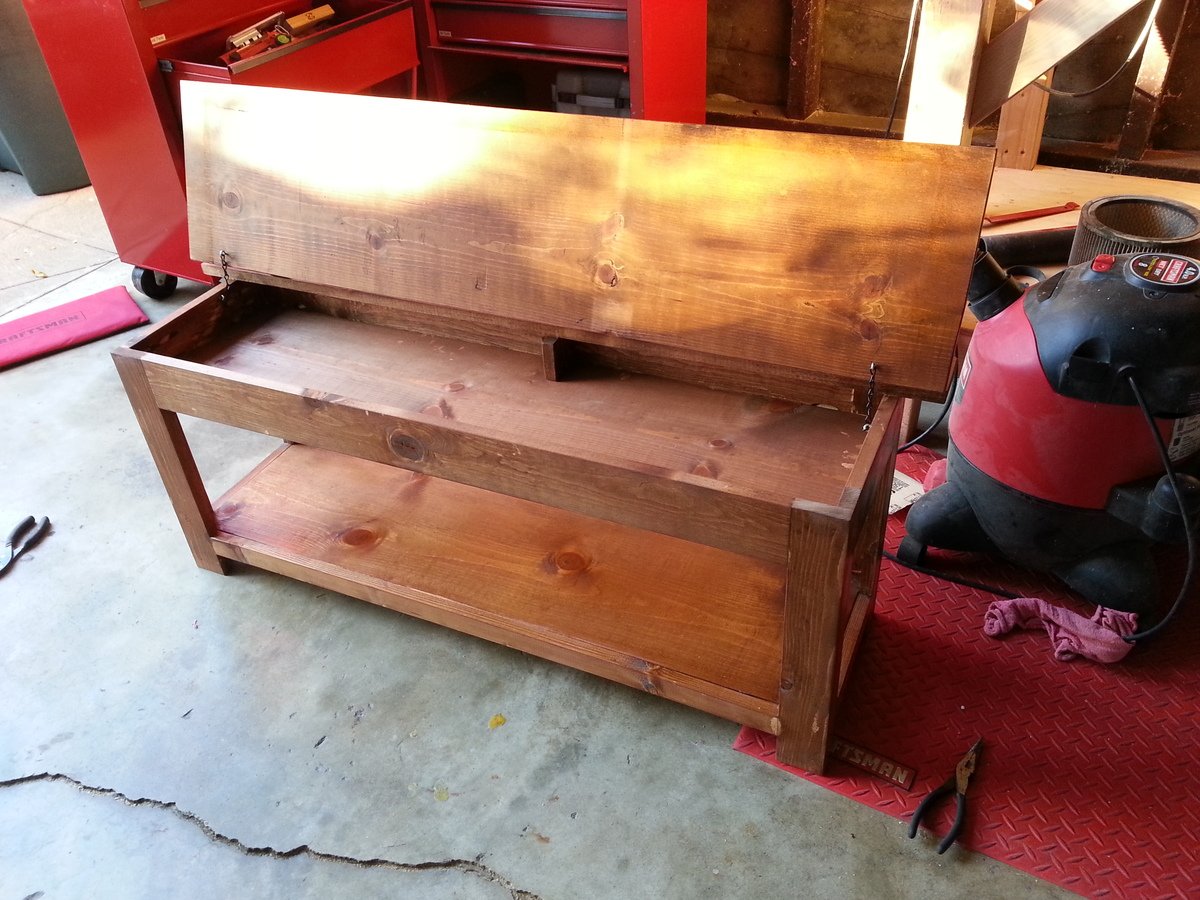
This bench works great as a piano bench with storage inside for all of the sheet music. I added one little 4x4x.75 piece of wood inside in the middle because I found that the 1x12 seat would flex in the center but after adding that piece of wood it was solid. I also added eye hooks and chain for the top so that it does not flip all the way backwards.
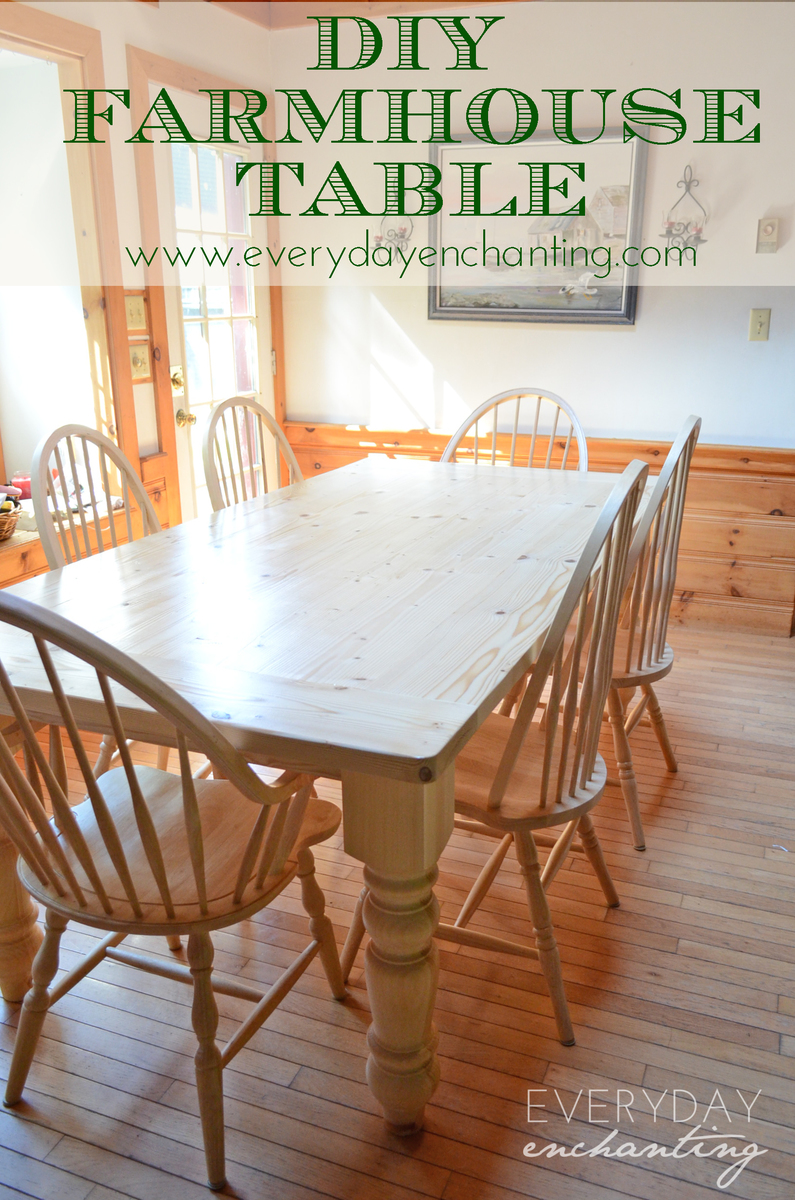
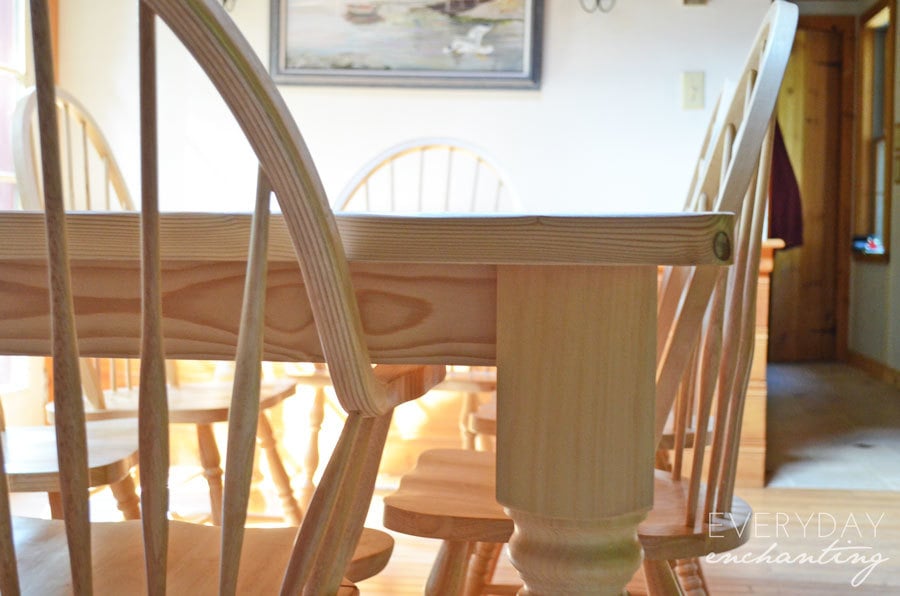
We built this farmhouse table for my Mom's house, to create a space big enough for our growing family to gather at holidays and birthdays. We added to the size- the final dimensions were 82″ (long) x42″ (wide) x 30″(tall). It is a huge, chunky table! My parents prefer natural finishes, so we gave the natural wood several protective coats of polycrylic.

5 1/2W x 5 1/2L x 8H.
Ana made this project very easy for me. I did the main building while hubby cut the wood & helped drill in hard to reach areas. Thank you Ana for boosting my confidence. I’ve never done anything trike this.
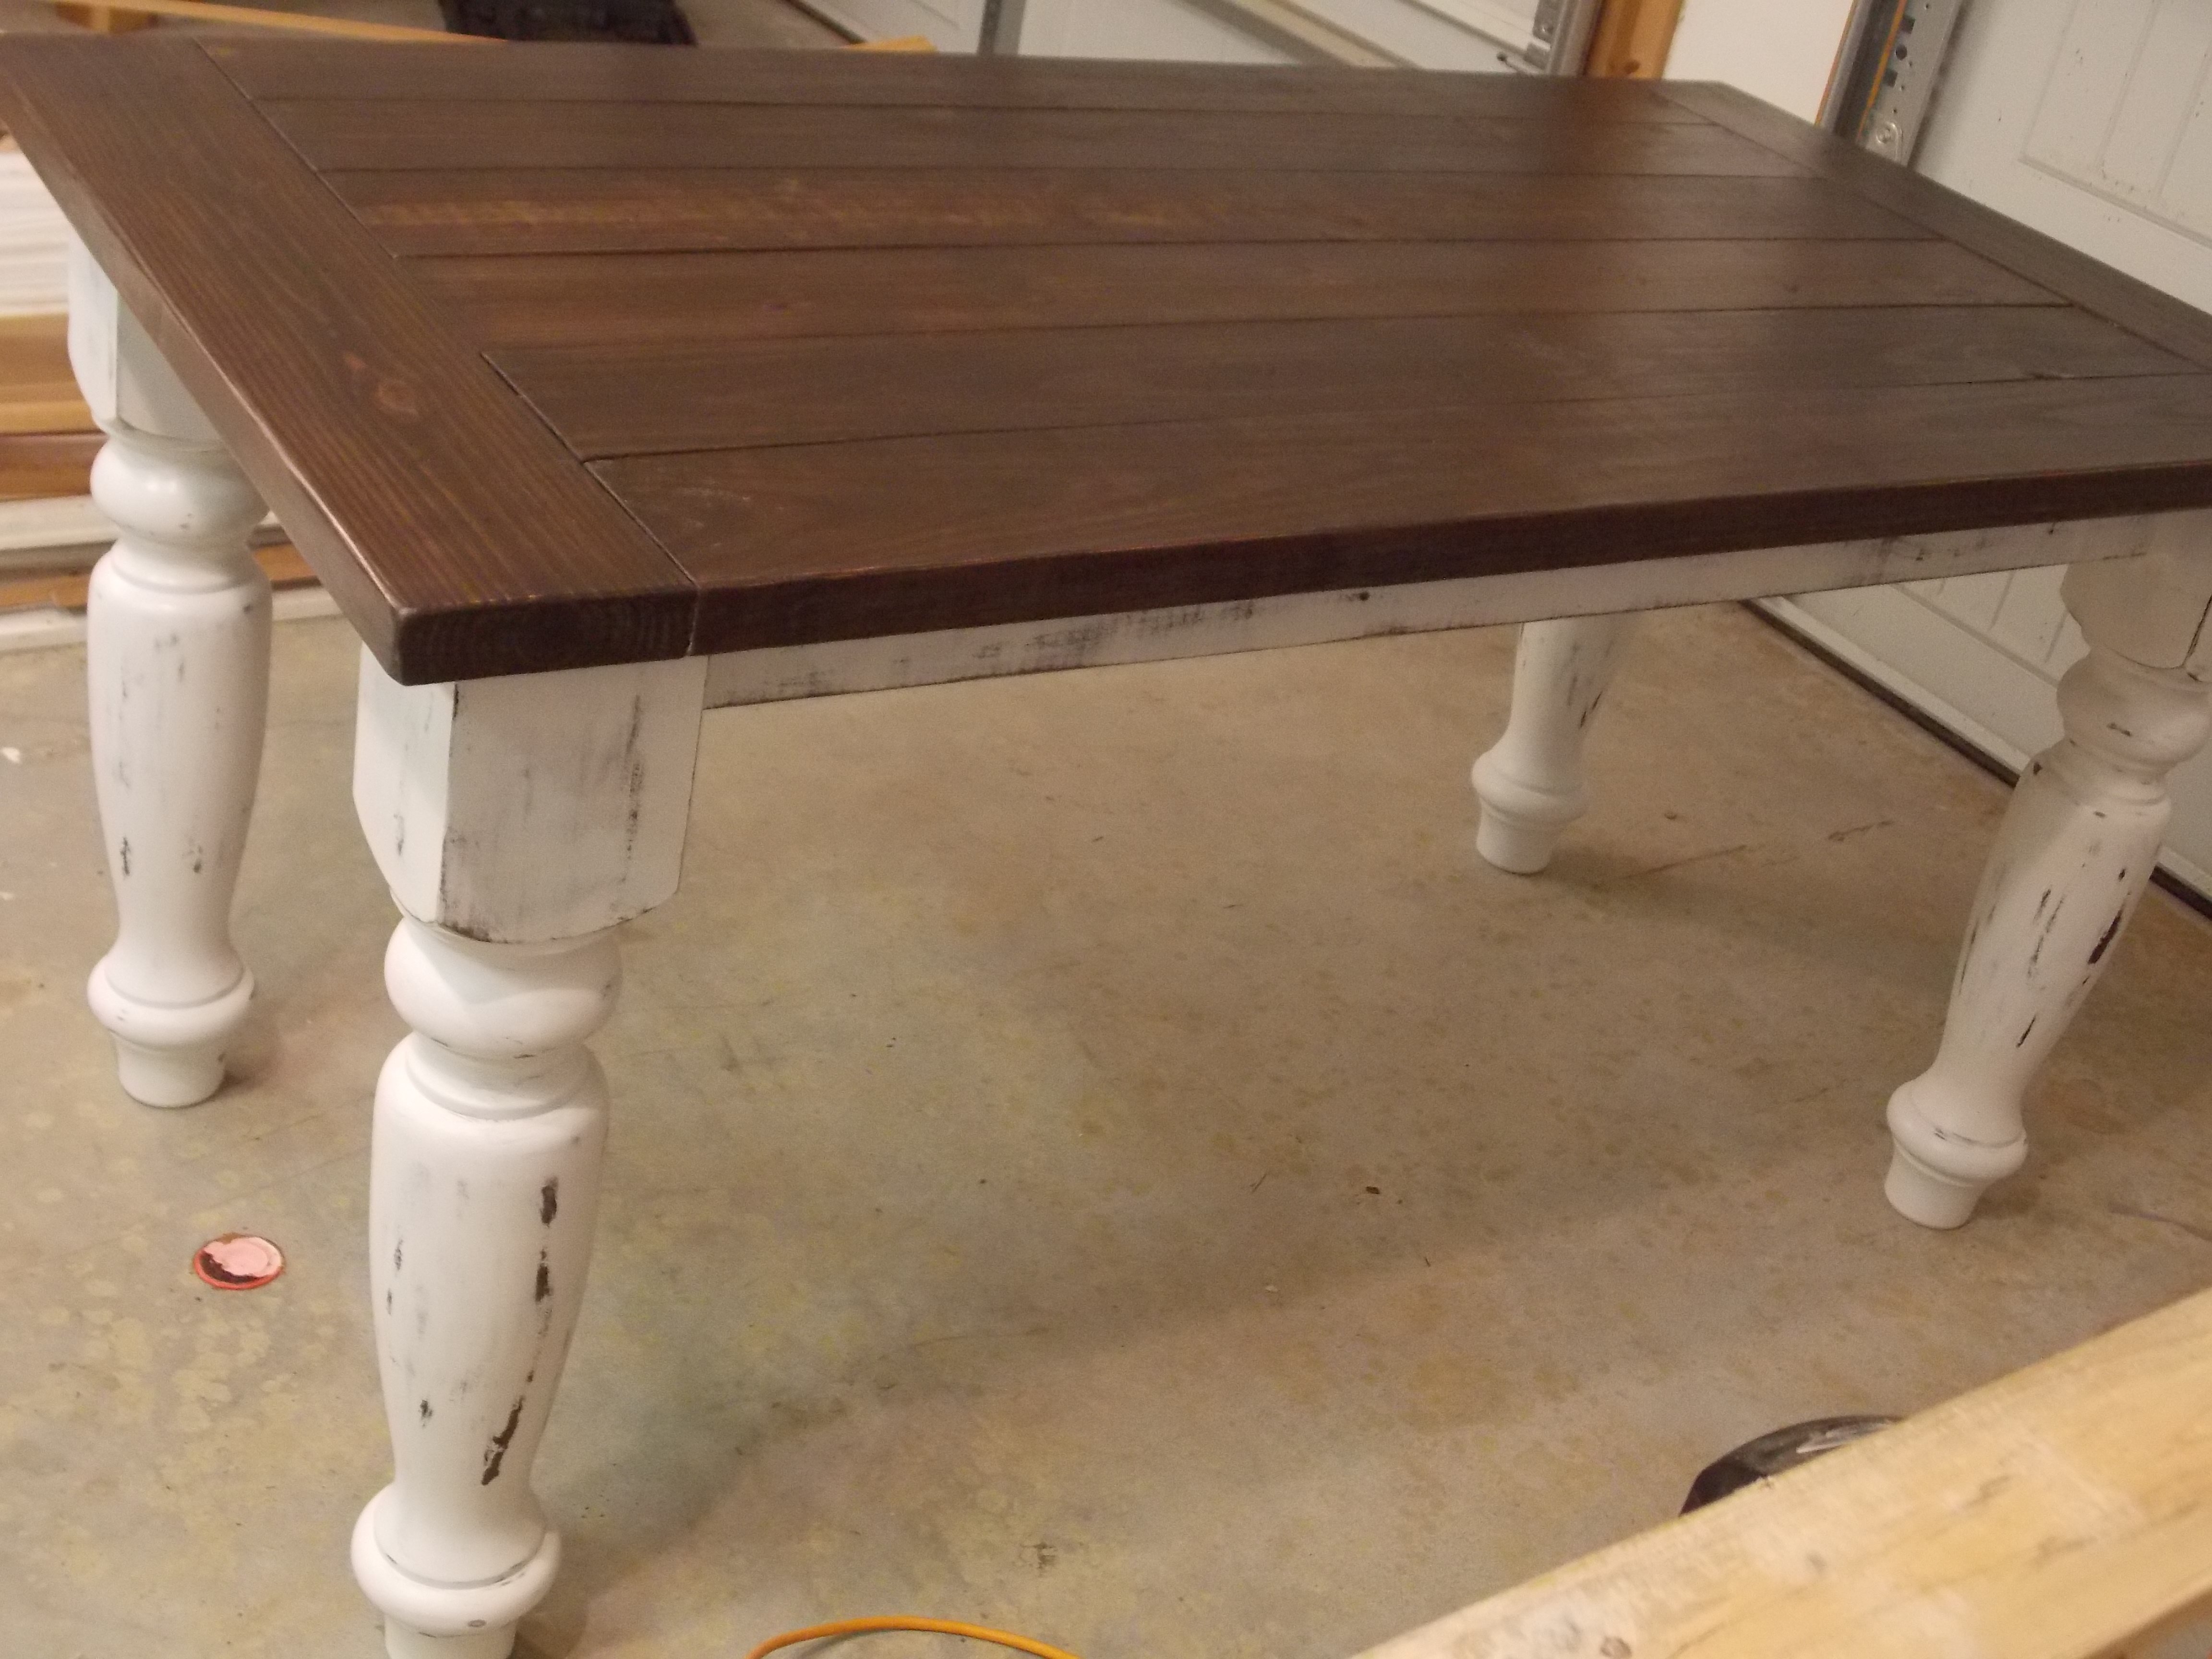
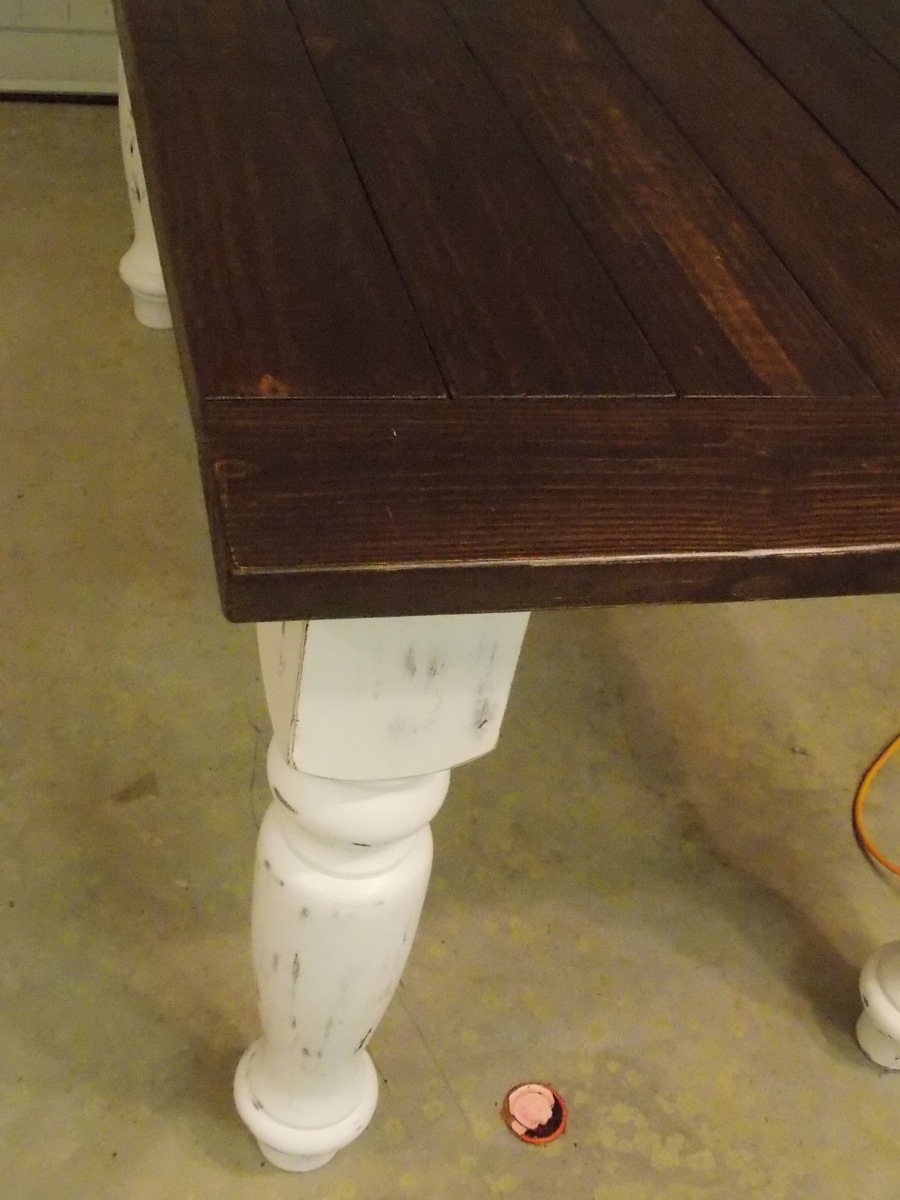
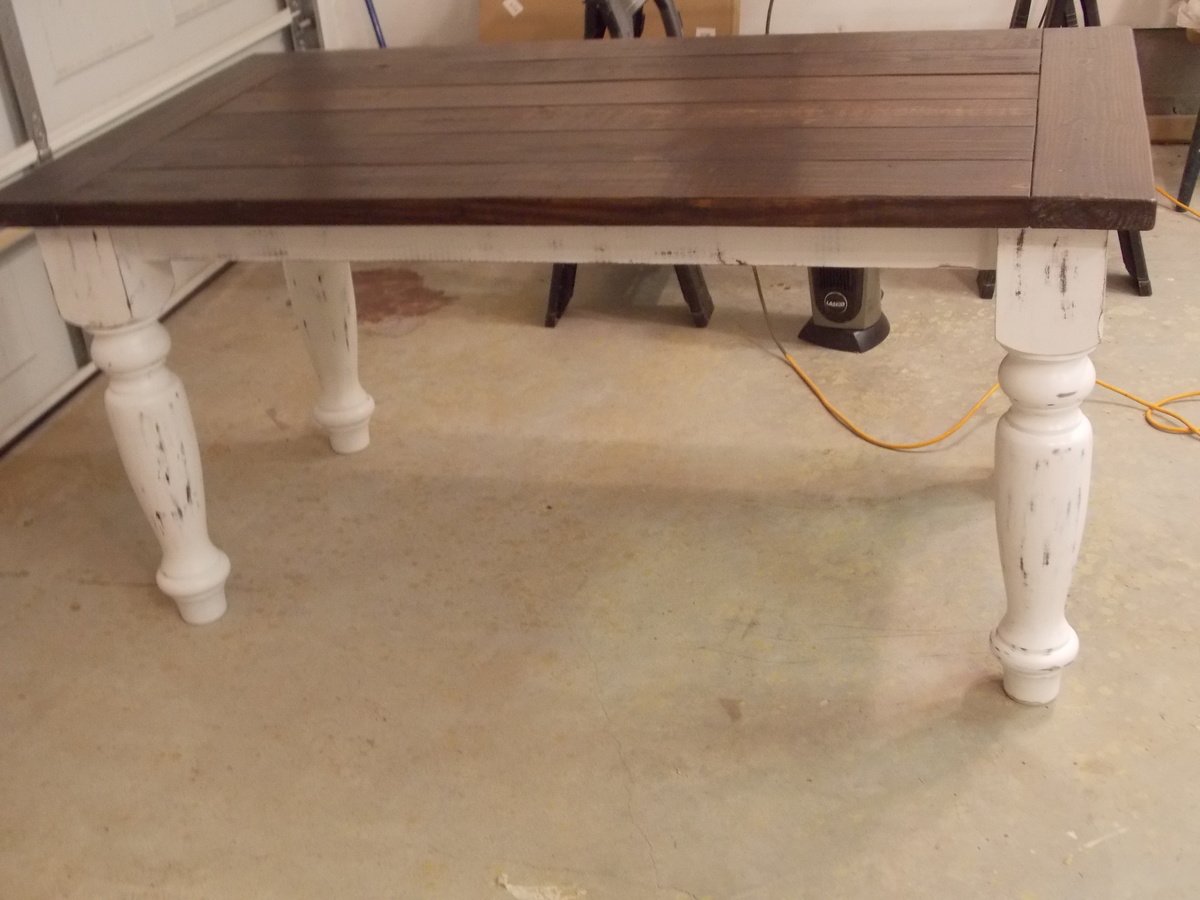
I love how this table turned out! This table was built for a friend of mine who wanted a rustic farmhouse table with "fancy" legs. The legs and apron are painted white and distressed. The table top is stained 2 x 6 pine. We love it! Thank you so much for the plans Ana! The legs are 5" turned maple legs. First, I painted the legs and apron "java brown" and then using Minwax furniture paste wax, I applied wax to the areas that I wanted to distress. After two coats of satin white paint, I distressed the legs using 220 grit sandpaper. Two coats of wax and the legs were silky smooth! The top is 2 x 6 yellow pine. I used two coats of Rustoleum dark walnut, one coat of sanding sealer, a final sanding with 220 grit sandpaper and two coats of wax. Love it!!

Tue, 12/04/2012 - 21:13
That turned out great! I love those legs and the distressed look.
Wed, 01/02/2019 - 10:25
I built this for a friend but as far as I know she is still using it and gets many complements on it.
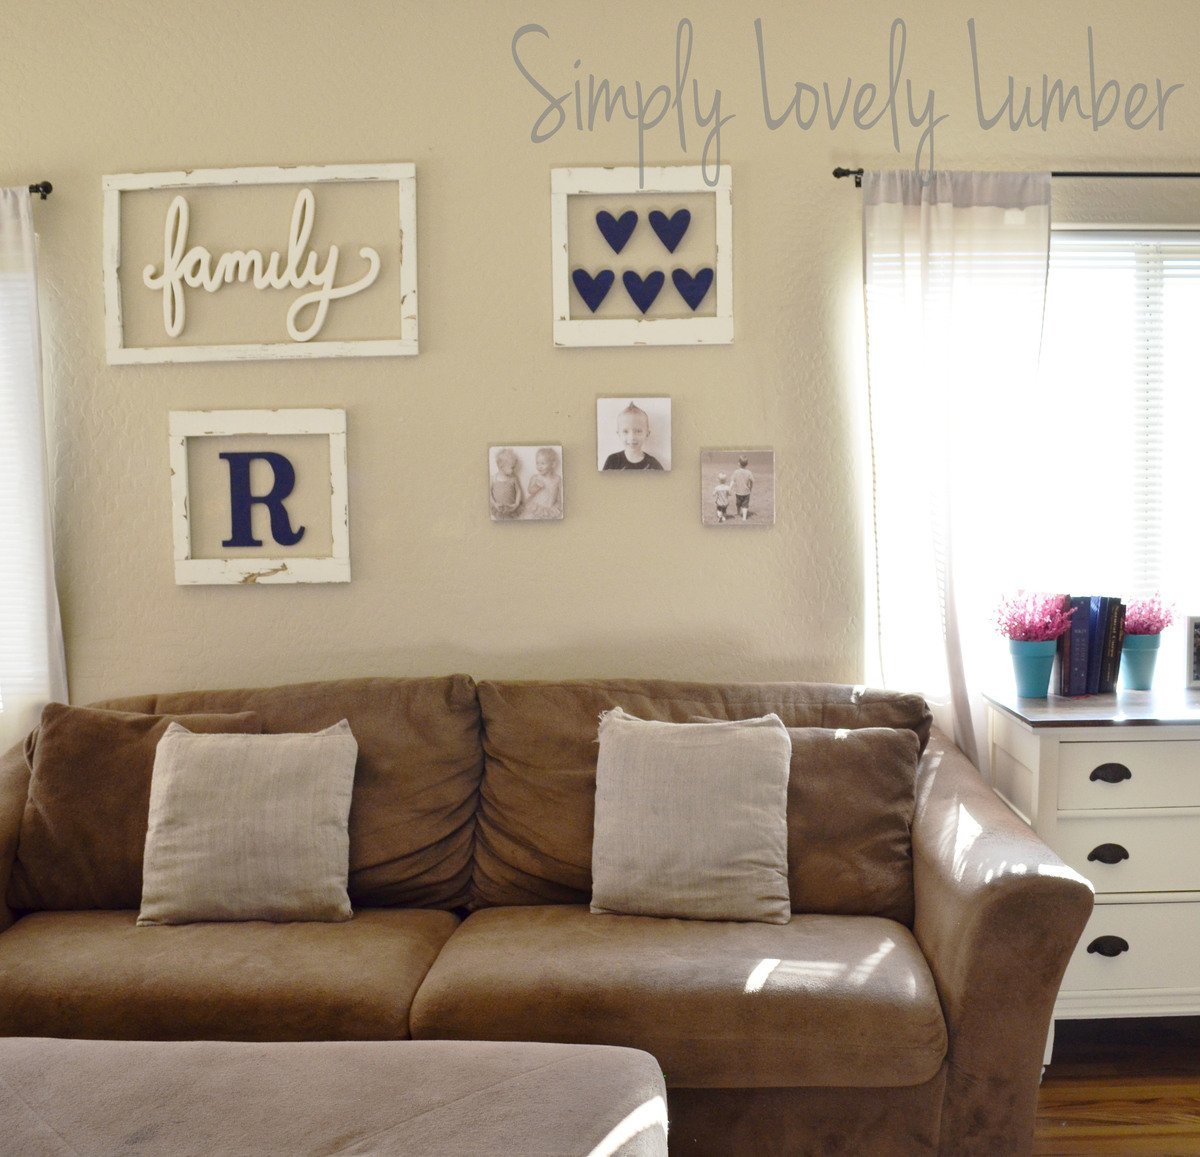
I built everything above my couch using scraps from my garage. The "family" and hearts were cut out of a scrap piece of 1x12. The frames were made using my worst 1x2 and 1x3s. I sprayed them with stain and then paint and finished them by sanding them down.