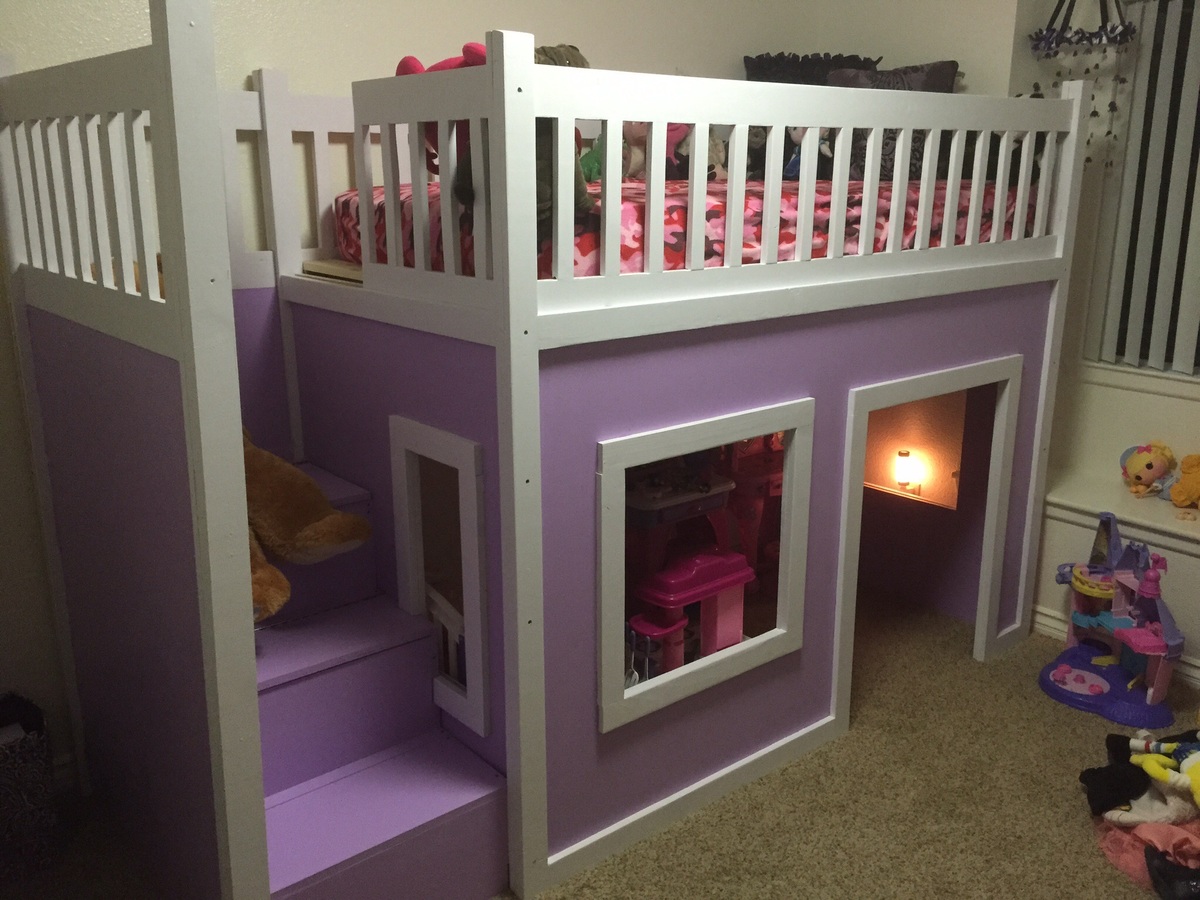
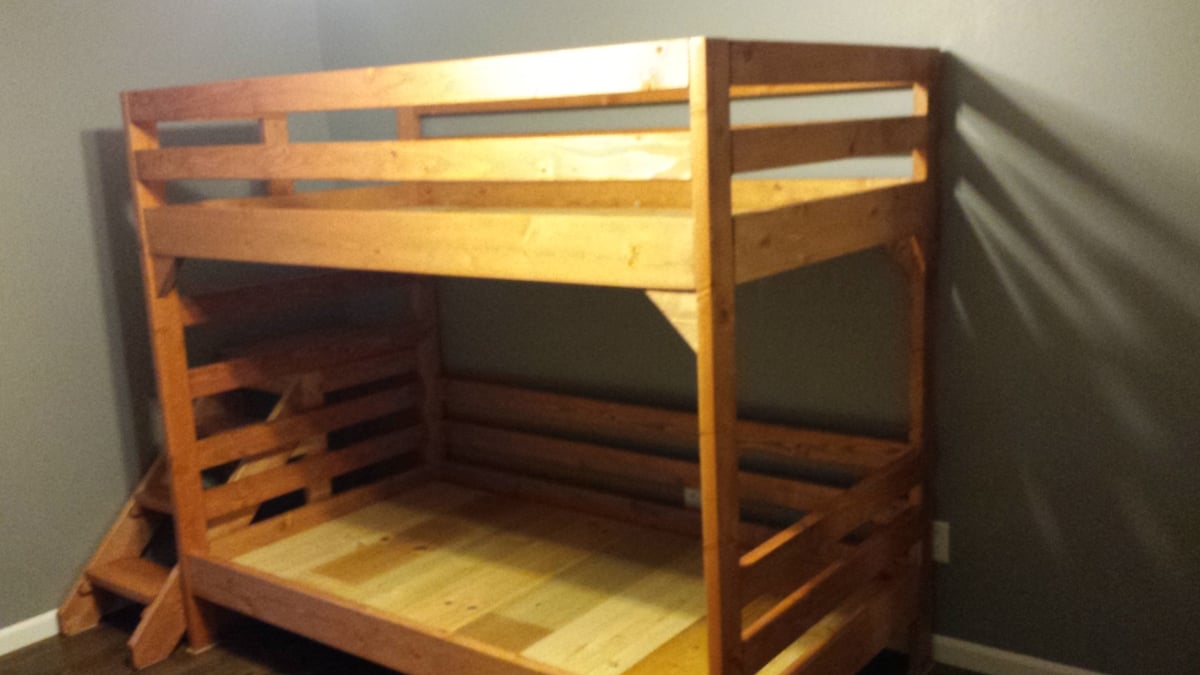
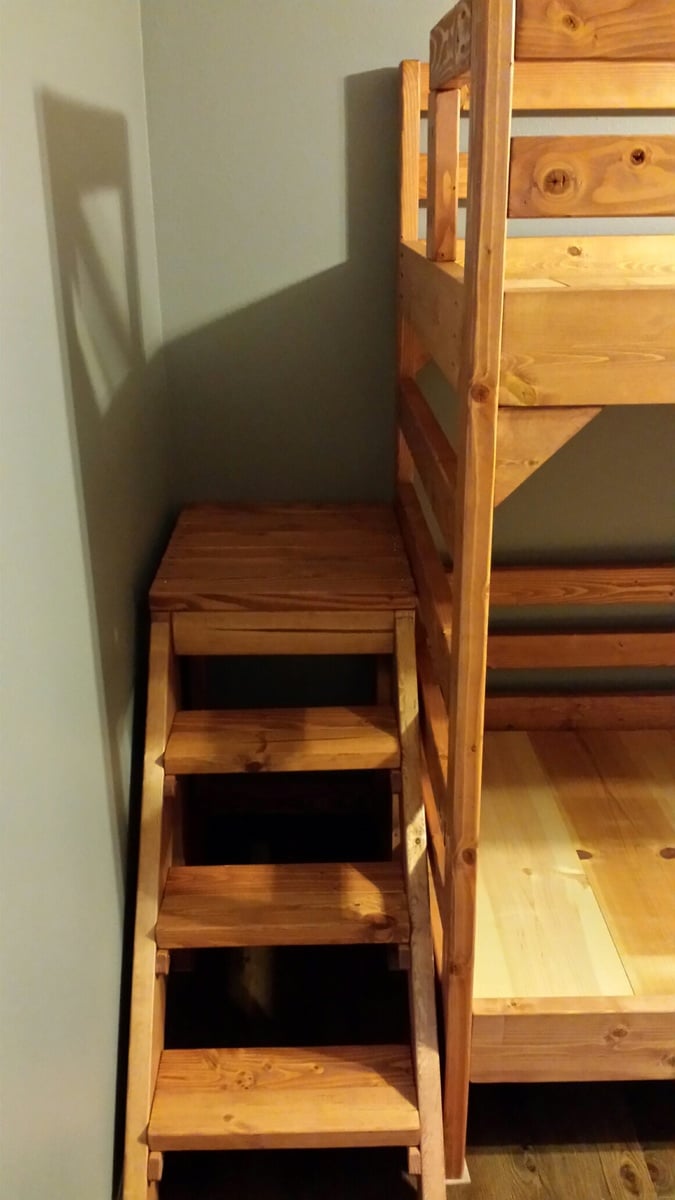
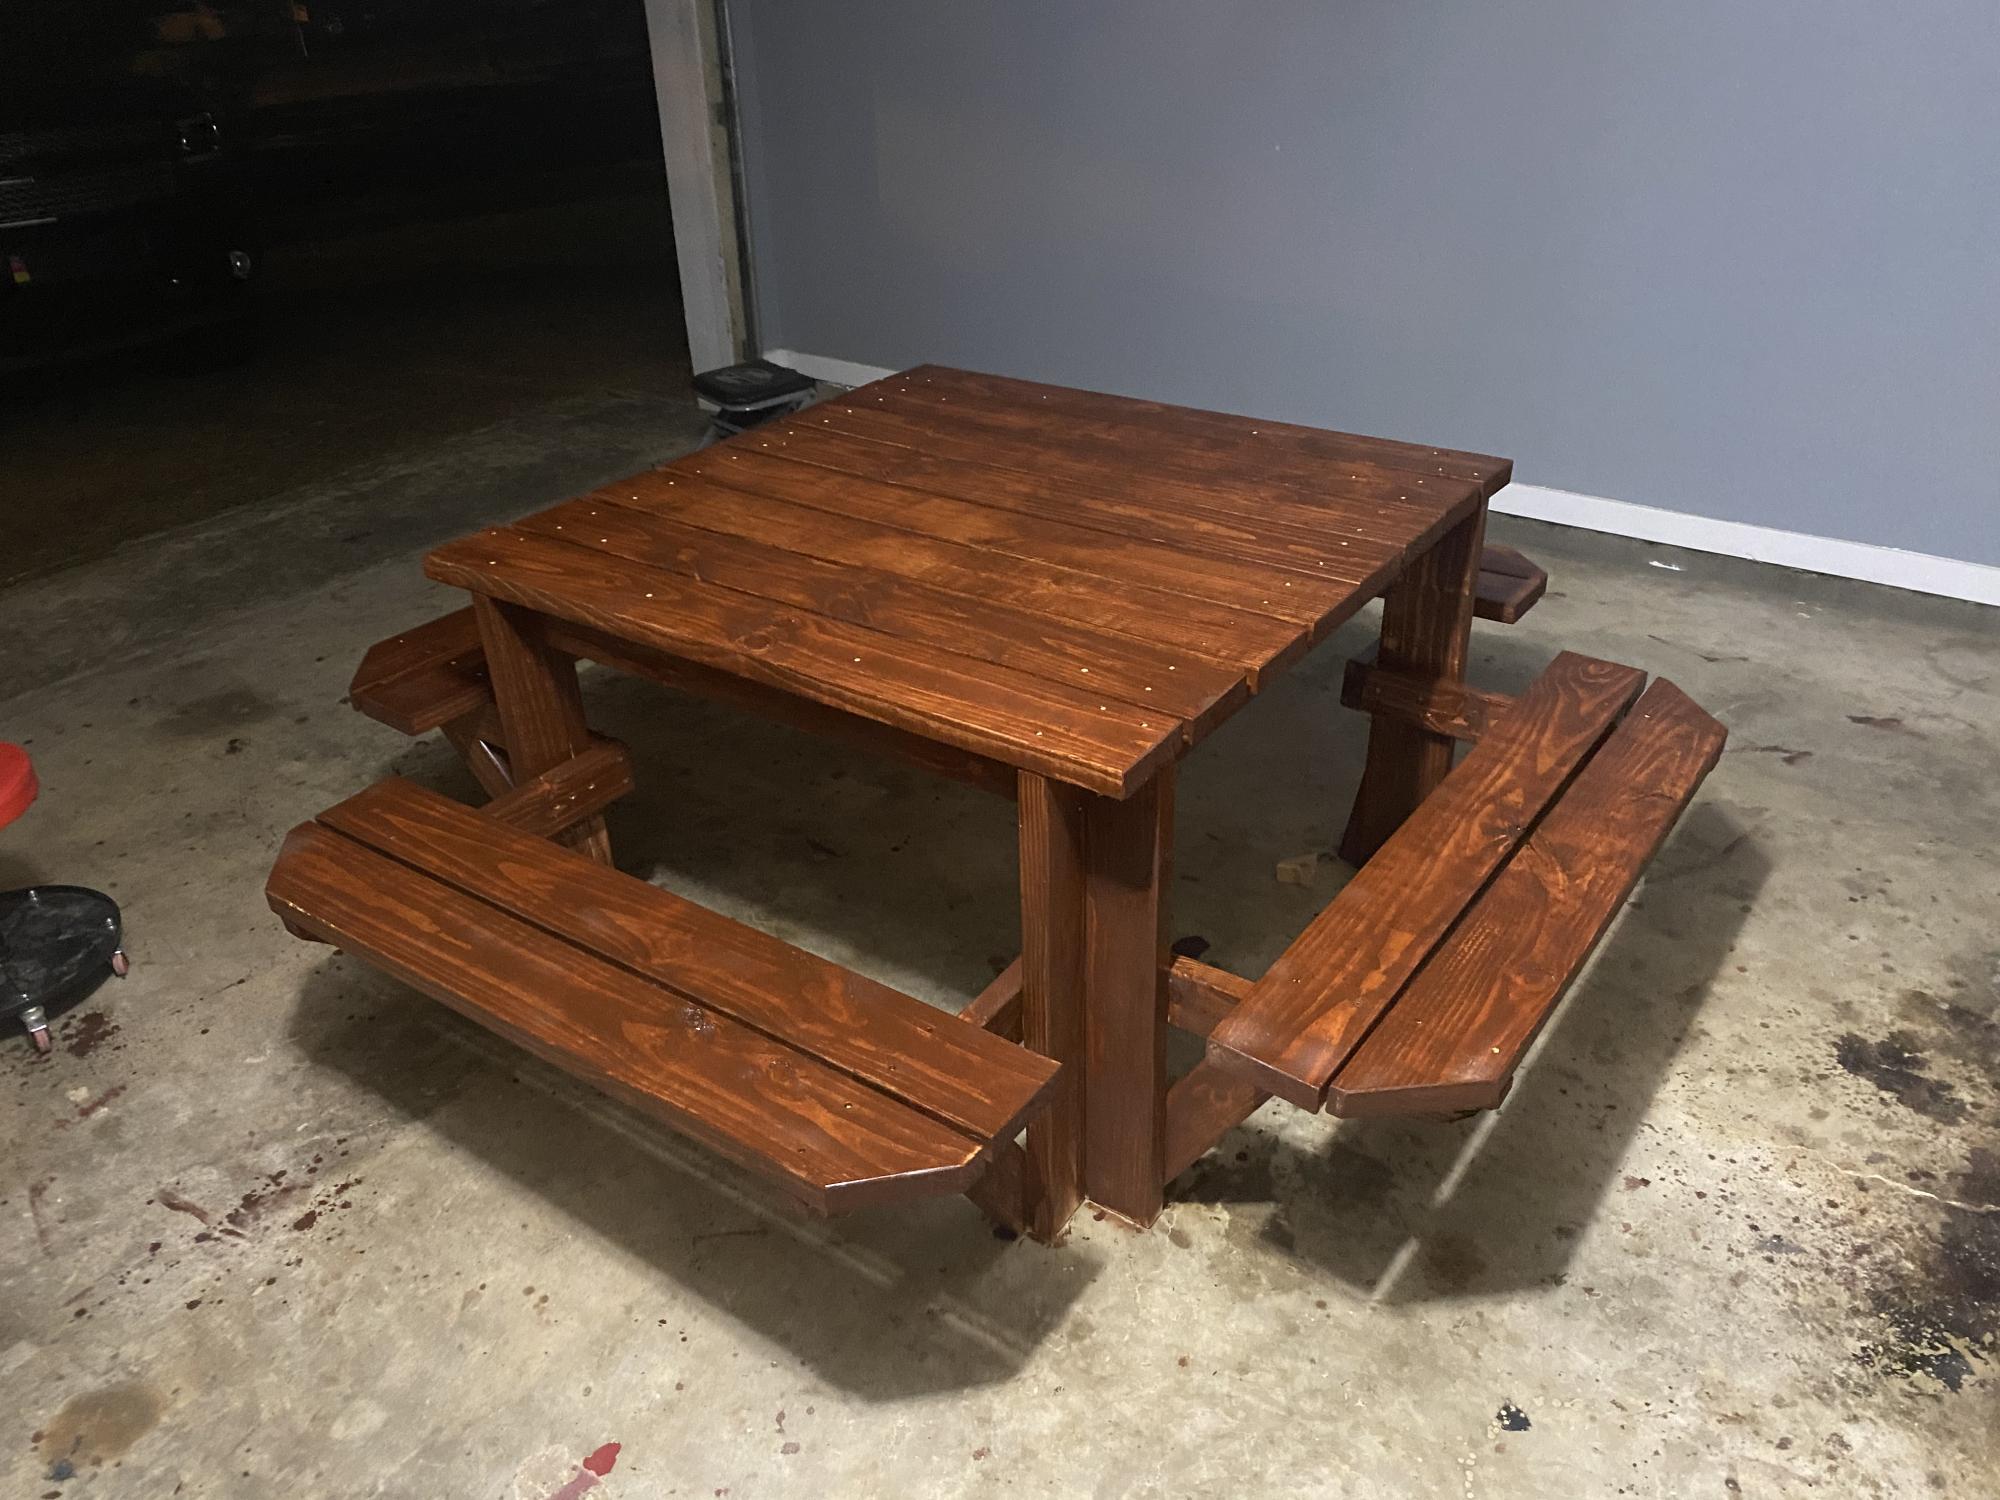
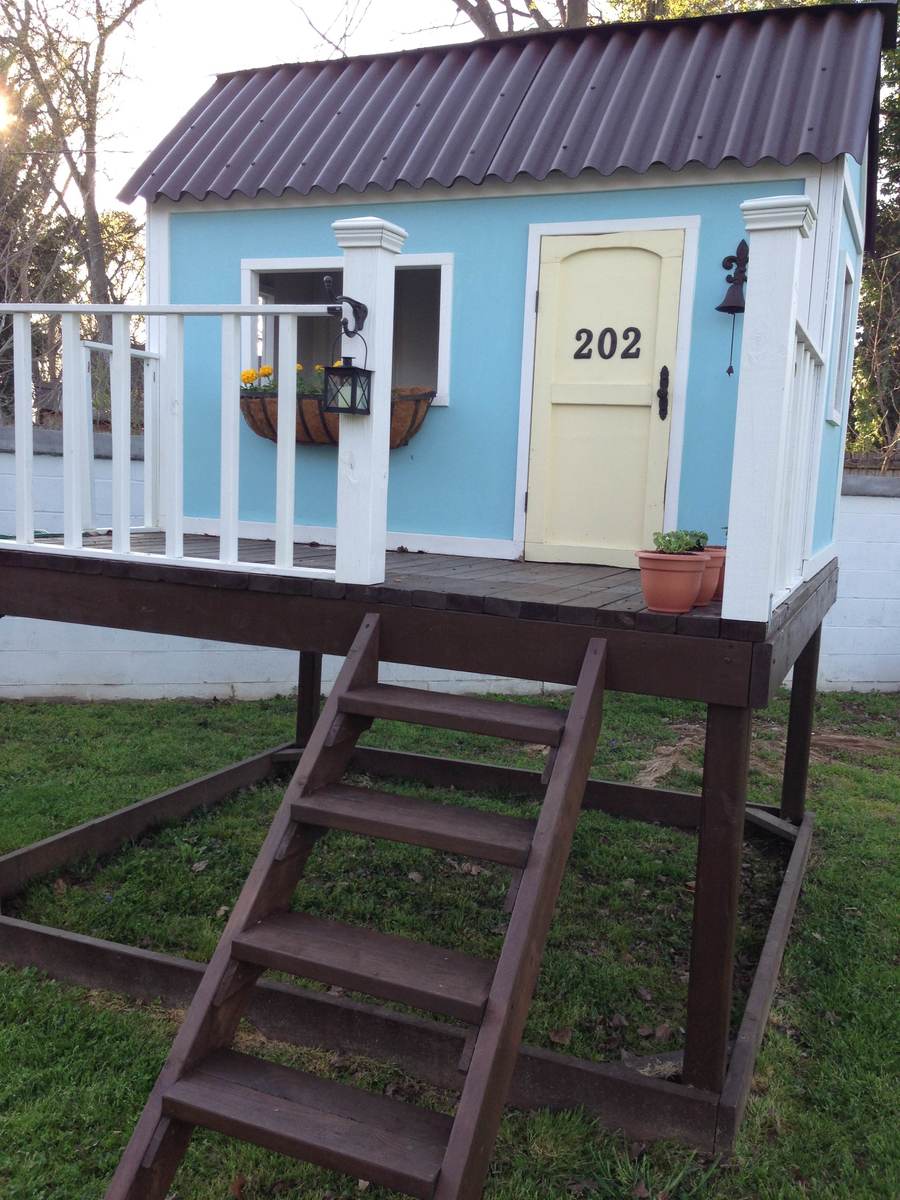
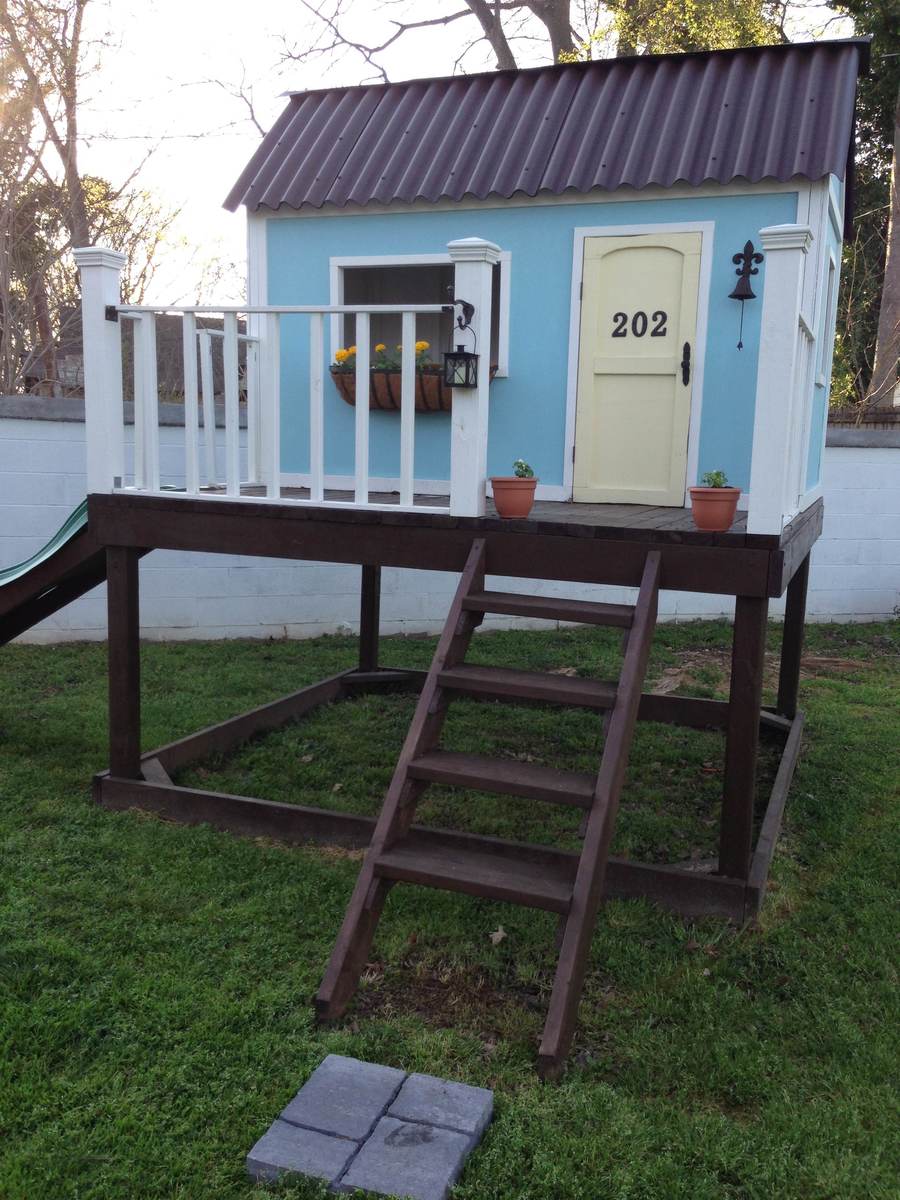
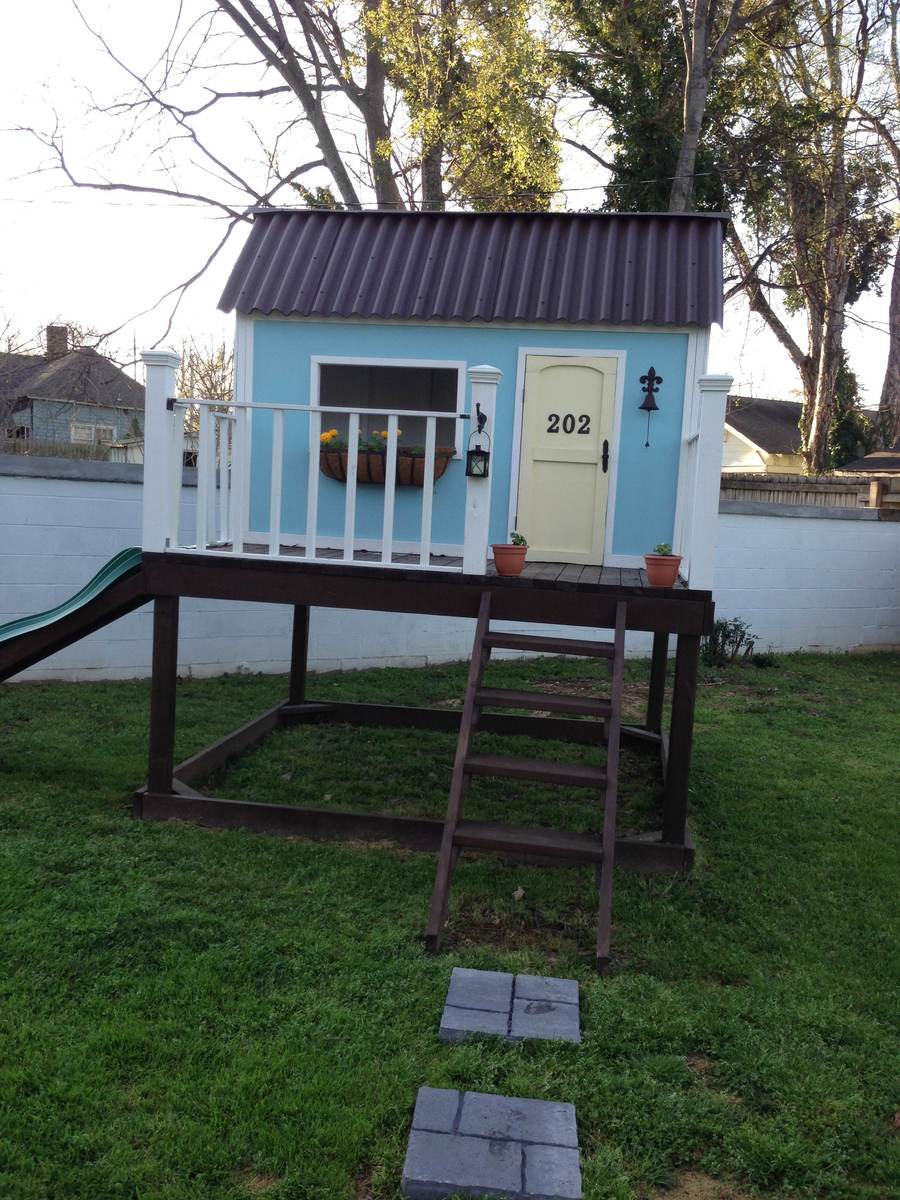
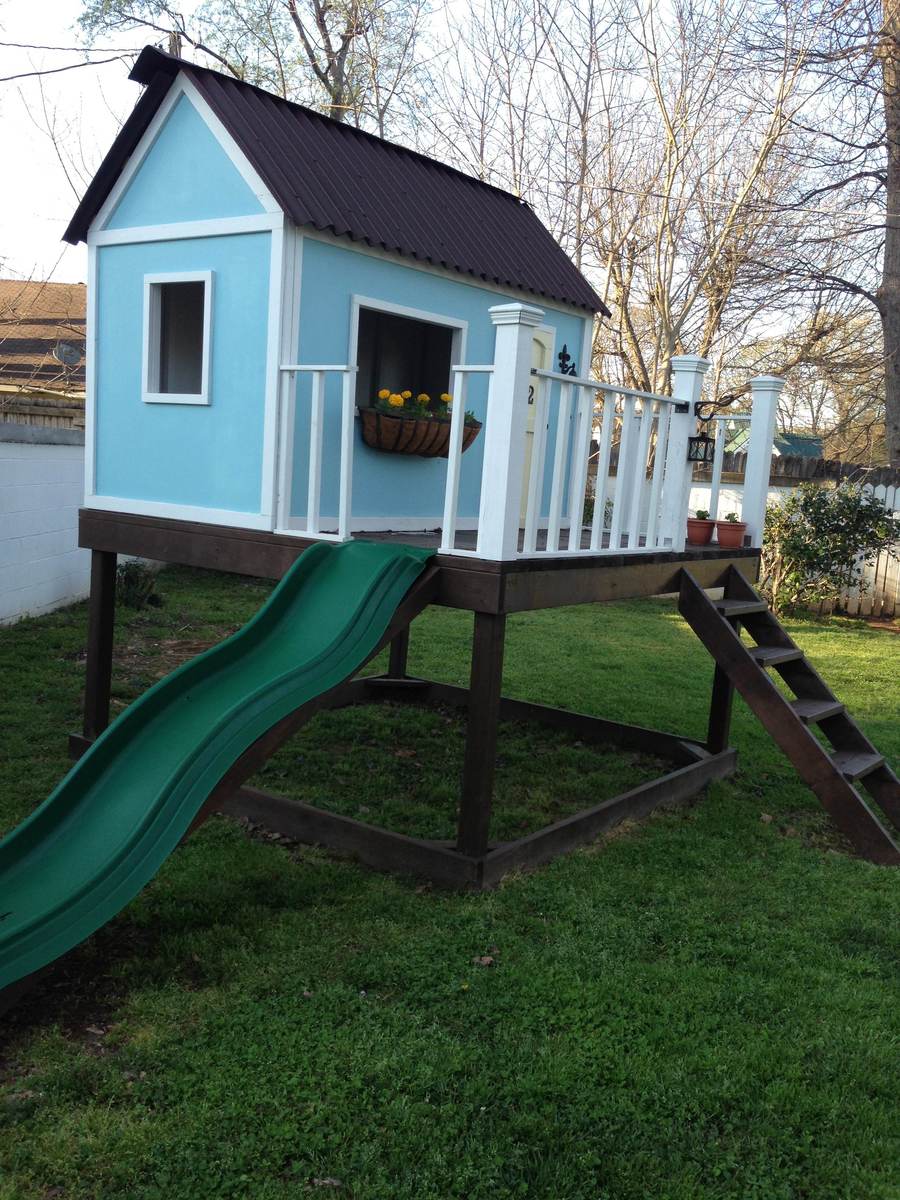
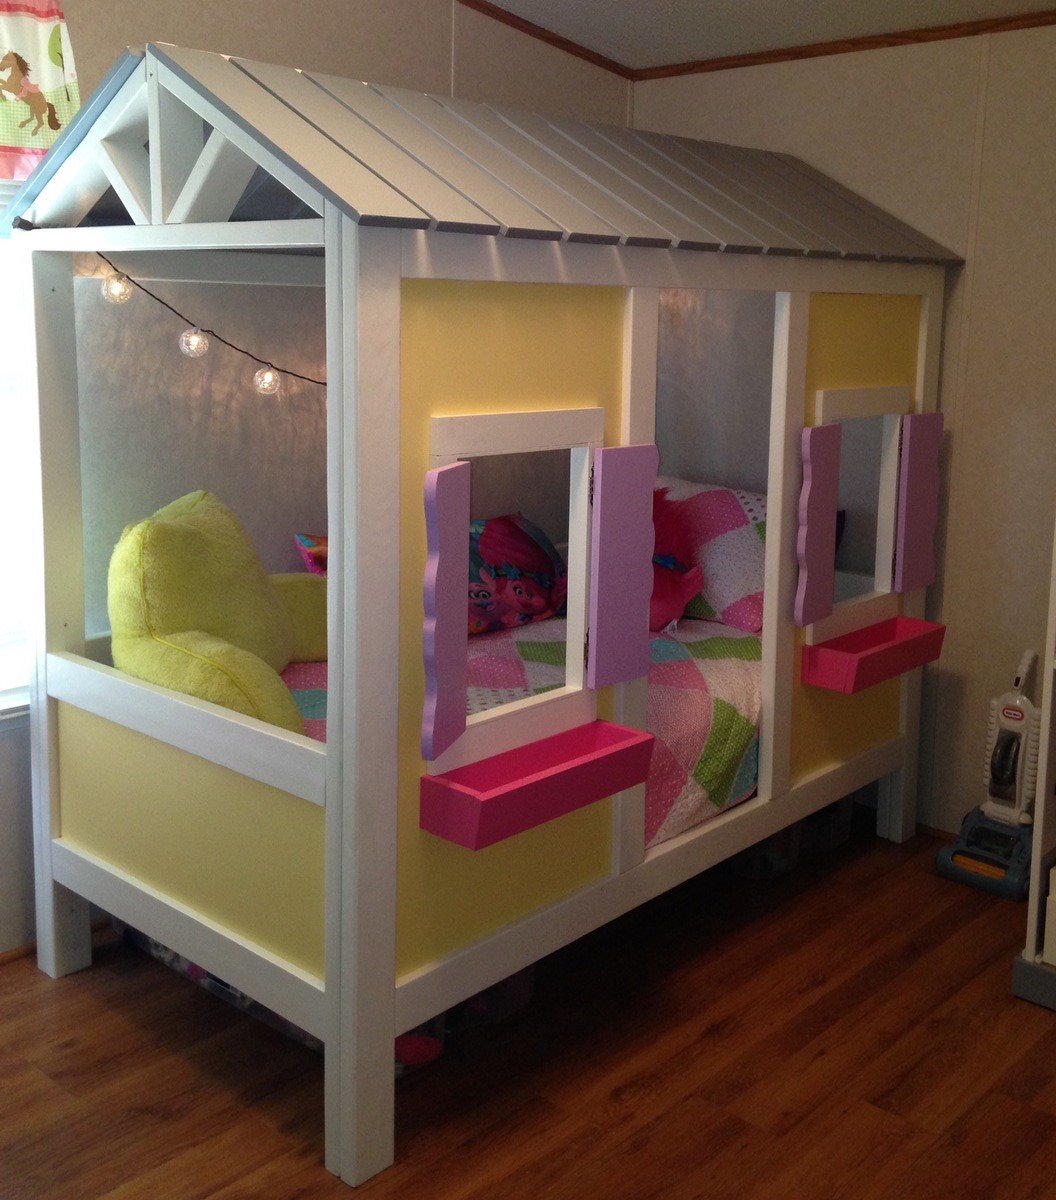
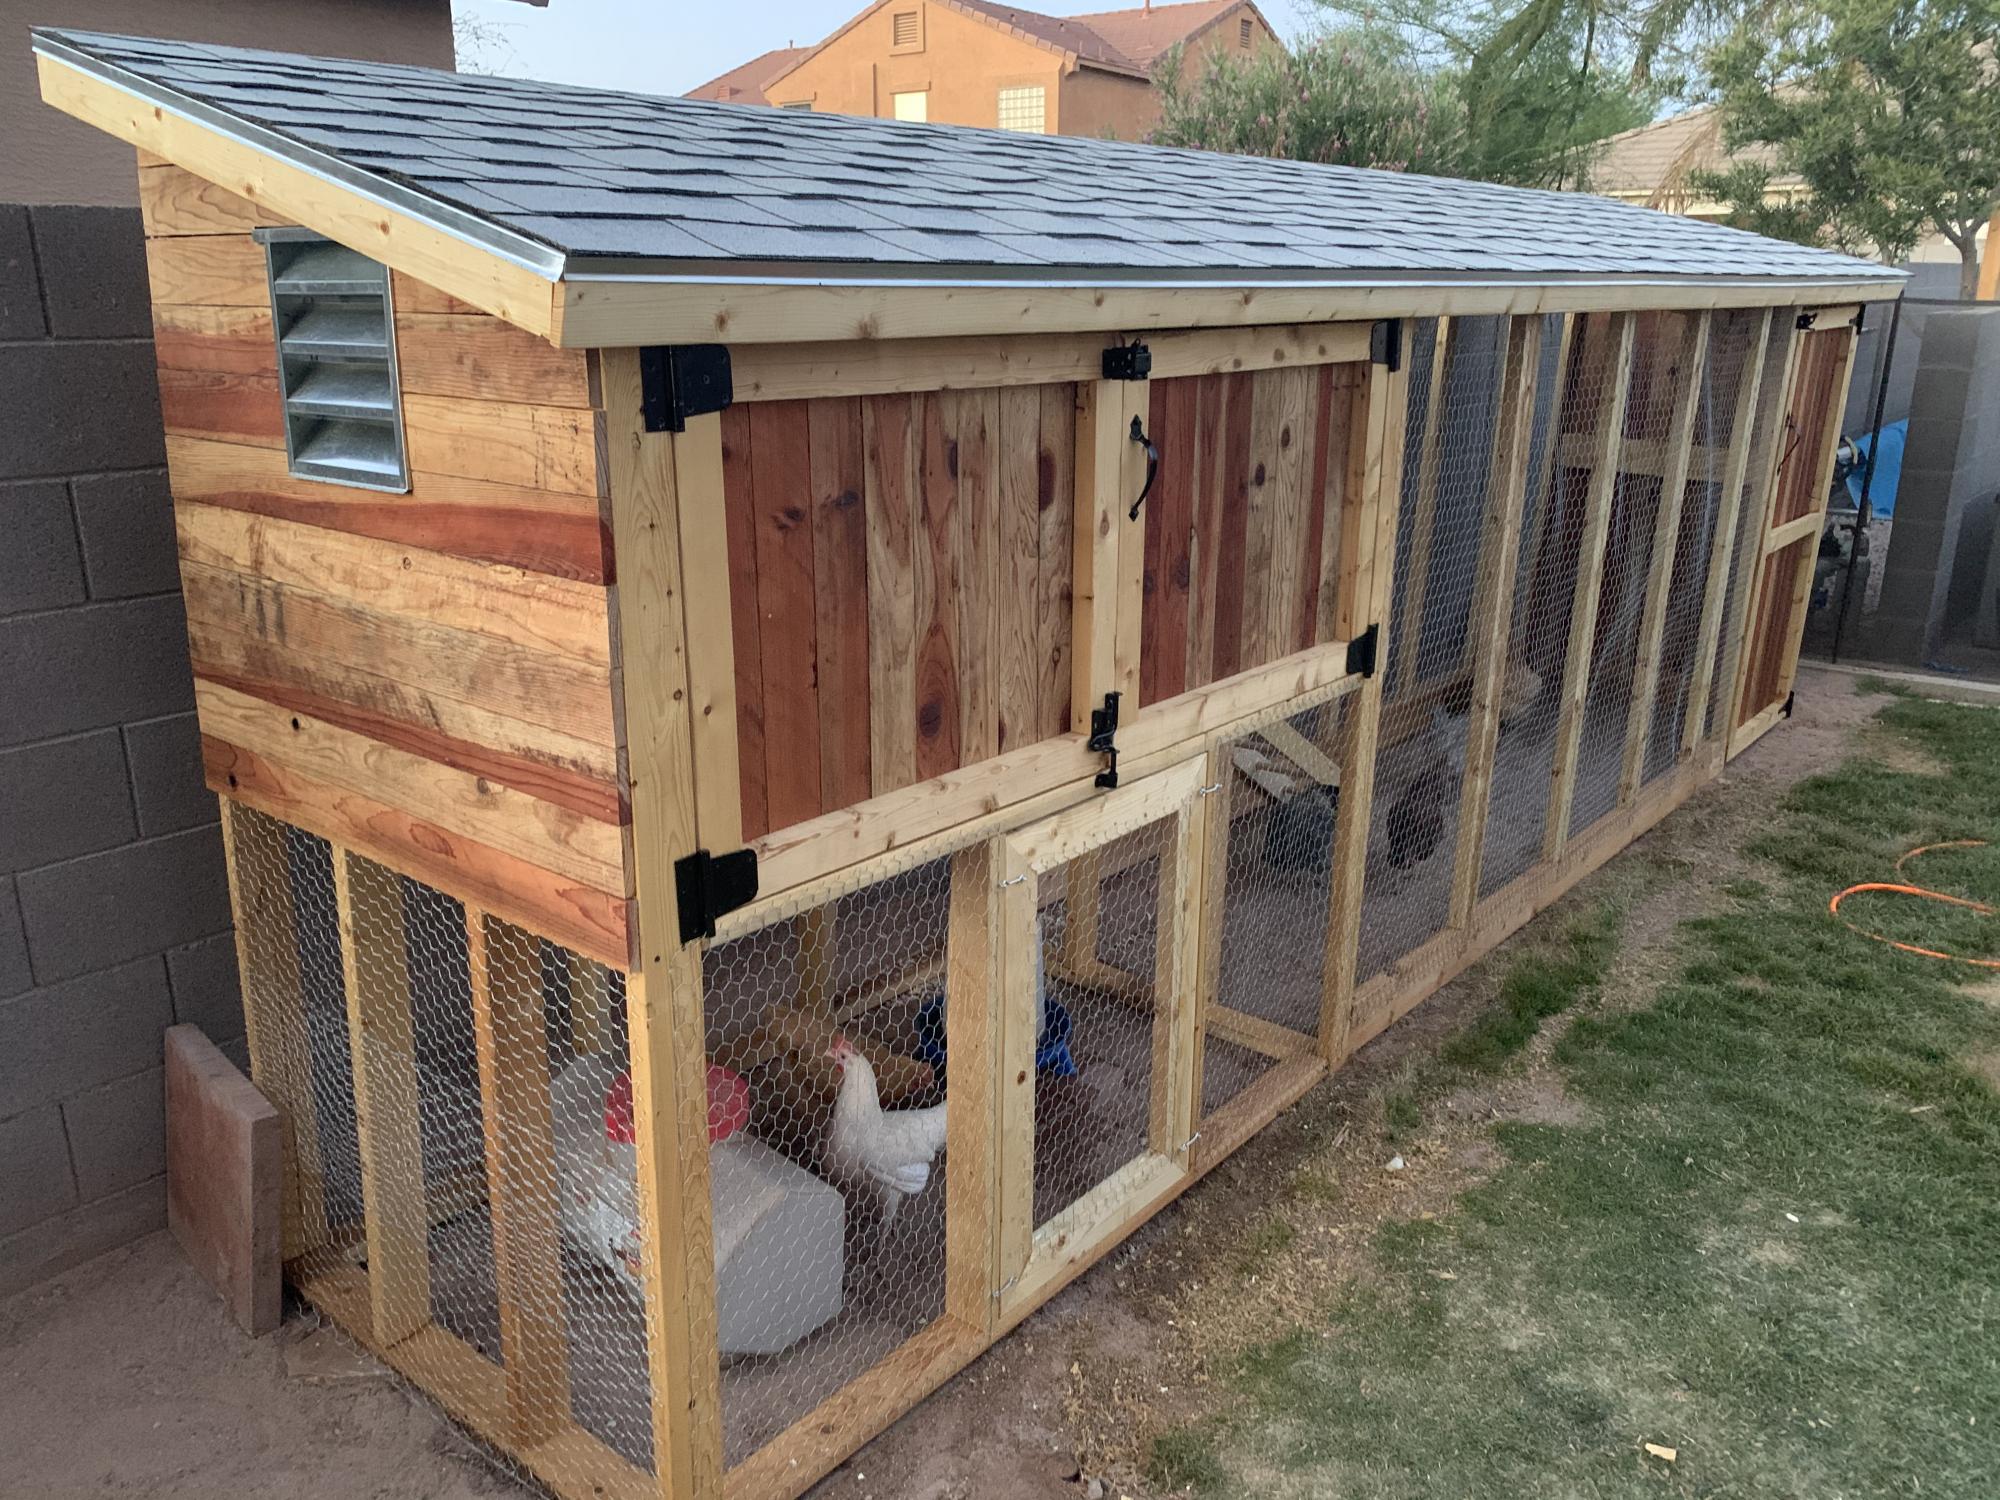
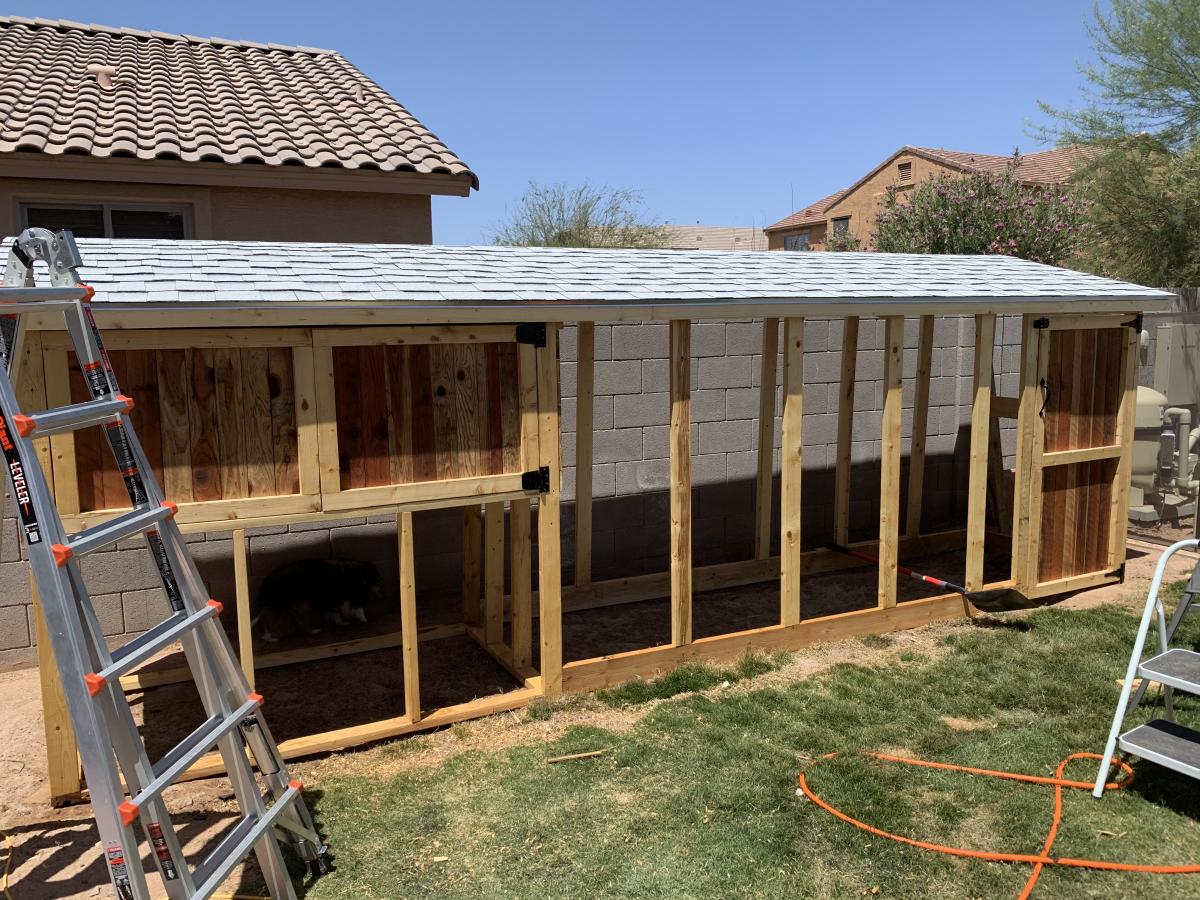
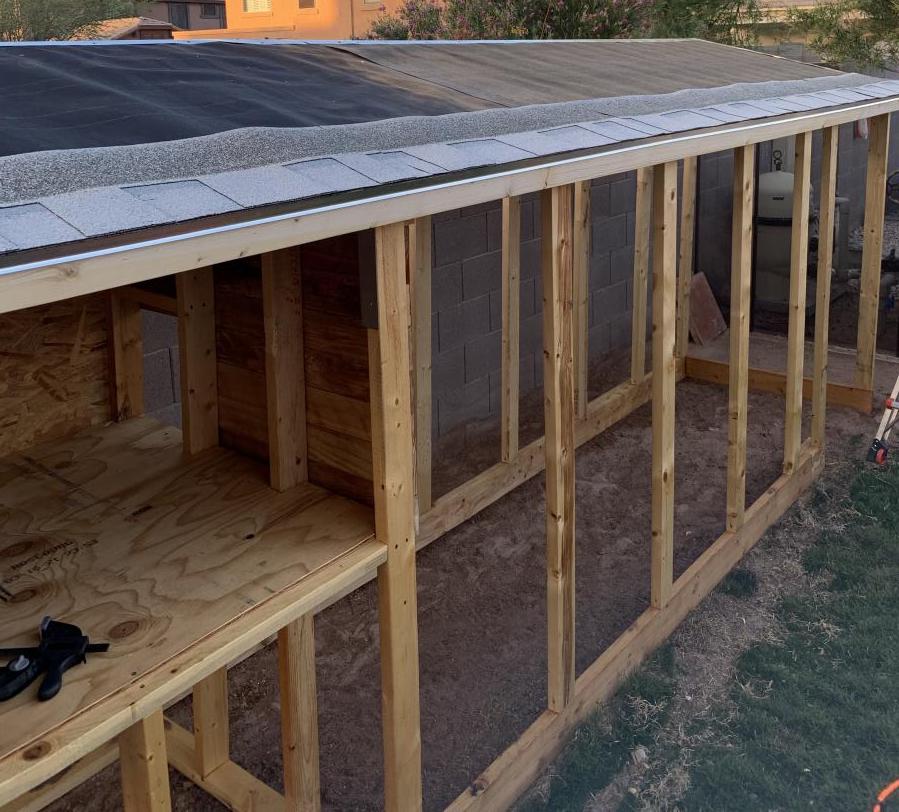
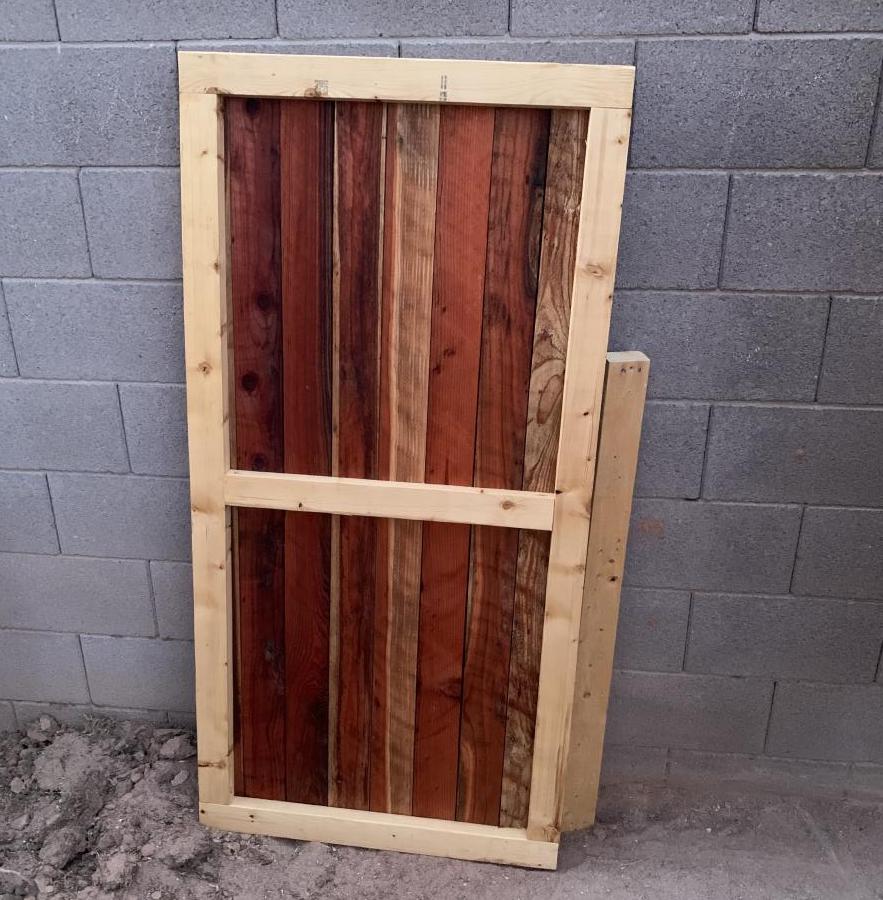
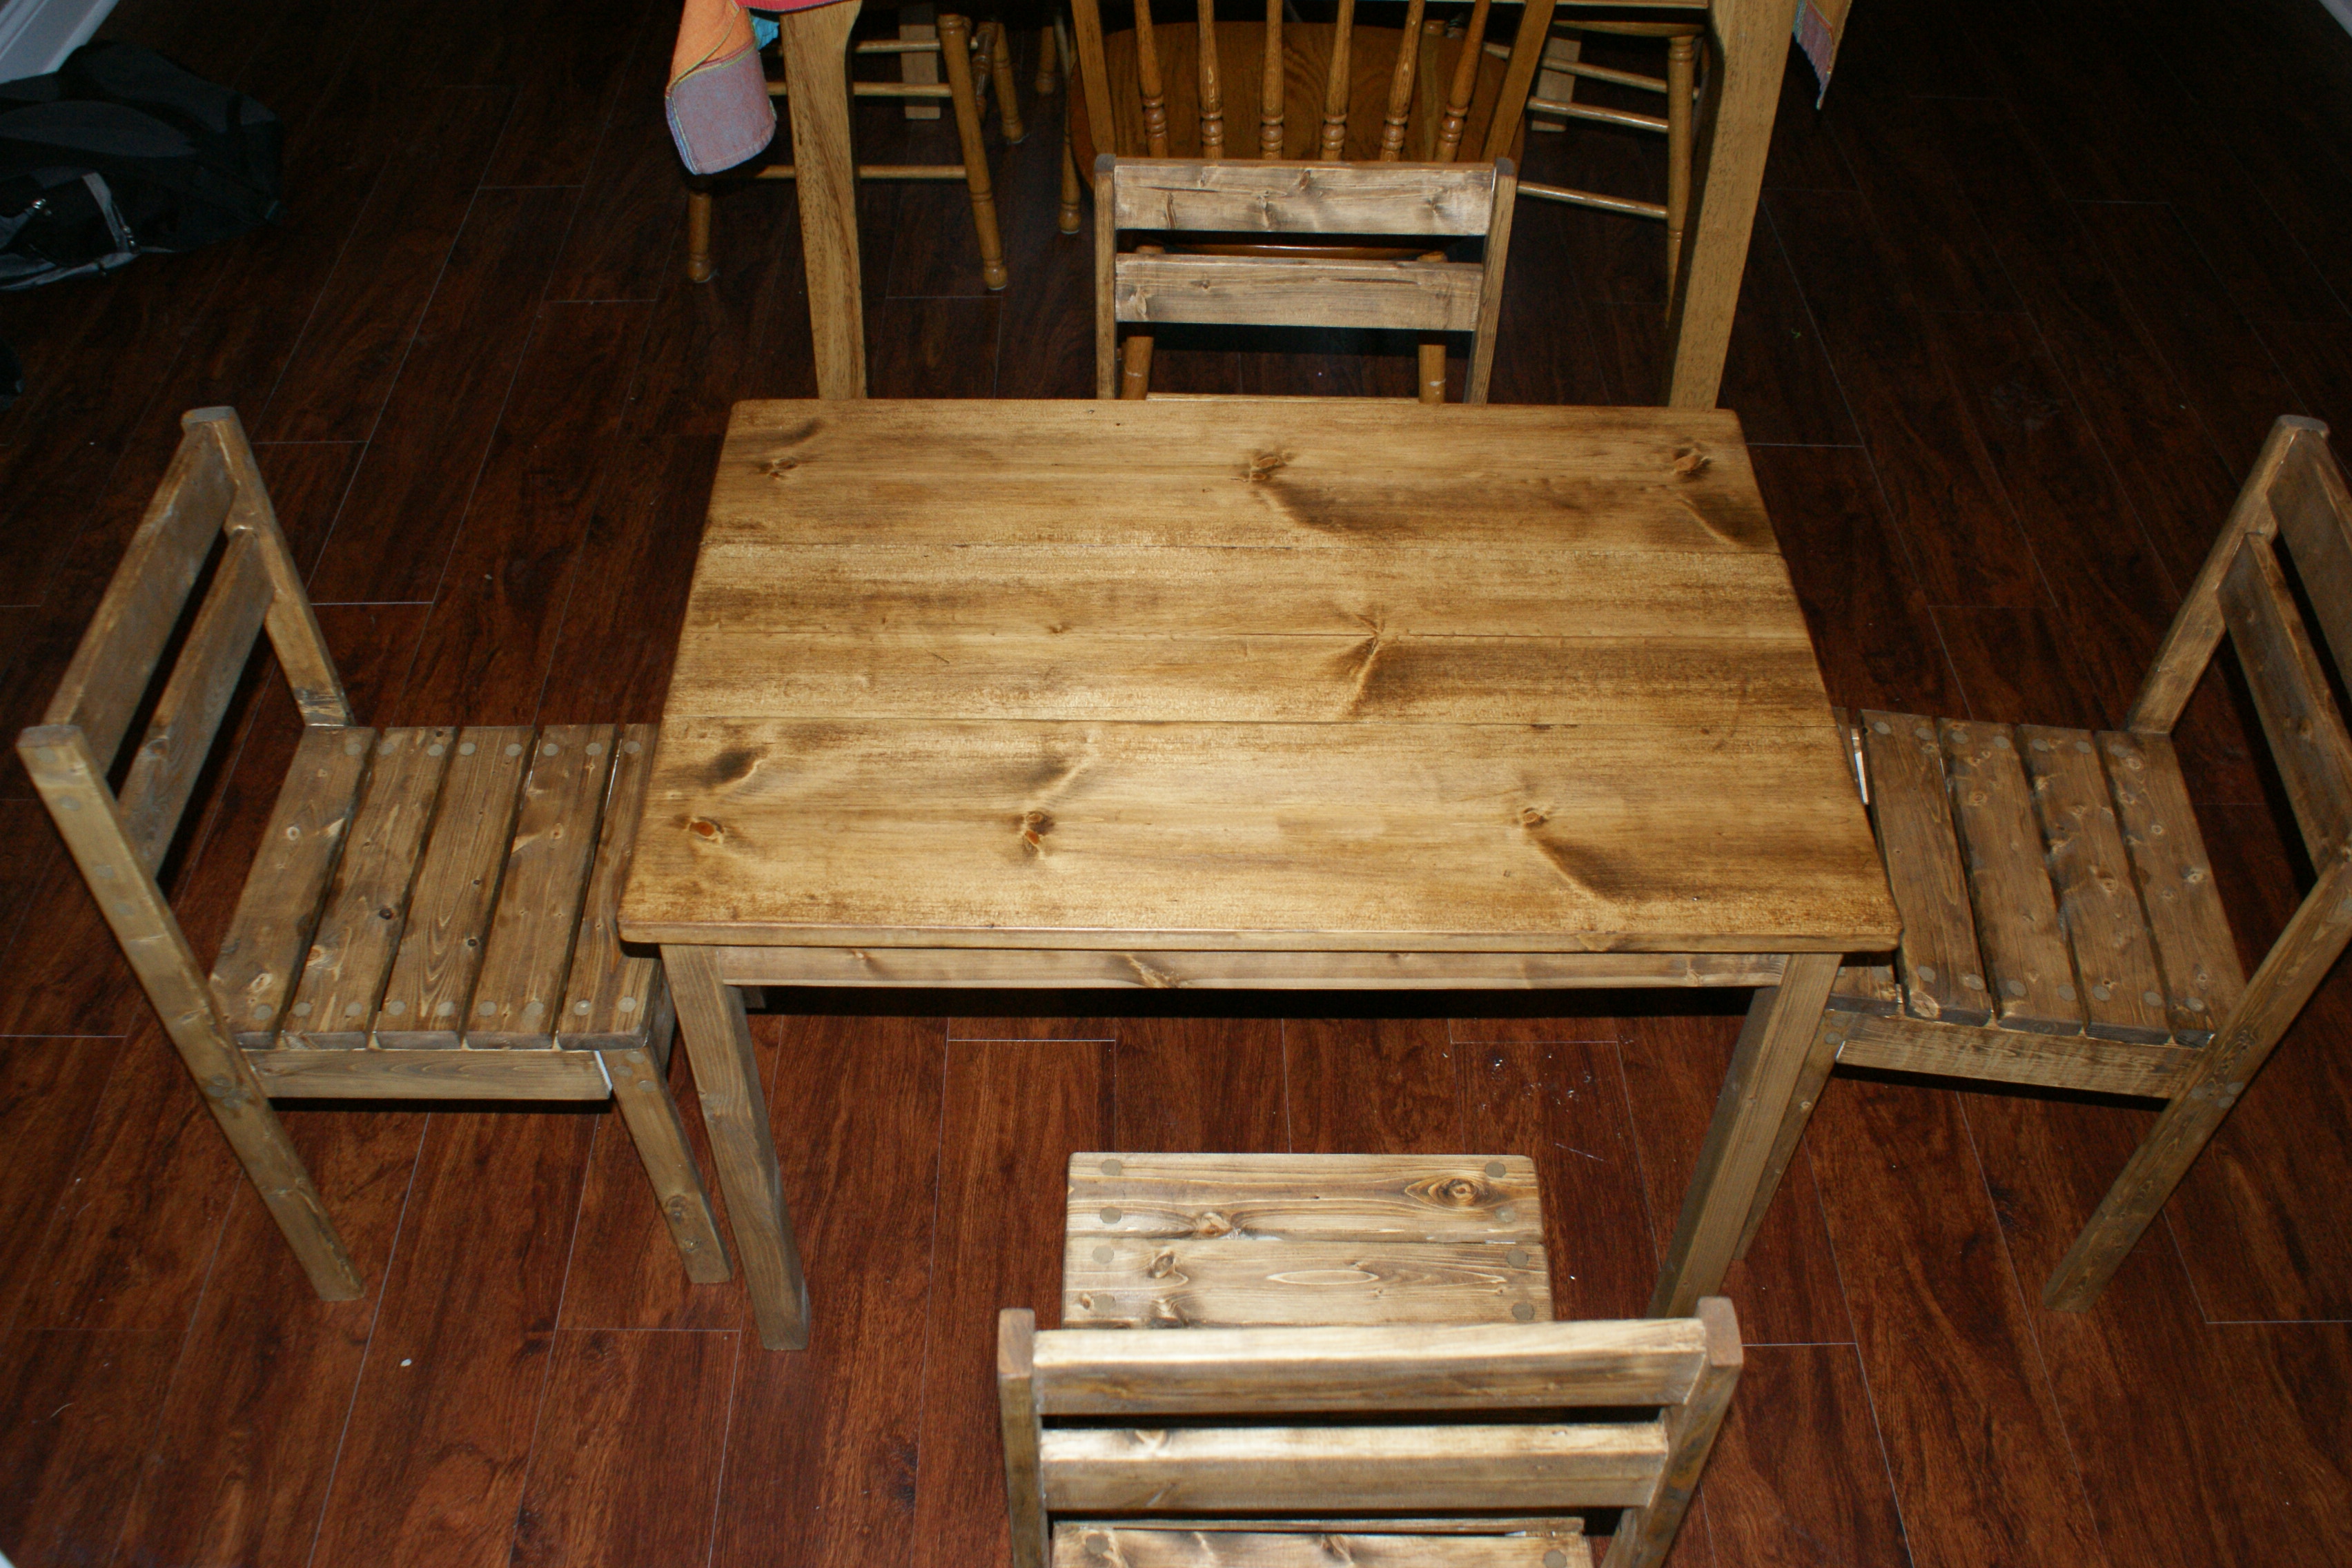
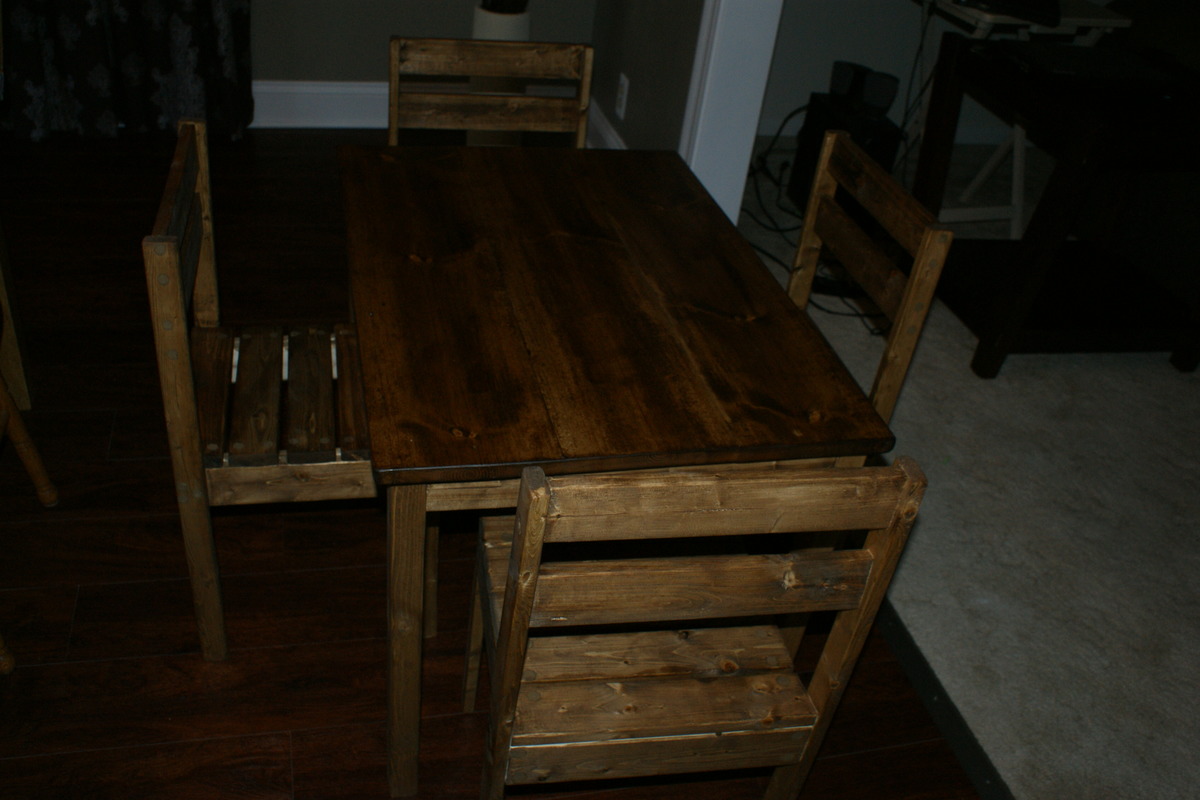
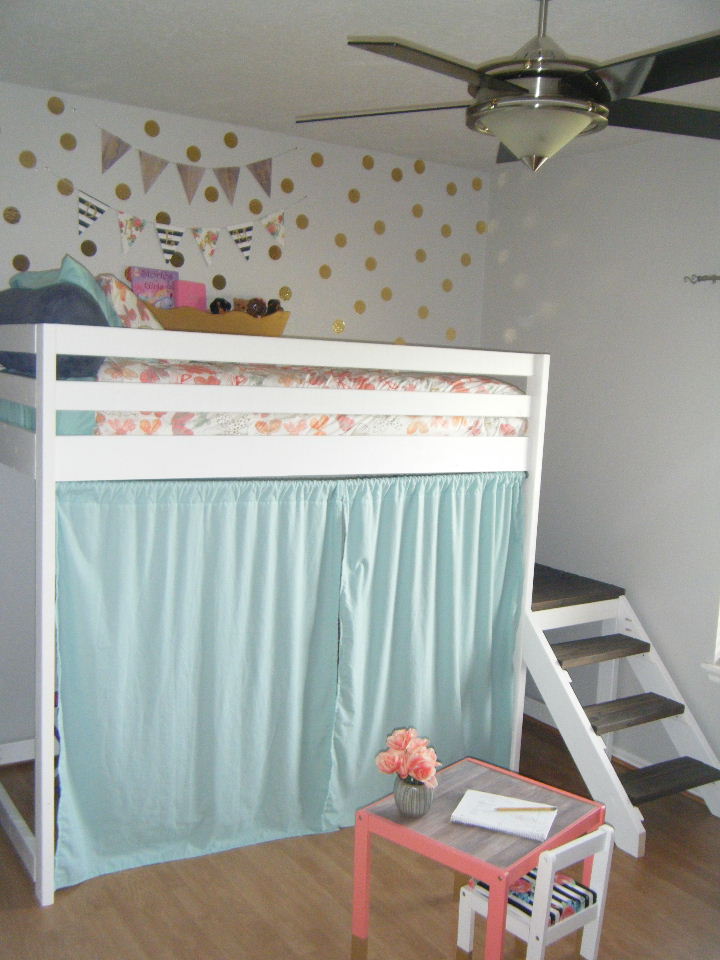
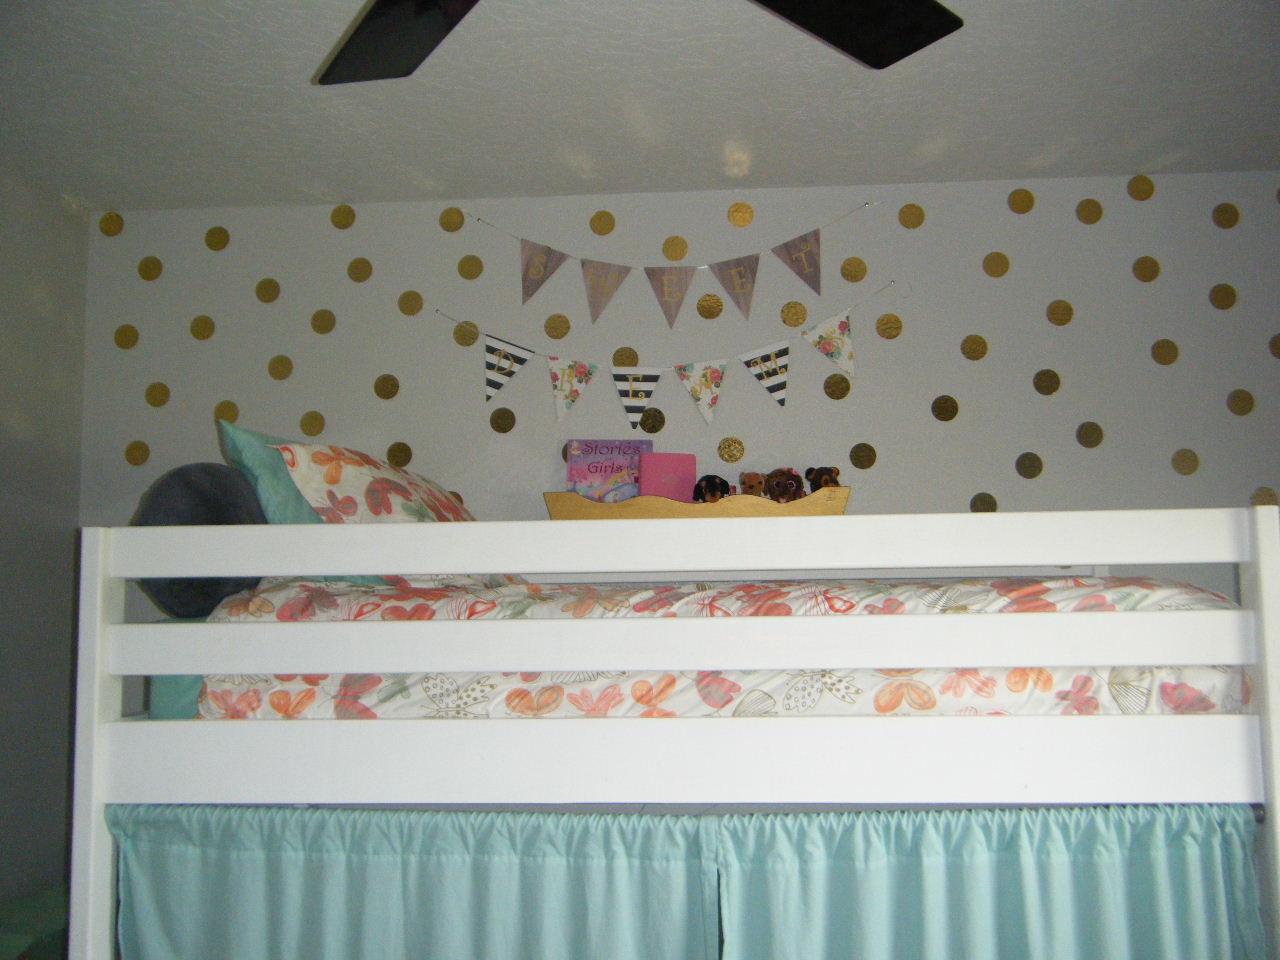
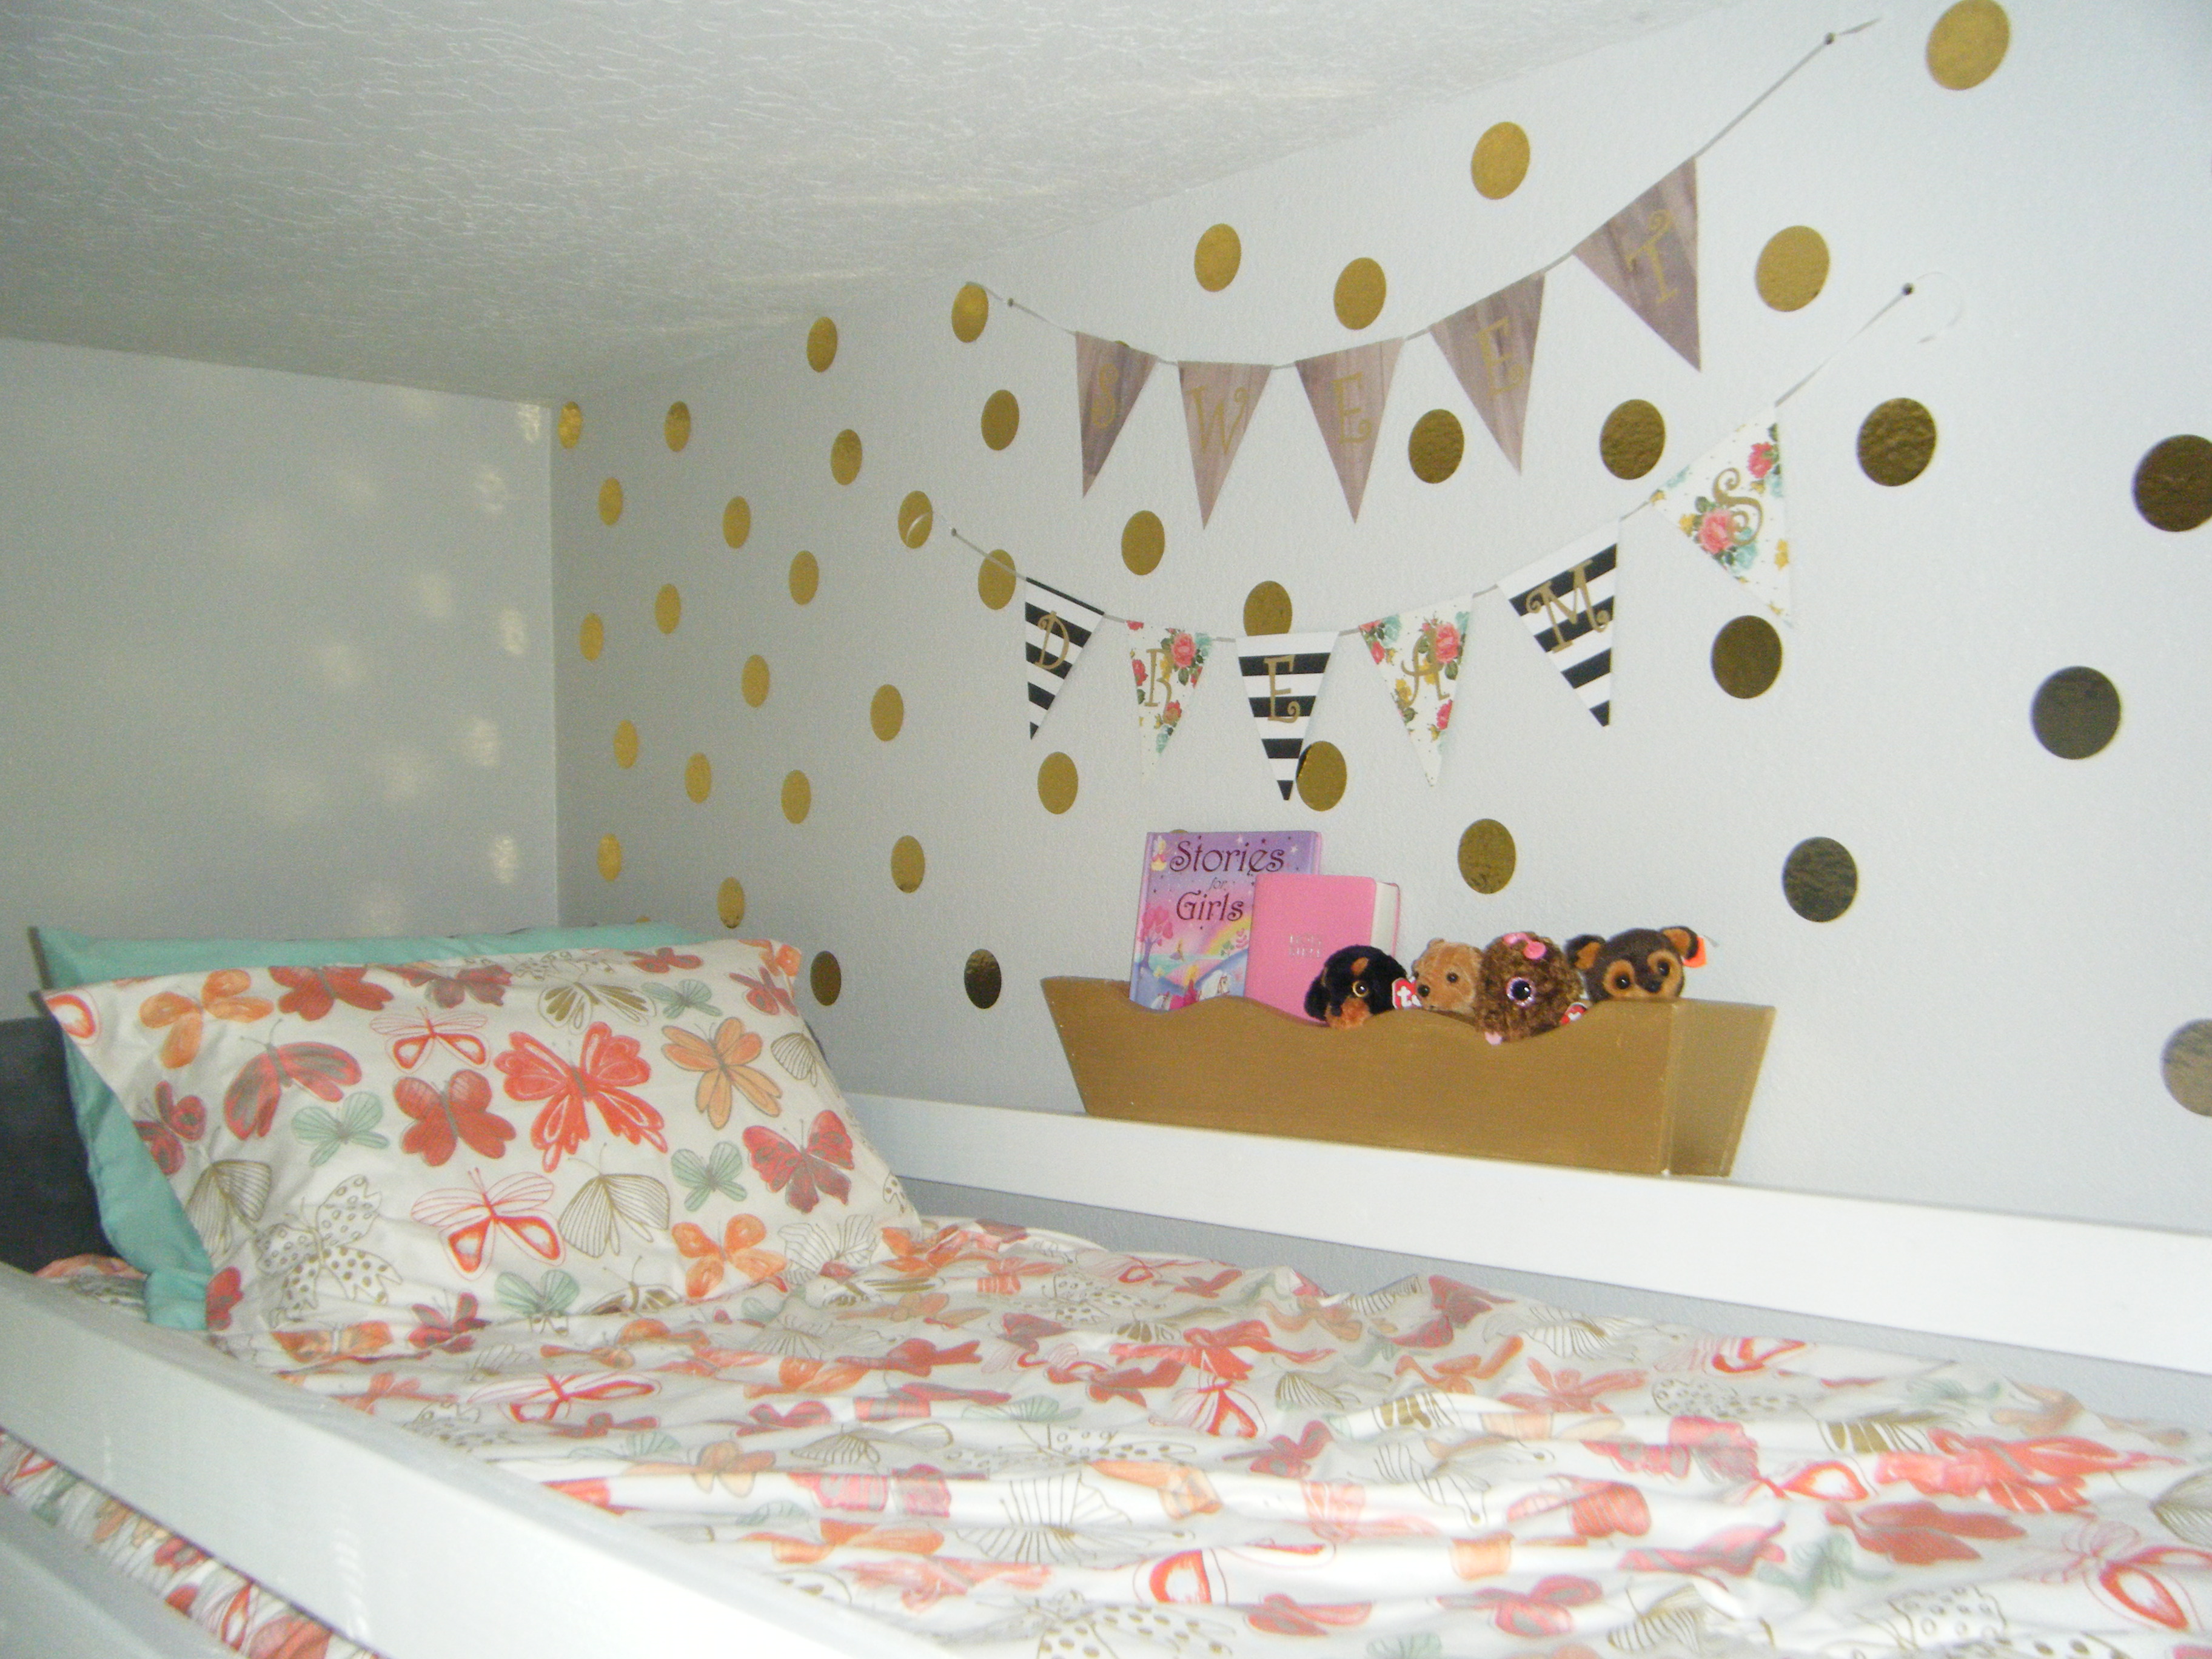
For my princess!
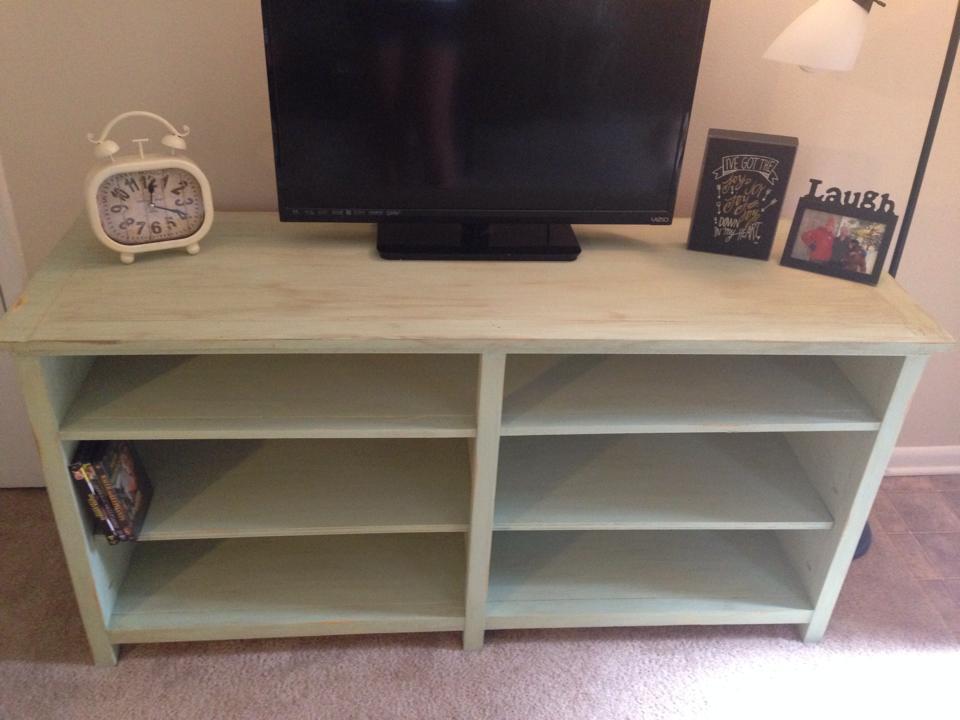
Well worth the time and effort!!!
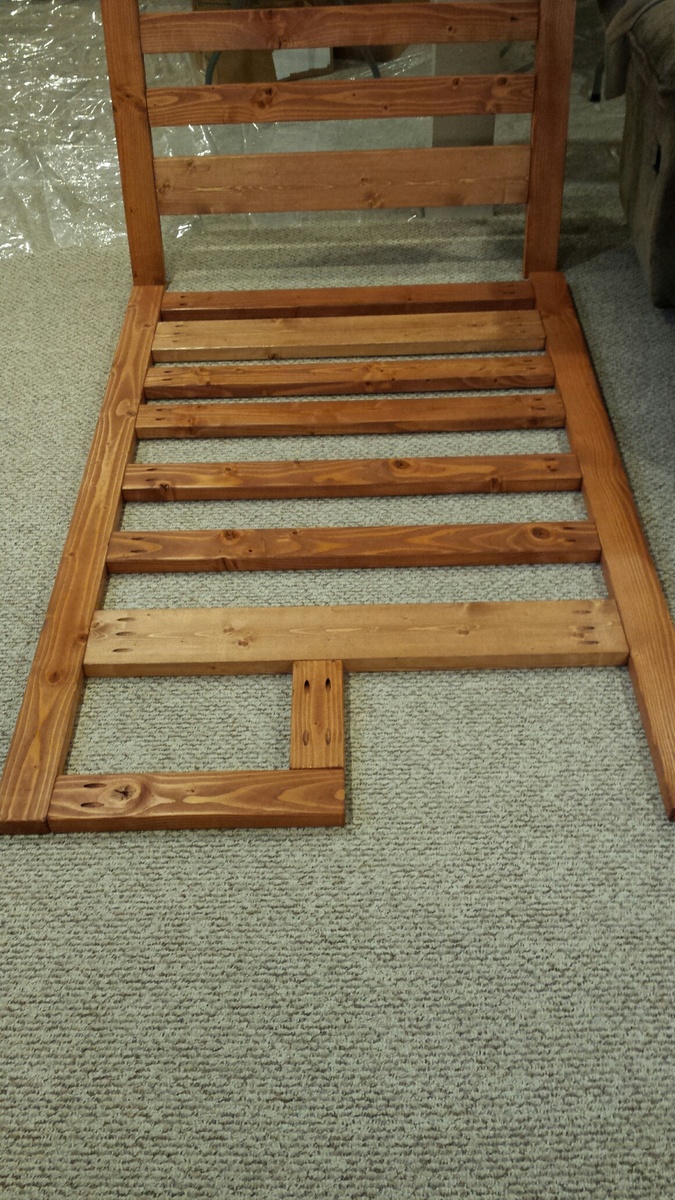
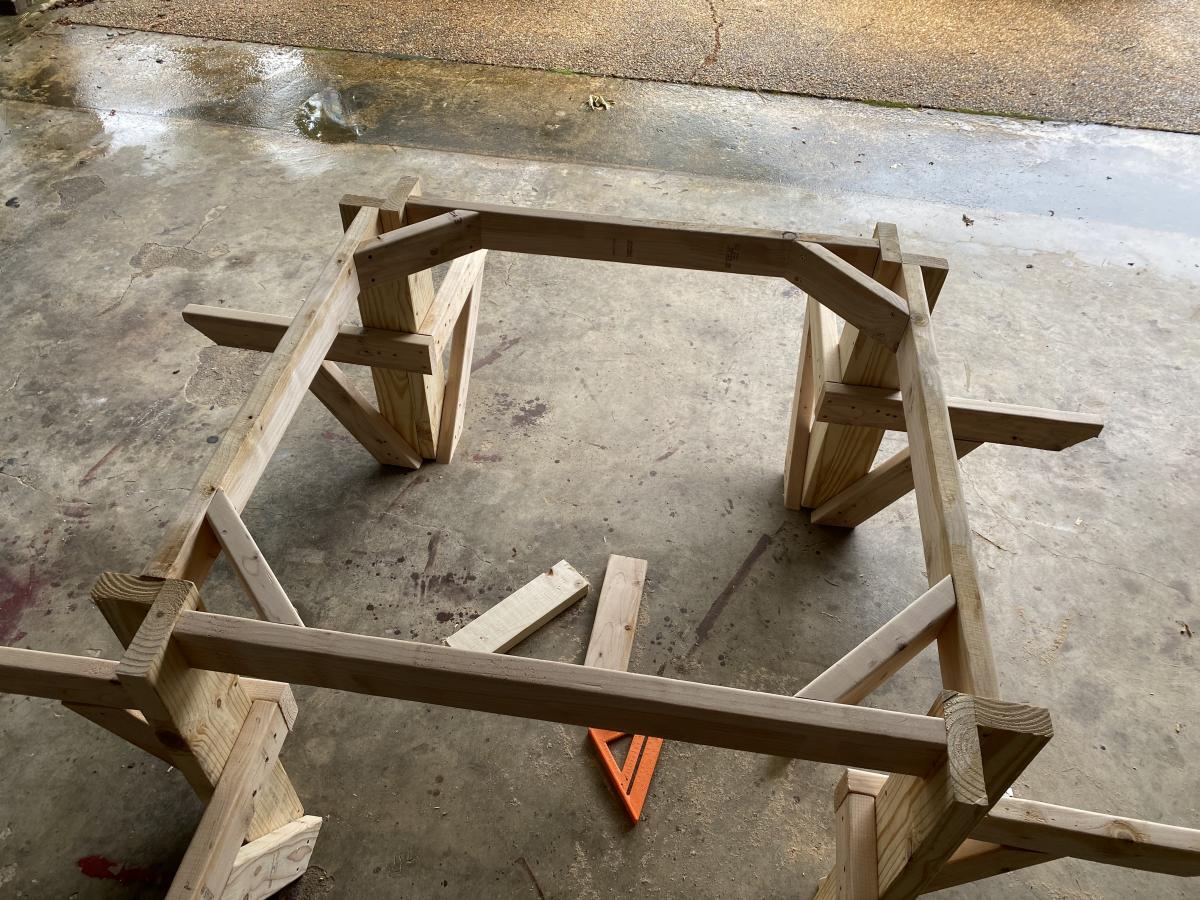
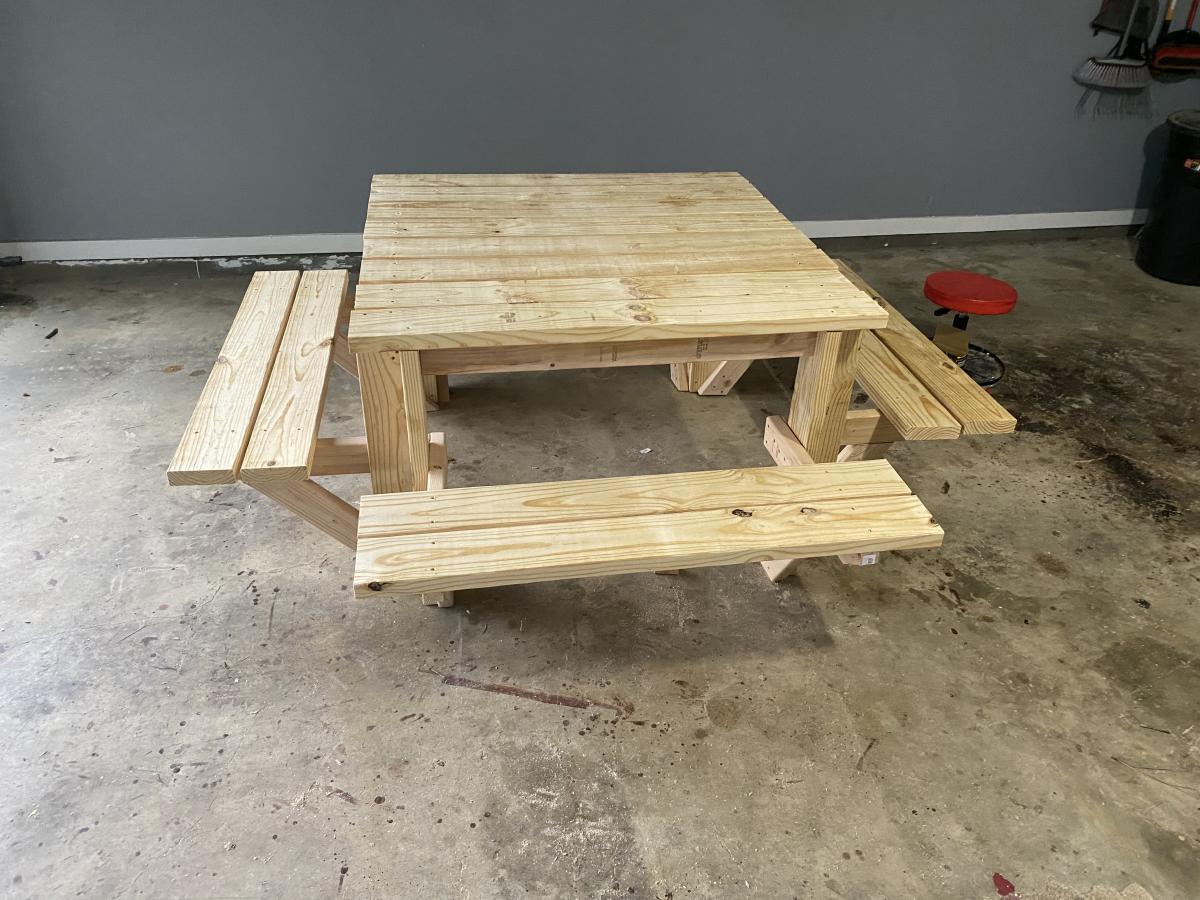
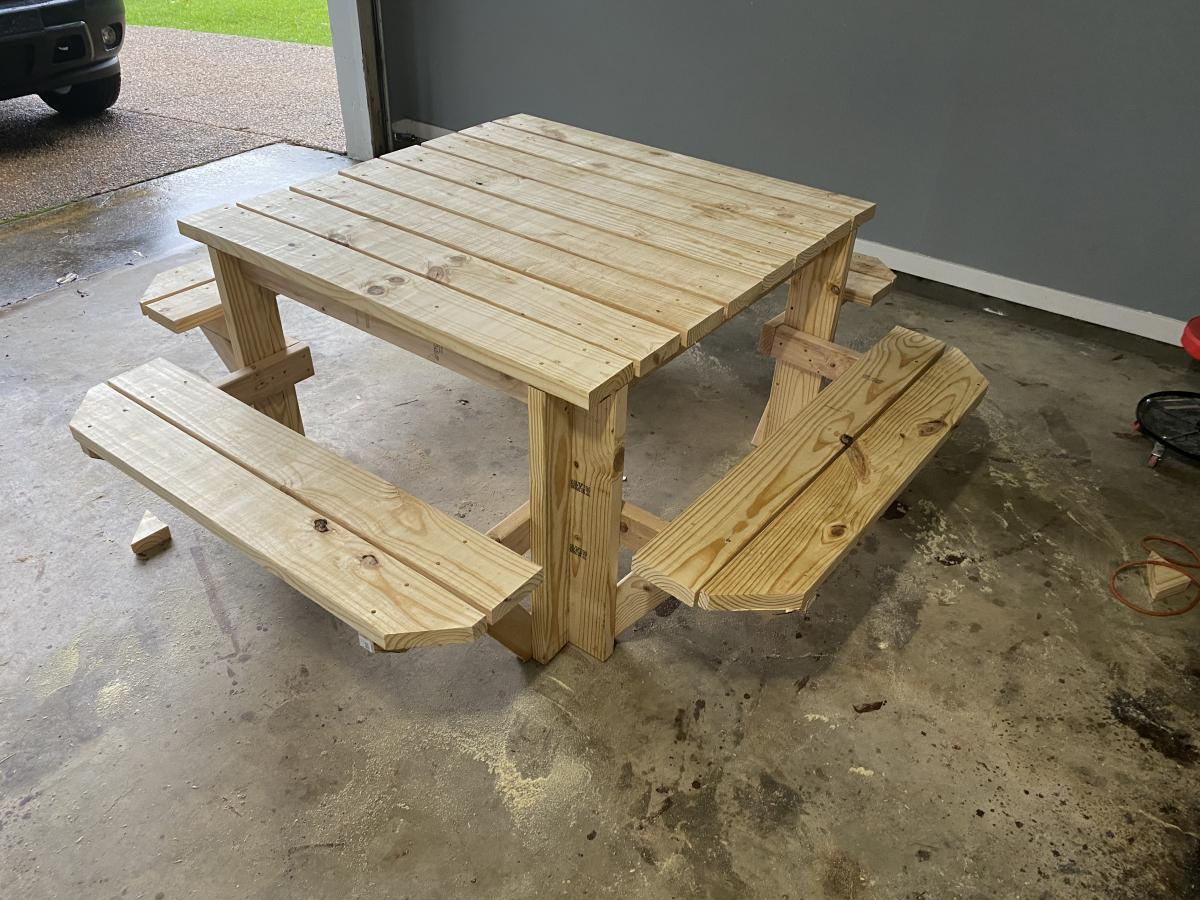
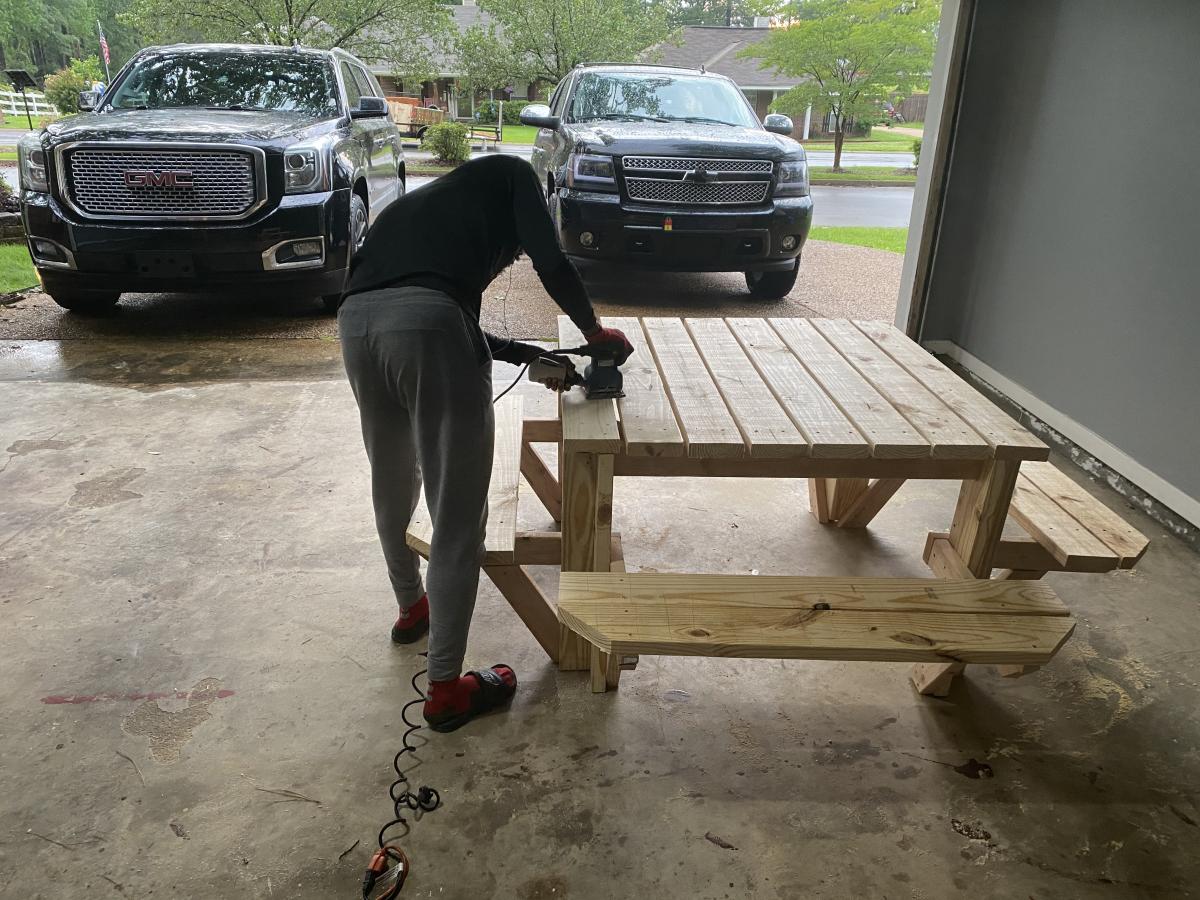
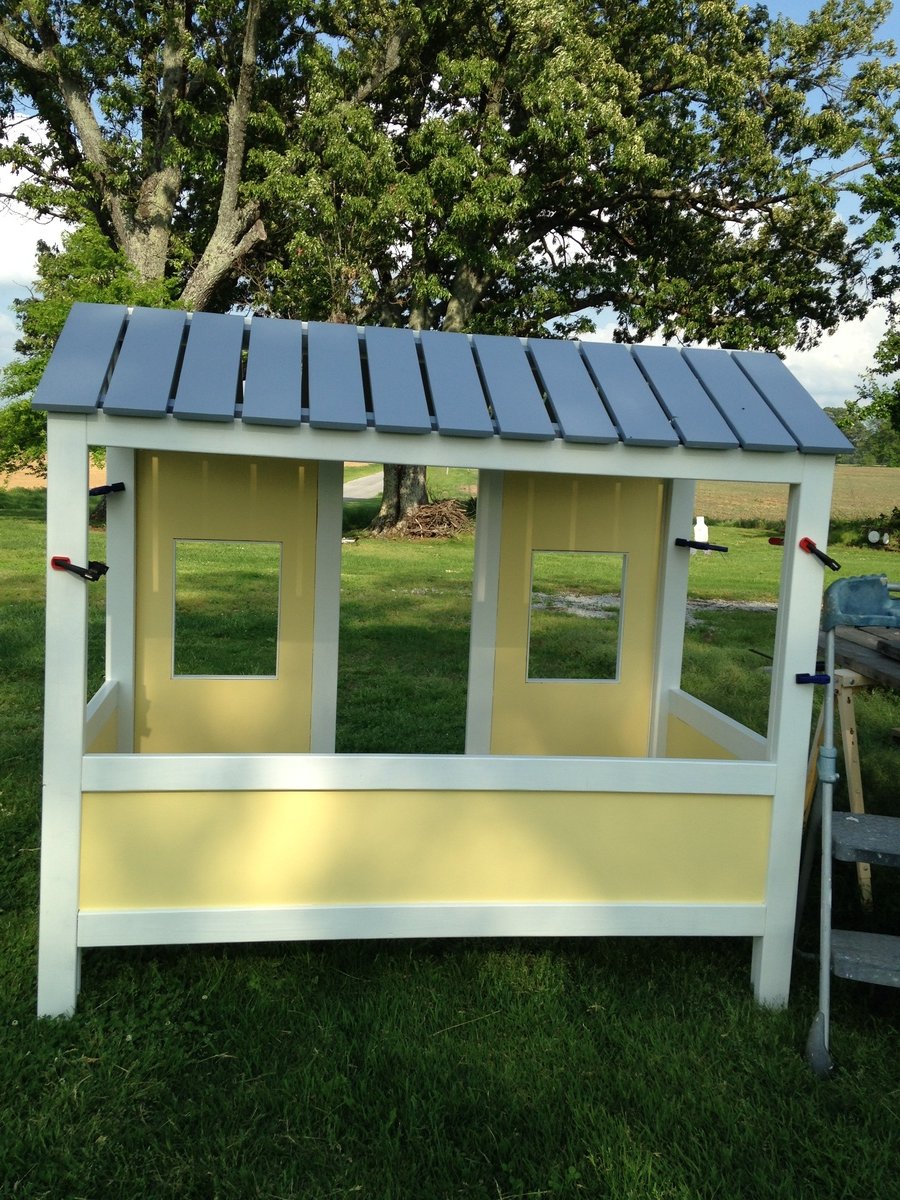
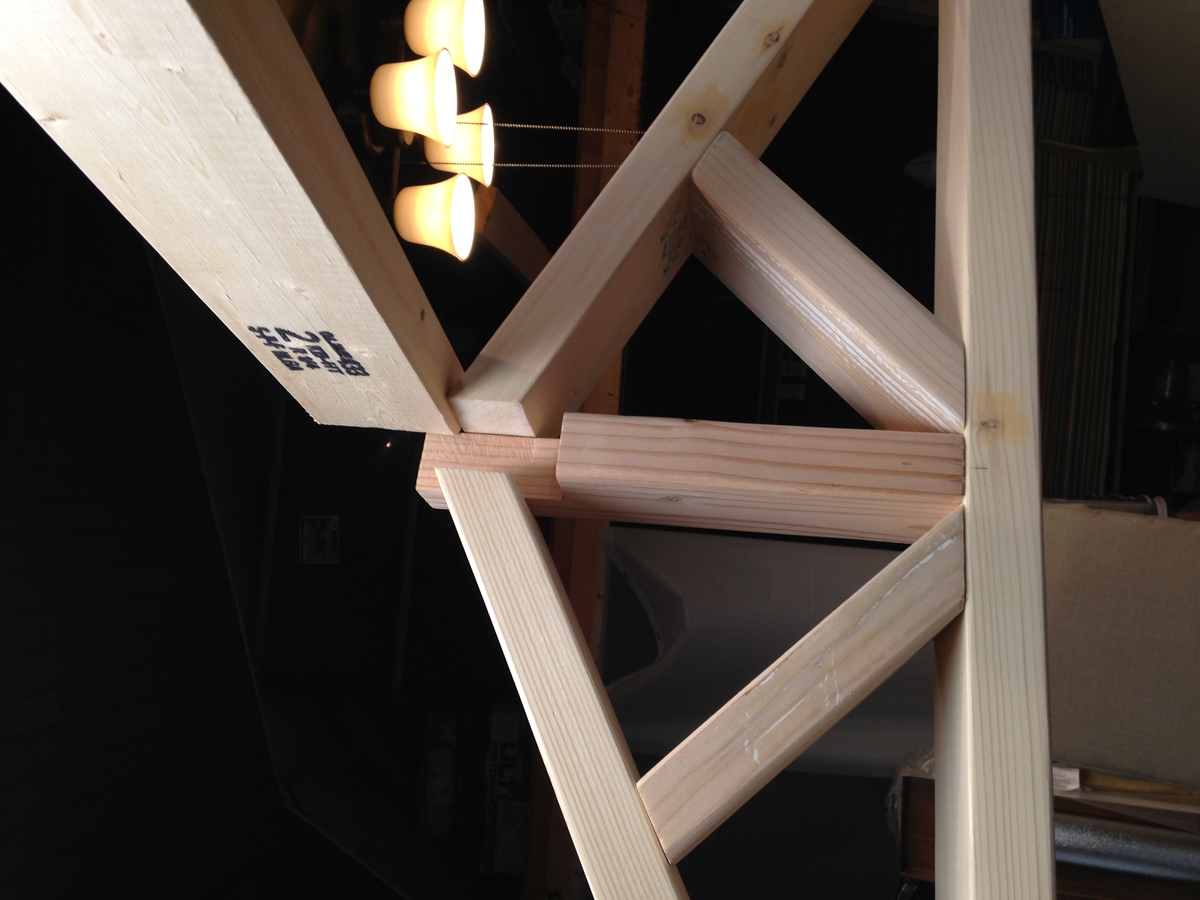
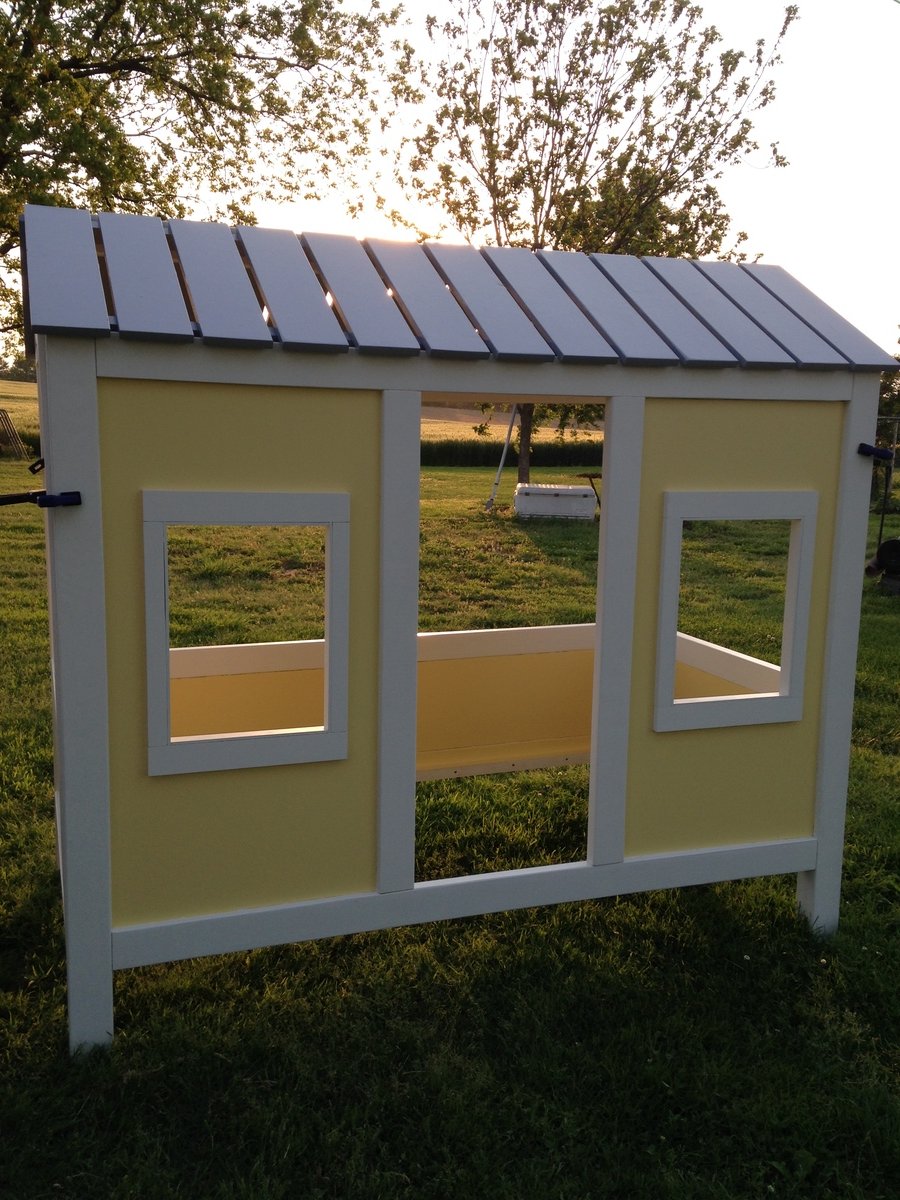
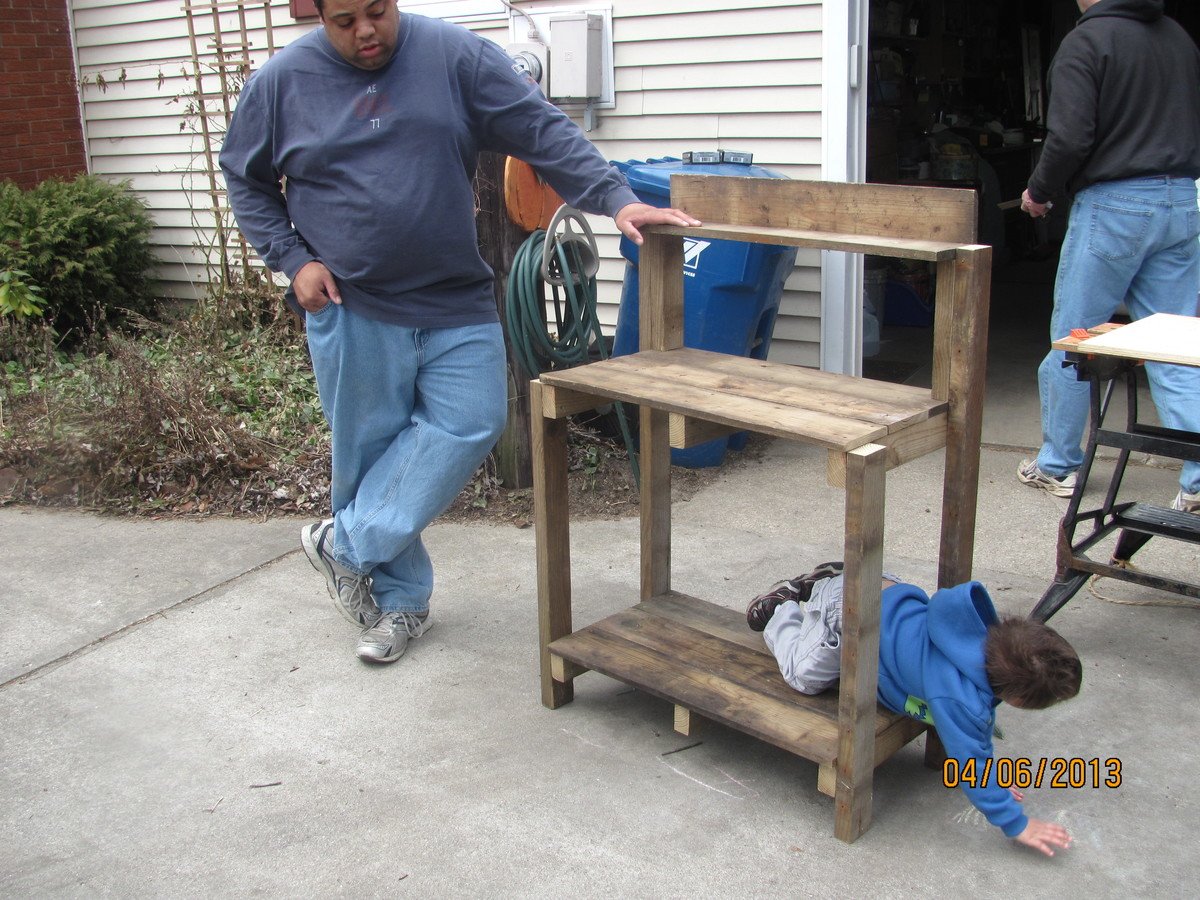
Built from Plan(s)
Estimated Cost
with stairs, paint and beer $400-500.
Estimated Time Investment
Week Long Project (20 Hours or More)
Recommended Skill Level
Intermediate


Comments
Ana White Admin
Thu, 02/05/2015 - 10:54
Darling!
Great job, I love the estimated cost breakdown, too funny!