Adirondack Chairs
Did these last week. Your instructions and details are really good. Thanks
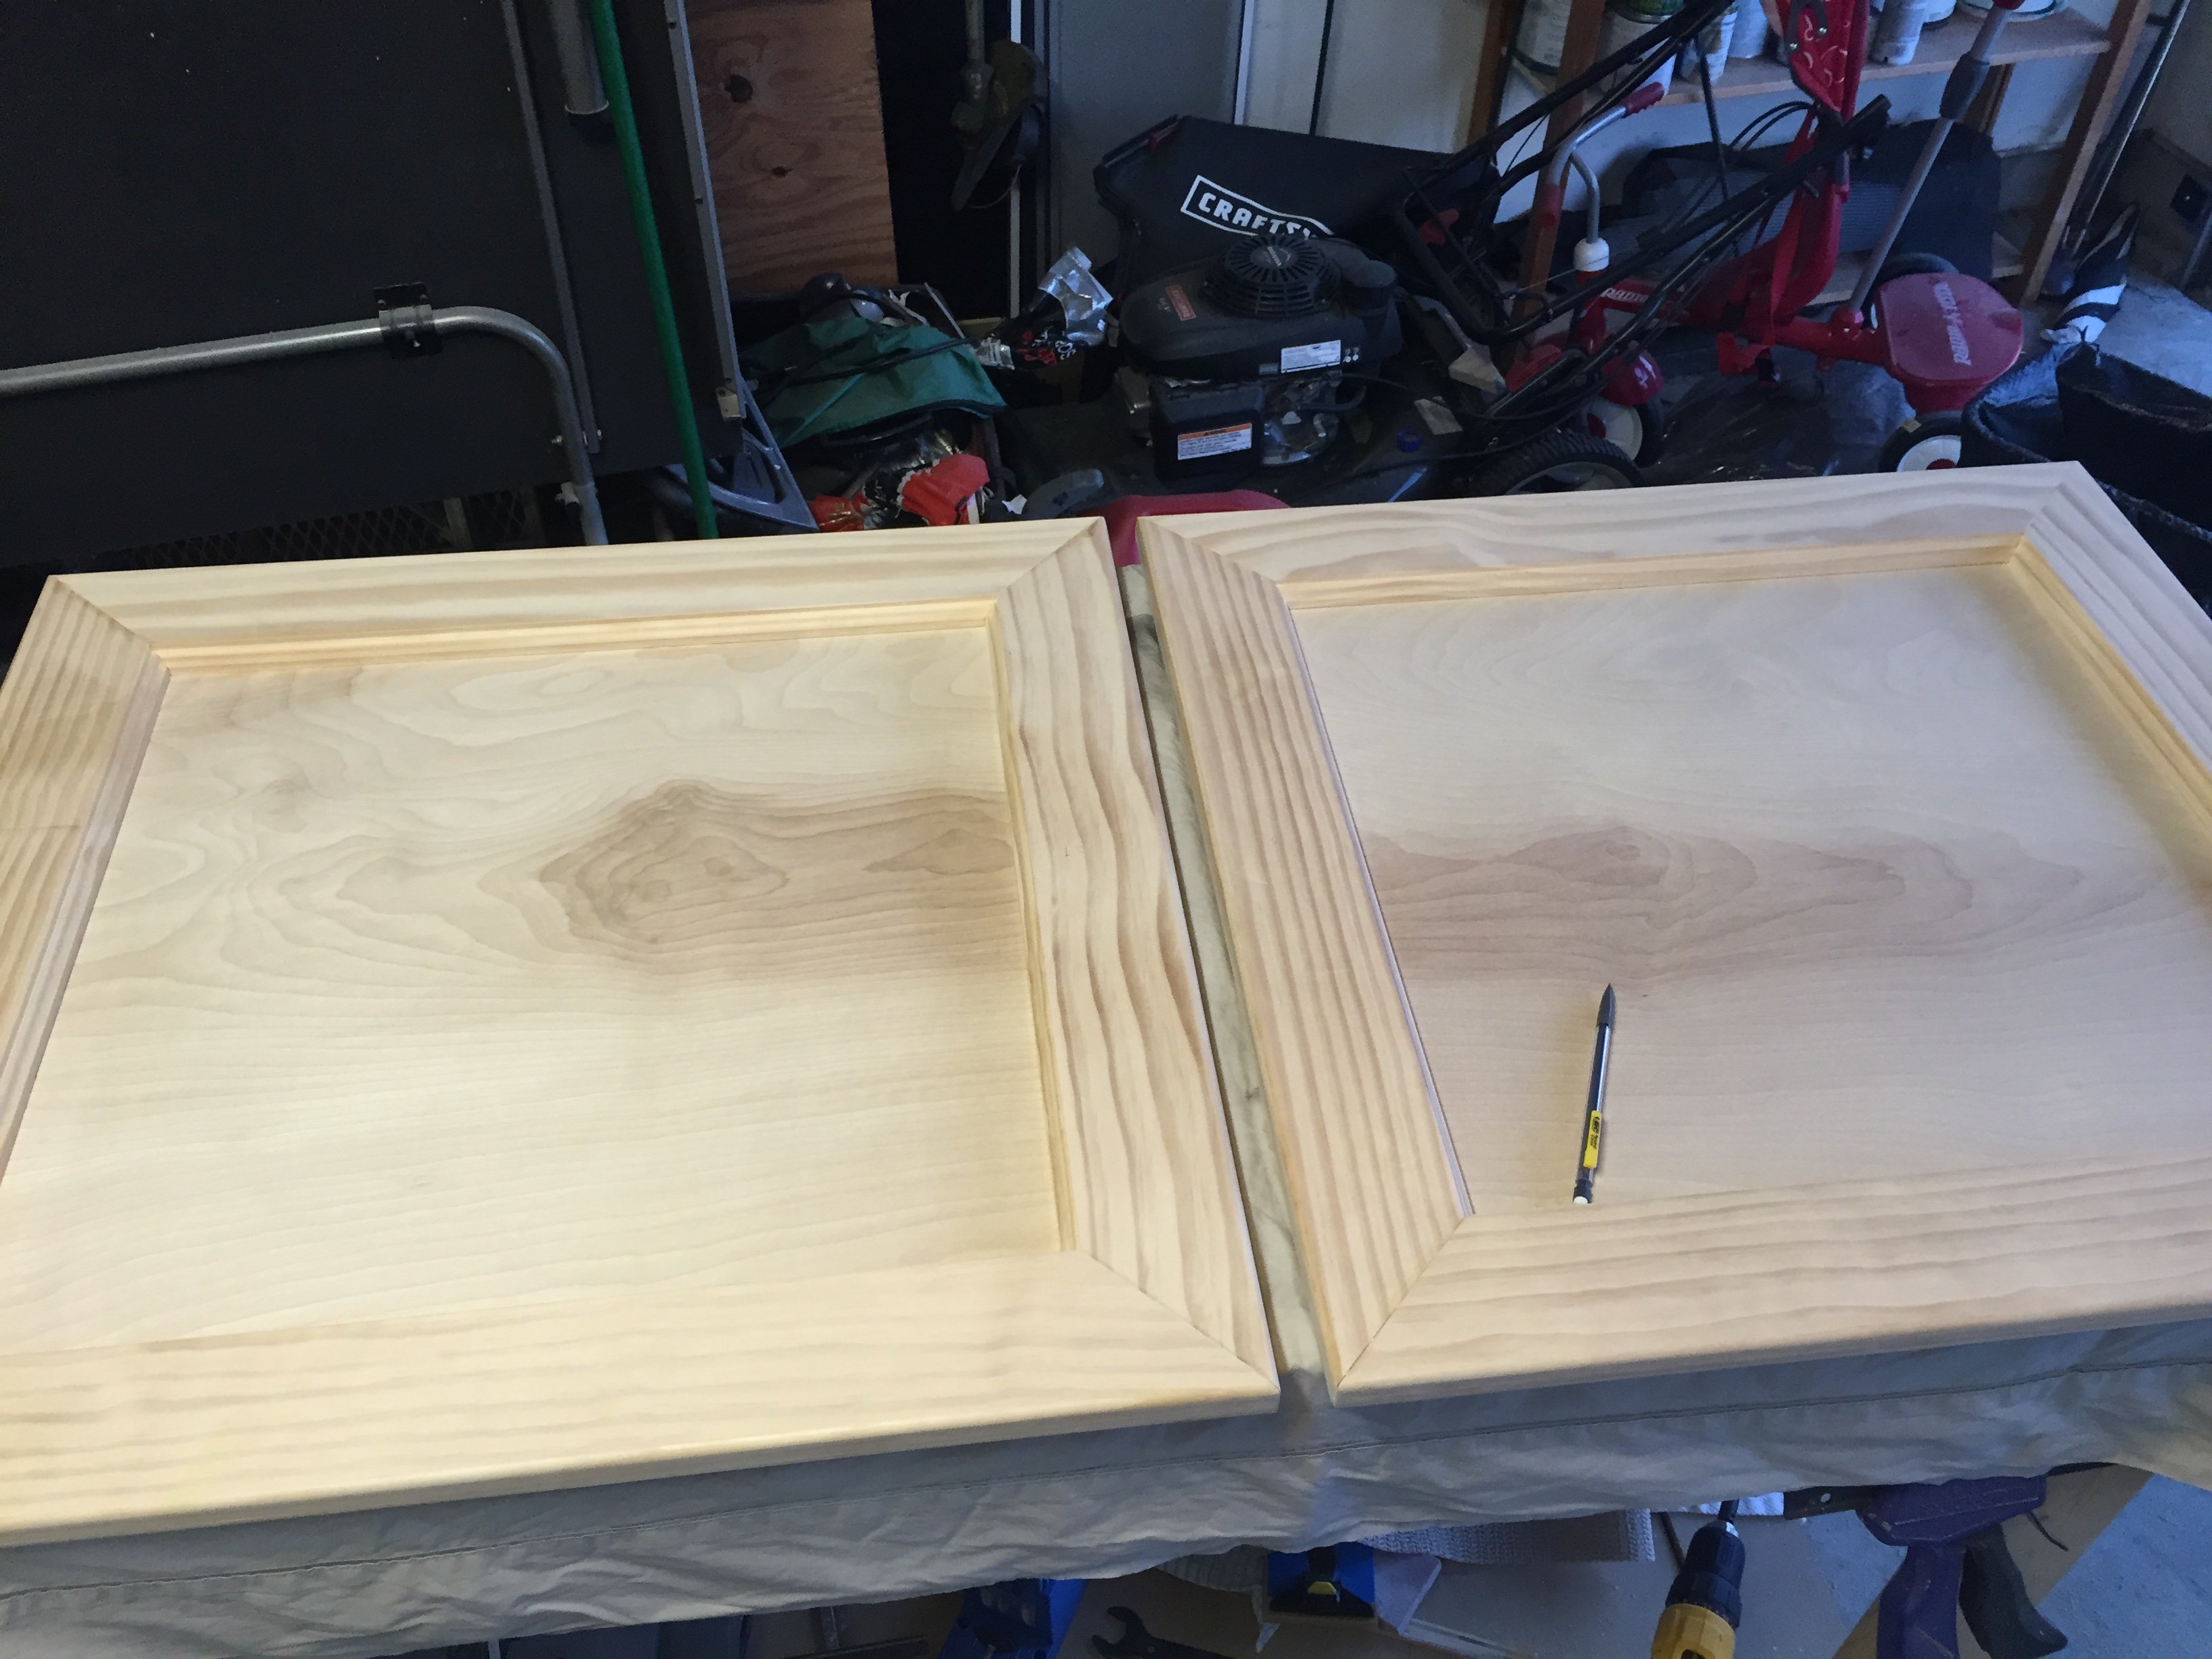
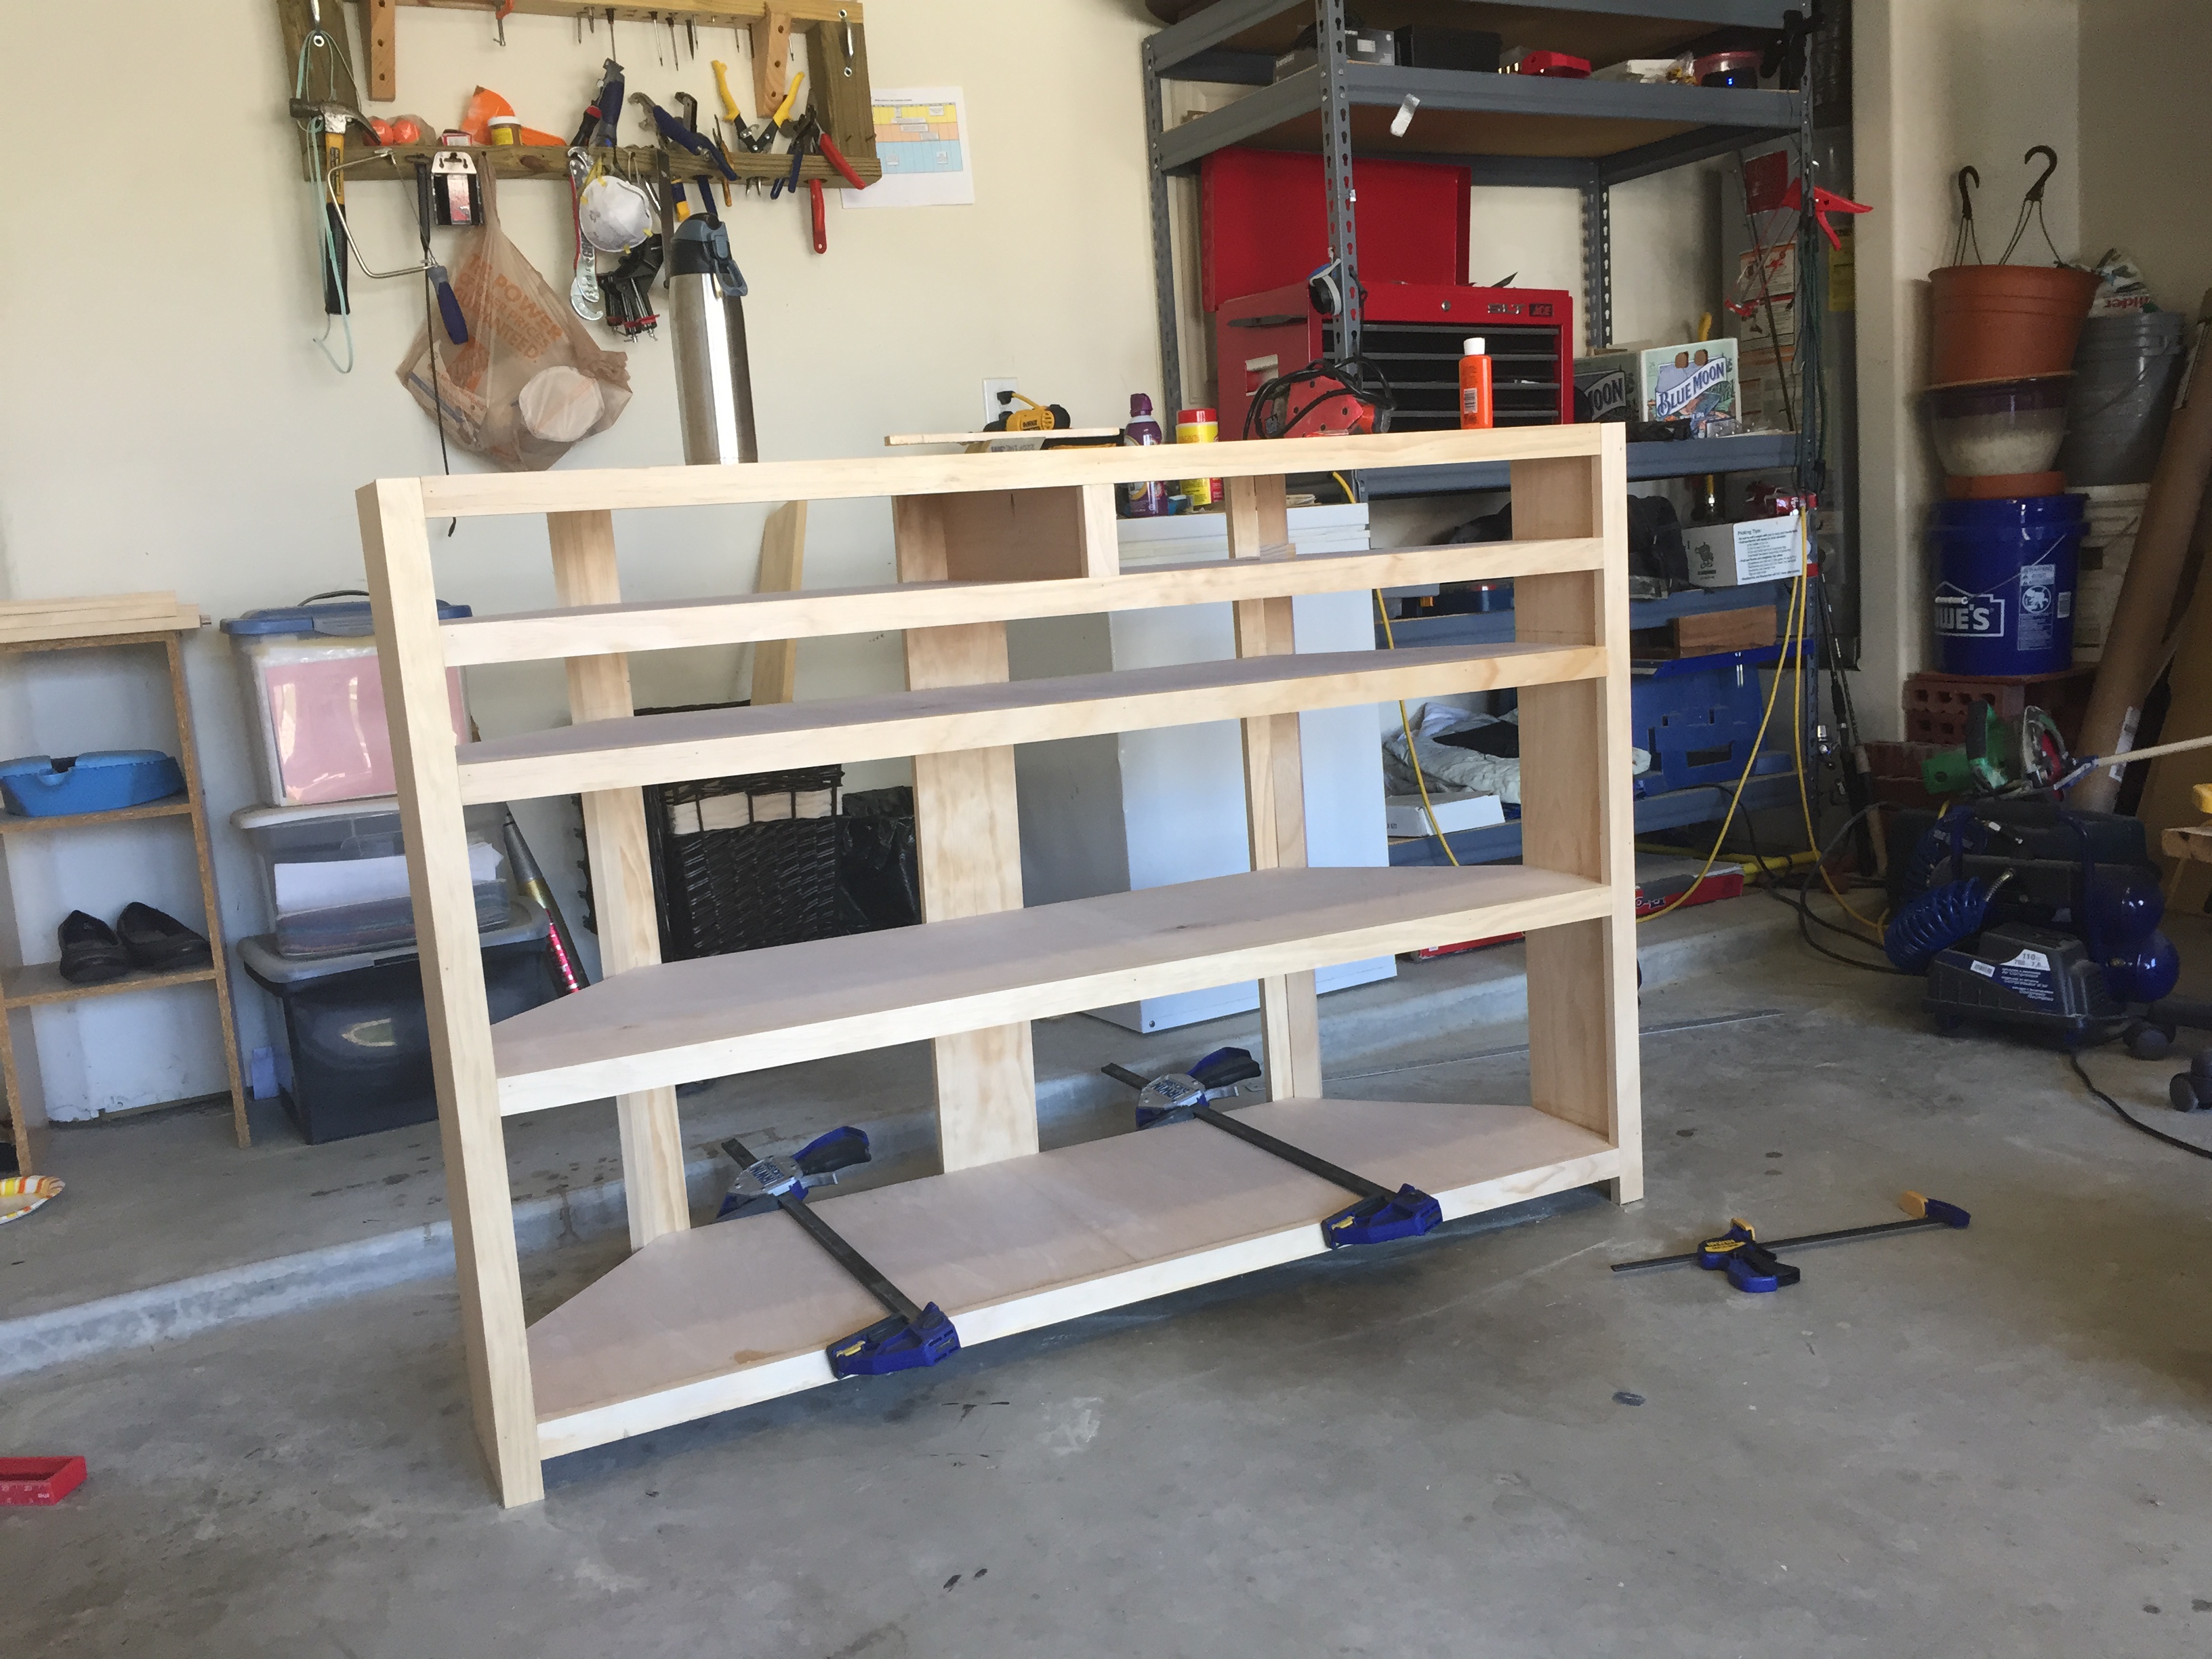
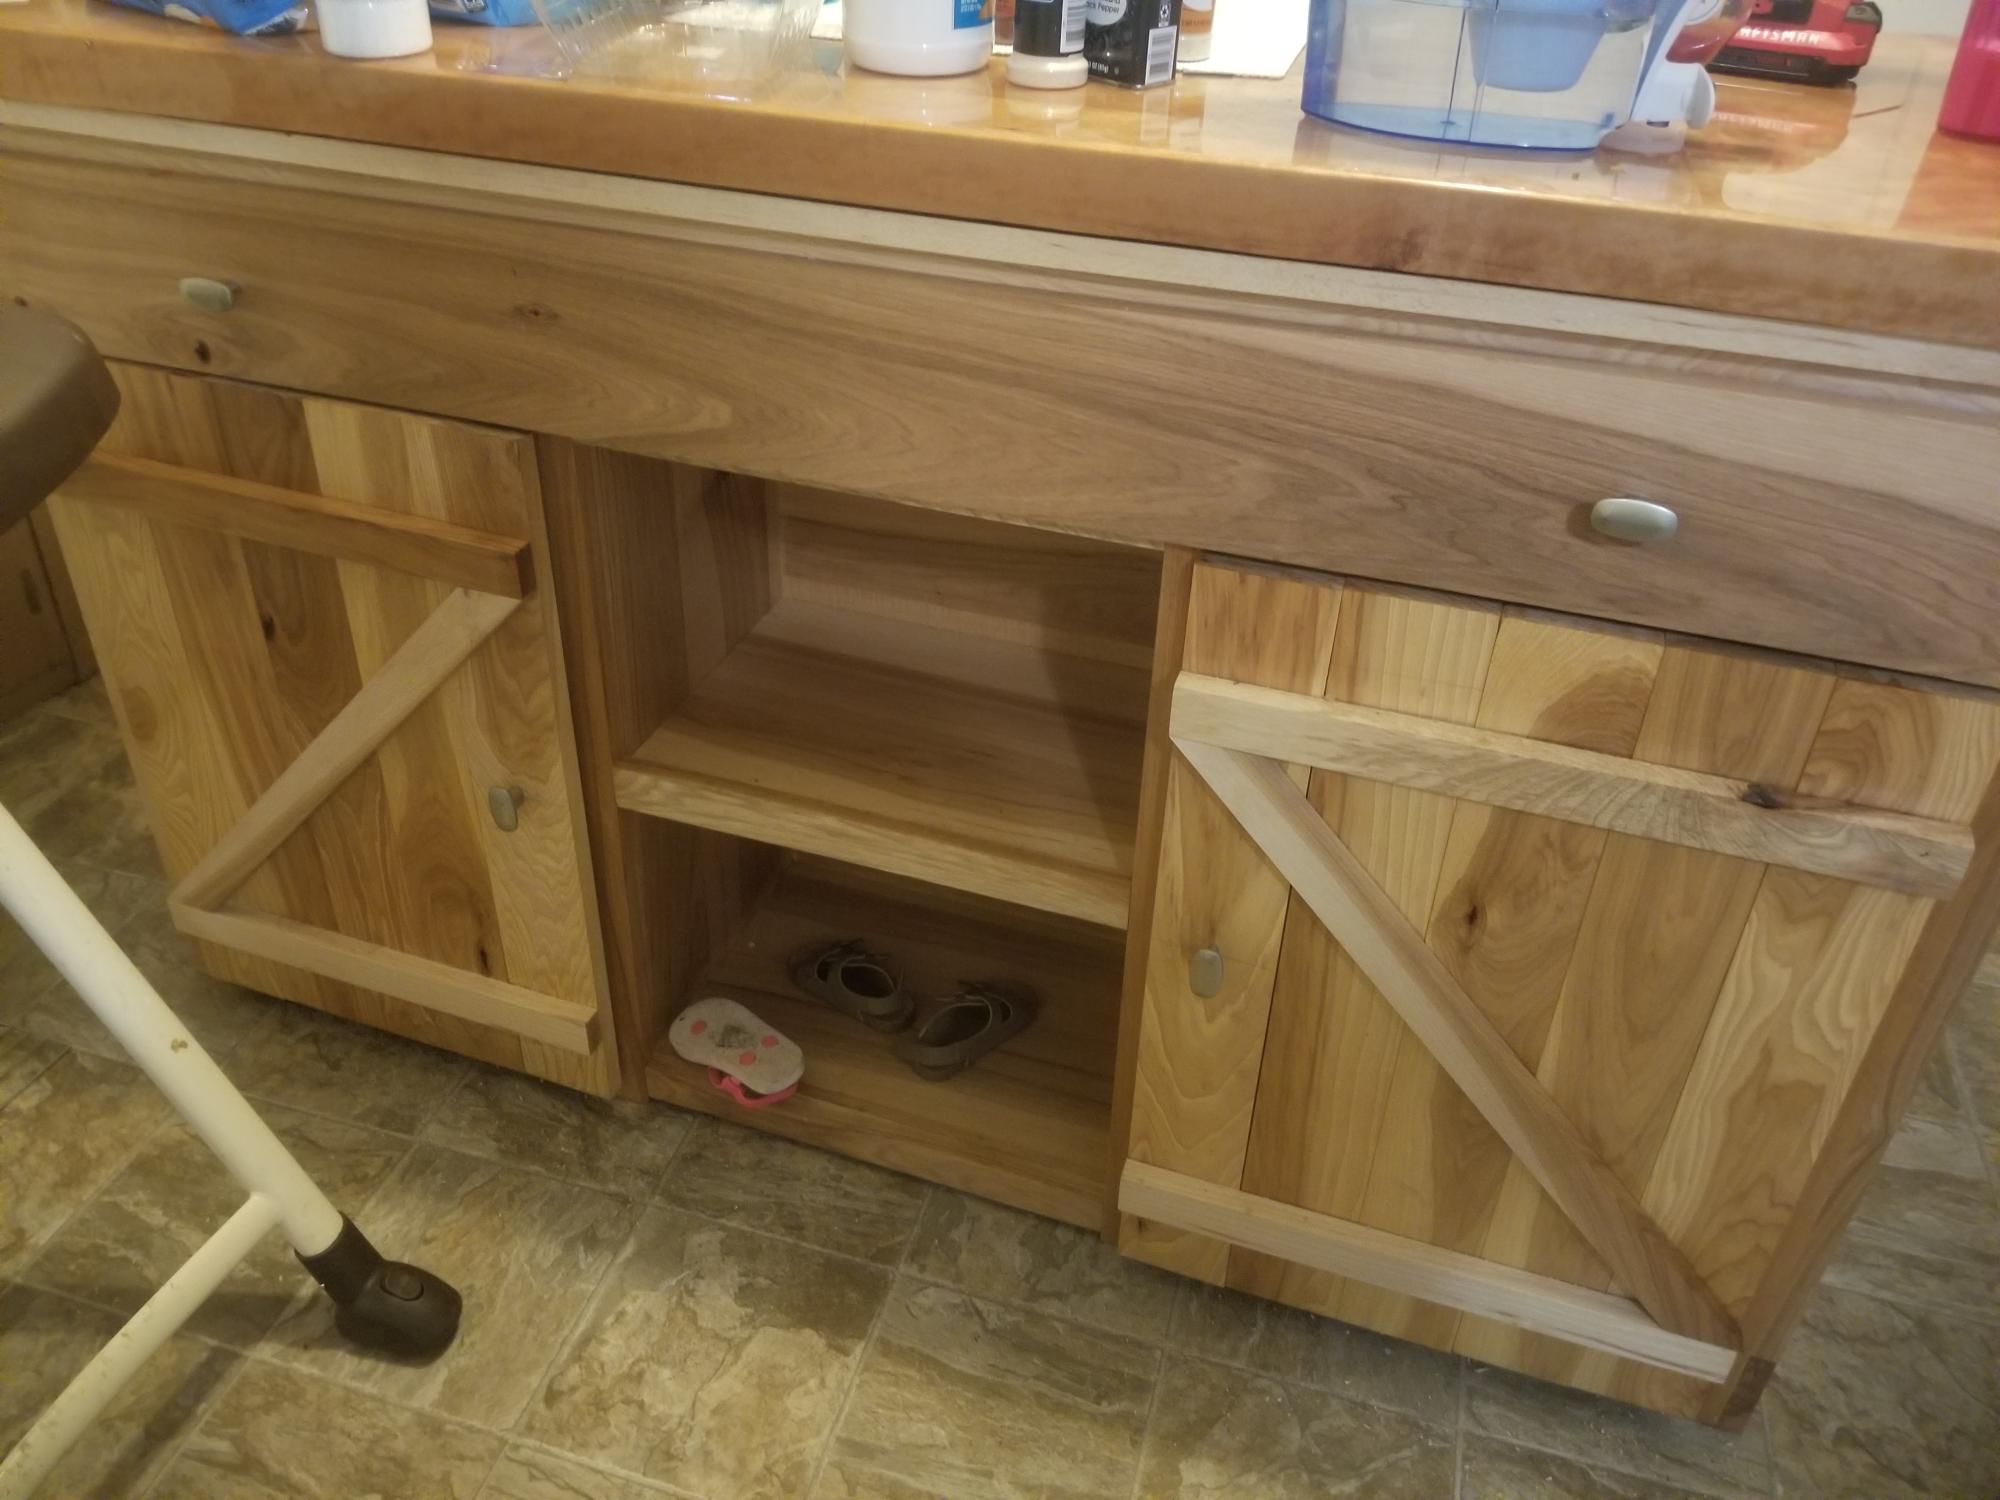
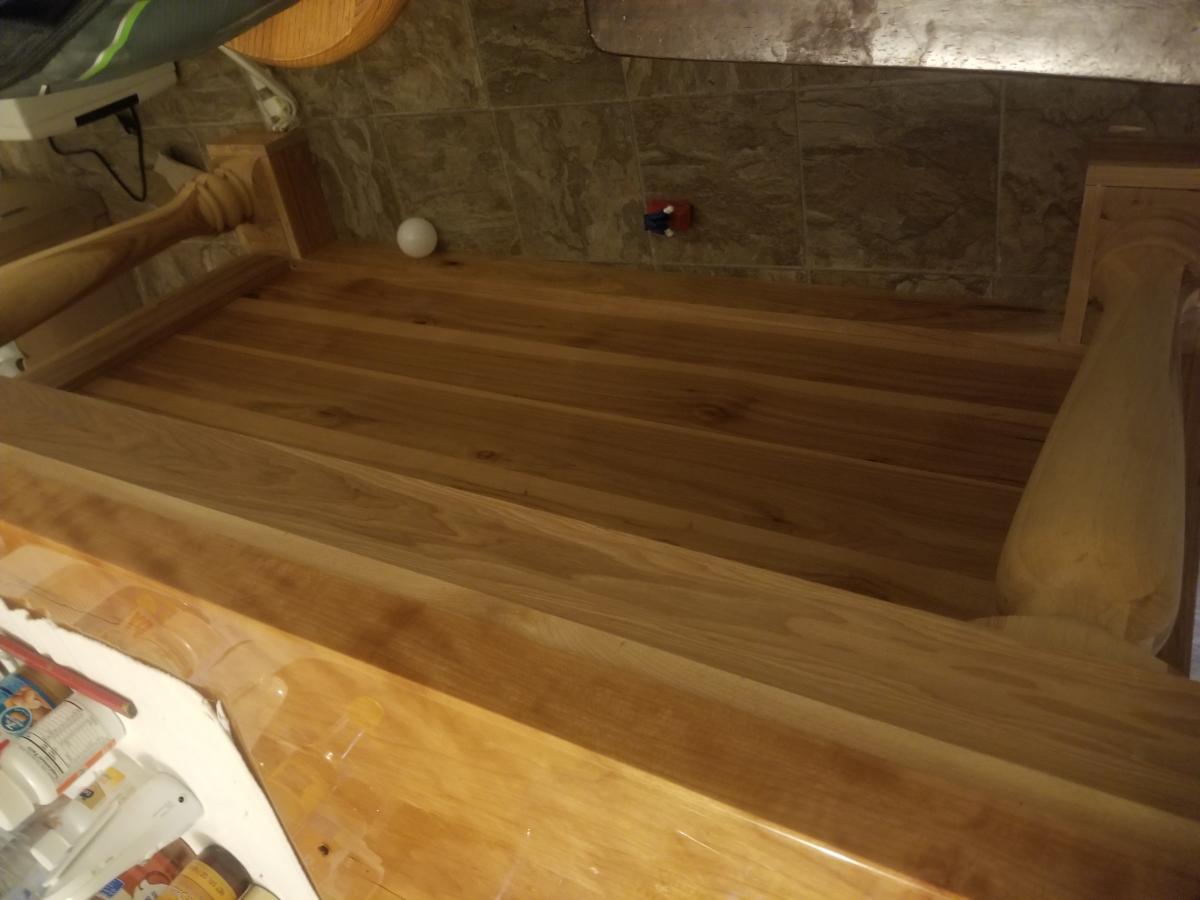
Built from Plan(s)
Did these last week. Your instructions and details are really good. Thanks

So we couldnt find any bed we really wanted for my son, and this one was perfect.
I used the wood one step up from the whitewood at HD, which had too many knots for this, and was .75 more. Still had to pick thru the 2x4 and 2x6s but the quality of the wood was much better.
After seeing what another bragger posted, i raised the posts to 72" instead of 66", which allowed for an additional 2x6 at the top. The mattress stayed at the same height, but know i sleep better thinking he wont roll off.
Lesson learned from this: Sand the primer!!! i never knew to do that before in my life and wow, what a difference.
Painting Steps were:
Sand wood,
prime, ( Used Zissner BIN)
Sand primer with 220
Wipe with Tack cloth
Paint ( Used Behr Ultra White Semi Gloss and Behr Par Four Green Semi Gloss)
Sand lightly with 320 grit
wipe with Tack
Paint again.
The two end pieces and the deck were assembled in the garage, but the cross pieces and steps were built in the bedroom.
Im thinking of creating a mini gate where he climbs up just for sleeping that i could put in once he is in his bed to really prevent rolling... trust me.. he rolls everywhere. May be to the height of the top 2x4, halway the length of the opening, and use dowels or something.
Note the second picture didnt have the 2x6 ladder step installed yet.
Thanks Ana for the plans! My son never wants to leave the bed!


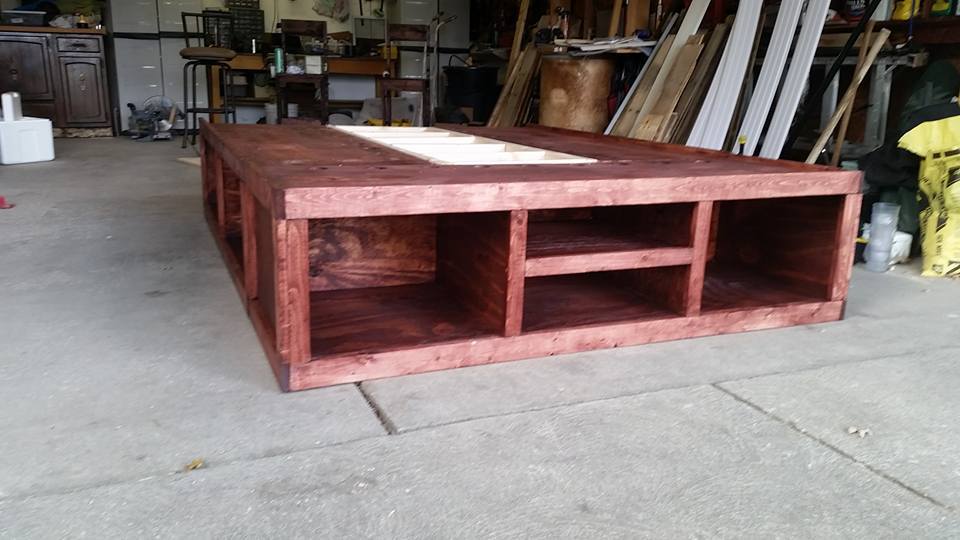
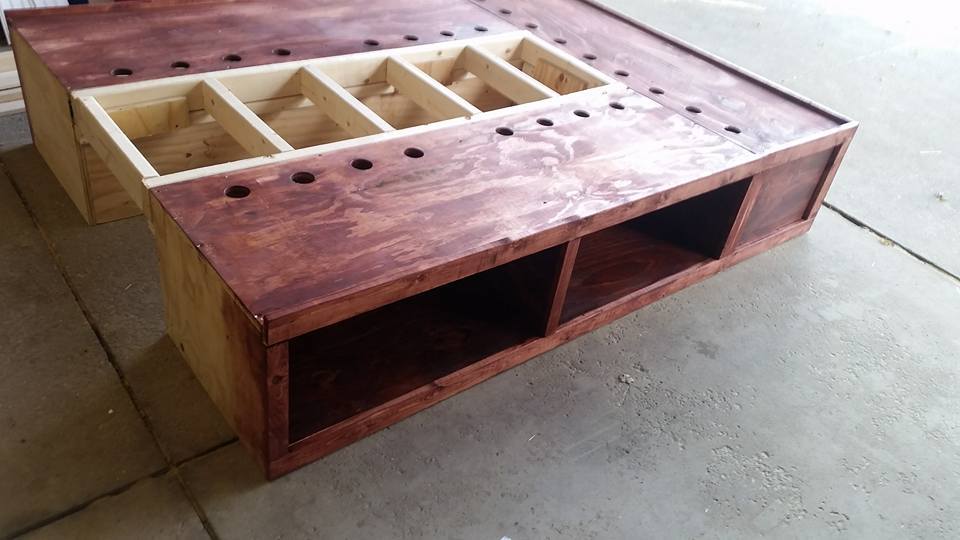
This was a pretty easy build! I changed the plans a little bit by adding ventalation holes and the way the cubbies conntect. I wanted to be able to easily take apart the bed if I need to so I built a track system that the middle support sits on and locks in place.
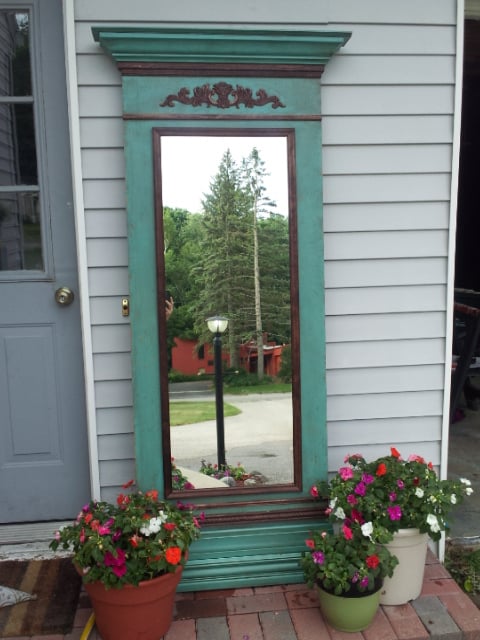
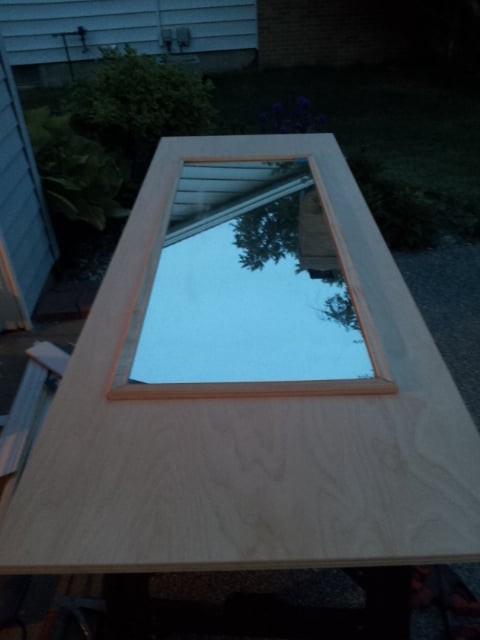
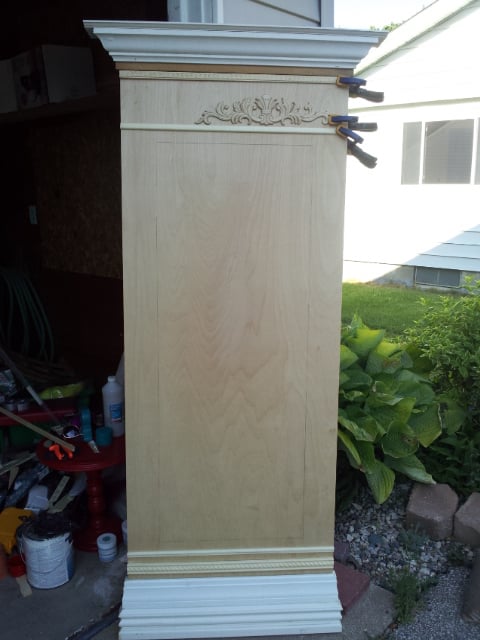
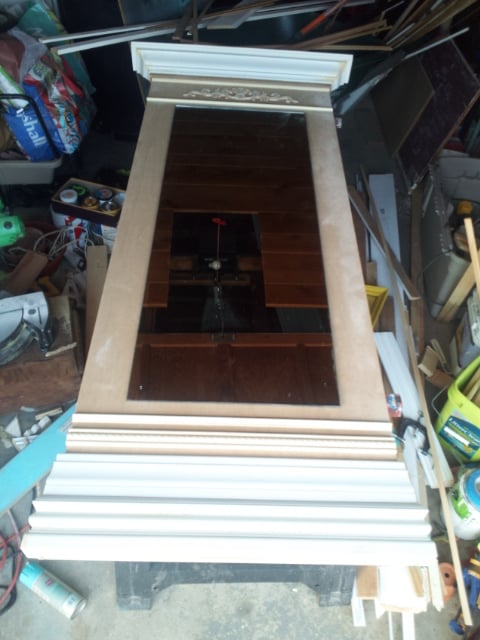
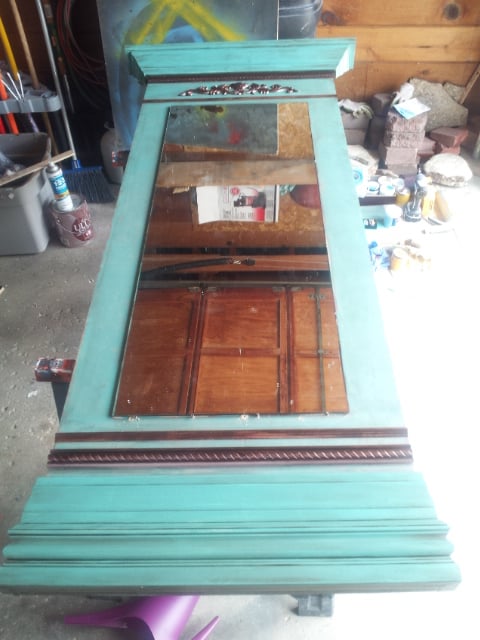
This was made as a present my mom's birthday. I found a good sized mirror at the thrift shop which was perfect for the project. I adhered it to some plywood, added trim around it, bulked up the top and bottom with multiple layers and types of trim and added some crown molding to the top. The finish is "A Day at the Jewellers" by Valspar with a Red Mahogany stain/glaze over top.

Built by Toni Wood, more photos here: https://www.instagram.com/p/Bo2V-b5gvxt/?taken-by=woodworkbytoniwood
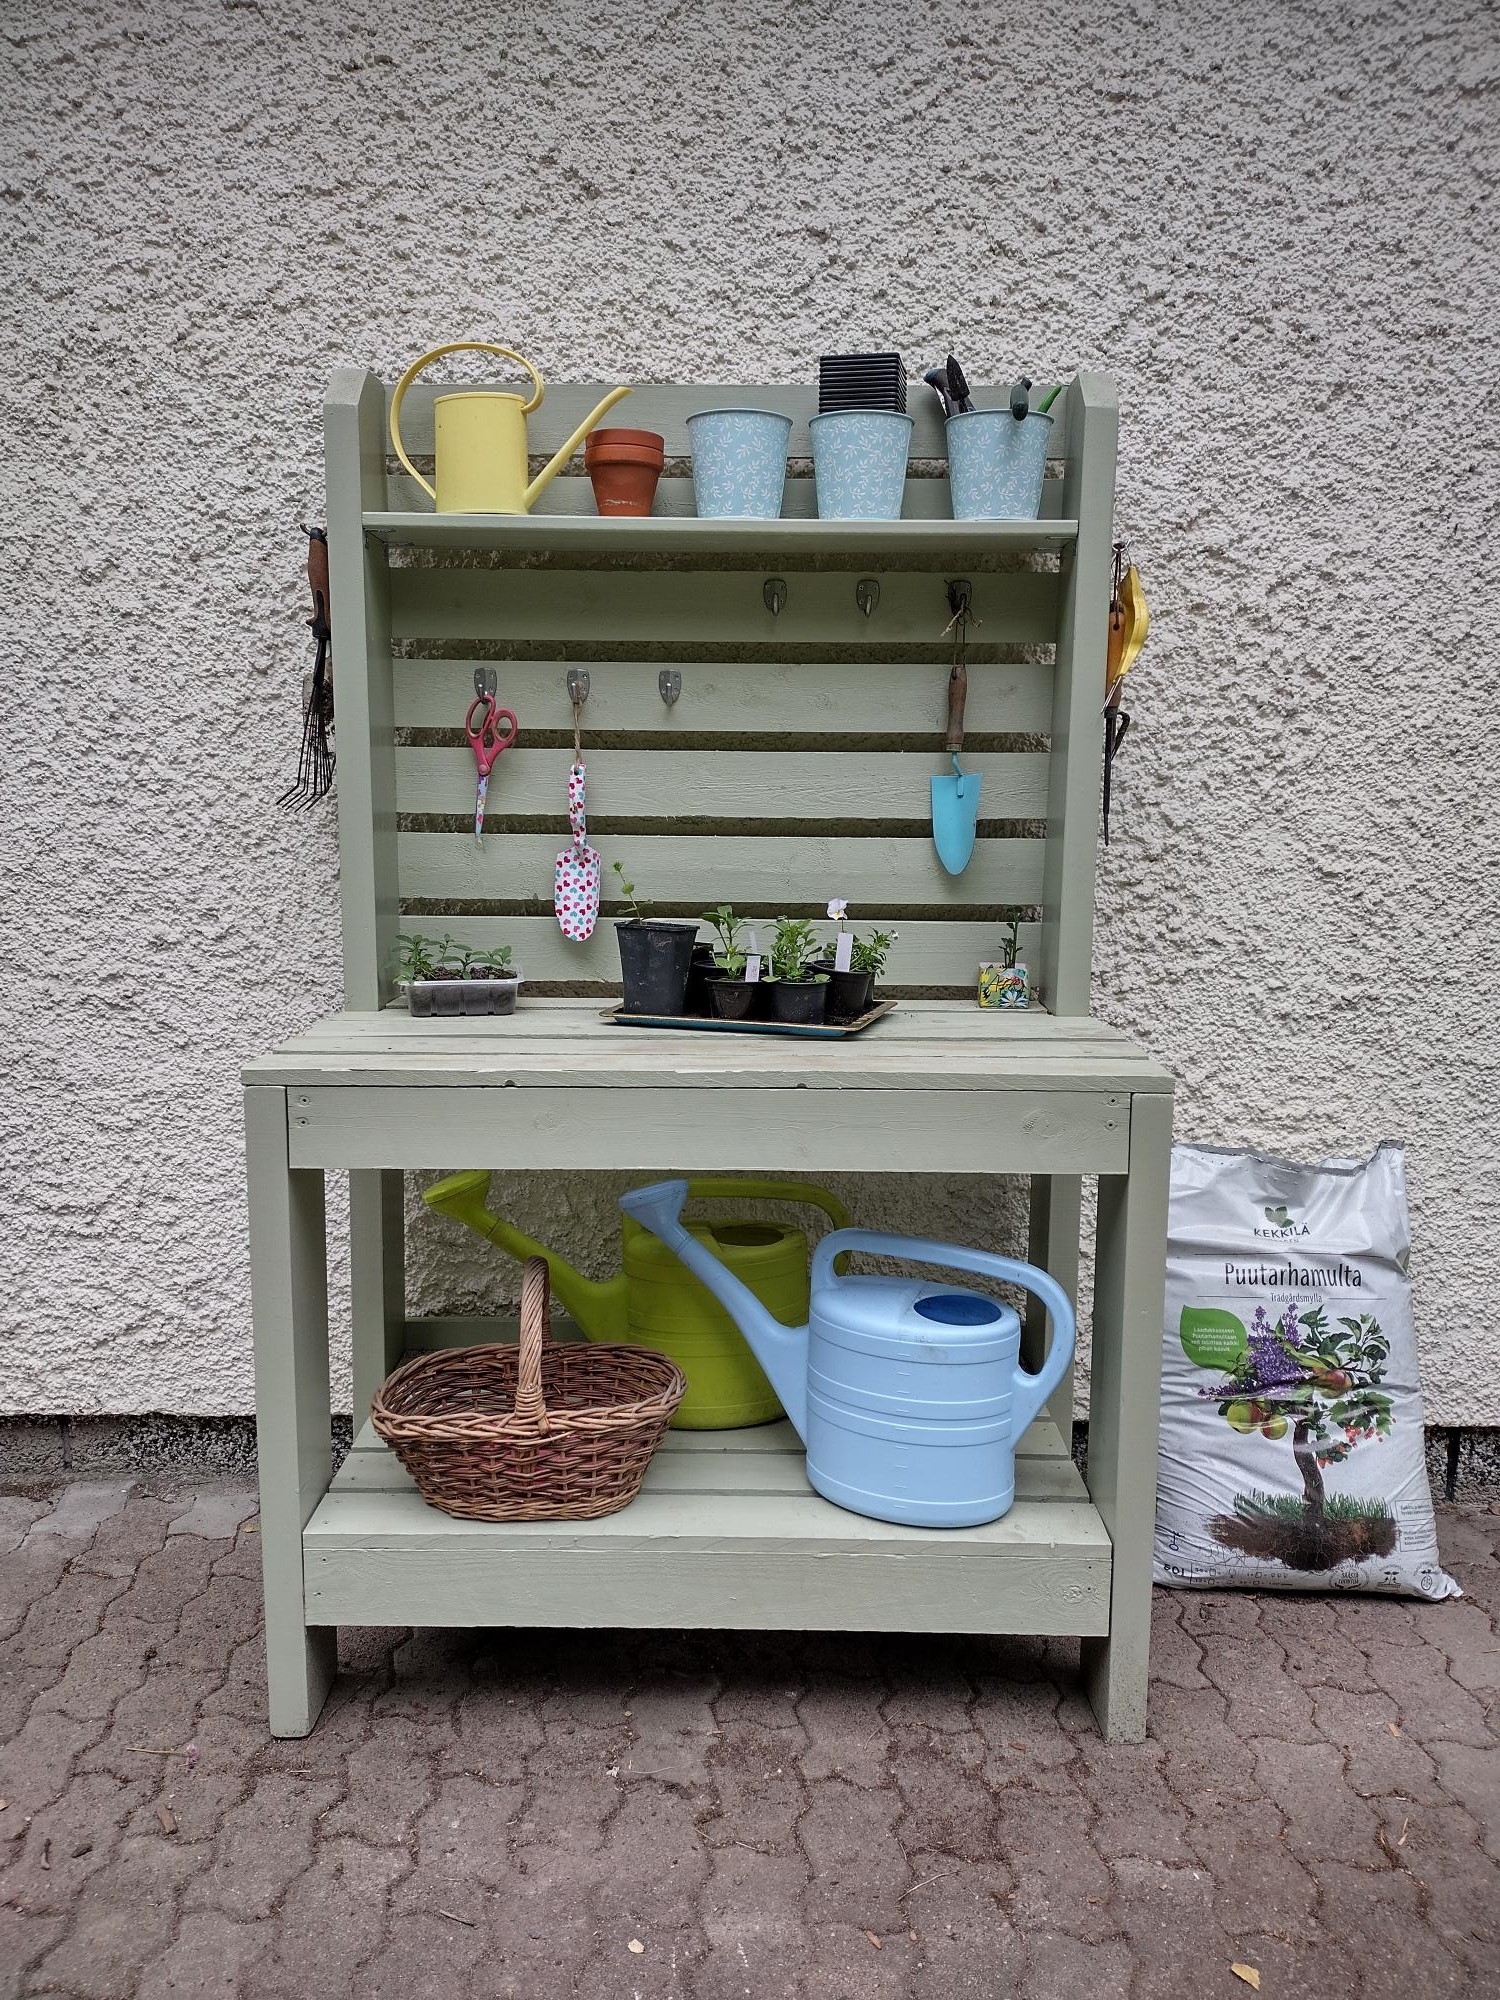
I used recycled materials for my potting table. The boards for the front and back legs I found from a factory's dumpster. Side aprons are from boards I saved when we took down a wall in our home. The boards were a part of the wall's frame. All the boards for the worktop, back wall and the lower shelf came from the dumpster of a company selling plastic sewer pipes. They used to be frames holding together the bunches of pipes during transport from factory to the store. And lastly, the board for the little shelf used to be part of the structure holding up the tarp over a freight truck's freight space.
I've only built raised beds and crude shelves for seedlings up until this project. This was my first more complex project. And the first with which I had to follow a plan. Due to my materials being differently sized than in the project plan, I had to make some adjustments along the way. My husband helped me to make sense of the instructions and also helped when I needed another pair of hands to keep parts still while drilling.
The biggest setback during the project was the board for the small shelf splintering while drilling it into place. It splintered even though we pre-drilled holes for the screws to go into especially to prevent splintering. I made another board and that one we secured in place with small corner braces which worked better.
Thank you Ana for the project plan. Here in Finland potting tables like these are not common and they are not sold anywhere. I've dreamt of one for 15 years and now, finally, I made my dream home true with your help.
Best wishes,
Aija
Thu, 06/23/2022 - 11:32
Thank you for sharing, that looks amazing and such wonderful use of material!
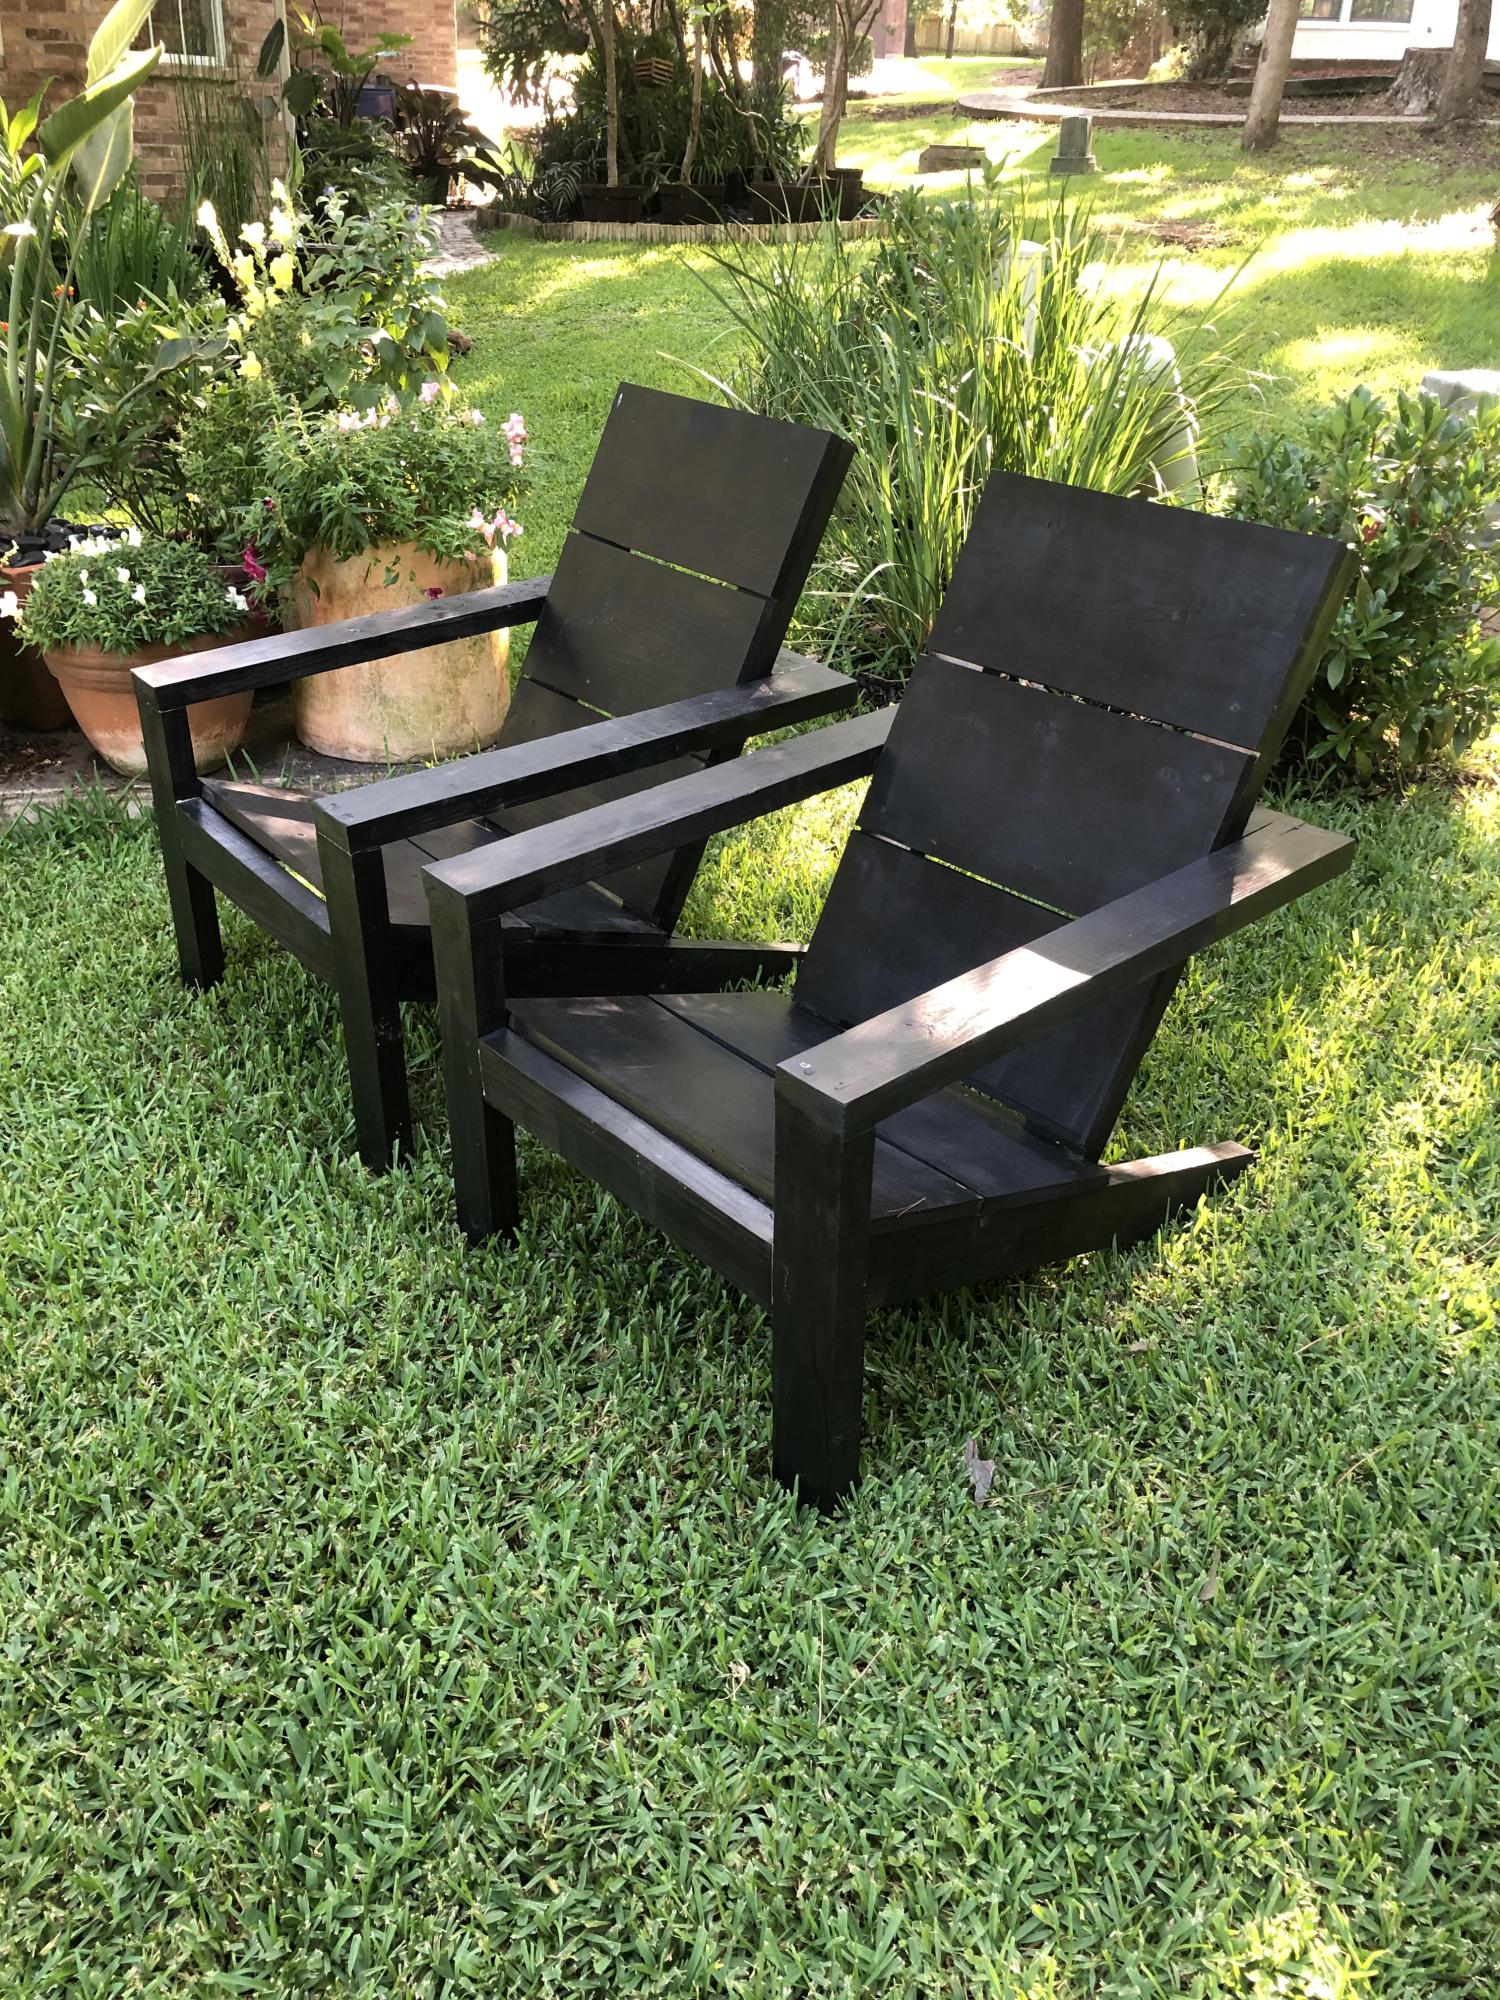
This was a very fun and one of the easiest projects I have made from Ana's plans! This makes me want to see if I can make matching chairs as well!
If you have seen my other projects, you know that I try to keep the lumber cost of my projects as close to free as possible. Living on the Eastern Shore of Virginia, pallets are not free, so I did have to pay $2 for each pallet, being VERY choosy about the slats being all the same size and straight. The hardest part of the project was taking the pallets apart! Check the blog link for more details.
I used 1 1/2 pallets for this project, and the following tools:
Jigsaw (to cut the ends off the pallet)
Pry-bar (to loosen the slats from the center of the pallet)
Miter saw
Drill
Table Saw (ripping the 2x4 sections of the pallet, to make the legs and spacers of the table)
Palm sander

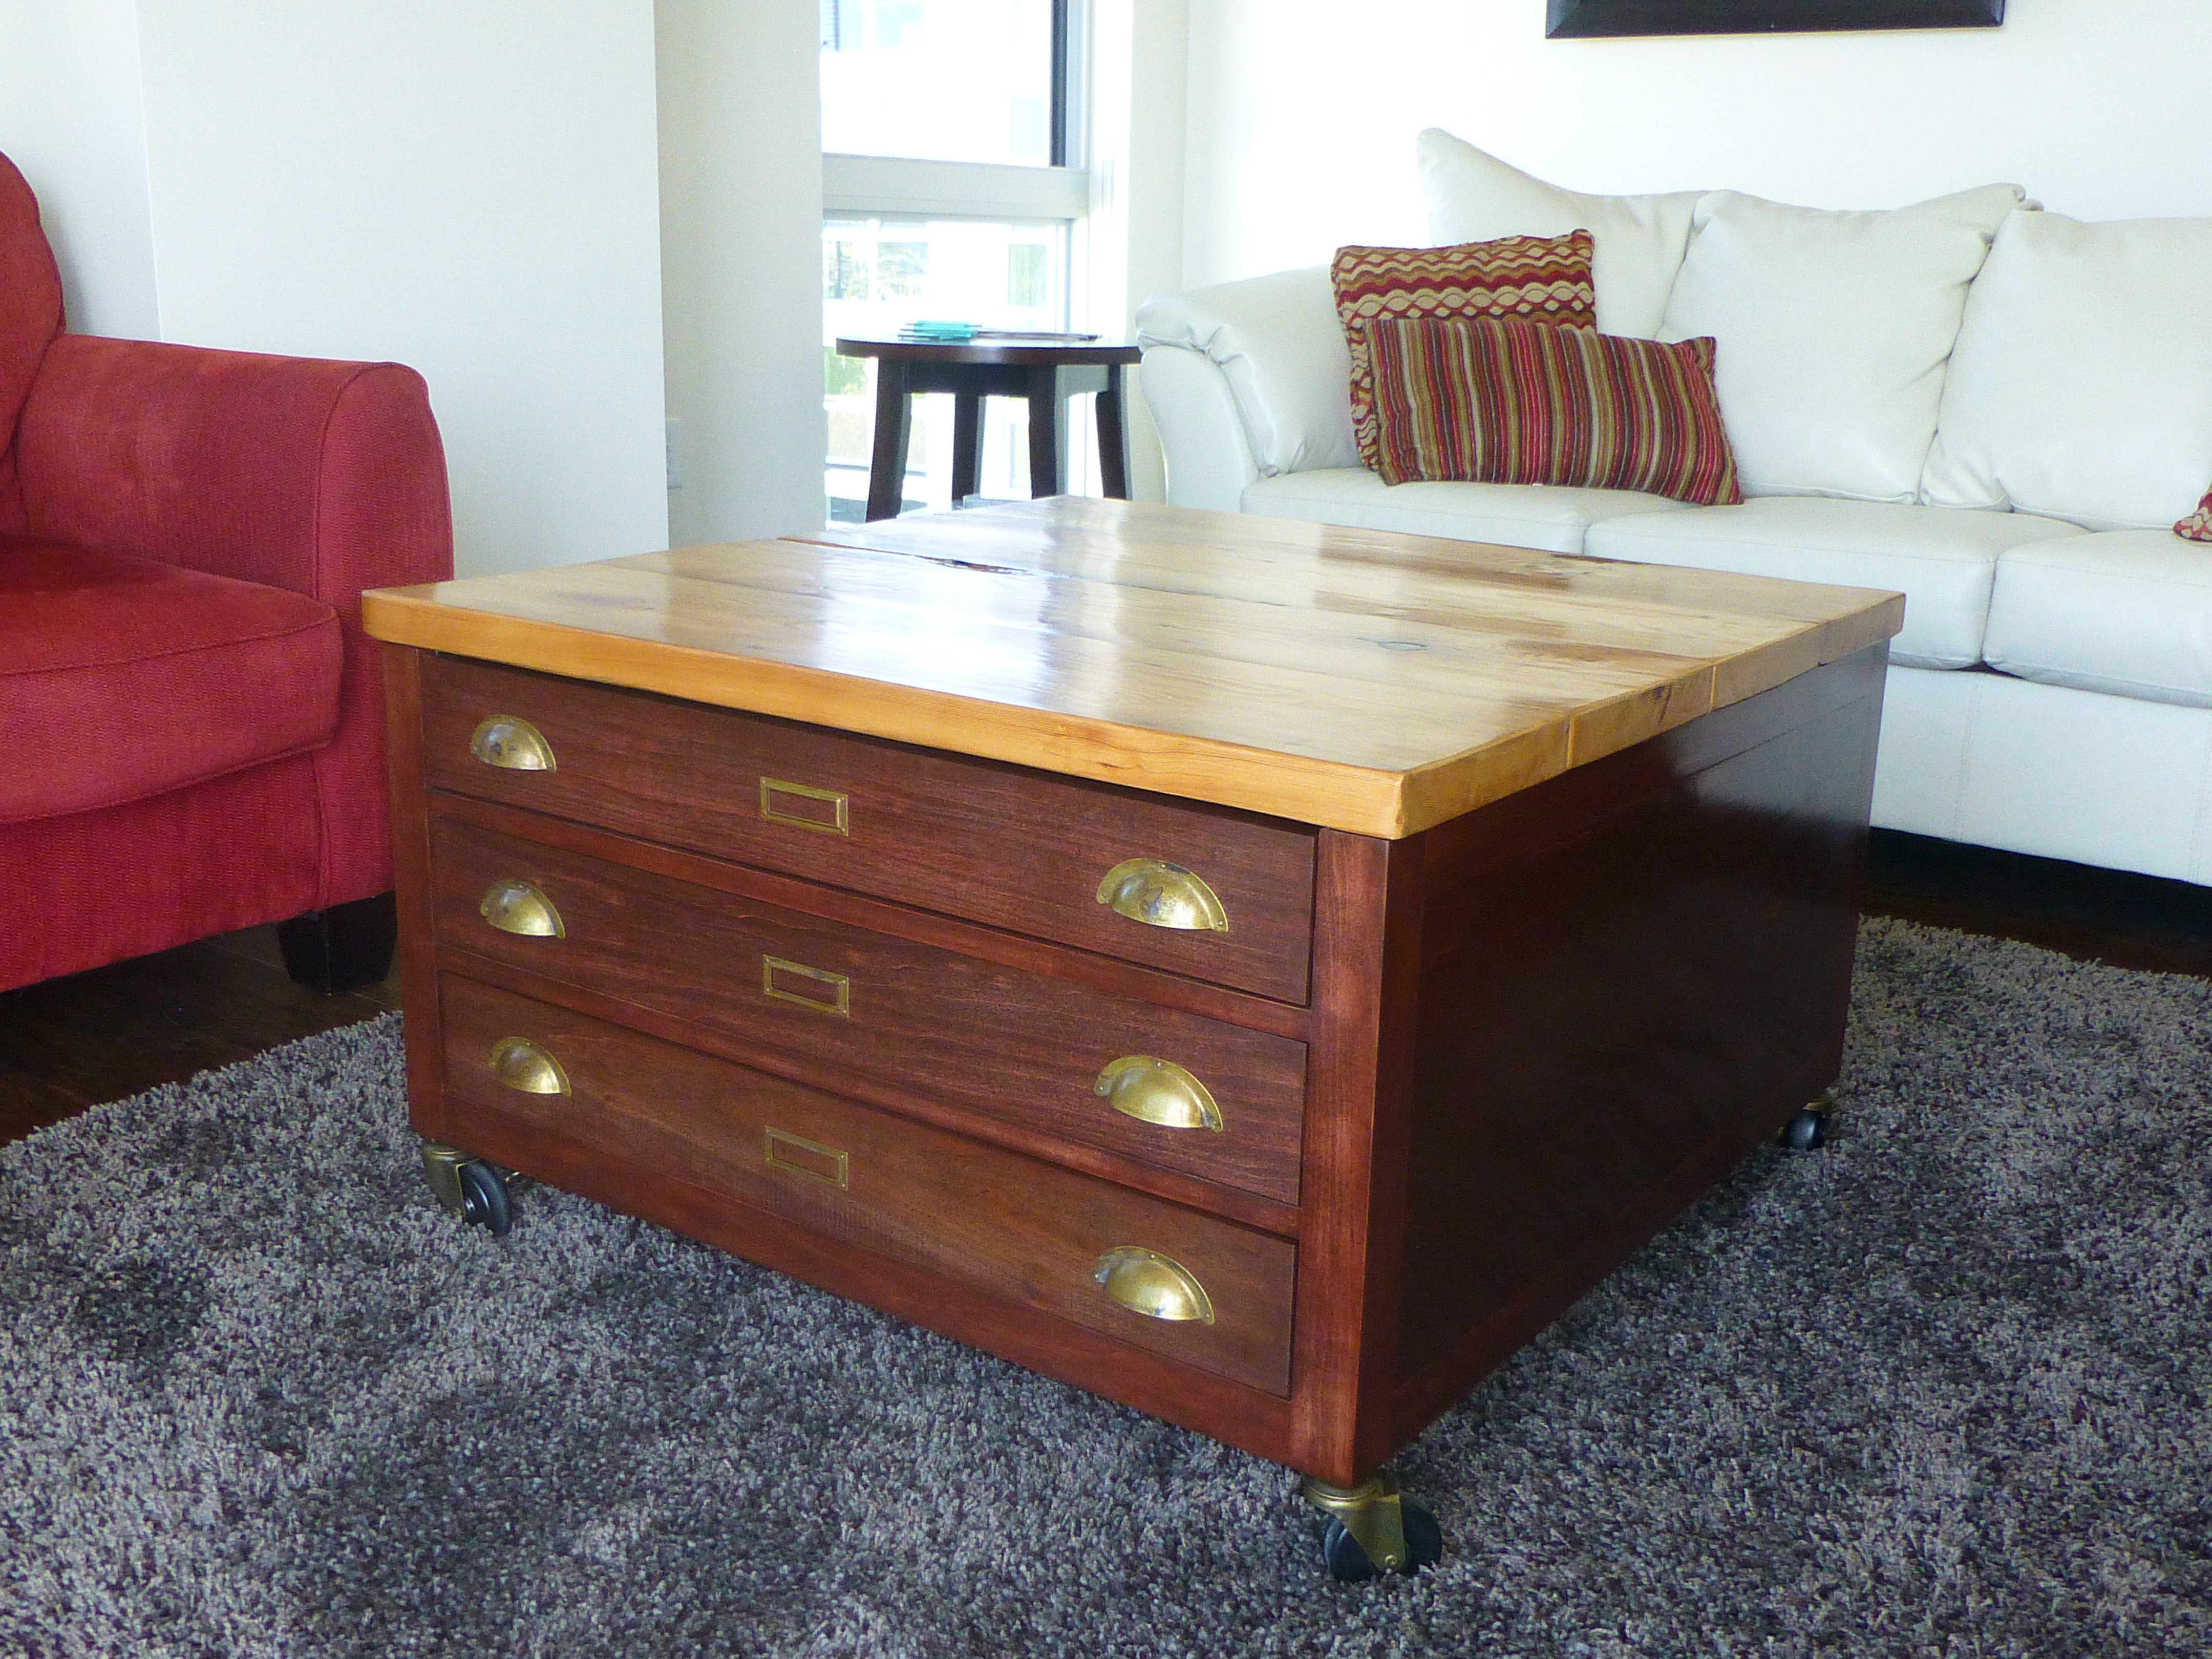
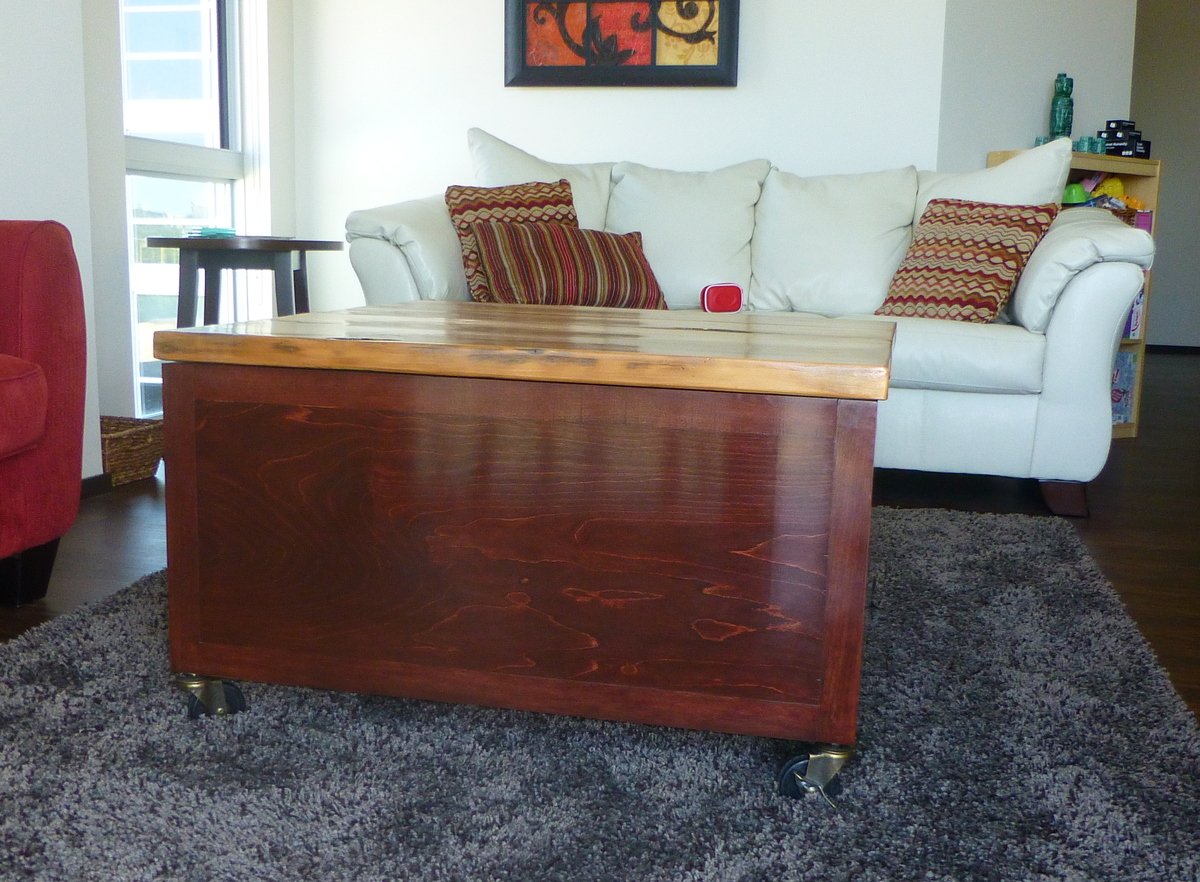
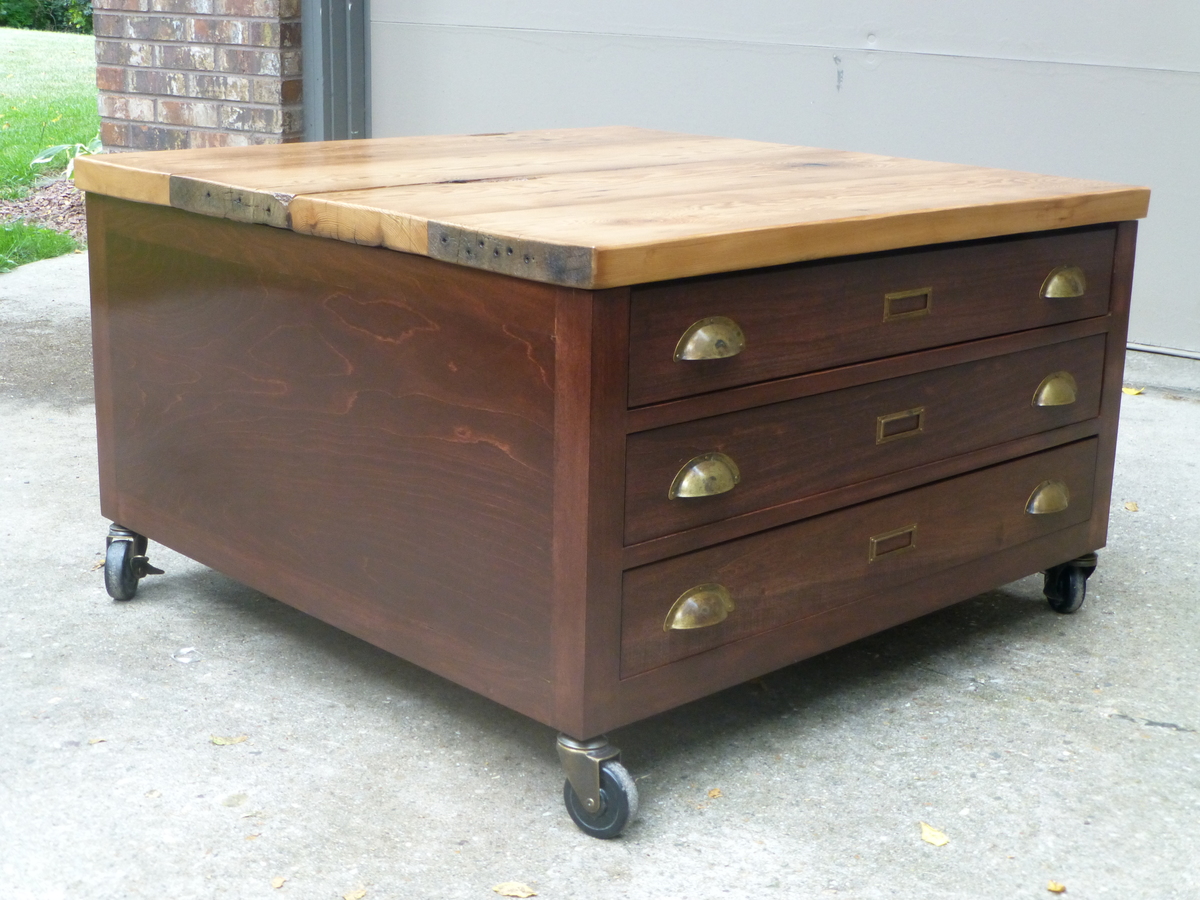
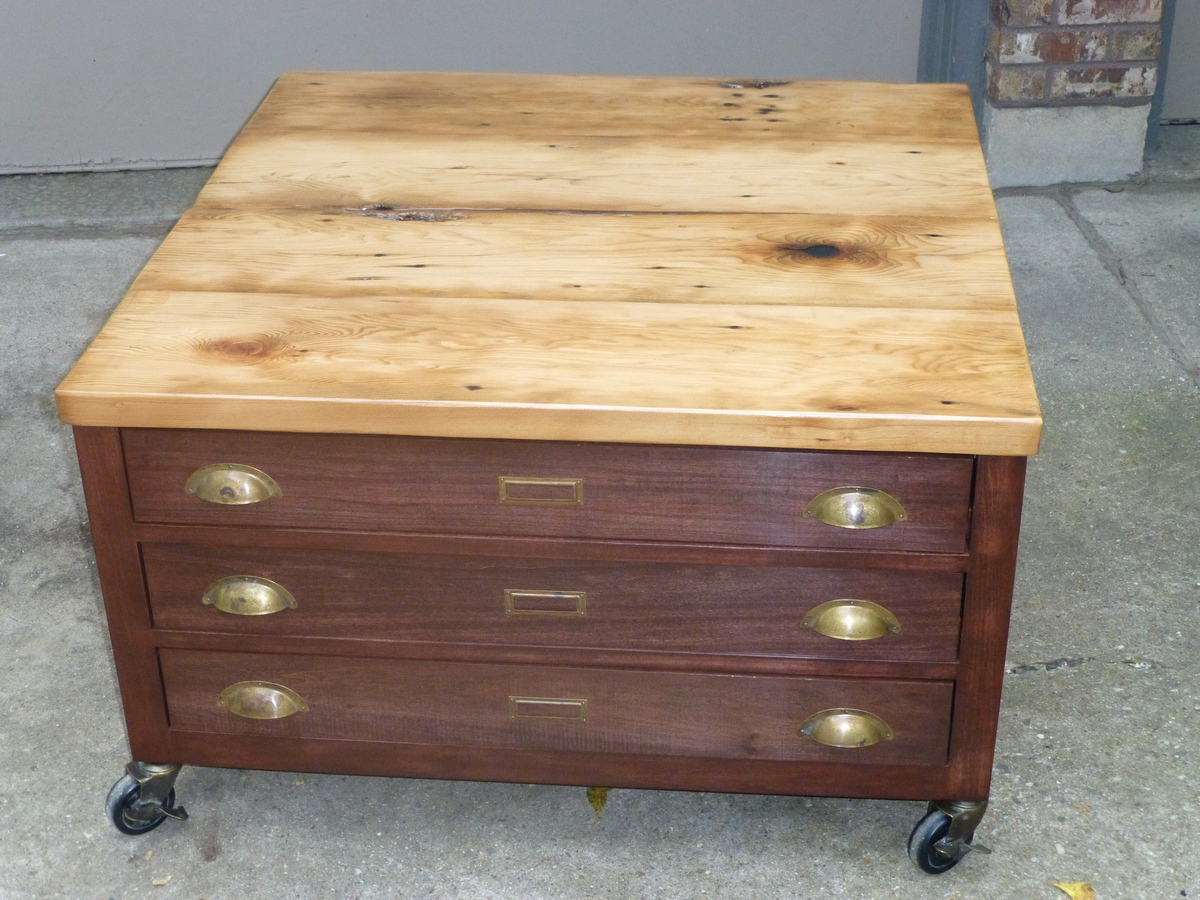
Modified the plans to be only 3 drawers which saved on weight and hardware. Used reclaimed 100+ year old barn wood for the top, adding lots of character.

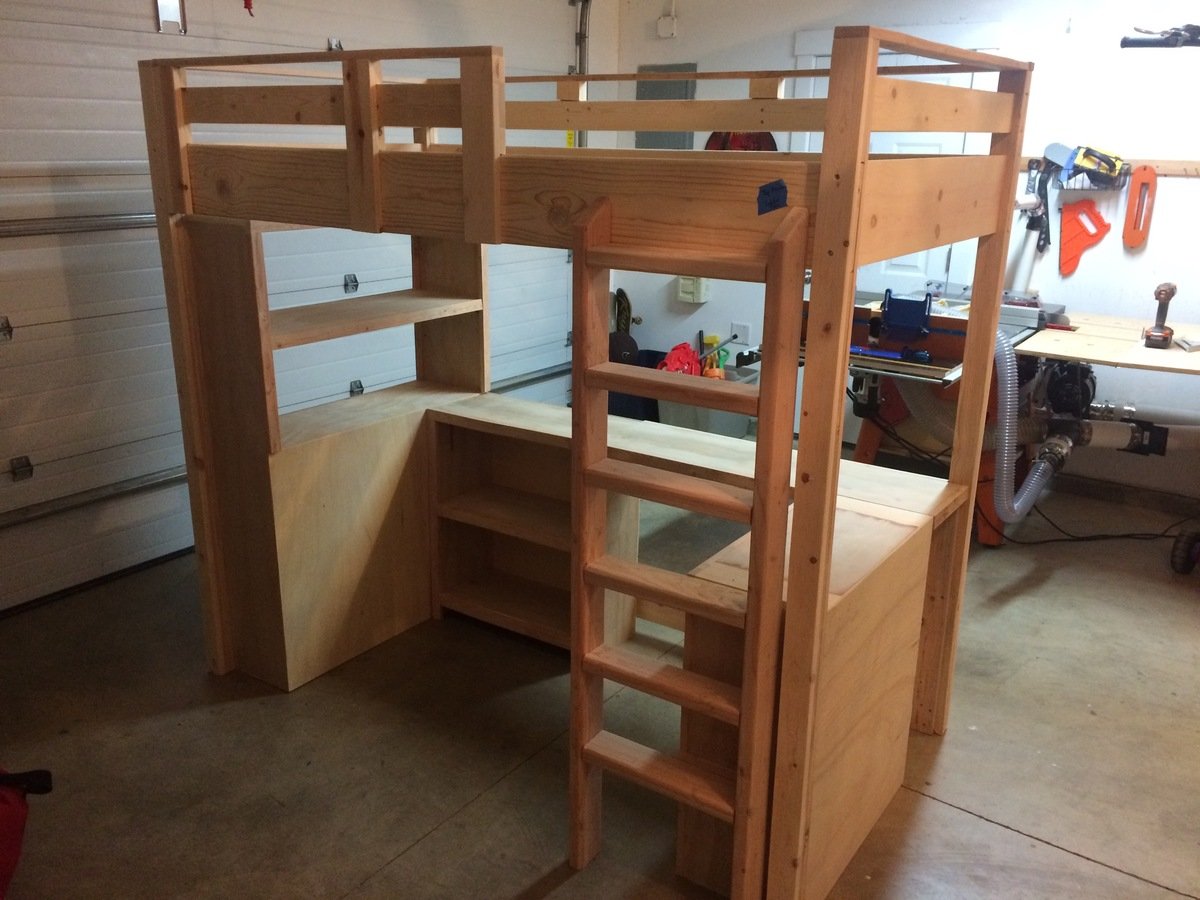
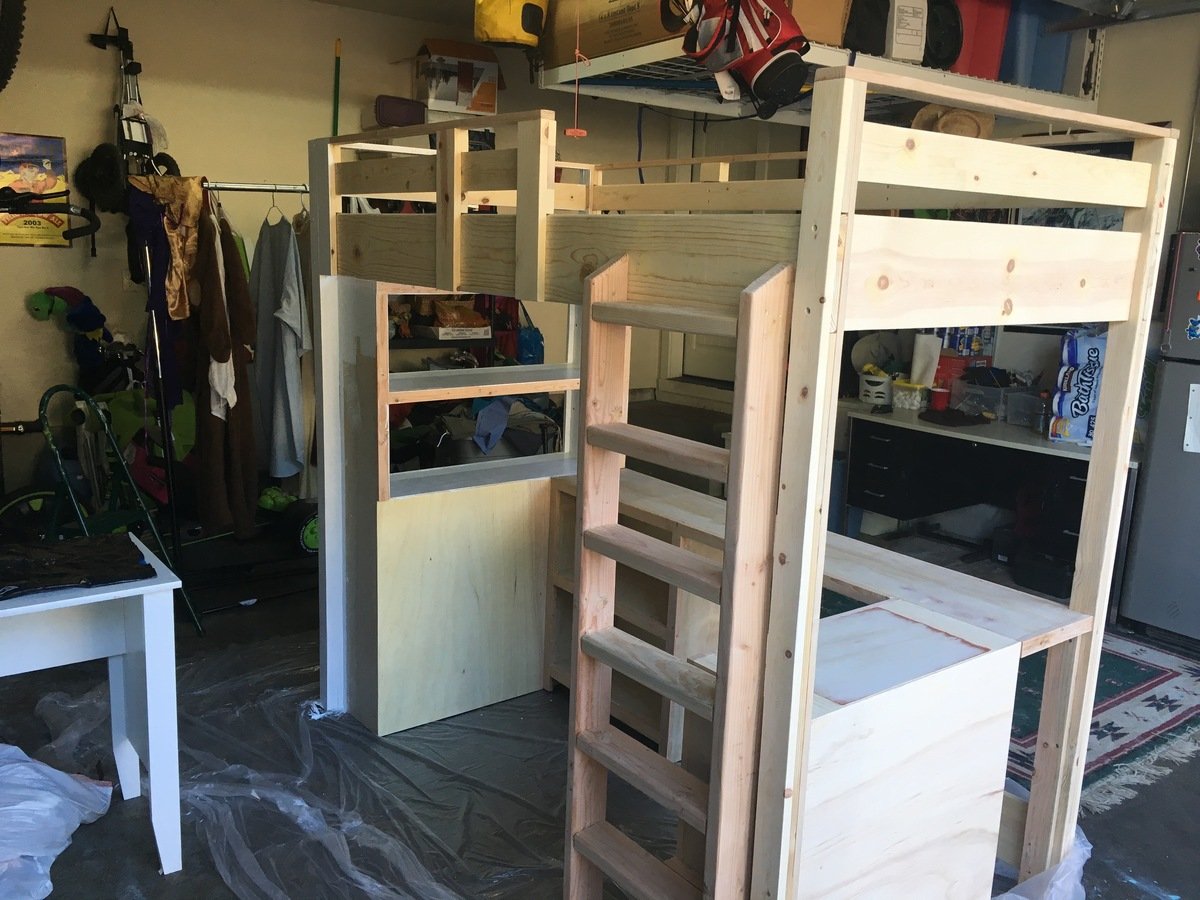
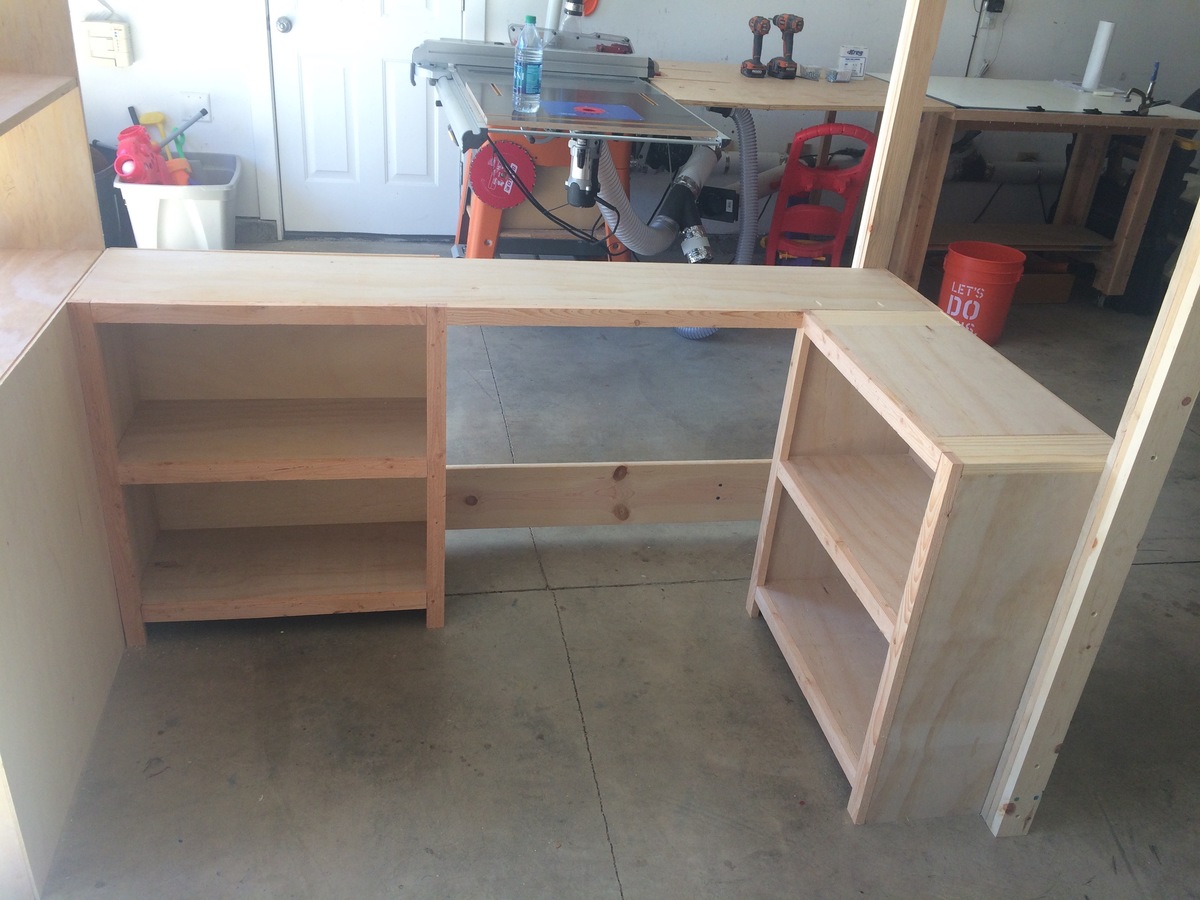
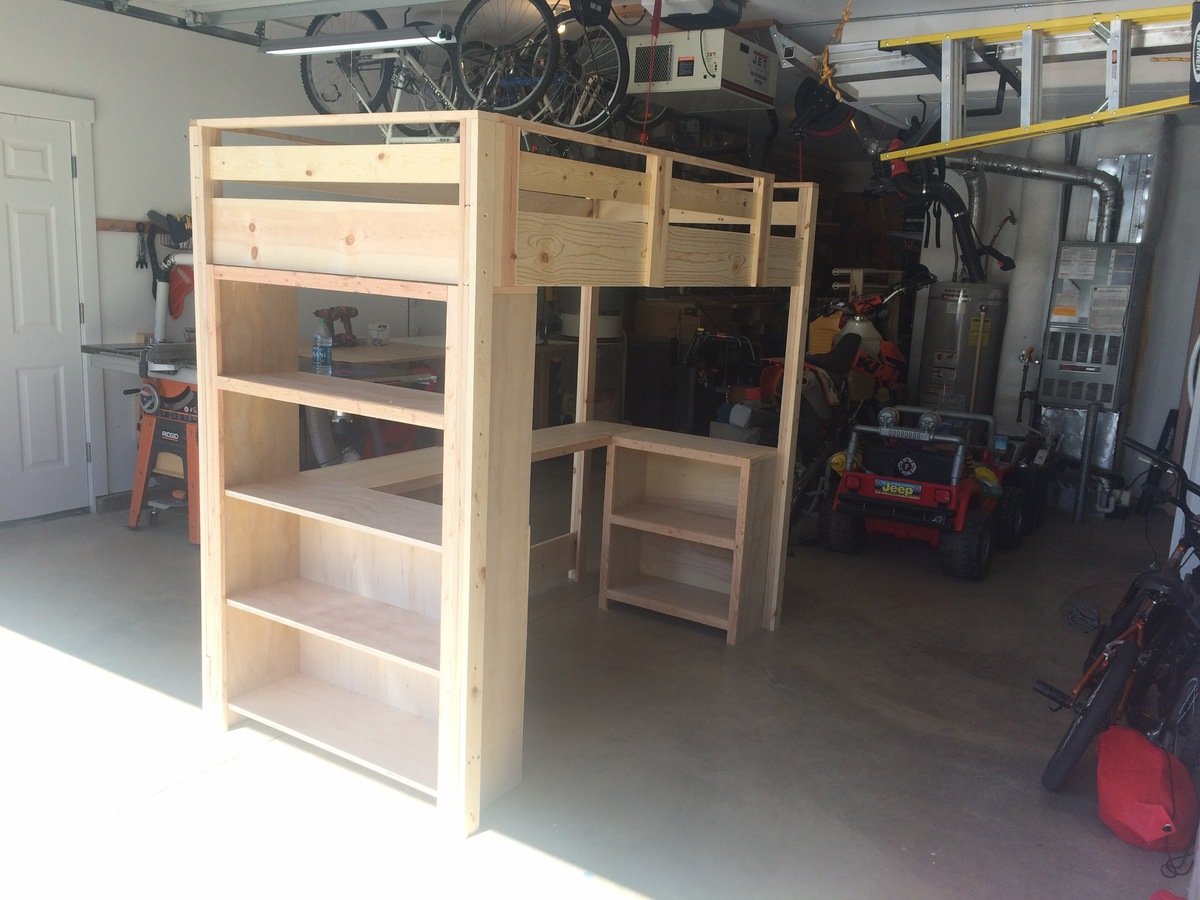
I built this loft bed for my neighbor's daughter. It has a lot of space for storage and the book shelves with desk really add a lot of stabilty. I added some supports to the back rail as it moved to much for me and made the ladder out of 2x material as it kept costs down and seemed stronger. Neighbor wanted the ladded straight up and down so I connected it to the lower bookshel too! Would not recommend cutting pieces in advance on this one! I also used plywood for the shelves and trimmed them out as it was cheaper!
Mon, 10/05/2015 - 14:39
Good job! I am toying around with building something similar from scratch. A few questions if you don't mind:
1. Given the sturdiness, I am guessing it is fairly heavy. Could two people move it?
2. By chance, is it modular for easy breakdown and transport (upstairs)?
3. Are there any plans available (materials listing, cuts, etc.)?
Thanks for posting and keep up the great work. I am sure your neighbor will be pleased!
Tue, 10/13/2015 - 15:03
Hopefully you have not been waiting long! I do not get notified for some reason to remarks any longer!
Yes, it's very sturdy, especially with the addition of the book shelves and desk. Itt is designed to come apart with a few screws, so going up stairs is not an issue. I got it from the following plans.
http://ana-white.com/2010/05/furniture-plans-loft-bed.html
http://ana-white.com/2010/06/plans/what-goes-under-loft-bed-how-about-big-bookcase
http://ana-white.com/2010/06/loft-bed-small-bookcase-and-desk
I do not recommend cutting everything in advance. Build as you go if you want everything to fit perfectly!!
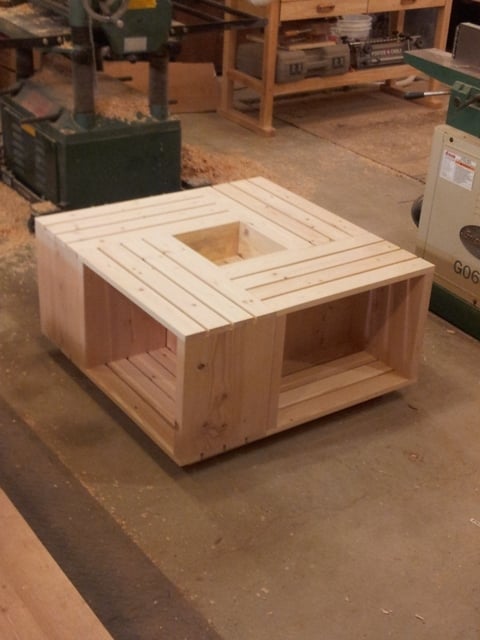
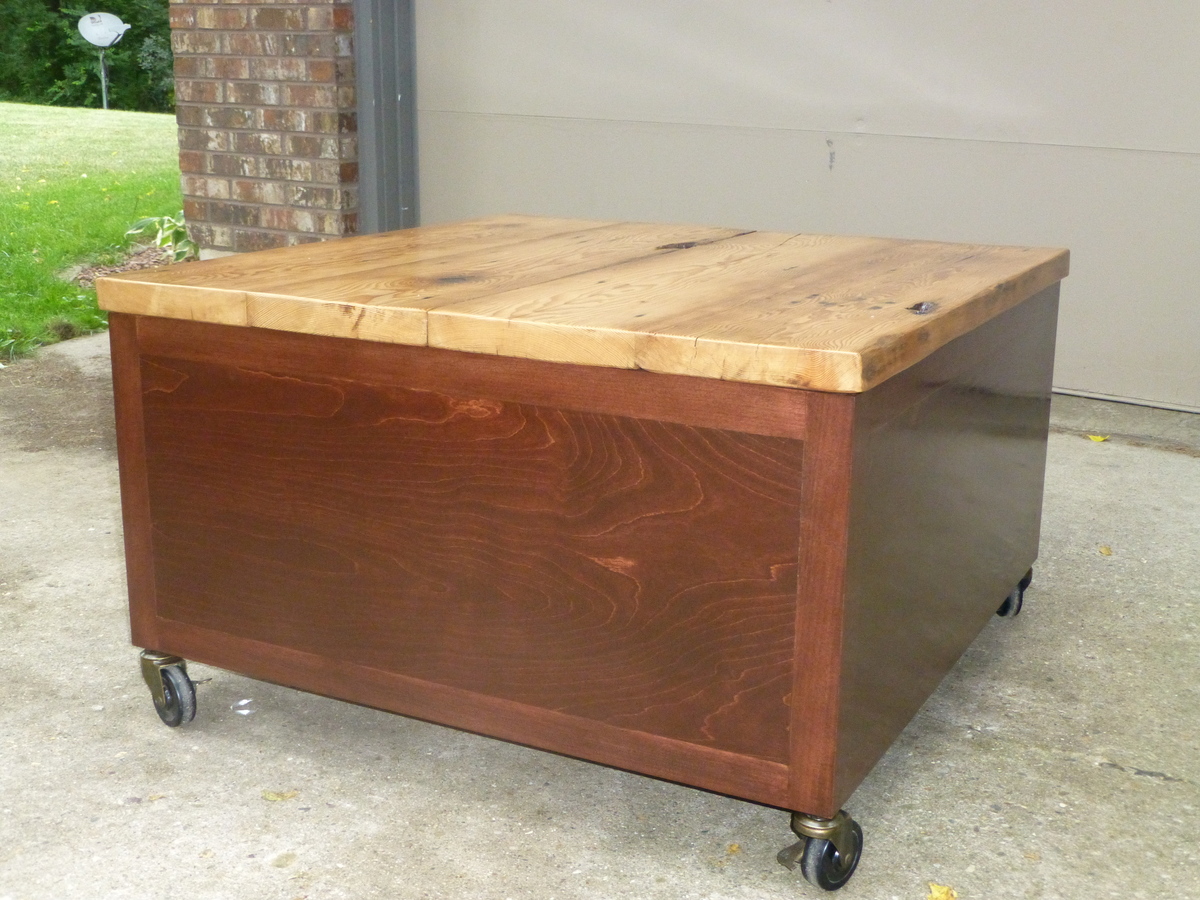
A buddy of mine showed me a picture of a coffee table his wife wanted that he found online. It appeared to be several crates attached together. I came up with this design. I added a base to raise it off the floor a few inches to make cleaning around it easier. Was made using all scrap. It was a very easy project and took about 2hrs. This picture was taken before any finish was applied.
Wed, 11/11/2015 - 07:24
thanks for the compliments. Actually, I made the crates from scrap lumber No need to have crates on hand.
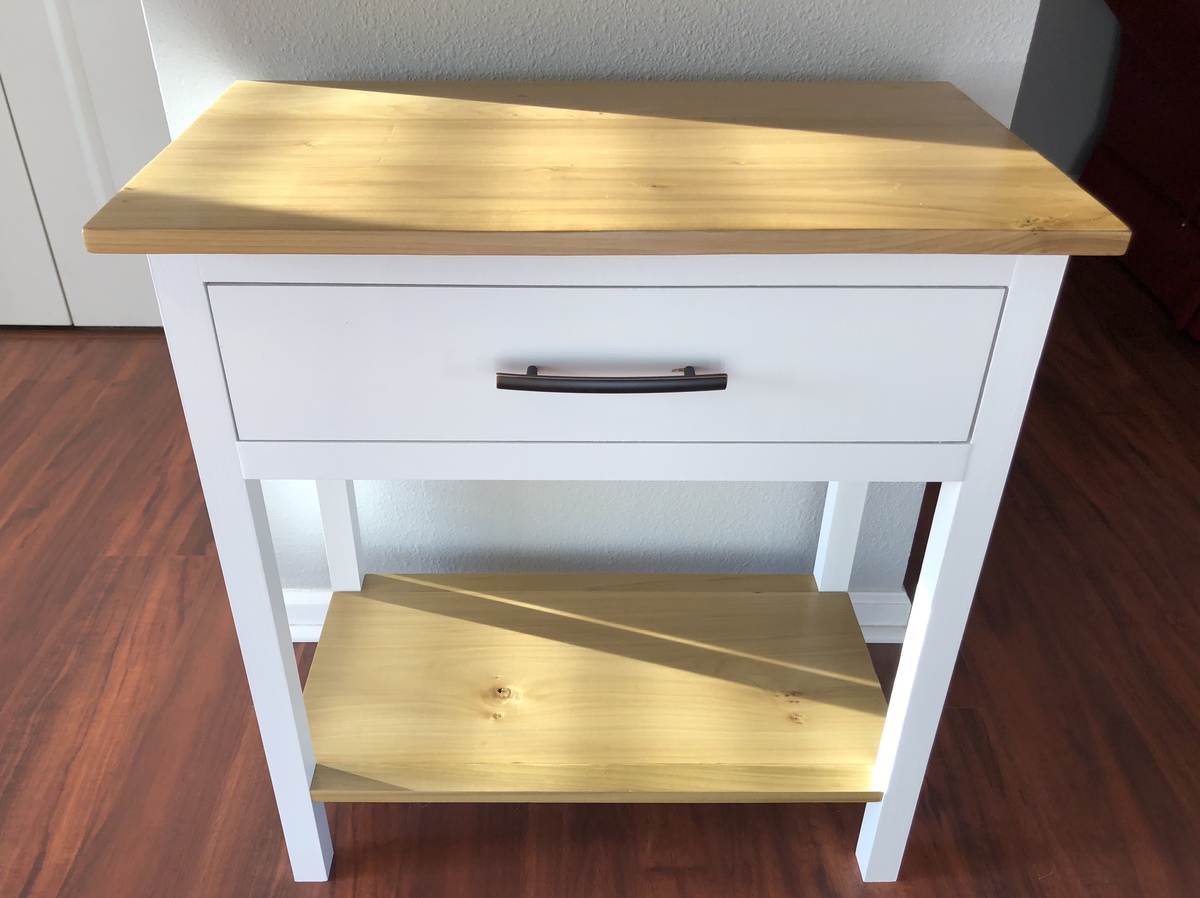
I needed an entry table and when I saw this plan for a bedside table I knew with just a couple of size modifications it would be perfect for me. It is a little taller and wider that Ana's plans, but other than that is true to her design. Couldn't be happier with the new table!

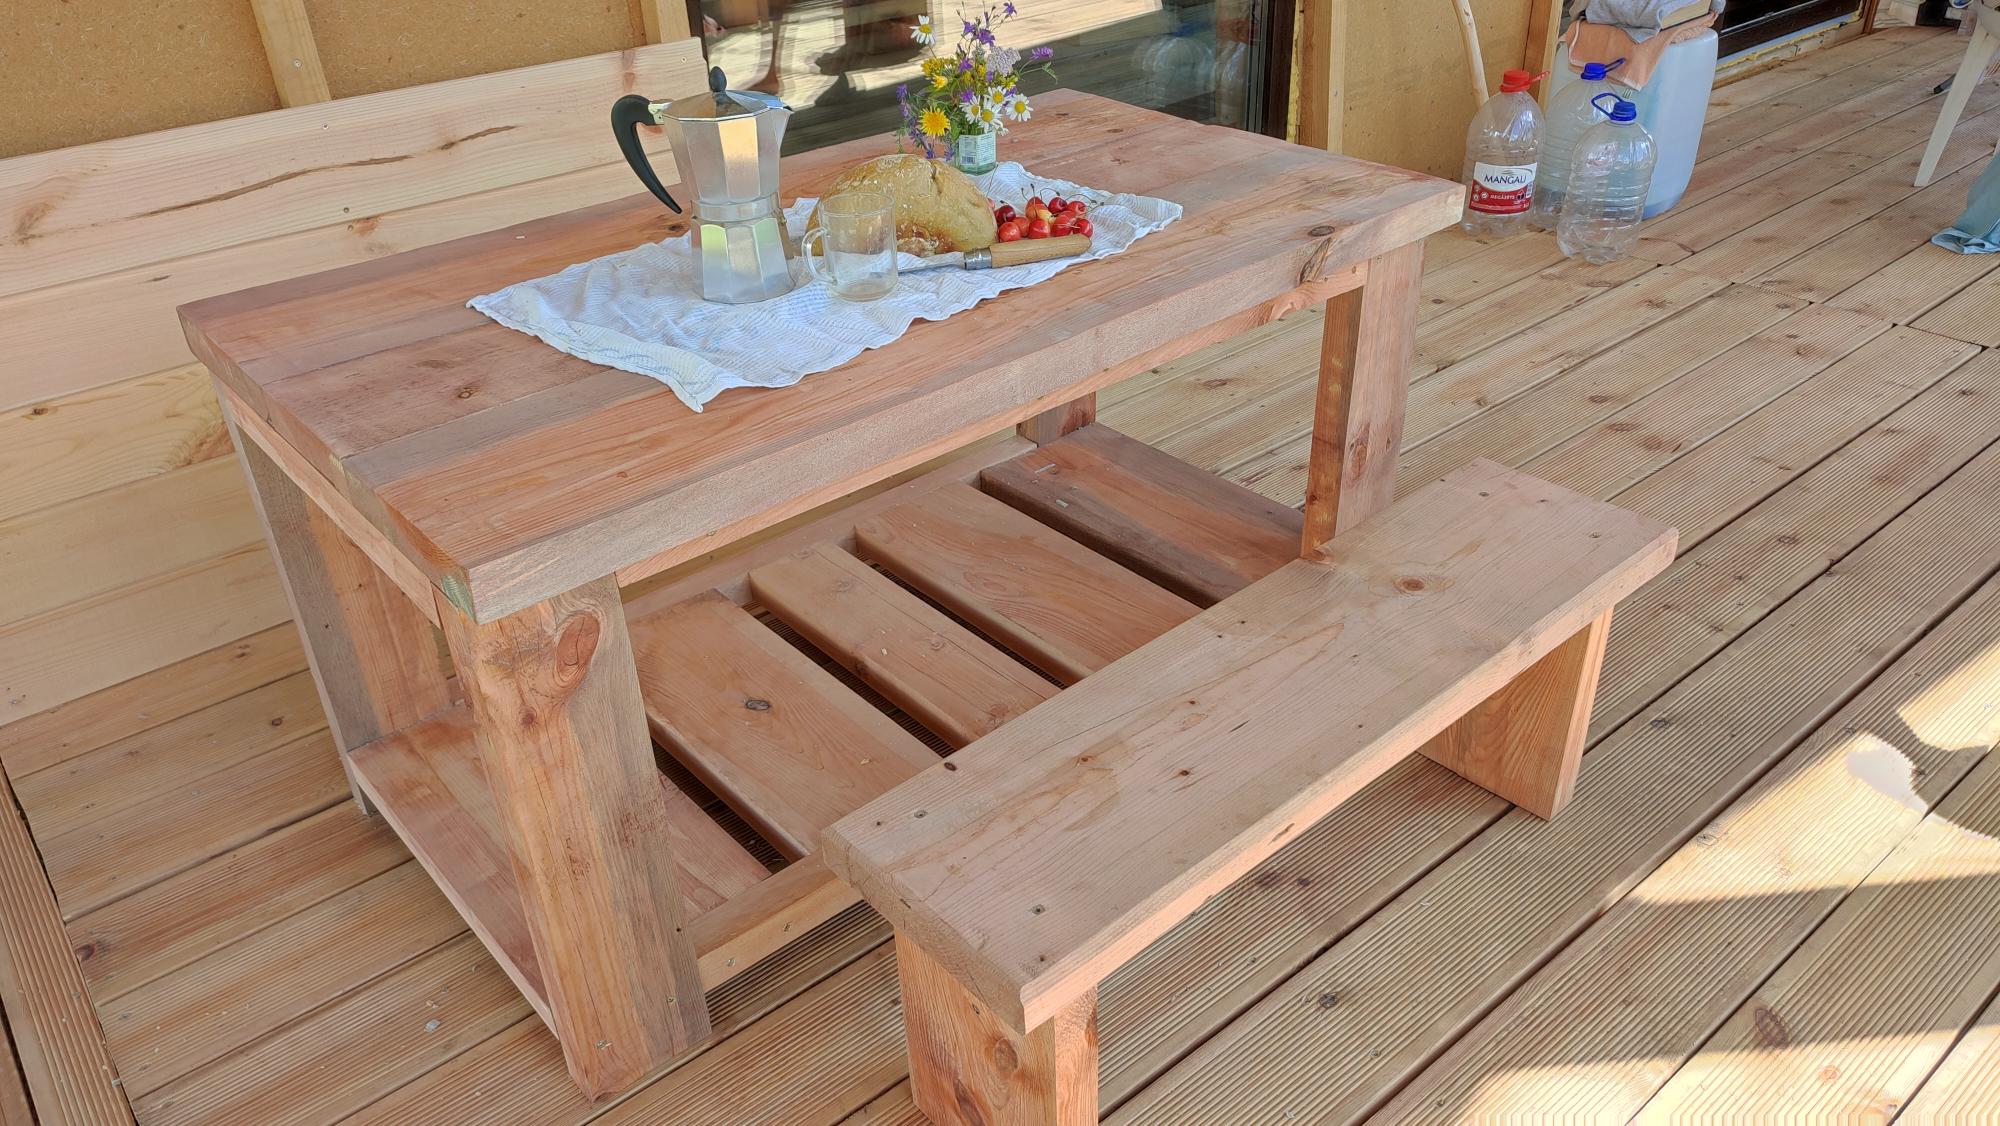
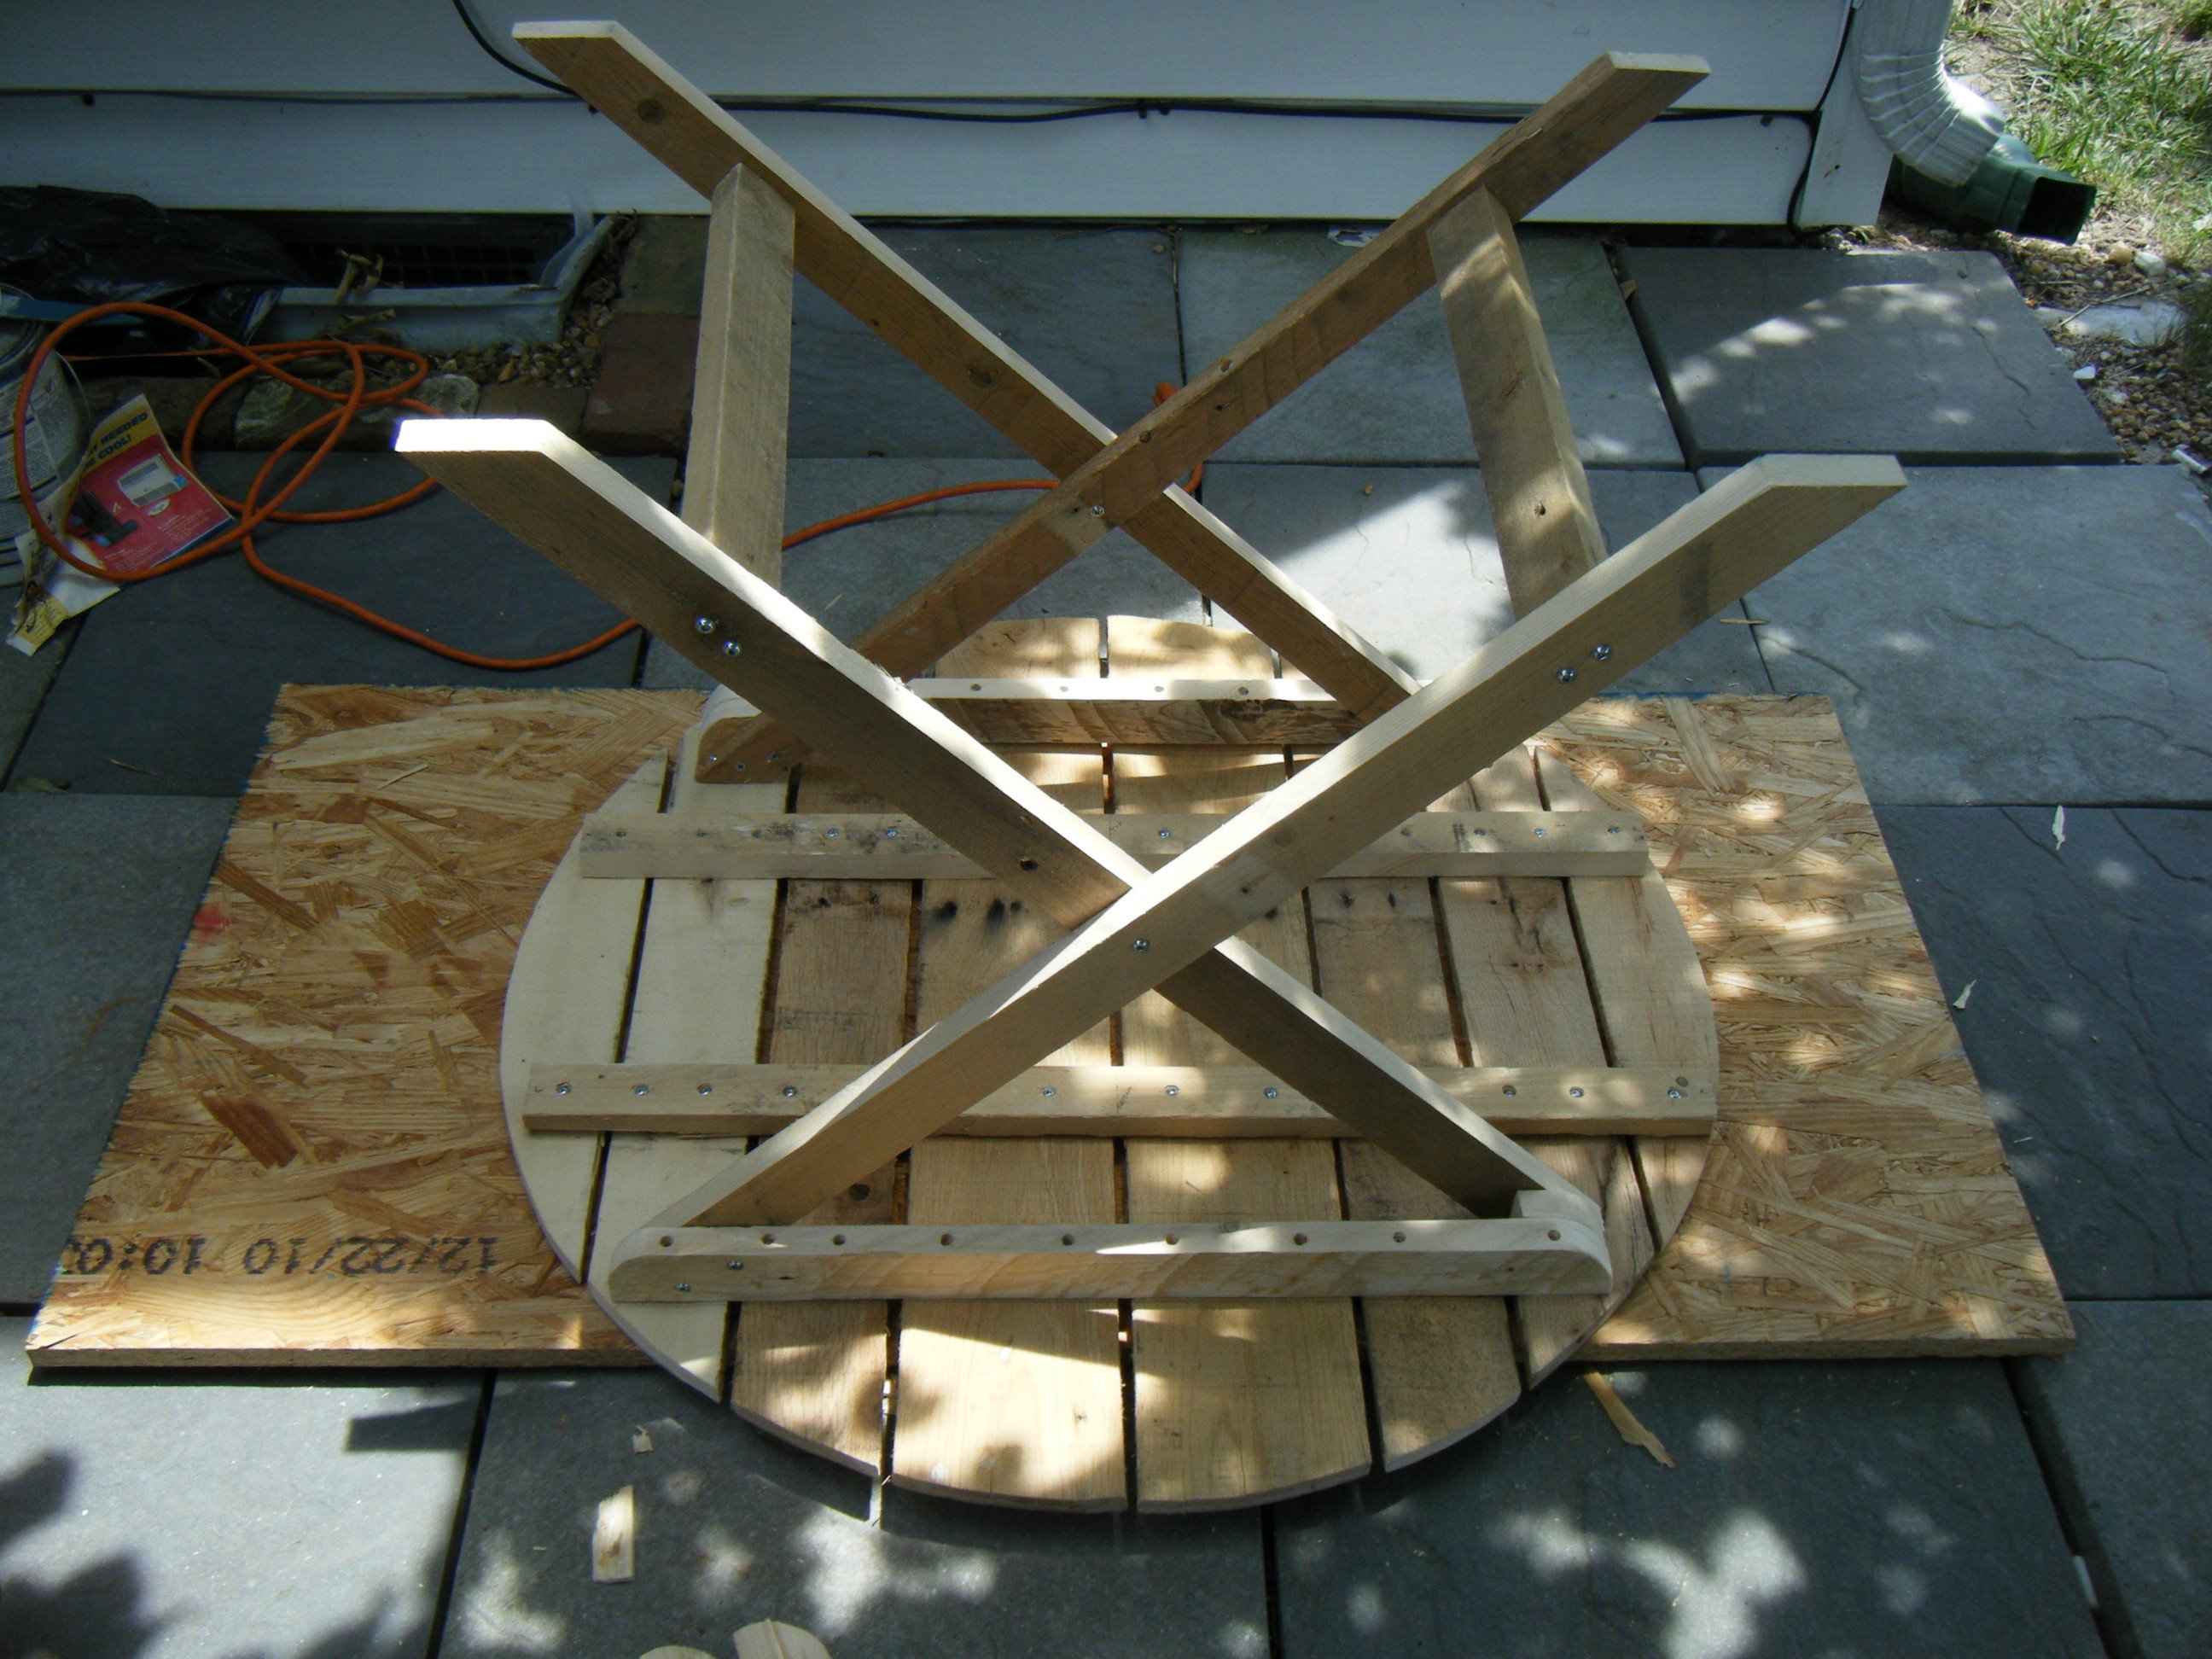
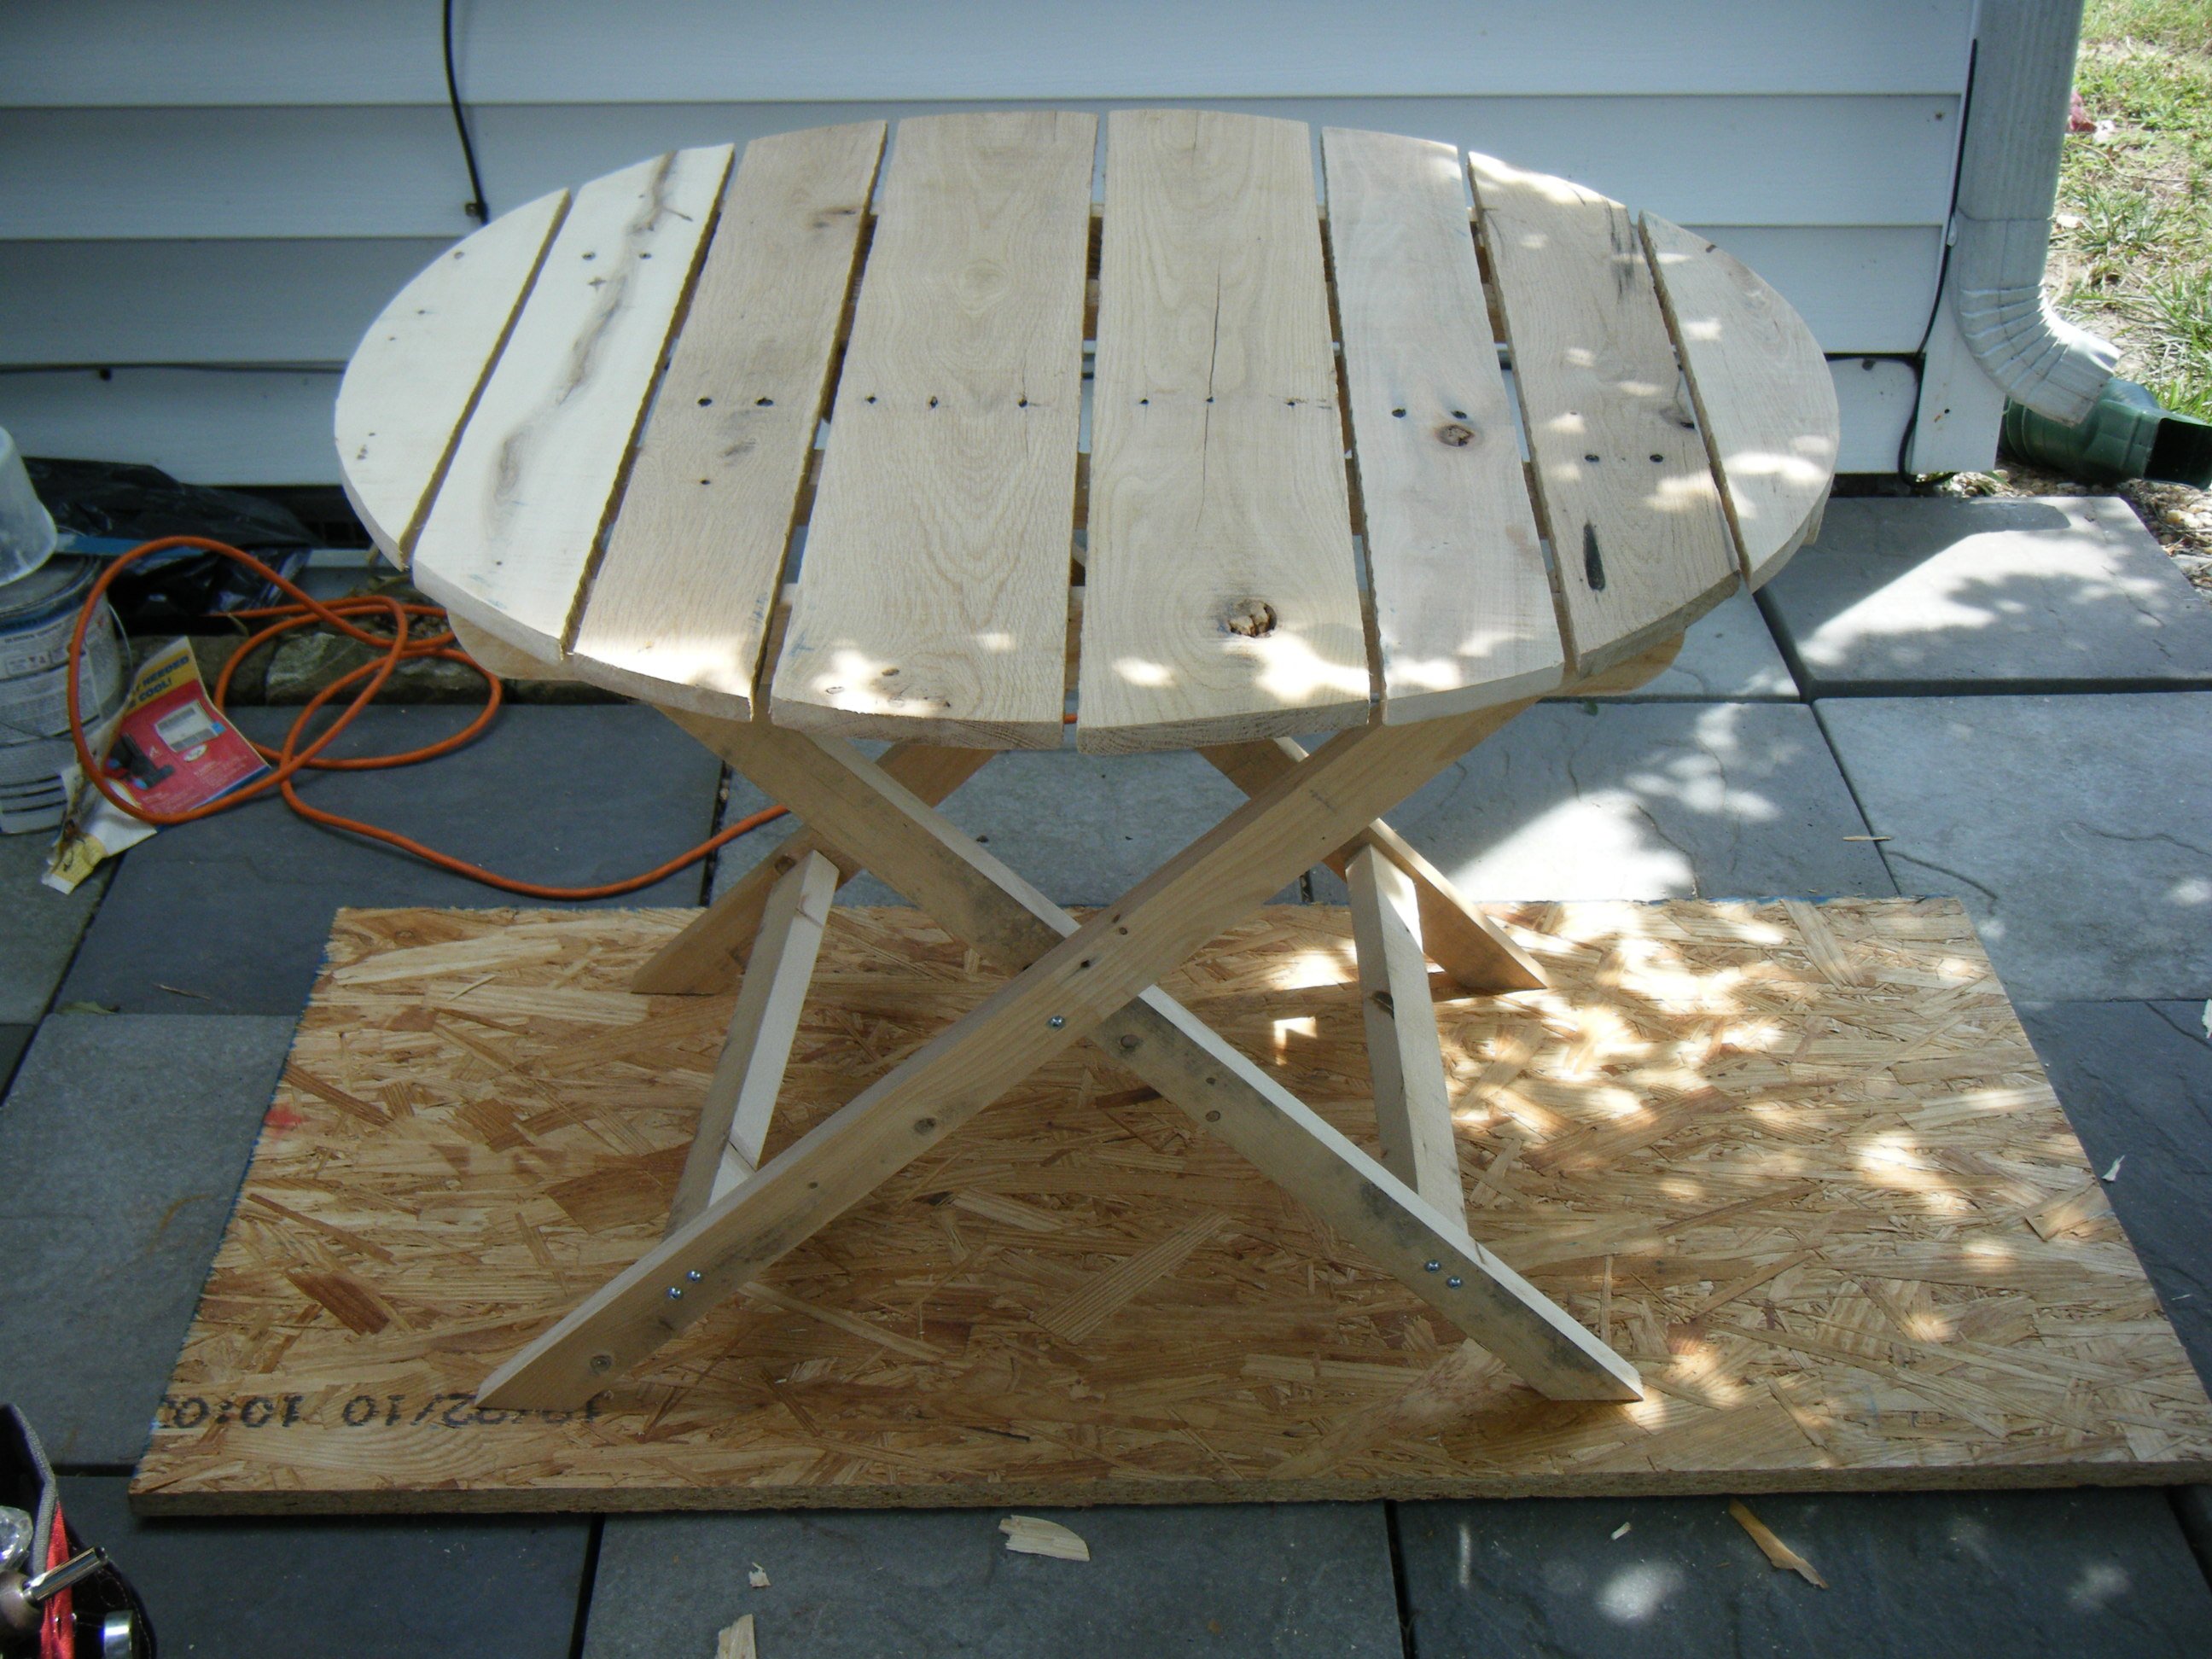
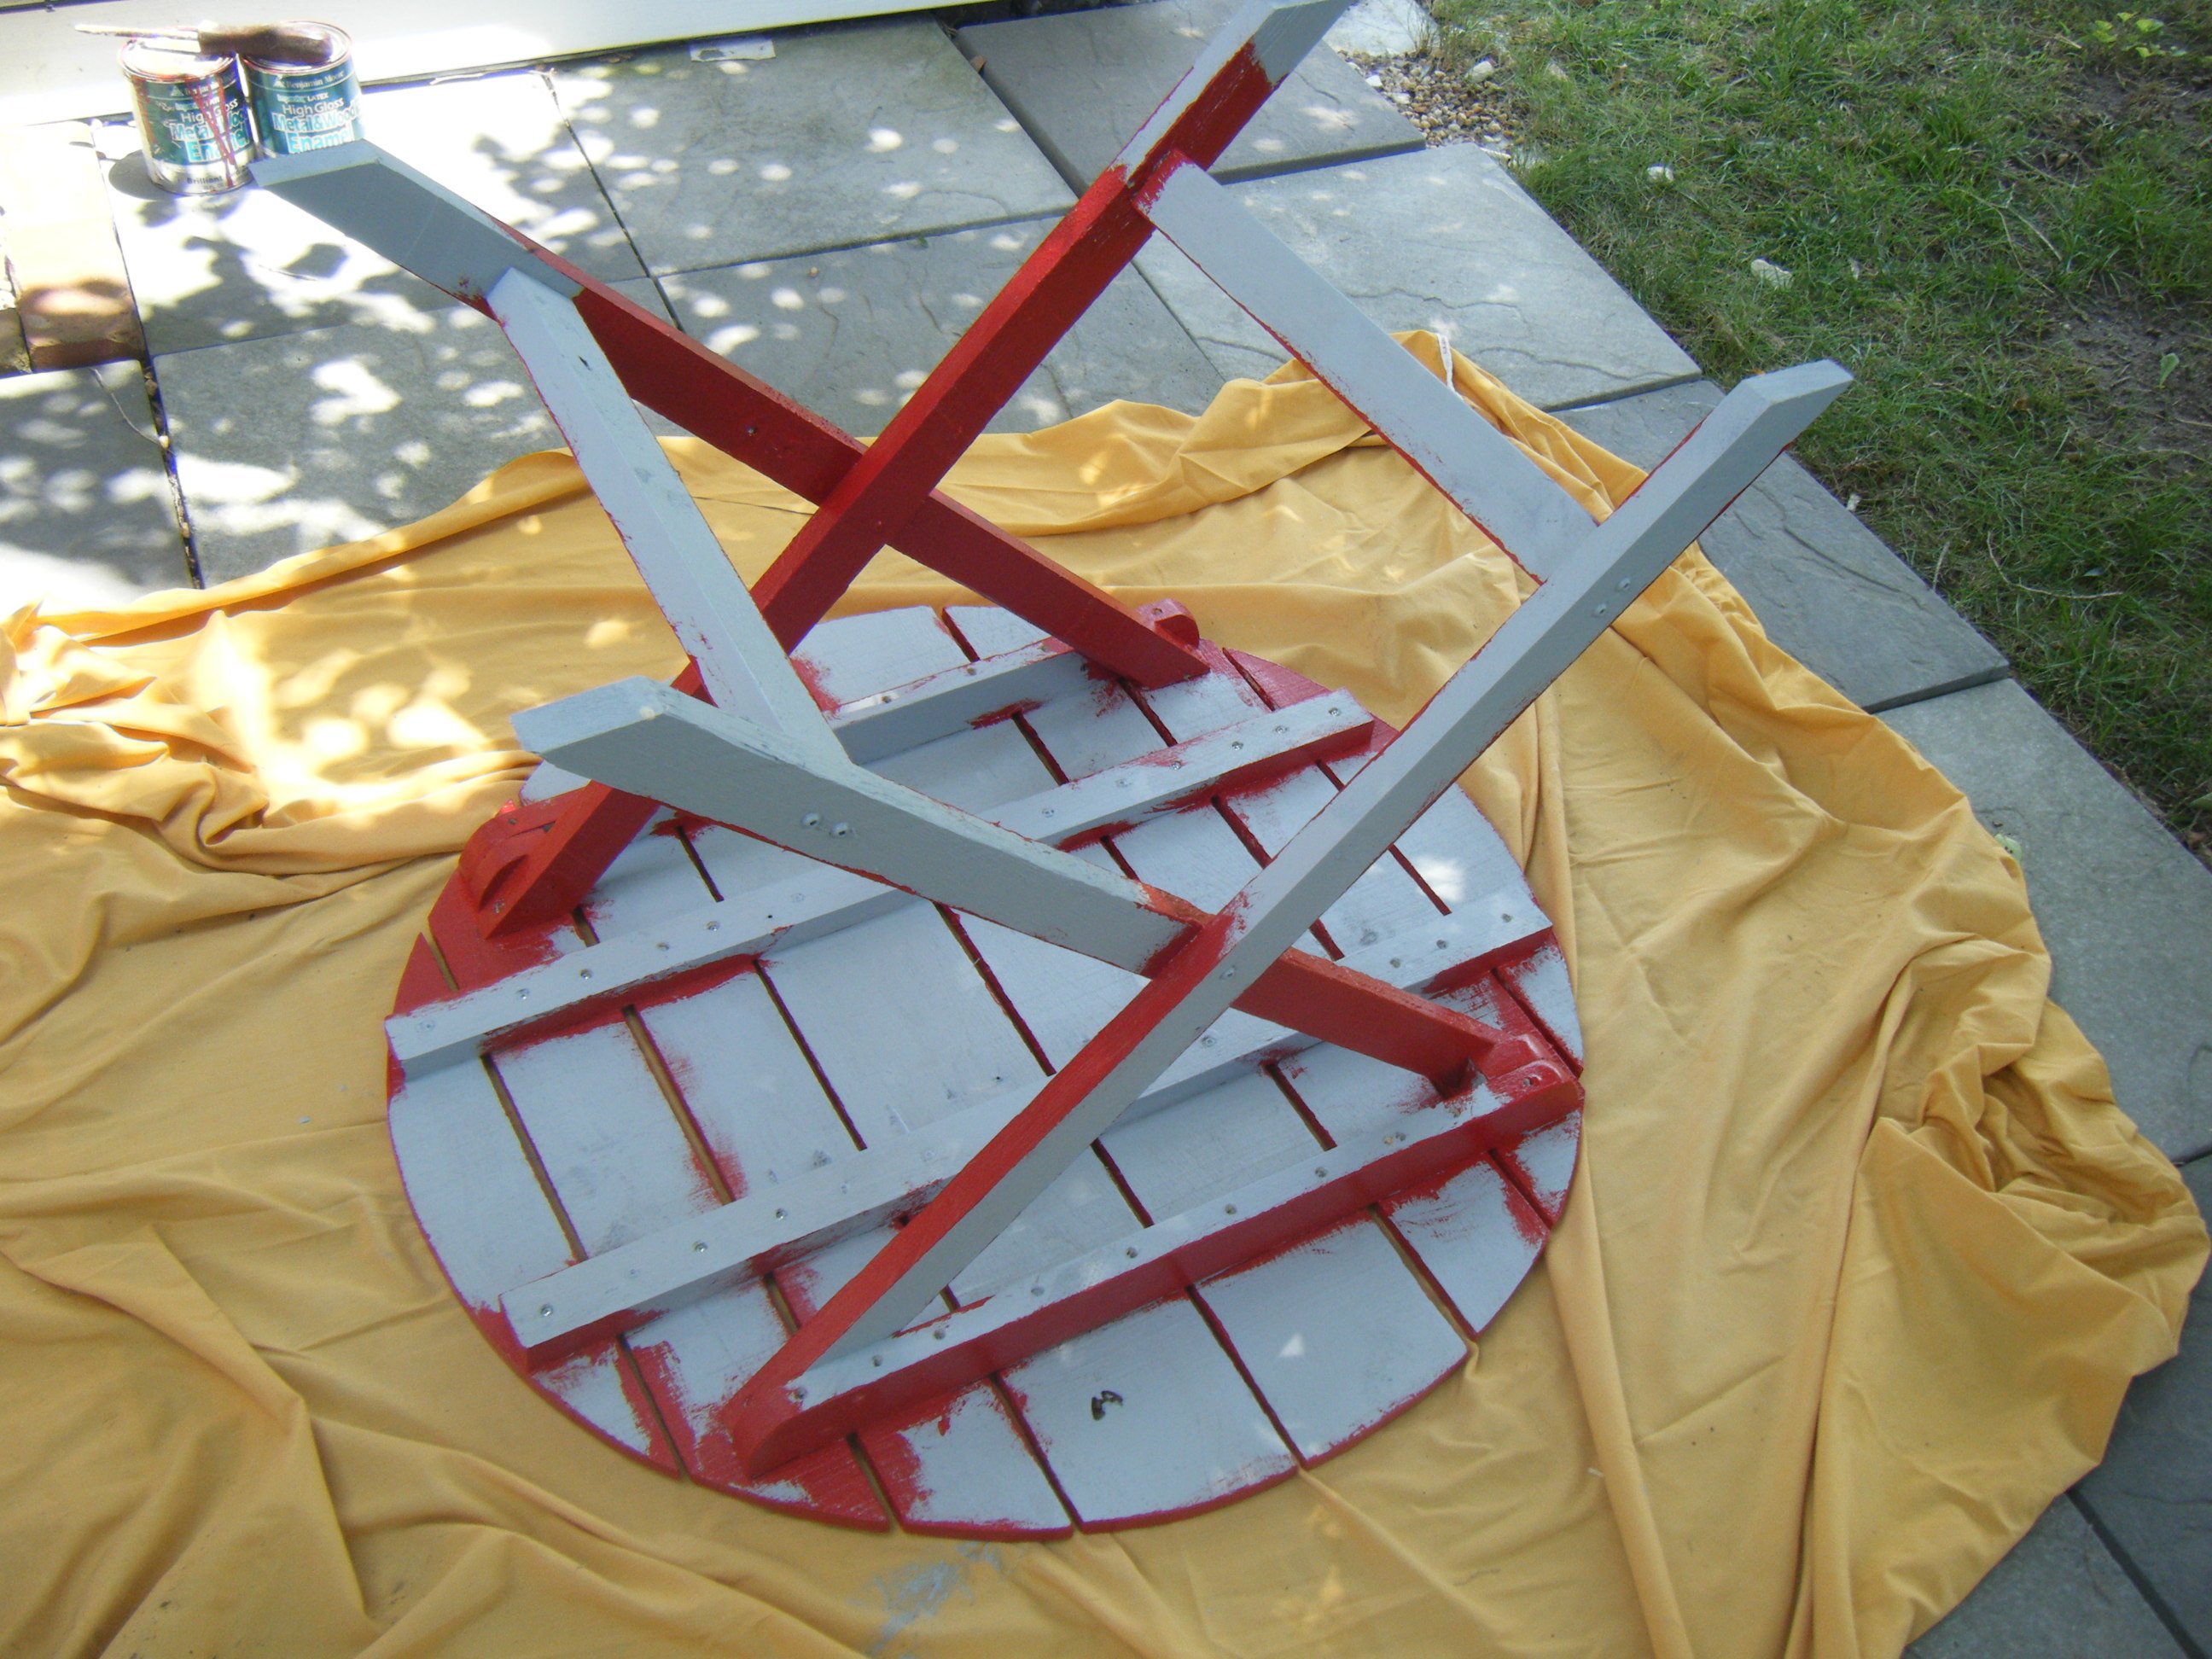
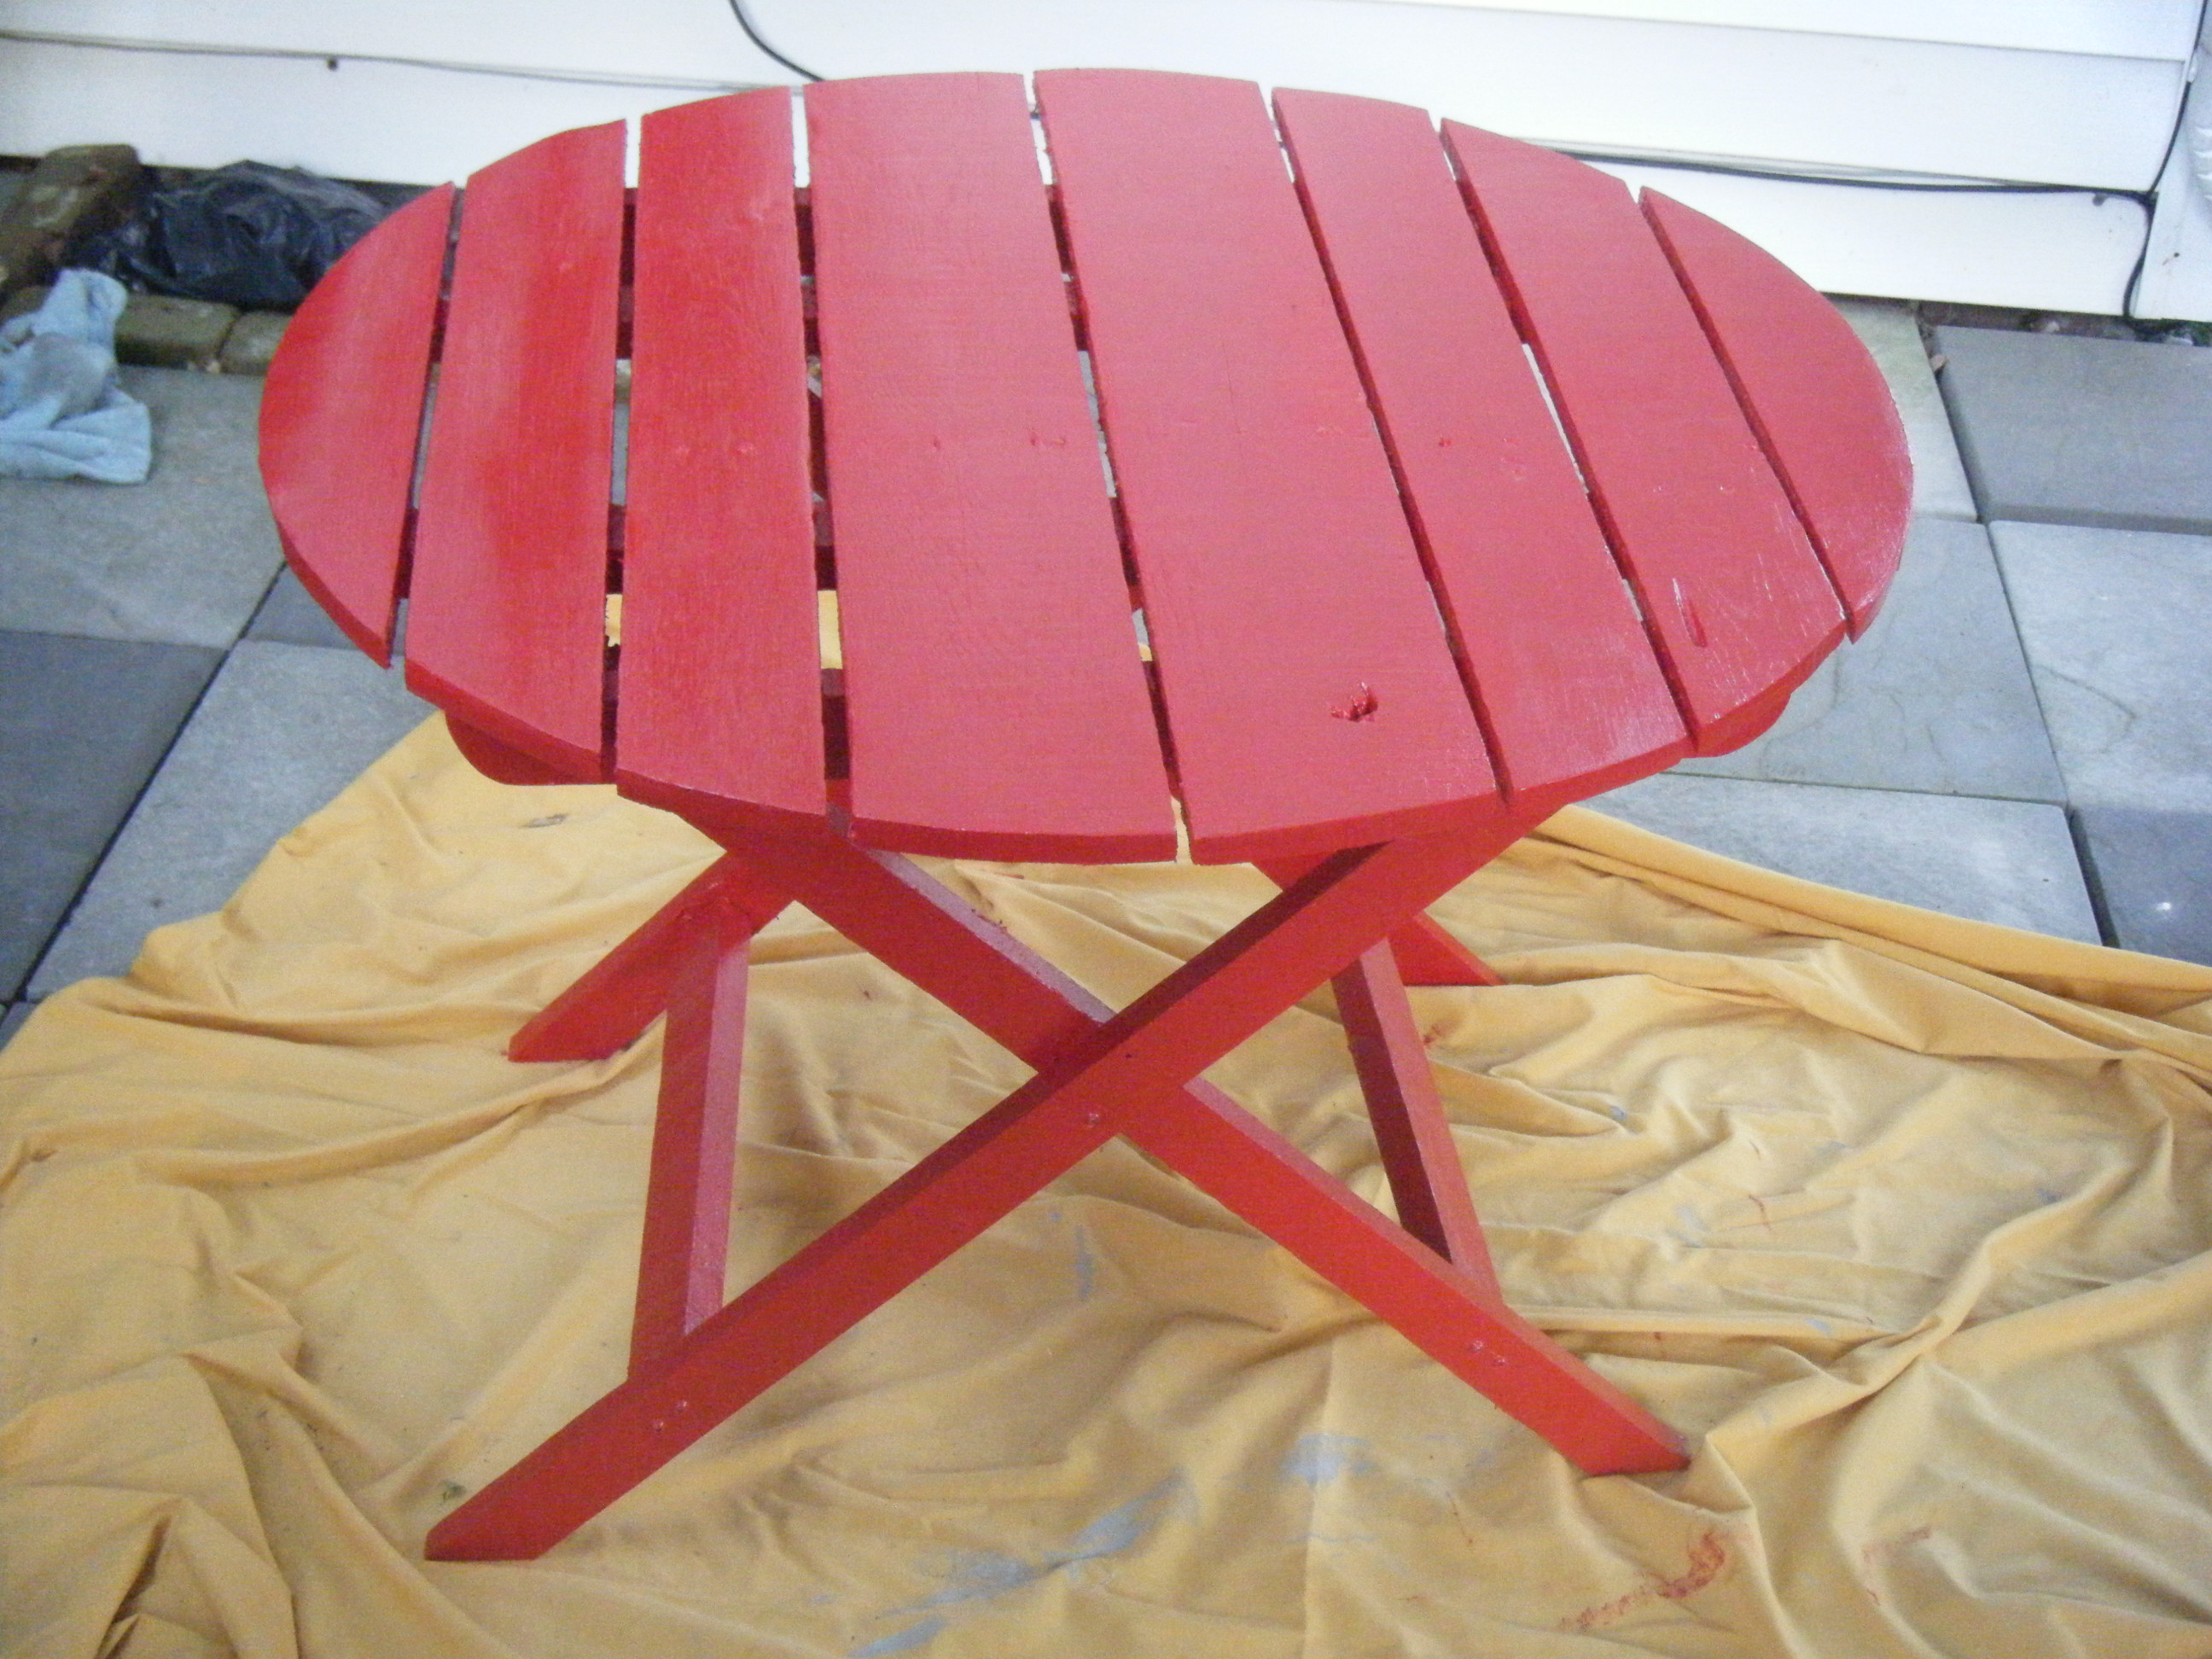
Table, based on Farmhouse coffee table project. Resized to roughly picnic table dimensions (1200*700 mm, 650 mm high), mostly as a means to recycle board cuttings, left over from building farmhouse itself. Didn't install X shaped sides, because there were no more suitable timbers remaining, which, it appears, my toddler greatly appreciated - bottom shelf makes a lovely crawl space. Shape of the shelf planks was a happy accident: what remained was sized 250 - 200 - 150 - 200 - 250 mm. Looks kinda nice doesn't it?
Mon, 07/11/2022 - 10:51
That turned out really nice indeed, thank you for sharing!
This was my third project, but it is my favorite to date!
In reply to omg this is gorgeous!! you by Guest (not verified)
Fri, 09/30/2011 - 21:21
thank you!
Wed, 04/04/2012 - 10:39
Love this - a little scared to try this project but going to give it a whirl. I also like the color you chose to finish it with.

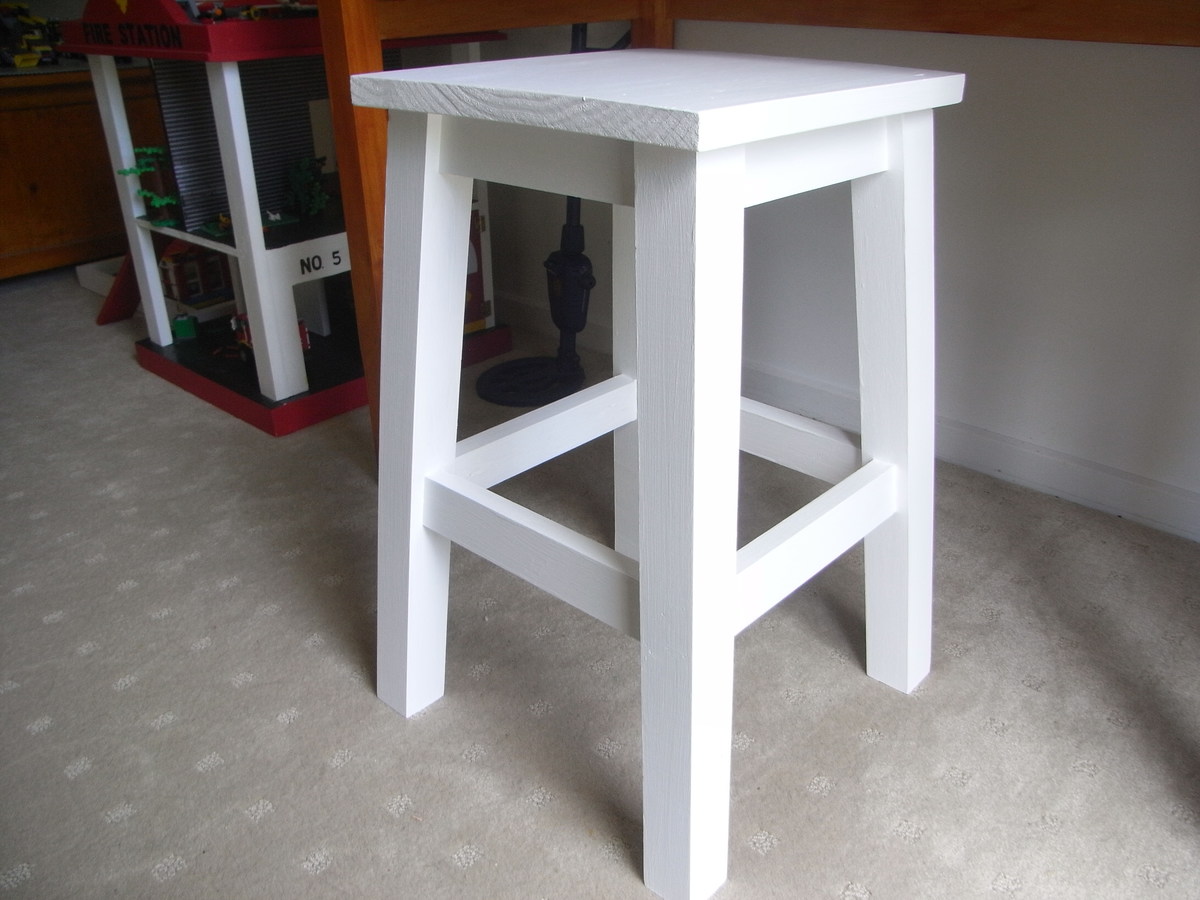
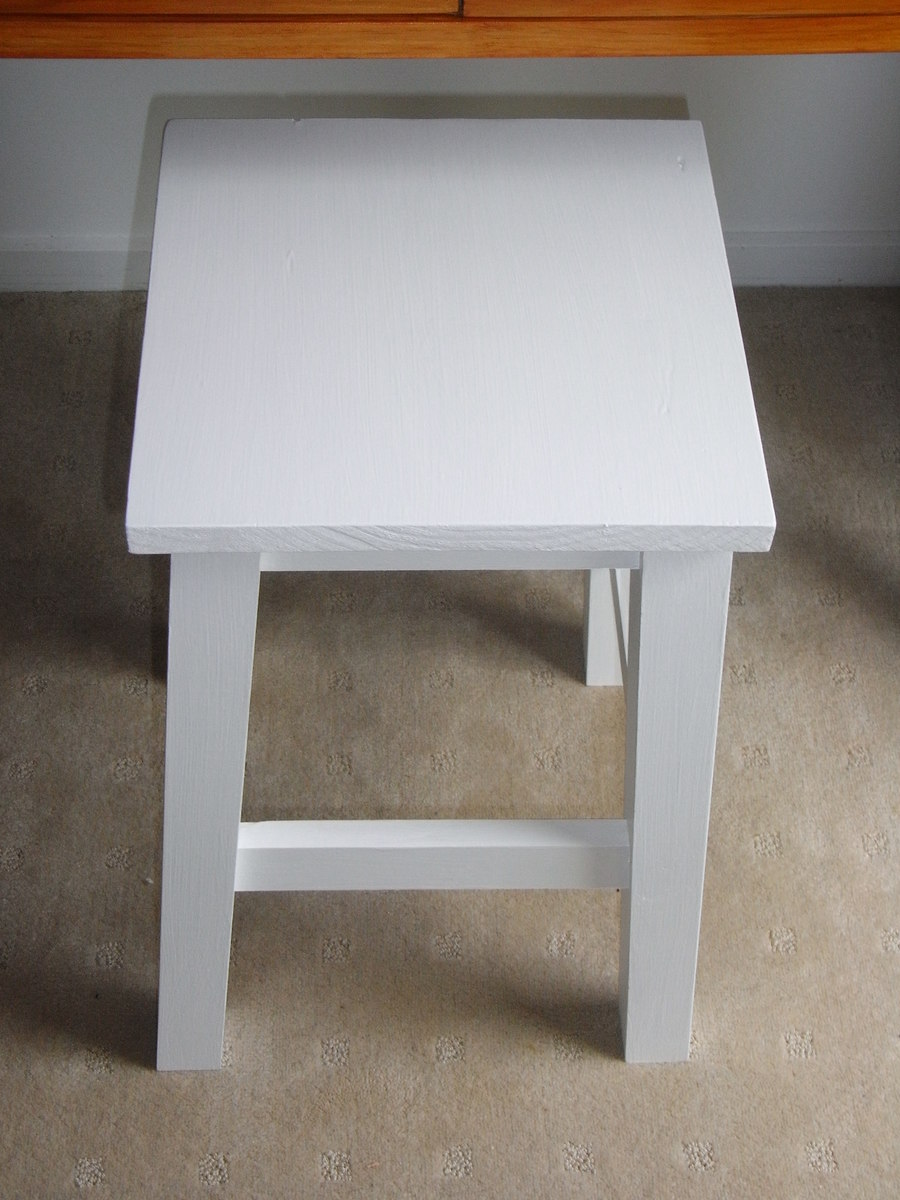
I shortened the legs to 20 inches and left the lower rung off.
It lives in the playroom and is just the right height for our sons desk.
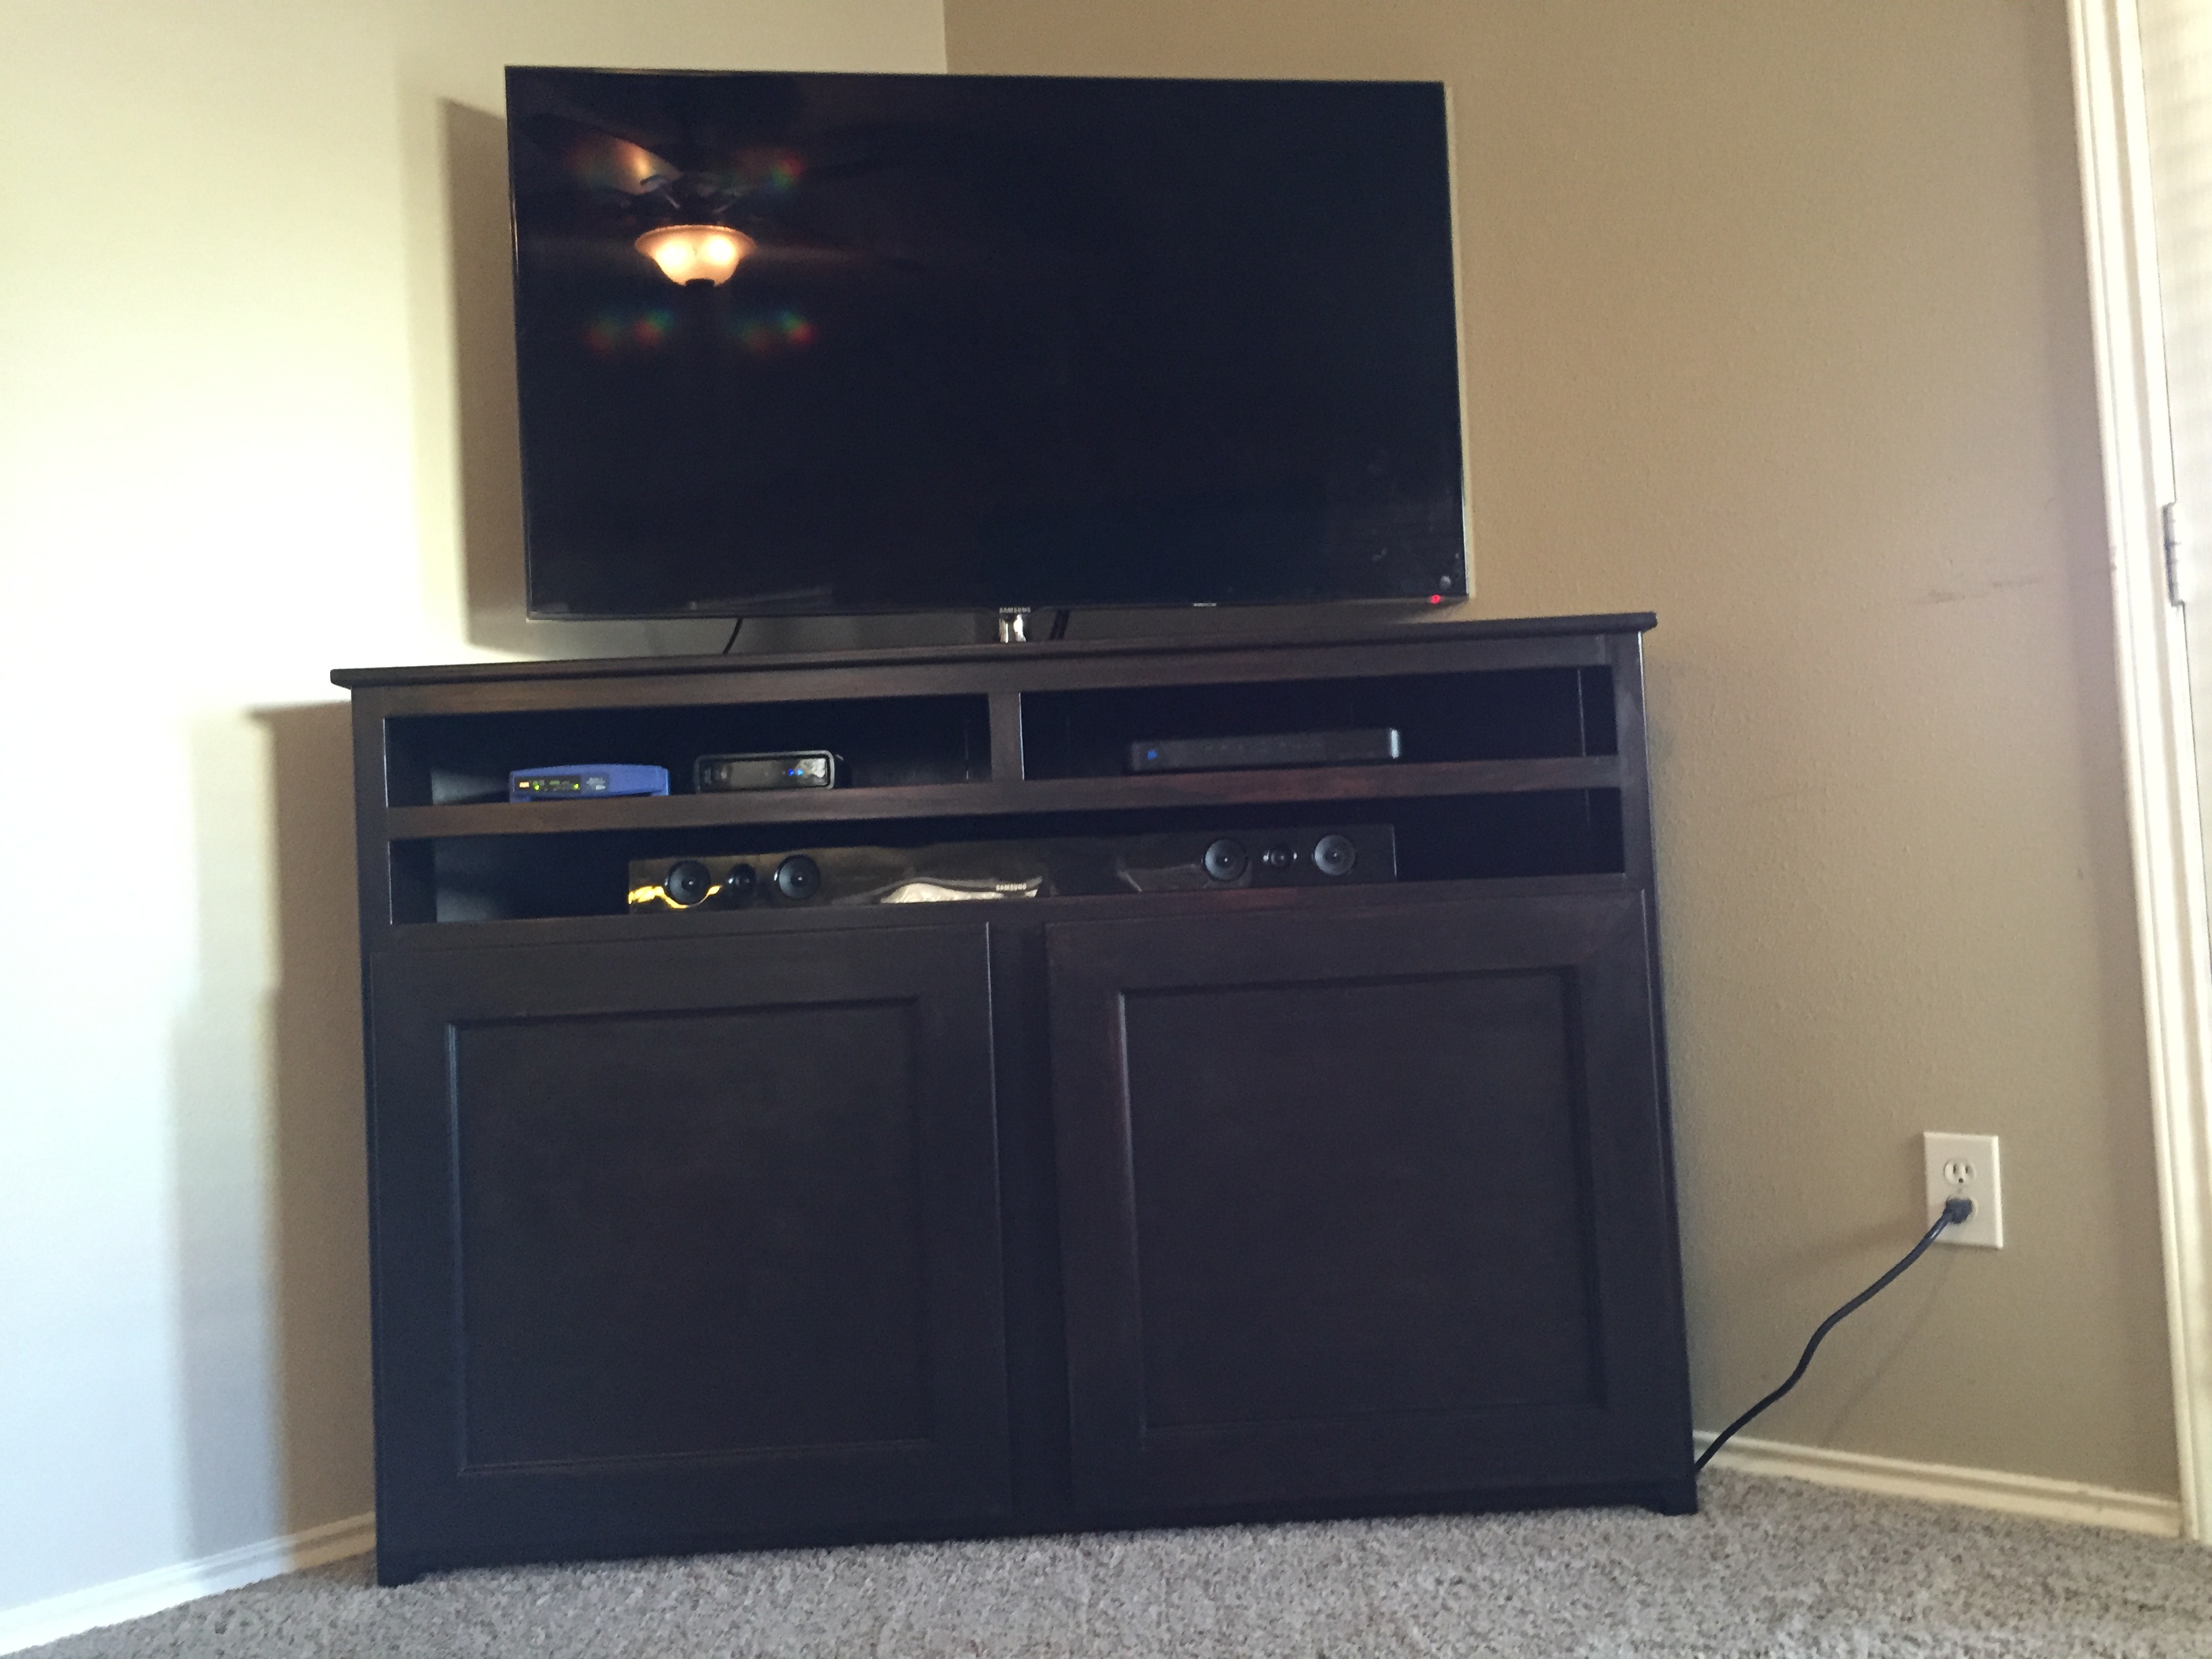
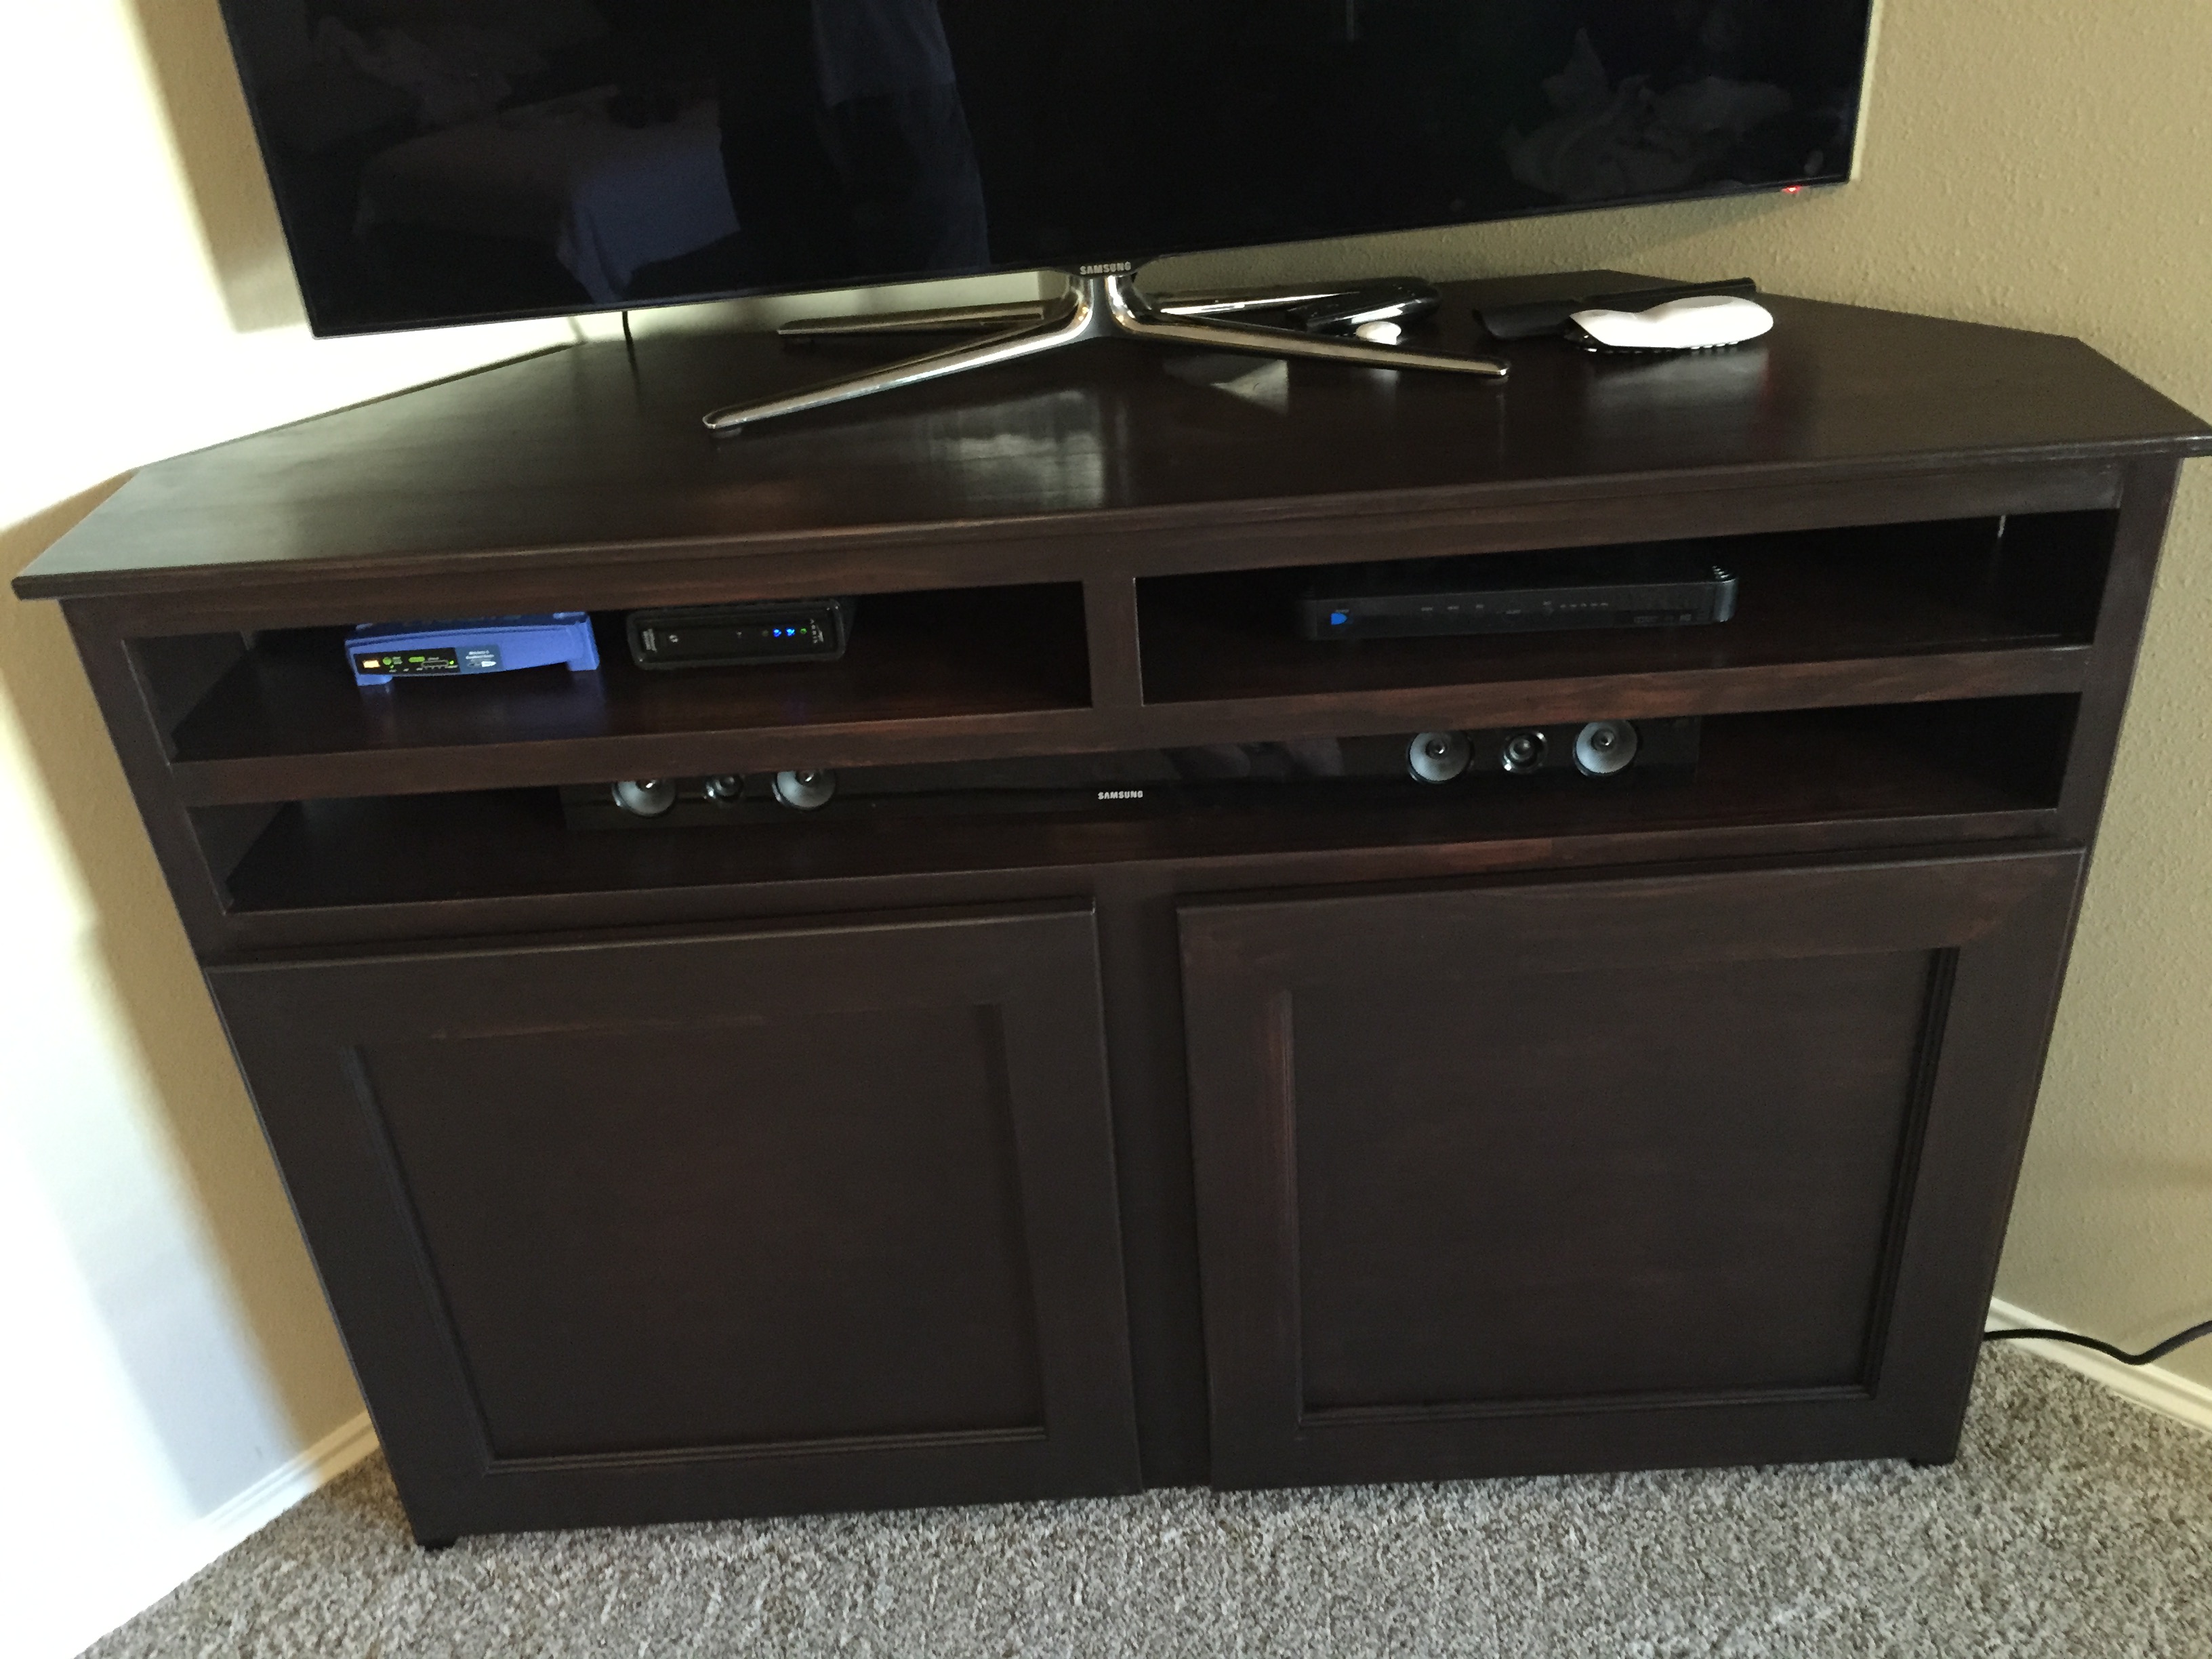
We've searched for a corner TV stand but couldnt find anything we liked. I finally decided to build one.


I found plans on here for a farmhouse kitchen island. I built it for my wife. She loves it.
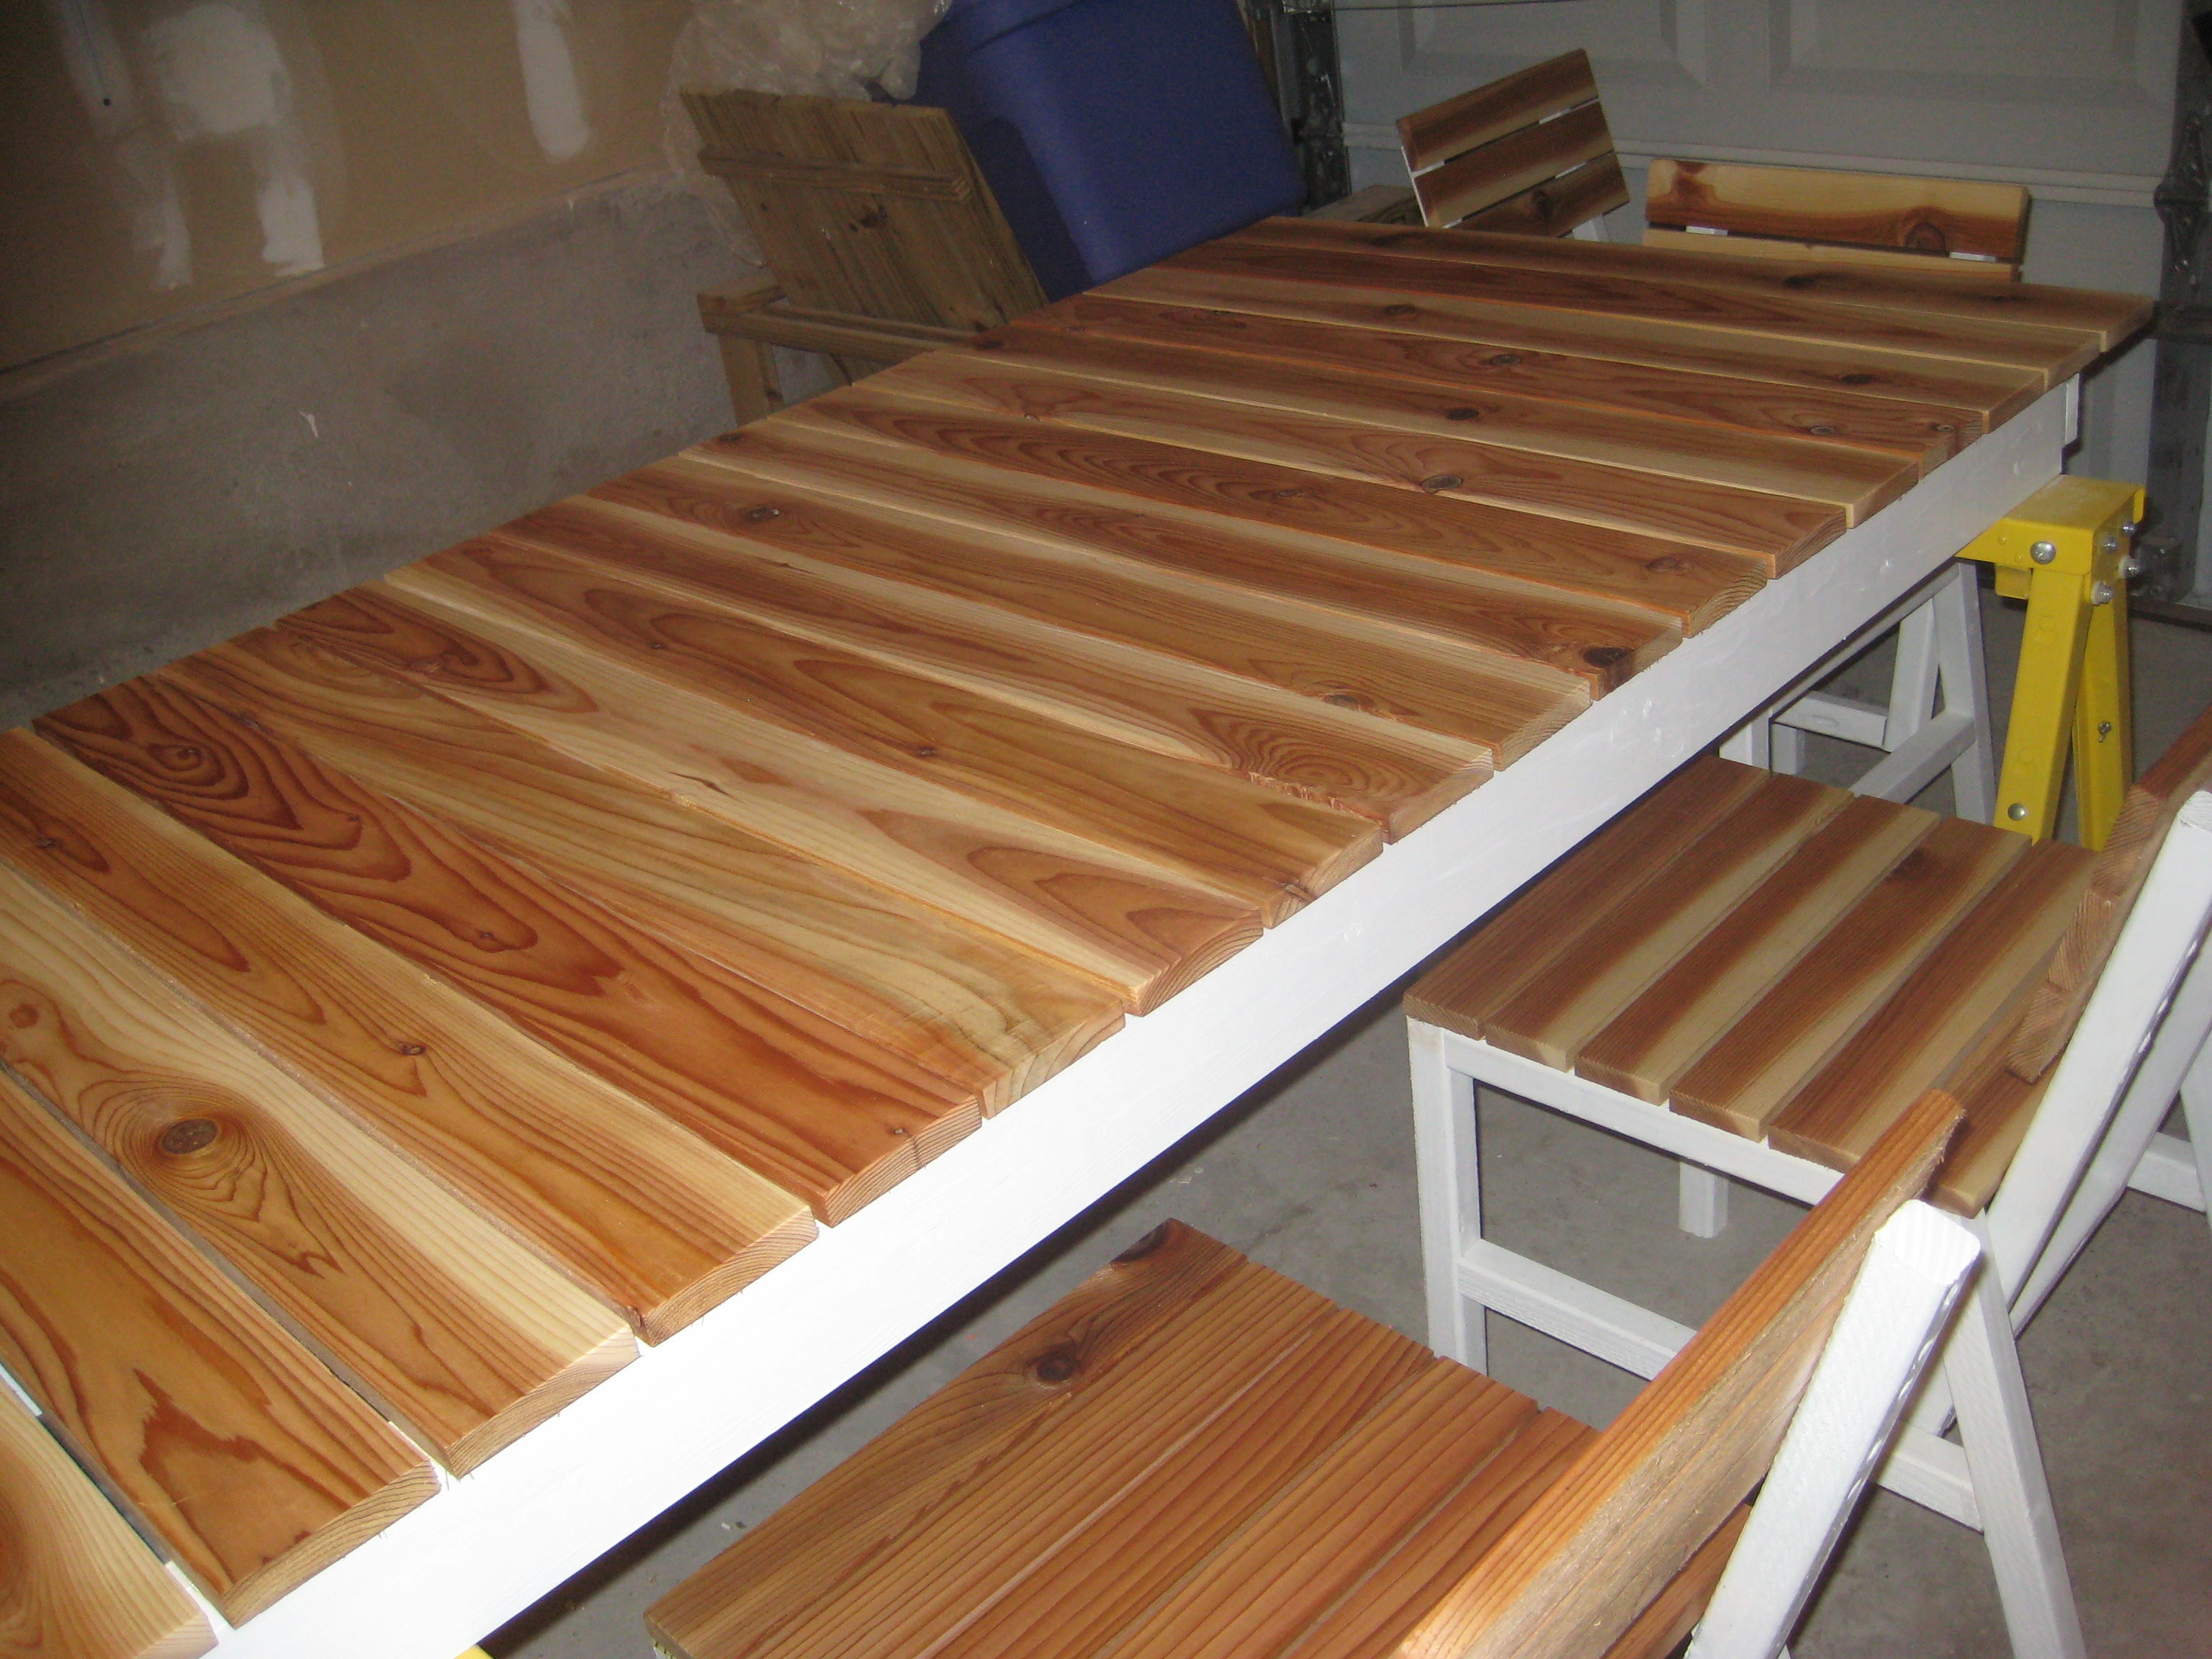
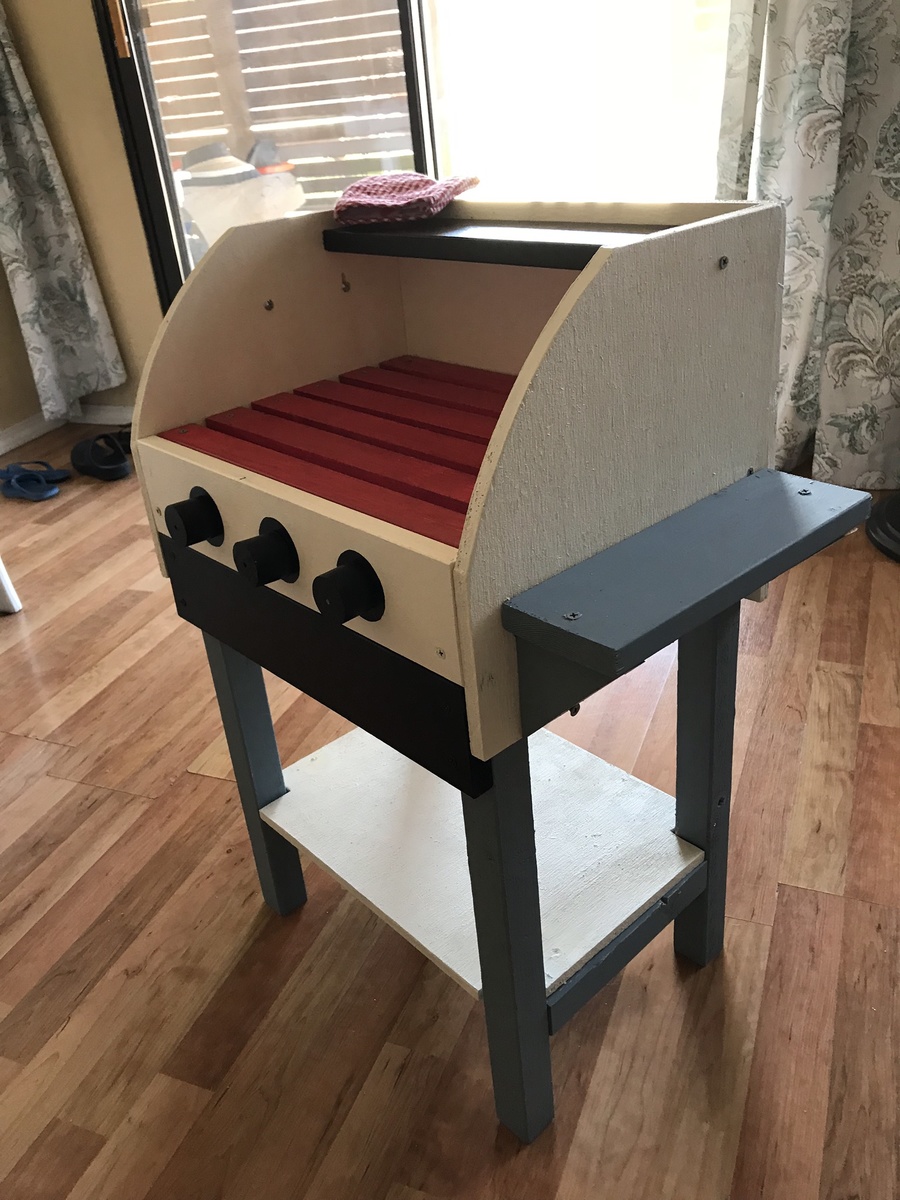
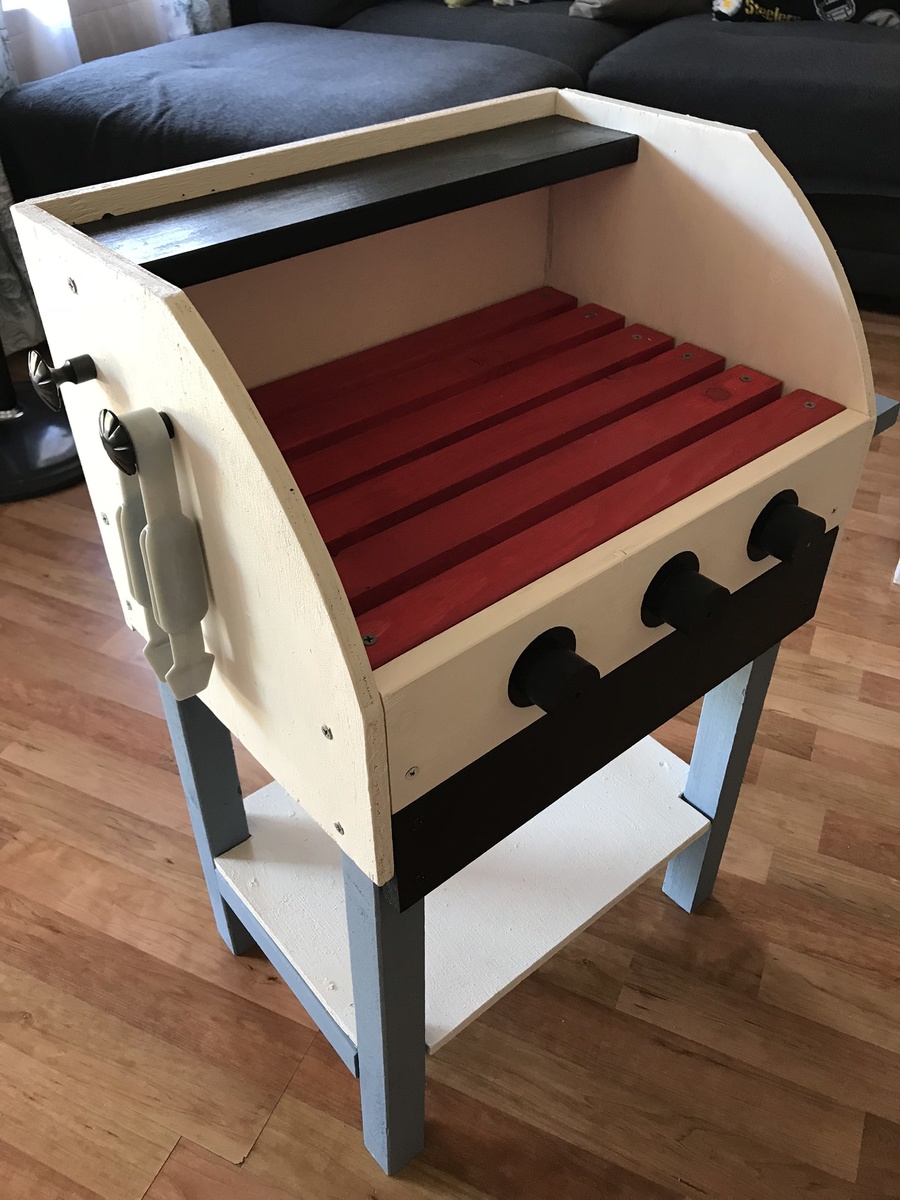
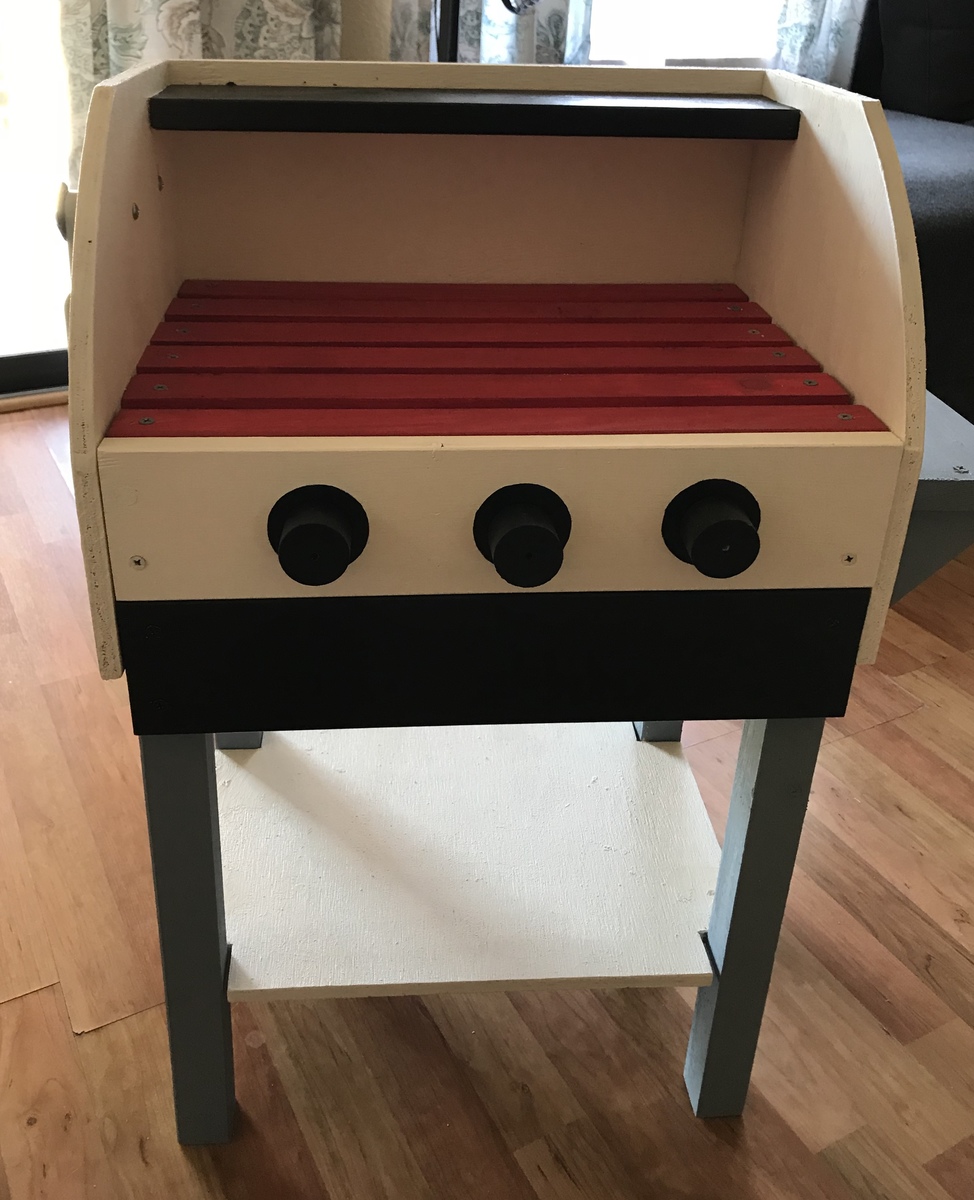
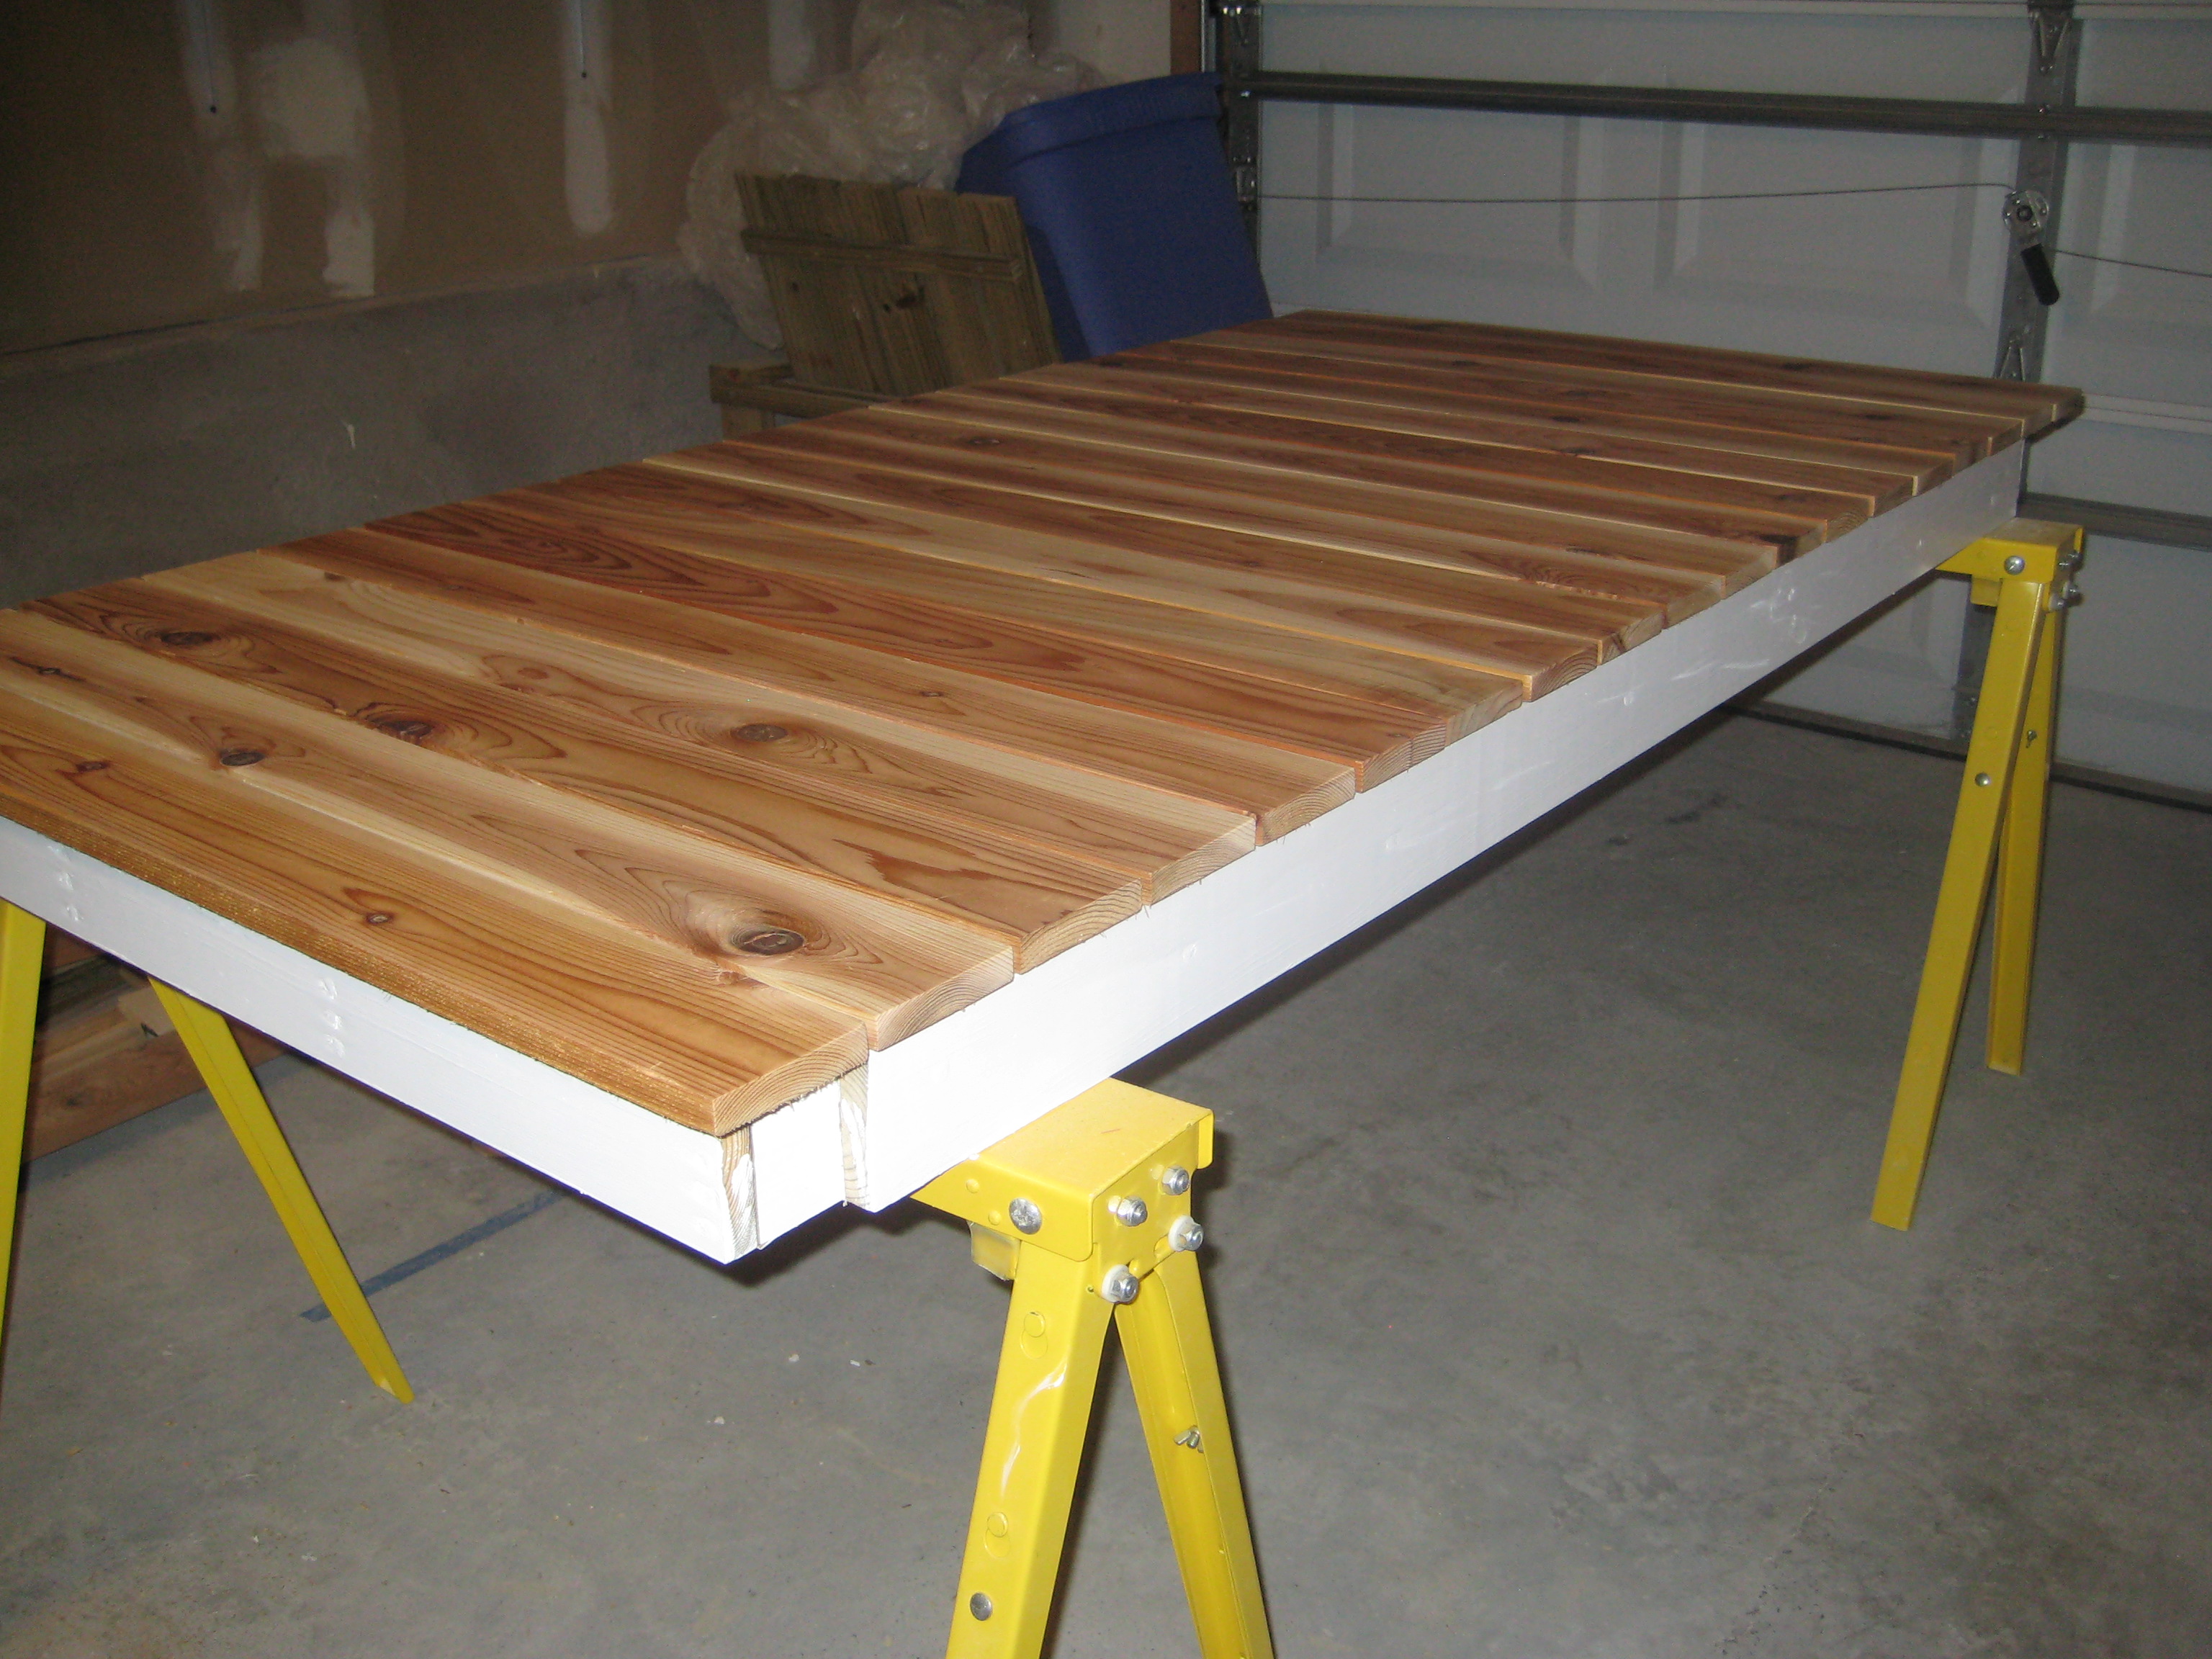
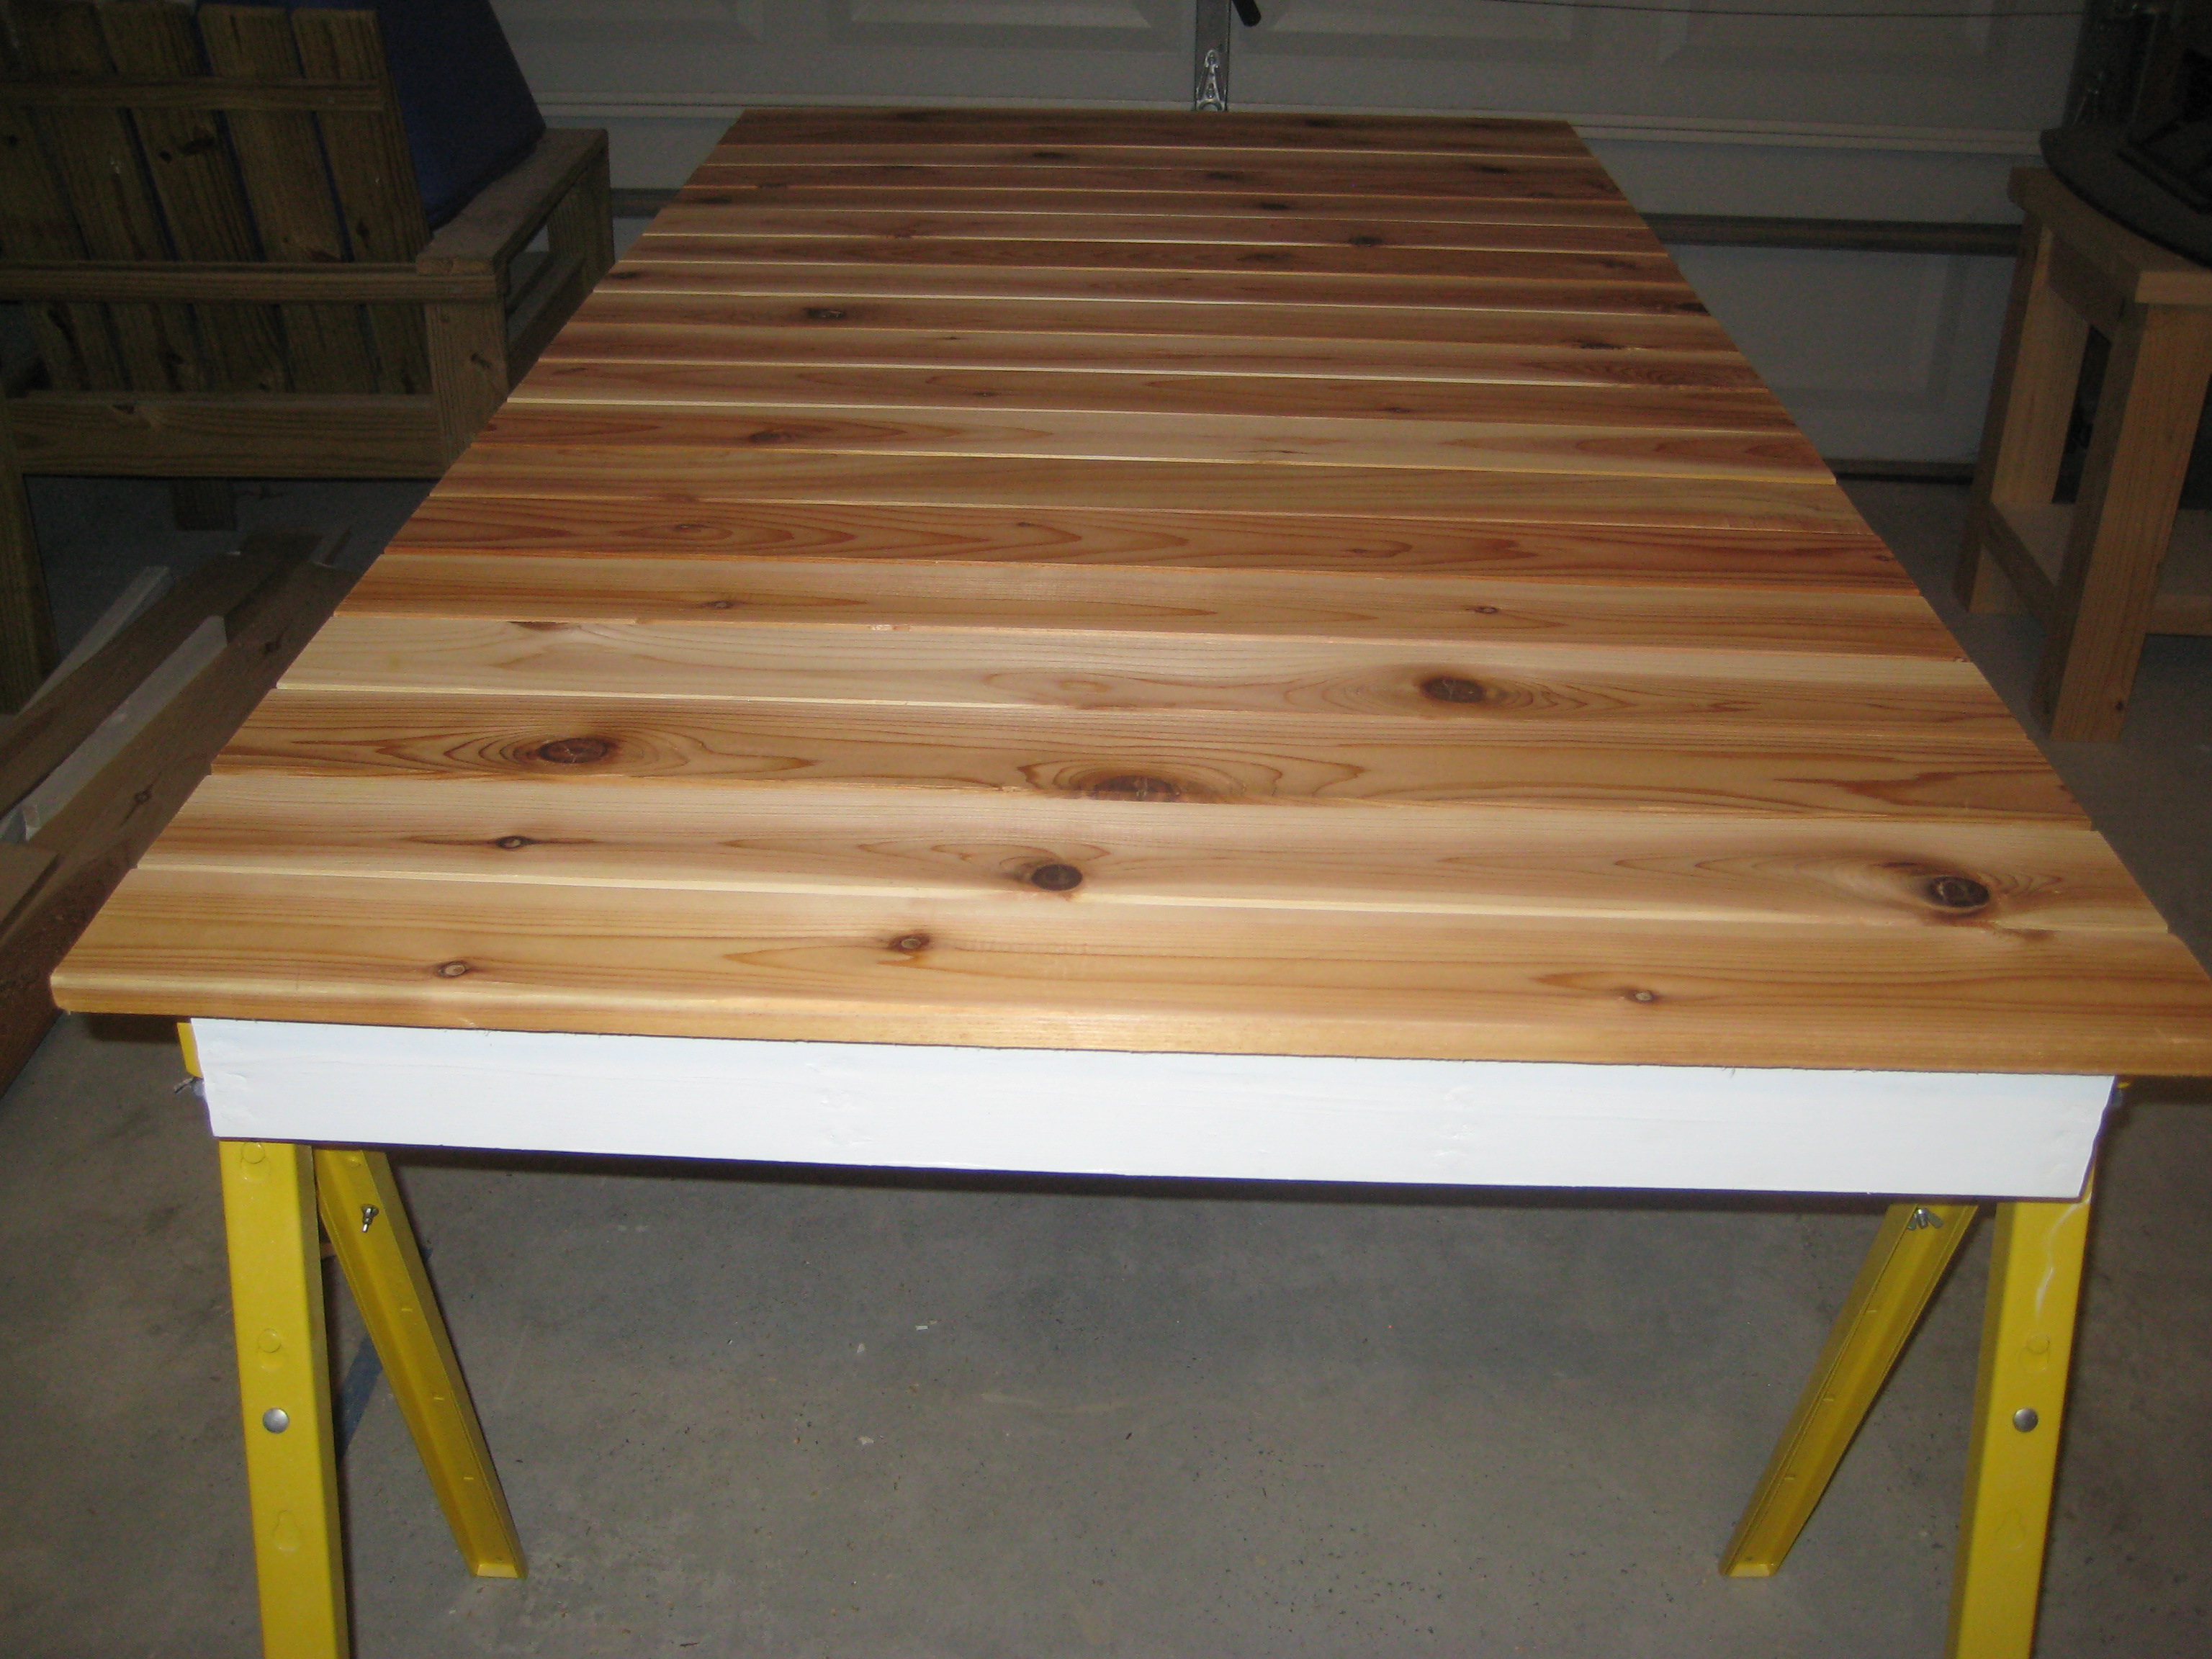
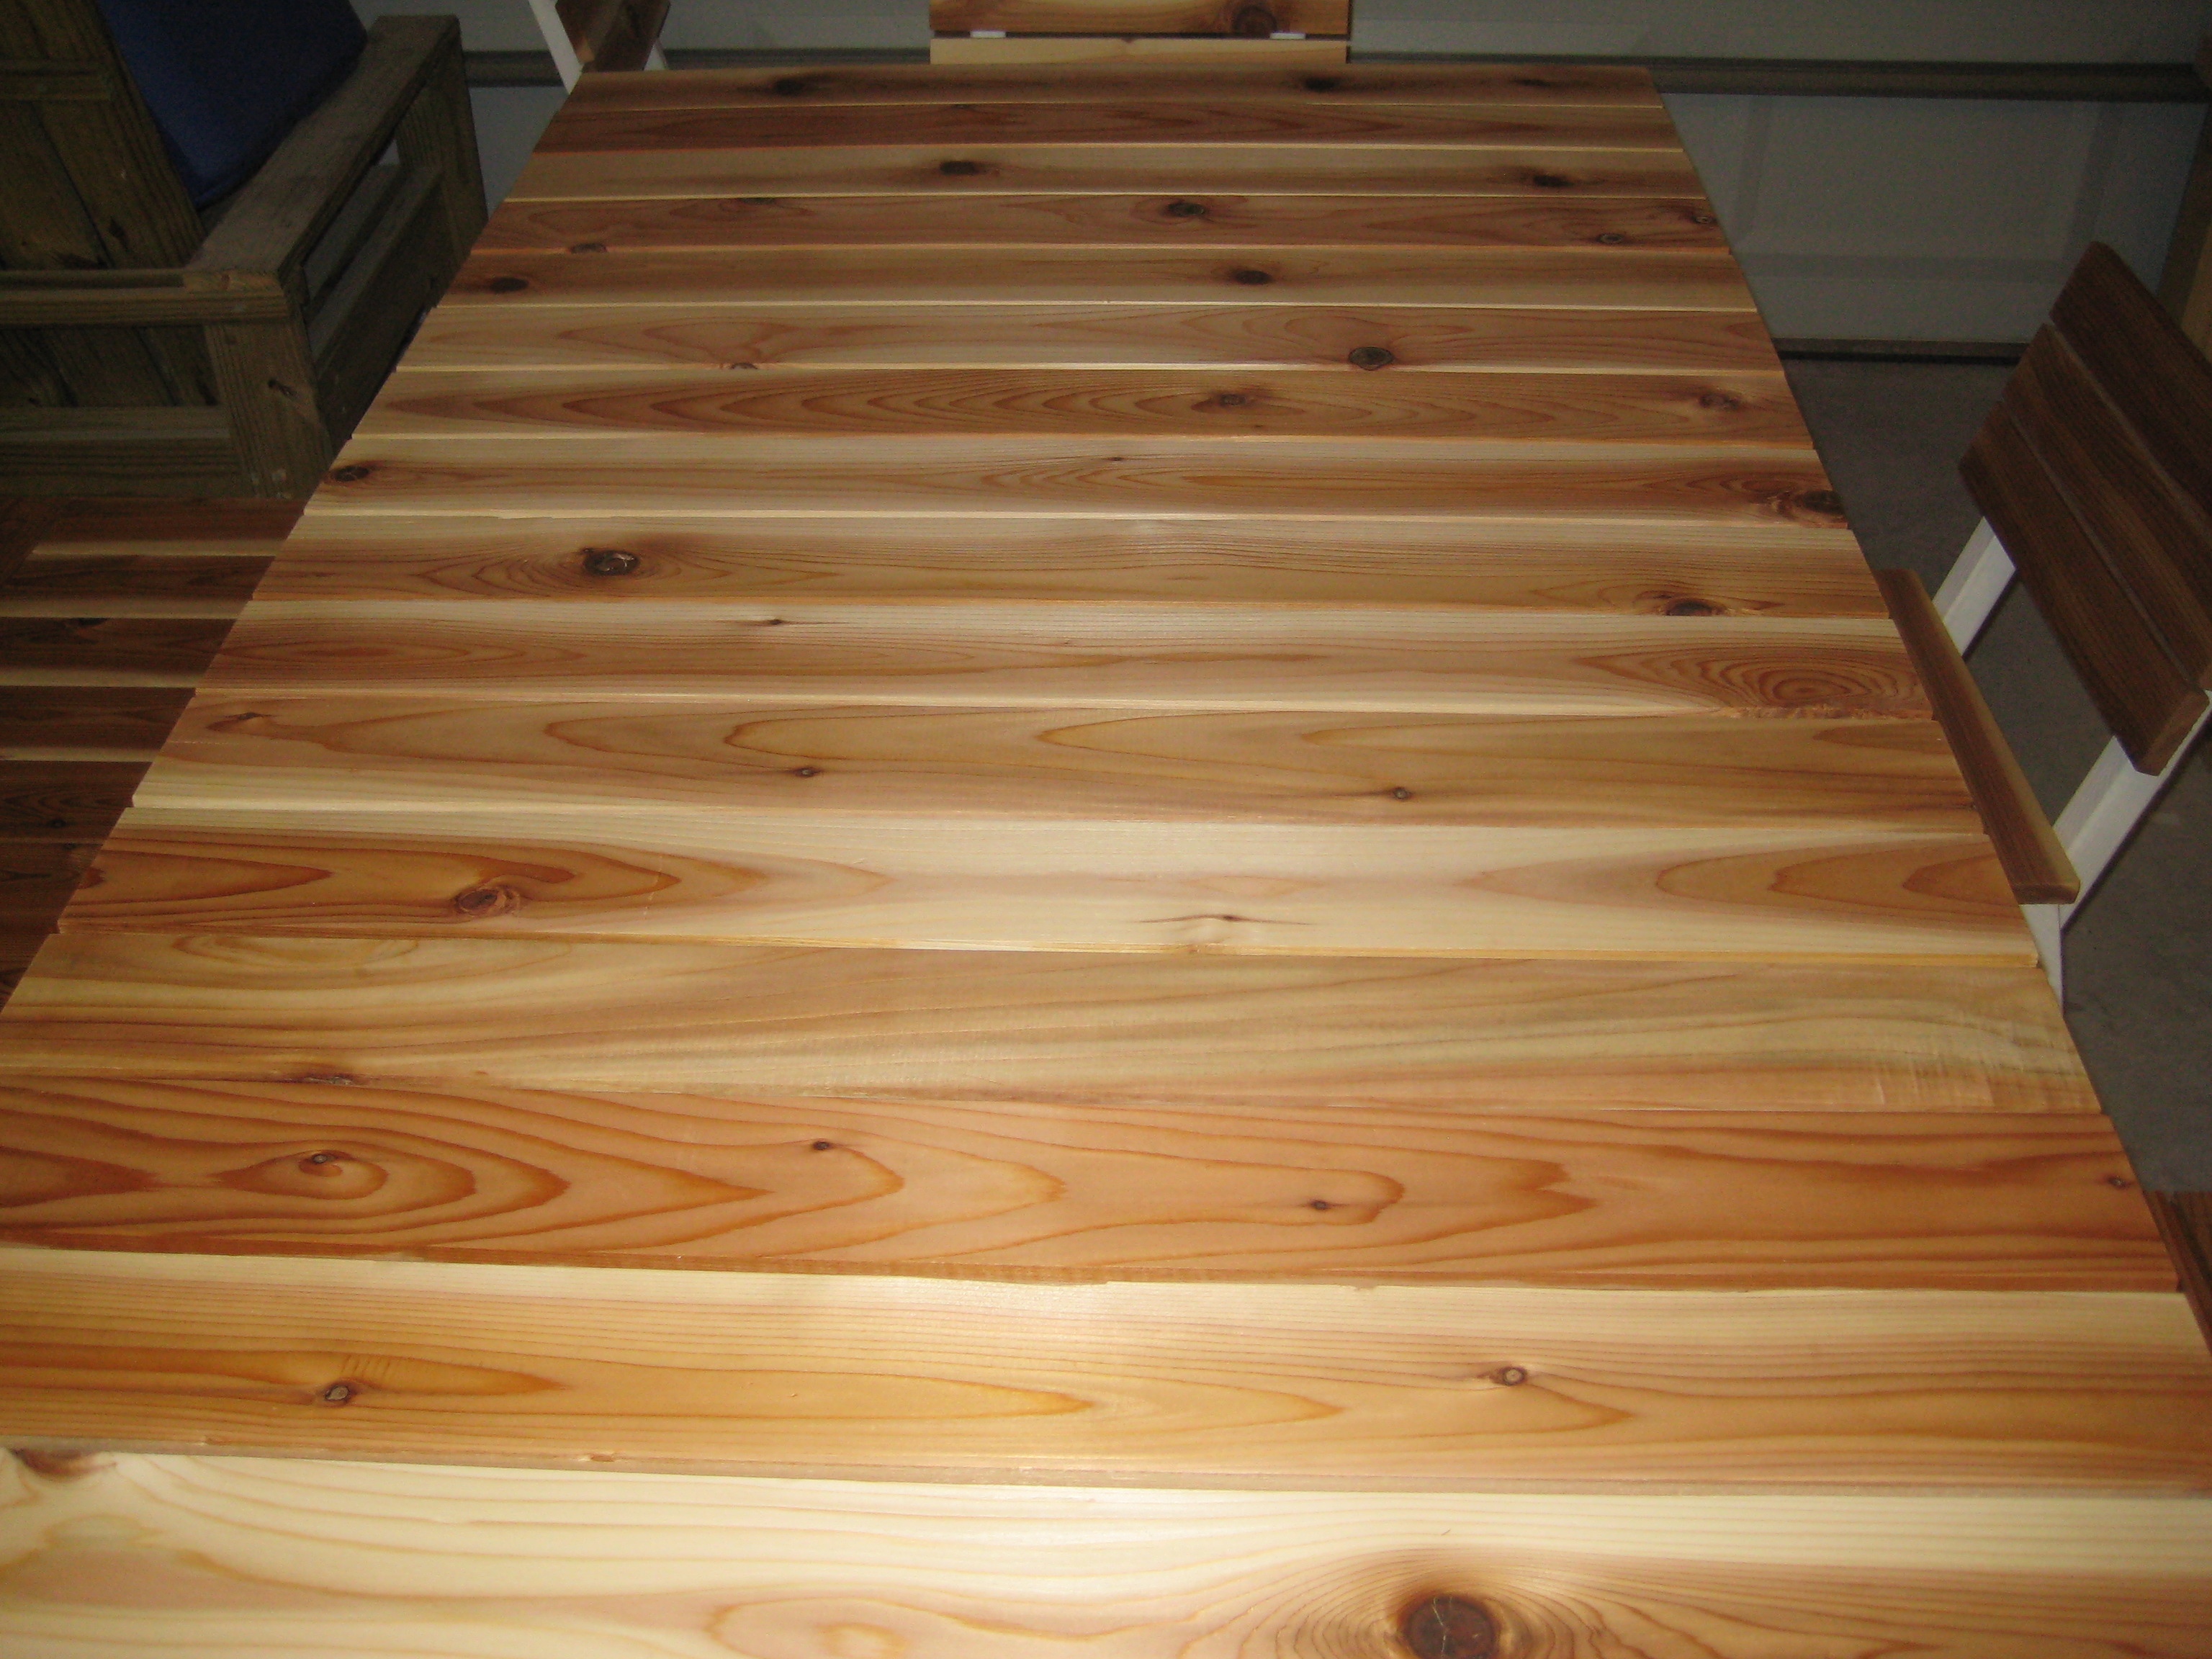
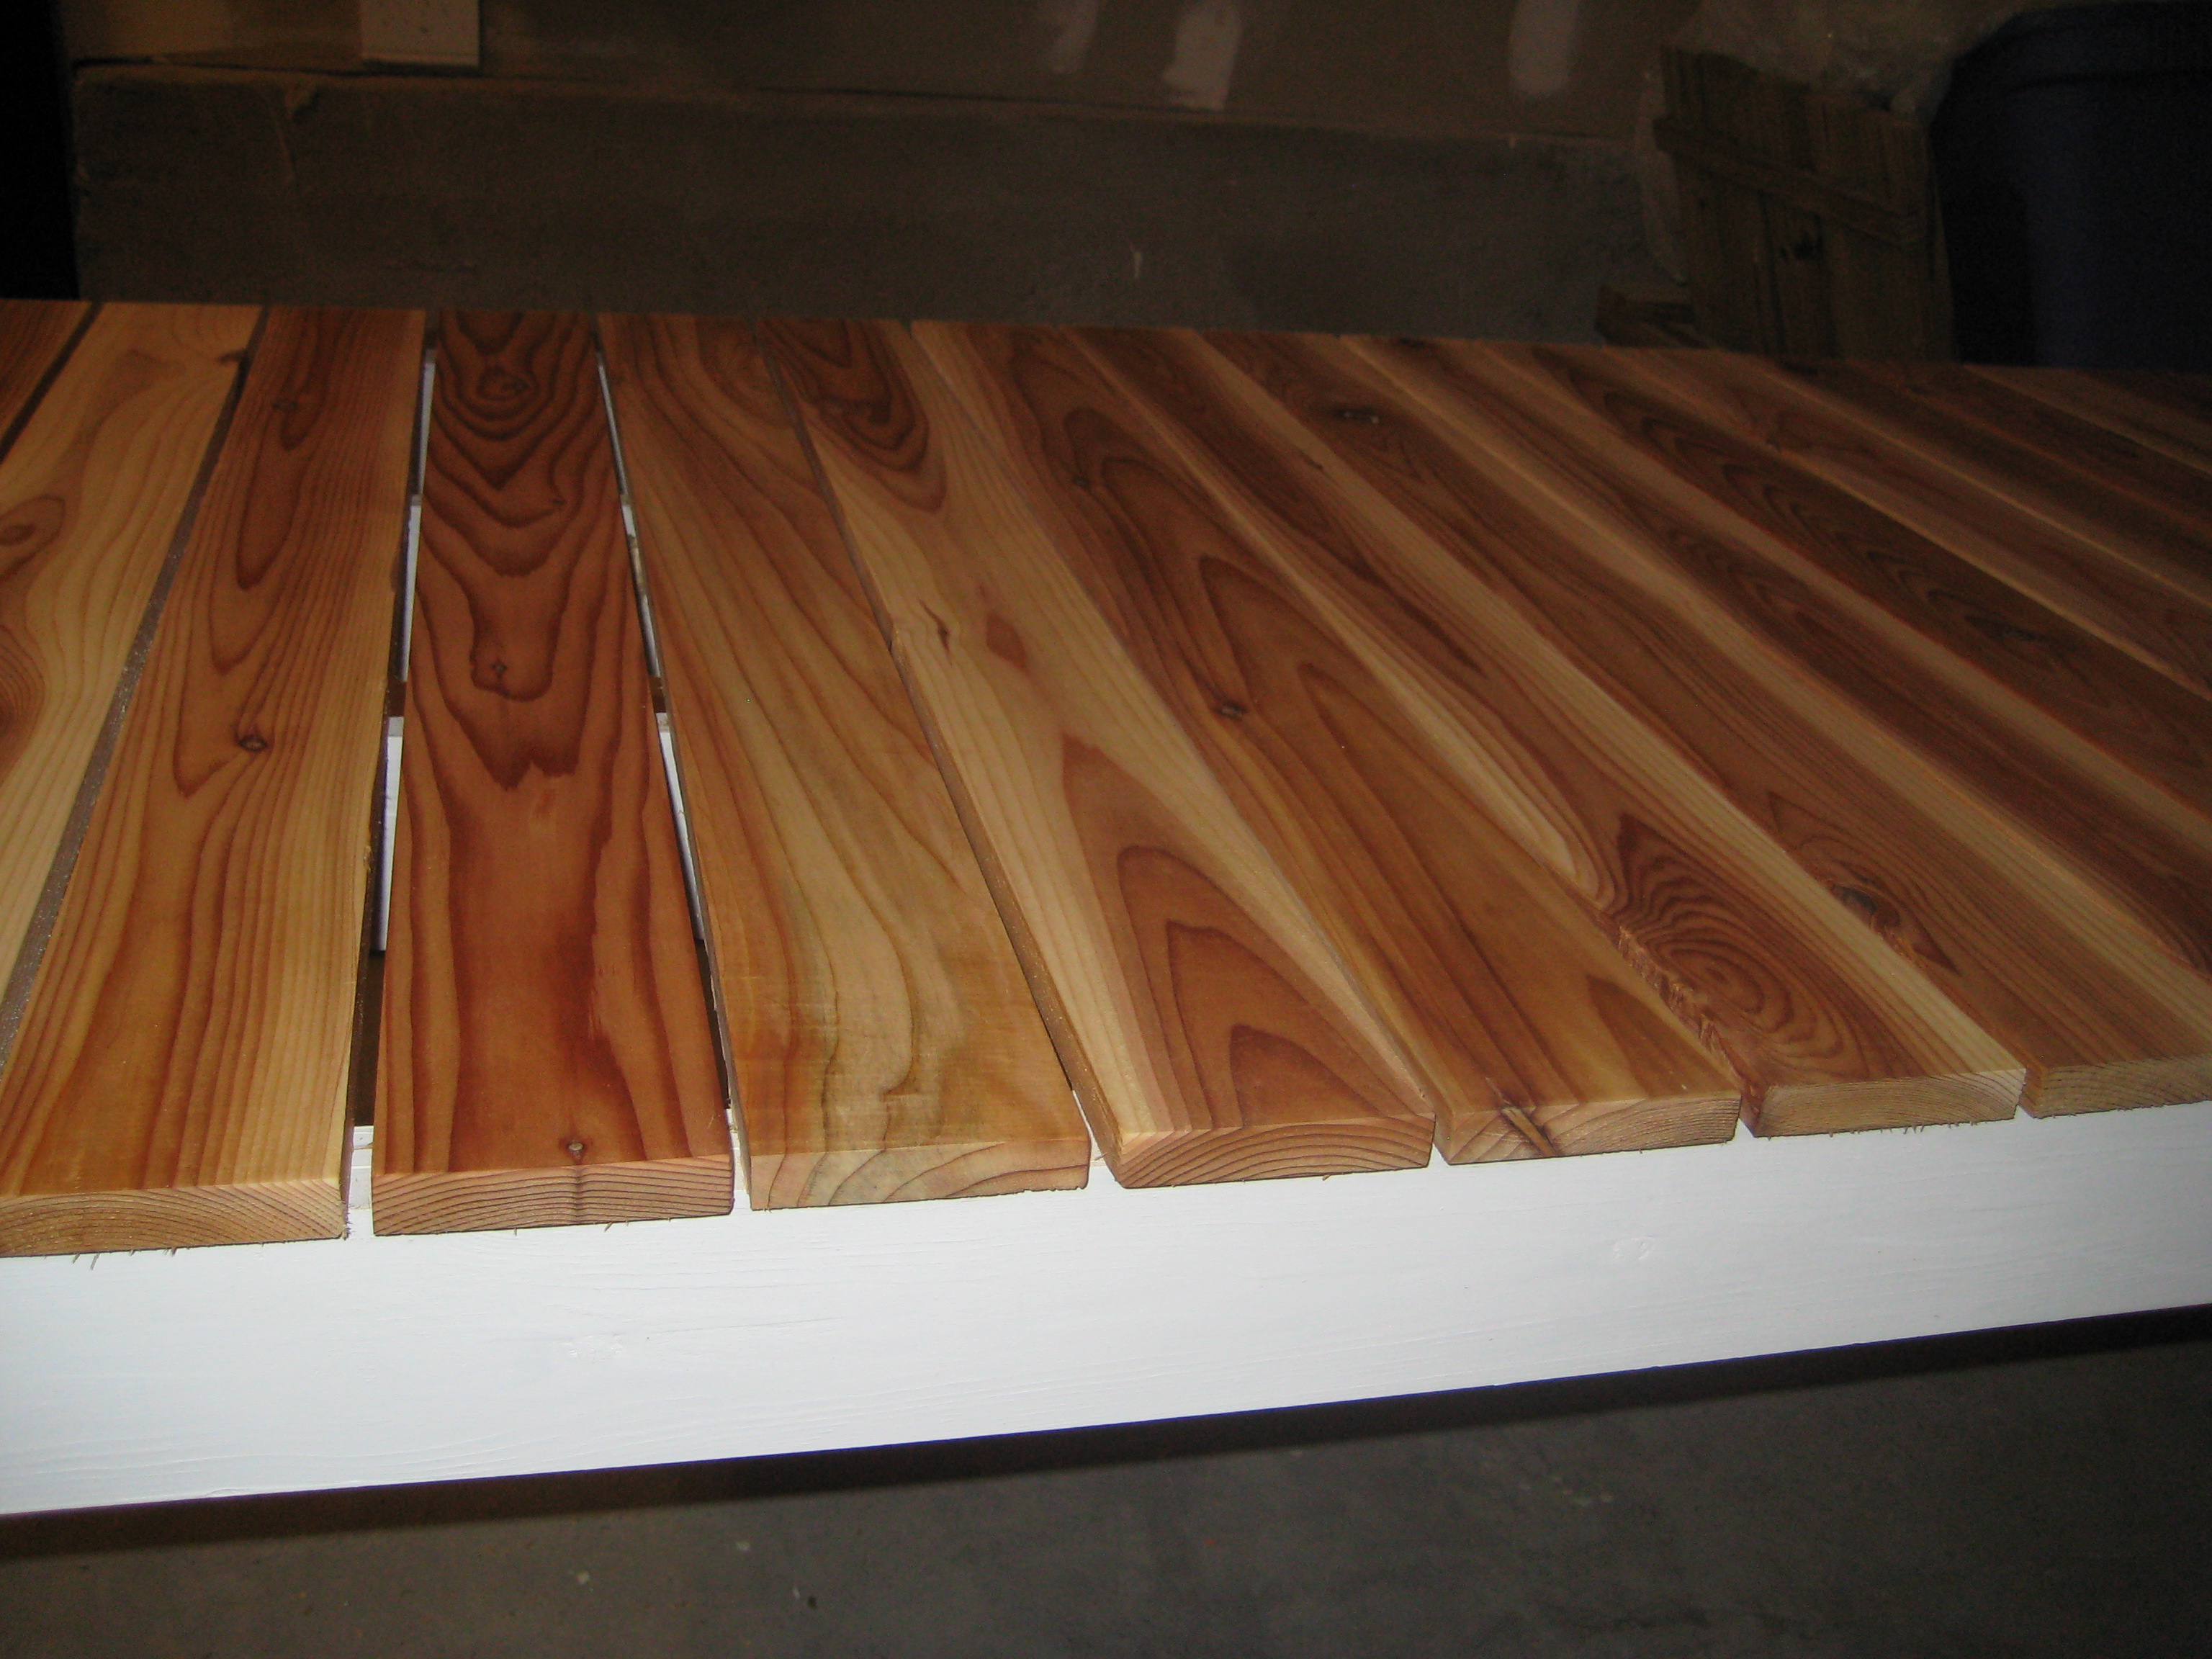
I know, I know...Where are the legs? Unfortunately, I have to store this until December while our multi-family mountain house is being constructed. This way I can store it up against a wall and save a lot room in storage for more Ana White projects. FYI - The legs will be white 2x4's about 29.5 inches tall. For the top I used 1x4 cedar slats spaced 1/4 inch apart. As for the painted white frame, I used treated pine. Why spend money on nice cedar if I am just going to paint over it, right? The contrast of the white and natural cedar was appealing to me for some reason. I used Thompson's clear wood protector/water sealer on the slats to prolong the natural cedar. BTW, if you can build the simple outdoor bench you can definitely take on this project. The two are not very different. I'll have to take pictures of the finished table with legs when I haul these up to the Blue Ridge Parkway and upload them again. Thanks again Ana!
Thu, 08/04/2011 - 08:31
This is lovely!! I love the the two-tone finish, and your chairs look great!

Fri, 08/12/2011 - 04:43
I love this piece. You totally showcase the gorgeous cedar! Great job!

Fri, 08/12/2011 - 13:30
Thanks debandtom and lori e. I am almost finished with a matching outdoor sink with cedar countertops. I'll try to post it in the next couple of days.

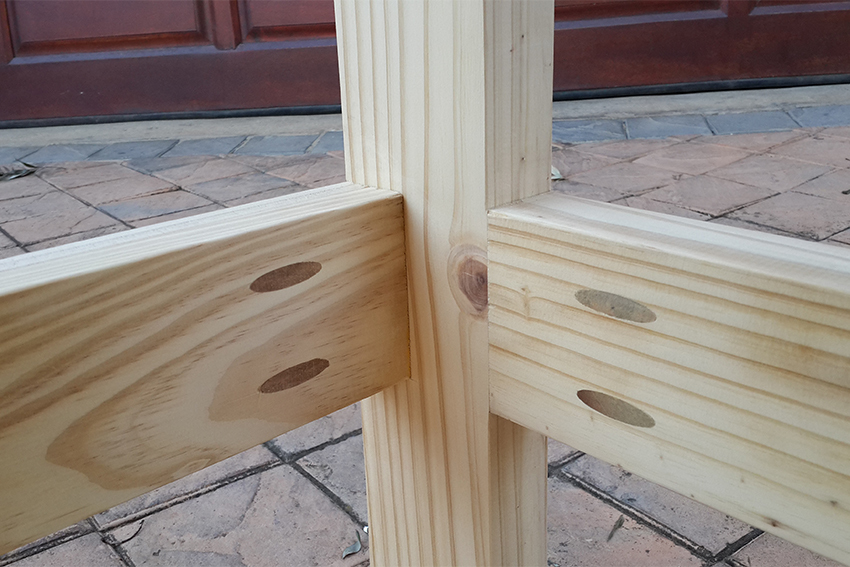
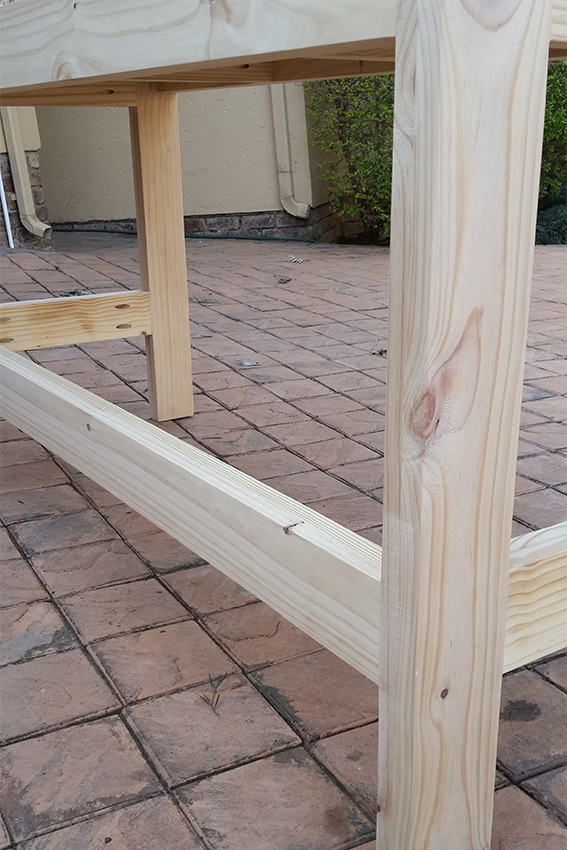
I had to a quick conversion from the original plans as we get metric wood sizes so decided to use the following:-
Desk frame: 44 x 94
Desk frame front: 44 x 69
Desk Top: 32 x 144
I drew up new plans to fit my 1500mm space I needed the desk to fill, with the new wood sizes.
The purchase of the Kreg Jig was my best investment as it made construction so easy.
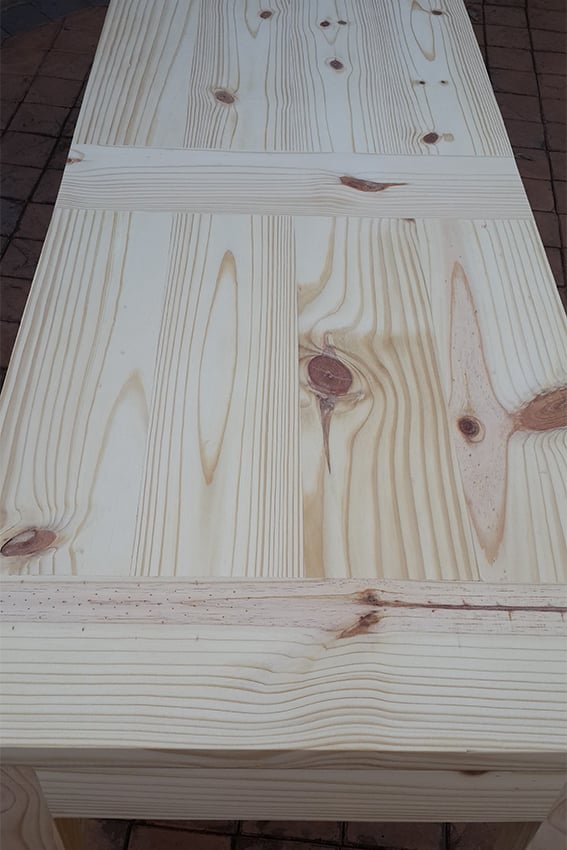
I finished the desk off in Antique Oak after wanting to add a little Antique White to it, but got scared that I would mess it up!
Total cost for wood and finishing materials was R1,500.
Thu, 09/05/2013 - 08:39
Many thanks for the compliment. The design is based on the casual 2x4 desk on this site, however I made adjustments and redrew them due to the standard timber size I could get hold of and also a bit of personal preference. I have the plans in electronic format should you wish to have a copy.

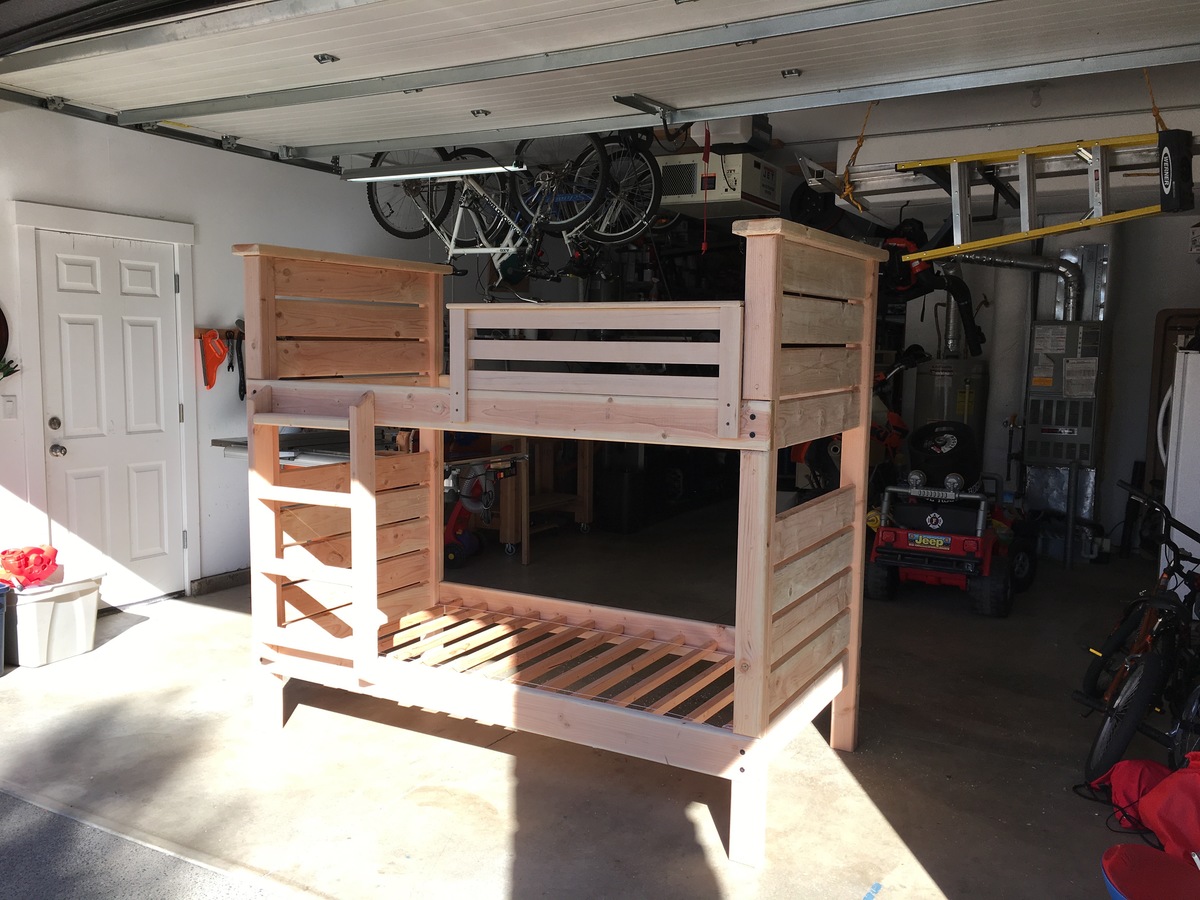
I made another one of these bunk beds for a family near my community. This time I made all cuts from longer boards 16' + The boards had less nknots, which required less sanding and came out better!