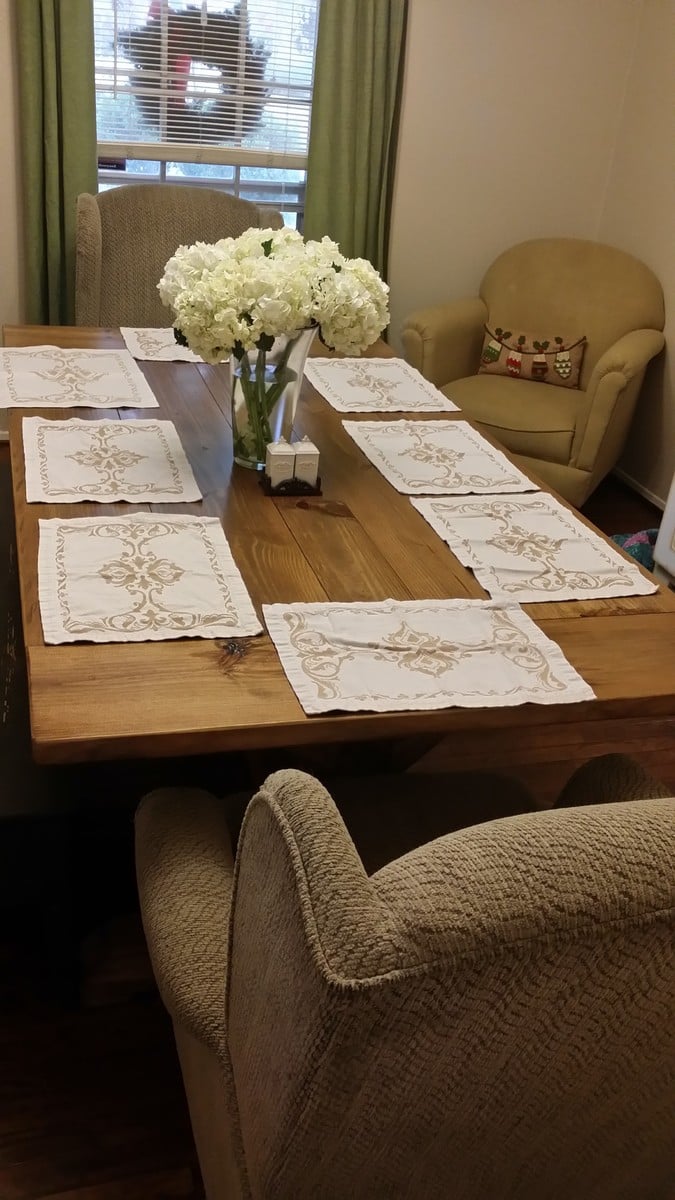
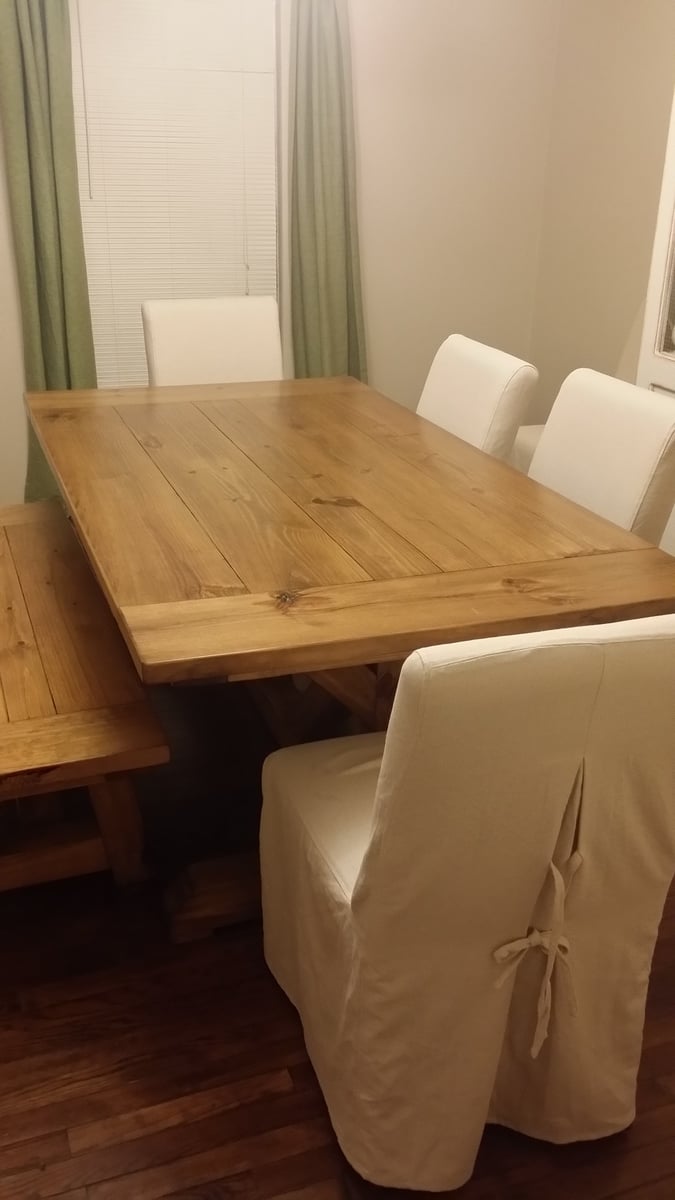
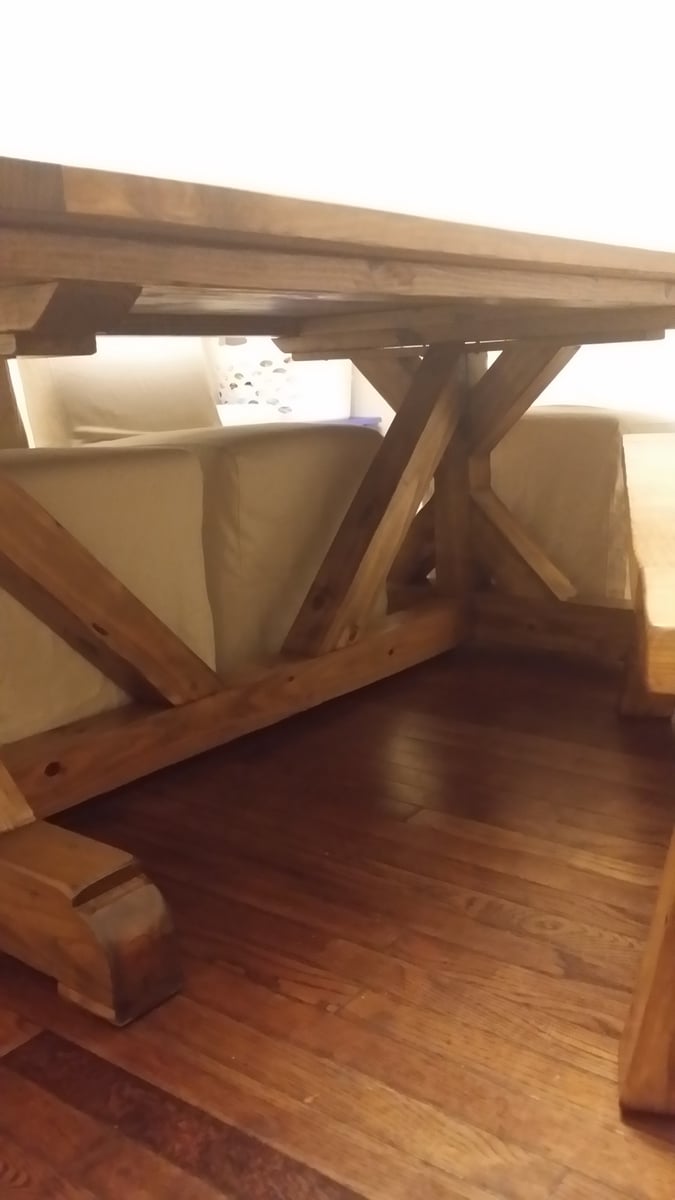
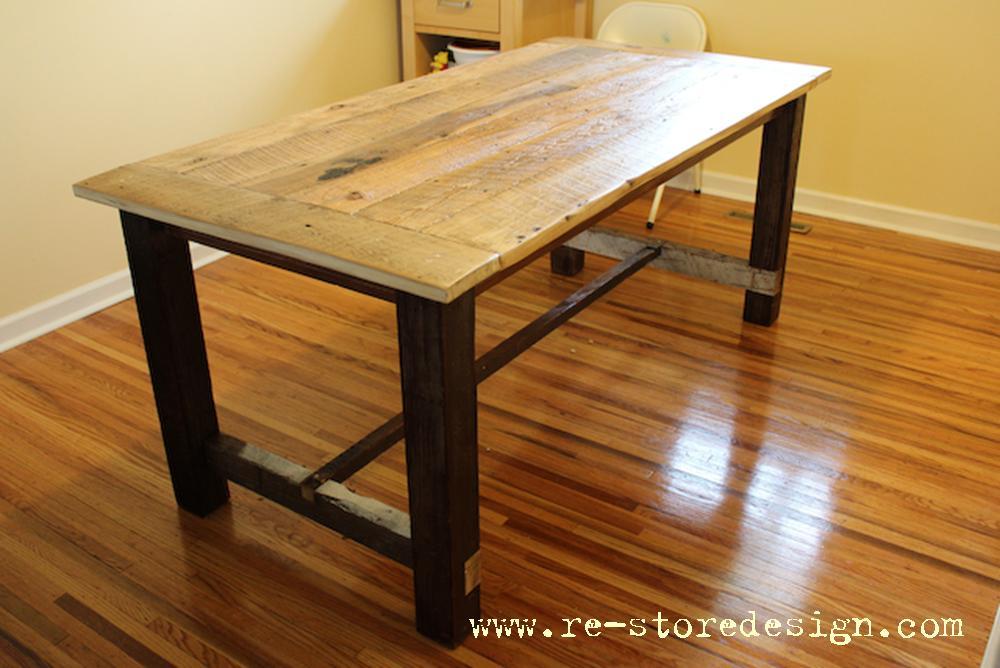
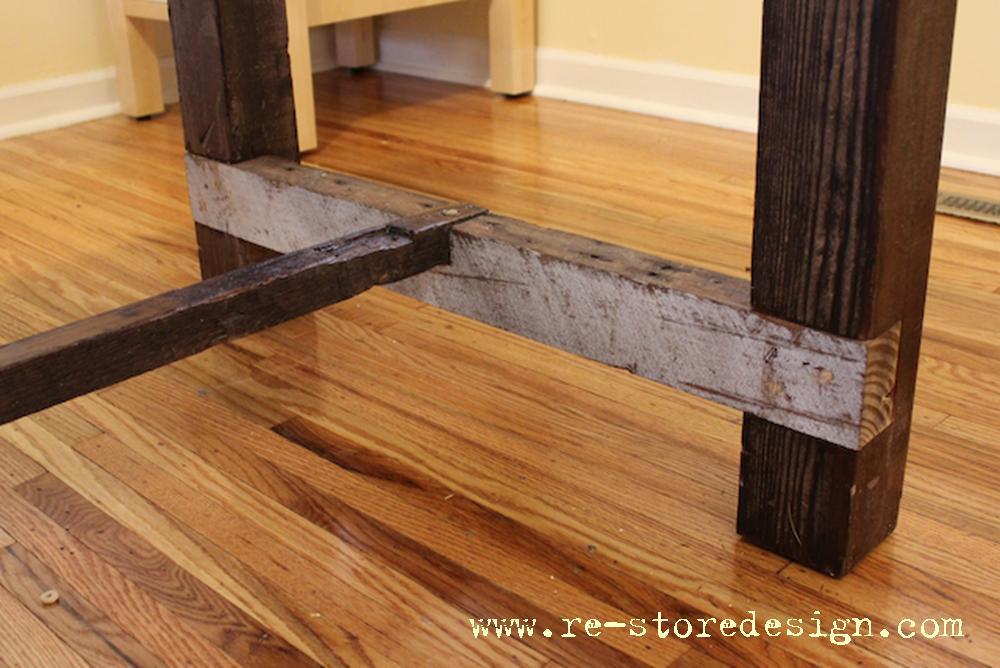
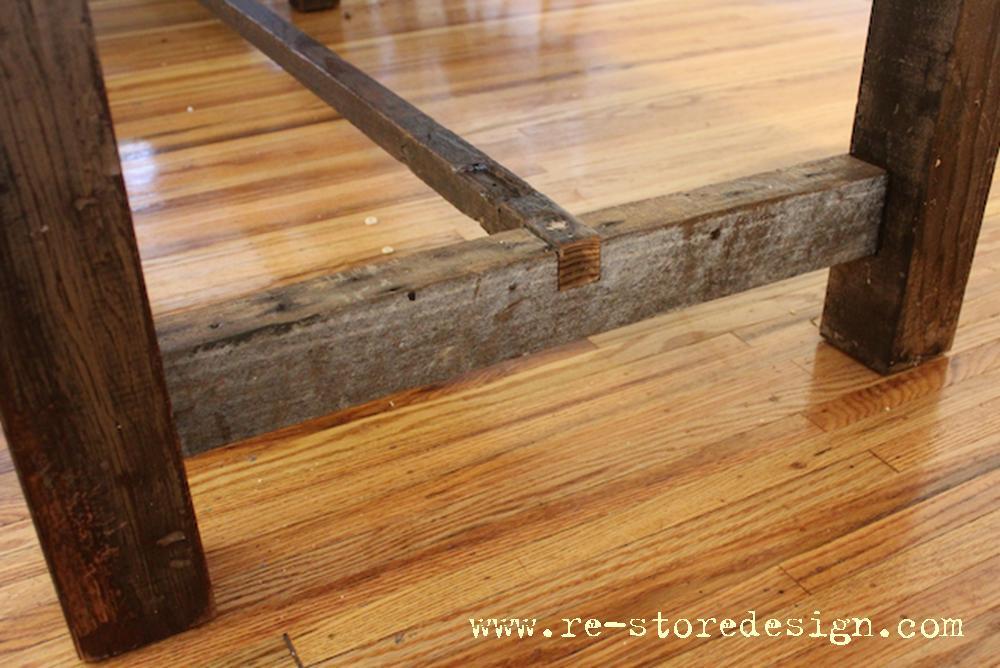
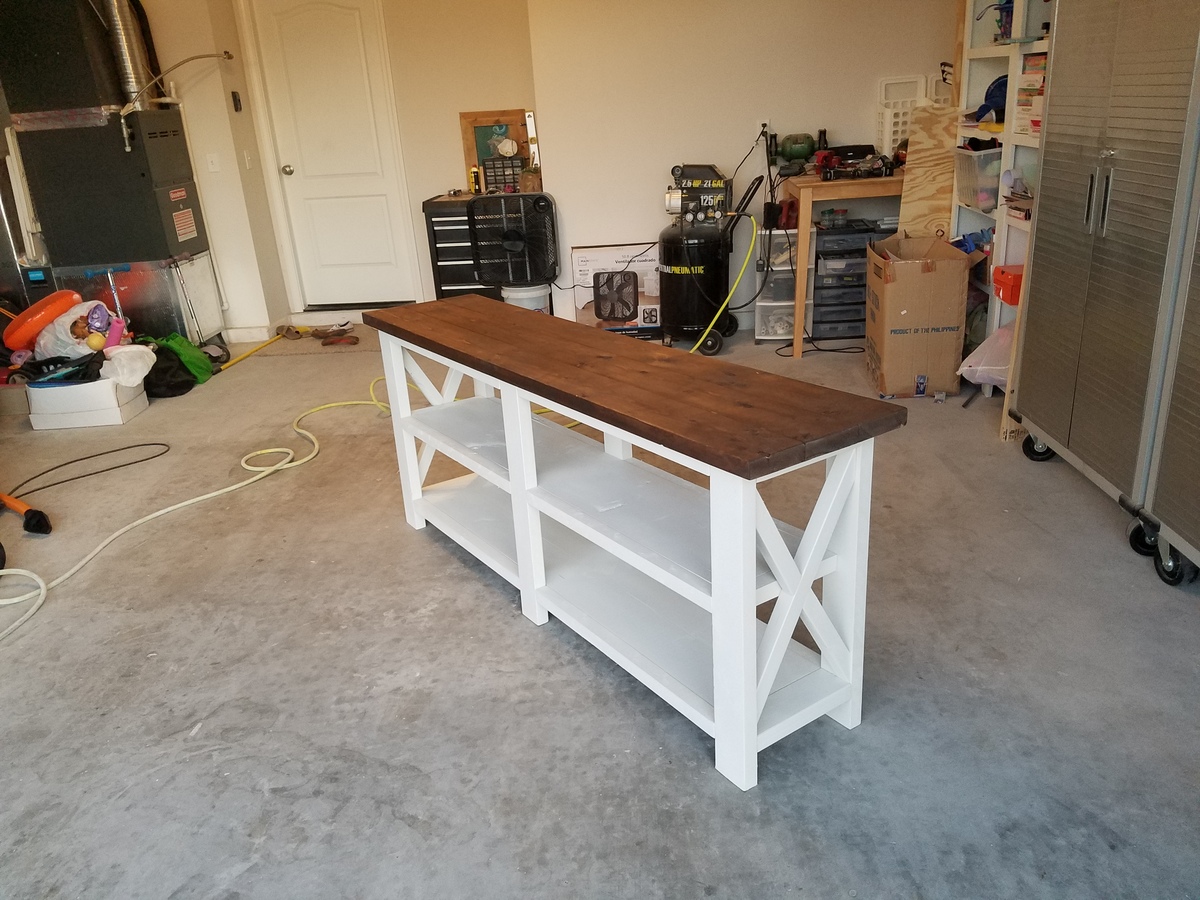
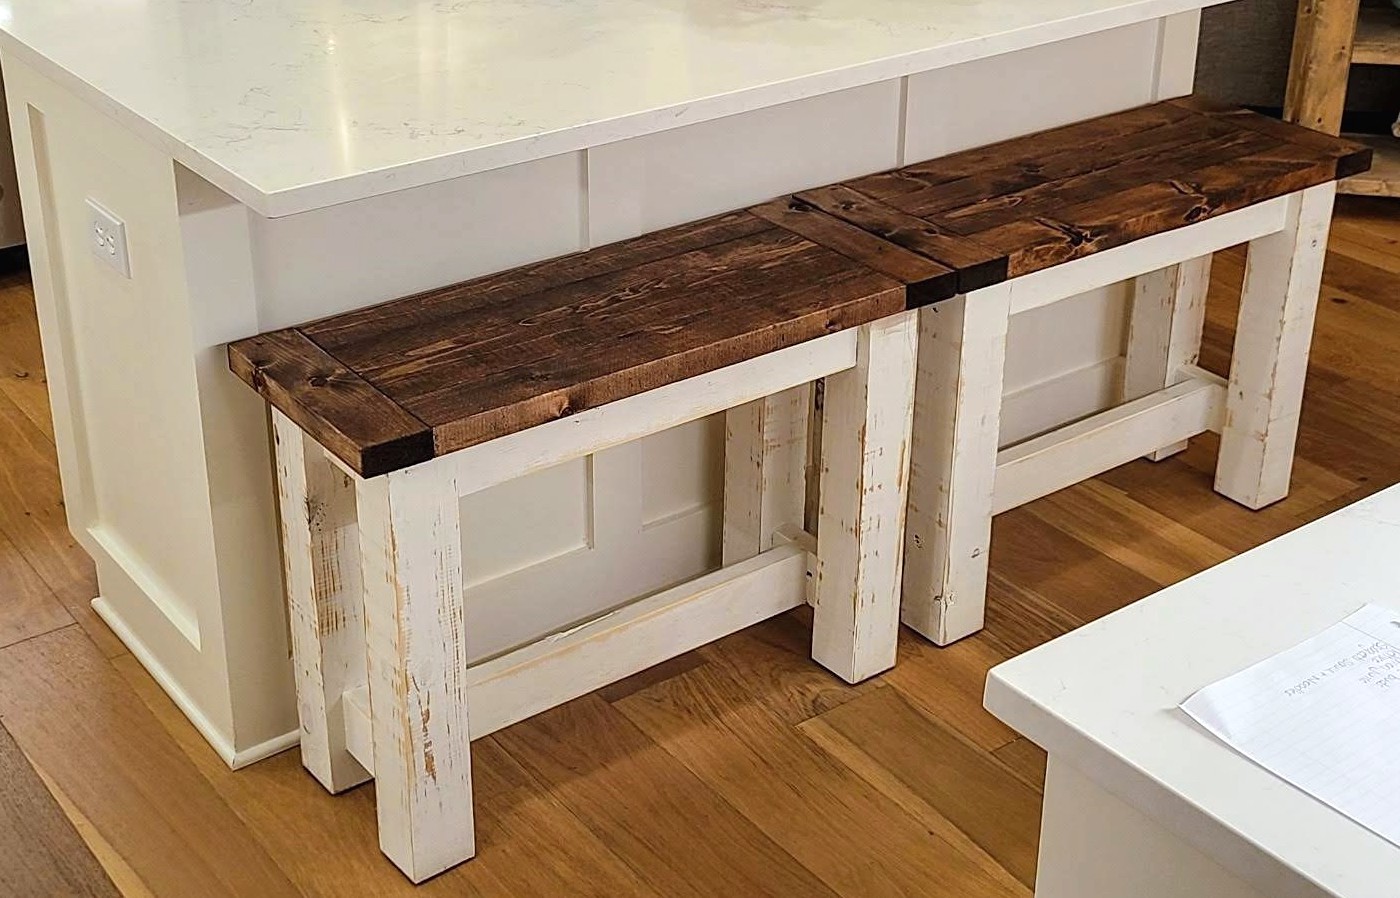
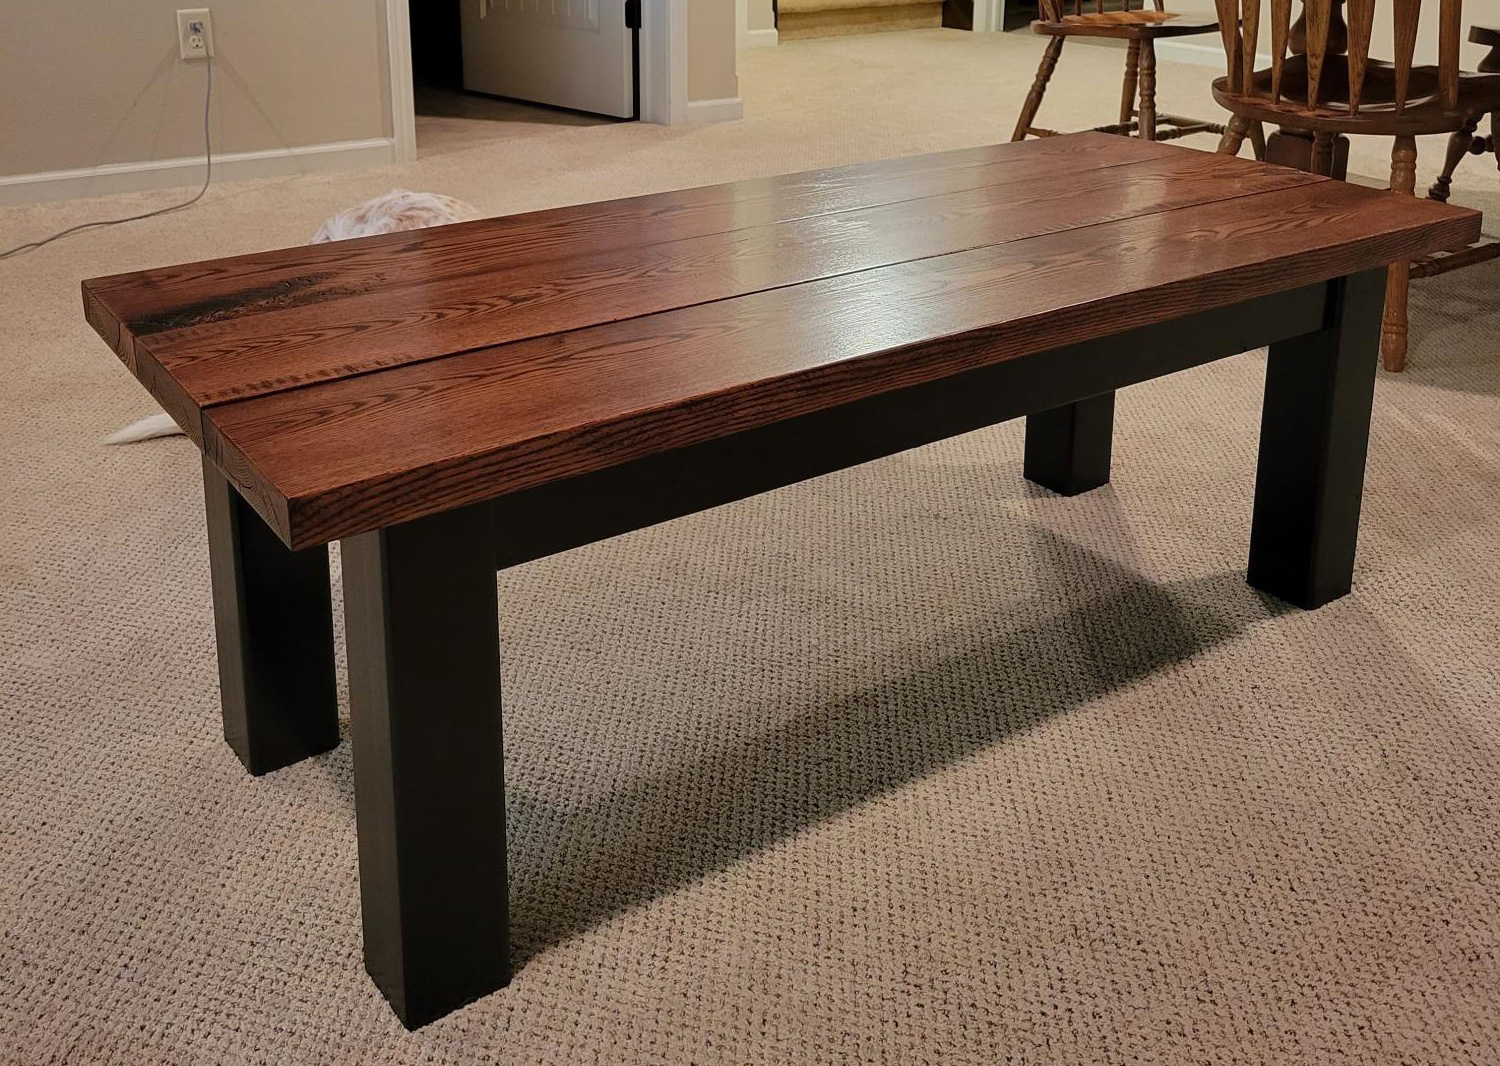
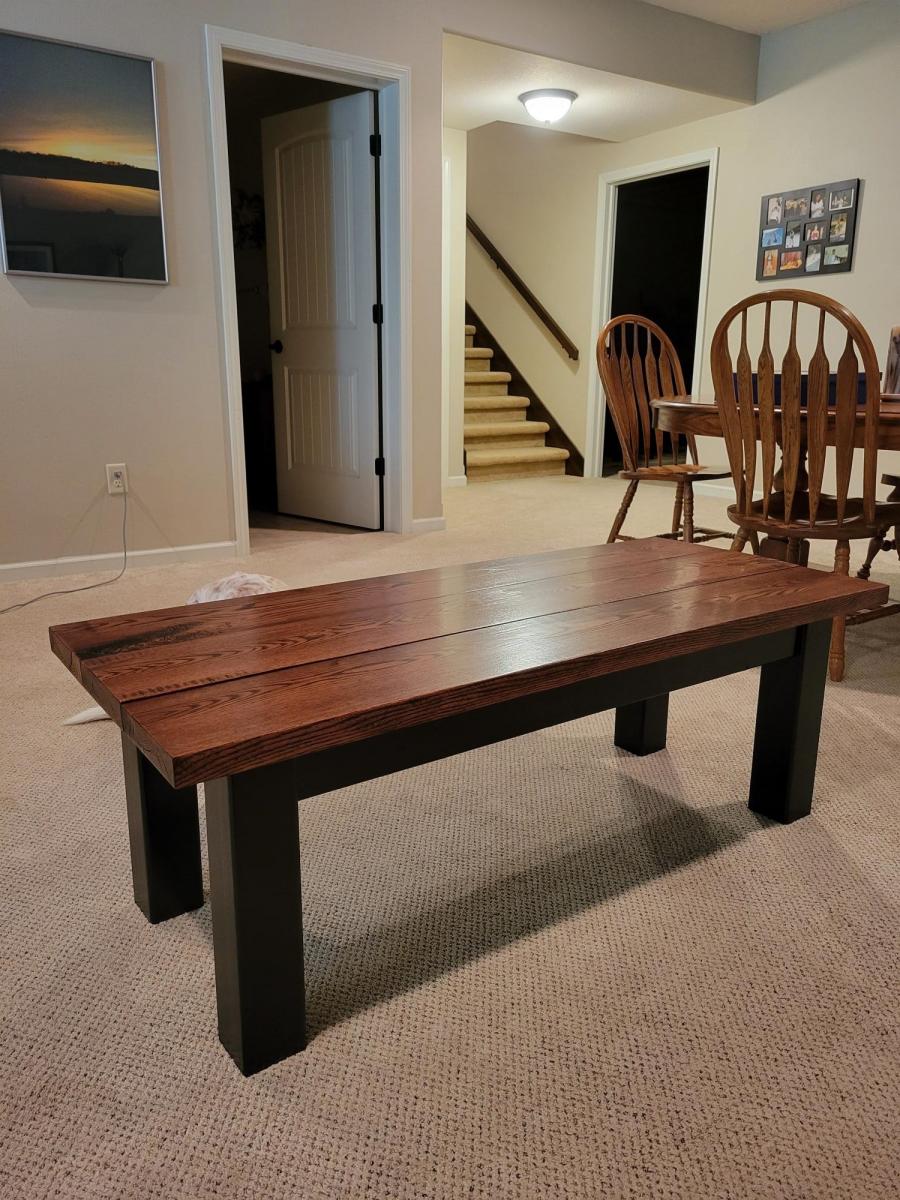
Fancy X Farmhouse table with 4x4 base
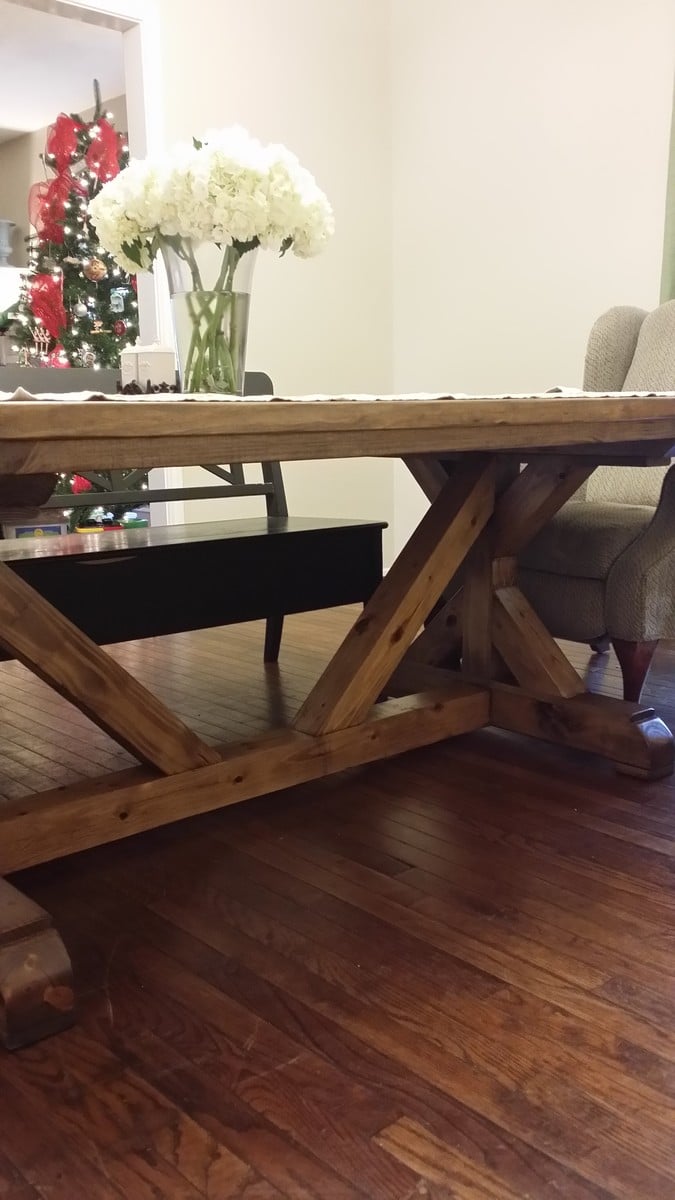
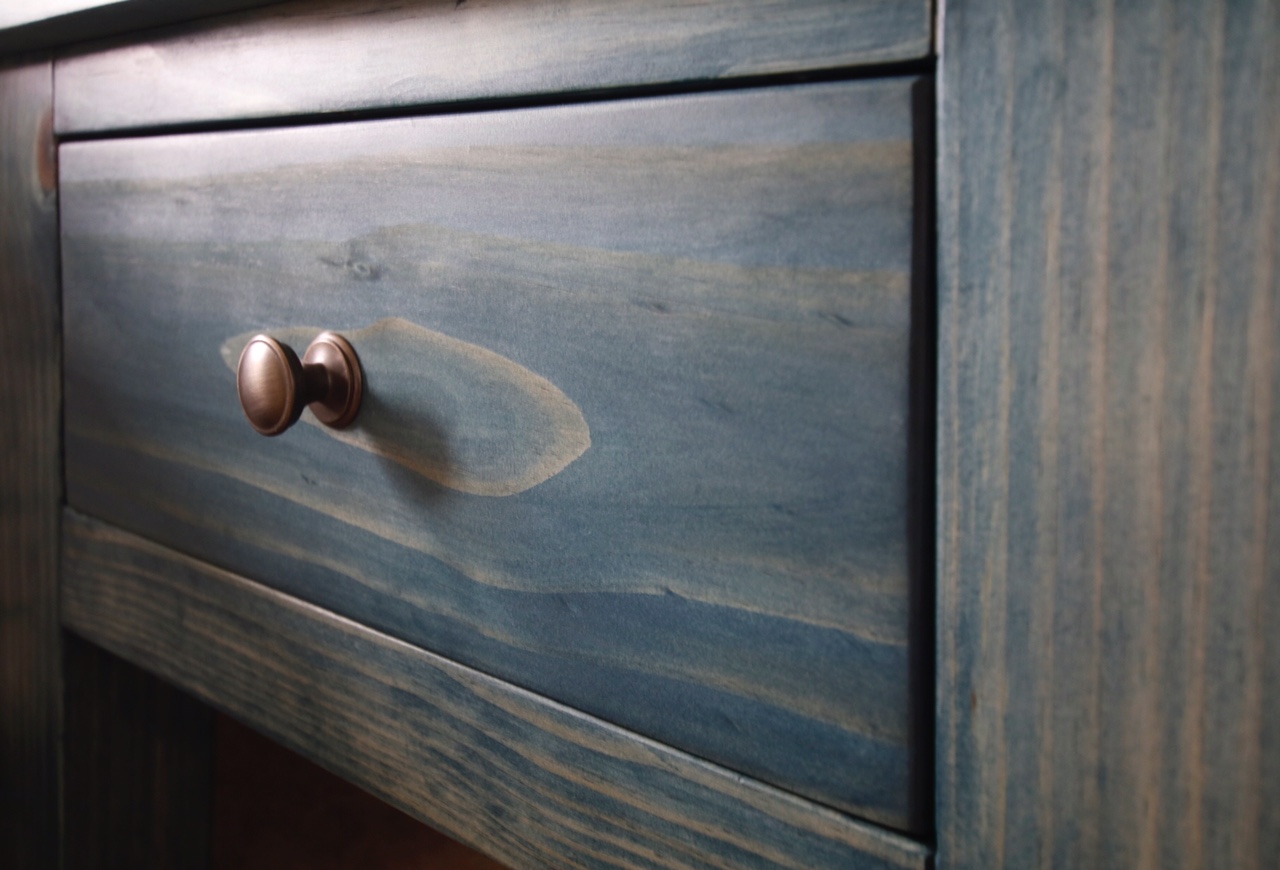
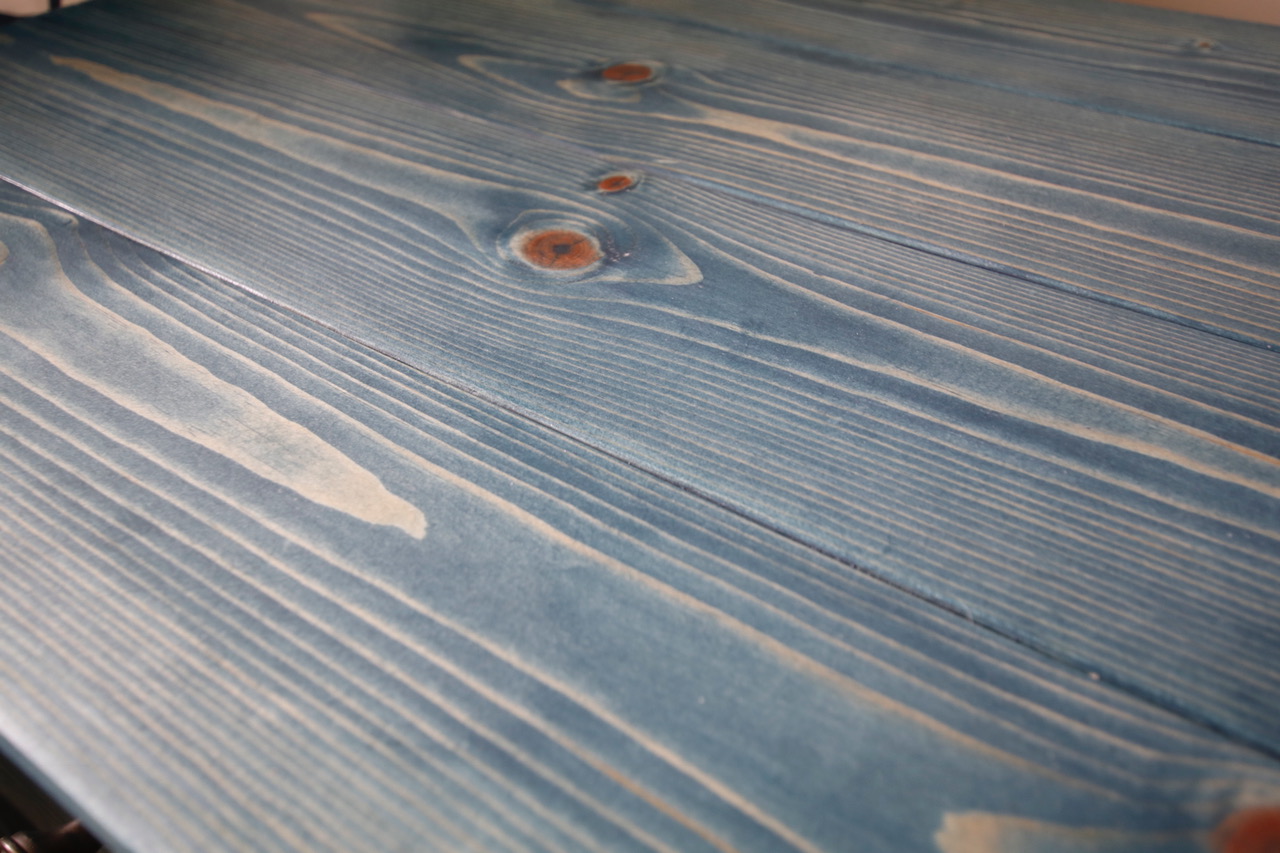
I used 4x4 post for the base.
Built from Plan(s)
Estimated Cost
$300
Estimated Time Investment
Week Long Project (20 Hours or More)
Finish Used
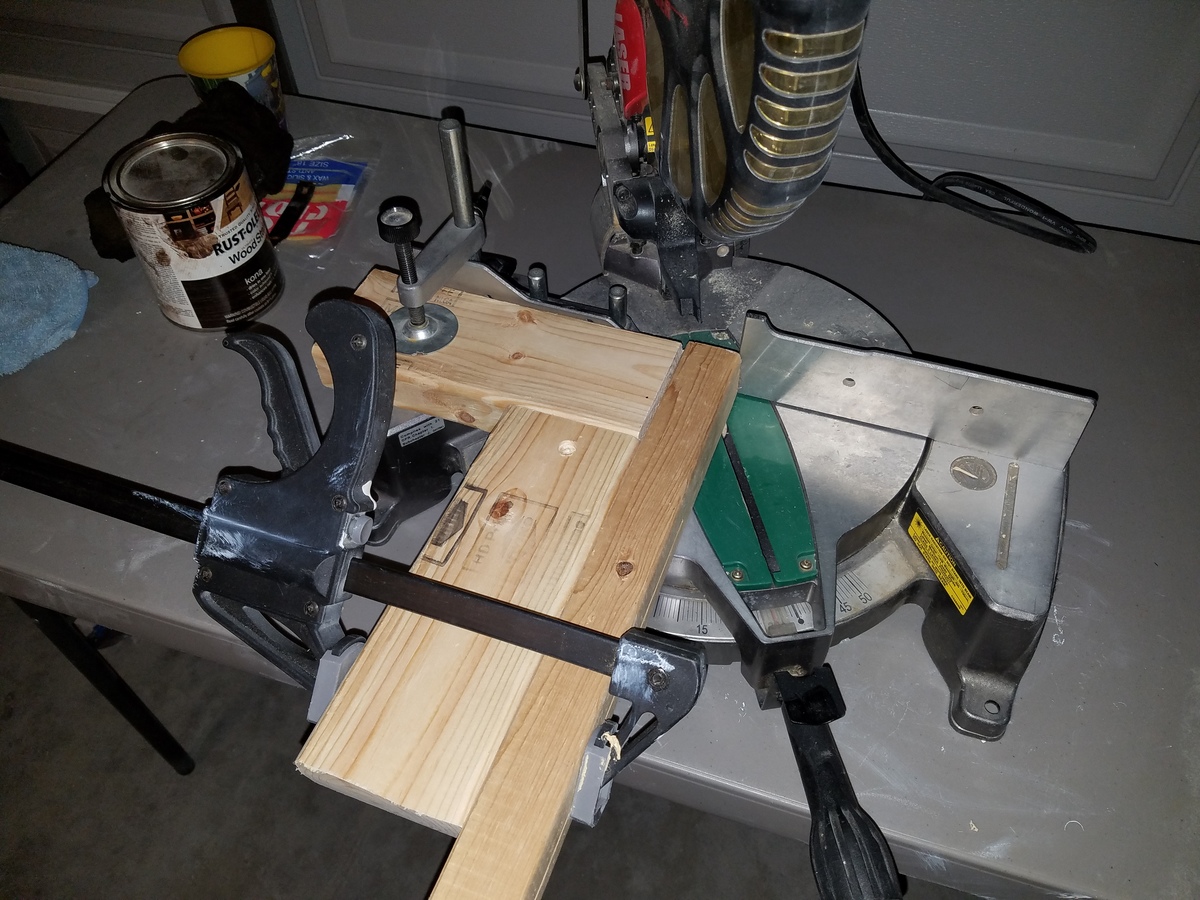
I sanded the heck out of the table. I then applied a coat of wood conditioner with a rag. I let it dry for about 30 minutes. I then brushed on a coat of minwax Special walnut. I only let it sit for about 10 to 15 seconds, then wiped off the access with a towel and blended it in with the same towel. I let that dry 25 hours and then brushed on a coat of minwax weathered oak. I let this sit for about 14 to 15 minutes then wiped off and blended in with a towel. I let it dry for 24 hours then applied 3 coats of the urethane. Letting it dry at least 12 hours between coats.
Recommended Skill Level
Beginner


Comments
Ana White
Fri, 03/06/2015 - 15:54
This is really pretty! I love
This is really pretty! I love the way that you staged it too!
aggielandma12
Sat, 03/07/2015 - 10:01
Thanks.
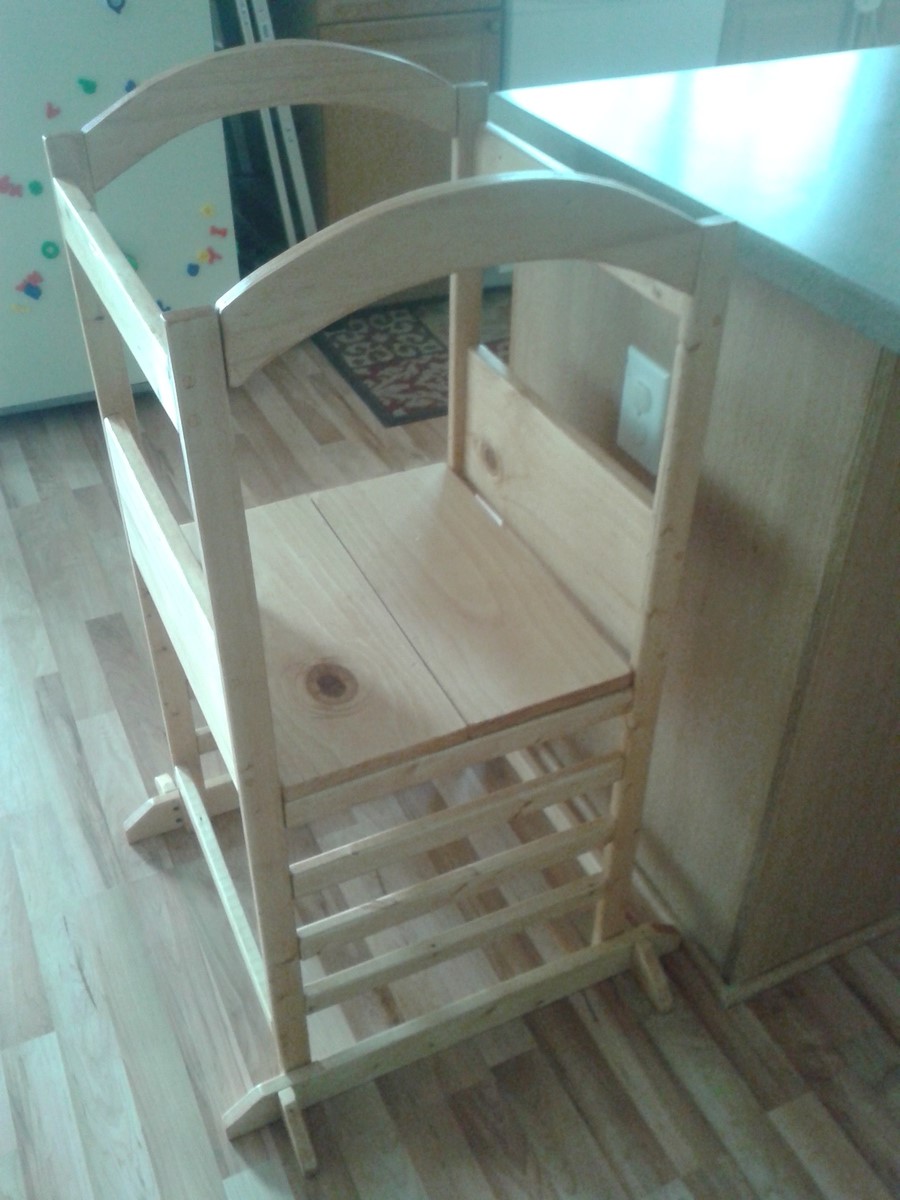
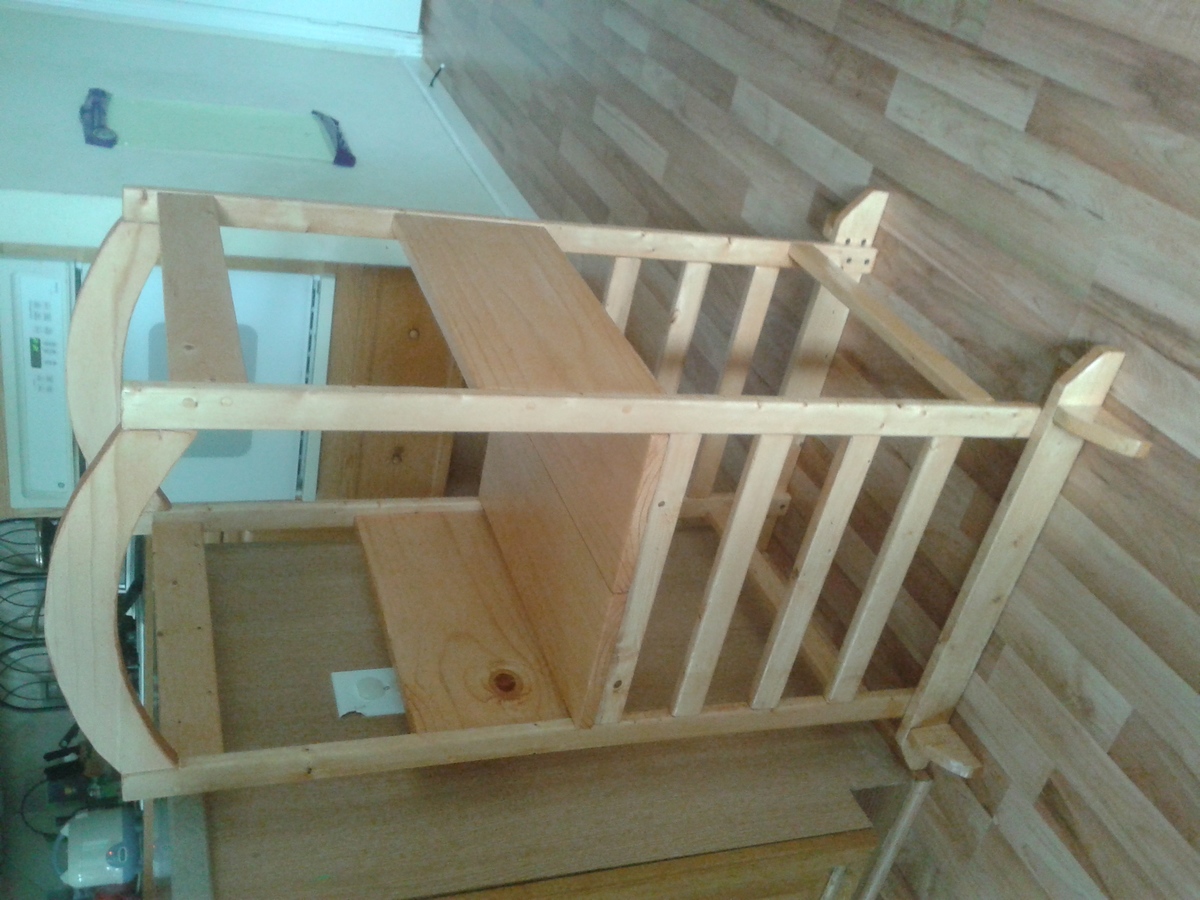
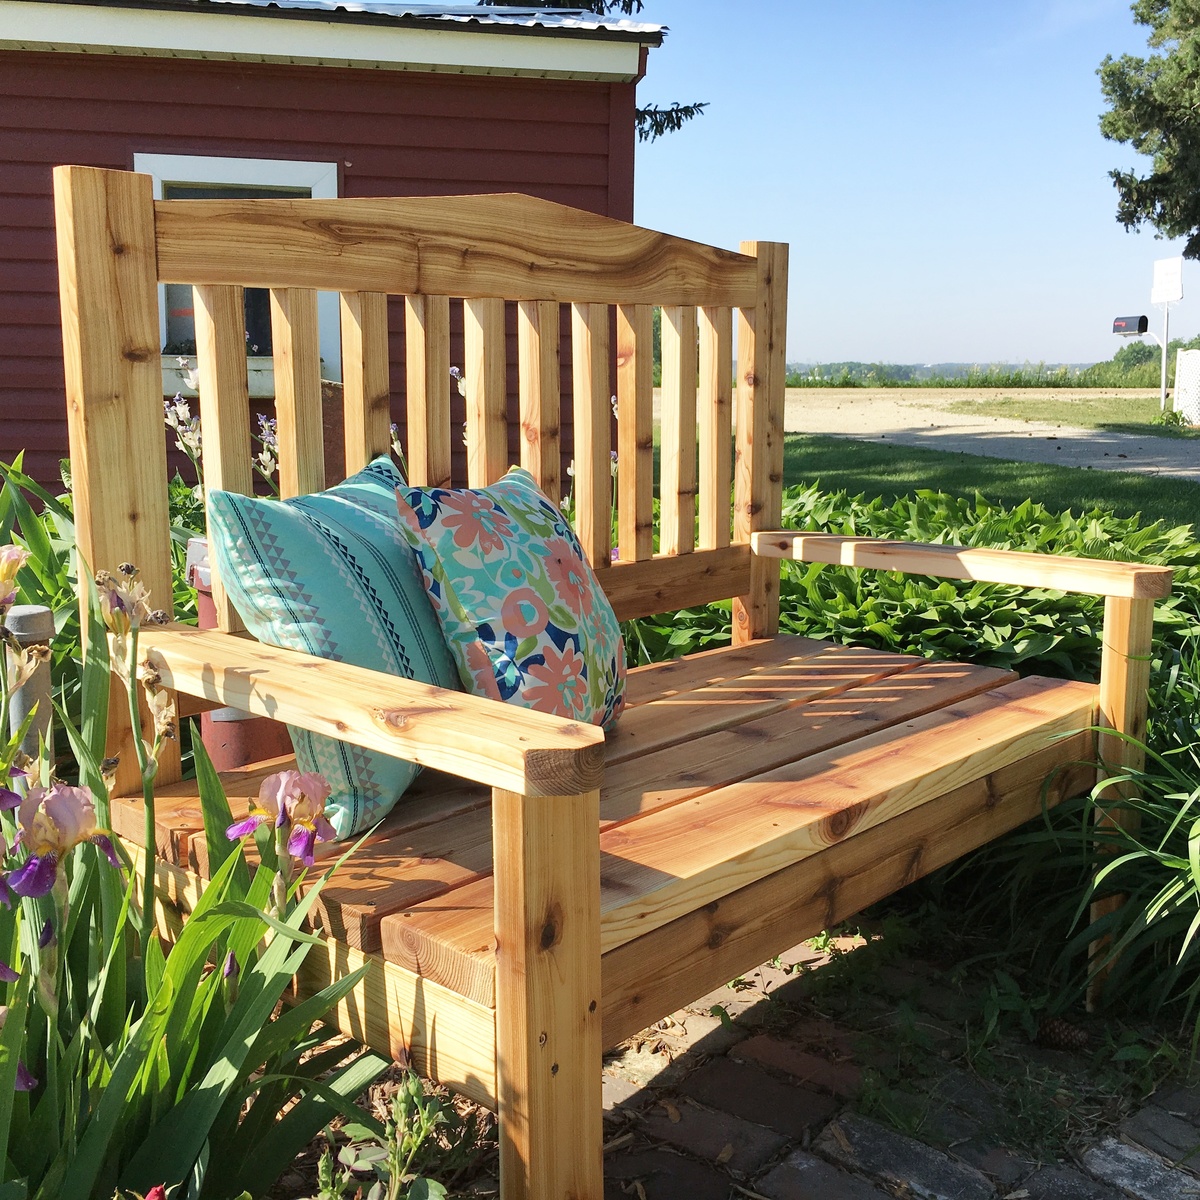
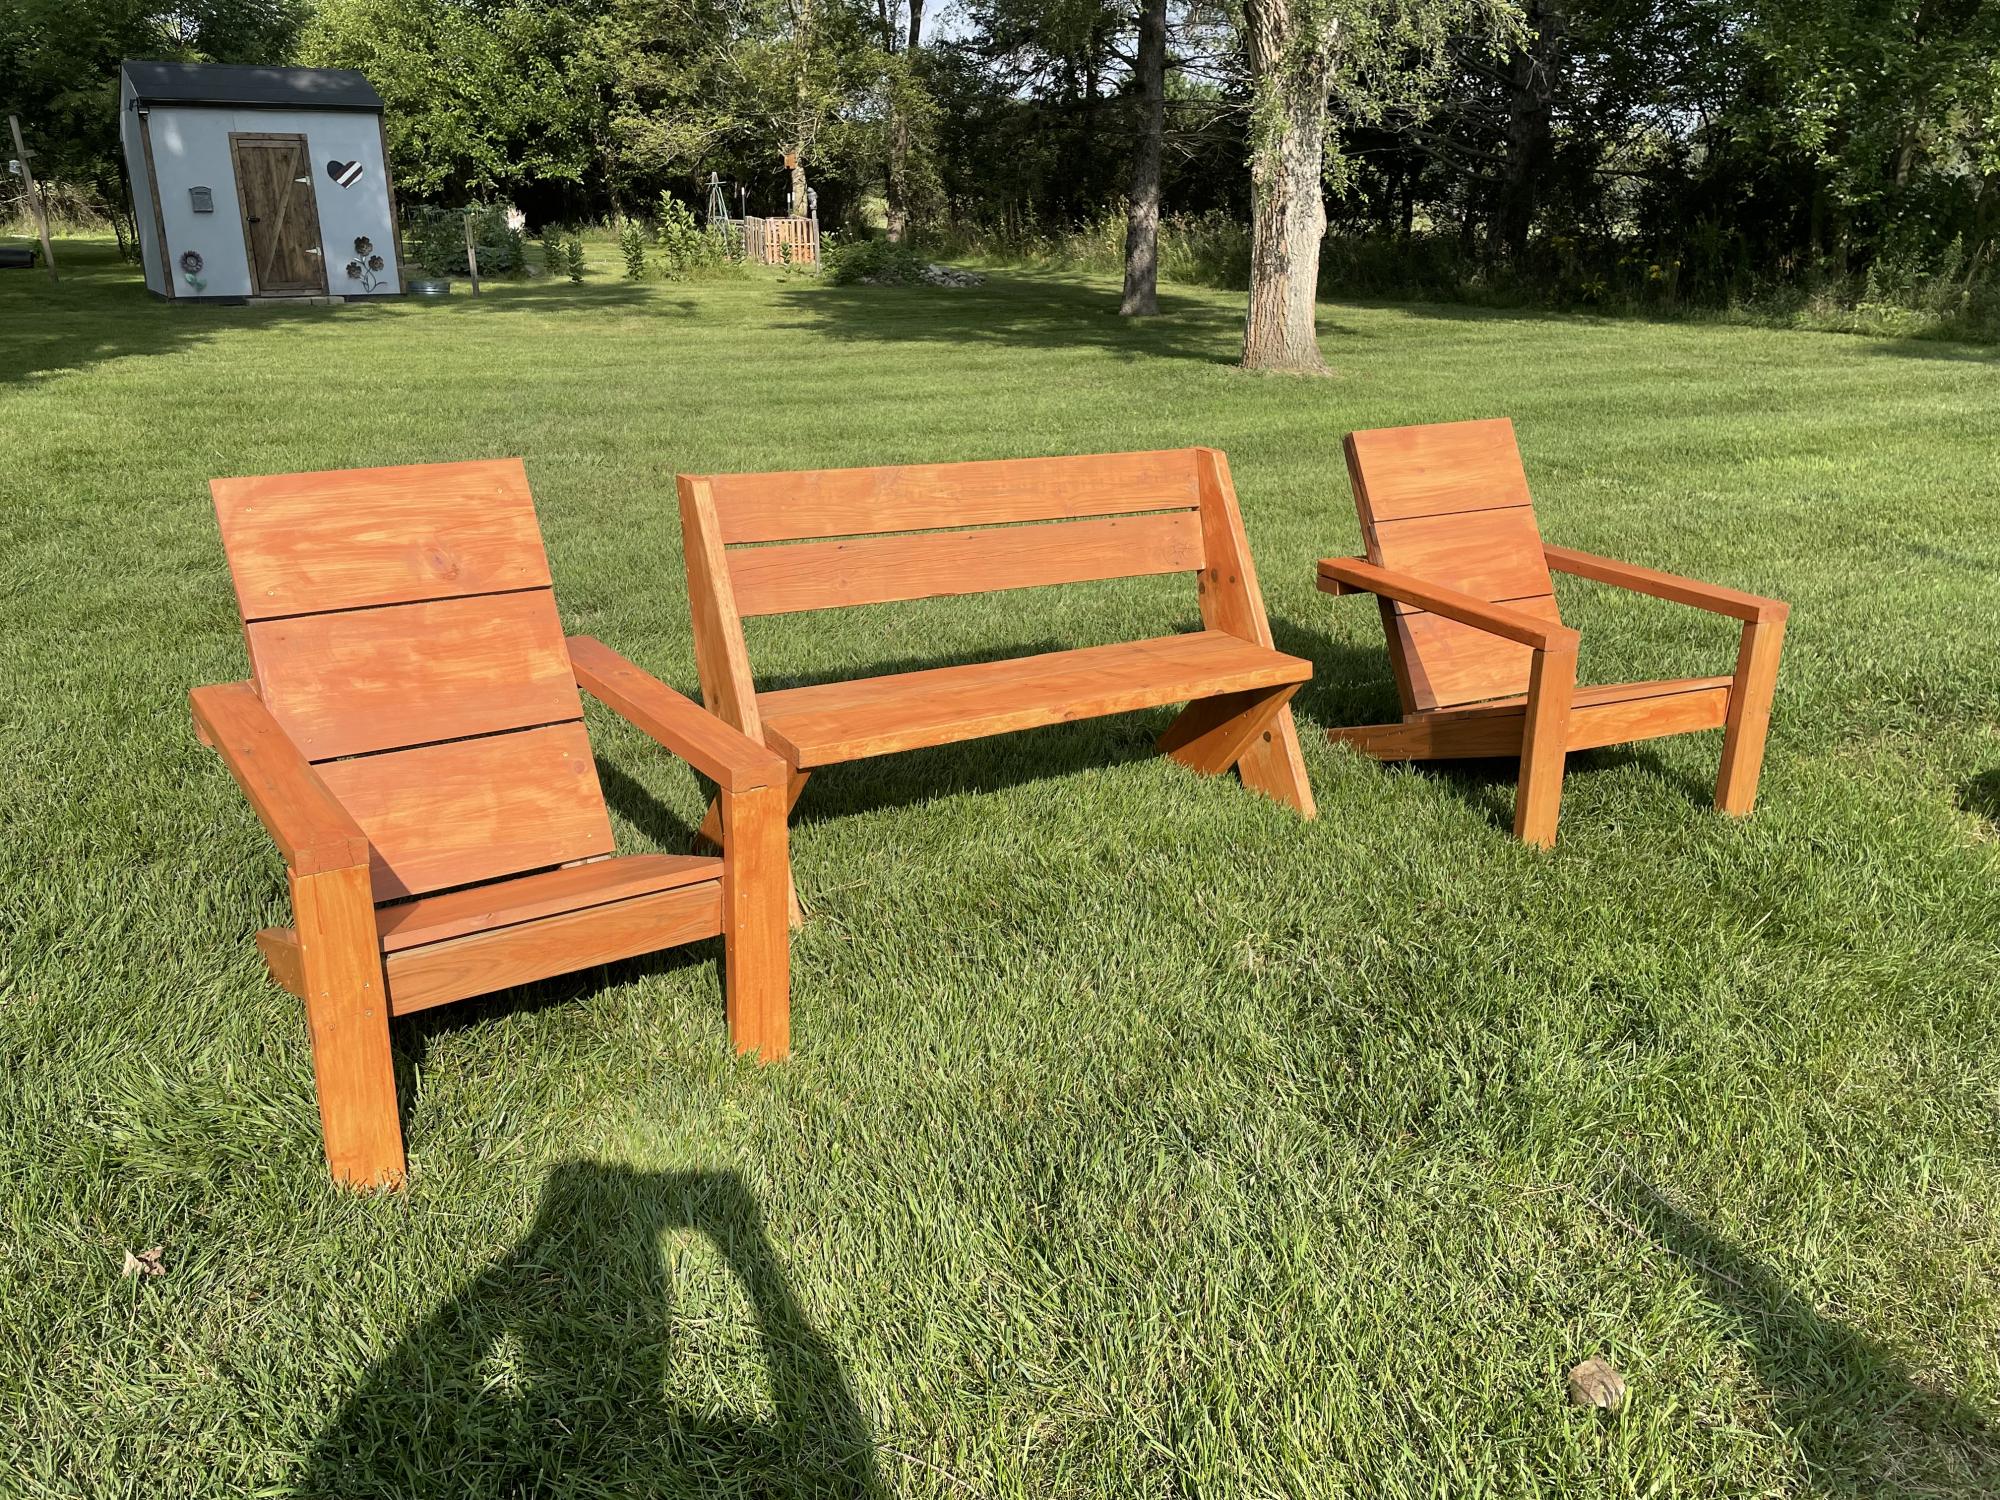
We are waiting on our slip cover chairs (on back order). I have built a matching bench that needs to be finished.
Leslie Is Ready
Sat, 03/07/2015 - 16:44
This is Beautiful
Stunning job! You have definitely inspired me!
aggielandma12
Thu, 06/11/2015 - 19:42
added chairs and matching bench
Finally
dadmandude
Tue, 05/10/2016 - 10:20
4x4 Measurements?
I'd also like to build this table using 4x4's. Can you tell me how you came up with the lengths for the diagonal pieces? Also, how did you attach the perpendicular end pieces to the top? I've been looking to do that as well and on all the plans I've seen they used pocket holes and I know that will not last before the end pieces begin to sag.
Thank you!
brian.heere
Mon, 08/19/2019 - 07:45
Did you ever find the…
Did you ever find the measurements and details? I'm interested in making the same table!