Hotel Room Bed and Wall Project
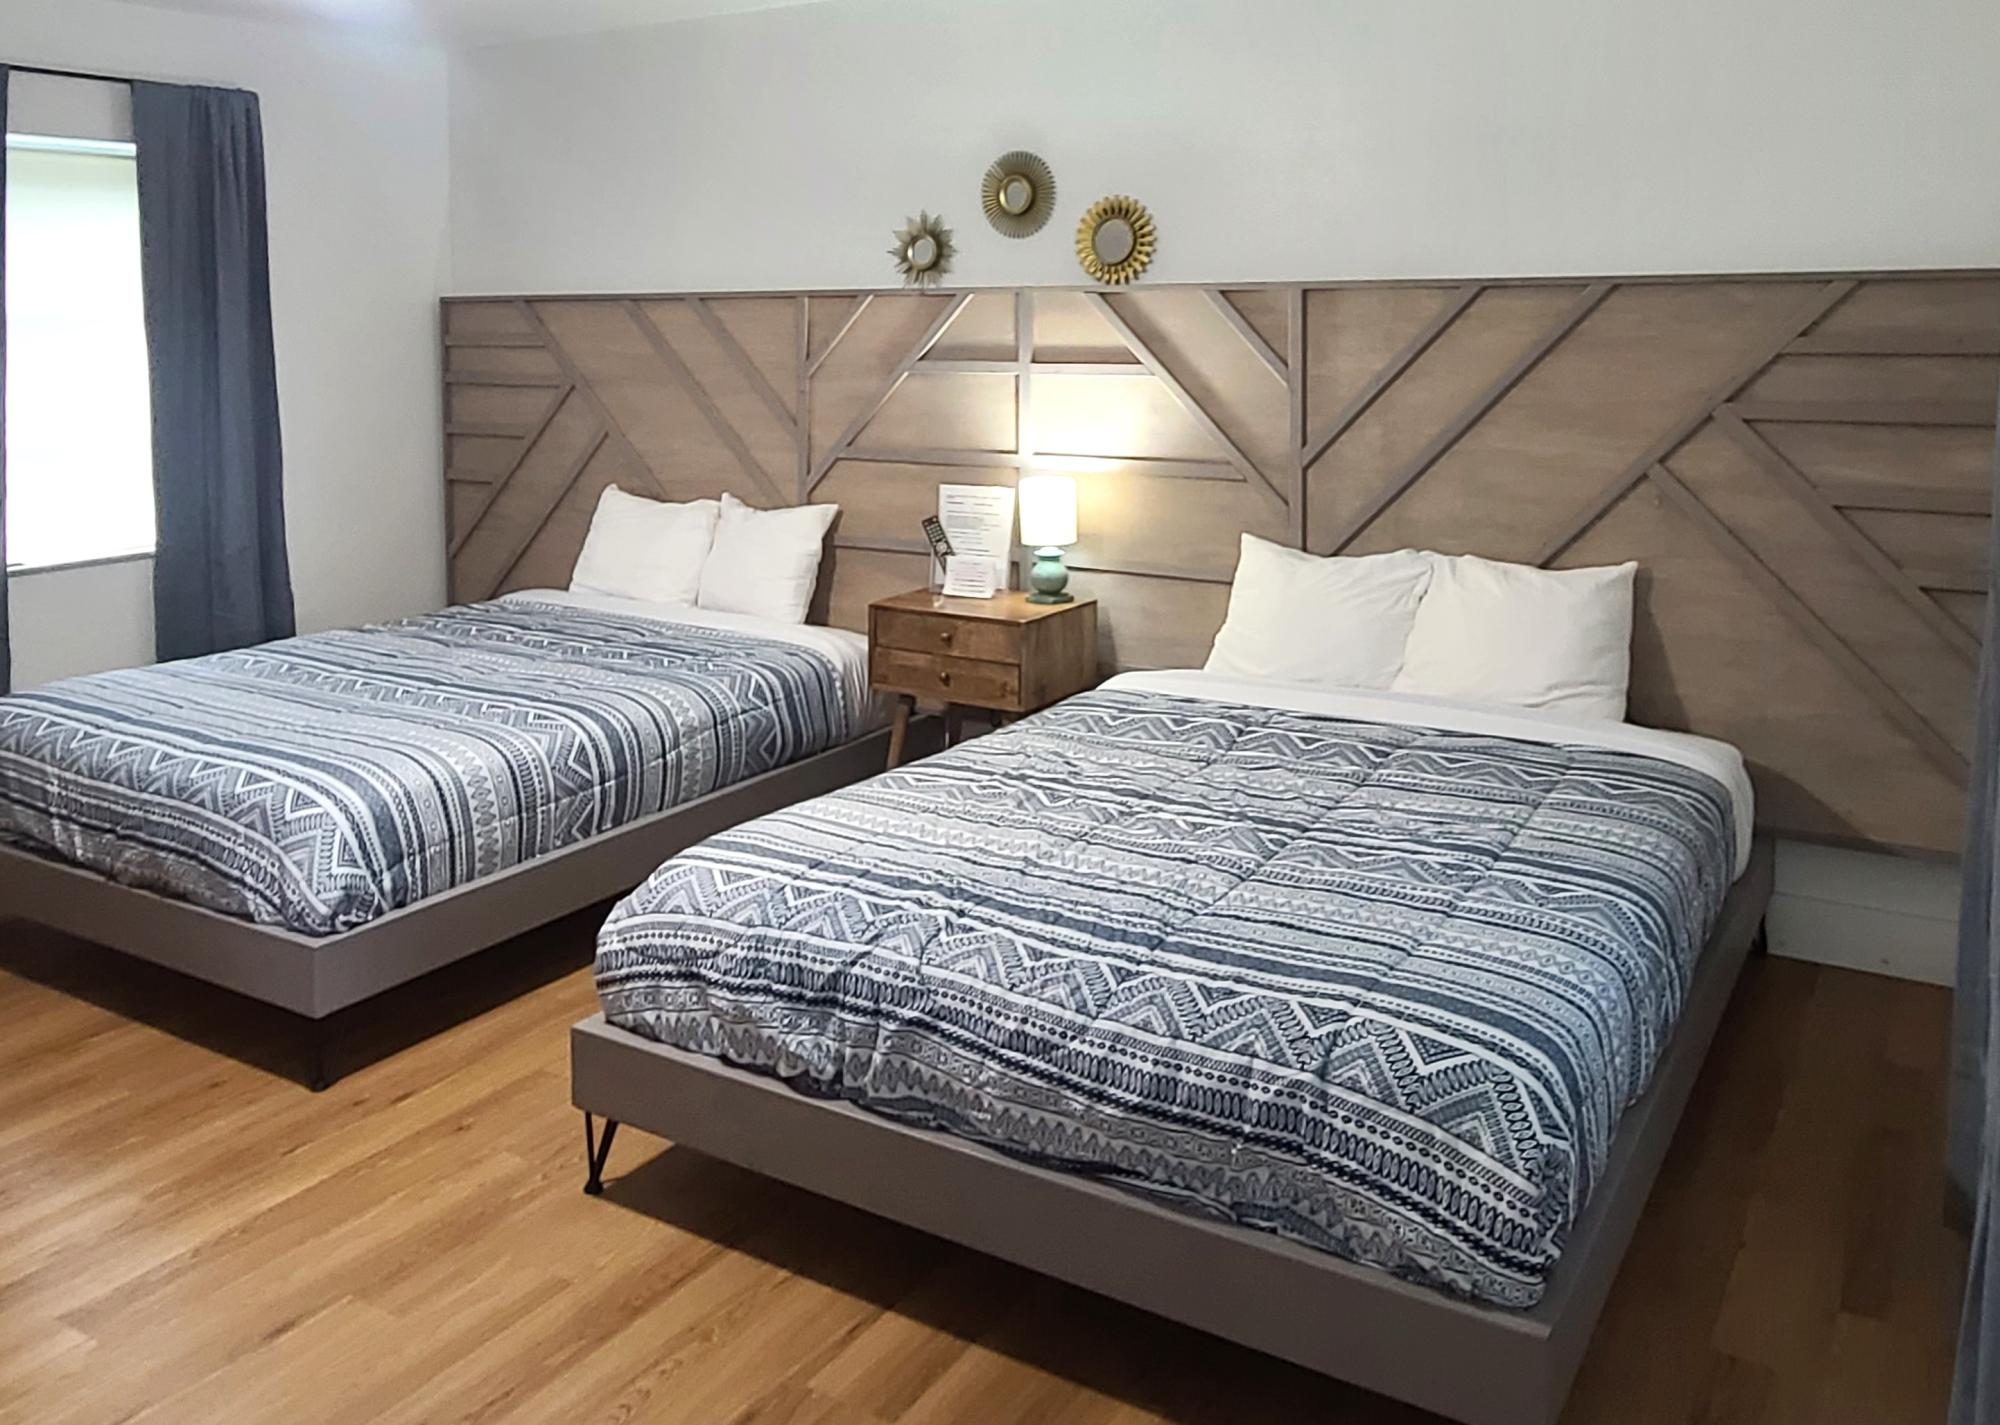
Built these bedframes and headboards for a local motel
Built from Plan(s)
Built these bedframes and headboards for a local motel
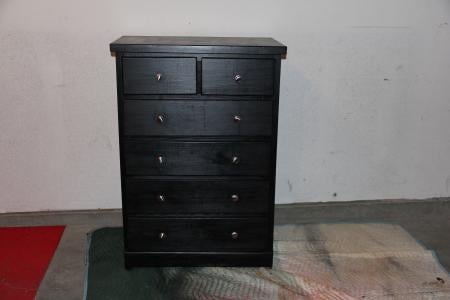
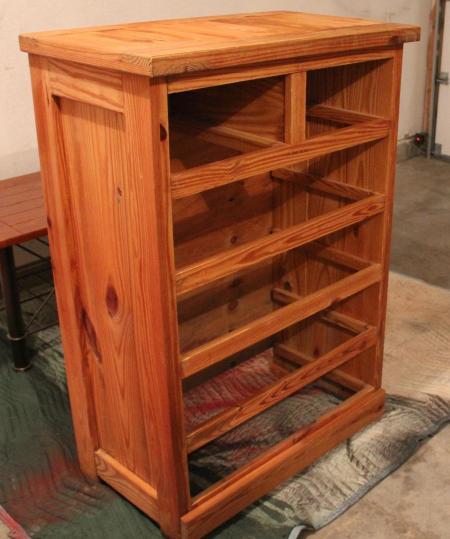
My wife Tracy and I wanted a dresser like this for one of the bedrooms in the new house. Well Tracy went to work looking for one on Craigslist and E Bay ( She is the best at hunting down a bargain). After only one day she found an add for a solid wood dresser for sale in our area. When I came home from work she let me know there was a project in the back of her vehicle for me.
I was very impressed with what she had found. This was a serious solid wood dresser. With me having a couple of days off prior to our trip to Cabo (and Tracy needing me out of her hair while she finished all the details needed for the trip) I started on this right away.
The dresser had never been finished, it was just raw wood. This was a plus for me because no stripping was needed. Just a little light sanding is all it required for prep work.
I discovered that the knobs did not match. After a quick trip to Menards the dresser was complete.
Total cost of our dresser $65.00
See more pictures at buildandsave-mike.blogspot.com
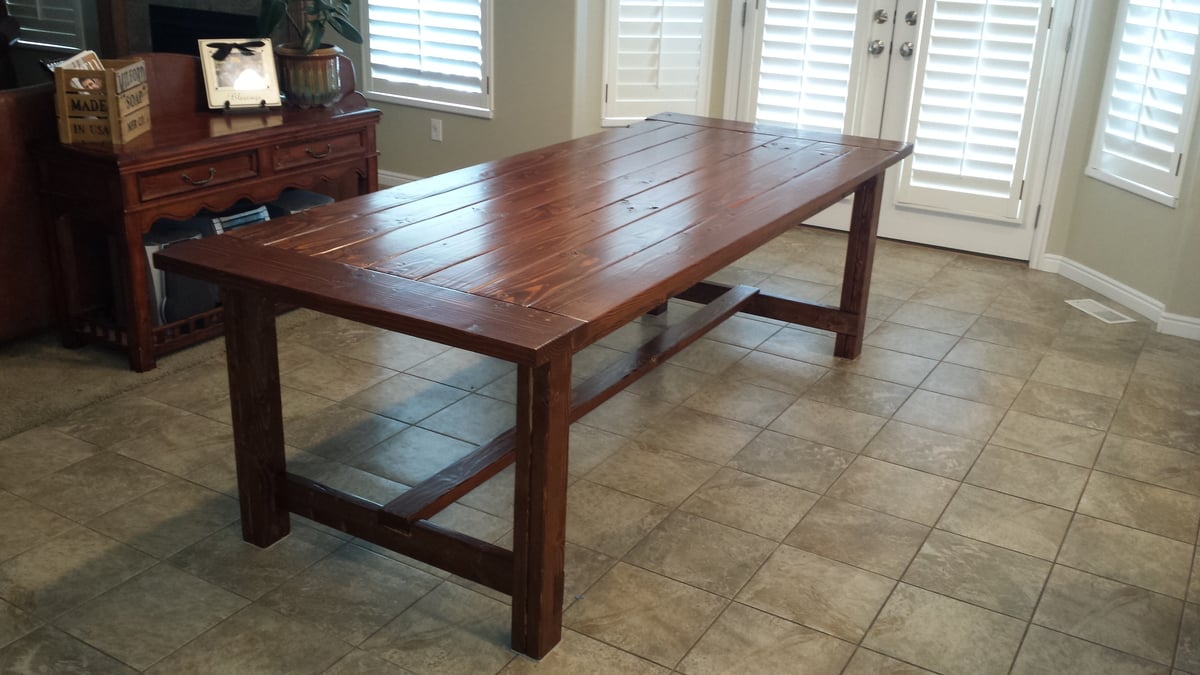
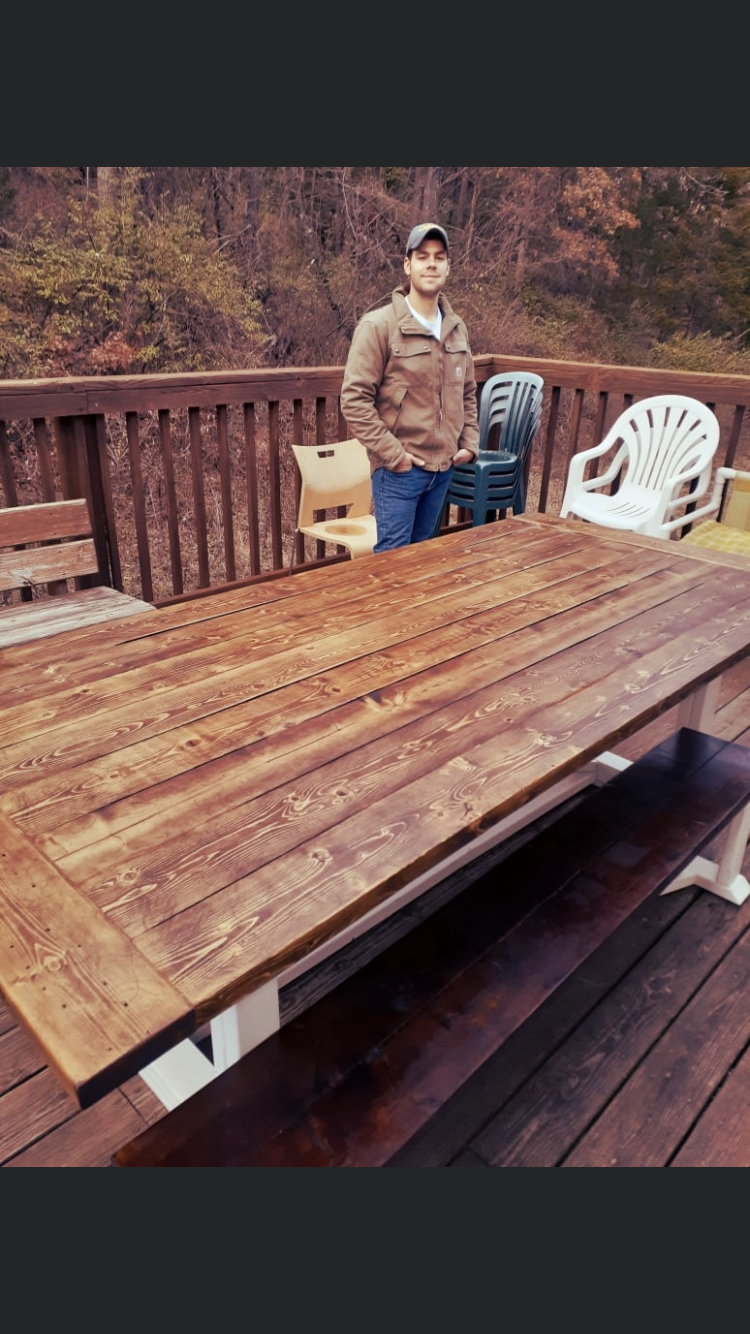
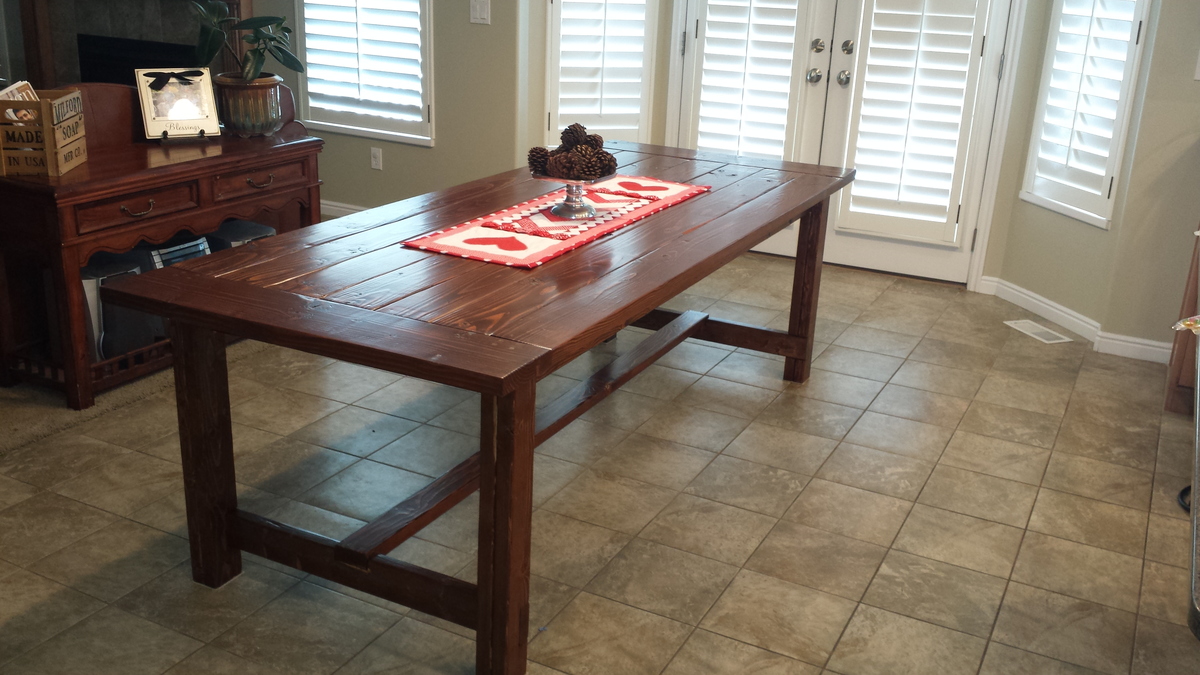
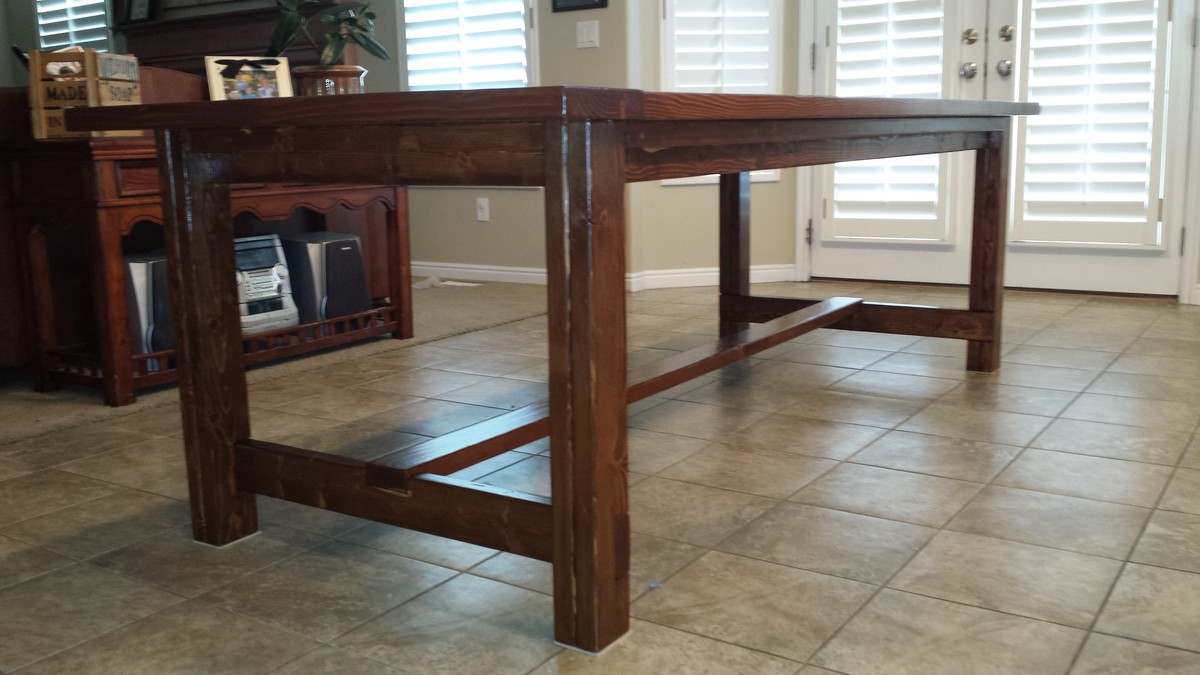
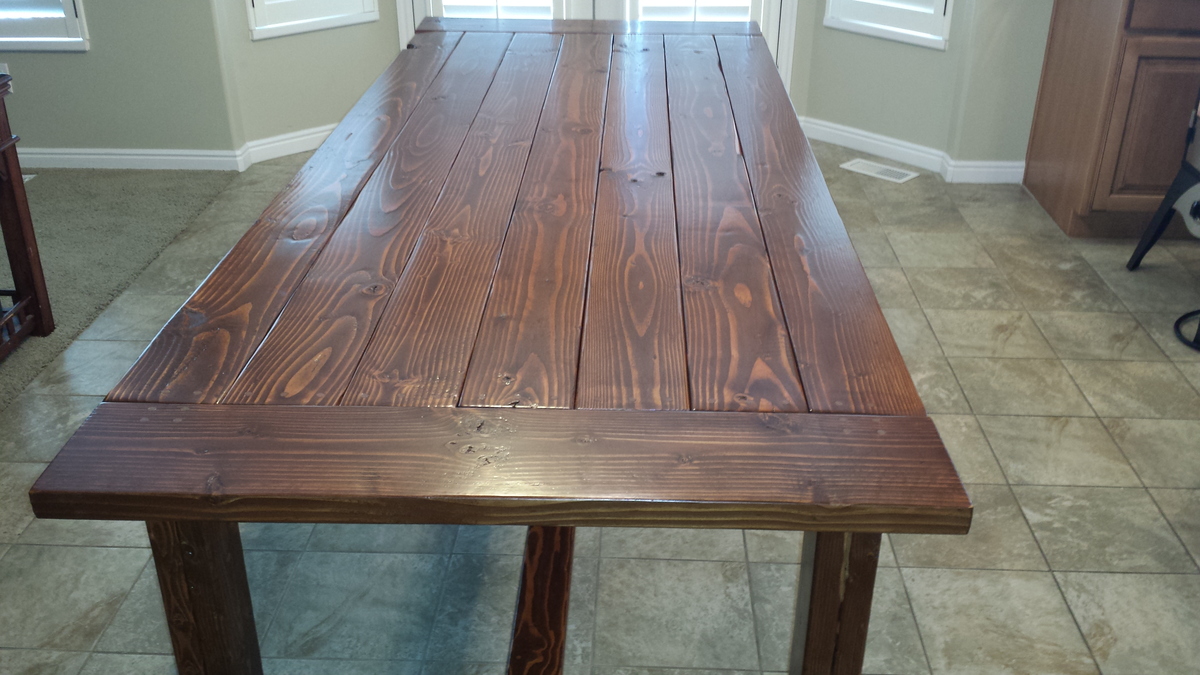
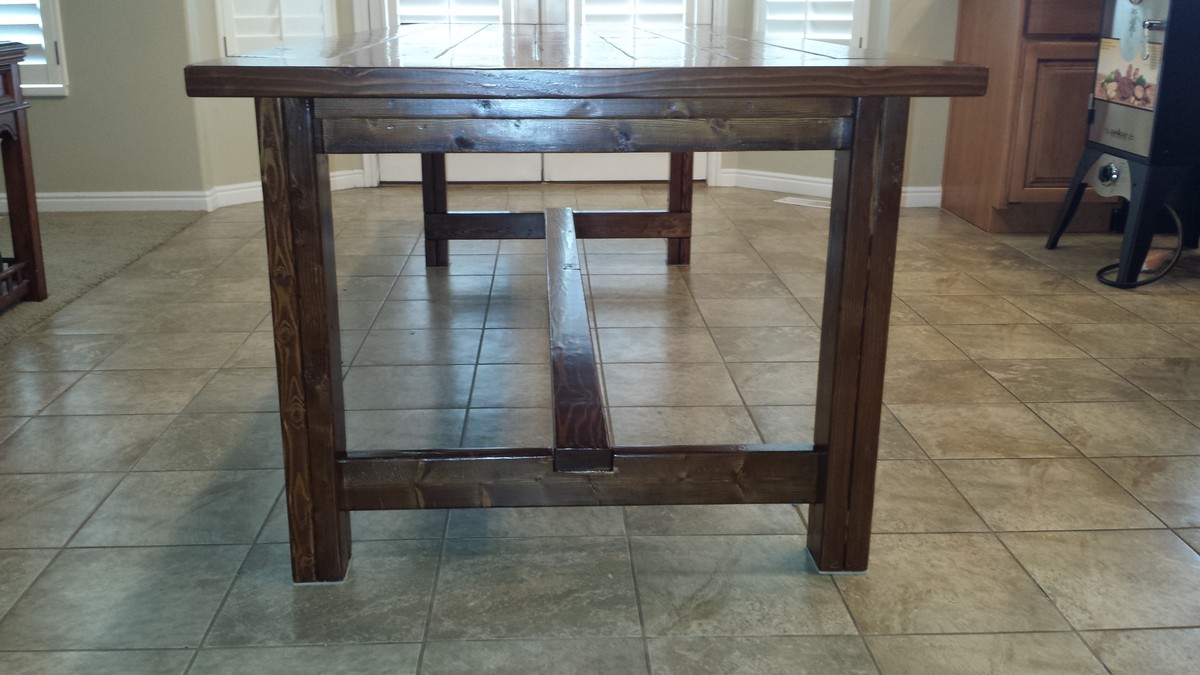
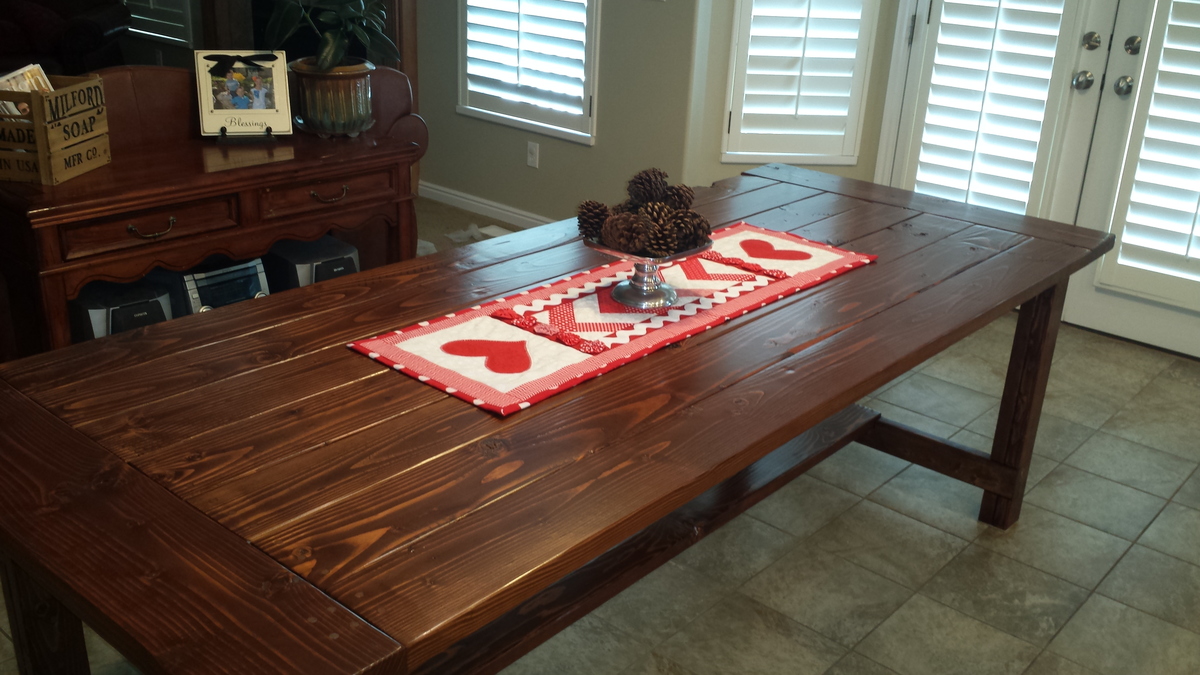
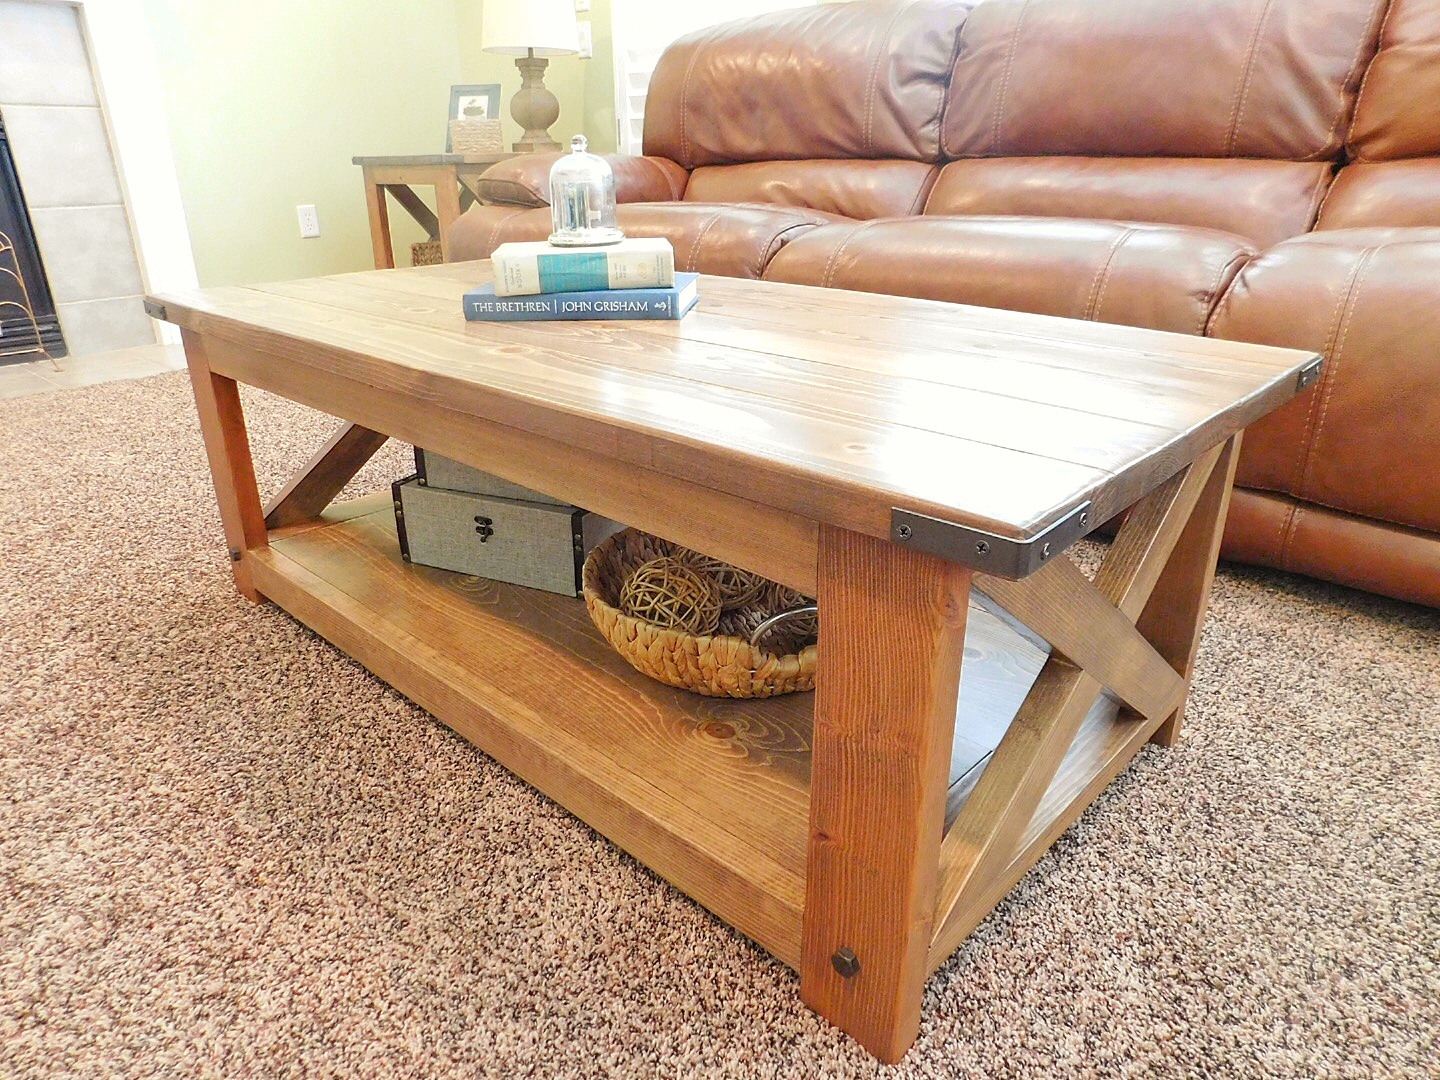
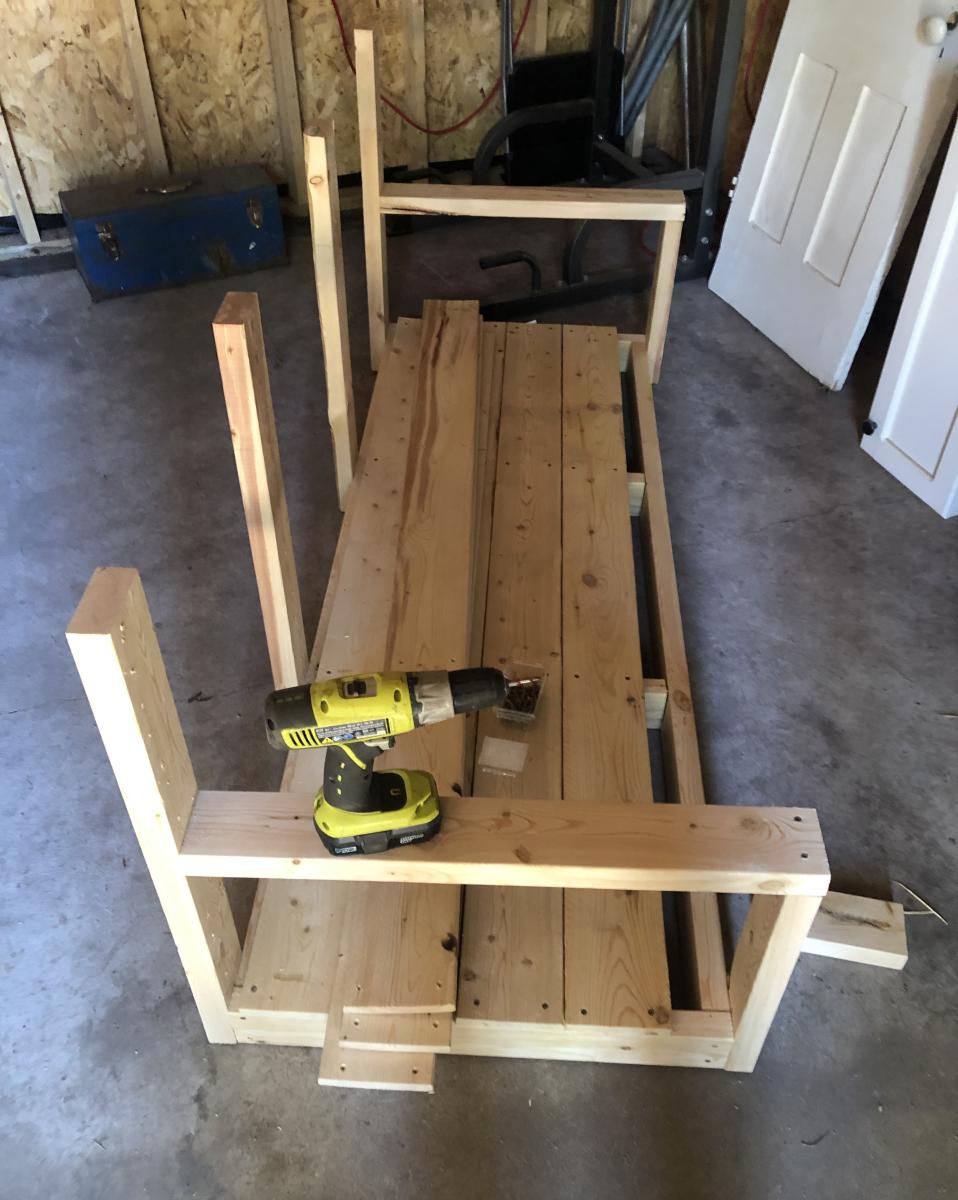
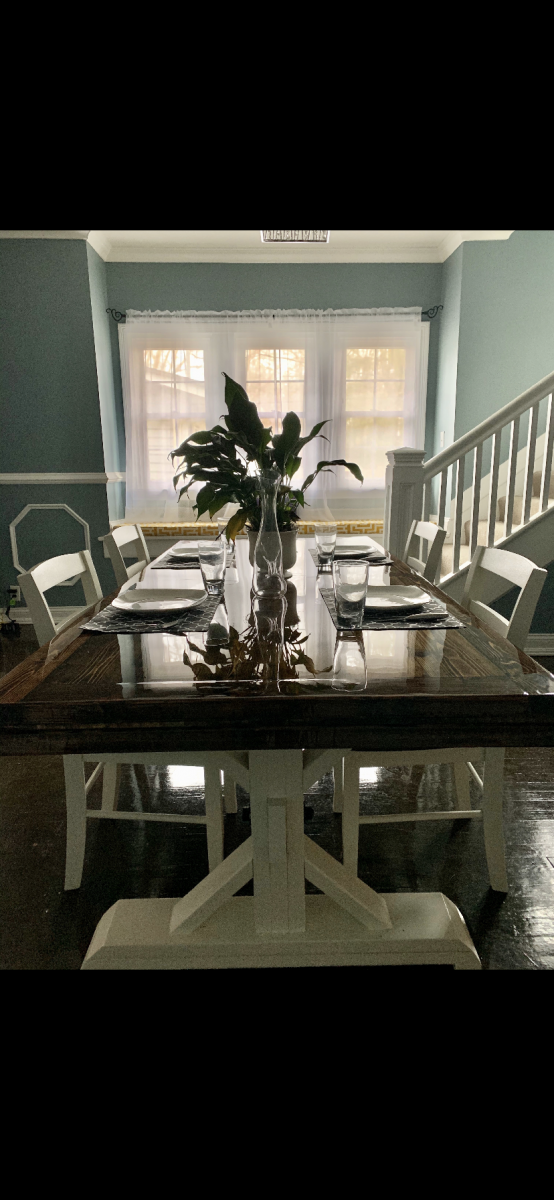
My husband surprised me with a big pile of wood in the garage on Christmas morning. 3 weeks later, this beautiful table is in my kitchen. The pictures do not do it justice - it turned out amazing. We have plans to make the matching bench when it warms a bit - our garage is freezing!
It took at least 20 hours to cut the wood, sand and assemble. It took another 10+ plus hours to stain and put 3 coats of the polyurethane.
The great people at Orange cut our wood for us, and we took it home and notched it out using a jigsaw. Once we got the hang of it, it was really easy.
We had a hard time finding 2 3/4 screws, so we used 2 1/2. It worked great. We used Elmer's Carpenter's Wood Filler in natural to fill the screw holes. It turned out so nice and looks great with the stain on top.
Neither my husband or I have very much experience building anything, so we took our time - measuring about 60 times and cutting once. However, it paid off. The table looks so great and I cannot wait to make the matching bench!

I took the original plan design for a Murphy bed - it was inspired by a Dr. Who themed bed that used a Murphy Bed Kit - I've used Ana White's plans before and thought why spend $$$ on a kit when you don't have to. I few trips to the store and a weekend later I have my very own Tardis Murphy Bed. It cost about $140 to build not including the mattress and accessories cost (light kit/upholstery panel/police box sign etc) I raised it up about 4" to attach legs and added some puck lights for a lighting effect. I think it came together rather nicely. I just have to add handles and the magnetic closures and it will be all done.
It took me all weekend to build by myself - had my brother help me with mounting the mattress box in the cabinet. I would suggest having wood cut at the lumbar yard as it is difficult to cut the 8 and 12" boards unless you have a bigger table saw that I do.
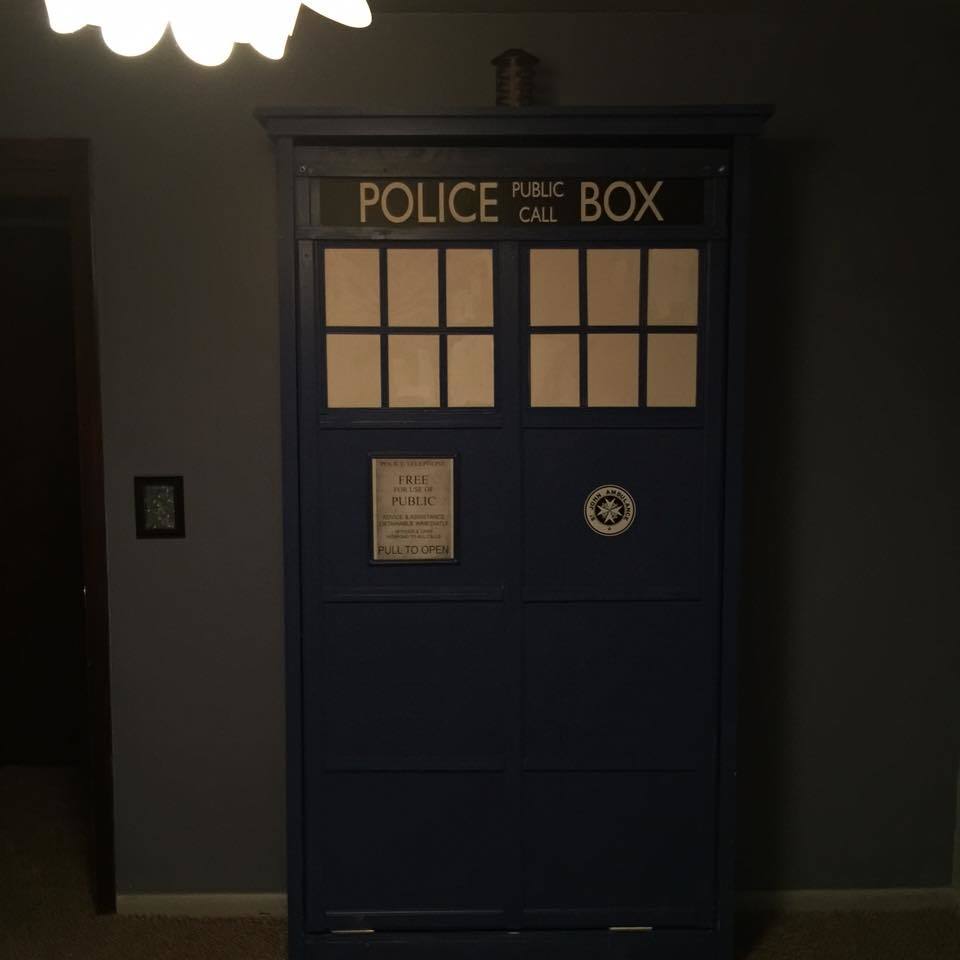
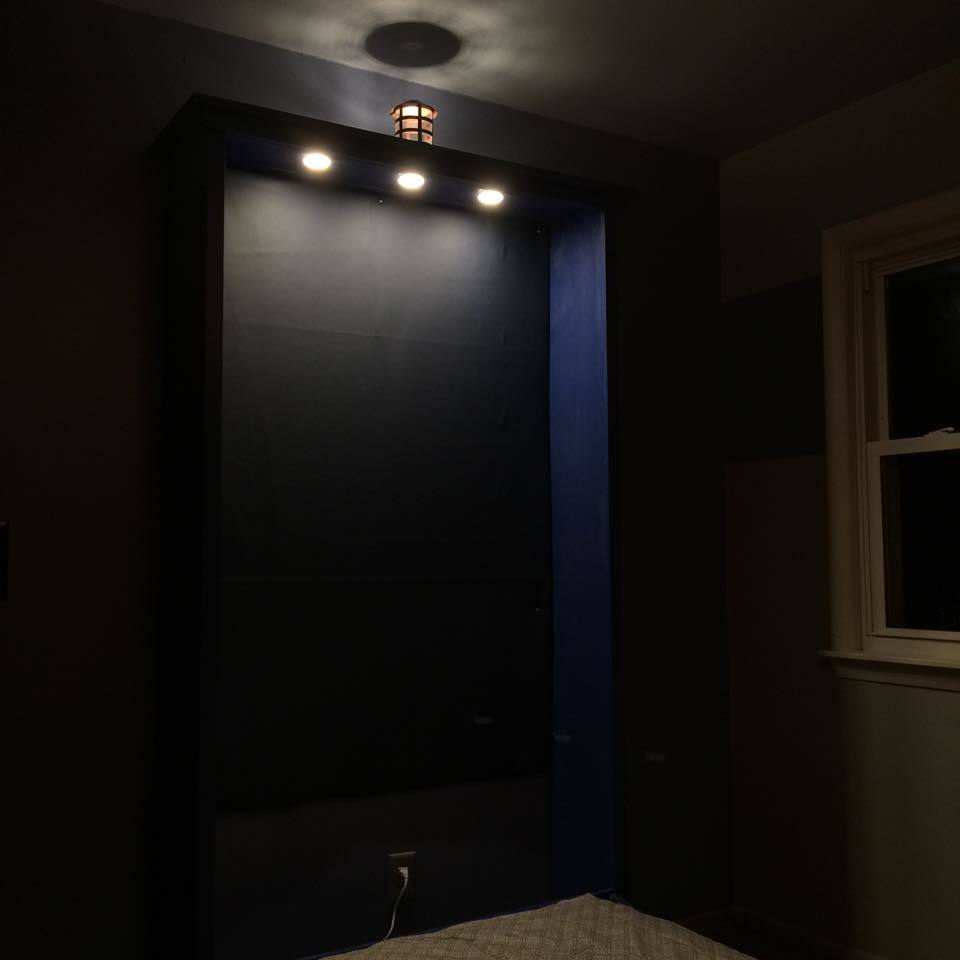
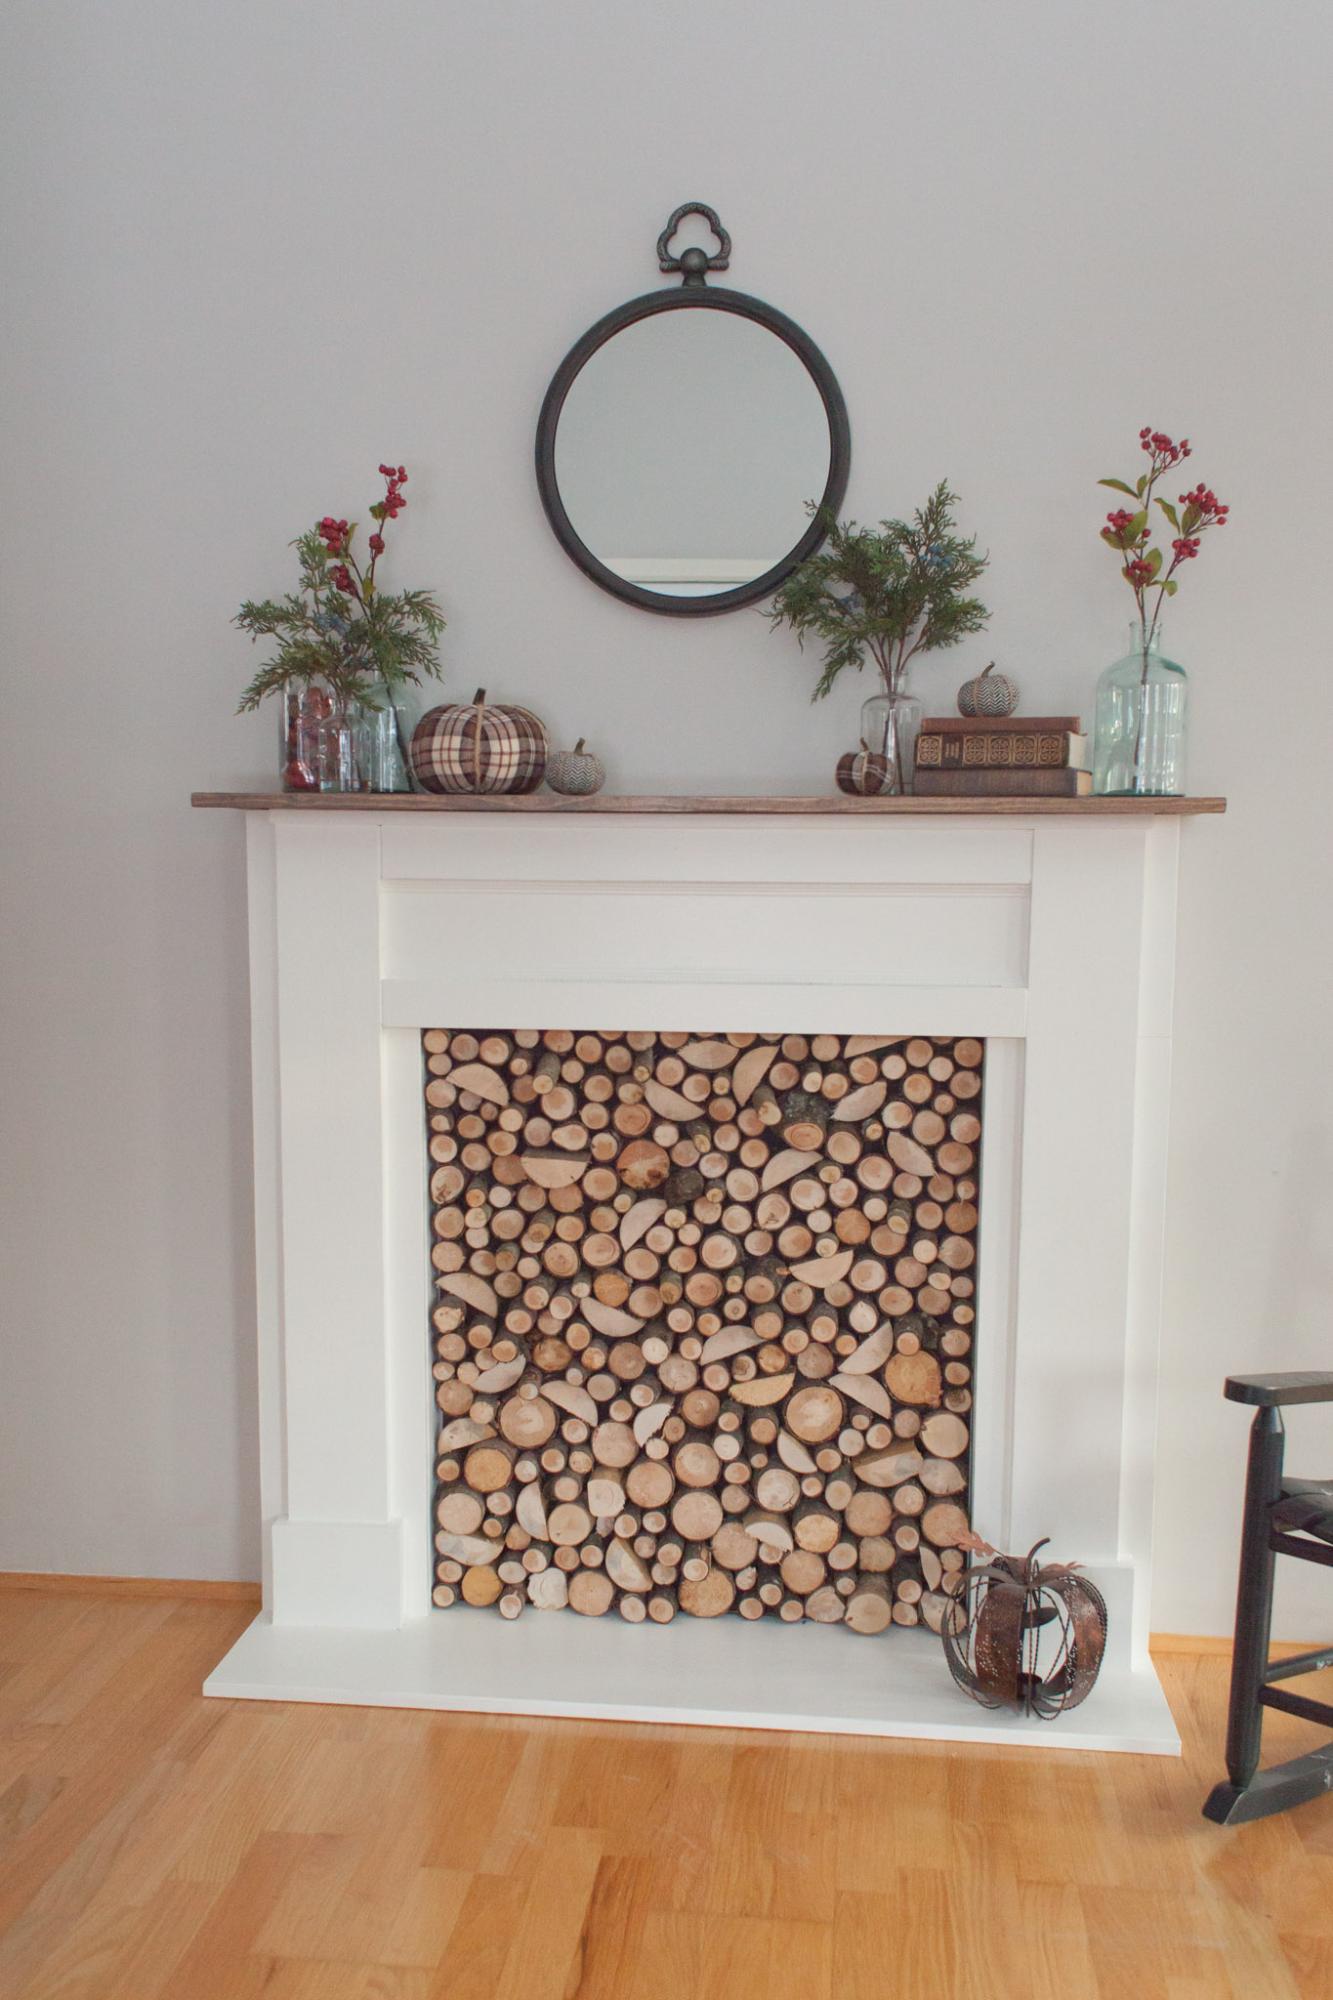
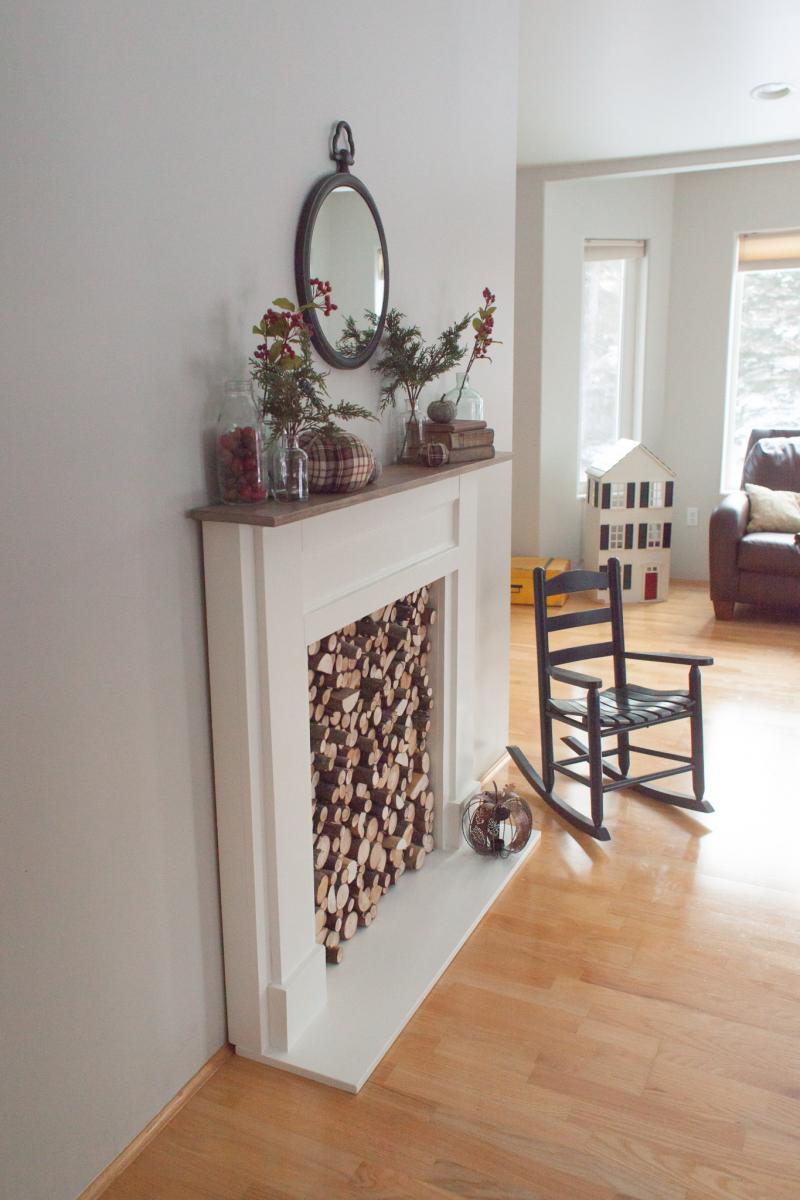
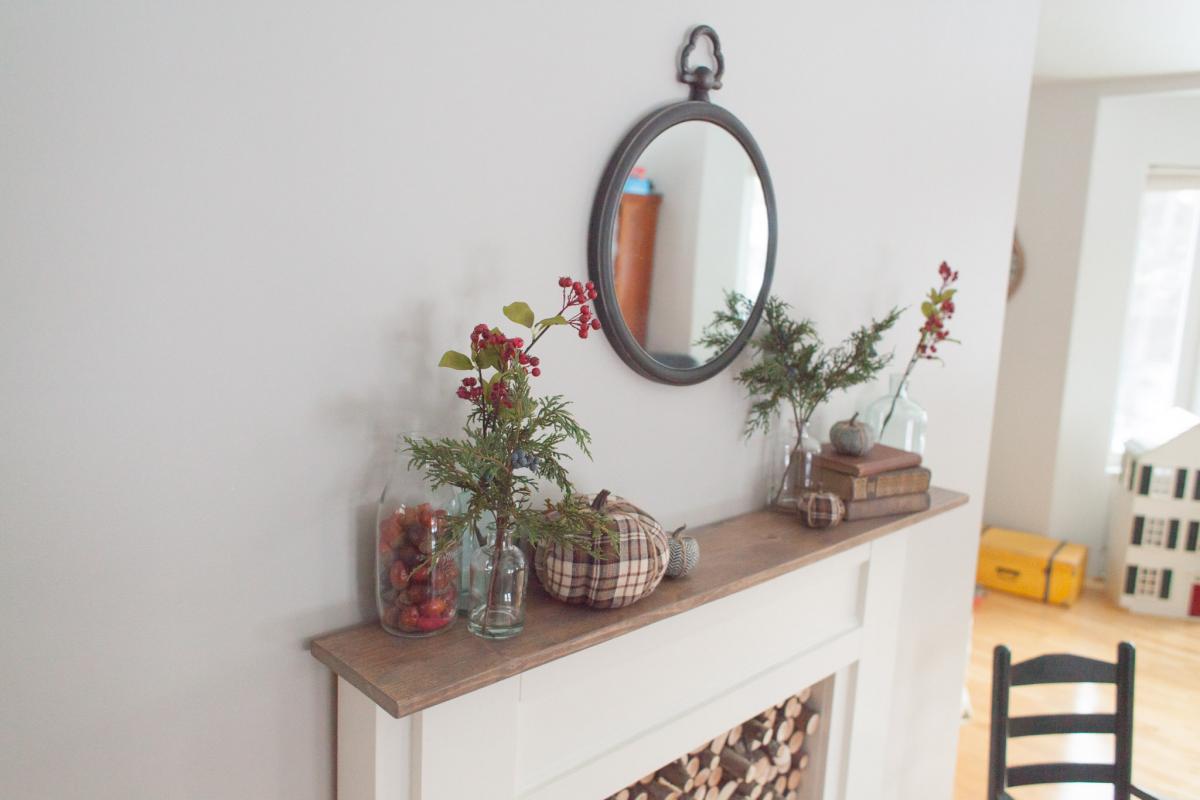
I added a 1x12 as a base so that it could be free-standing, in case we ever want to move it to a different spot. I also added an insert by gluing slices of tree branches to a piece of plywood . This was a fun, quick and easy project, even for a relative beginner. I love the character it adds to this room!

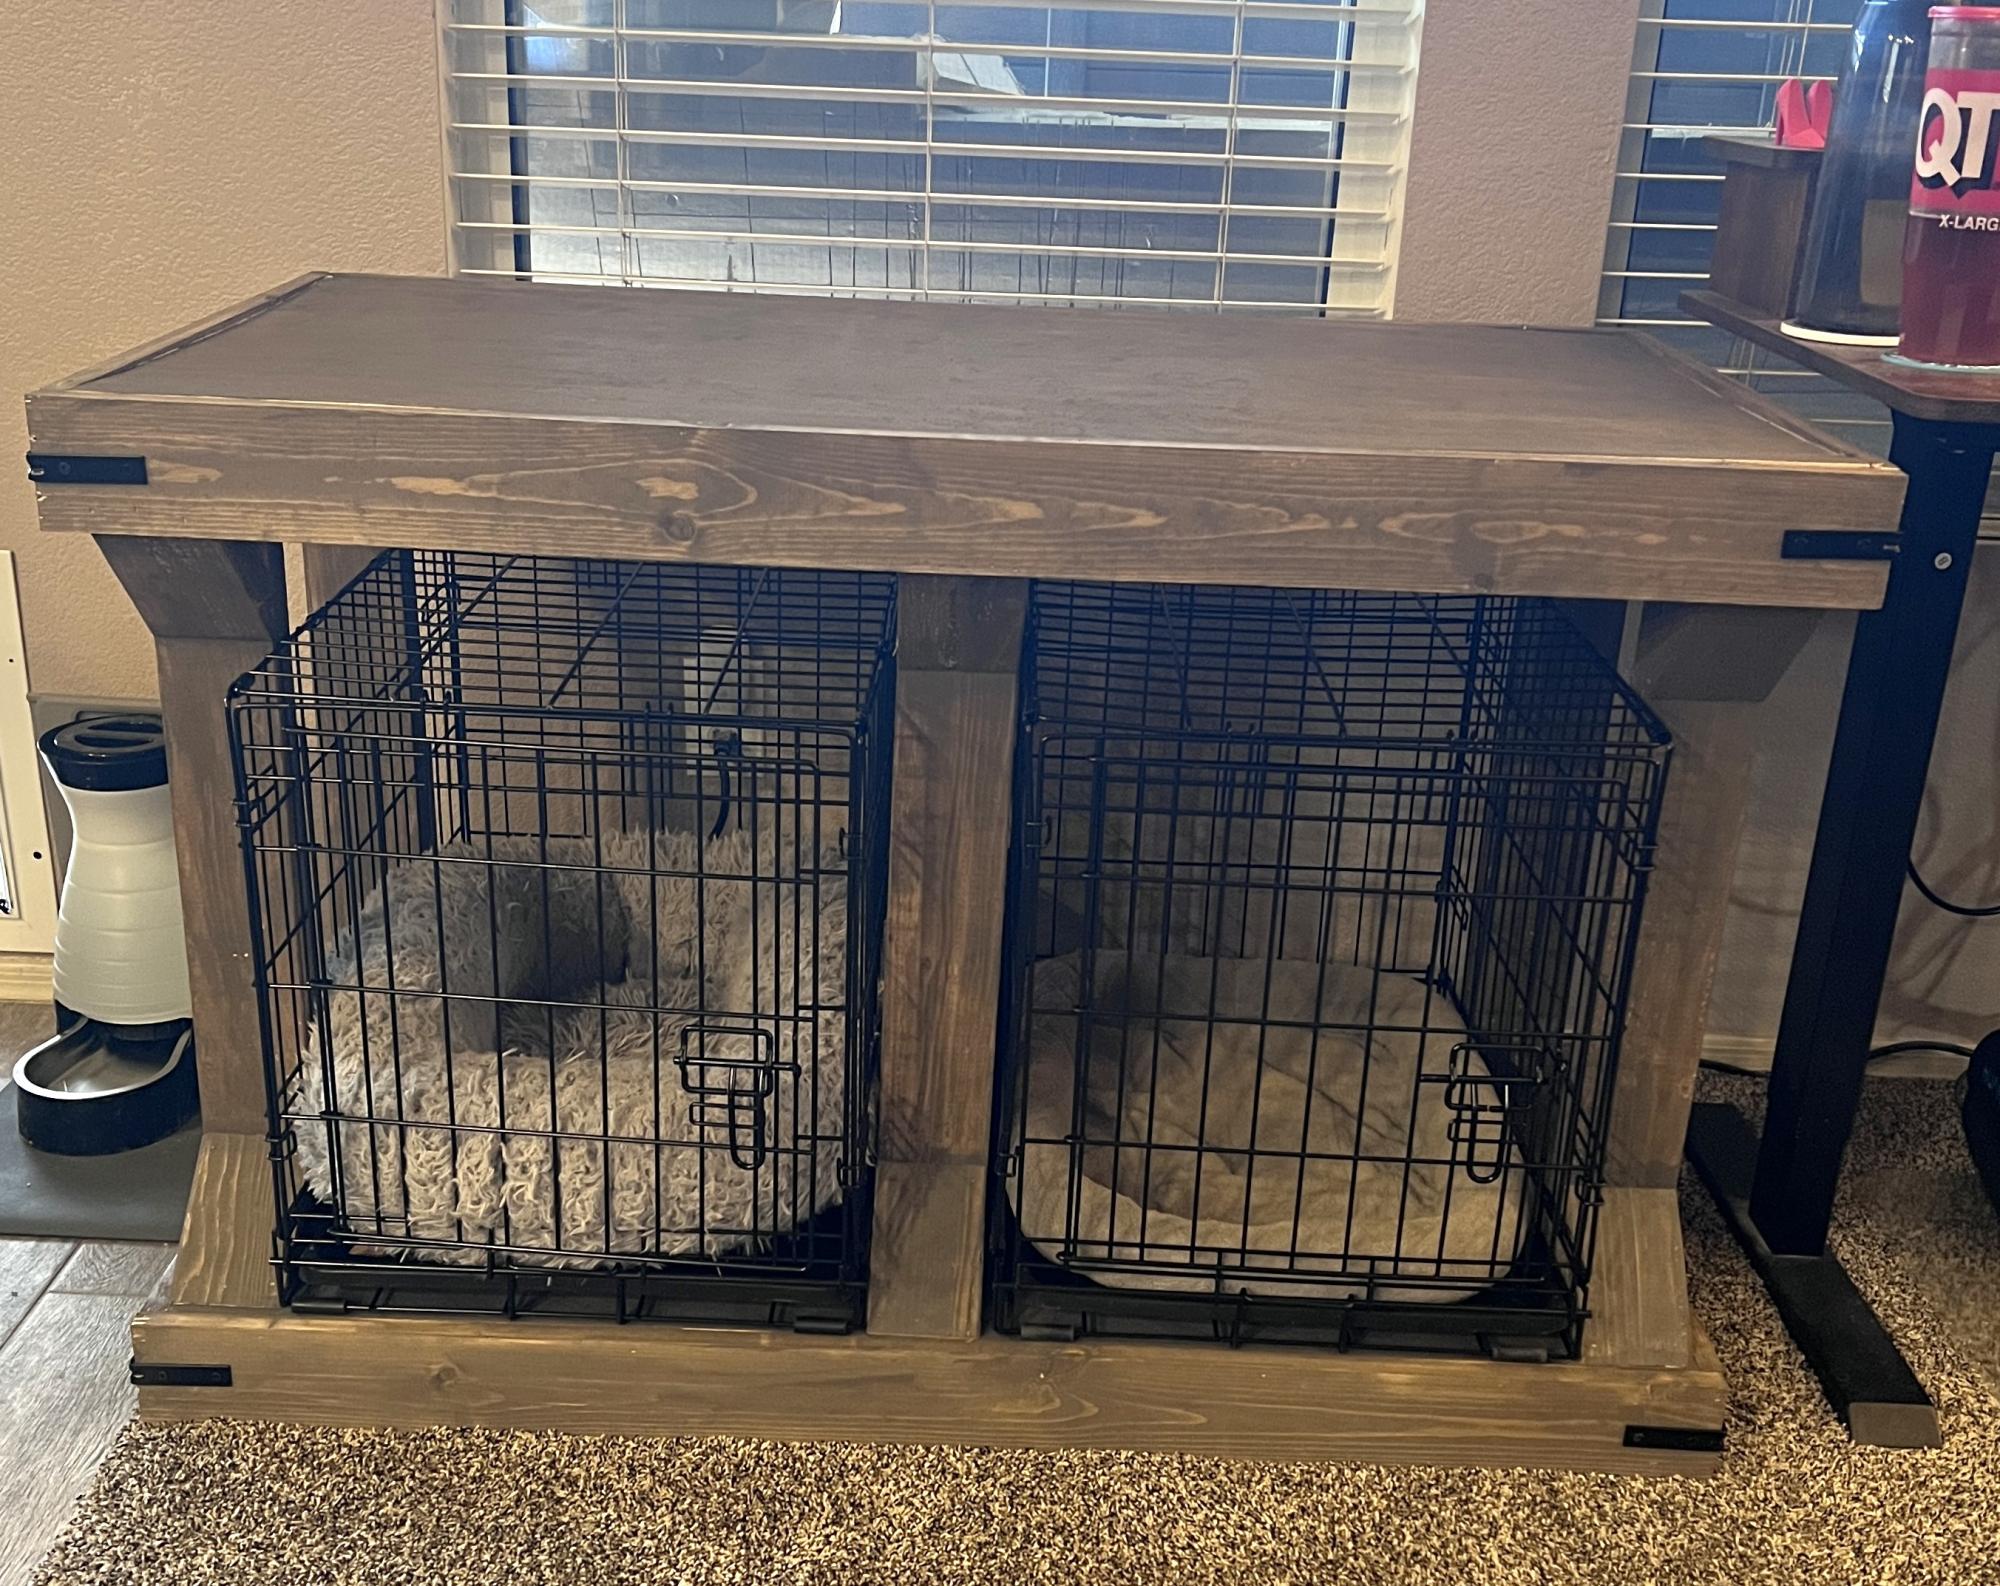
Dog Console from Modern Farmhouse Console.
Marivic Ferguson
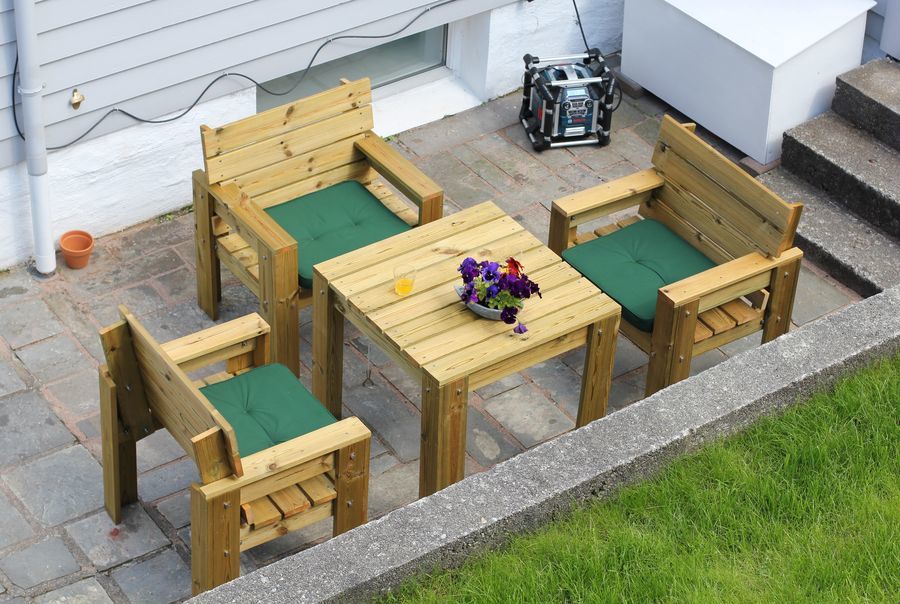
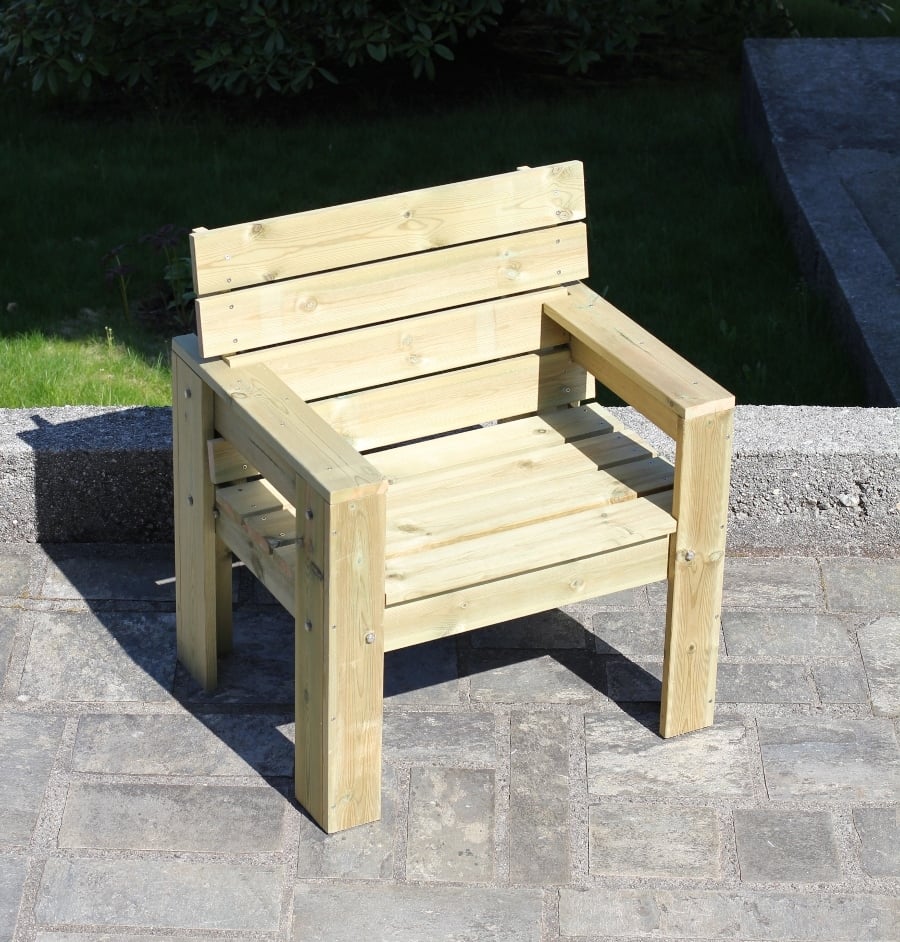
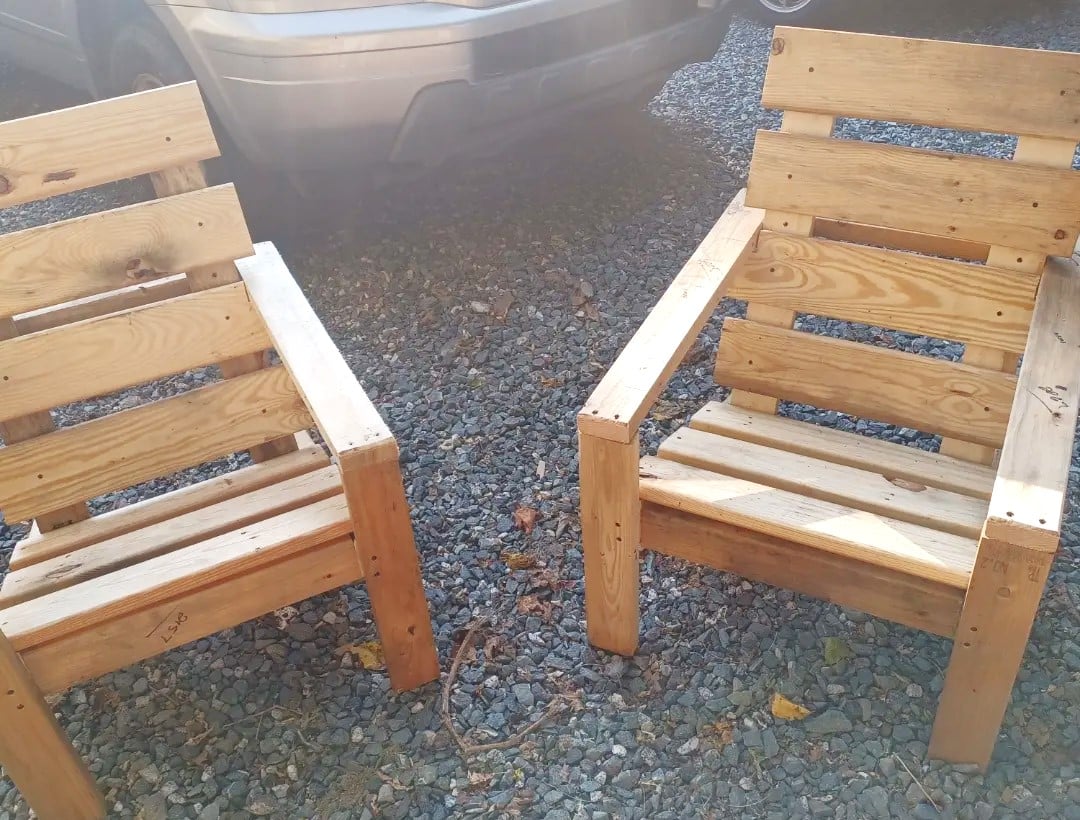
It was after getting to know your website and seeing all your nice craftsgirlship we decided to make our own garden furniture.
We are wery satisfied with the results, thanks a lot for the inspiration!
PS) Time investment = per item.
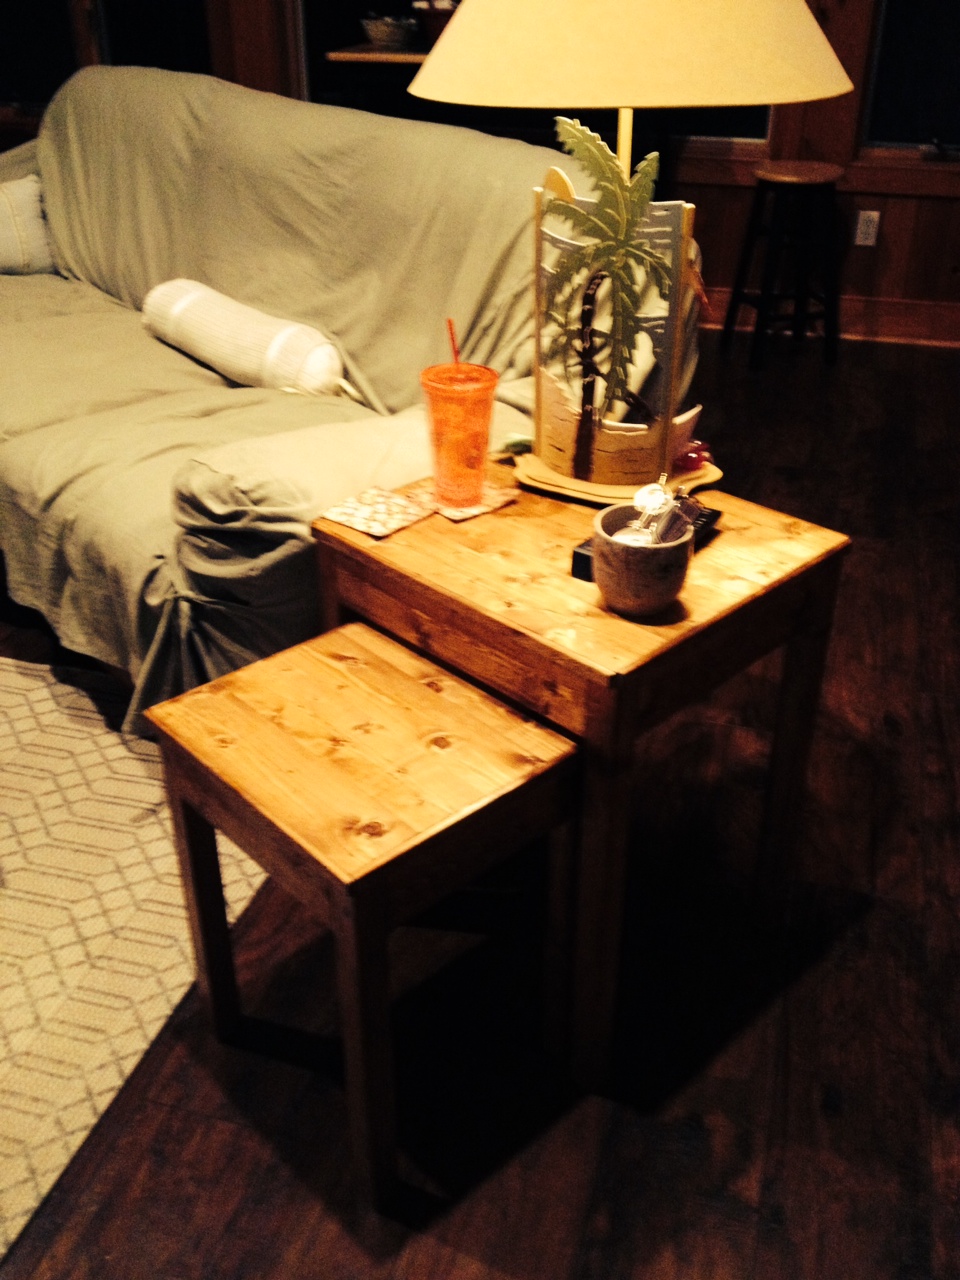
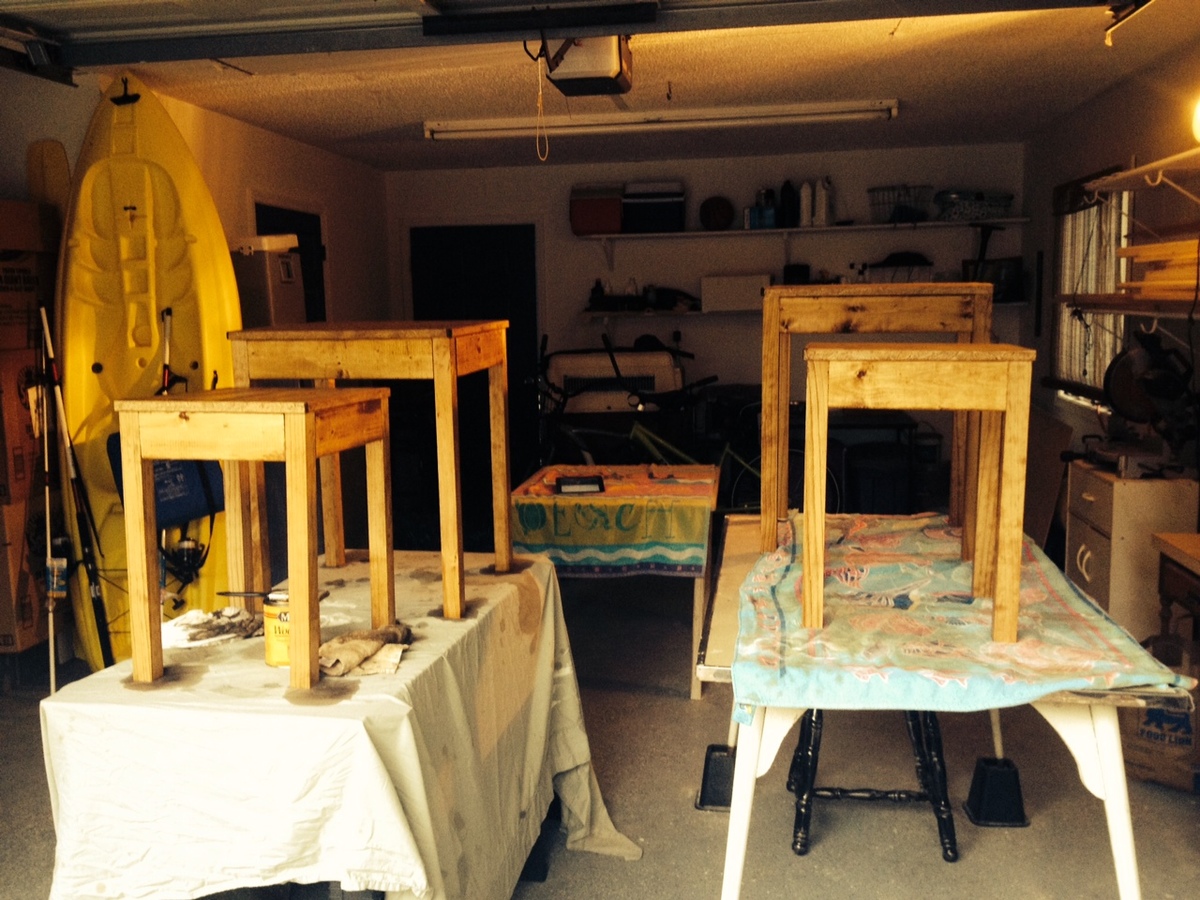
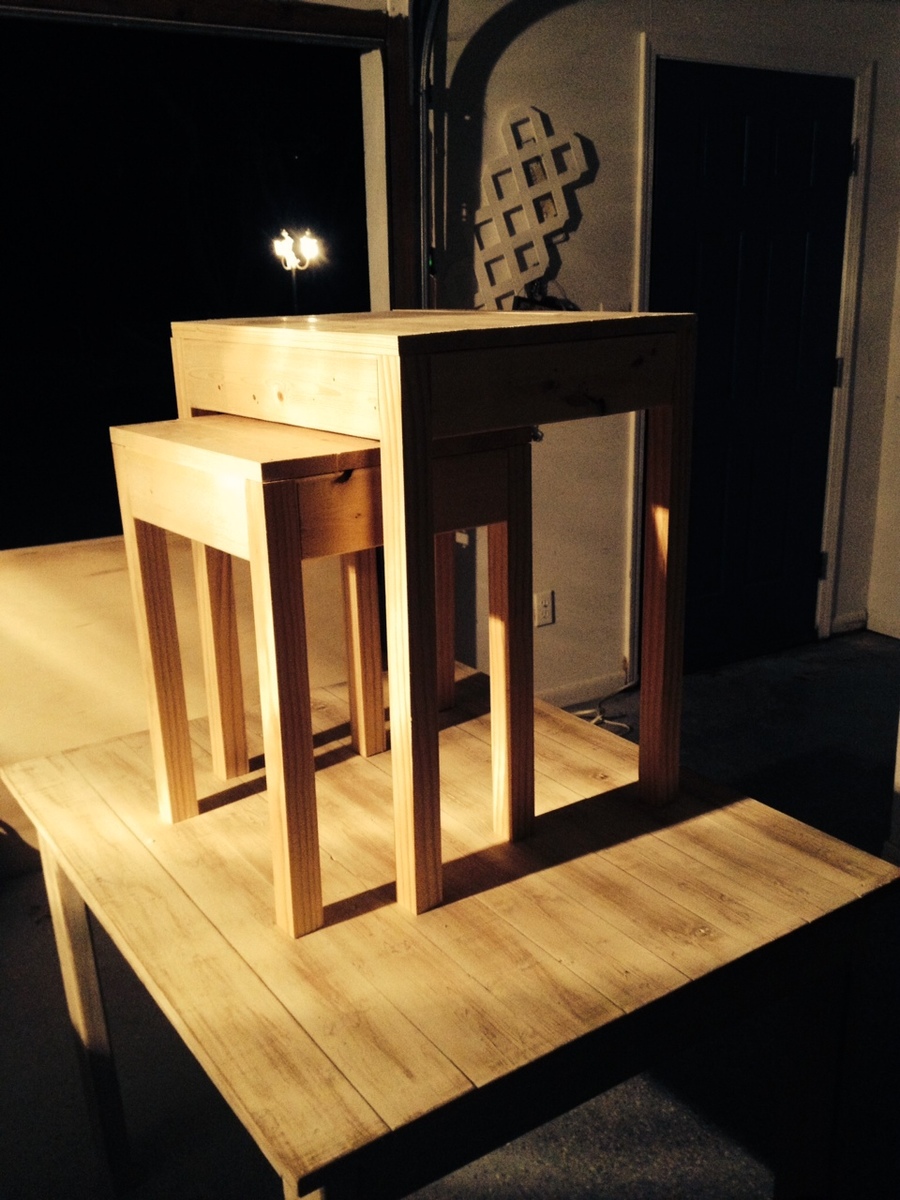
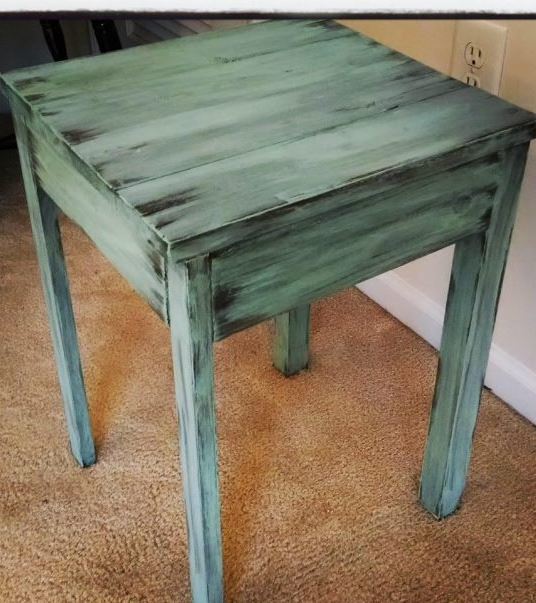
Nesting tables with golden oak stain and poly on top. The last pic of the small table made with 1x2's for 2 legs and 2x2's for the other 2. Distressed by my daughter Kimberly.
Fun project that my son and our next soon to be baby will enjoy for a long time. Plans were very easy to fallow and easy to build.
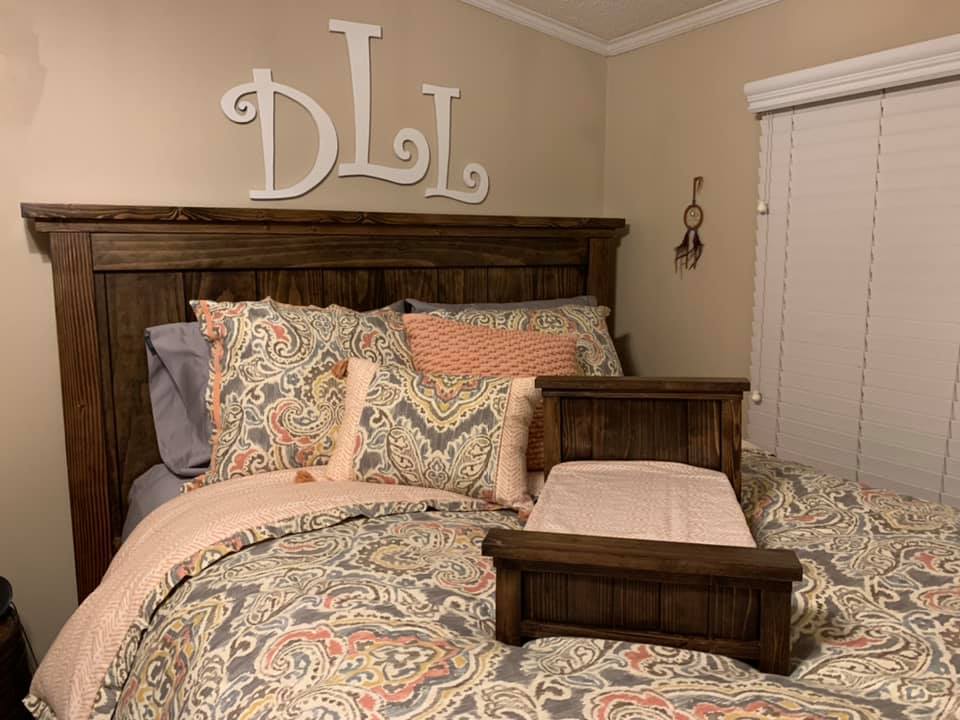
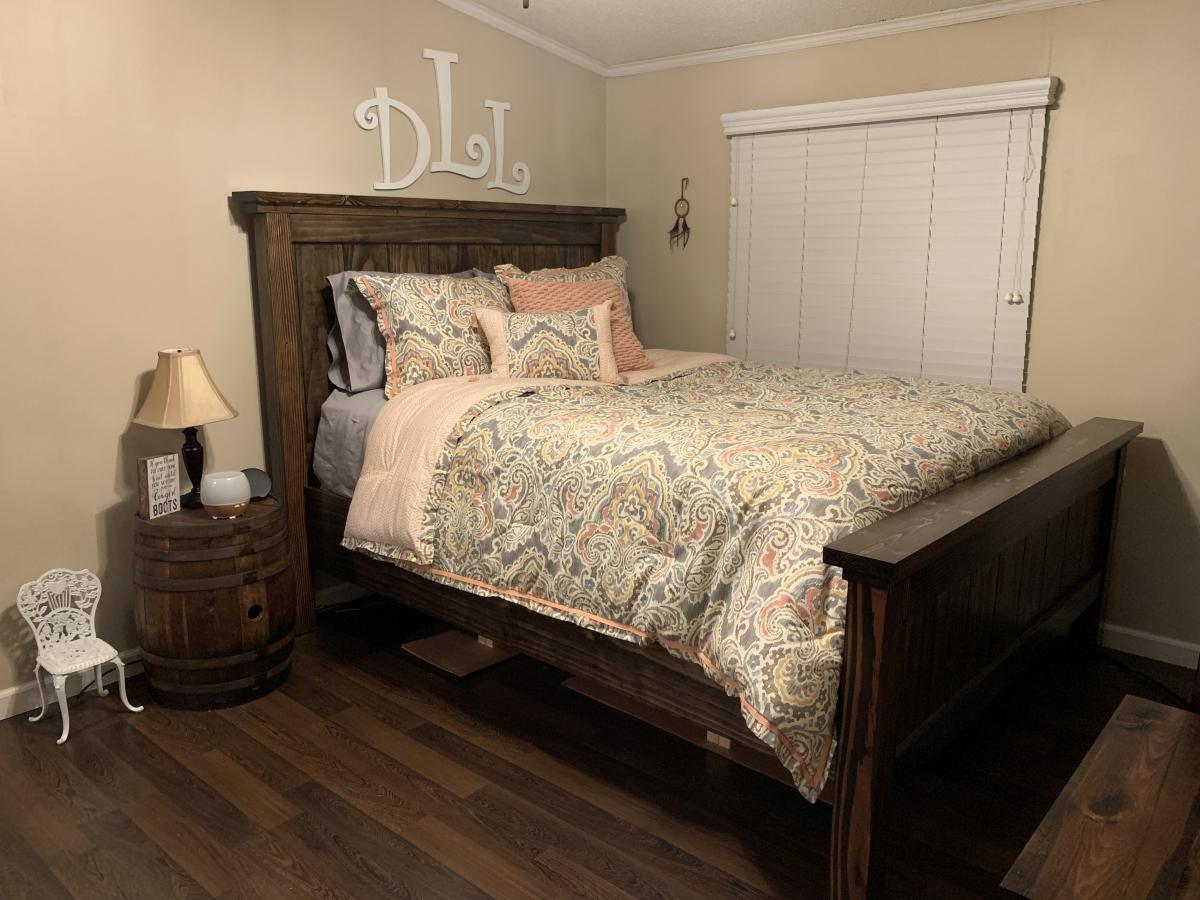
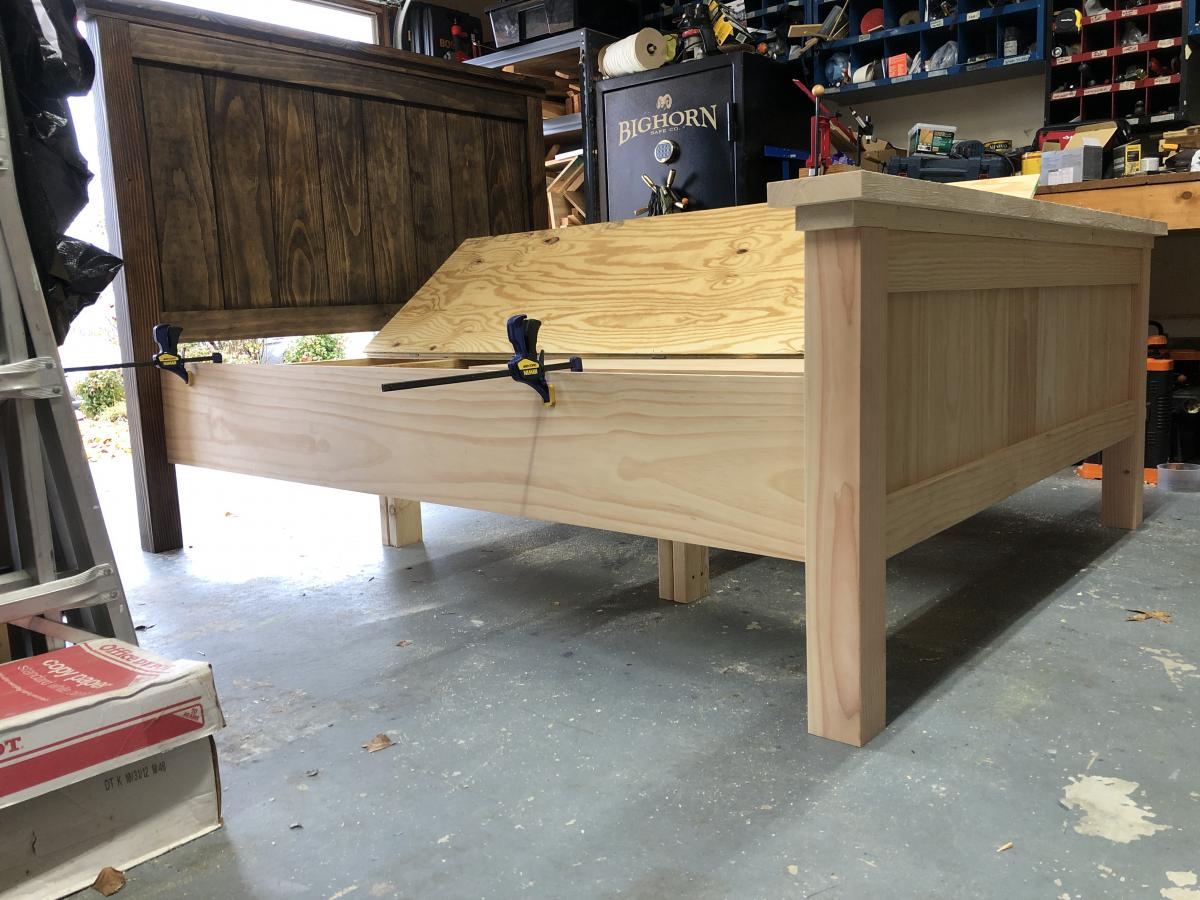
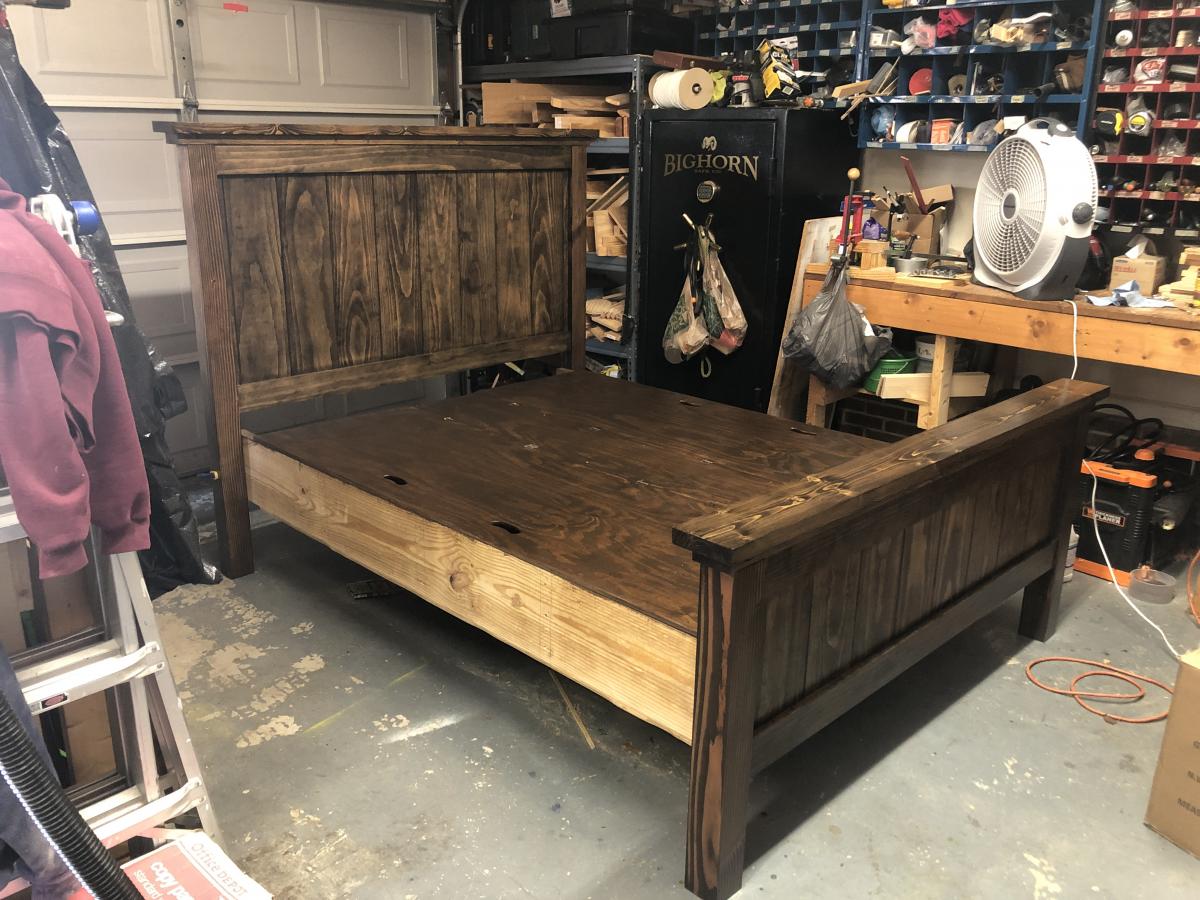
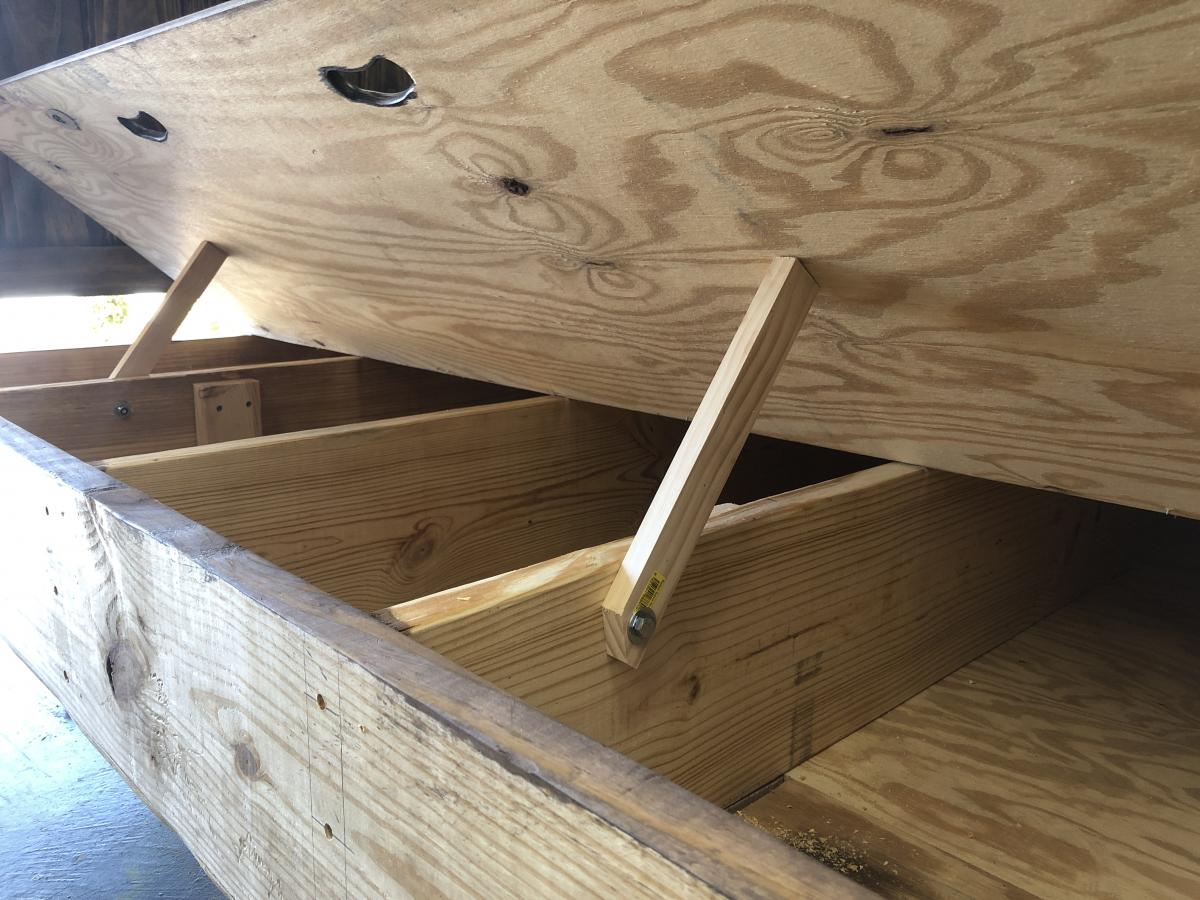
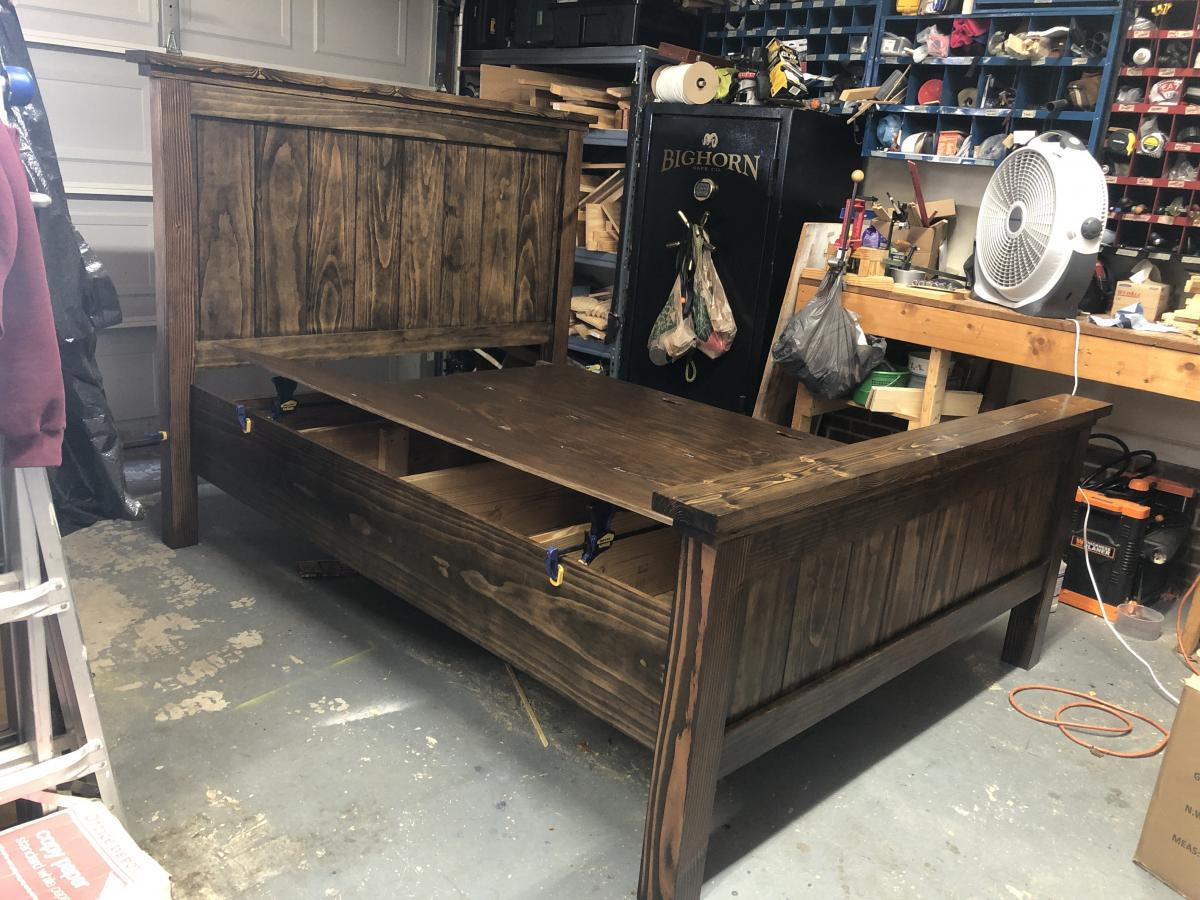
I built this queen size Farm House bed using the basic instructions from Ana's Plans. I wanted hidden storage underneath, so I altered the bed support. The bed opens on both sides for easy access. The bed box is pretty heavy so i want to make sure the weight was self supported. i went back in a stained the feet so you cannot see them. I also made a matching Farmhouse Doll Bed using Ana's plans!!
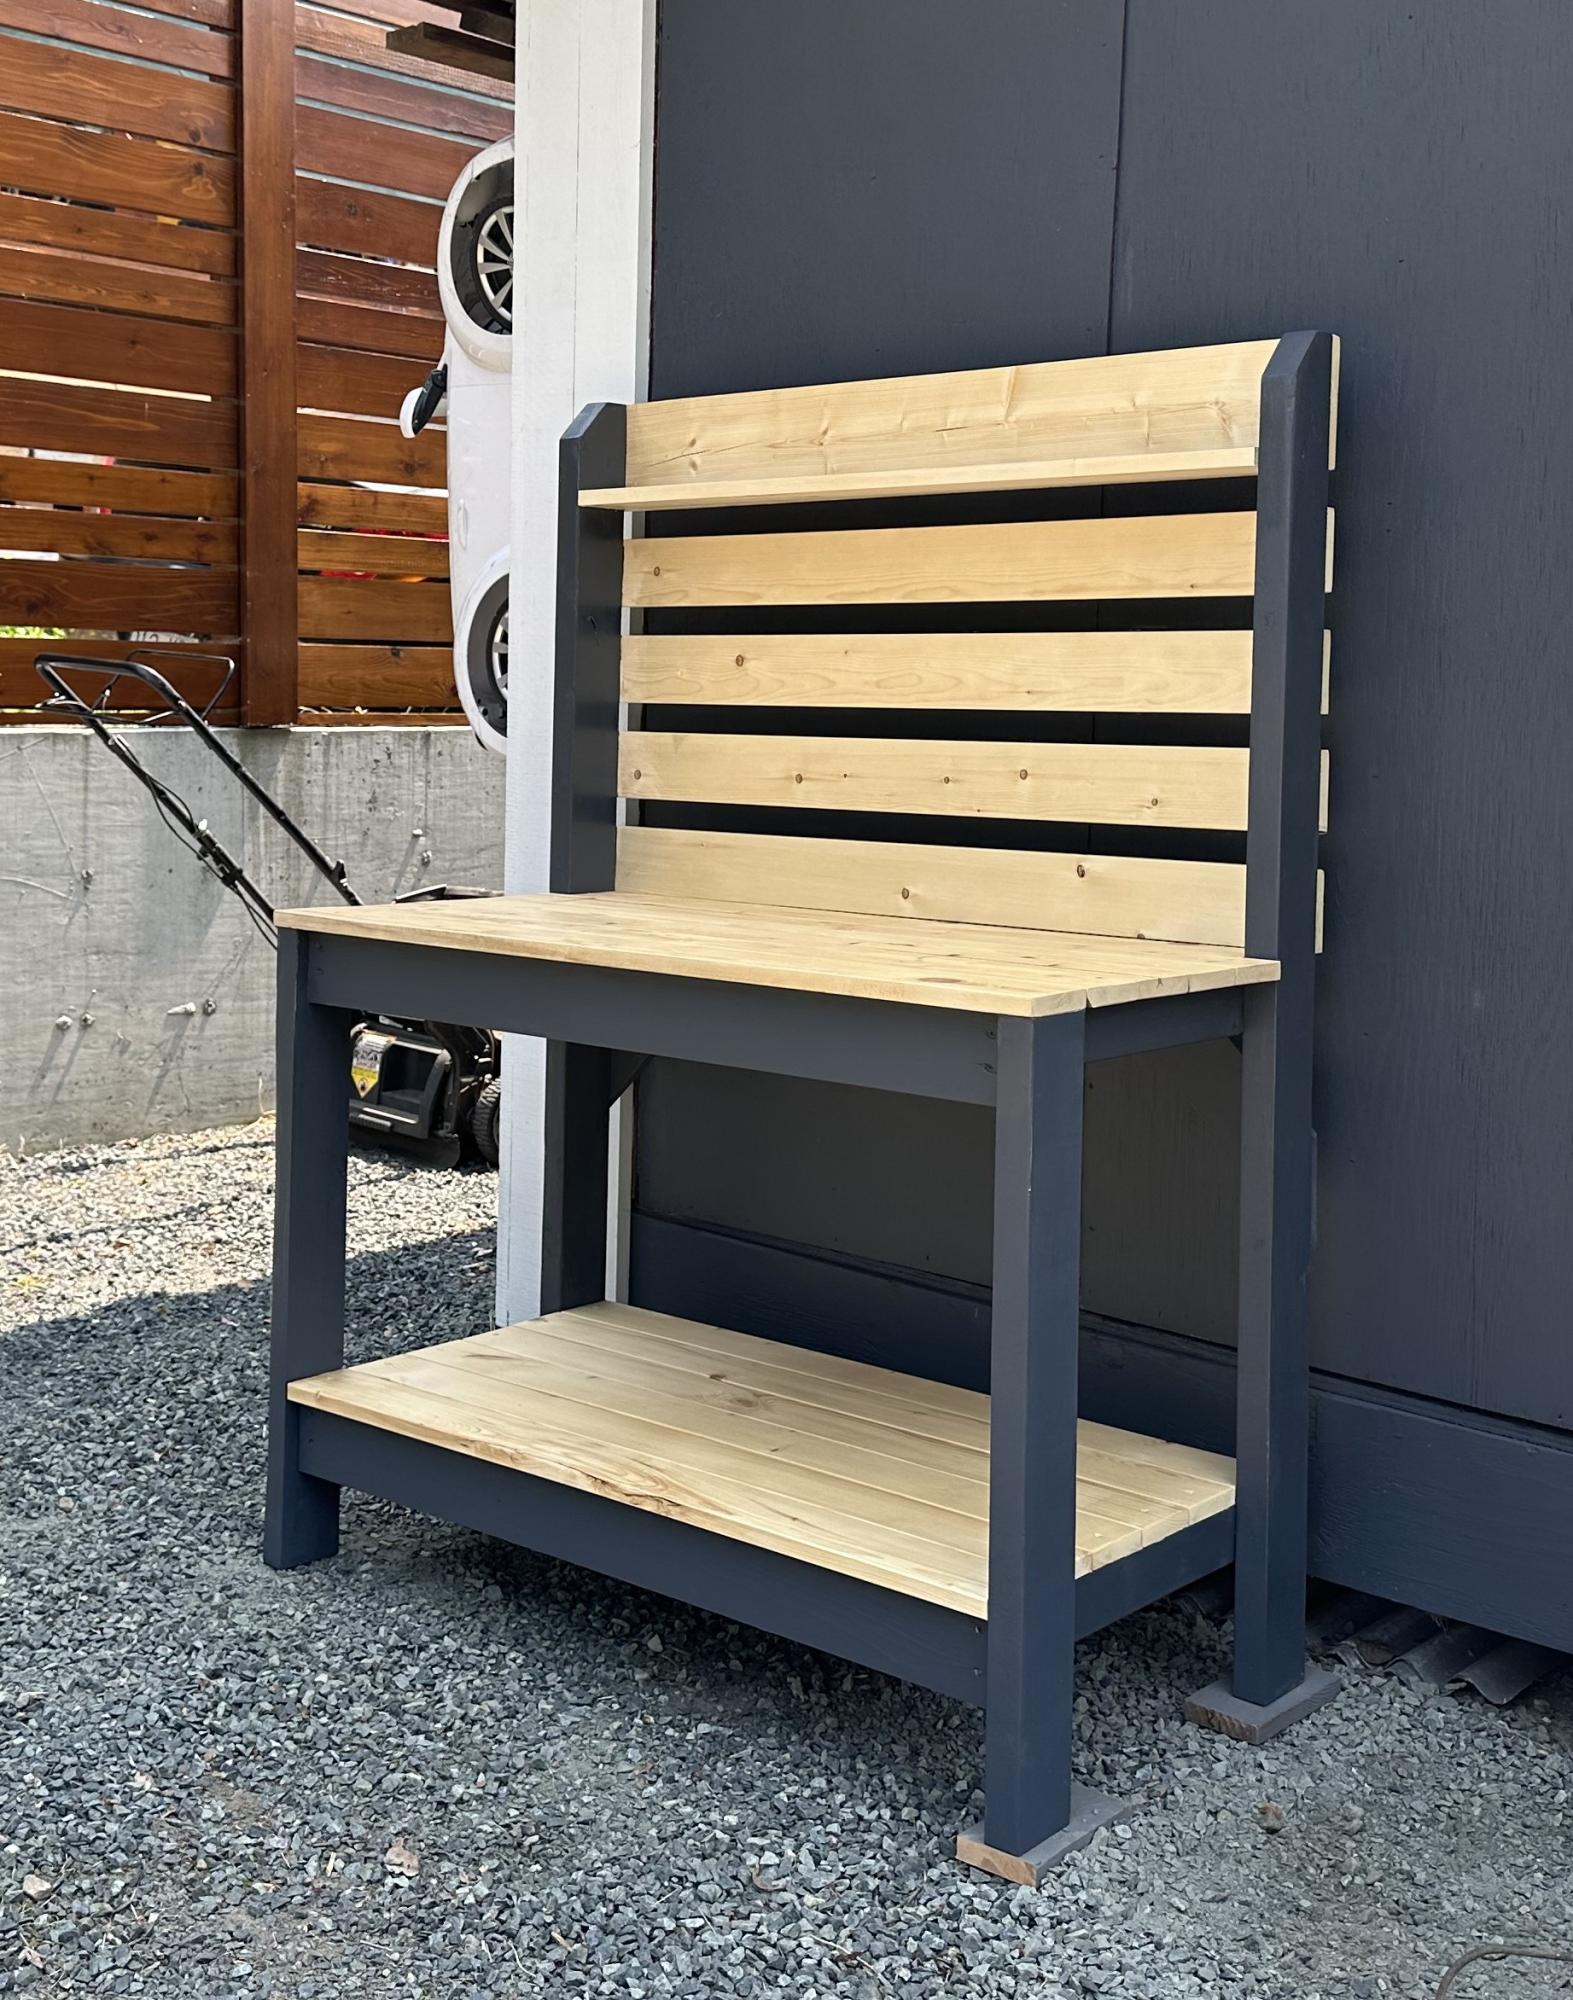
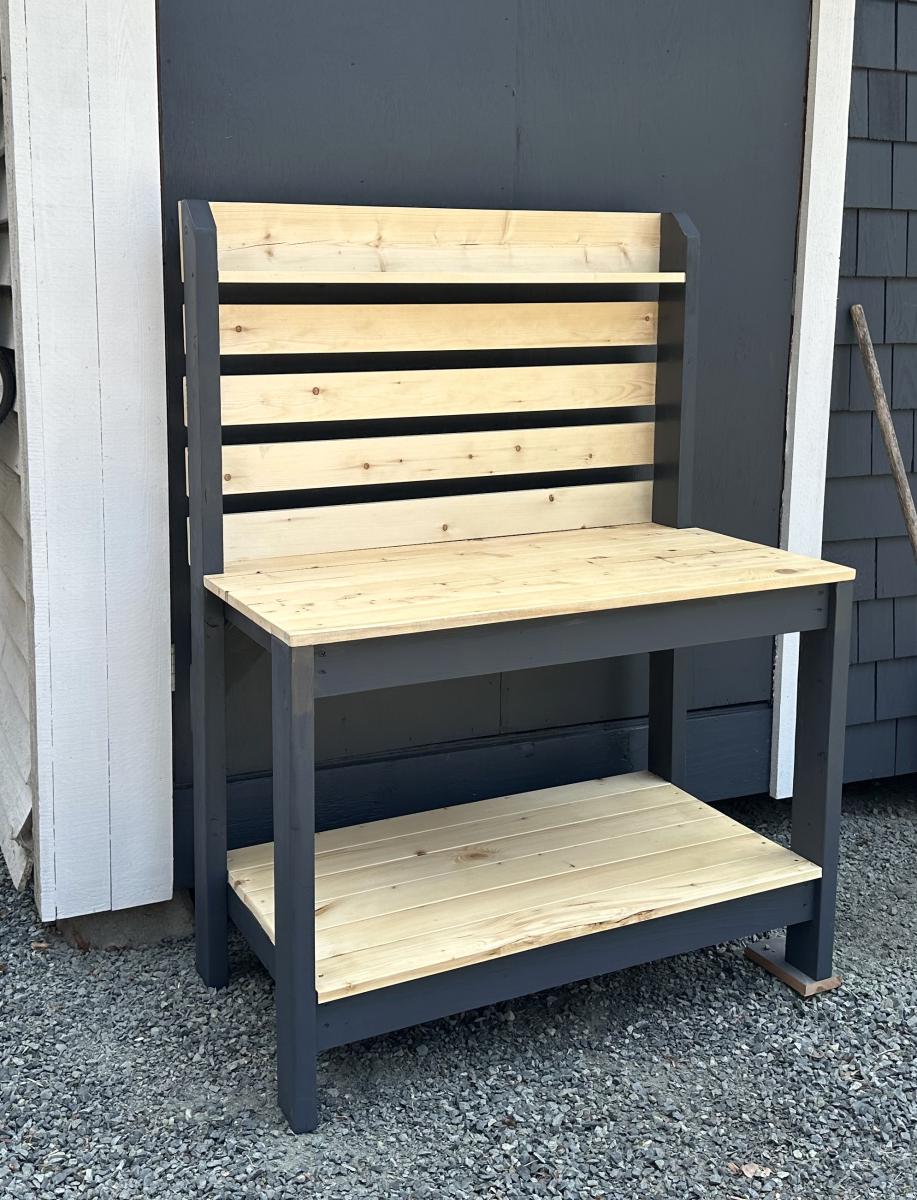
I was tired of having potting plants and soil stacked up at the end of my driveway taking away from the aesthetic of the gardens so I built myself a potting stand. I love the two tone although I wish I decided on the colours prior to assembling. It would have saved me a lot of masking.
Mary Wikene
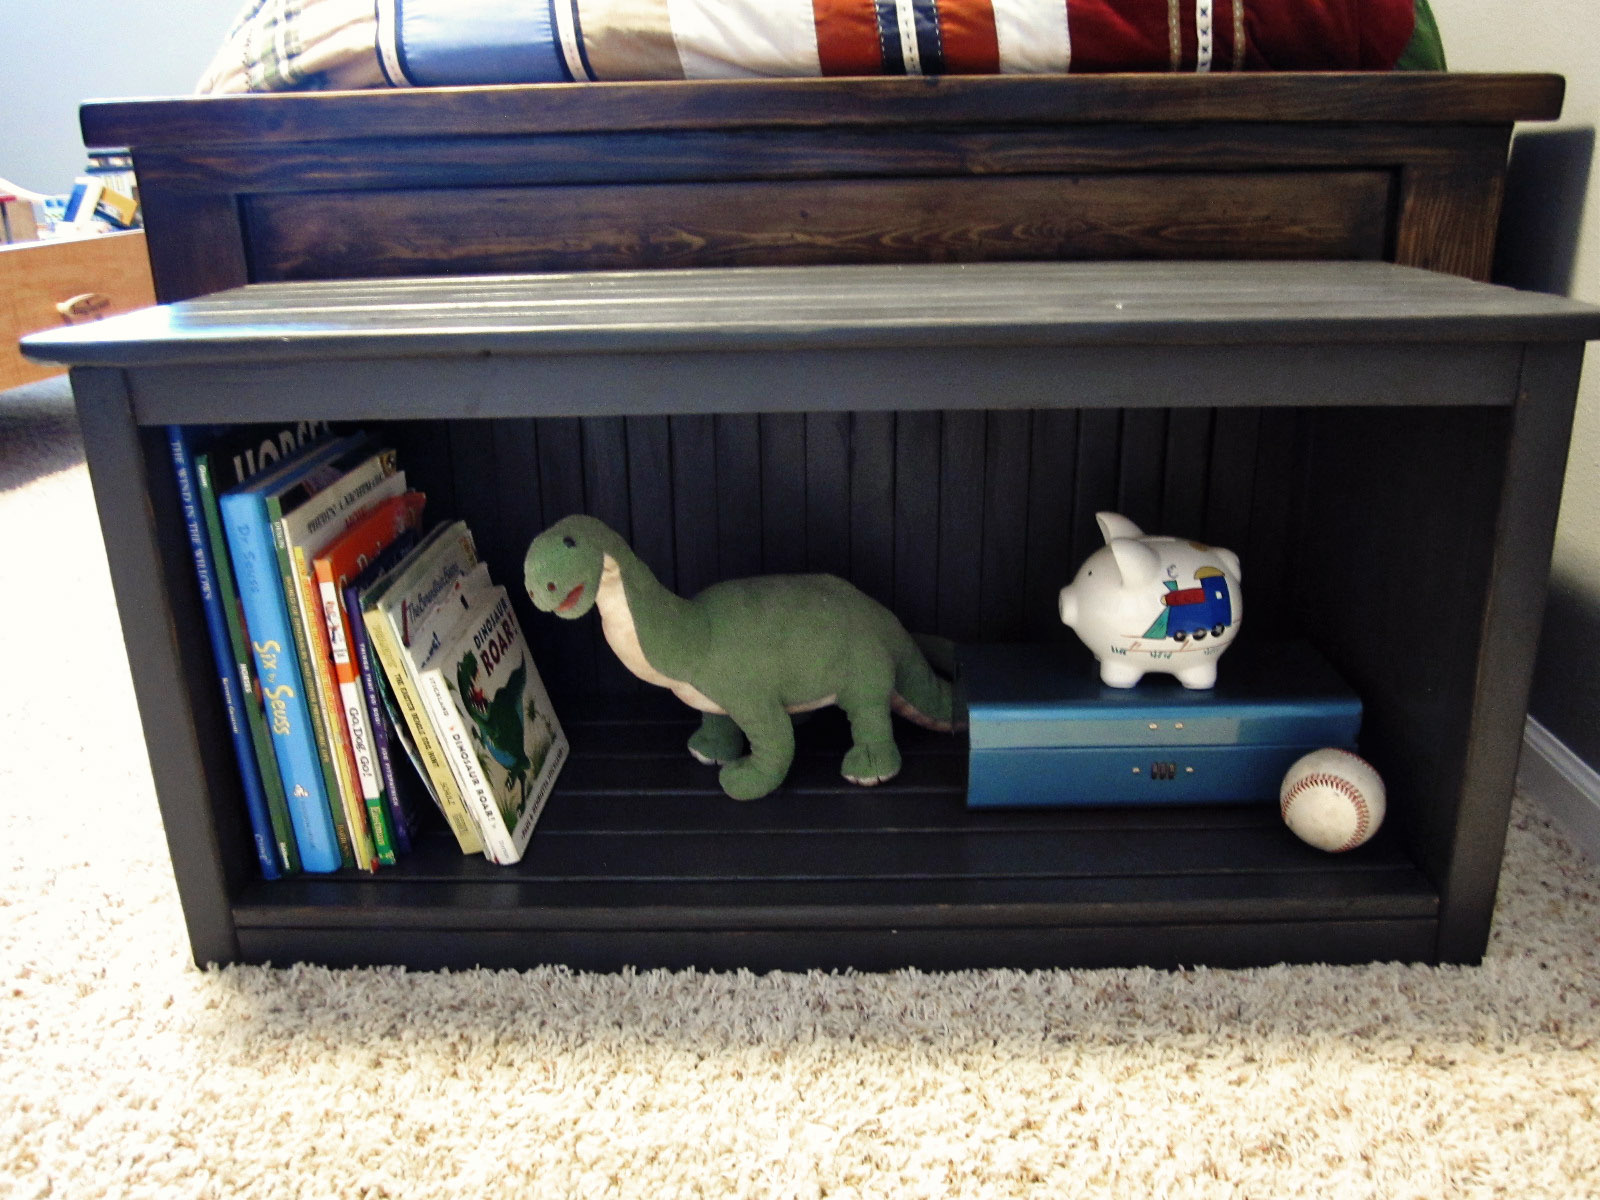
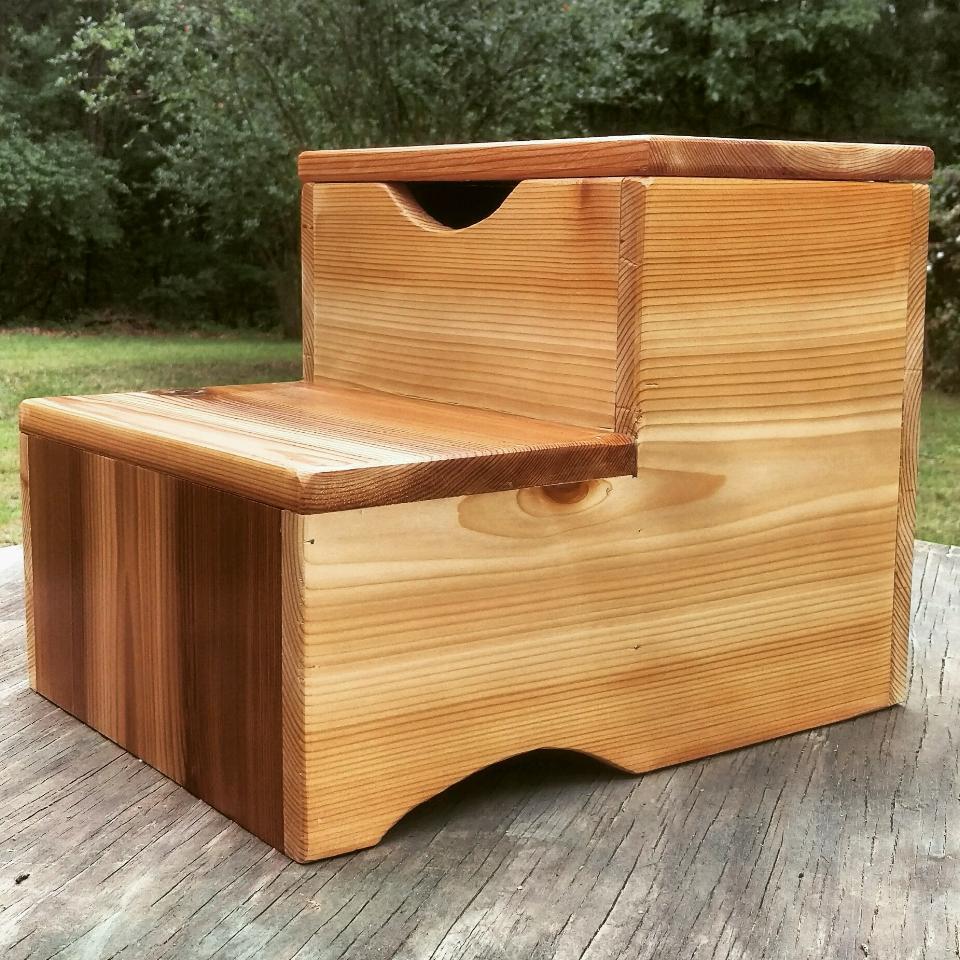
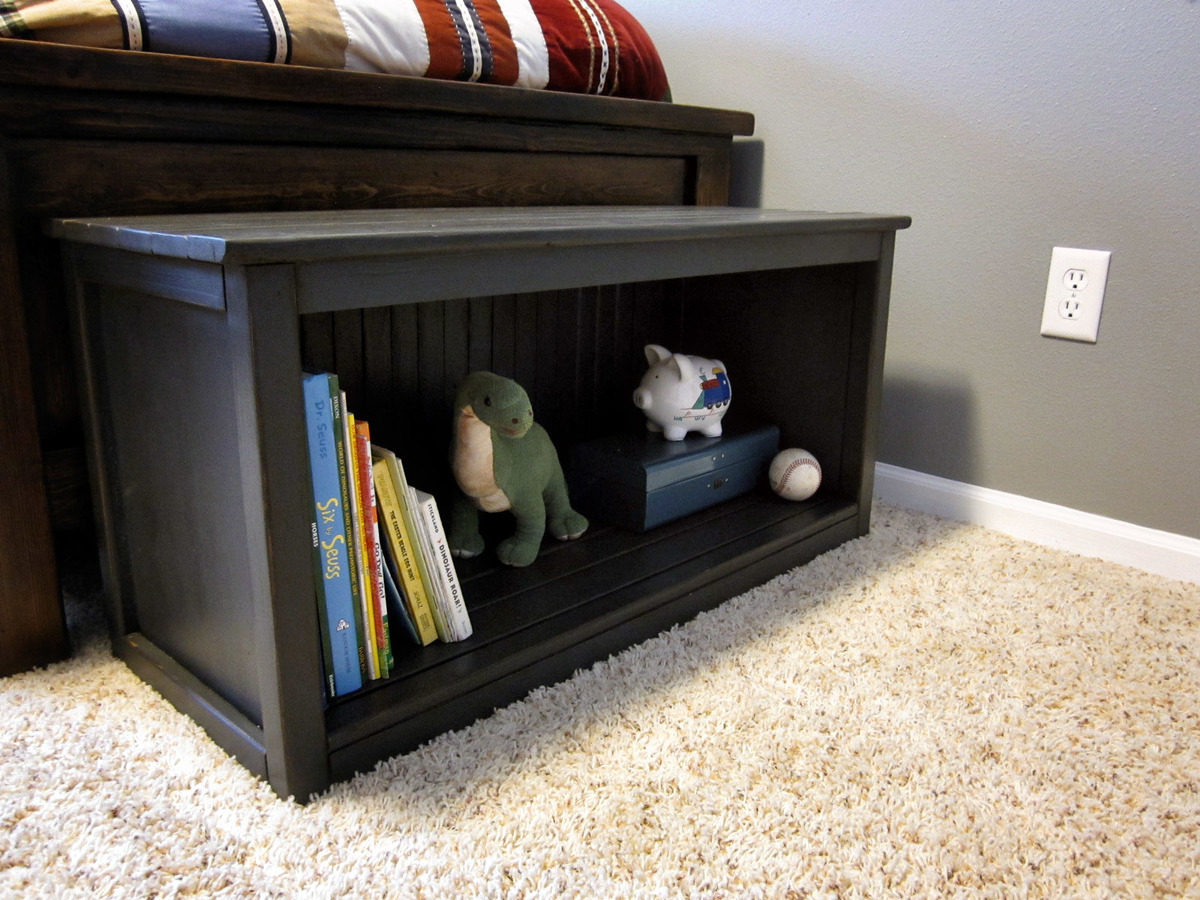
I'd been wanting to add a piece of furniture at the end of my son's bed for awhile, but I had a difficult time deciding on what exactly to do. Not only did I want it to be something he could sit on, but also I wanted to add some extra storage. We had thought of a trunk but the idea of little fingers getting pinched made that idea a little scary. I turned to Ana-white's website for help. I didn't find exactly what I wanted, but I did get some inspiration from the new Kentwood Bookshelf. It's constructed the same way but with some sizing adjustments.

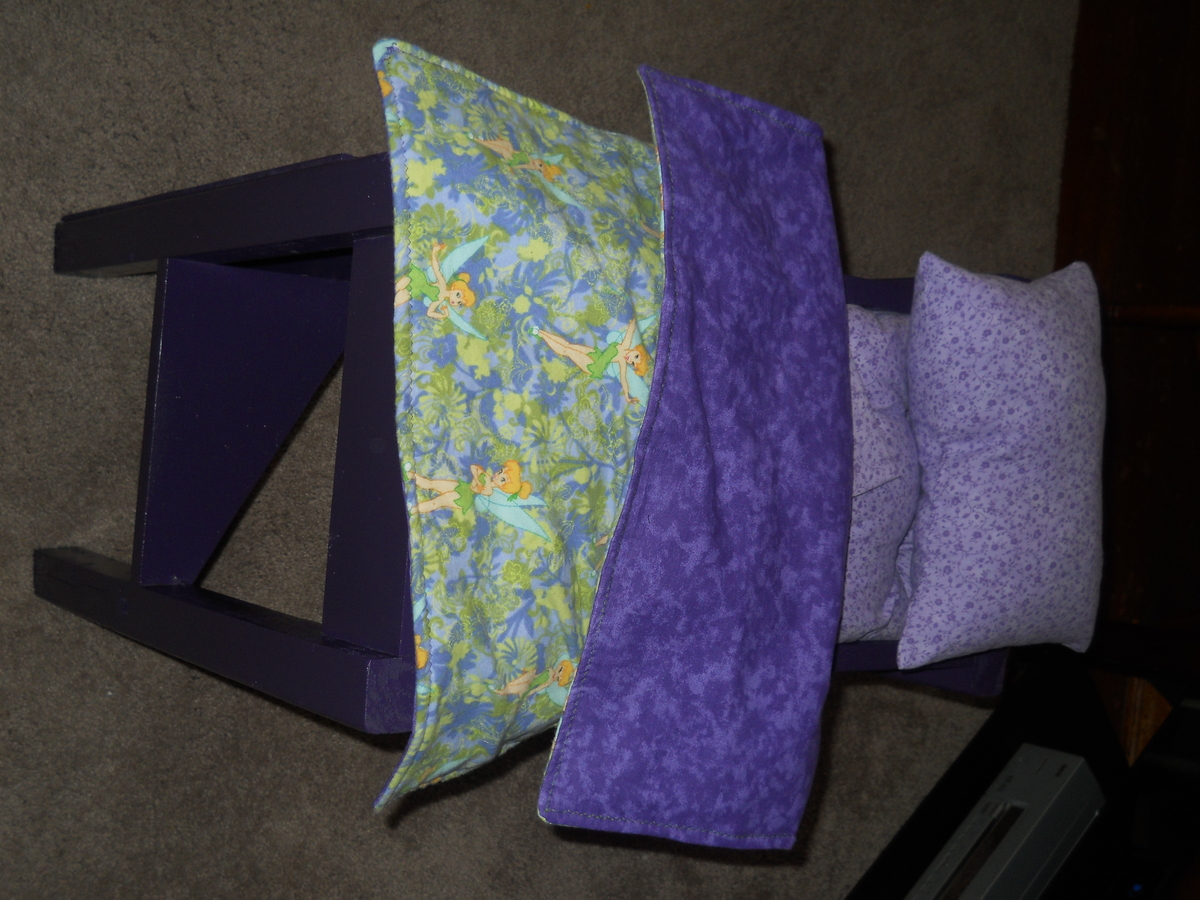
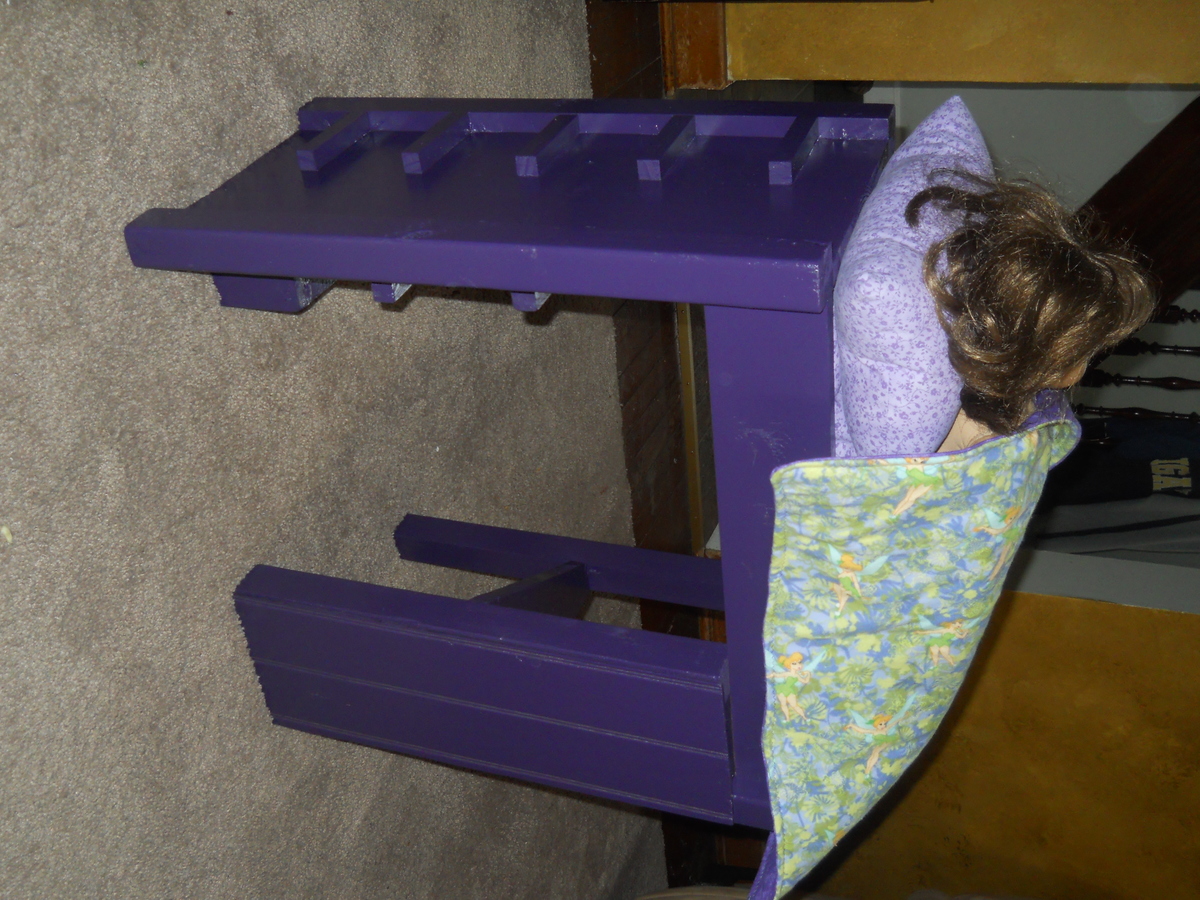
I made this for a grand-daughter for Christmas and followed the McKenna Doll plan from the plan catalog . My wife made the pad and quilt from a link on the doll plan site. Made from scraps left over using my Kreg jig and spray painted with a gloss purple, her favorite color. I also made a bulletin board near the desk and added cup hooks for the hangars on the ladder side.
Fun project. It ended up being more time consuming than I had originally planned.
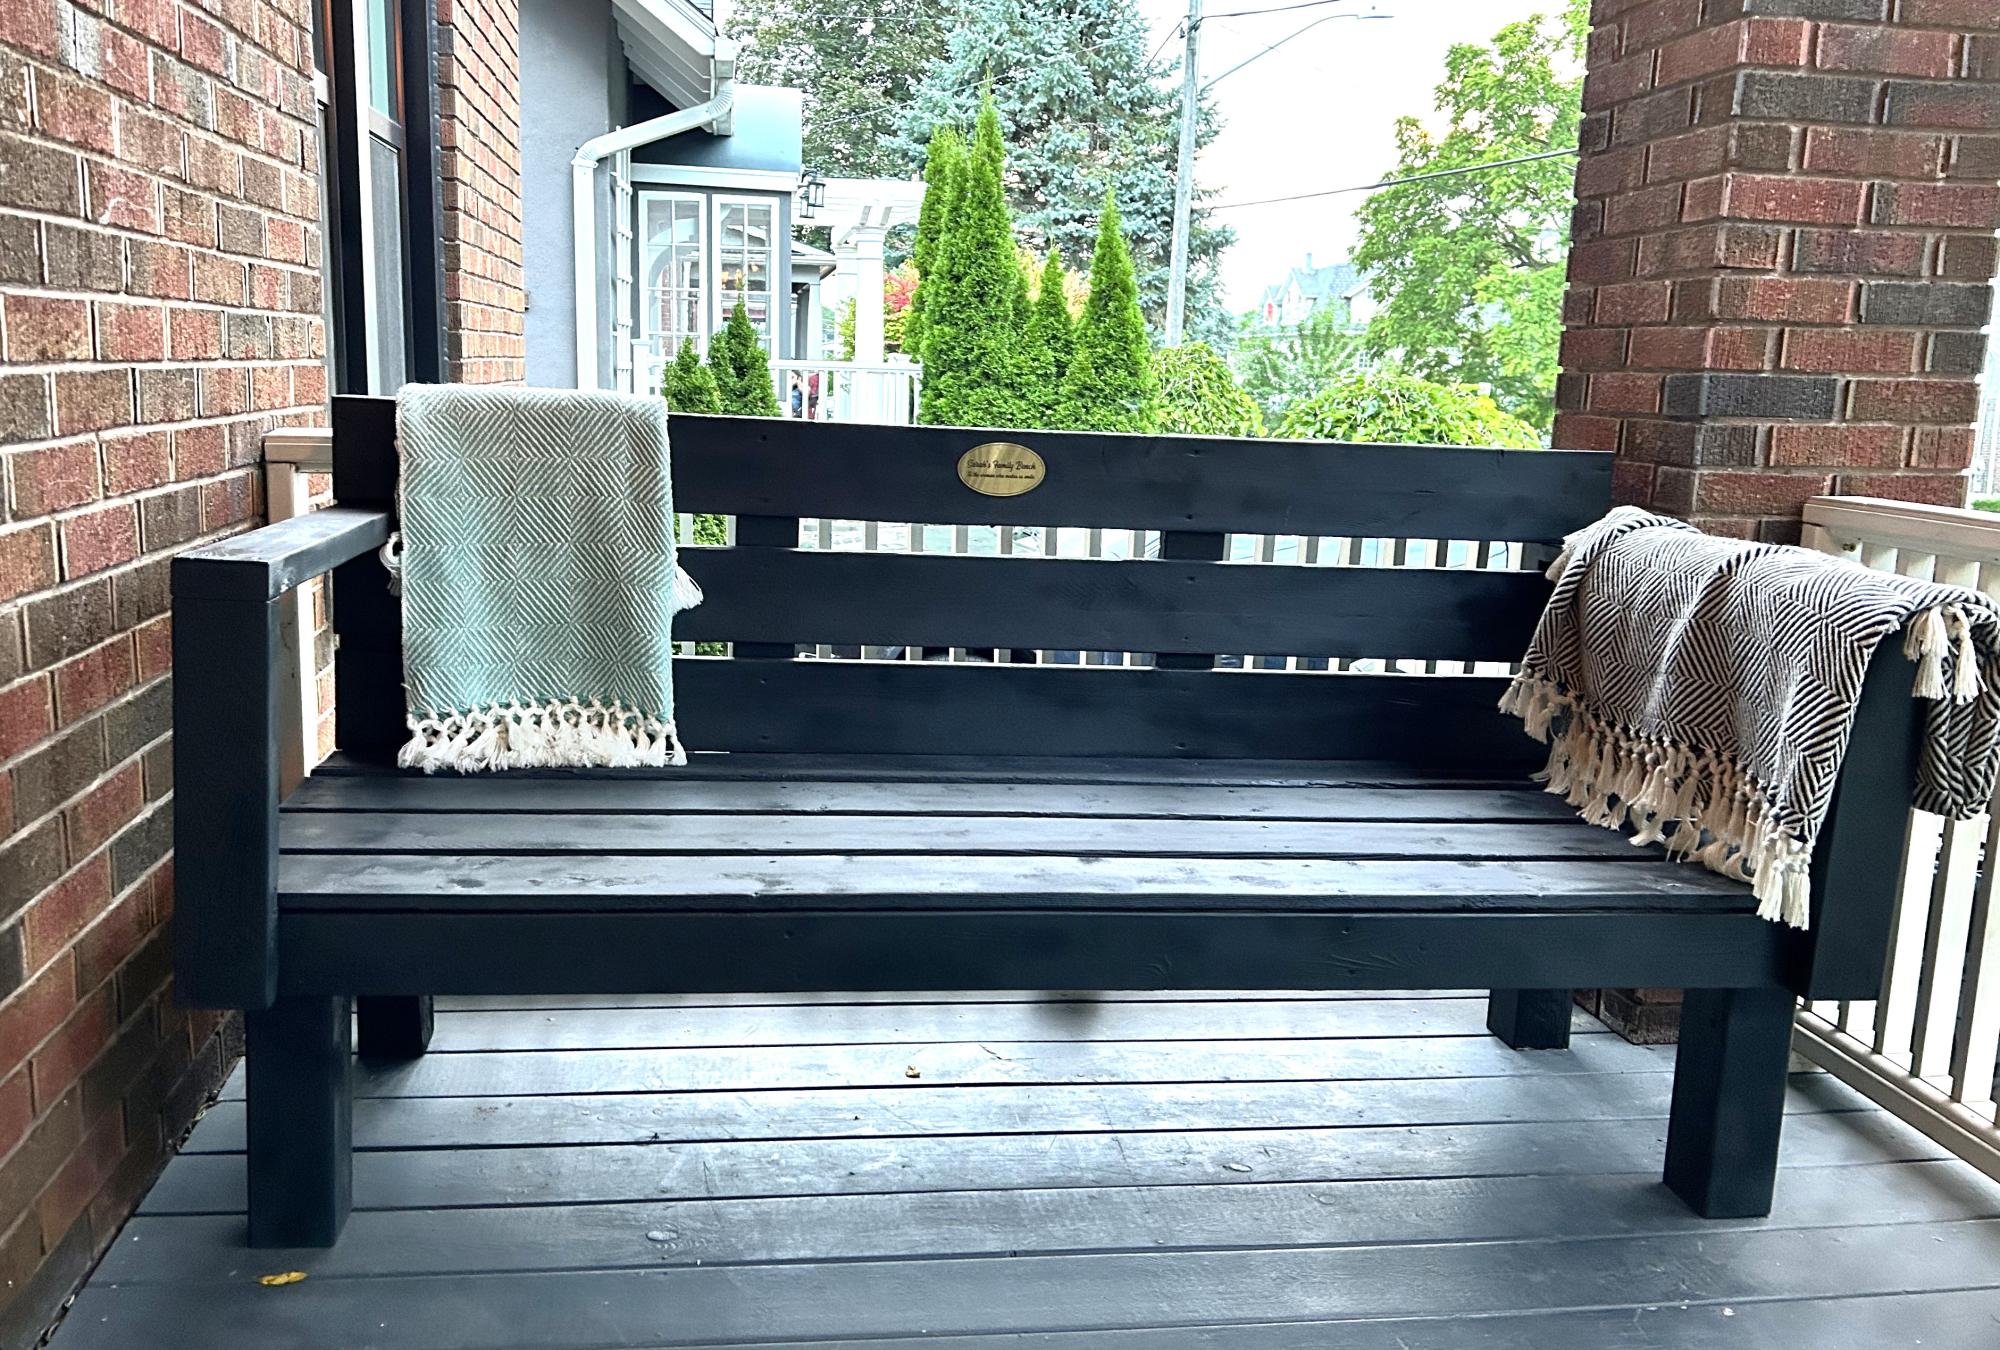
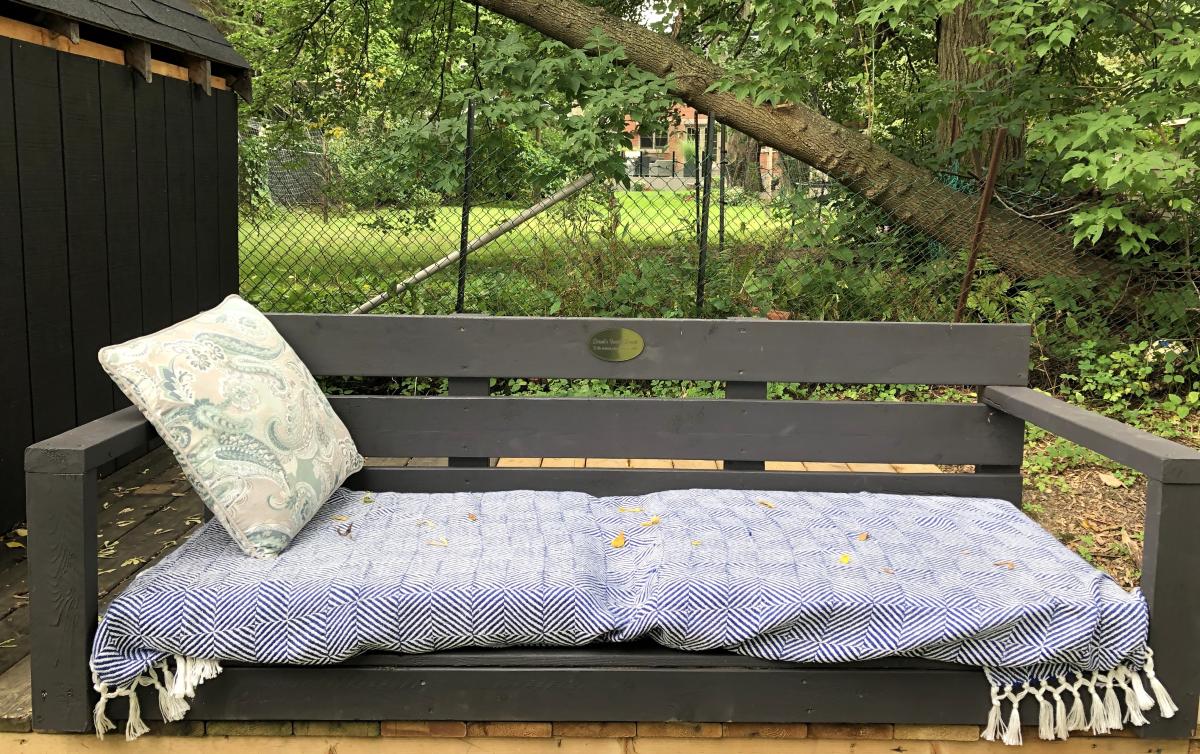
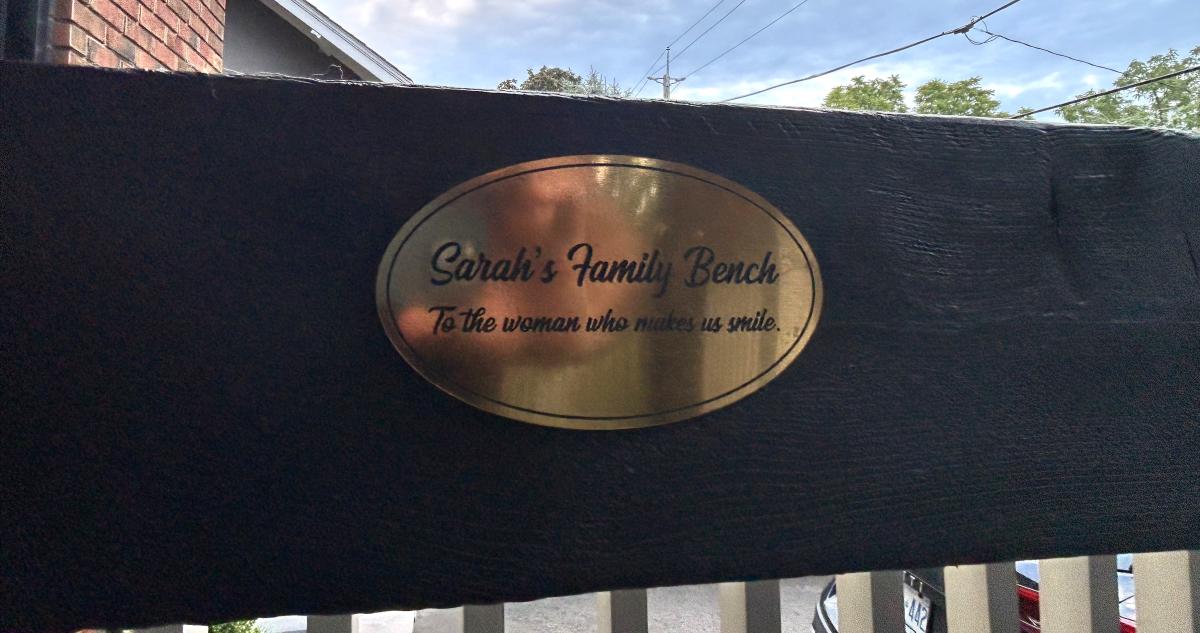
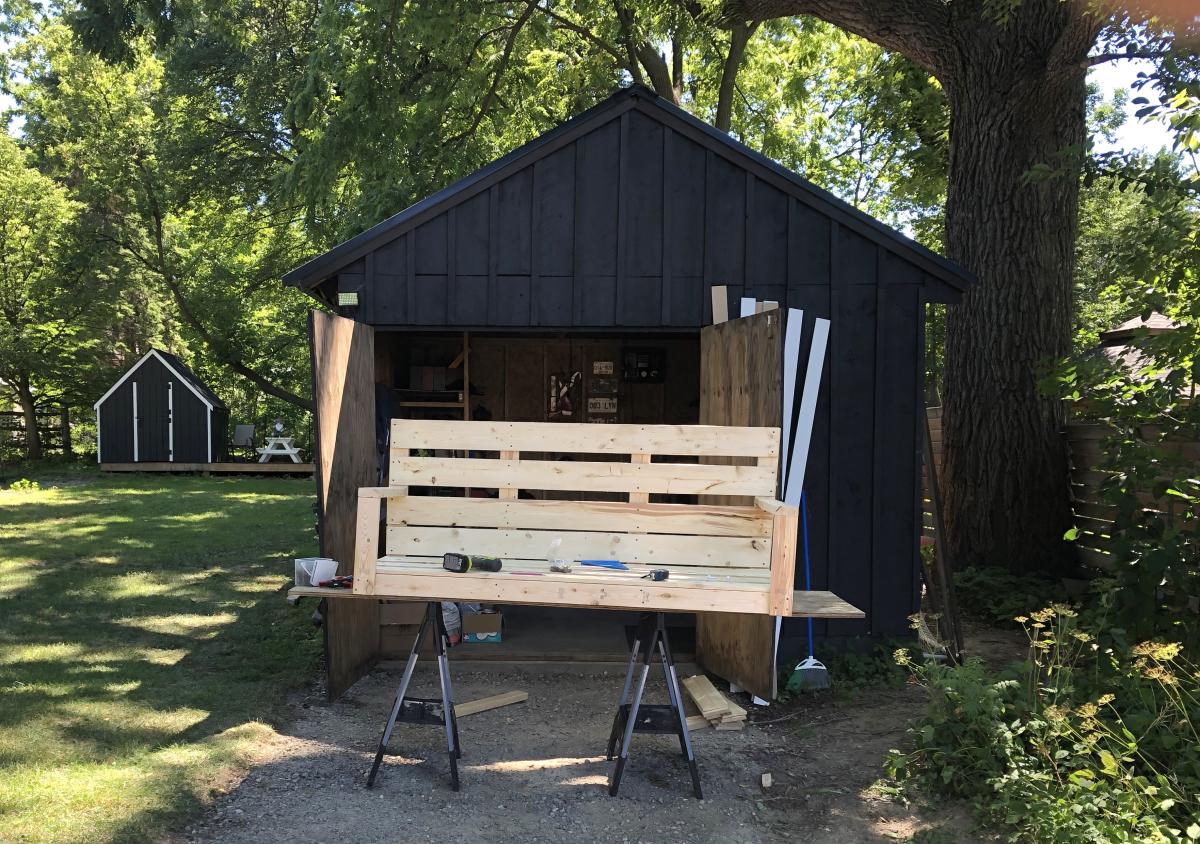
Made my wife a Ana White DIY porch bench for our 10 year wedding anniversary. Had a custom plaque made: Sarah’s Bench.
Looks beauty on our front porch.
Jesse Micak, Ontario, Canada
Wed, 08/30/2023 - 09:55
Beautiful bench and I'm sure your wife loves it! Thanks for sharing.

My princess-loving daughter needed somewhere to keep her collection of dress up outfits, so I made her this 'rolling rack'. Some mods that I made: I routed the edges for some interest and added moulding to the bottom to disguise the casters.
I have been wanted to build this table for over a year and finally had the time for it. The plans made the cuts very simple.
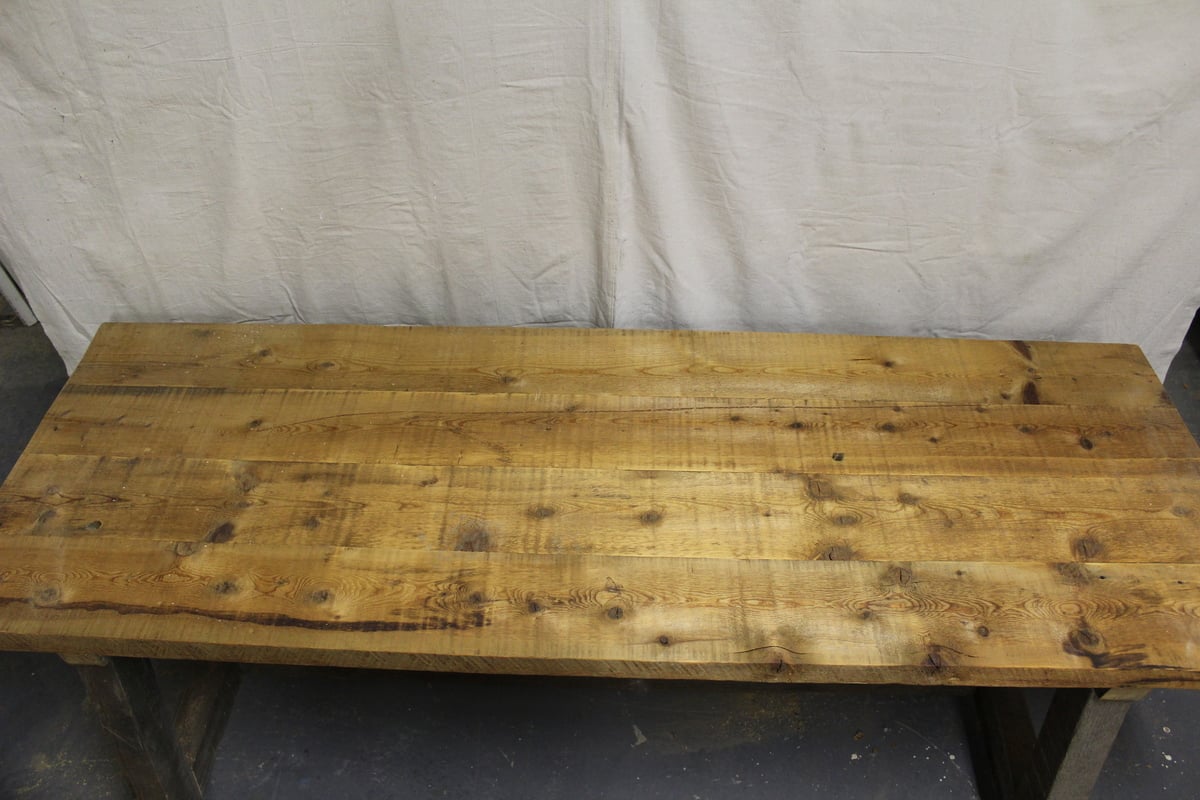
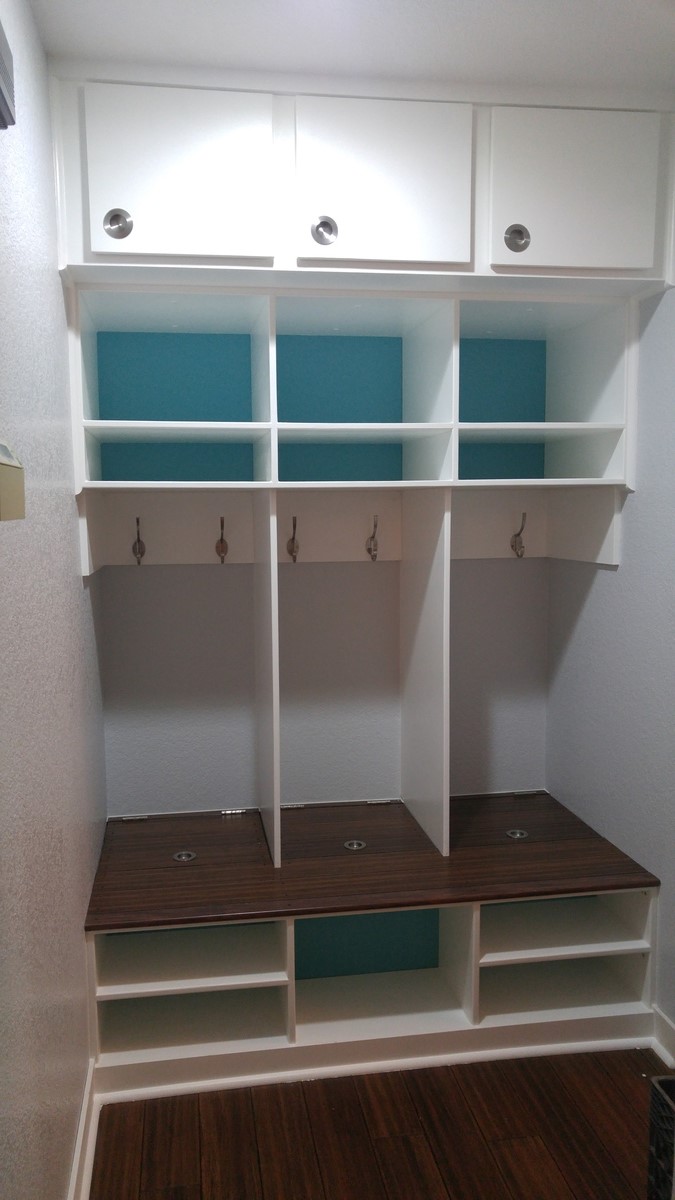
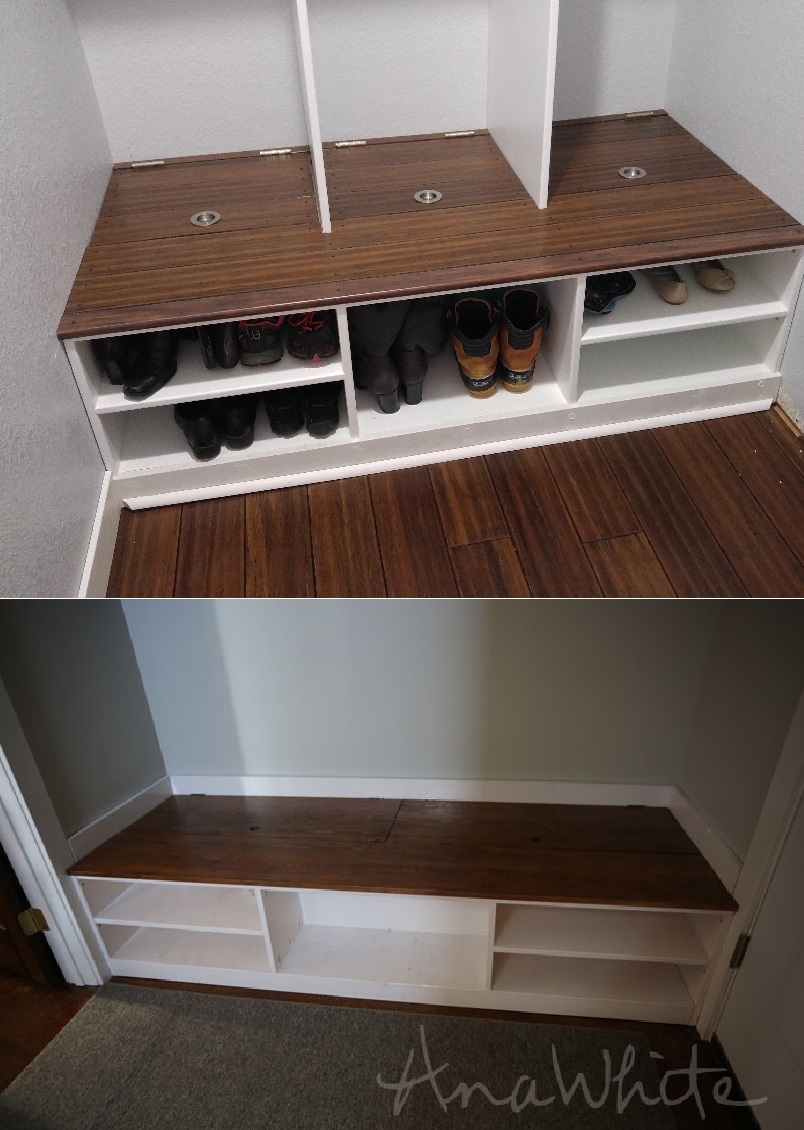
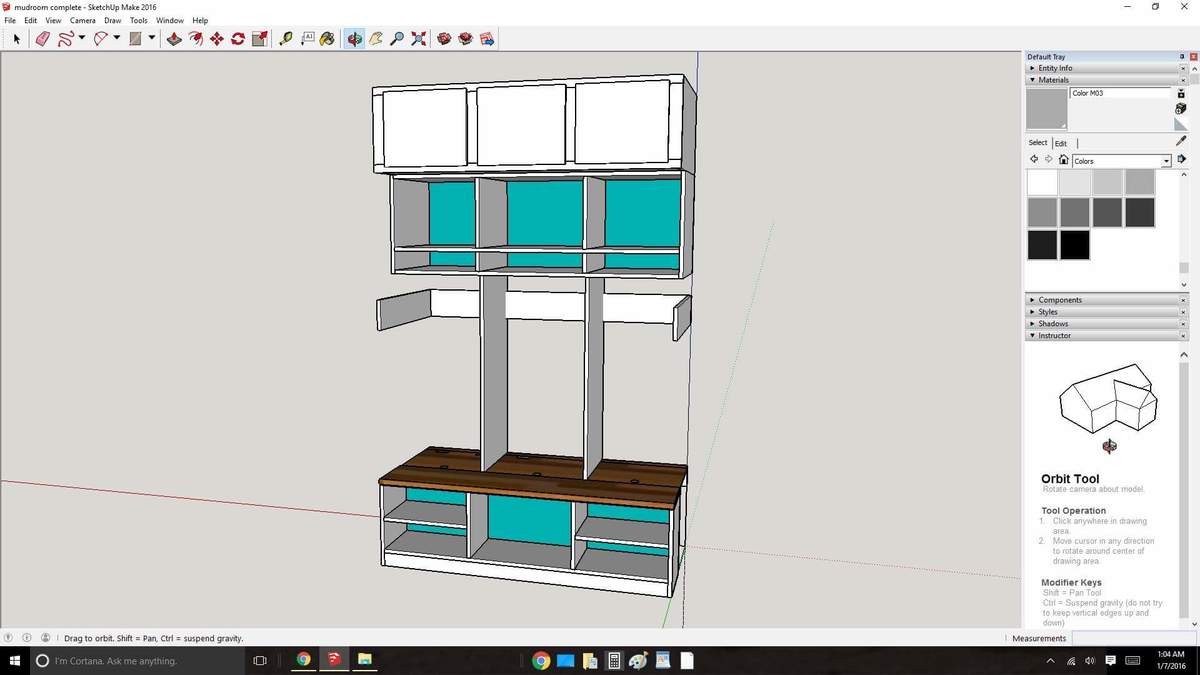
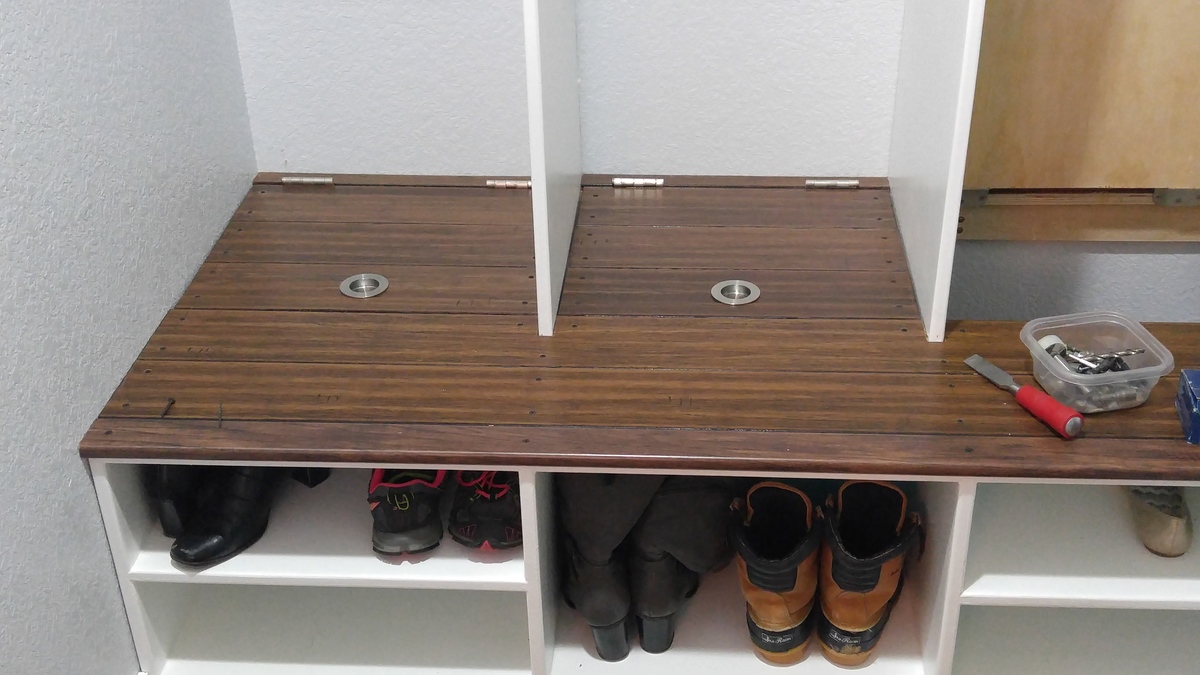
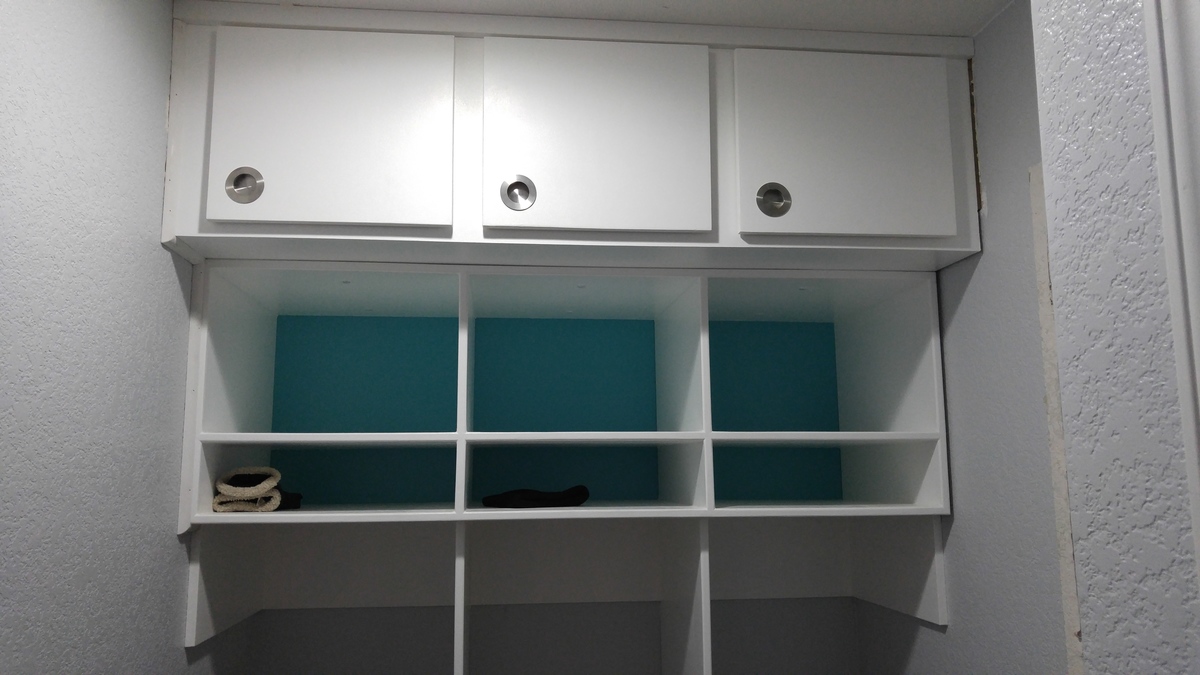
Starting from the Extra Wide Shoe Bench plans, I expanded the upper section considerably. The cabinetry is all cut from hardwood plywood and joined with pocket screws and glue. I don't have a table saw, so a circular saw and straightedge were extensively used.
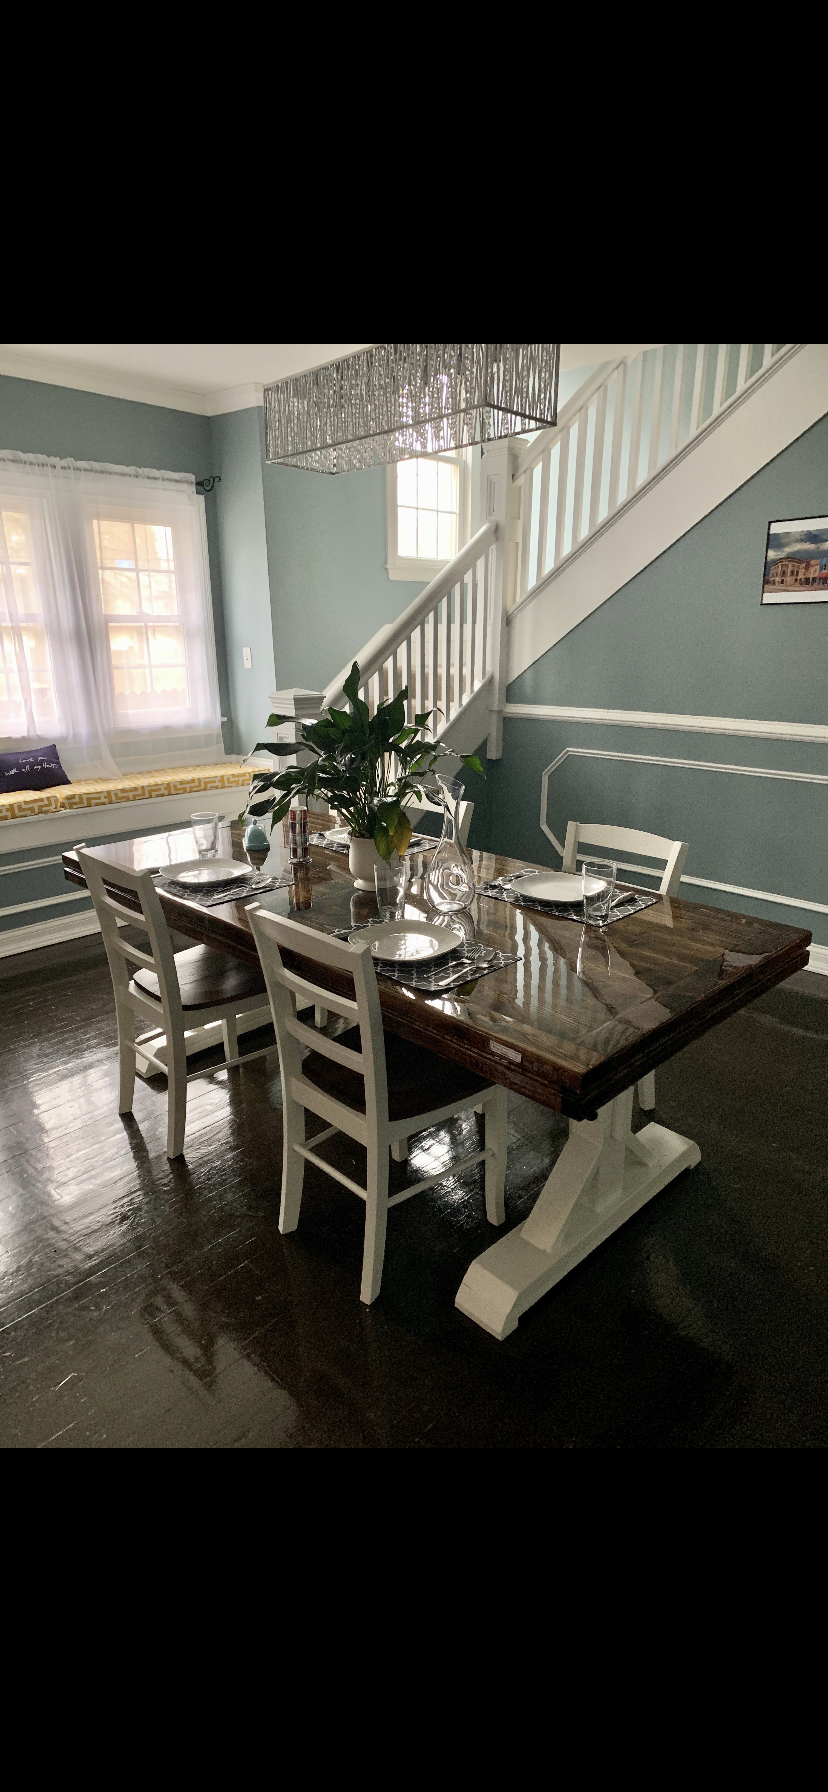
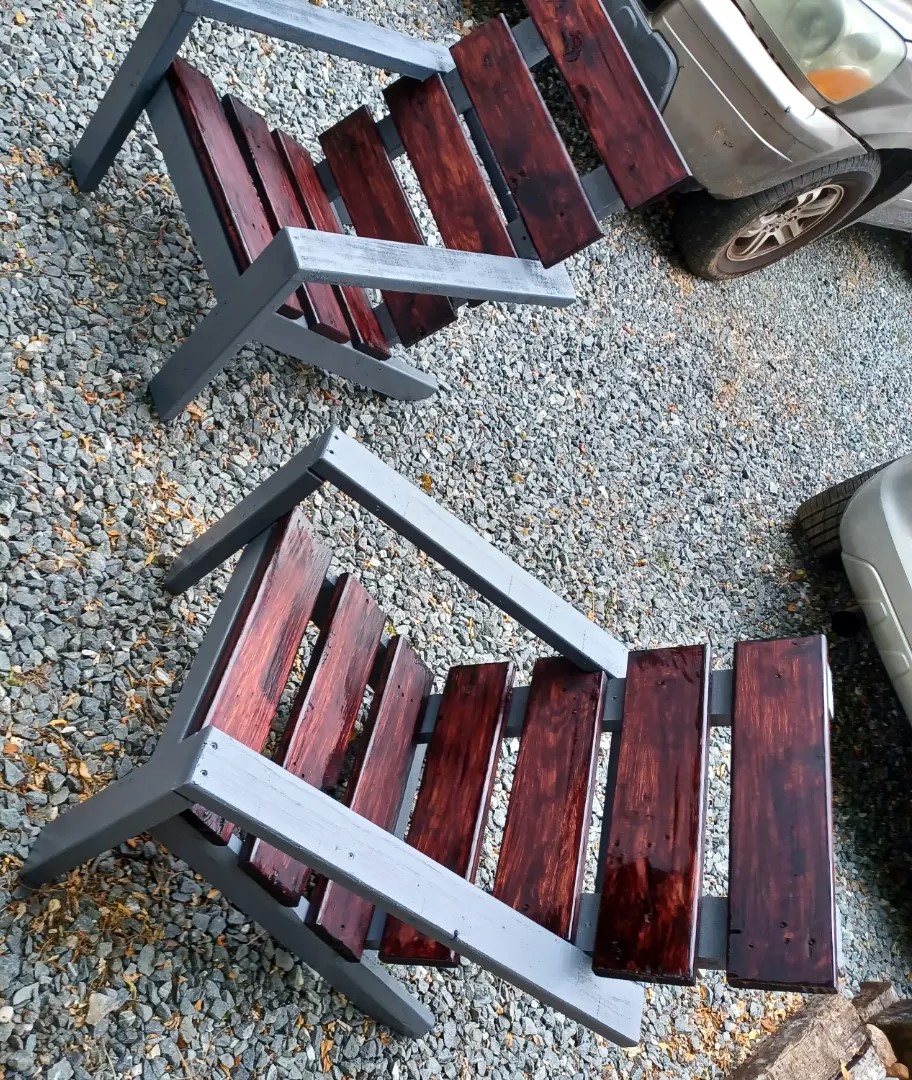
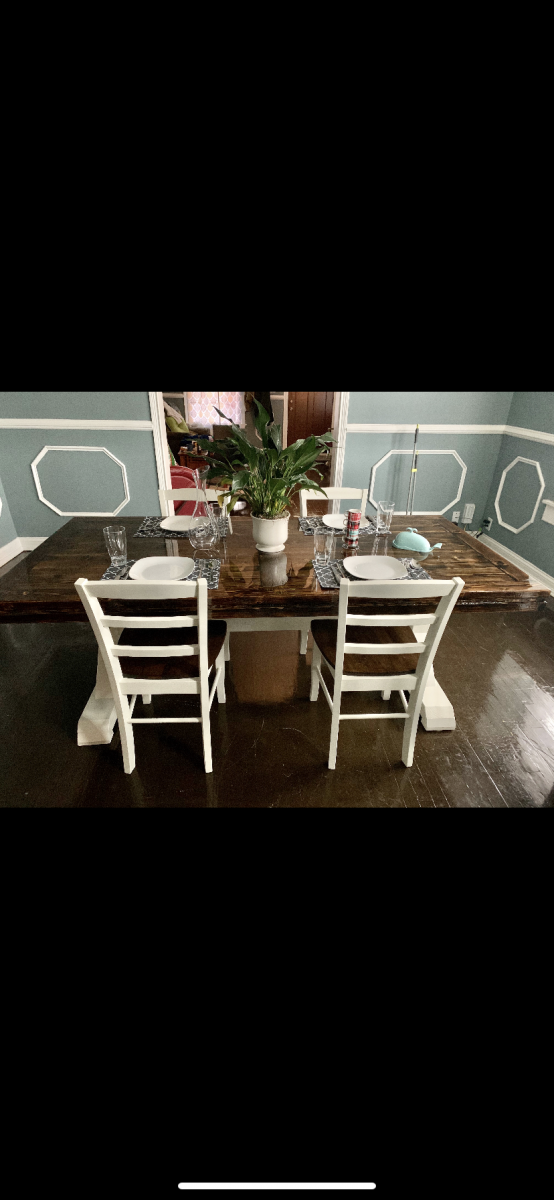
this table and chairs was a joint effort between my lifelong best friend’s son and I, his dad had just recently passed away and it was a good way for us to stay busy and also to help furnish his new house he’d just moved into, we used stock pine 2x and 1x lumber from the big box store and StoneCoat countertops epoxy resin on the table top.This was a lot fun and not too difficult to make and we were super happy with the way this project turned out!
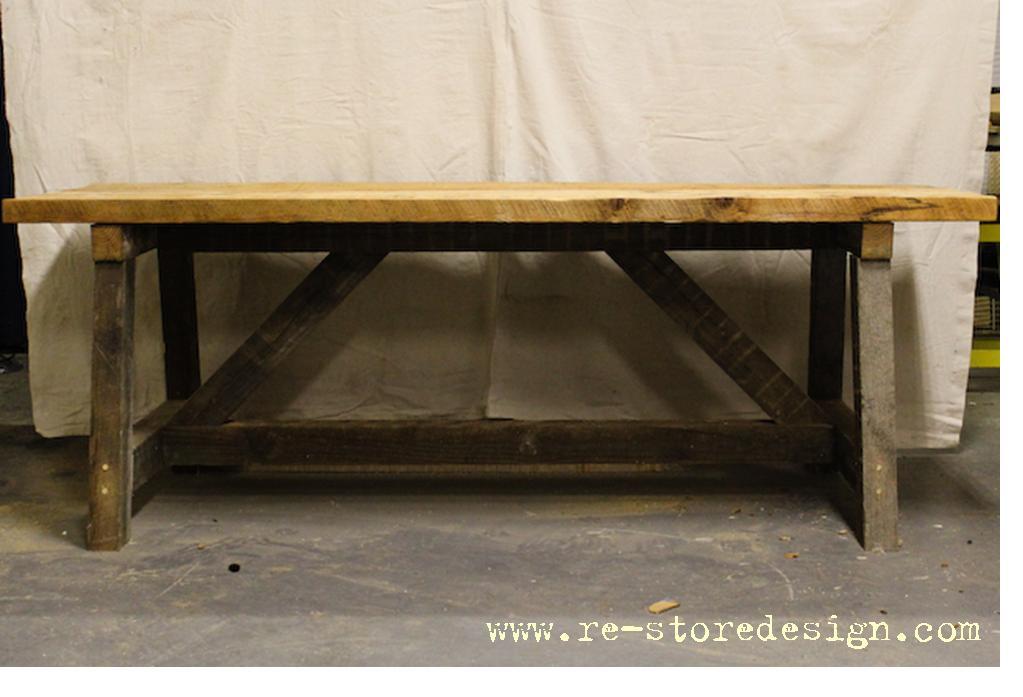
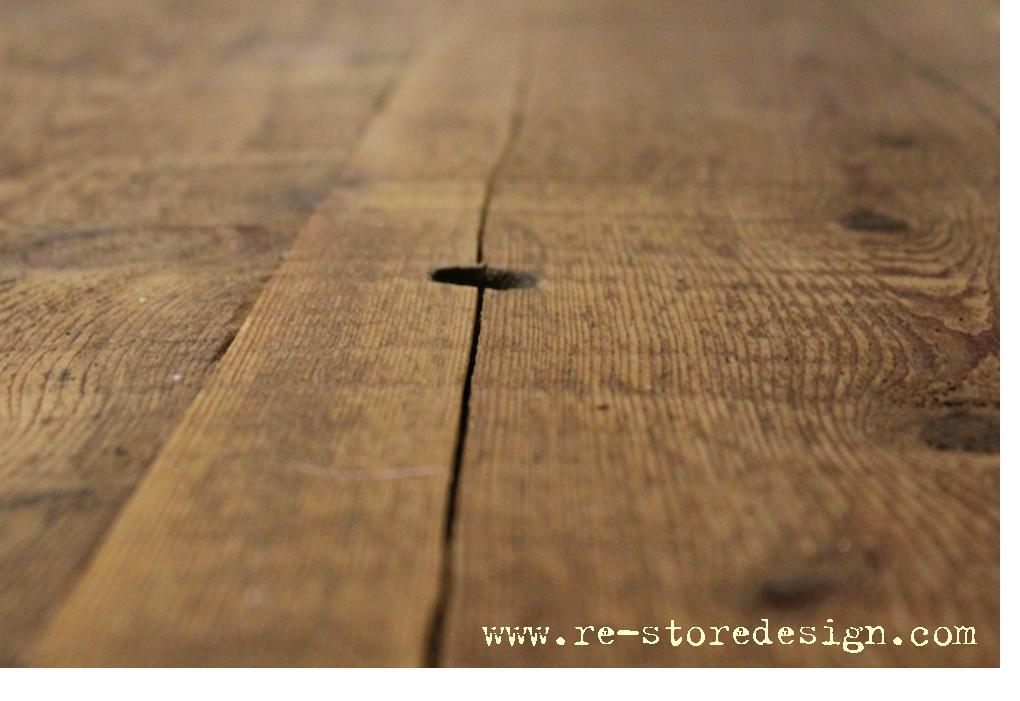
Reclaimed wood projects.