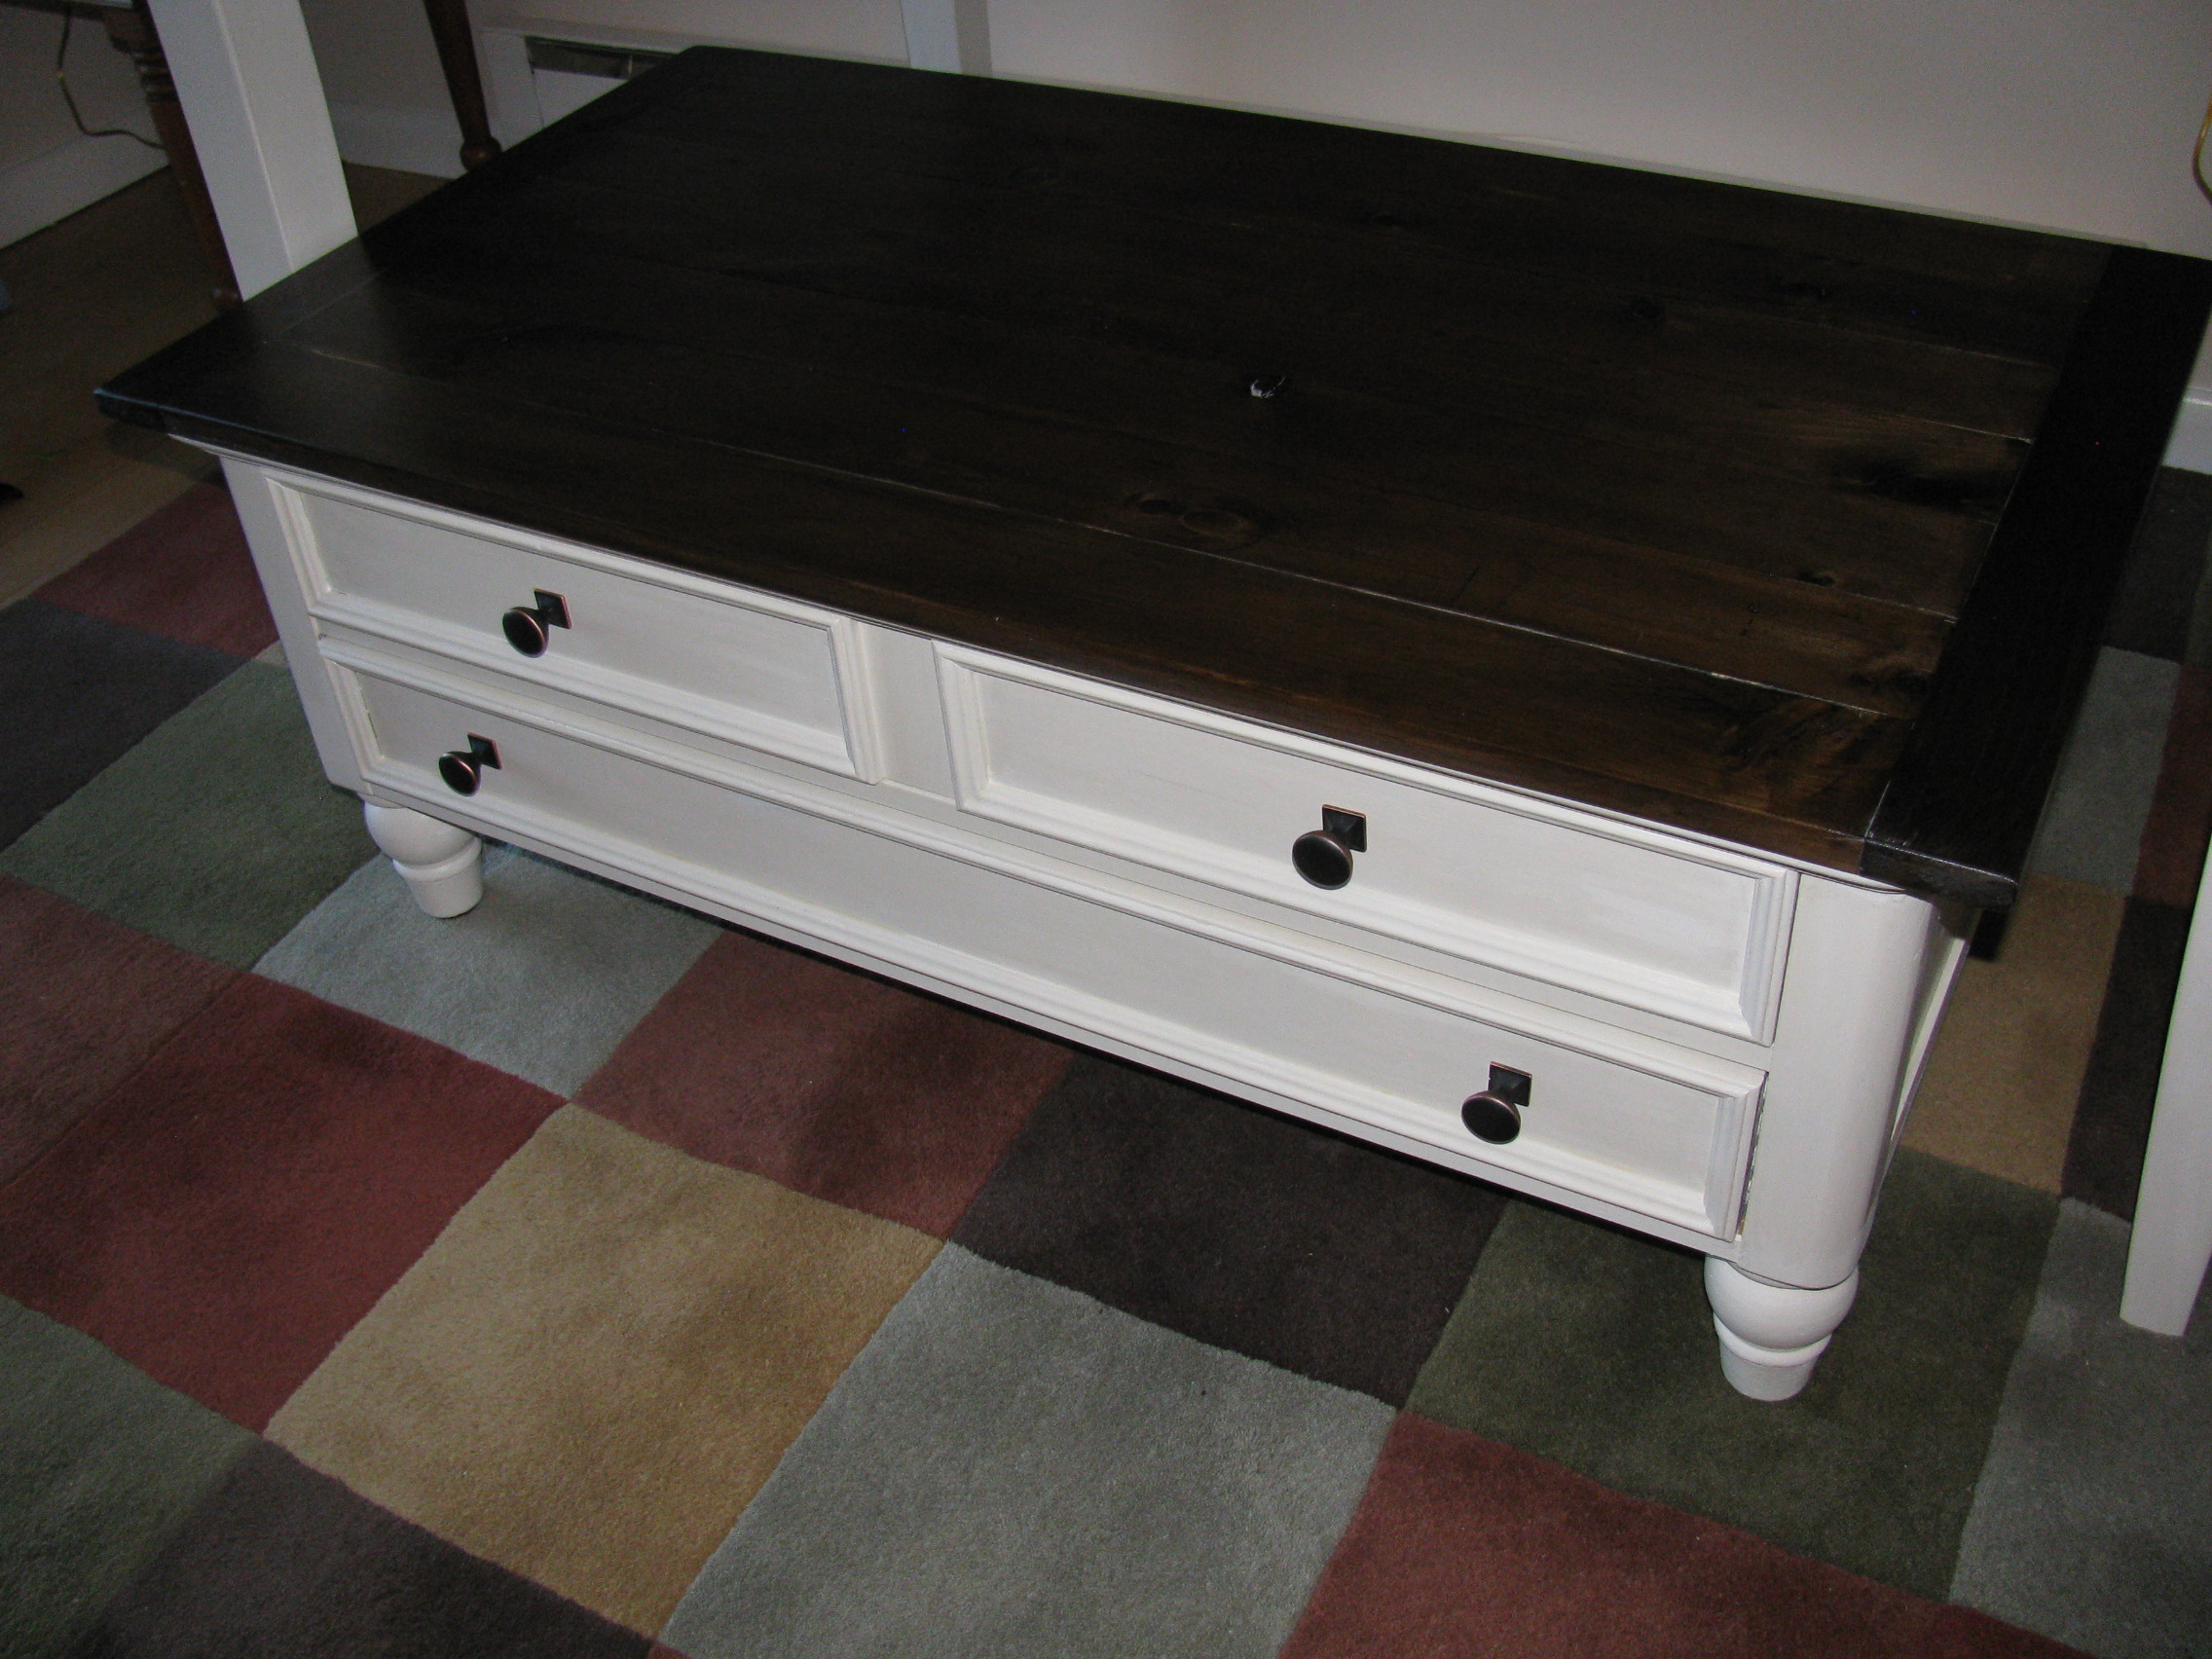
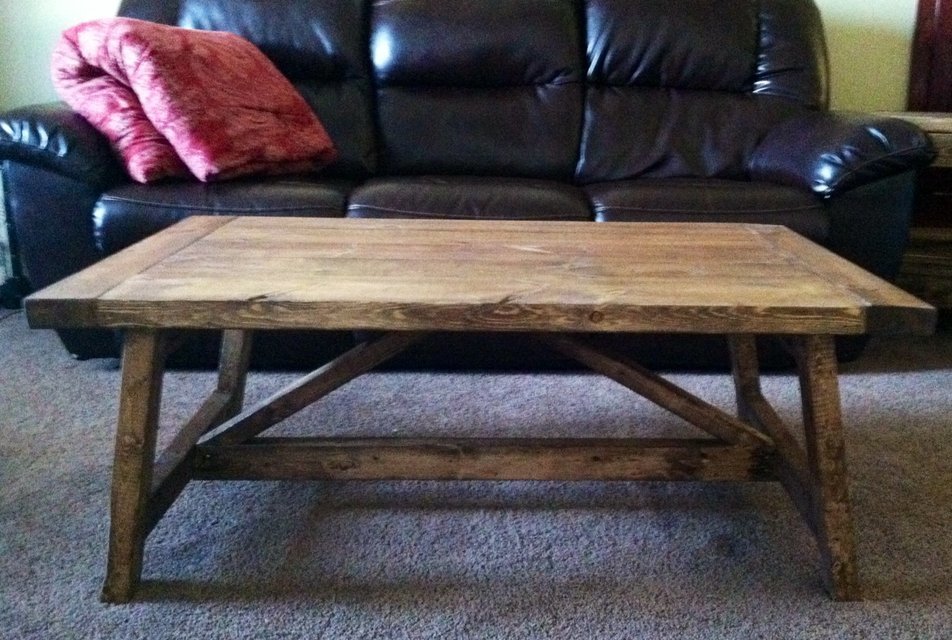
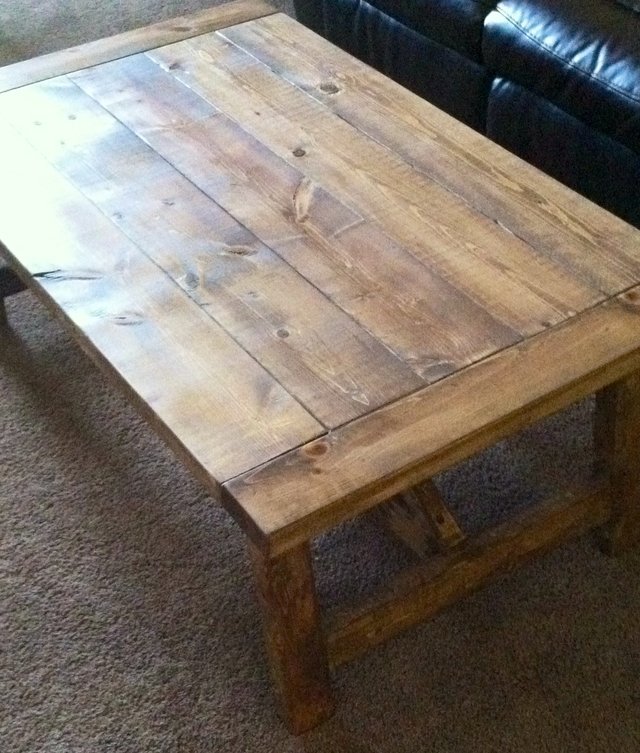
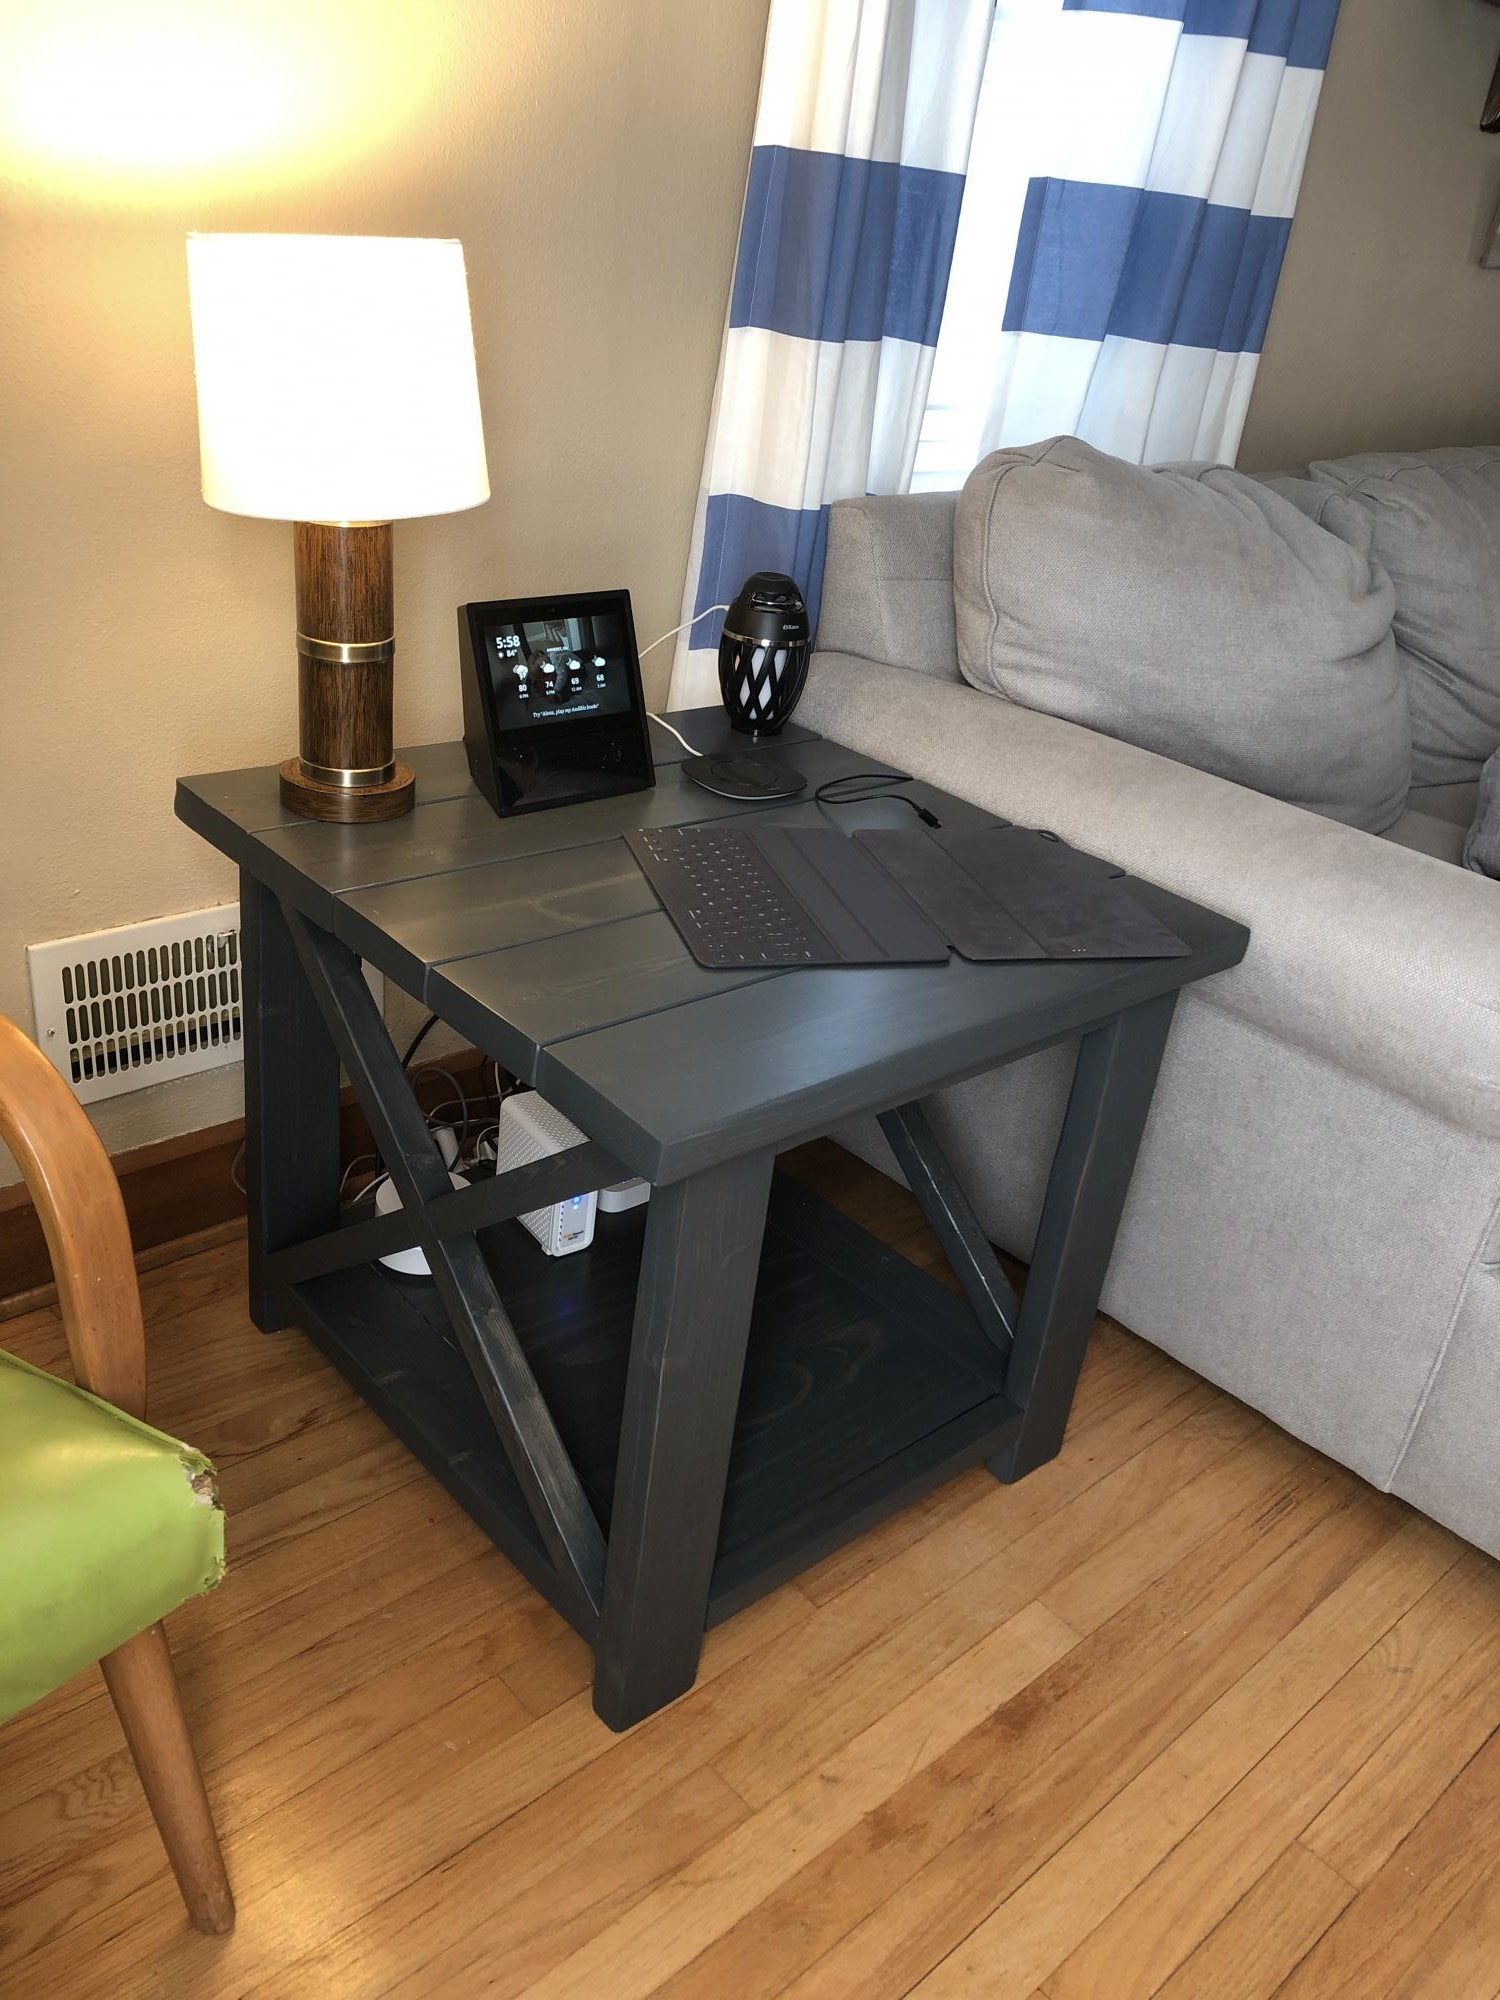
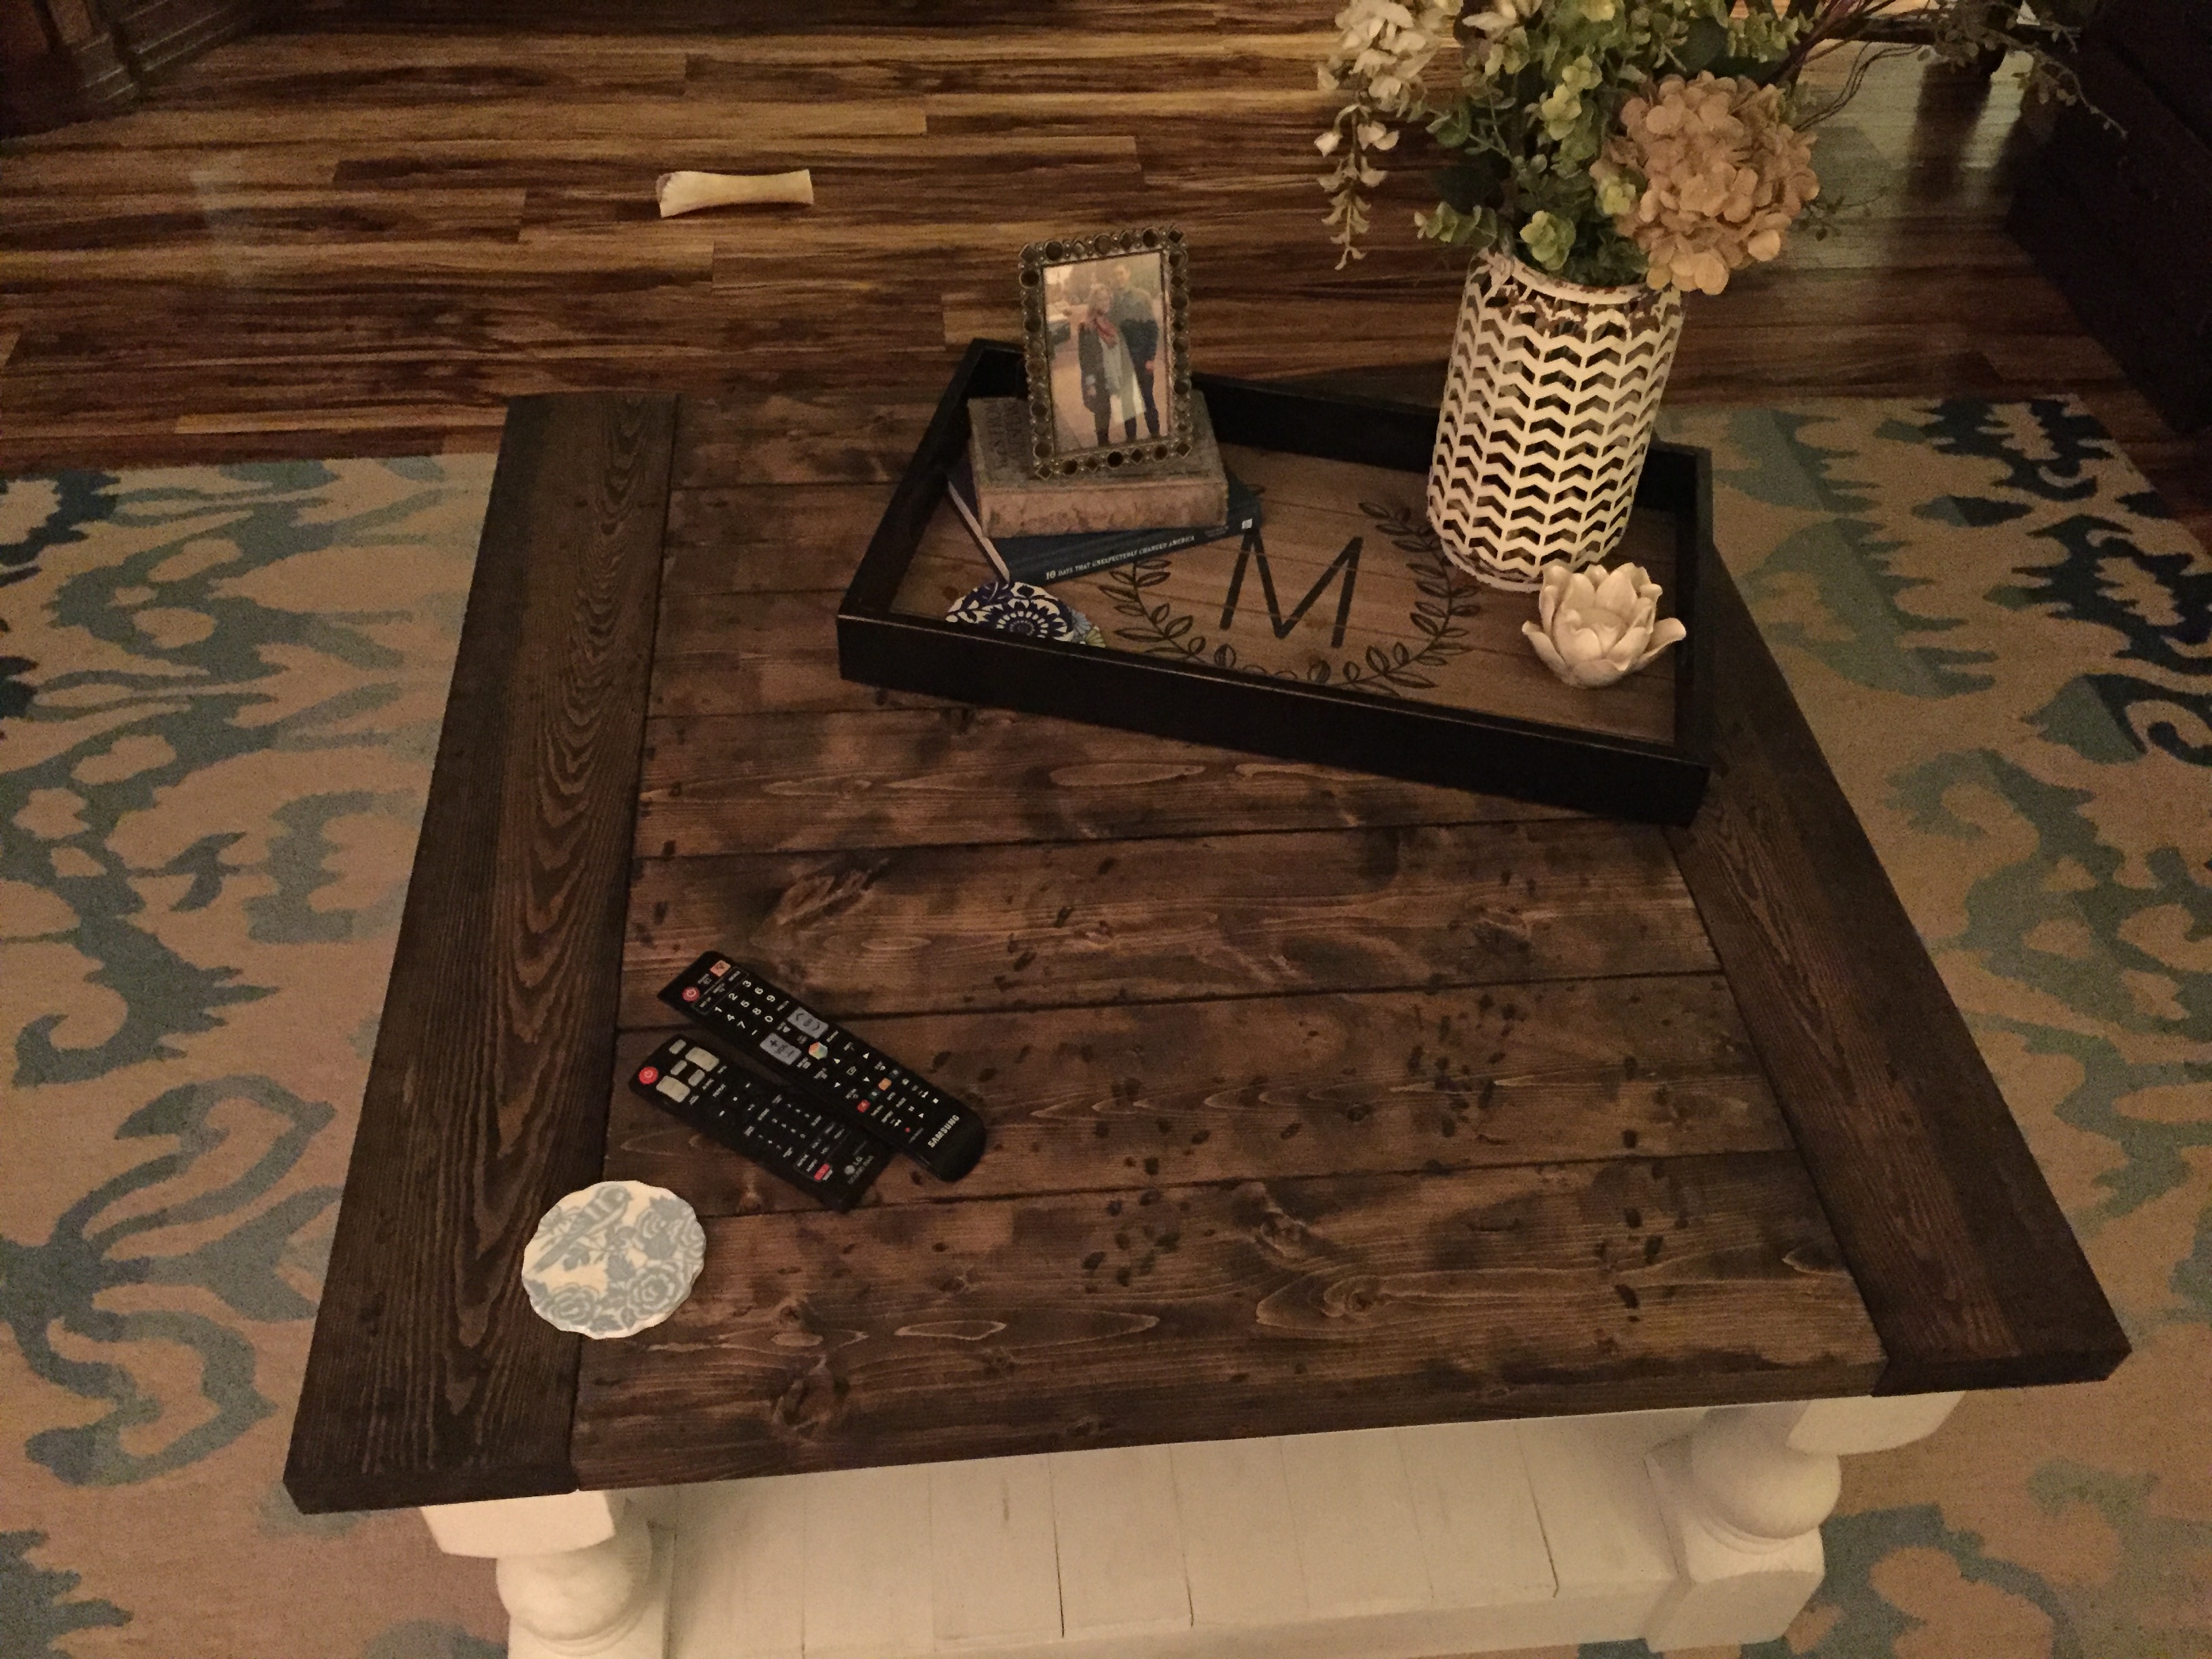
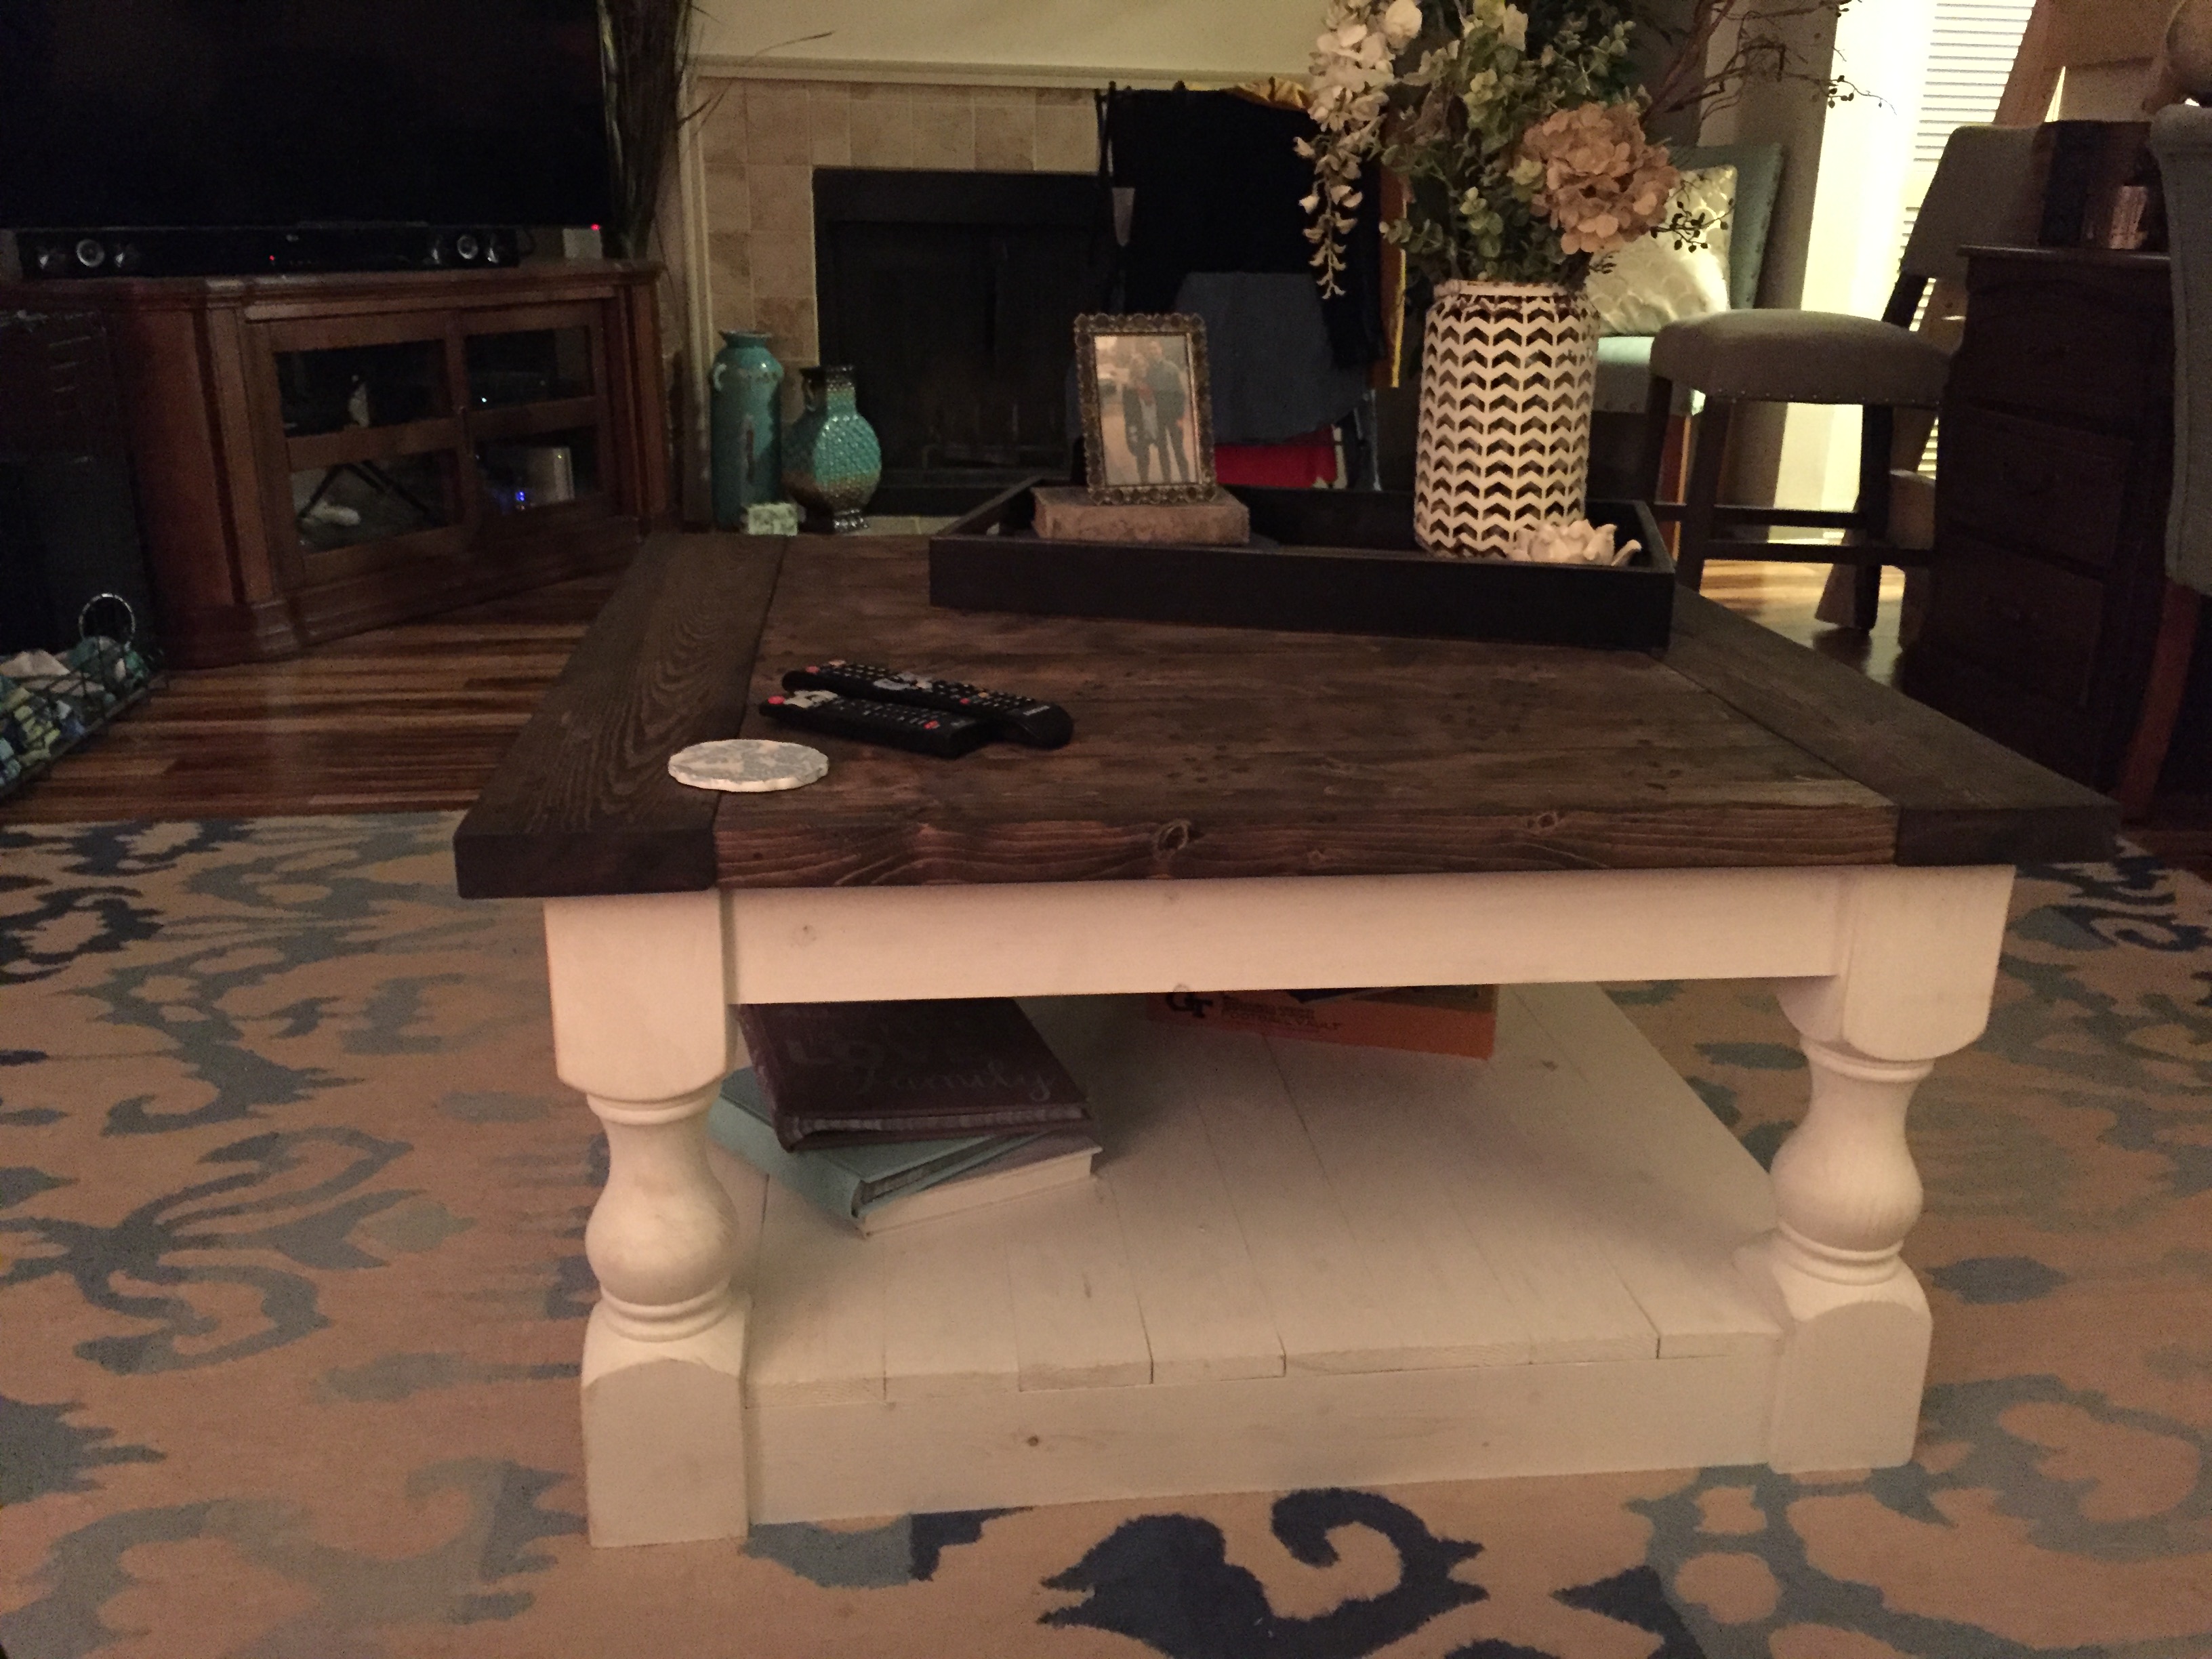
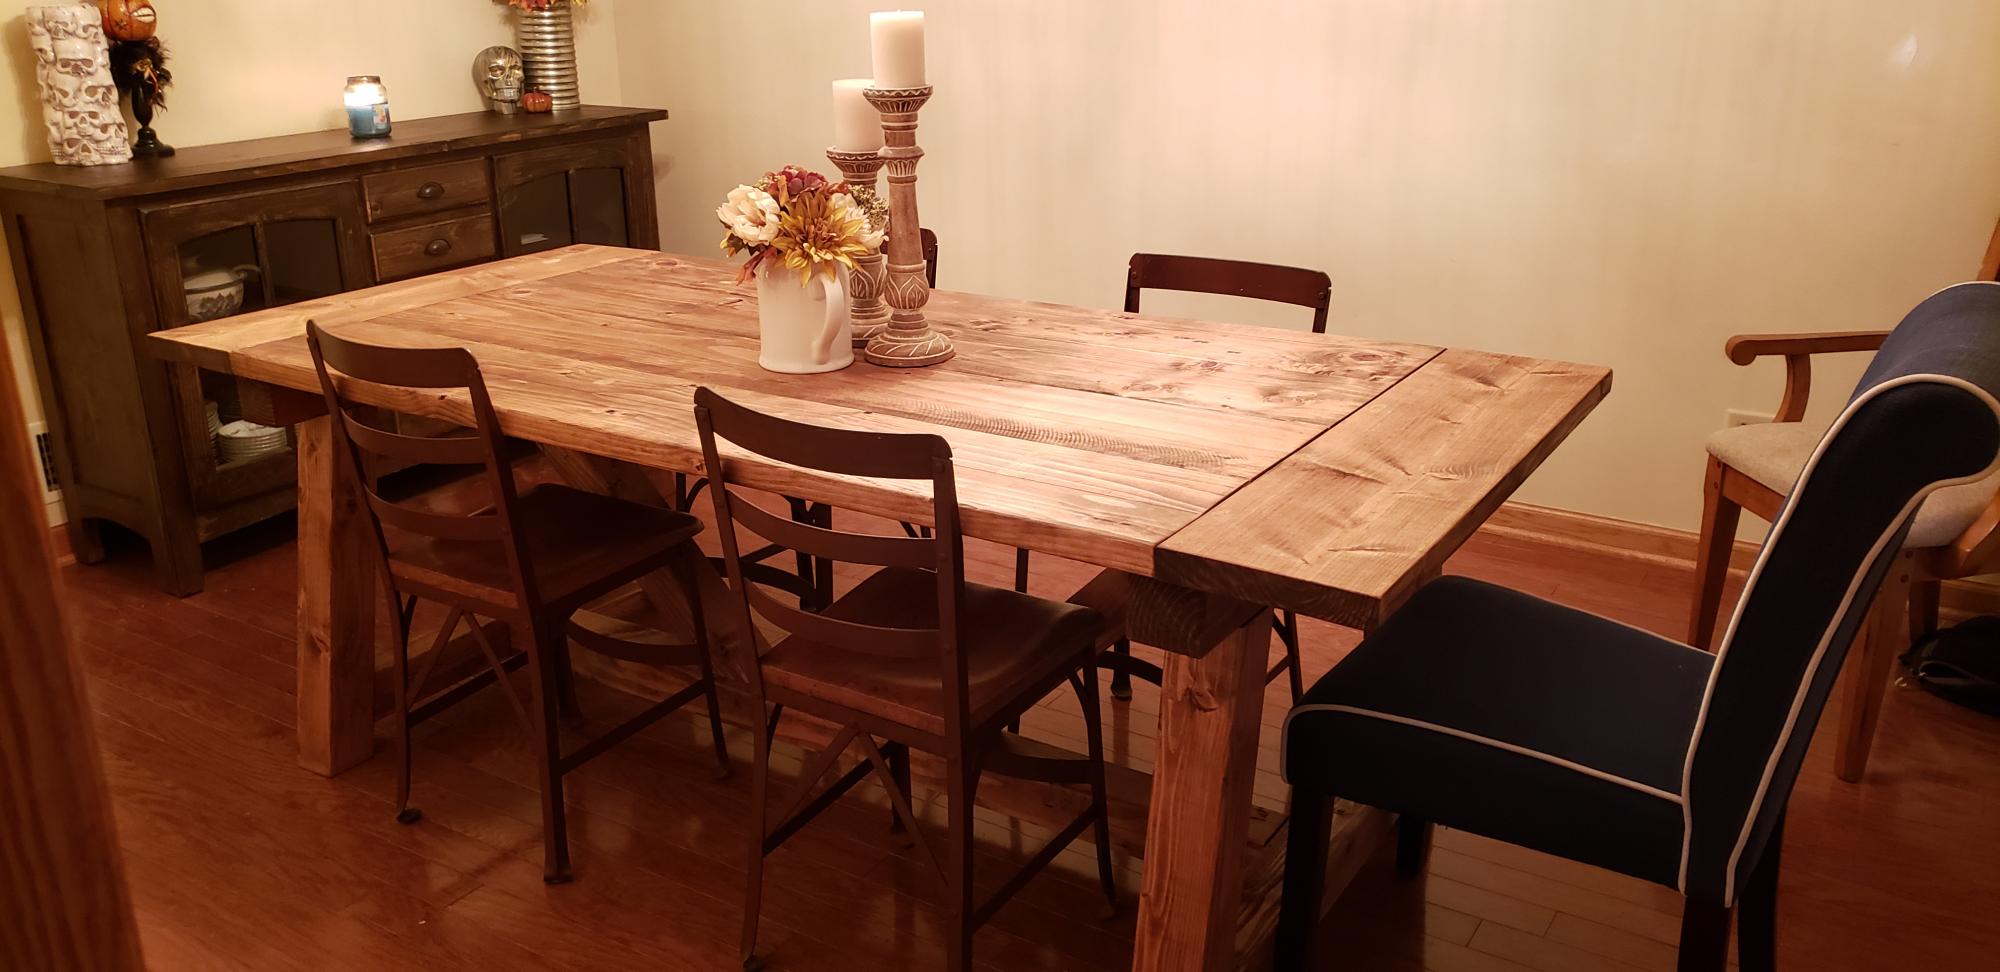
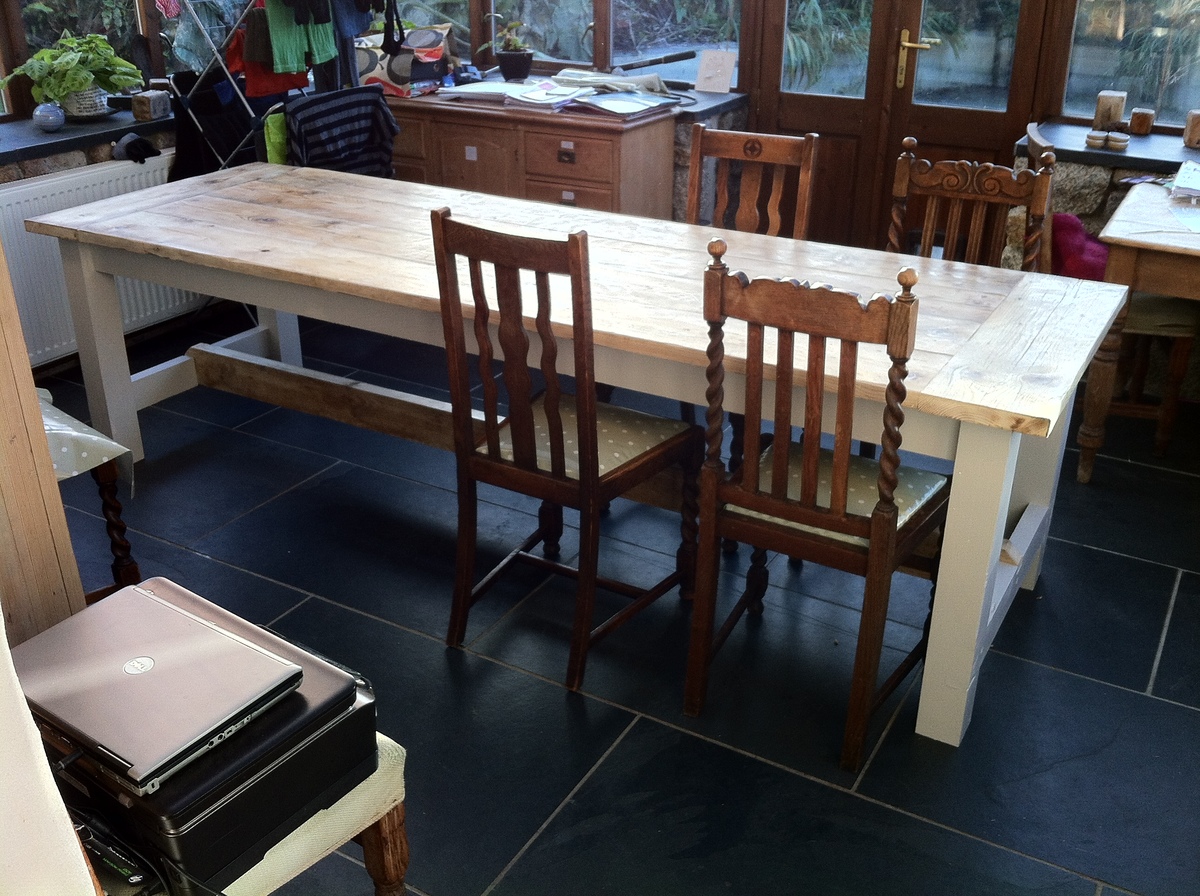
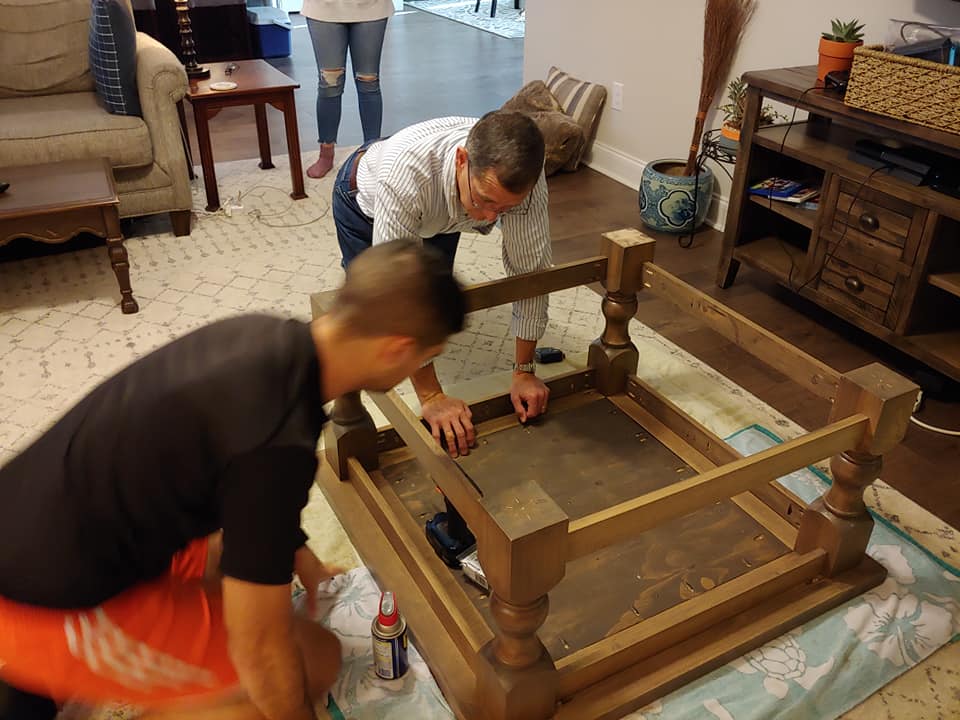
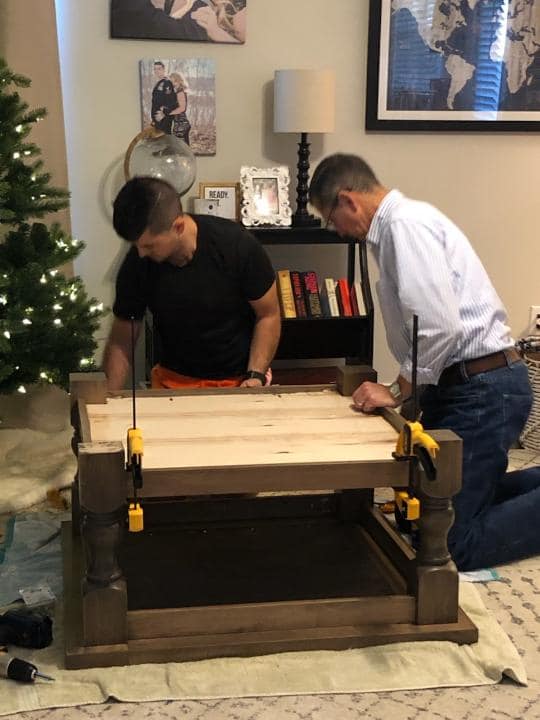
Corona Coffee Table - Square
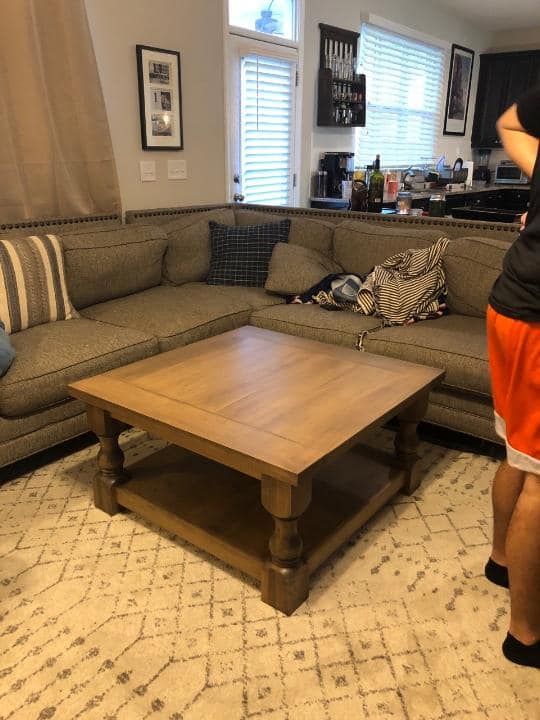
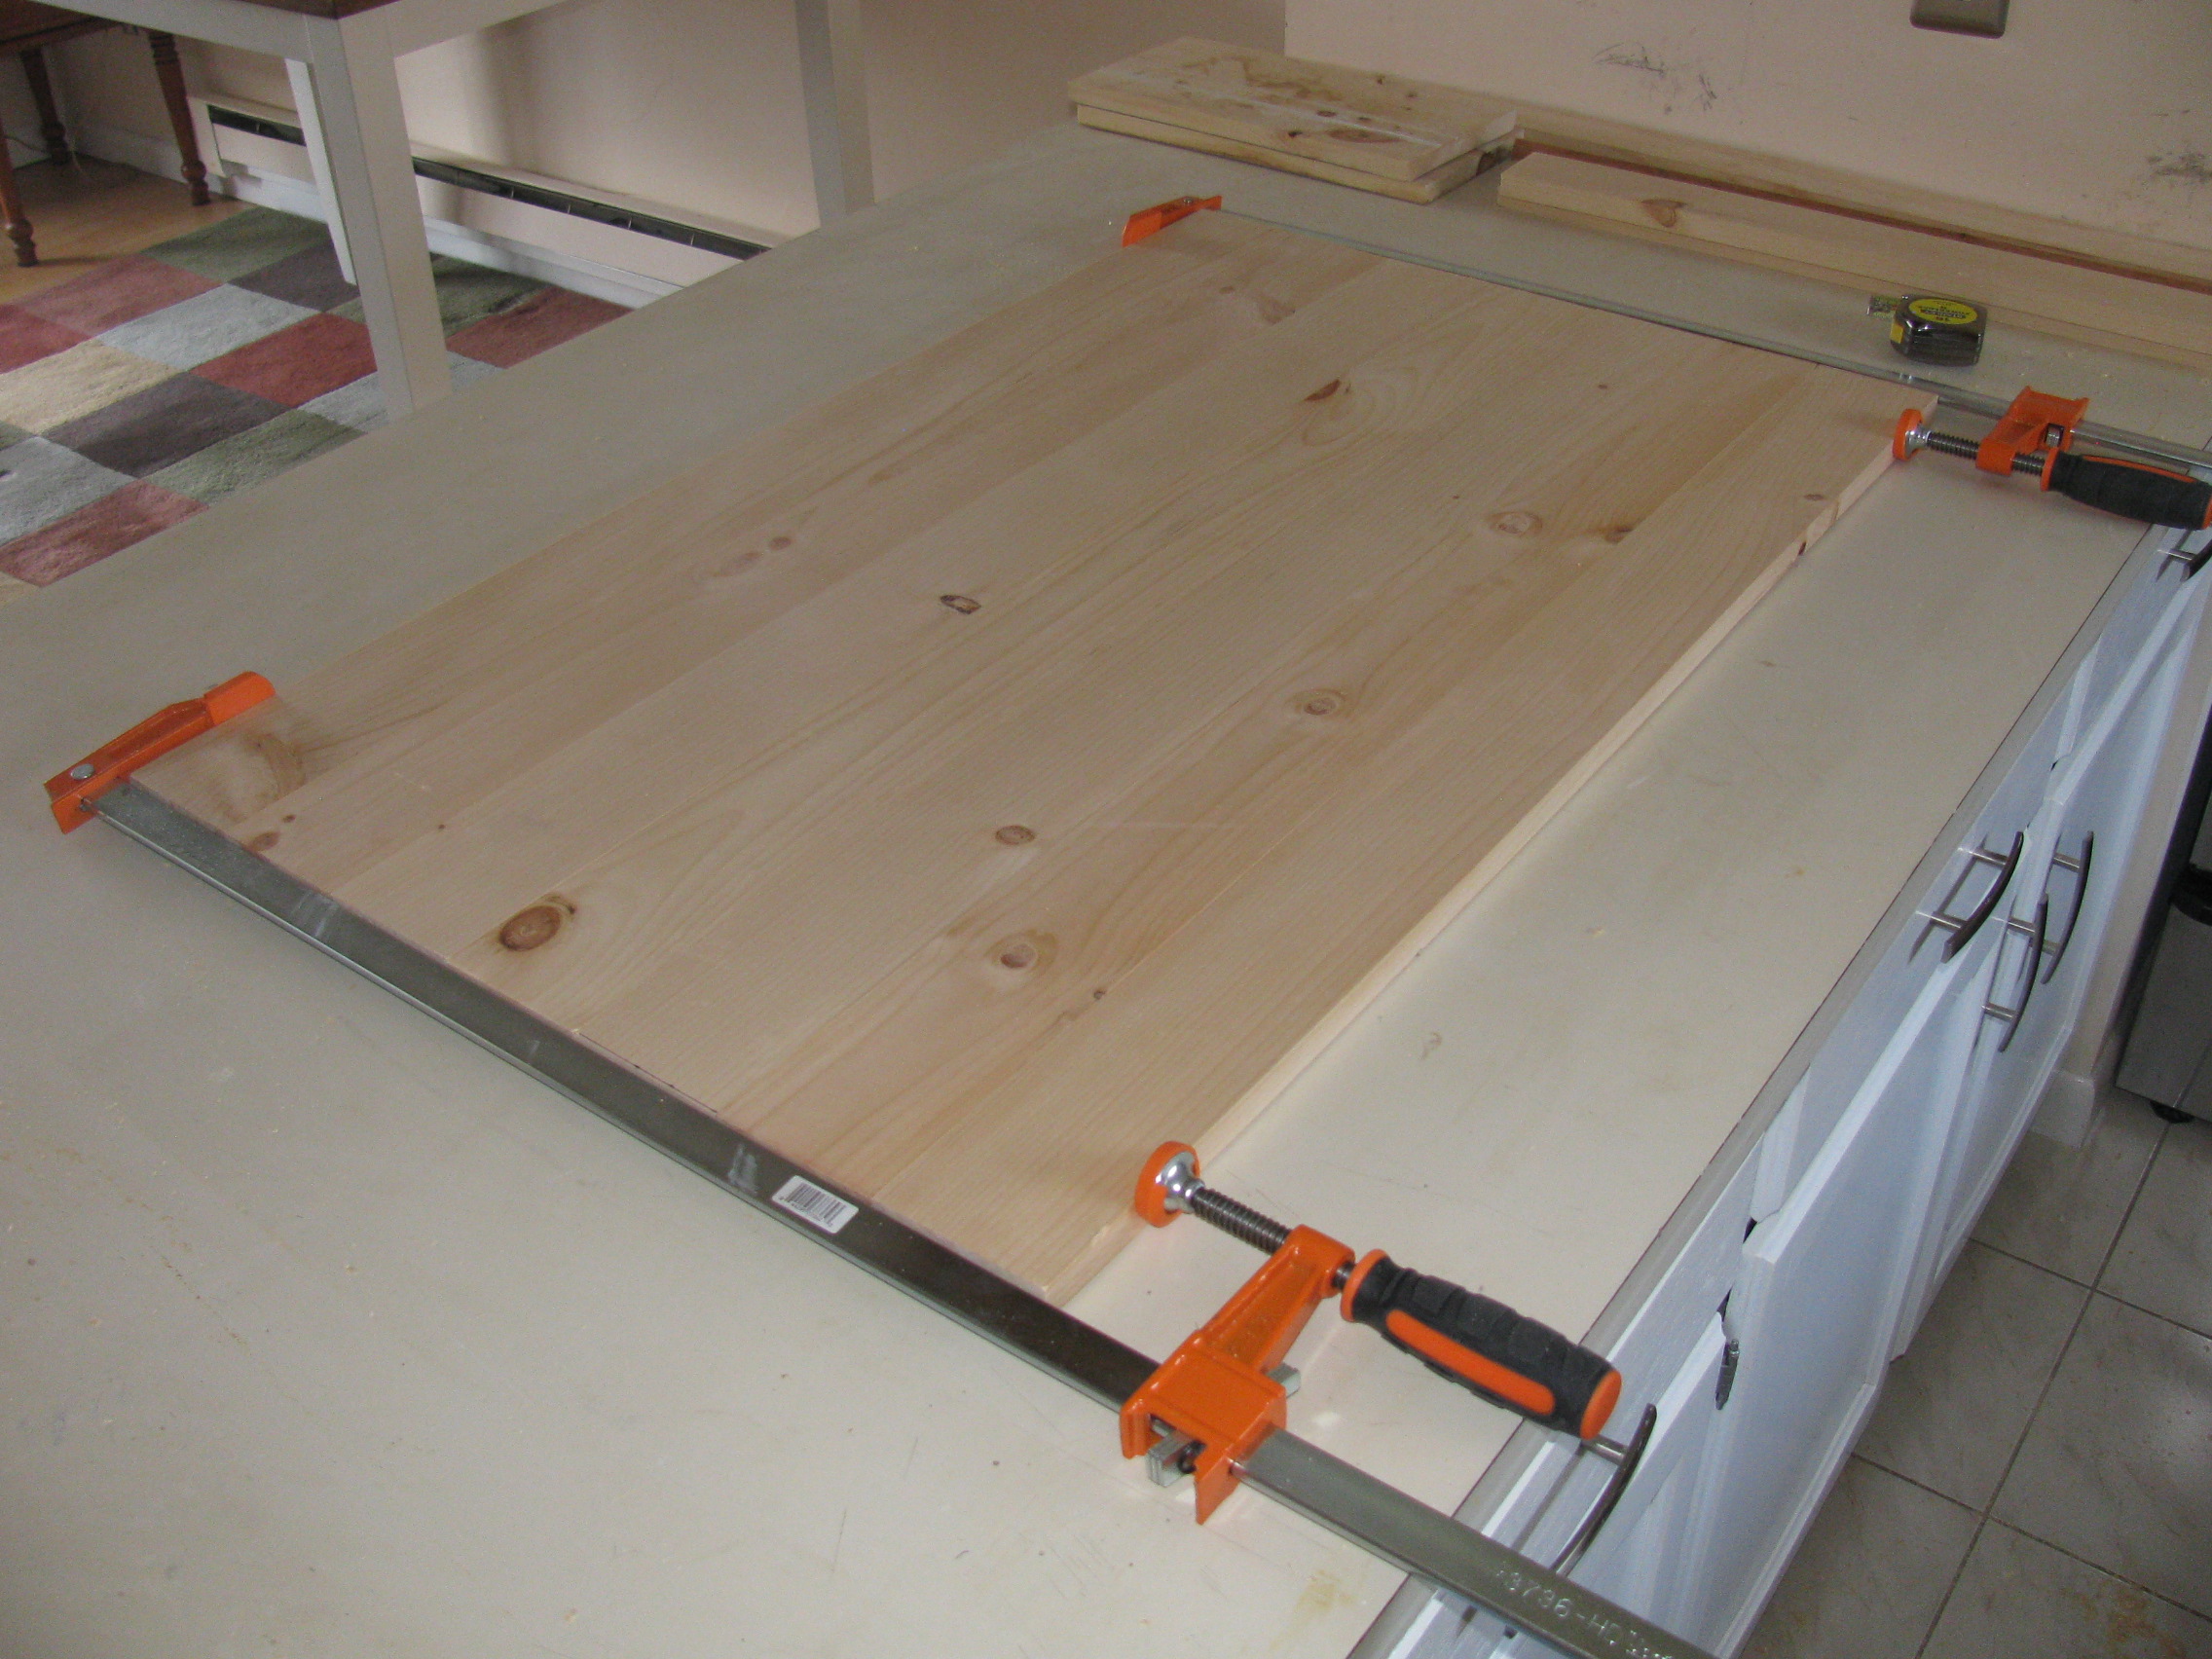
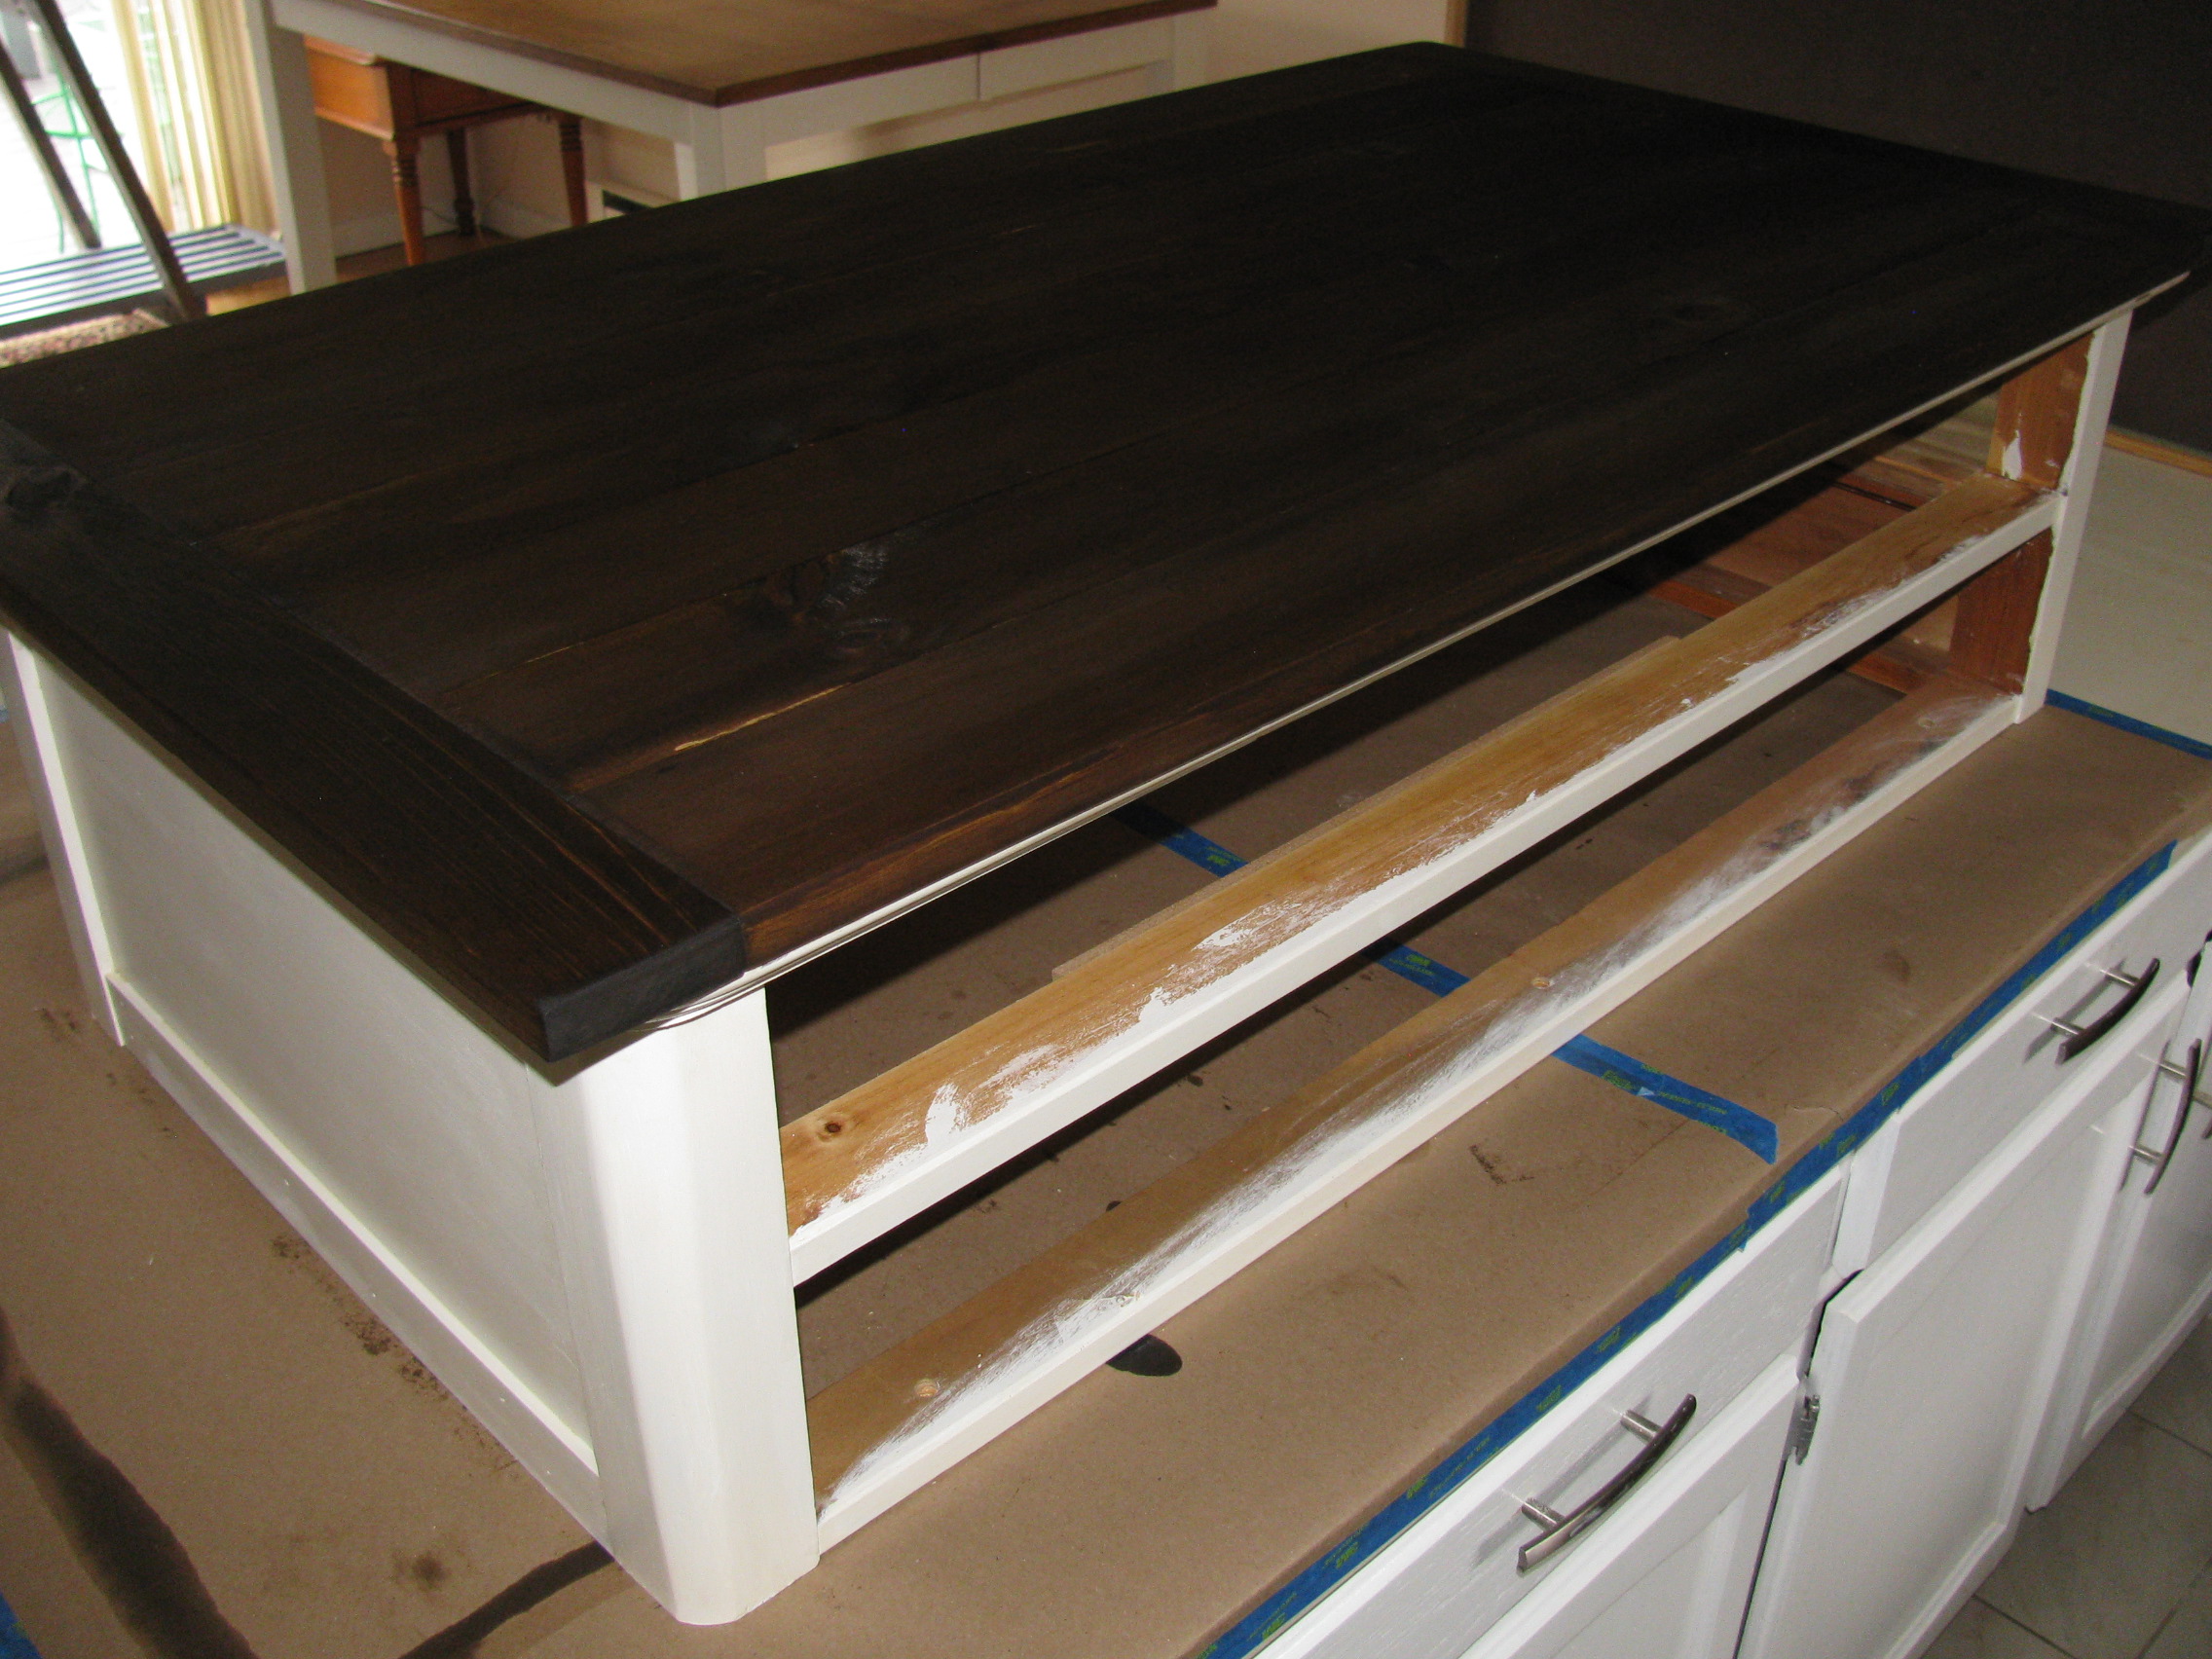
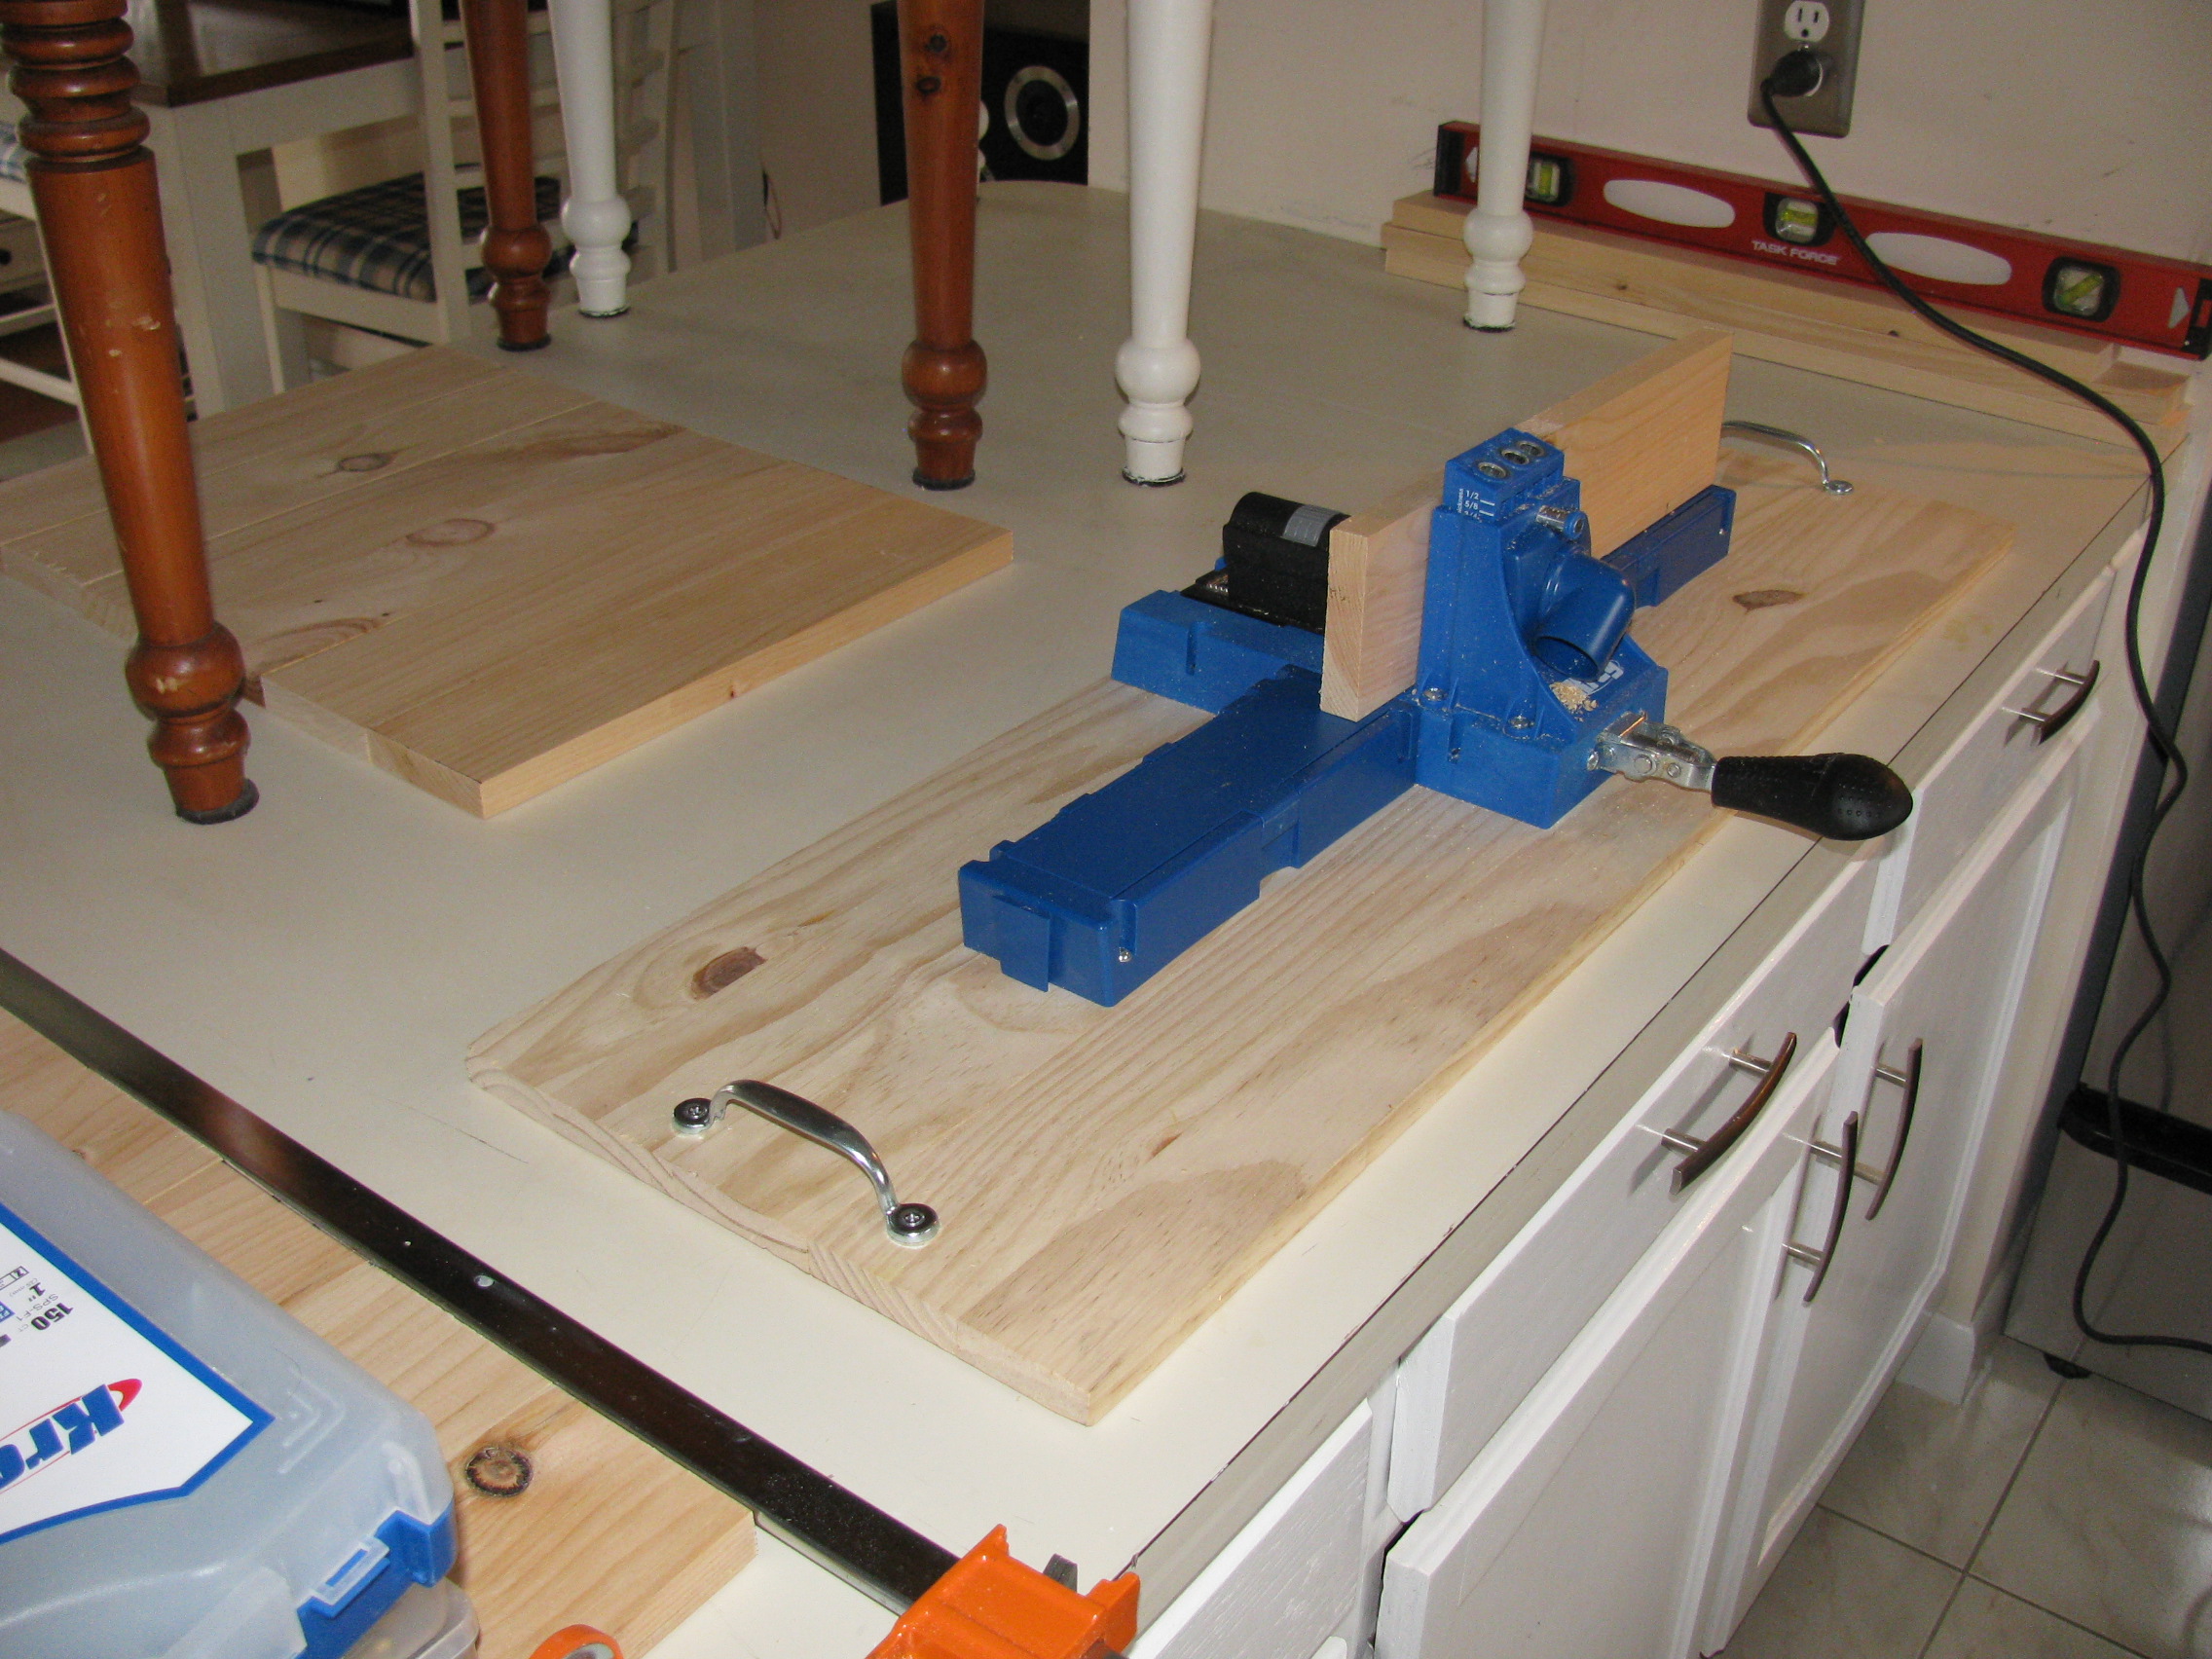
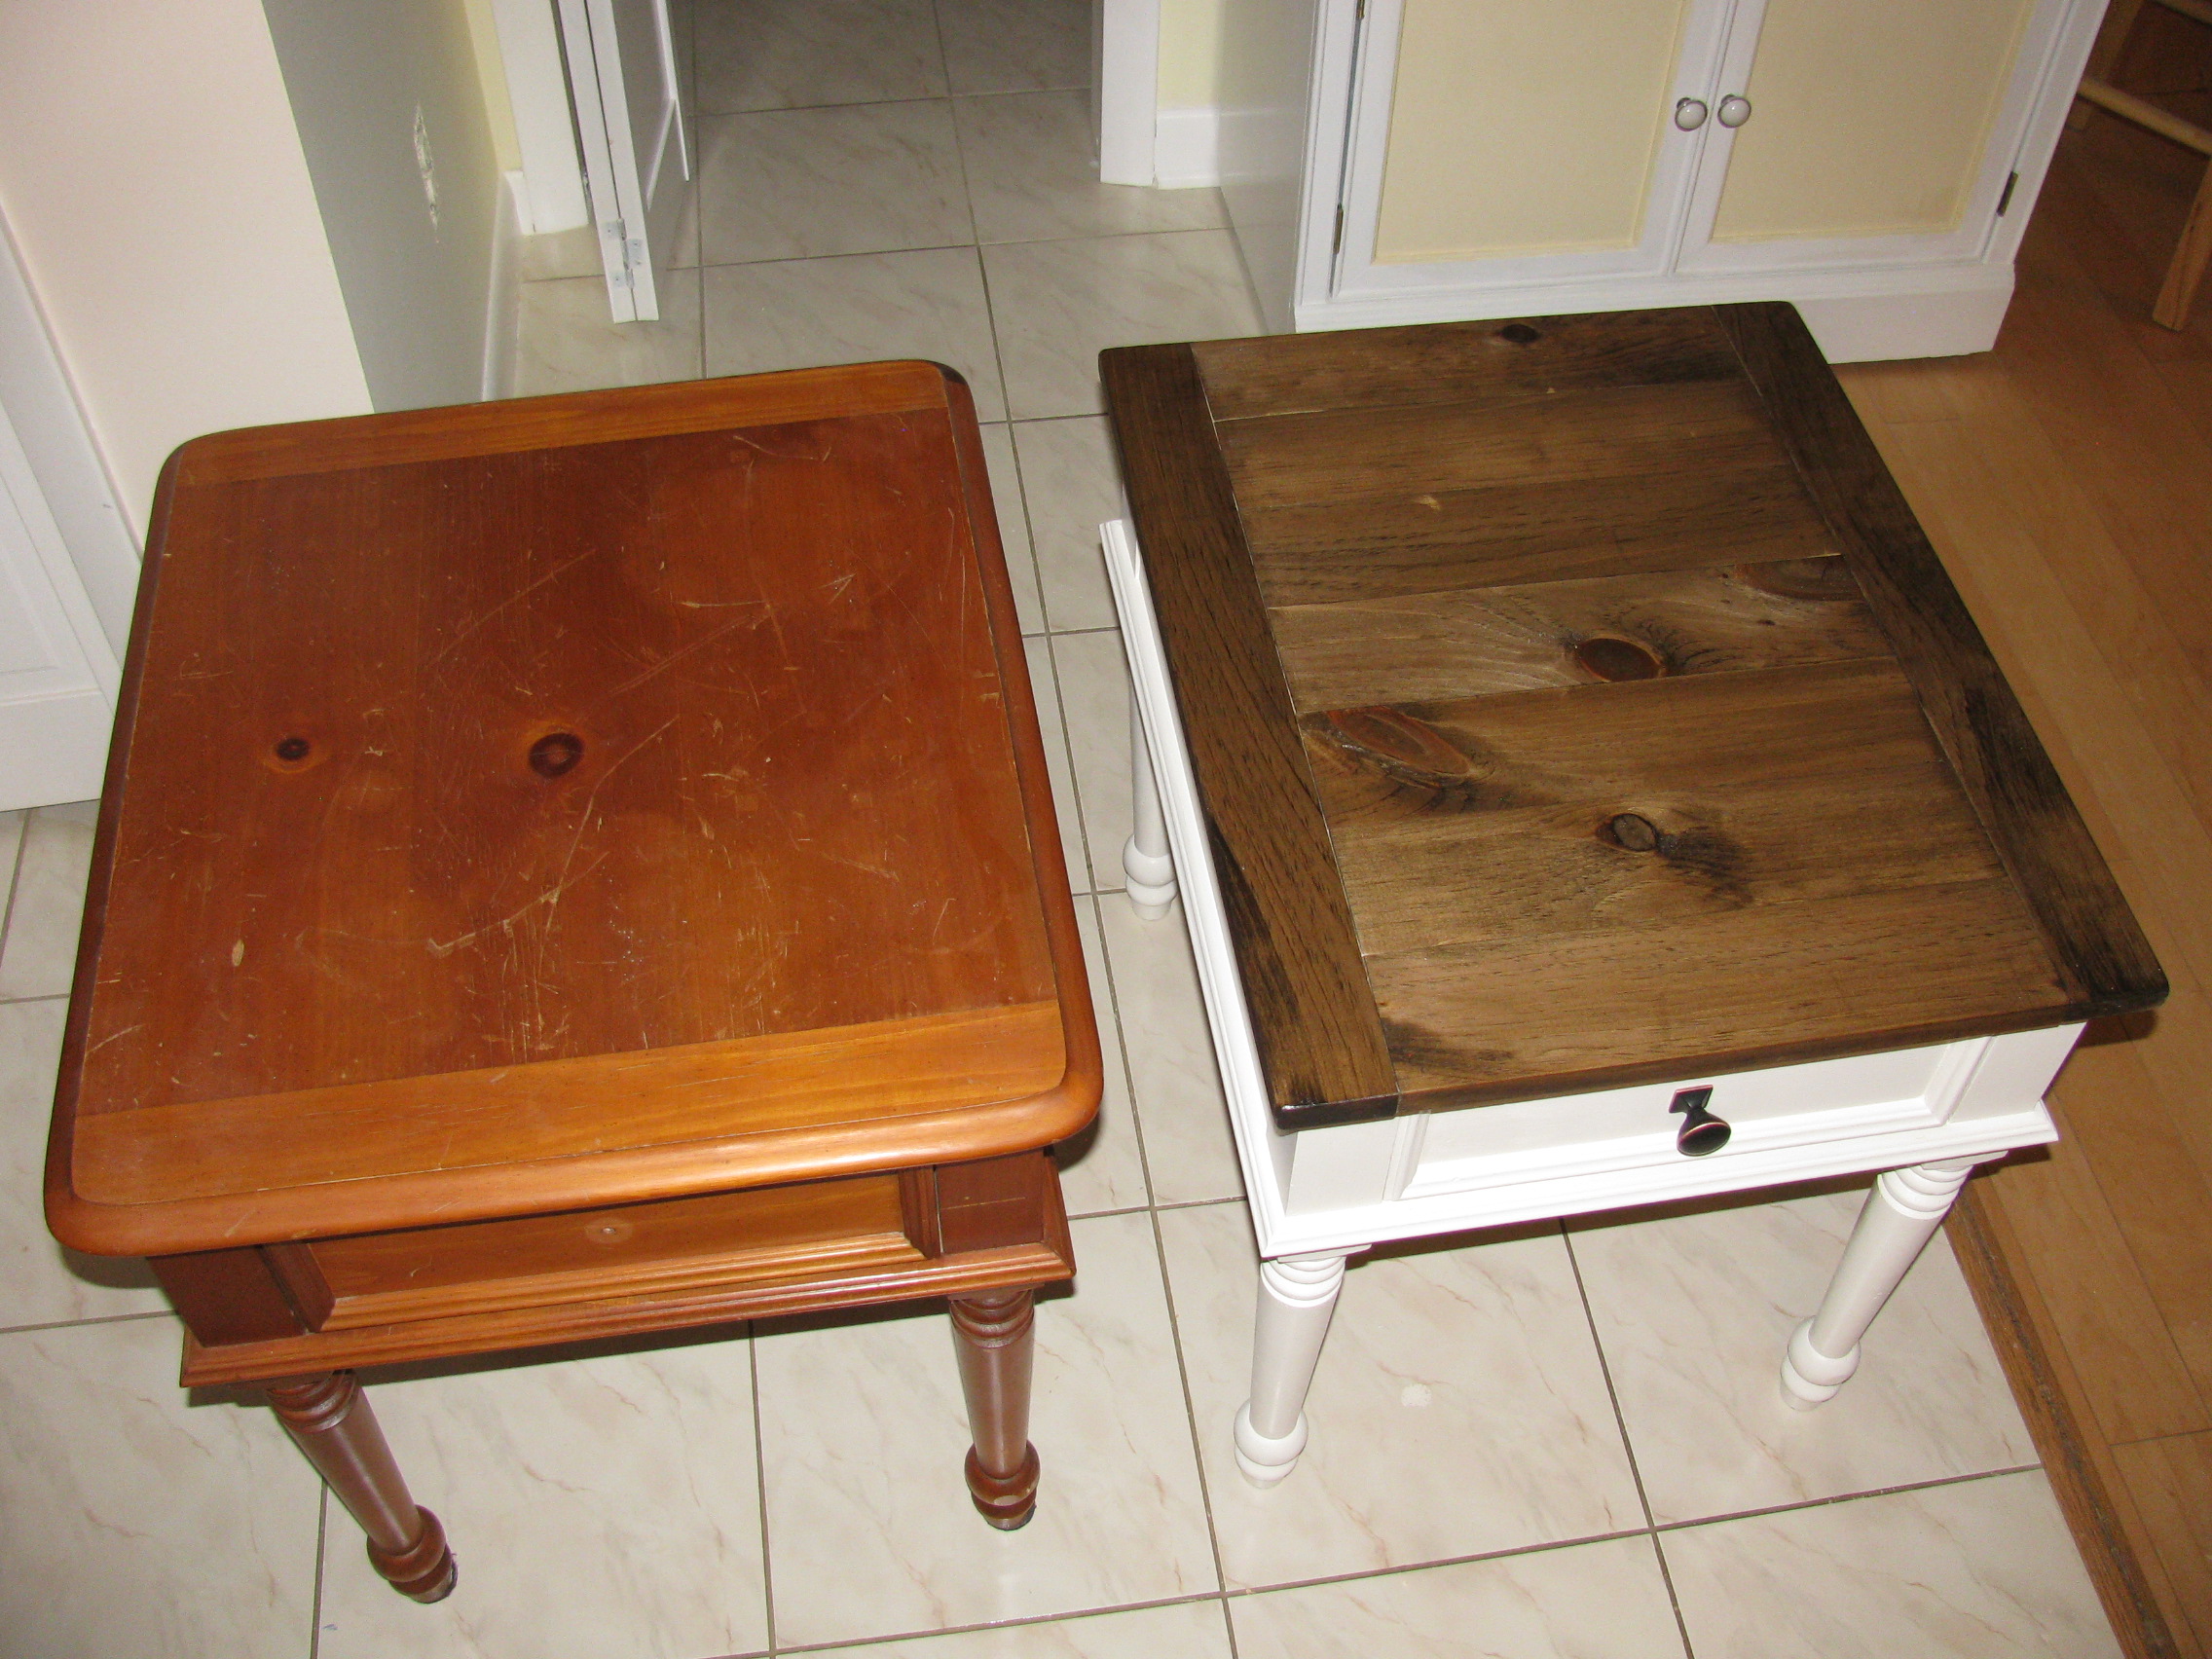
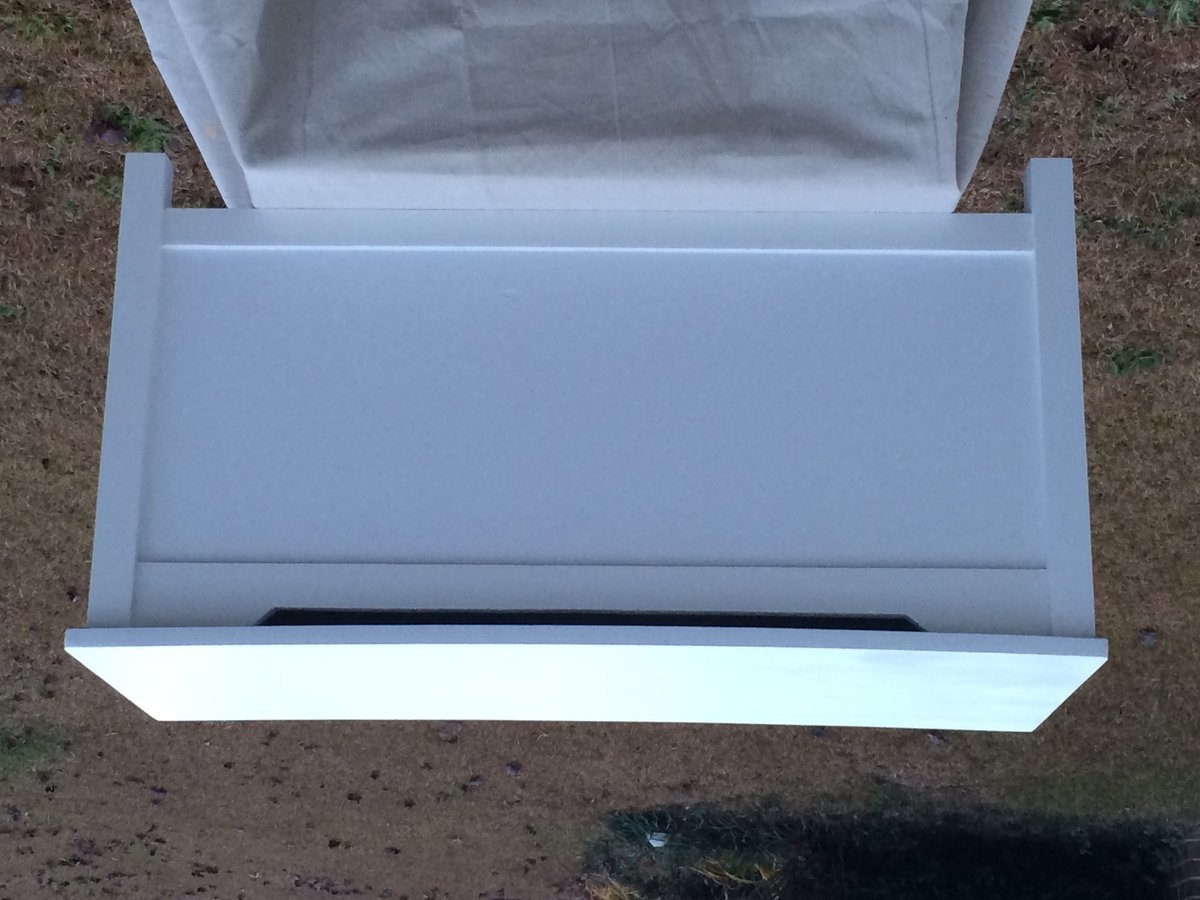
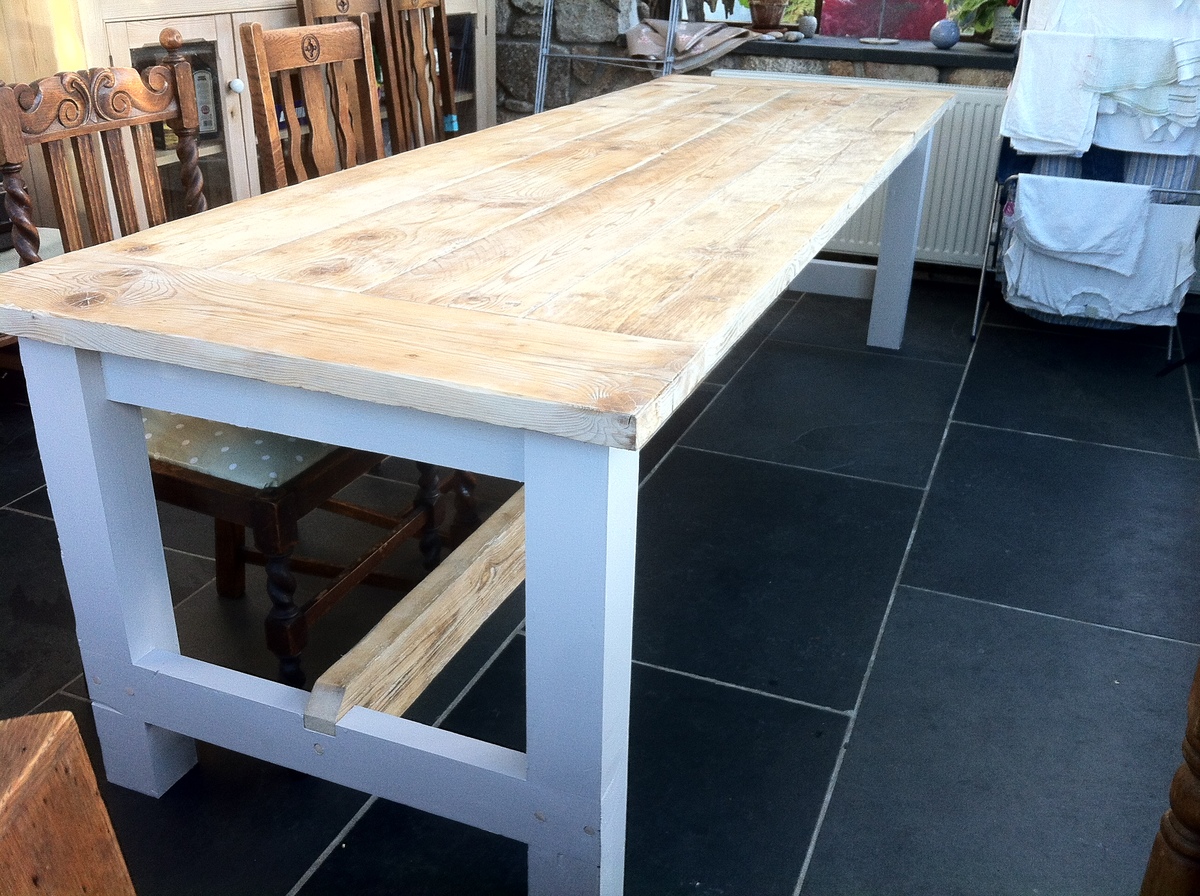
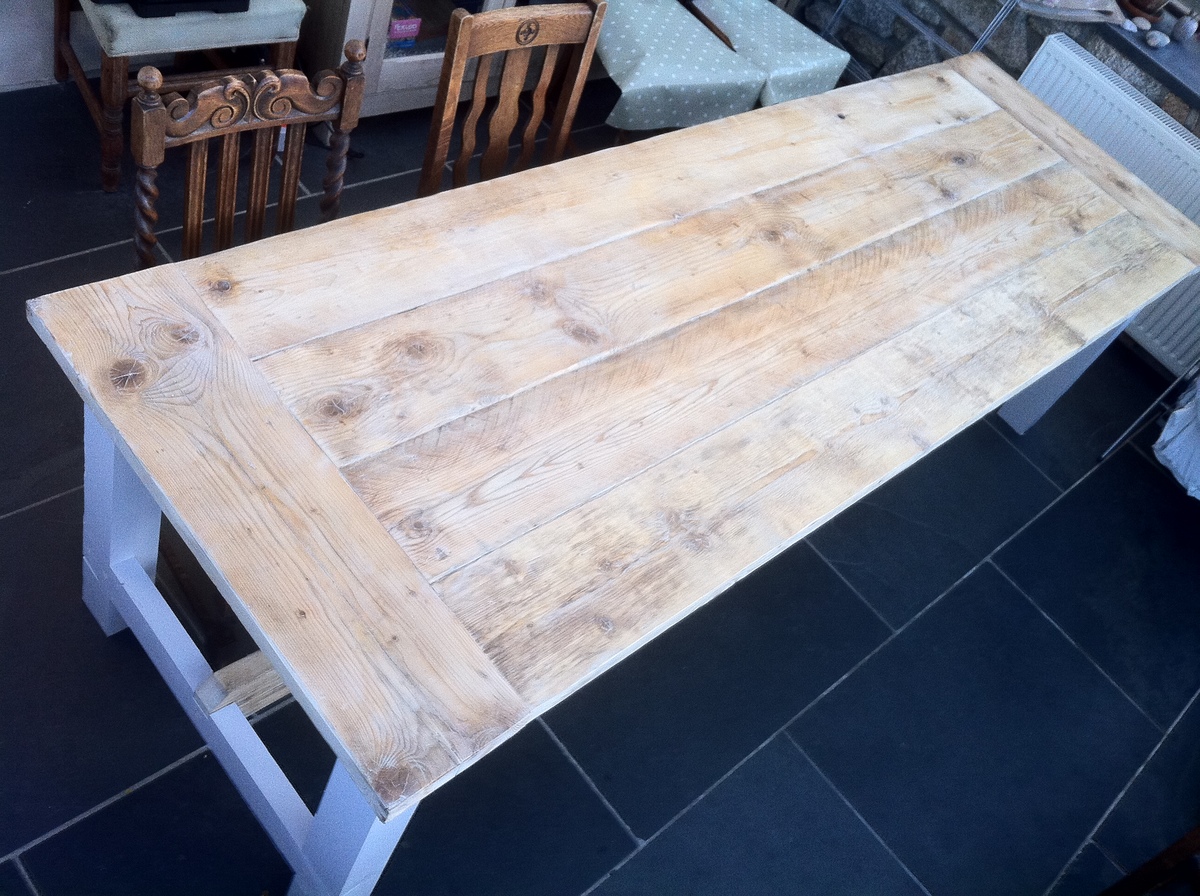
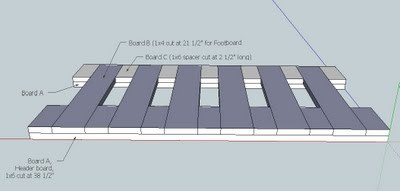
Built this table out of solid Maple, which made it much more expensive to build, but such a beautiful piece of furniture. I bought the legs from Osborne Wood. One thing I did to cut down on cost was to use 1" X 6" wood for the 5 center table-top boards instead of the 2" X 6" called for in the plans. Underneath those, I put a piece of 3/4" plywood to increase the thickness to match the (4) 2" X 6" outer edges. This is not visible unless you climb under the table to look at it from underneath but I think it actually helped to create a flat (almost seamless) table top. Thank you for the plans! I put a lot of work into this piece and I think it will remain in my family for generations!
Built from Plan(s)
Estimated Cost
$700.00 (
Estimated Time Investment
Weekend Project (10-20 Hours)
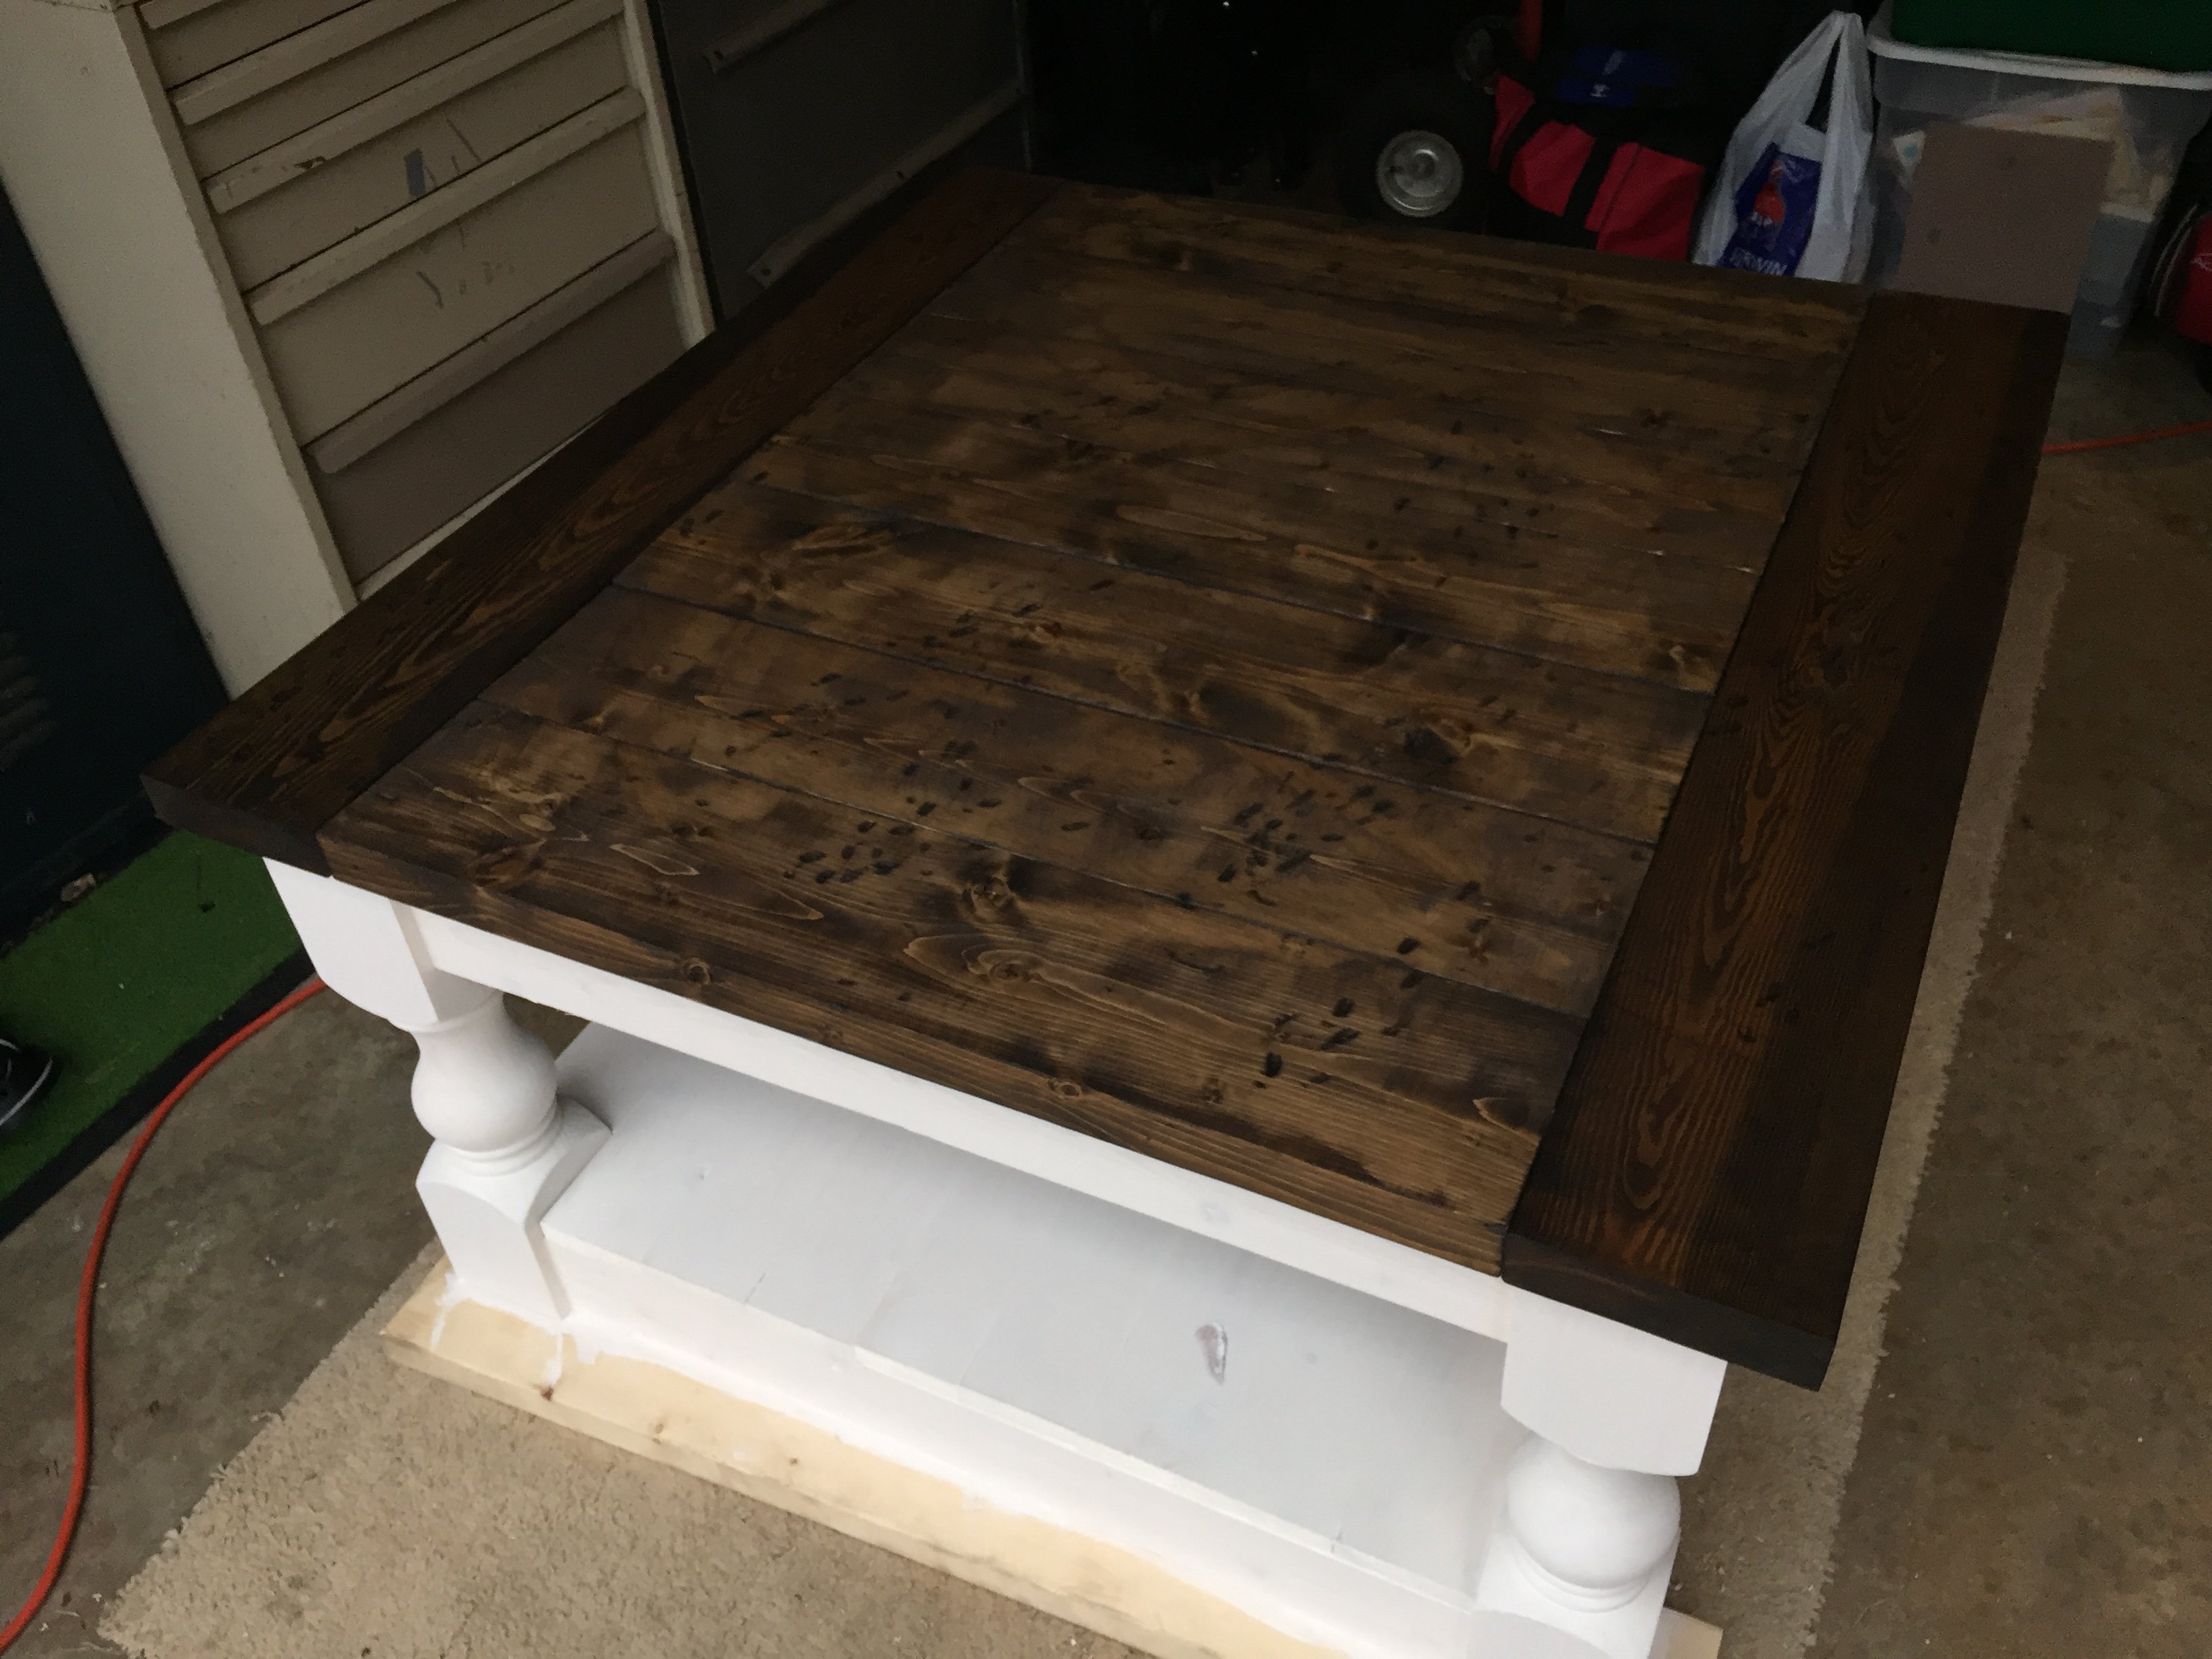
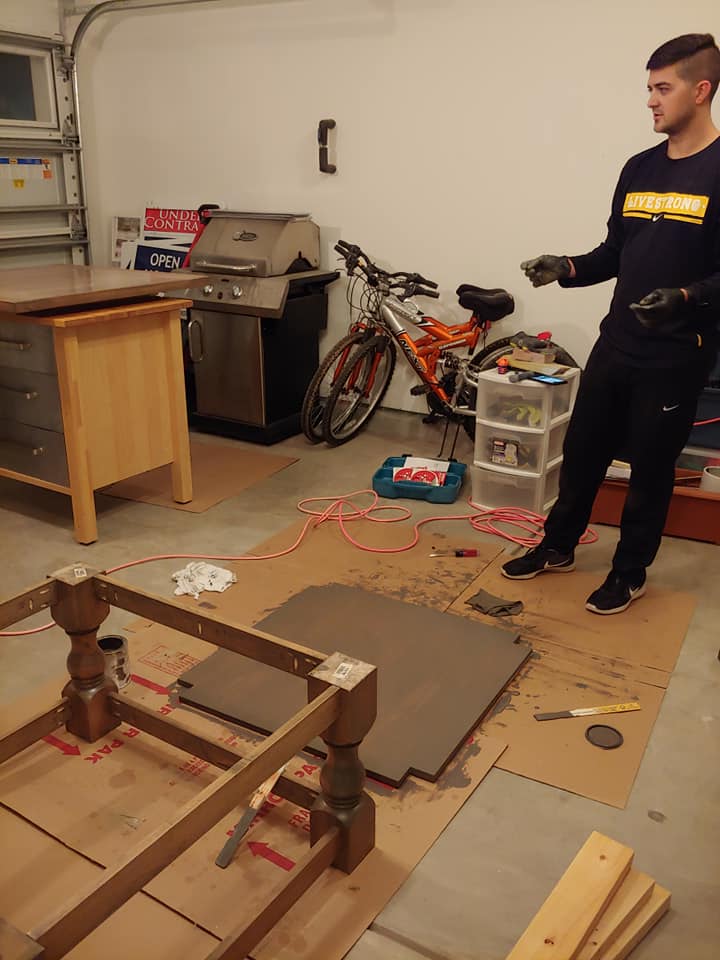
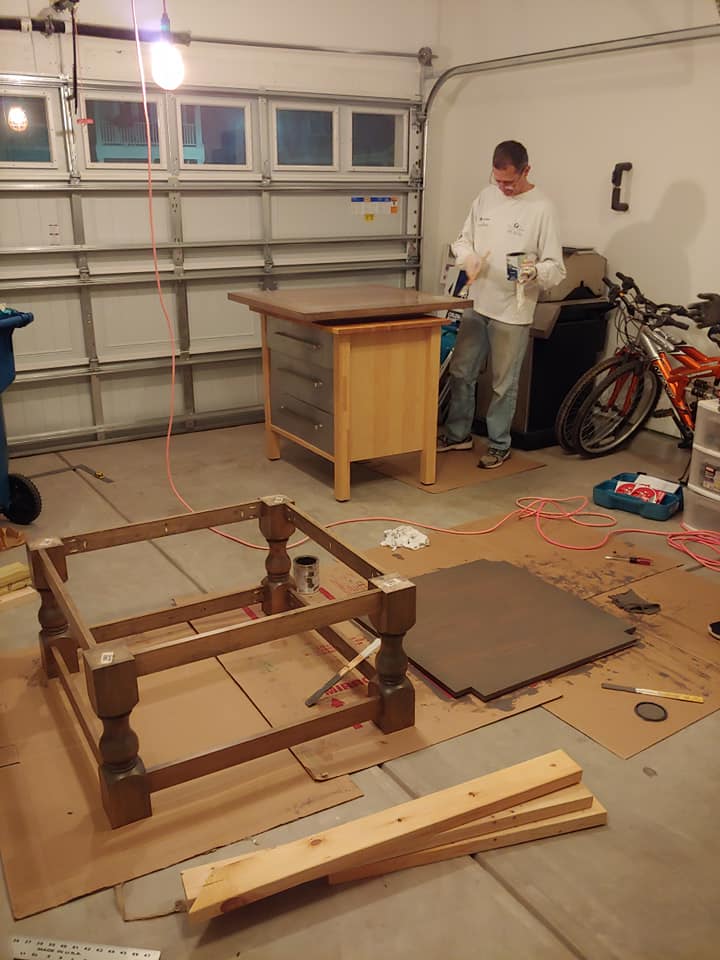
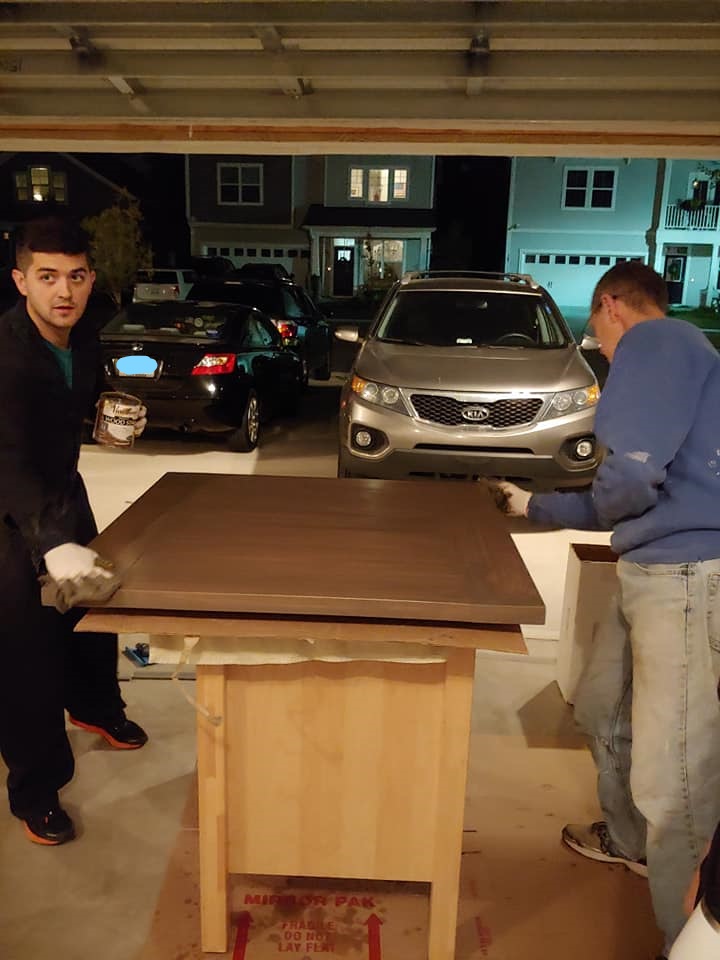
Finish Used
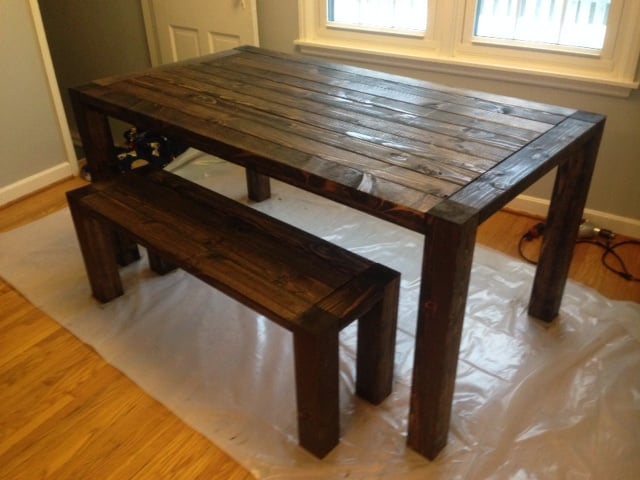
-3 coats of Varathane Stain (the color is Briarsmoke)
-2 coats of Varathane Polyurethane (Matte Finish)
-2 coats of Varathane Polyurethane (Matte Finish)
Recommended Skill Level
Intermediate