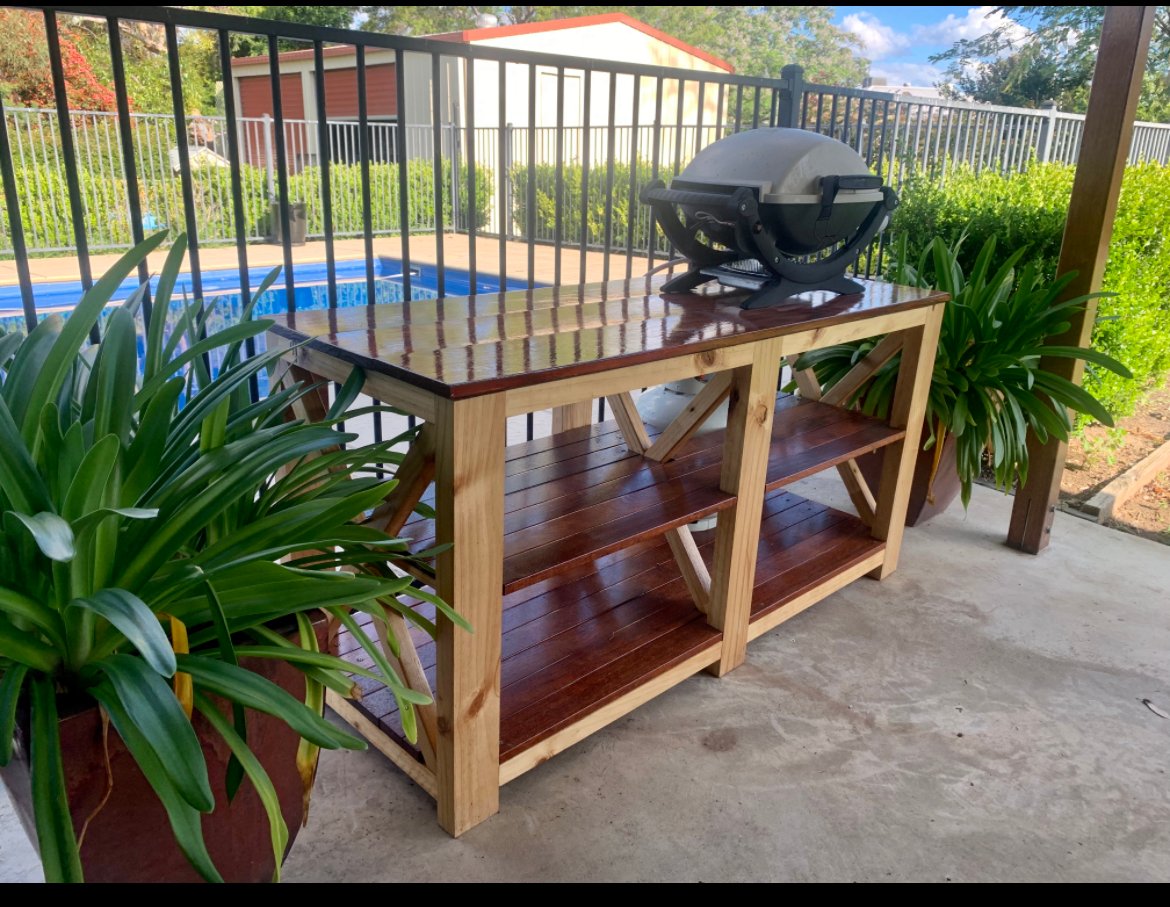
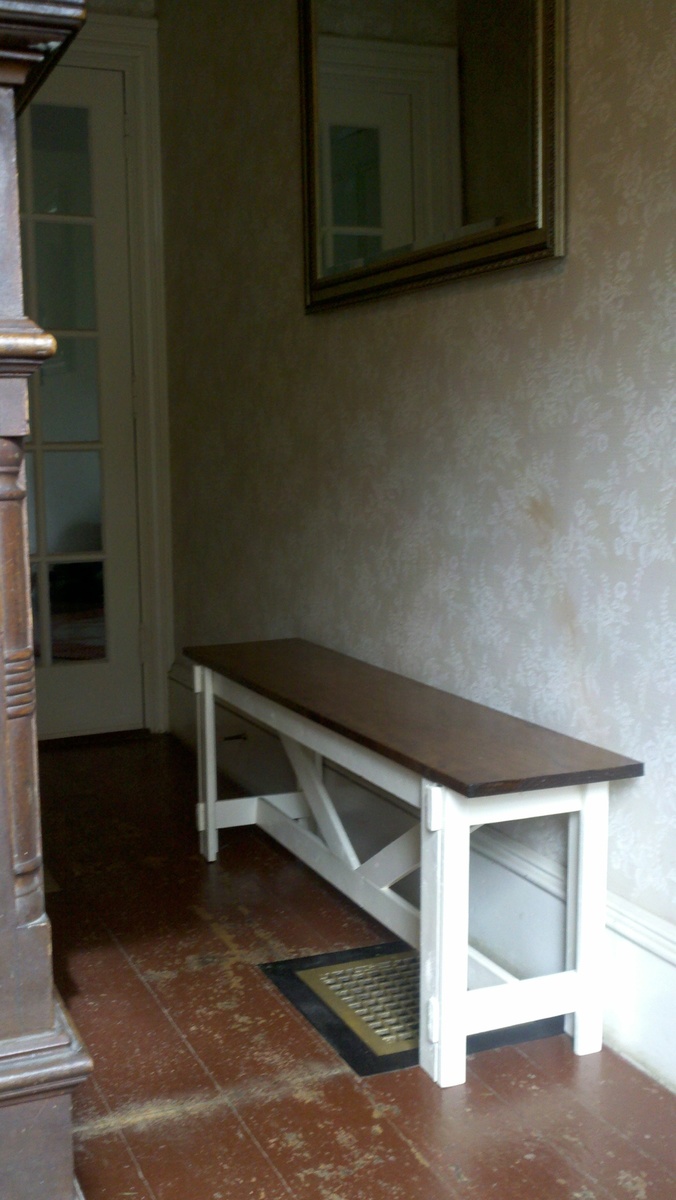
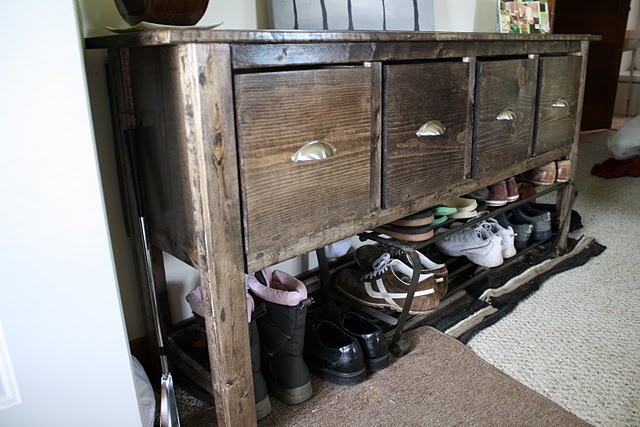
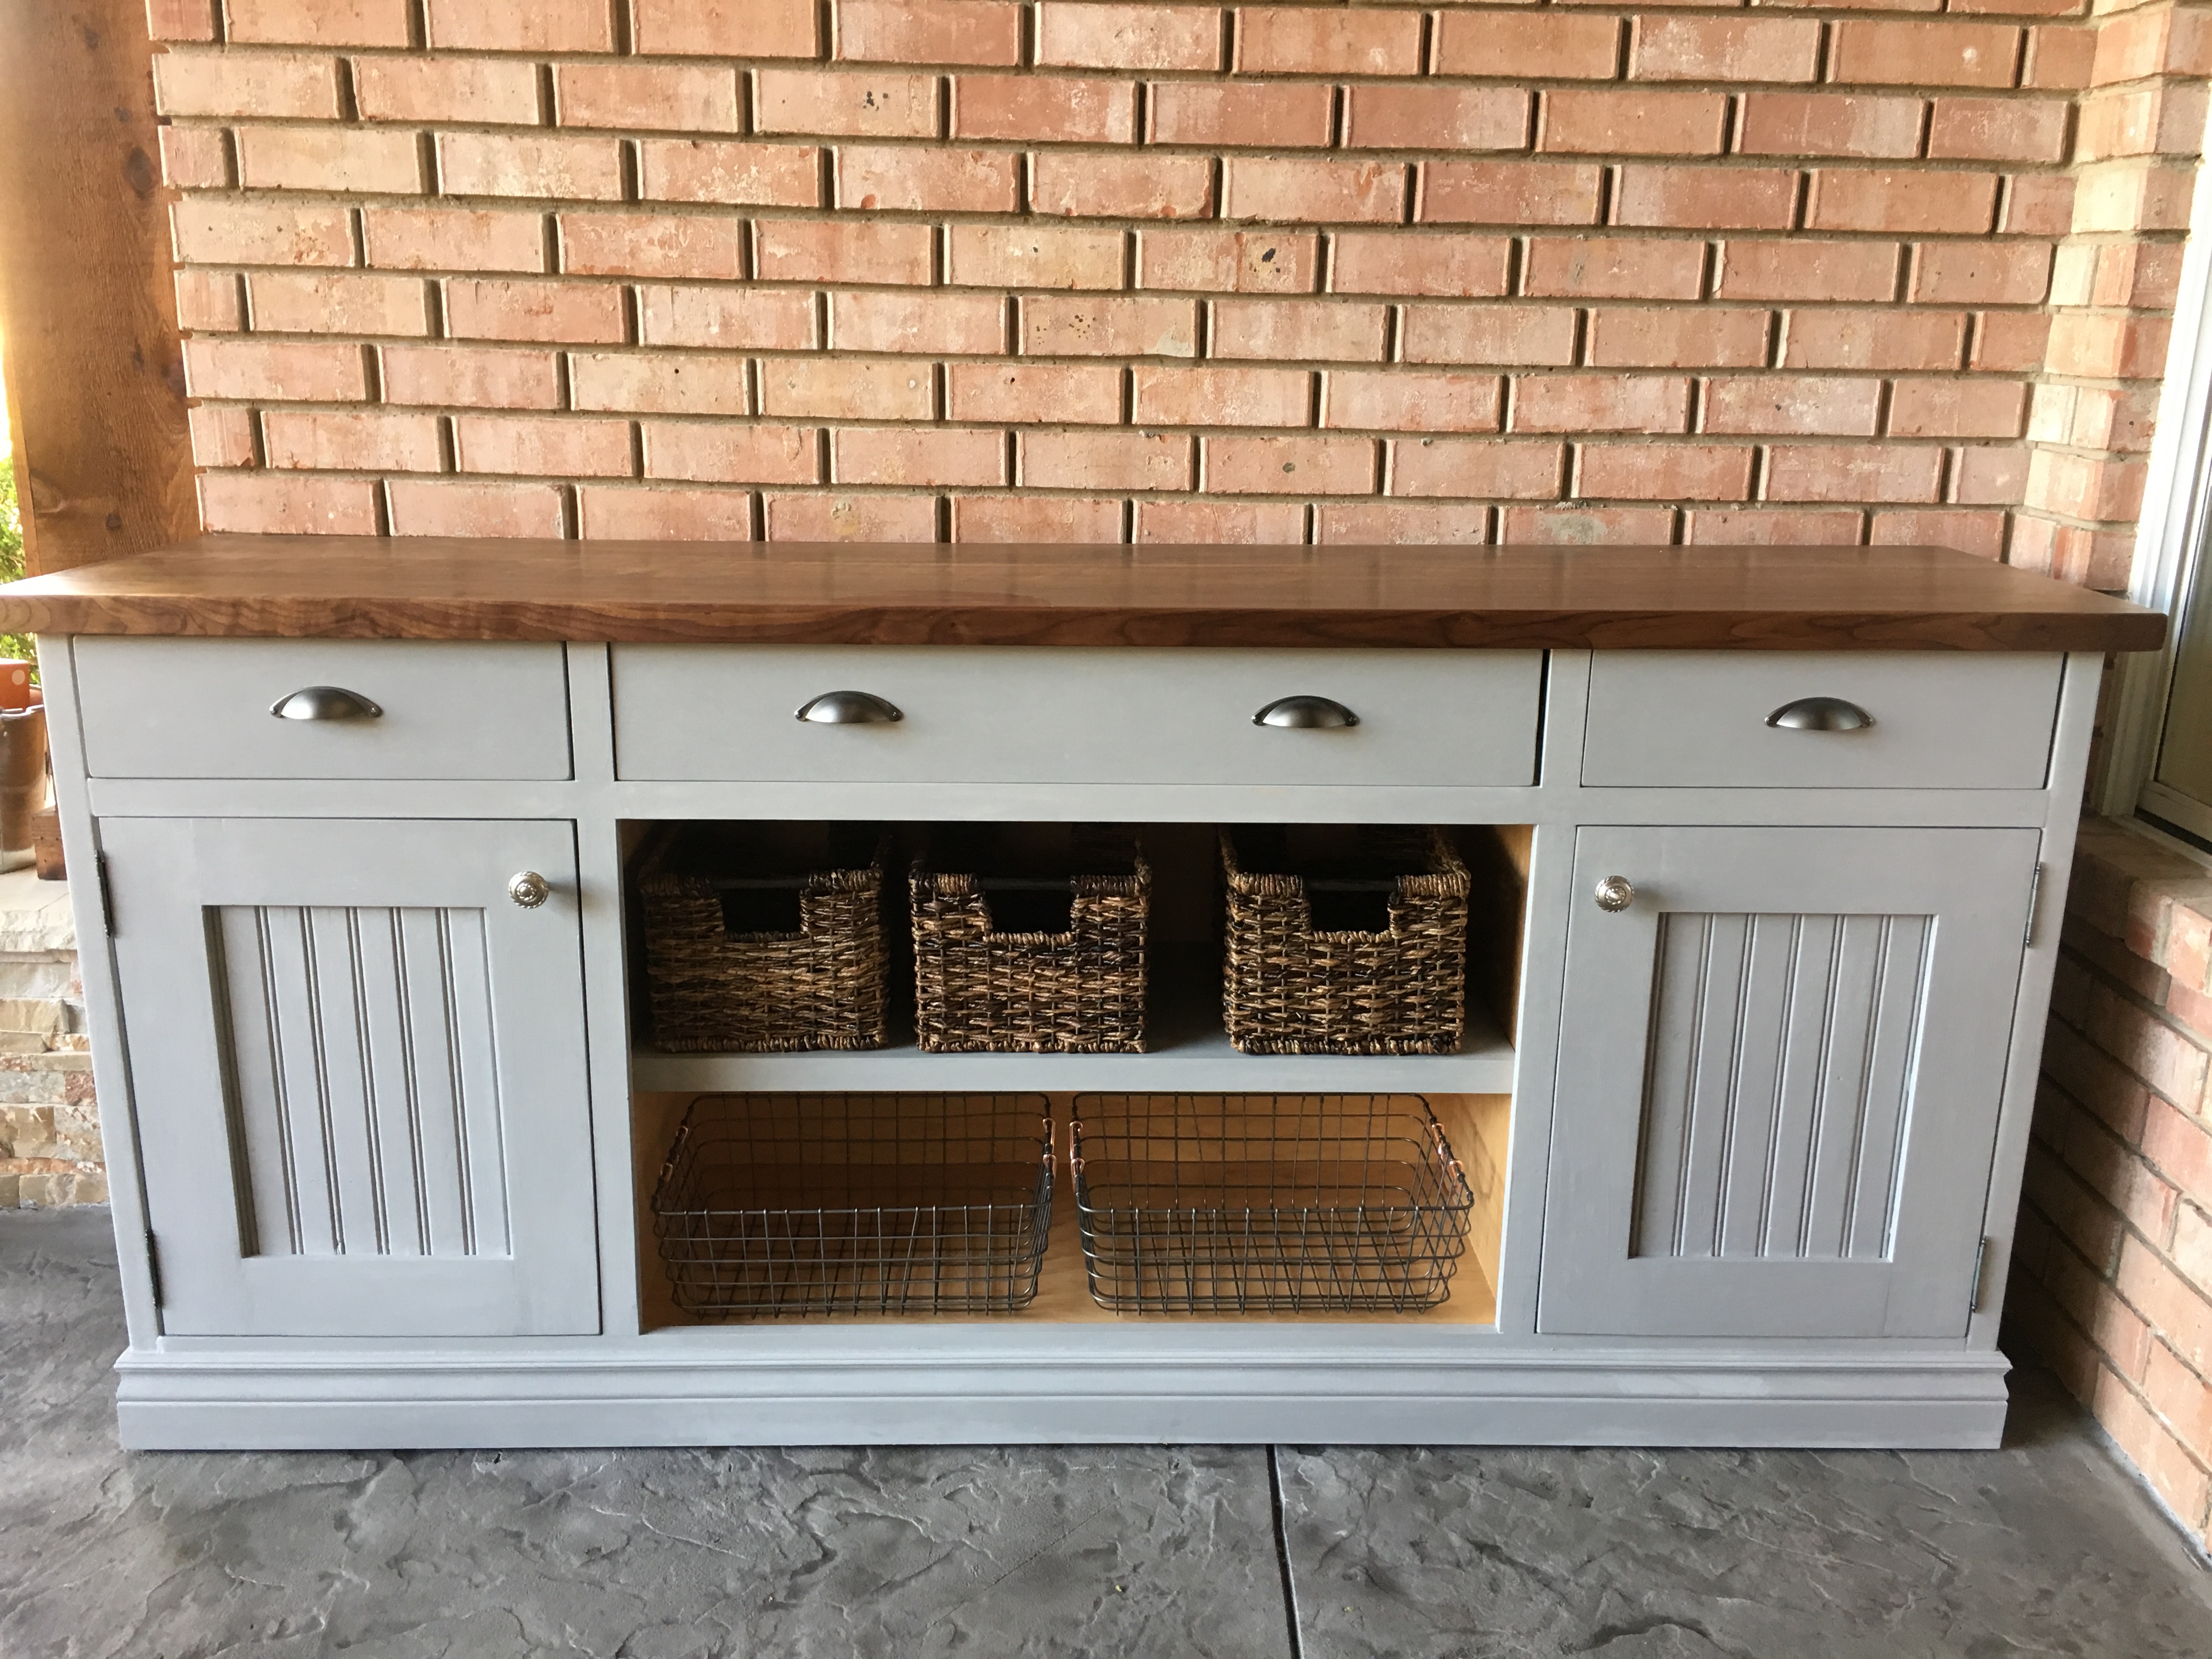
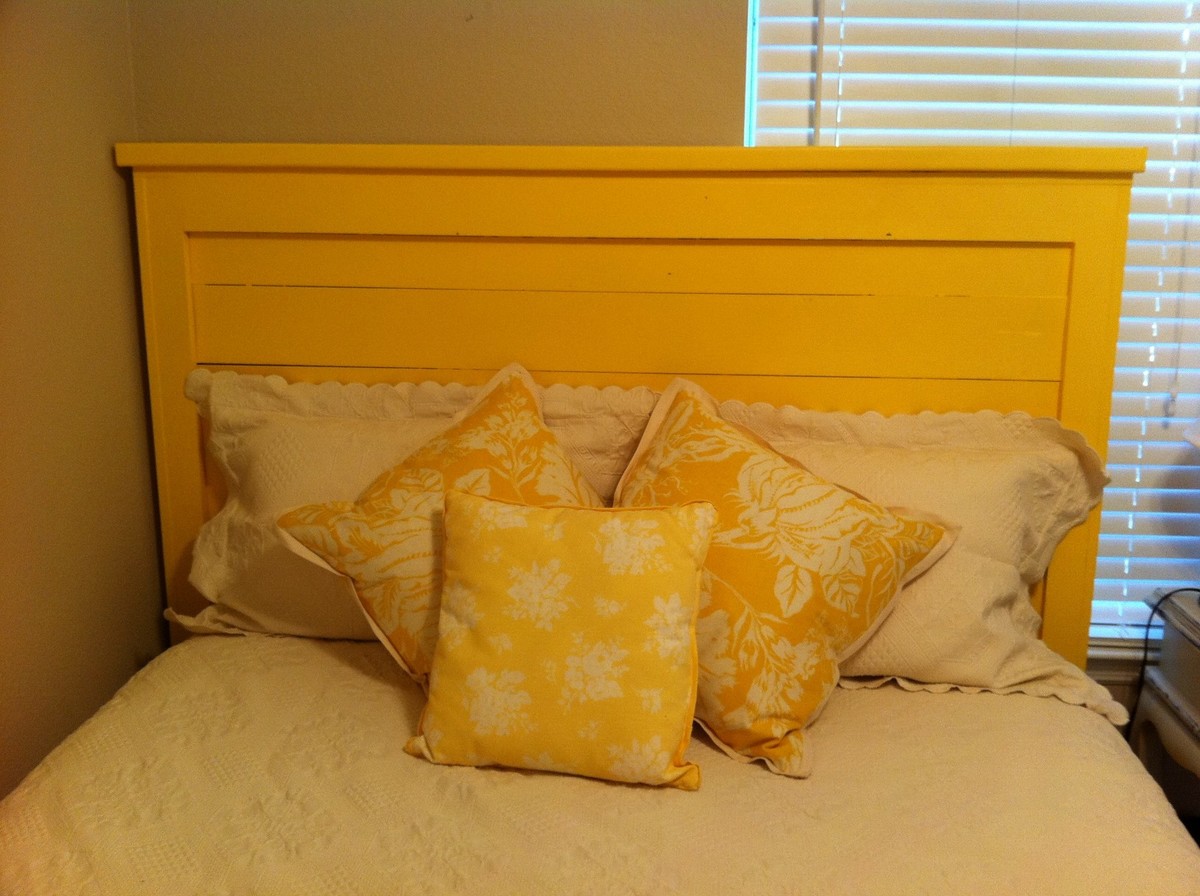
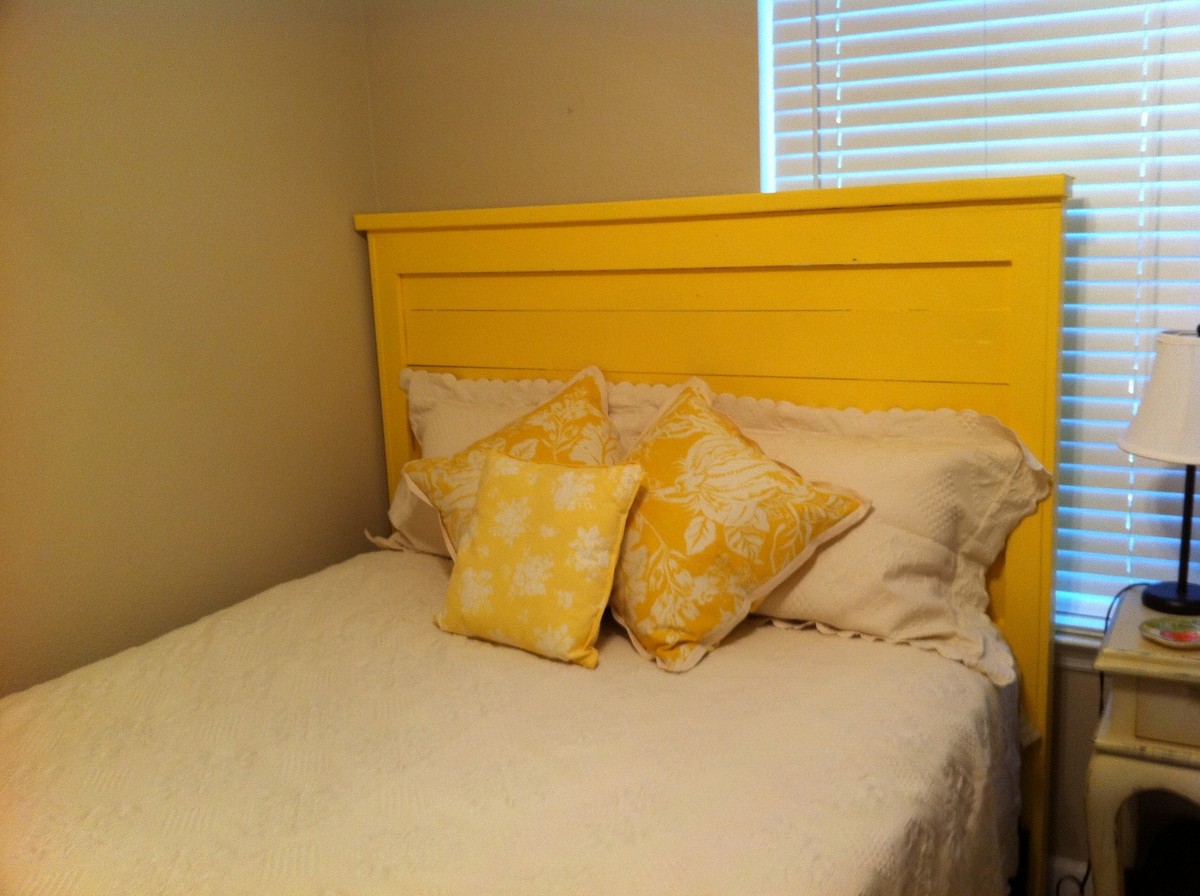
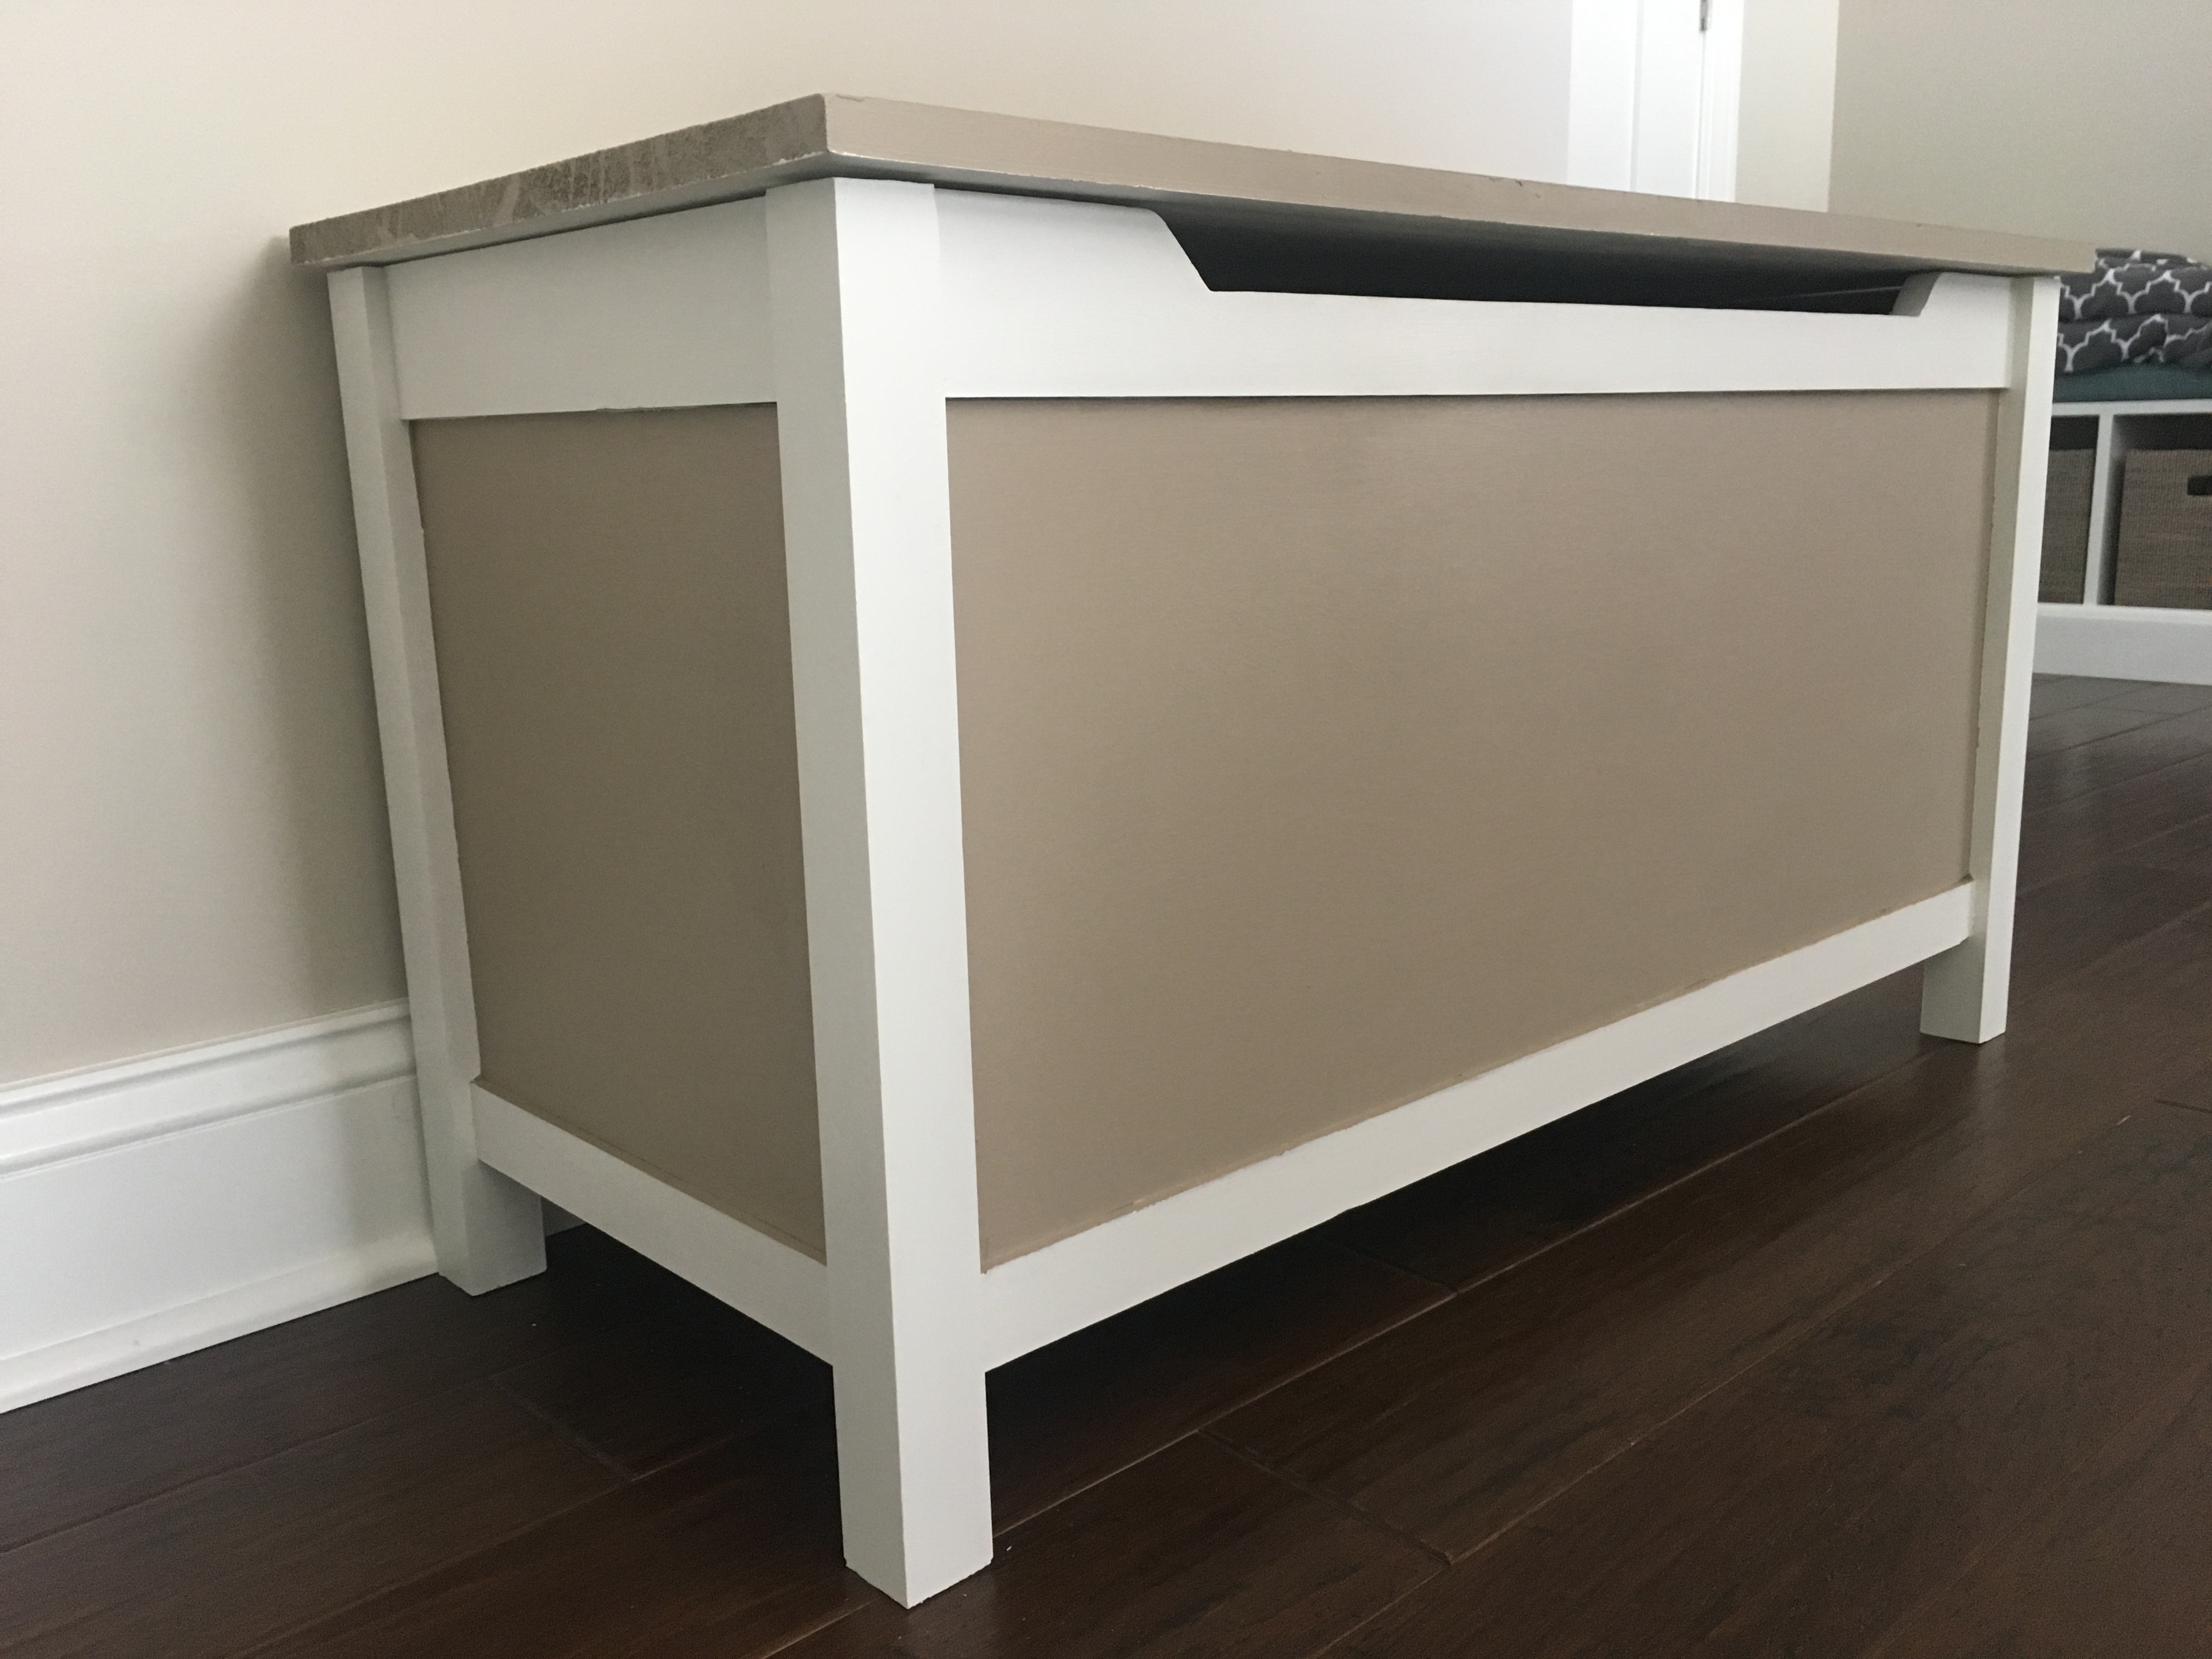
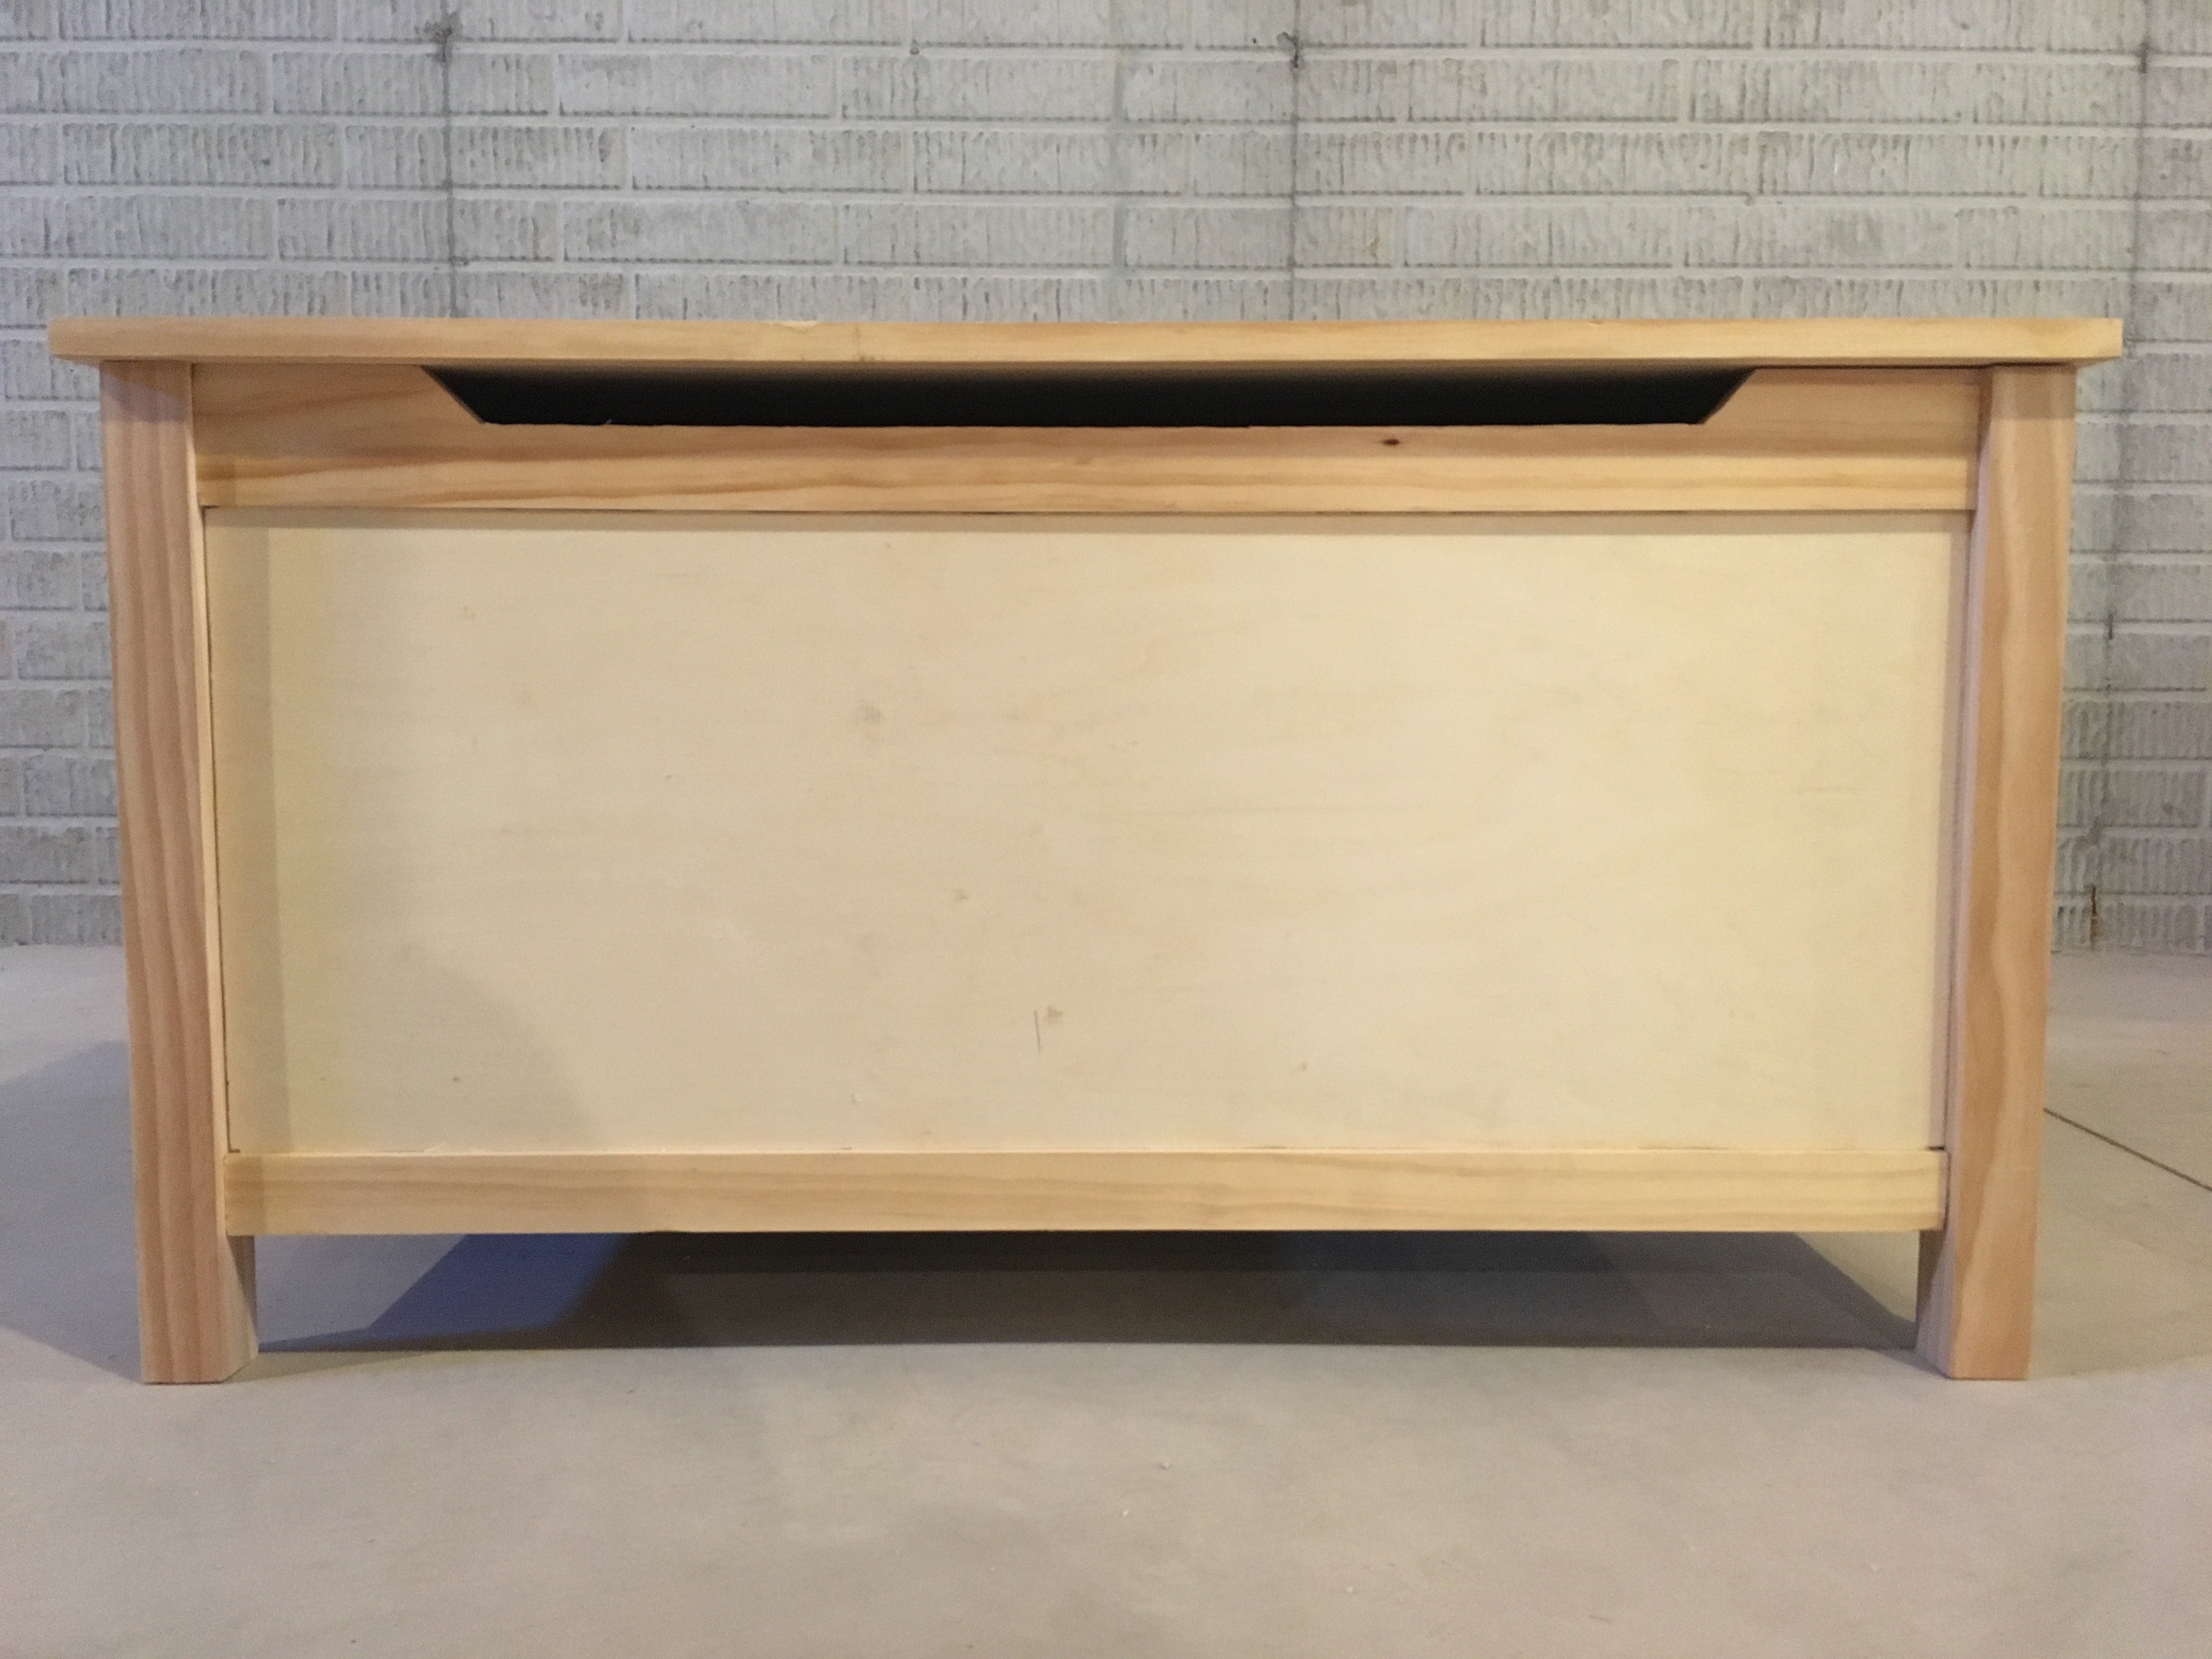
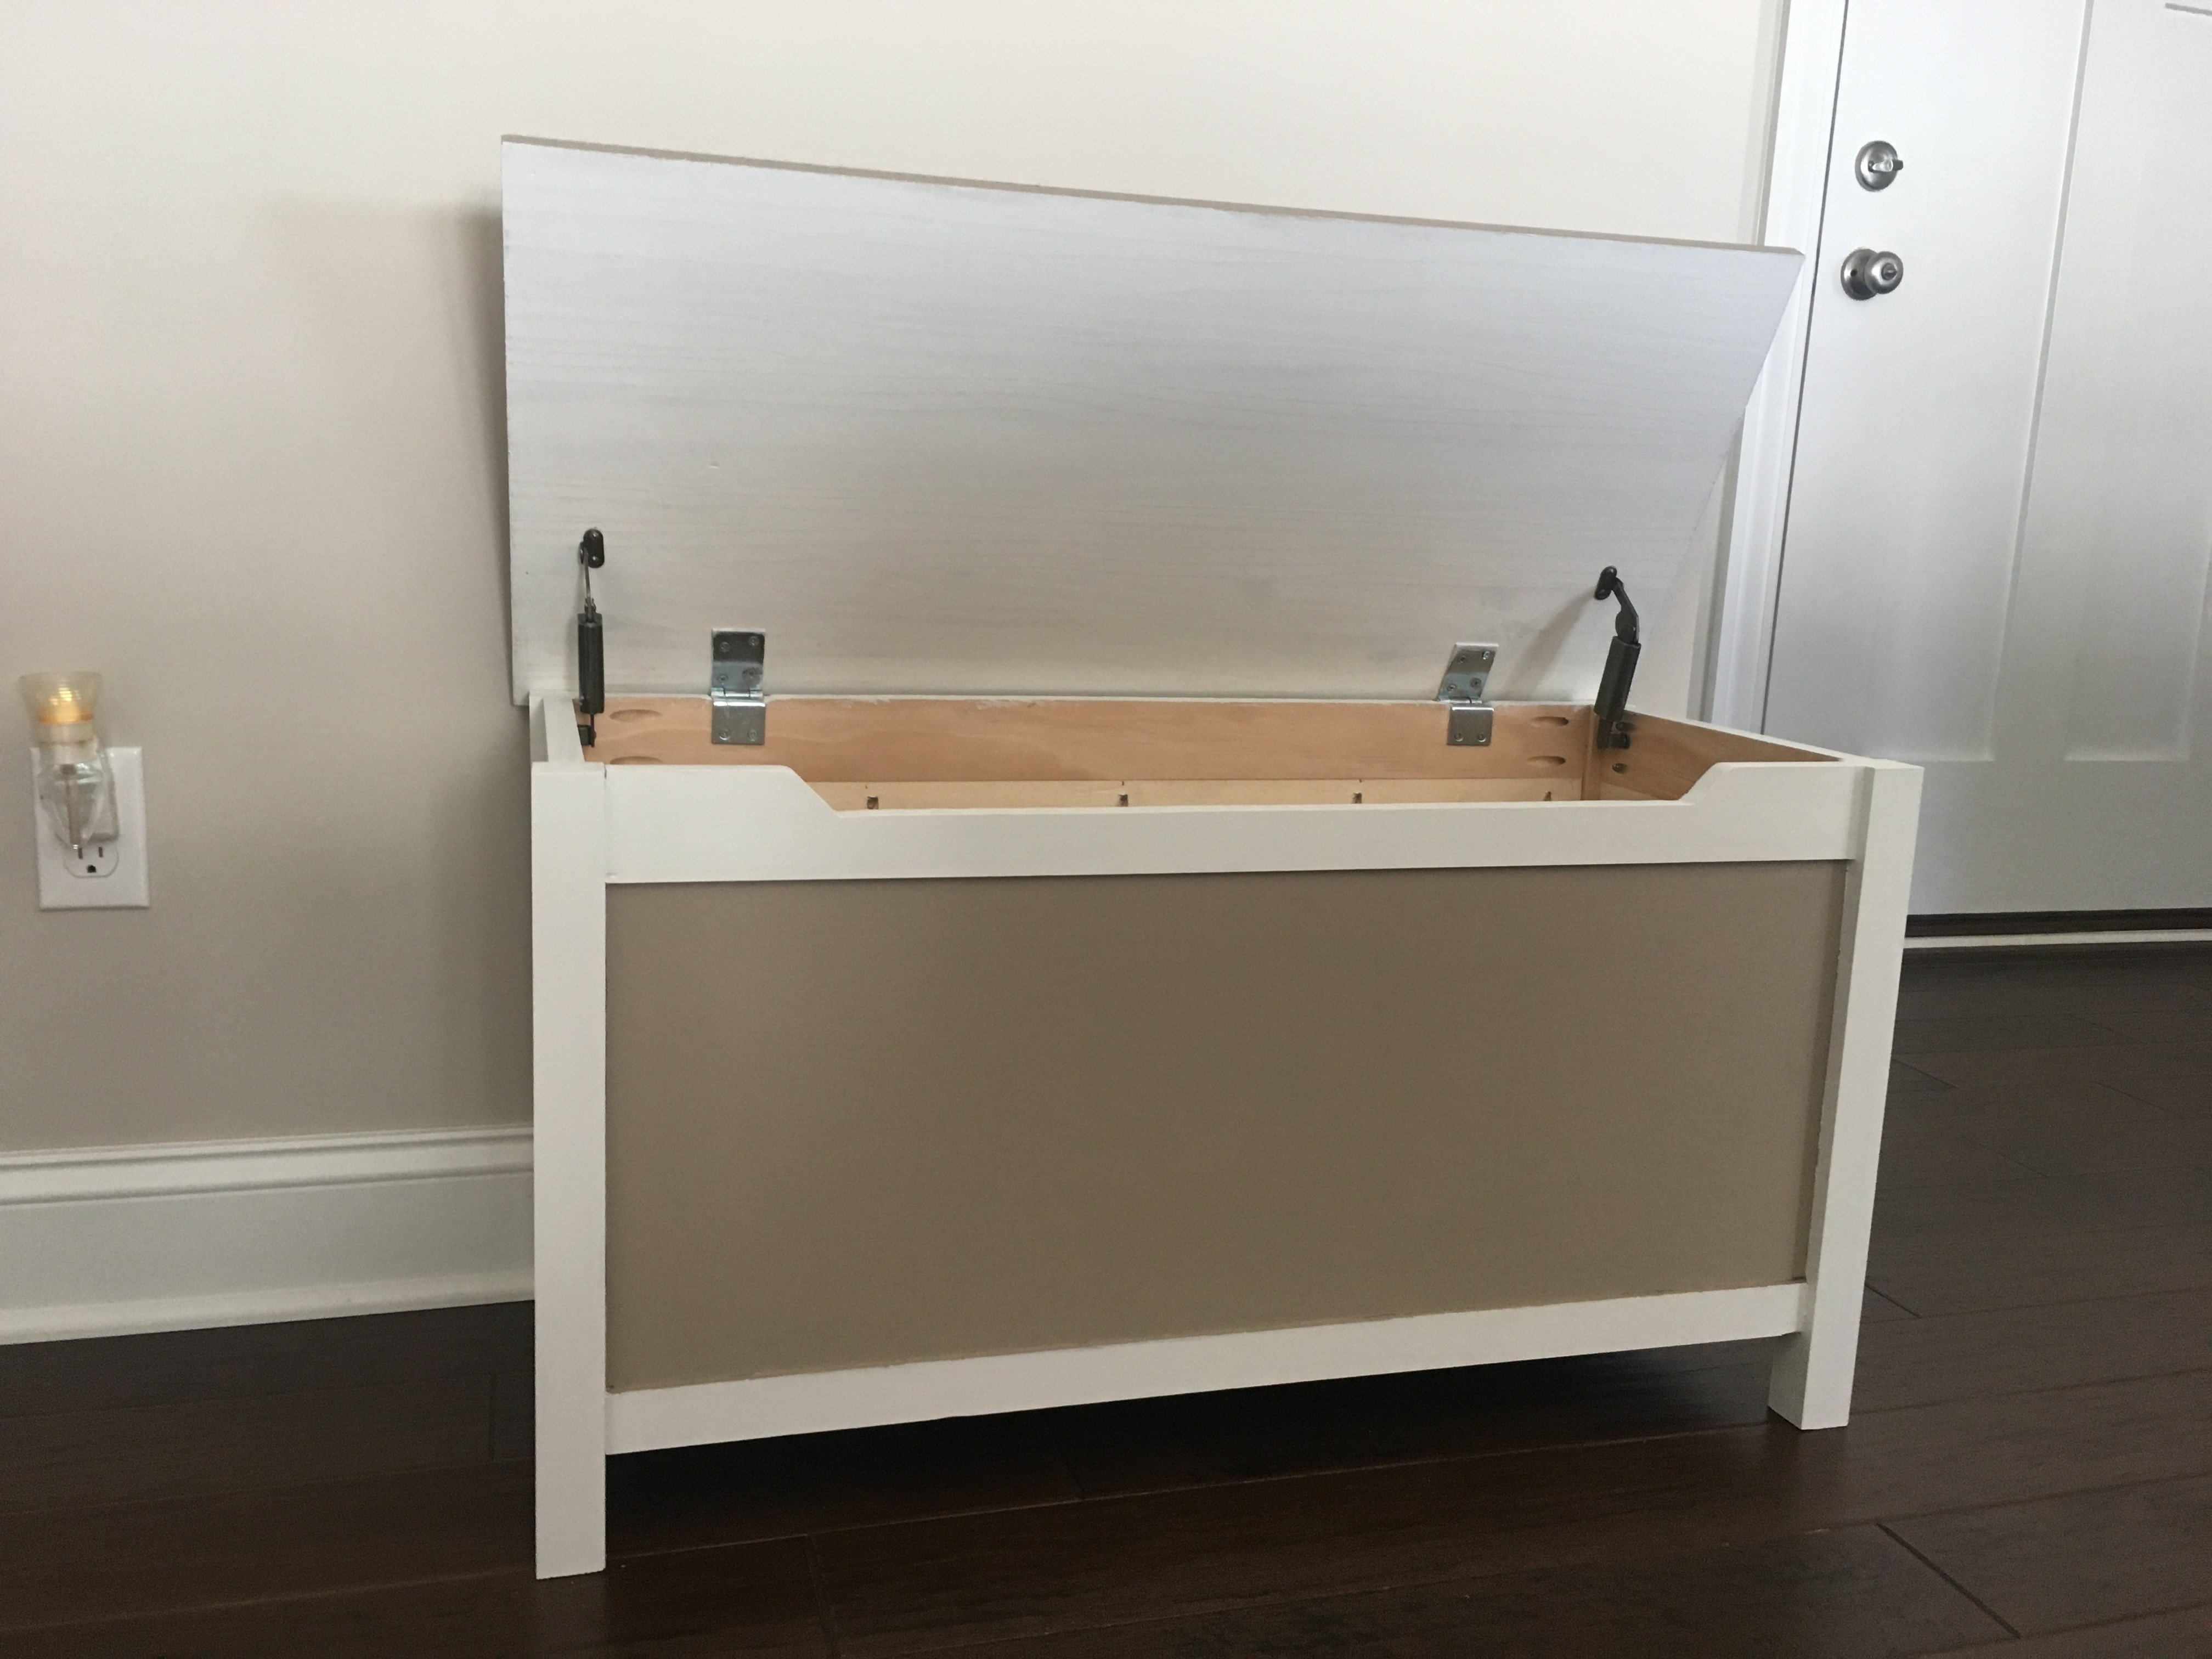
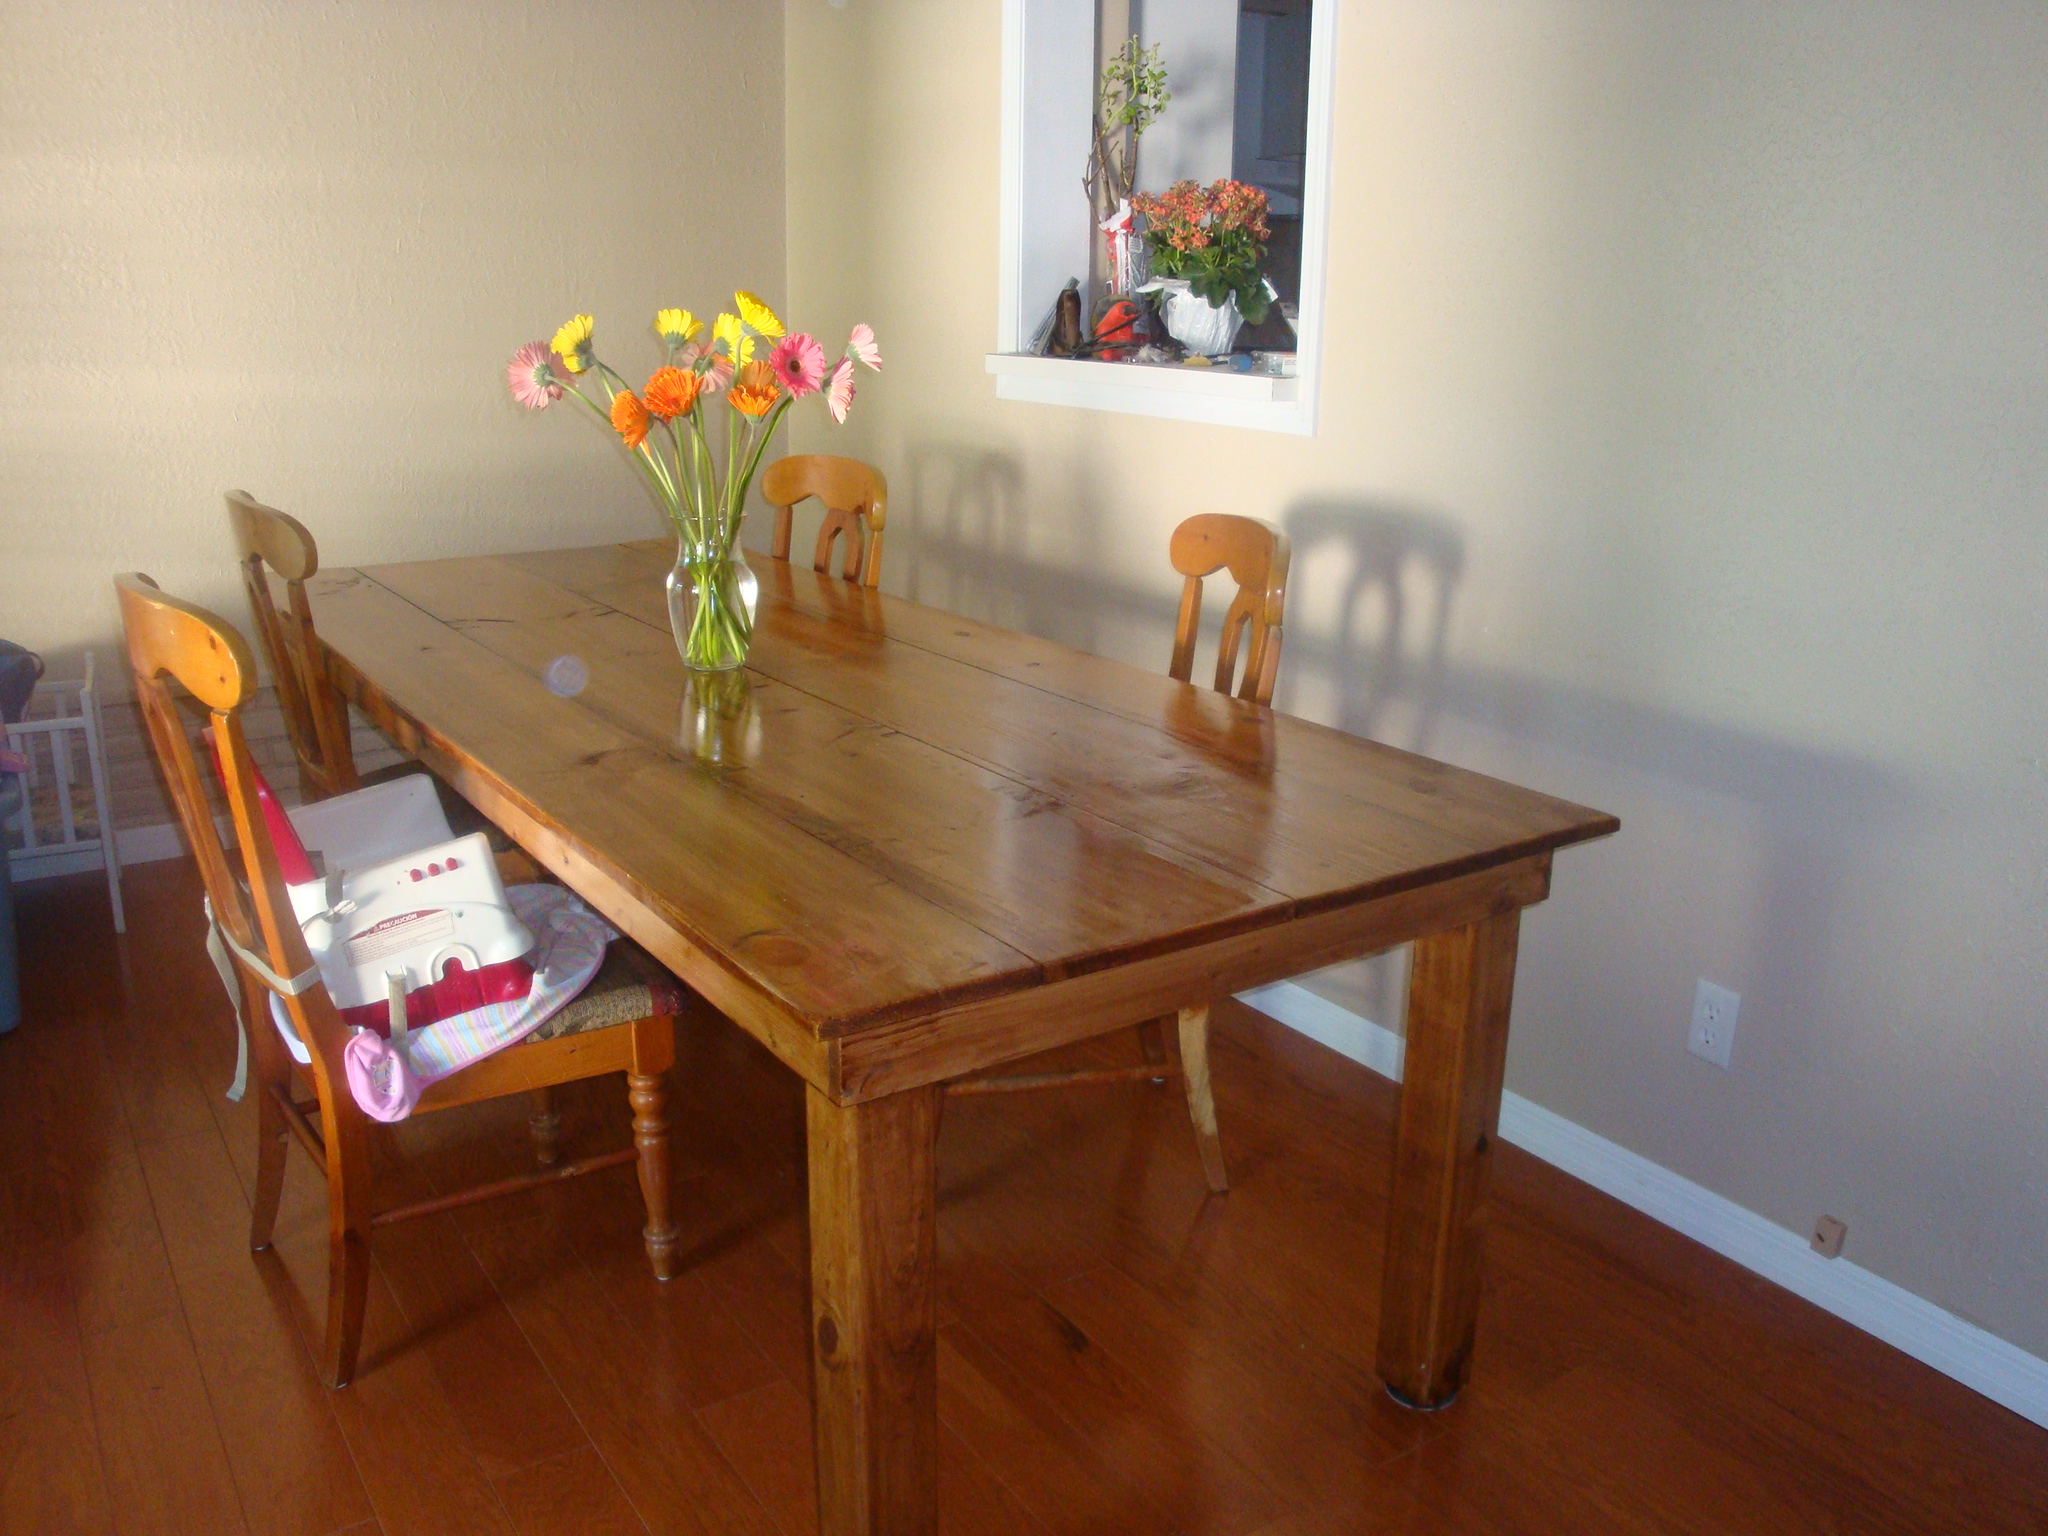
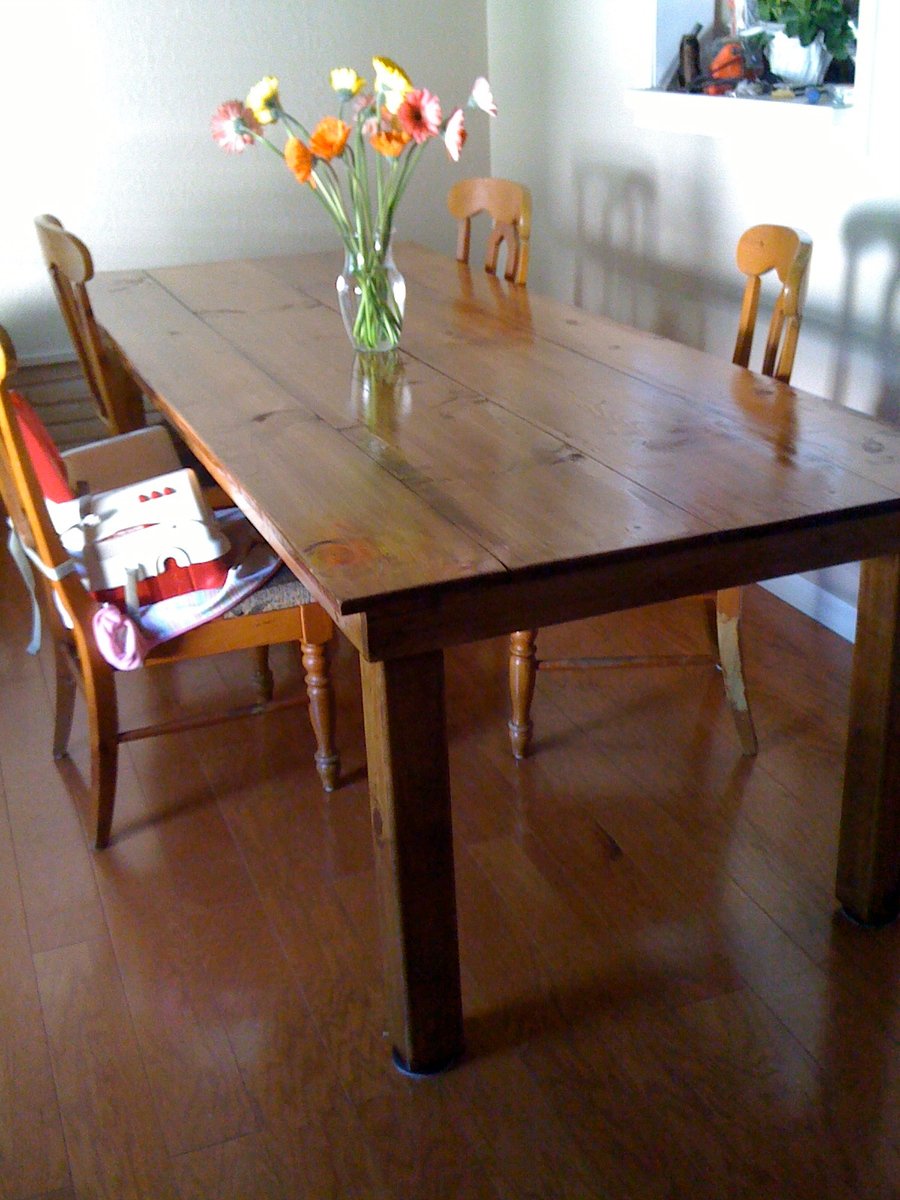
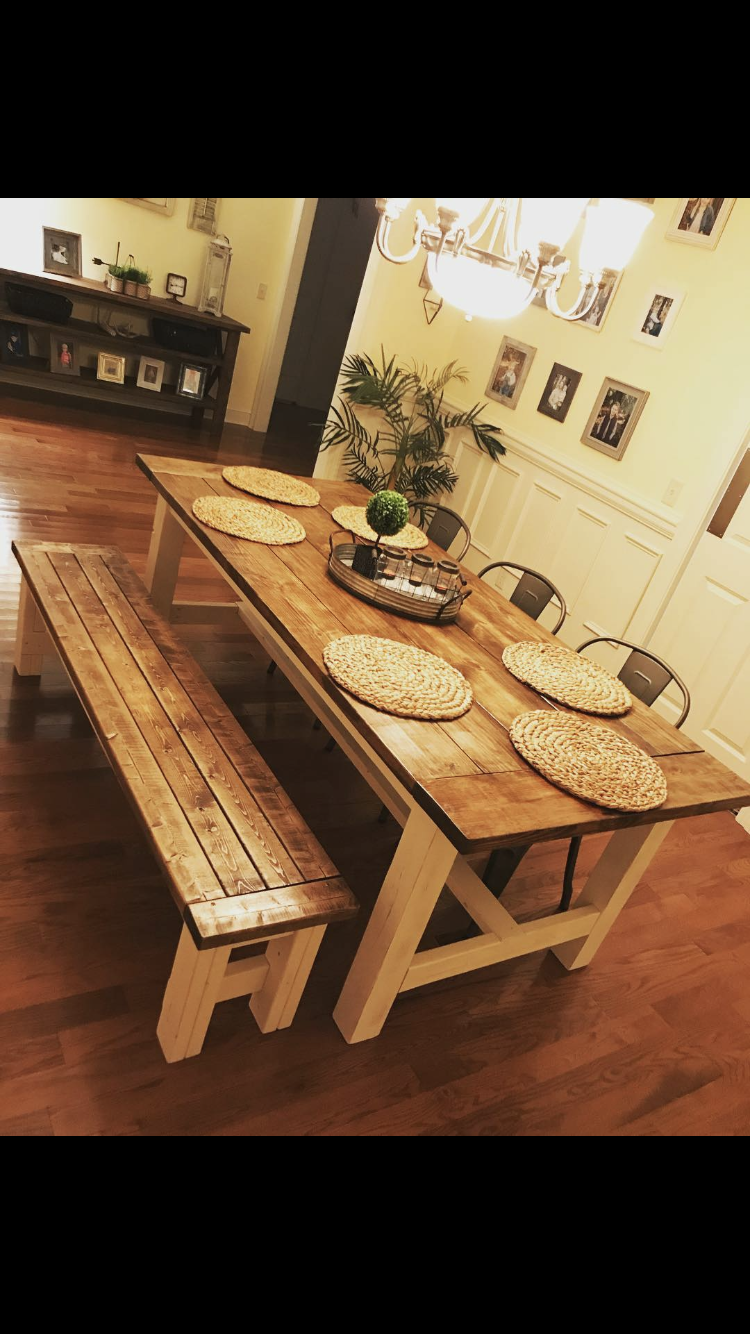
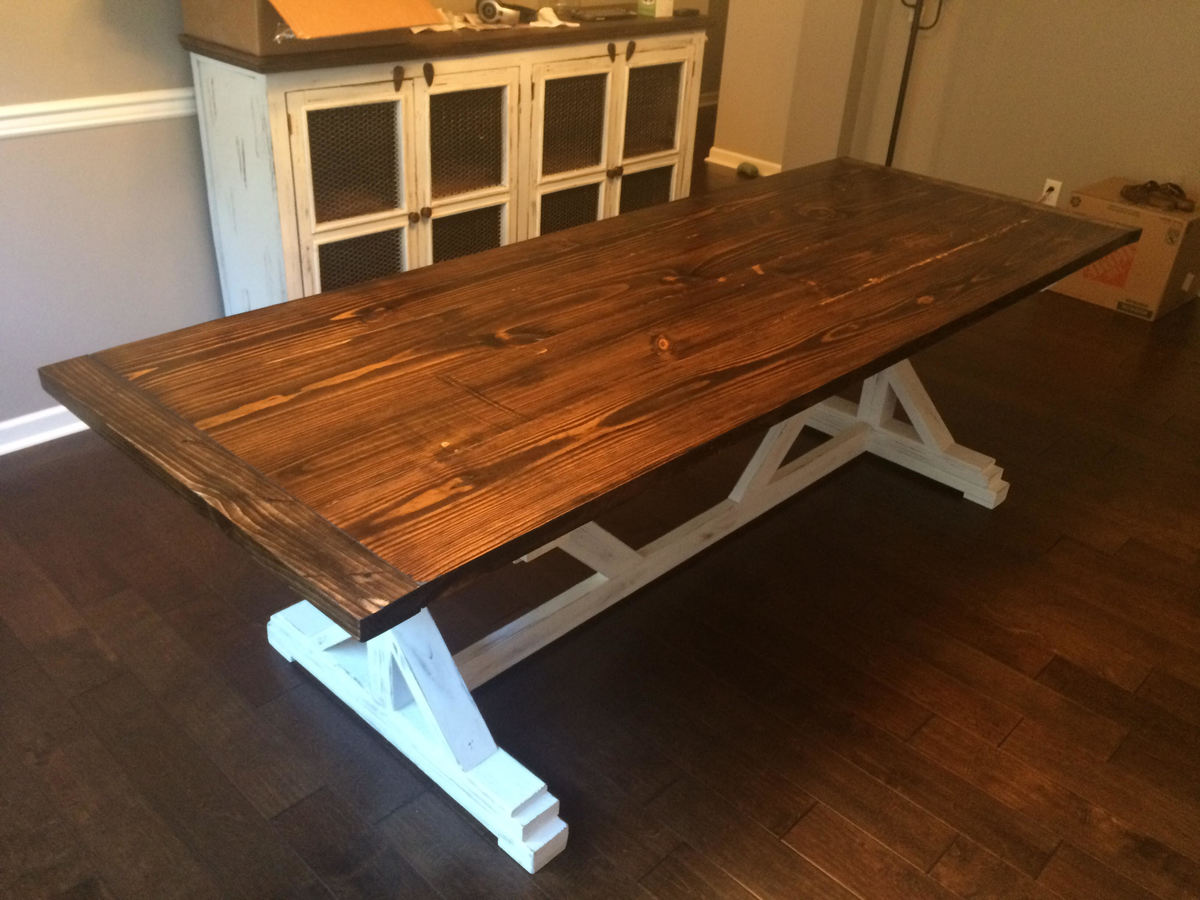
Housewarming Gift for a Friend
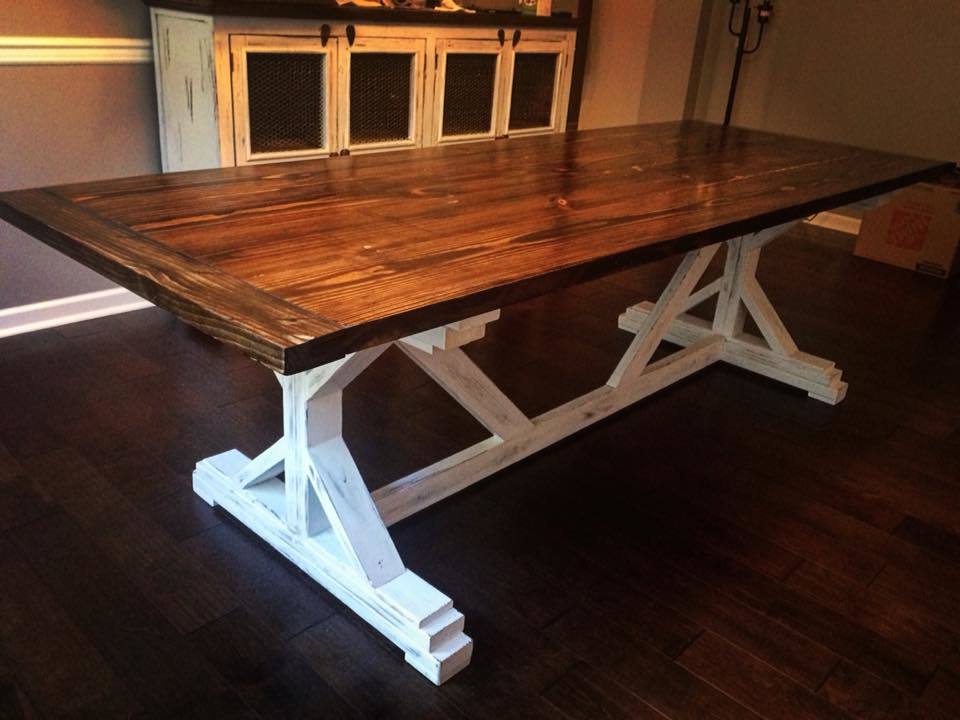
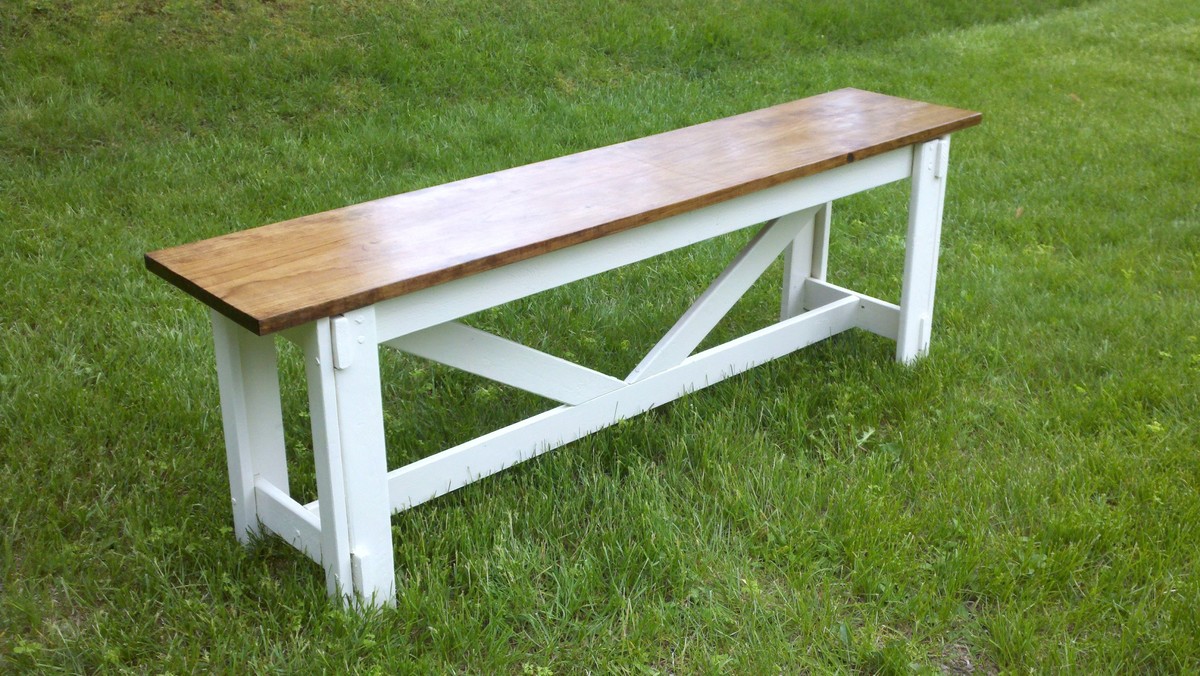
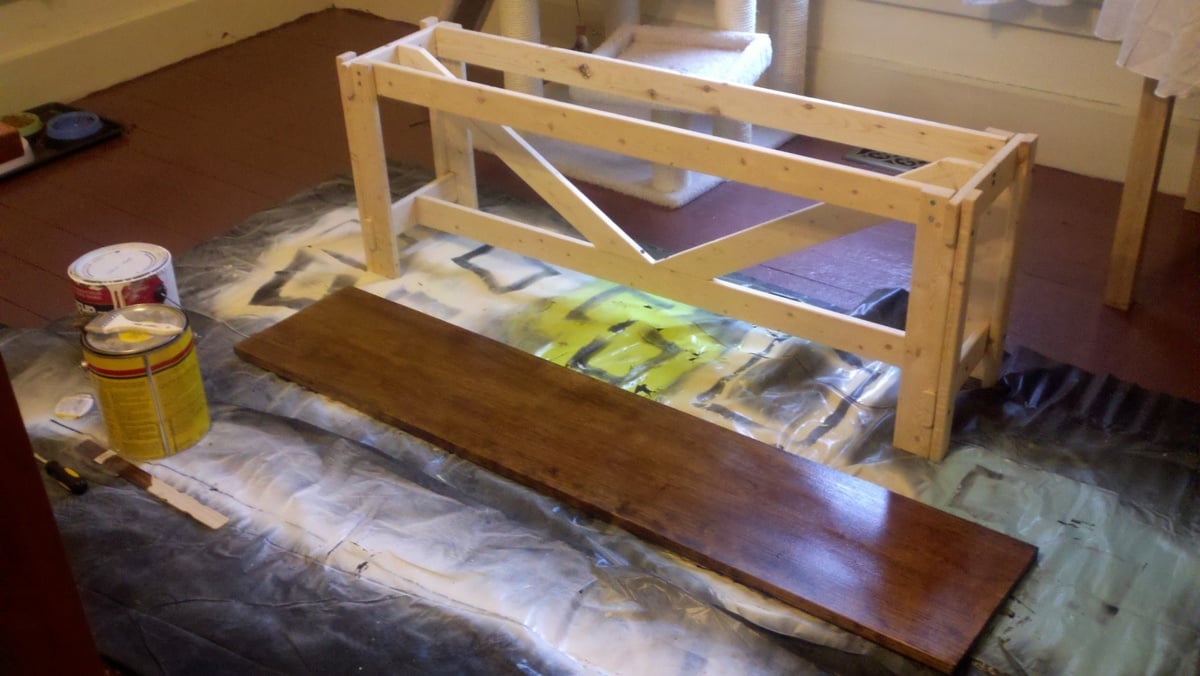
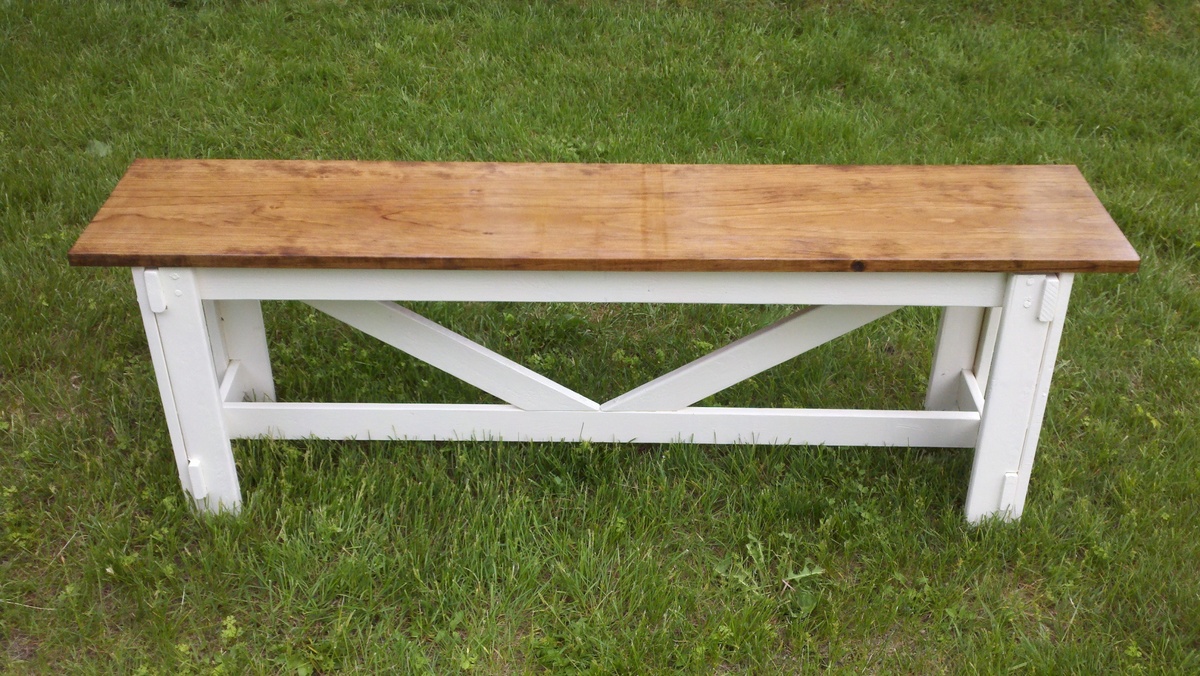
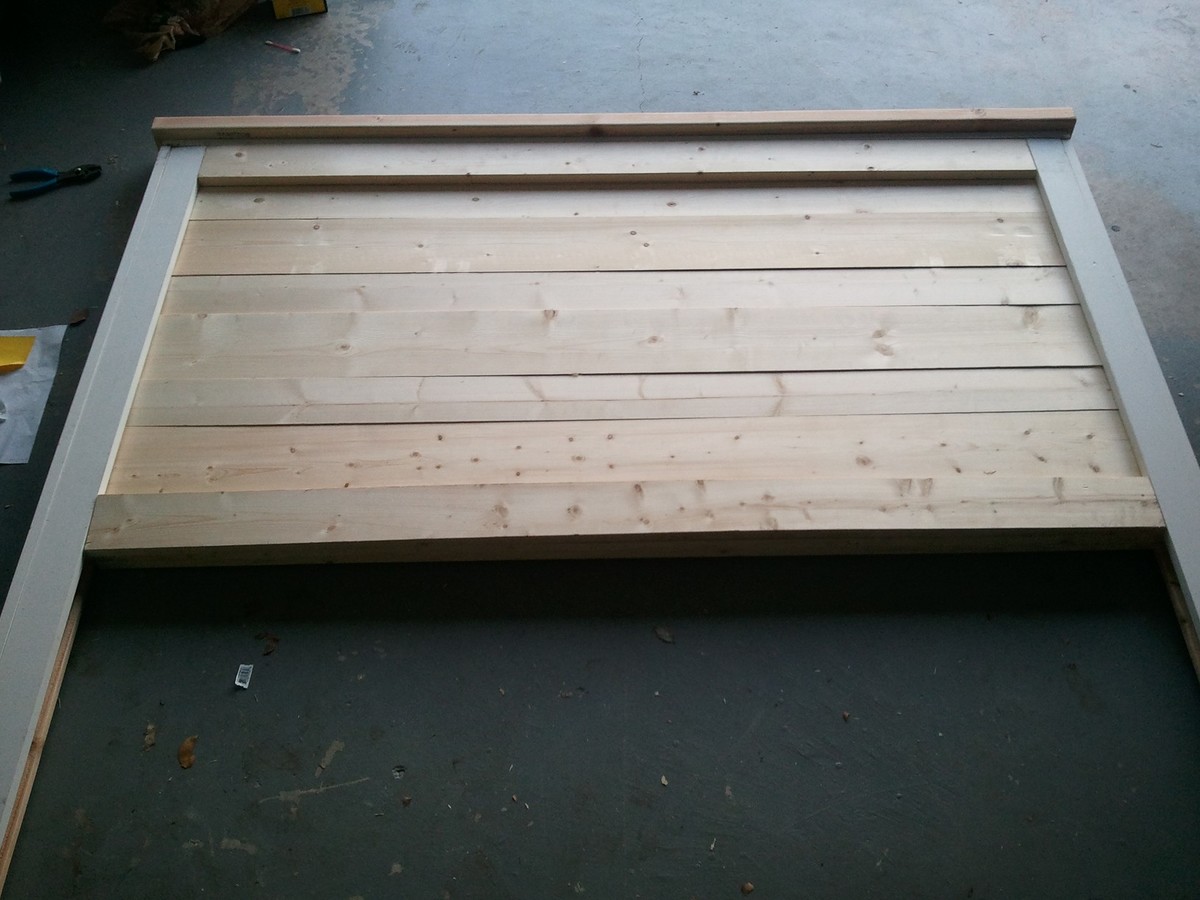
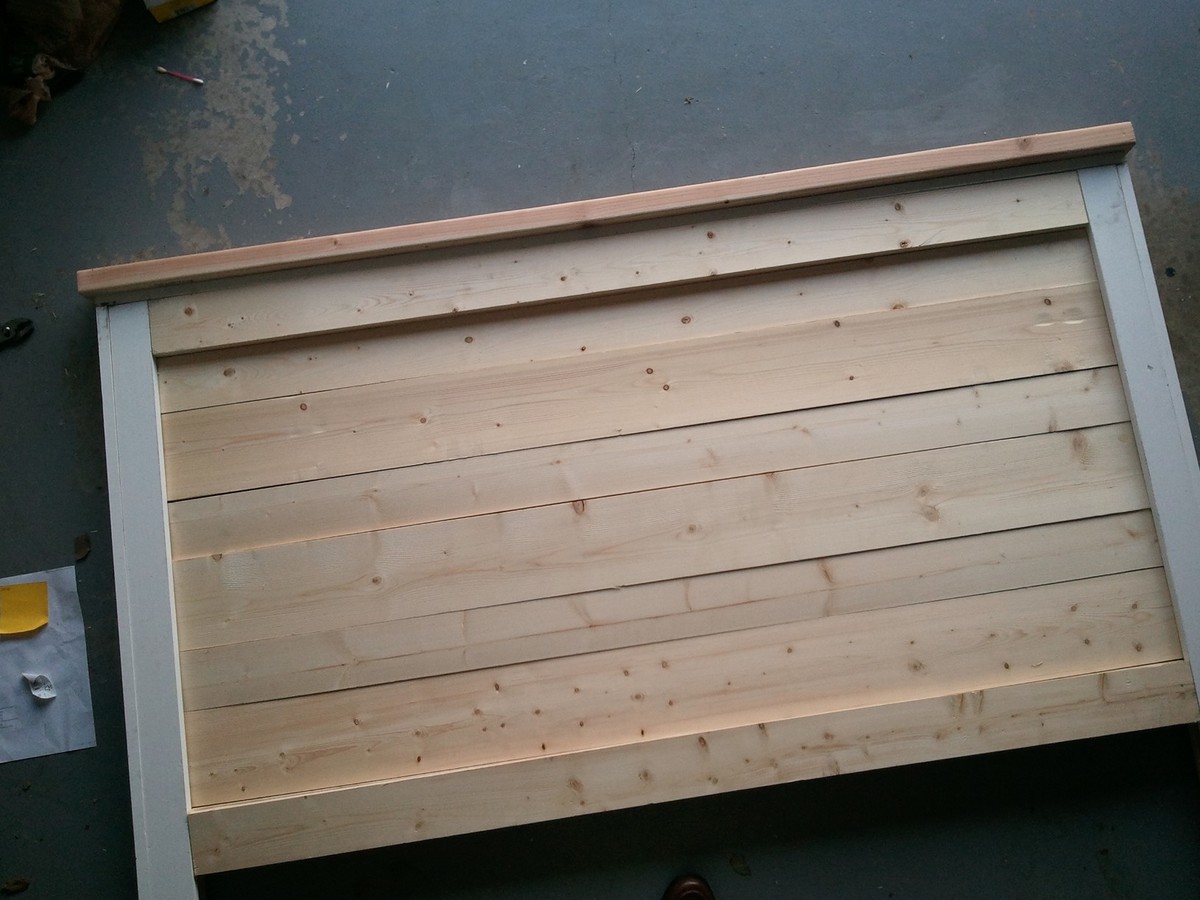
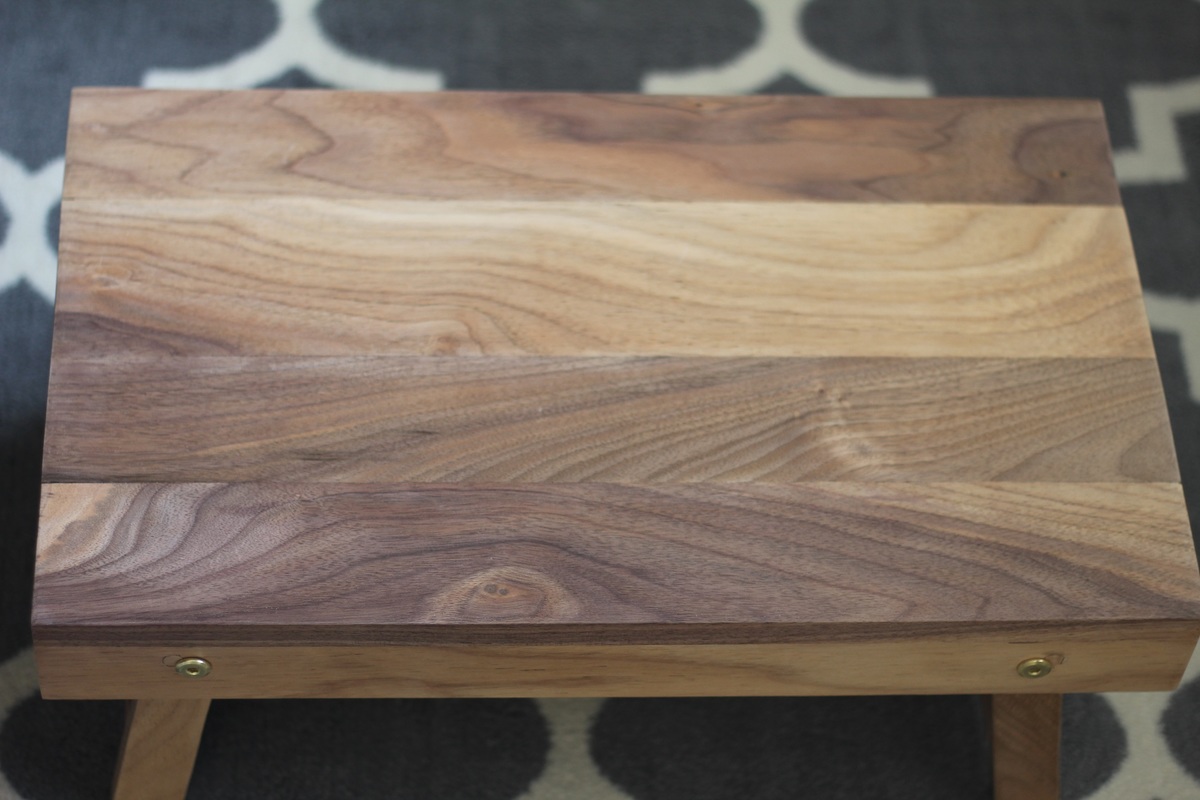
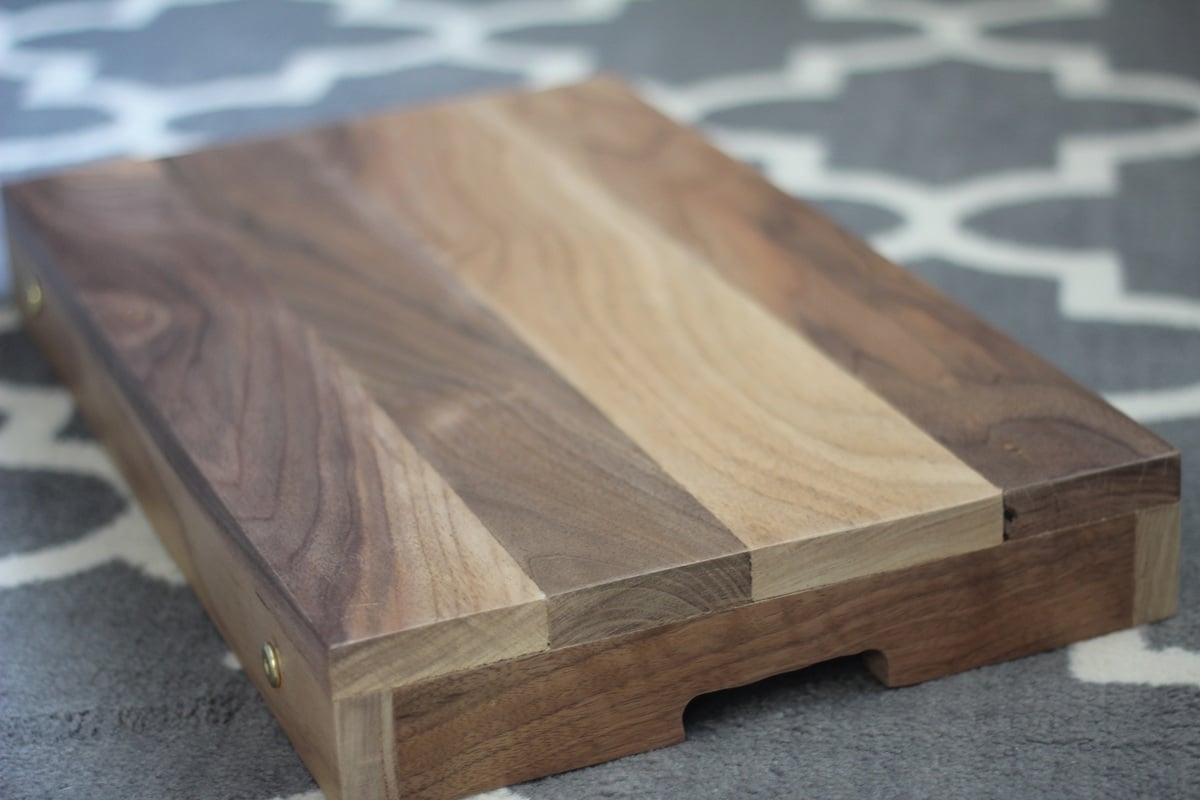
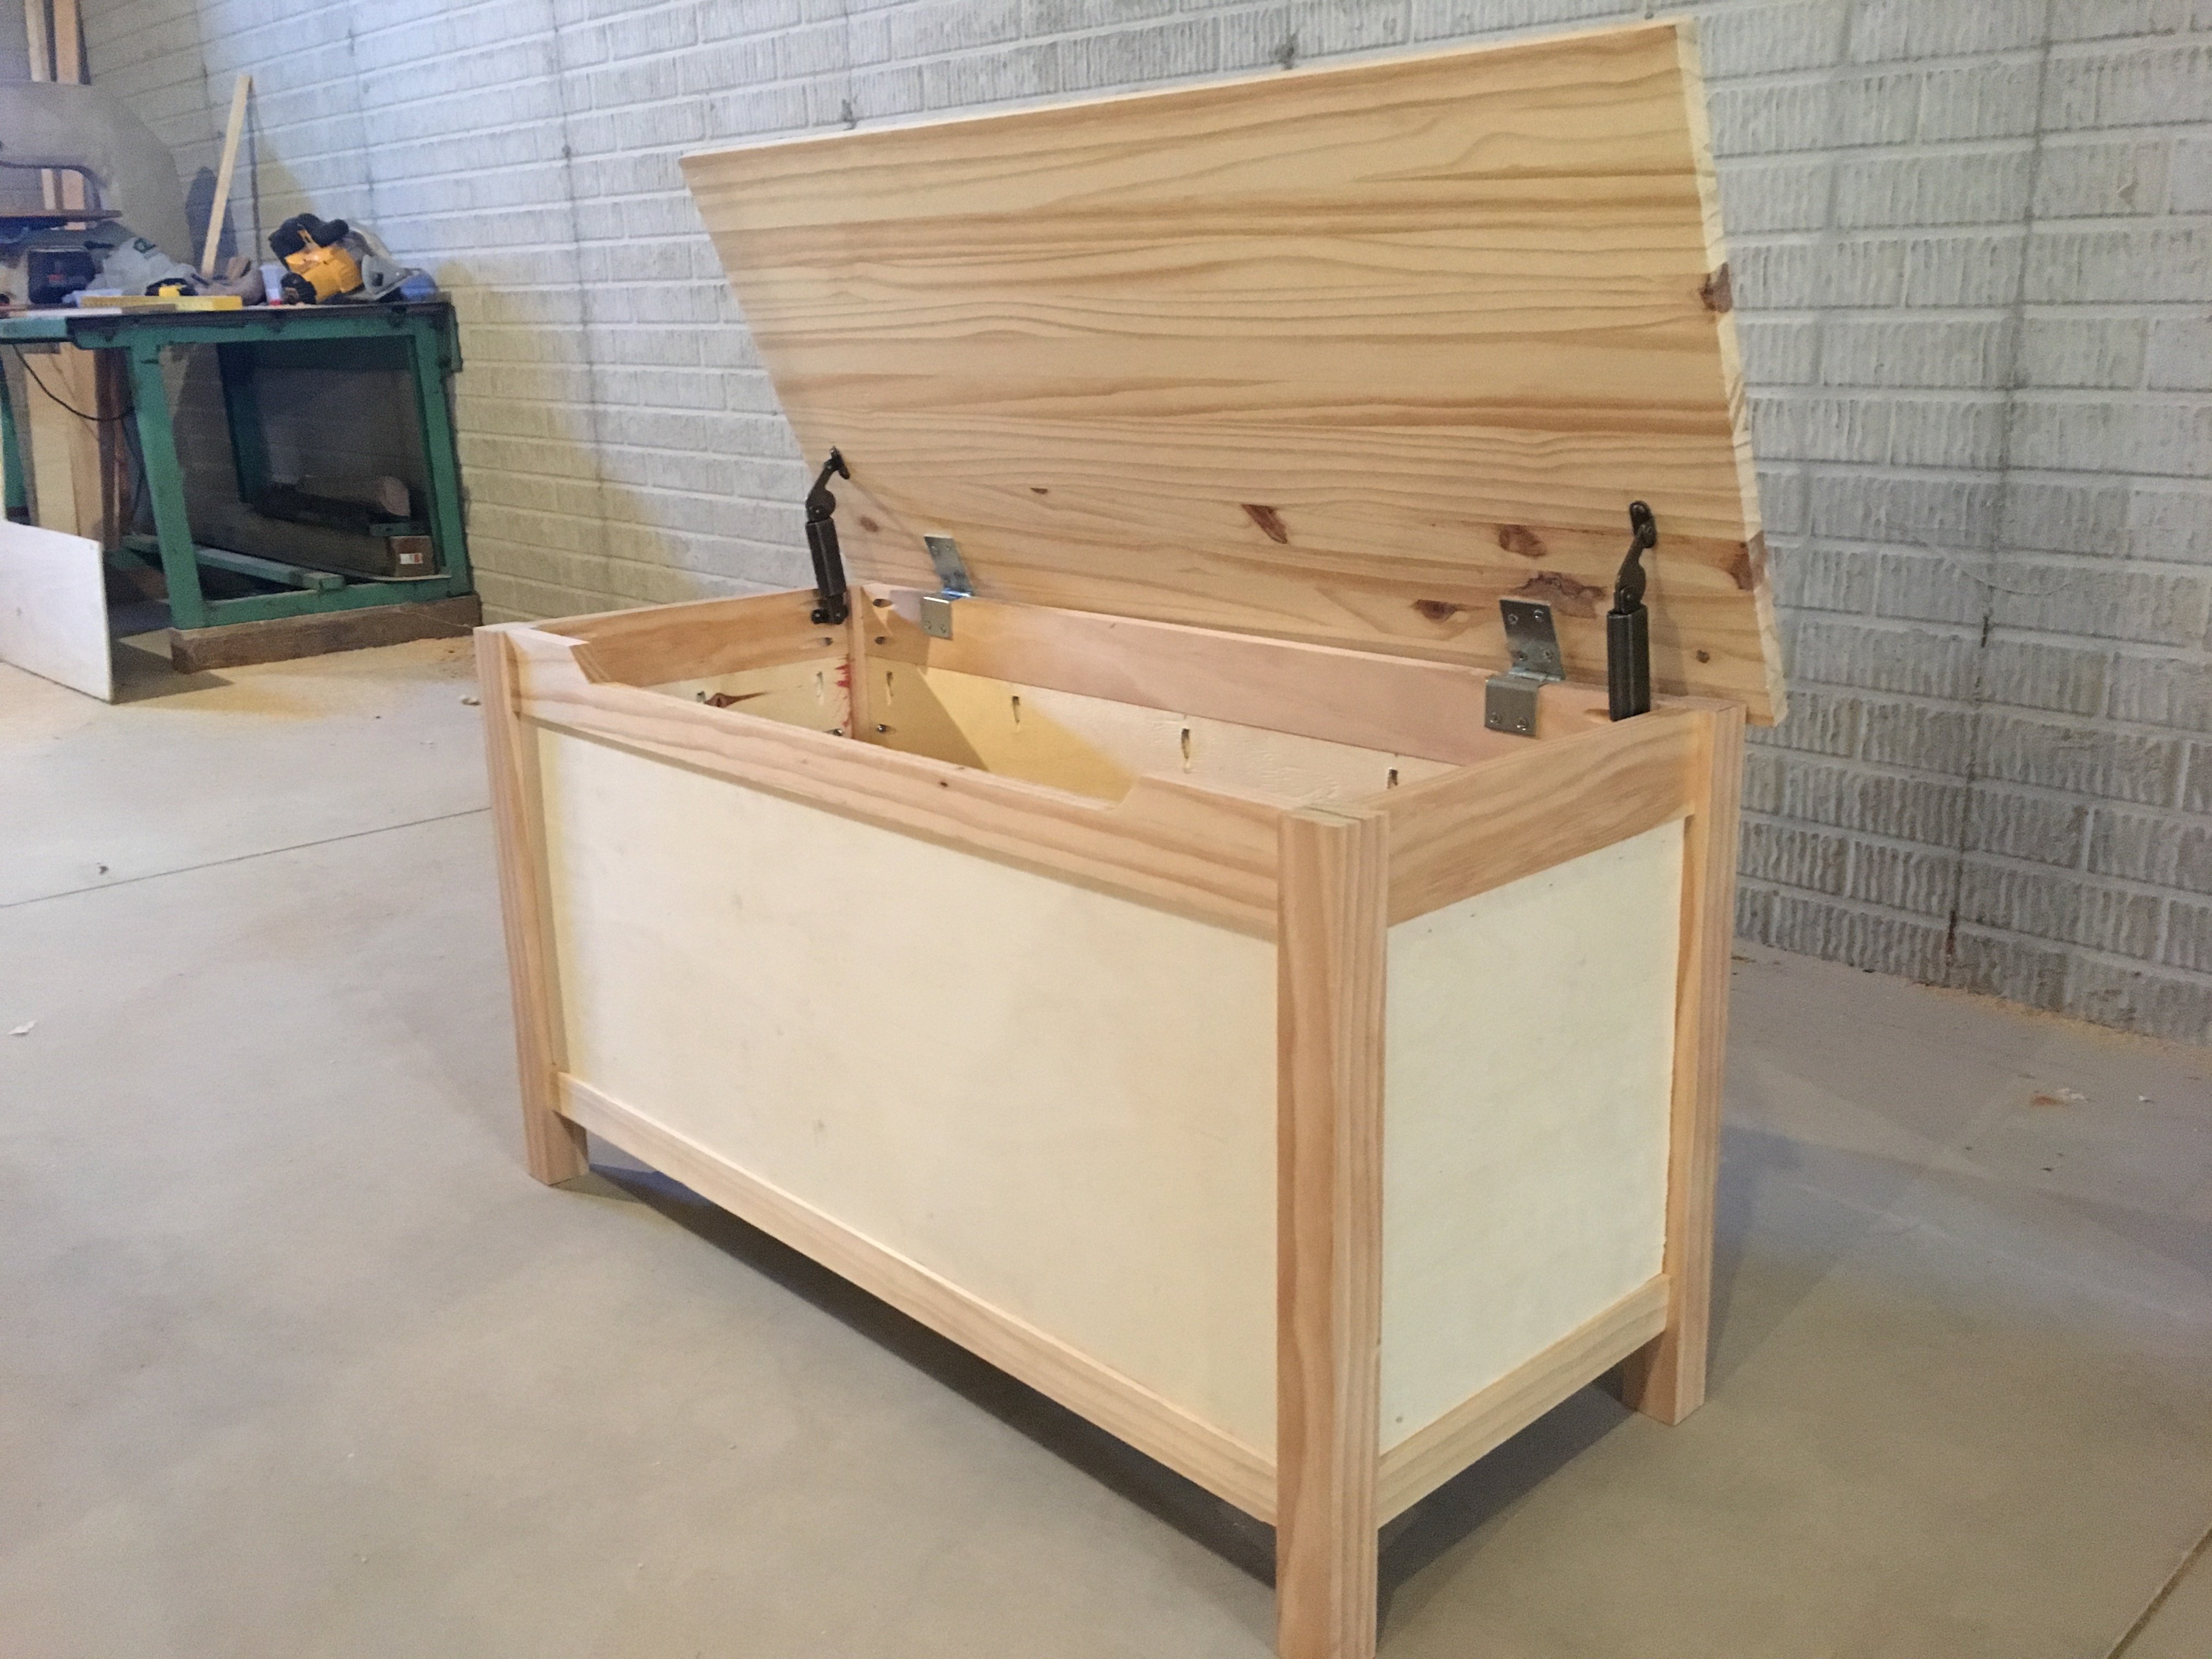
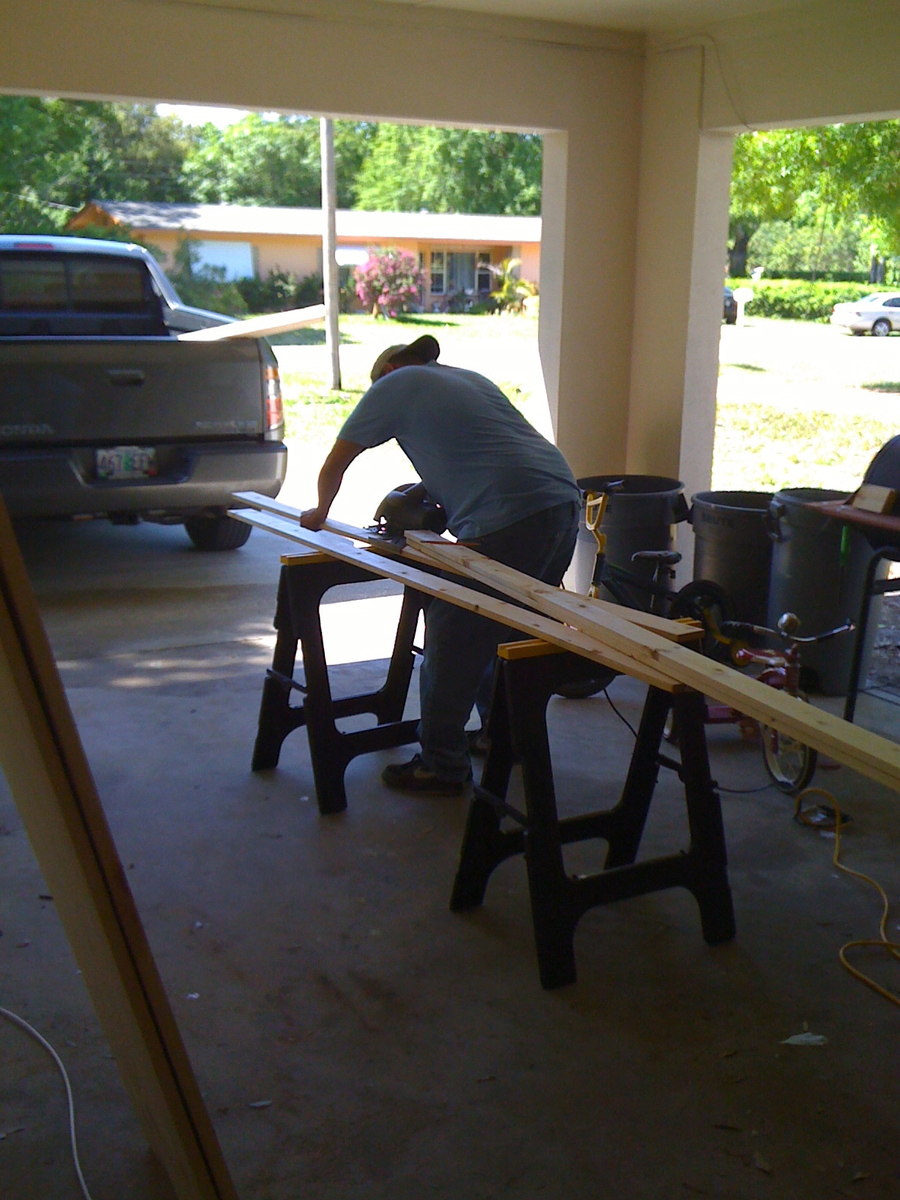
I modified these plans a little. I added some tongue and groove breadboard ends, and used Rockler table top fasteners to attach the top. I worked on it in my spare time after work a couple days a week for about a month. I'm happy with the overall outcome!
Built from Plan(s)
Estimated Cost
~$150
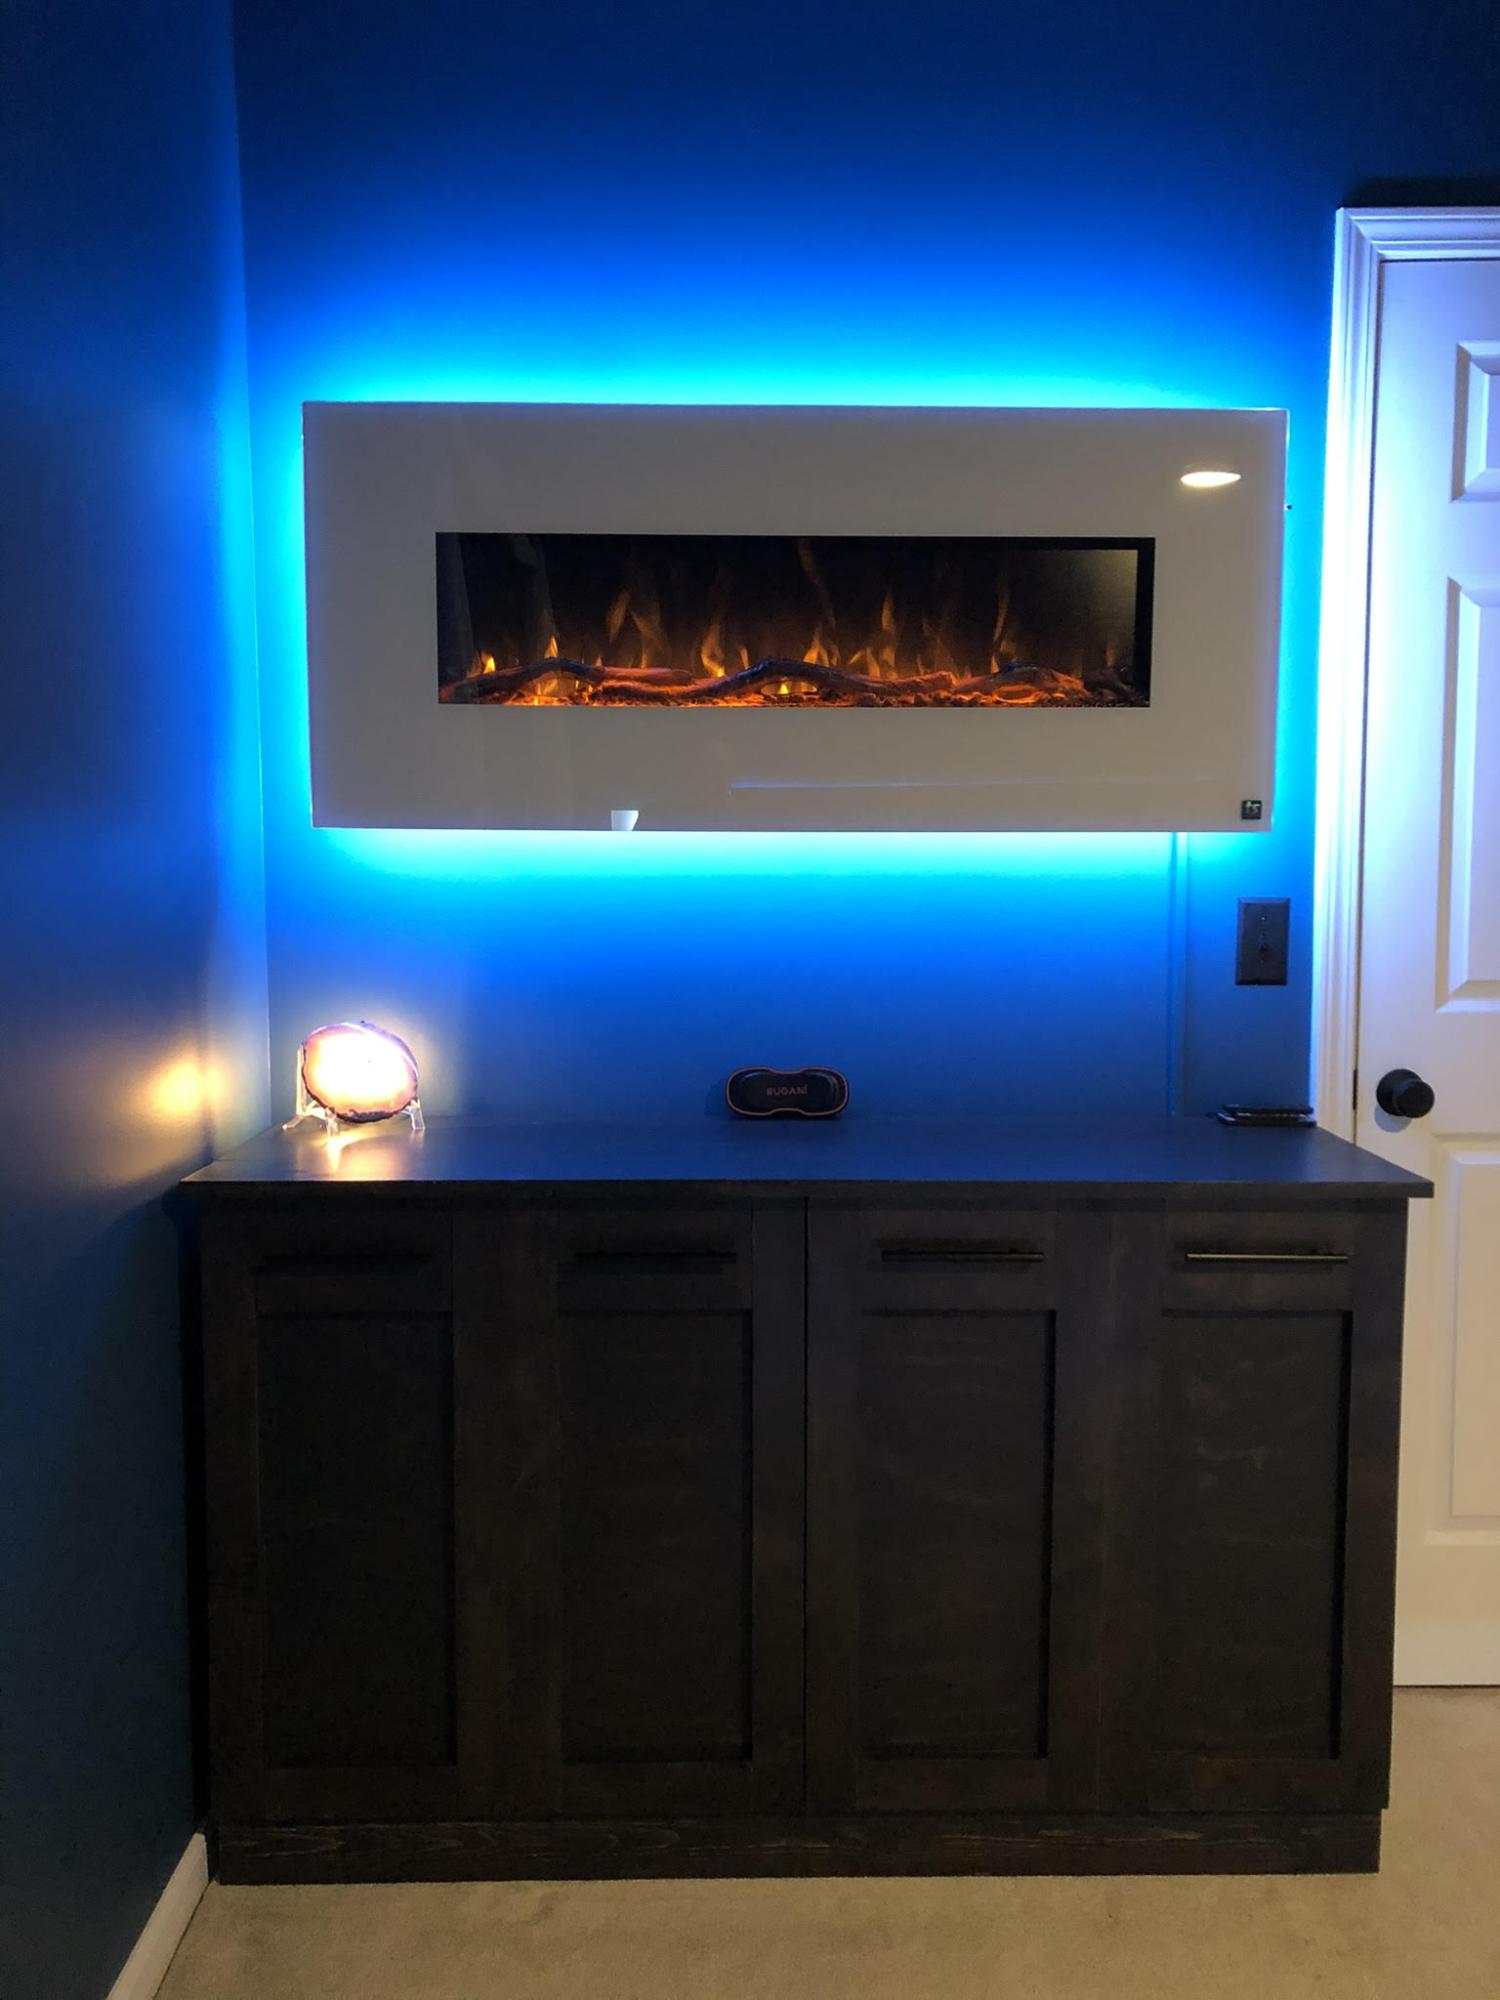
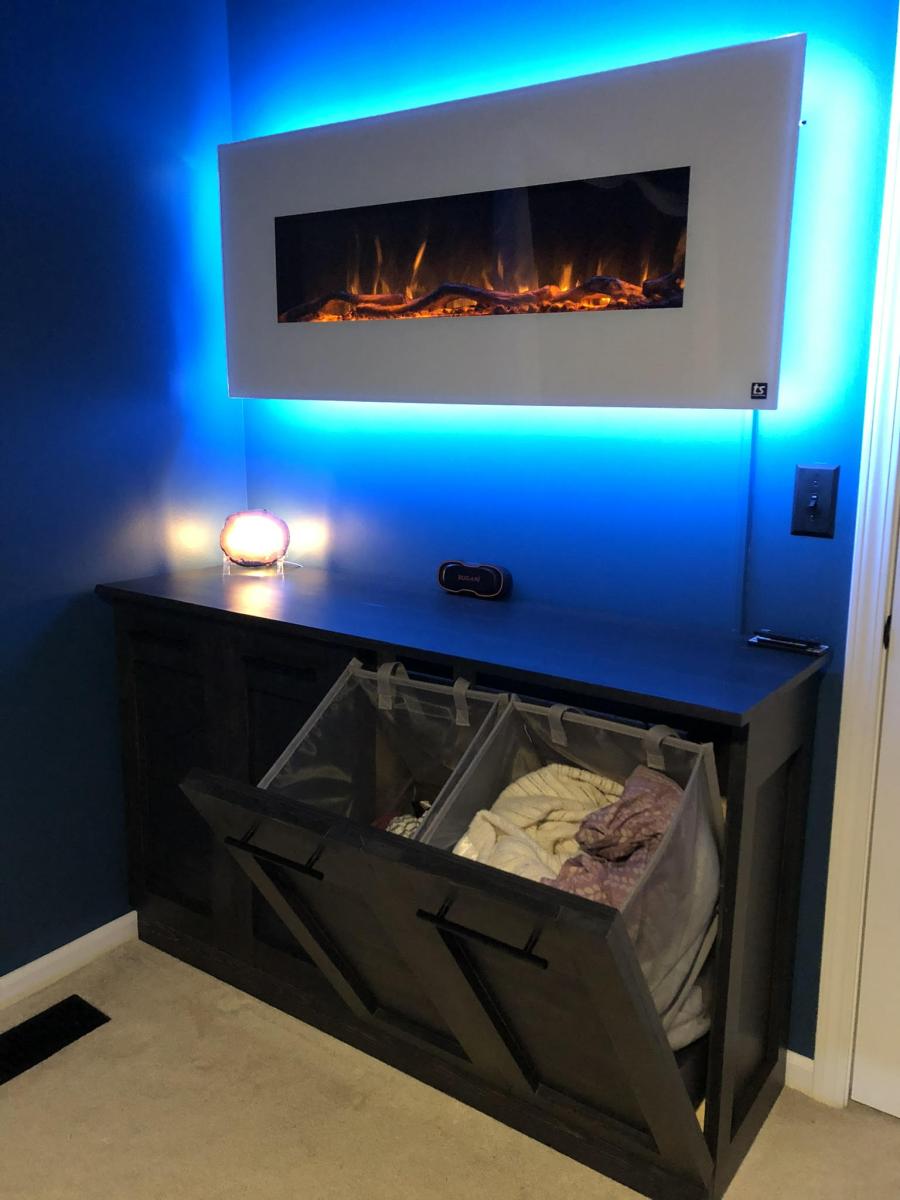
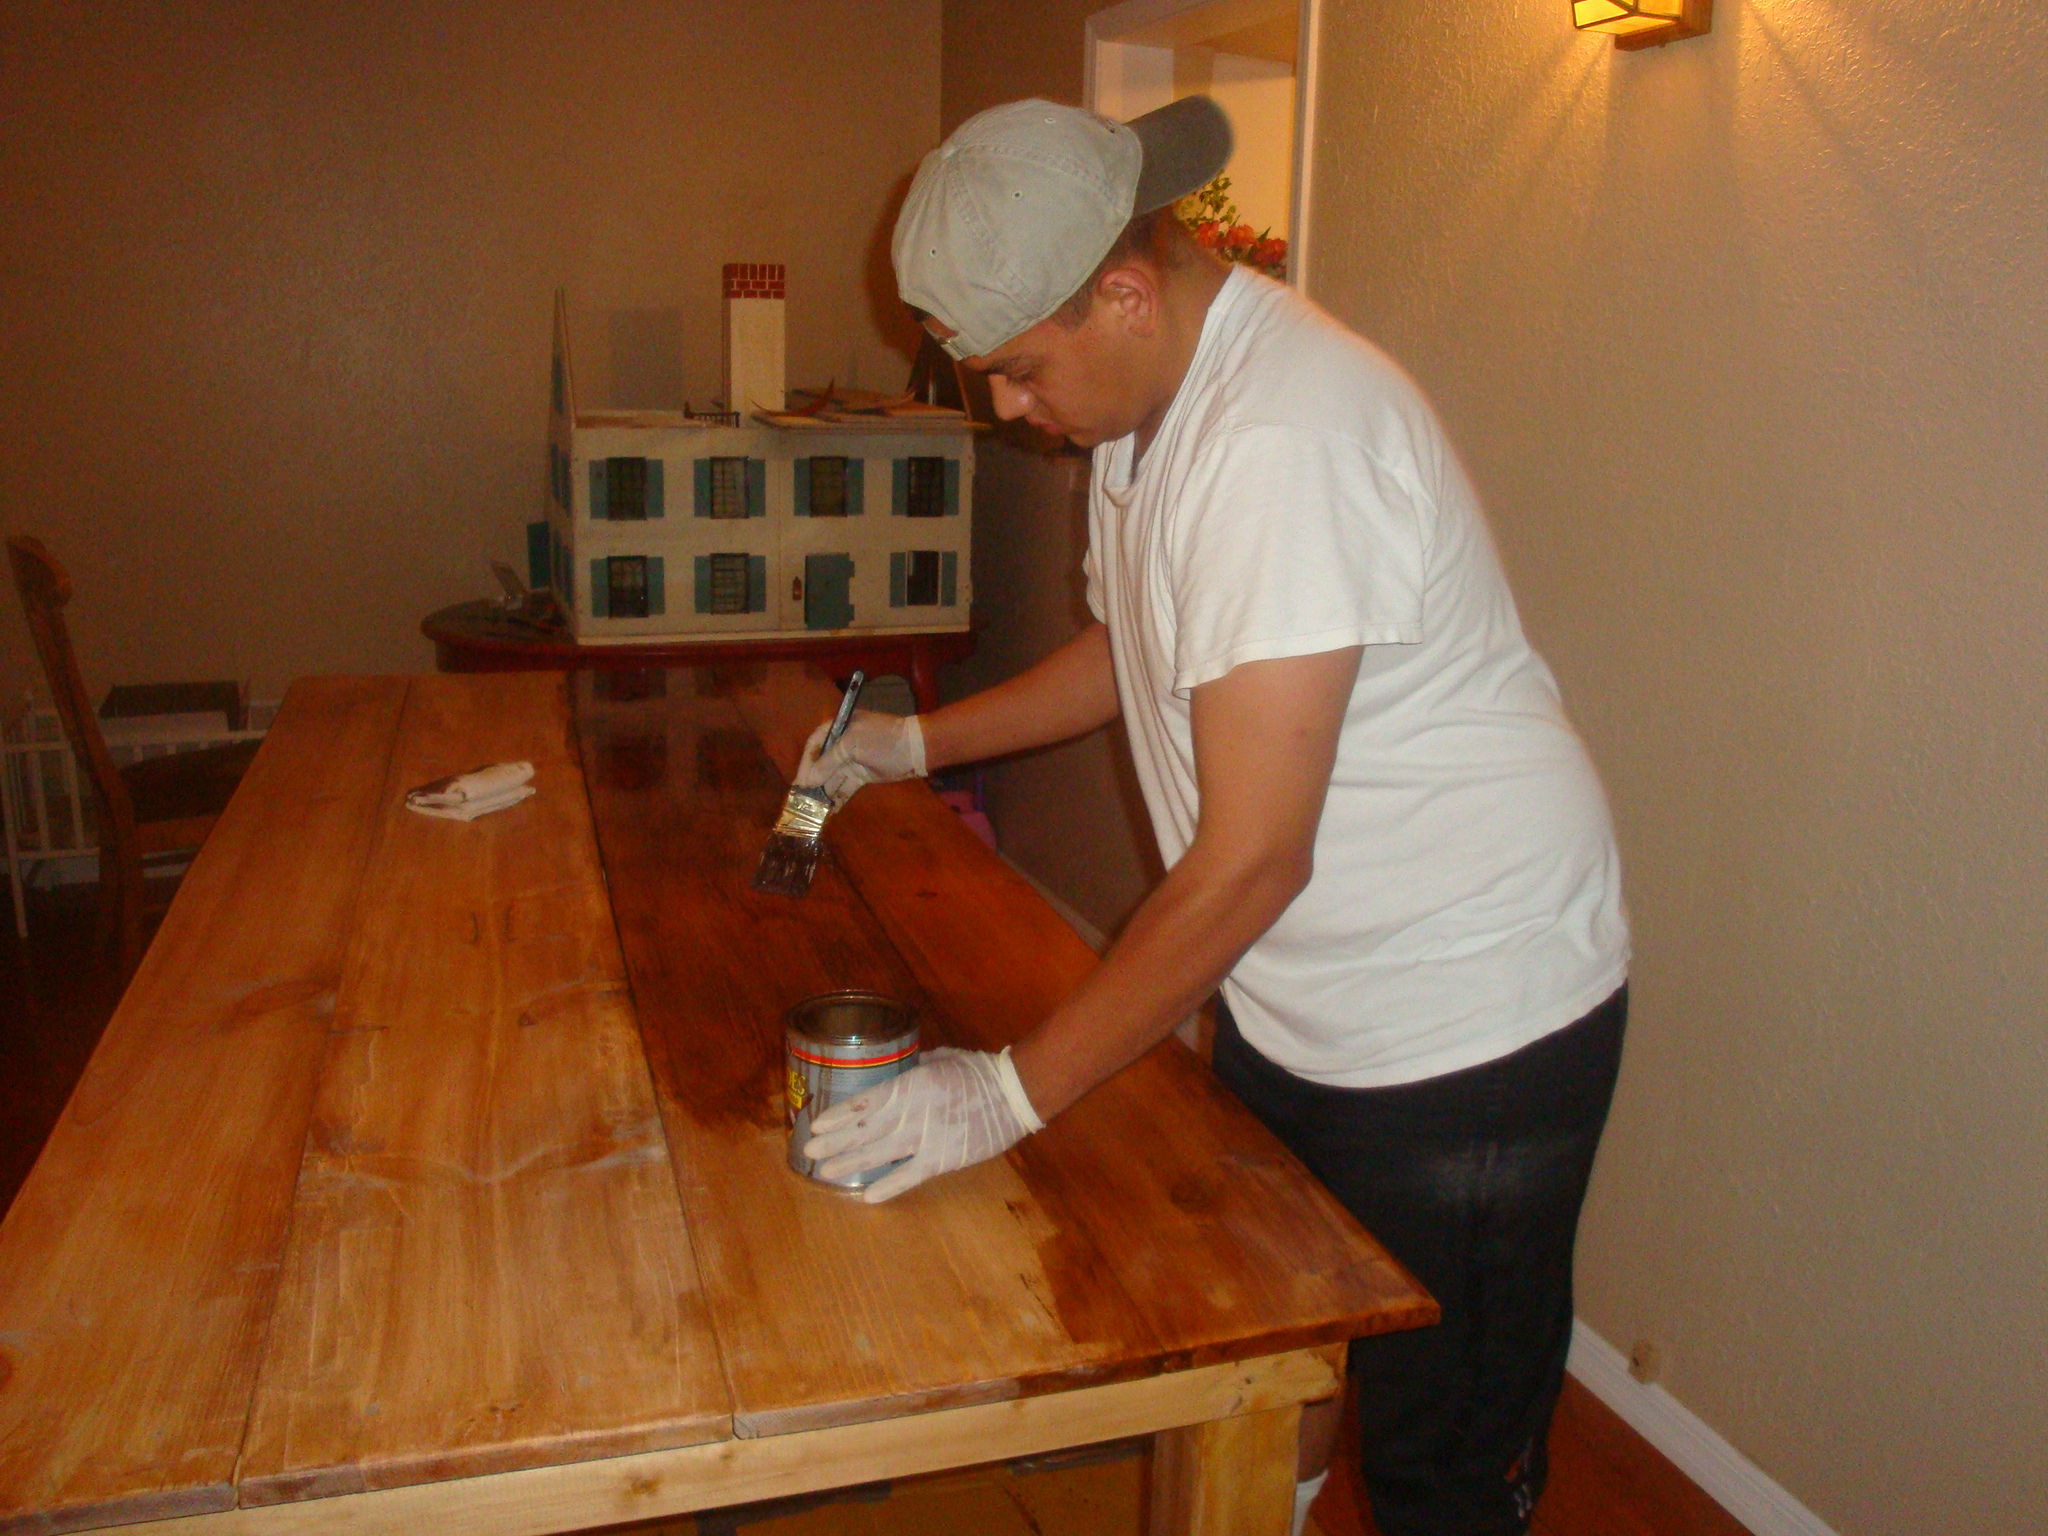
Finish Used
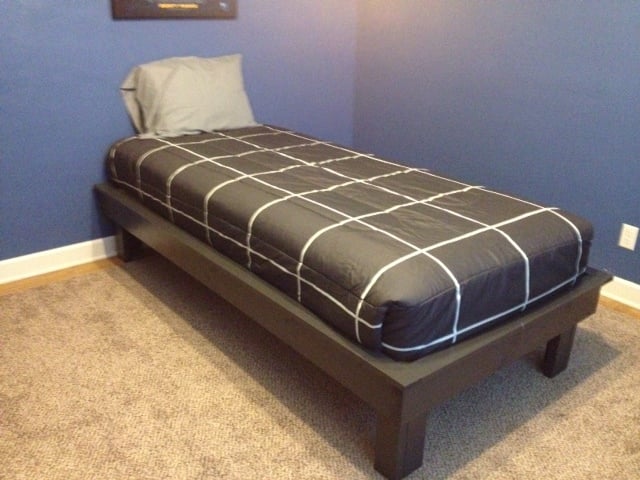
Minwax Jacobean Stain and Minwax Wipe-On Poly for the top
Recommended Skill Level
Beginner