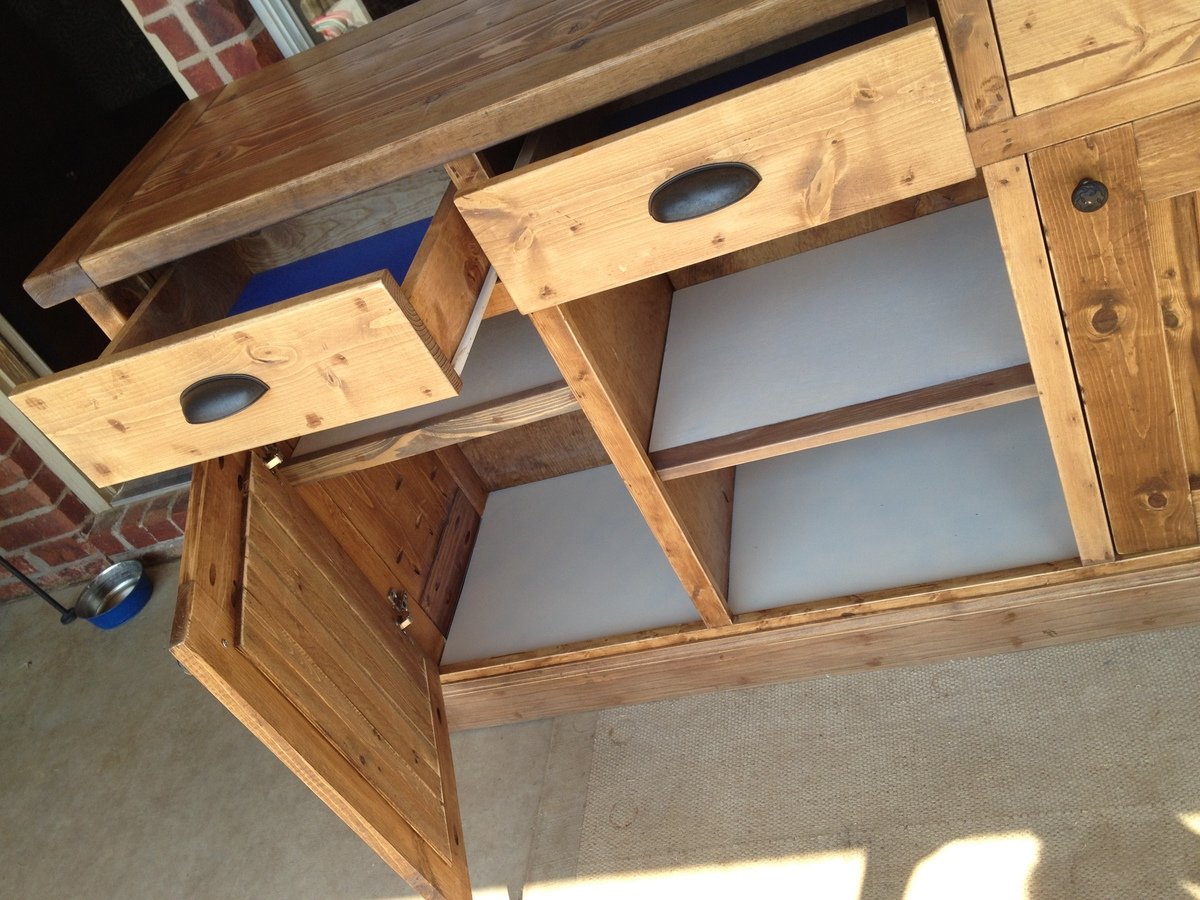
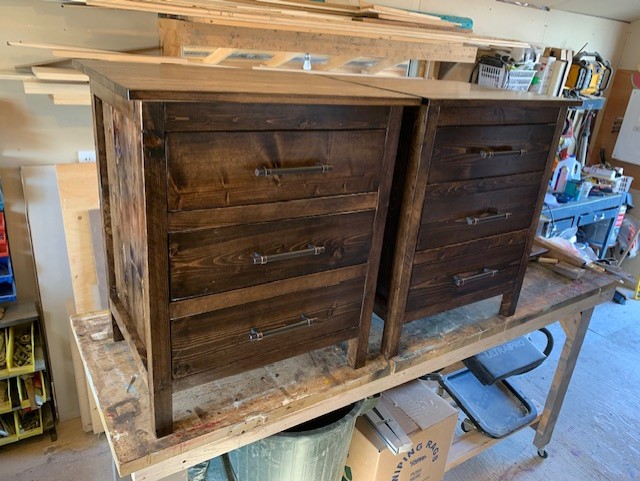
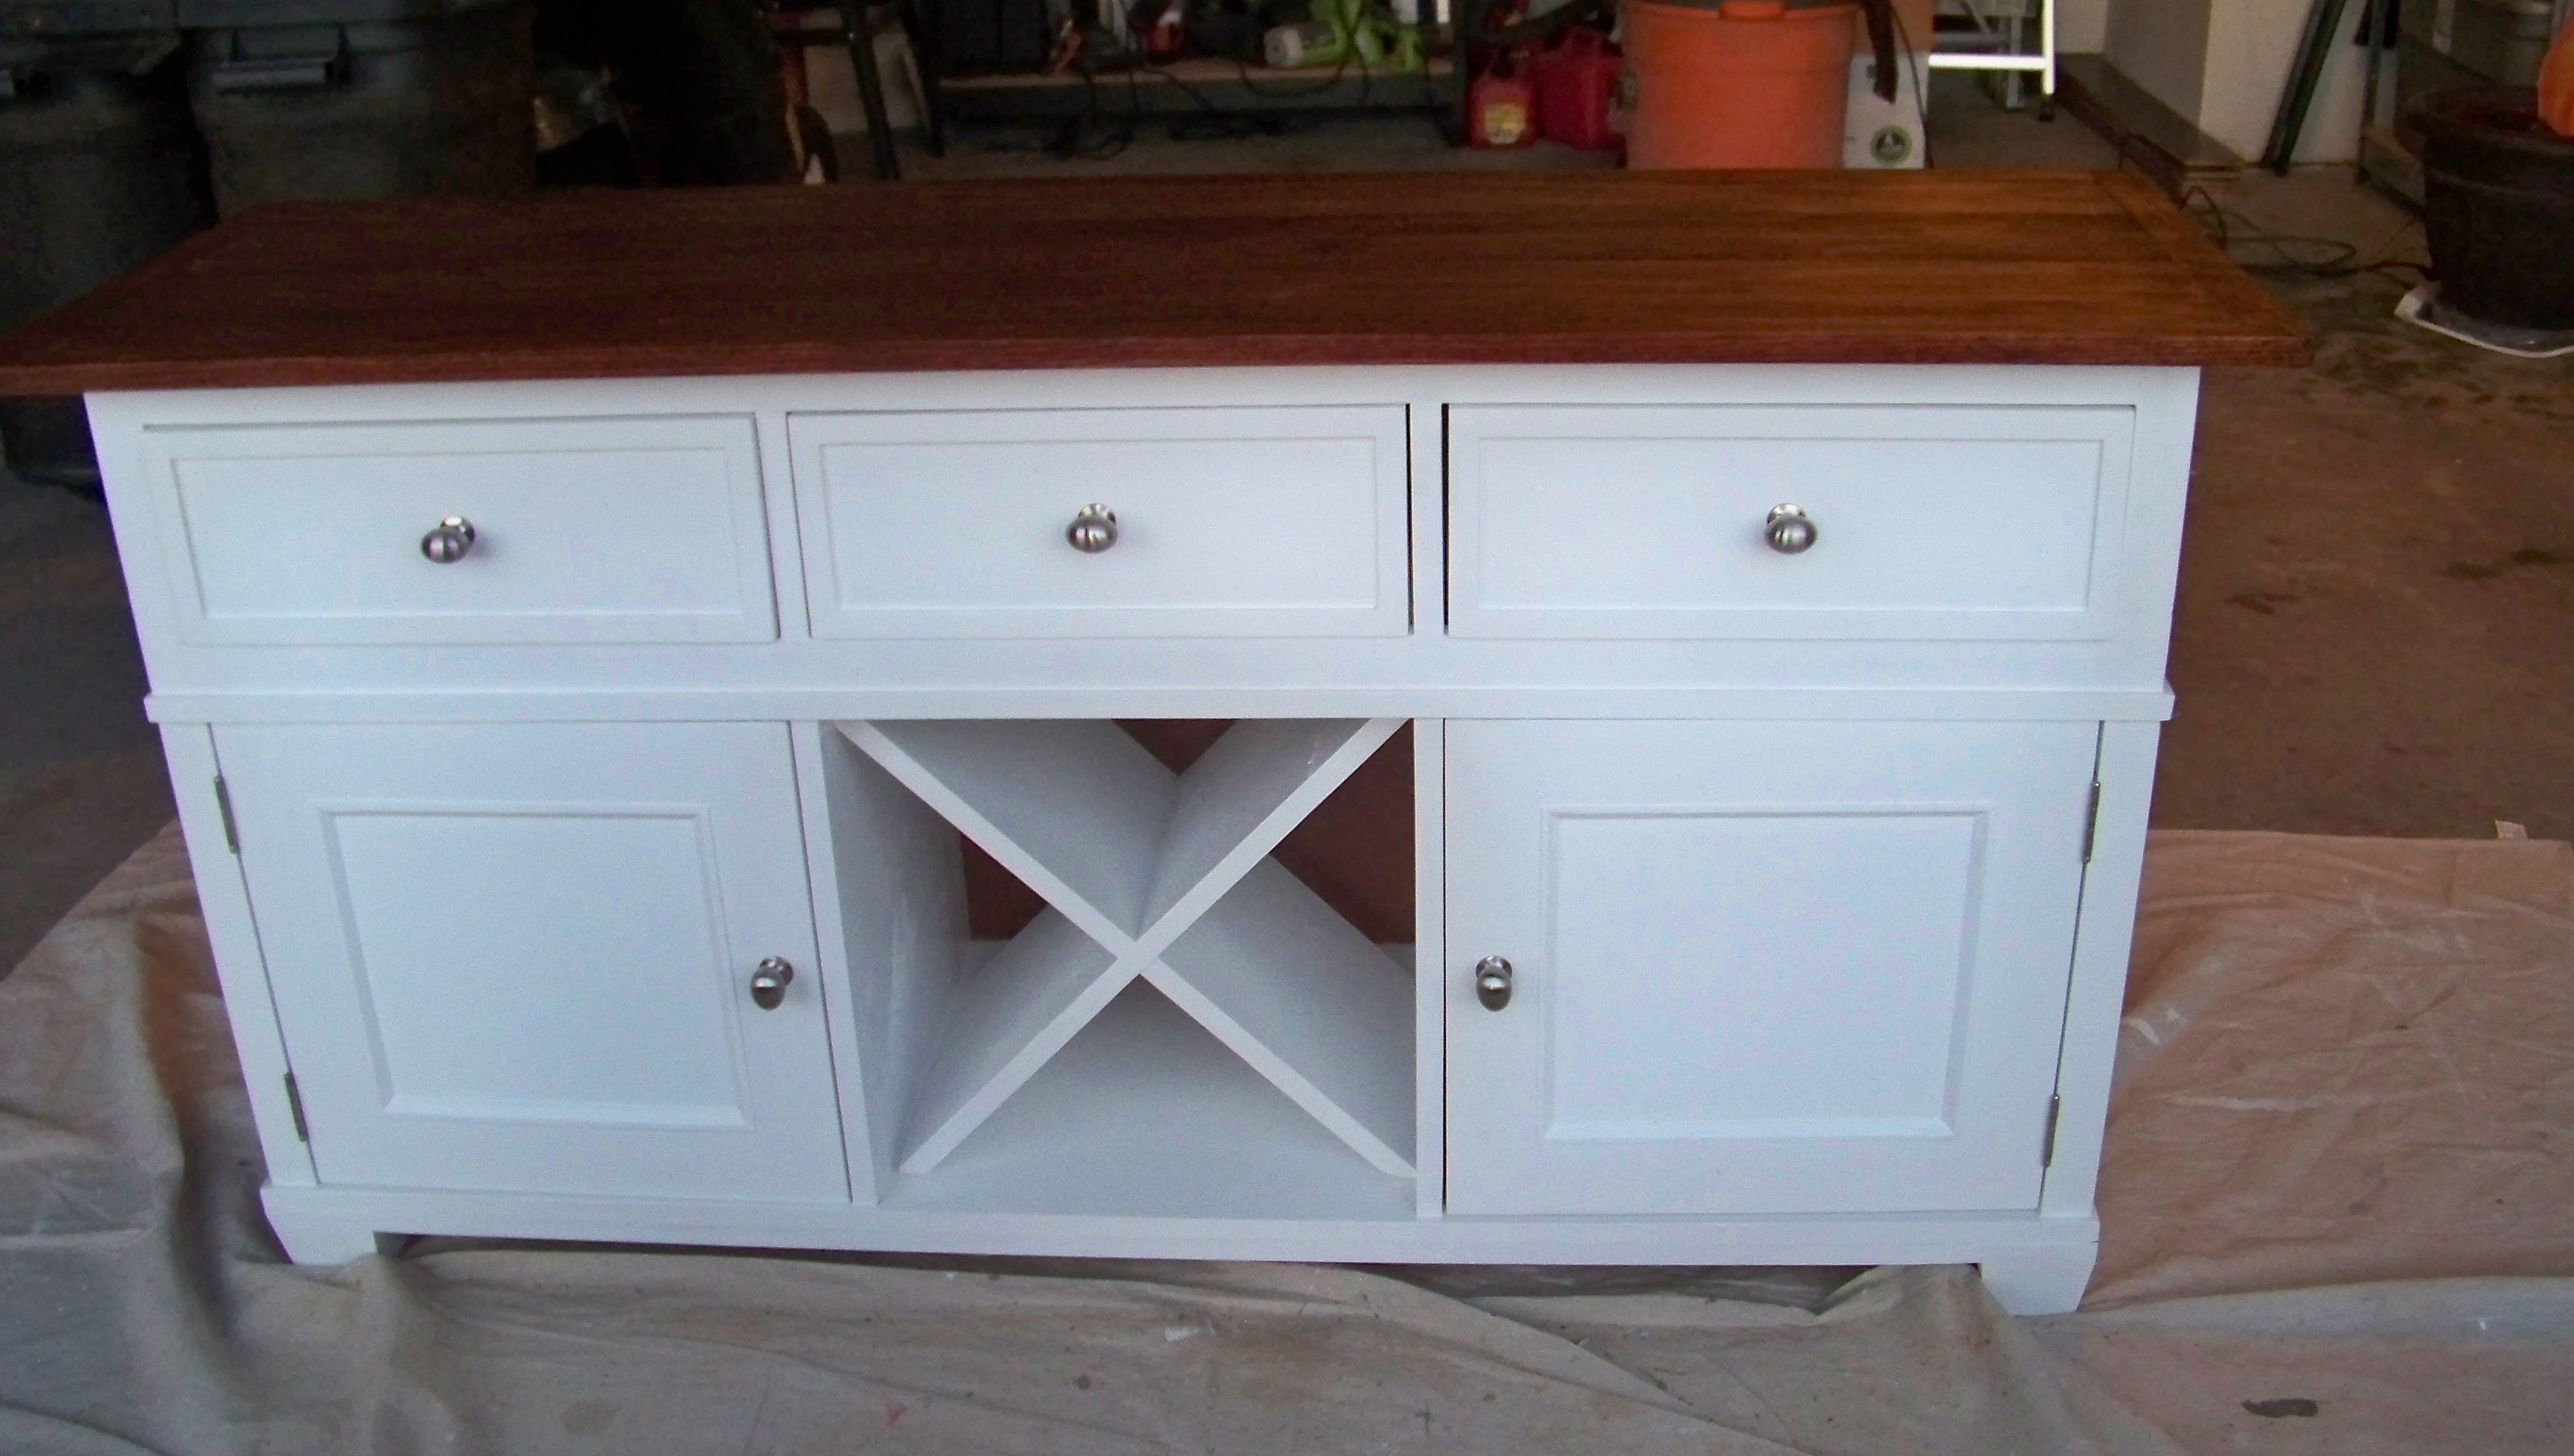
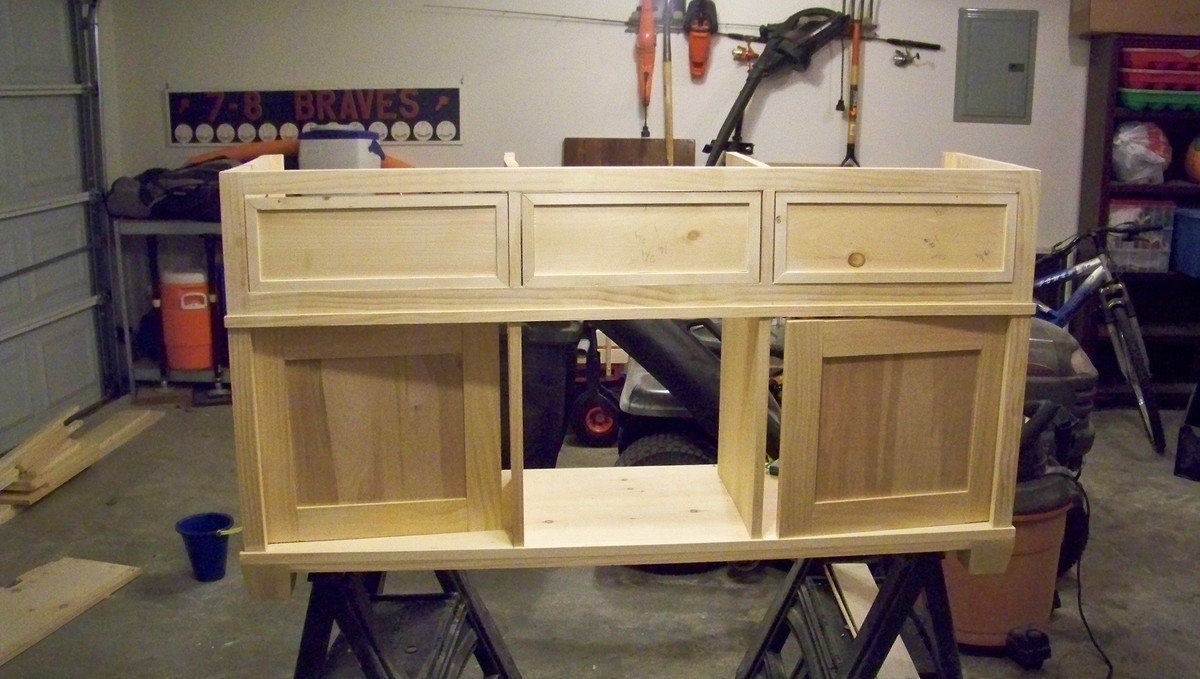
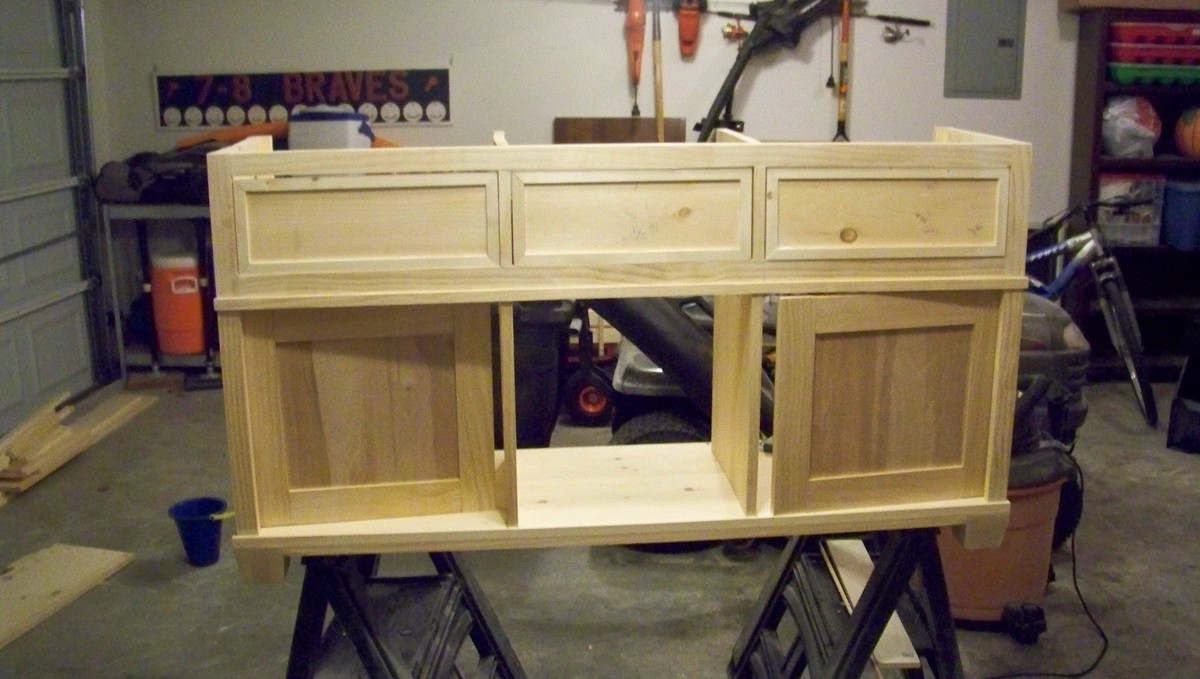
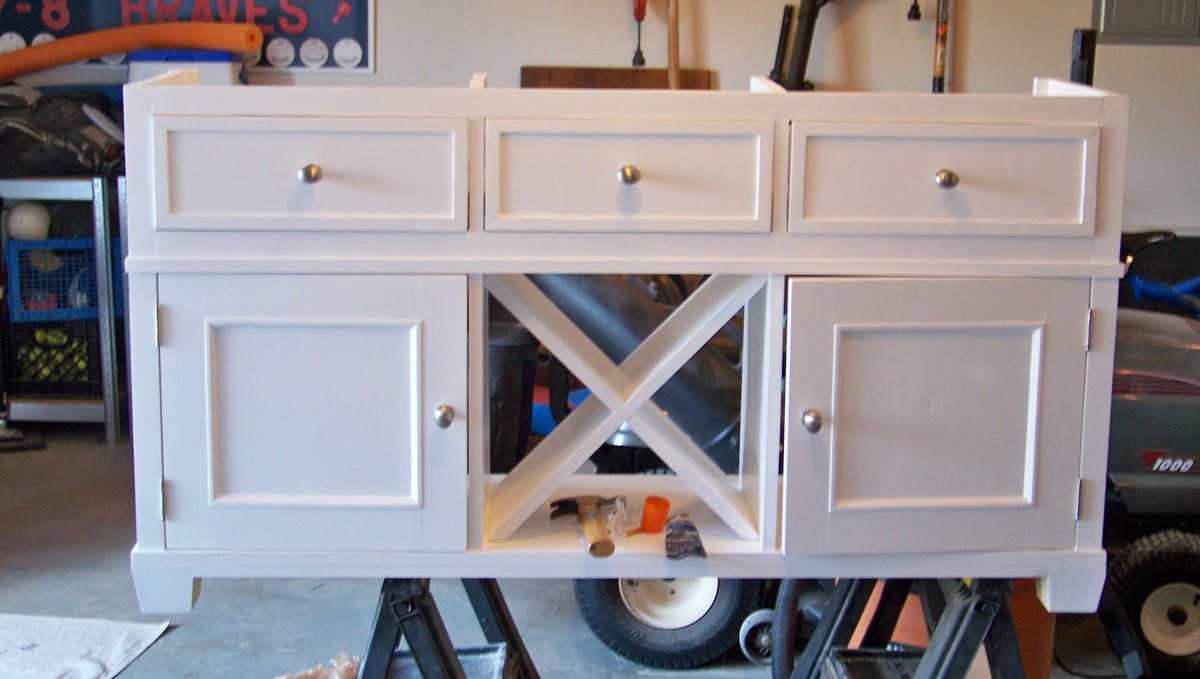
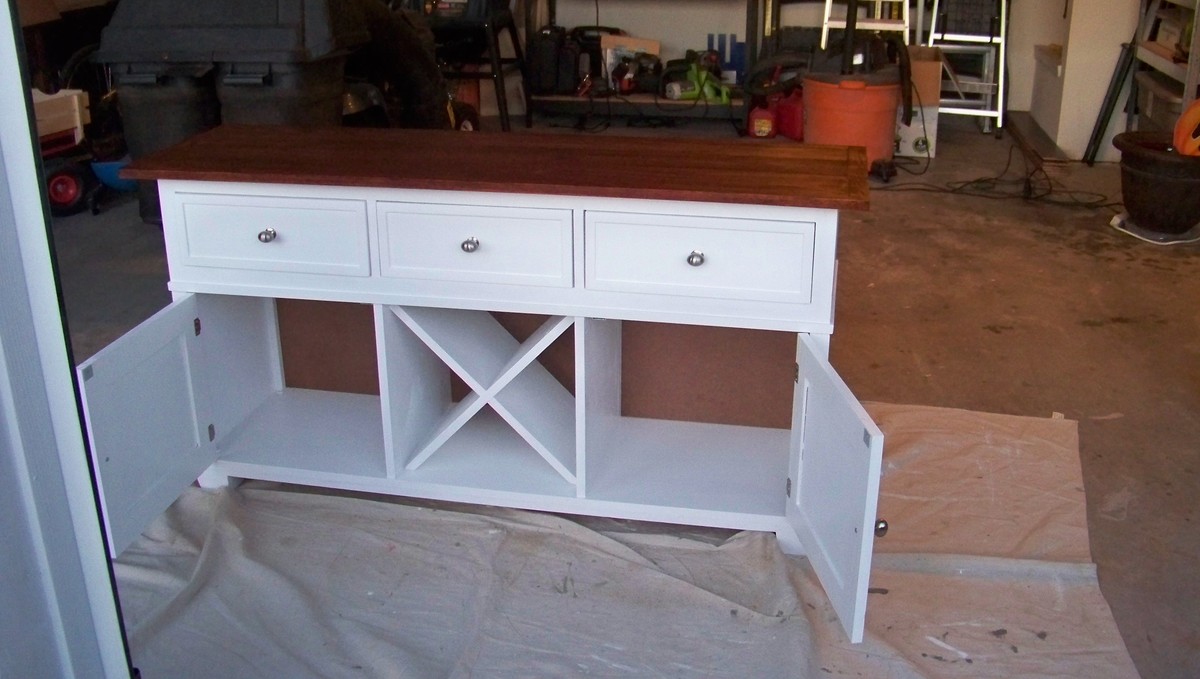
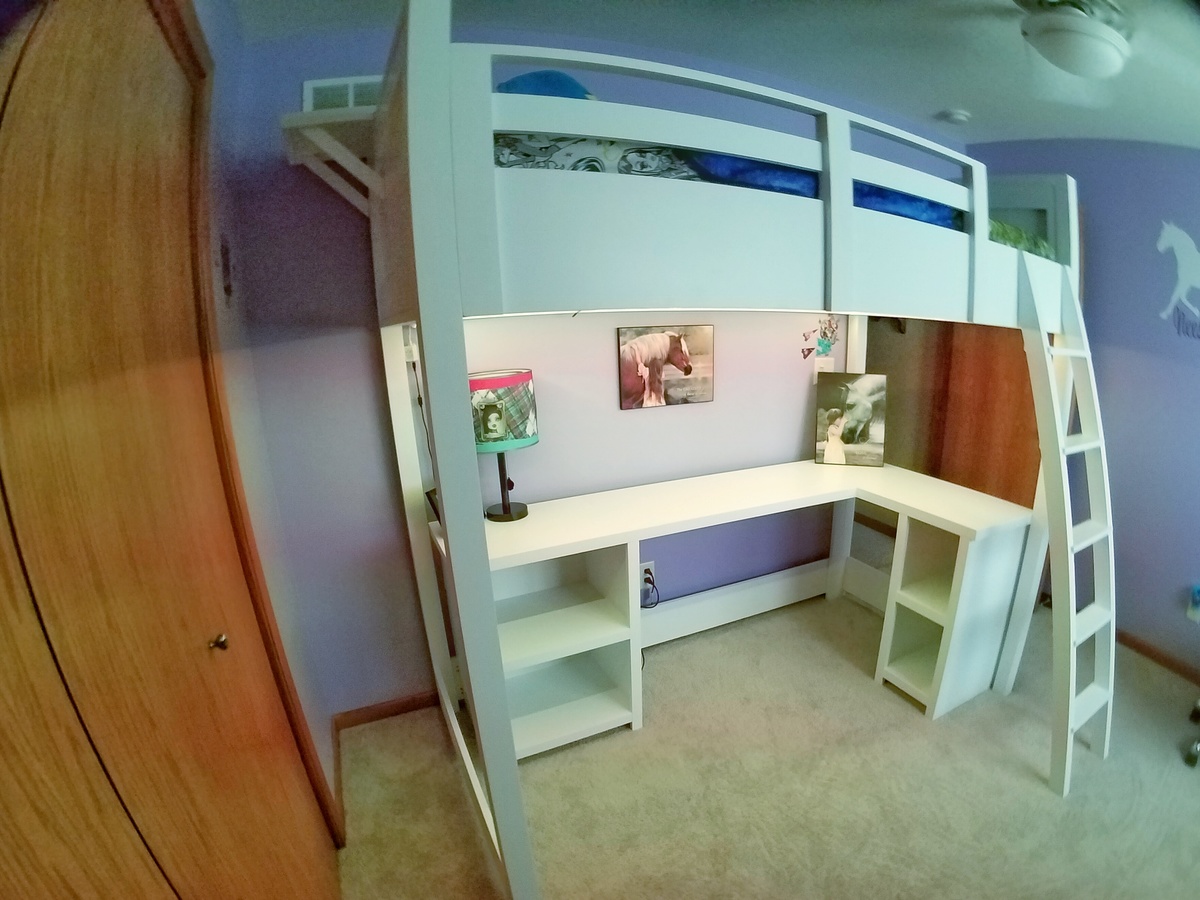
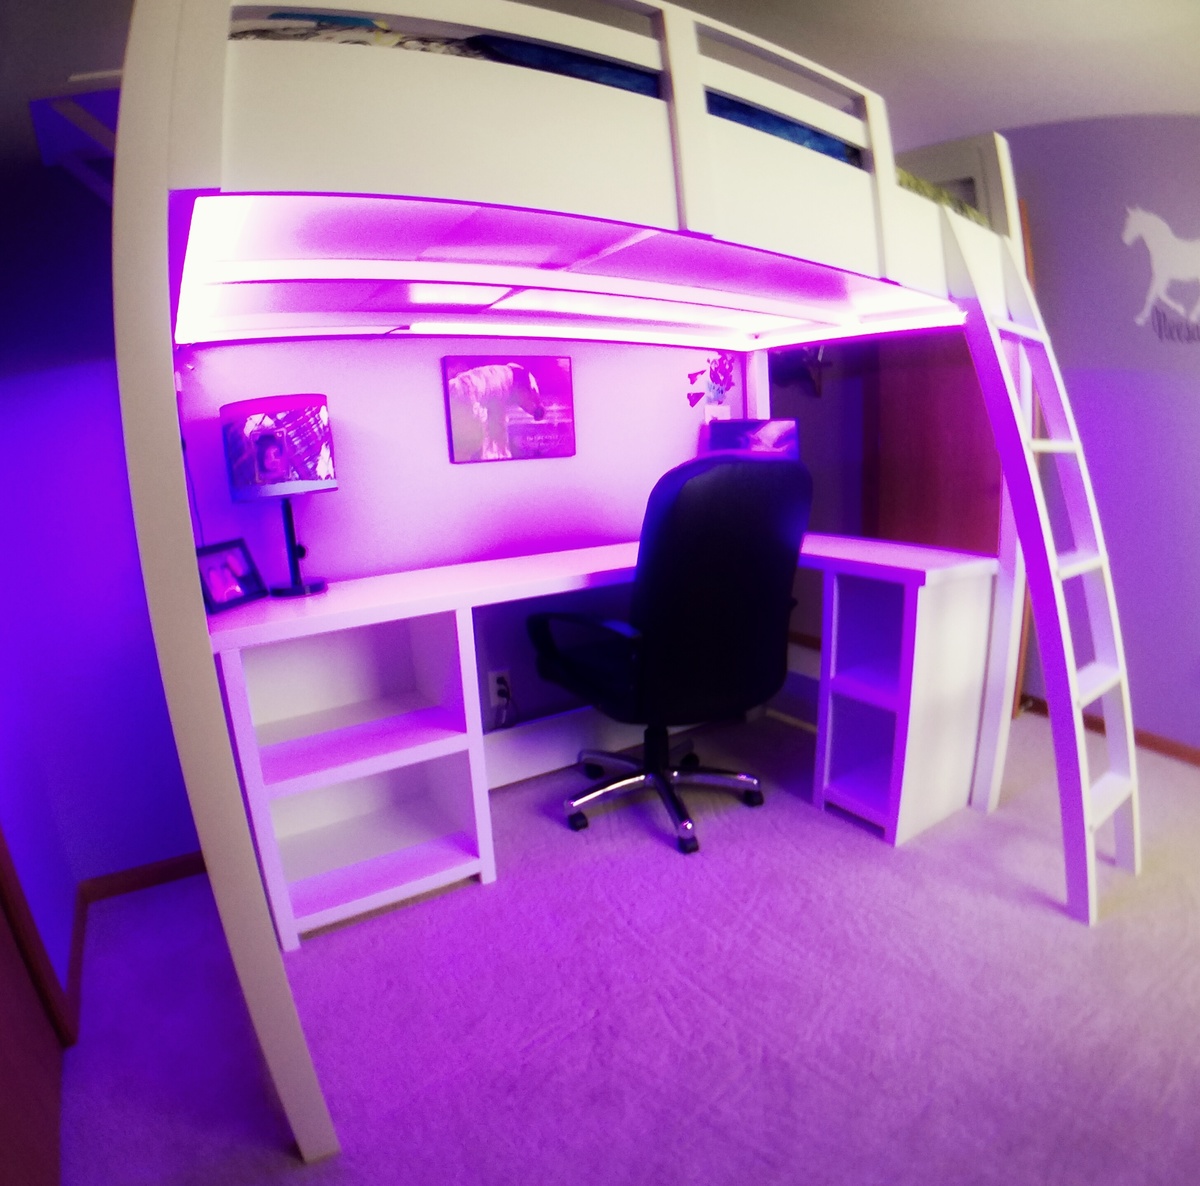
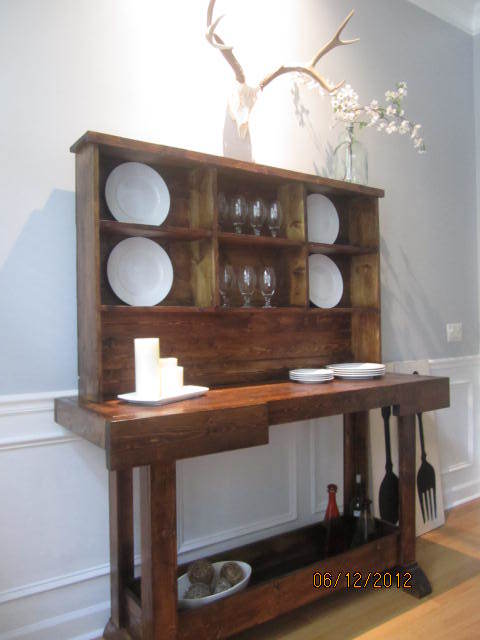
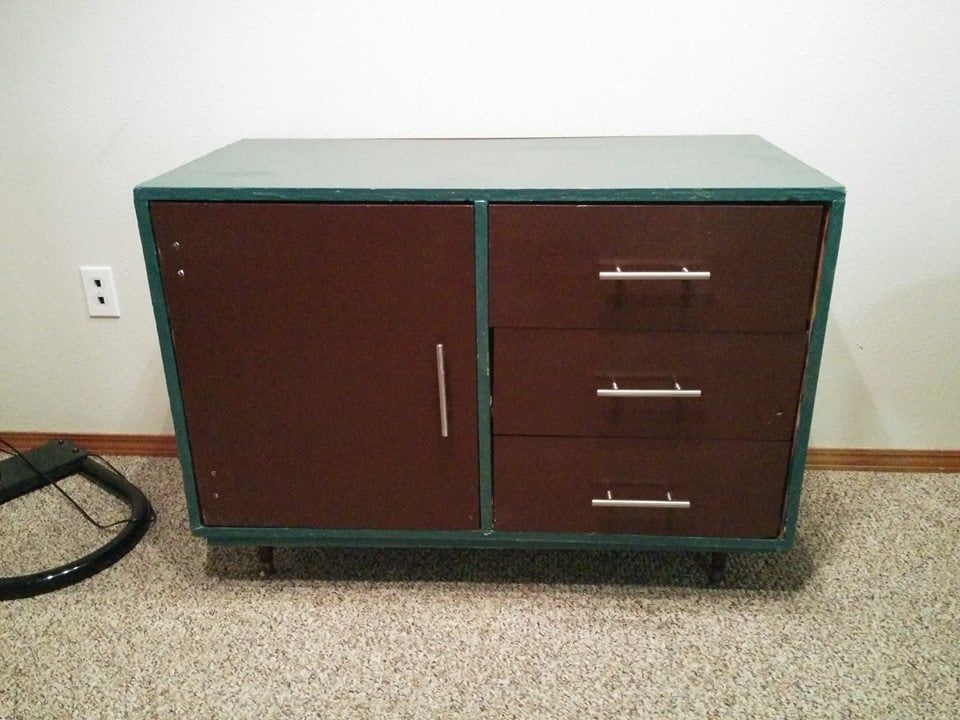
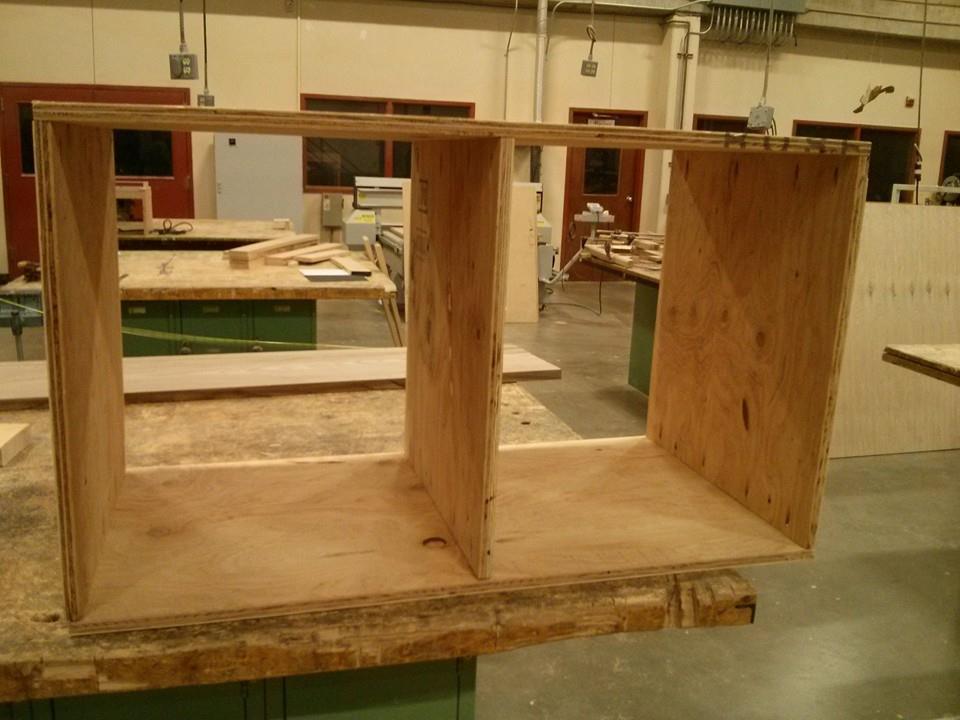
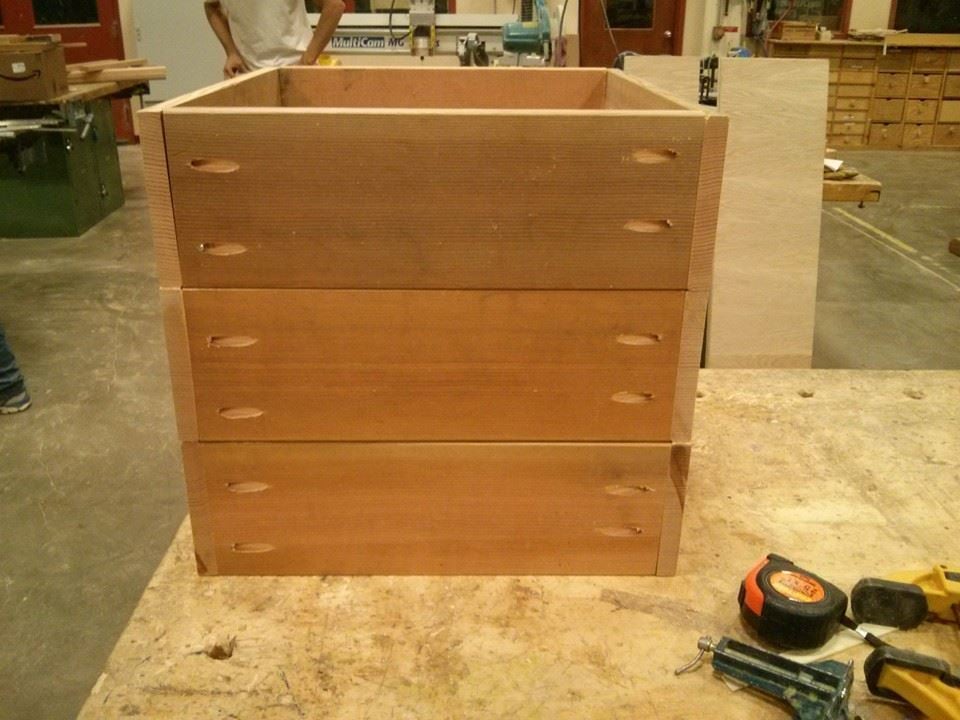
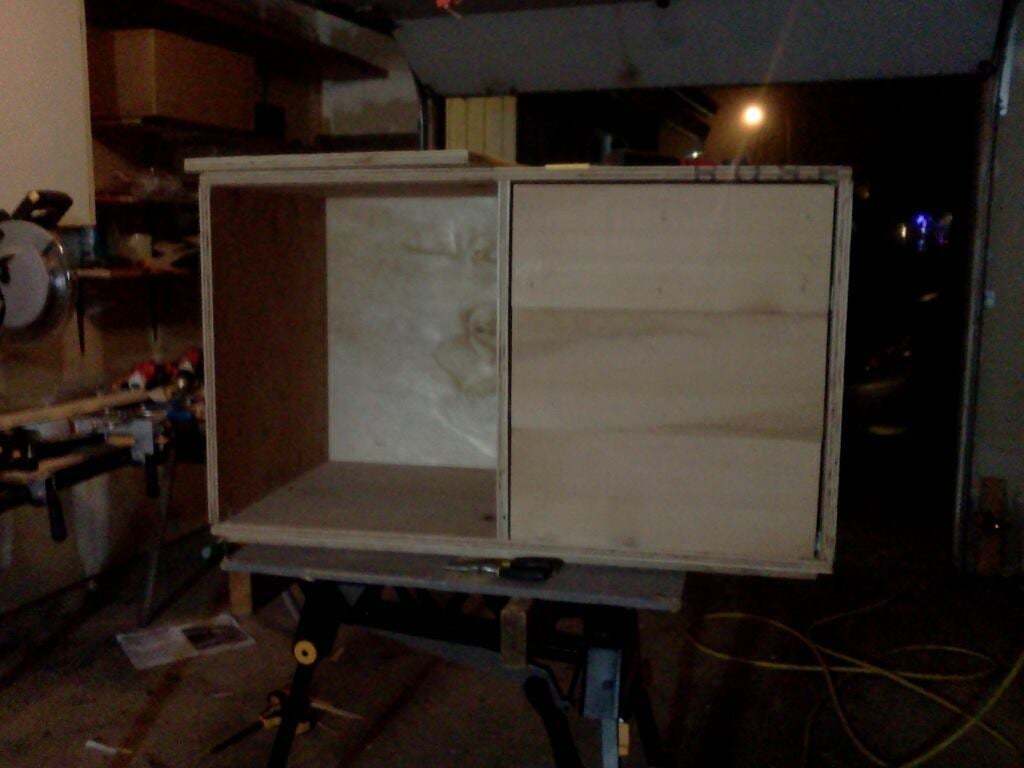
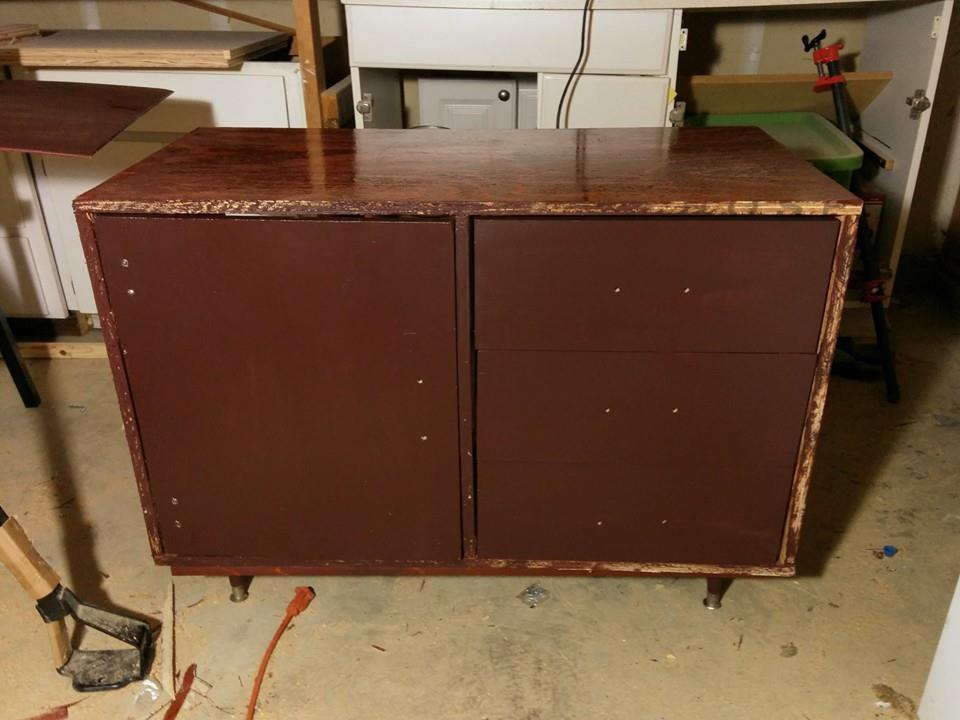
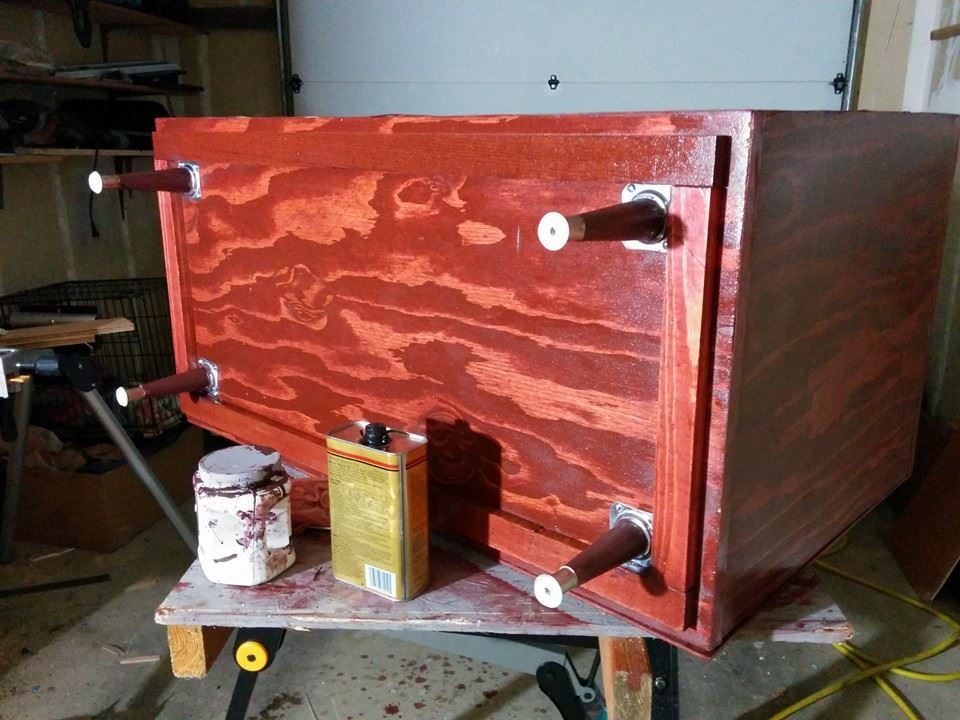
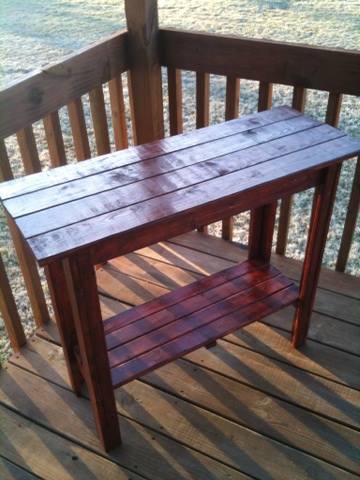
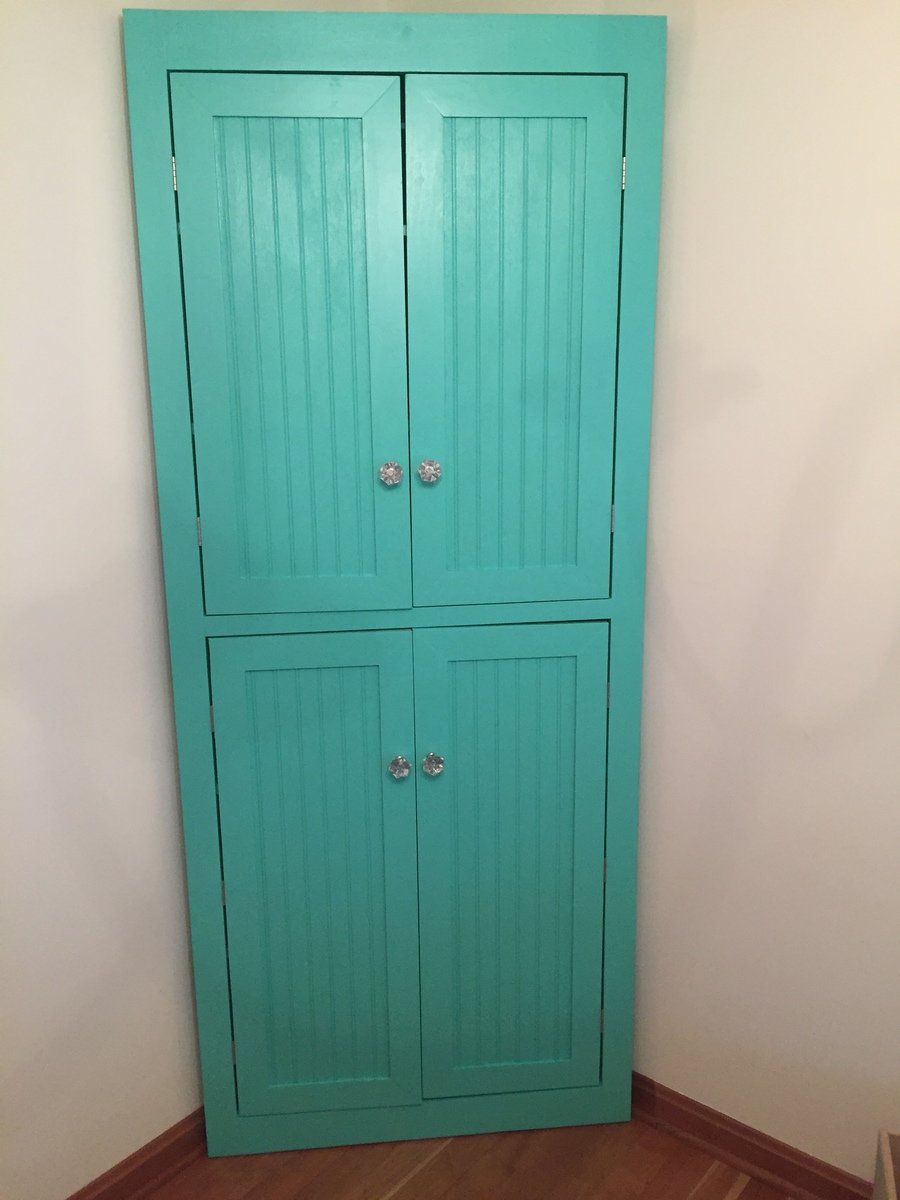
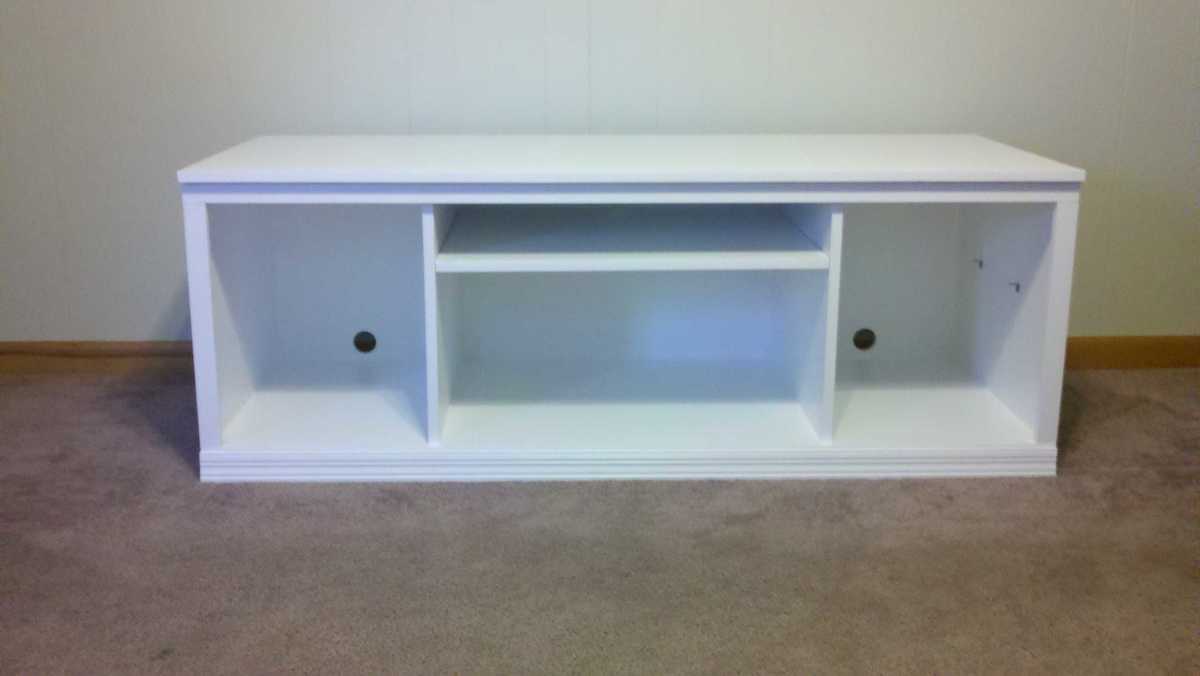
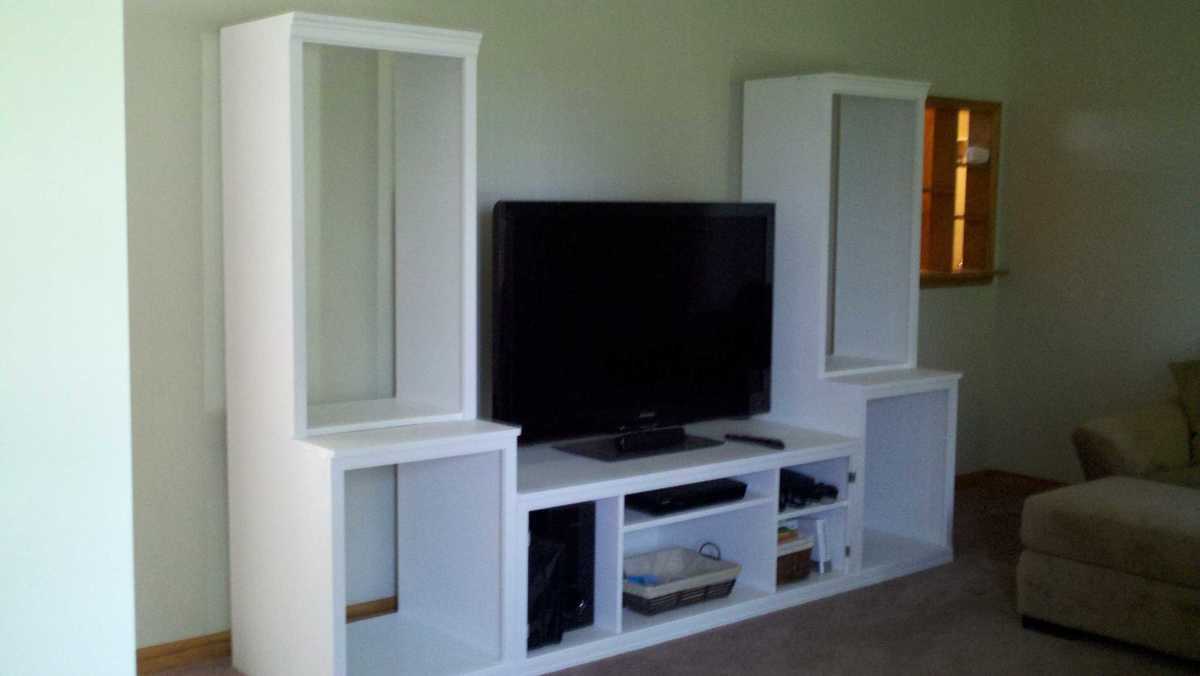
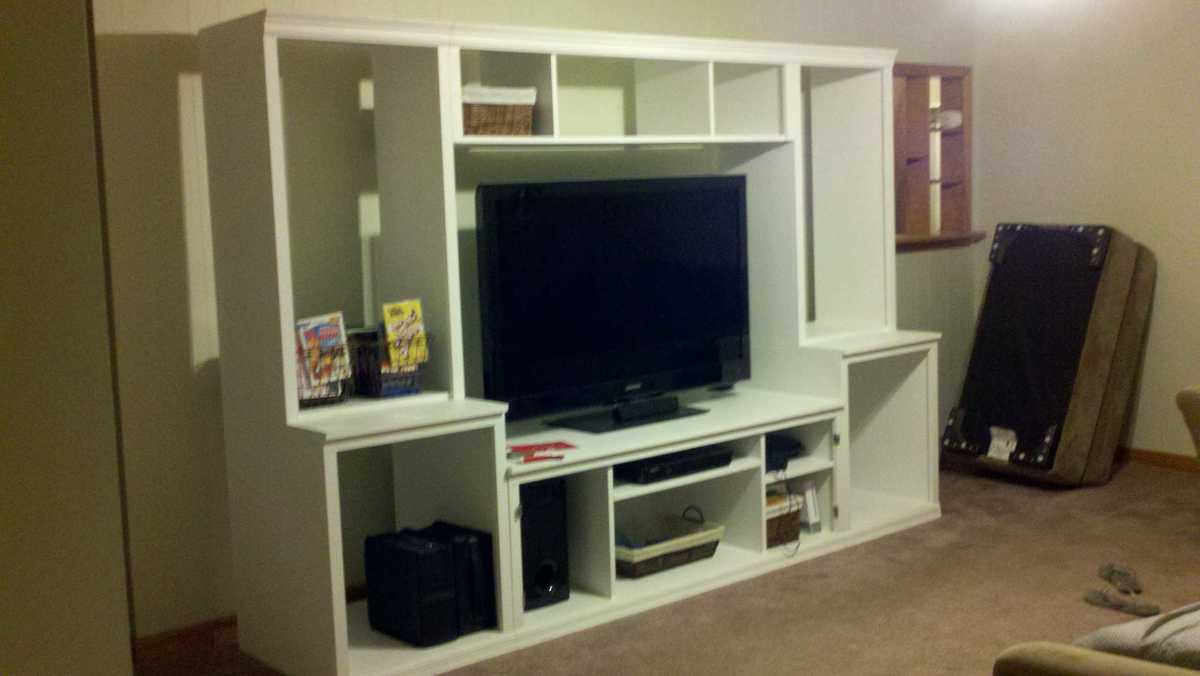
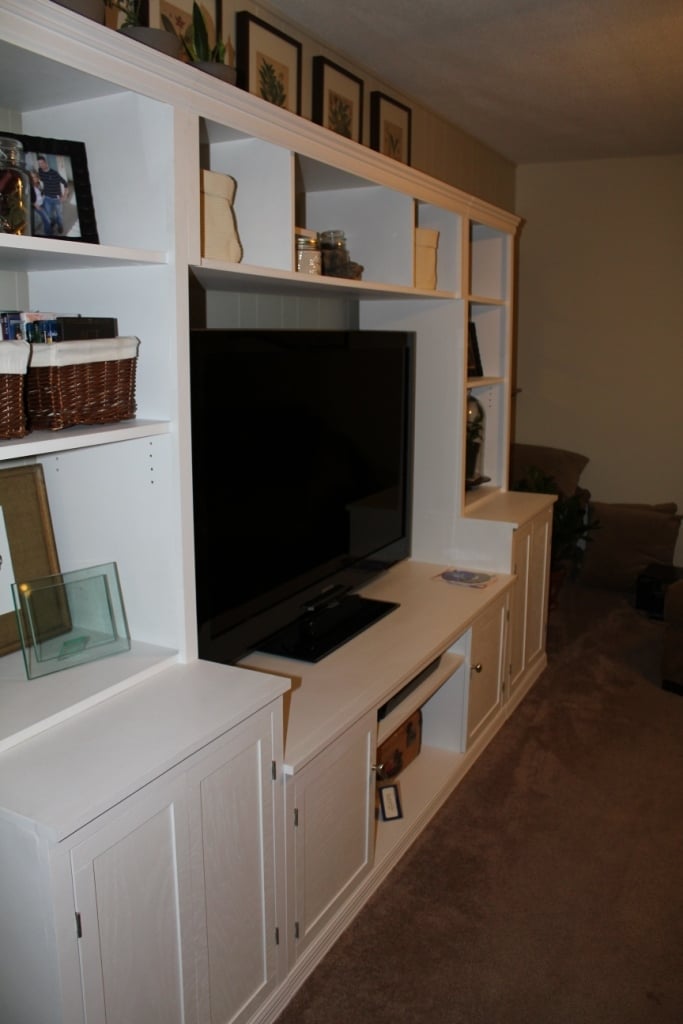
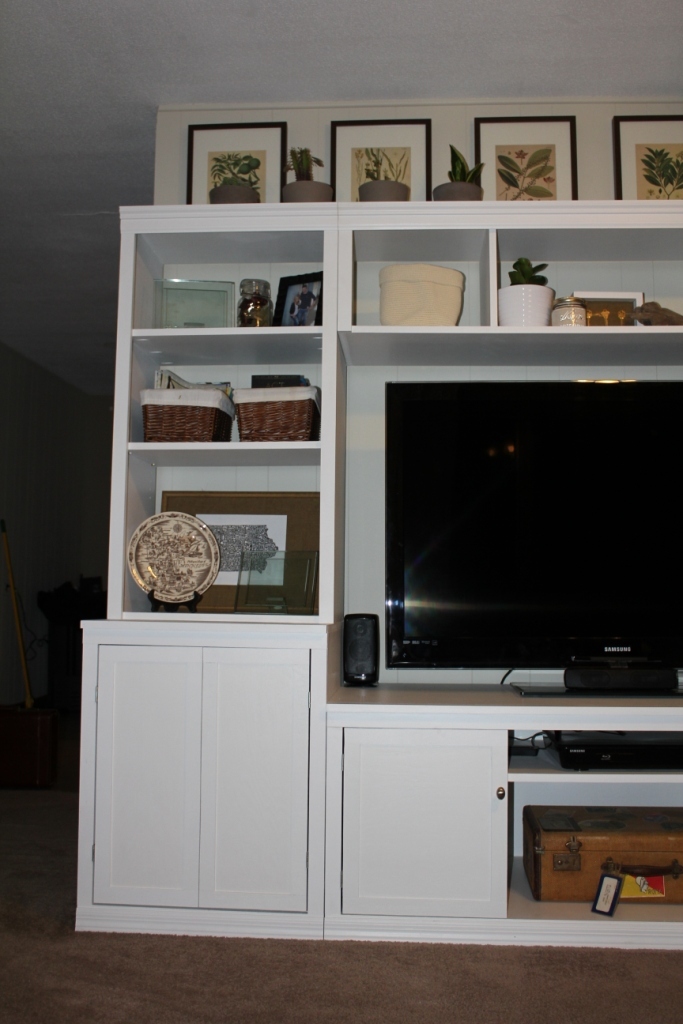
Planked Wood Sideboard
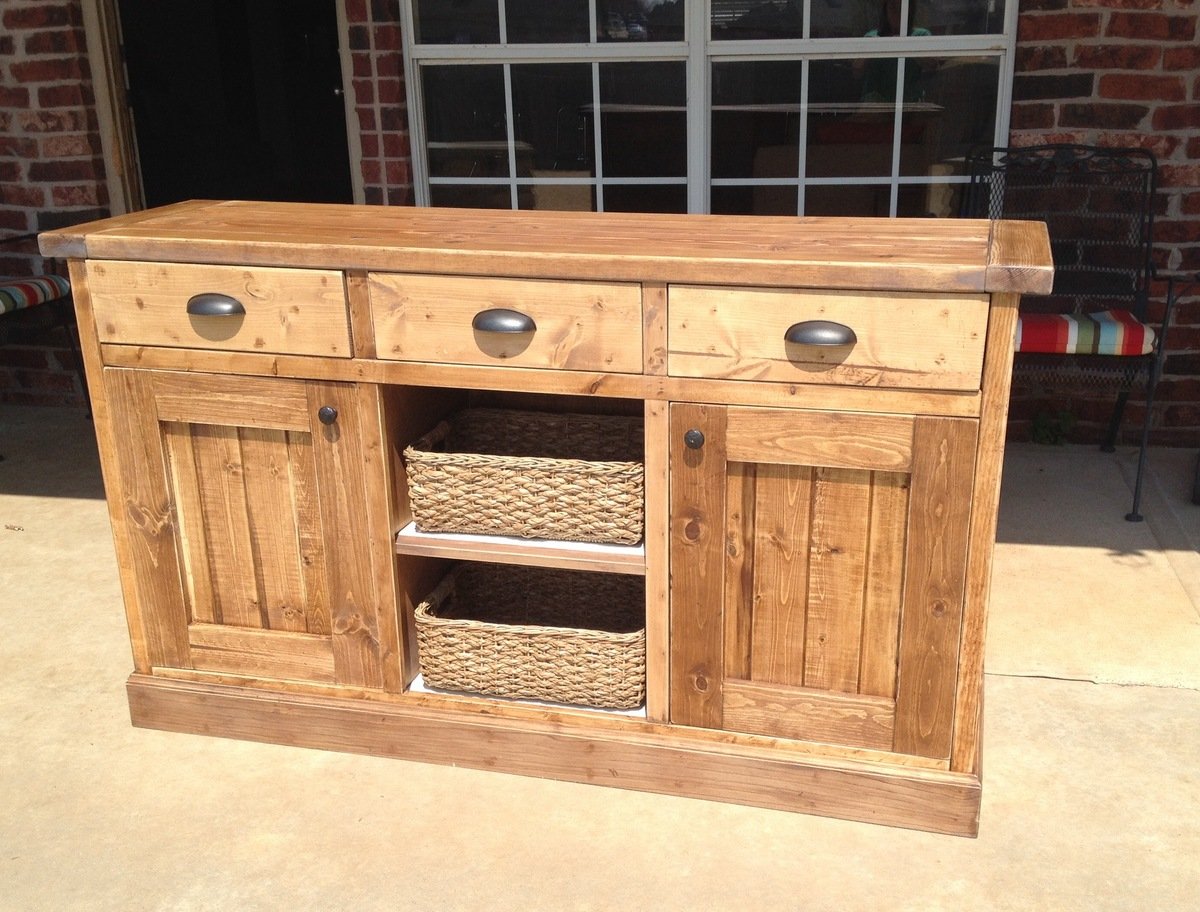
This was my first build from this site! It took me about a month working on-and-off during my toddler's nap time. I thought this project was very accessible for a beginner--or, in my case, a distracted mom who is six months pregnant. I scaled down the plans to fit my dining nook, but I forgot to account for a half width of face framing when I subtracted so my third door hole came out a little narrow. I decided to just put open shelves in odd-sized middle opening. I used euro cabinet hinges instead of the butt hinge style because they are more adjustable for not-so-perfect openings/doors. I bought a 1 3/8" Forstner bit to drill the hinge mortises. I was intimidated by the hinges & drawer glides but that part went surprisingly well! I used a plastic template to locate the cup handles on the drawer faces--that purchase was definitely worth a couple of bucks! I wish I had borrowed a router to make a rabbet for the door panels, but I got impatient & just tacked them on. I also wished I had replaced or sharpened the blade on my circular saw because it chewed up the plywood making long cuts. (There's a lot of wood filler on those plywood edges. I ended up painting the shelves with leftover interior latex because they looked like a dog attacked them.) There are also a few shims under the drawer glides to correct the width, but oh well, you can't see them :) Before my next project, I am going to get a couple right angle clamps and make sure I buy the BIG box of pocket hole screws!


Comments
luckie41
Tue, 07/05/2016 - 10:01
Planked Wood Sideboard
Emily -
Love your version of the sideboard! I need to downsize Ana's plans! What is the overall length of your version??
eperry01
Tue, 01/16/2018 - 02:51
Planked sideboard
Hi Emily! Can you please provide the size and cuts you made? This looks great!