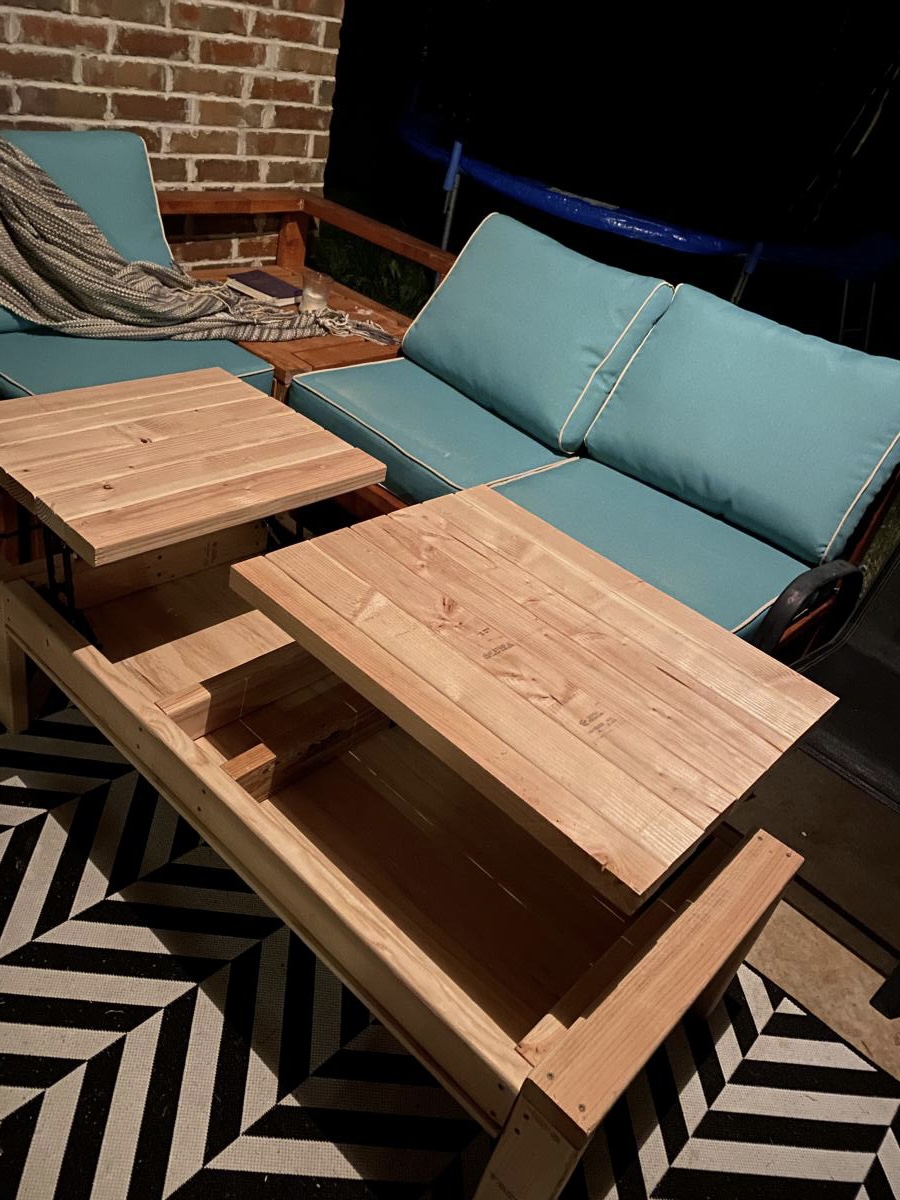
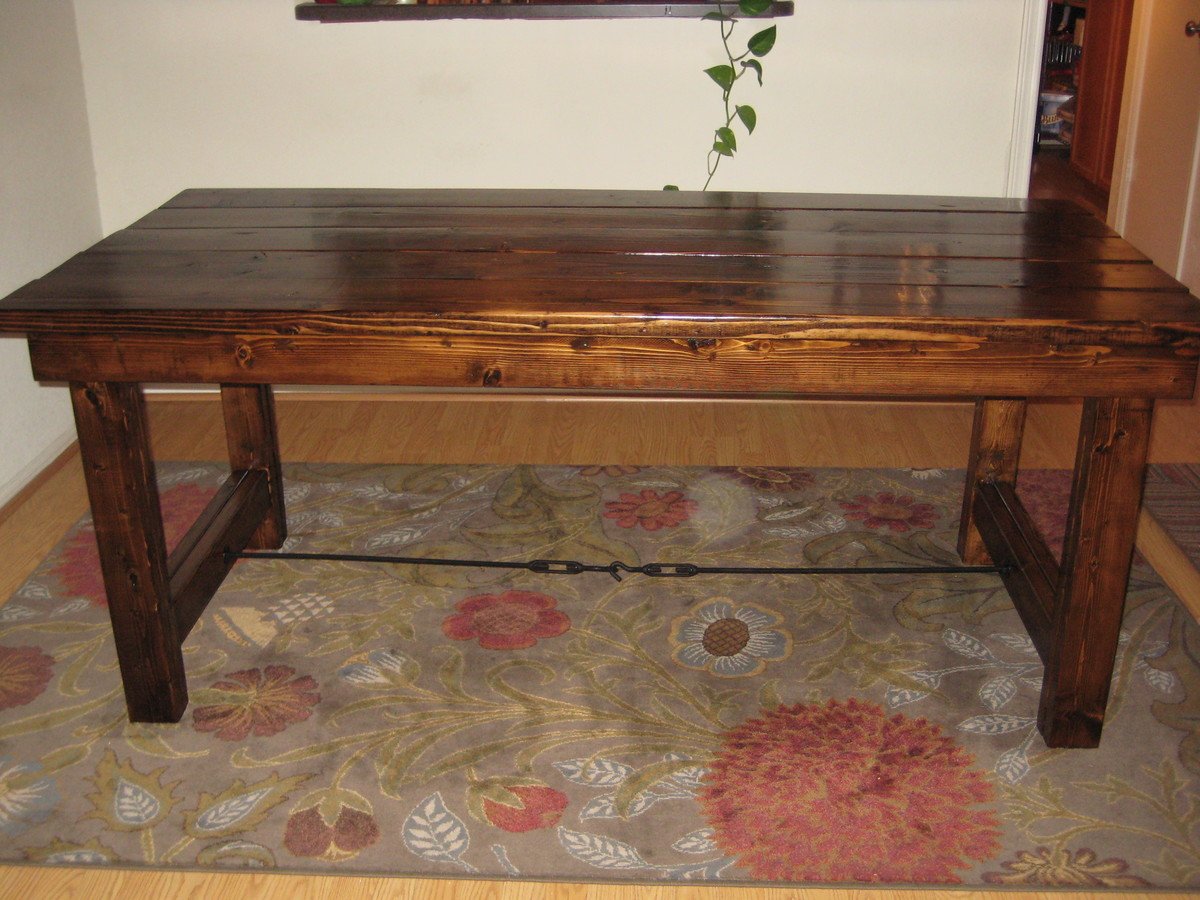
Outdoor Coffee Table
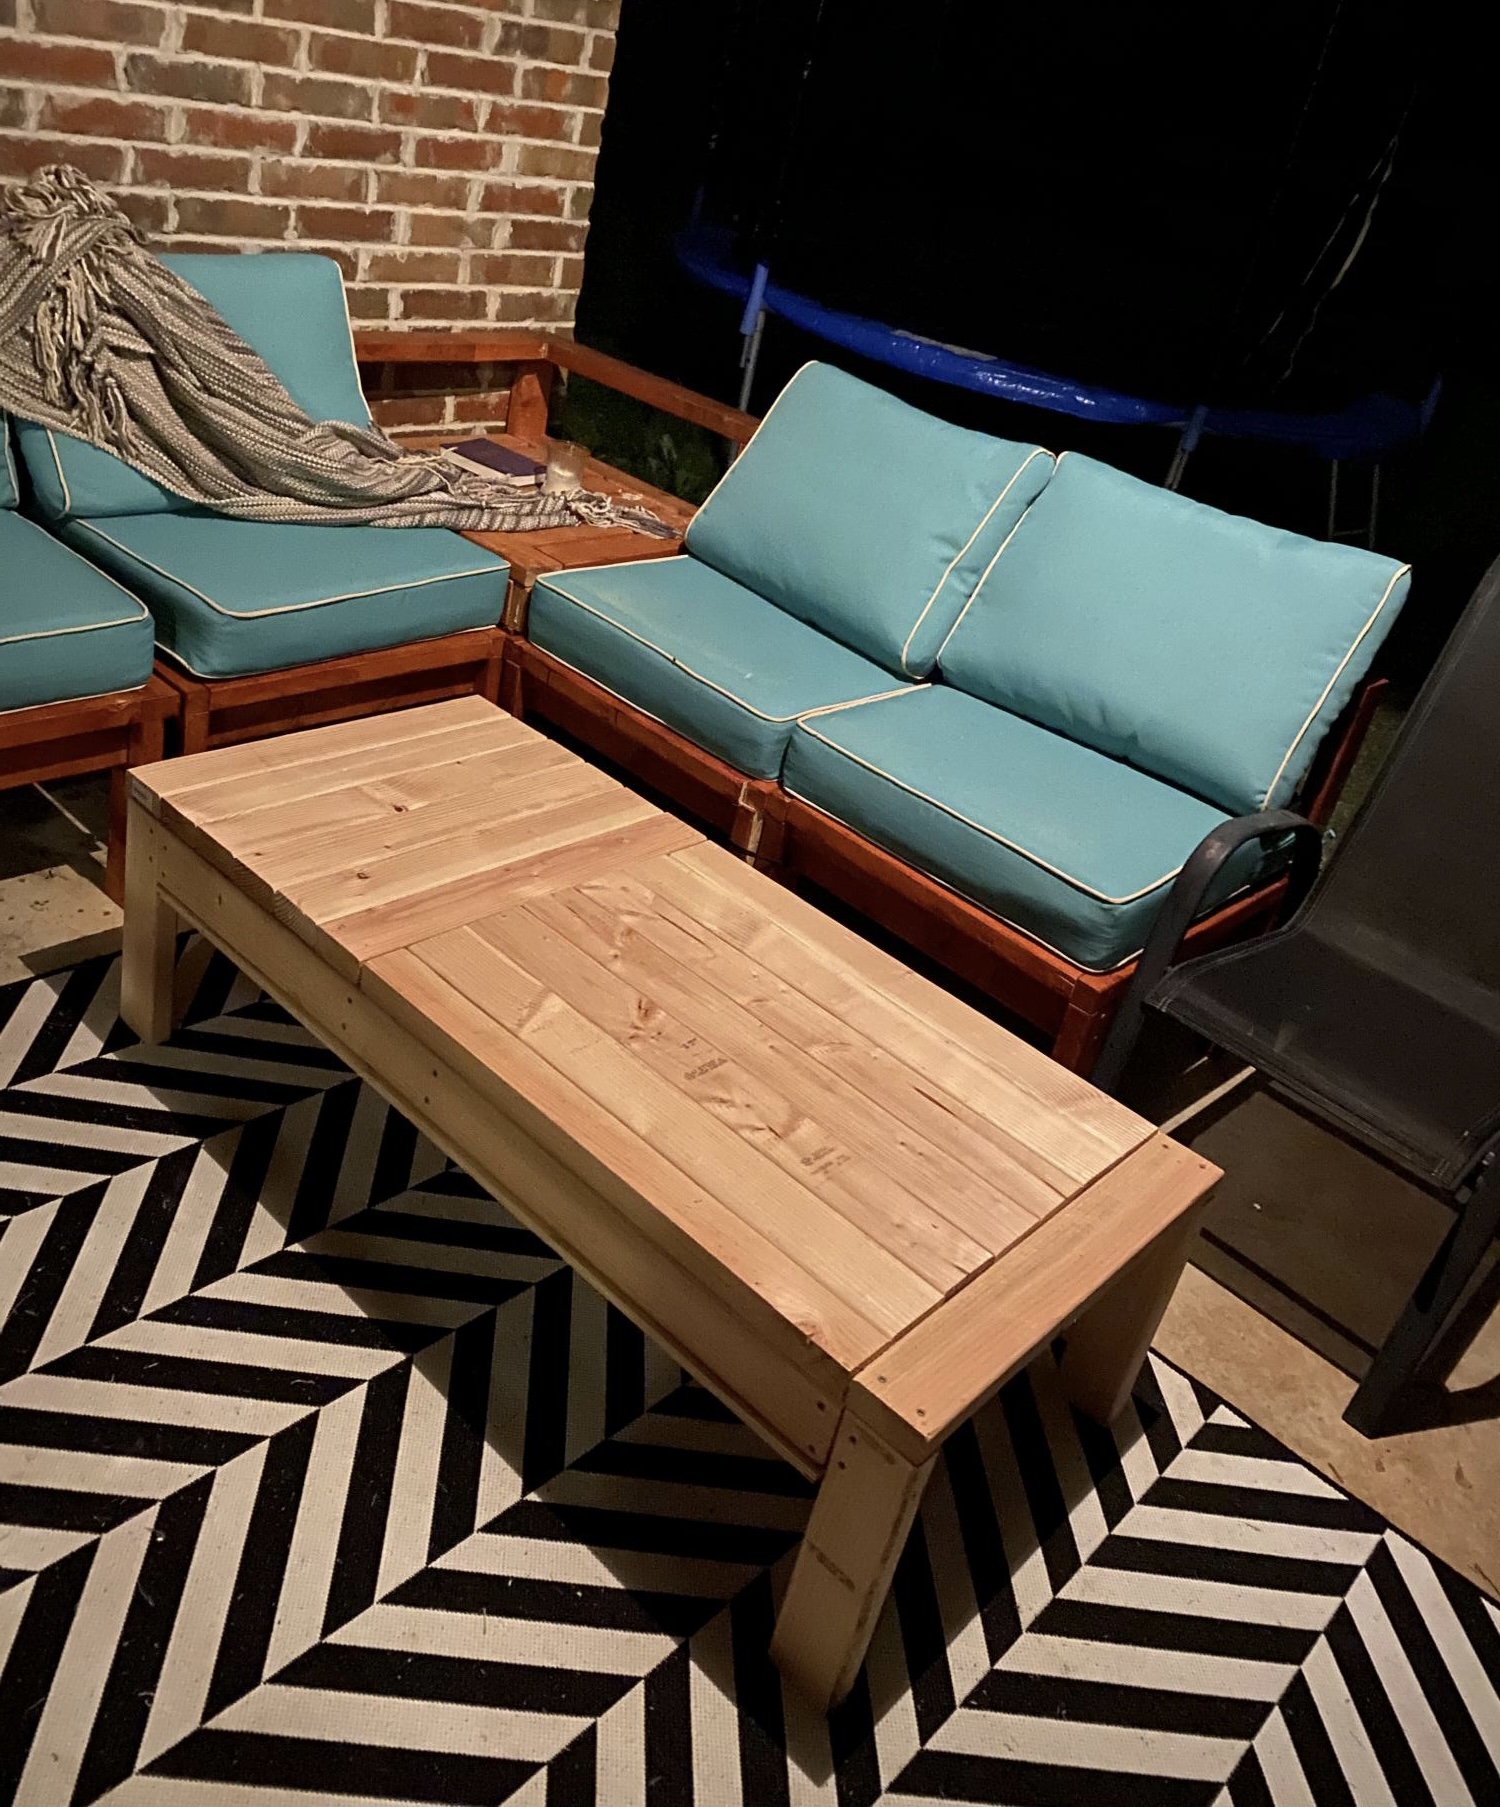
Outdoor coffee table with lift top. Modified the top slightly but went by the plans otherwise. Still need to paint/stain. A fun build and super functional!
Built from Plan(s)
Outdoor coffee table with lift top. Modified the top slightly but went by the plans otherwise. Still need to paint/stain. A fun build and super functional!
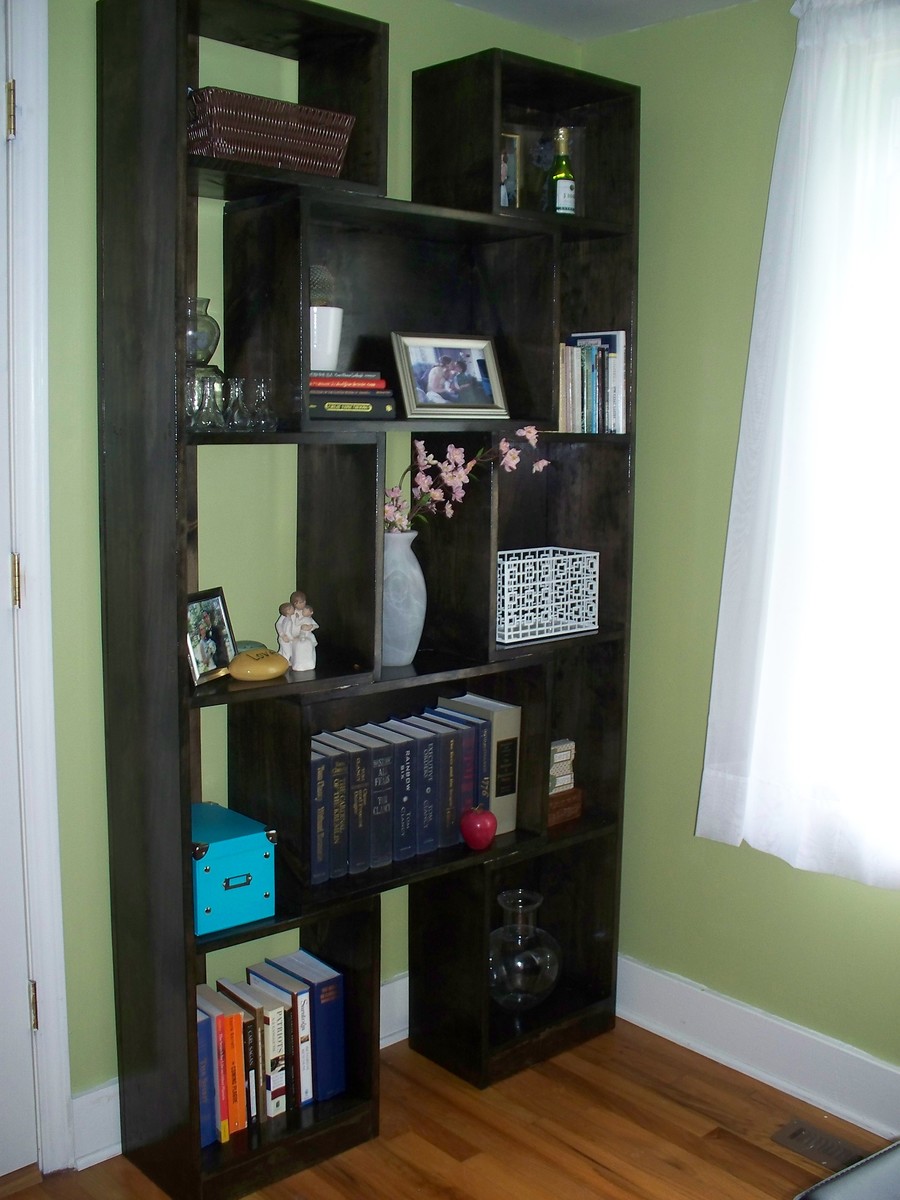
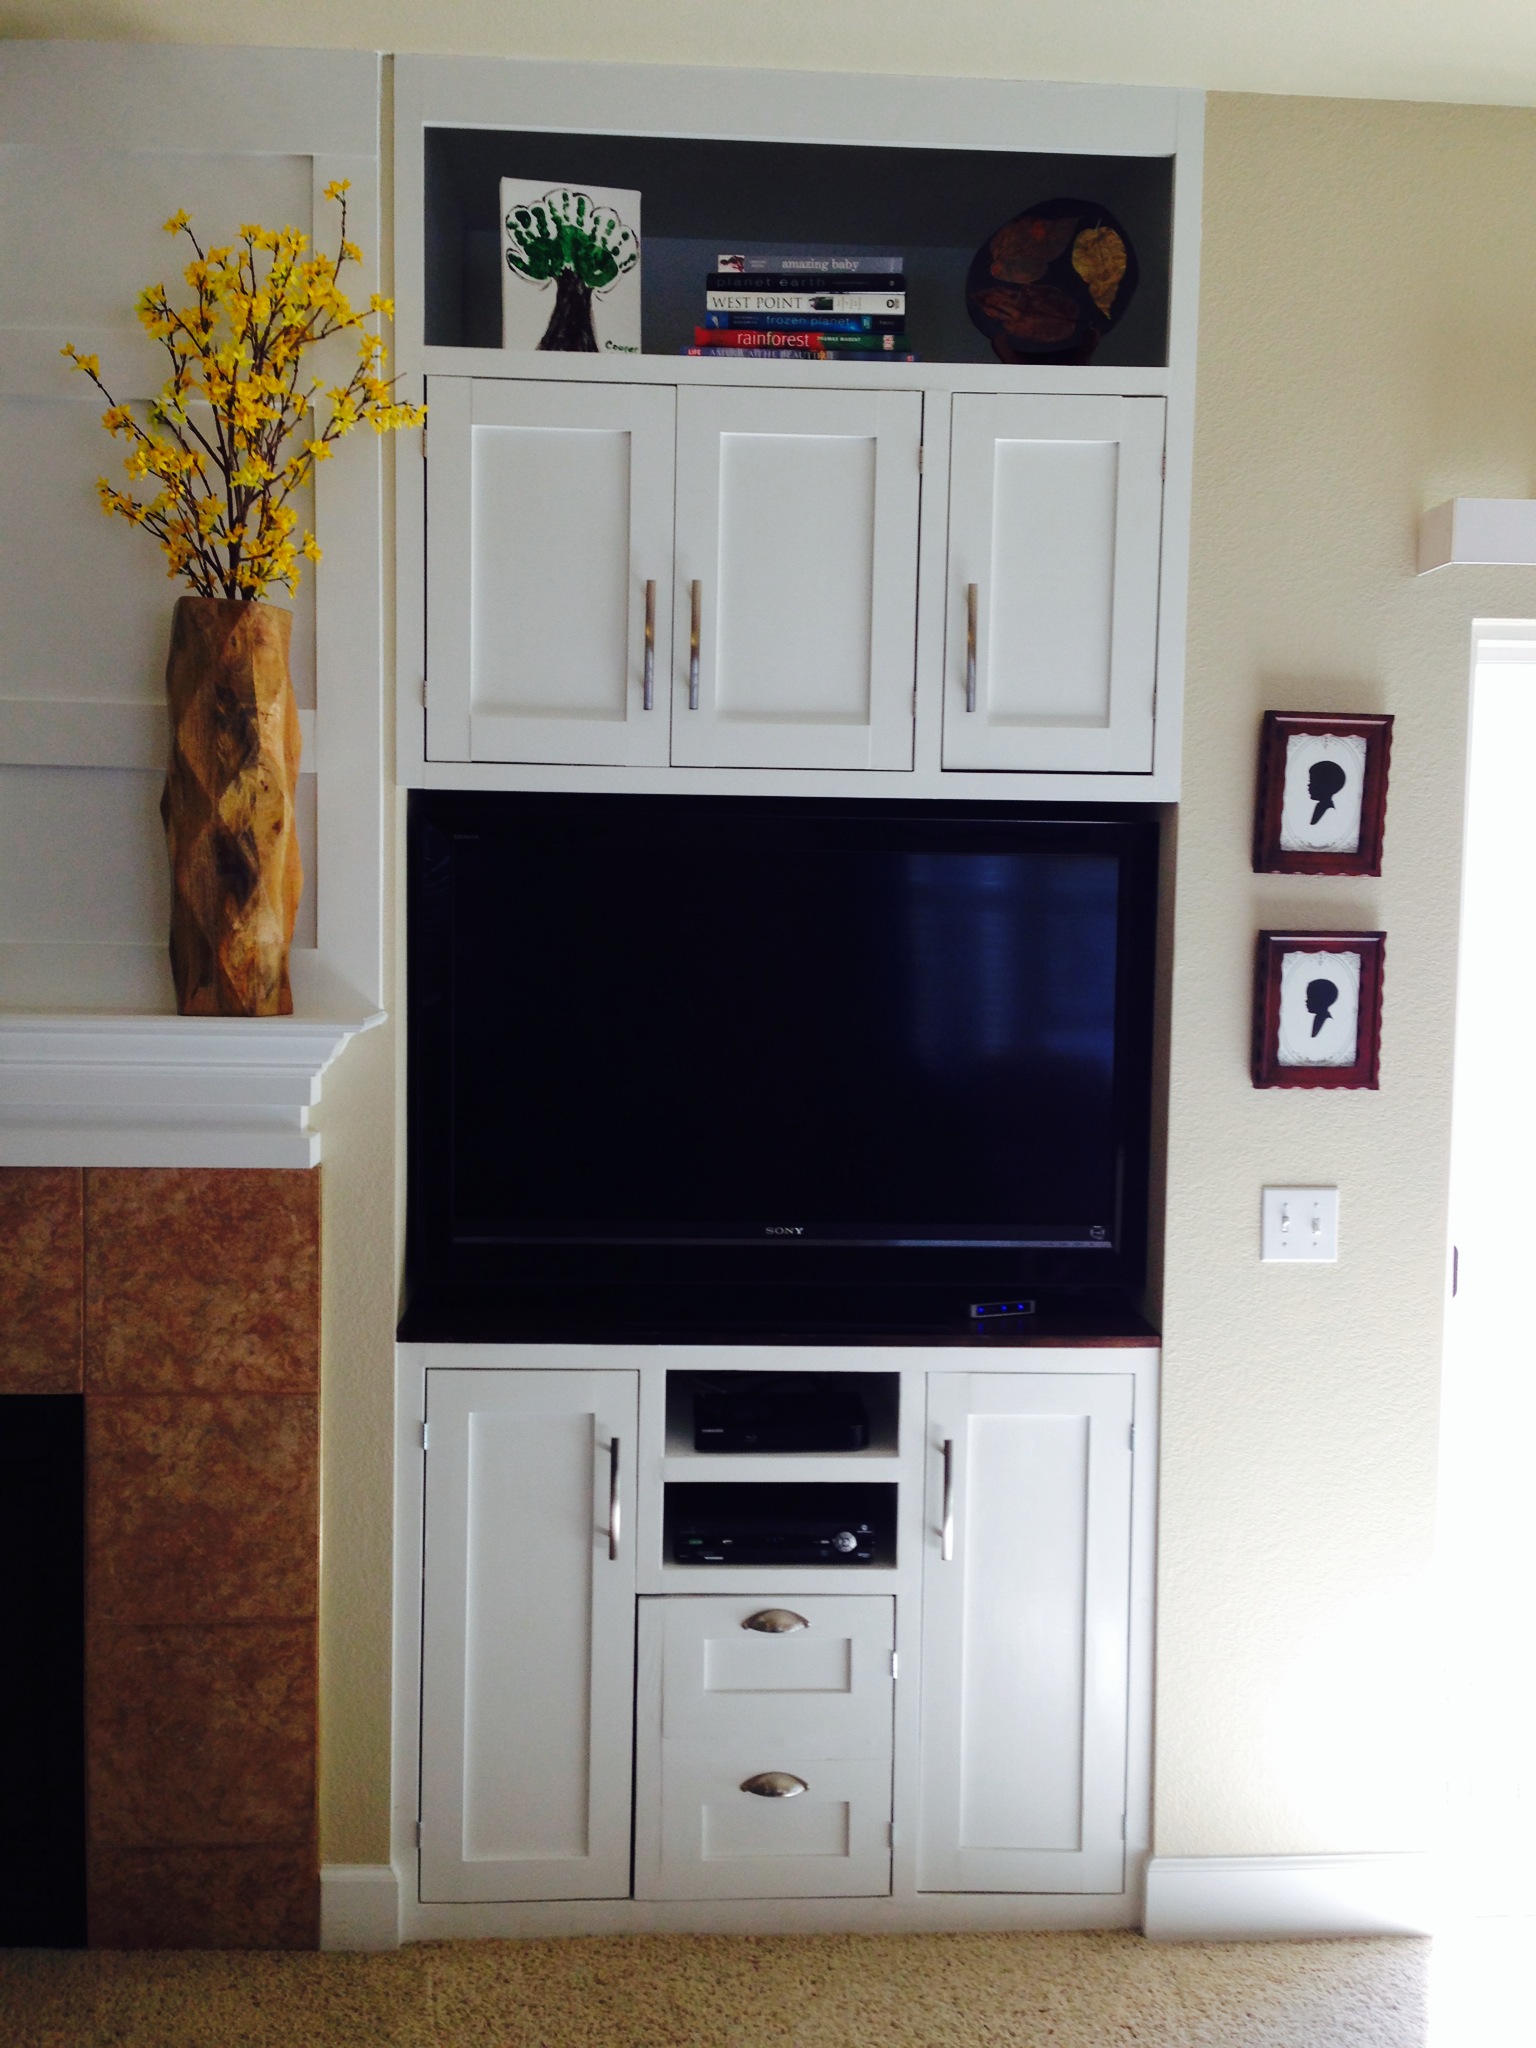
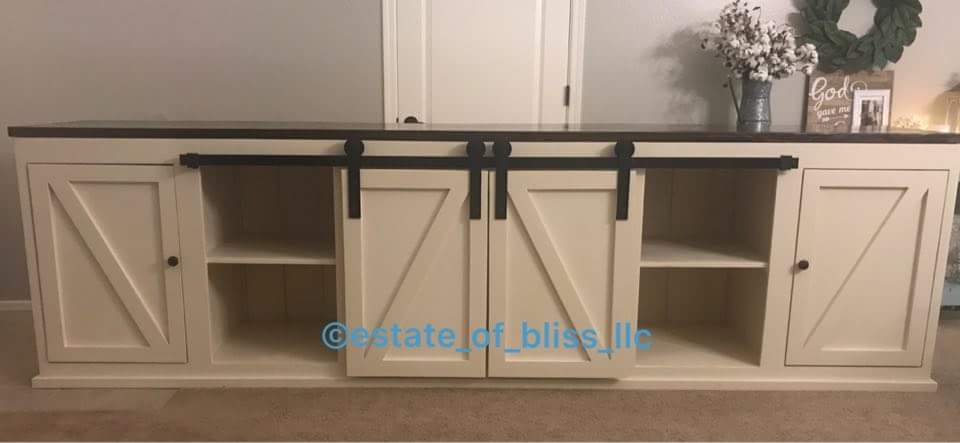
I had to adjust the height and width of this project to fit on my wall in this corner. But I just LOVE how it came out. It's one of my favorite pieces of furniture in my whole house!
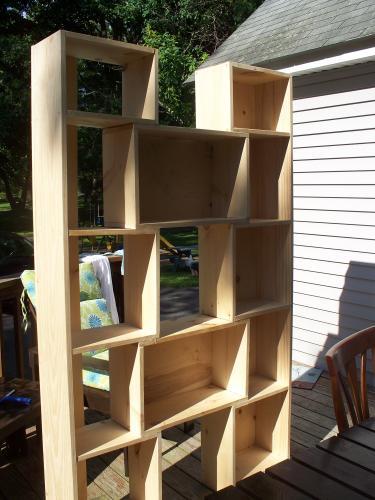
MY FIRST PROJECT
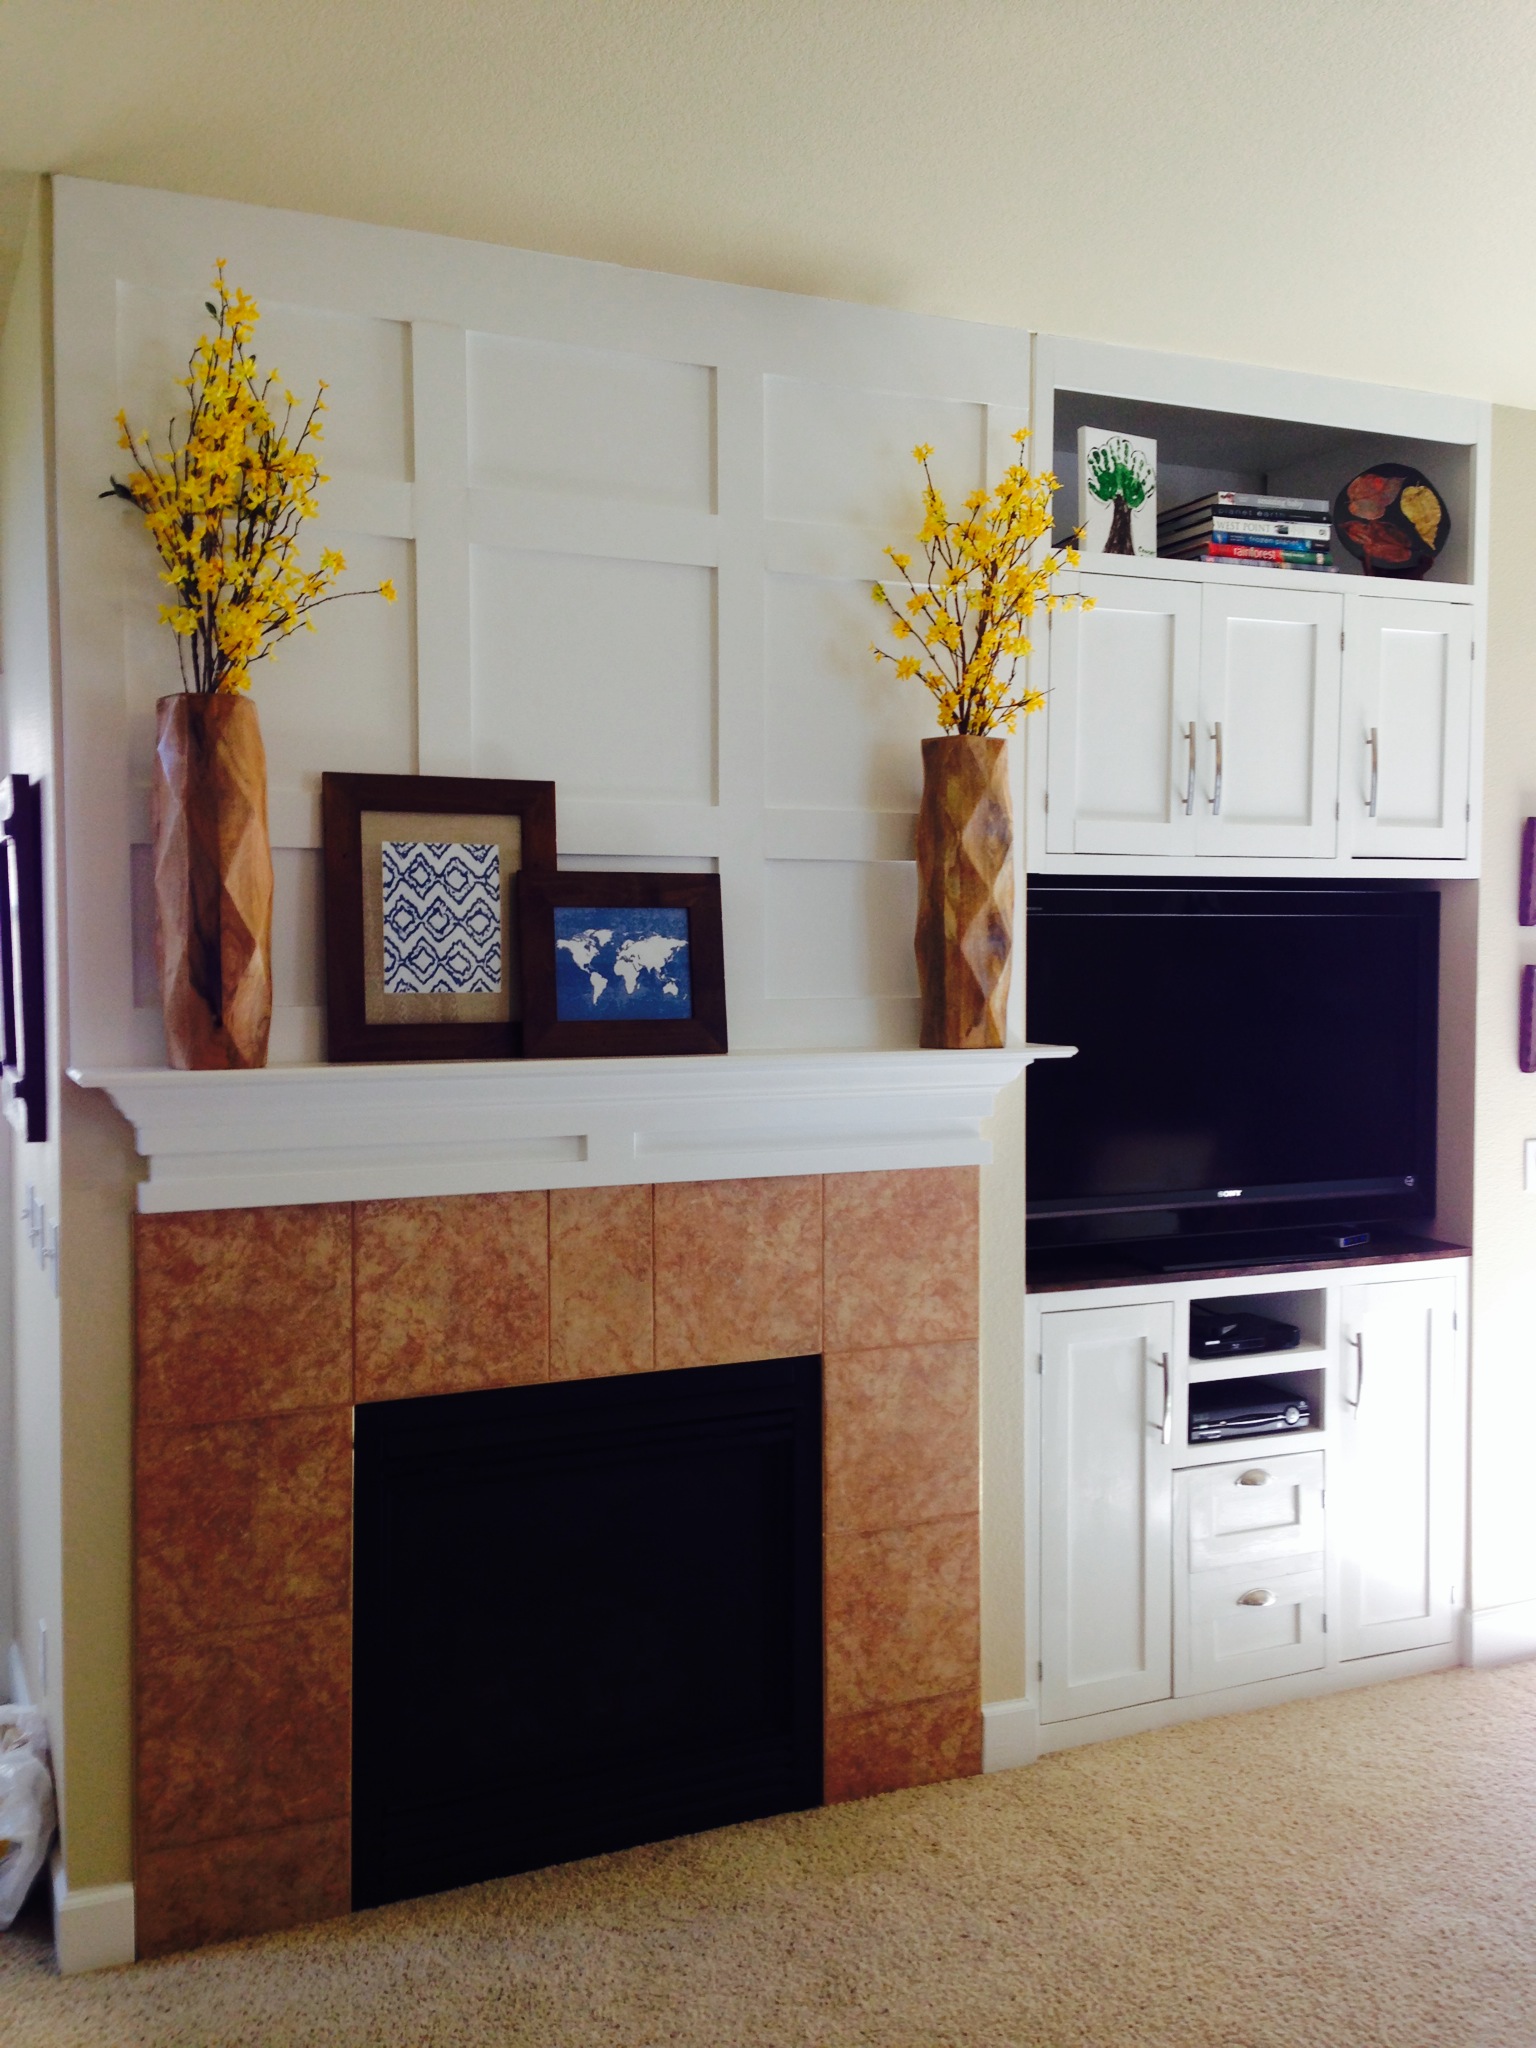
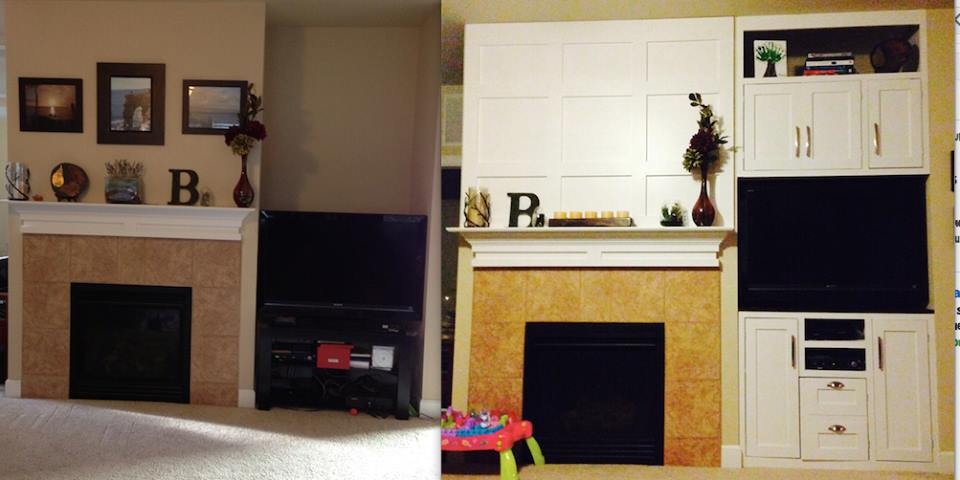
See the before/after pic for the difference. My daughter was pulling everything off our open TV stand so it had to go! I designed this to give us the toy storage we need as well. The niche was over two feet deep so I wanted something to utilize all the space. I also wanted the fireplace to stand out so added the board and batten treatment.

In reply to Great job by TwoCuteKids
Wed, 04/01/2015 - 06:53
Thanks! We just sold our house in under 48 hours and I think they helped. Thanks for all the great plans Ana!
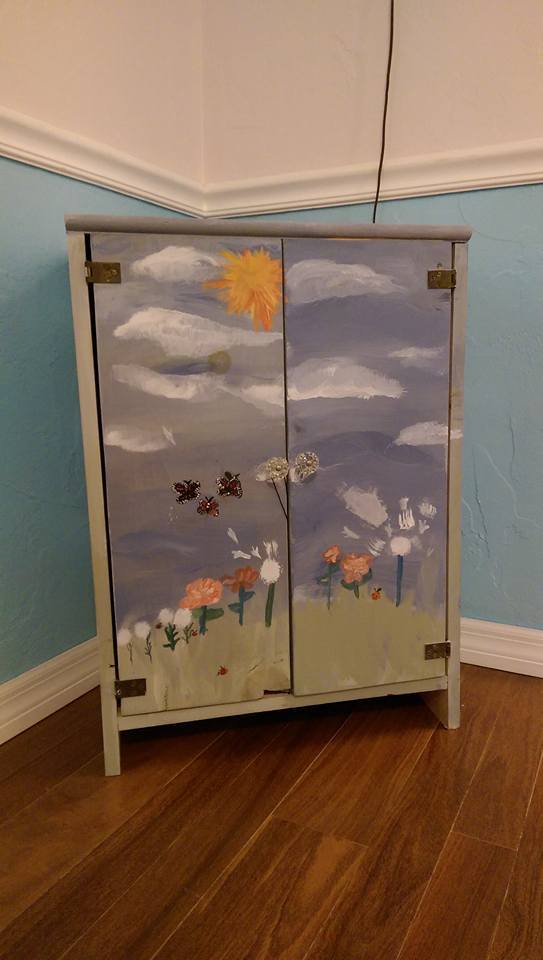
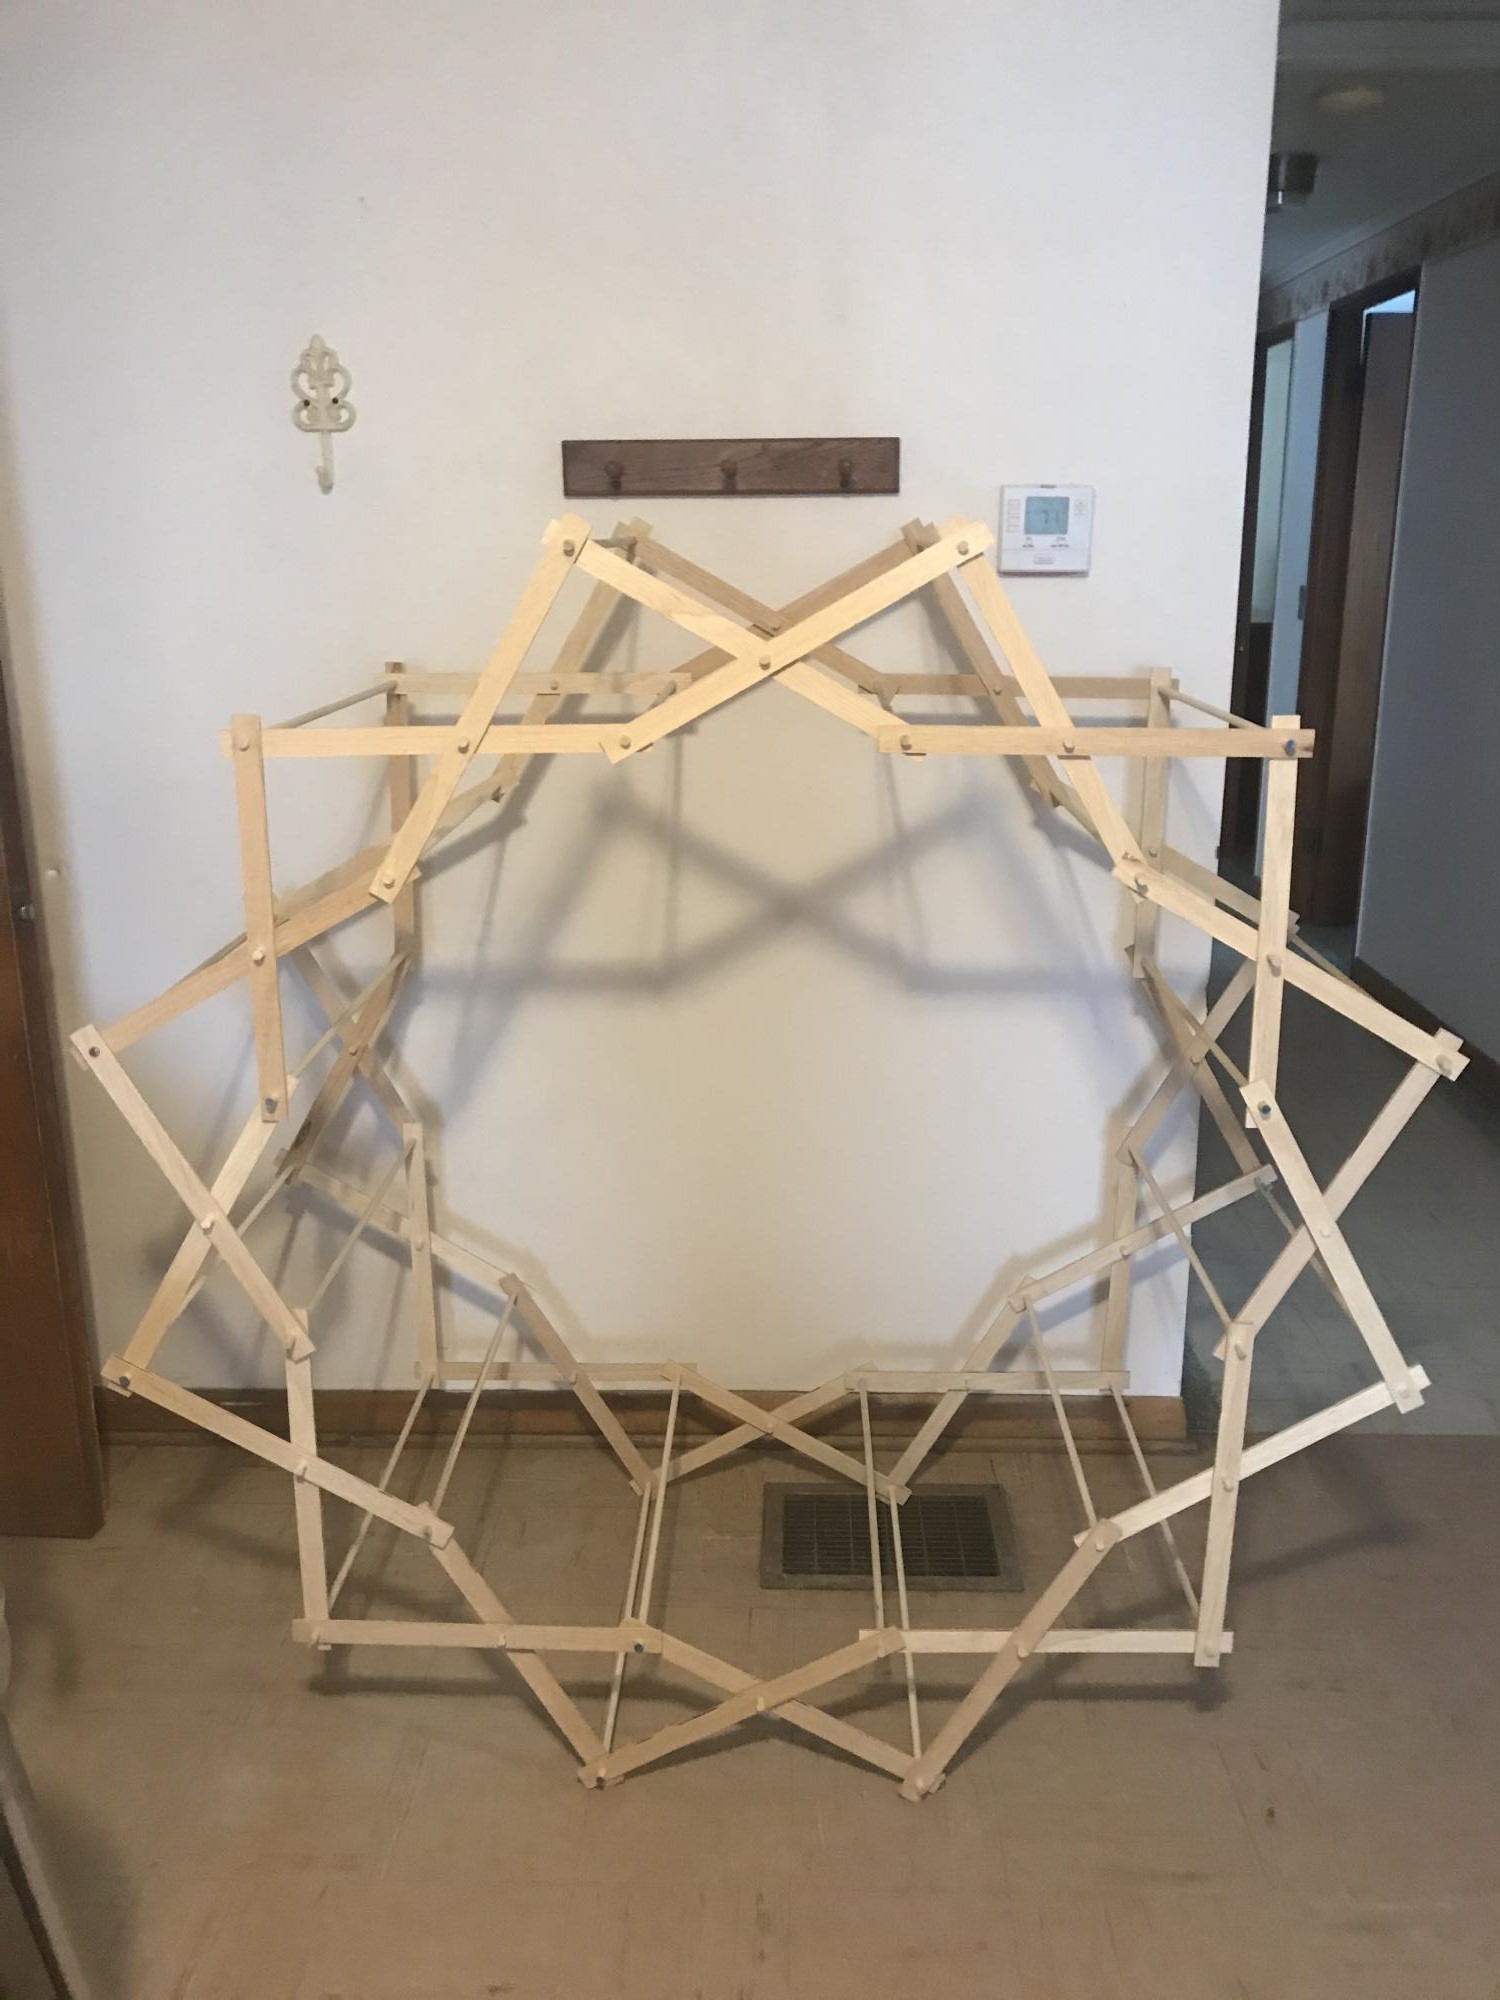
This was fun and easy. I had some of the wood already so I didn't spend that much. My girls painted it to add a personal touch. I would consider adding a magnet to help the doors stay closed a little better. Its been a couple of years and they are still enjoying this. At the time I had no idea how to make a star. Now I know it woudl be easy with a jig saw.
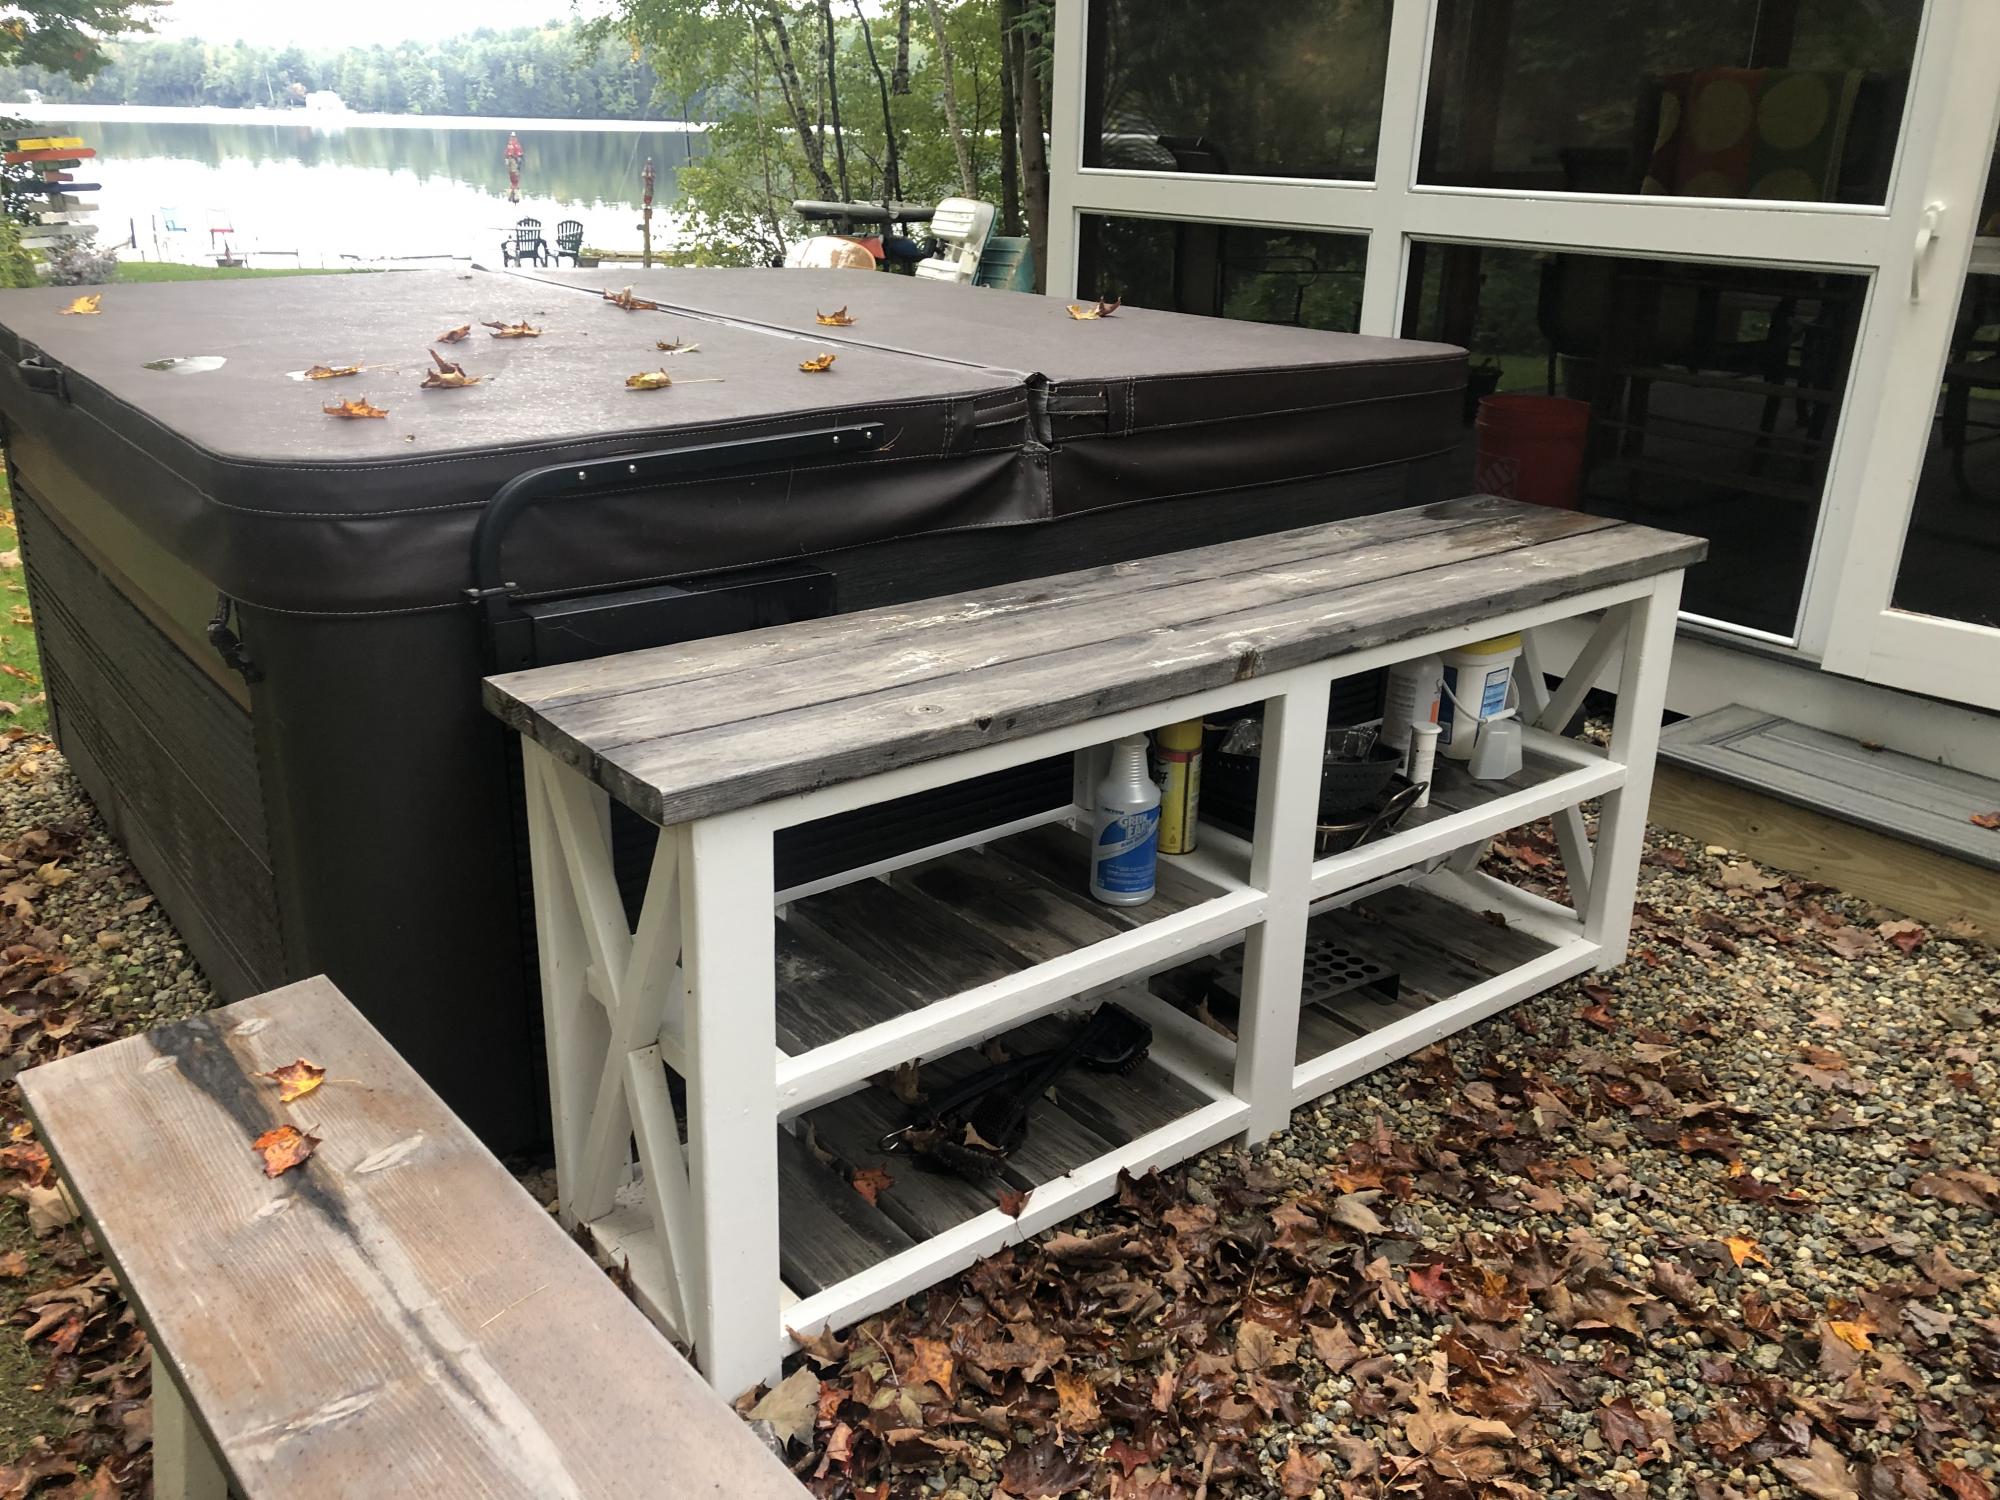
I needed a table along side our hot tub, primarily for drinks or appetizers while using the hot tub. The farmhouse table plan worked out perfectly to its height and how it fit in well with the structure of the hot tub. It also does double duty with my grill directly across from it allowing me some storage shelves or grill items.
Tue, 10/05/2021 - 10:56
YES, love the multiple uses, gotta have a place to set your drink and relax! Thanks for sharing:)
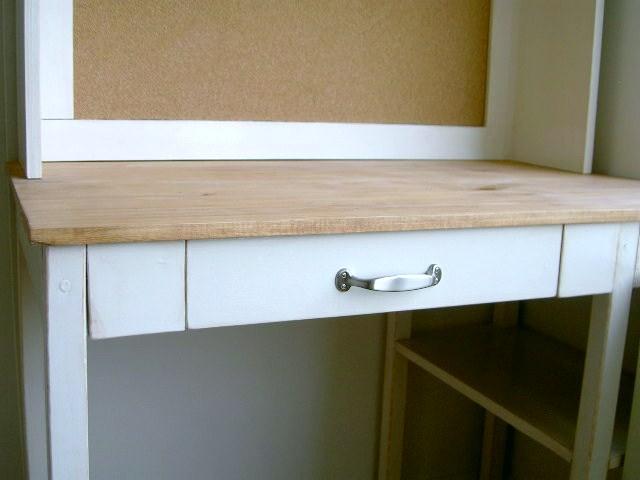
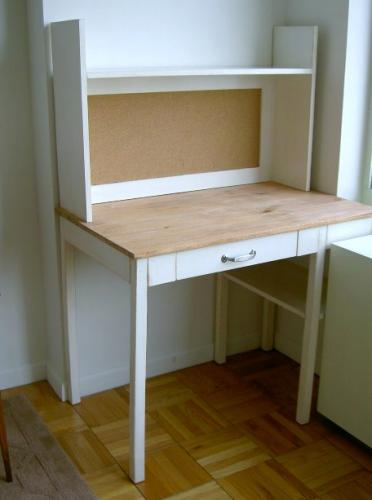
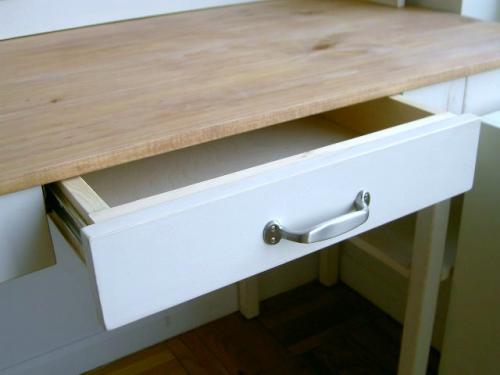
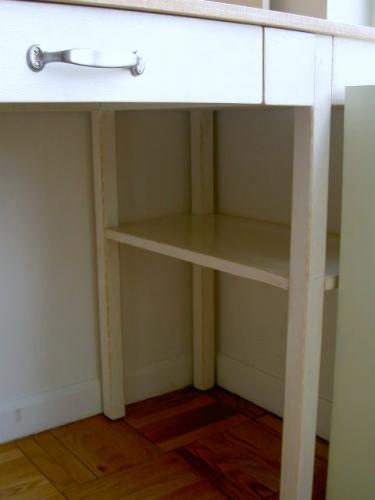
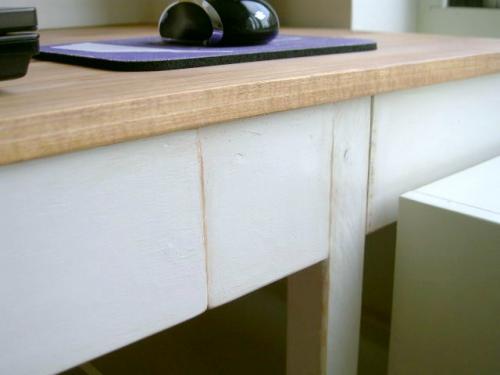
Custom sized desk to fit between a radiator and wall. Combination of cubby desk with added lower shelving and upper hutch with shelf unit.

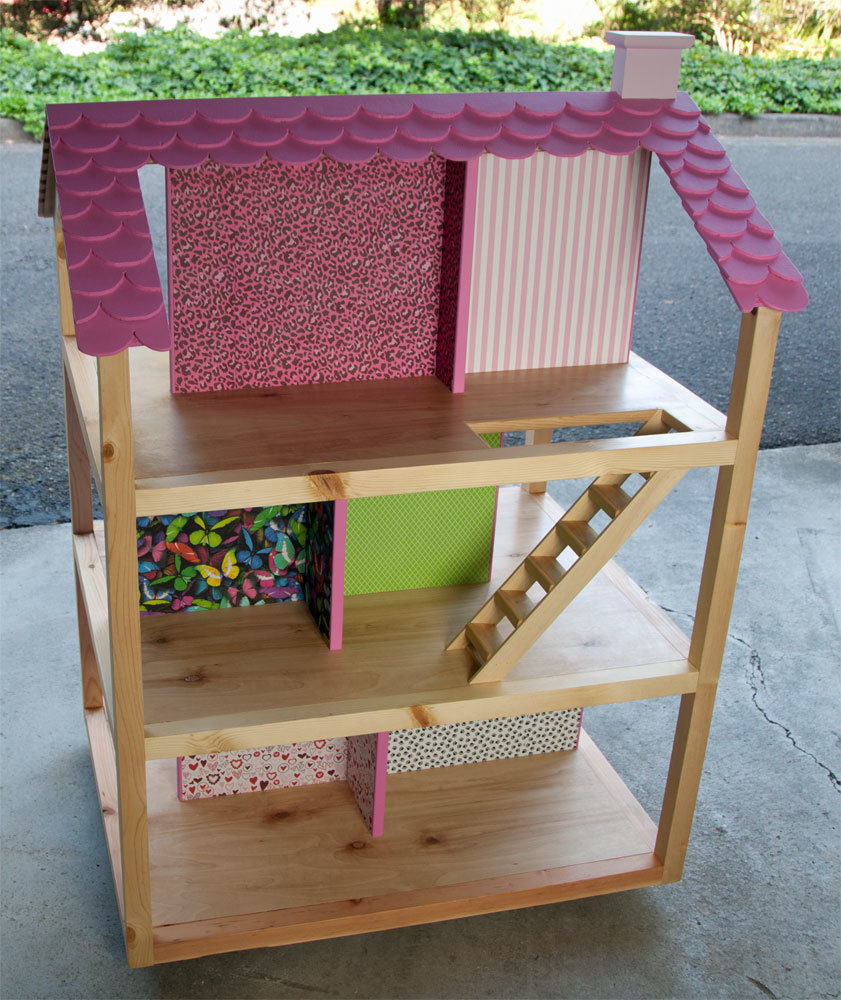
Thank you for your doll house plans!
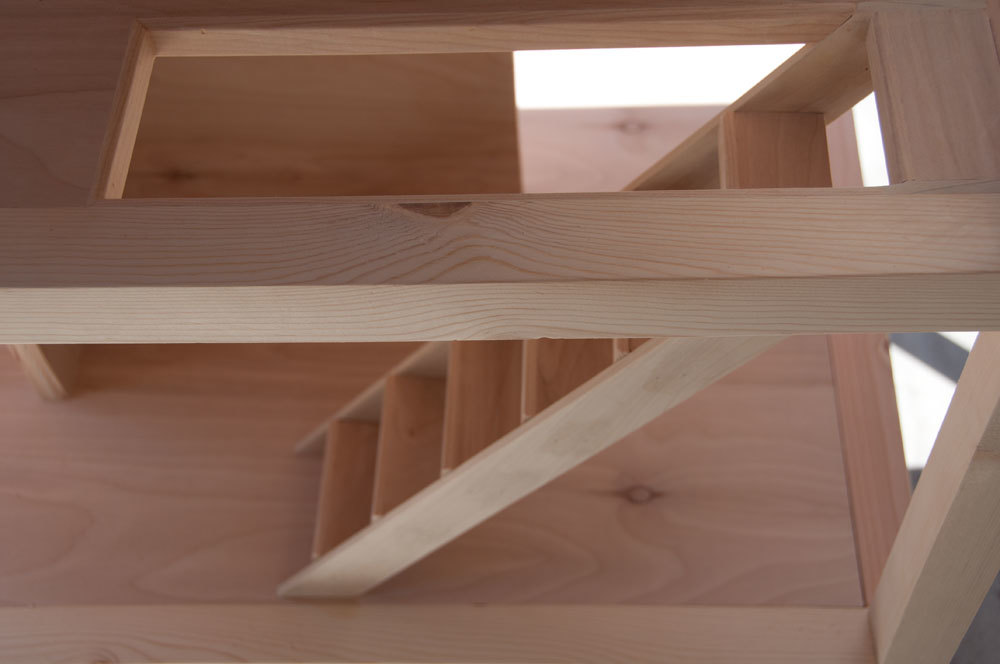
This was a gift for my granddaughters 5th birthday. I altered the stair design a bit to provide a little more durability.
The only part I struggled with was the wallpaper.
All-in-all the project was a success and she LOVED it!

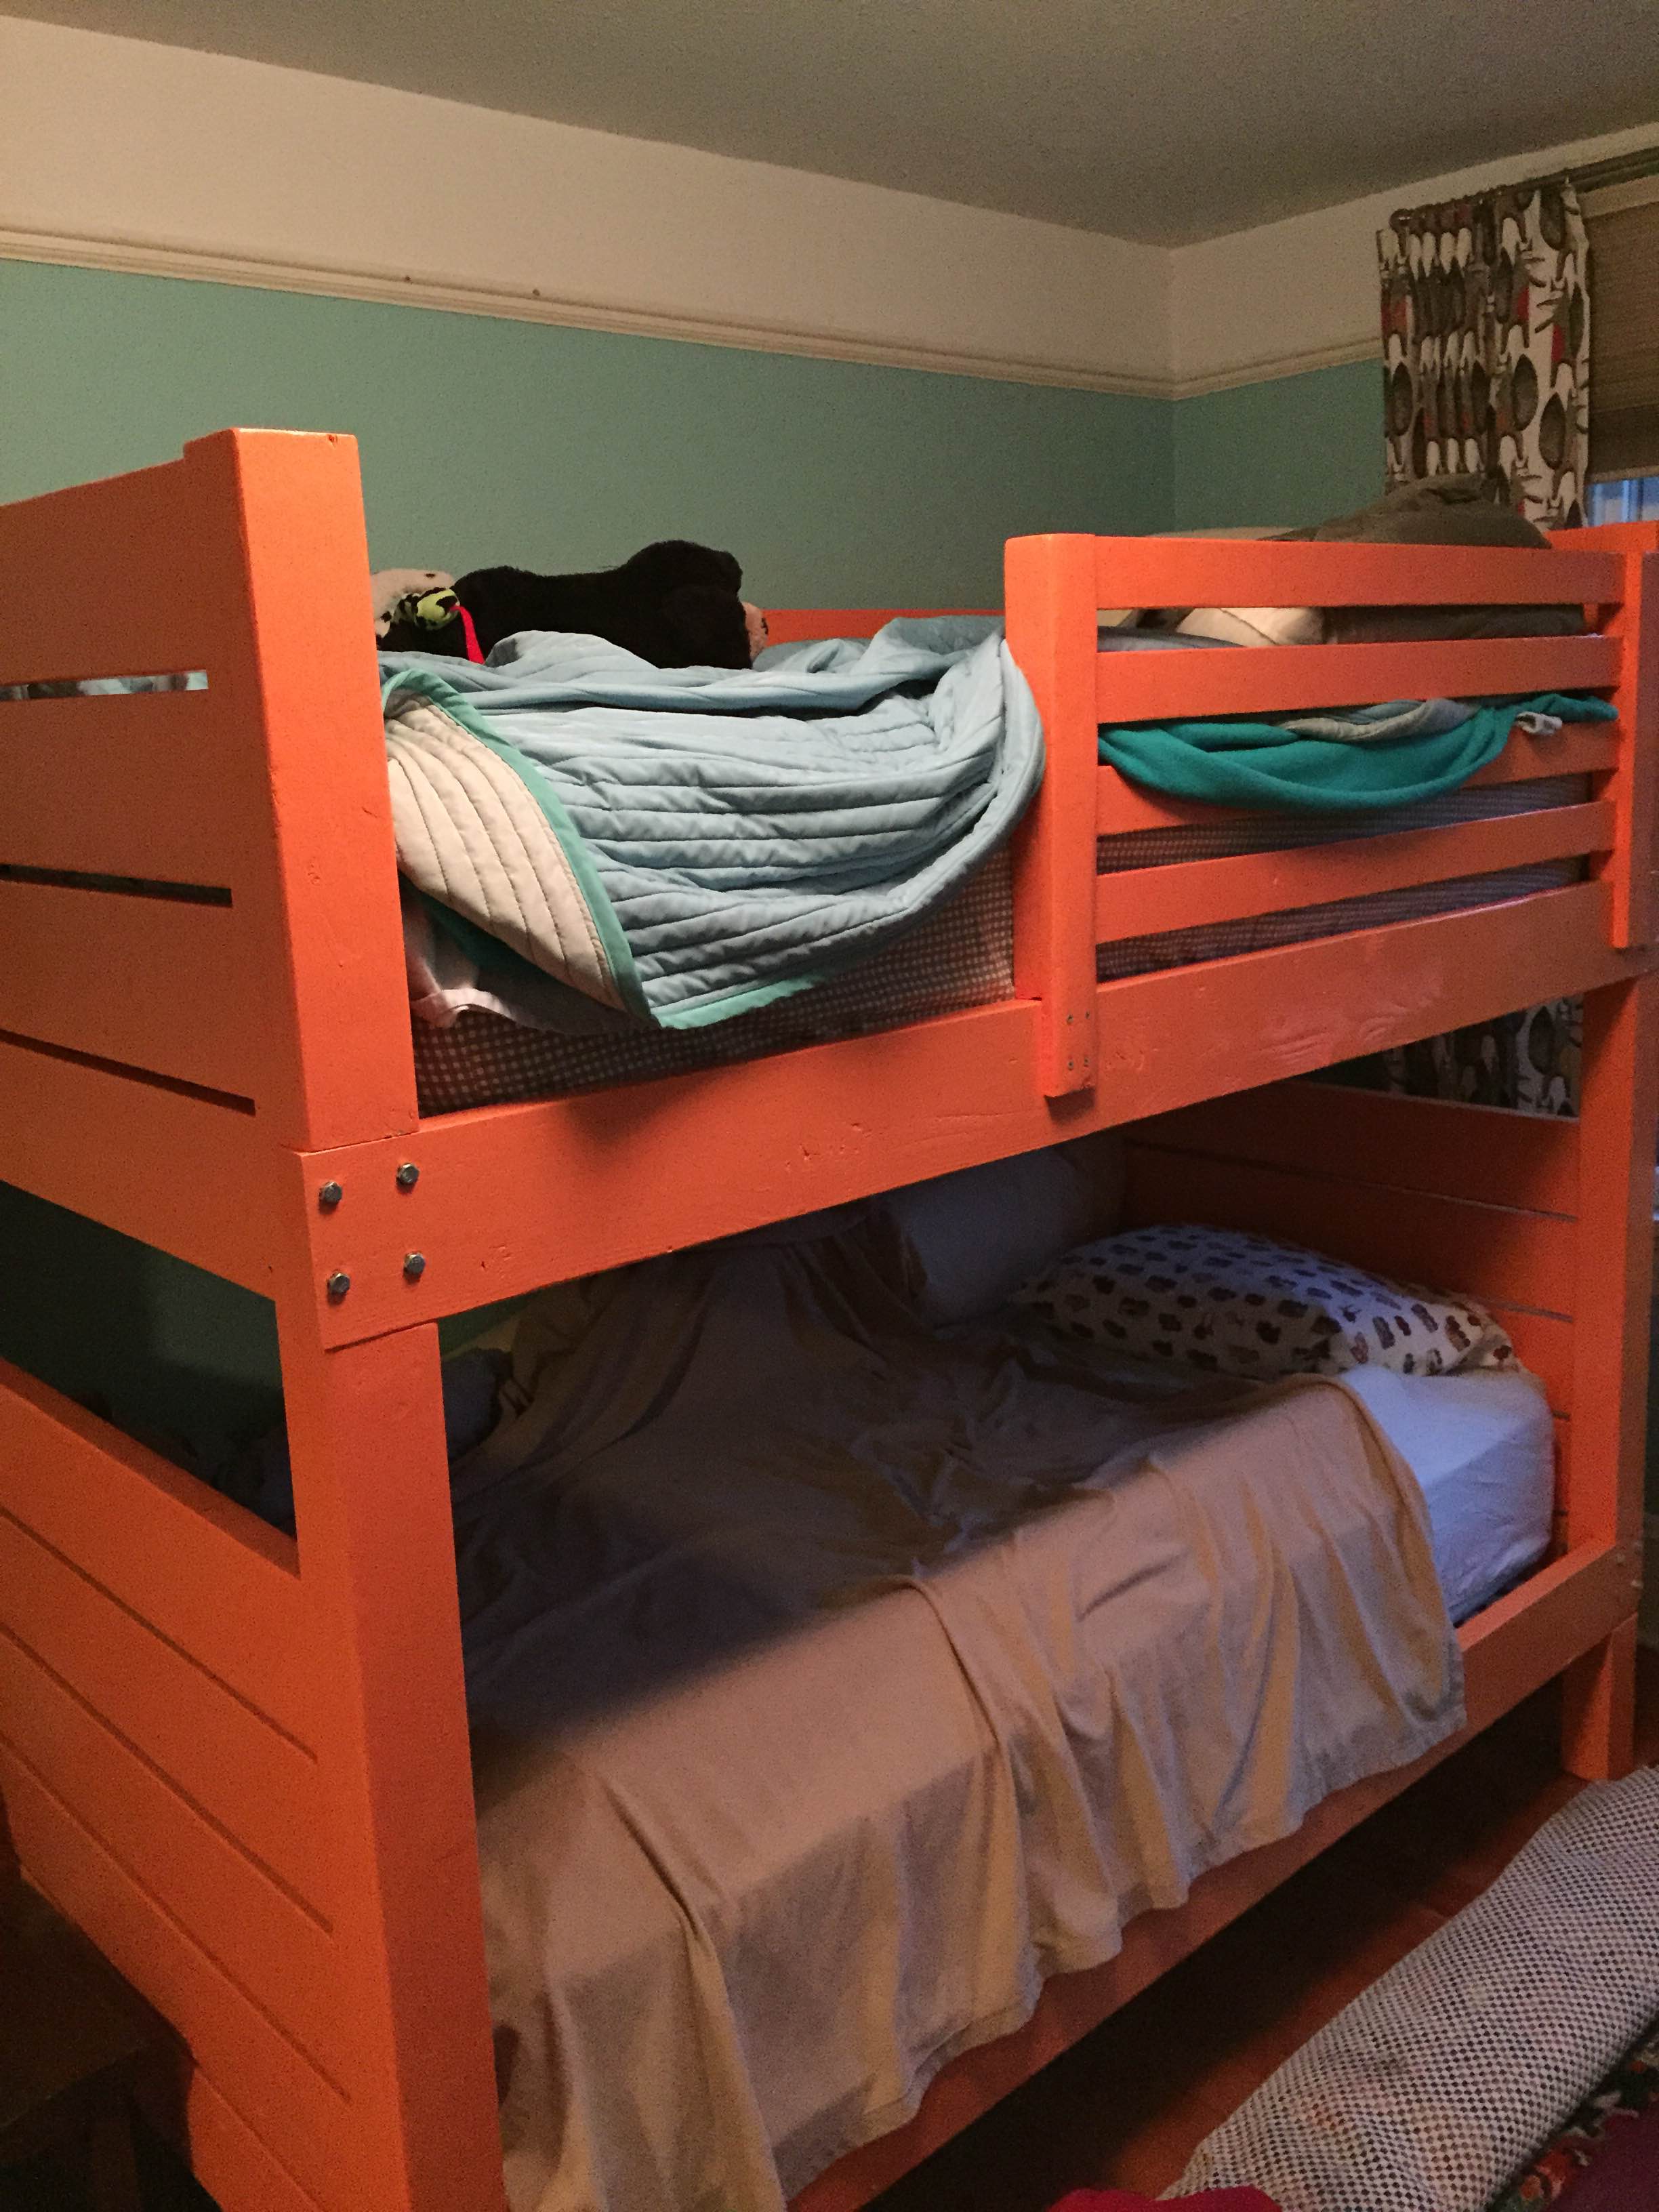
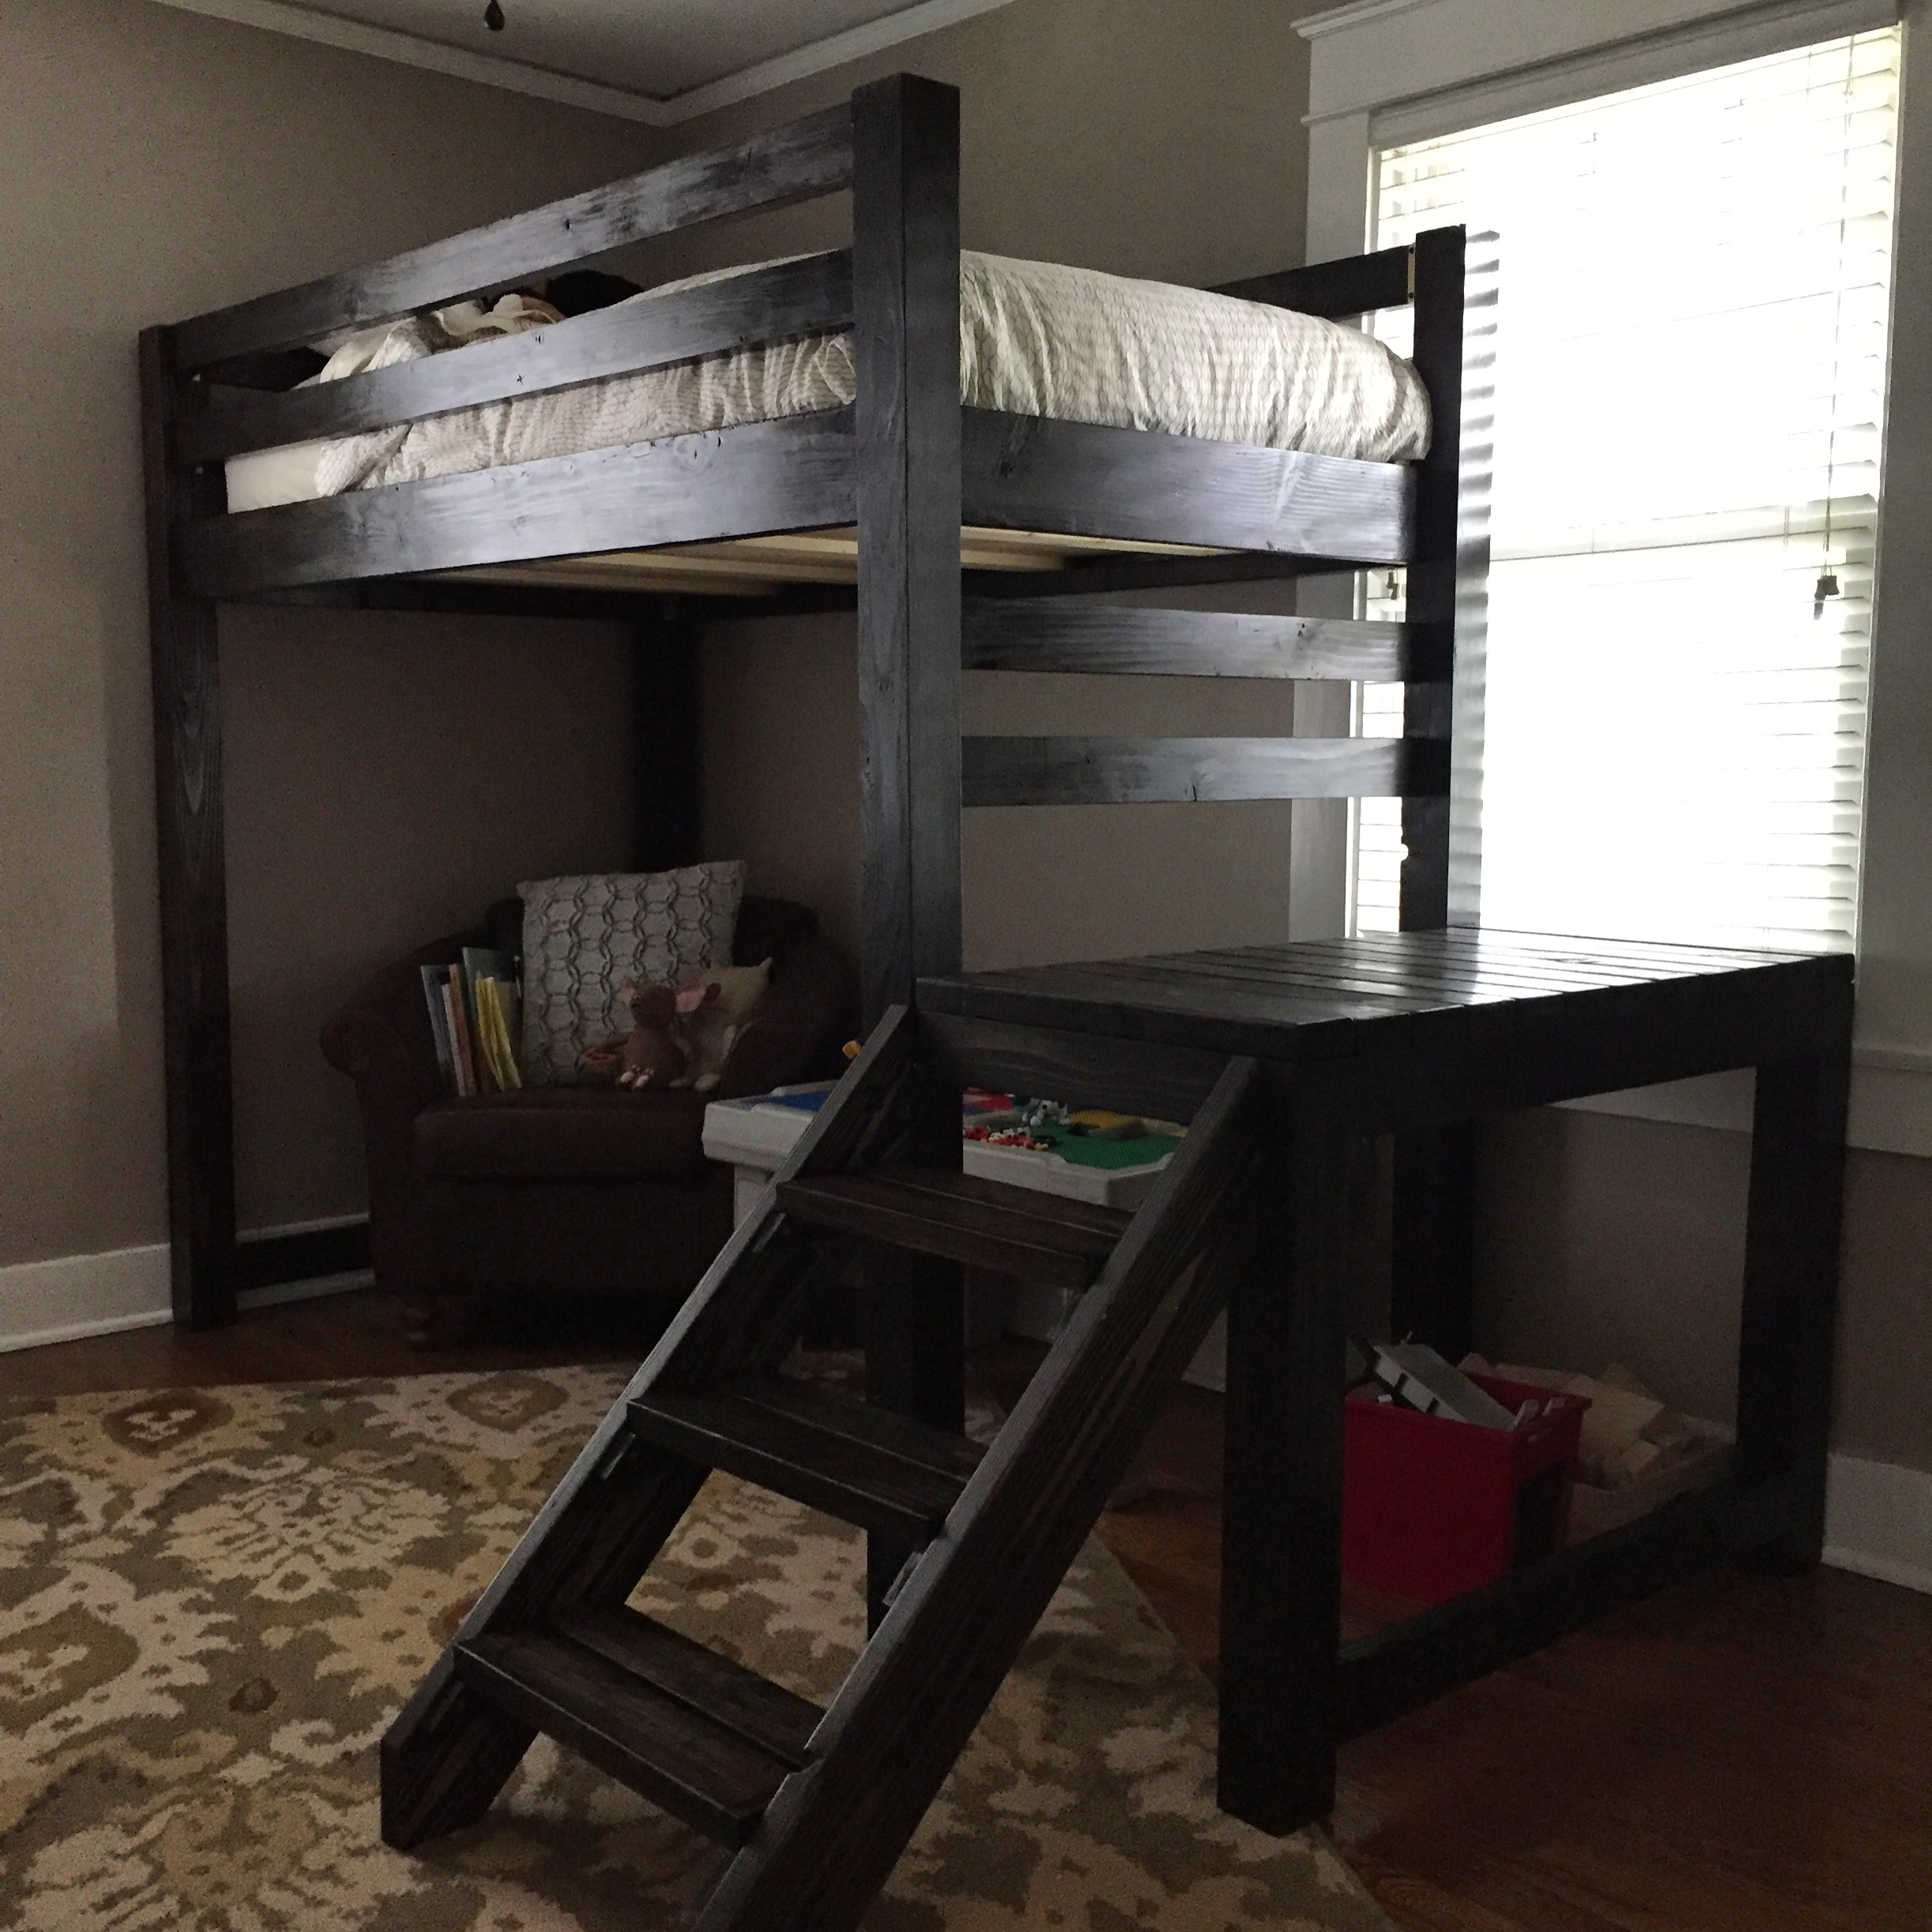
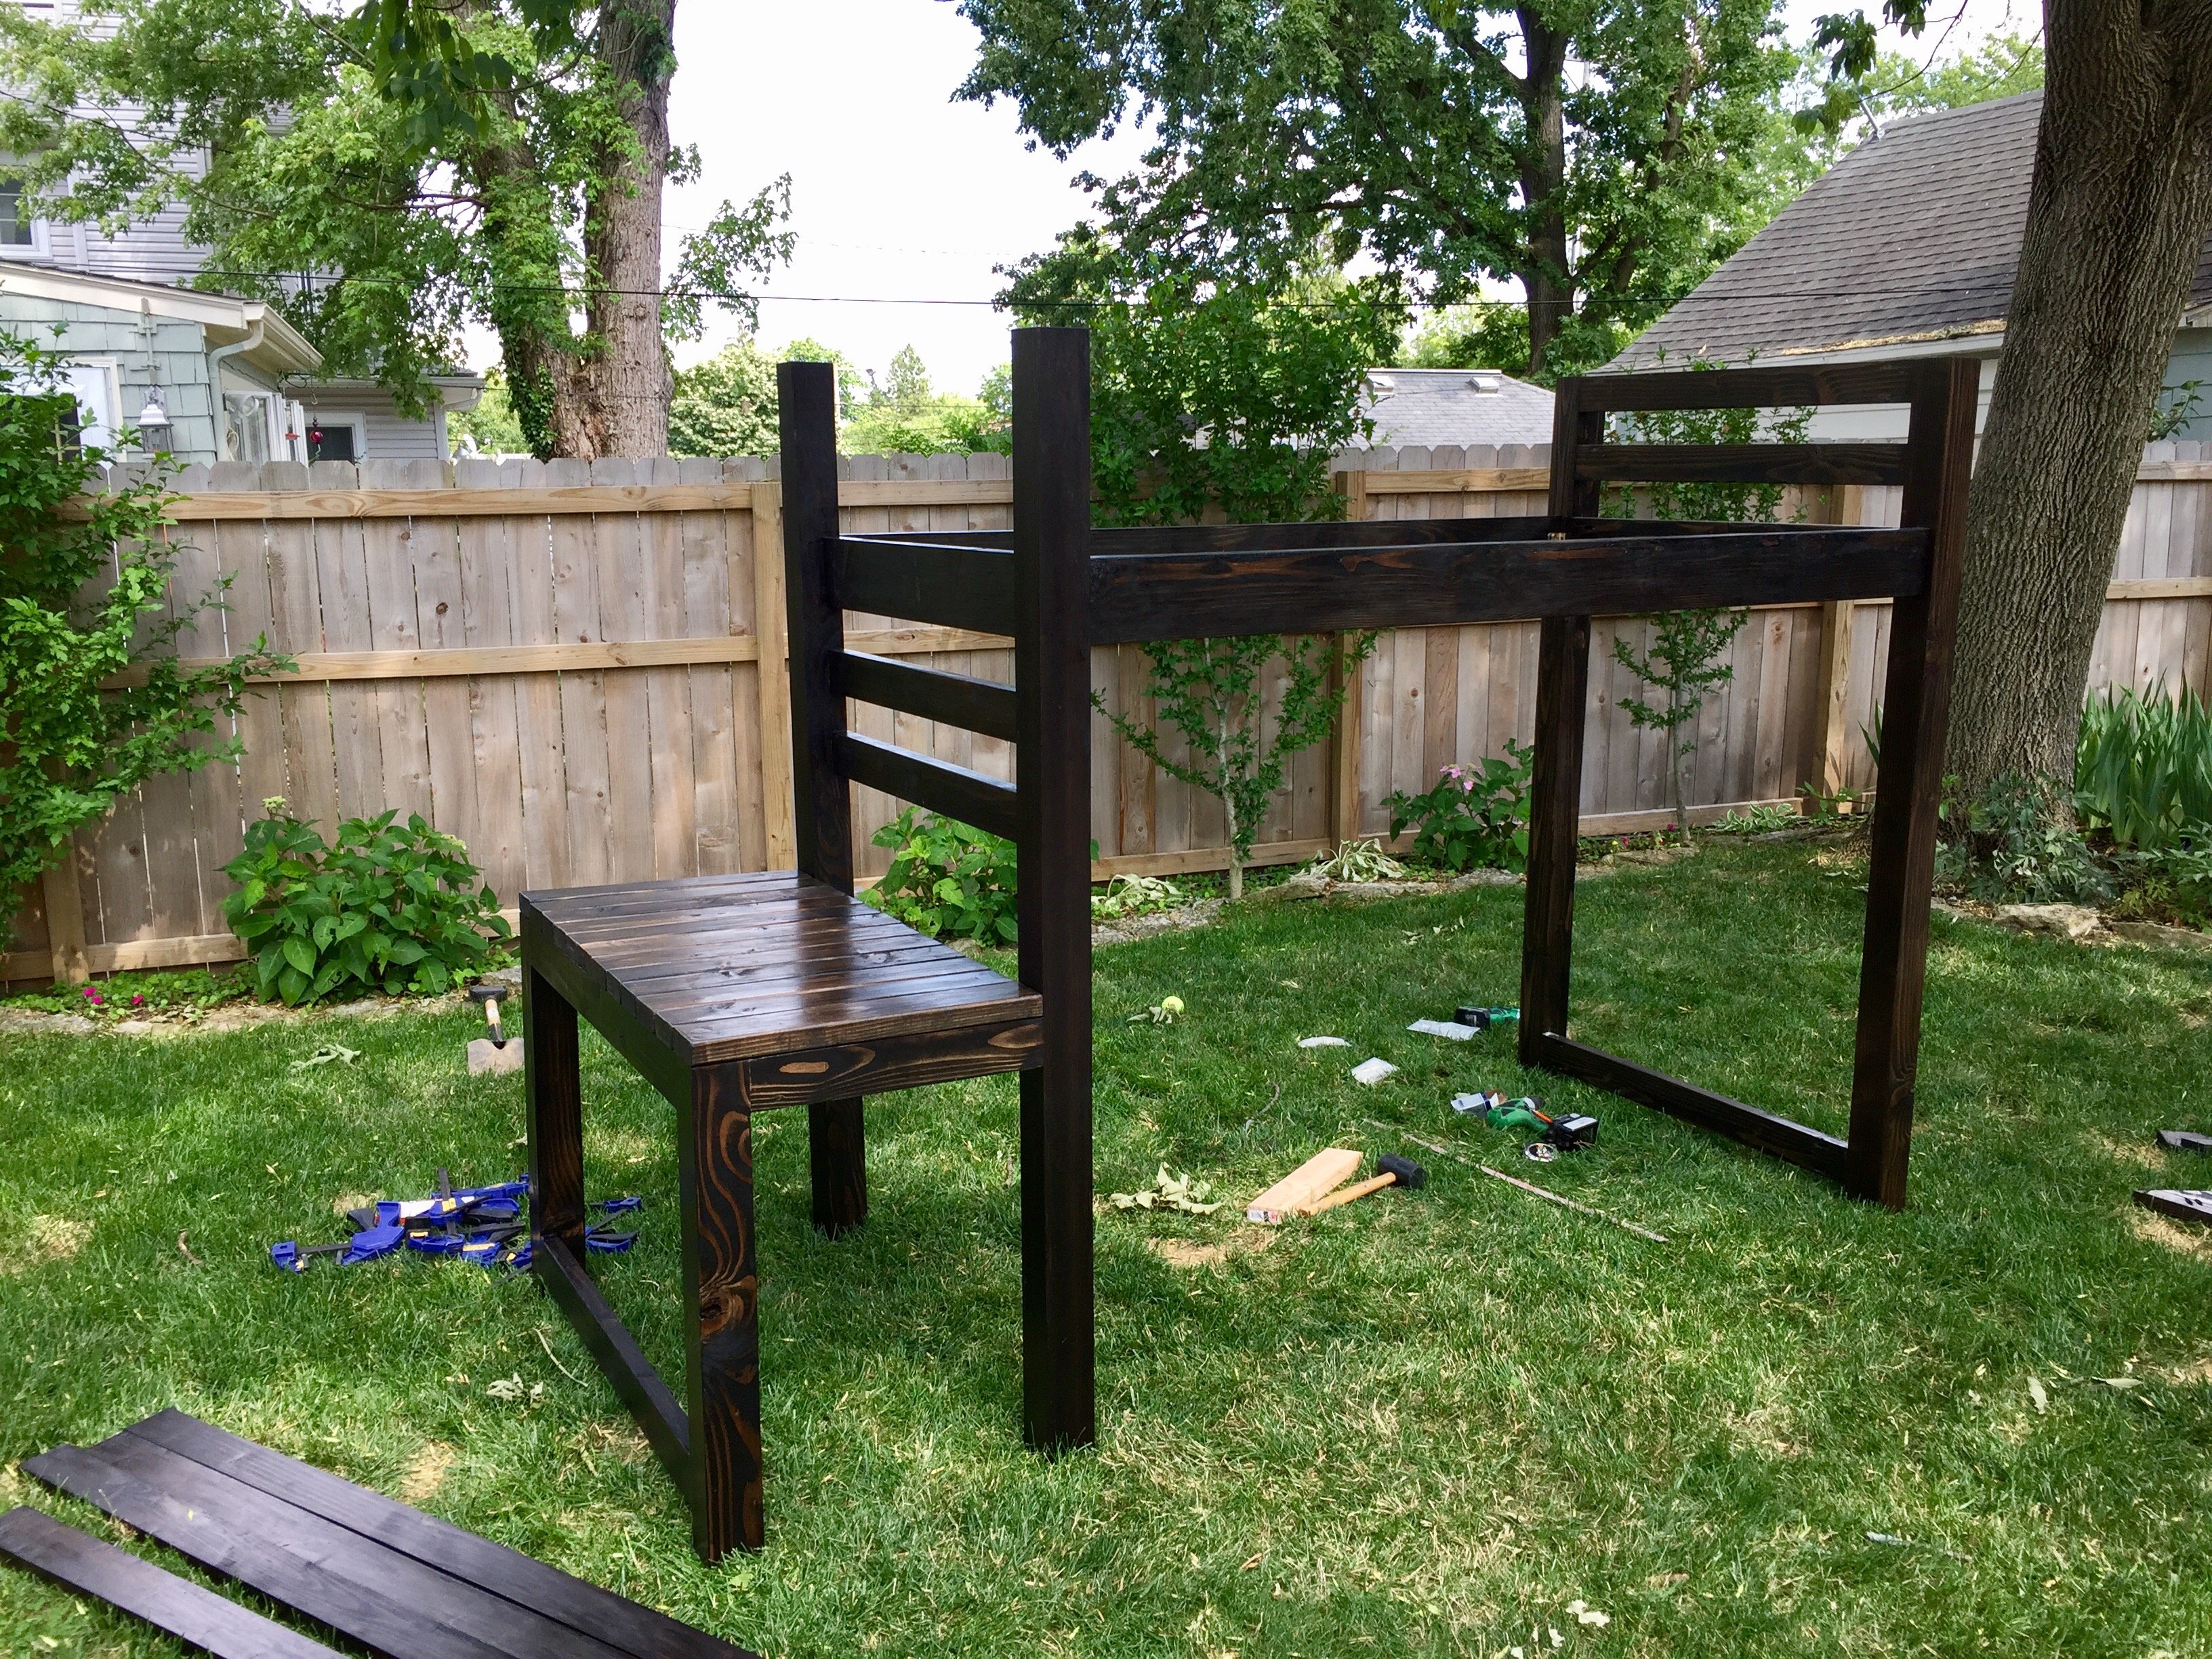
This is my first large project and I'm very happy with the result. Since I knew we were using regular (thick) mattresses instead of thin bunk-style mattresses, I built the guard rails taller than in the plans. The bunk beds are painted Benjamin Moore Citrus Orange http://www.benjaminmoore.com/en-ca/paint-color/citrusorange. The walls are Benjamin Moore Waterfall http://www.benjaminmoore.com/en-ca/paint-color/waterfall.
Helpful Hint: IKEA's LONSET slatted bed base fits perfectly instead of needing to cut your own bed slats. http://www.ikea.com/us/en/catalog/products/80278715/#/30278732
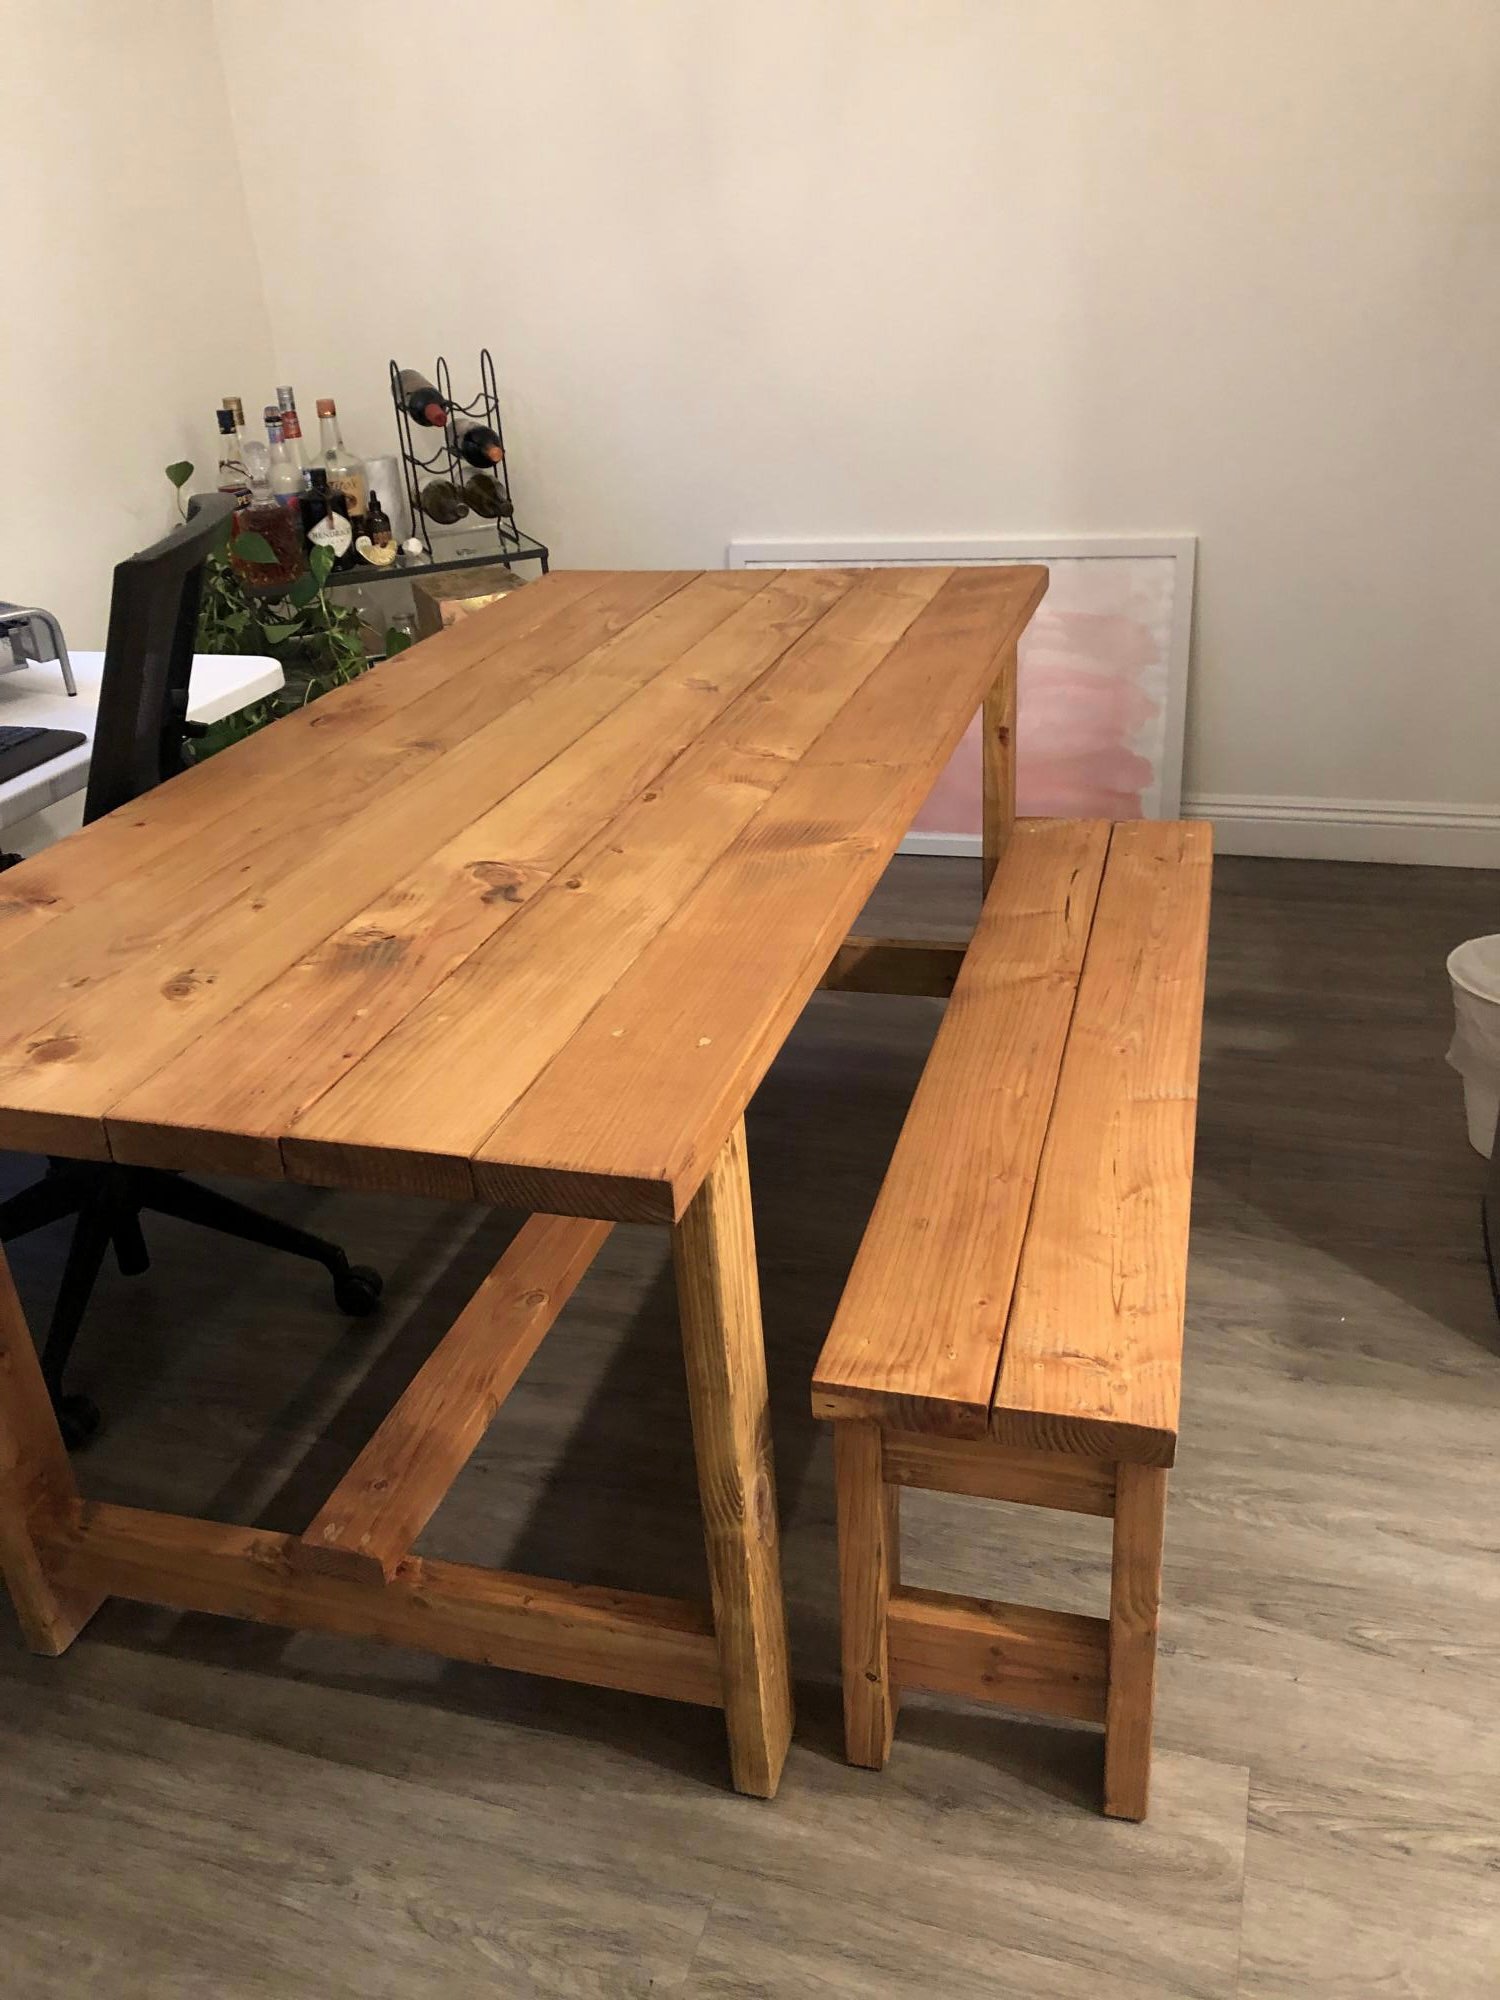
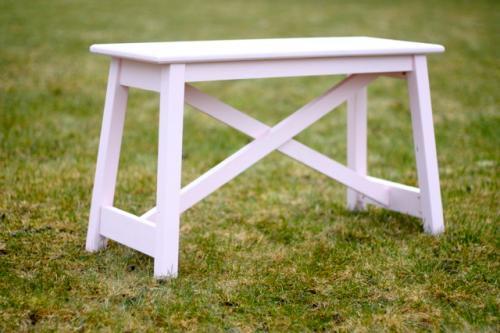
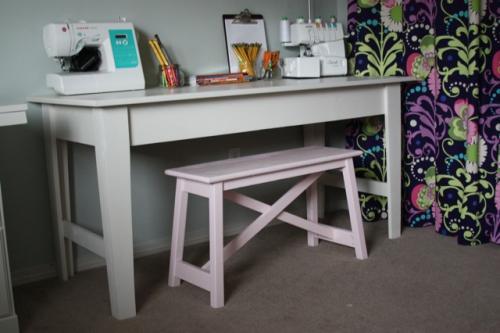
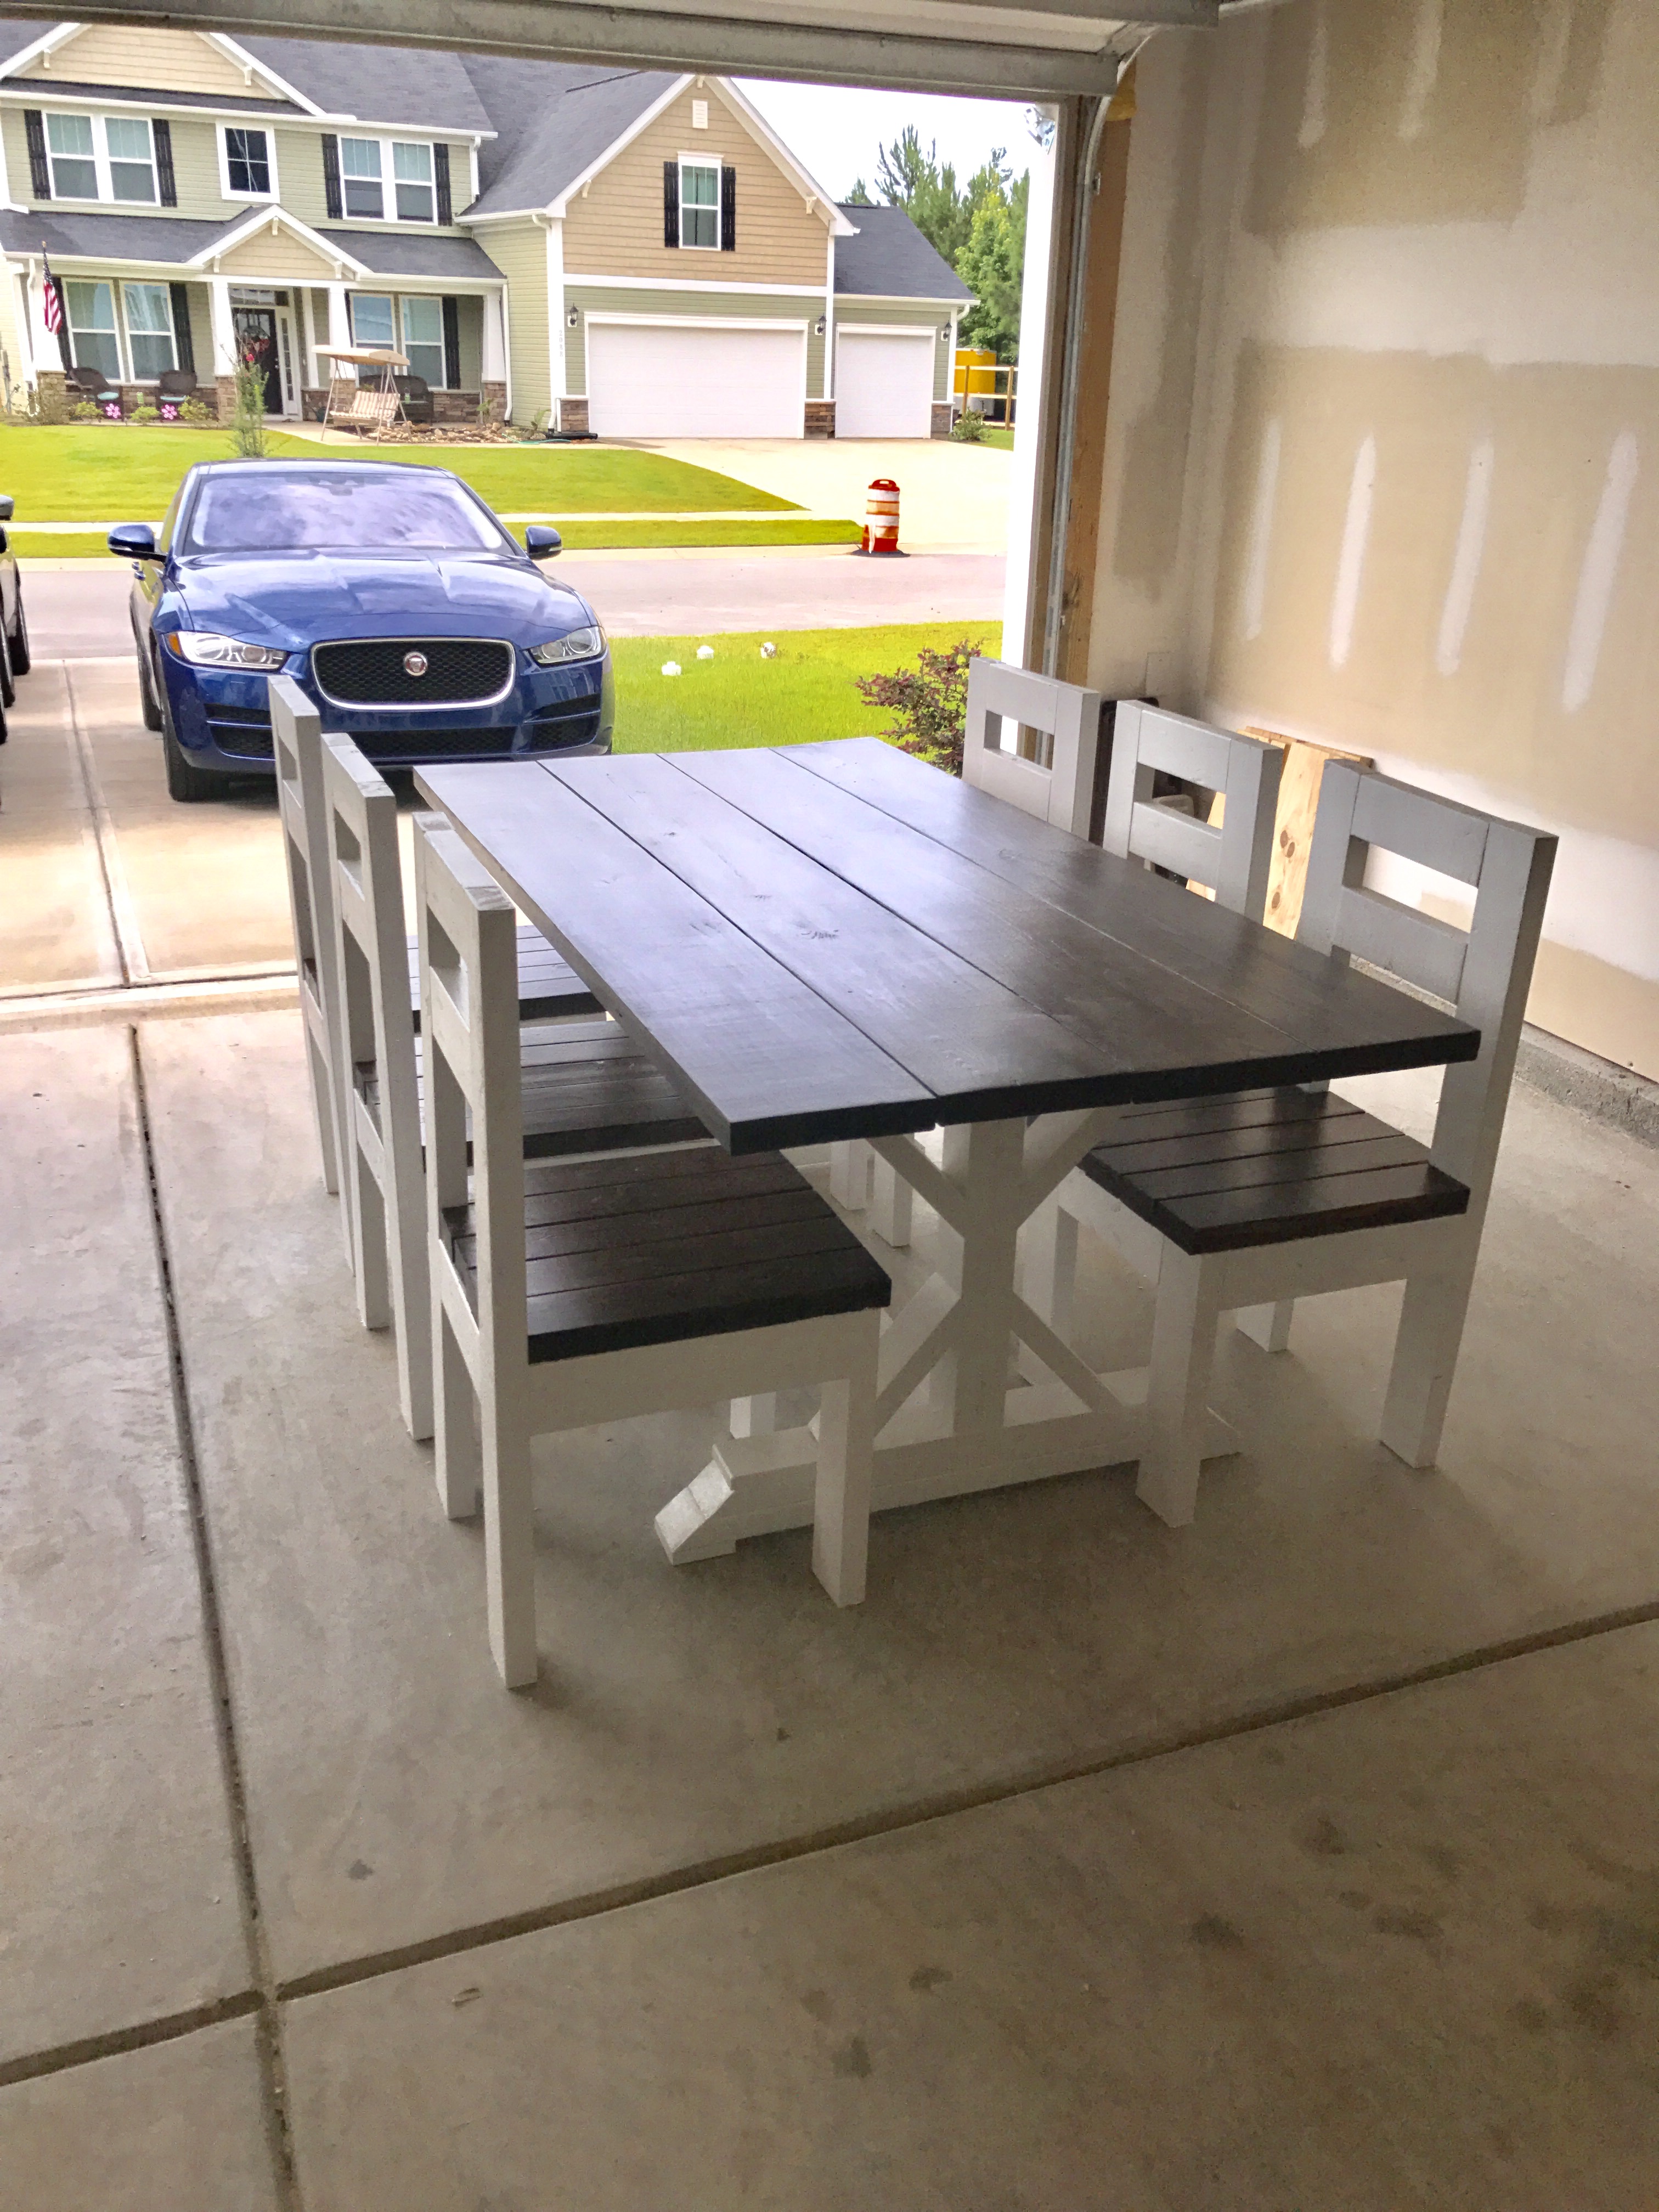
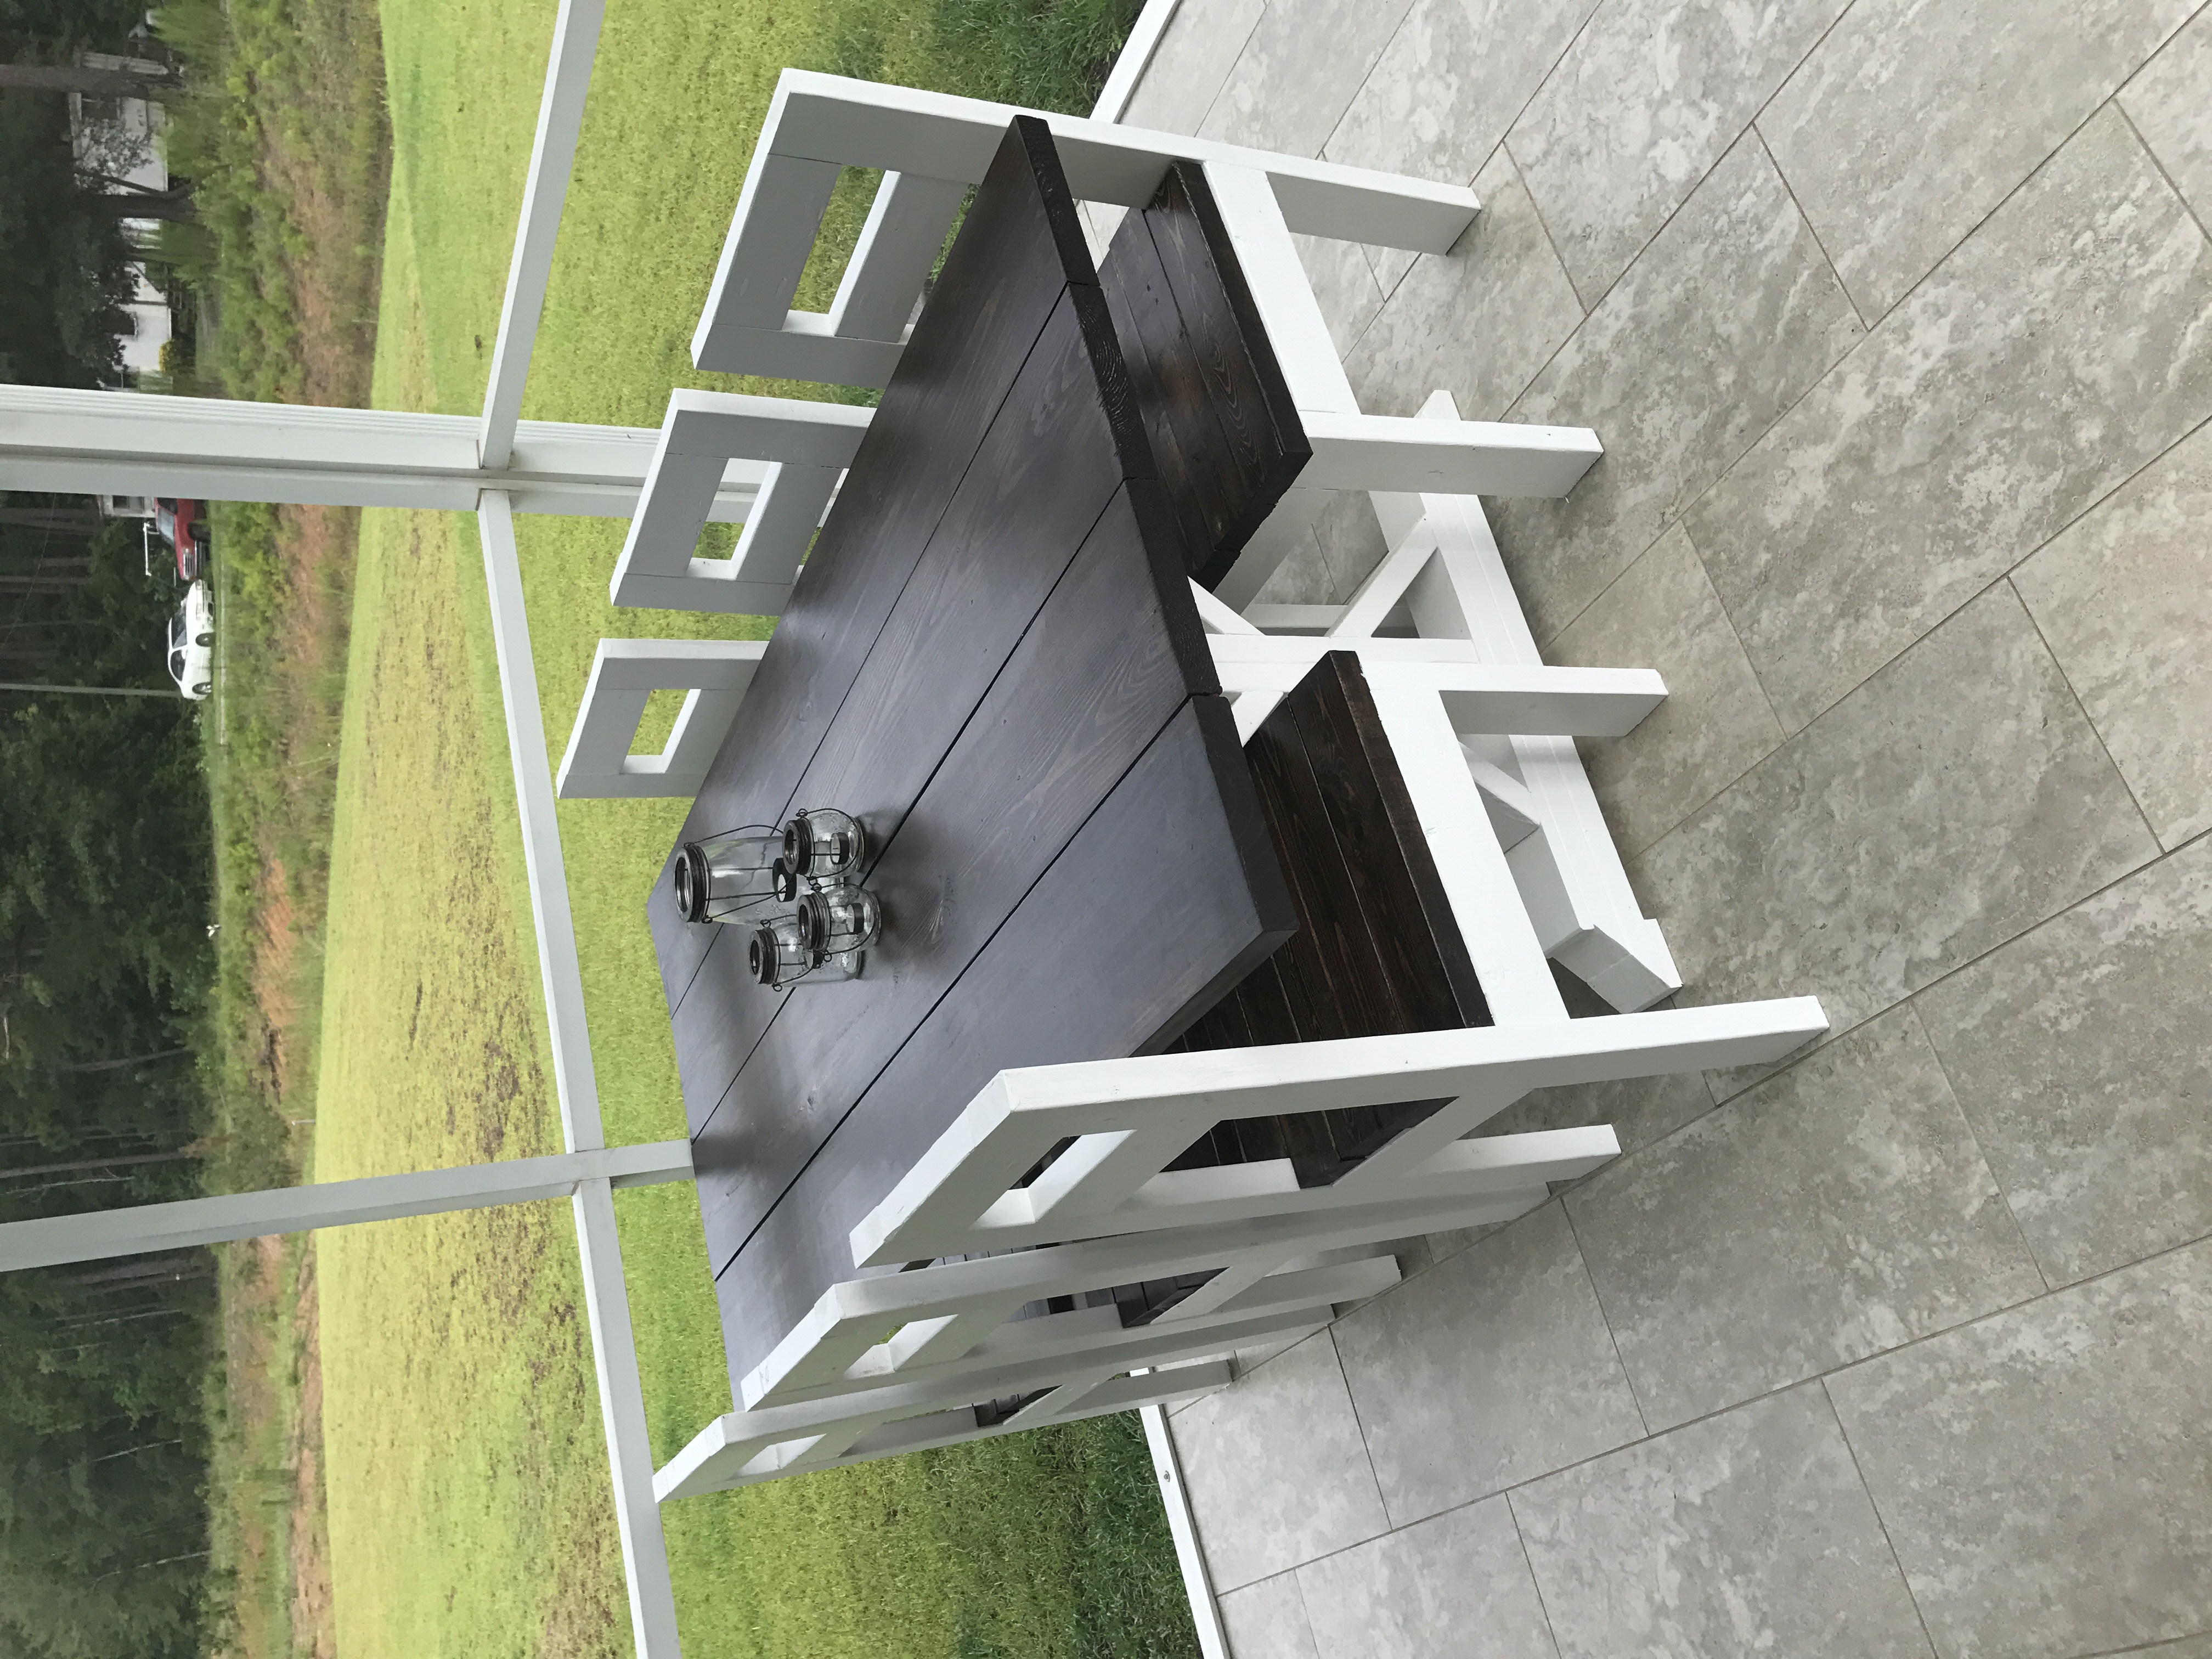
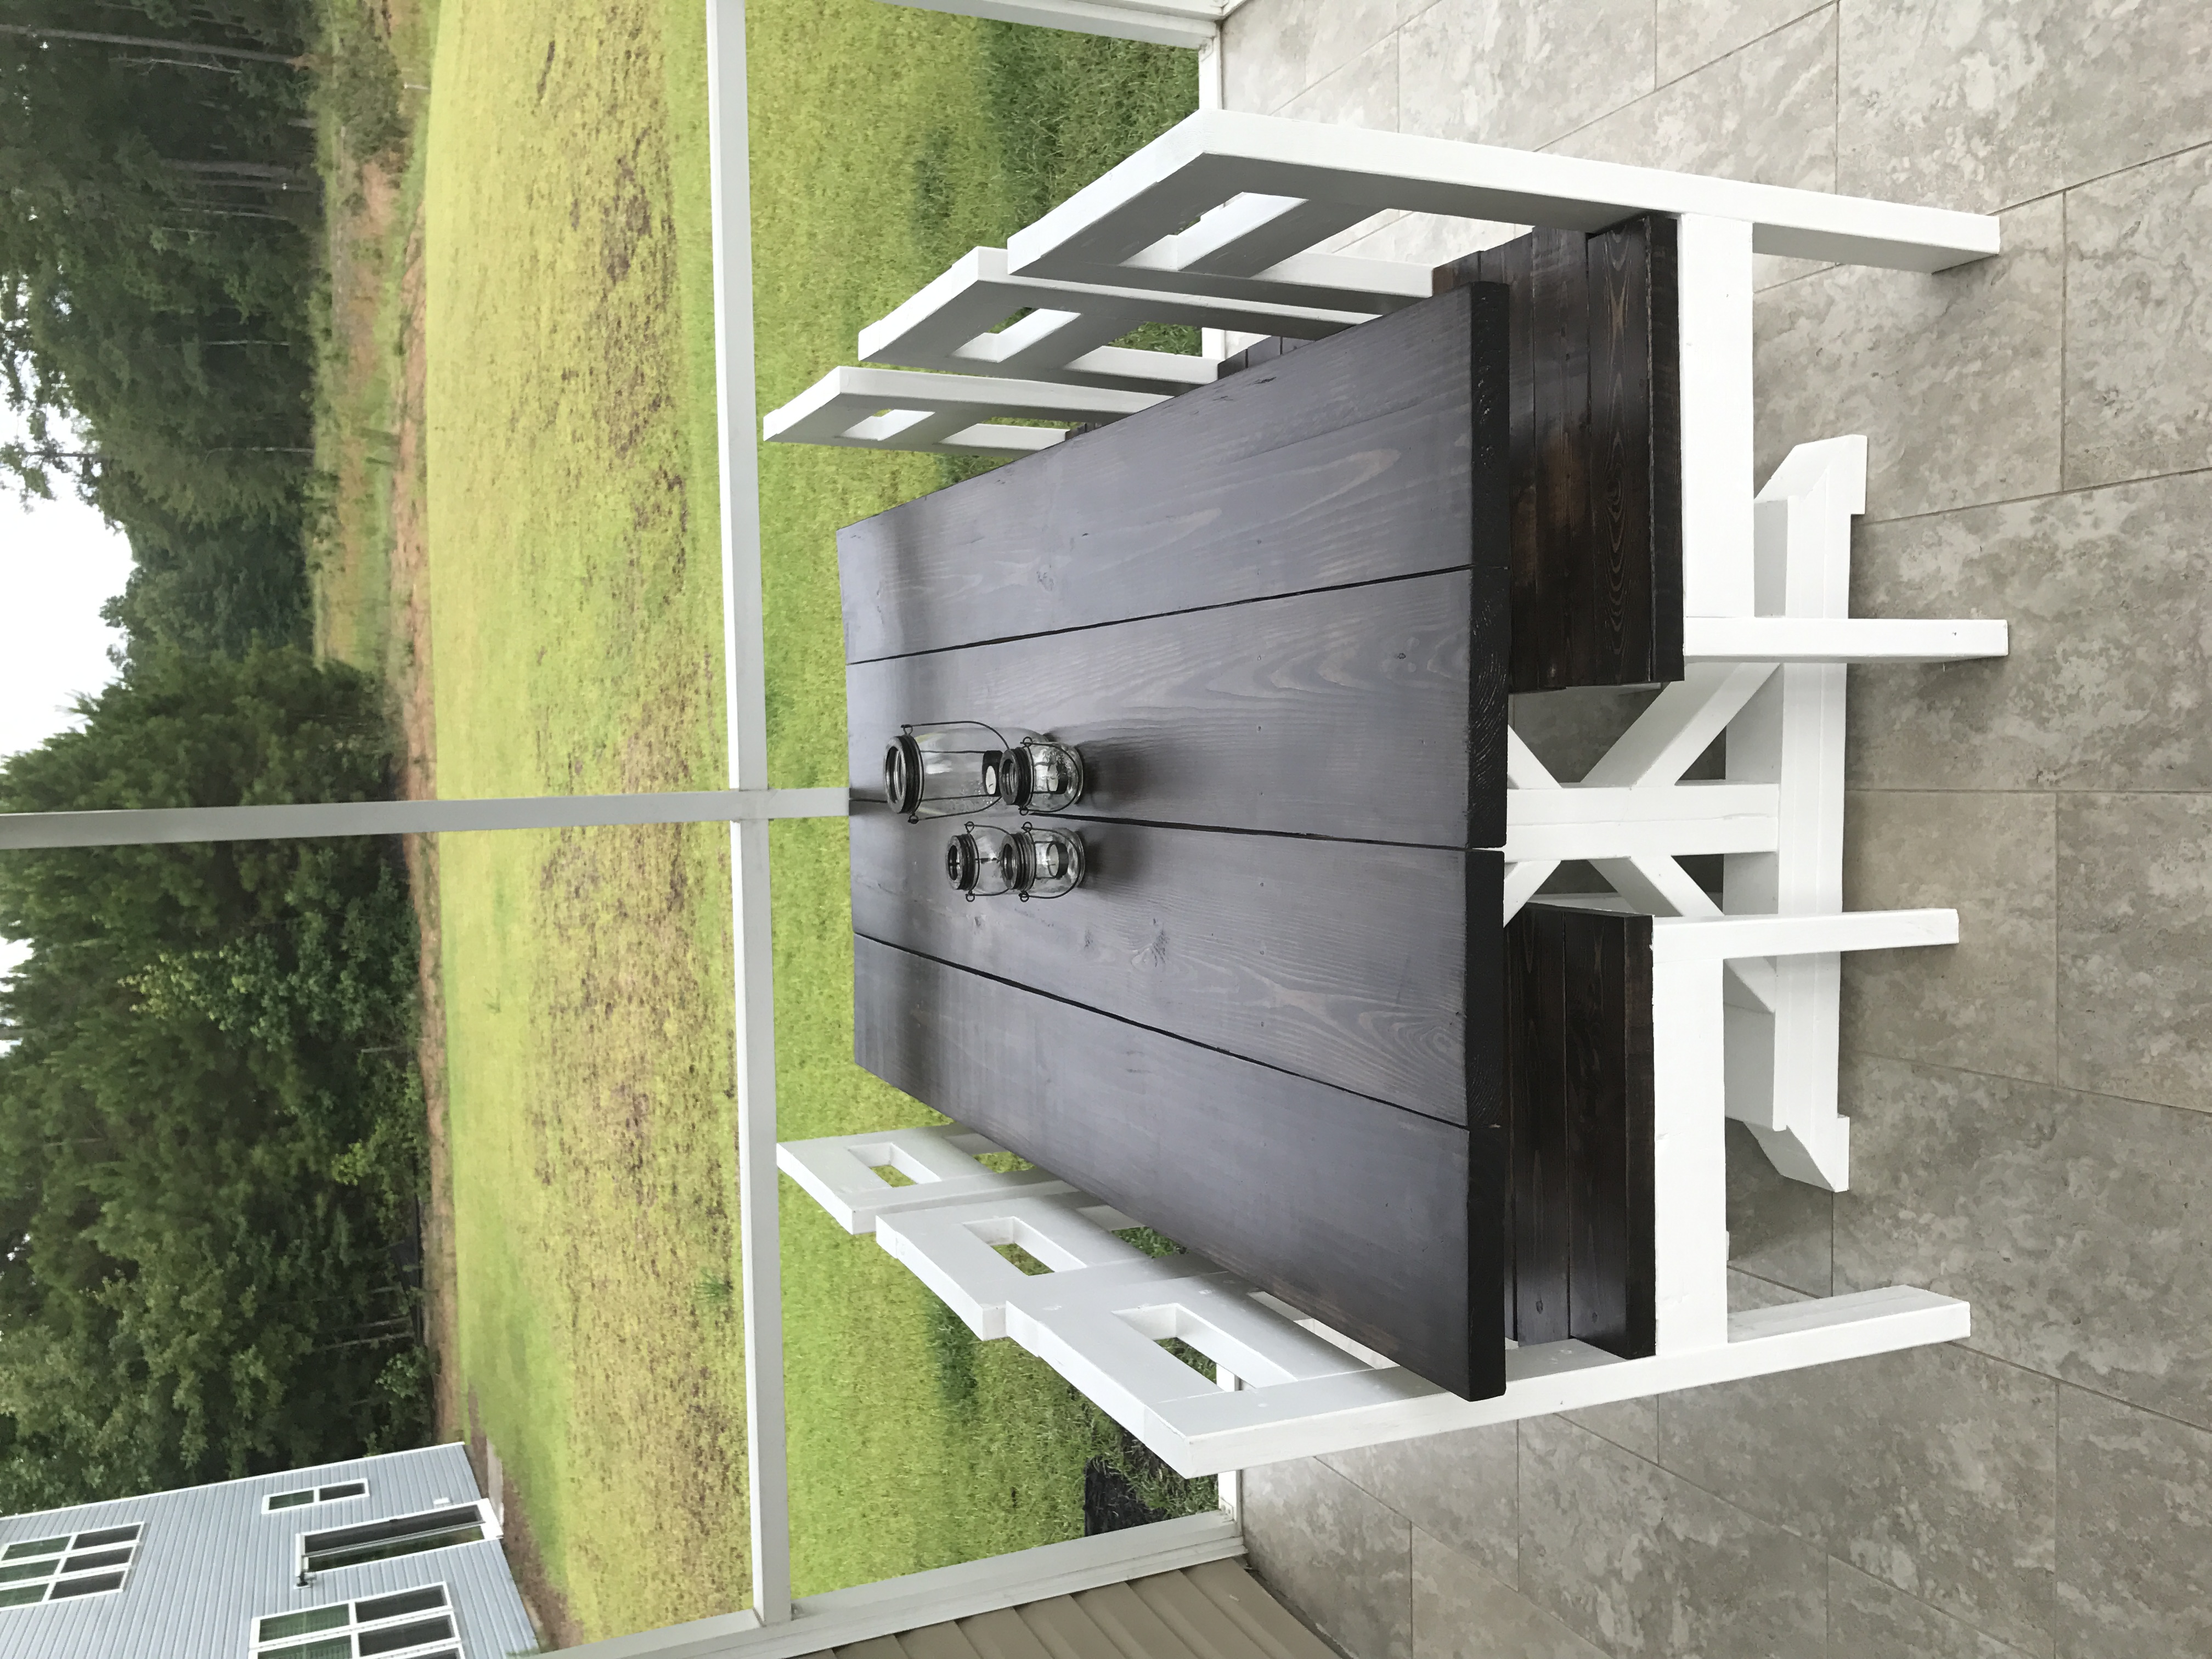
So my sister moved back to Southern California from New York. She found a great place but needed a table. I made one table and one bench. My sister then found two chairs for the other side. This is the second or third thing I have made/built from Ana’s site. Thank you for making me feel more manly with great instruction. I also built this pre Covid-19 when lumber was not so expensive.
Tue, 10/05/2021 - 09:55
Great housewarming gift, and very pretty too! Thanks for sharing!

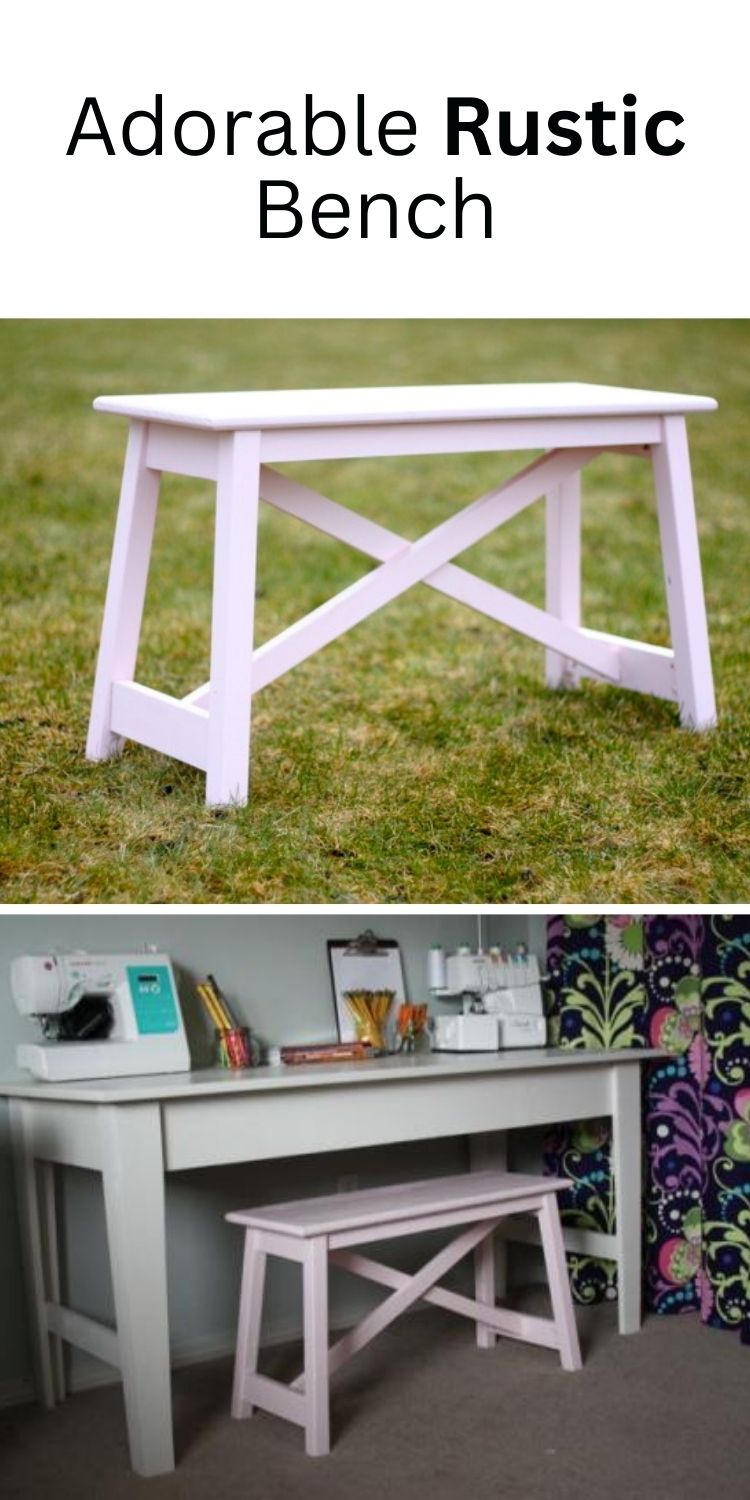
Love the rustic bench! This project took my husband about an hour or two to build and then a little primer and paint and it was ready to use. It was a pretty easy build and we didn’t modify the plans at all. We liked the bench so much that we made another one! My biggest tip is to always read the comments on the plans because people leave great feedback about their experience as well as any tips that they used. It cost us less than $30 to build two benches. Sanded really well and then filled screw holes with wood fill. Primed and painted with Behr’s powdered blush.
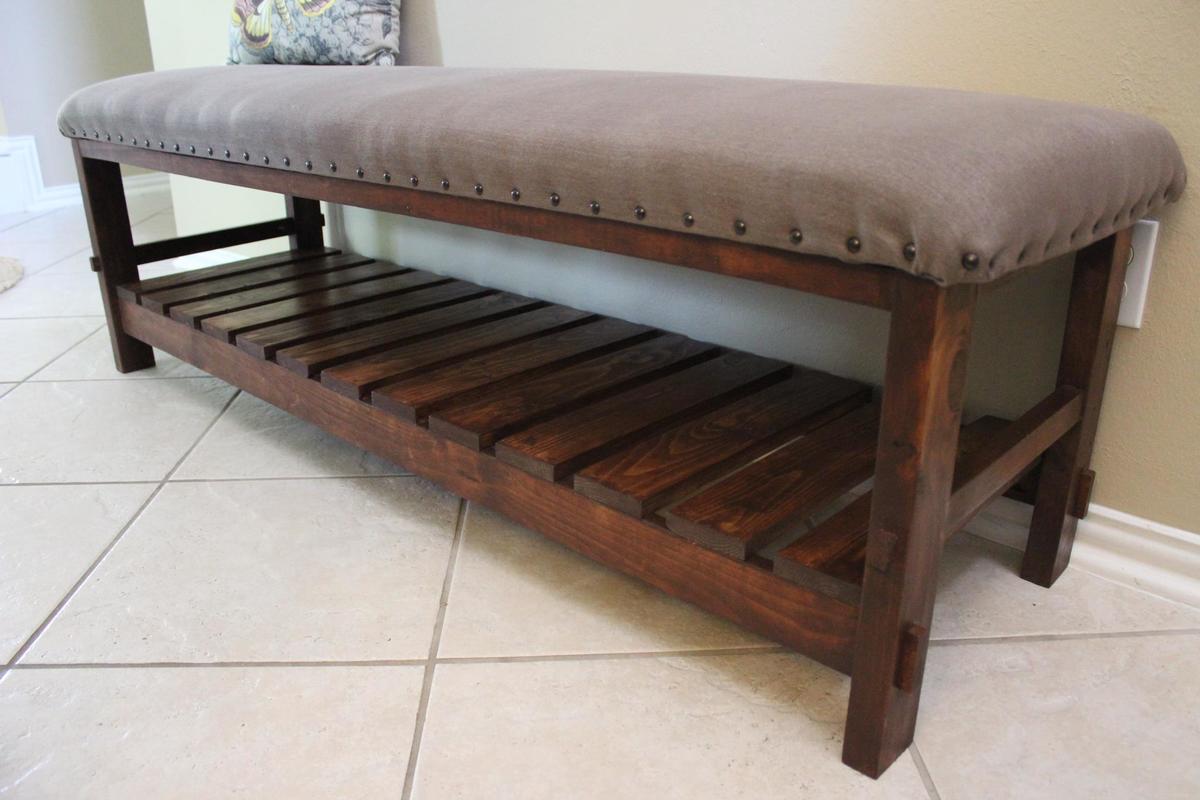
I had a client who requested a bench like the Caden Leather Bench by Pottery Barn, except she wanted it longer. I didn't bevel the legs because I used 2x3's instead of 2x2's and wanted to make it as sturdy as possible to accommodate the additional length. Needless to say, she was VERY happy with the bench and I am getting ready to work on one for our home now!
Sun, 01/26/2014 - 17:57
Do you have plans for how you built this, and if, so are you willing to share them?
Would love to give this a try!
Molly
Sun, 01/26/2014 - 17:57
Do you have plans for how you built this, and if, so are you willing to share them?
Would love to give this a try!
Molly
Sun, 01/26/2014 - 17:57
Do you have plans for how you built this, and if, so are you willing to share them?
Would love to give this a try!
Molly
Thu, 02/06/2014 - 17:35
Sorry - didn't have plans for this one and I really stink at using the software Ana uses to make plans. I did loosely follow the Cayden Nailhead Stool plans, but, of course, modified in my attempt to duplicate the Pottery Barn bench the client wanted to match. I would be happy to help in any way I can, but you definitely need to be comfortable to work without plans. I used my Kreg jig quite a bit for this project and the little piece of wood that protrudes from the legs is faux - just cut a 1/2" piece and glued and nailed with my brad nailer.
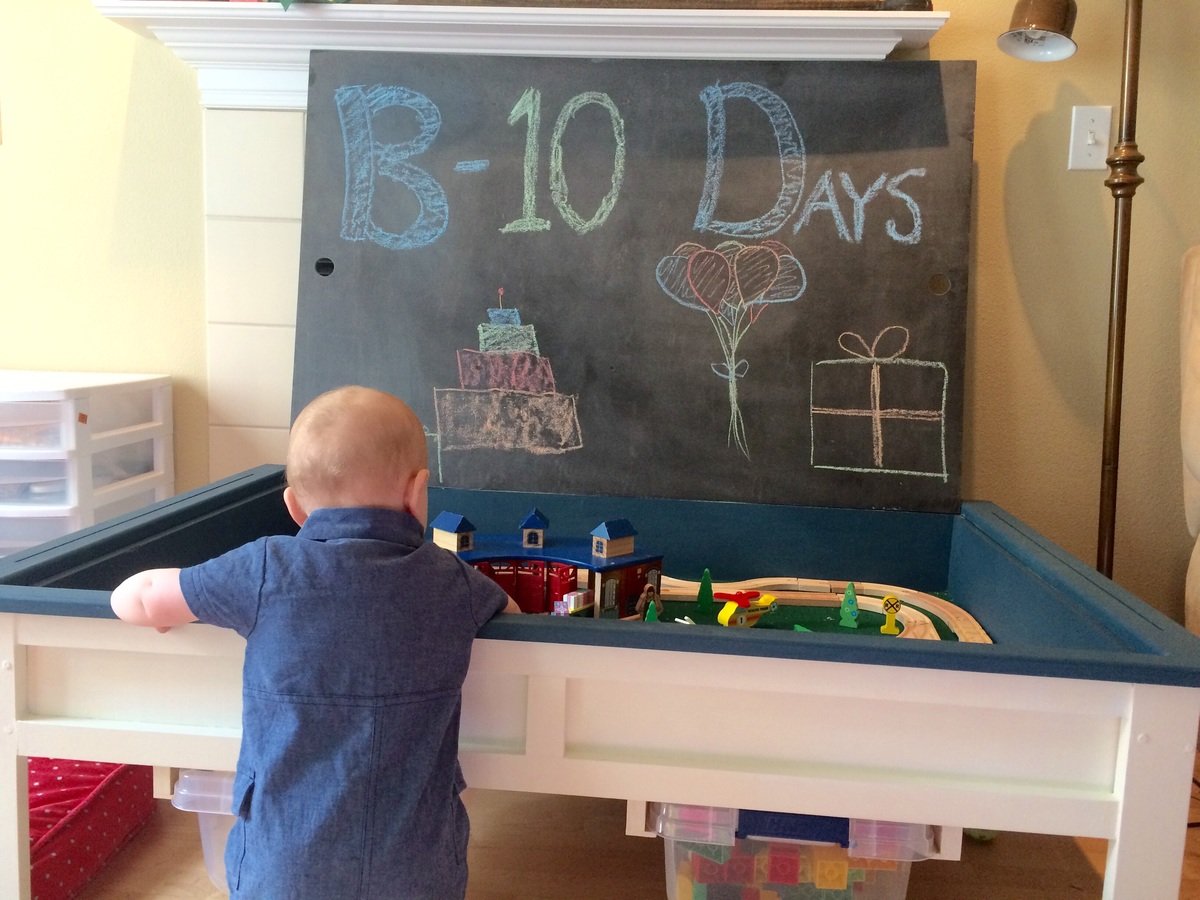
With a few modifications, I made this table into an actovity table for my son.
I made the lid out of 1/4" plywood so it would be lighter, painted one side in chalkboard paint and glued down lego base plates to the other.
Instead of a shelf underneath, I added sliders to hold storage bins.
I also mounted a curtain rod on one end to hold a roll of art paper and cut slots in the end trim pieces to feed it through.

Sun, 04/05/2015 - 17:55
I love this! I love the two colors too. I'd like to build something like this for my little guy too :)
Great table and easy to follow plans/ directions! First time trying something like this and couldn't be happier. Kept debating if I should by the Kreg pocket hole jig, couldn't have done this project without it. What a difference it make! Can't wait to start the next build.
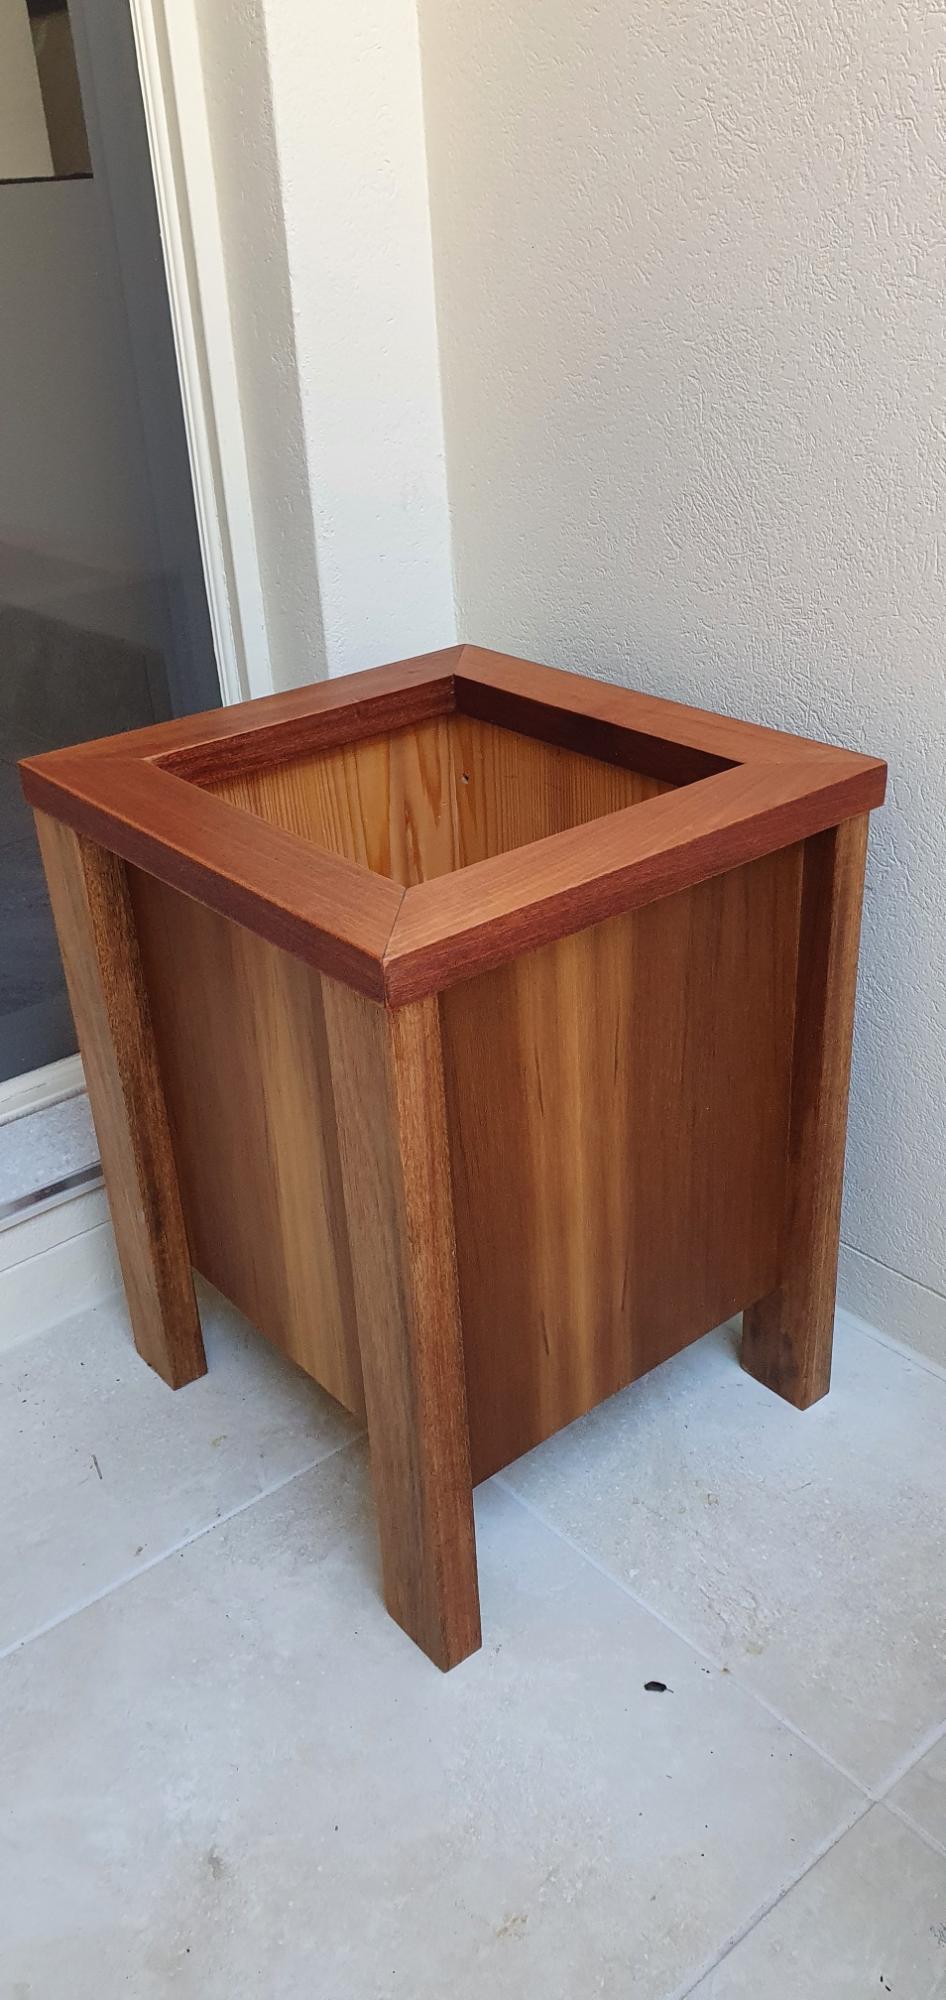
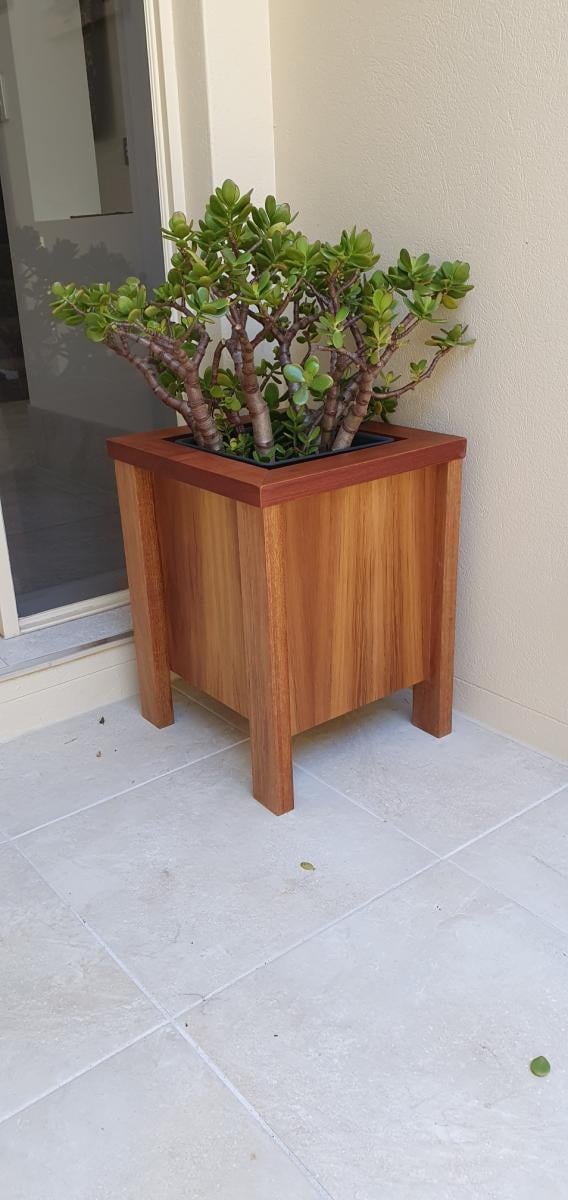
I wanted to build a planter box by our front door, which is not exposed to the weather. I based the design on the video I saw on YouTube for the “Easy Build DIY Planter Box” made from cedar and painted white.. Being based in Australia I amended the dimensions to metric, and used plywood rather than cedar. I am delighted with the finished product. So many thanks, Ana, for your part in making this planter box on the other side of the world.
Cheers Noel
Tue, 10/05/2021 - 09:33
Thank you for sharing from across the world, that is absolutely gorgeous!
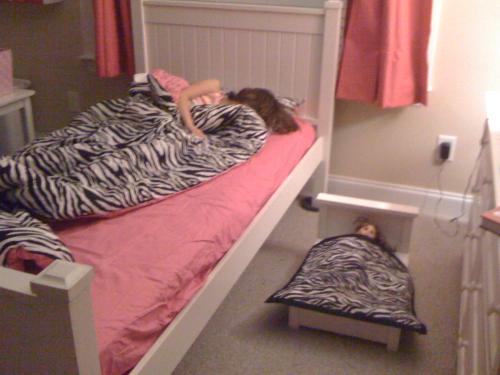
I am in the process of making my own queen size farmhouse bed but this one came along a lot quicker and my daughter loves it. :) She recently got zebra and hot pink bedding so we made a blanket to match.
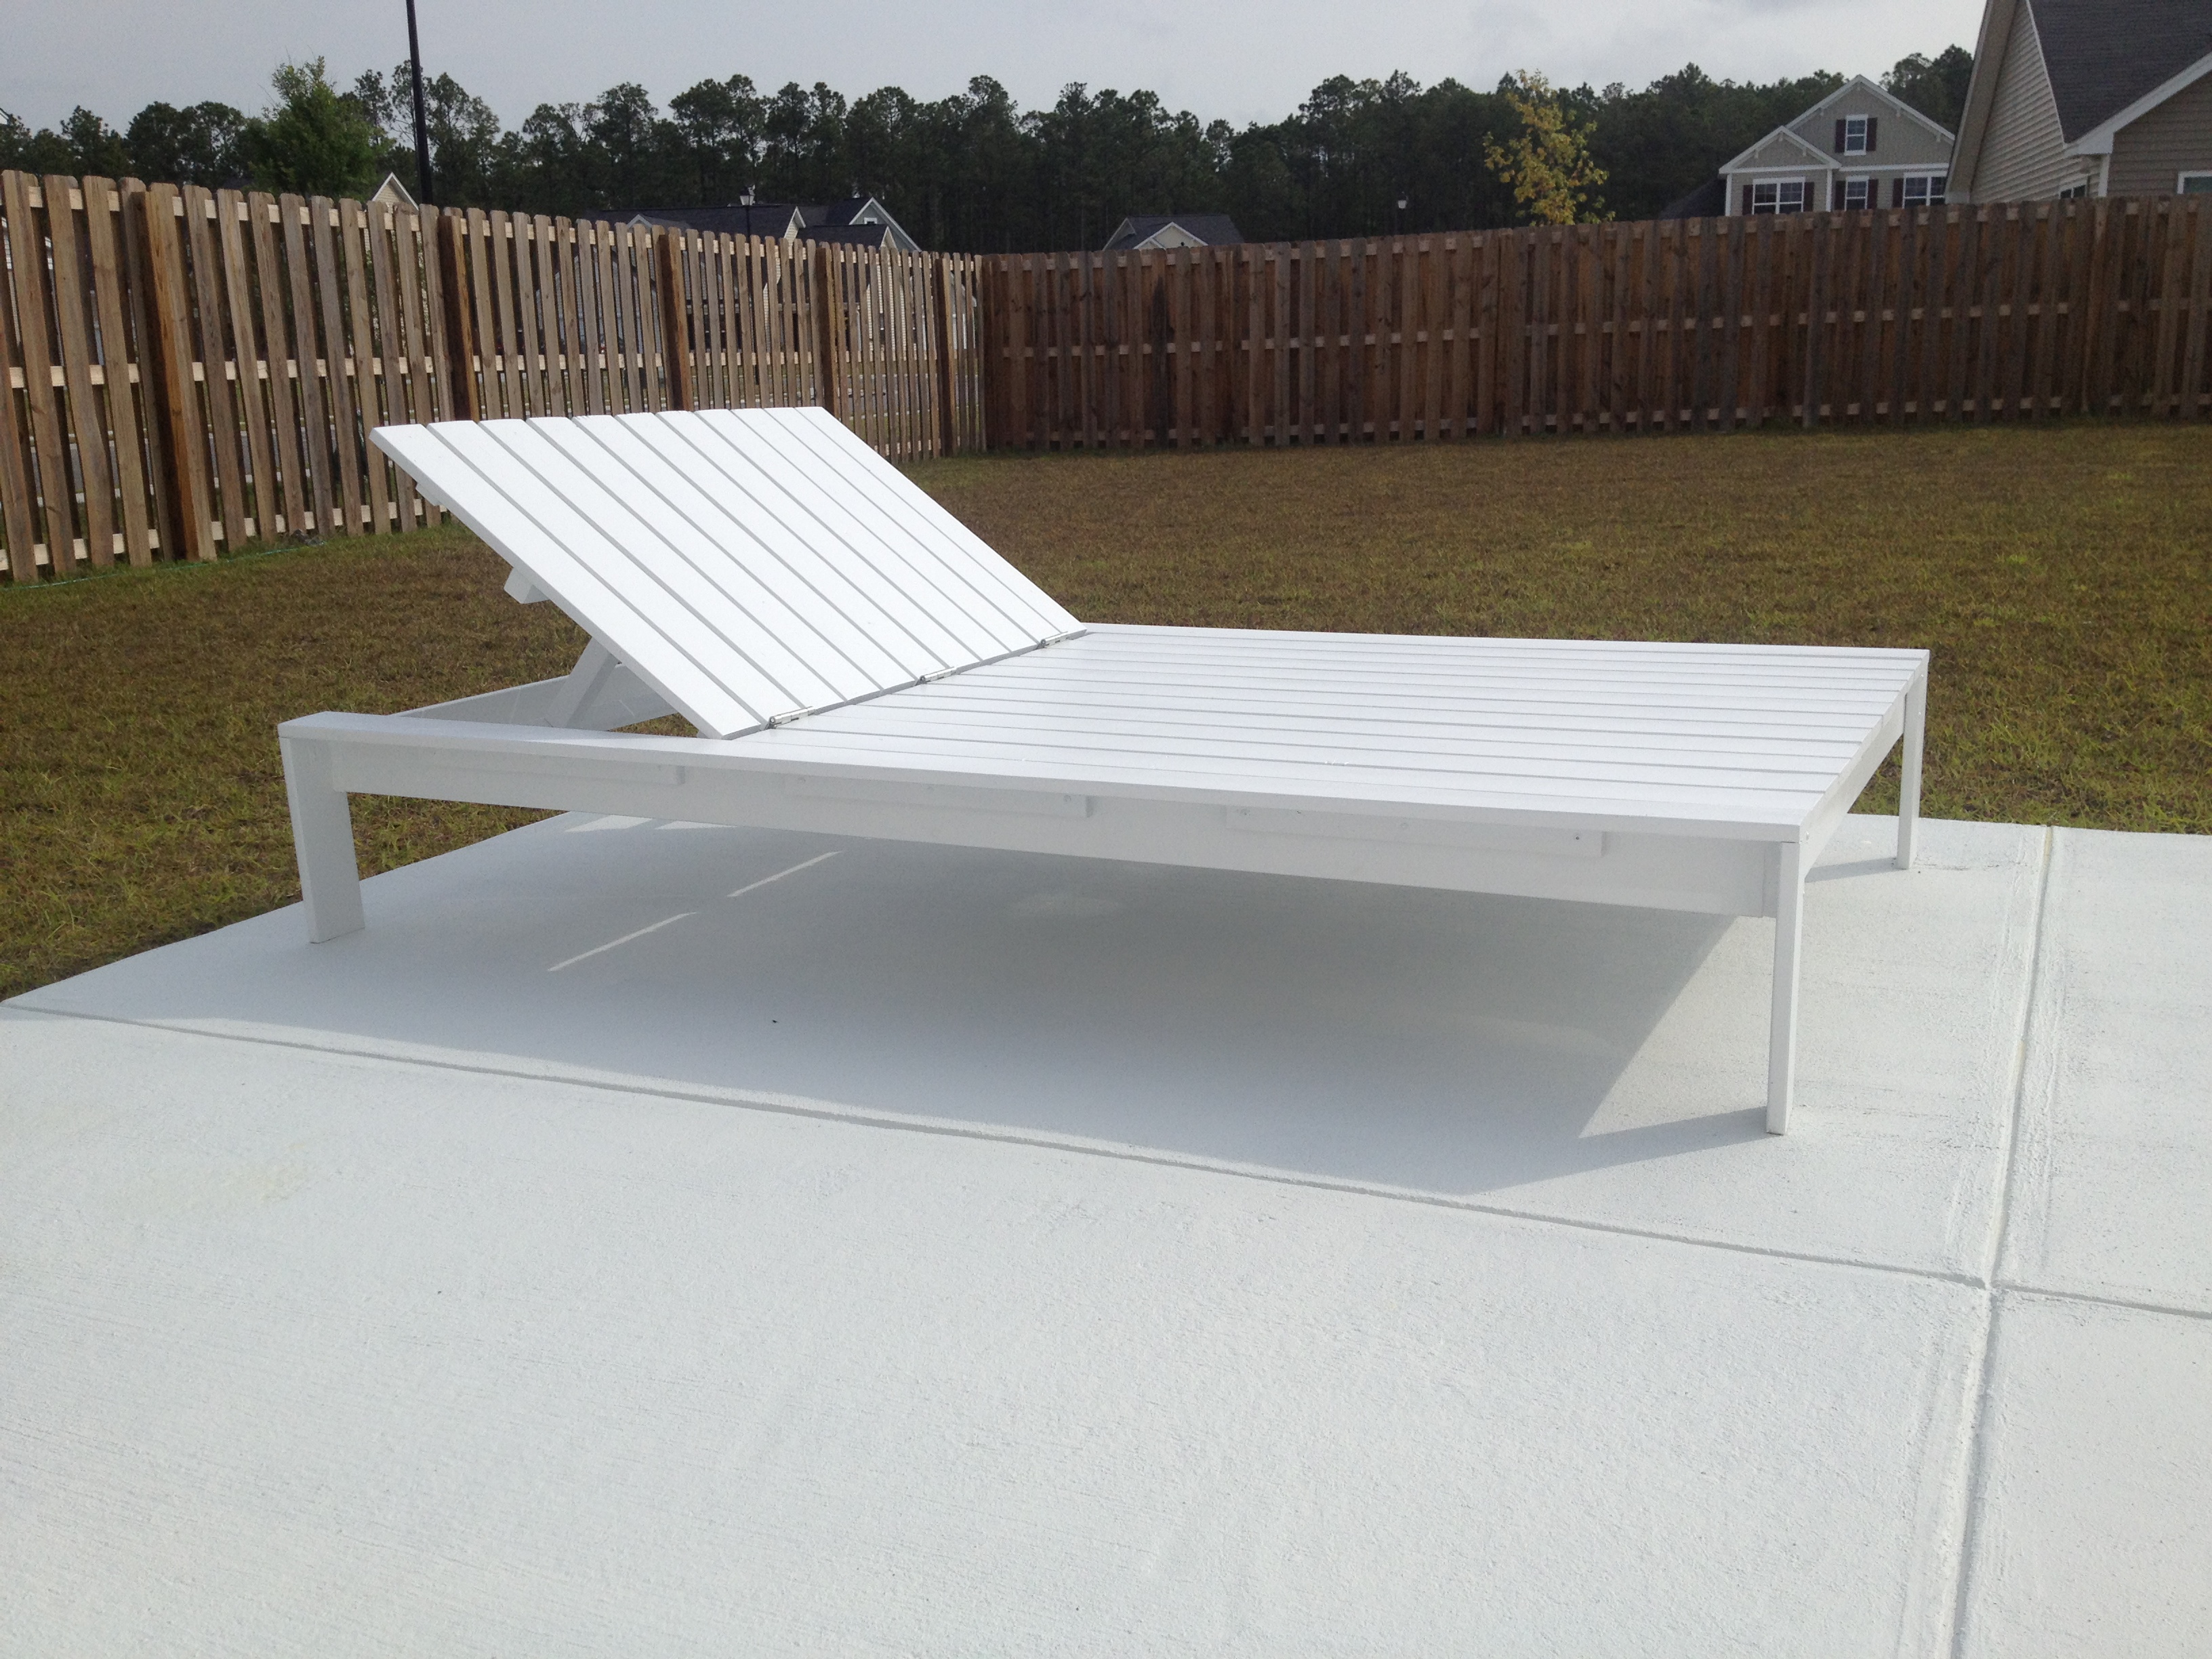
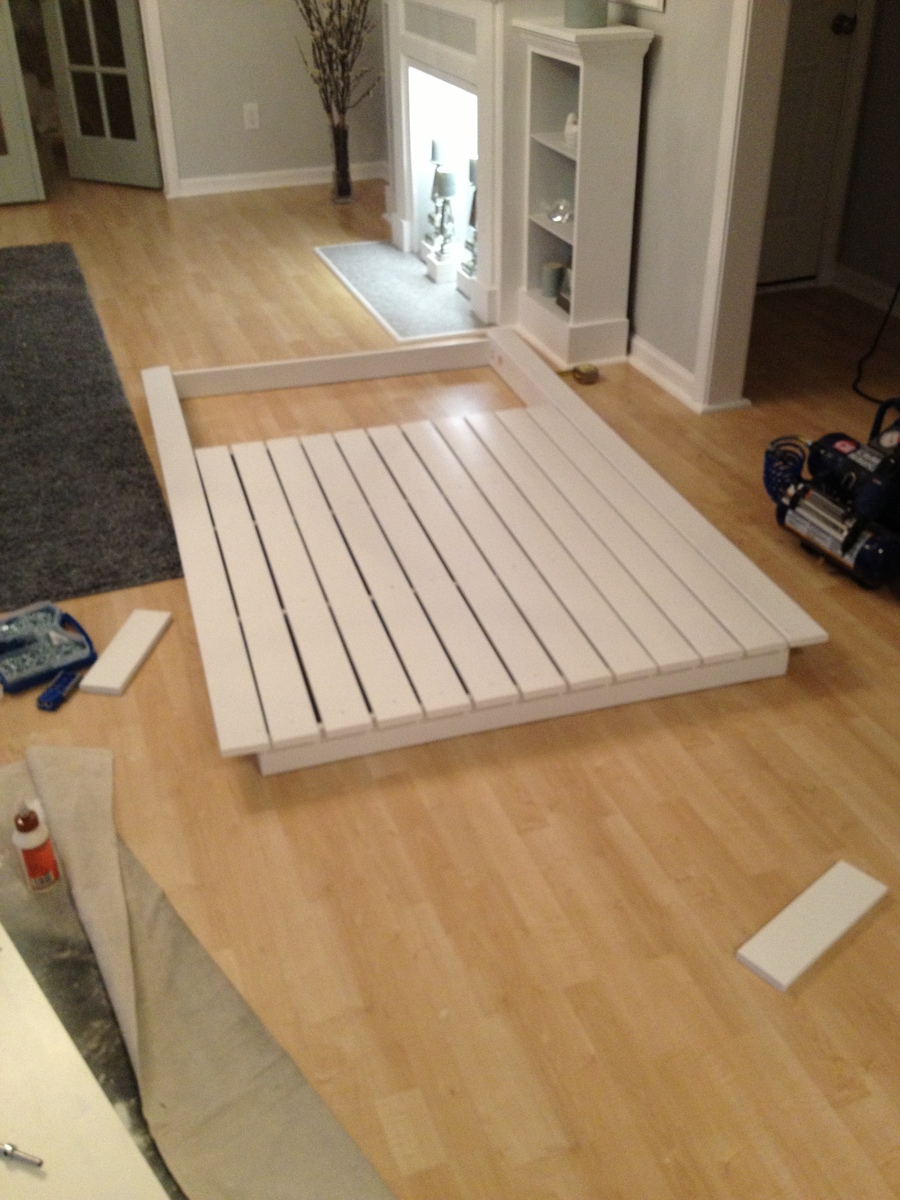
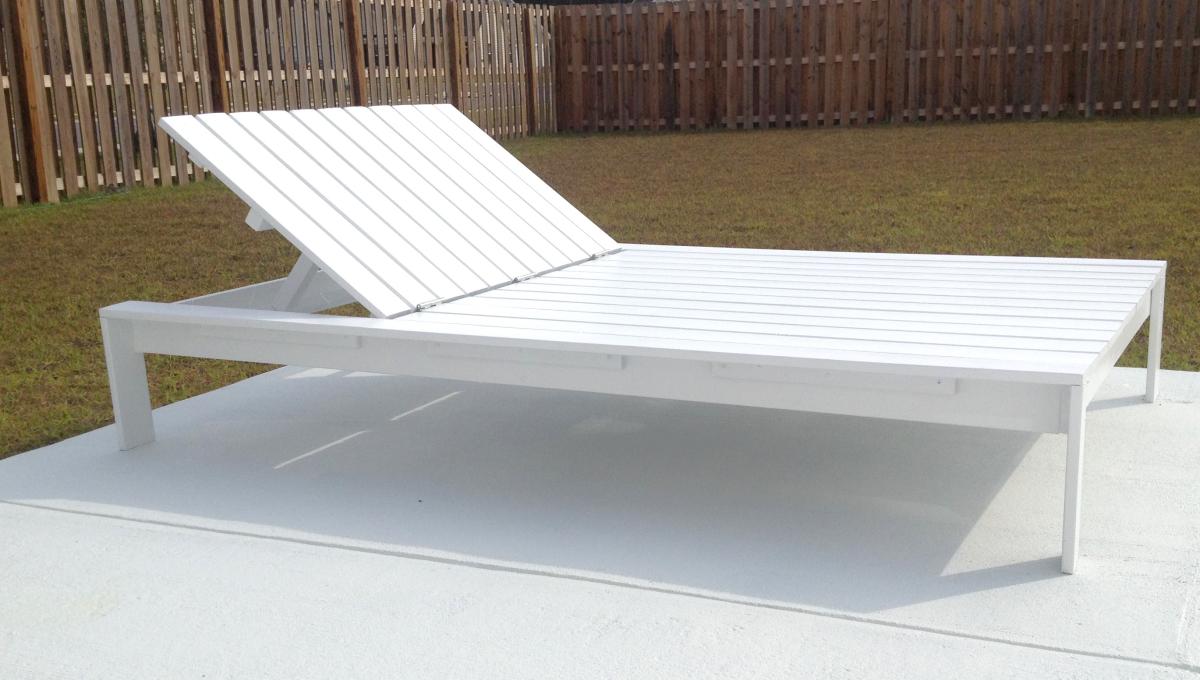
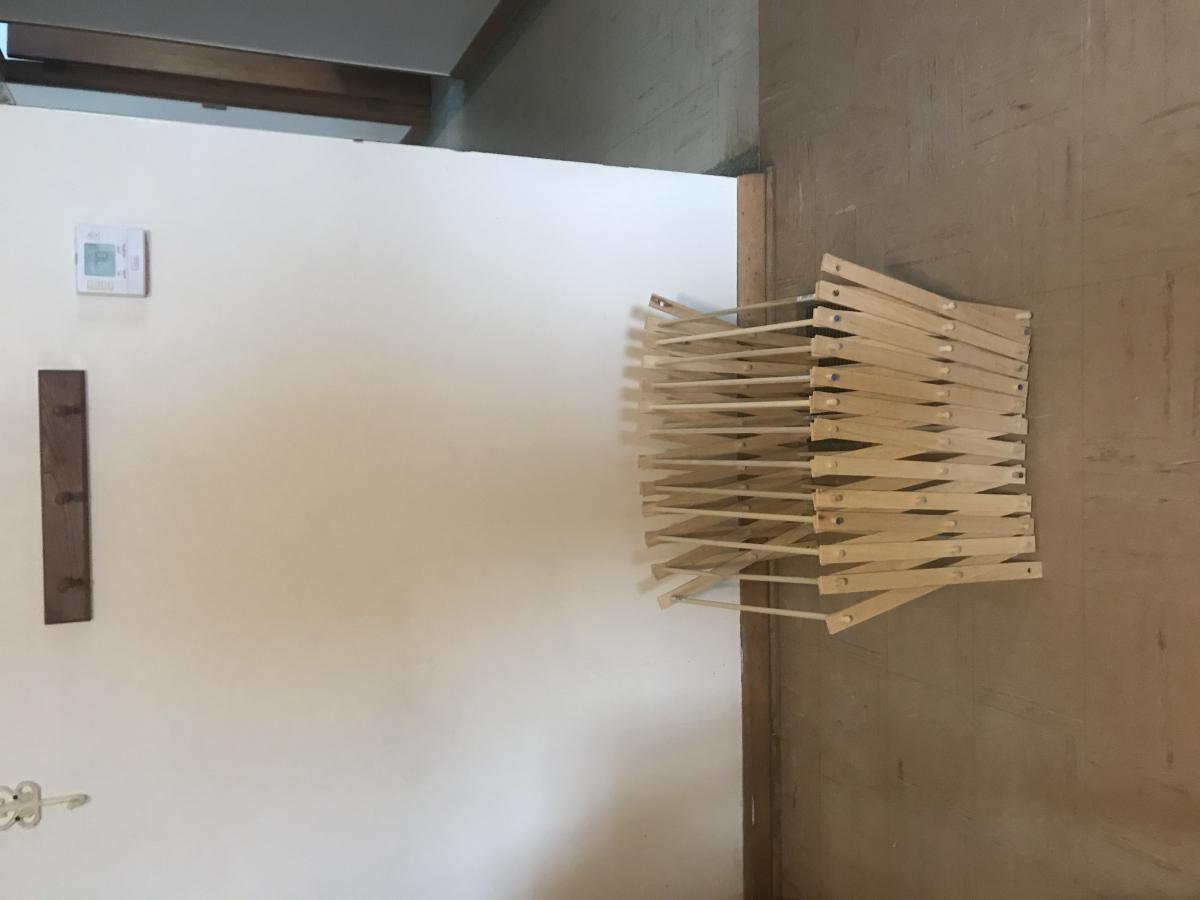
Super easy project! Love it and made it in a weekend (taking breaks of course). Did paint all the pieces before assembly to make it easier, and added little pieces to the sides to make it resemble the West Elm Double lounger. Total cost for the wood and hinges was $50! Compared to buying it at $549... Im in love with what I made! Thanks again Ana for an amazing plan. Now to work on the cushion <3
Tue, 05/21/2013 - 16:19
I thought so too! But its really solid. Looking at the West Elm version it has the same size legs. I might beef them up though just to give me more piece of mind! But so far so good.

Wed, 05/22/2013 - 03:17
Cool, but then I thought the West Elm version's looked so thin, too, lol! When we built the outdoor sectional, we used 2x4s because several people we know, well let's just say extra support was needed! Be sure to post the pics of it with the cushion. Will you be making it?
Wed, 05/22/2013 - 17:49
Ill be making the cushion here soon, I found its really not hard at all and then you can get exactly what you want. I plan on using the same fabric will all of my DIY outdoor furniture. Will post once its done ;)
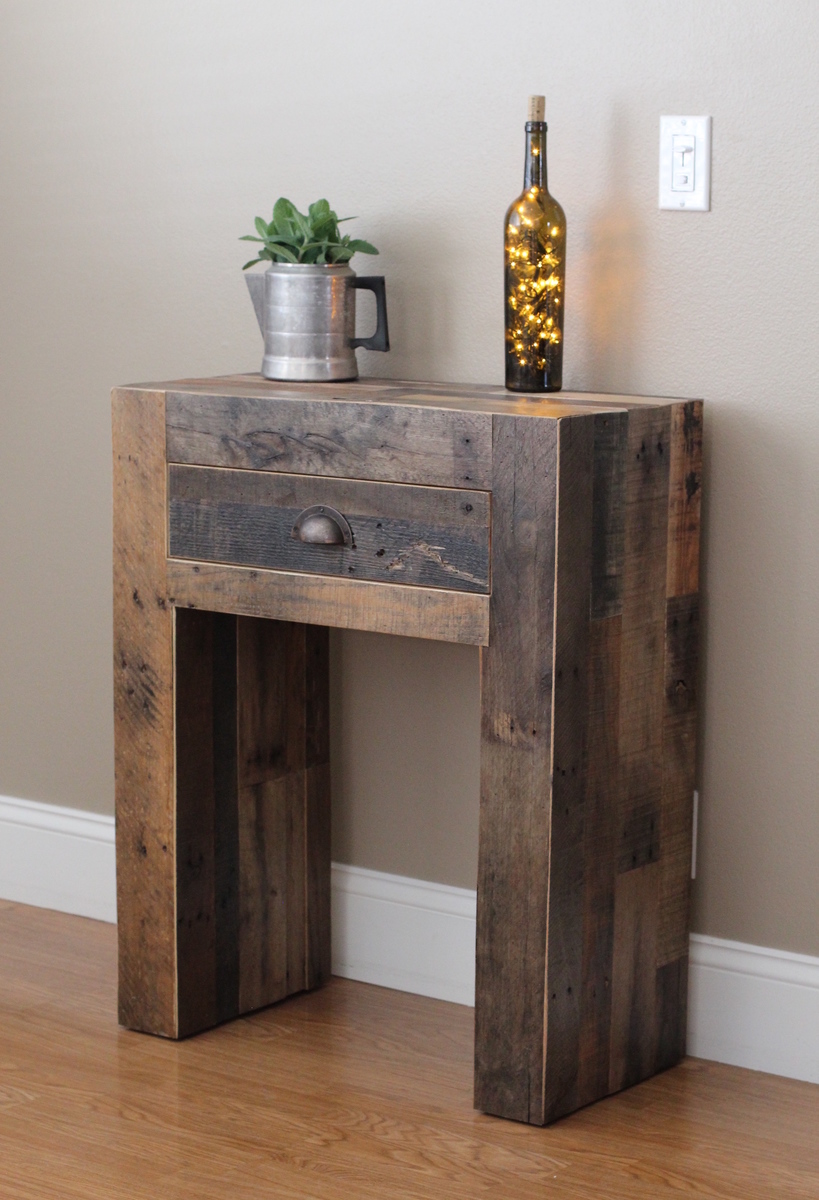
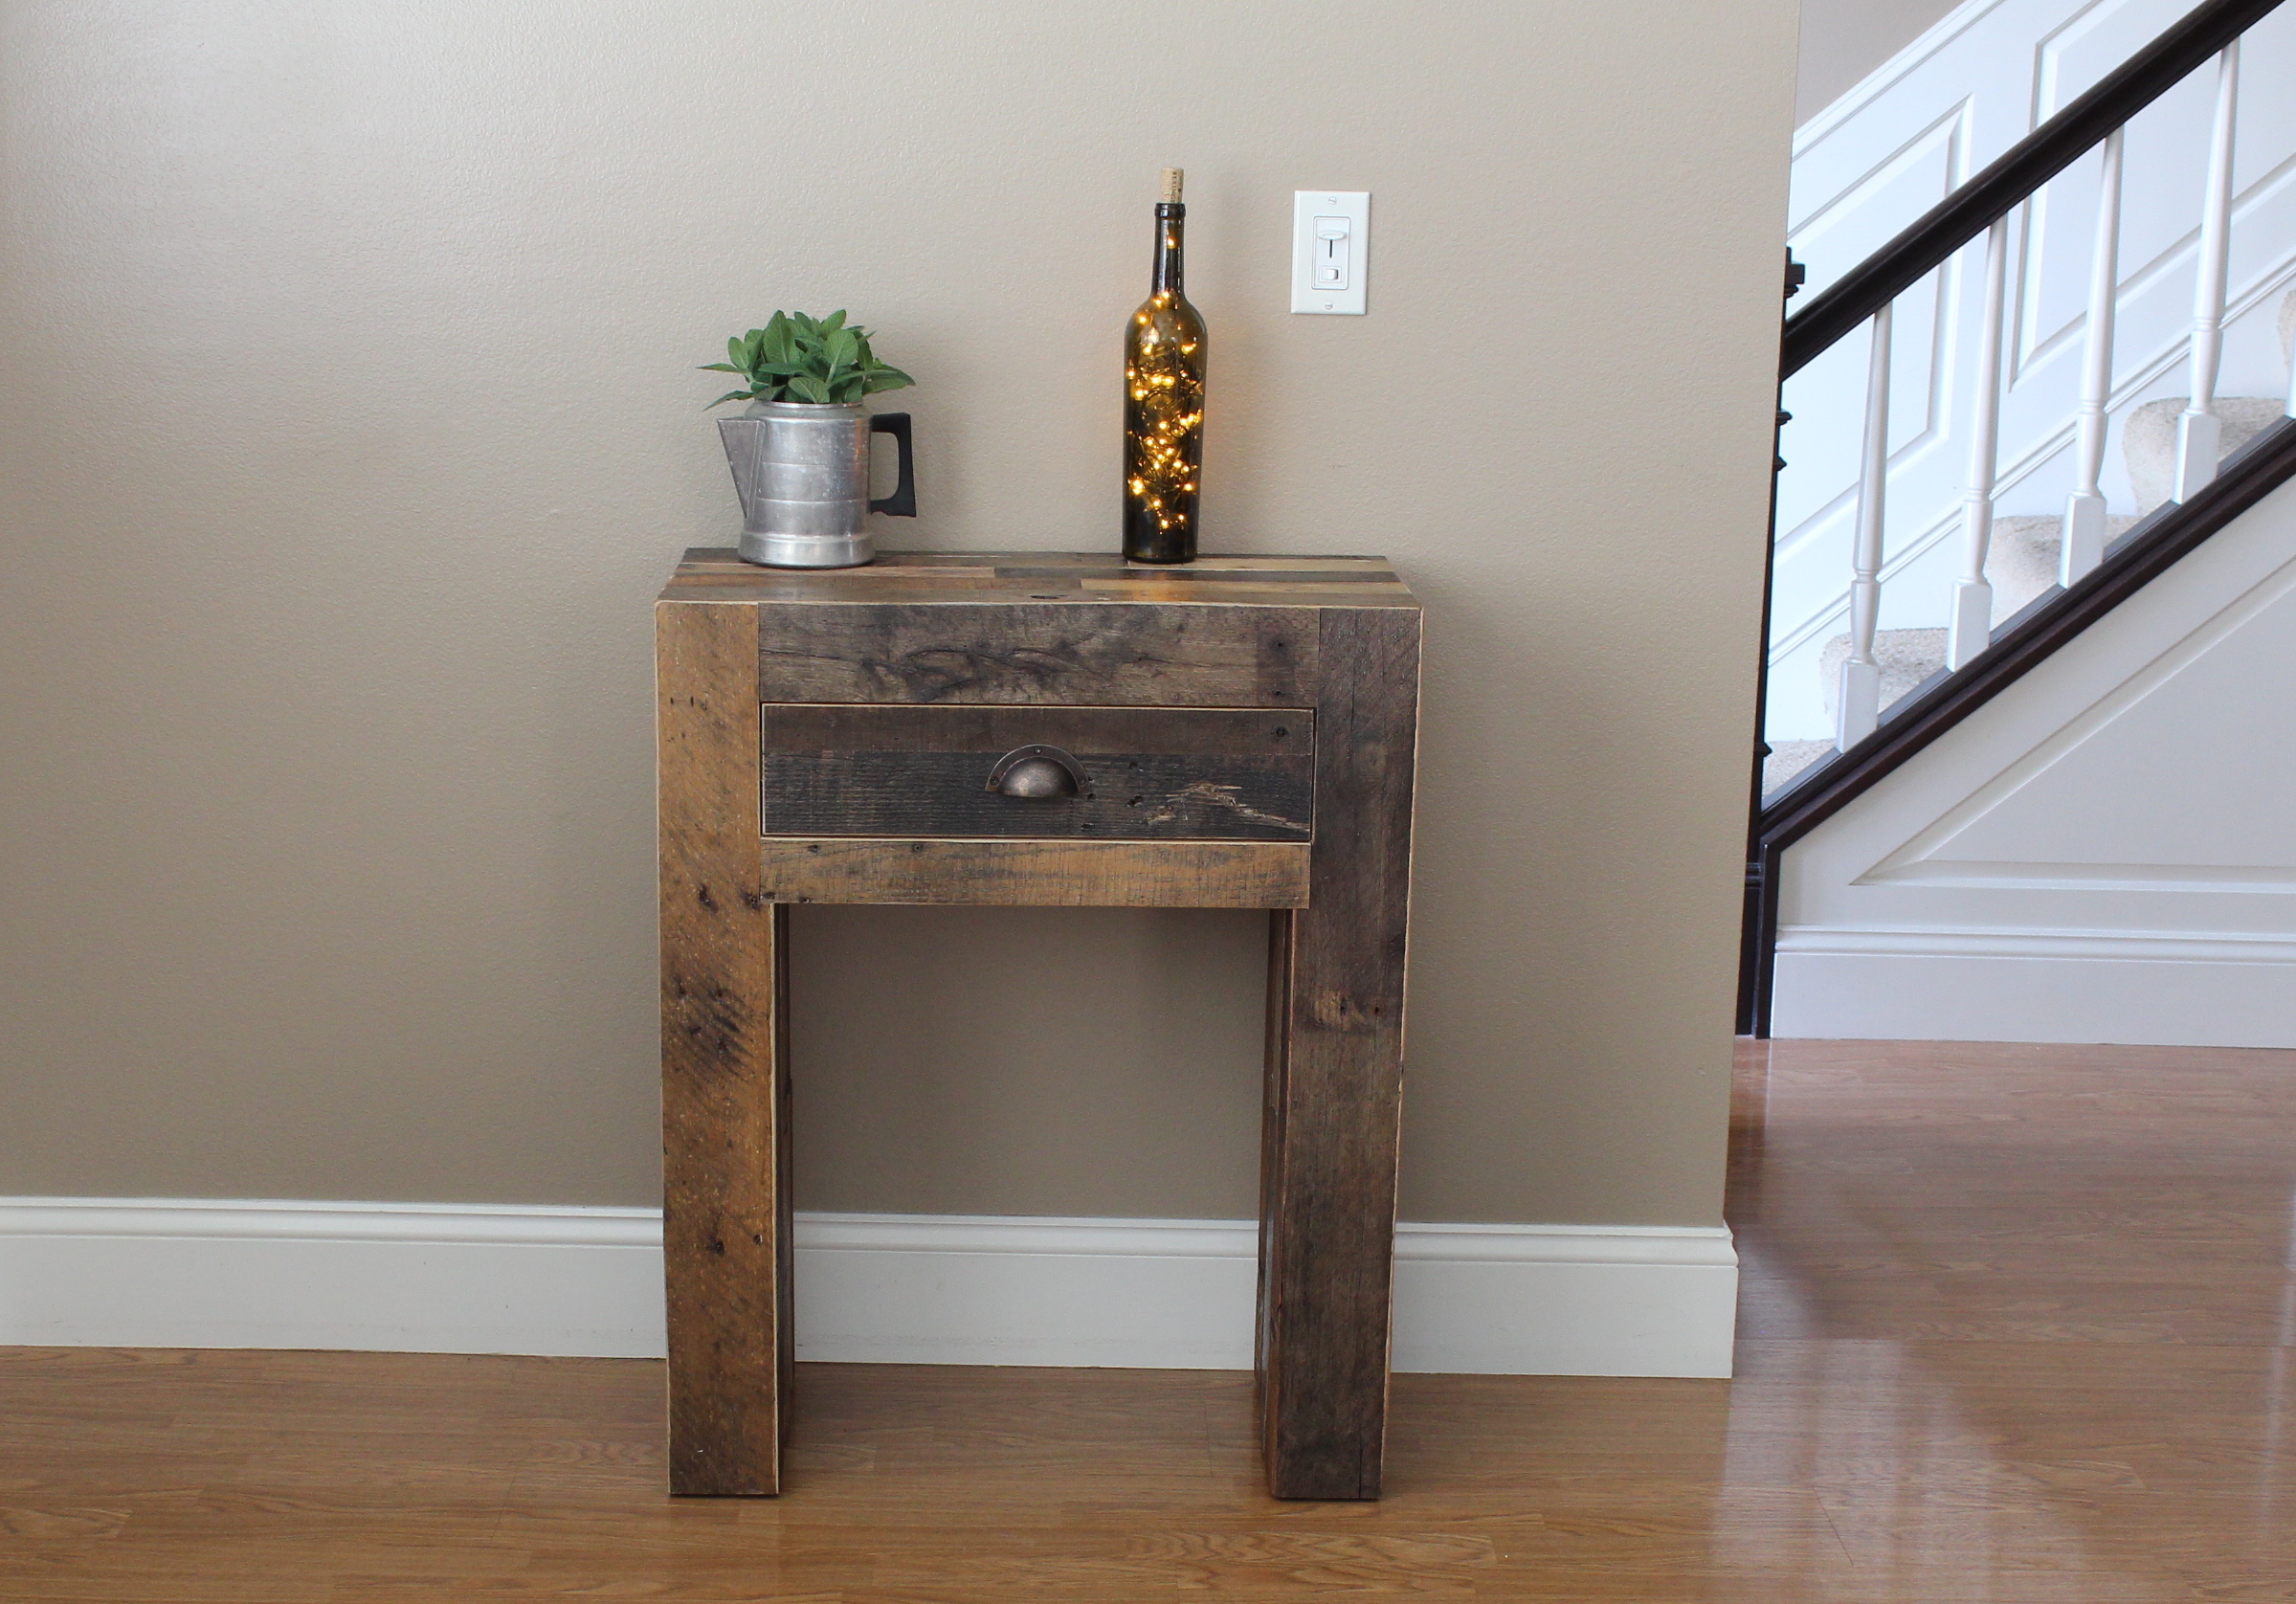
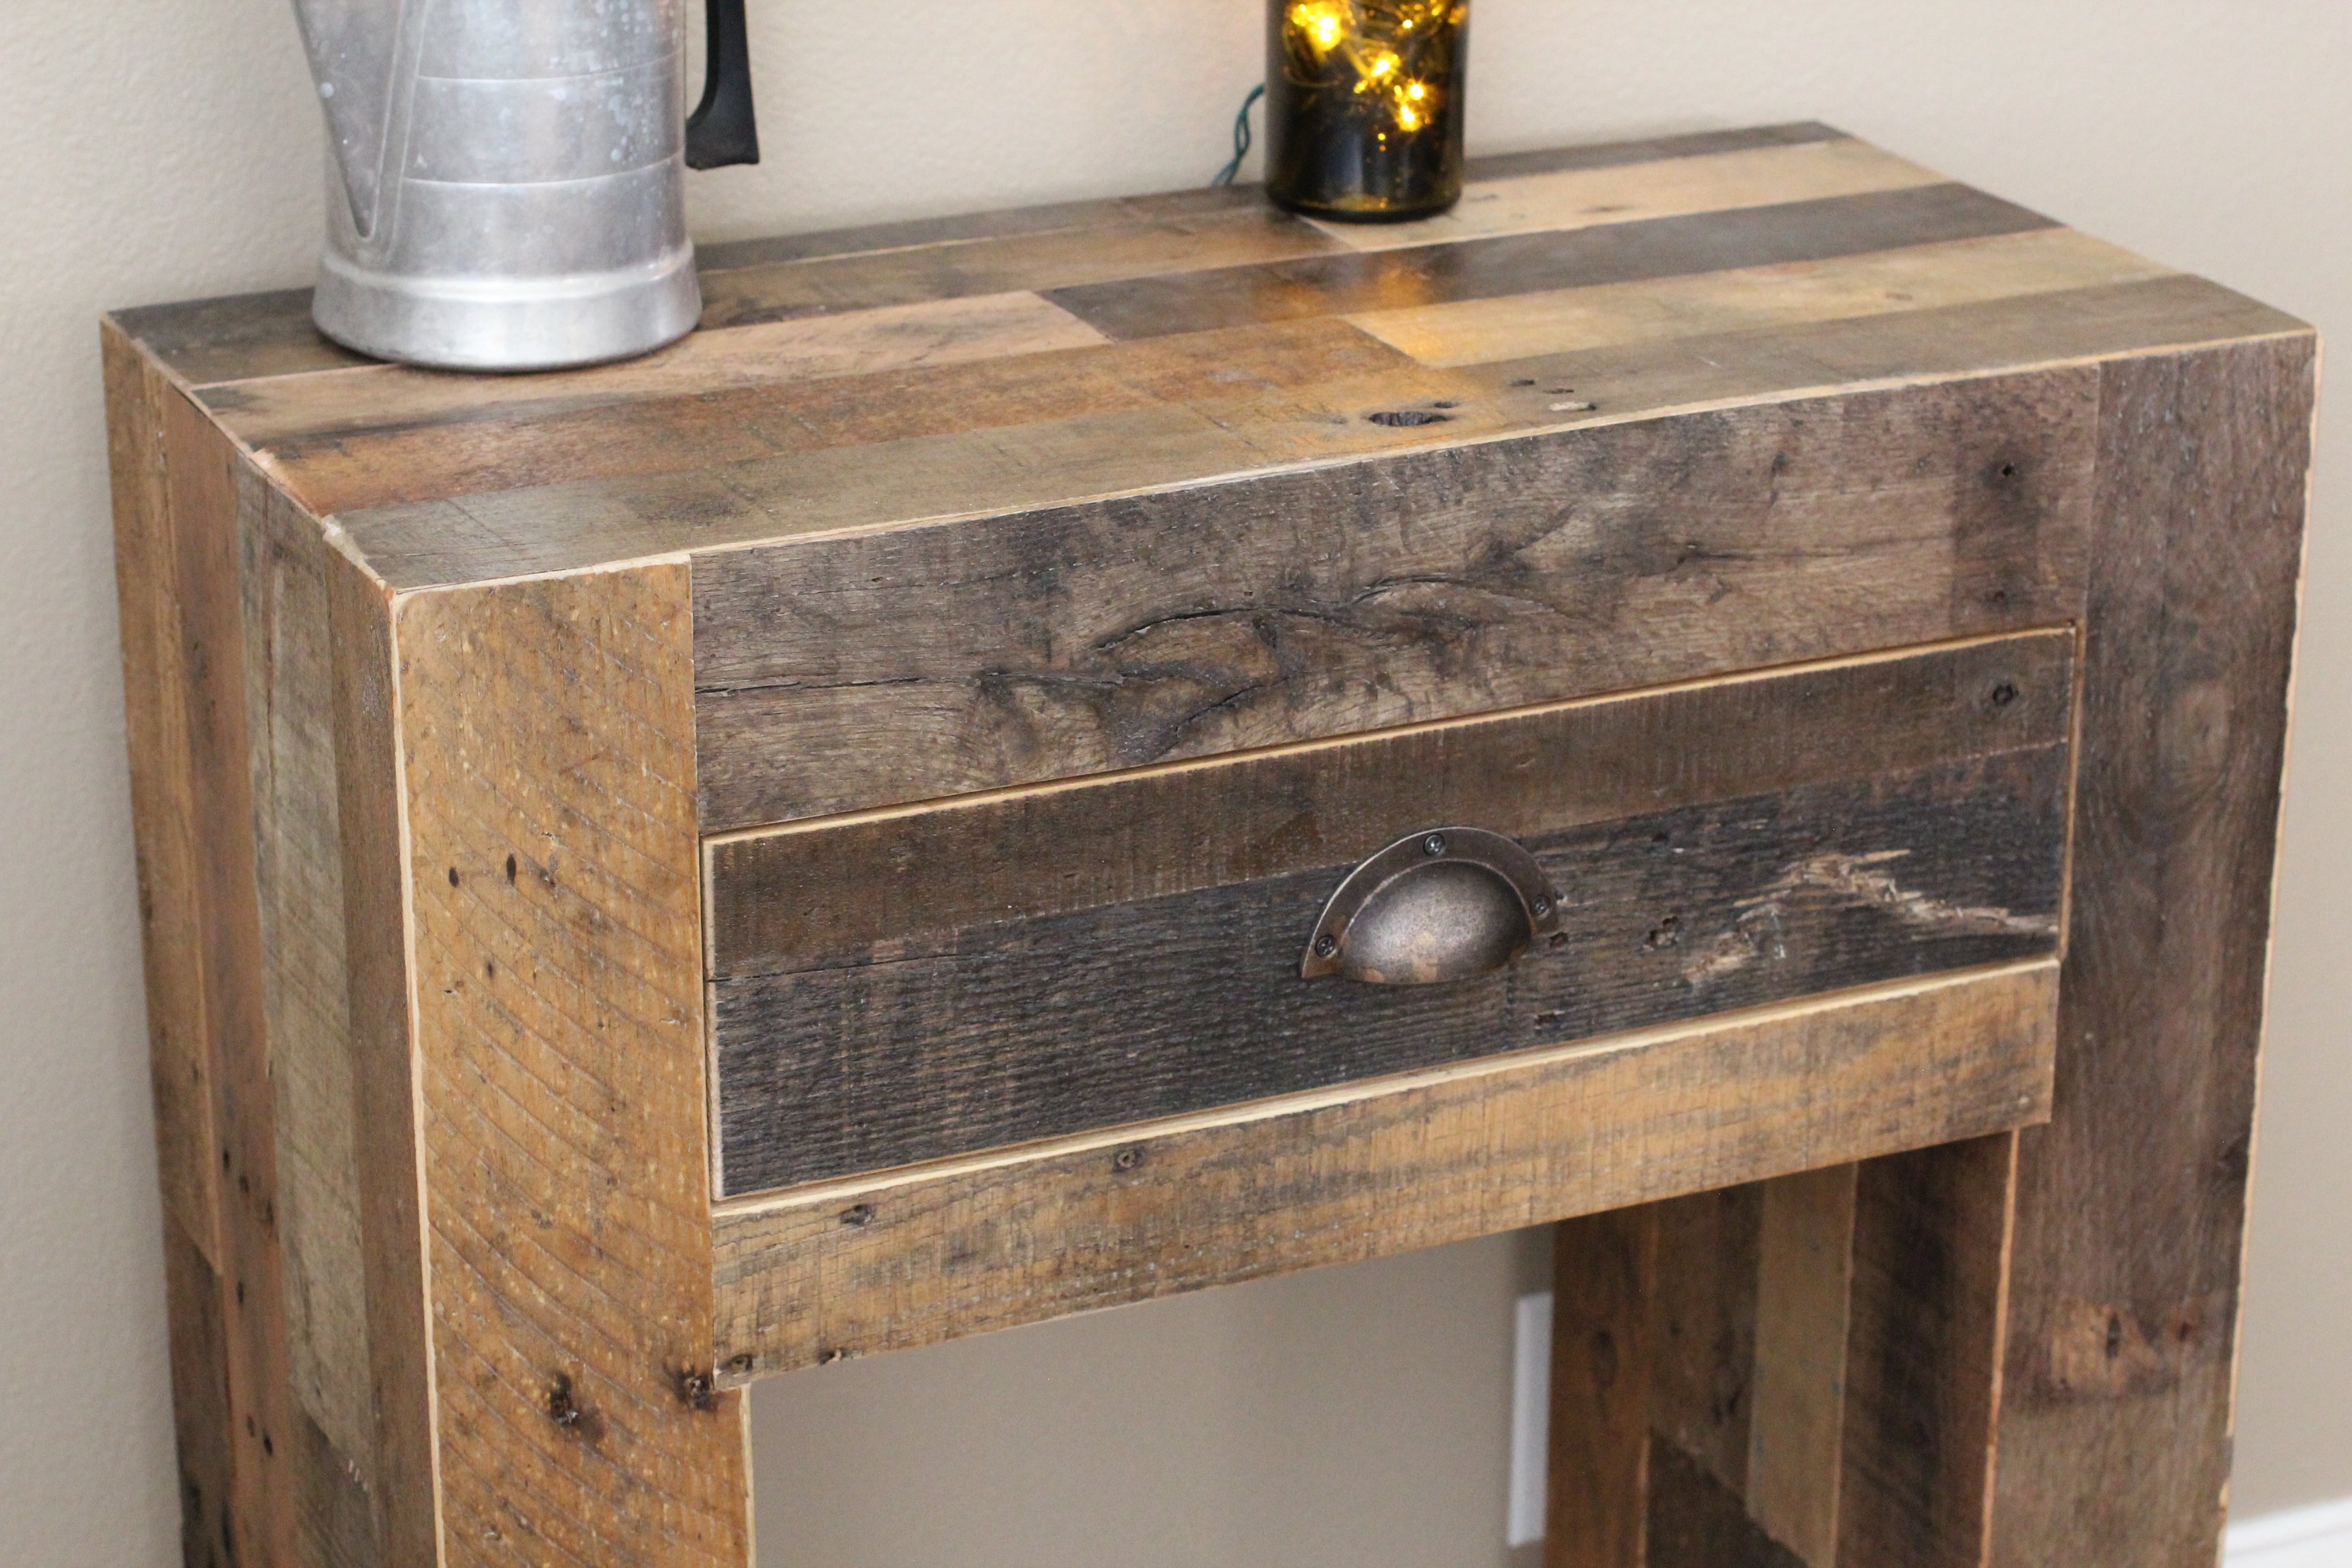
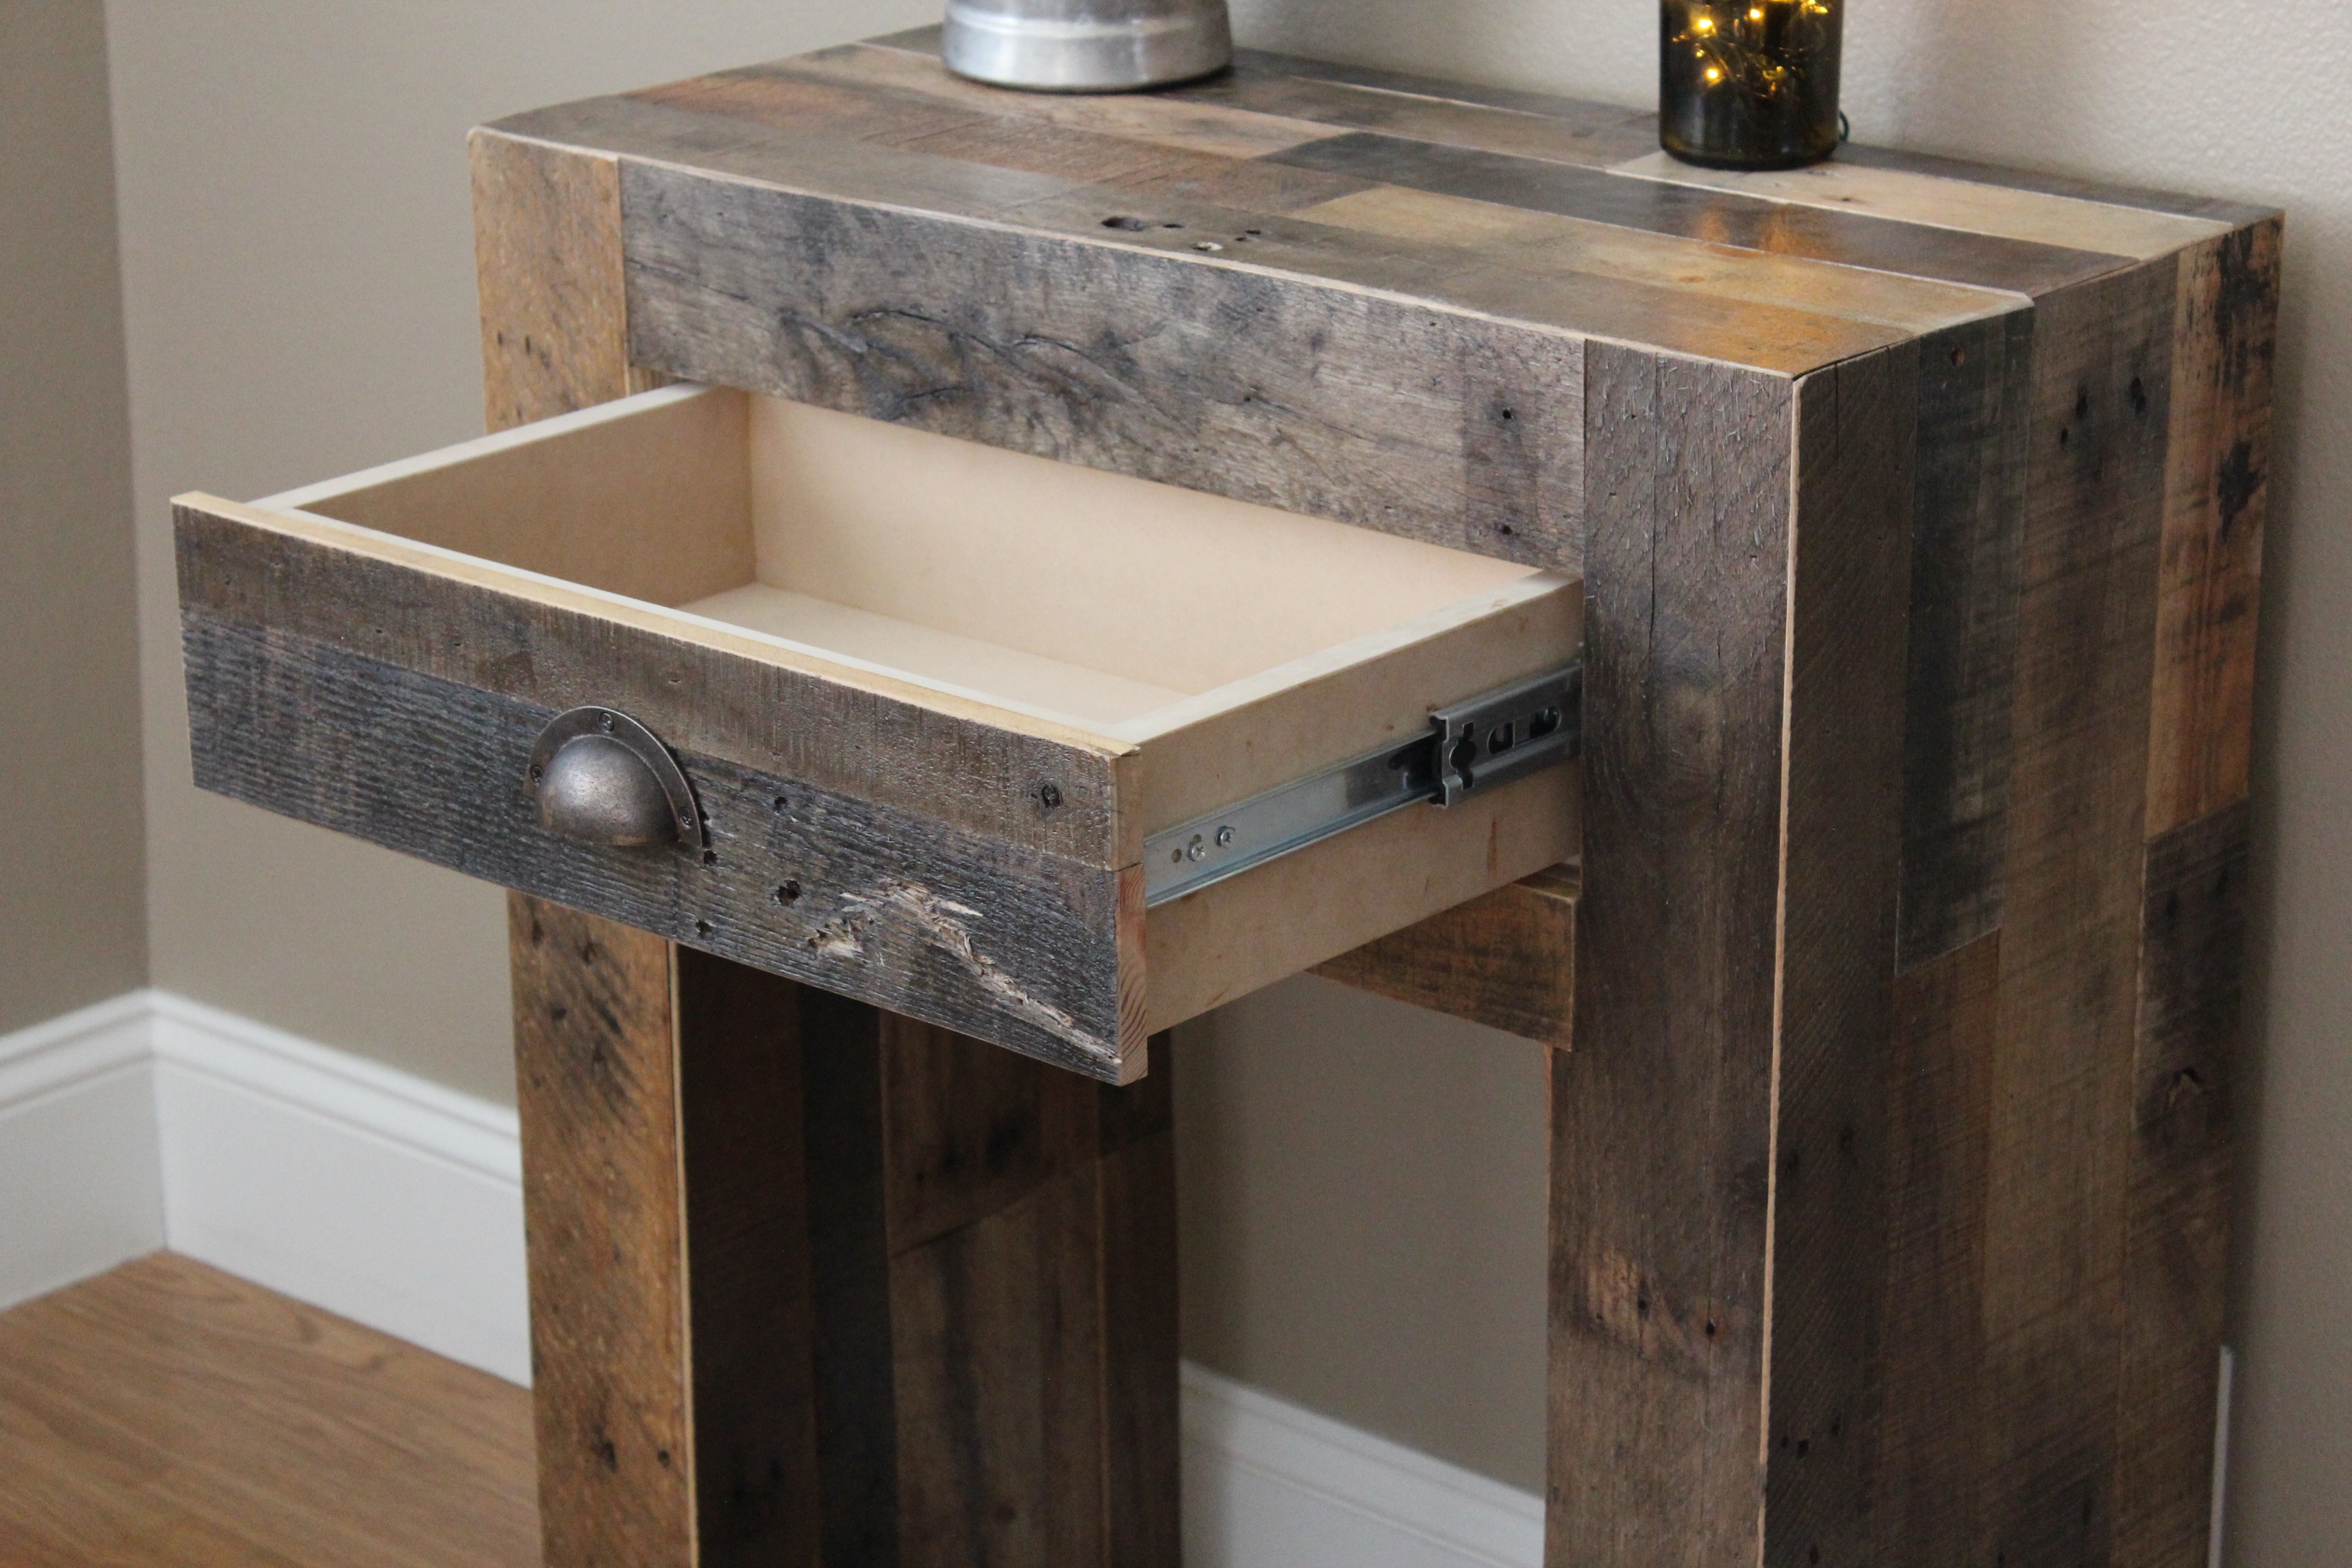
This reclaimed console was not build from one of Ana's plan but I did want to share it to inspire others to work with reclaimed wood. I used reclaimed pallet wood for this build, except for the drawer, I used MDF. For the finish I used an oil based poly.
In reply to Love it! by tracygator
Wed, 04/08/2015 - 15:43
Hi Tracy. Everywhere there is a joint or seam, I cut each reclaimed plank on a 45 degree angle to hide the exposed raw wood after being cut.

Wed, 04/08/2015 - 19:38
It looks just like west elm. Did you lay the boards on plywood first? It looks like there are a few pieces per row on the side if that makes sense. Seriously I love this
In reply to Thank you! by tracygator
Wed, 04/08/2015 - 21:11
You are correct, I build a plywood box basically with a face frame. I rip down all the reclaimed pallet to 1/2" thickness and then nail it to the plywood. The pallet wood is basically a veneer.
Modifications to Ana's original plan:
Simple beginner project. Would have preferred a more durable wood, but still a fun and quick project.


Comments
Ana White Admin
Tue, 10/05/2021 - 11:22
NICE ADDITION!
Great space and wonderful builds! Thank you for sharing:)