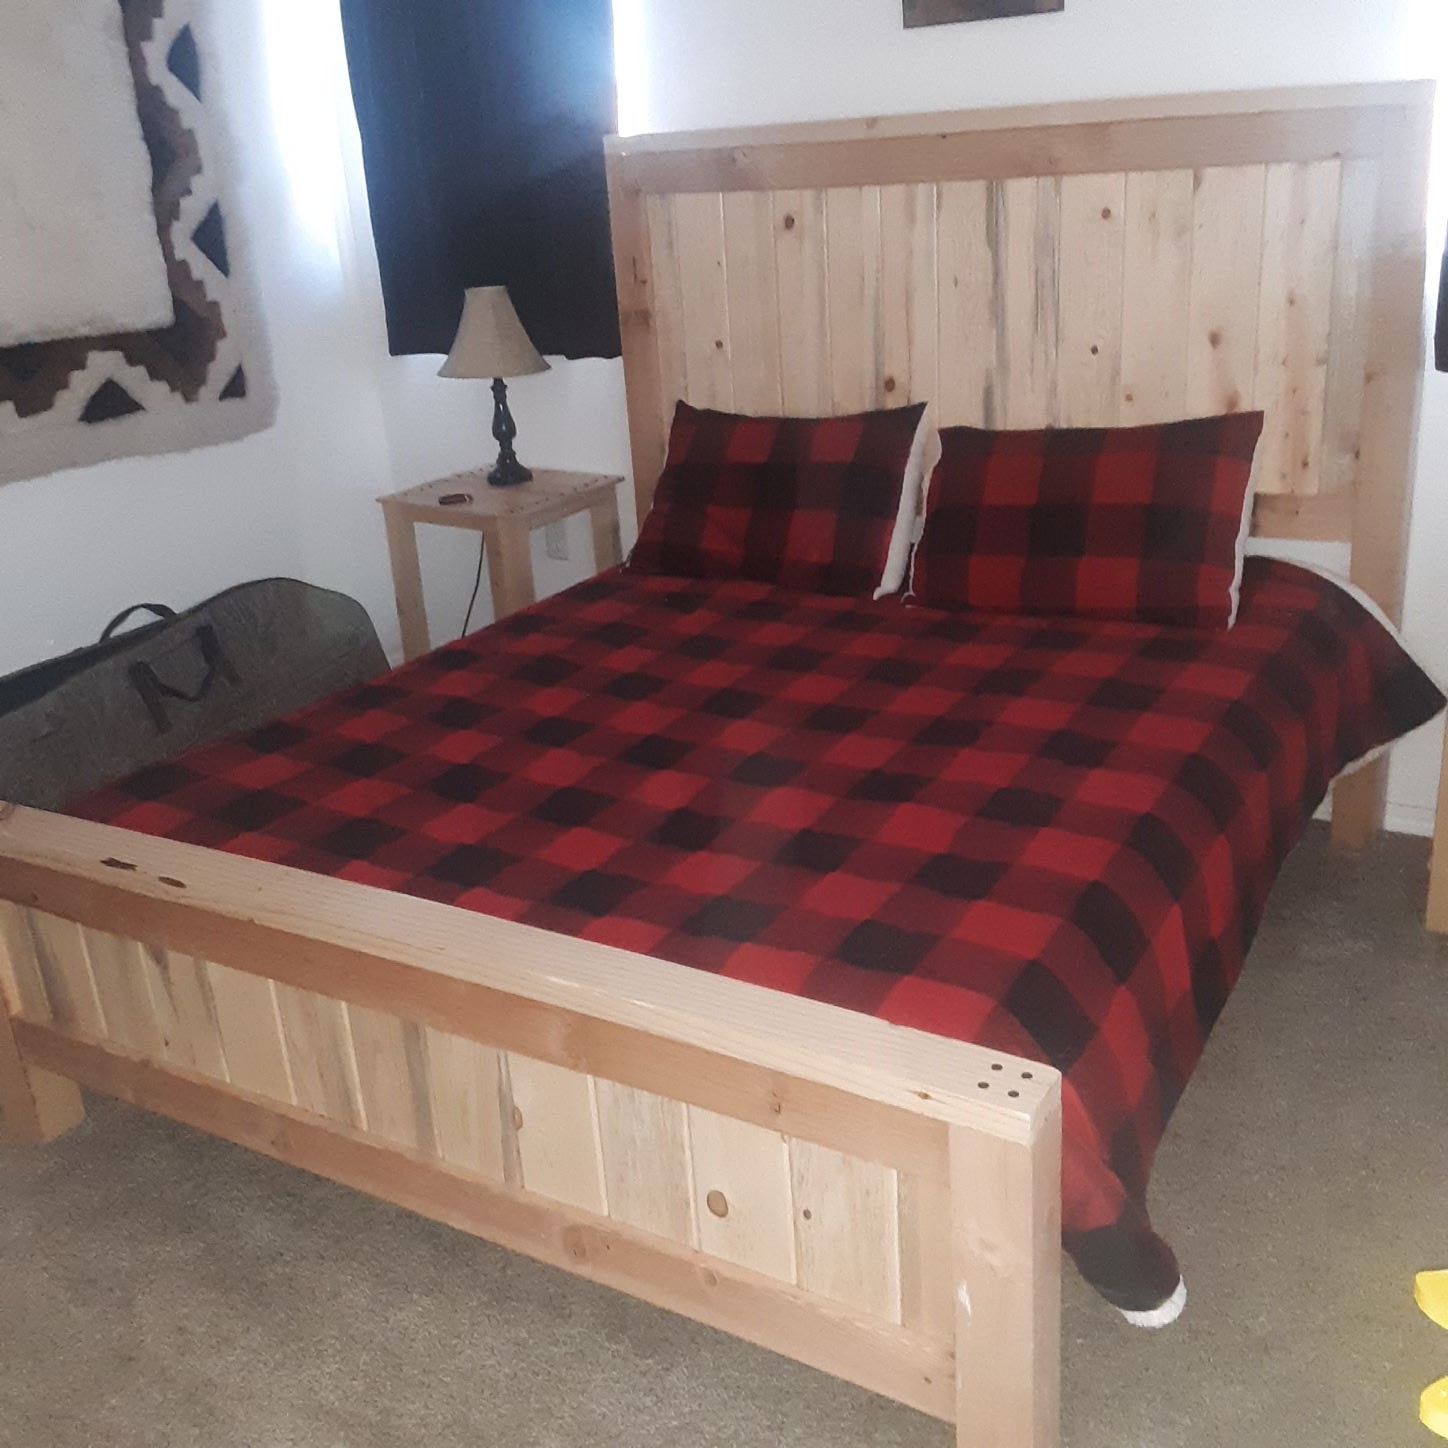
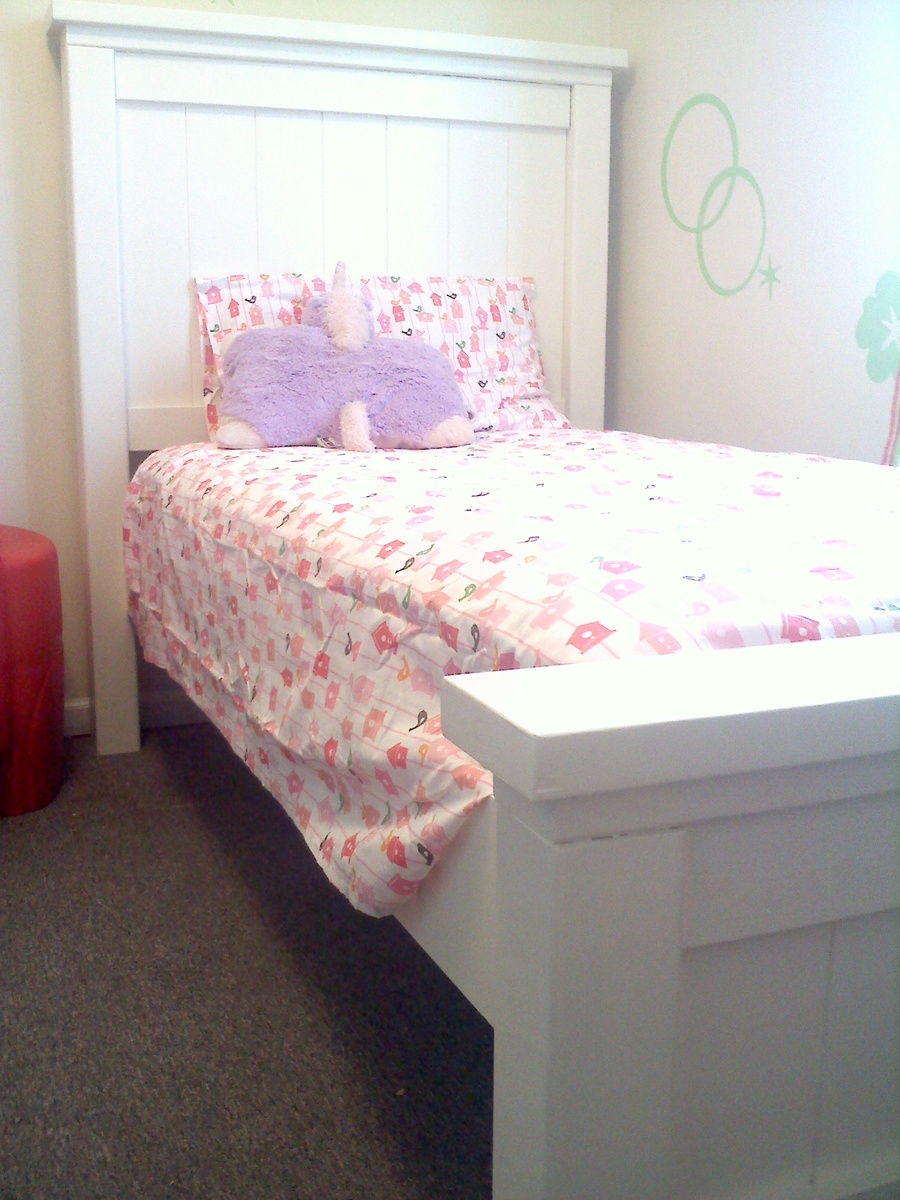
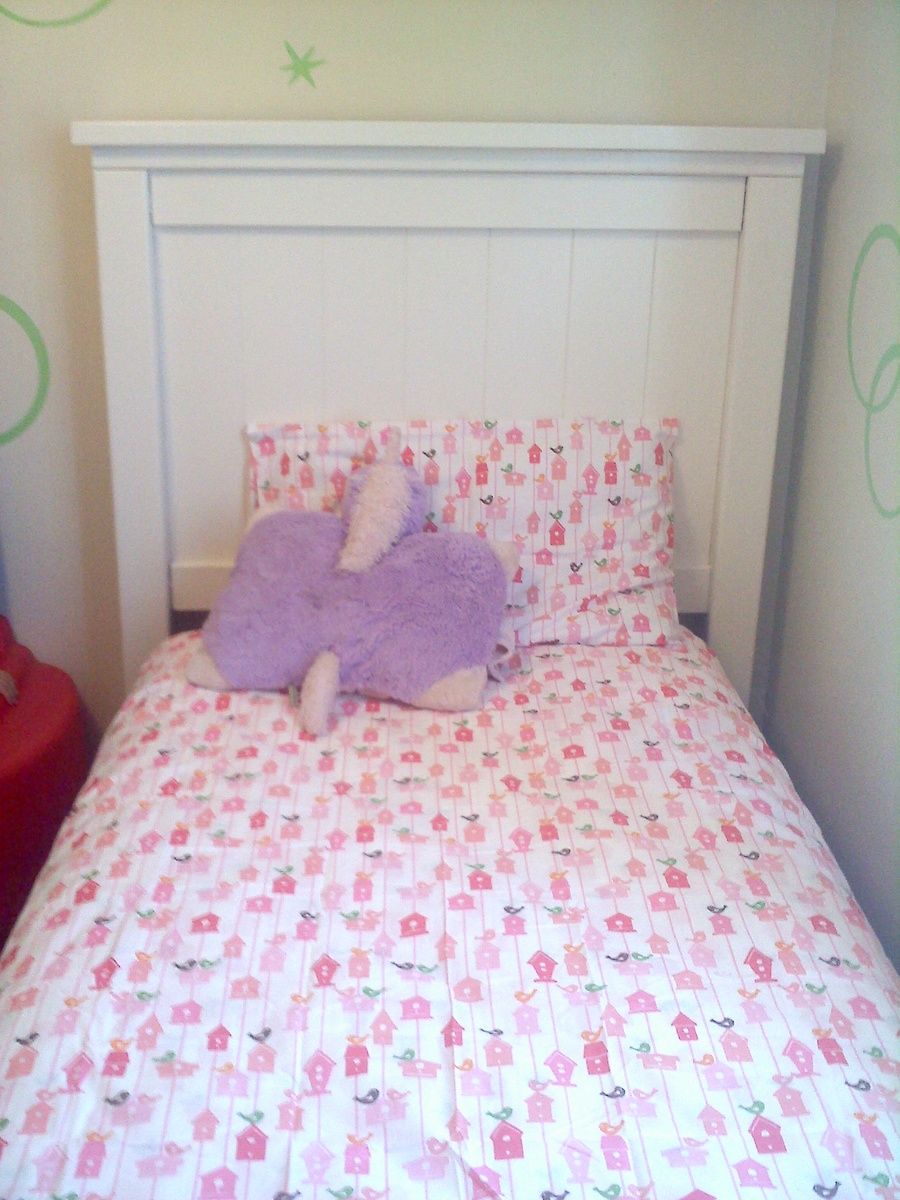
Queen Size Farm Bed
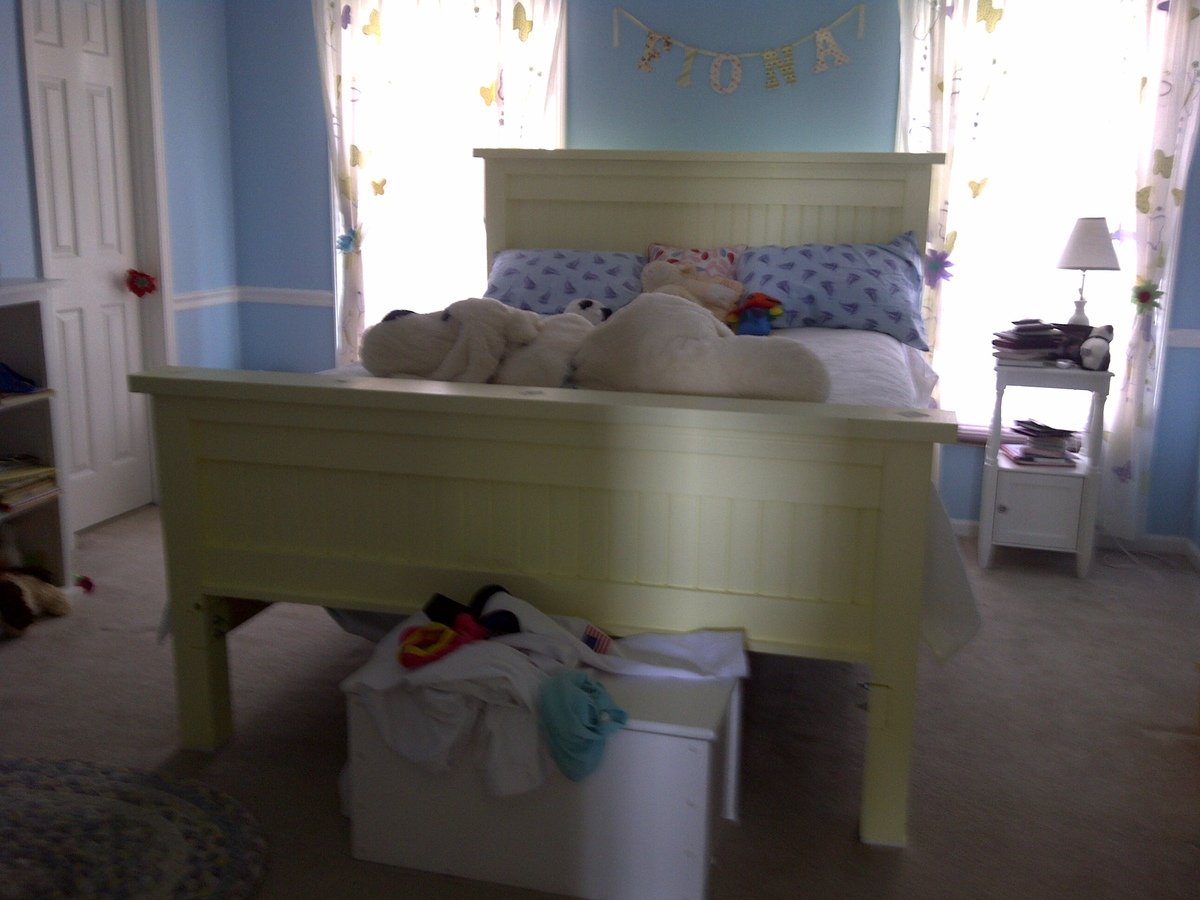
This took about 10 hours, including prime and paint. I raised the side rails 3 1/2 inches to dado the posts to accept a 2x4 siderail on the inside of the post, with 1x8 covering it at the center of the post. The siderails are bolted with 4x5/16" bolts, washers and nuts. We chose to leave it more rustic, showing the siderails at the ends and the bolt holes. It is all pine, bought new and along with a 1" forstner bit to recess the bolts, cost $198. It can be repainted at any time. Tools I used were a compound saw for ease of cutting straight cuts, a cordless and corded drill, 1/2" socket and box wrench, easy square and a circular saw for the 1x8's. We painted it with left over paint. Because its pine, we primed with BIN,
Built from Plan(s)
Estimated Cost
$200
Estimated Time Investment
Weekend Project (10-20 Hours)
Finish Used
BIN Primer Sealer, one coat on knots then another full coat.
Benjamin Moore Pearl Luster "
Butter" Finish Coat, two coats.
I sand all wood with an orbital sander prior to assembly. Then I use a block sander after the primer dries and between the first and final coat of paint. I only sand after the primer and paint to knock off anything that might be sticking up off the surface. I don't go crazy.
Recommended Skill Level
Intermediate


Comments
marlaandwilliam
Sun, 06/05/2011 - 18:27
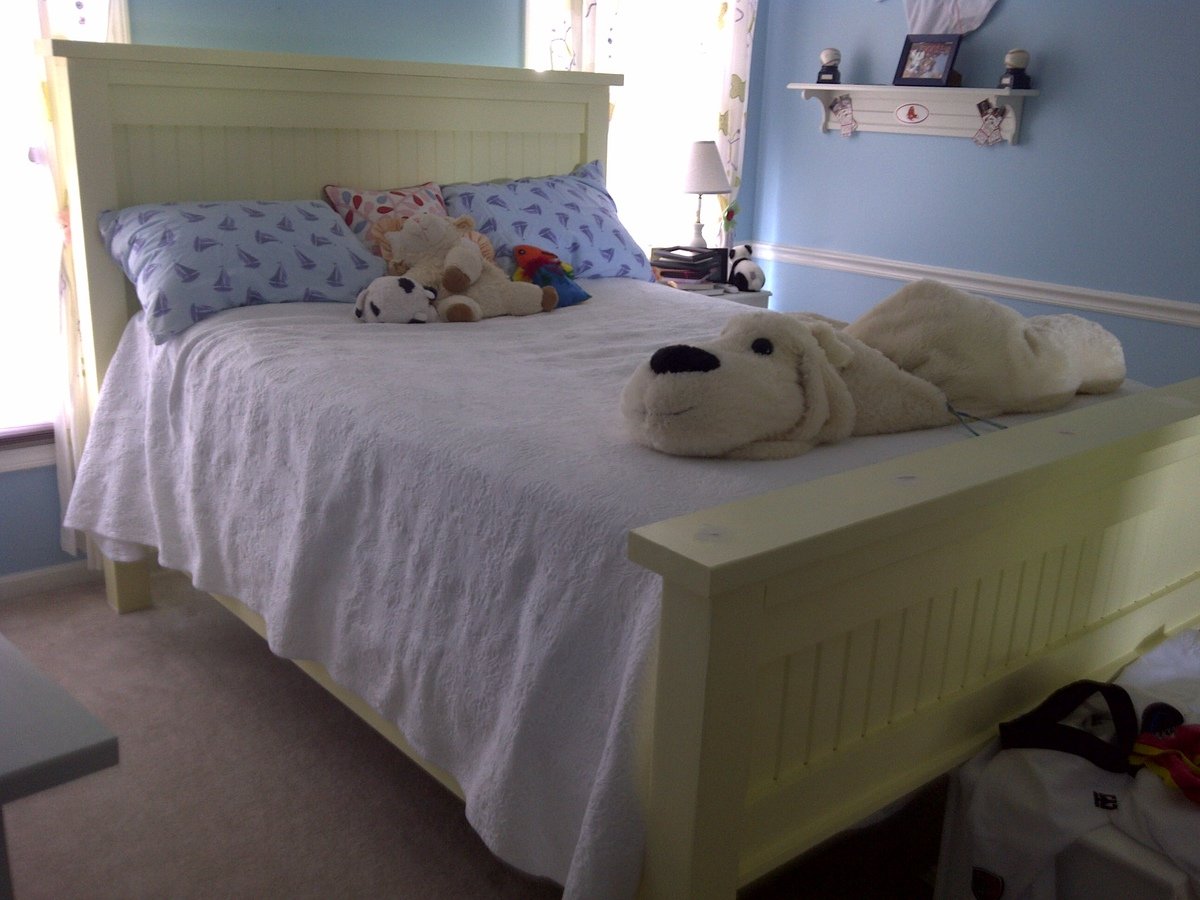
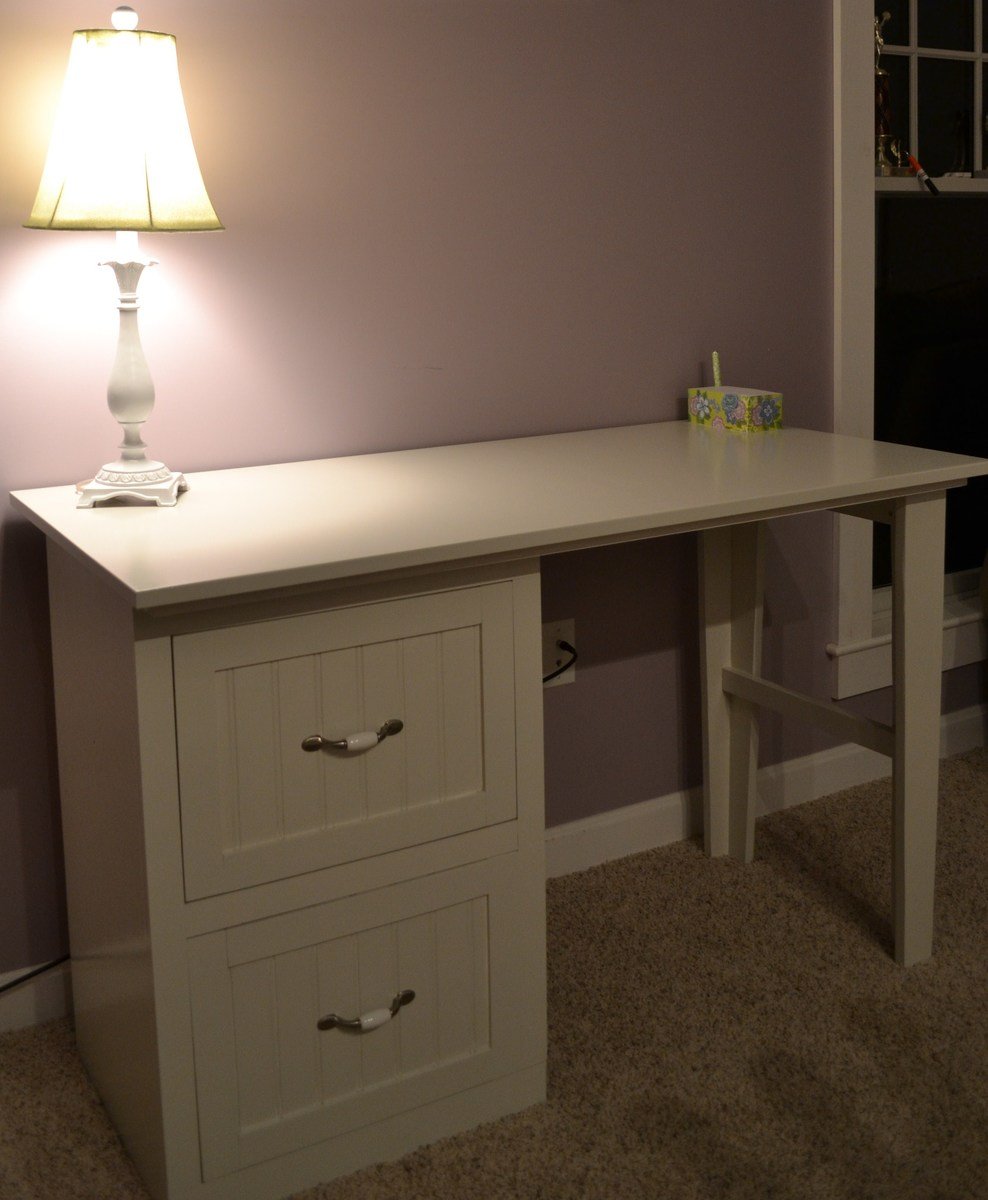
panels
Looks great! What did you use for the panels in the headboard and footboard? it almost looks like beadboard ?
Mark Shortt (not verified)
Sun, 06/05/2011 - 20:23
It is 1x5 bead board (pine).
It is 1x5 bead board (pine). Some places call it match board. It is v-groove, tongue and groove and has a smooth (flat) side and a two inch flat, bead, two inch flat side. The plans called for a 61" wide panel but I made it 58" with the dadoed posts (1 1/2 inch each cut).
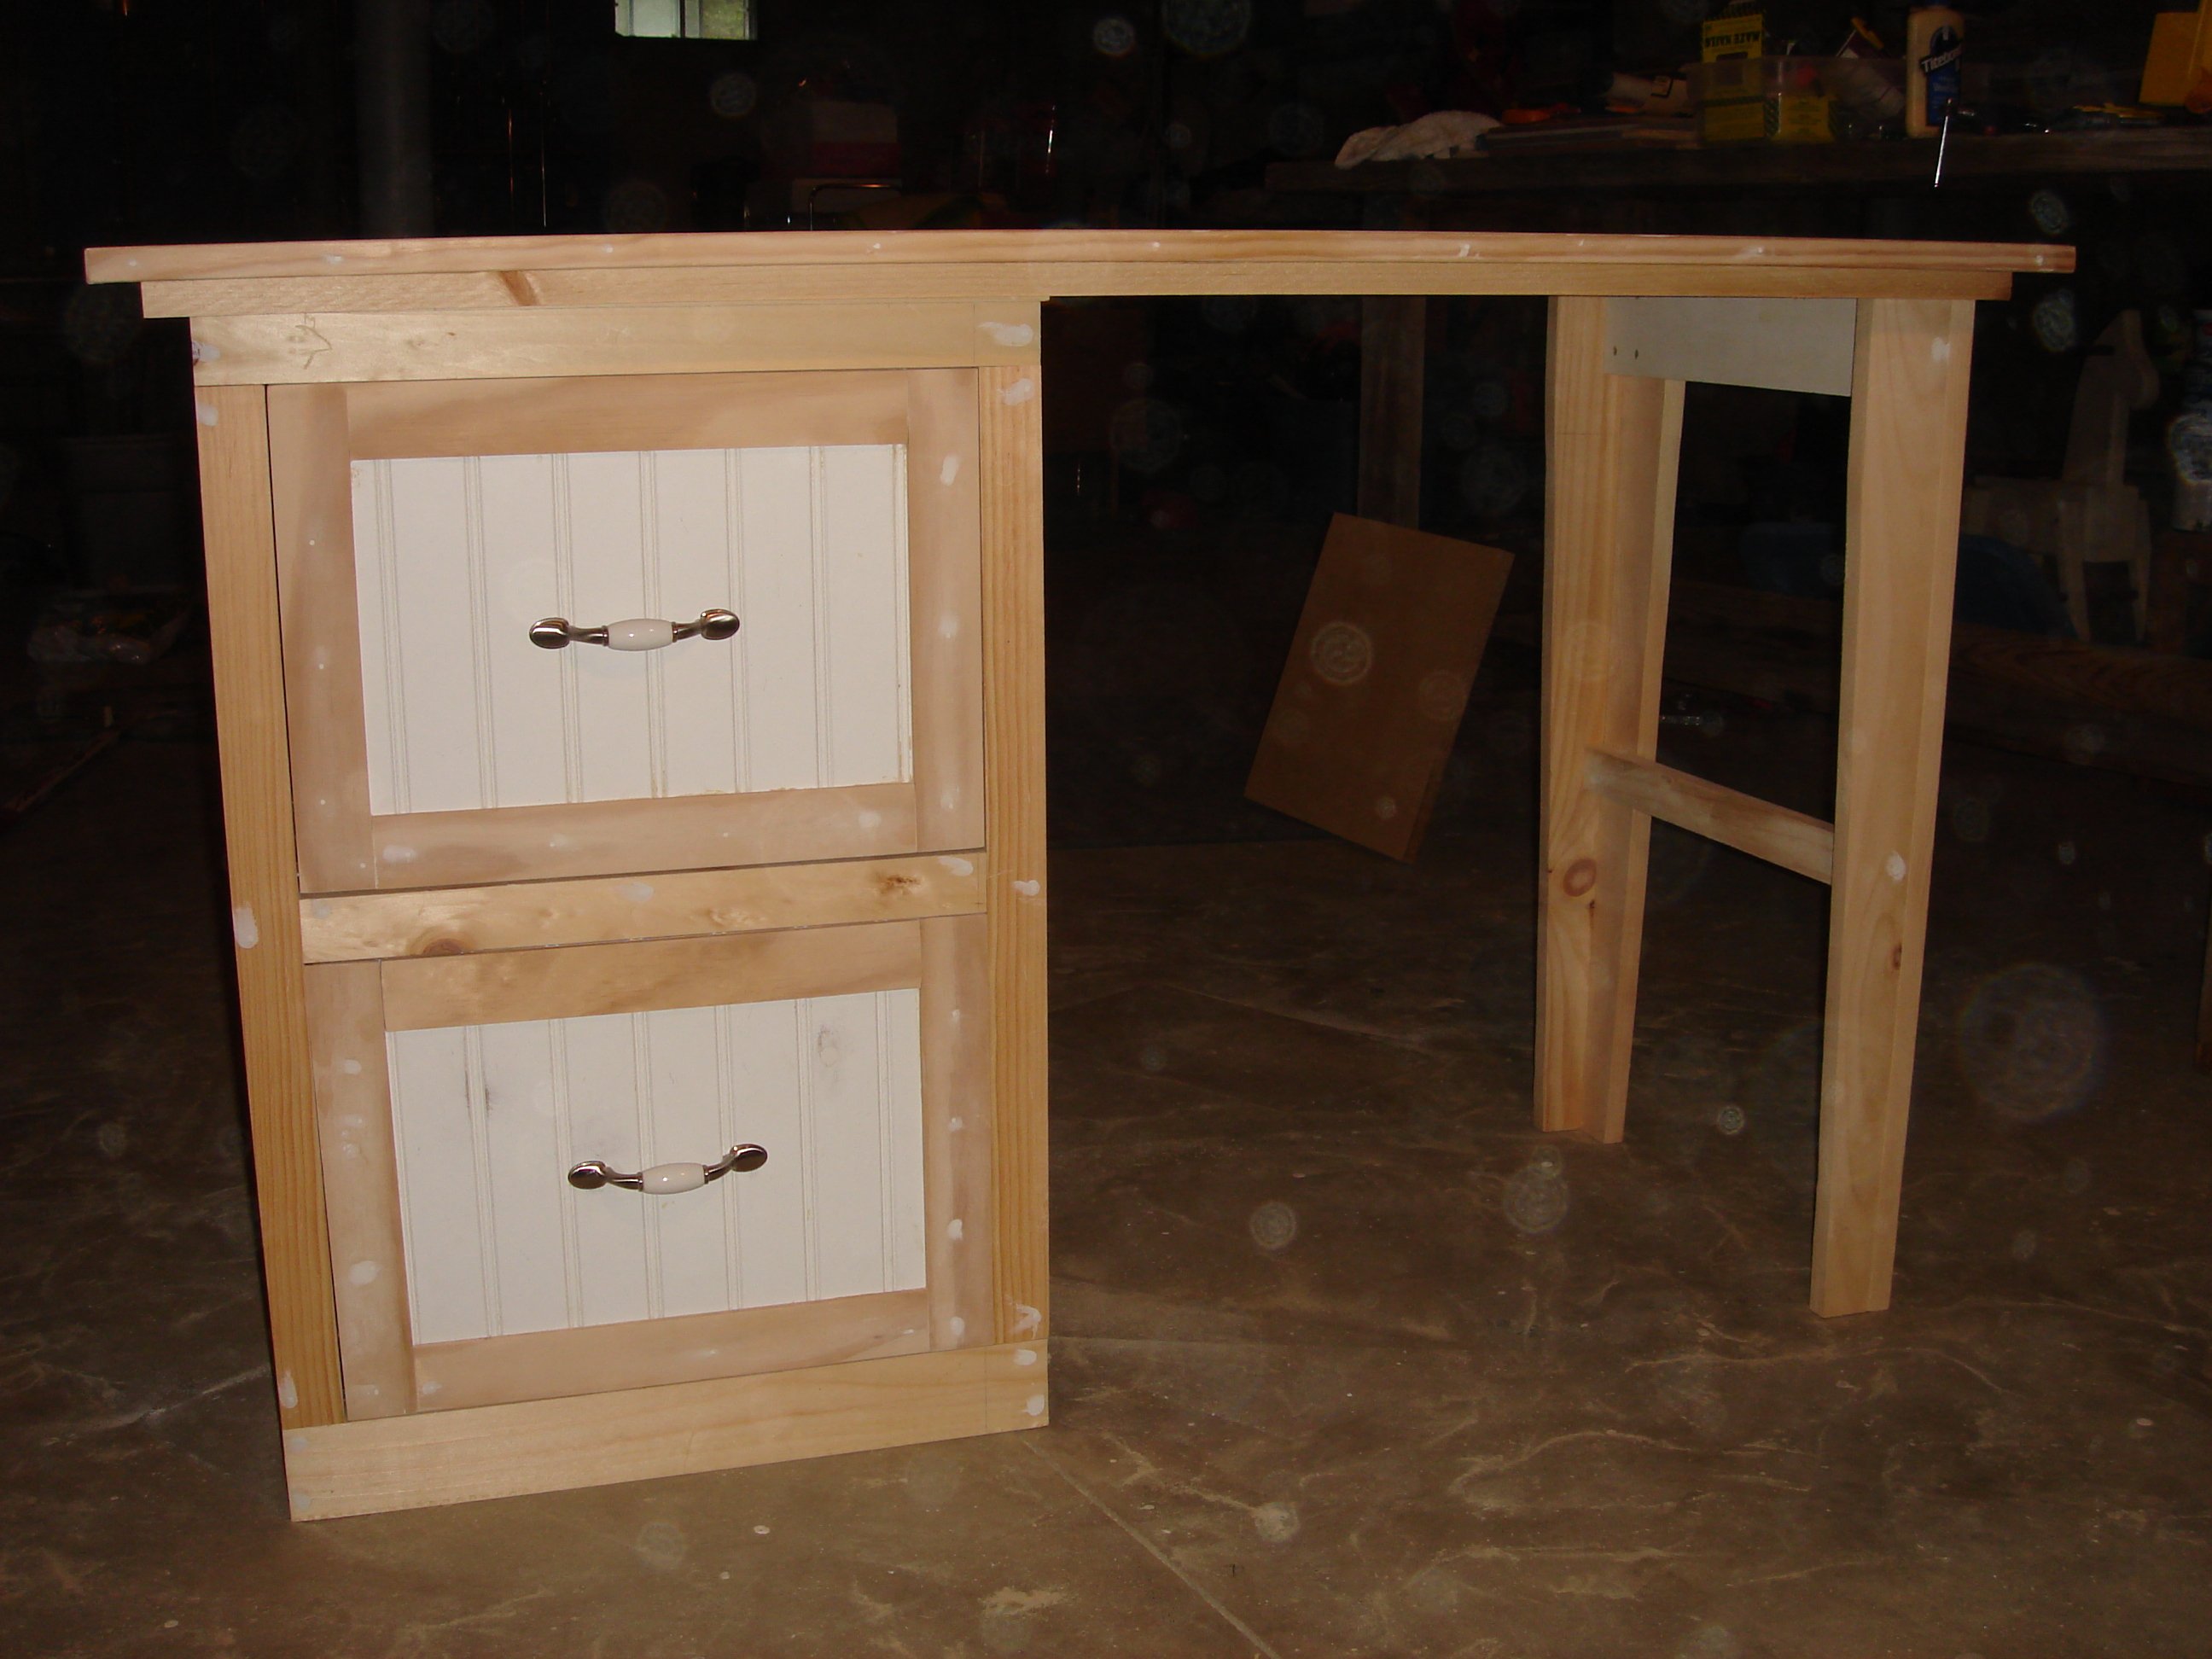
If you want to do the panel using the T&G bead board, make sure to lay your 1x4's out the distance of what ever height you want your panels and center the first piece of T&G bead board on both the top and bottom panel. Then you work your way out fitting the T&G and screwing in each piece. When you come to the two end pieces, they are going to ned to be ripped but by starting at center, they will be even at the end when ripped.
Another tip is when screwing the panel, you will want to get at least halfway into the 3 1/2" post. measure the distance you want to cut on the drill bit and put a piece of tape on the bit. Then drill until you get to the tape.