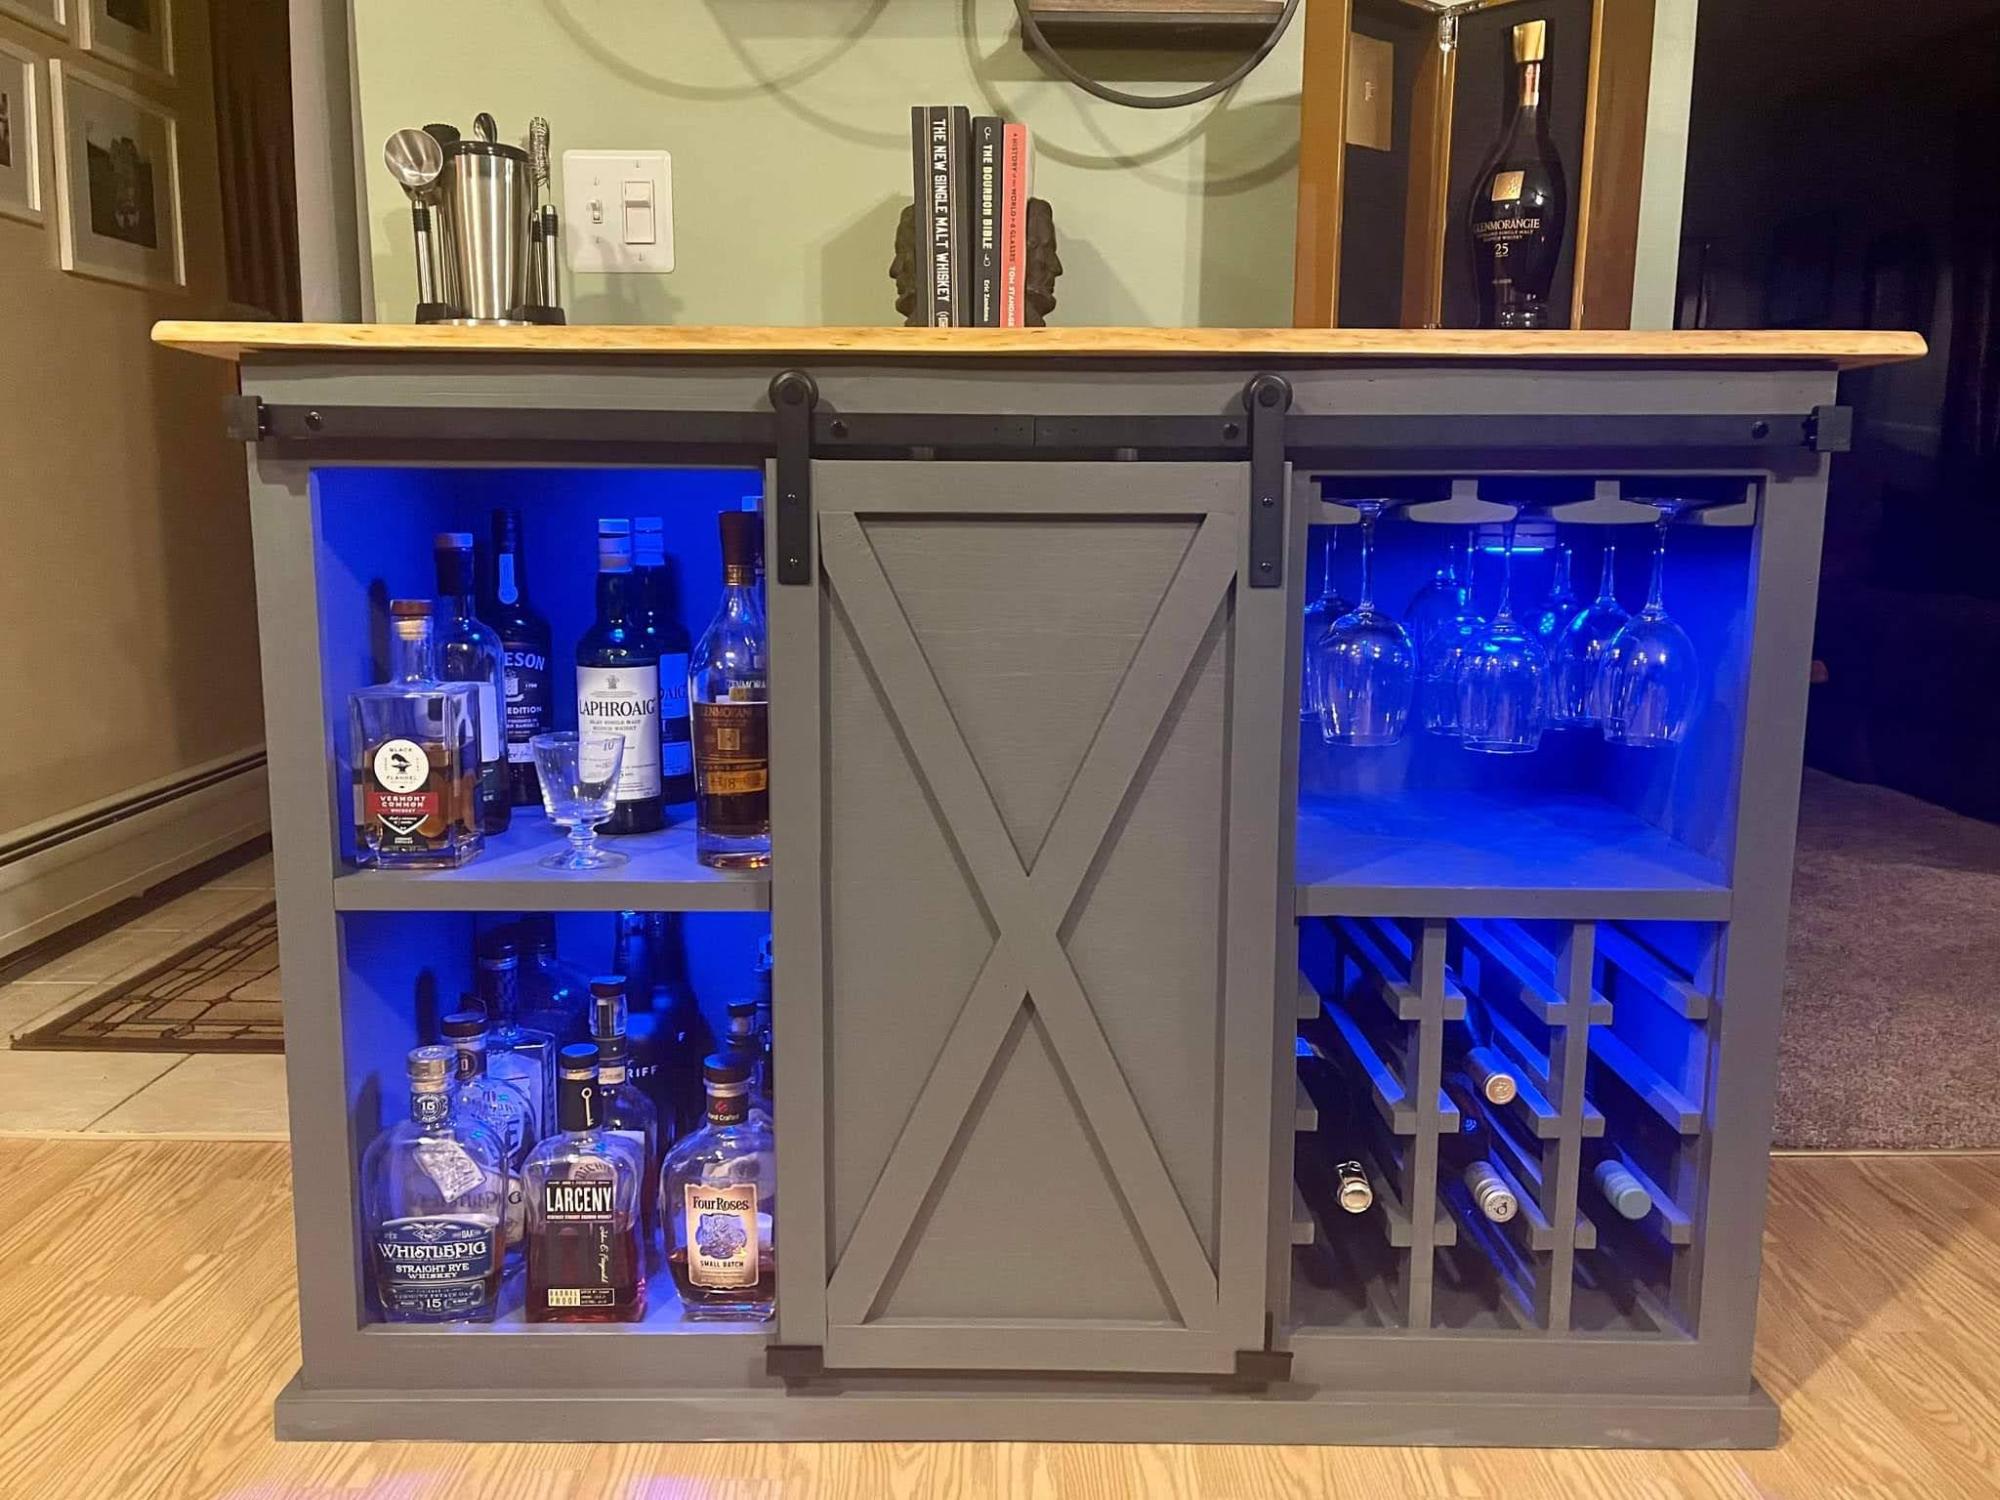
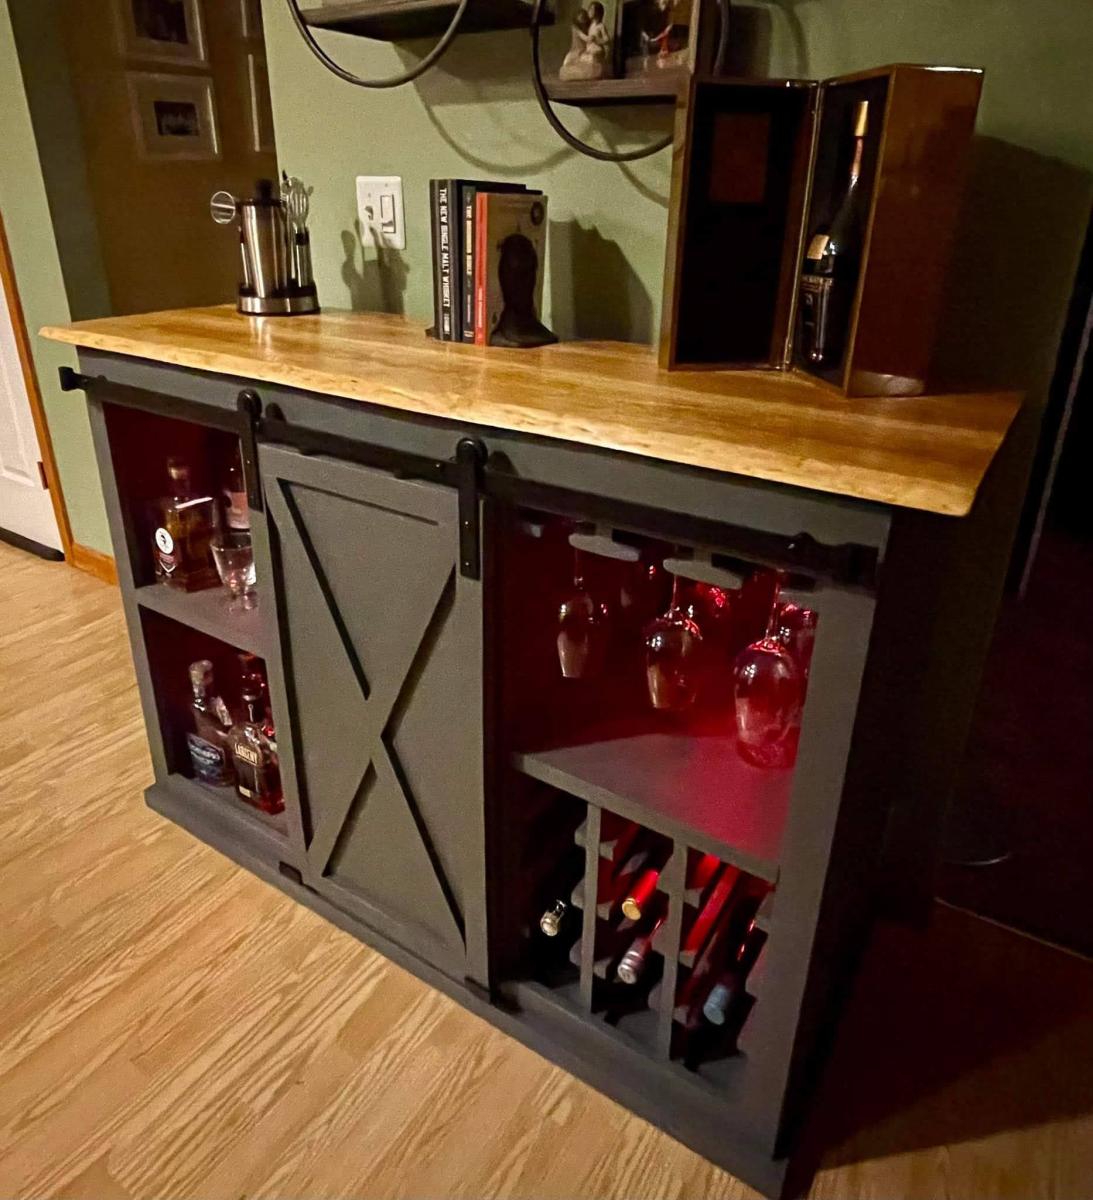
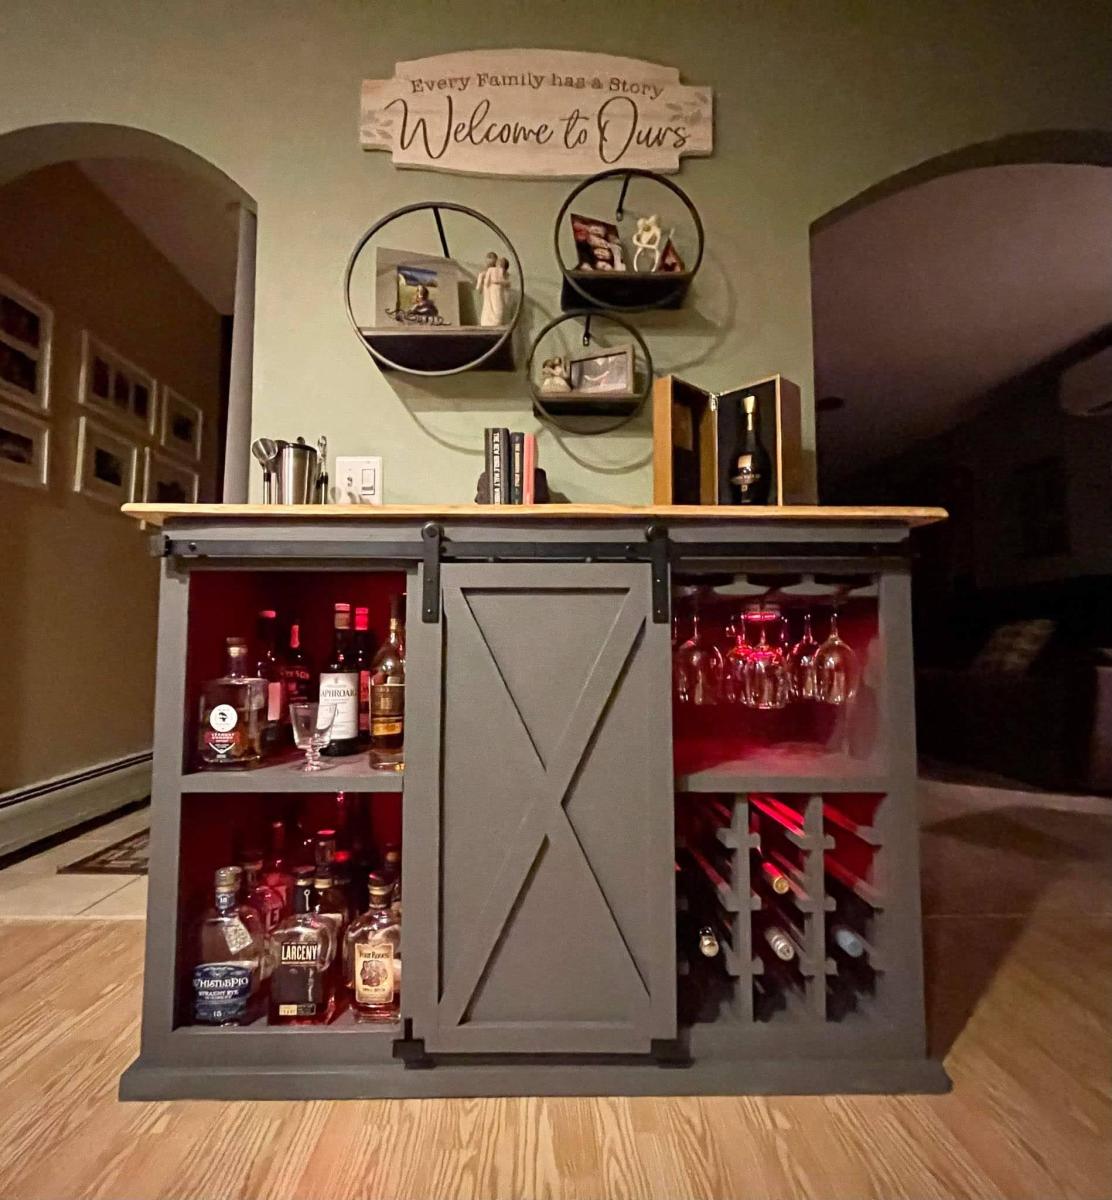
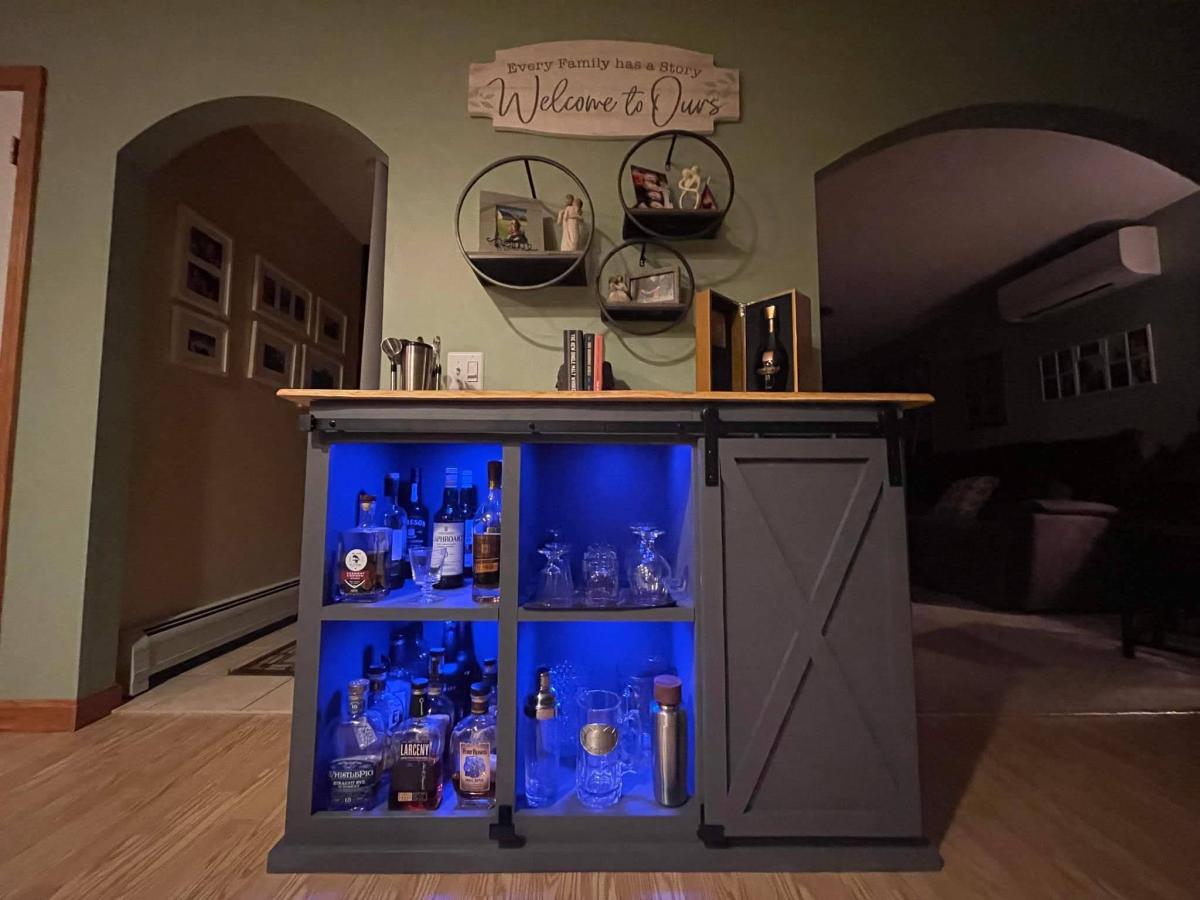
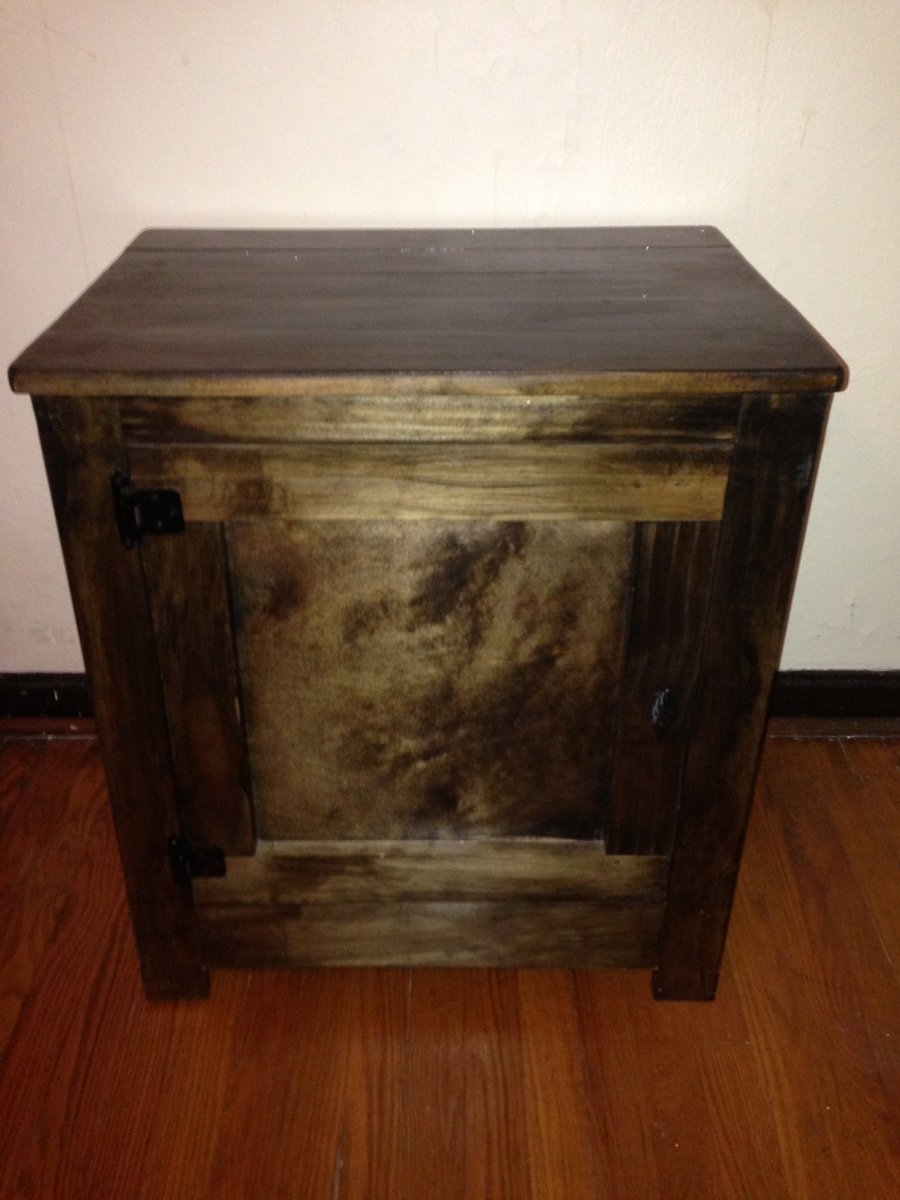
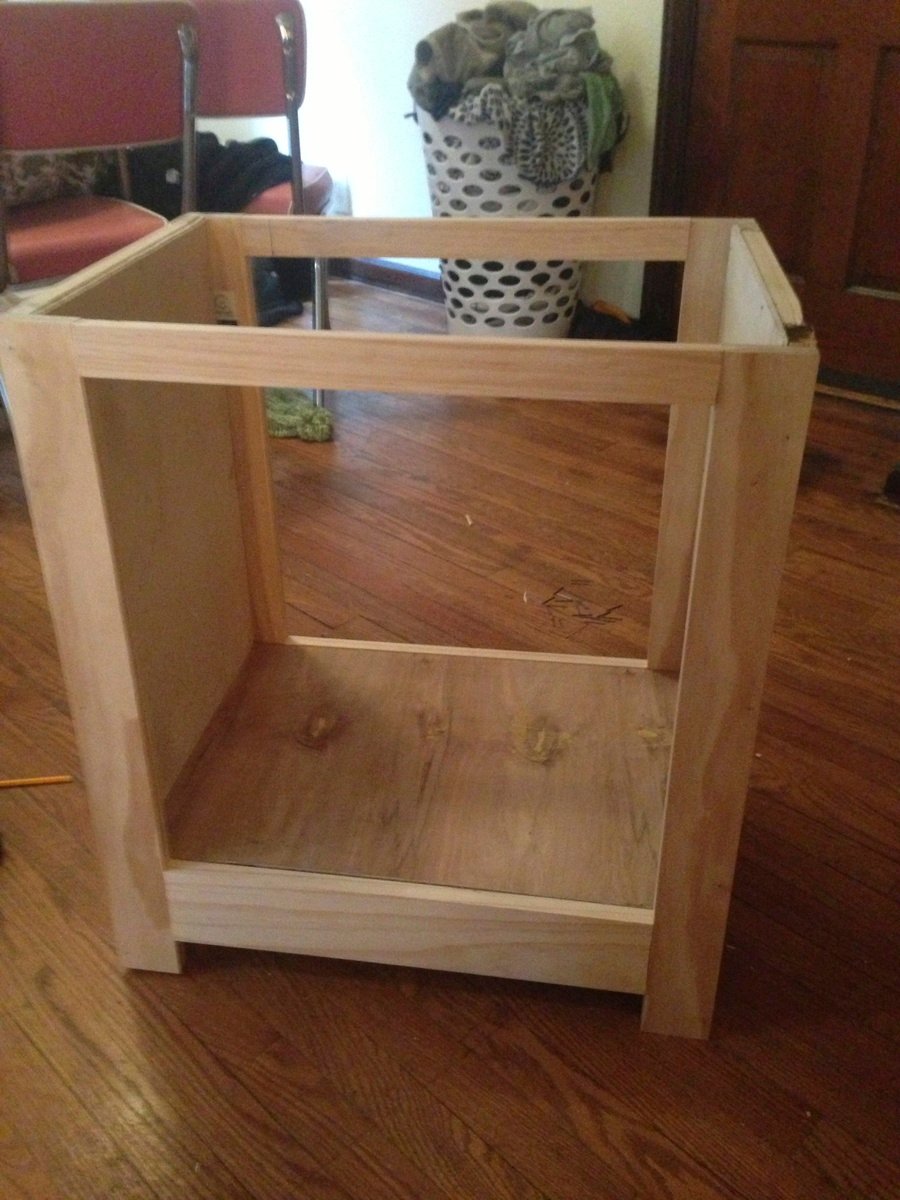
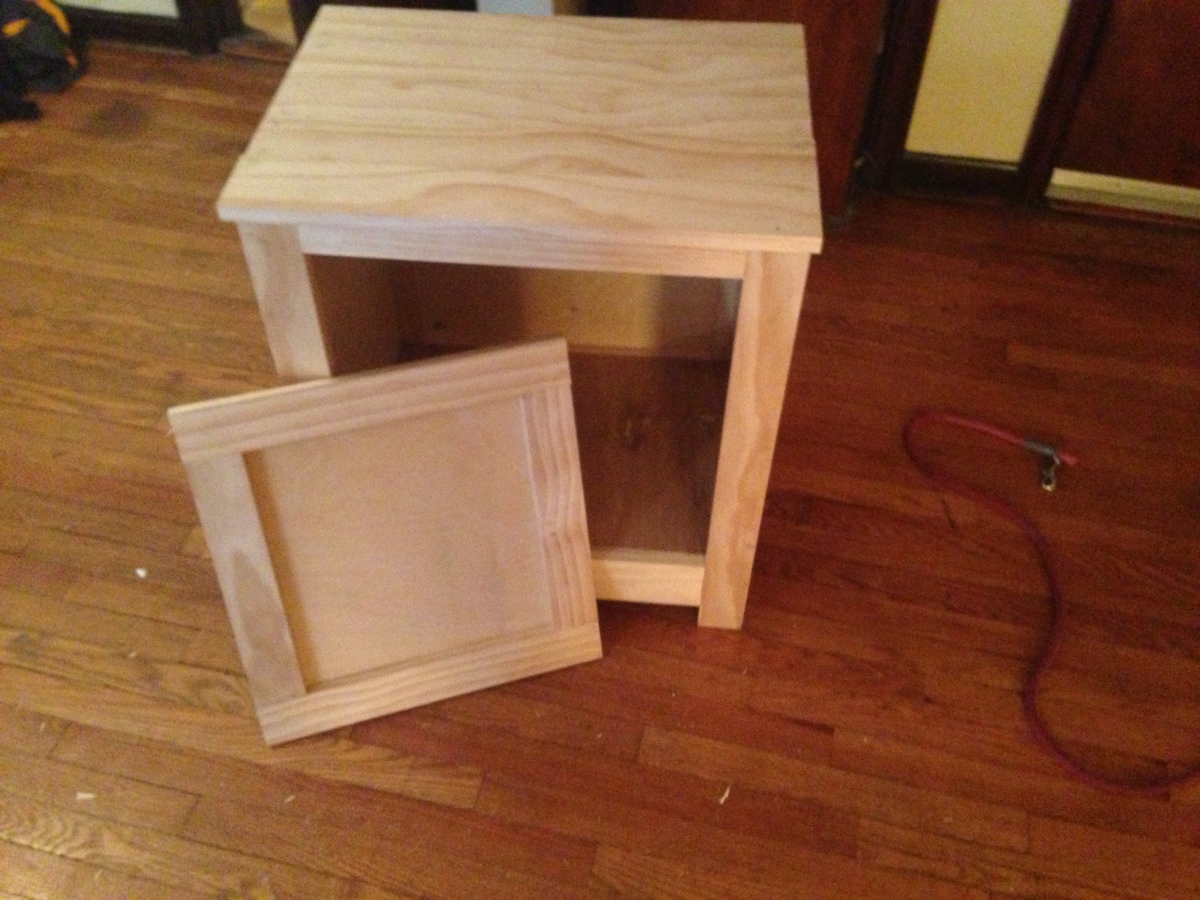
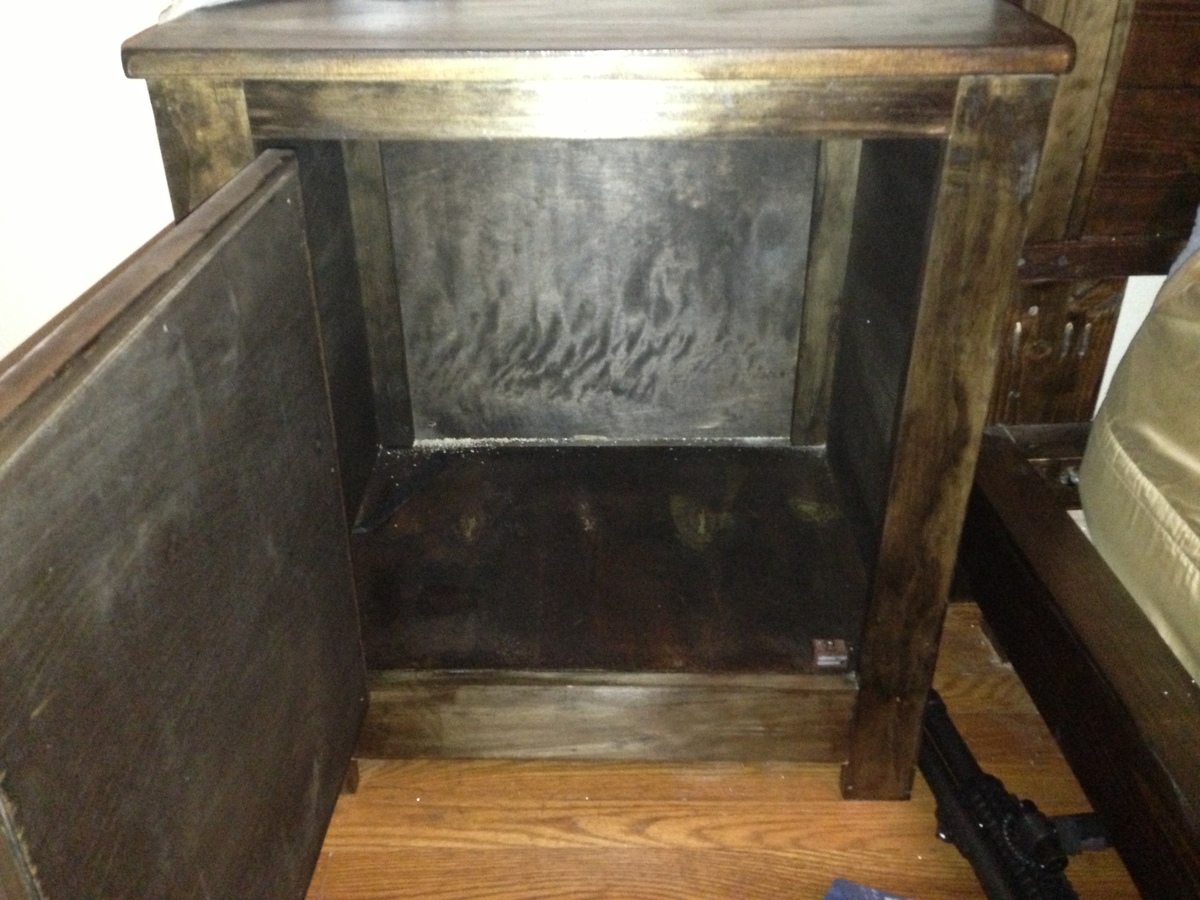
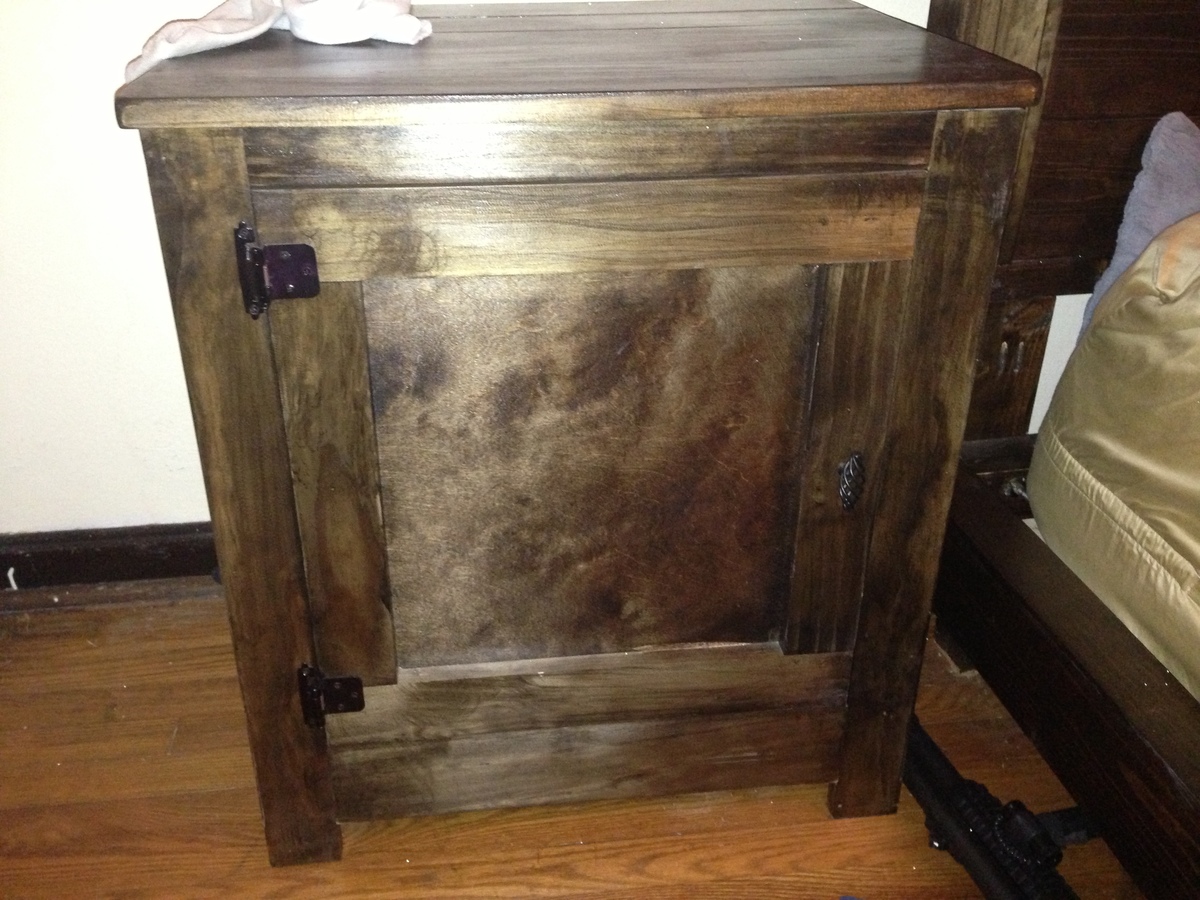
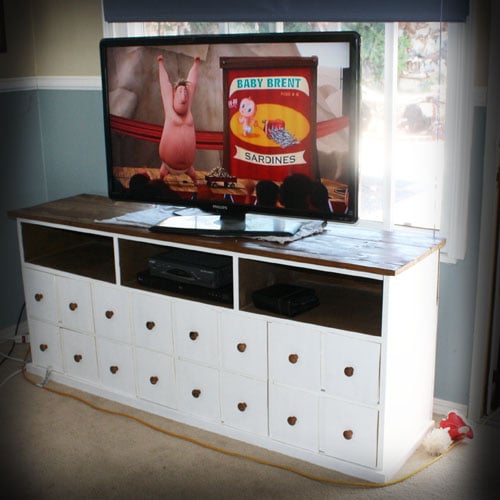
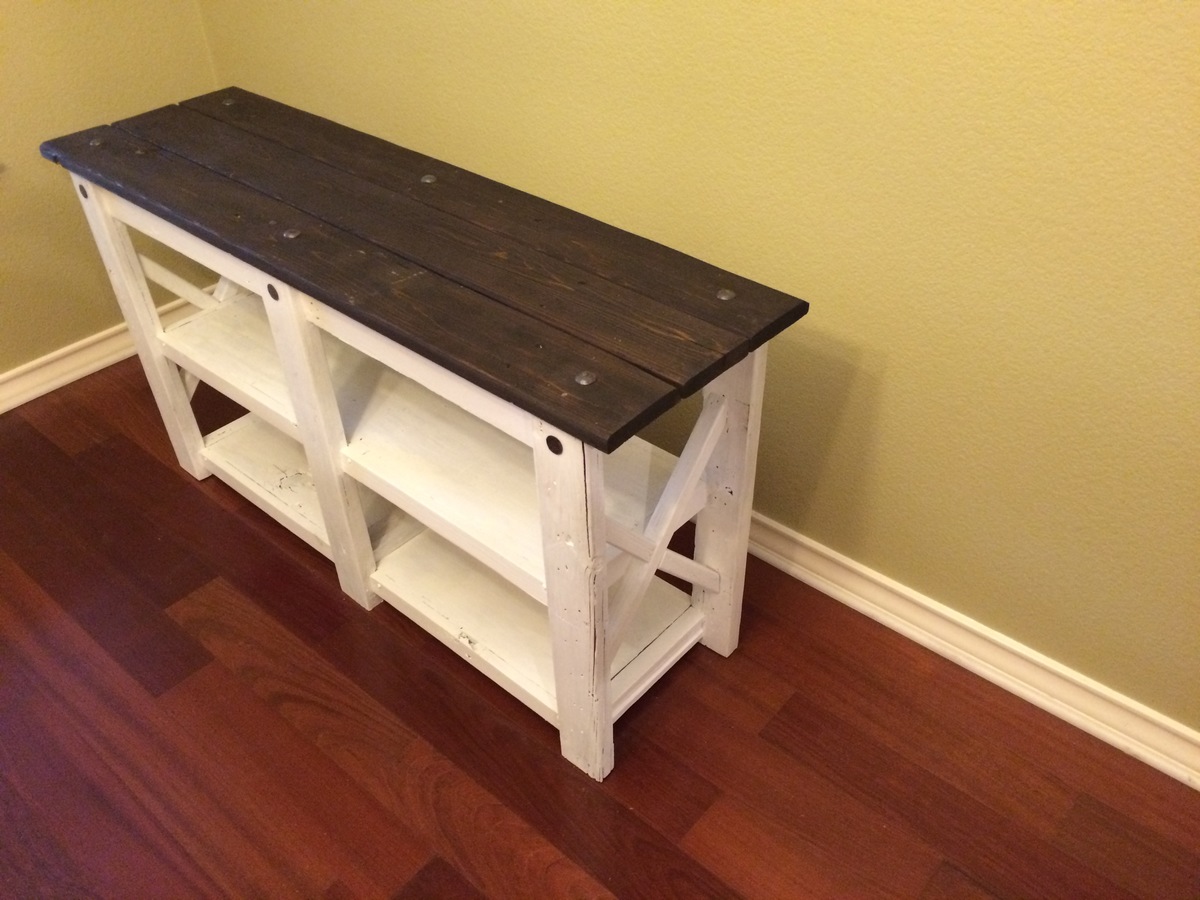
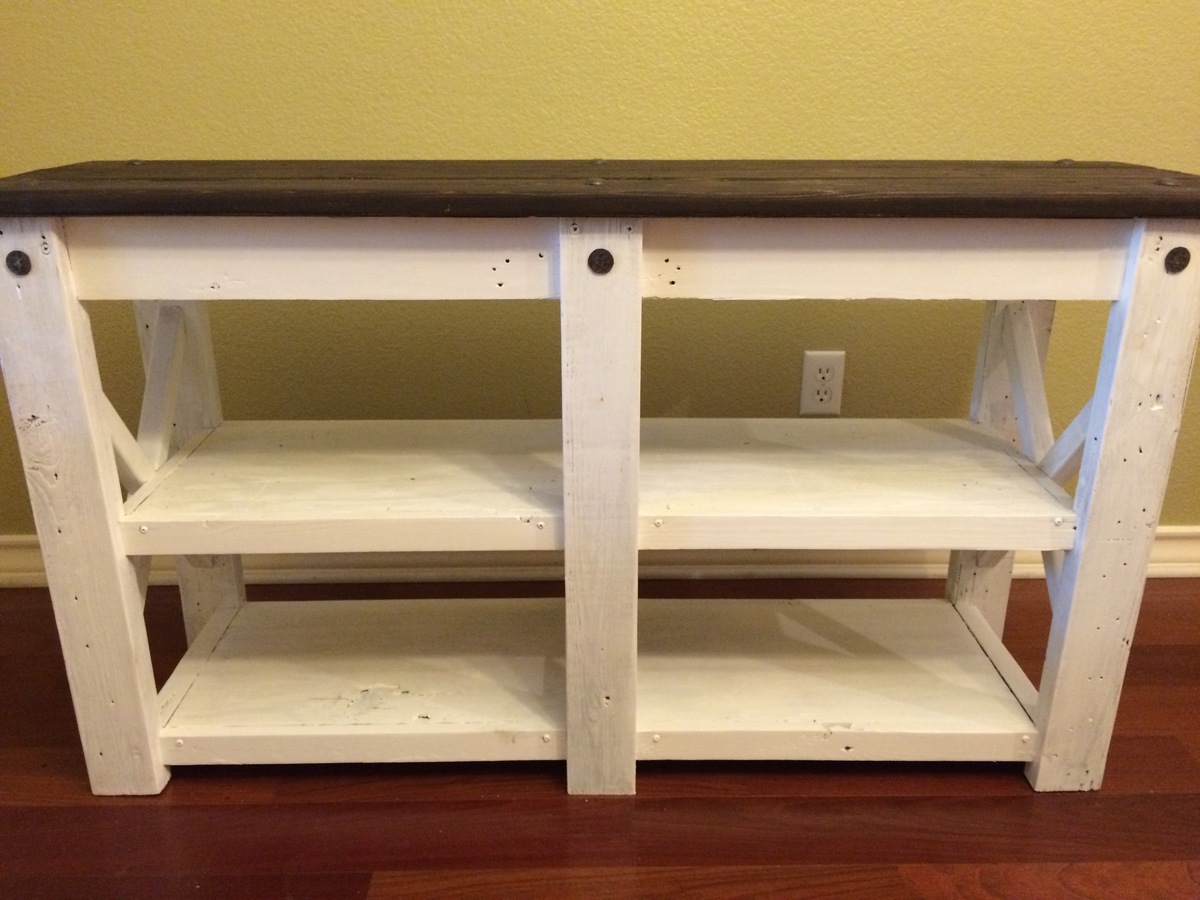
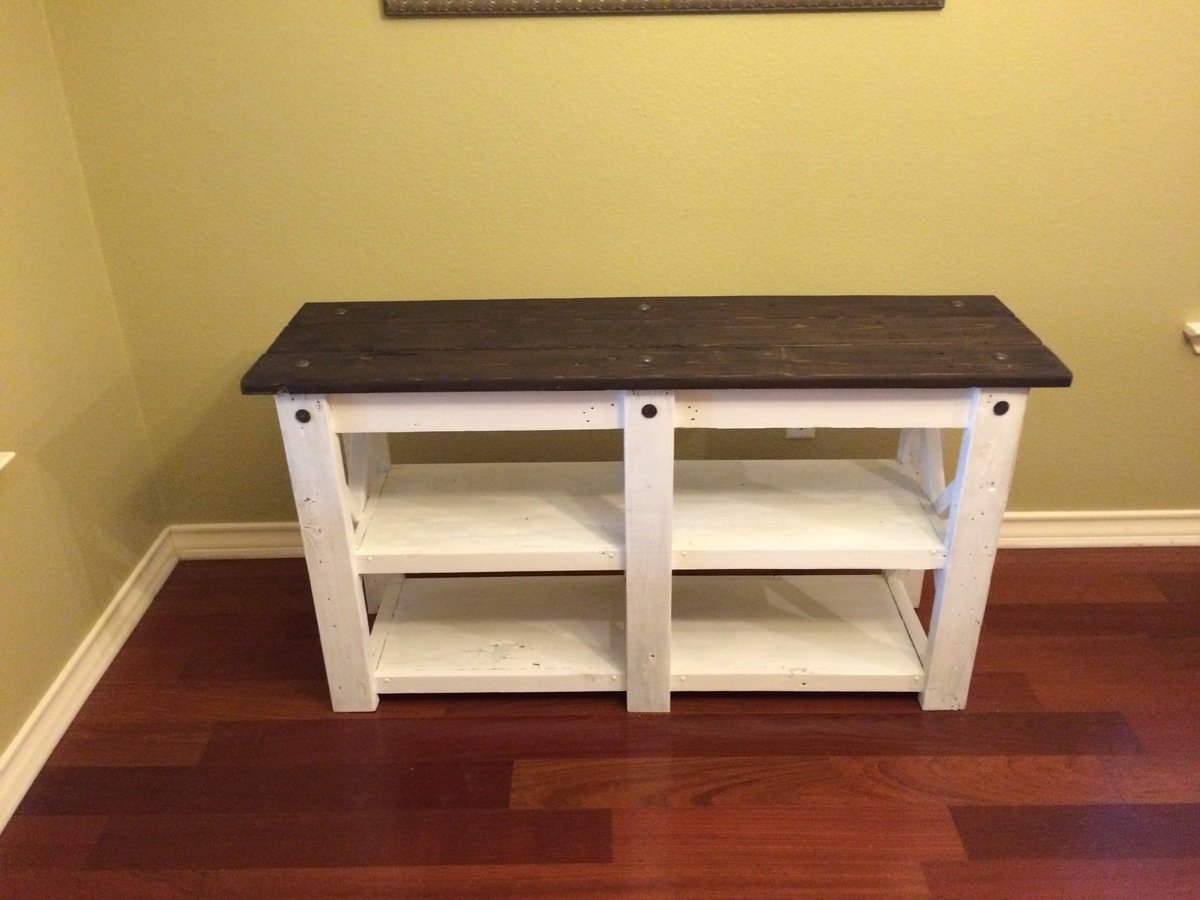
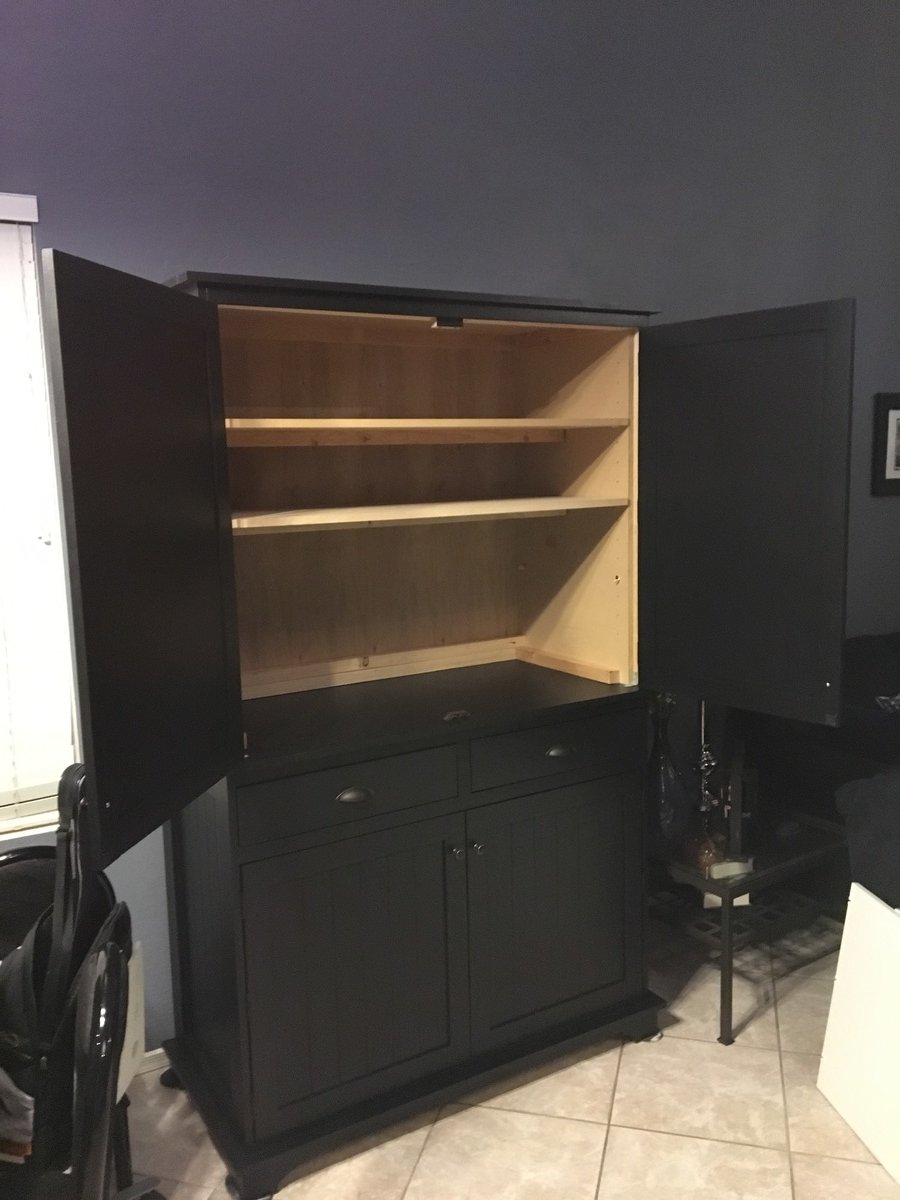
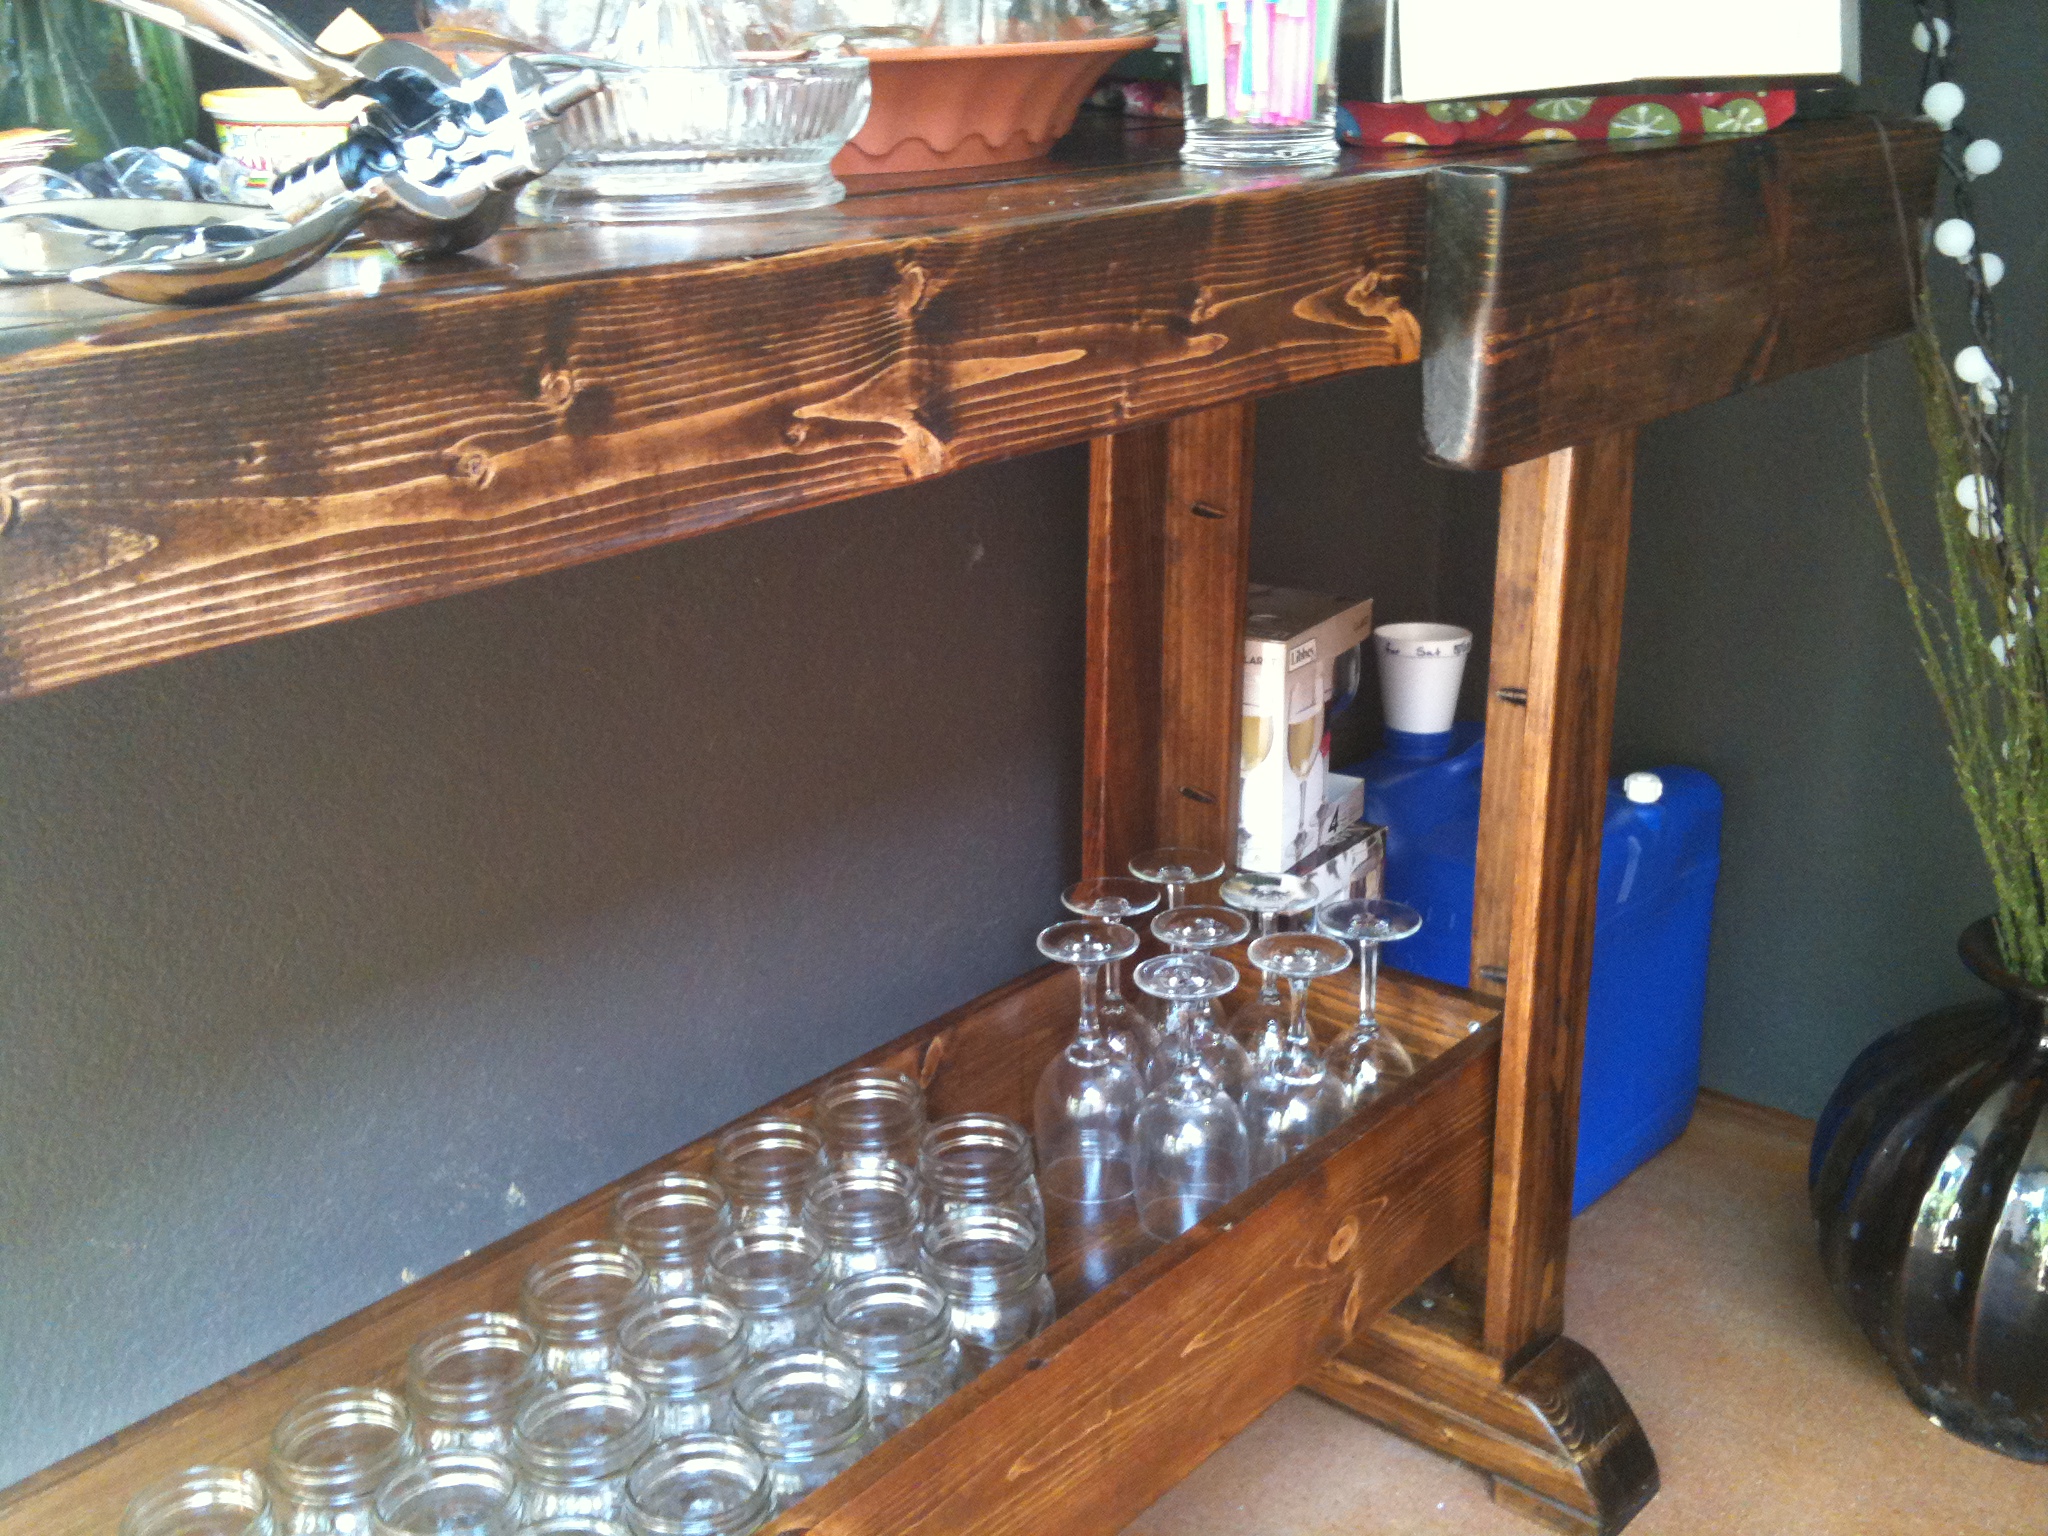
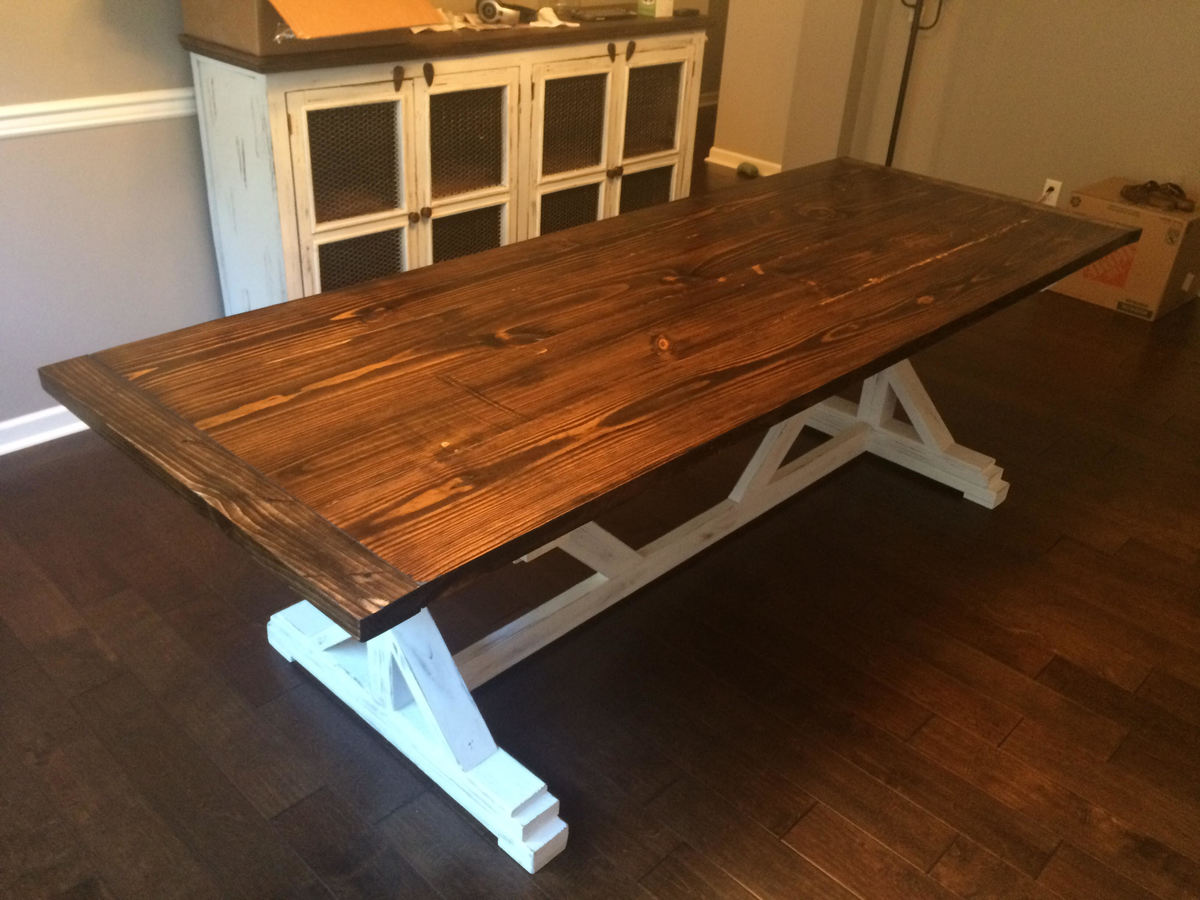
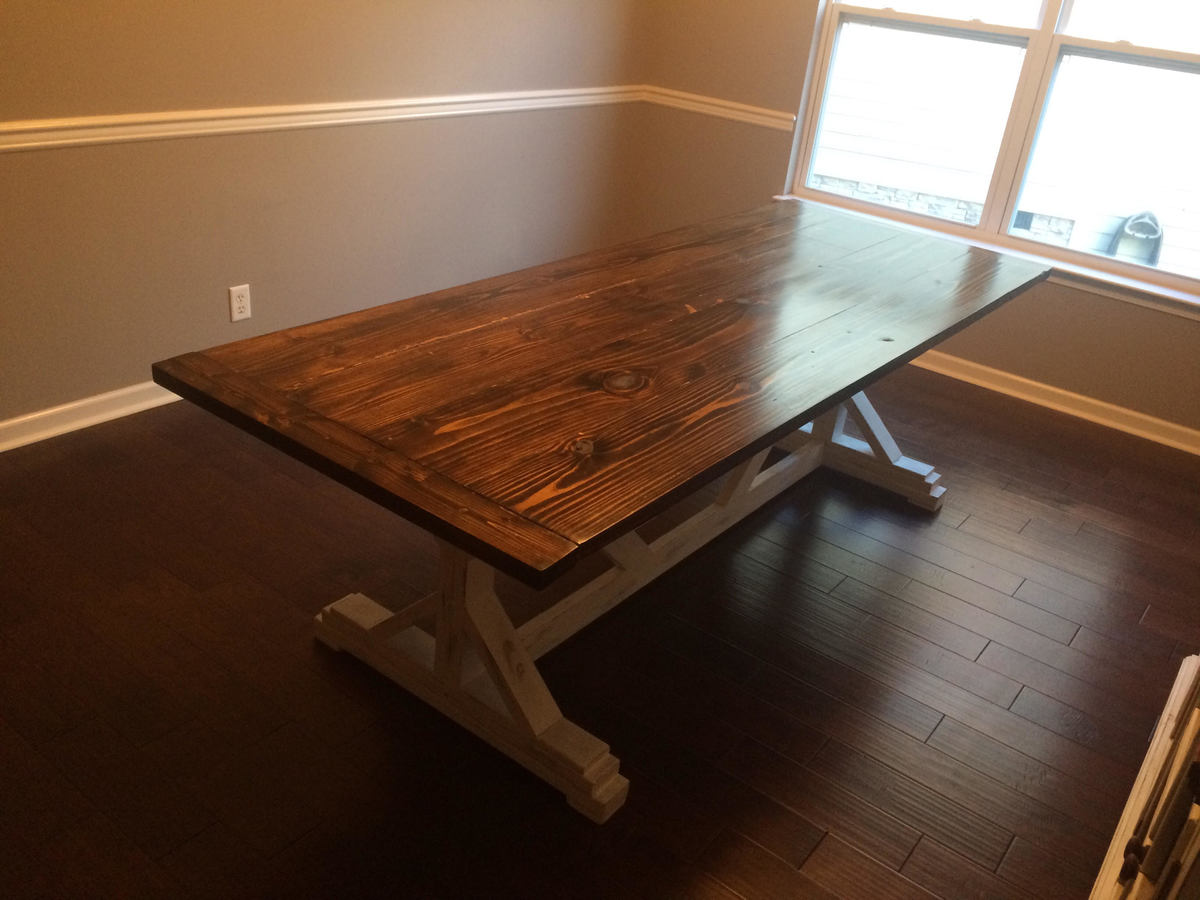
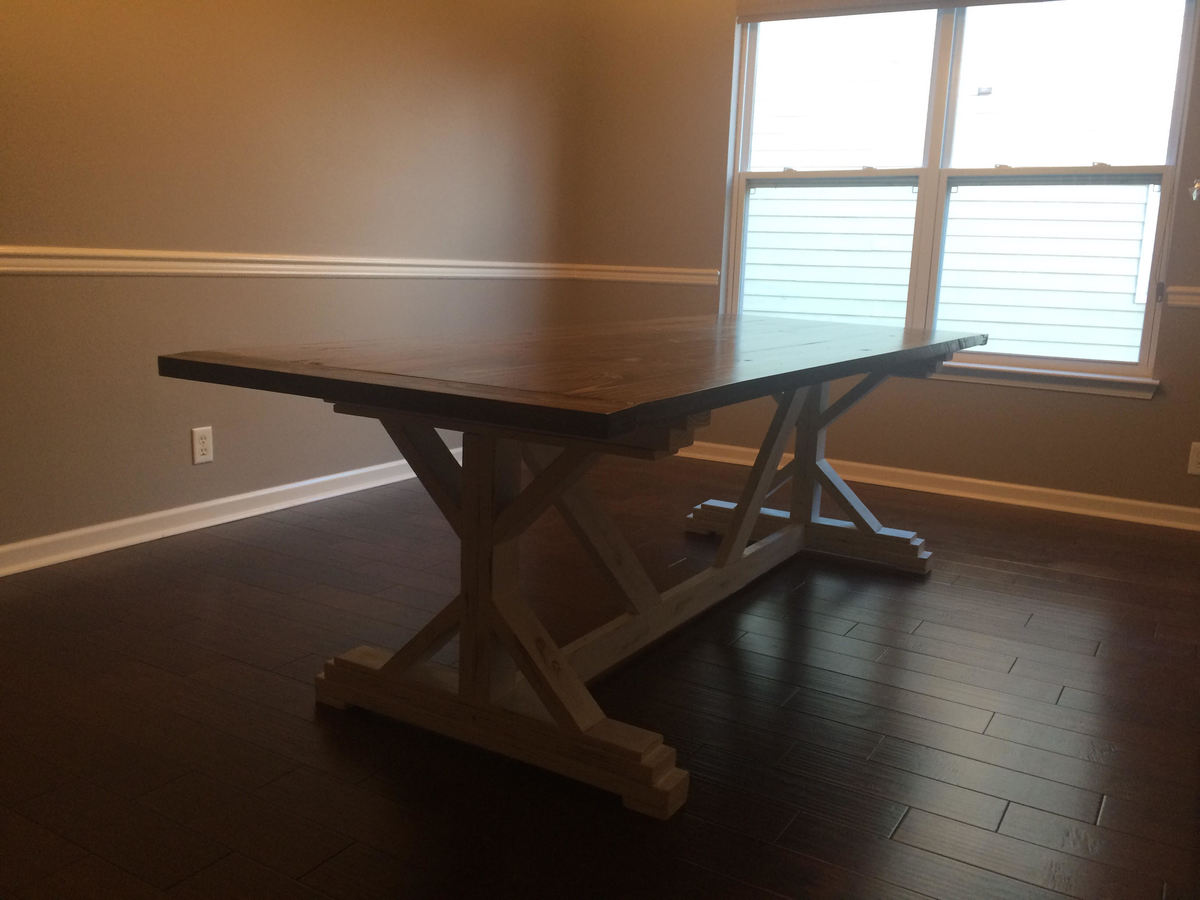
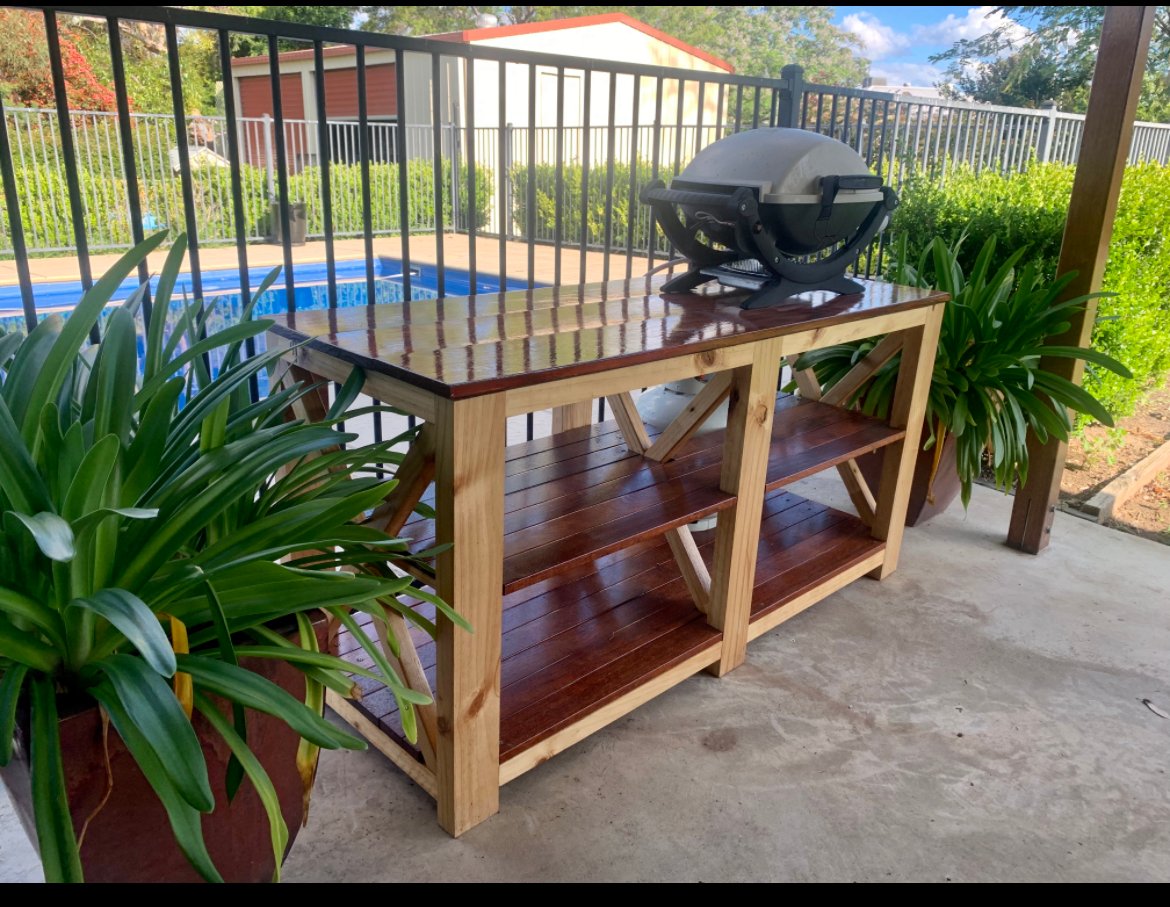
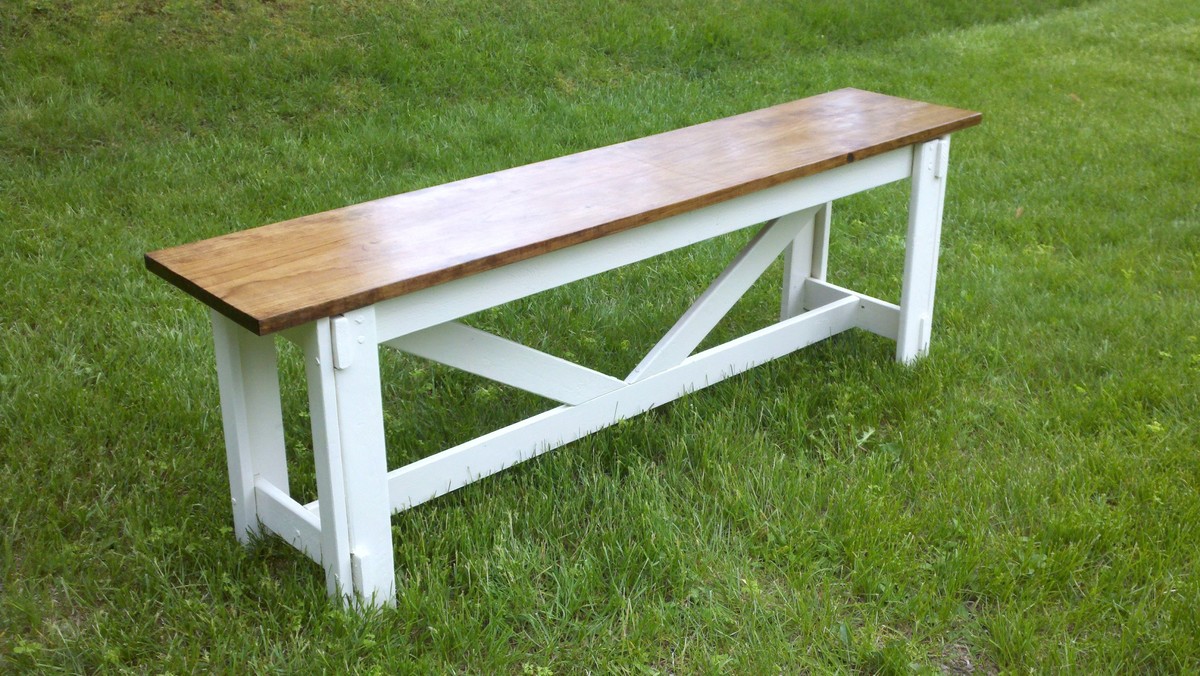
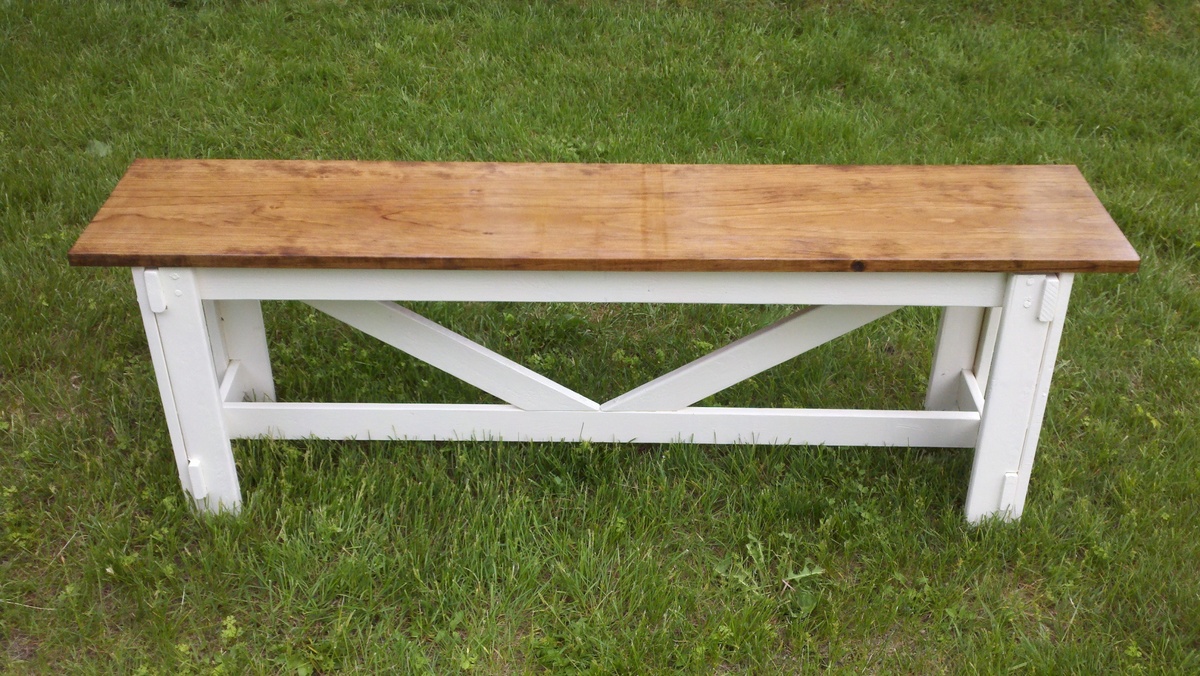
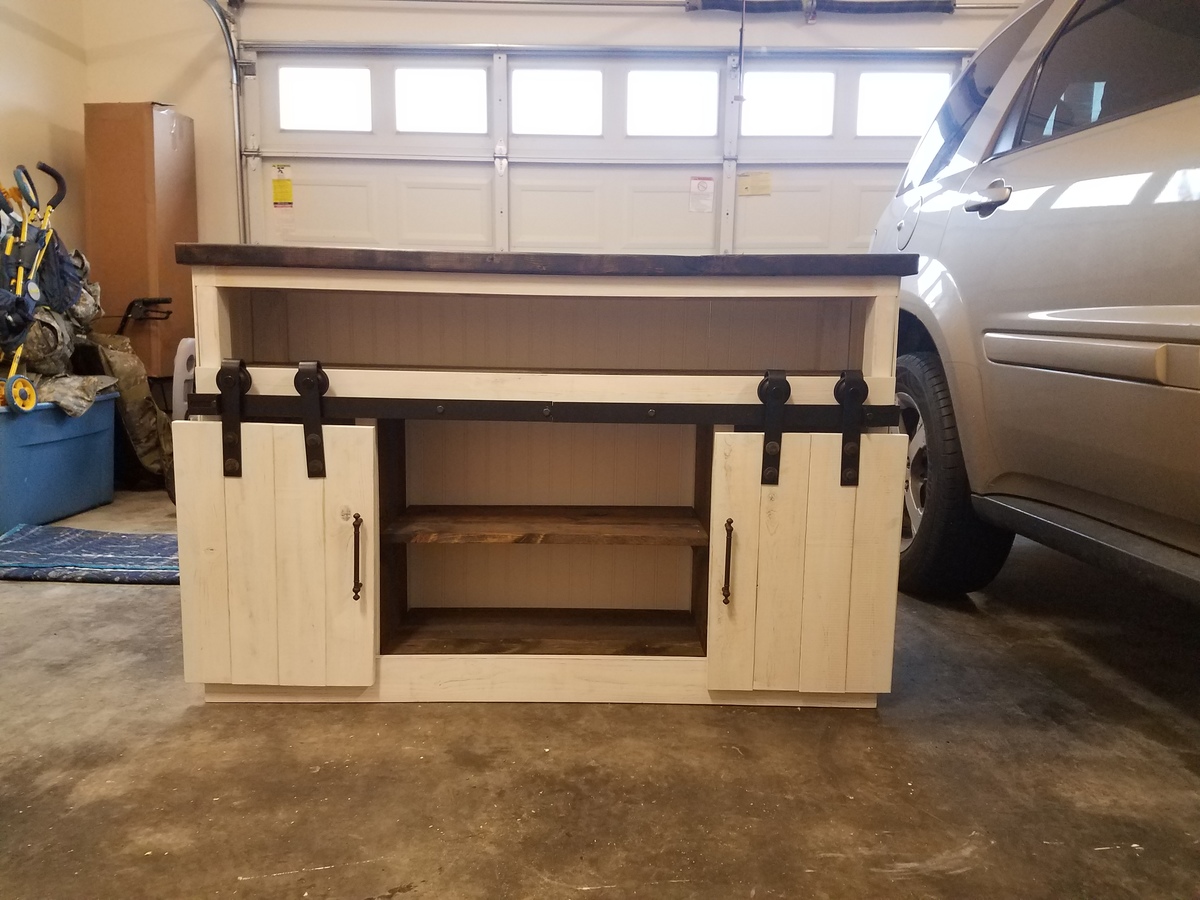
Modified grandy console
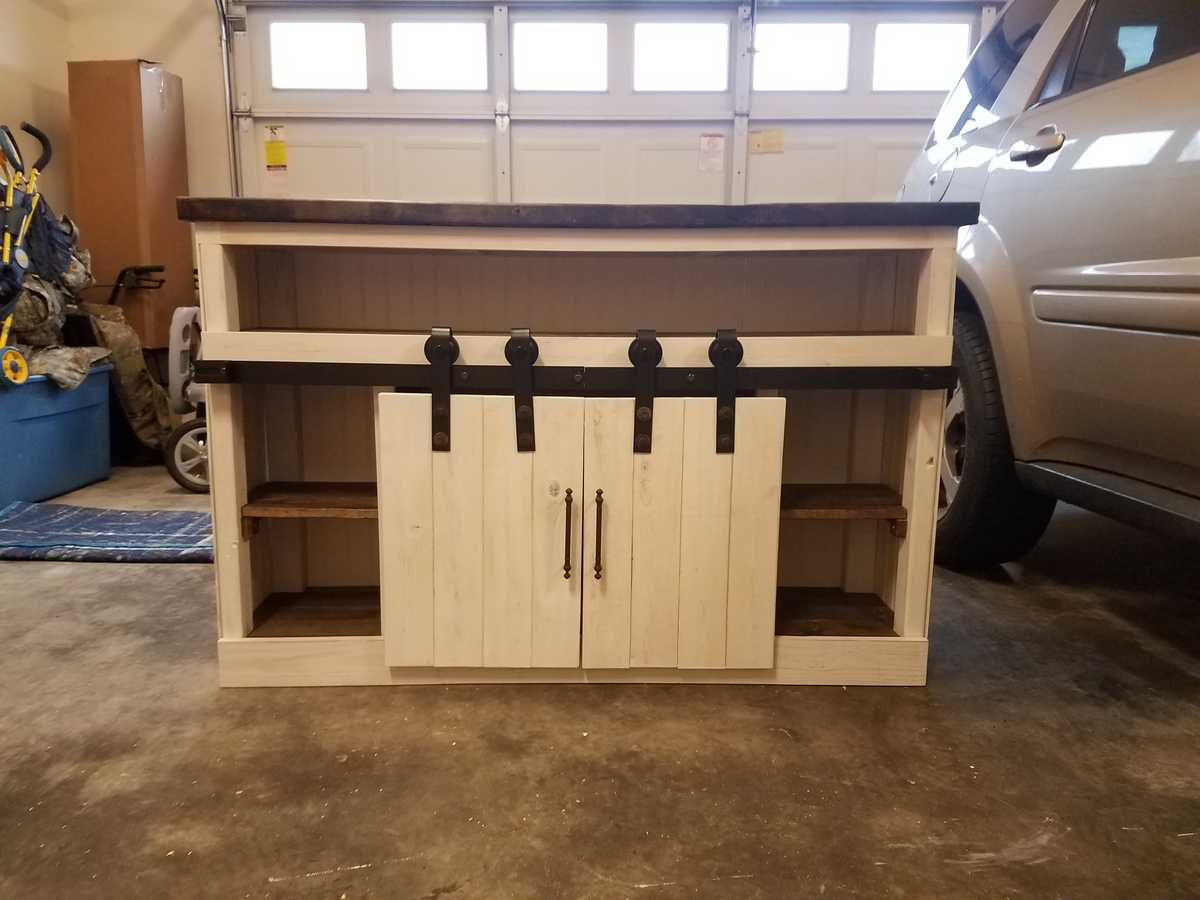
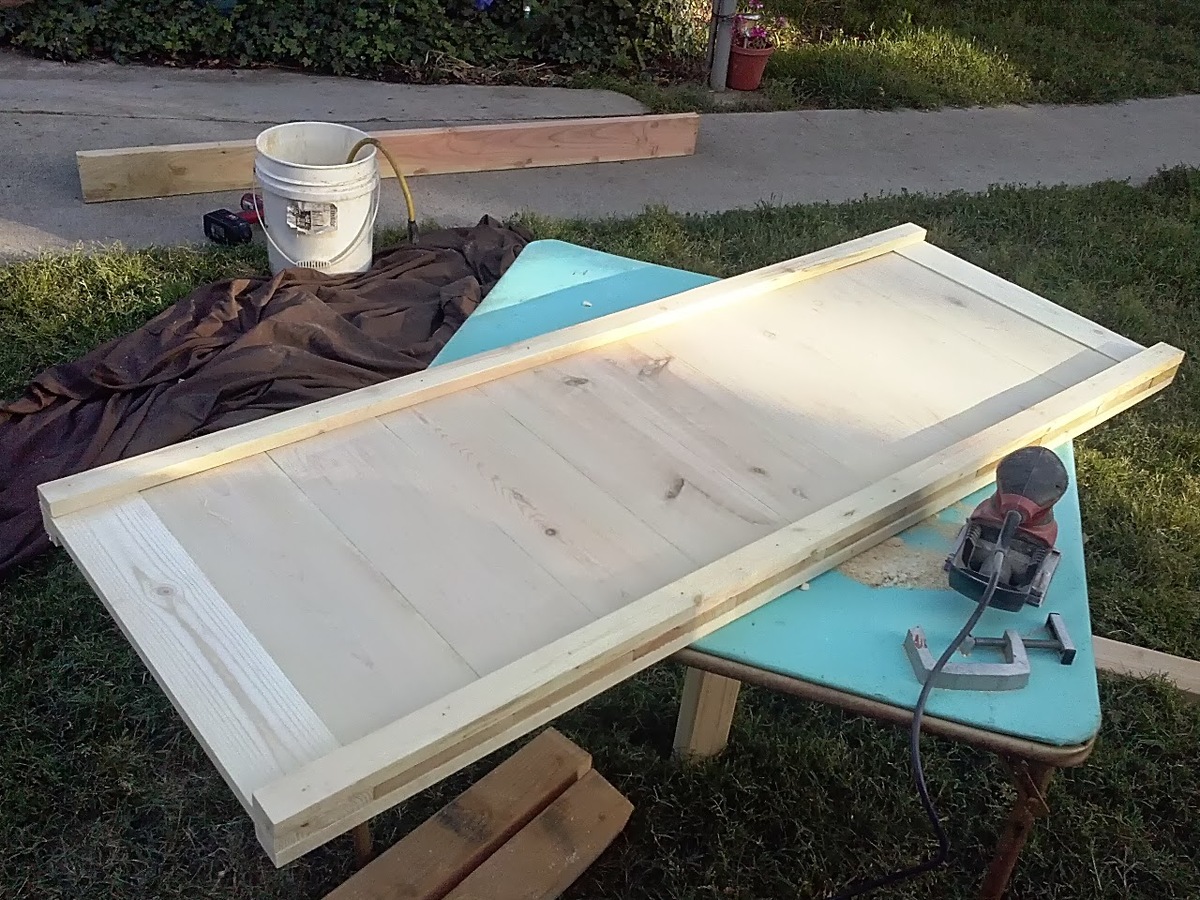
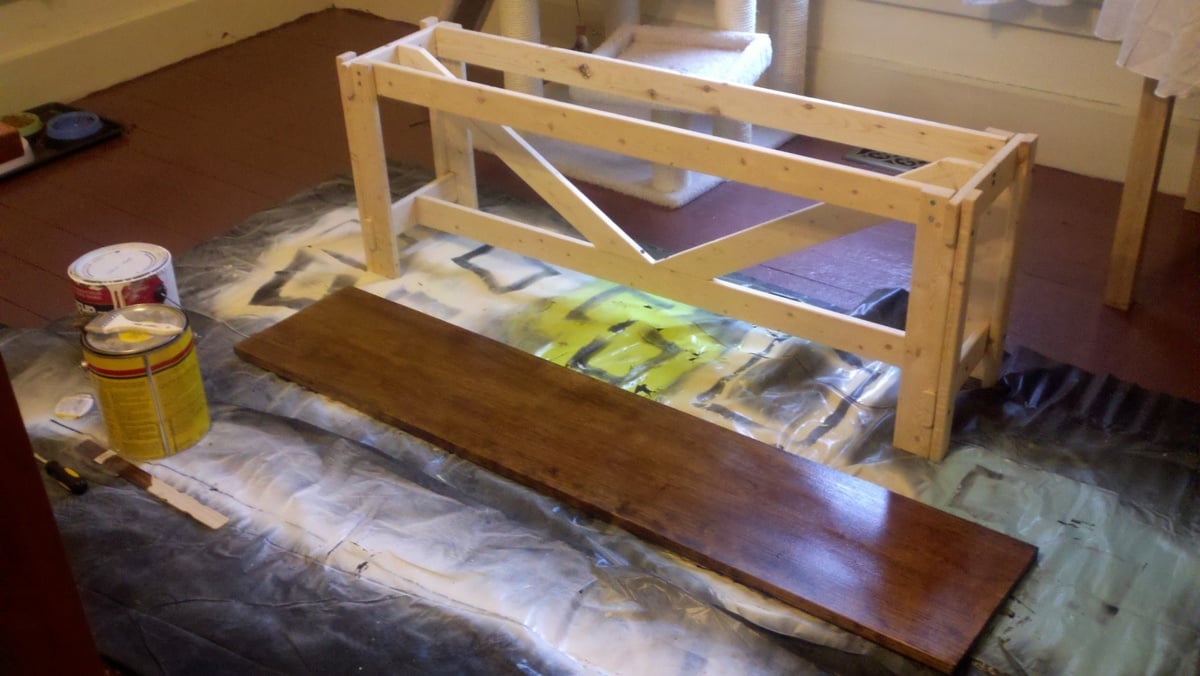
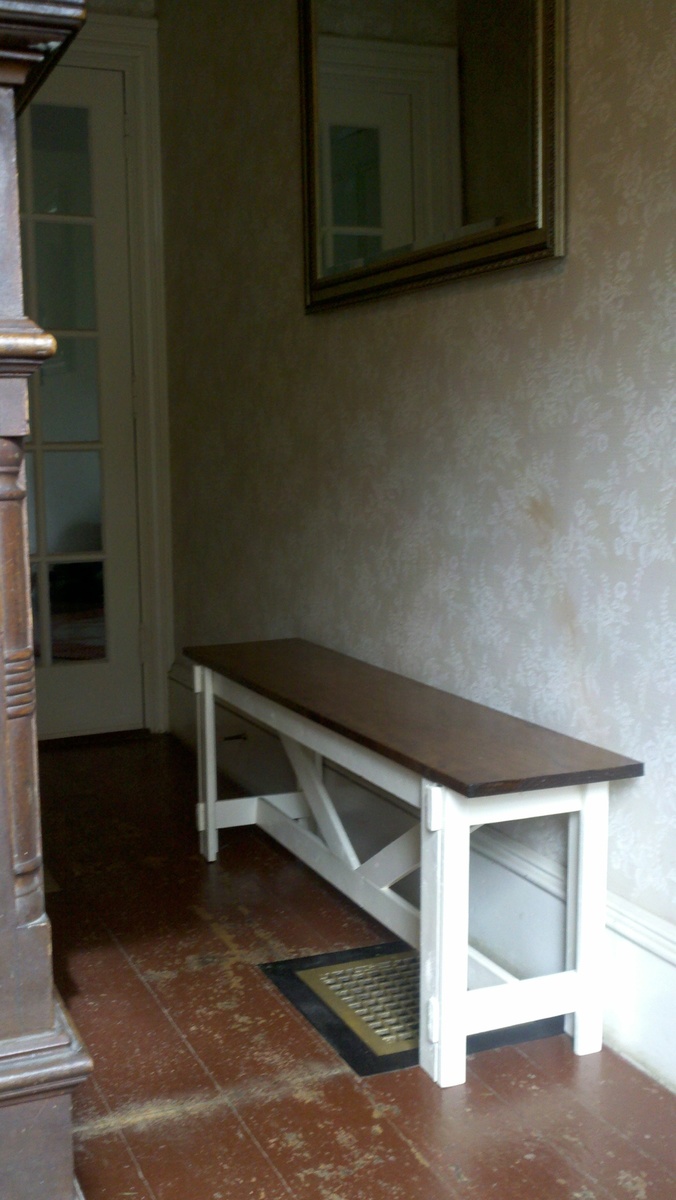
Built a smaller version of the grandy console with slot in the top for a sound bar. This was my first time using barn door hardware. Was a good time.
Built from Plan(s)
Estimated Cost
250 (includes barn door hardware)
Estimated Time Investment
Weekend Project (10-20 Hours)
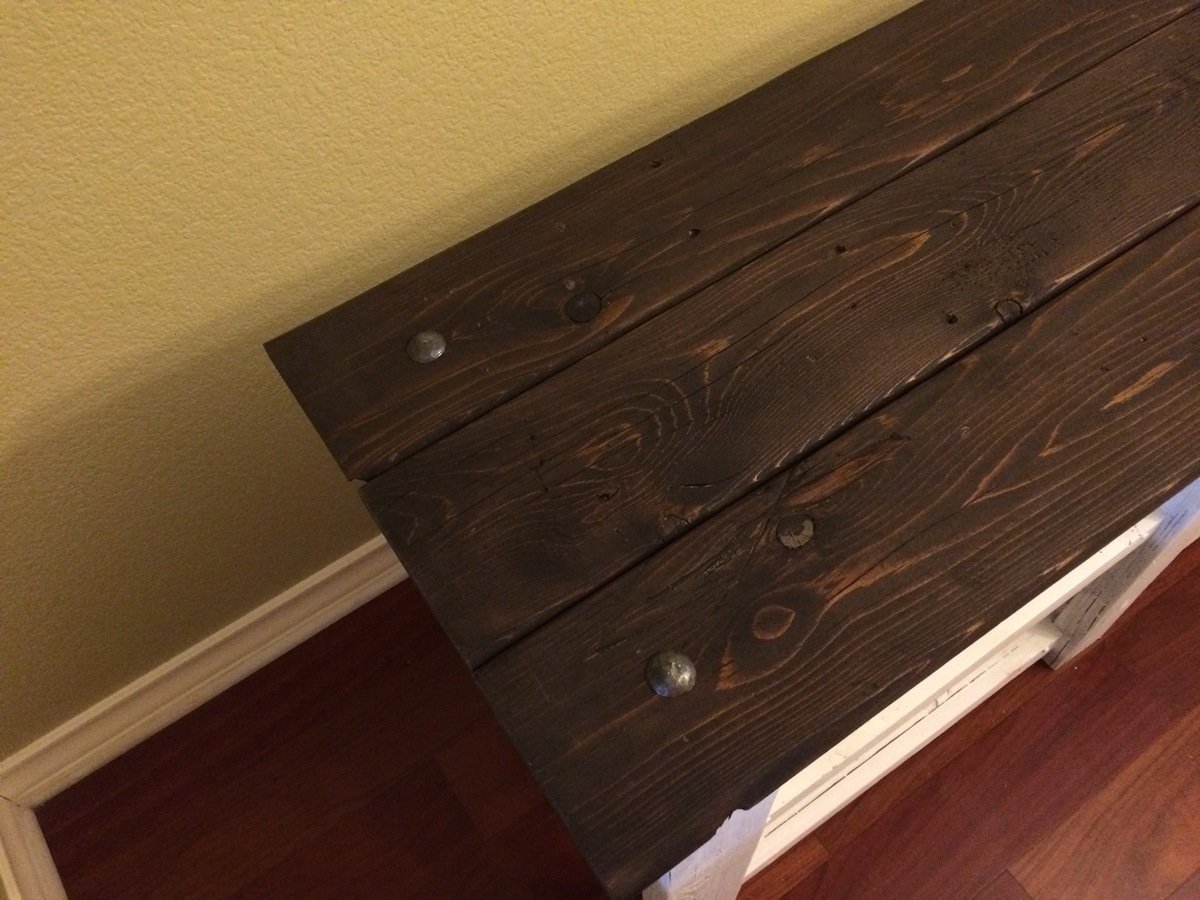
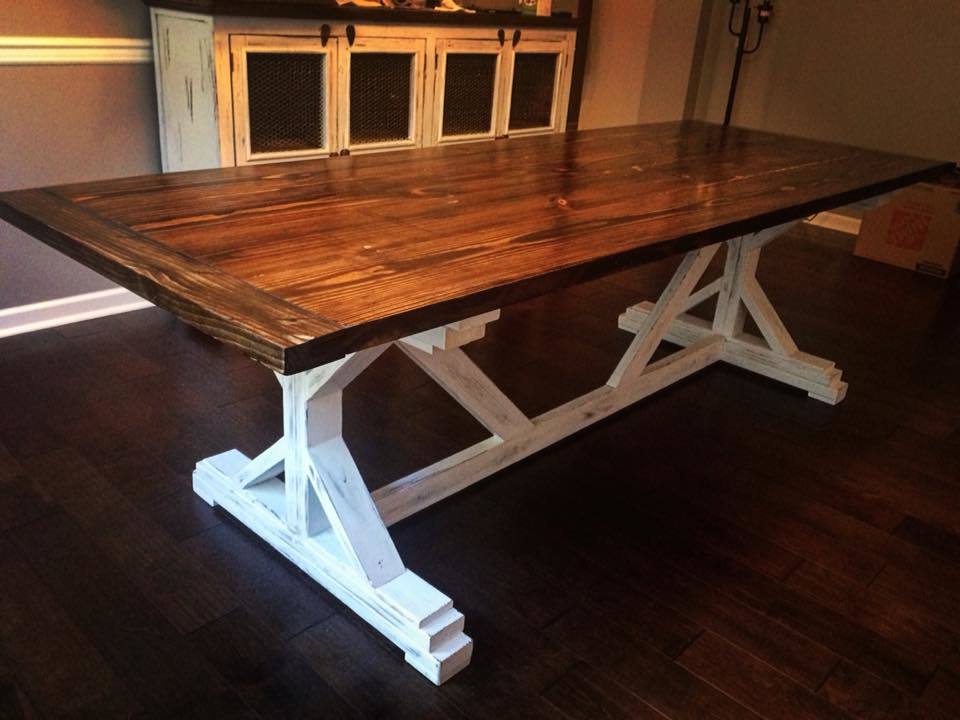
Finish Used
Jacobean stain anf white paint
Recommended Skill Level
Intermediate